
How to Build a Lush Community Garden
Psssst… this post *might* contain affiliate links: see my disclosure here.
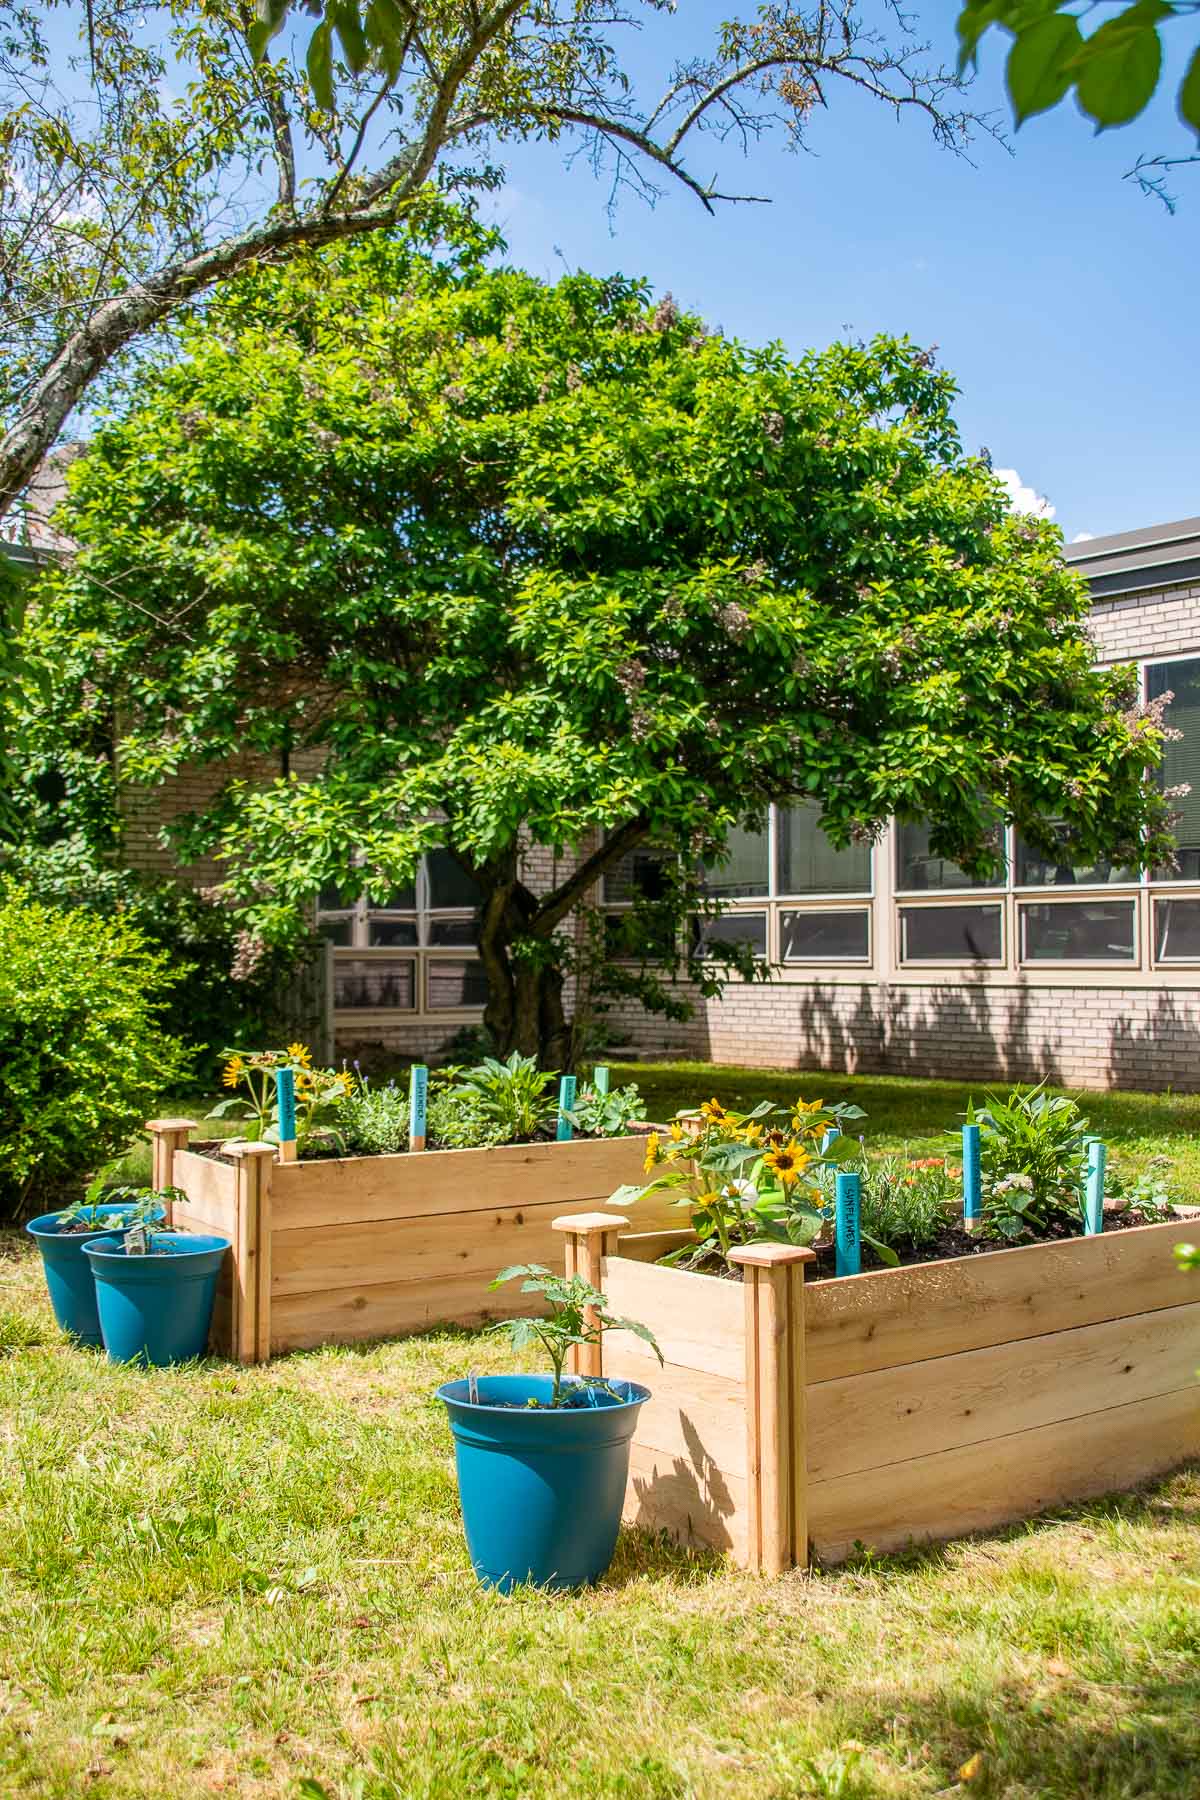
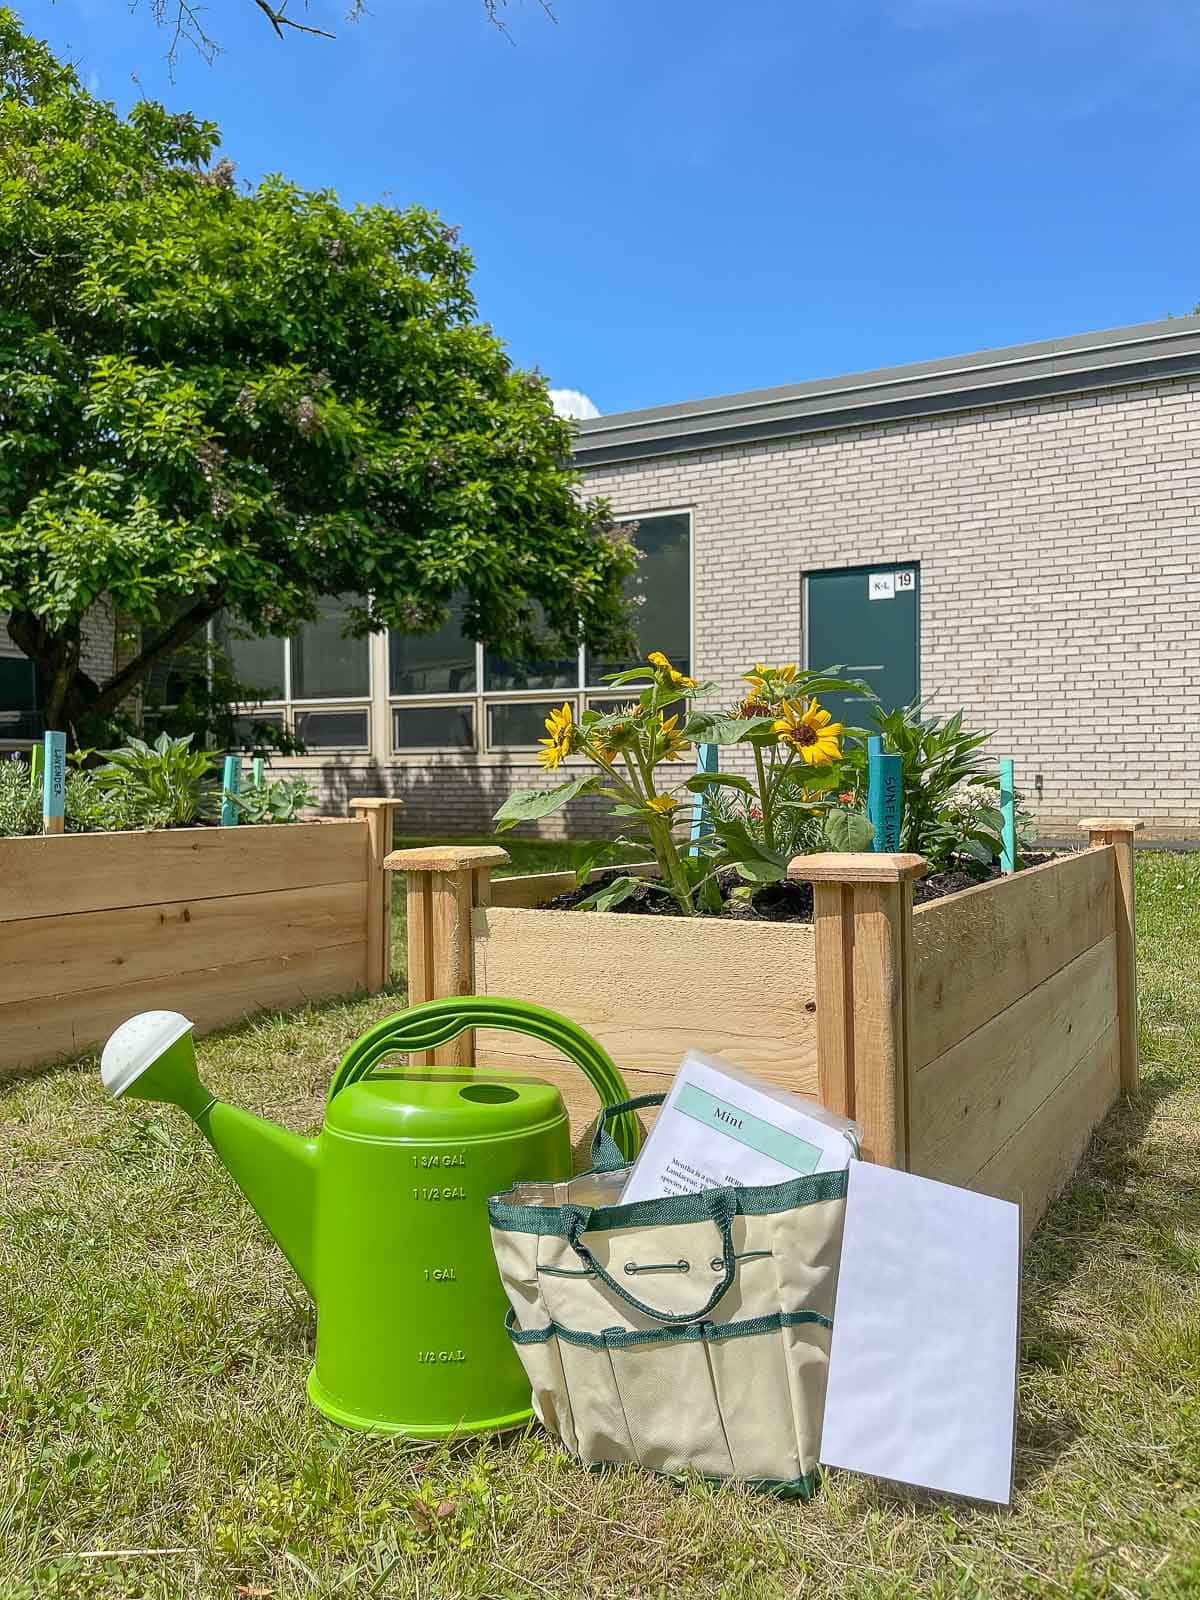
Raised Community Garden
This raised pollinator garden is a great addition to our elementary school’s STEAM program.
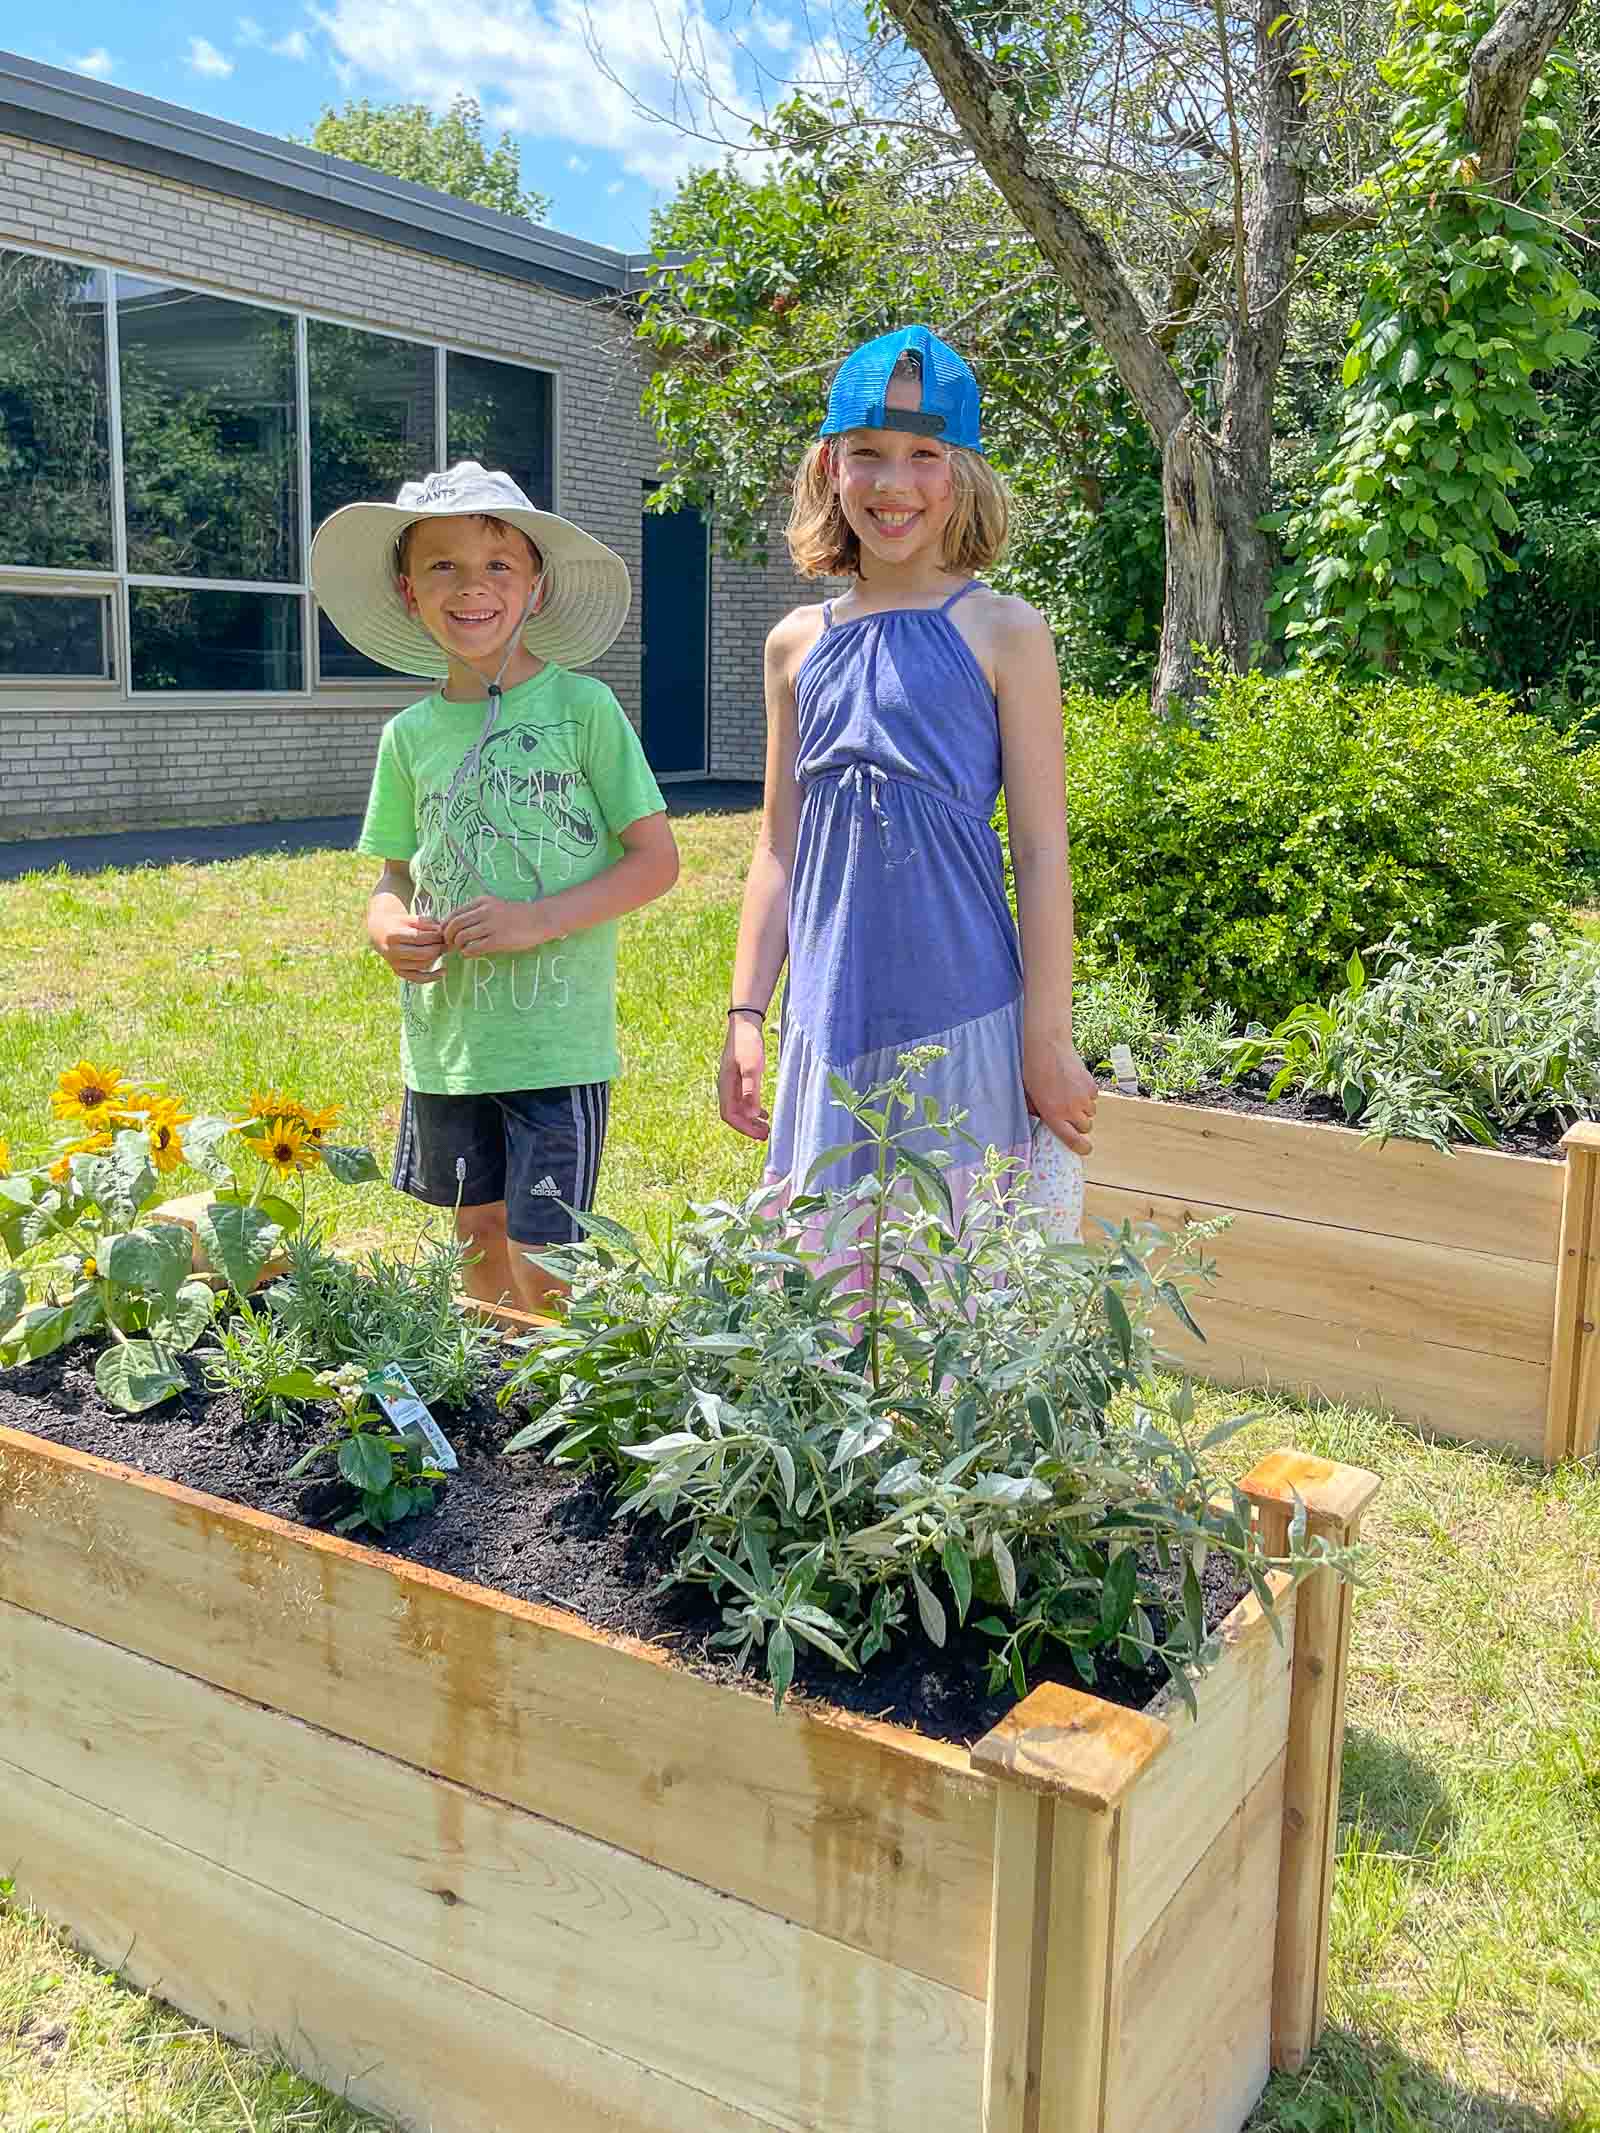
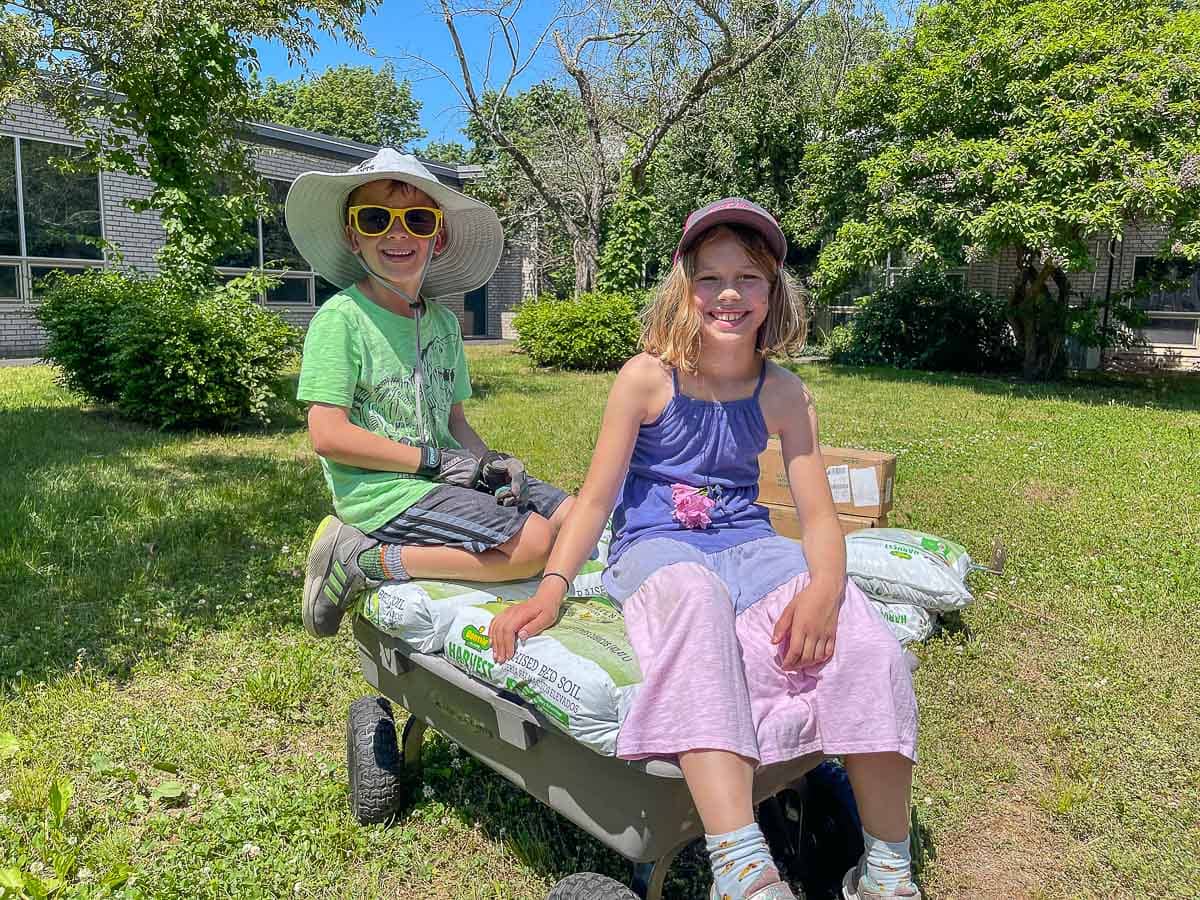
I’m partnering with Miracle Gro again to set up and plant an adorable pollinator garden for my kids’ elementary school! The students study pollinators and the anatomy of vegetables and flowers in their STEAM (Science Technology Engineering Arts Math) class and these raised beds will be a perfect opportunity for hands on exploration. My two youngest, ages 7 and 8, helped me put this garden together and we were able to finish the entire thing in one morning… that’s how simple!
Shop my favorites!
Materials:
- Raised Garden Bed Kit
- Organic Raised Bed Soil
- Miracle Gro Plant Food
- Garden Bags
- Garden Gloves
- Trowel
- Watering Can
- Plant Stakes
- Plants: Bonnie harvest cherry tomatoes, basil, oregano, rosemary, mint, stonecrop, lantana, lavender, black eyed susan, sun flowers
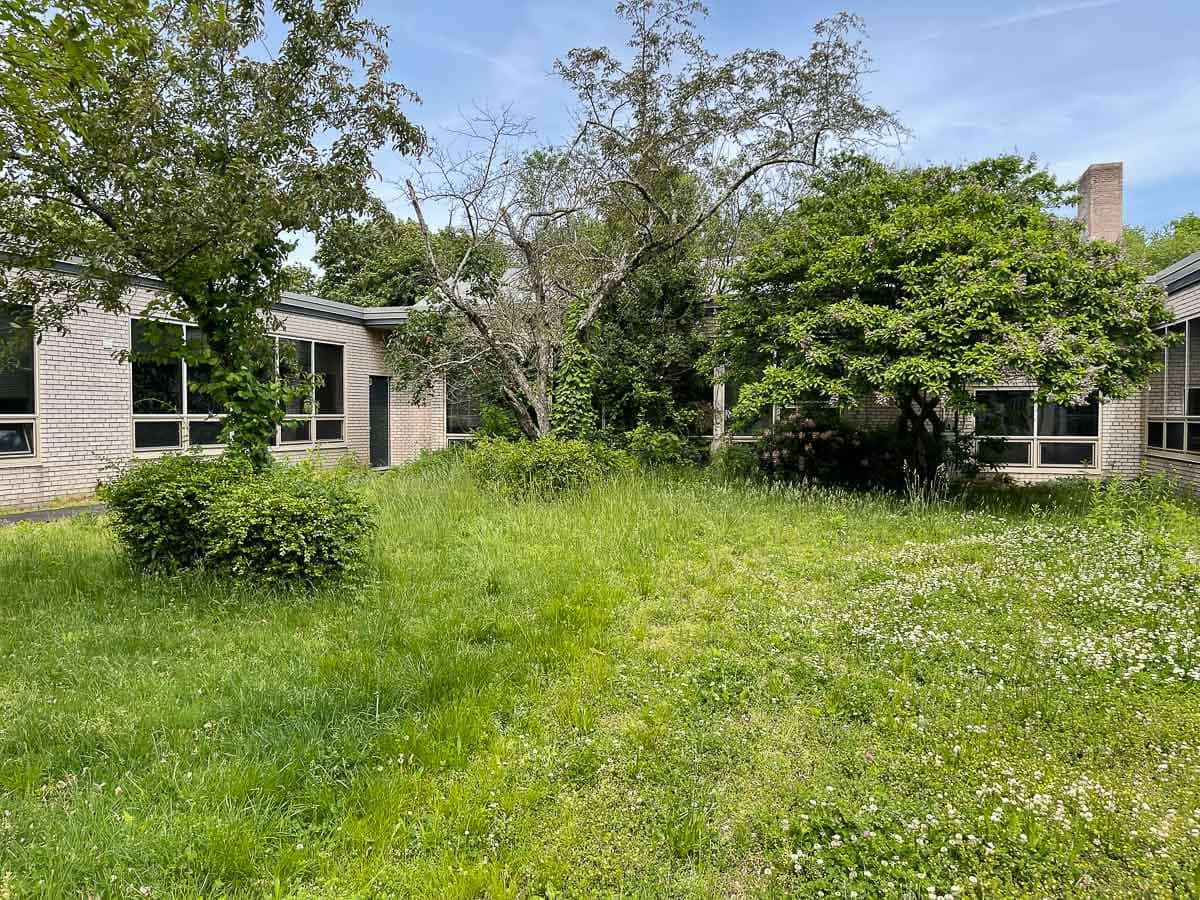
Step 1. Find the Right Spot
Identify your location. Take into account how much sun your location will get and plant accordingly. We installed this garden in a gated inner courtyard so deer won’t be a problem. These beds are between a couple of trees, but essentially gets full sun. This was how the courtyard looked before….
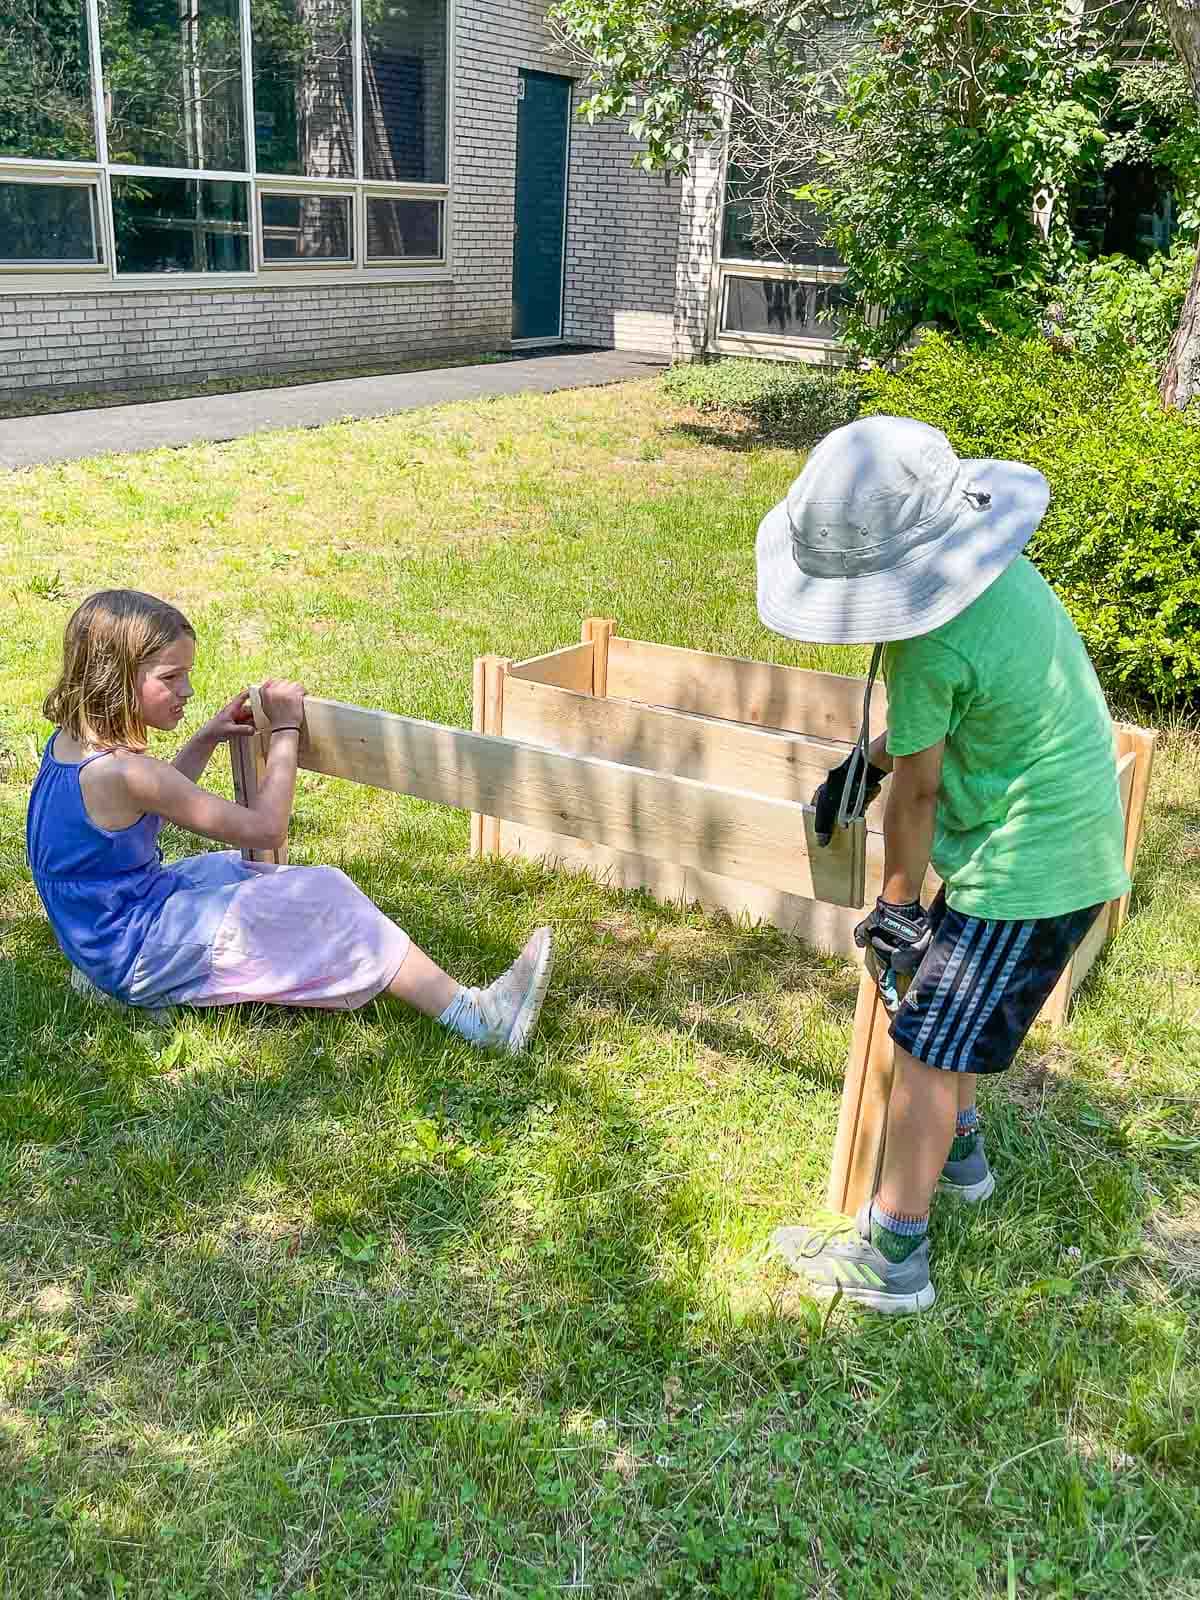
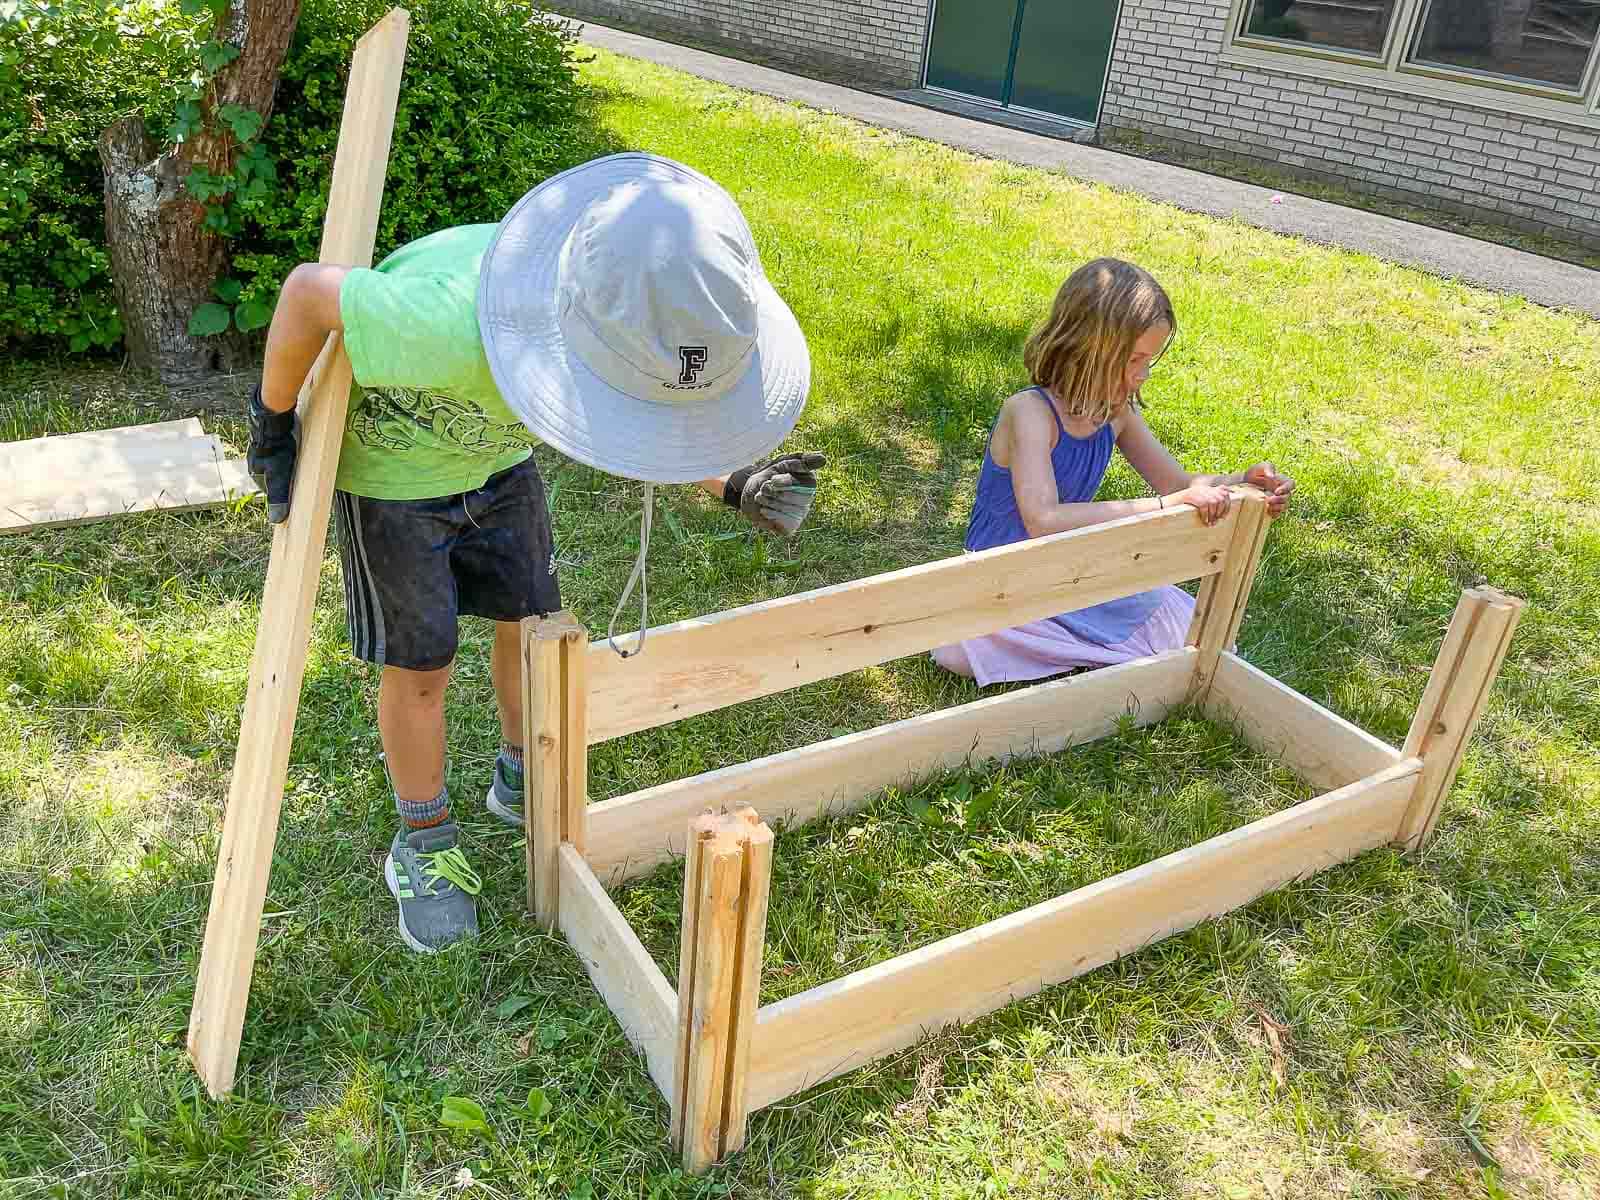
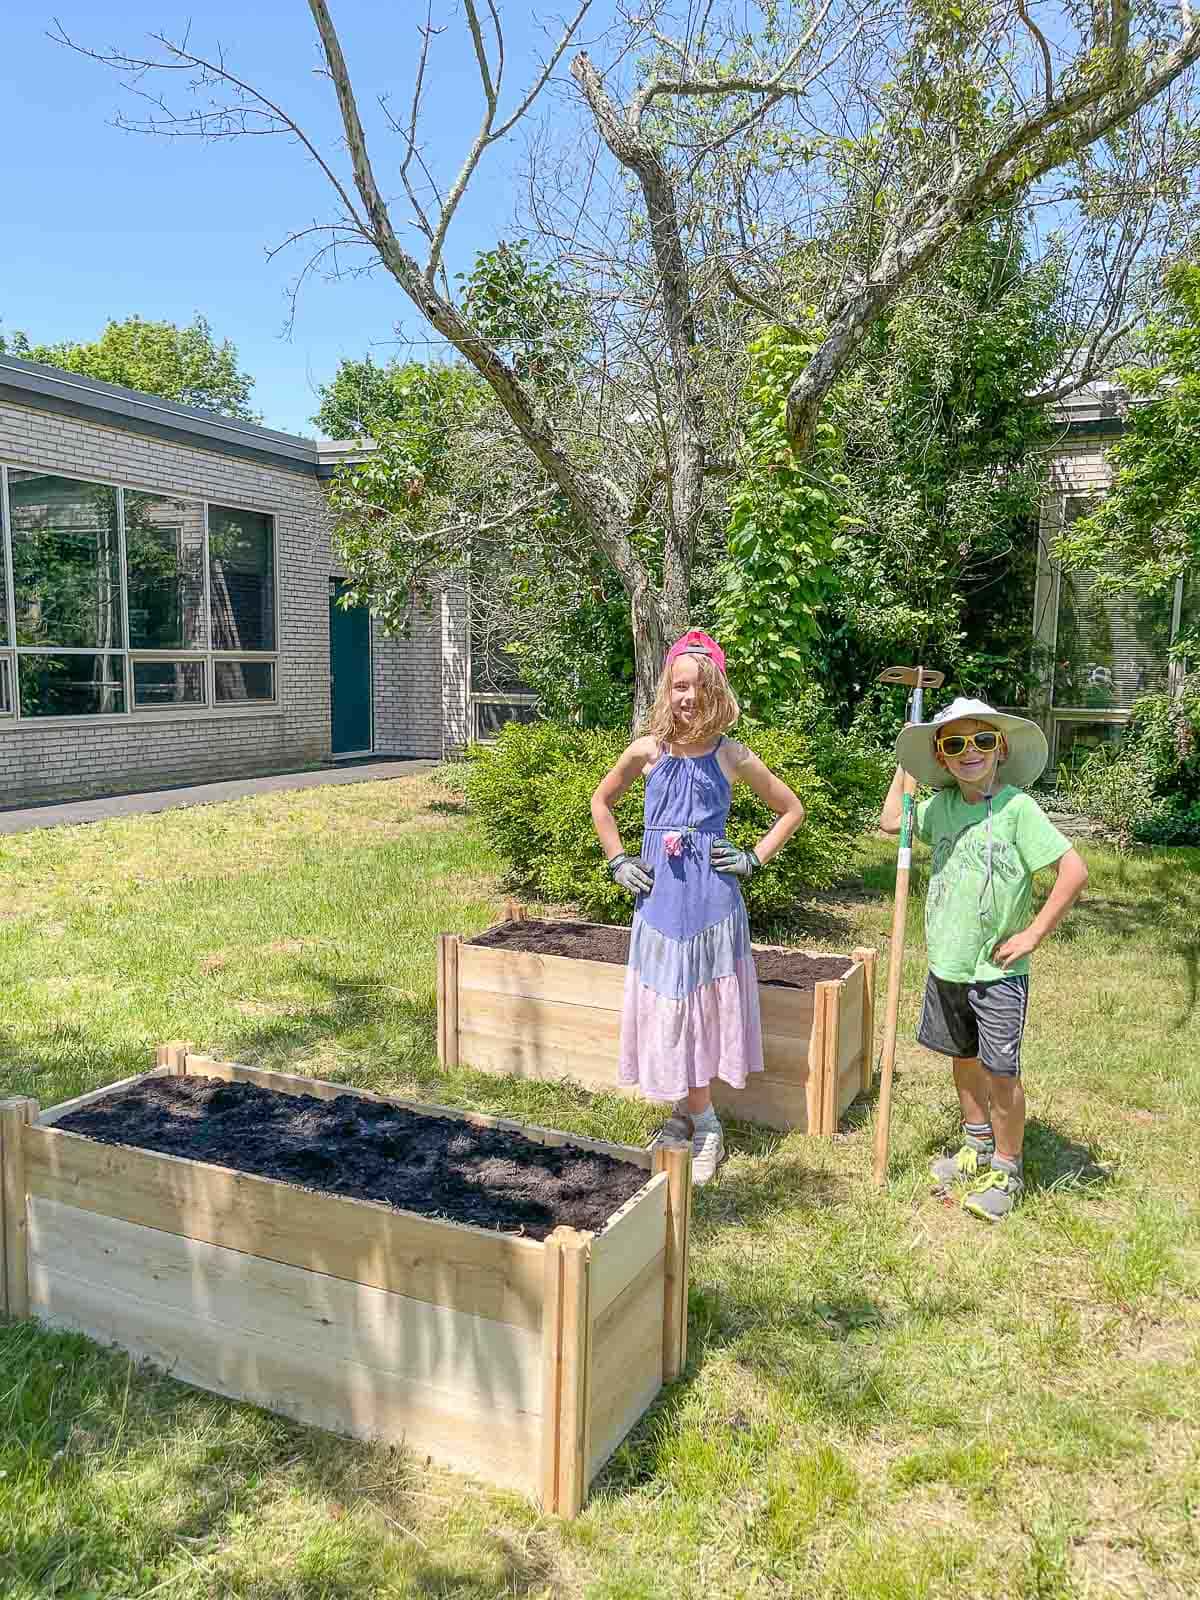
Step 2. Assemble Raised Garden Beds
I ordered two of these taller garden beds for the school courtyard. Obviously the larger the beds, the more soil and plant material will be required. We had to carry all of the the bags of soil and plants, so I wanted to find the right balance between raised gardens that would be large enough for a class to engage with but also wouldn’t be too large to install/ maintain. Two of these 16″x48″ taller beds feel perfect for this space. There is a soil calculator right on the product page so I knew exactly how many bags of Bonnie Plants Harvest Select to order.
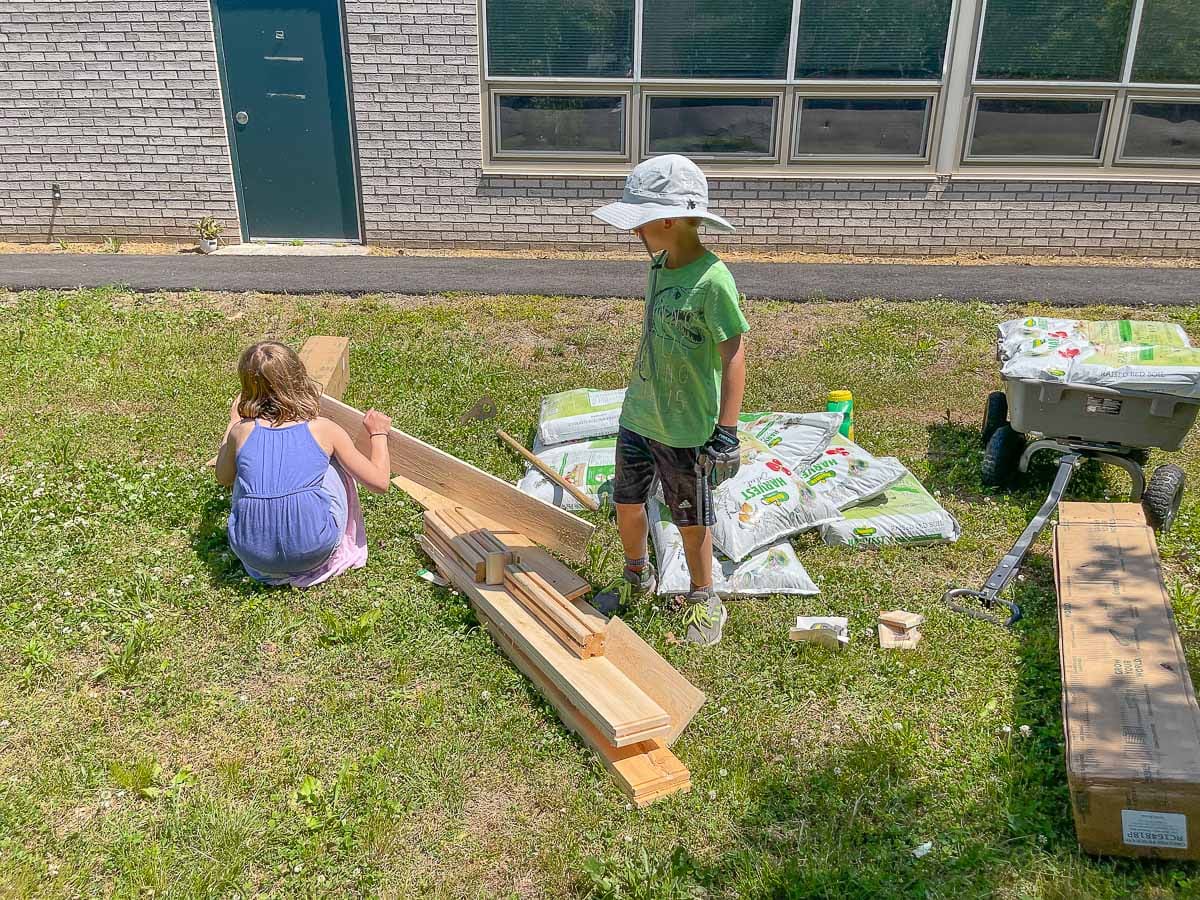 Assembly couldn’t have been easier. Arthur and Louisa were able to put these together almost independently. The side boards slide into grooves in the corner posts and the beds sit right on the ground. I didn’t bother with a weed blocking cloth underneath the beds, but that’s certainly an option. The only tool required is a drill (or screw driver) to install the caps for the top of the corner posts.
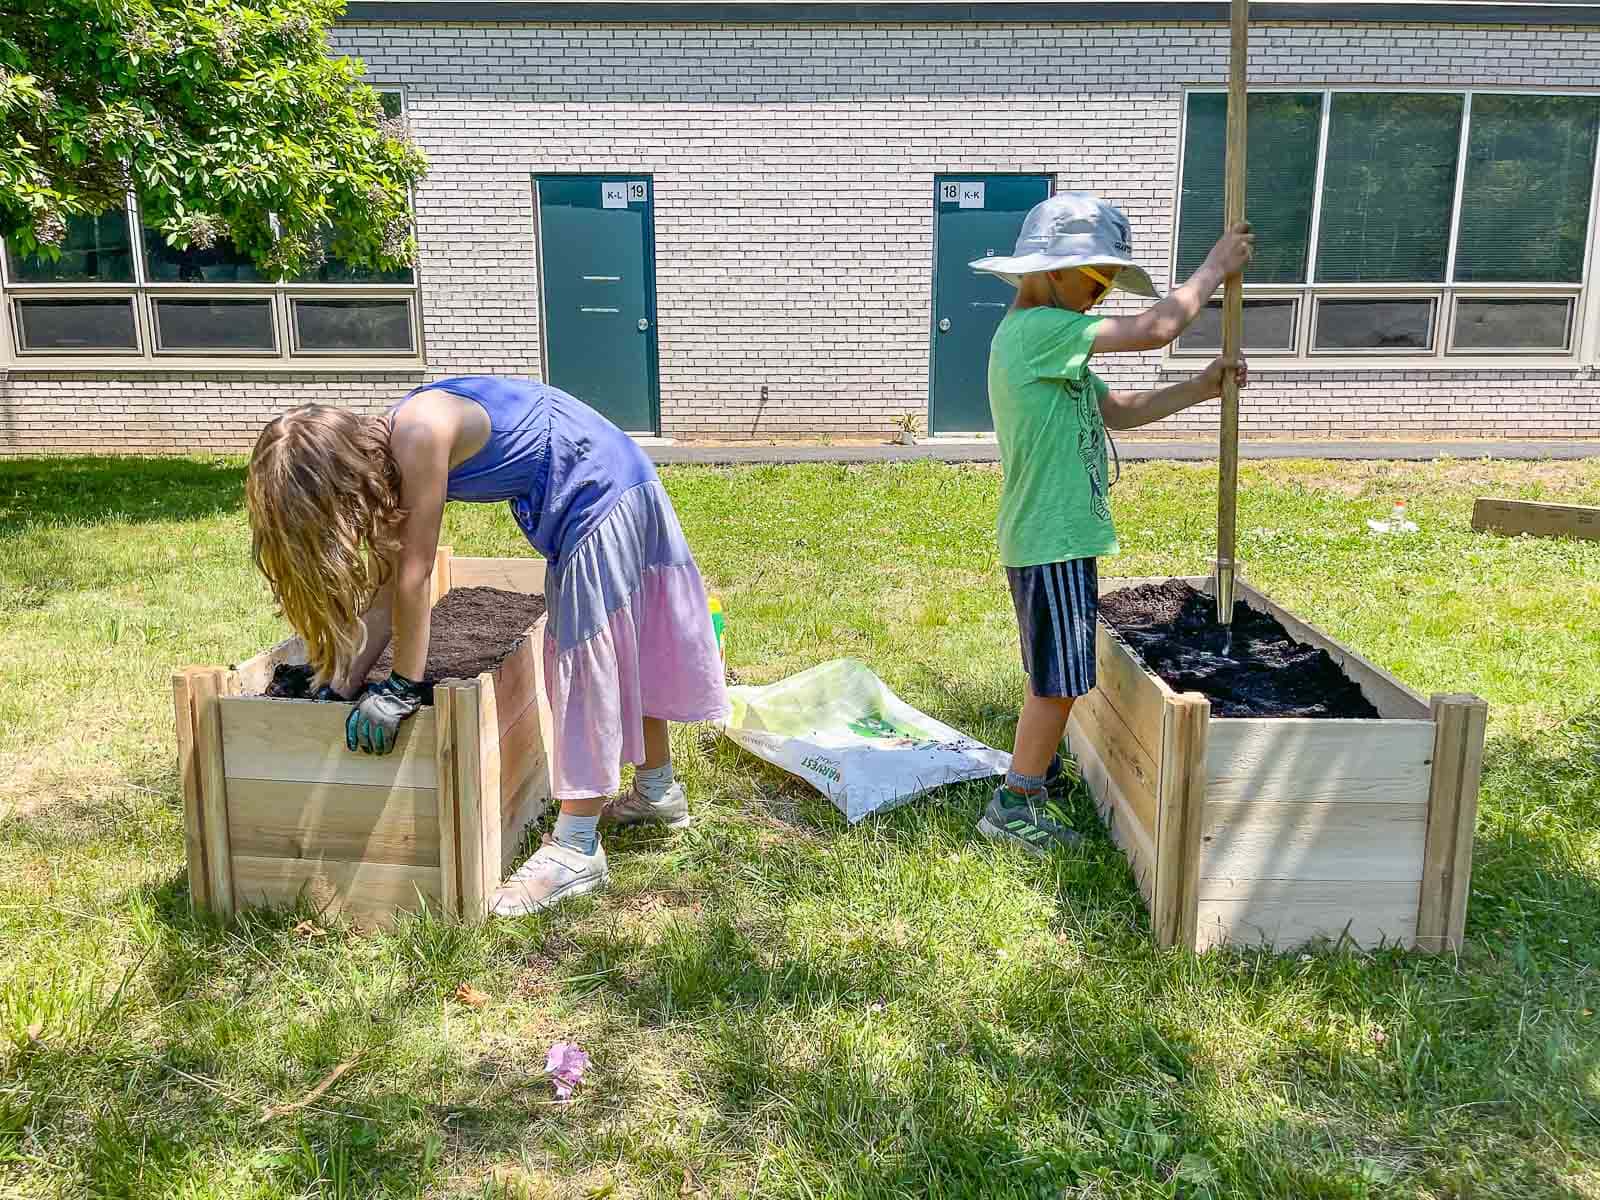
Step 3. Fill Raised Beds with Soil
We’re using this organic Bonnie Plants Harvest Select soil for raised garden beds. Both beds required 12 bags in total. I was in charge of dumping the bags into each bed and the kids helped smooth it out and tamp it down.
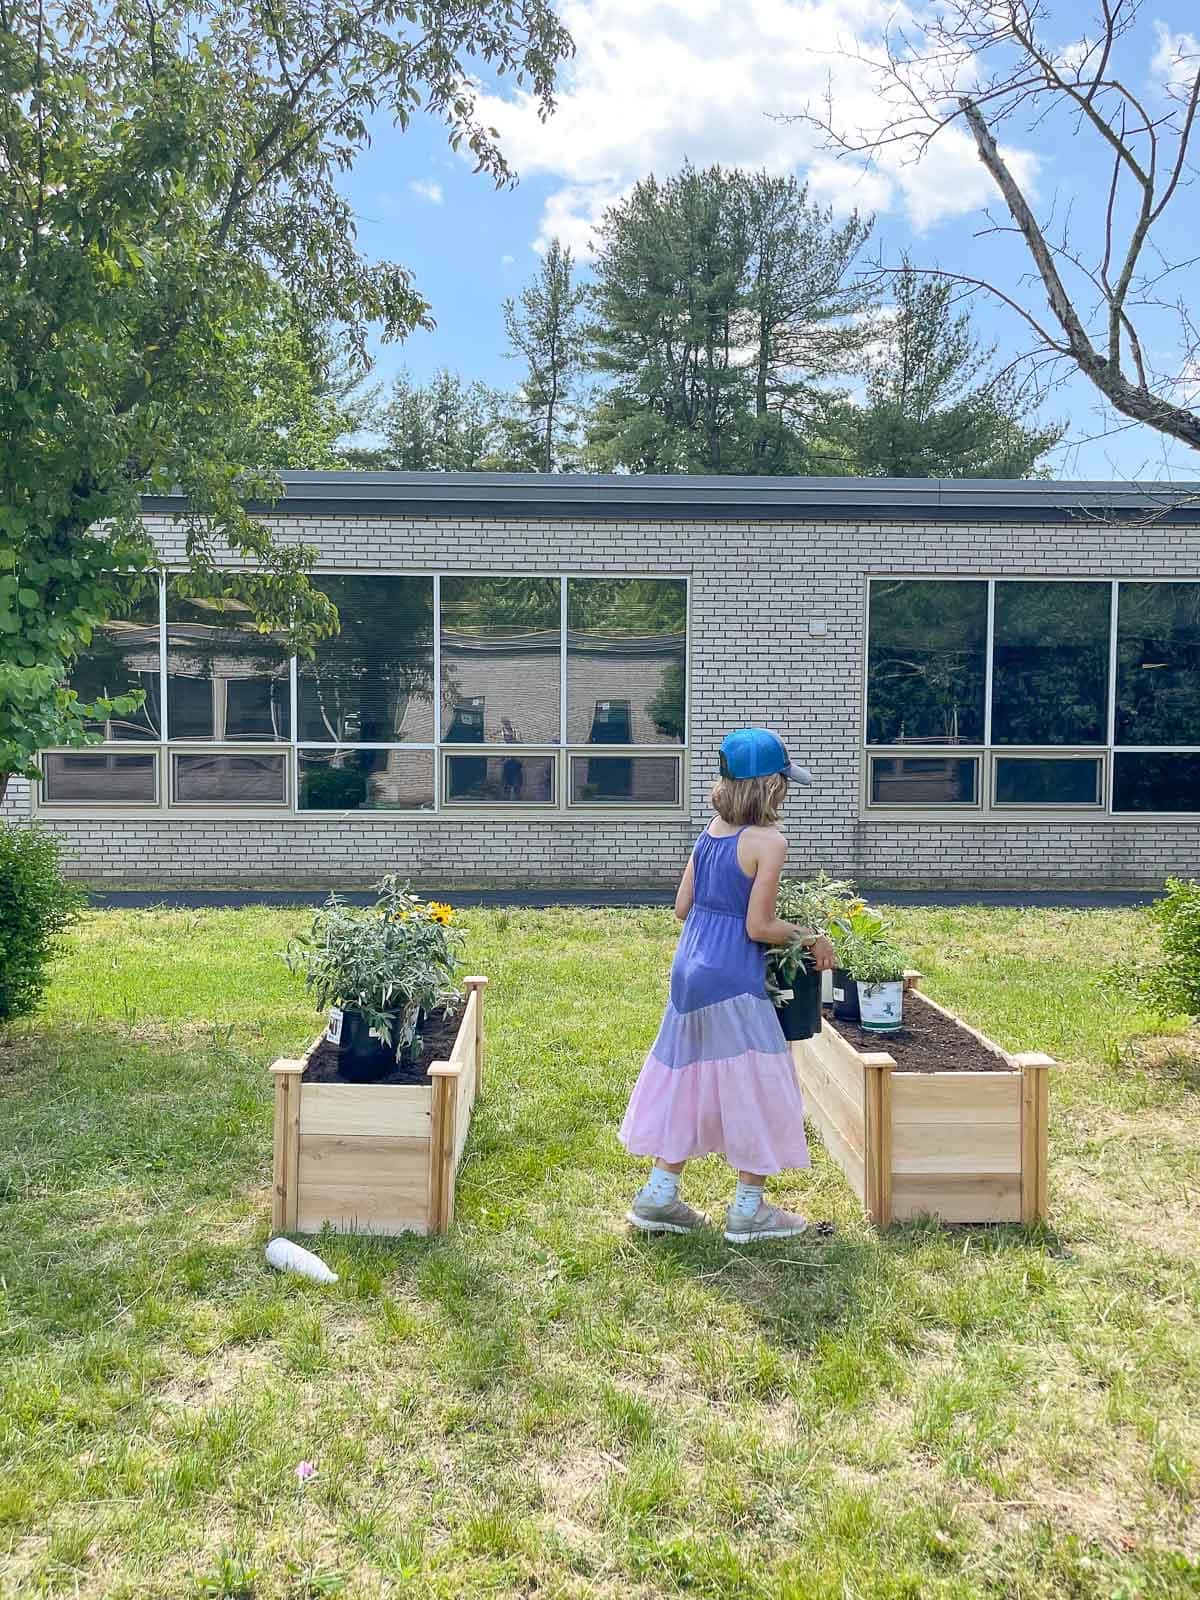
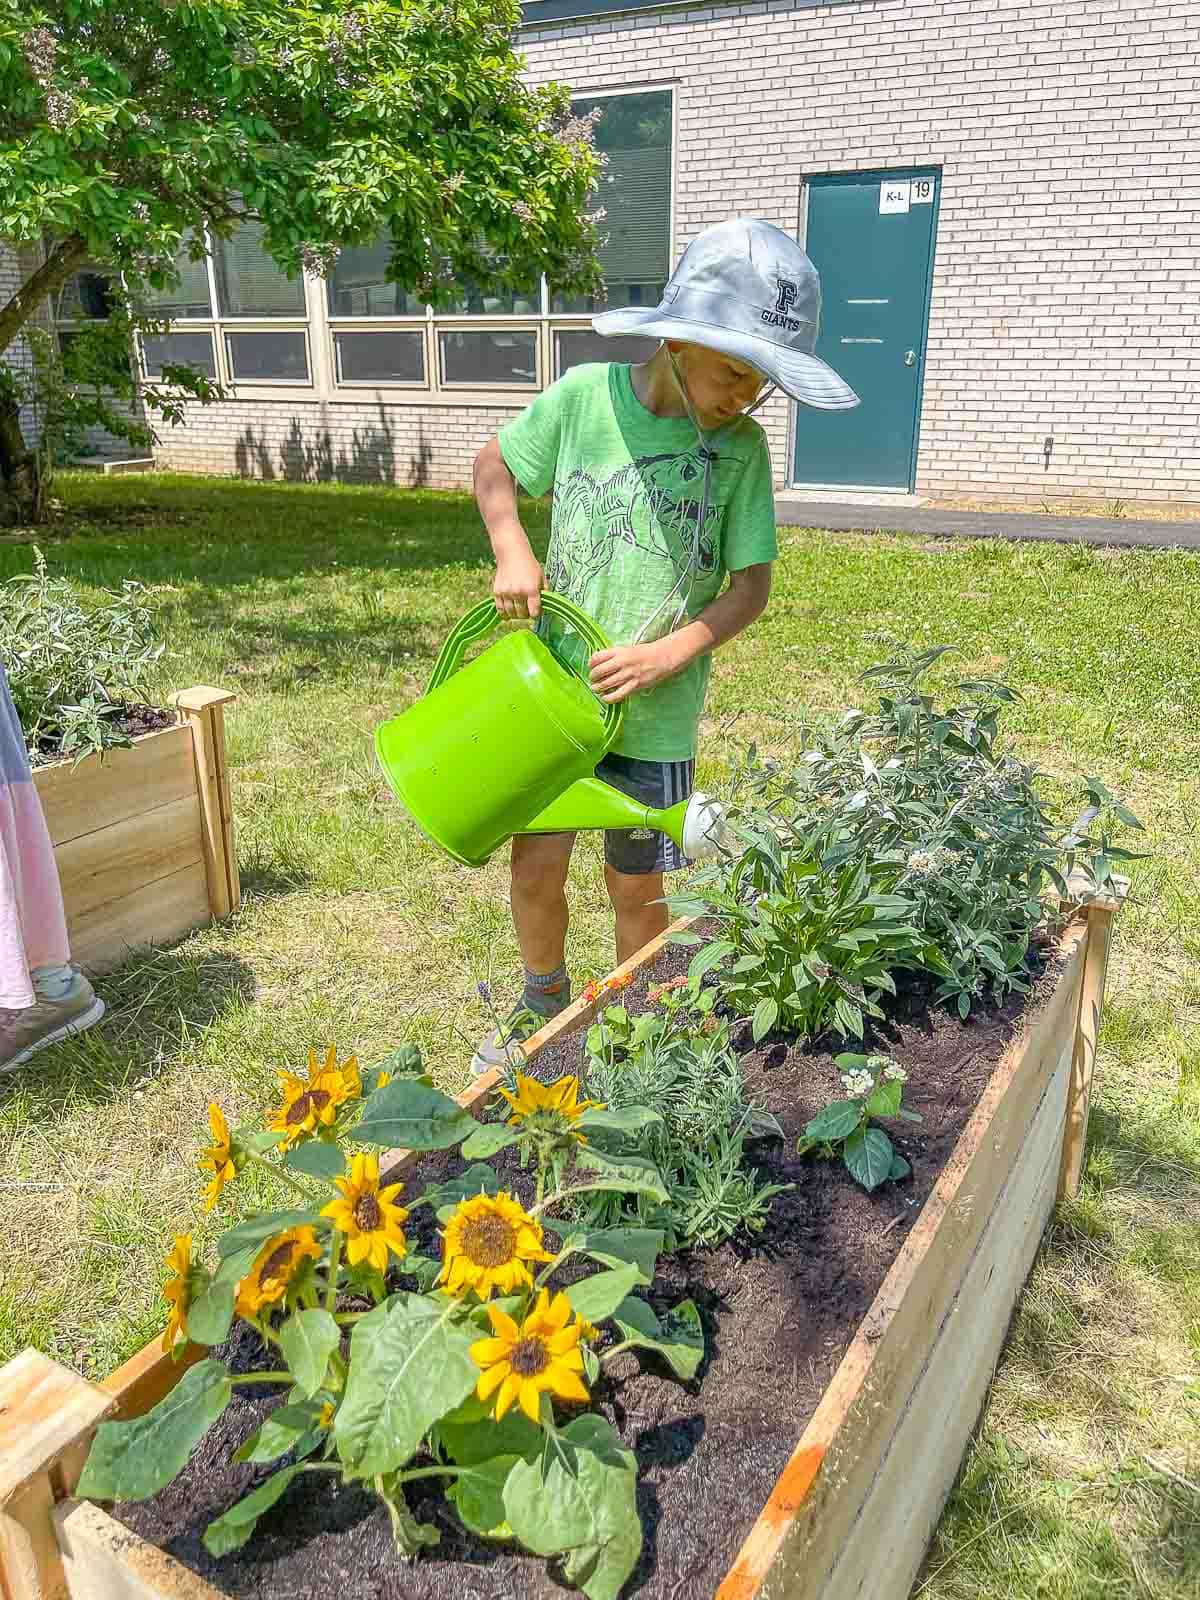
Step 4. Add plants
By all accounts I’m a rookie gardener but the two things I always check when choosing plants are what conditions they require (full sun, sandy soil, etc.) and how large they will grow. I made the mistake the first time I planted a garden of putting in tiny little plants that quickly grew to more than 4 feet so I had to do some rearranging. For this garden, I also looked into which plants make the best pollinators and tried to use those. We ultimately landed on sunflowers, lavender, lantana, black eyed susans, stone crop and a few assorted herbs. The kids helped me dig the small holes, add Miracle Gro plant food, and then plant each flower/ vegetable.
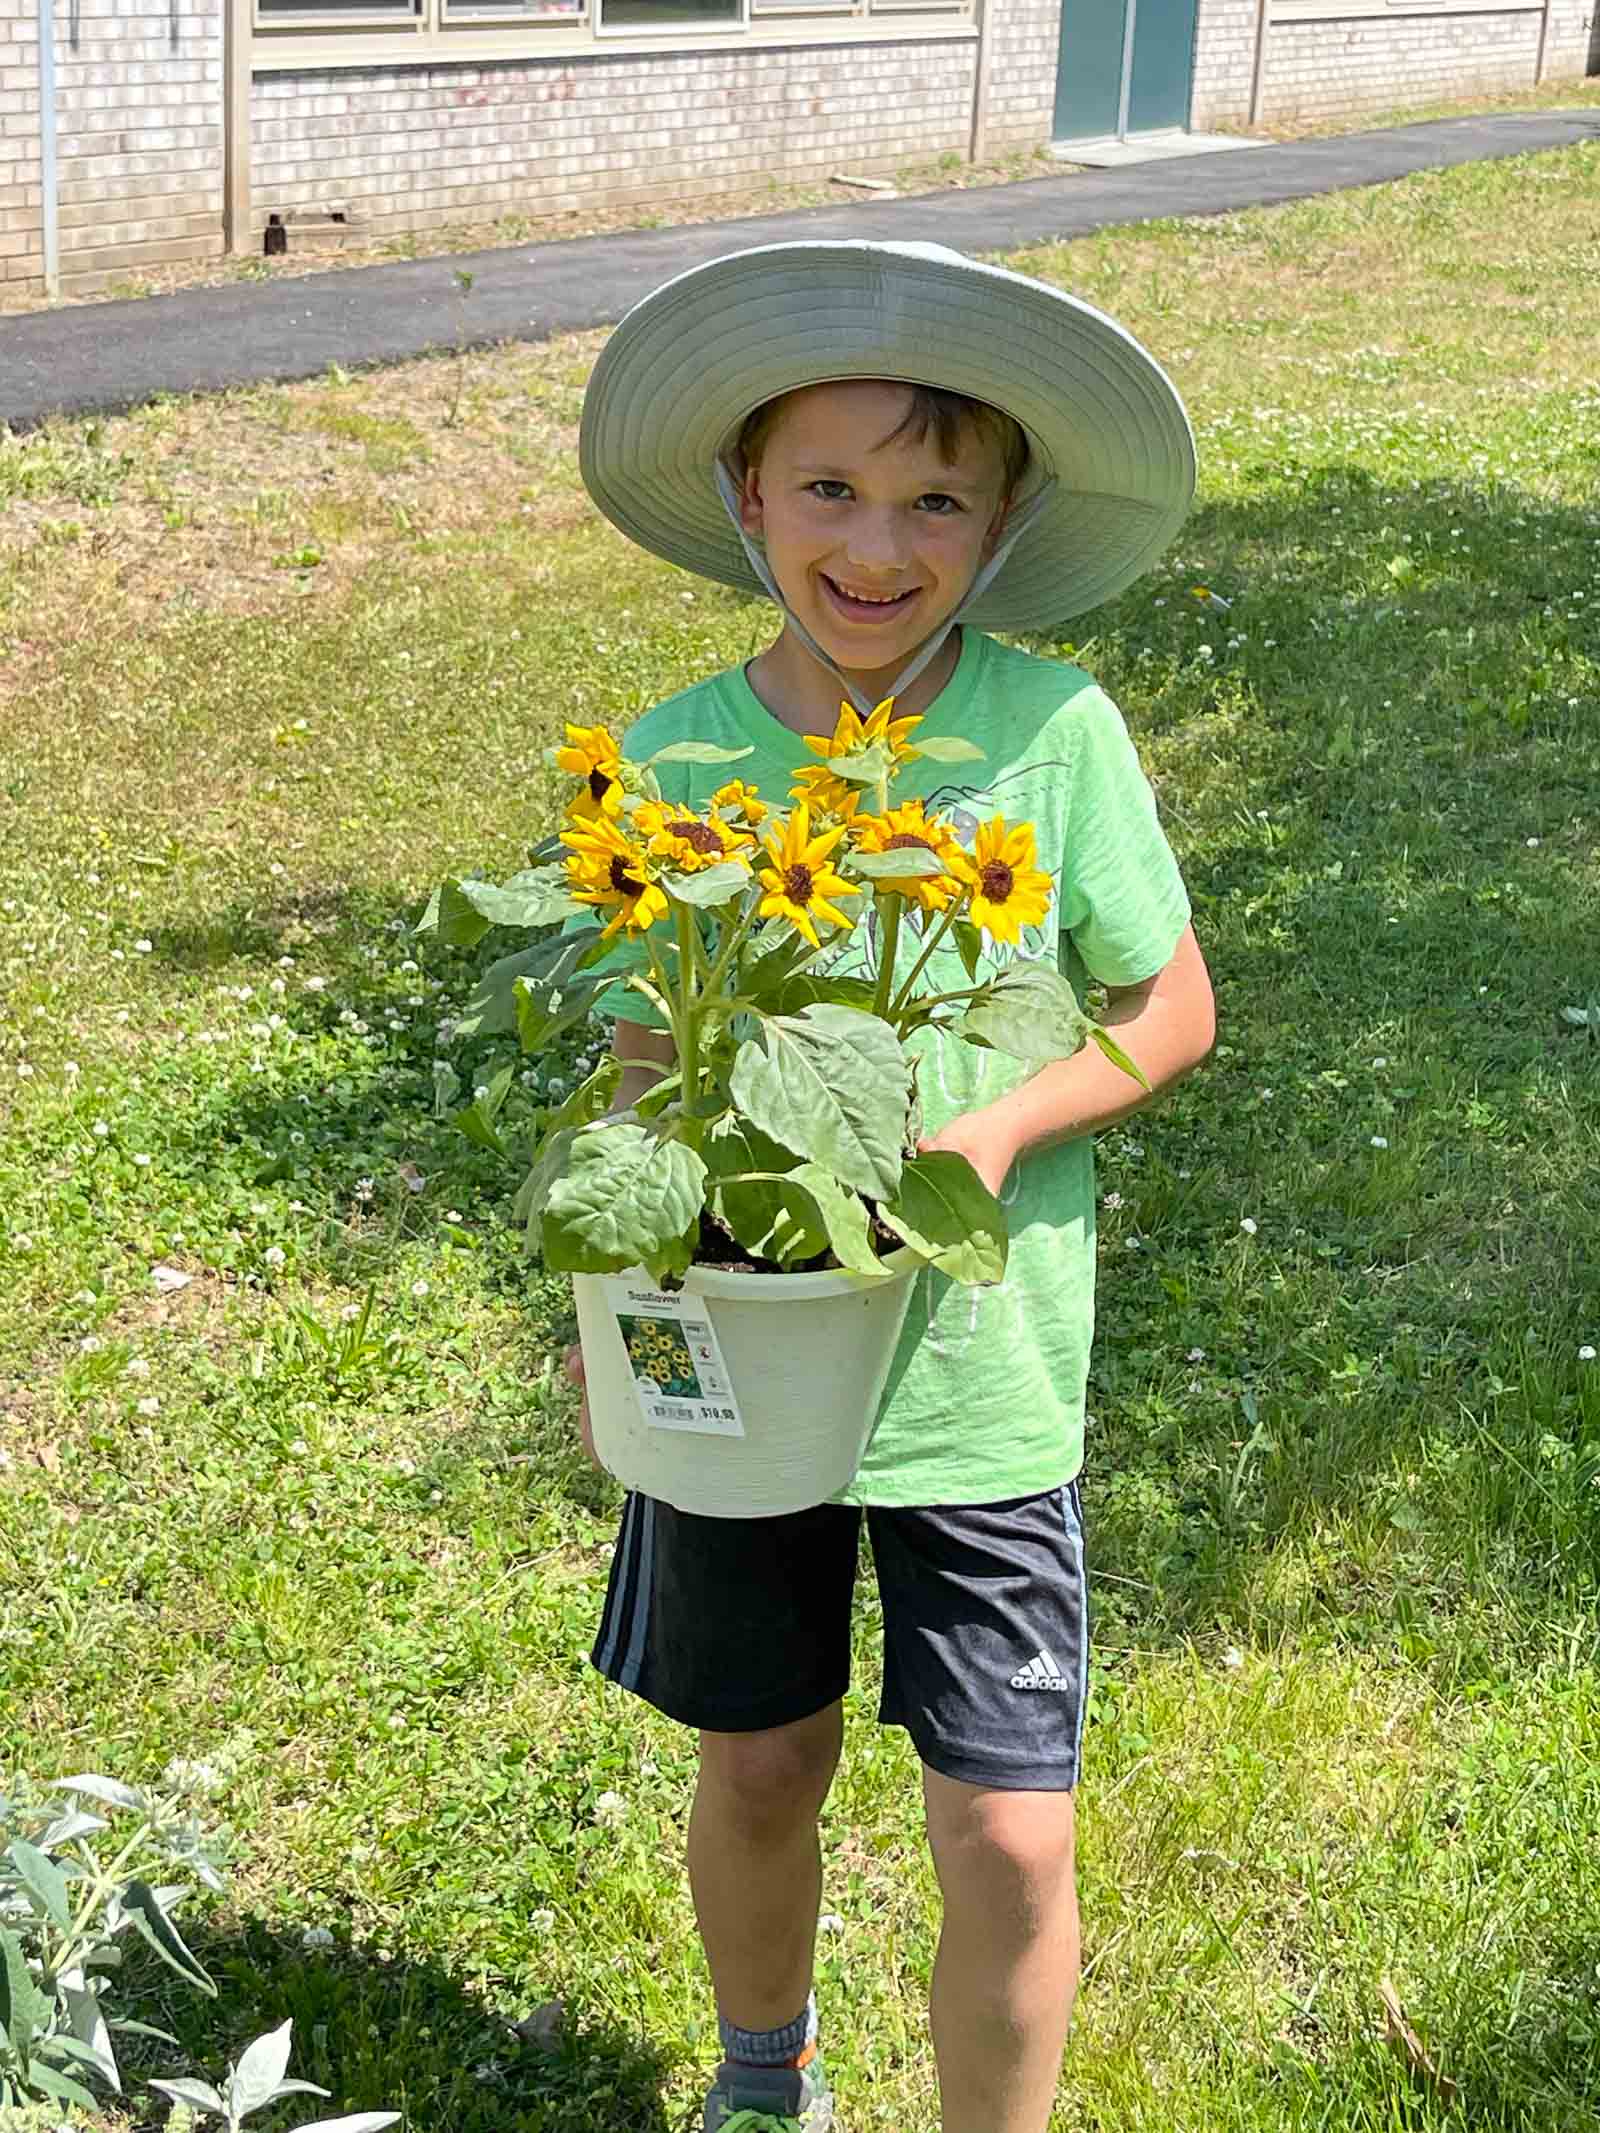
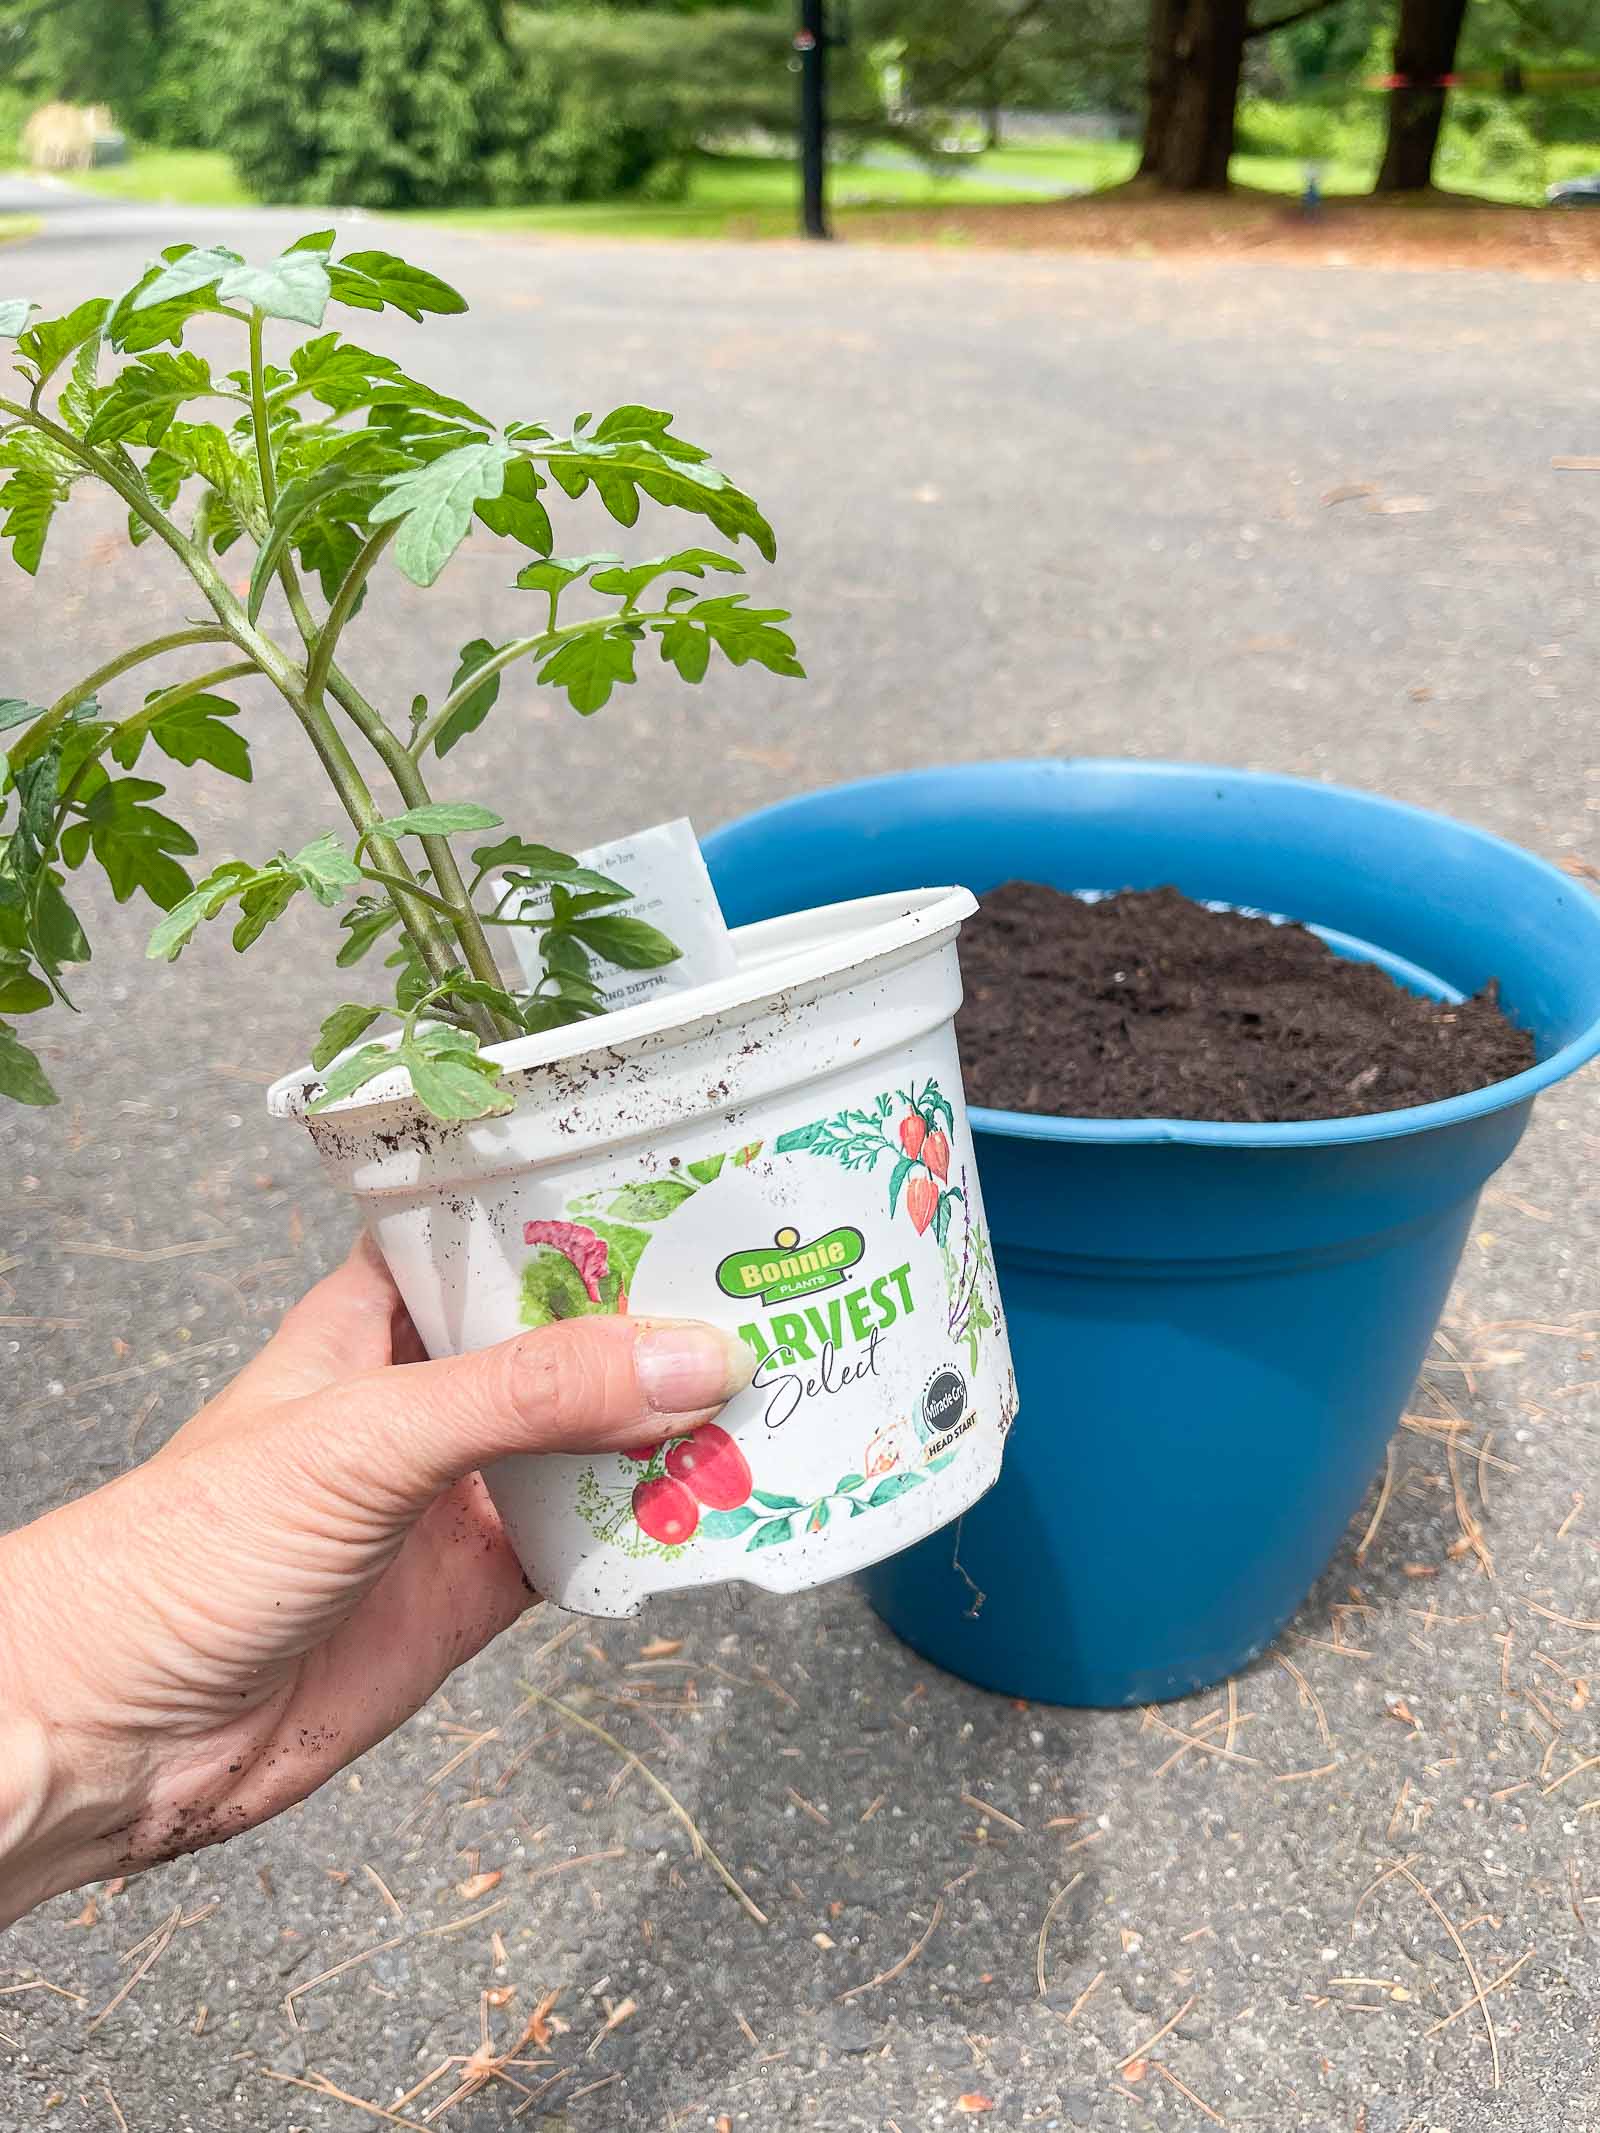
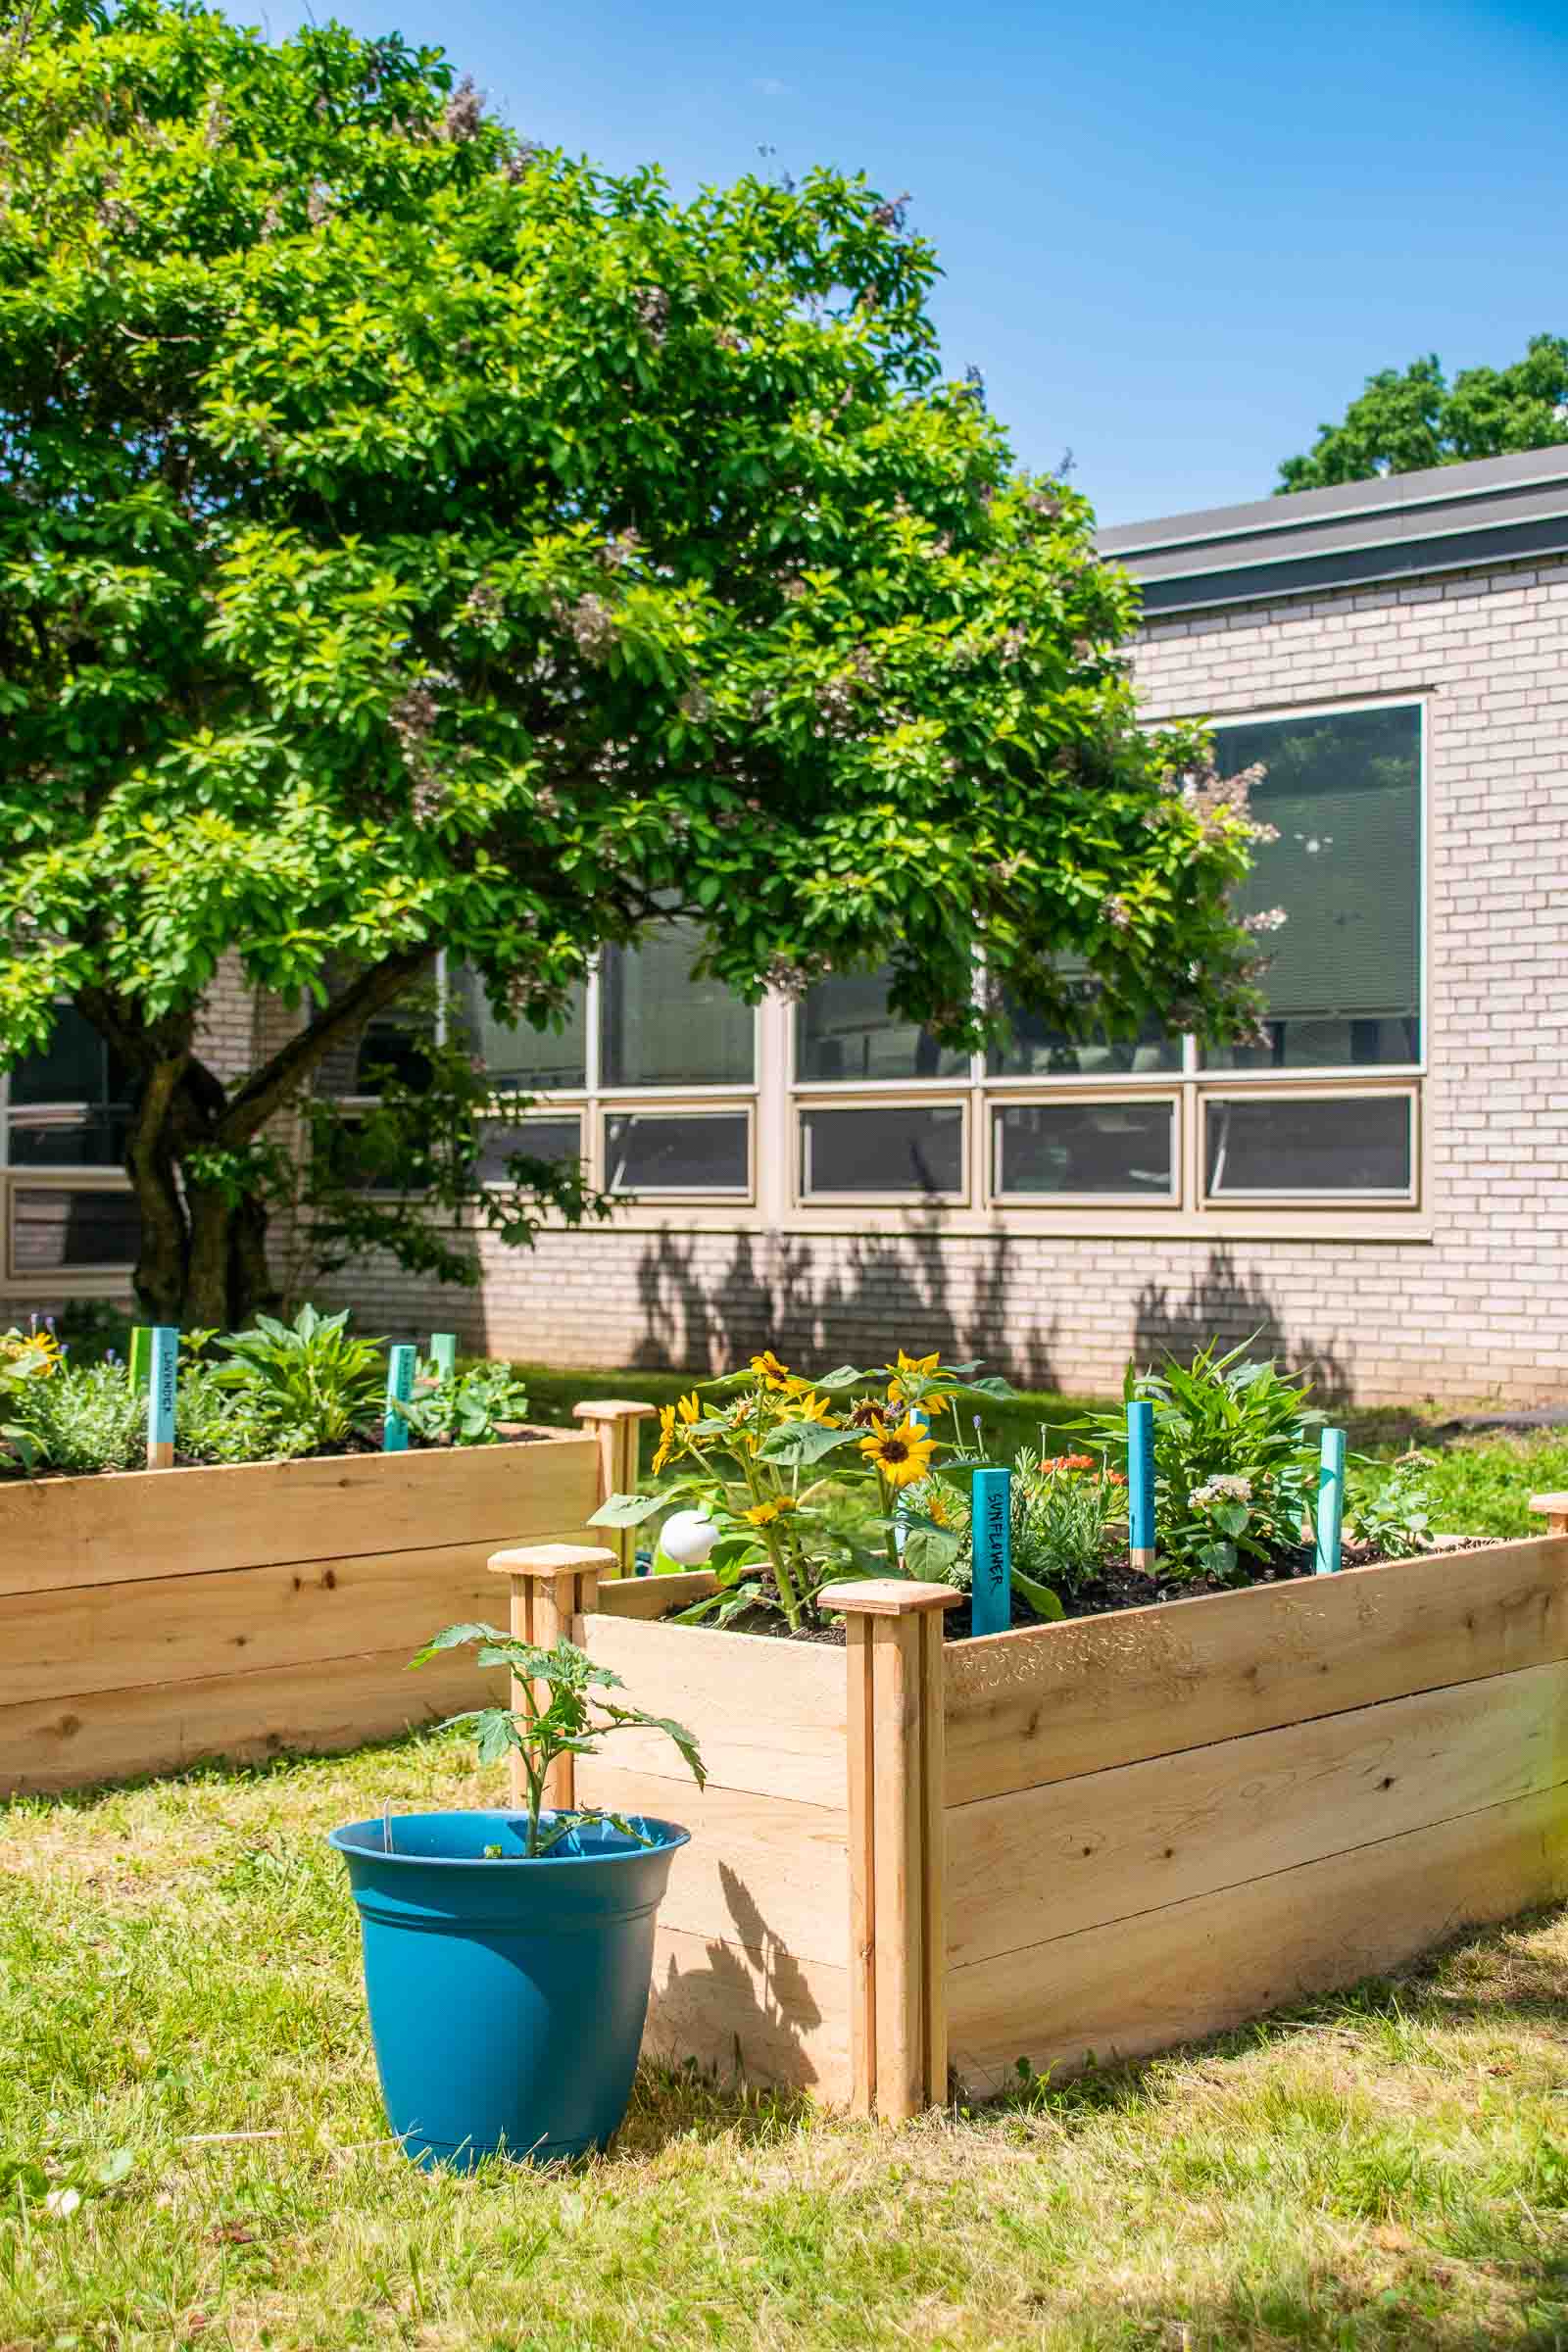
I wanted to bring in some vegetables also just because they’re so fun to watch, but this courtyard has a locked gate so I won’t have access over the summer so vegetables went into their own pots so I can bring them home once school lets out for vacation. The kids can observe these while school is in session and then again when they return in the fall.
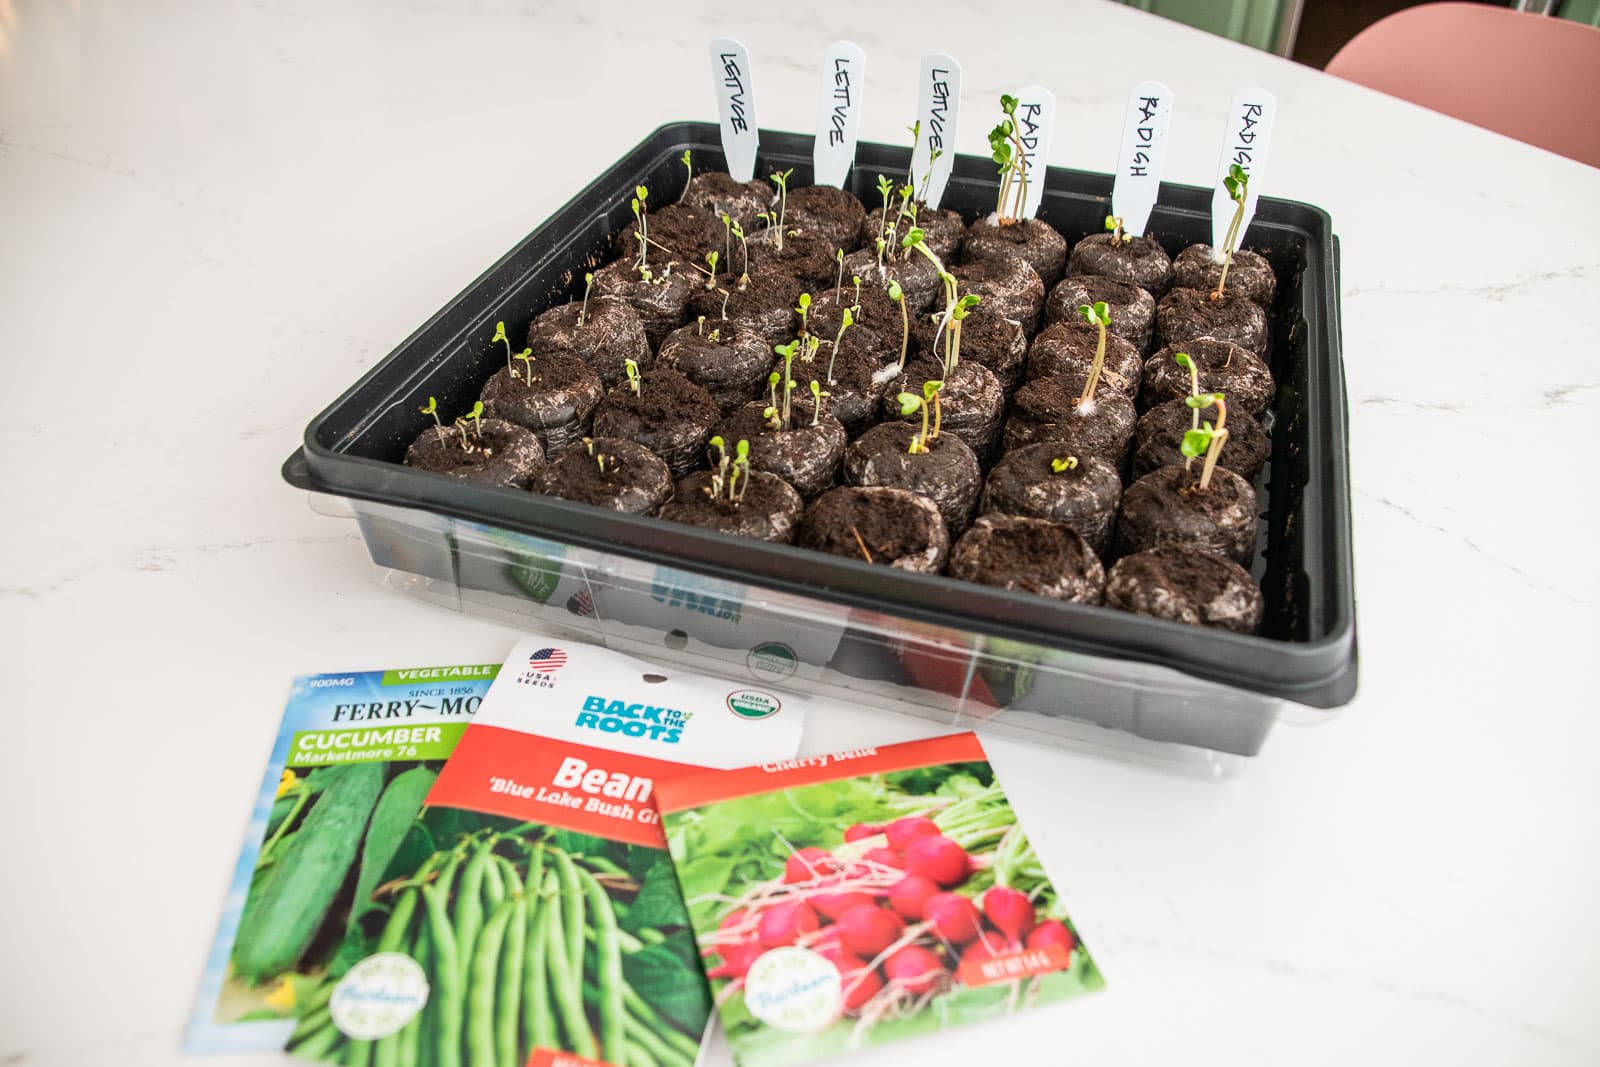
Finally, just for kicks… we picked up a few plant trays and tried our hand at growing a few vegetables from seed as well. We have the tiniest sprouts which have been fun to watch and keep track of, but we’ll need to find a home for them at our house over the summer too. I guess vegetables are the new classroom pet in need of a summer vacation caregiver!
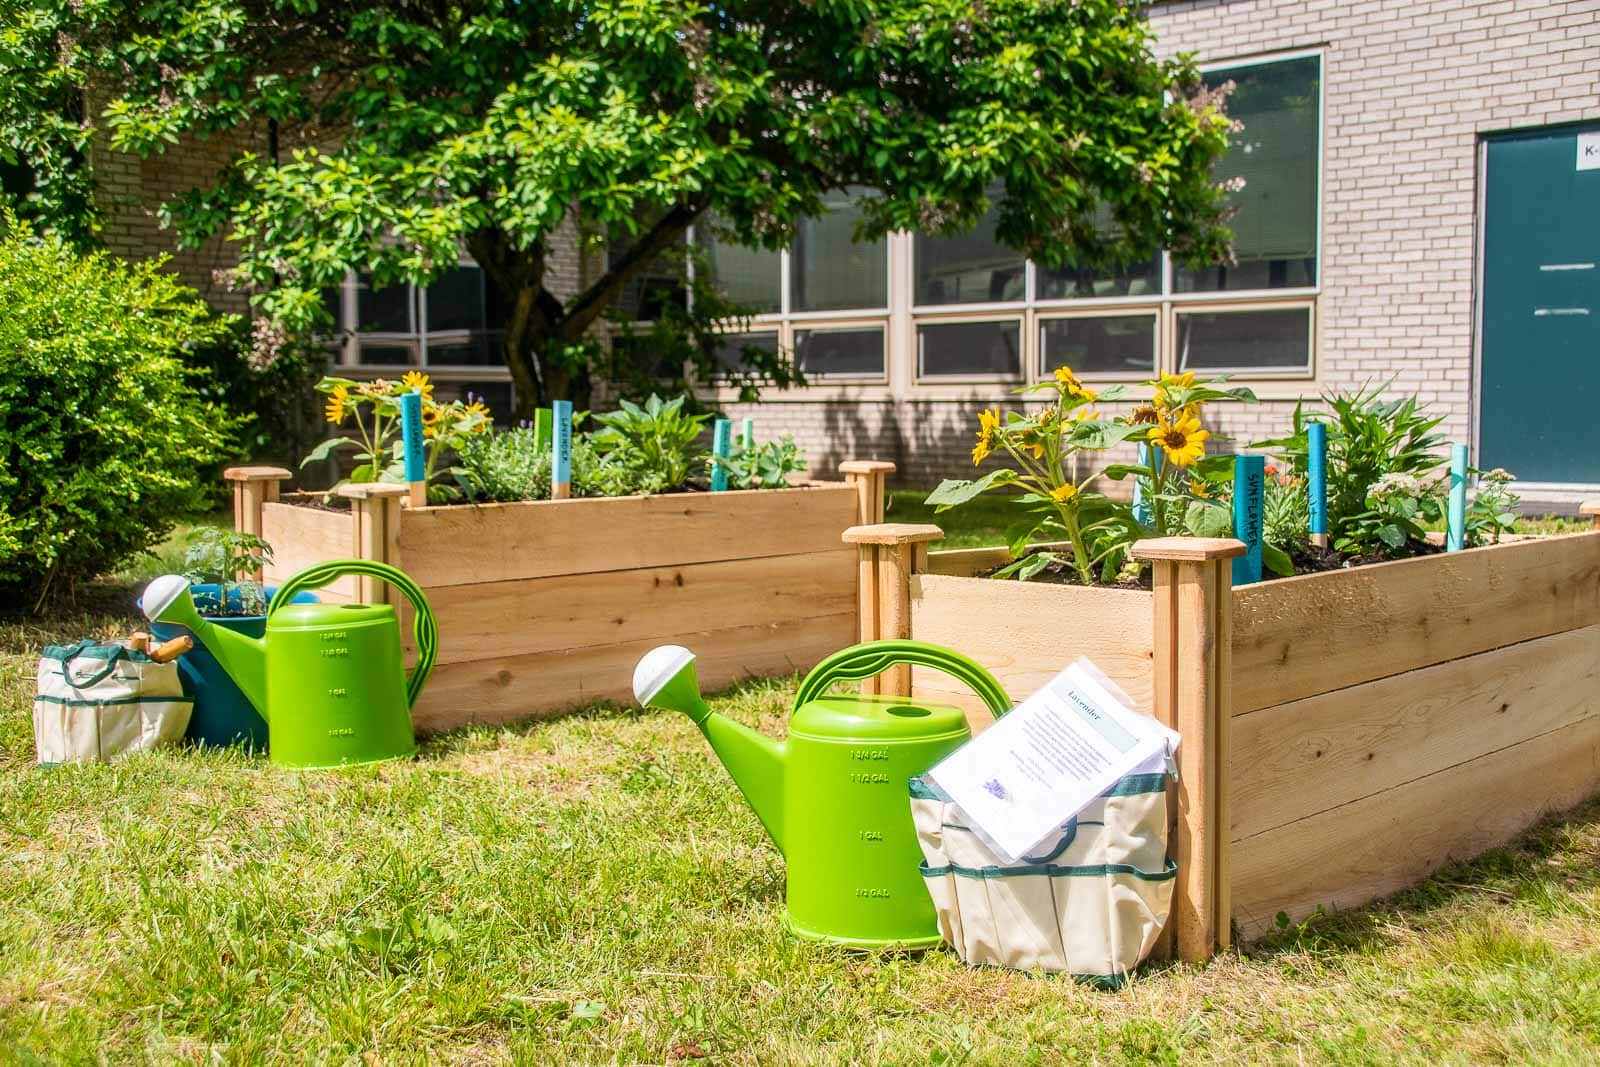
Step 5. Raised Garden Finishing touches
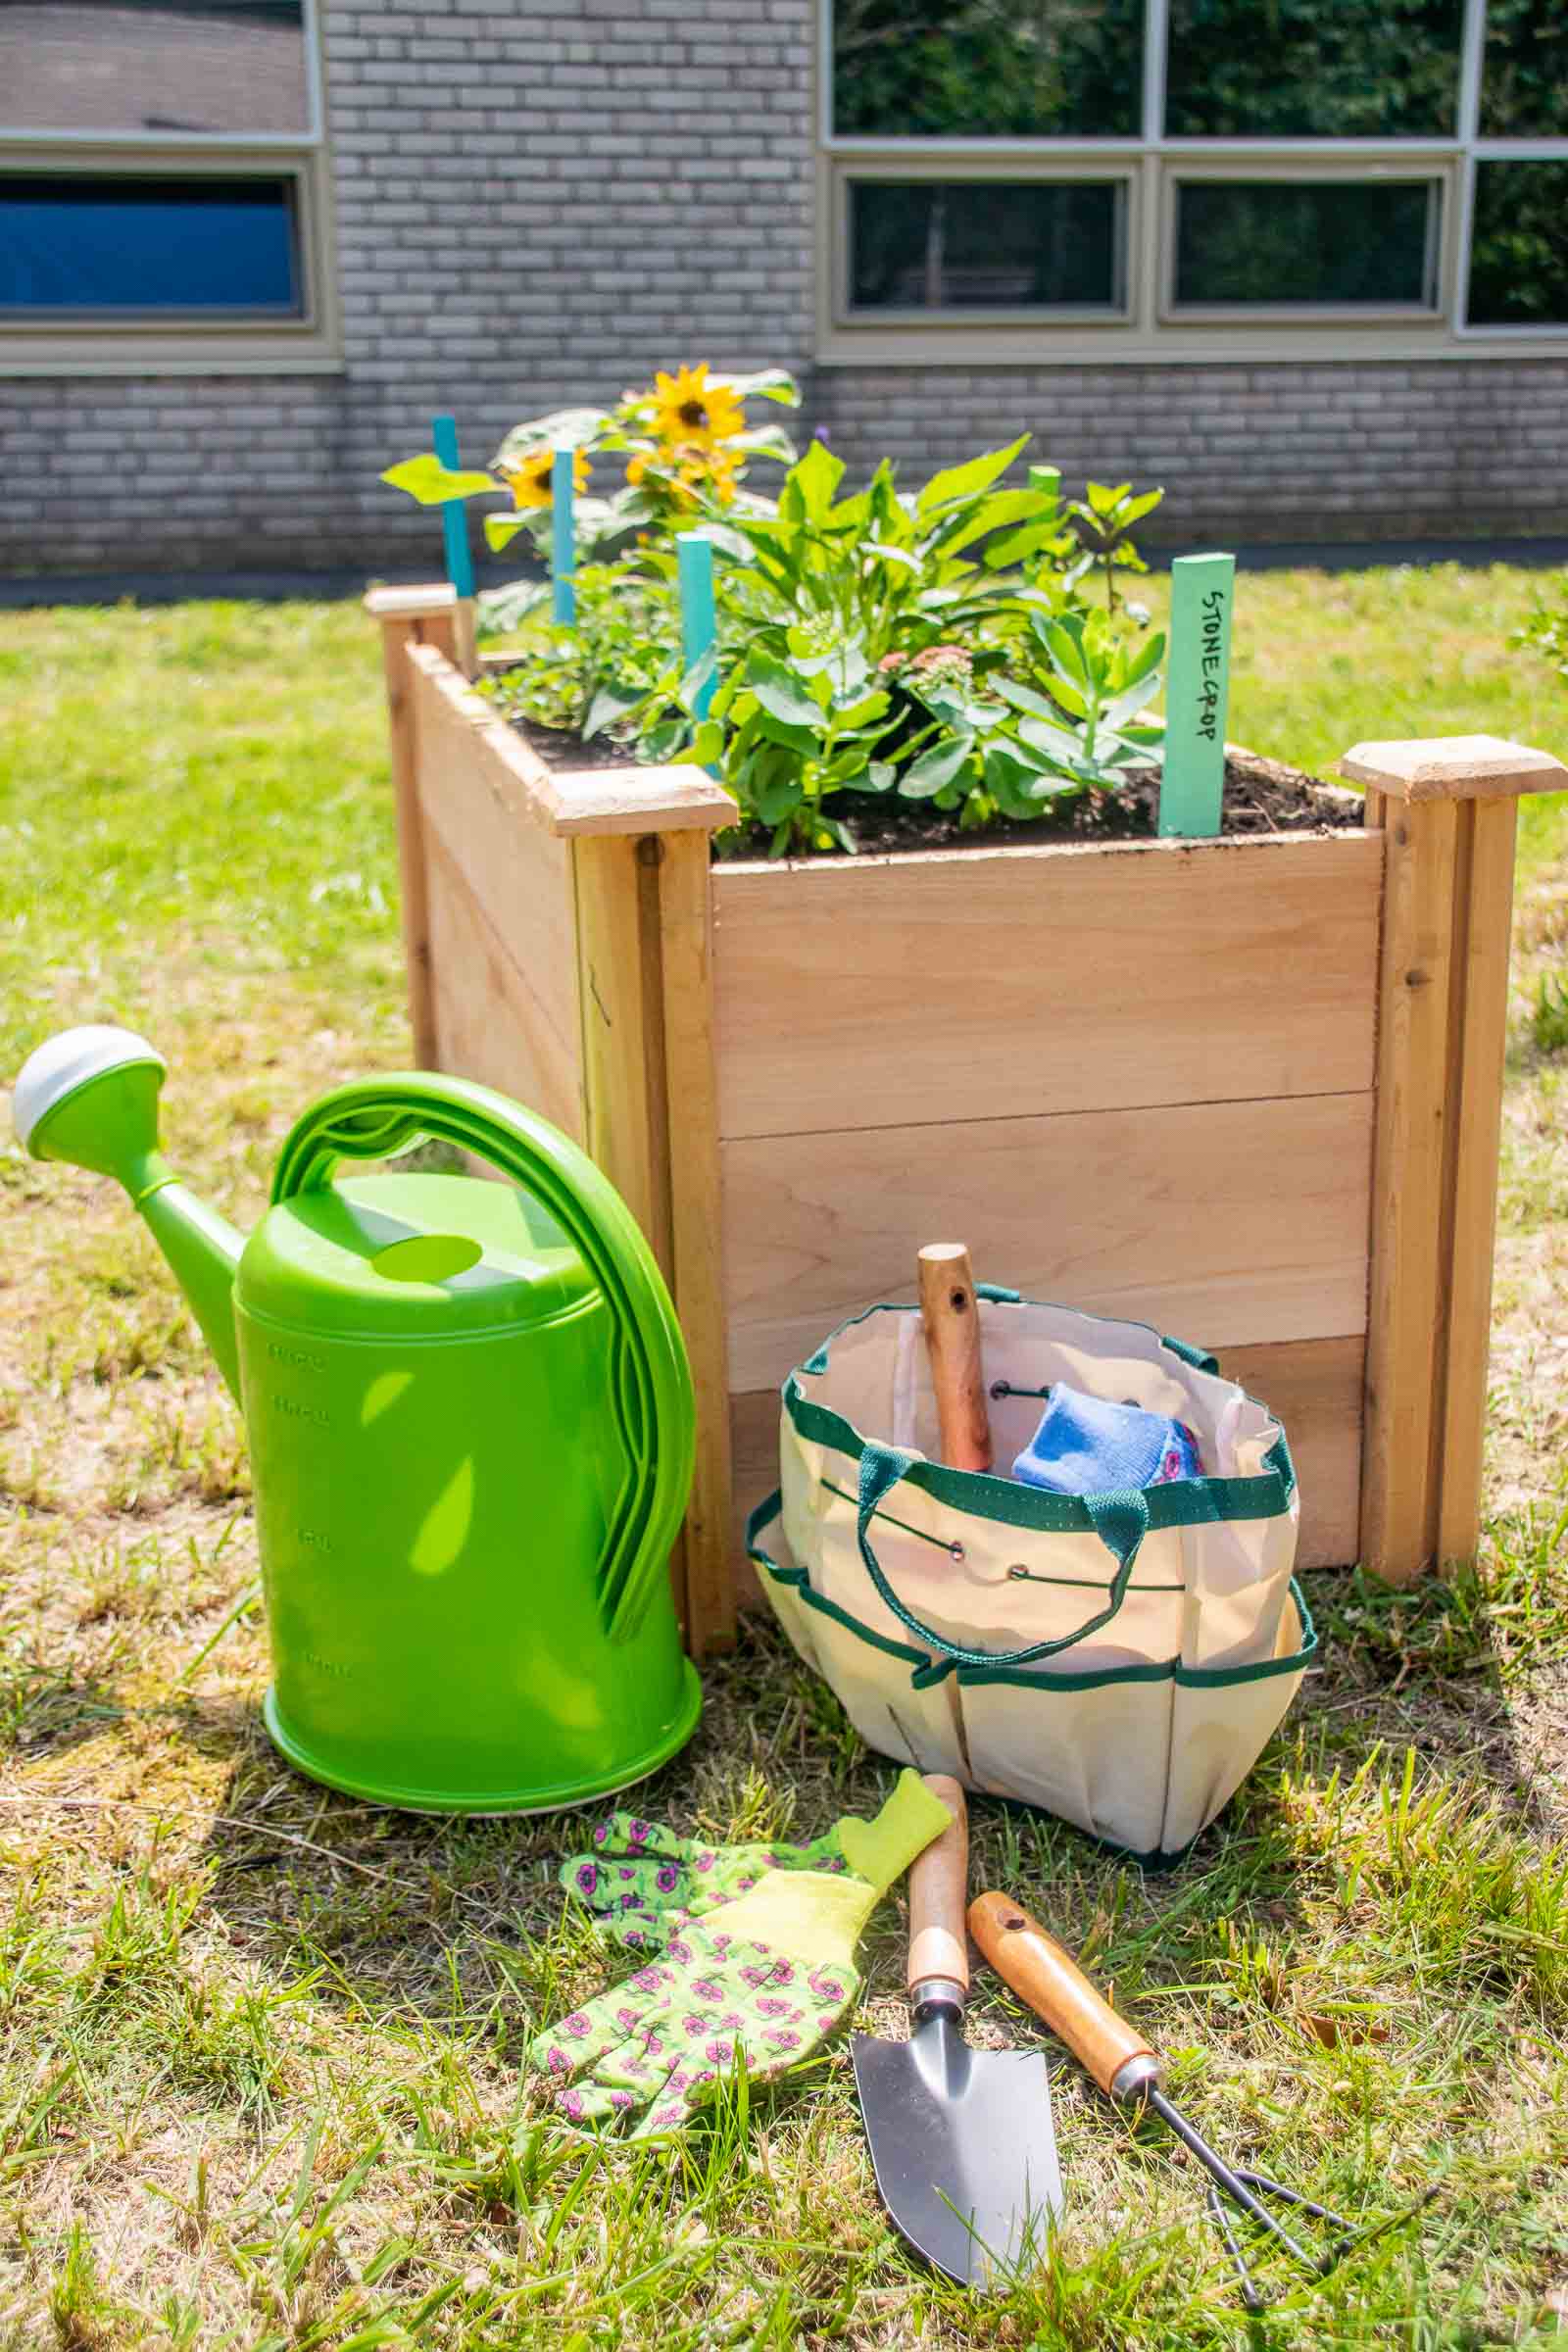
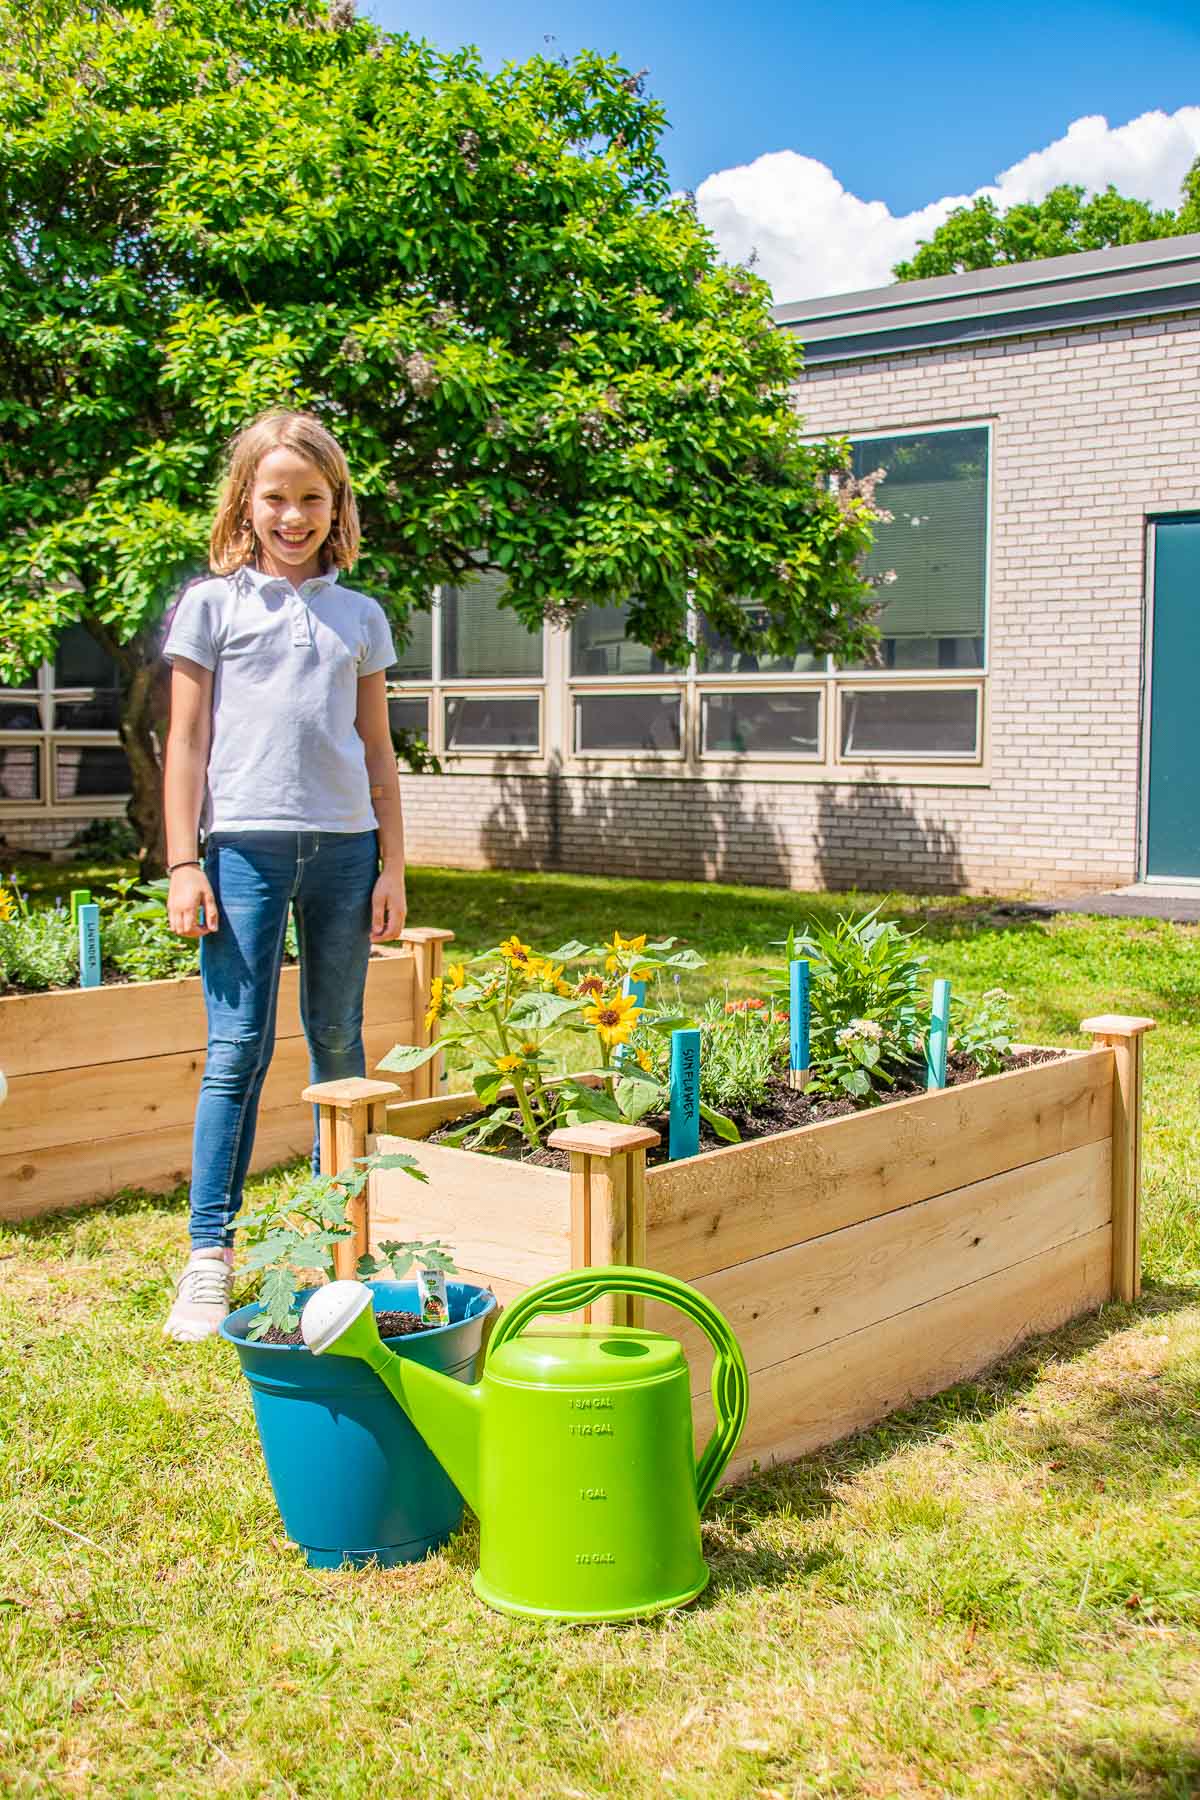
Because these beds will be used as part of the kids’ school programs, I wanted to provide them with their own gear and a way to learn a bit about what was in the garden. The STEAM teacher will add much more obviously, but we gave them a head start. These mini garden bags filled with garden tools are the *perfect* size for an elementary classroom. Each bag comes with spray bottle, clippers, 2x spades, etc. I added garden gloves and watering cans as well.
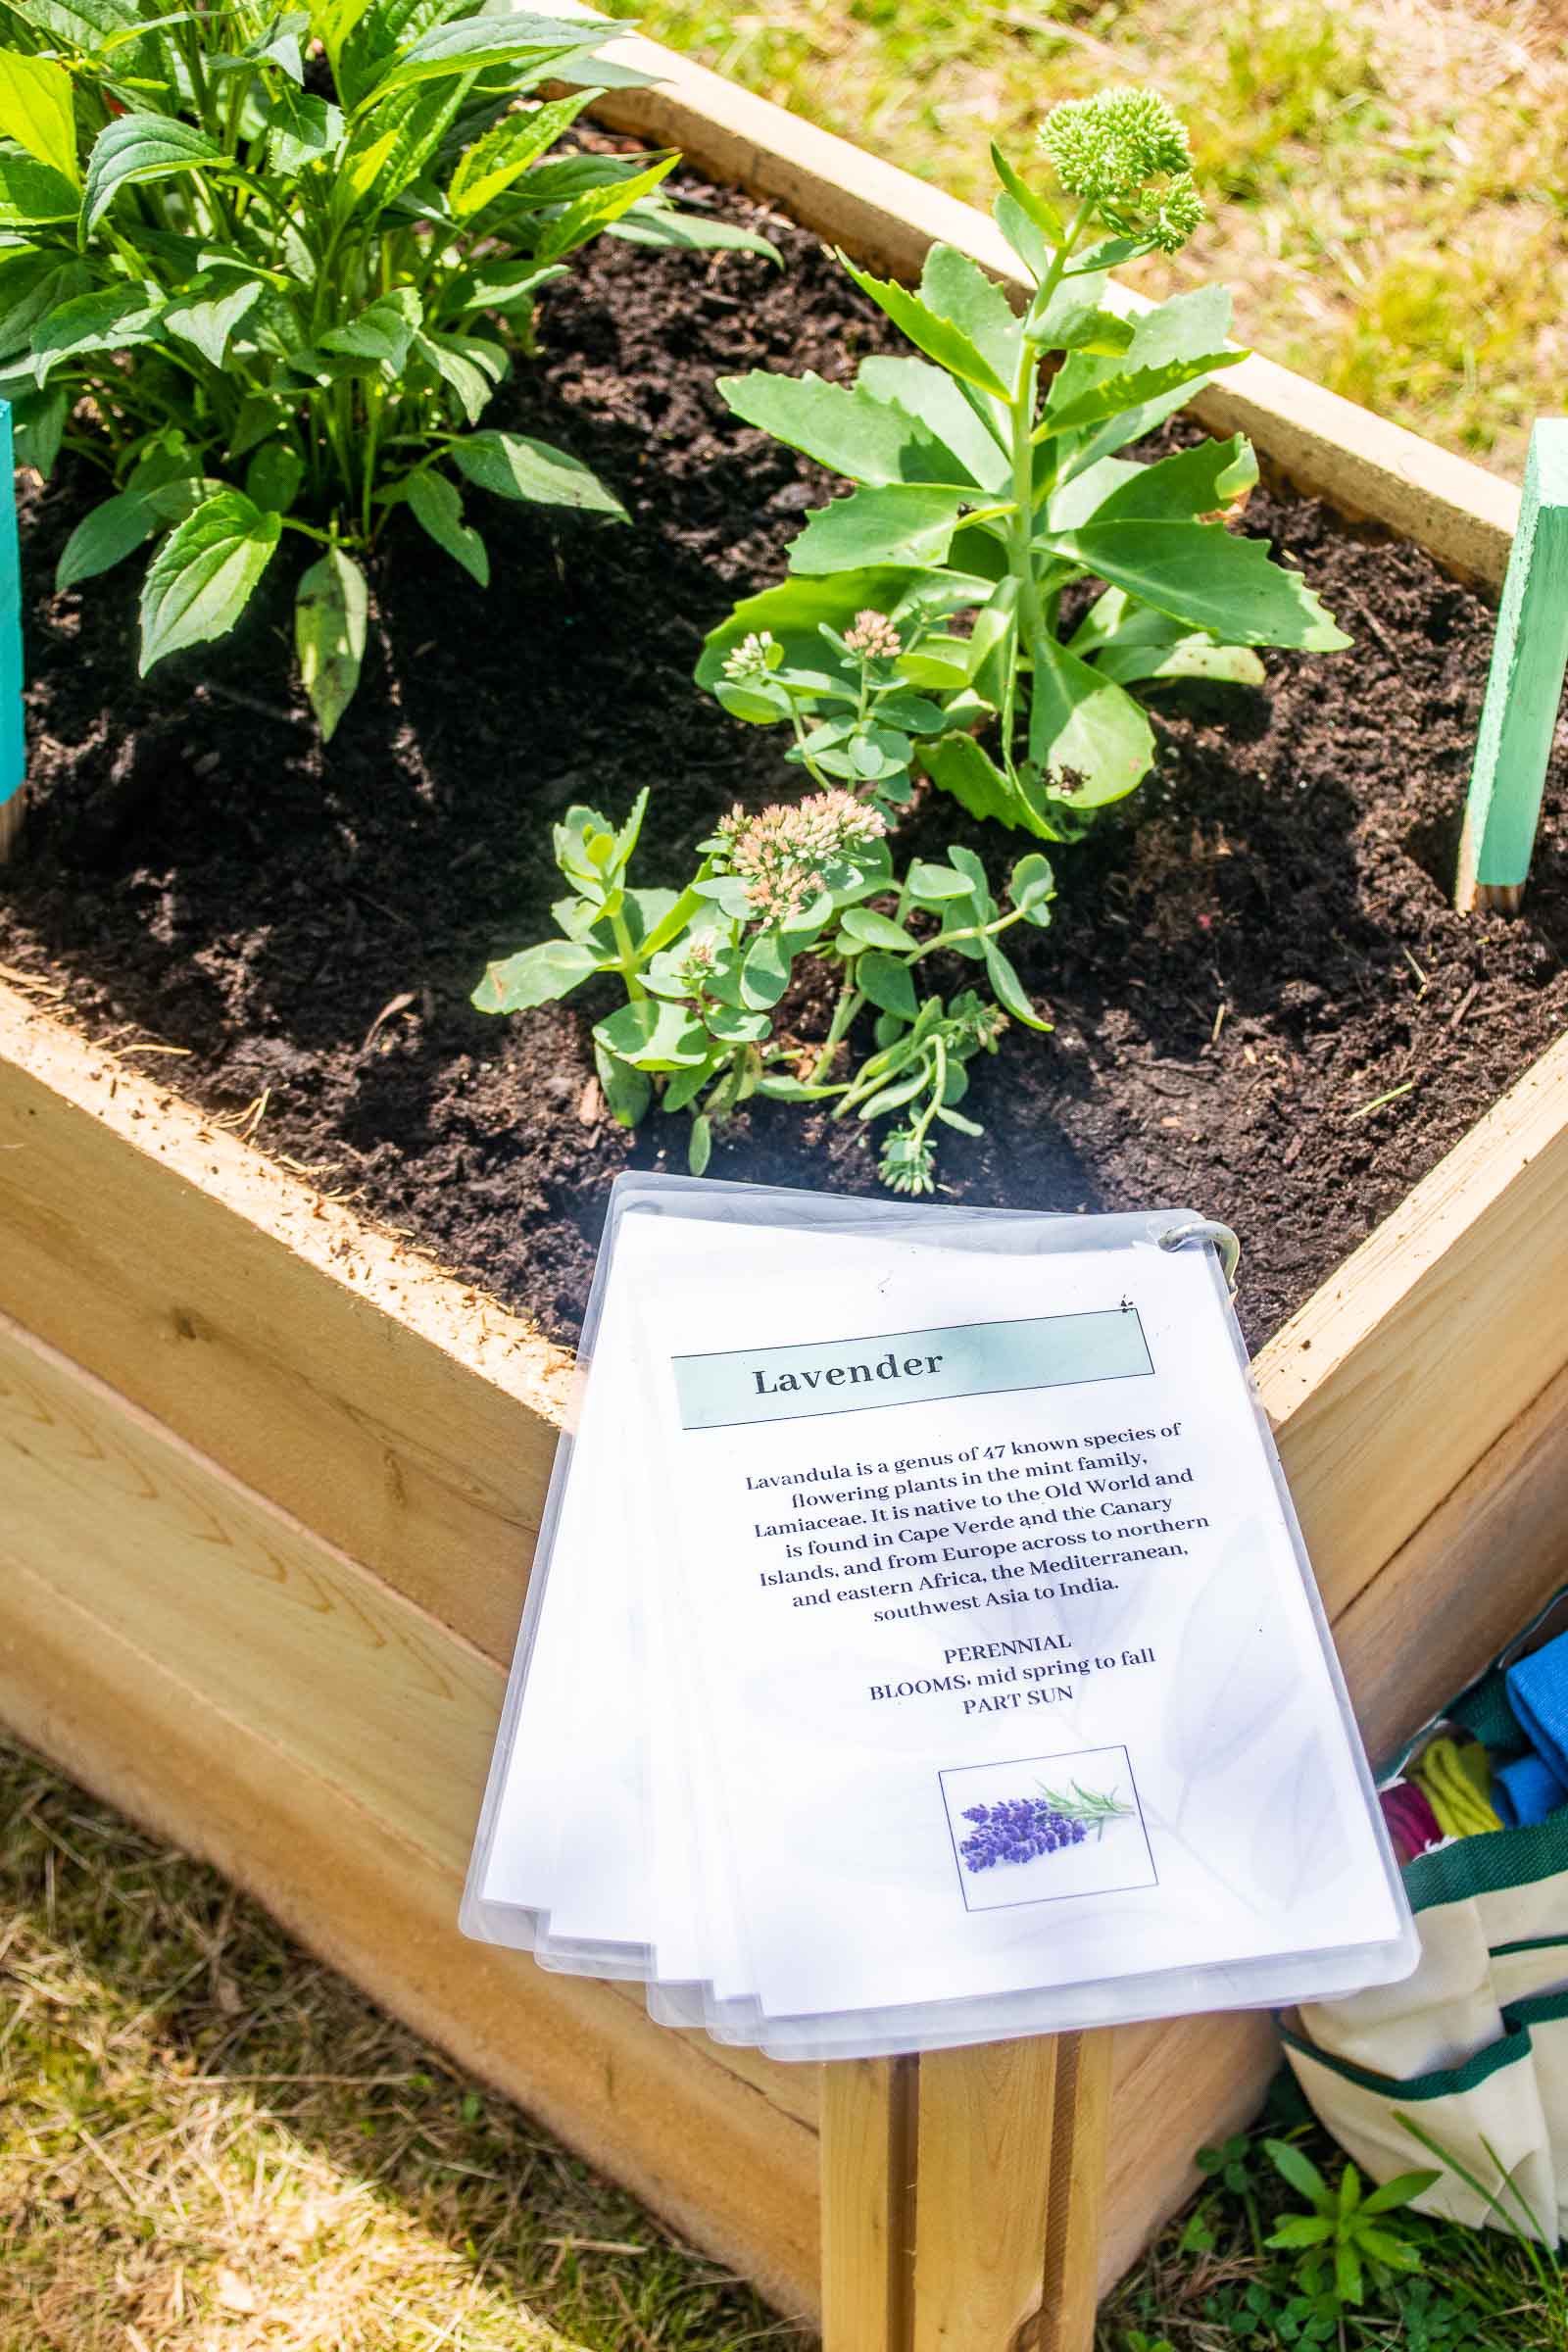
Hopefully this will be a work in progress, but I printed and laminated a set of information cards about each plant in the garden. I love the idea of the kids coming out to the garden, pulling out the laminate sheets and learning a bit about all these plants.

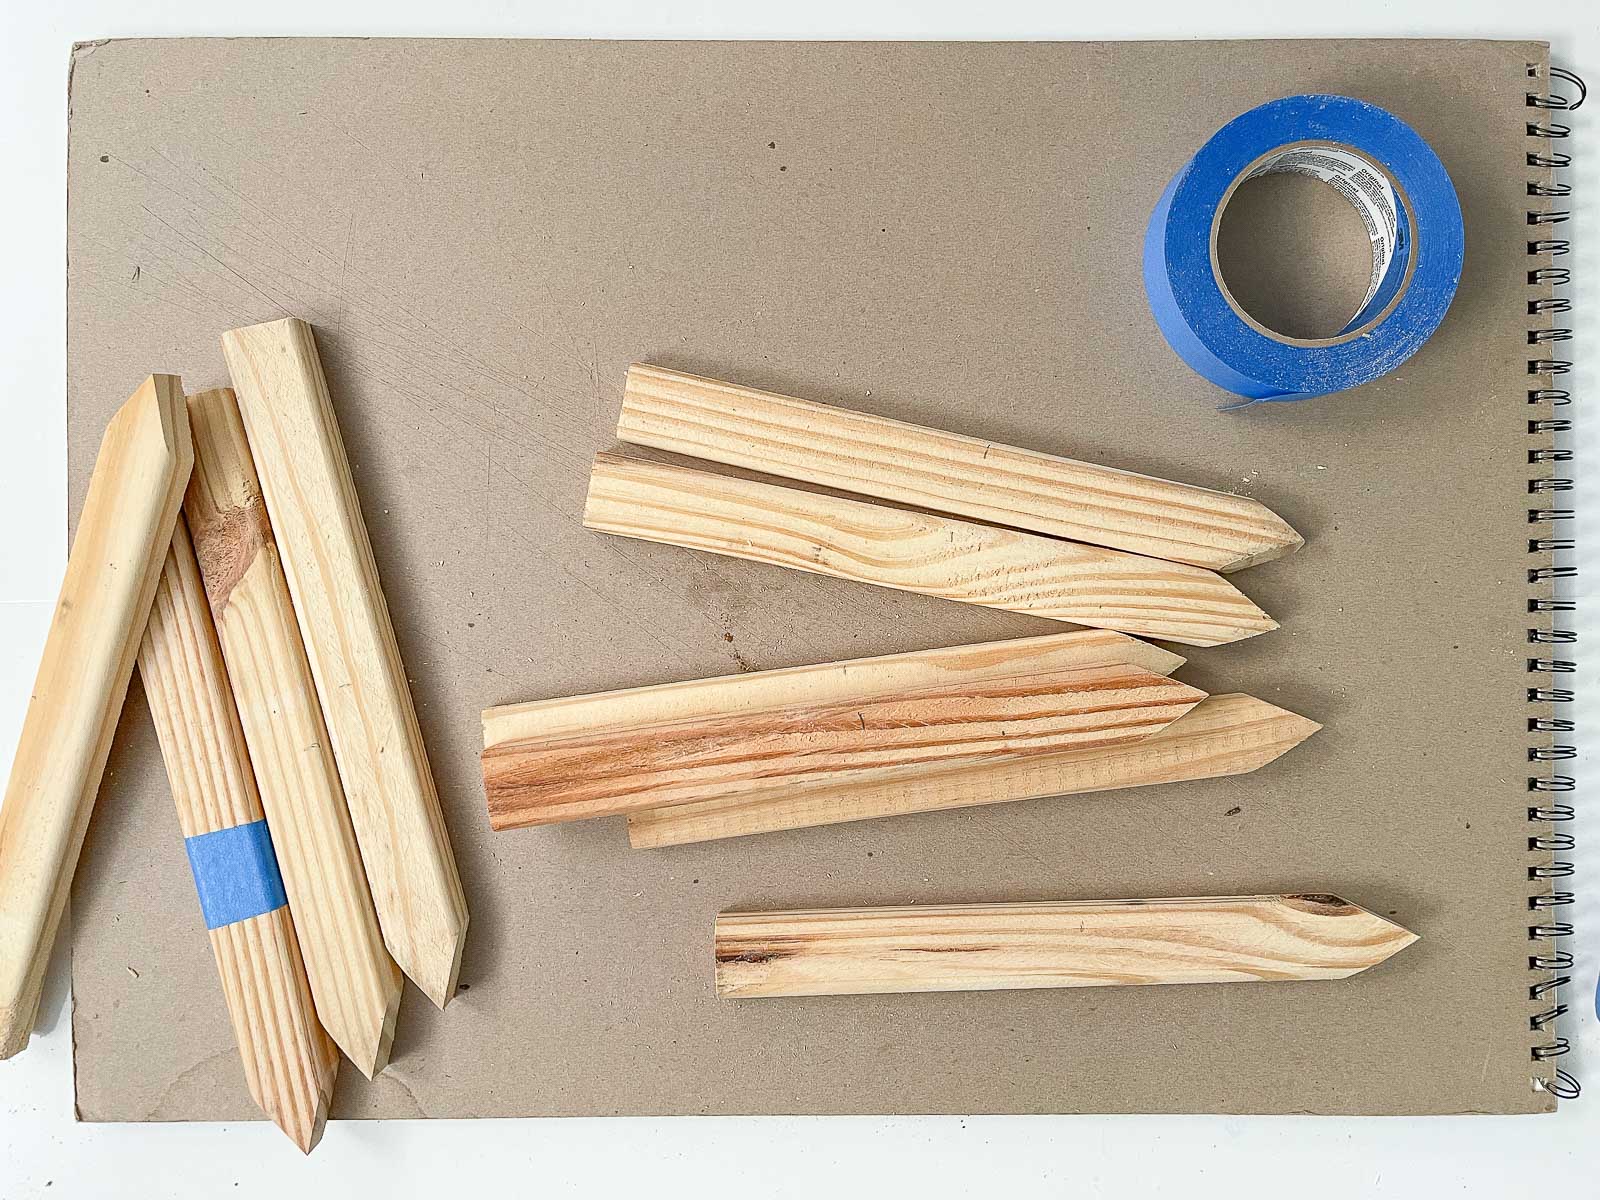
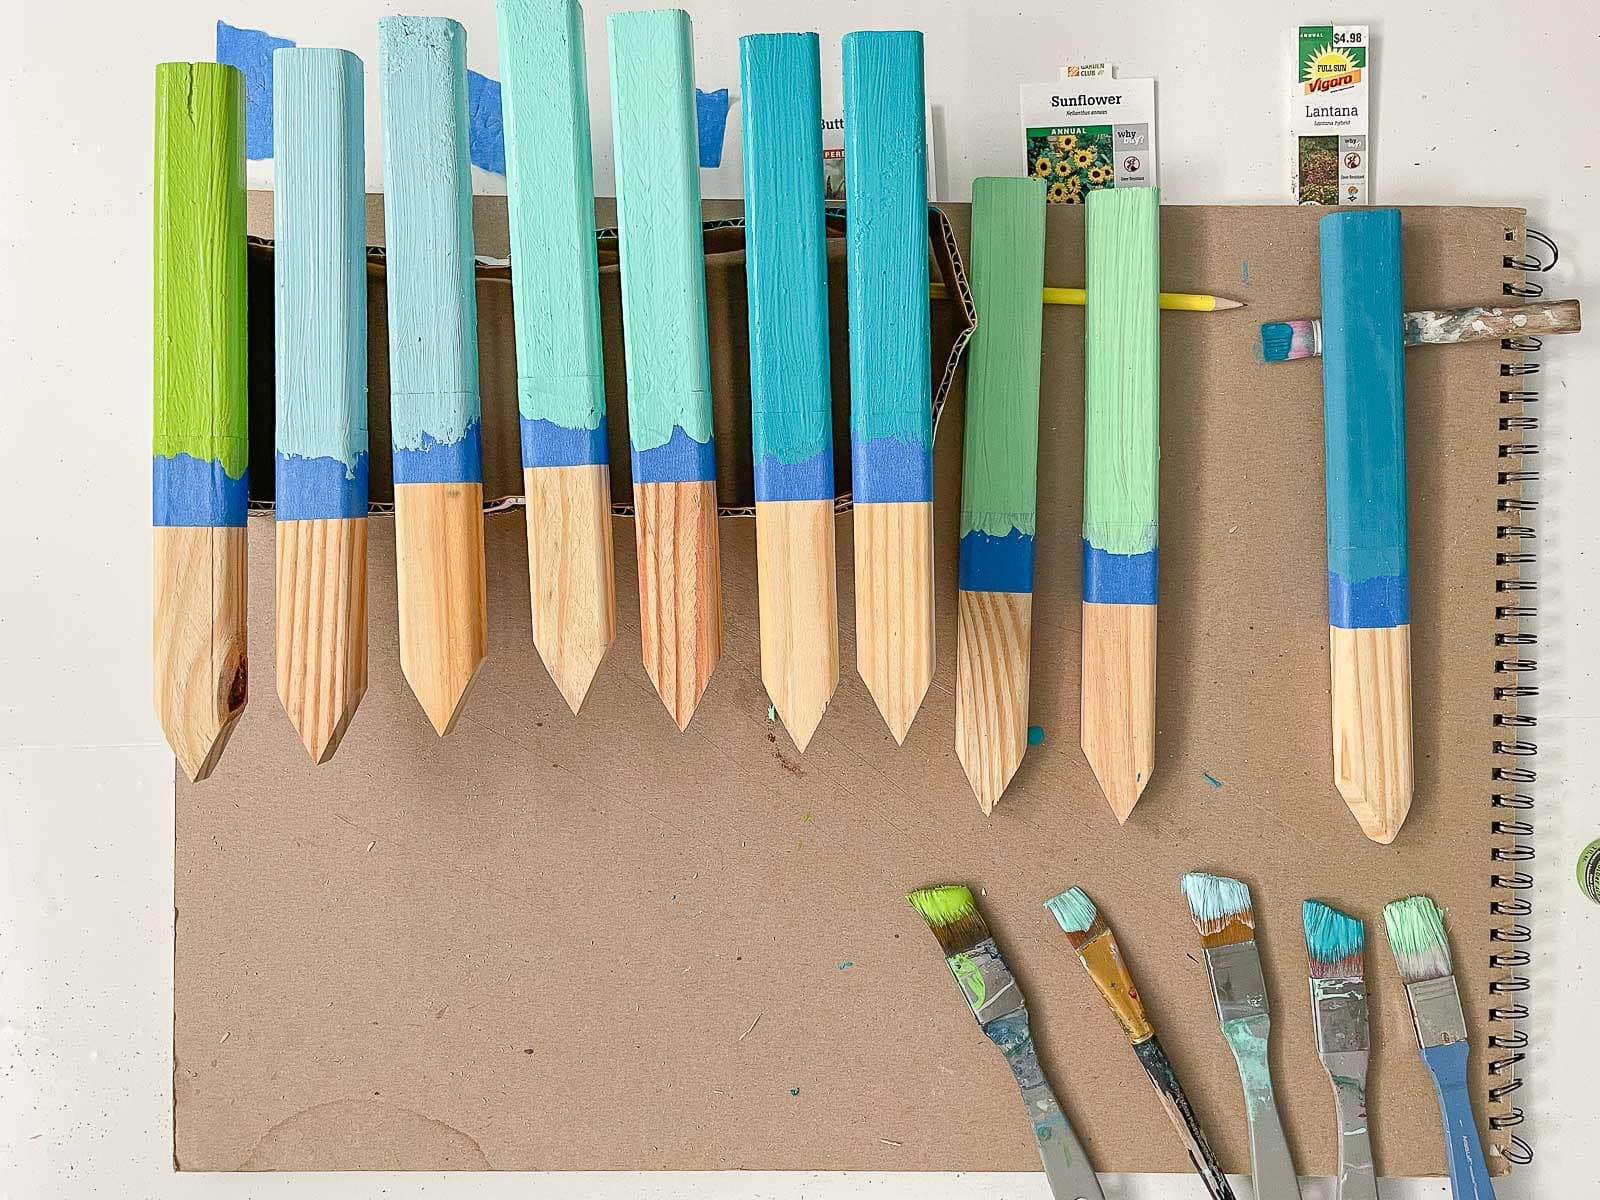
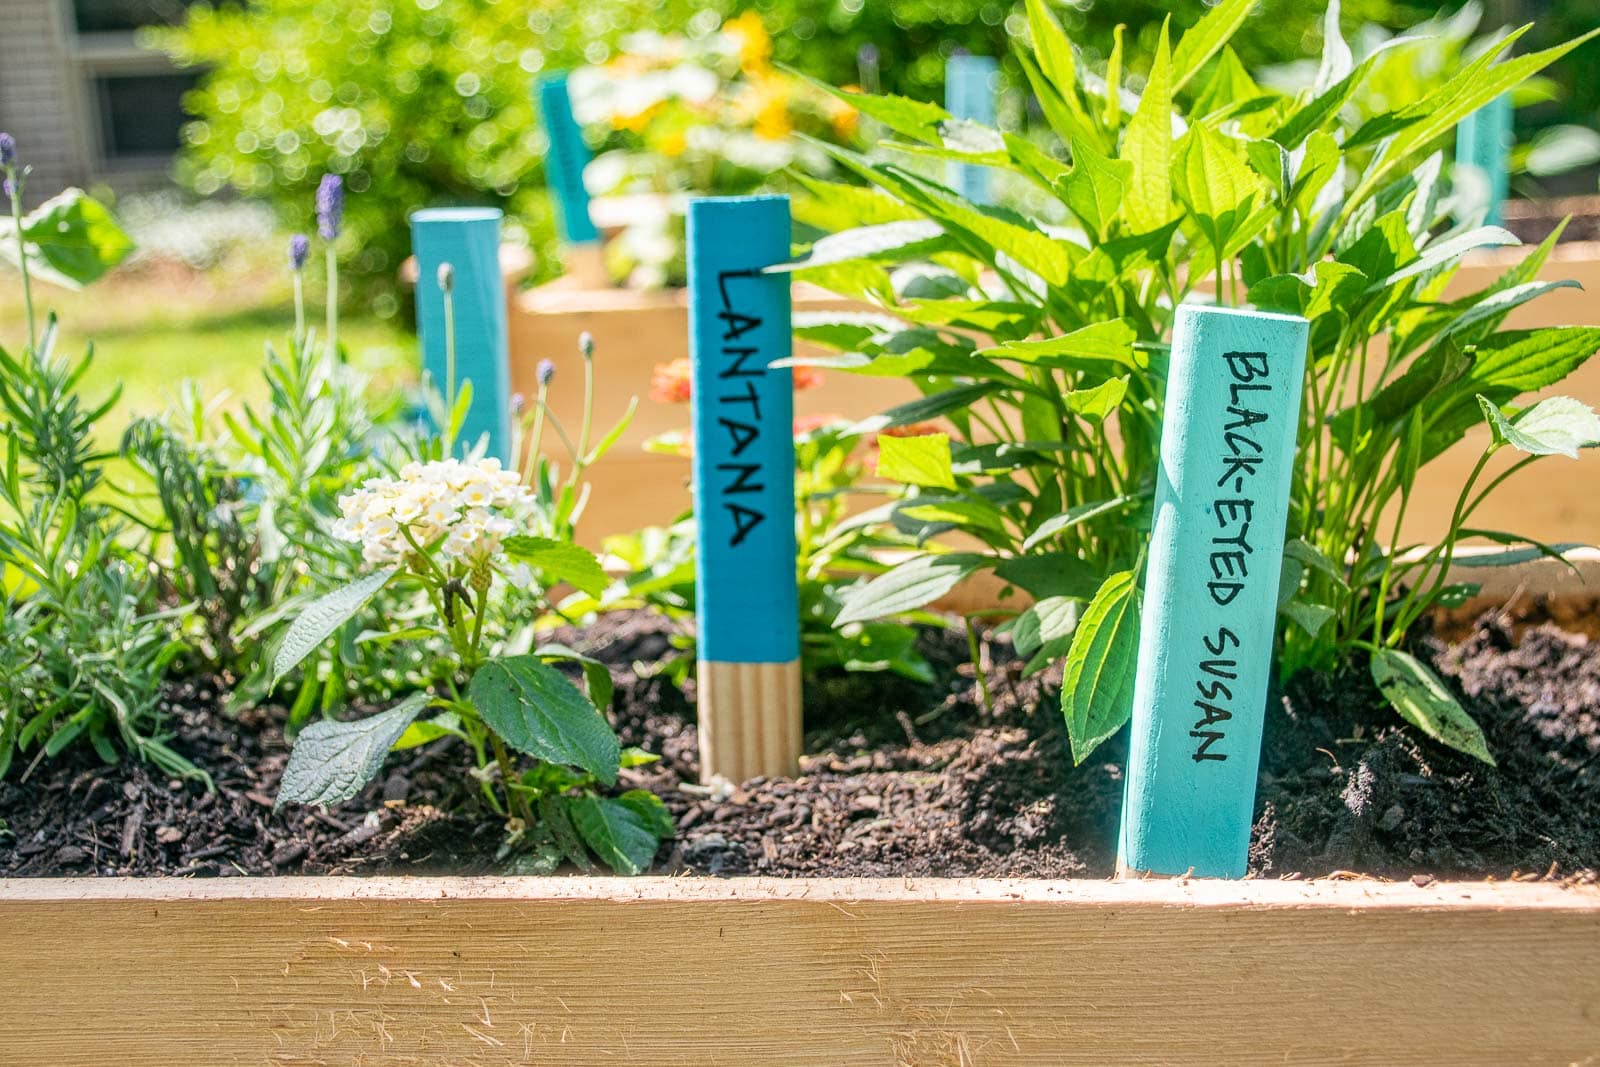
I also painted wooden garden stakes to help identify each plant. I simply used craft paint and a paint pen and they look adorable. You can seal them with polycrylic or just plan on touching them up every so often as they fade with the elements… This could be a really fun project for the kids to help with also!
Thank you as always to Miracle Gro and Home Depot for helping make this possible. I was taking pictures of the space and my daughter’s second grade class was at STEAM and they could not wait to come outside with their magnifying classes and identify parts of the flowers. I was able to add the final few plants with the help of some of the students and I am excited about the opportunities this raised bed will provide moving forward.


Don’t Miss Out
Become An Insider!
Signup for exclusive tips, and tricks from Charlotte’s House!
Let’s chat!
I love comments from you, so feel free to leave your thoughts and ideas below! And don’t forget to follow me on Instagram for even more!