
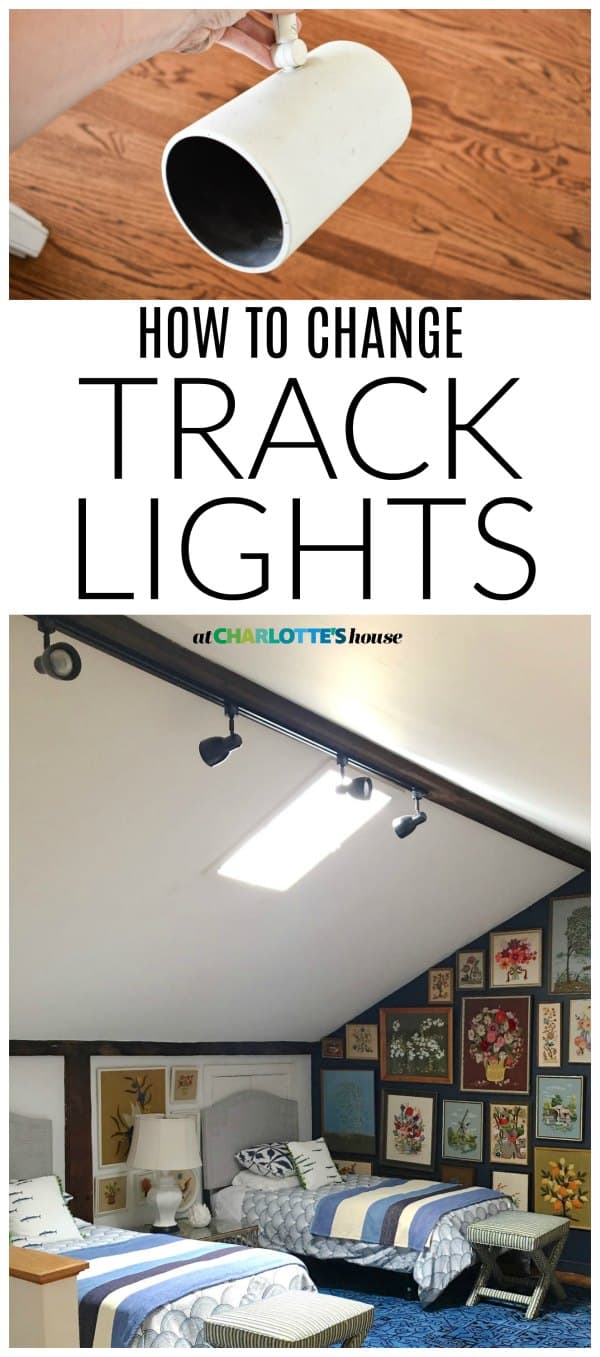
How to Change Track Lighting
Psssst… this post *might* contain affiliate links: see my disclosure here.
How to replace dated Track lights
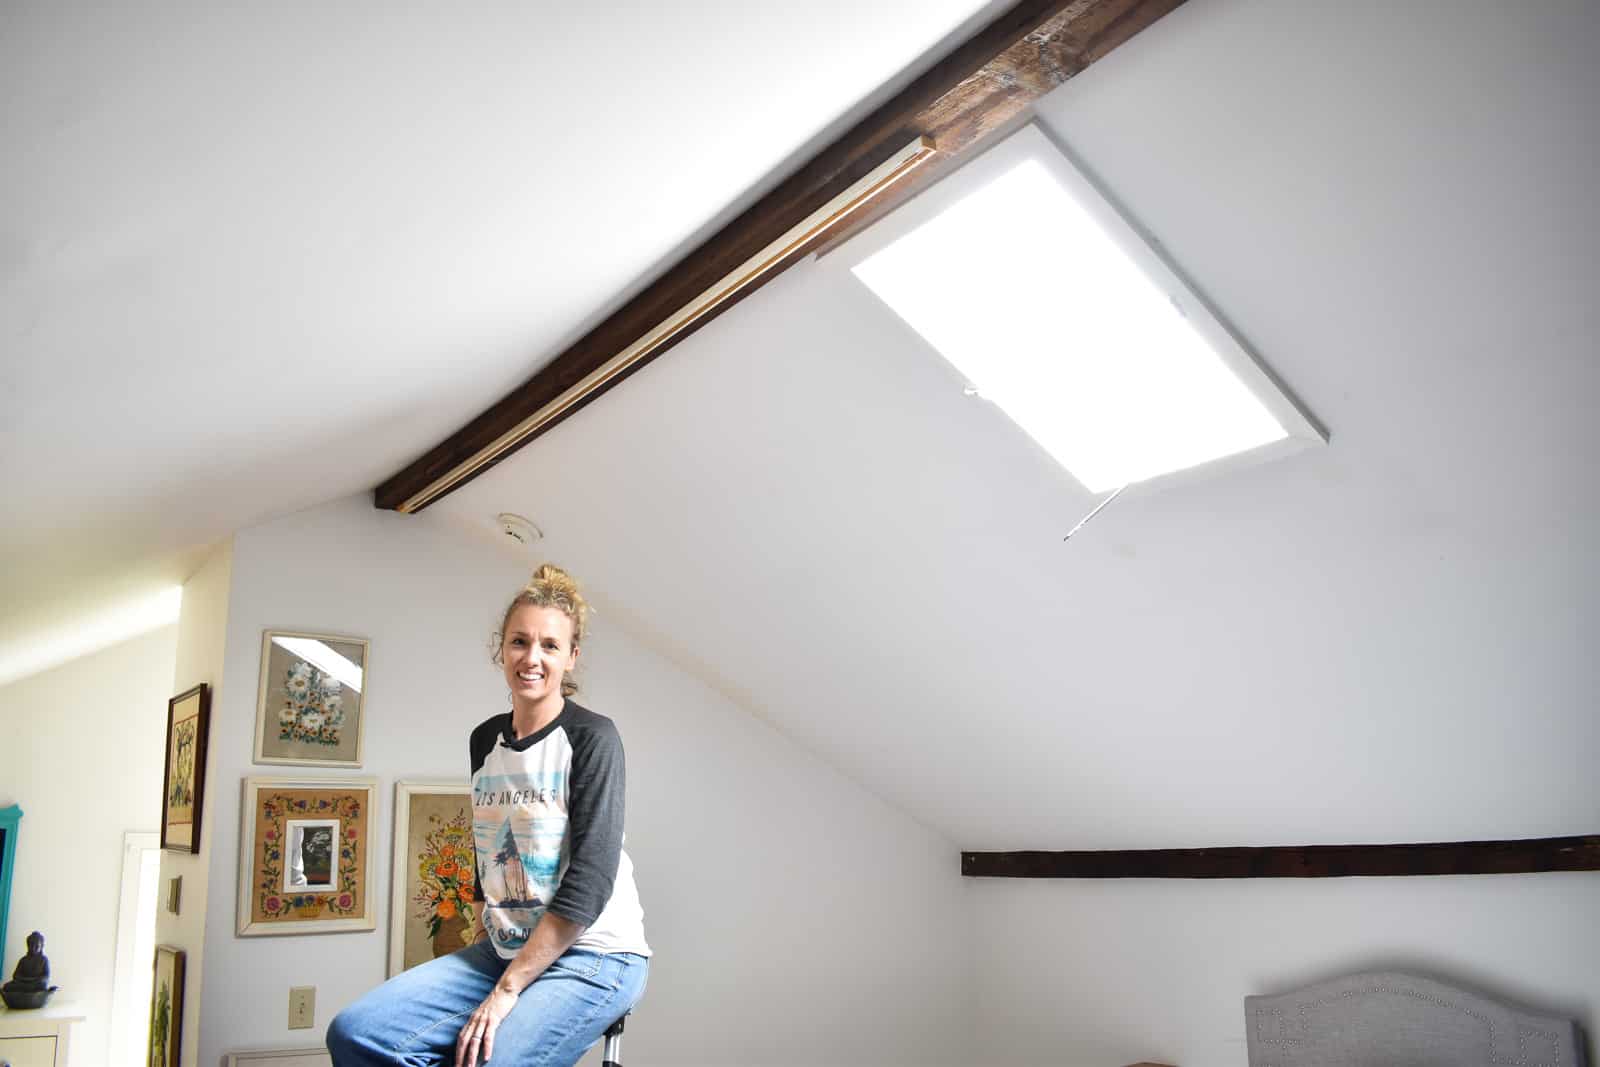
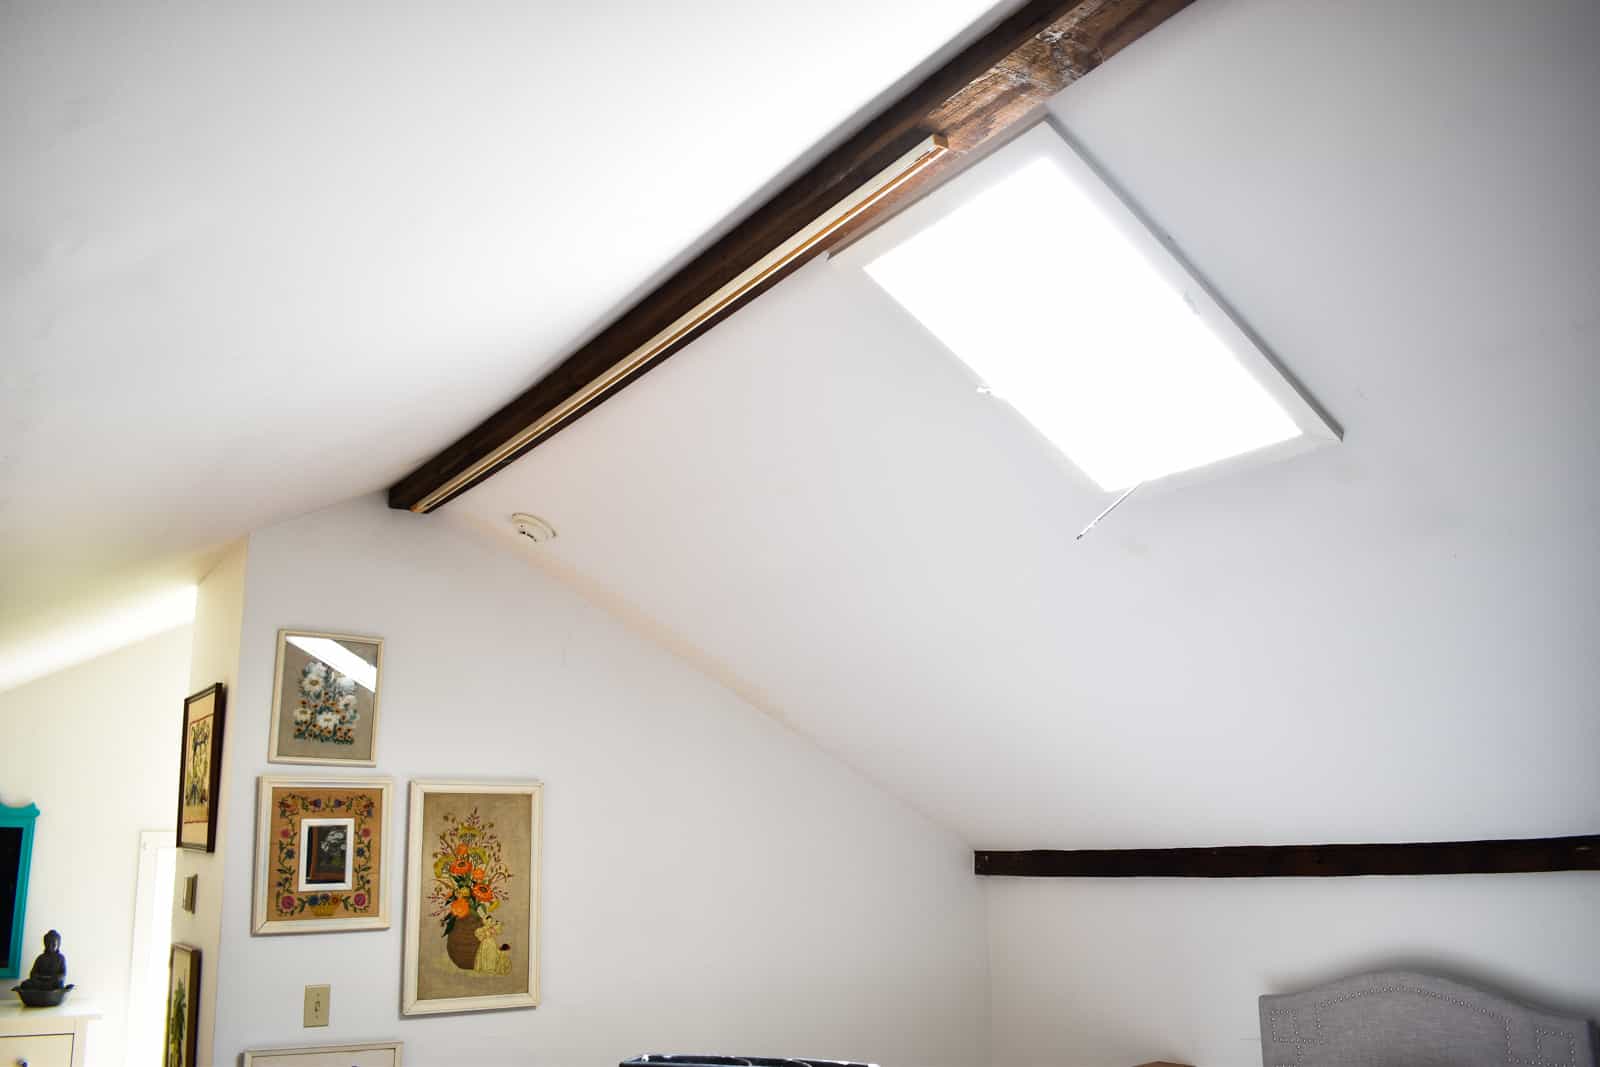
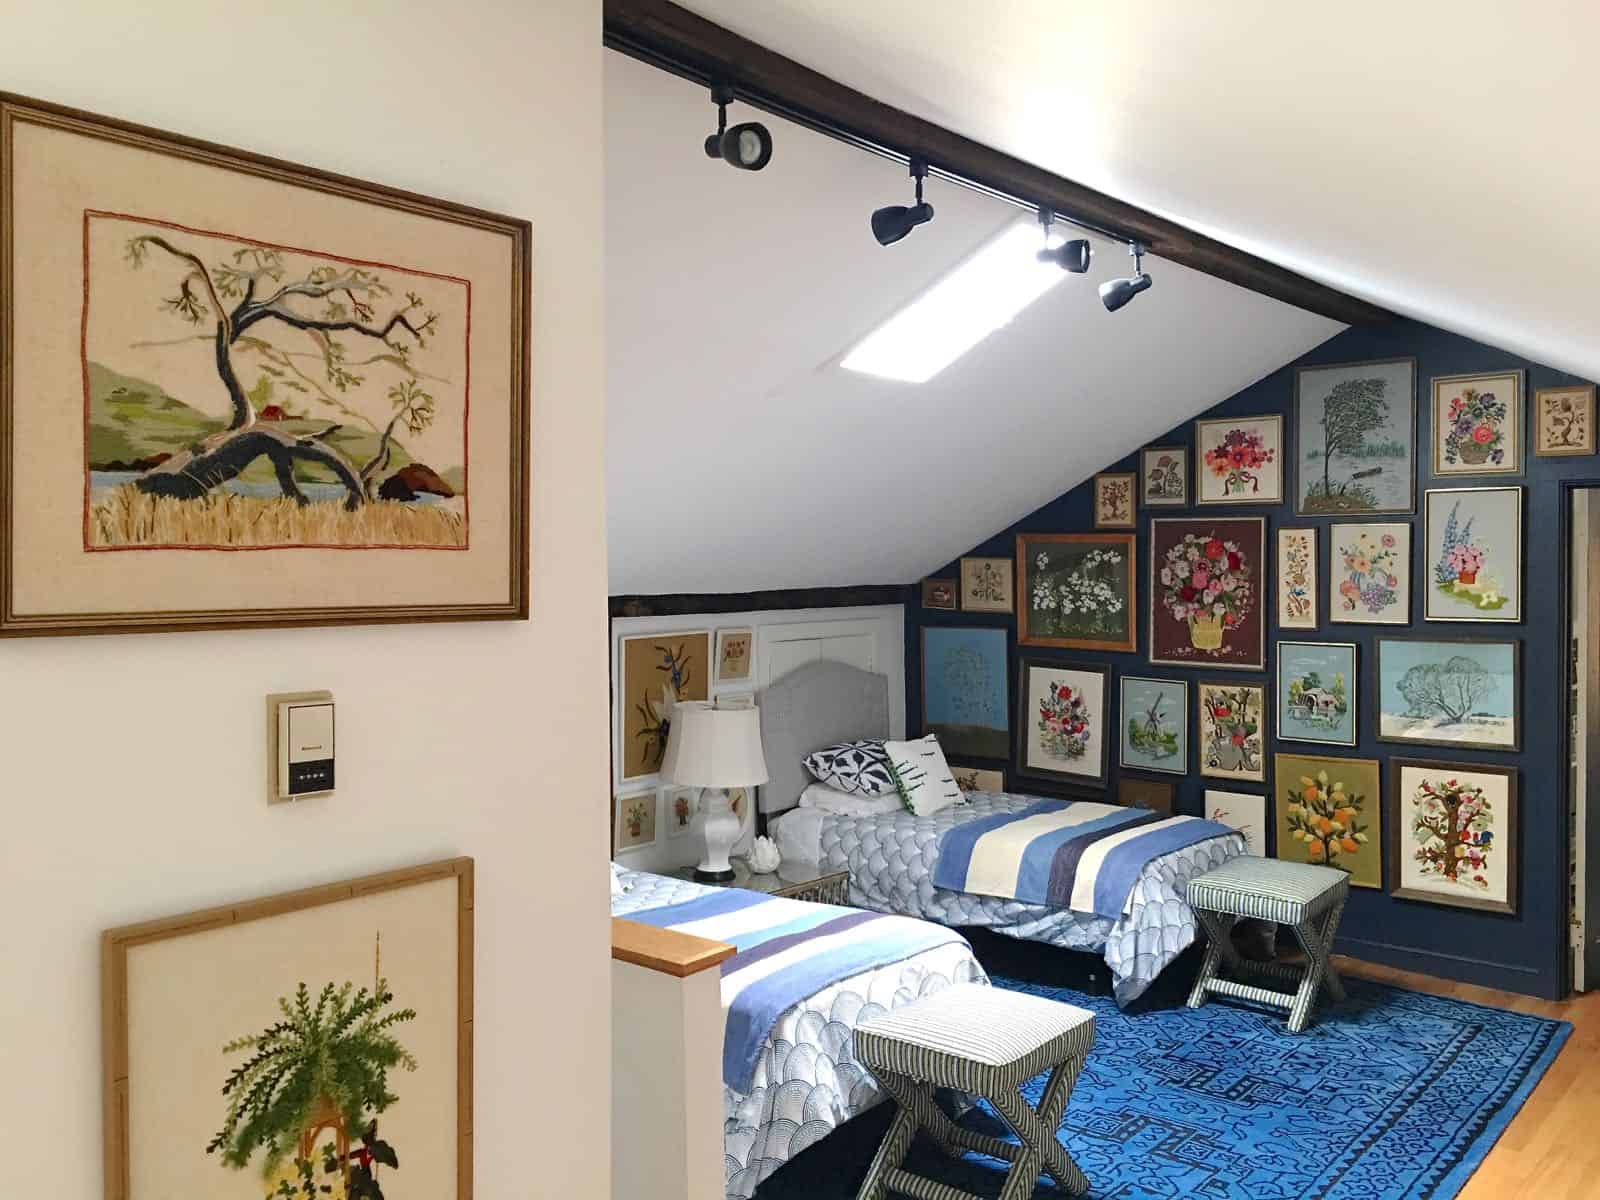
Our third floor guest room has track lighting. Good ol’ track lighting. Ours was classic 1980s. Big and white and dated. One of the updates we’ve been dying to make was to simply swap out the old track lights for something smaller and black to blend in with the stained beam up there.
I started by buying new lights. I was hopeful that maybe the new lights would fit on the old track. No dice. I gather the new track lights are more likely ‘three wire’ and older tracks were more likely ‘two wire’. Mind you, I don’t know what that means technically, I just know that my new lights didn’t fit my old track.
Shop my favorites!
Step 1. Turn off ALL electricity to the room/ fixture
Back to The Home Depot I went. I grabbed a new black 8 foot track to replace the old white one. Replacing track lighting is just like replacing a pendant light… turn off ALL electricity to the room and the outlet.
Step 2. Remove the Old Track Light
My track was screwed into the beam, so I simply needed a drill to unscrew the track from the ceiling.
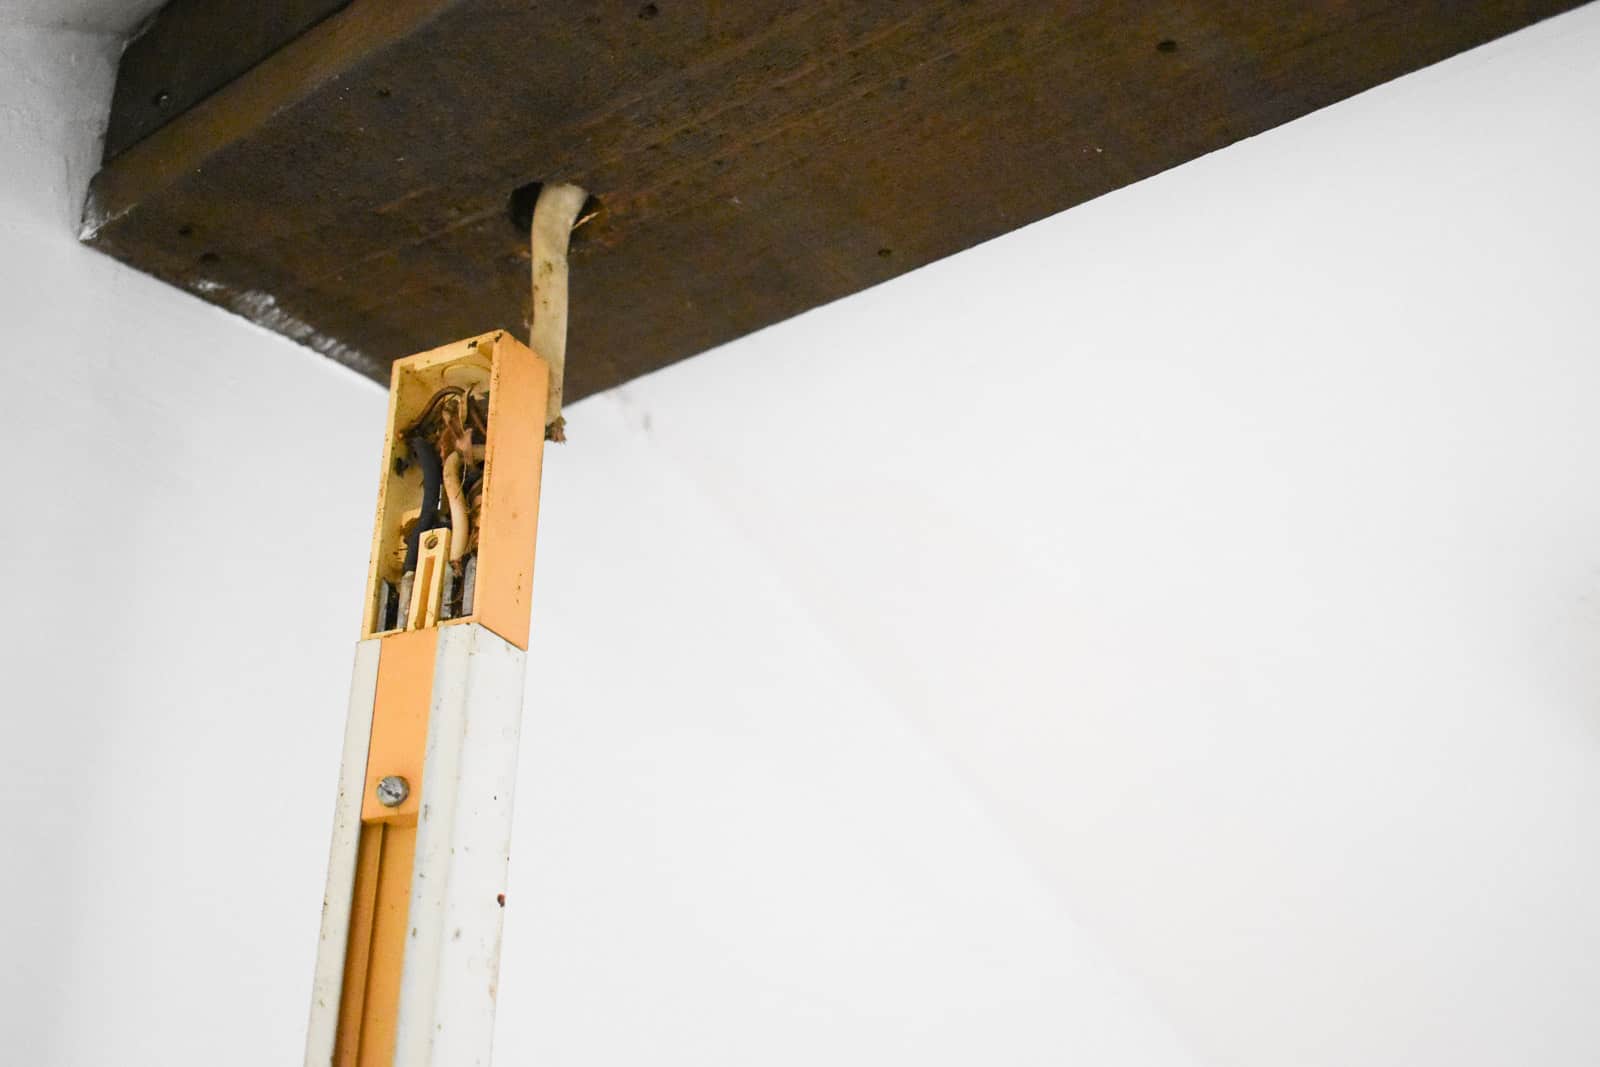
Step 3. Disconnect Wires
The wire for my track light came in one one end and was just like other light fixtures I’d replaced. One white wire, one black wire, one grounding wire. I unscrewed these wires and was able to remove the old track light.
Step 4. Reconnect the new wires
The new track fixture was slightly different than the old track, but I was still able to wrap the copper grounding wire around the green screw, wrap the black (hot) wire around brass screw and the white (neutral) wire goes around the silver screw. Double check your package directions to be sure.
Step 5. Reattach the track
The new track attached the the ceiling exactly the same way as the old one did. I just screwed it in place.
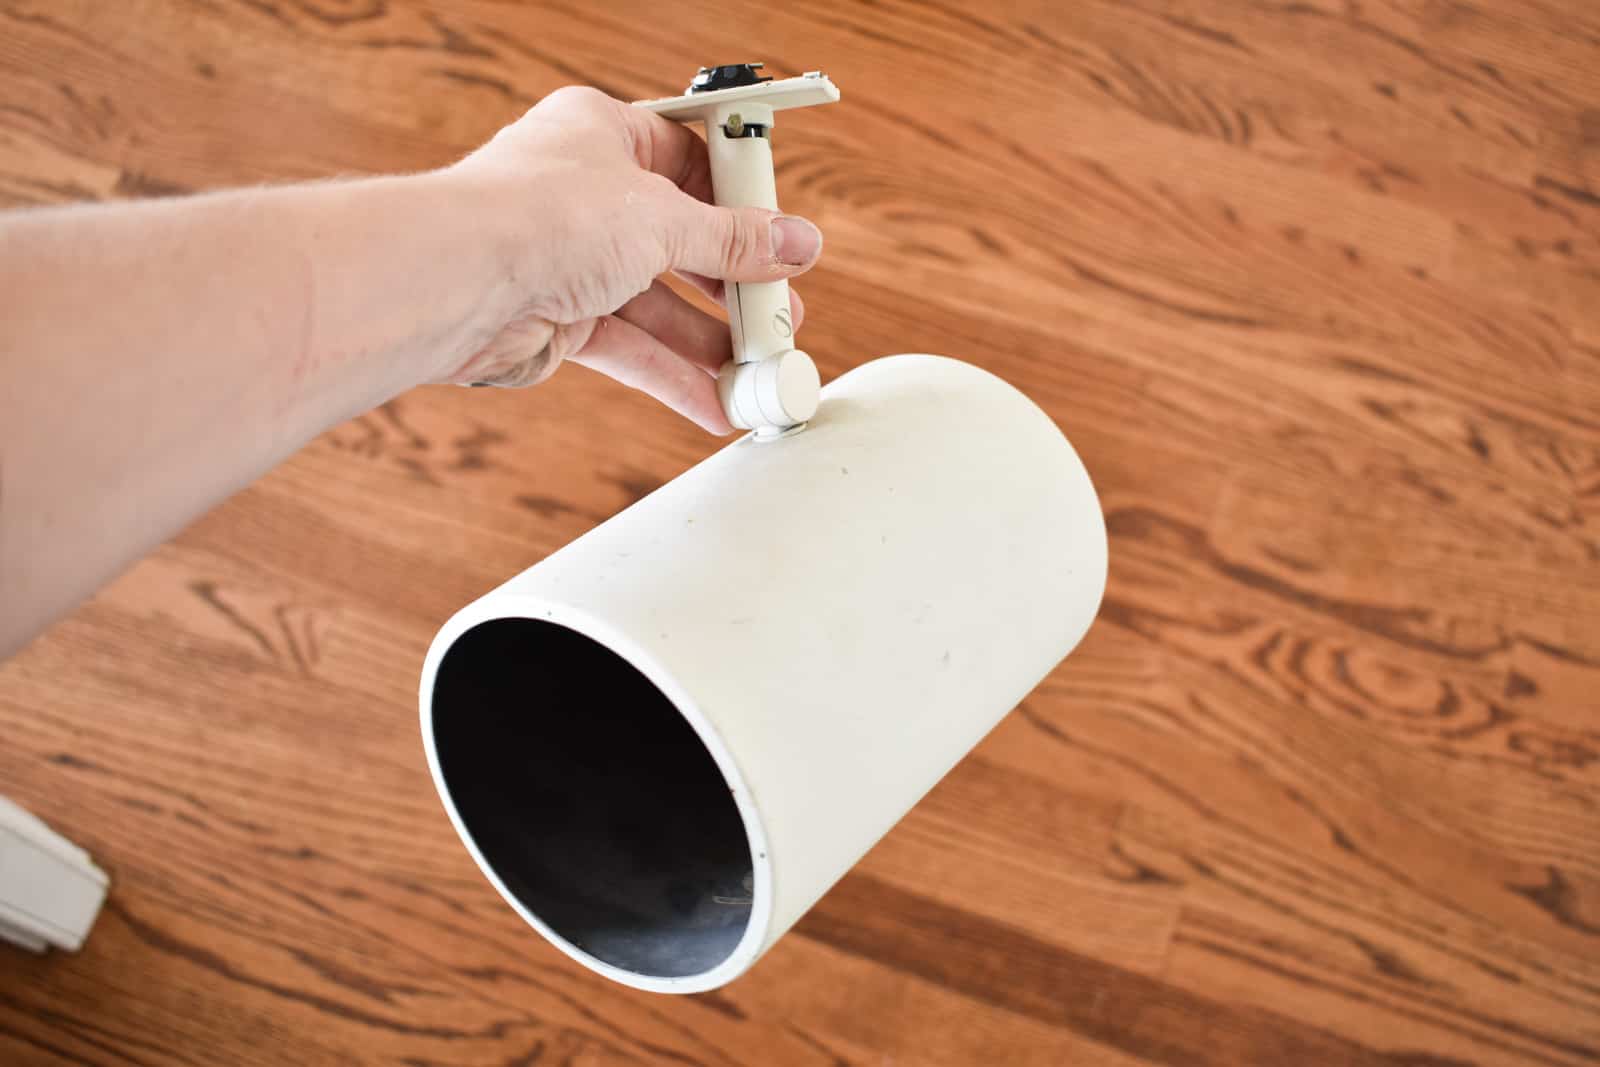
Step 6. Attach the new lights
Track lights are generally really easy to clip in place. My old ones had a little lever that moved from right to left, and then I was able to gently pull down to remove the fixture. The new ones required two hands, as I lined up the fixture, pulled down on a collar and then twisted the light in place. Again, read the directions for your individual track lights as there may be certain specifics to your lights.
If it’s easier to see the transformation on a video… I have one for you here:
Do these new lights look super chic and modern? Nope… they’re track lights. But for $45, they blend in WAY better than the old ones and no longer look like an eye sore. Also? Took an hour so in the grand scheme of worthwhile updates, this is right up there with best bang for my buck.


Don’t Miss Out
Become An Insider!
Signup for exclusive tips, and tricks from Charlotte’s House!
Let’s chat!
I love comments from you, so feel free to leave your thoughts and ideas below! And don’t forget to follow me on Instagram for even more!