
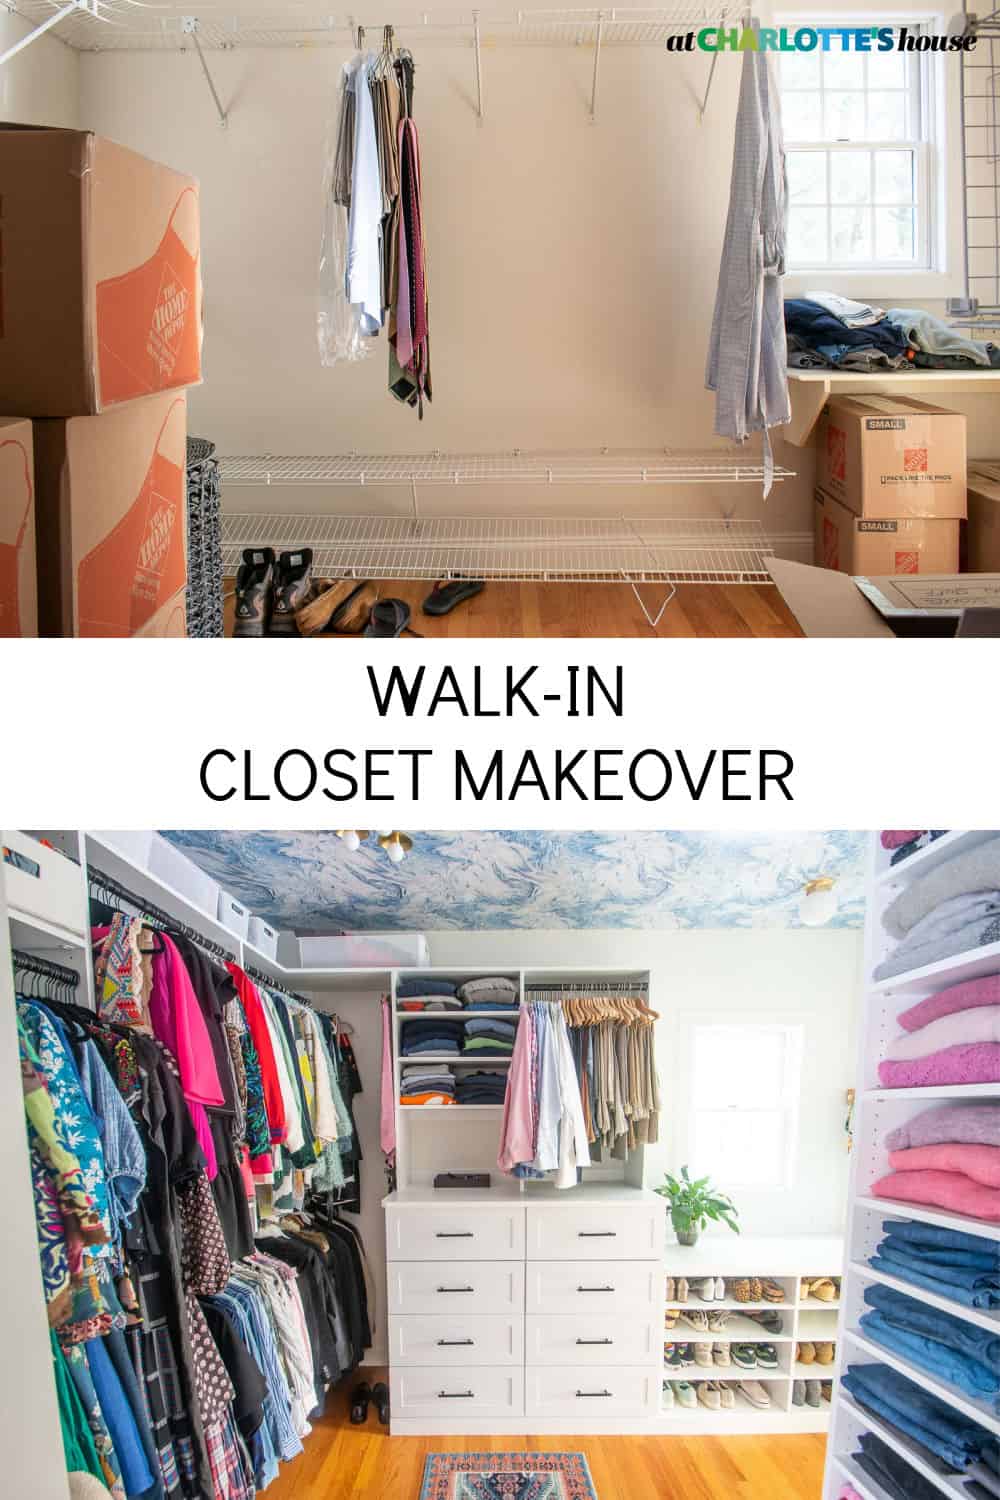
Closet Makeover in Our New House
Psssst… this post *might* contain affiliate links: see my disclosure here.
How I Made Over Our Closet
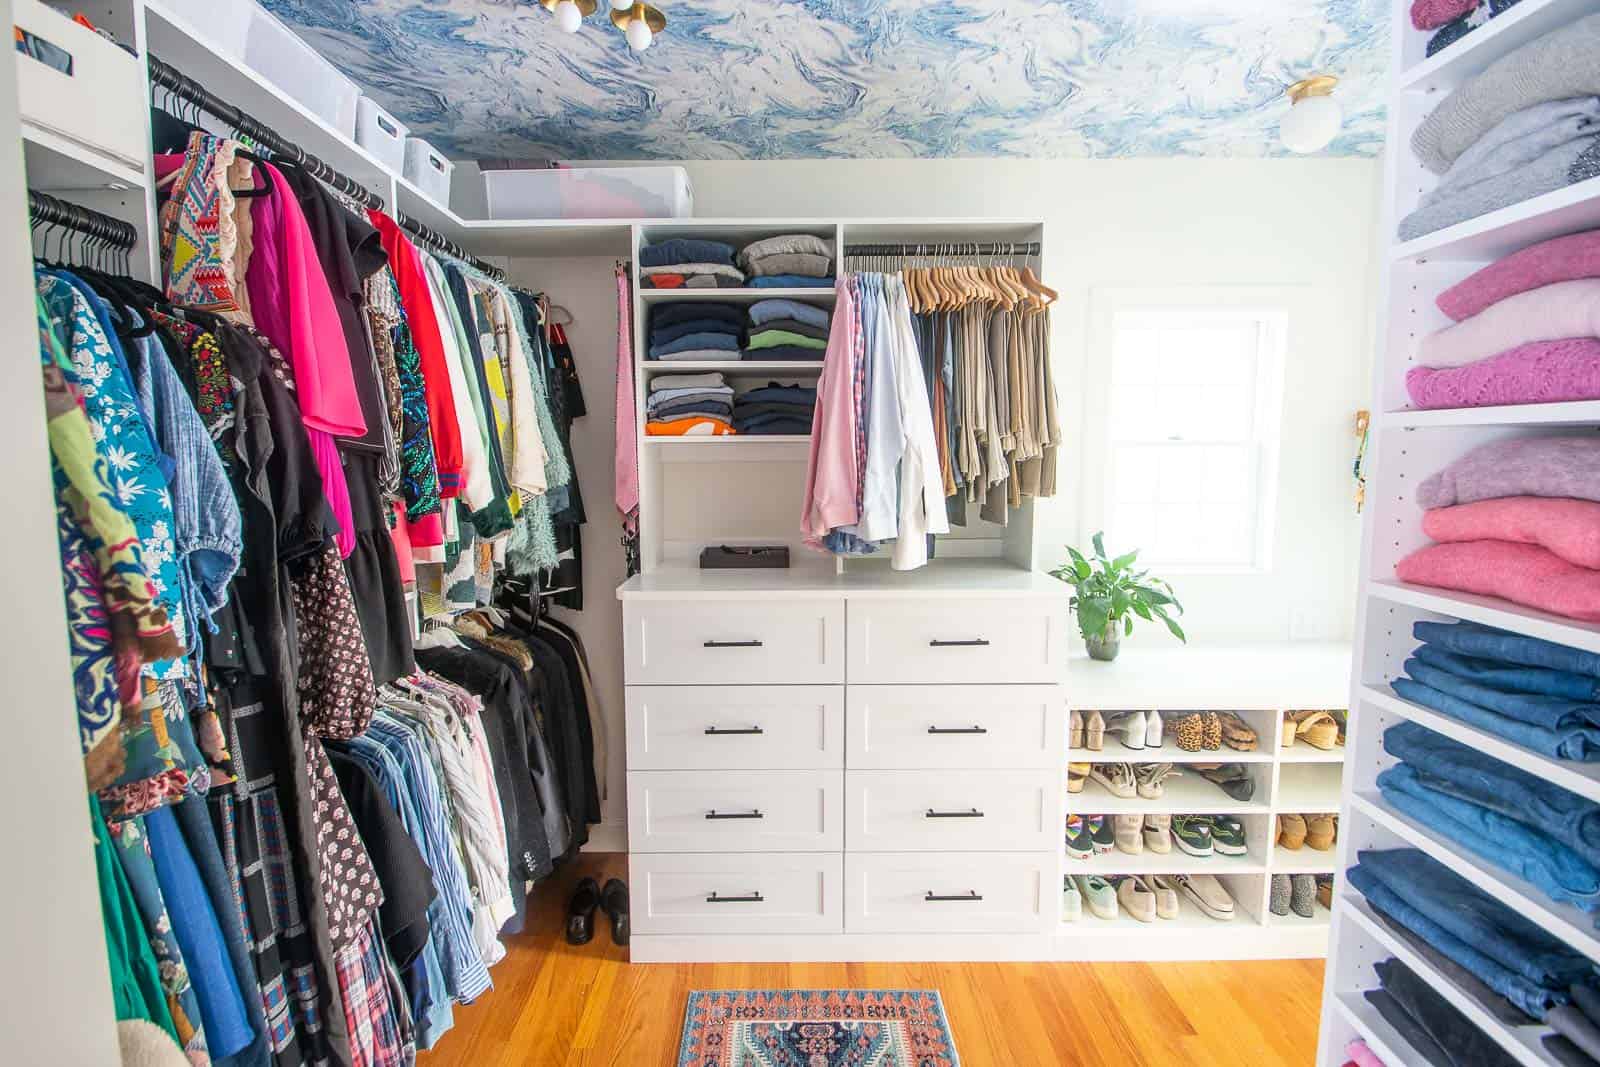
We updated our closet from boring wire racks to stylish custom shelves and drawers!
I didn’t expect this to be the first project in the new house, but then it all just kind of happened. Rewind. I knew the closet was going to be installed. I decided before we moved in that it would be easier for lots of reasons to have a local custom closet company (Royal Closets in Norwalk, CT) help with the closet in our main bedroom. When I thought about making my own, it always started with retrofitting something from Ikea. Not only is everything at Ikea on backorder, but there’s still a ton of labor required to assemble and arrange a closet system. Quite honestly, I didn’t have it in me to unpack all my tools, figure out a closet system AND unpack/ prep for Christmas. That said, when the designer stopped by to take the final measurements, it was pretty clear that the best time for me to have some fun with the closet was BEFORE all the shelving, etc. went in… Cue all the prep work!!
Shop my favorites!
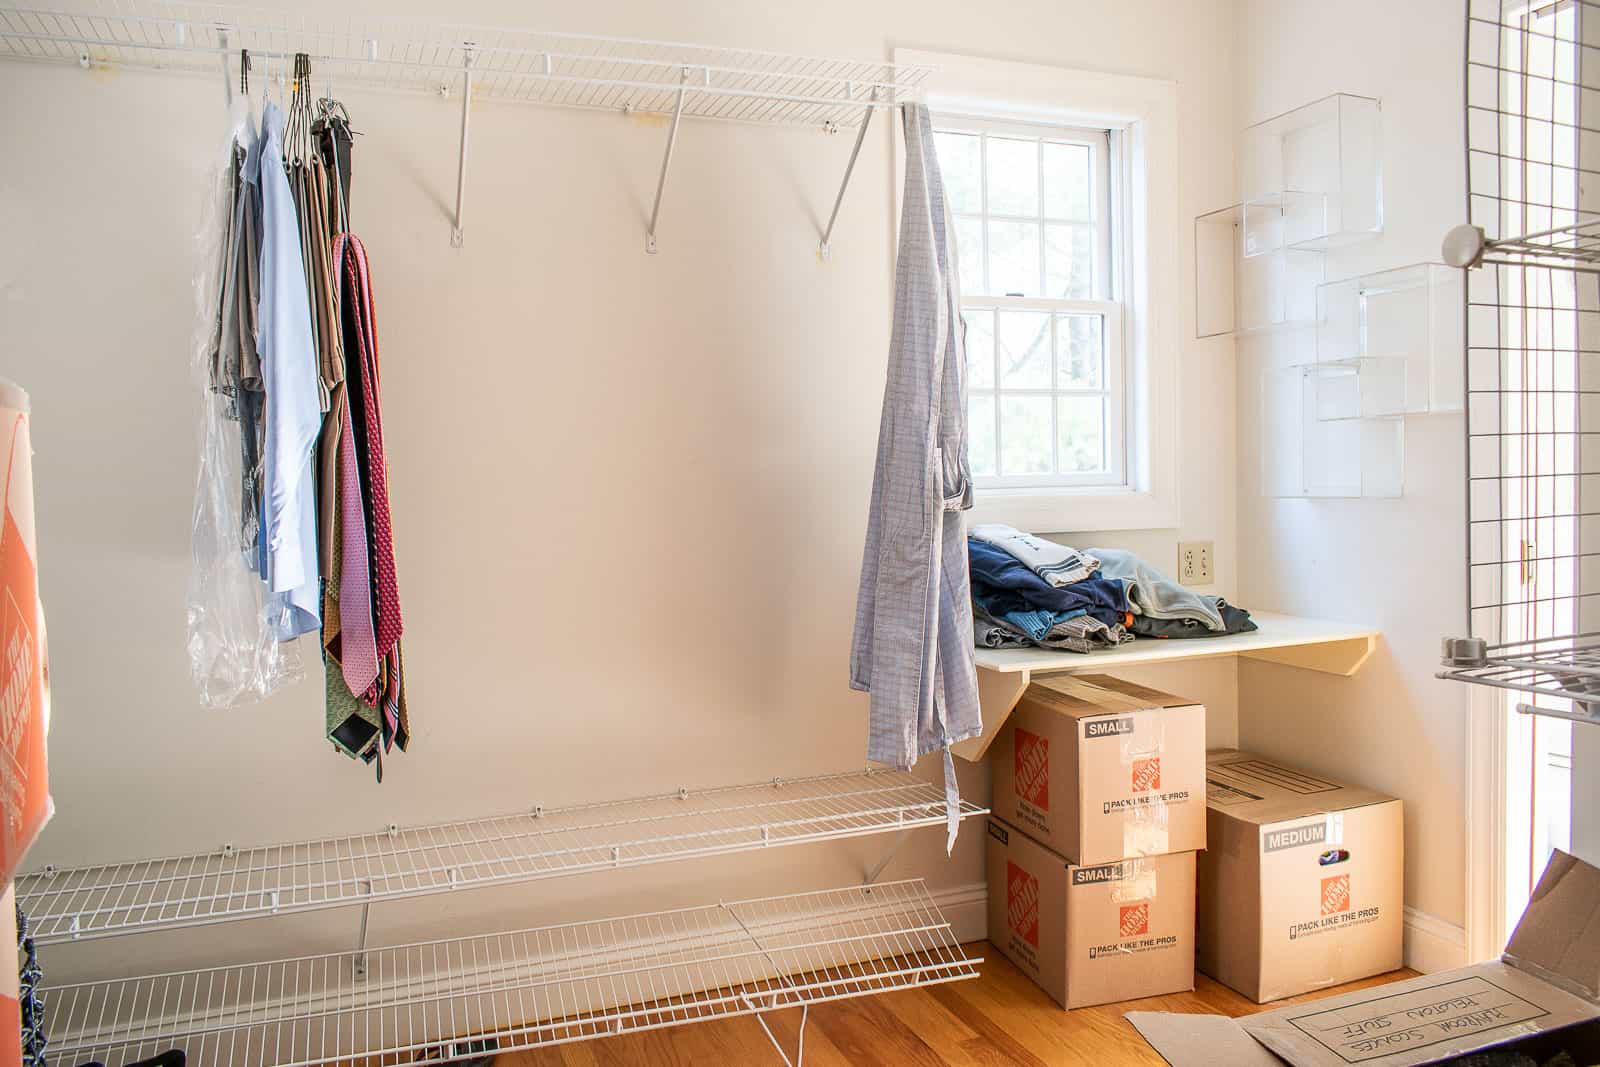
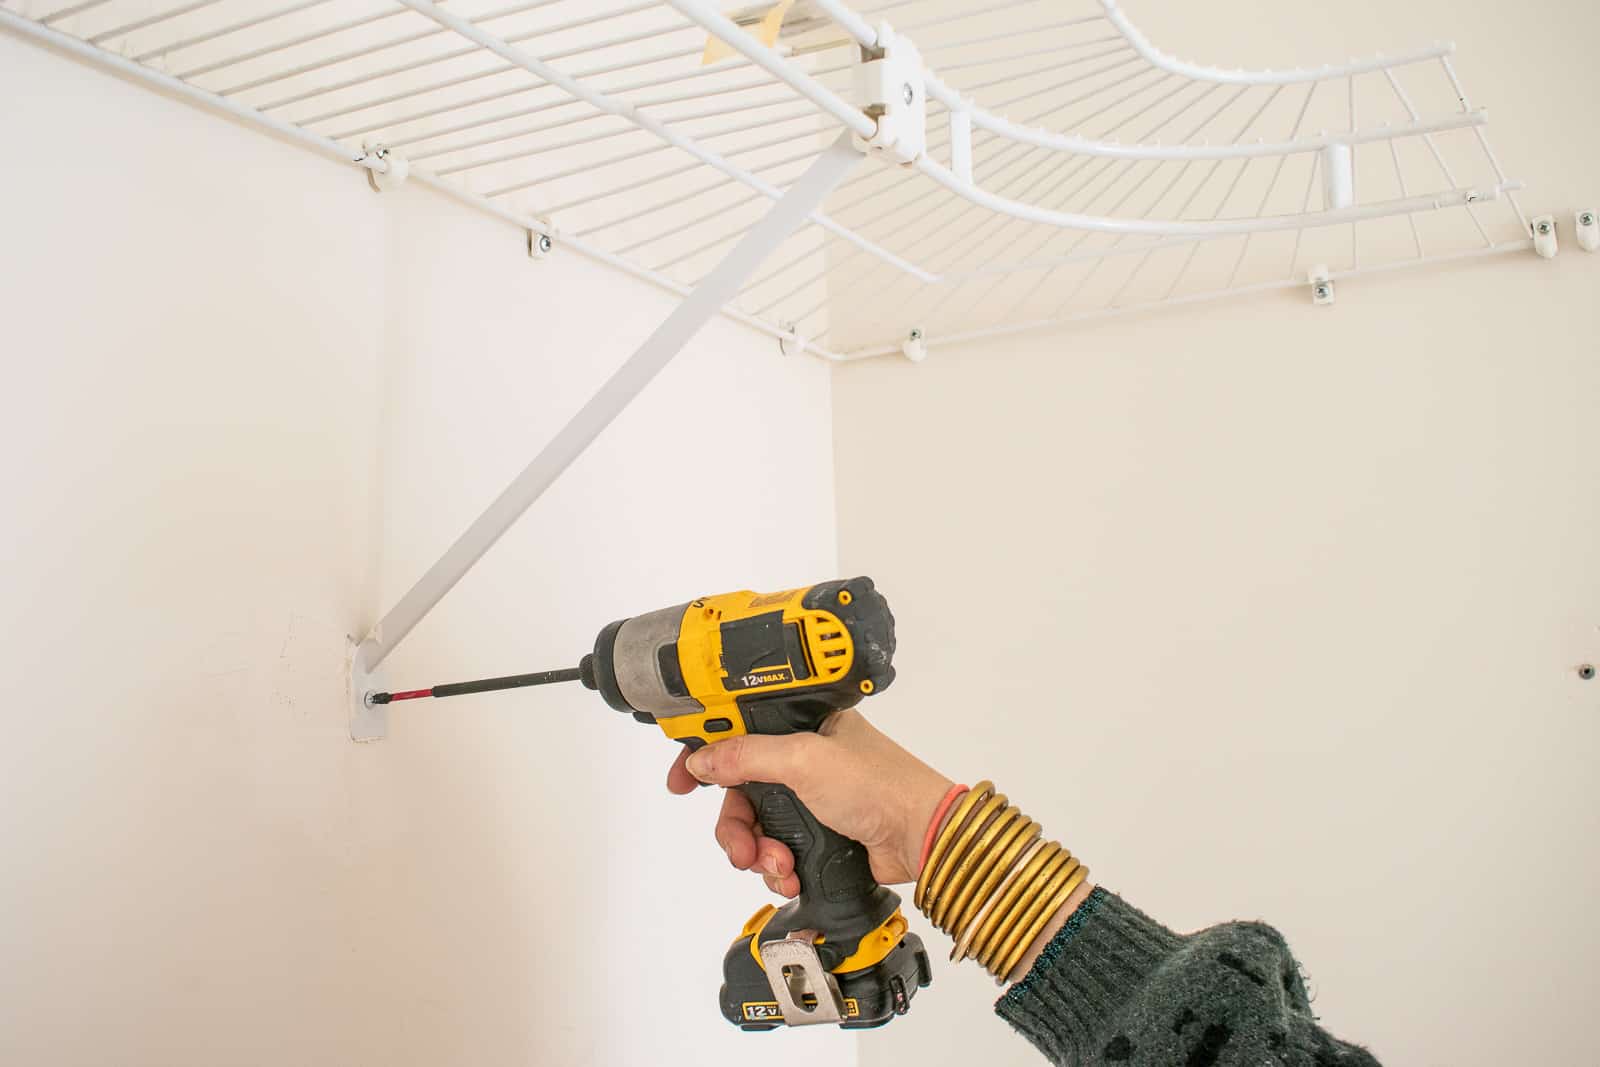
Step 1. Remove any existing shelves
When we bought the house, the main closet consisted of lots of wire shelves. Lots and lots. Removing those wire shelves is easier said than done. Some of them were simply screwed in. Others were nailed into an anchor holding them in place. These required prying the nail out first in order to keep the anchor from pulling out more drywall. Be prepared… there are lots of holes and there will be lots of damage to the drywall.
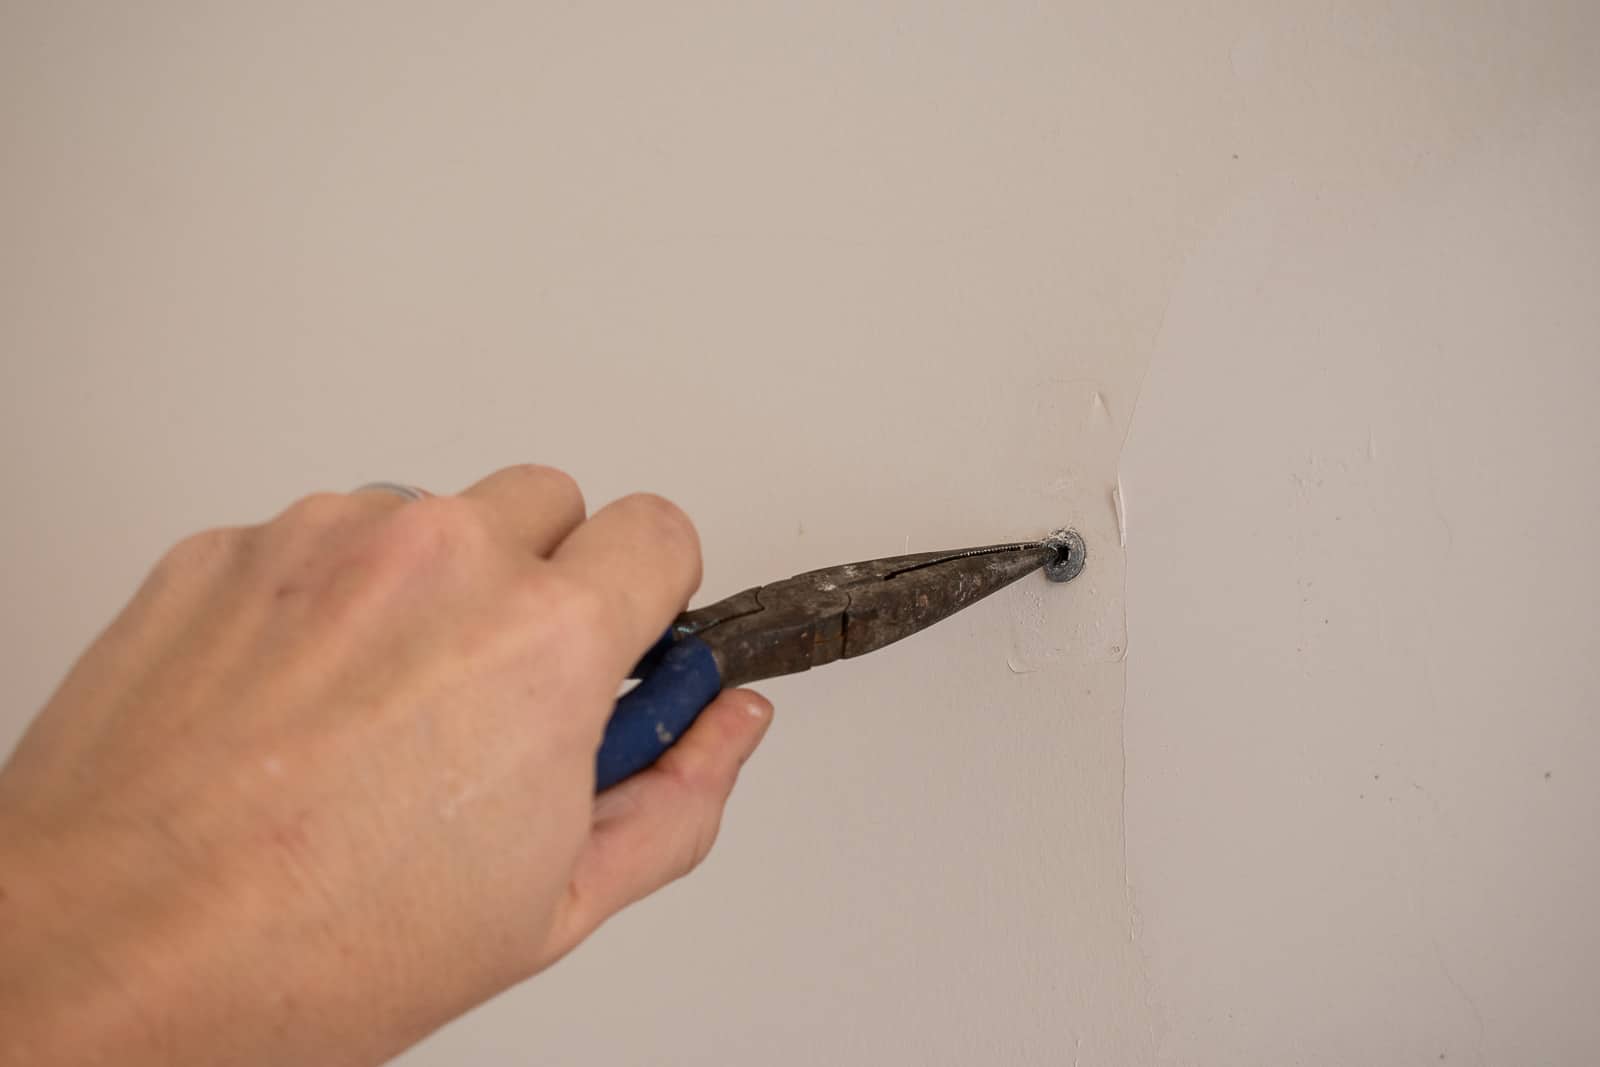
Step 2. Patch the walls
I had to patch 100+ holes in our closet walls. So. Many. Screws and anchors. Before you can patch any holes, you need to make sure the area around the hole is as smooth and level as possible. I ran a metal scraper back and forth over the hole to remove any loose drywall or debris. If the drywall protrudes at all from the wall as a result of the screw being removed, you can gently tap around the hole to even out the surface. (I should note that I broke my camera at some point during this process so below is a screen grab from an iPhone video!)
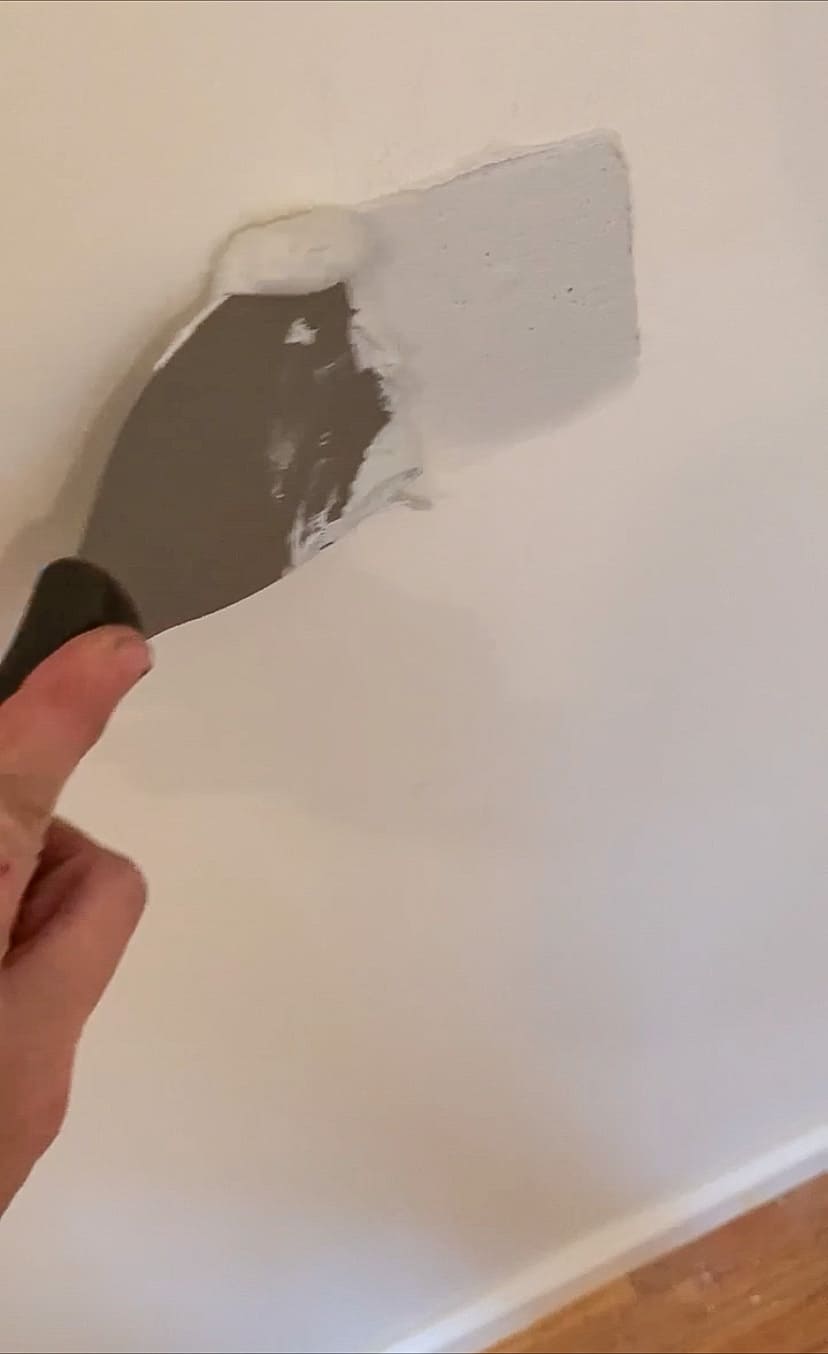
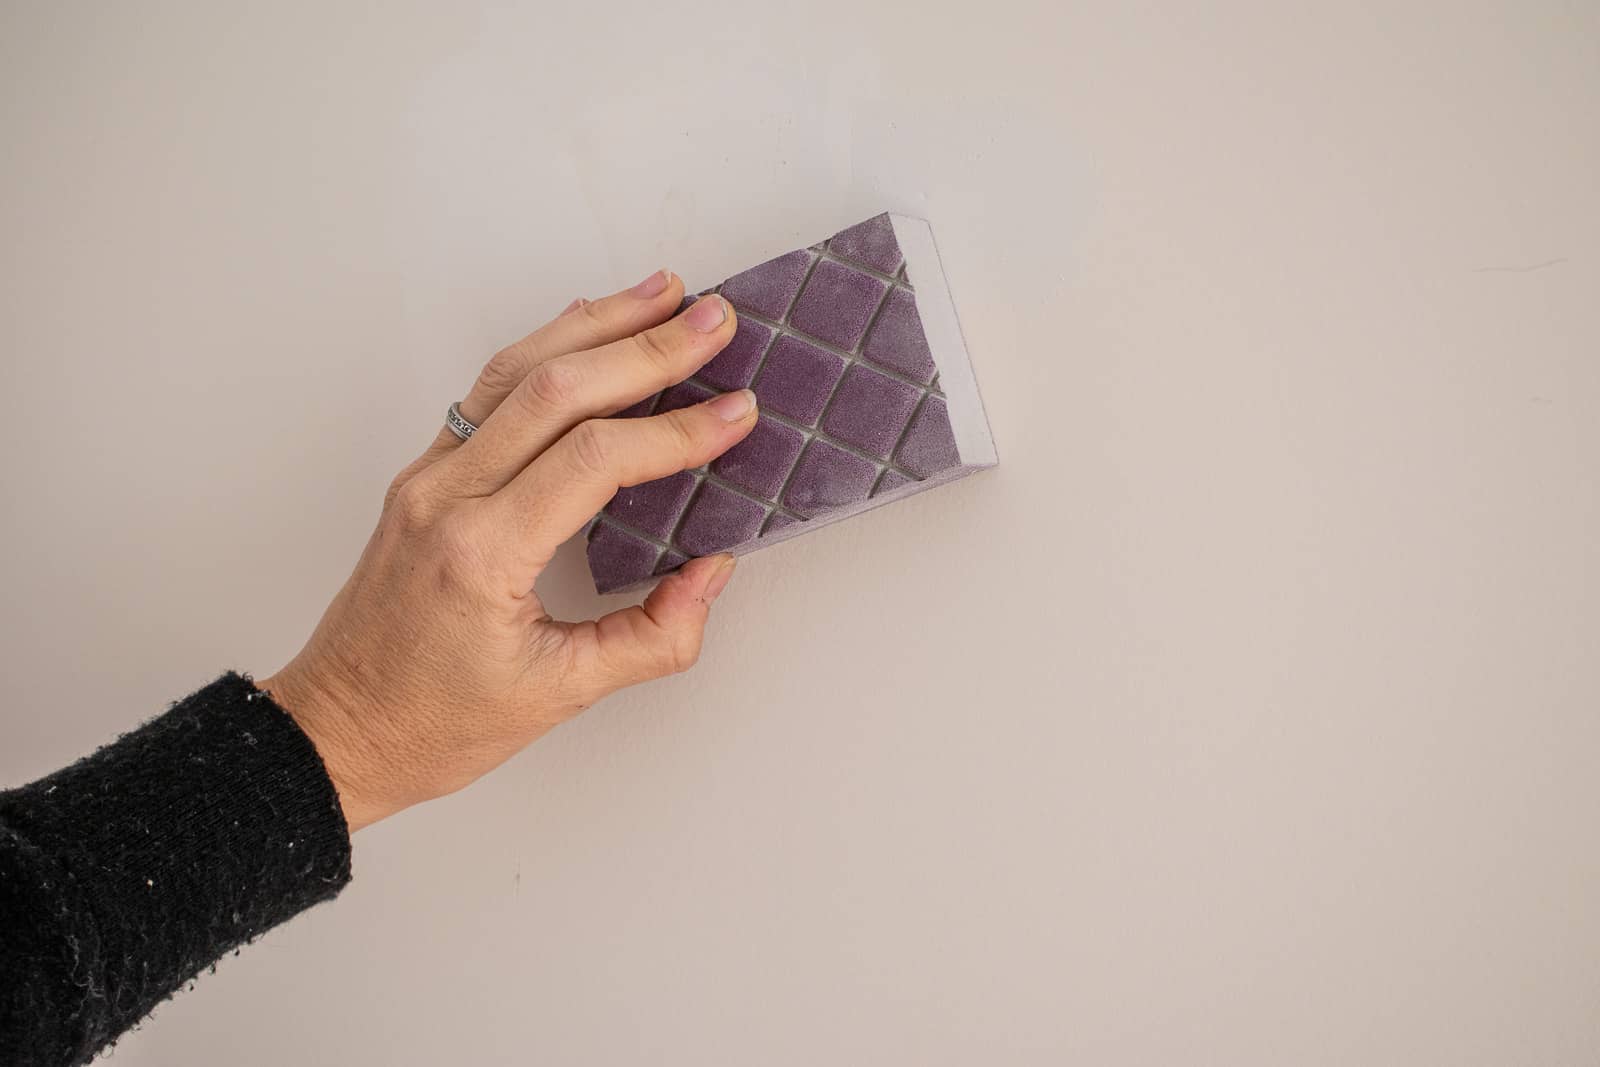
I’m using joint compound and applying it with a flexible putty knife. Scoop some joint compound onto the putty knife and press it into the hole. Use the edge of the knife to scrape off any excess. Work in an “x” pattern to smooth the compound into the hole and scrape away the excess. Leave to dry. With a fine grit sandpaper sand down the first layer of joint compound until smooth and repeat with a second layer of joint compound. 90% of these walls are actually going to be covered by the closet so I didn’t go too crazy making sure the finish was perfect. In general, you’re going to need a few coats of joint compound and each layer should cover a bit more of the wall so that your patch is gradually ‘expanding’. This should result in a perfectly smooth finish.
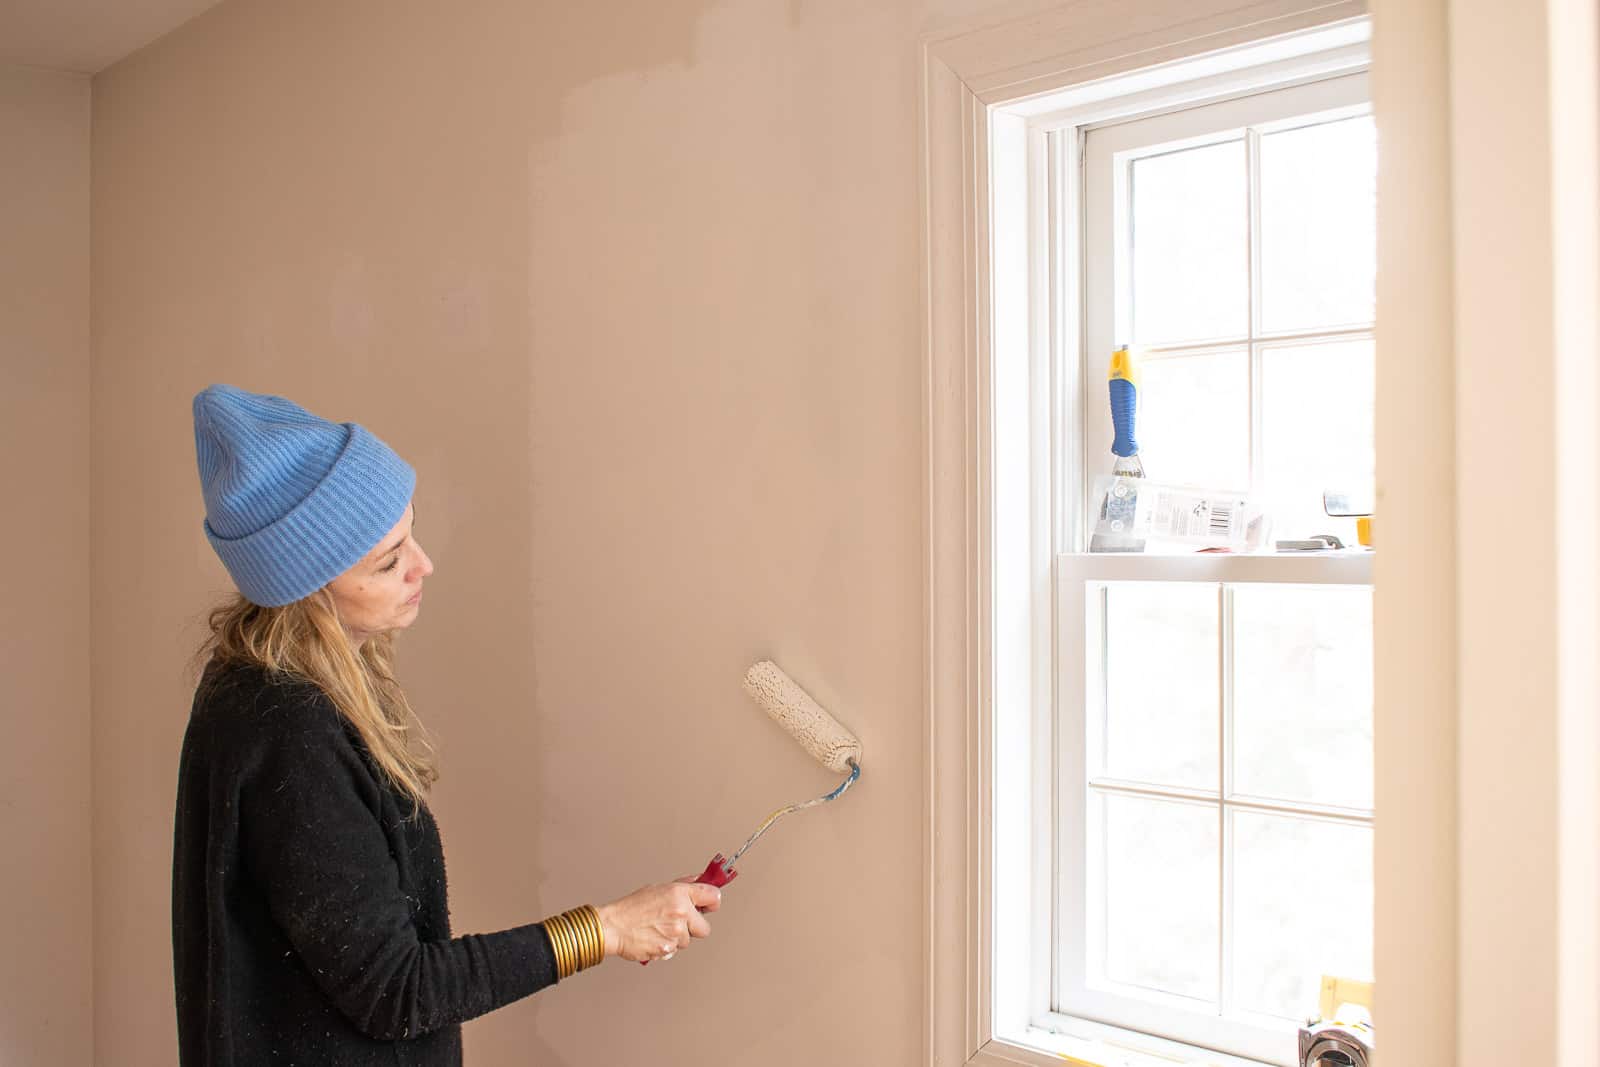
Step 3. Paint
Make sure any residual joint compound dust is cleaned off the wall and prime the patches. It’s important to prime the patched portions first to not only prevent flashing (when the surface of the paint appears different to the rest of the wall), but also proper adhesion. Note: Paint with primer isn’t the same as a straight up primer.
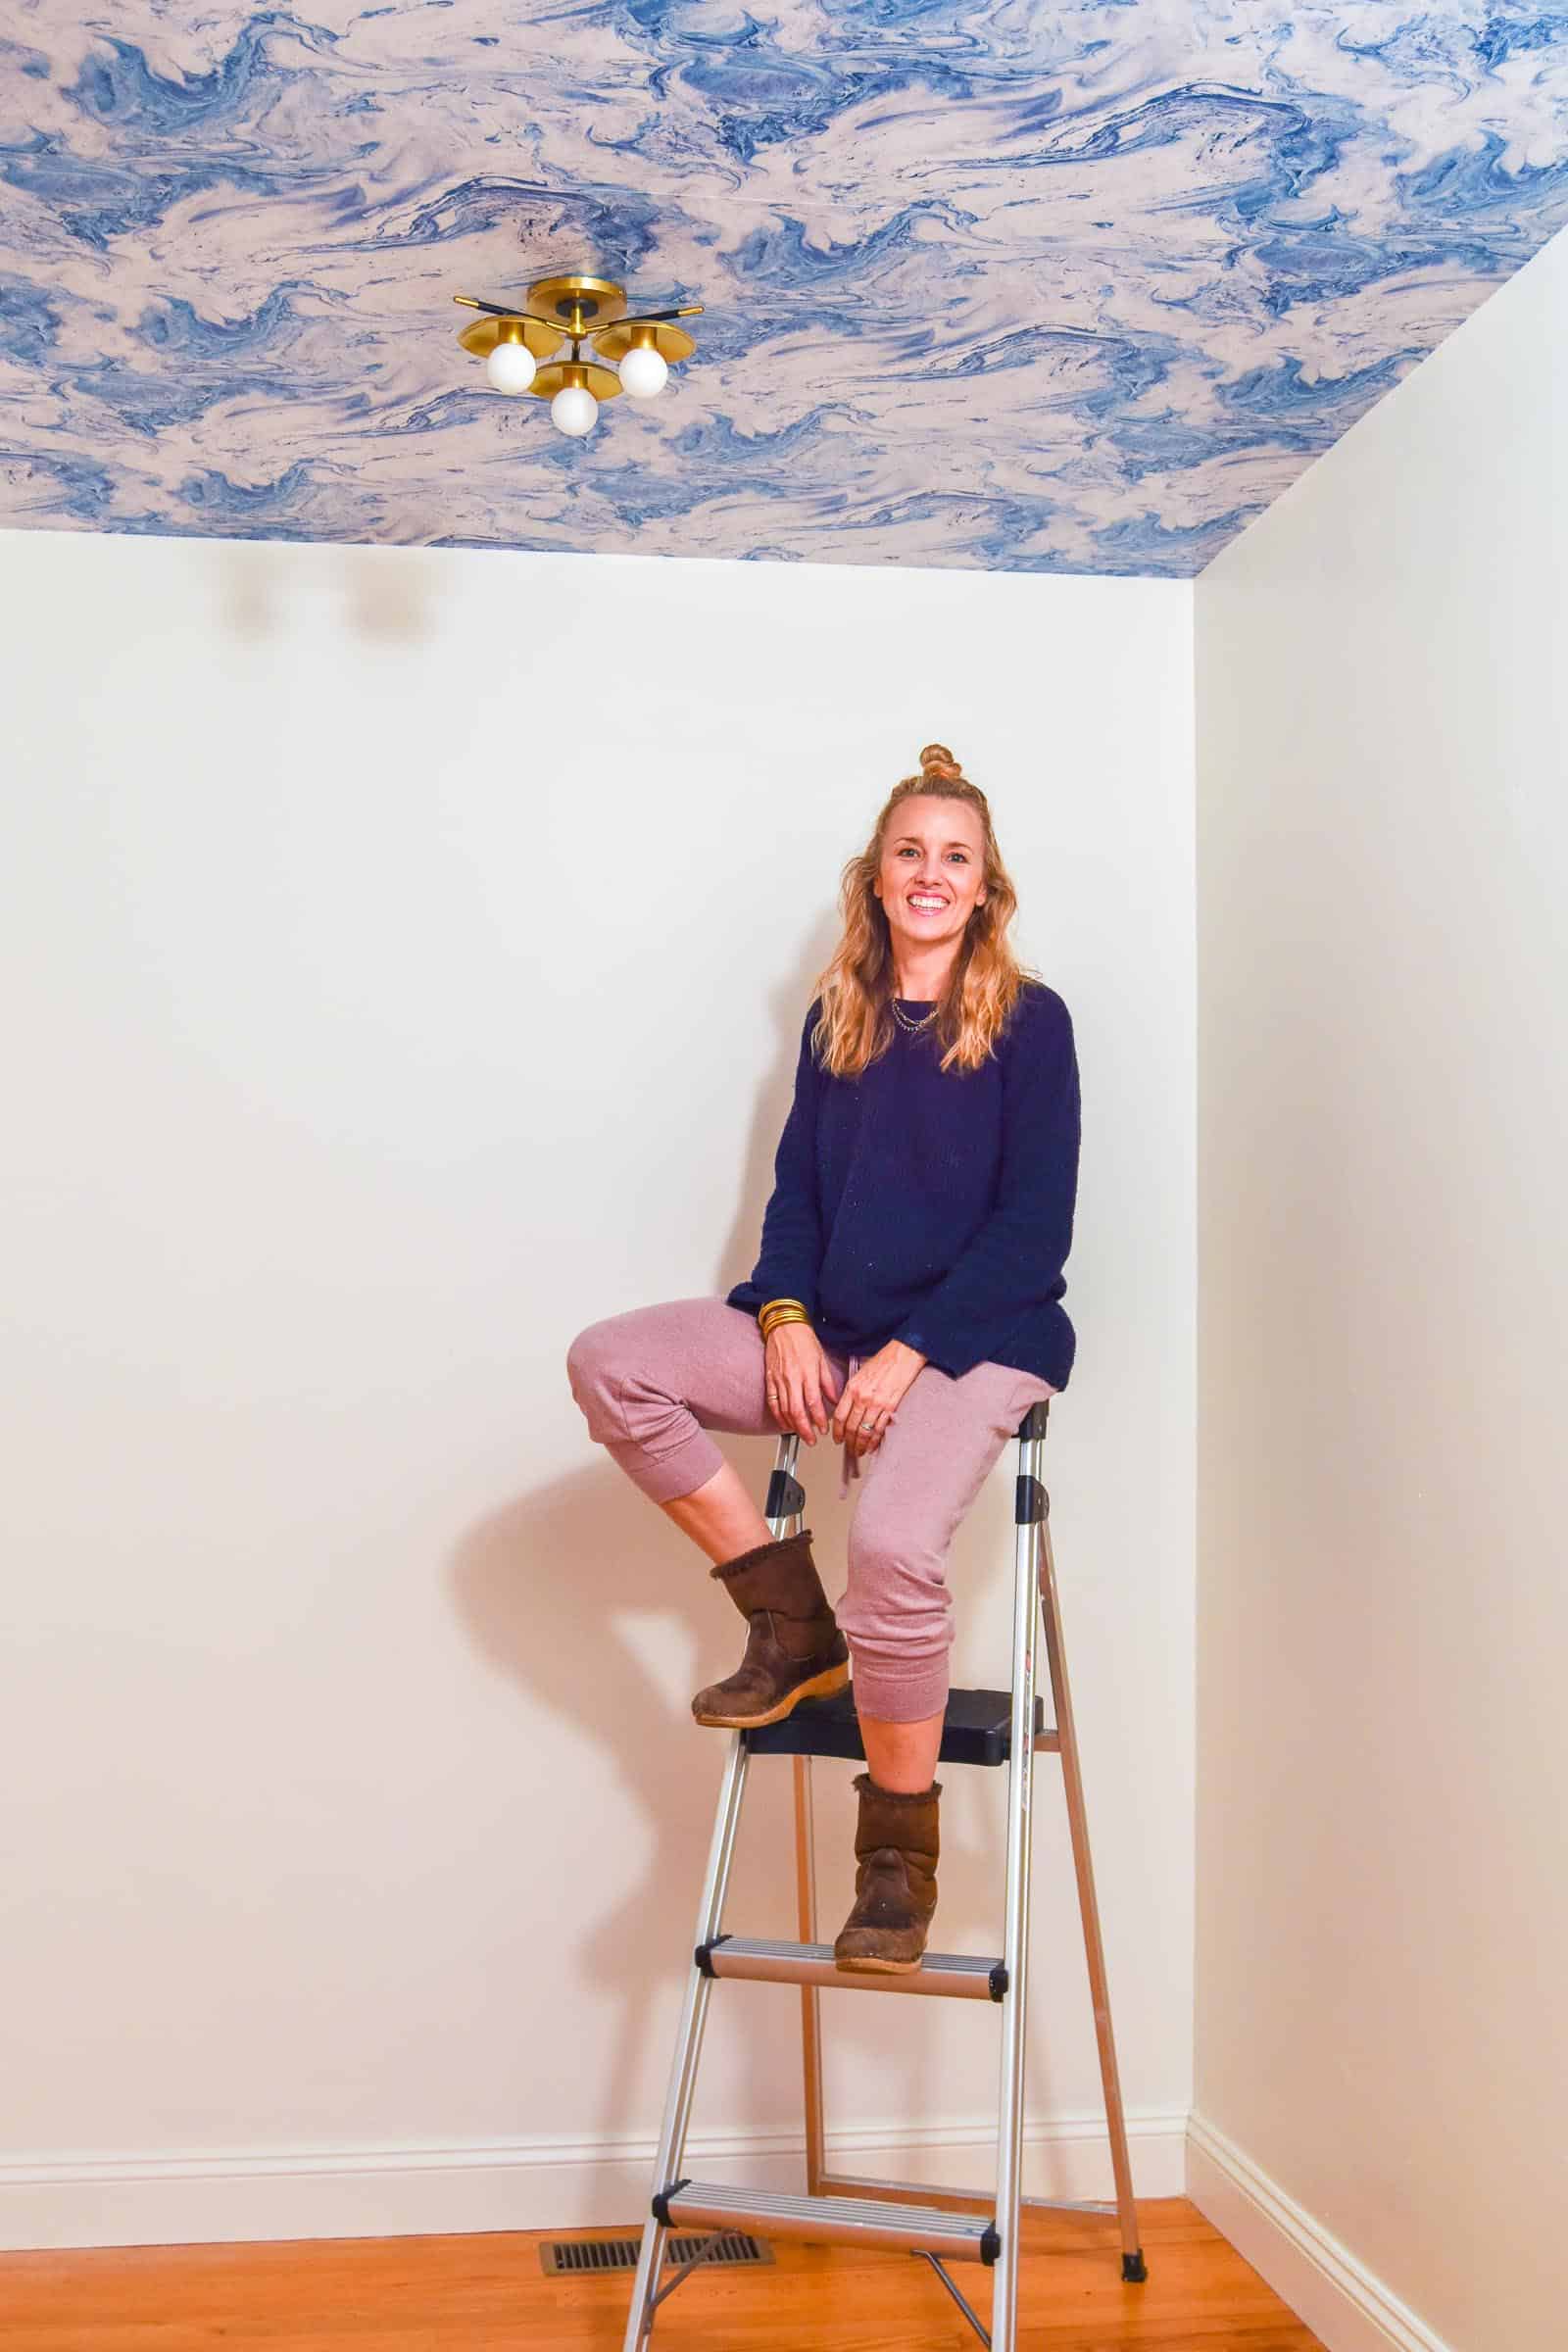
Step 4. Wallpaper
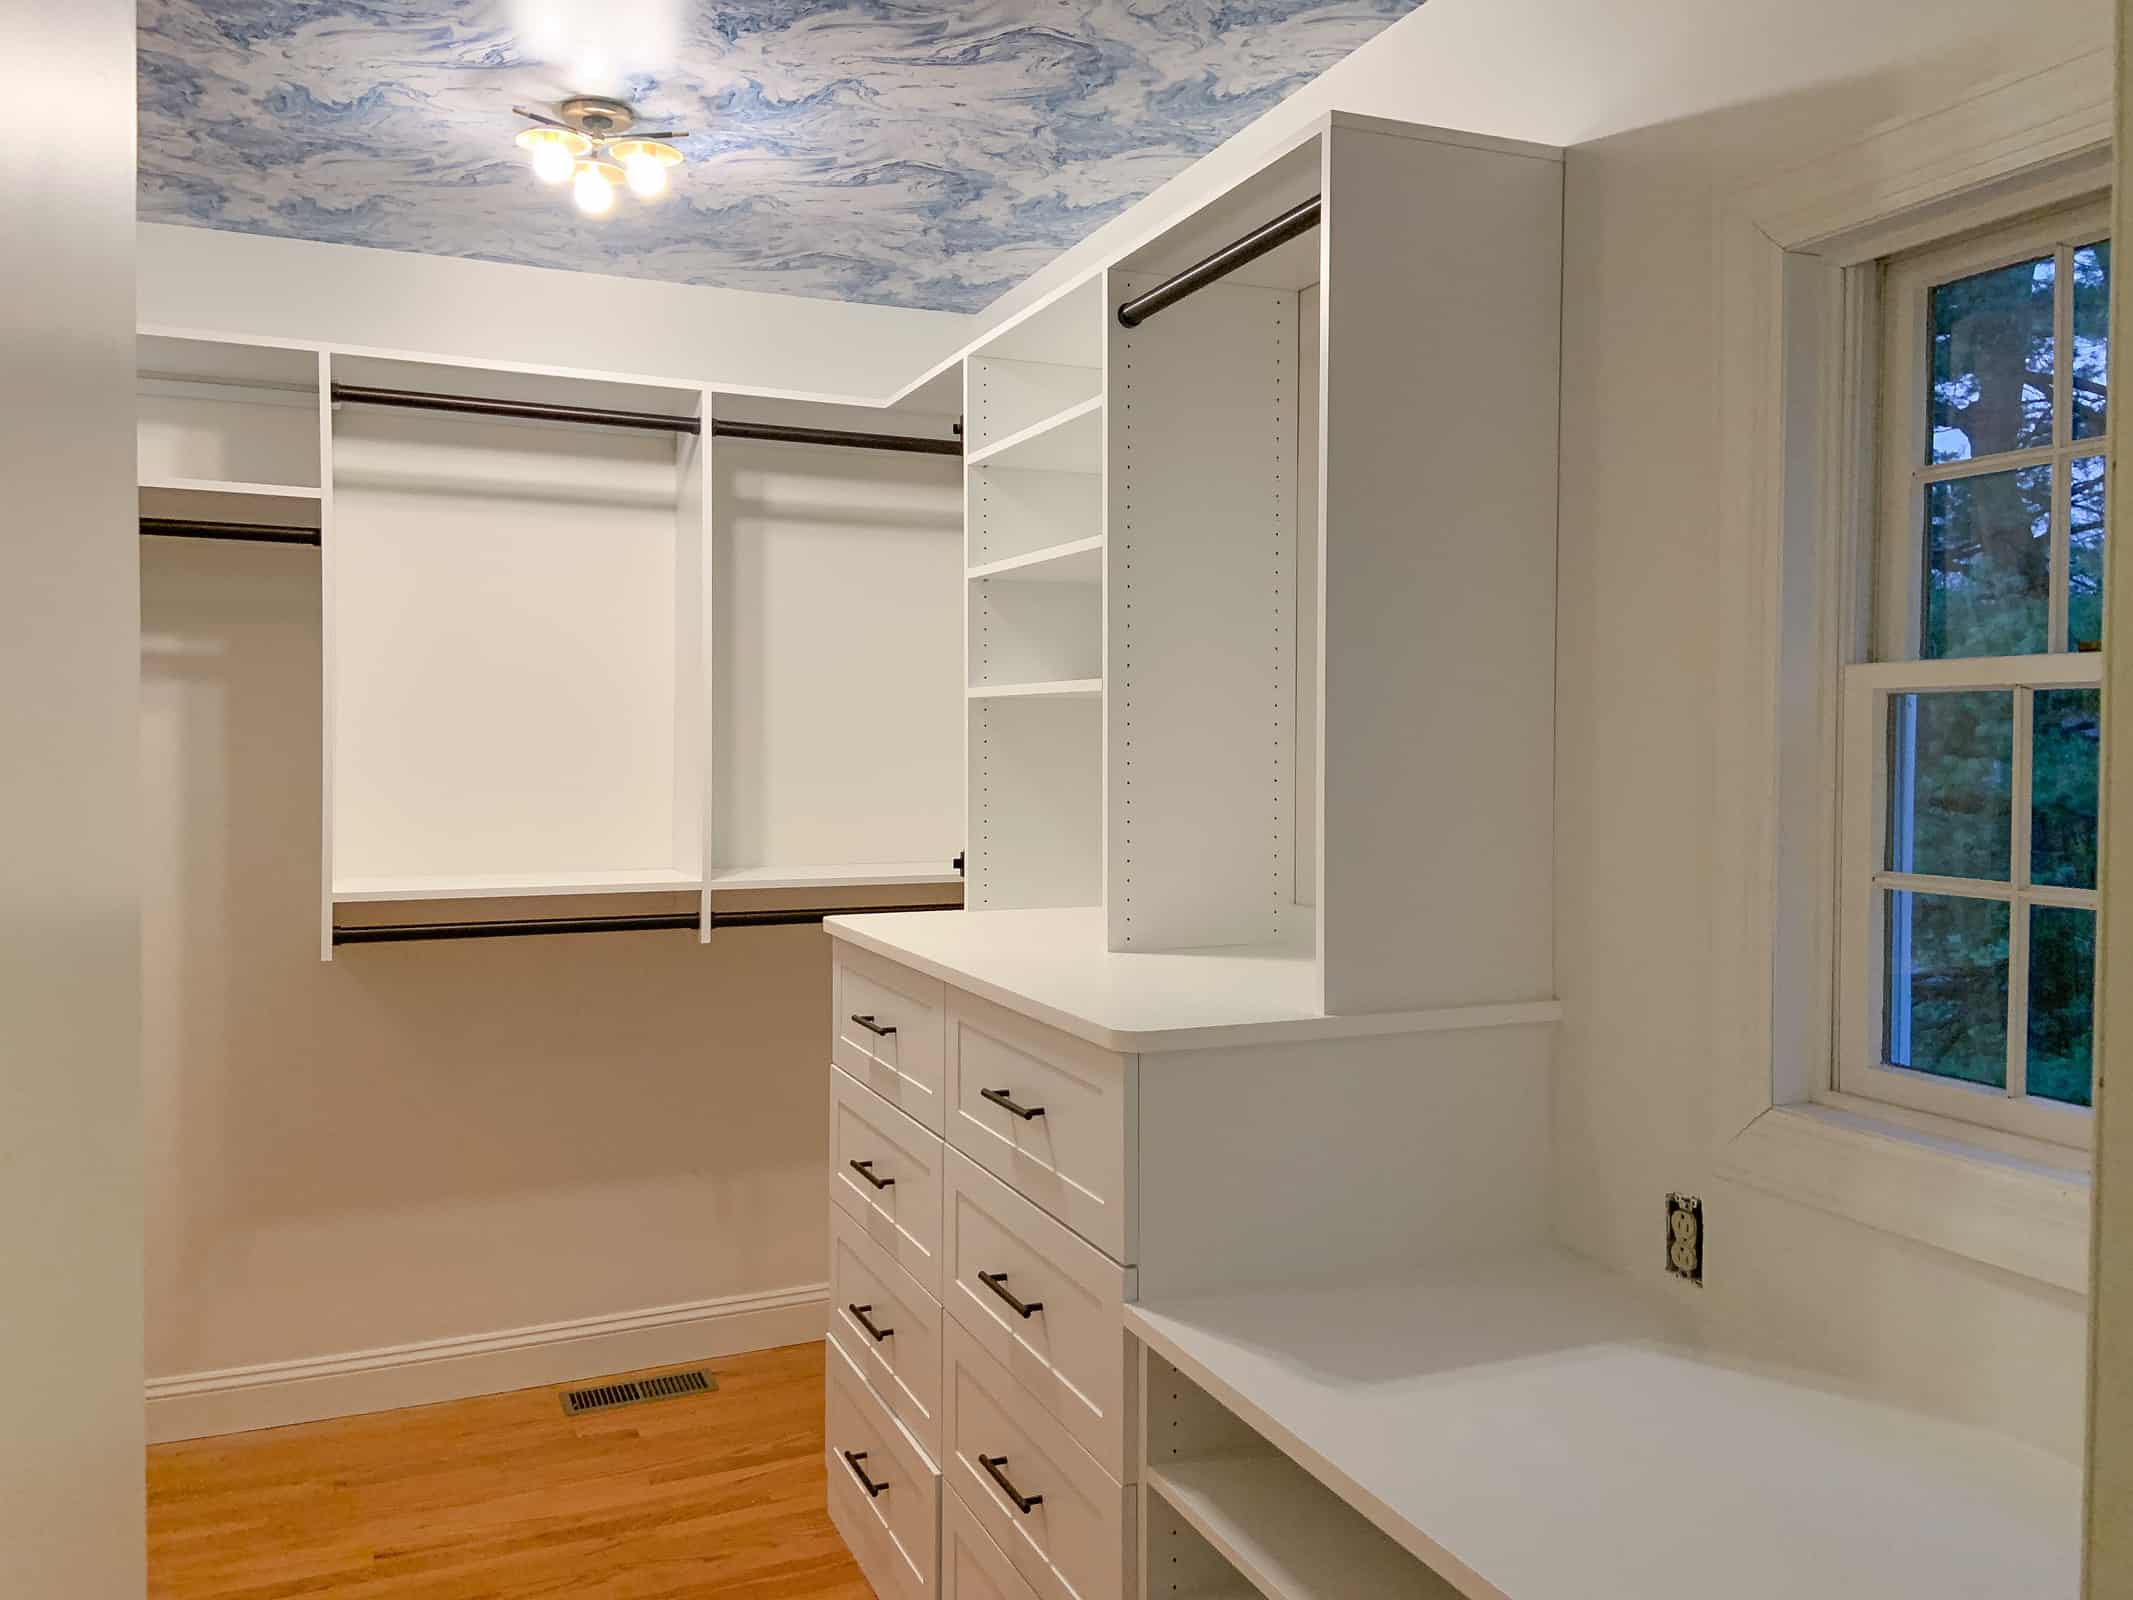
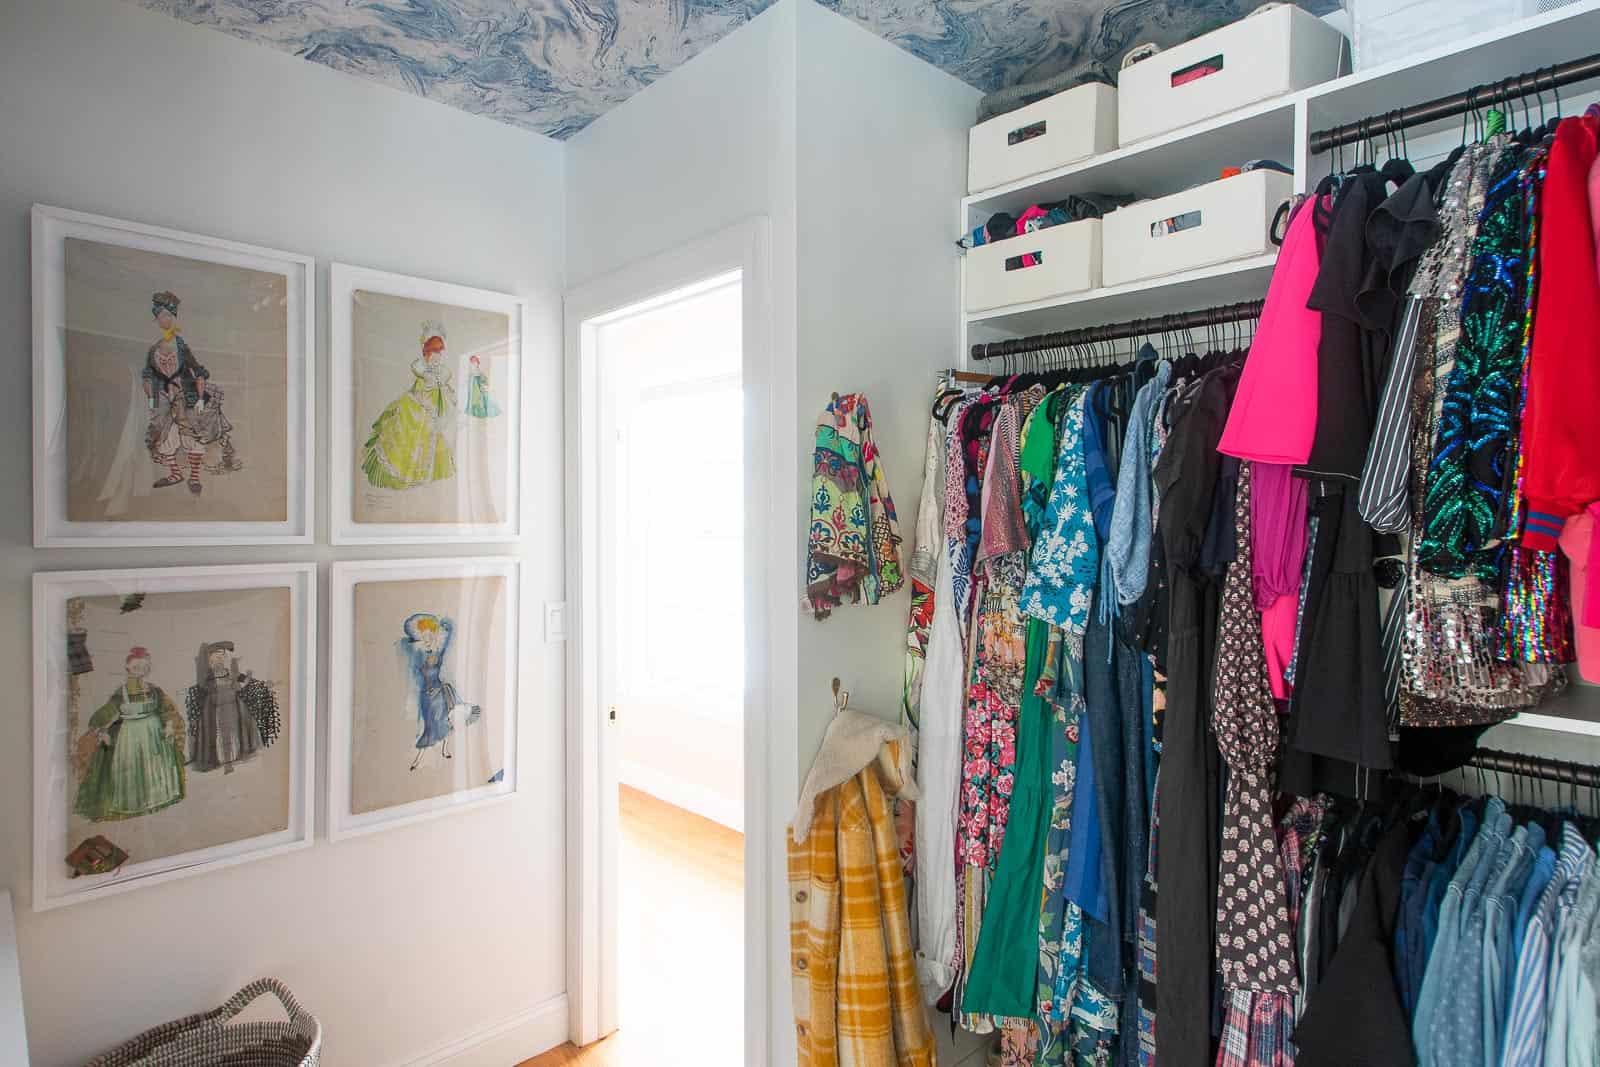
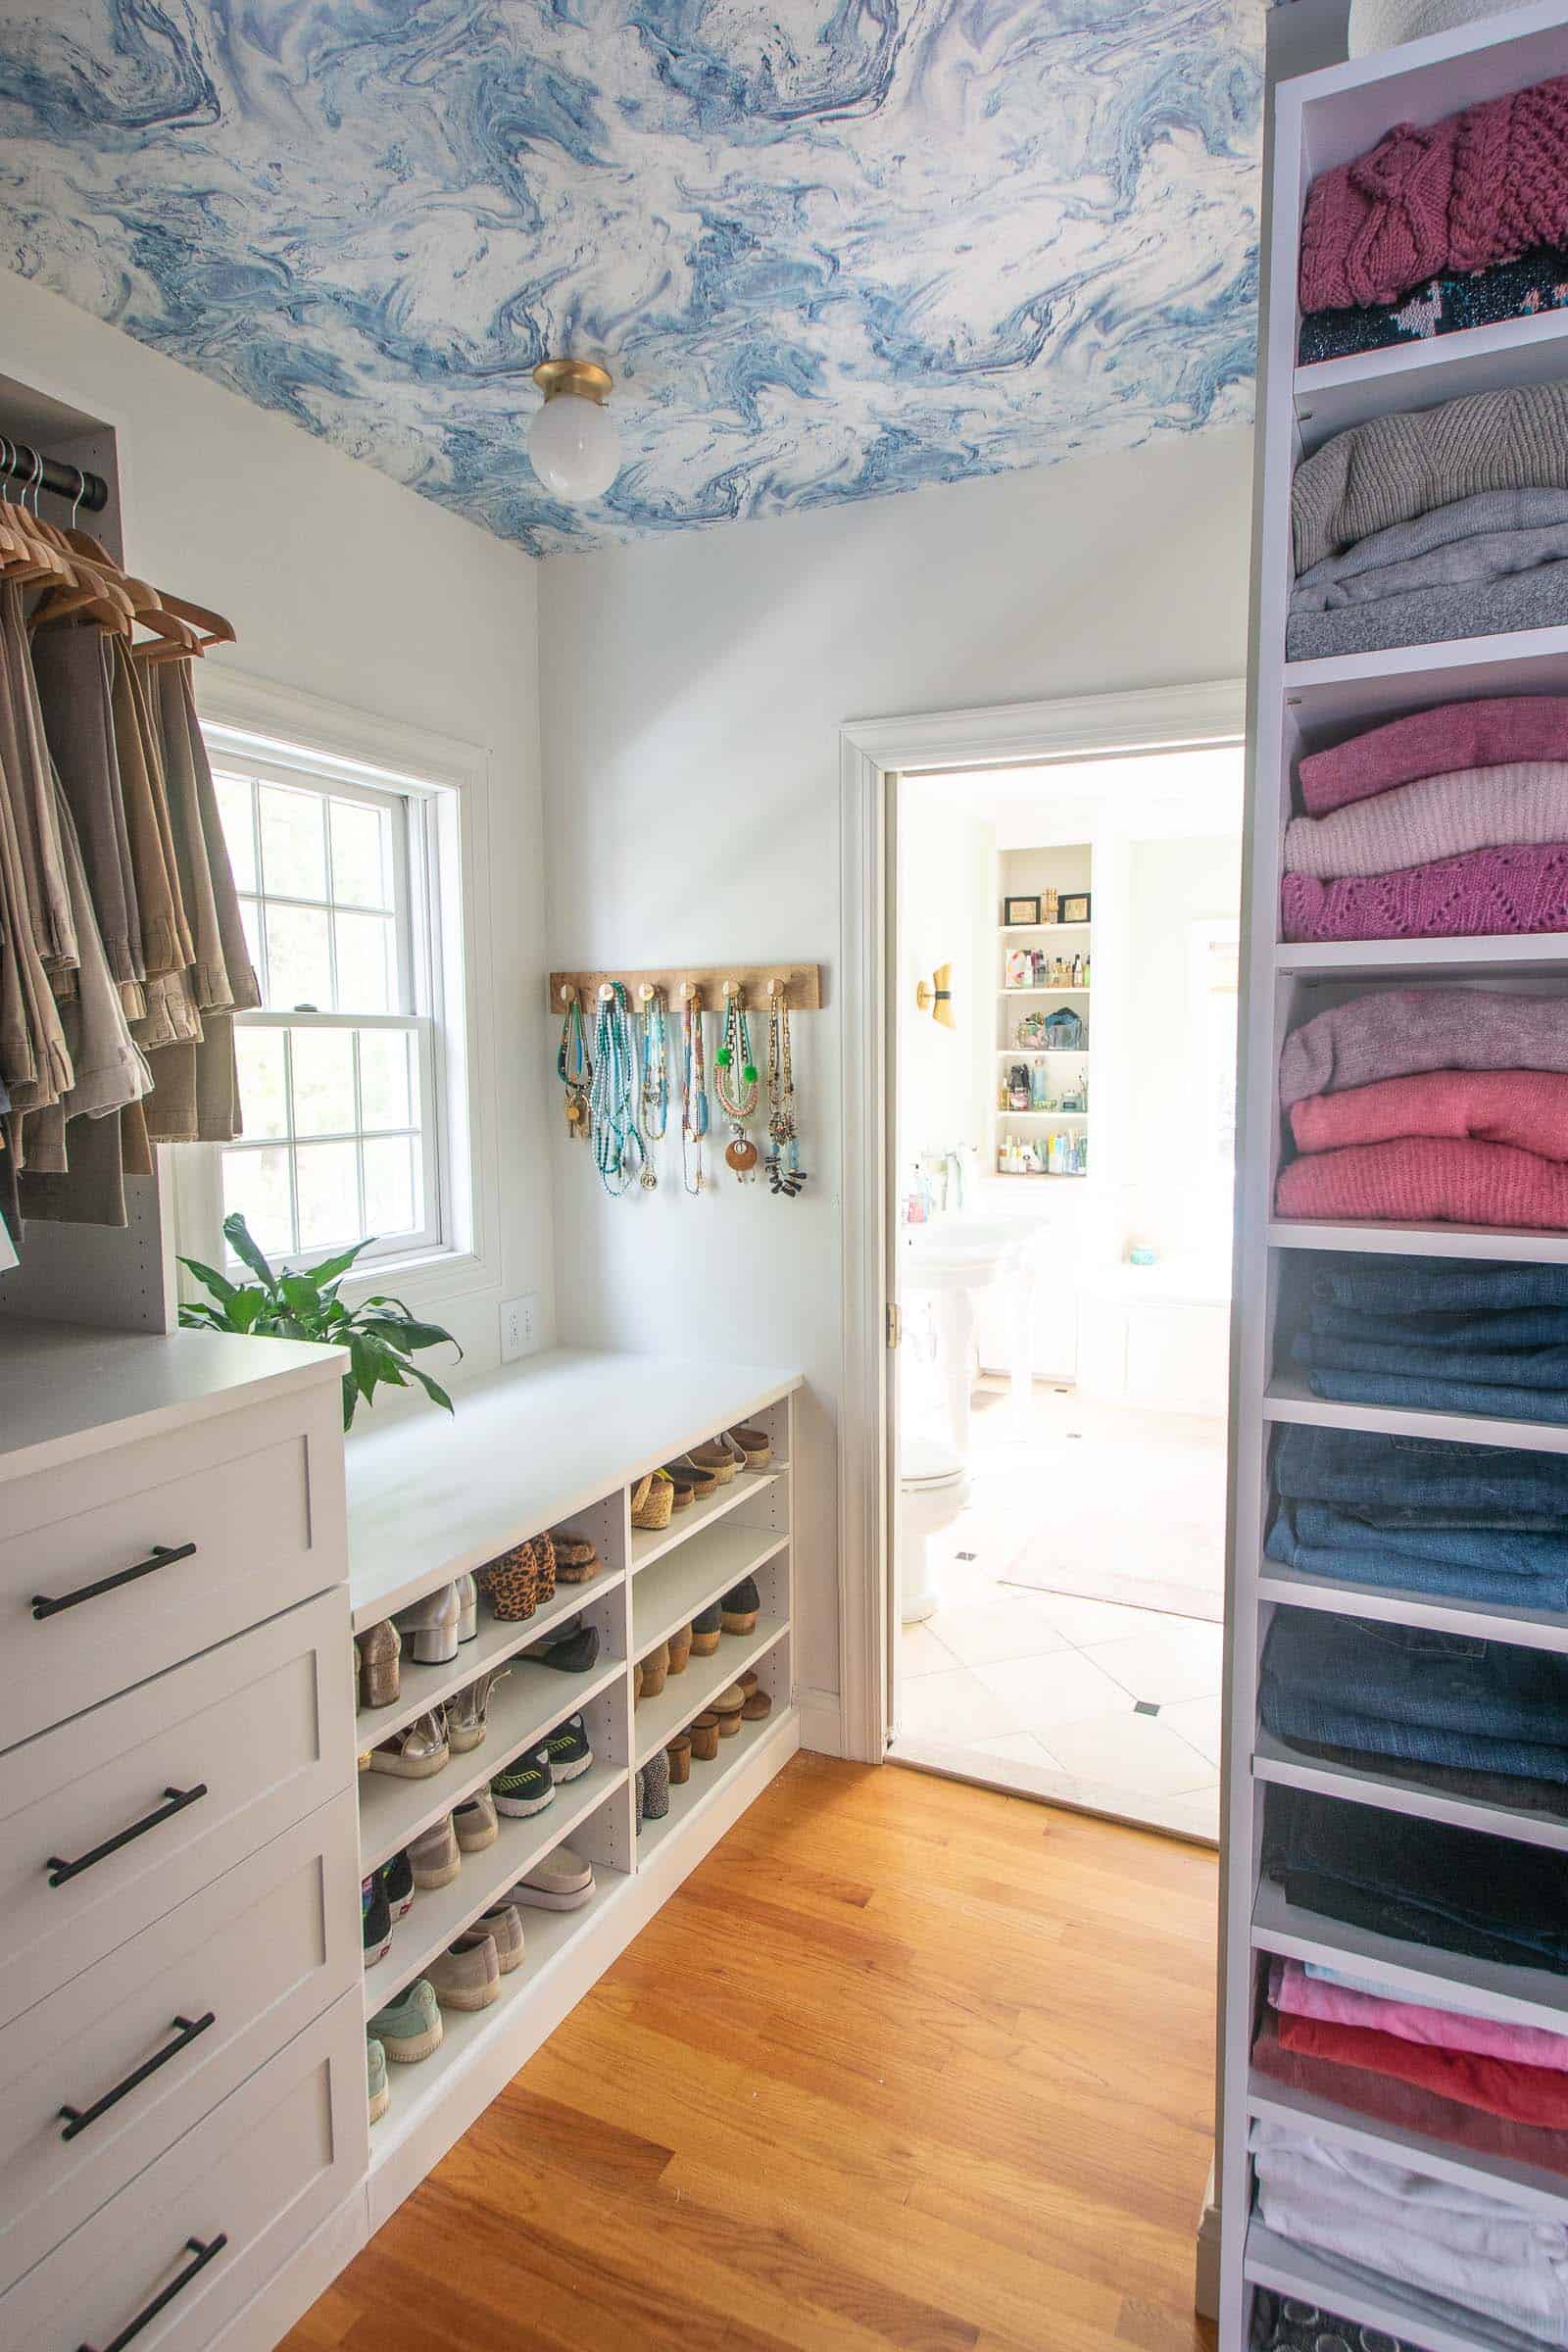
I wanted to add a little something extra to this space so I figured some wallpaper on the ceiling would be a nice surprise. This York Wallpaper has an abstract pattern that I love, but it will also work in a space for both my husband and me. also, I knew the rest of the closet would feel fairly busy because of all the clothes, so I didn’t want the paper to be too crazy or dark.
Step 5. Sit back and let the pros get to work
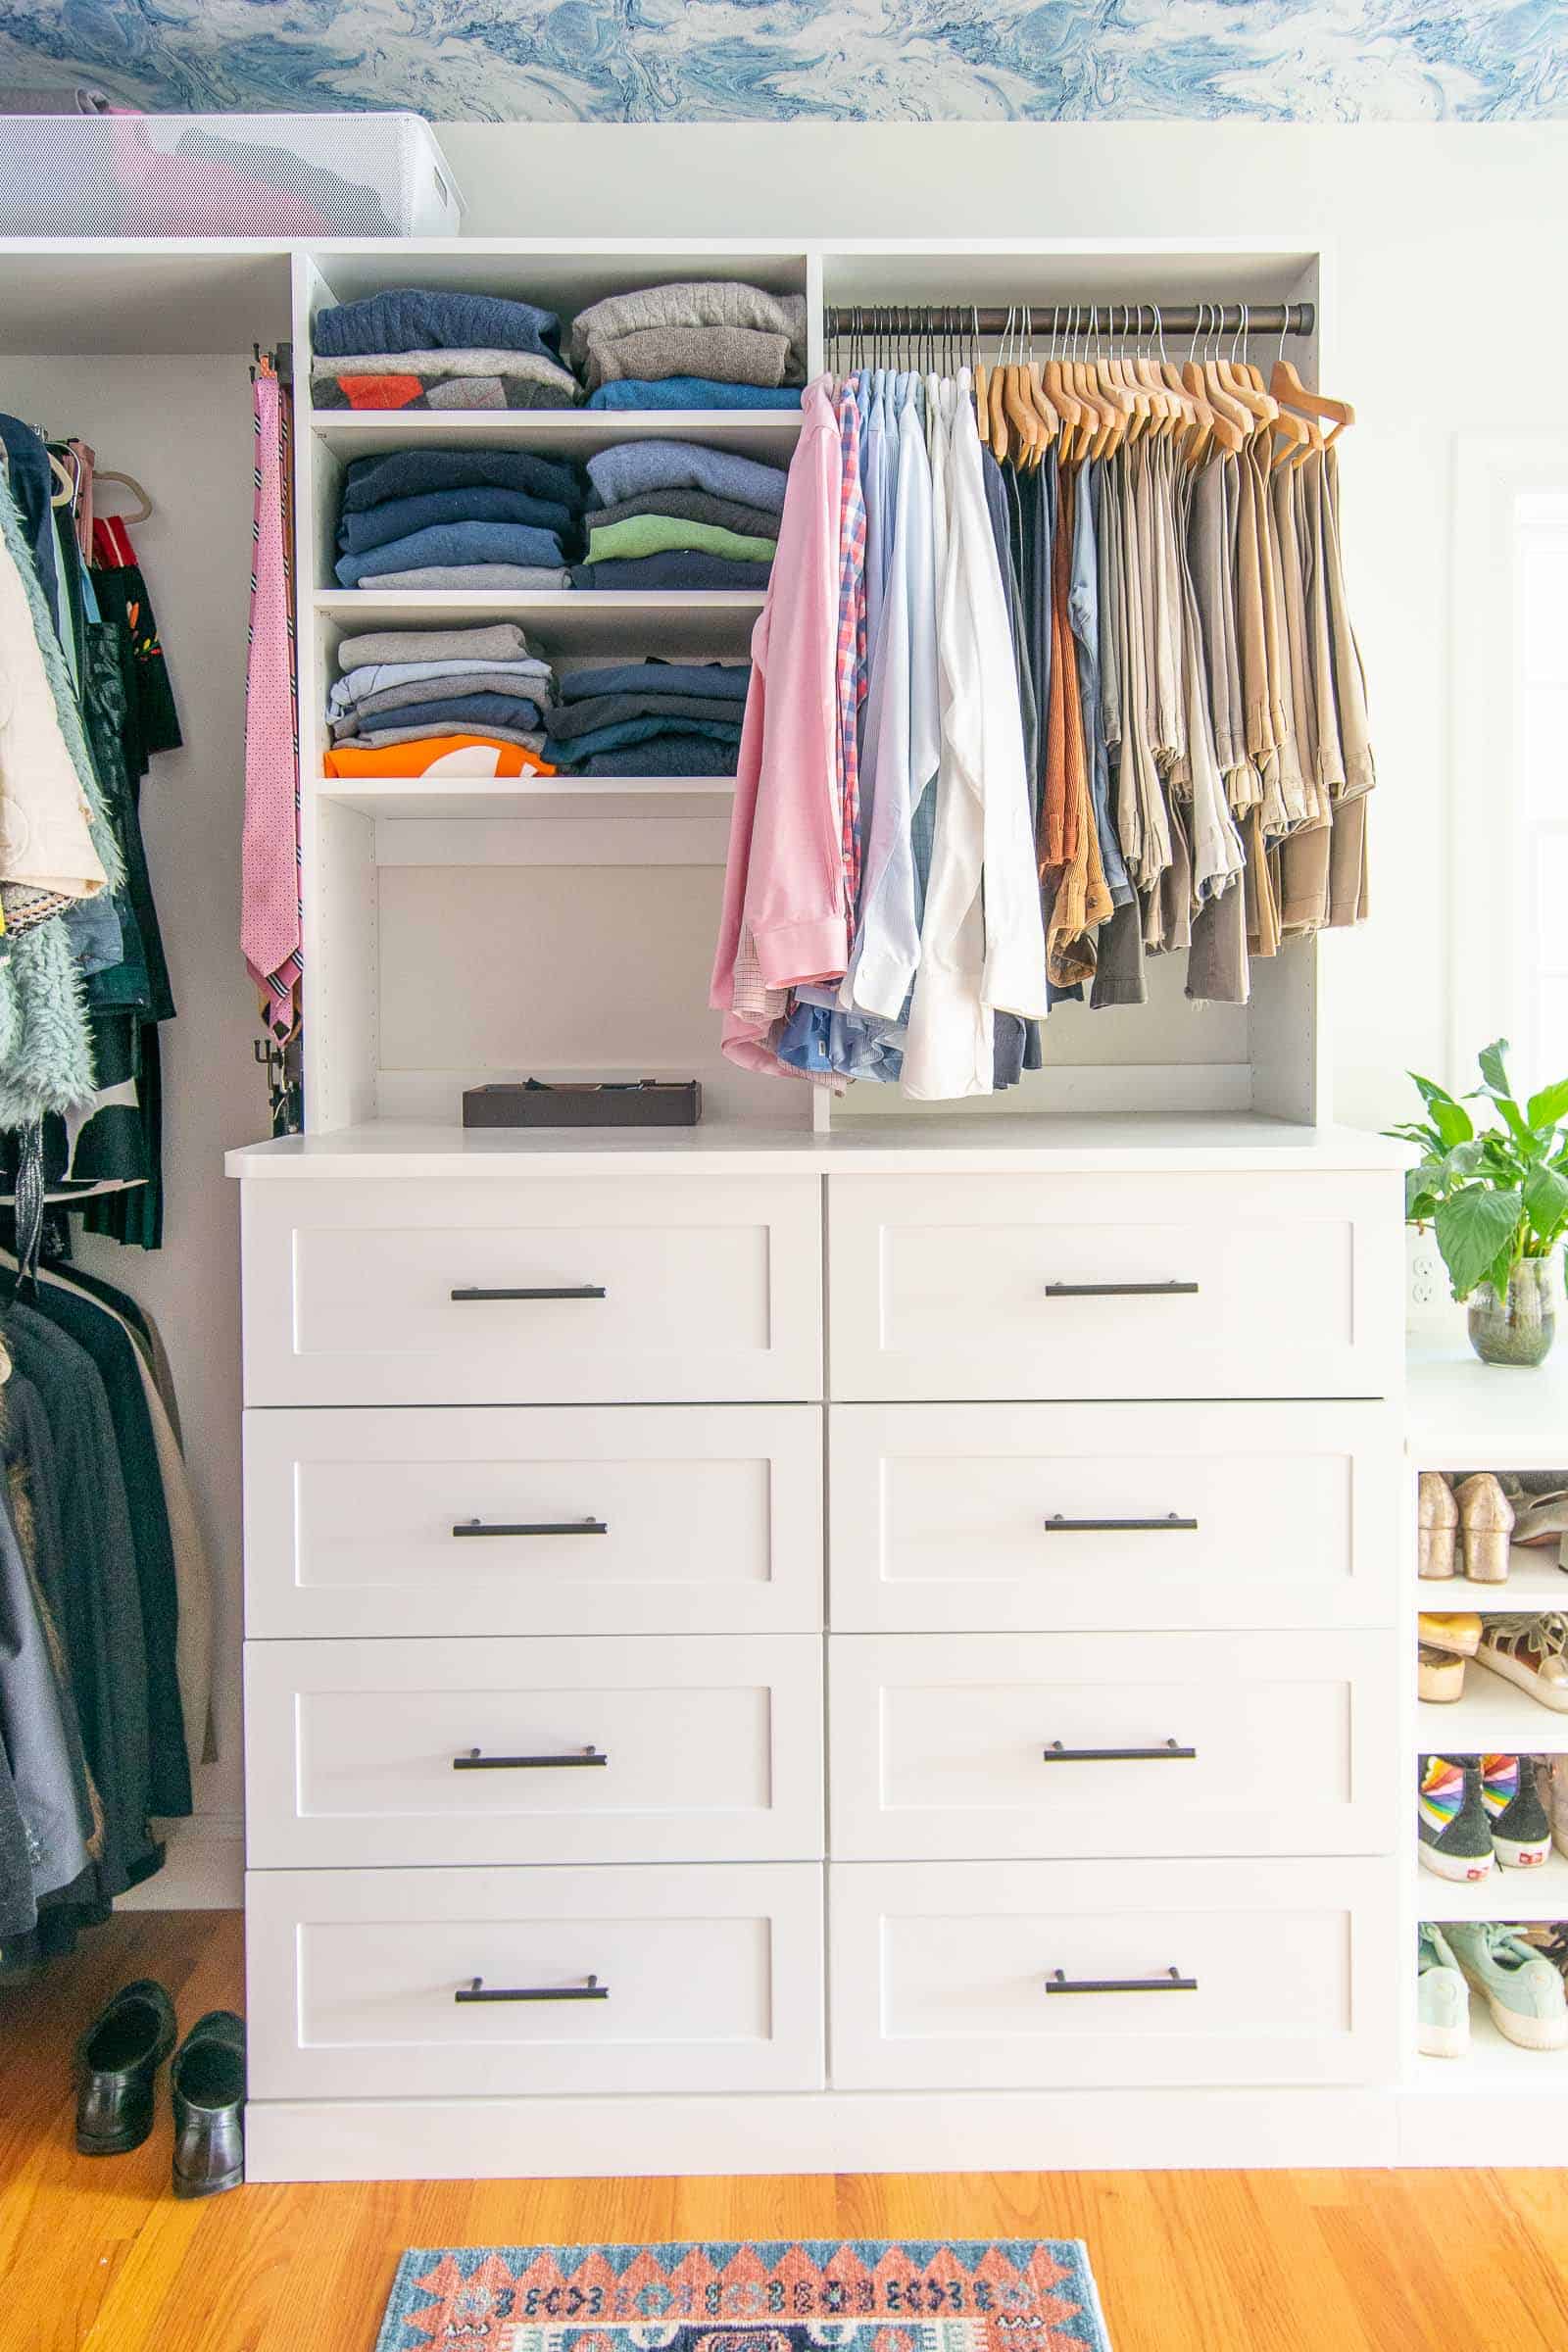
Like I said, we let the pros do the heavy lifting for this closet which meant they arrived at 9:30 and were gone by 4. I chose black handles and oil rubbed bronze poles and love the classic look of the whole space.
Step 6. Finishing touches
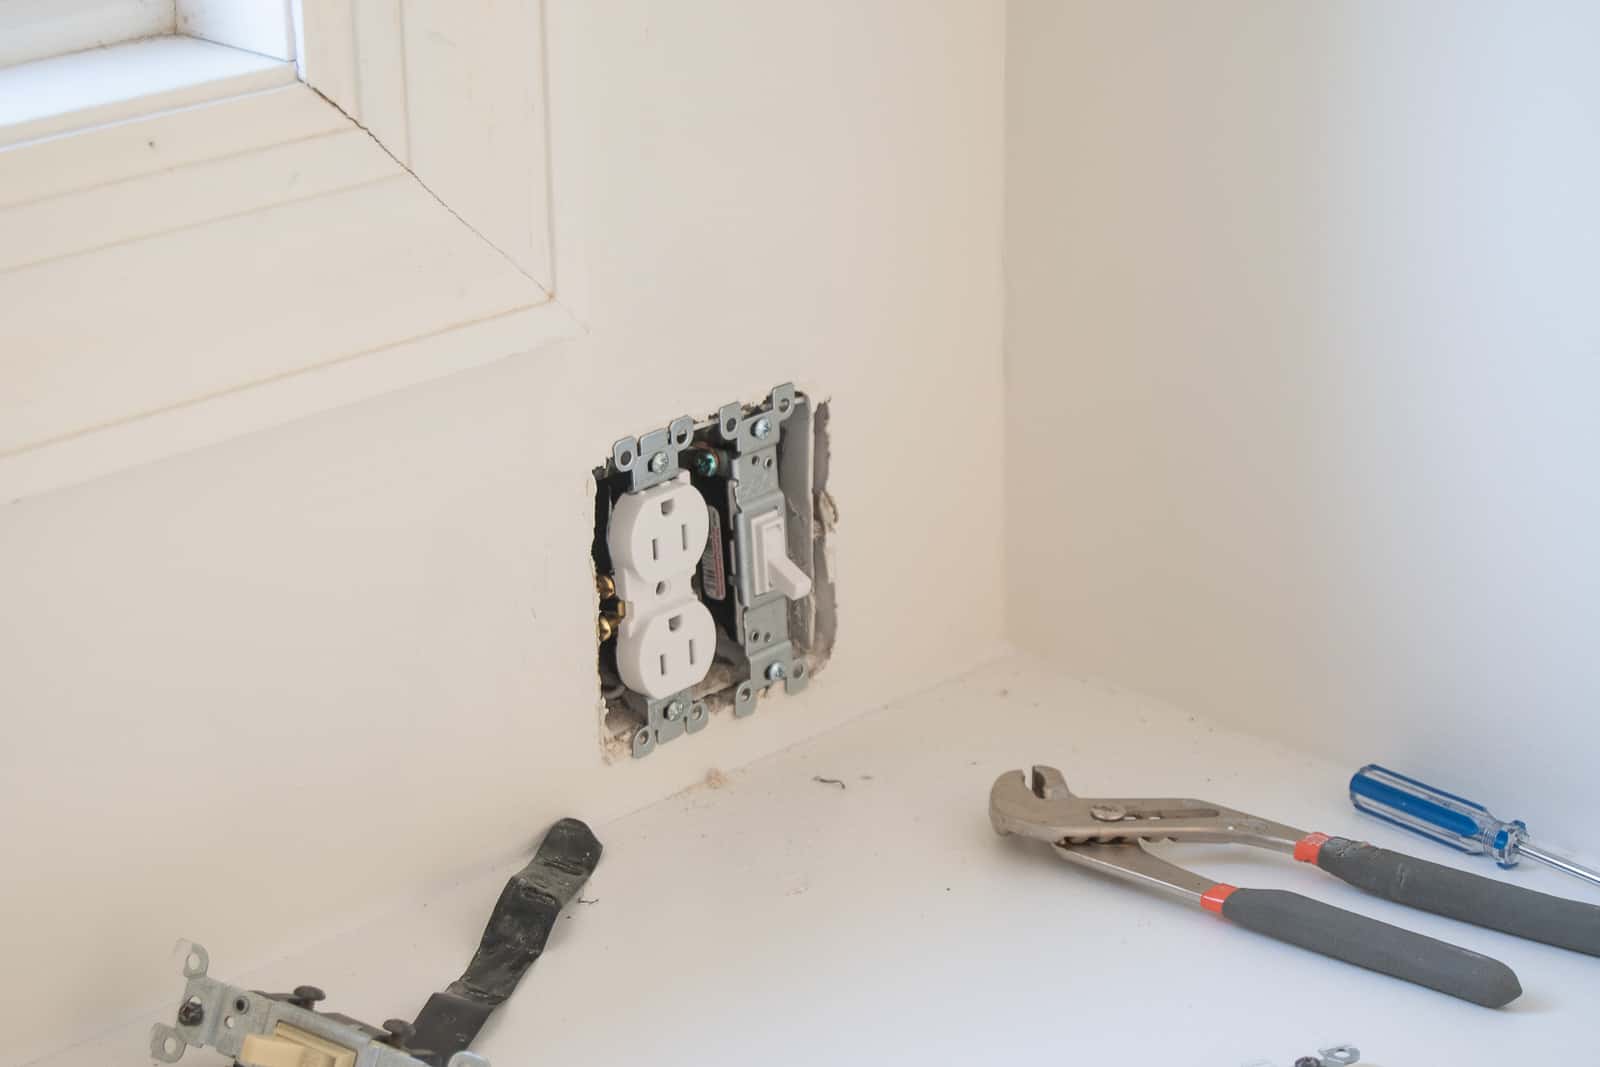
You might not have noticed but all the outlets in this room were almond/ off white. They looked super drab and dreary up against the newly painted white walls. I turned off the electricity to the room, and then replaced each outlet with a new white one. (Replacing an outlet is pretty easy… the wires are wrapped around screws on the outlet so you simply need to unscrew the wires from the old outlet and wrap them around the new outlet.)
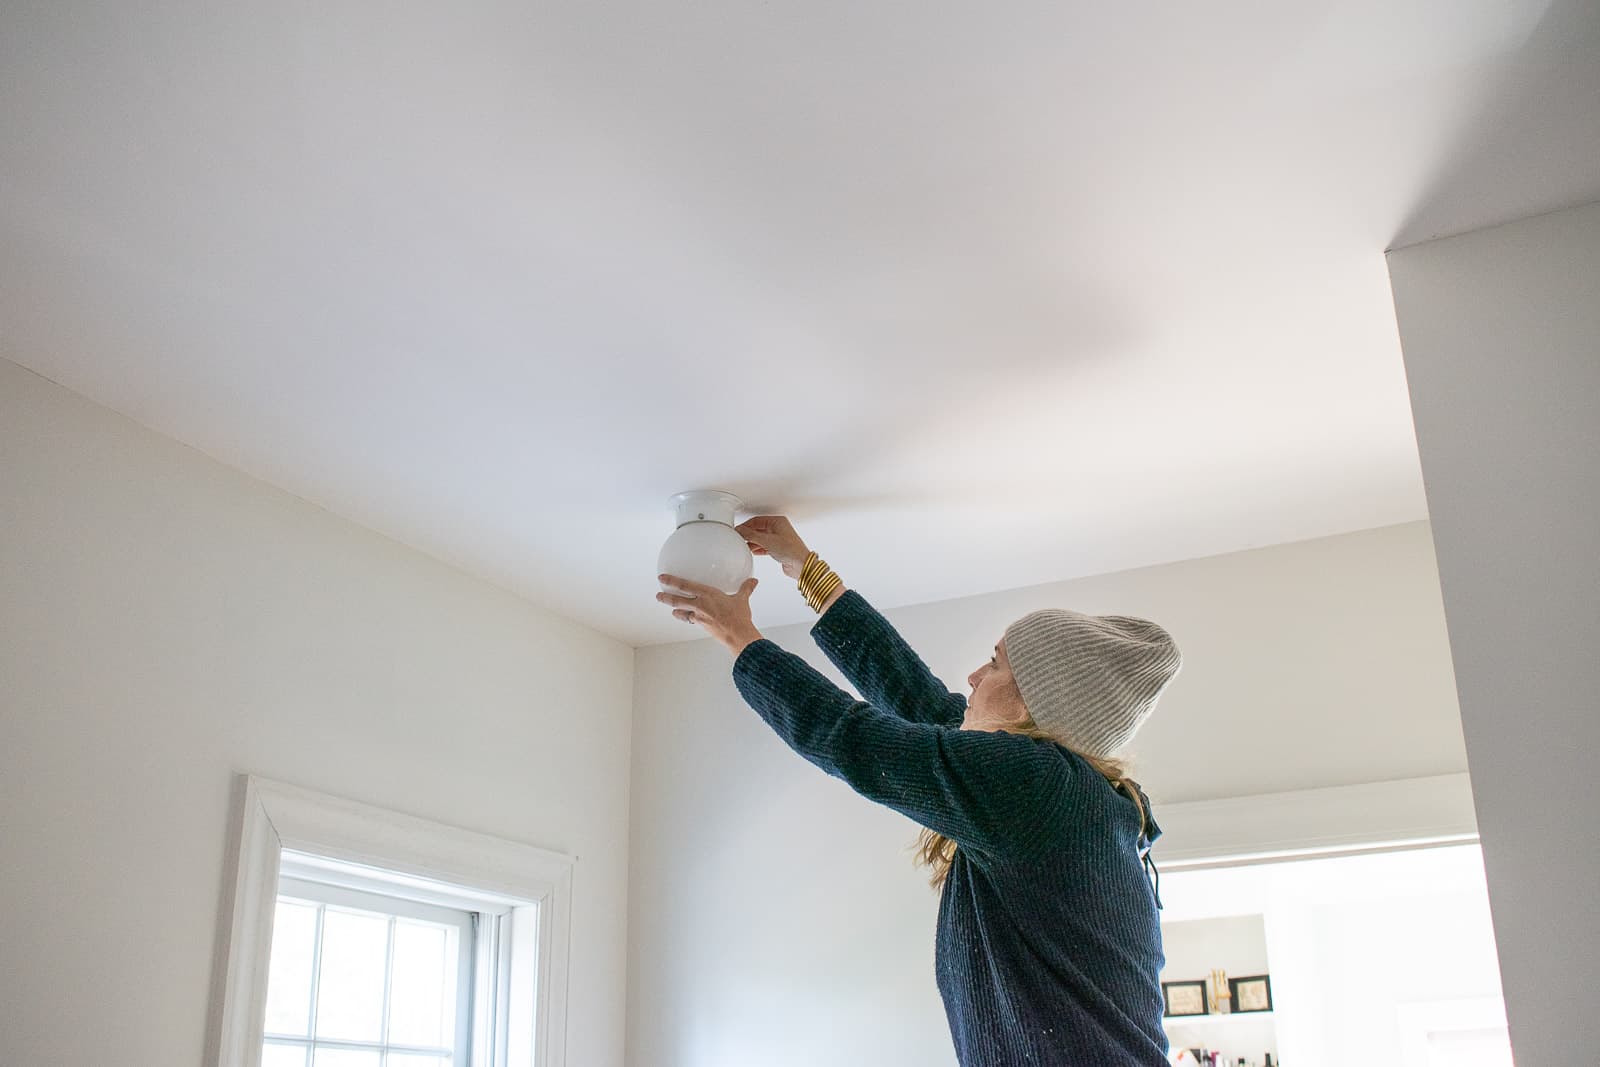
It’s hard to see in photos, but I also replaced the ceiling lights. Lights within a certain distance of clothing/ in a closet need to be contained so these simple glass orb lights ($10) at Home Depot actually worked great. But they’re not very interesting so I spray painted the base gold to match the shiny new amazing light I brought in from Hudson Valley Lighting.
Turns out it was easier to fill the closet than I imagined, but full it is! I brought in some bins from Target and Walmart to corral things like out of season items, silk scarves and more! I hung my favorite flea market art on the back wall and brought in this runner from Target.
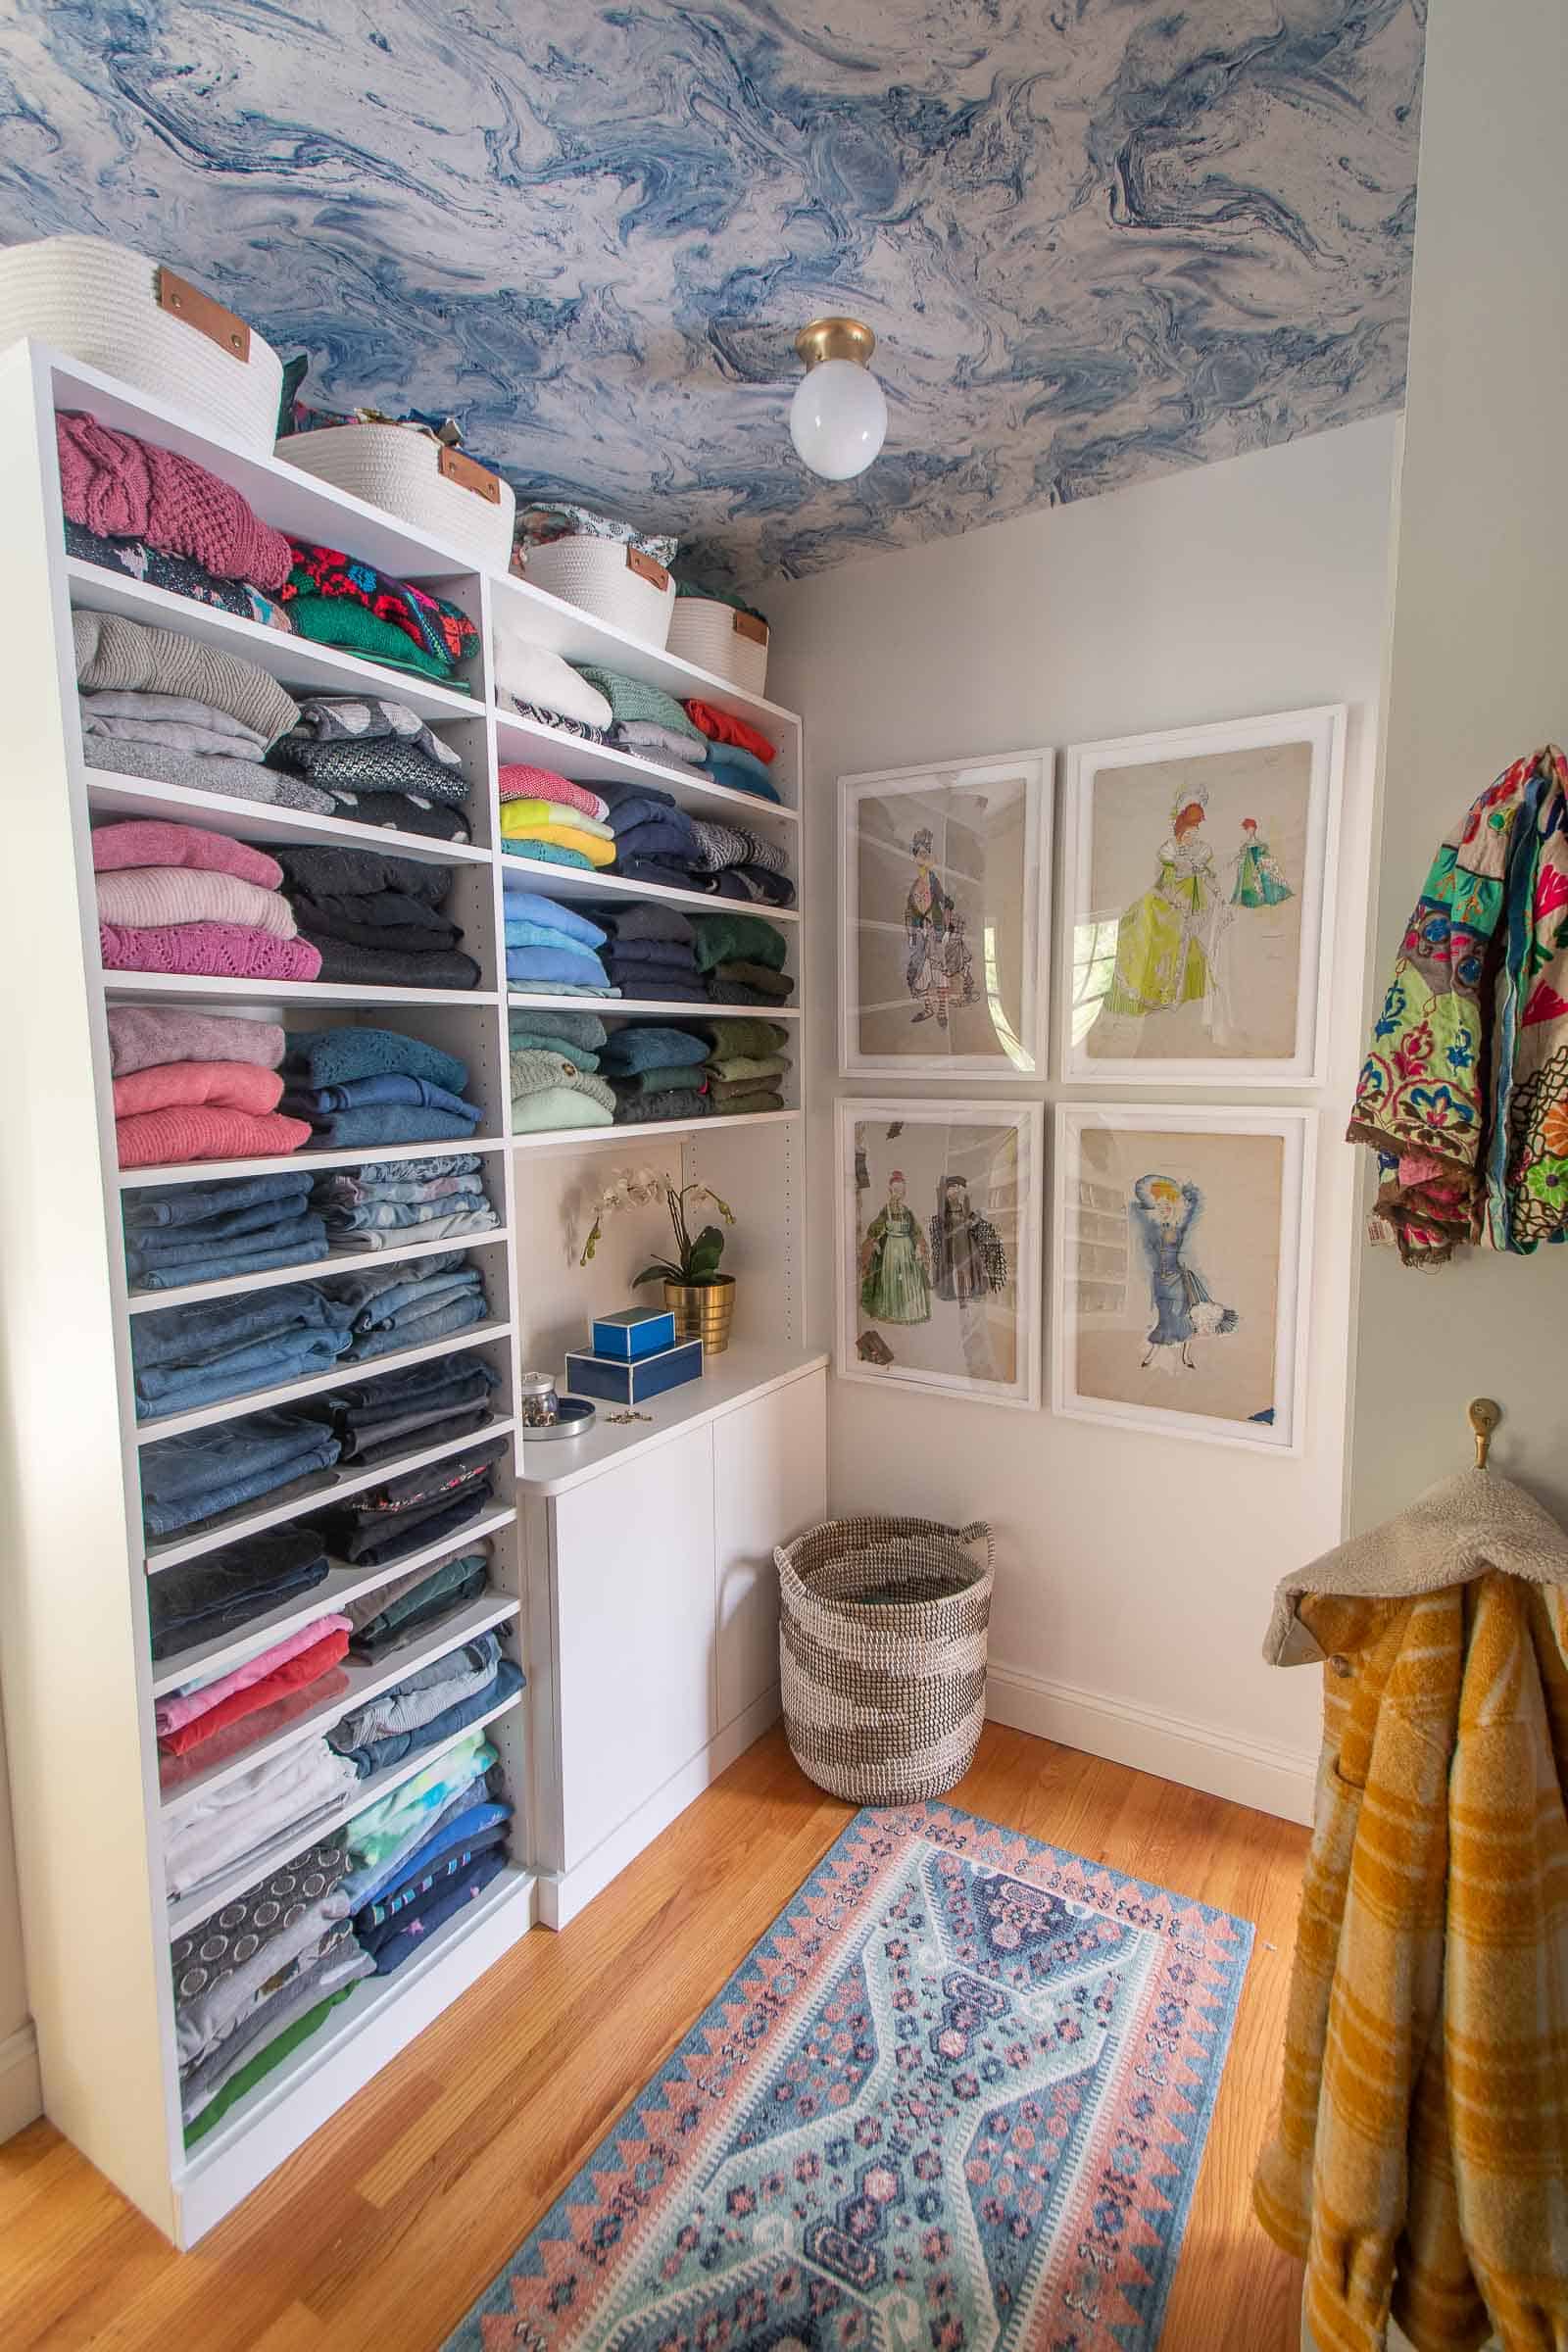
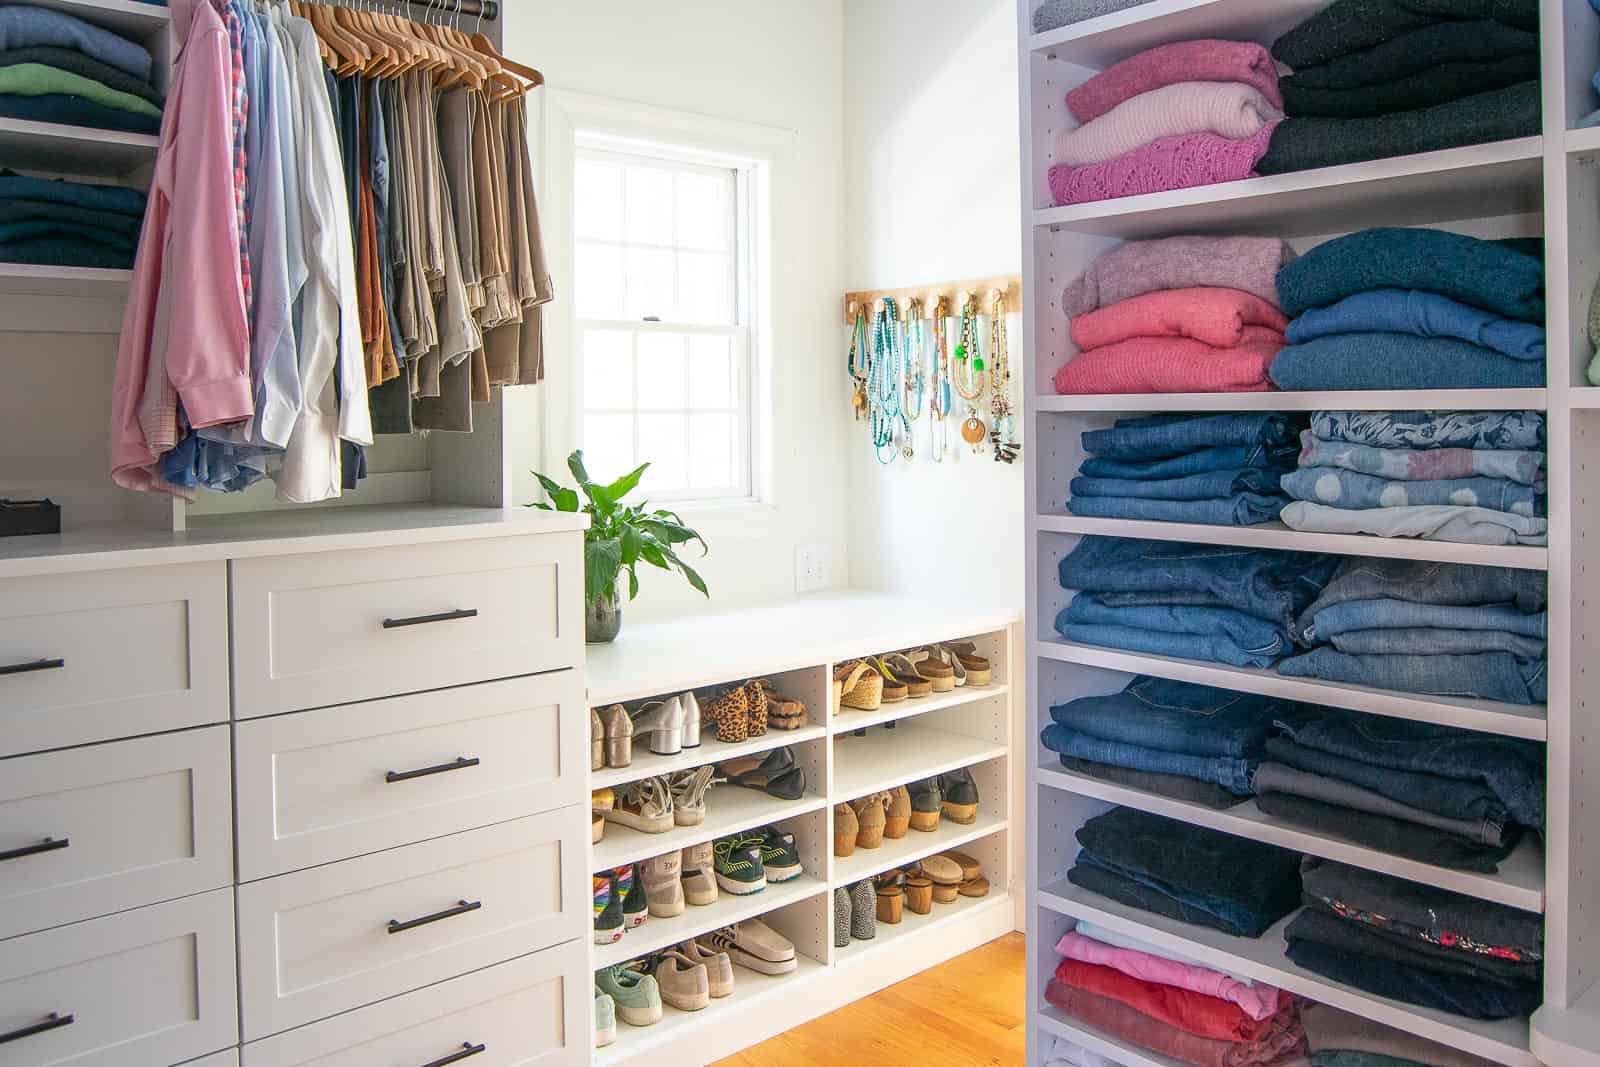
A closet tip I highly recommend is to make all the hangers the same. I opted for these black hangers to match the oil rubbed bronze hanging poles. These hangers were $15 for 30… pretty affordable.


It’s beautiful, but did i miss your post on your new move? looking forward to more posts about the new house.