
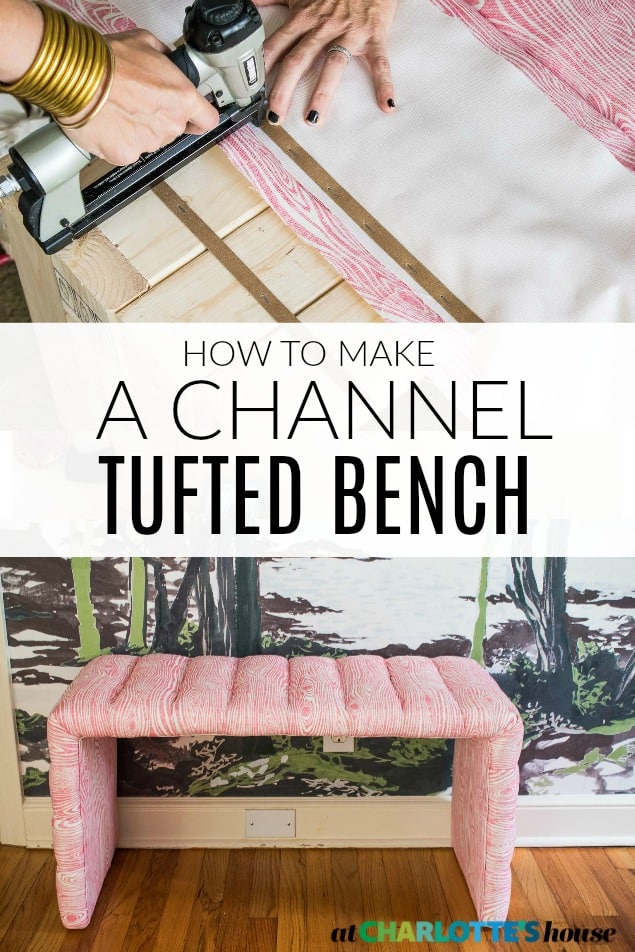
How to Make a Channel Tufted Upholstered Bench
Psssst… this post *might* contain affiliate links: see my disclosure here.
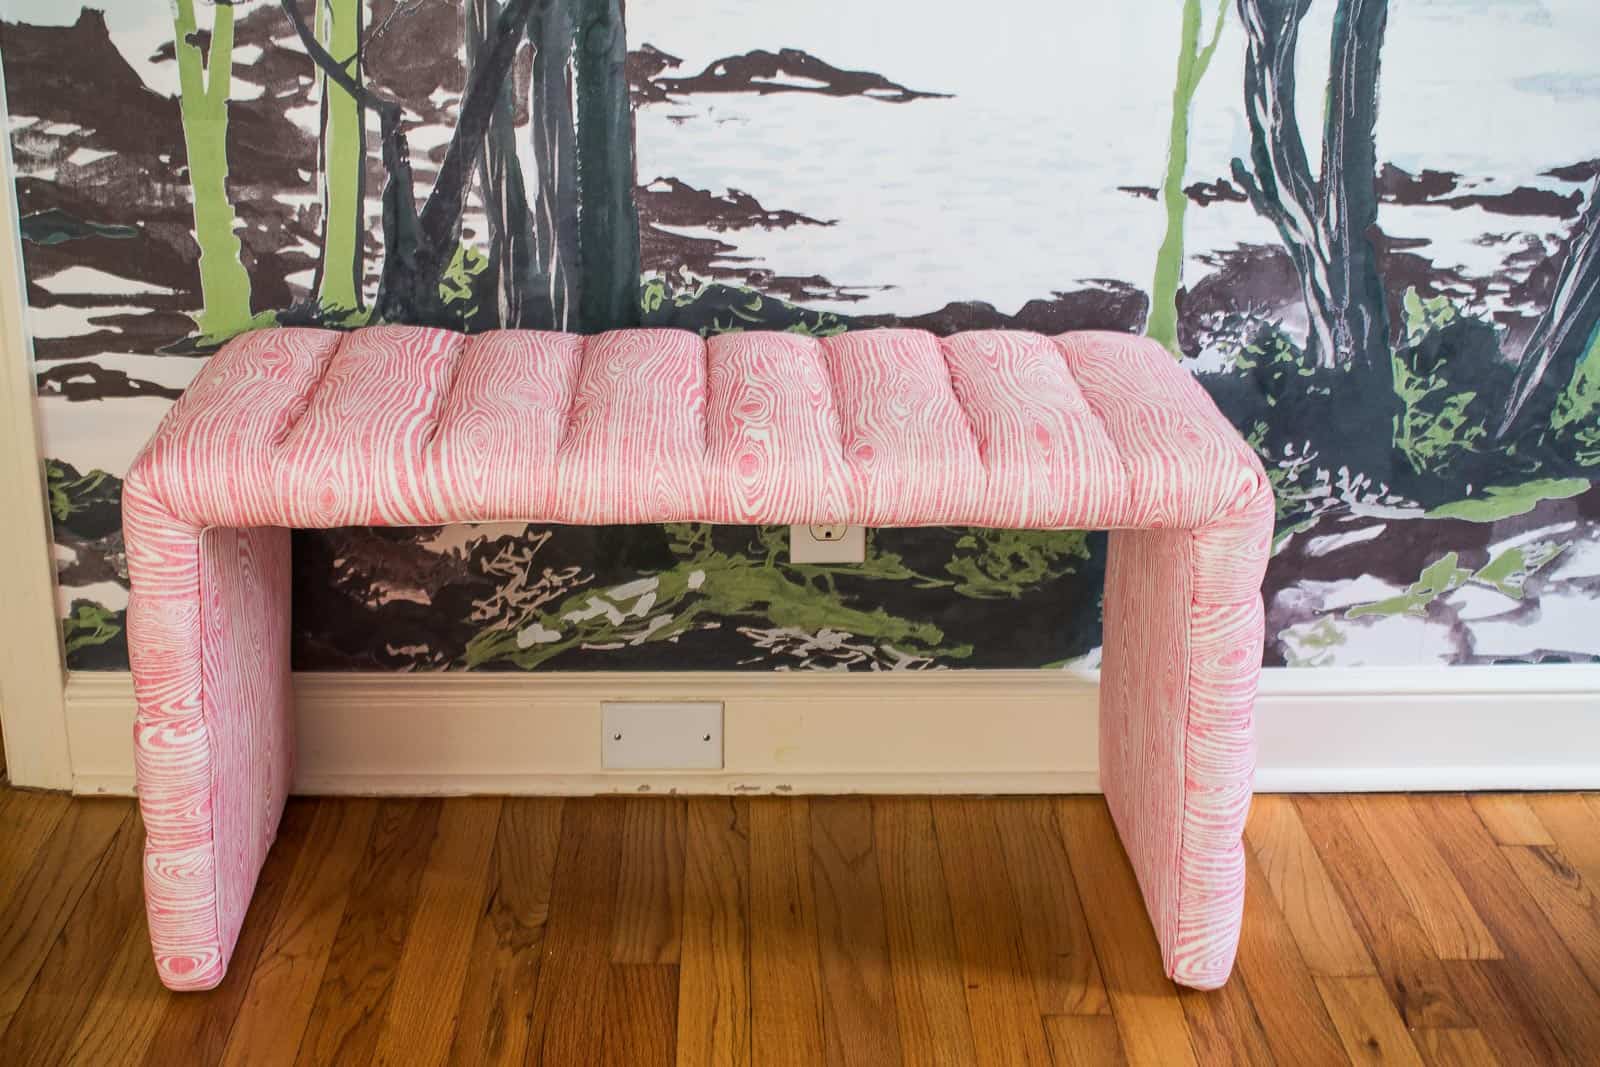
Channel Tufted Upholstery Tutorial
See how I built a bench and then upholstered it with channel tufting.
There is nothing that brings me more joy as a blogger than having an idea and then EXECUTING that idea. This channel tufted upholstered bench was one of those miraculous moments! From start to finish (with a few YouTube videos in between) I was able to do what my brain had in mind and by gum… it worked! See how…
Shop my favorites!
Building the Bench
I wanted a specific style bench for this: a waterfall design. I always look on Craigslist and Facebook marketplace for pieces to reupholster and makeover first, but alas… no dice this time. Good thing that making this style bench is probably the easiest DIY furniture you’ll ever see. I used 2×4 boards and my Kreg jig to build the bench.
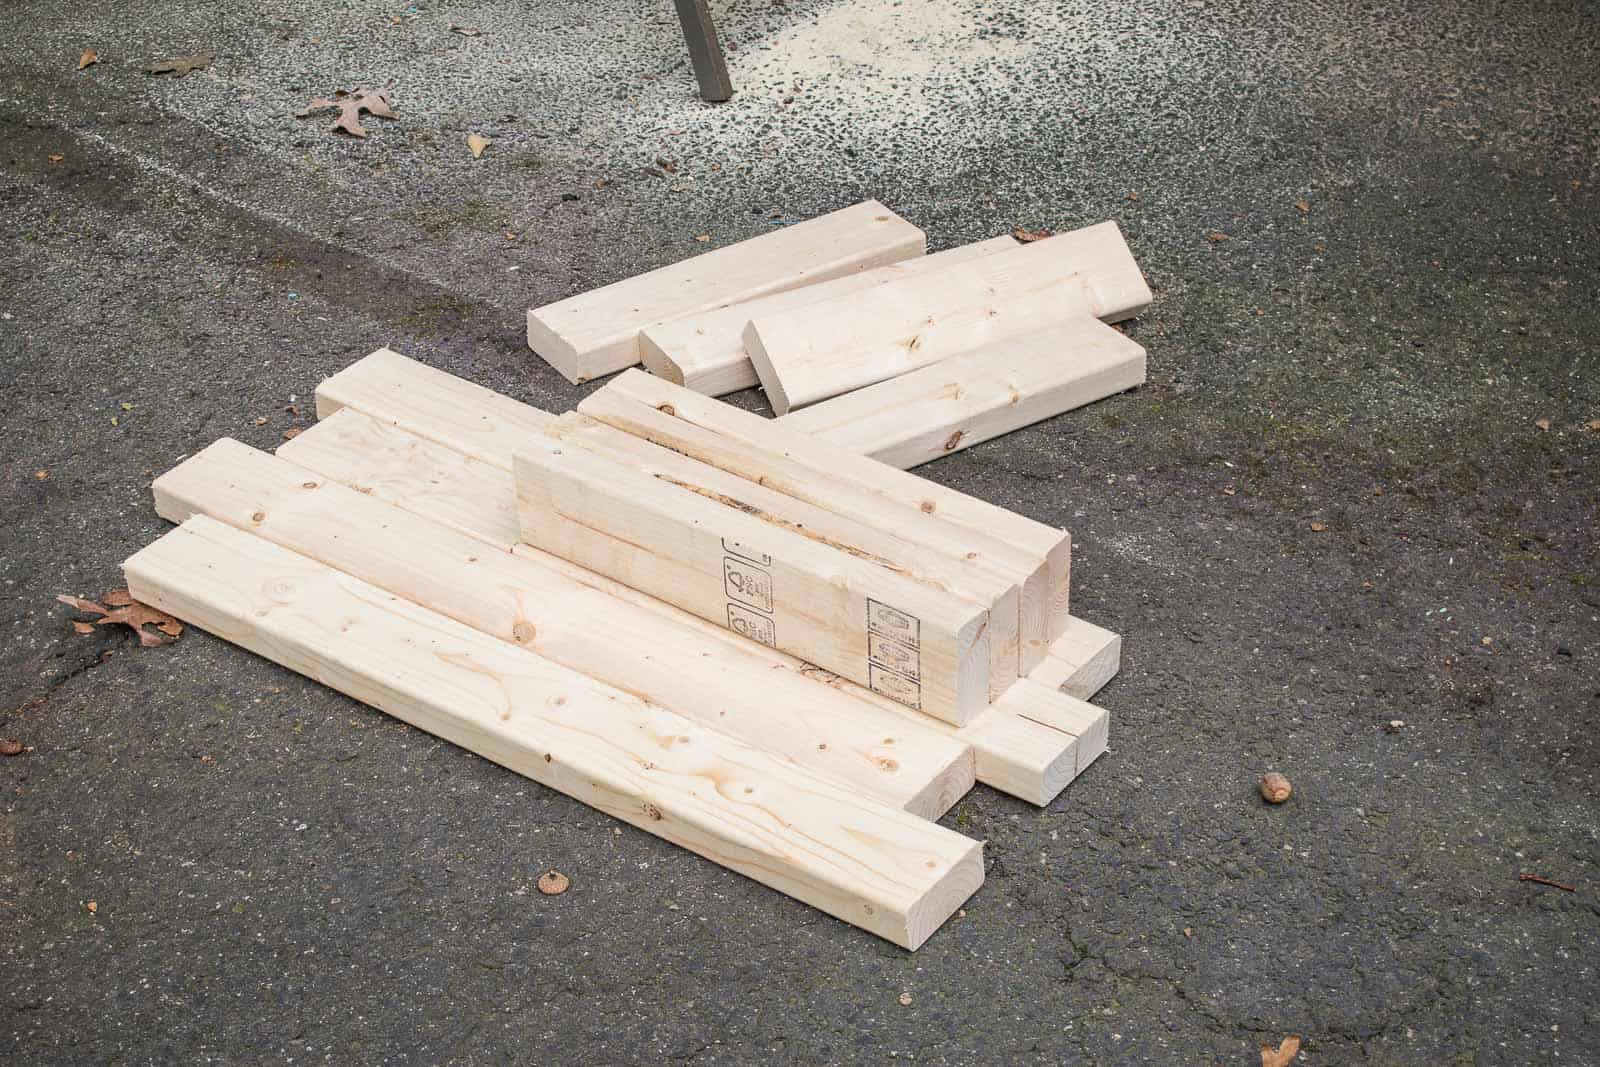
Step 1. Cut your lumber
I measured the other benches in the house and decided to make mine about 17″ high. I wanted it to be a little narrower than the coffee table and, because I didn’t want to rip down any 2x4s, I kept it at 4 boards deep. In order to create the necessary structure for this bench, you need to stagger the cuts so the legs alternate from sitting underneath the top board and screwing into the side of the top board. (See pictures below.)
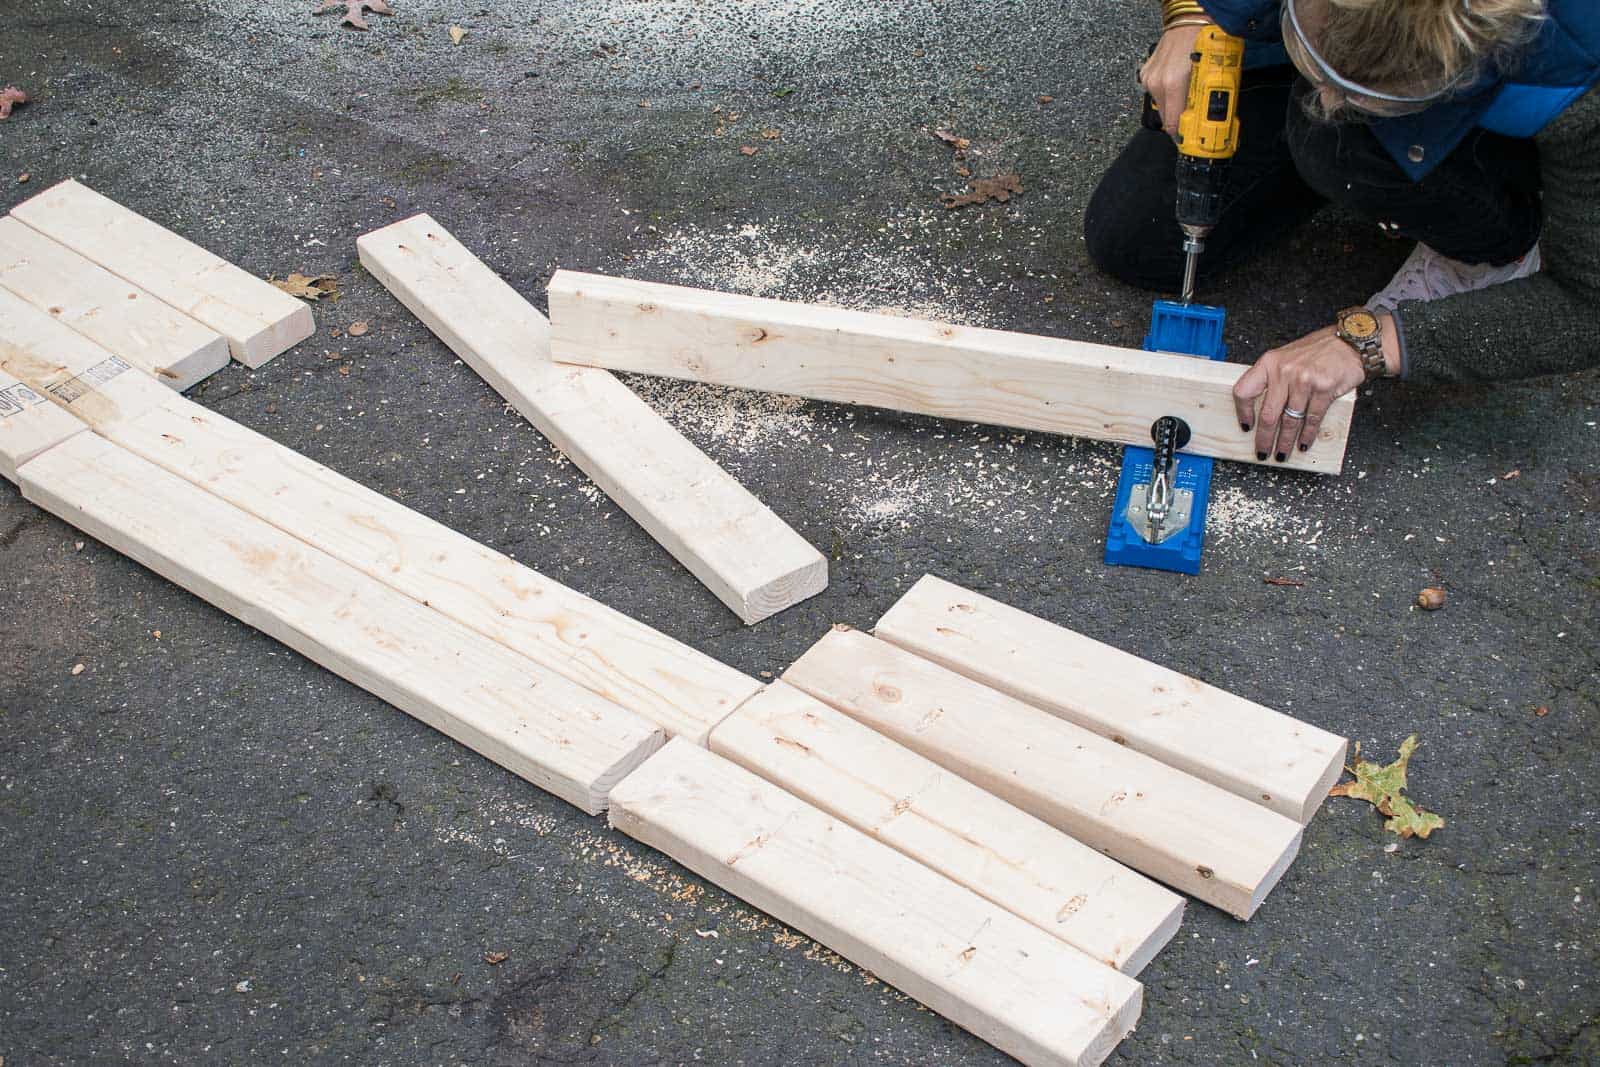
Step 2. Add pocket holes
With my Kreg jig, I added pocket holes to one end of each of the longer seat boards, and one pair to either end of the shorter leg boards. (No need to add pocket holes to the ends of the longer leg boards.) In addition, I also added pocket holes to a couple different place along the lengths of the boards to pull the individual slats together into the actual bench!
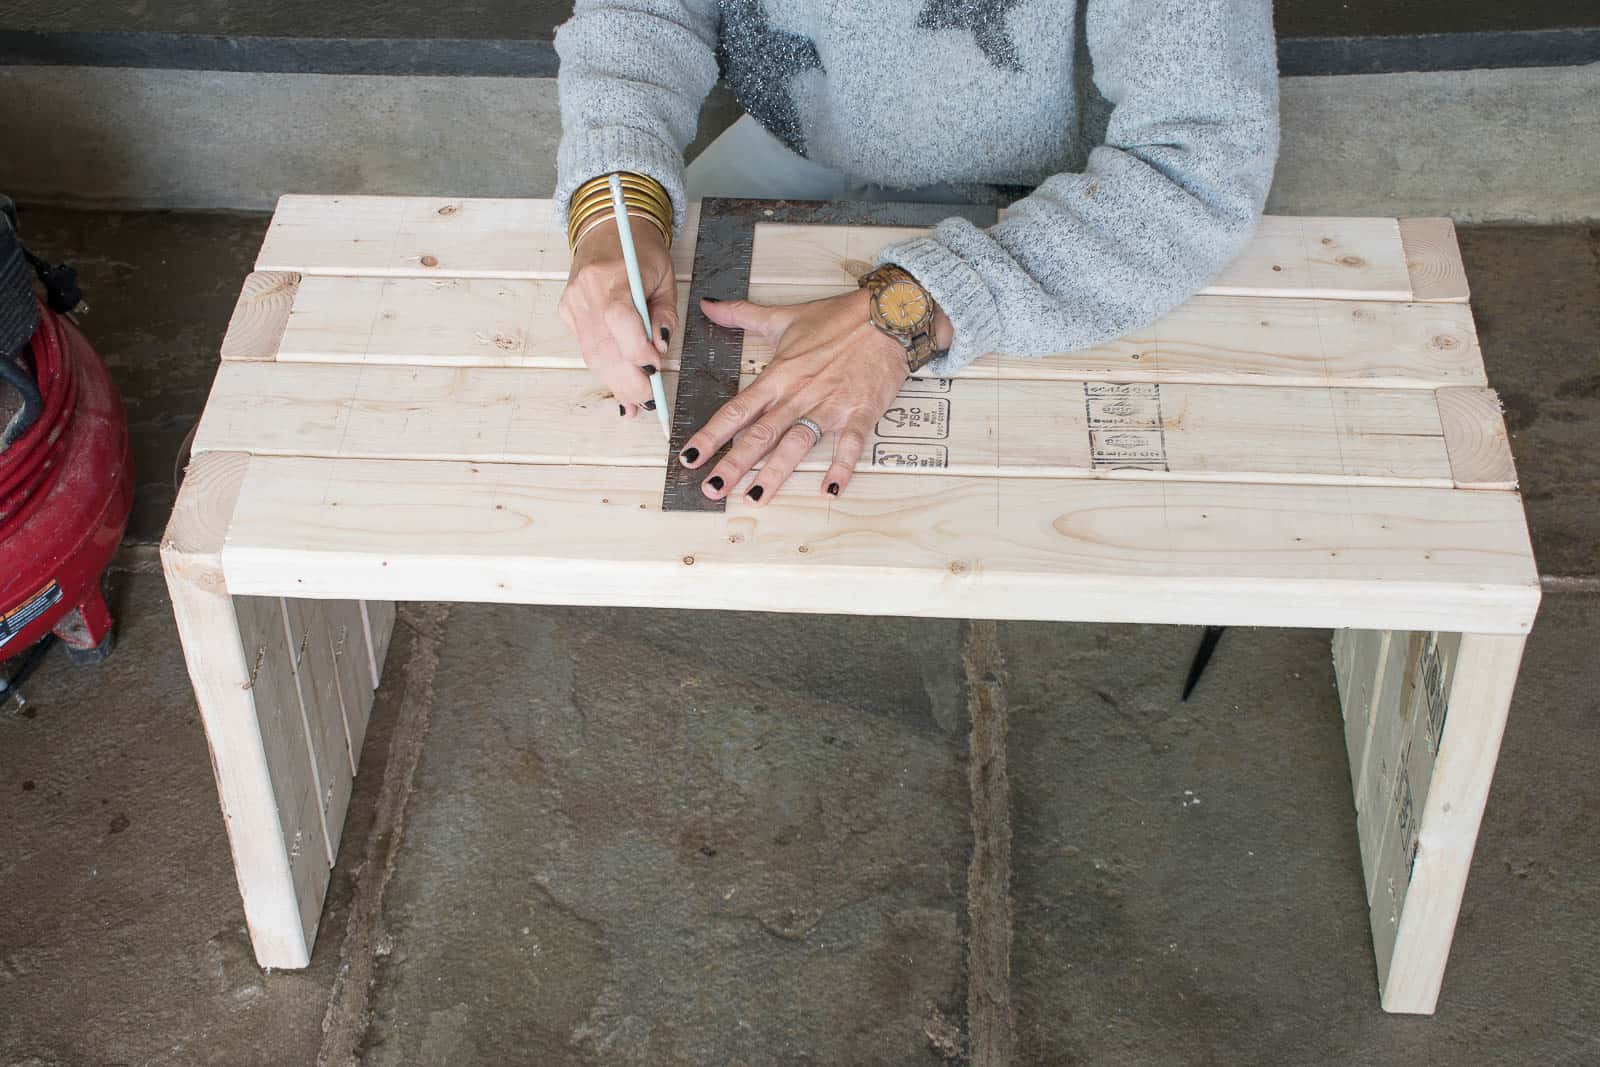
Step 3. Screw together the bench
Using the recommended 2 1/2 screws (for the 1 1/2 lumber), I clamped my boards as needed and screwed the bench together.


How to Upholster with Channel Tufting
Next up? UPHOLSTERY! You’ll need a few supplies for this part of the project:
- Nail gun
- Staples
- cardboard tack strip
- foam/ batting
- metal tack strip
- flat nose screw driver
- hammer
- fabric
- scissors
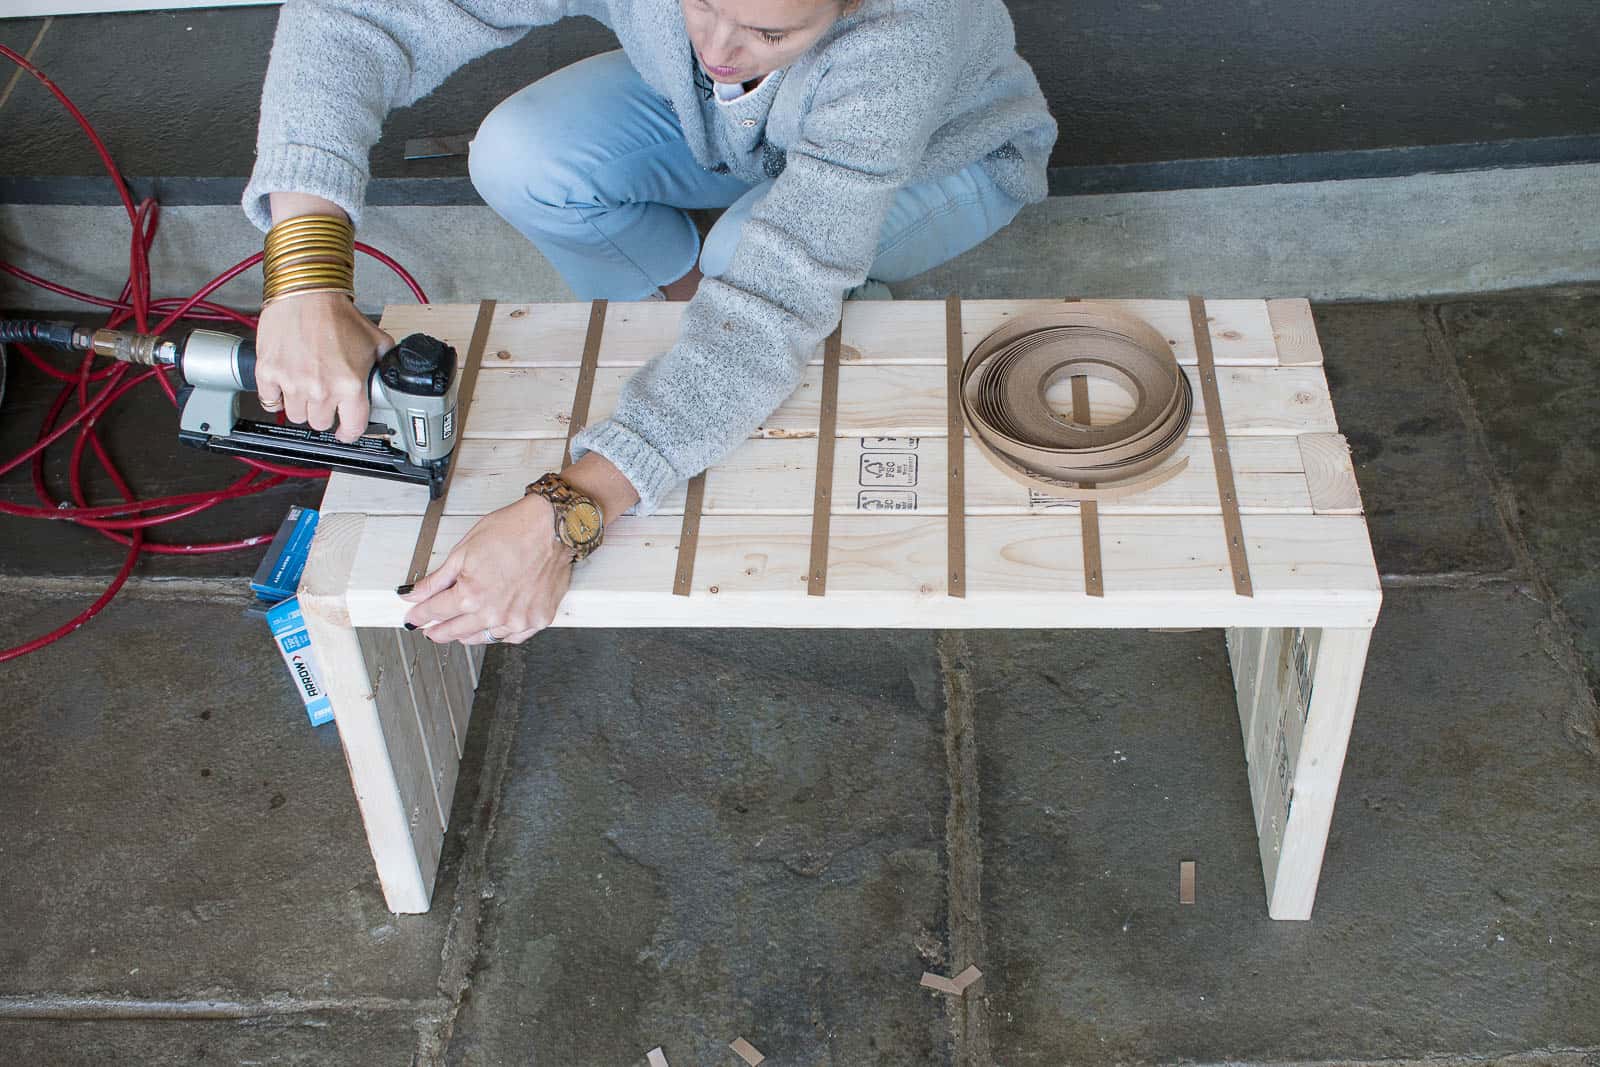
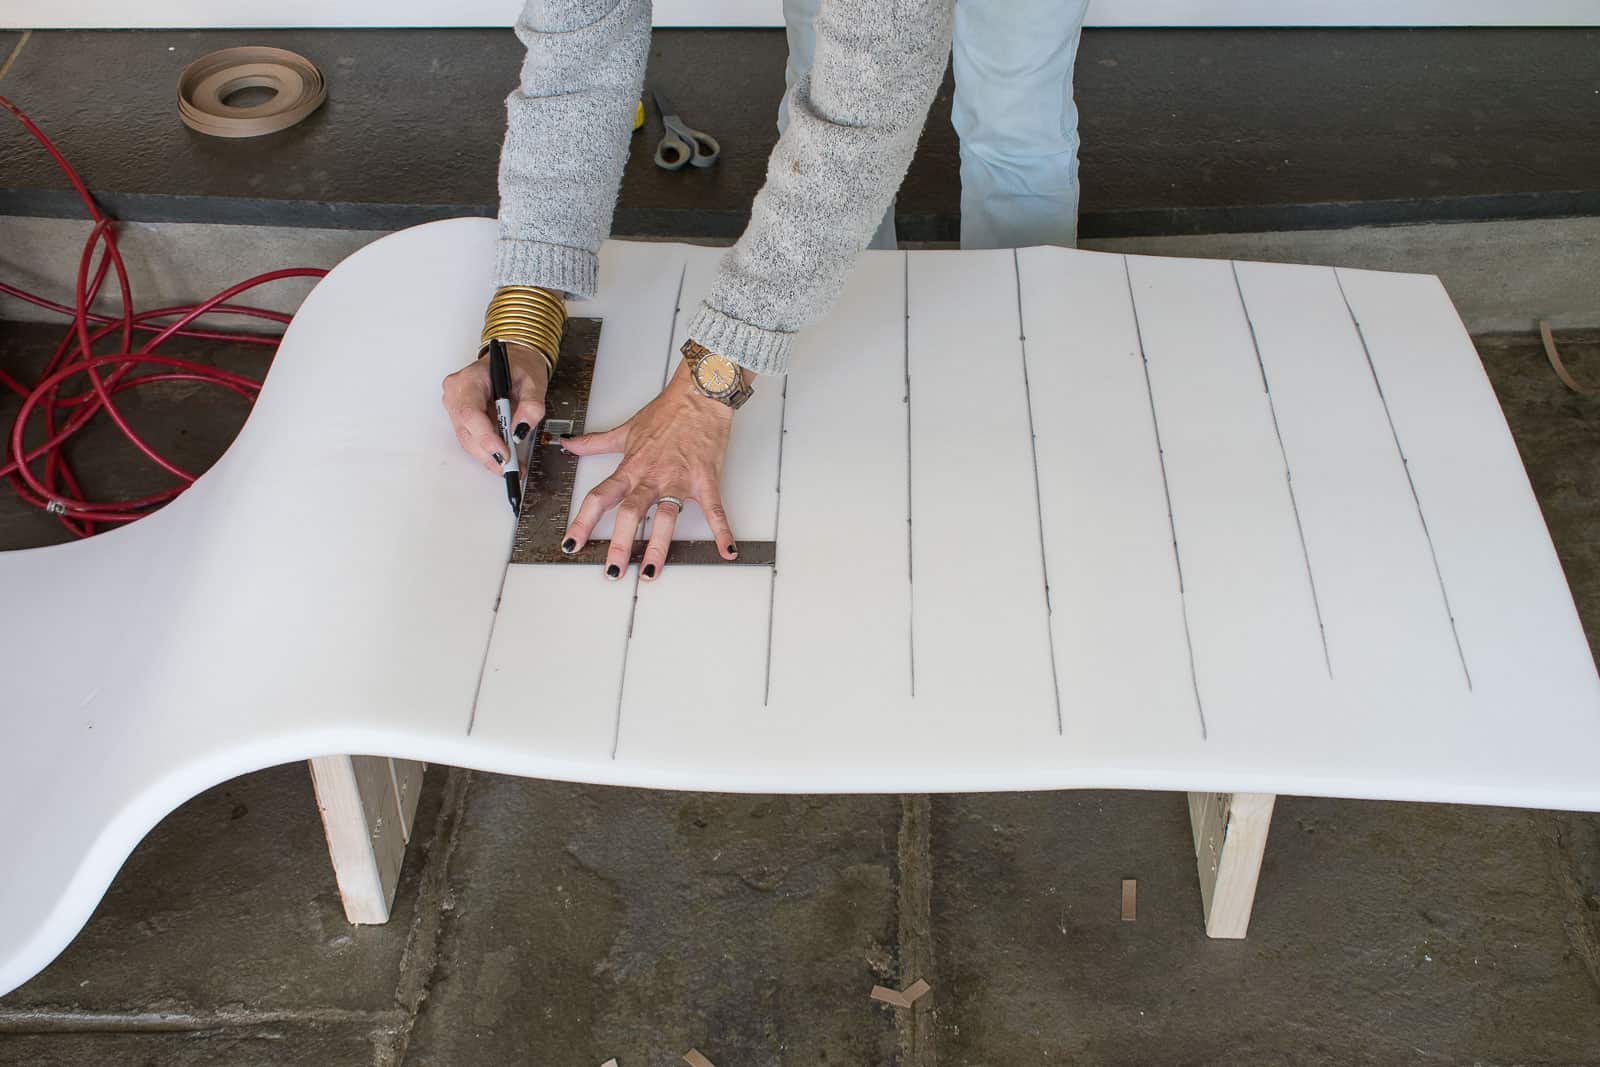
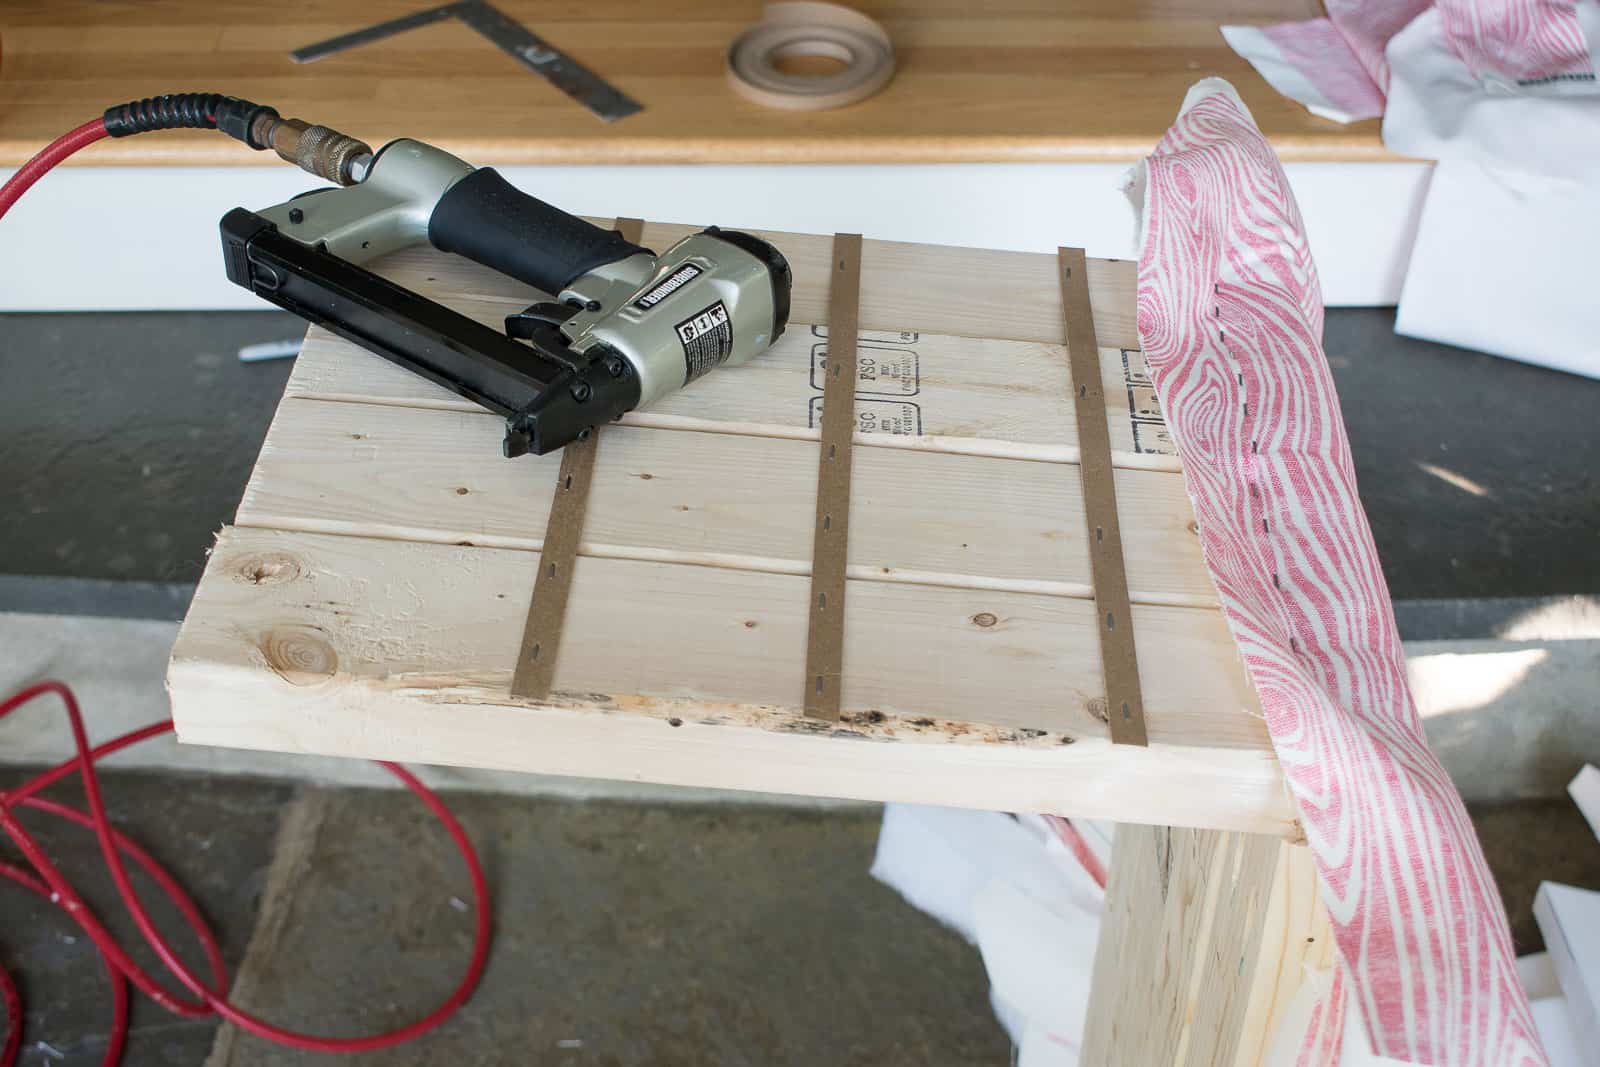
Step 1. Measure and Mark for Tufting
Determine how wide you want each of your padded channels and mark your bench accordingly. Staple the tack strip along each guideline.
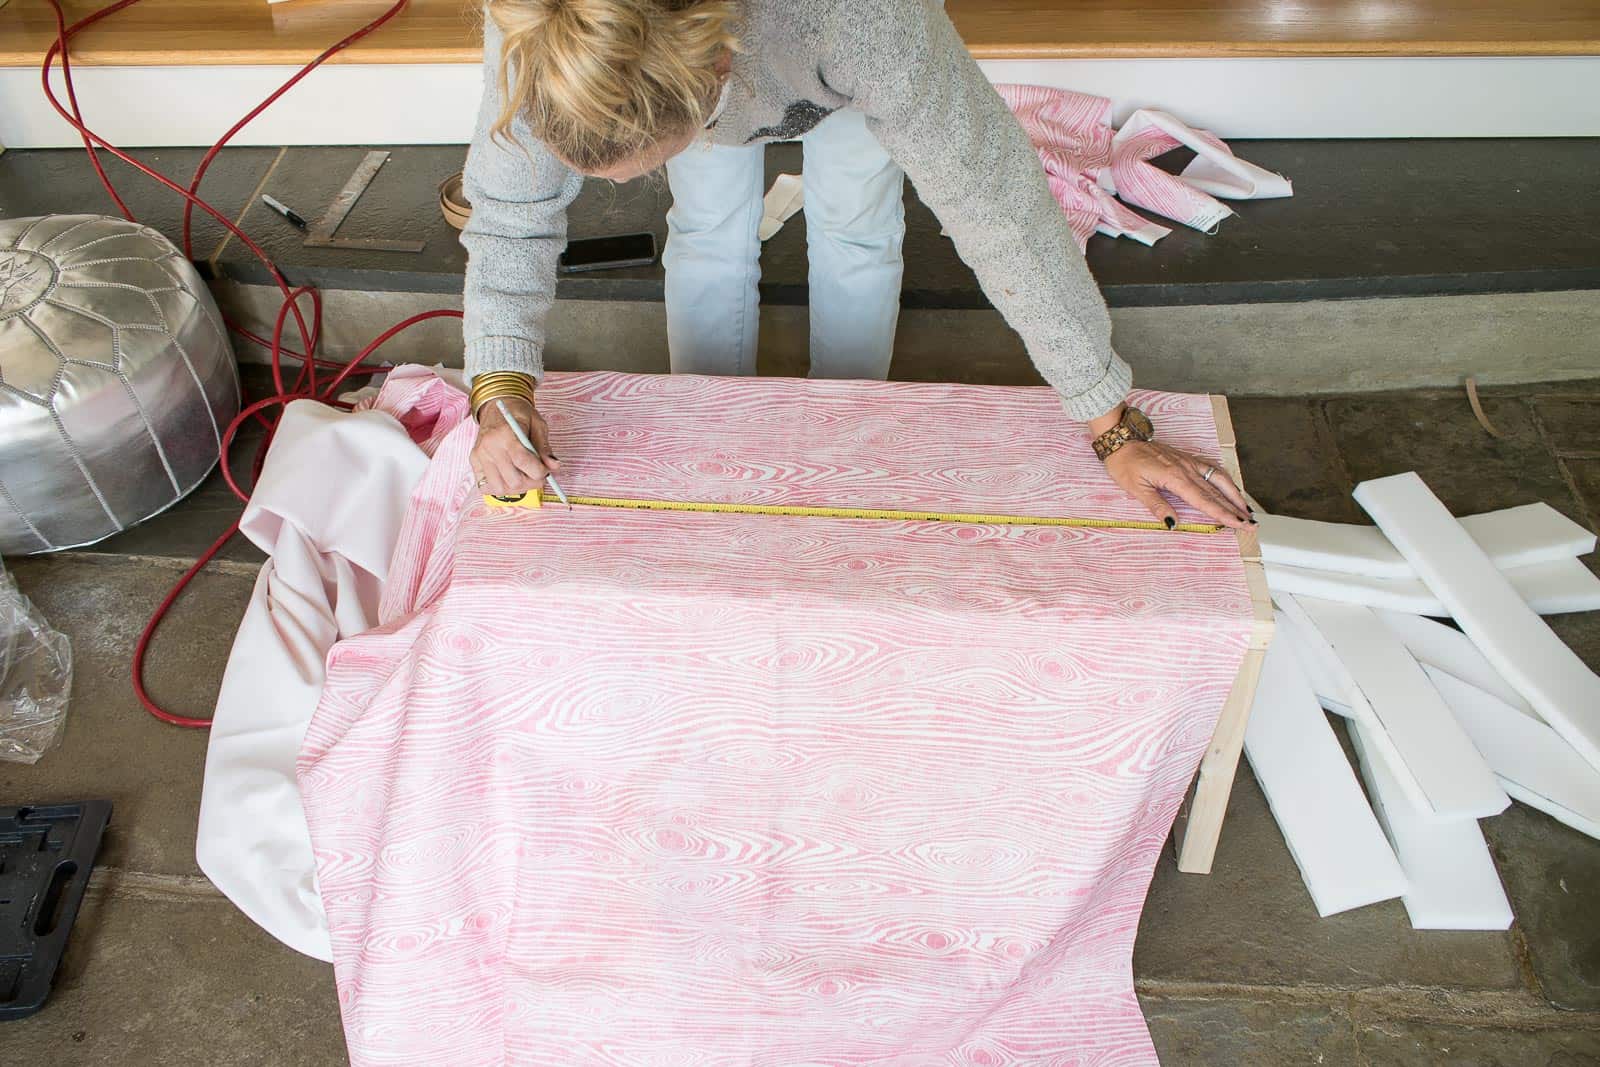
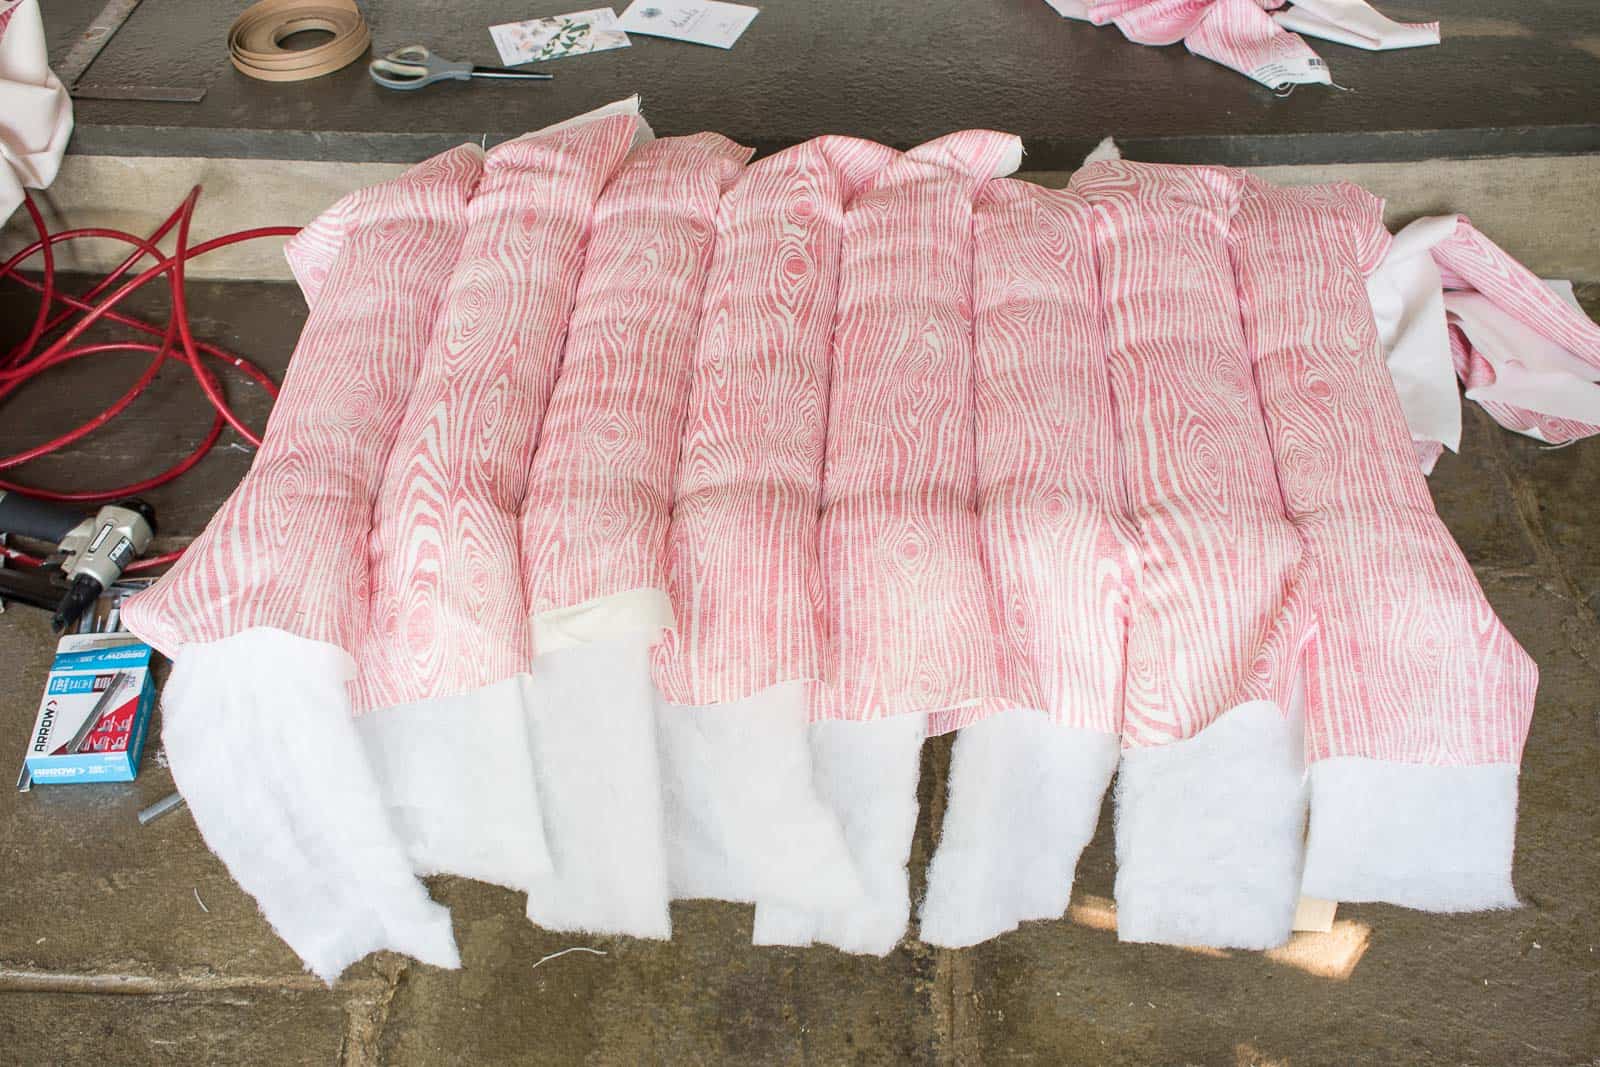
Step 2. Cut strips of fabric, foam, and batting
For my bench, each channel was 4 inches. I cut the foam to 4-inches, the batting to 5-inches and the fabric to 8-inches leaving room to wrap all three around the edges of the bench. Make sure you consider how your pattern will look when upholstered with channel tufting as it may dictate which way you cut the strips.
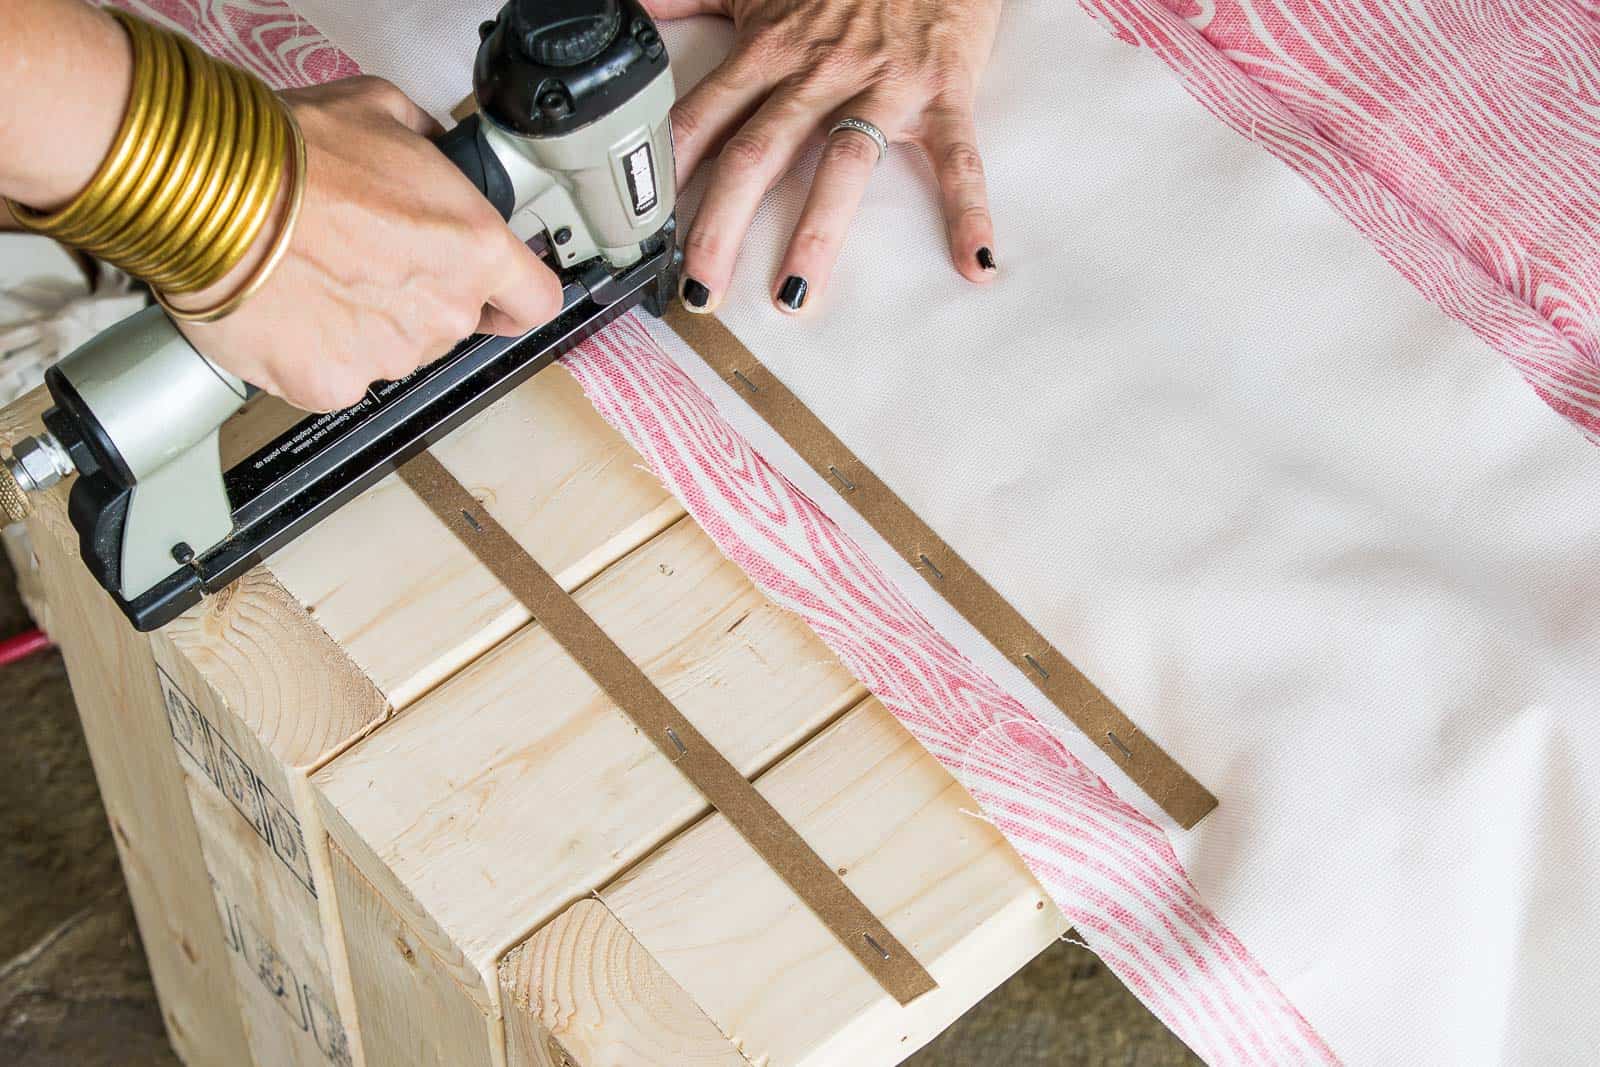
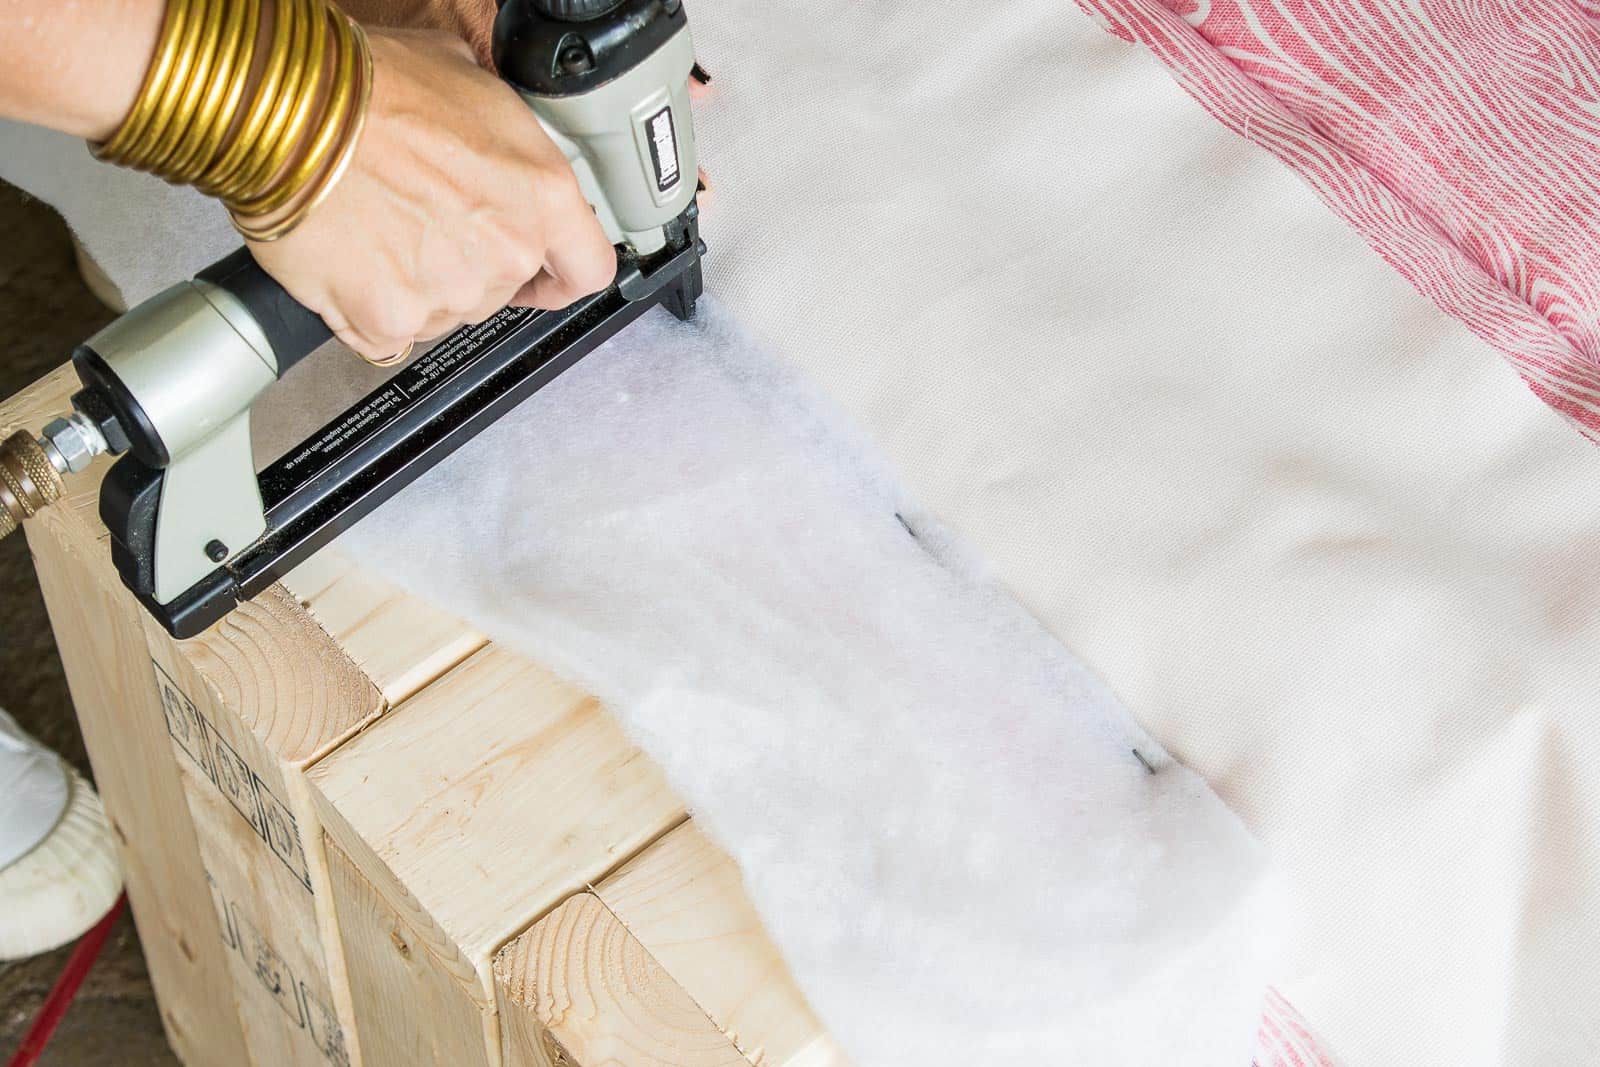
Step 3. Staple first line of fabric with tack strip
The tack strip is used to give the edge of your fabric a clean straight line. With the right side of the fabric facing the bench, line up your staple line with the tack strip guideline. Staple the tack strip along the edge of the fabric being careful to staple on top of the guideline tack strip.. You can now fold the fabric back over the tack strip, right side showing, and find a clean edge where the fabric is held in place by the tack strip.
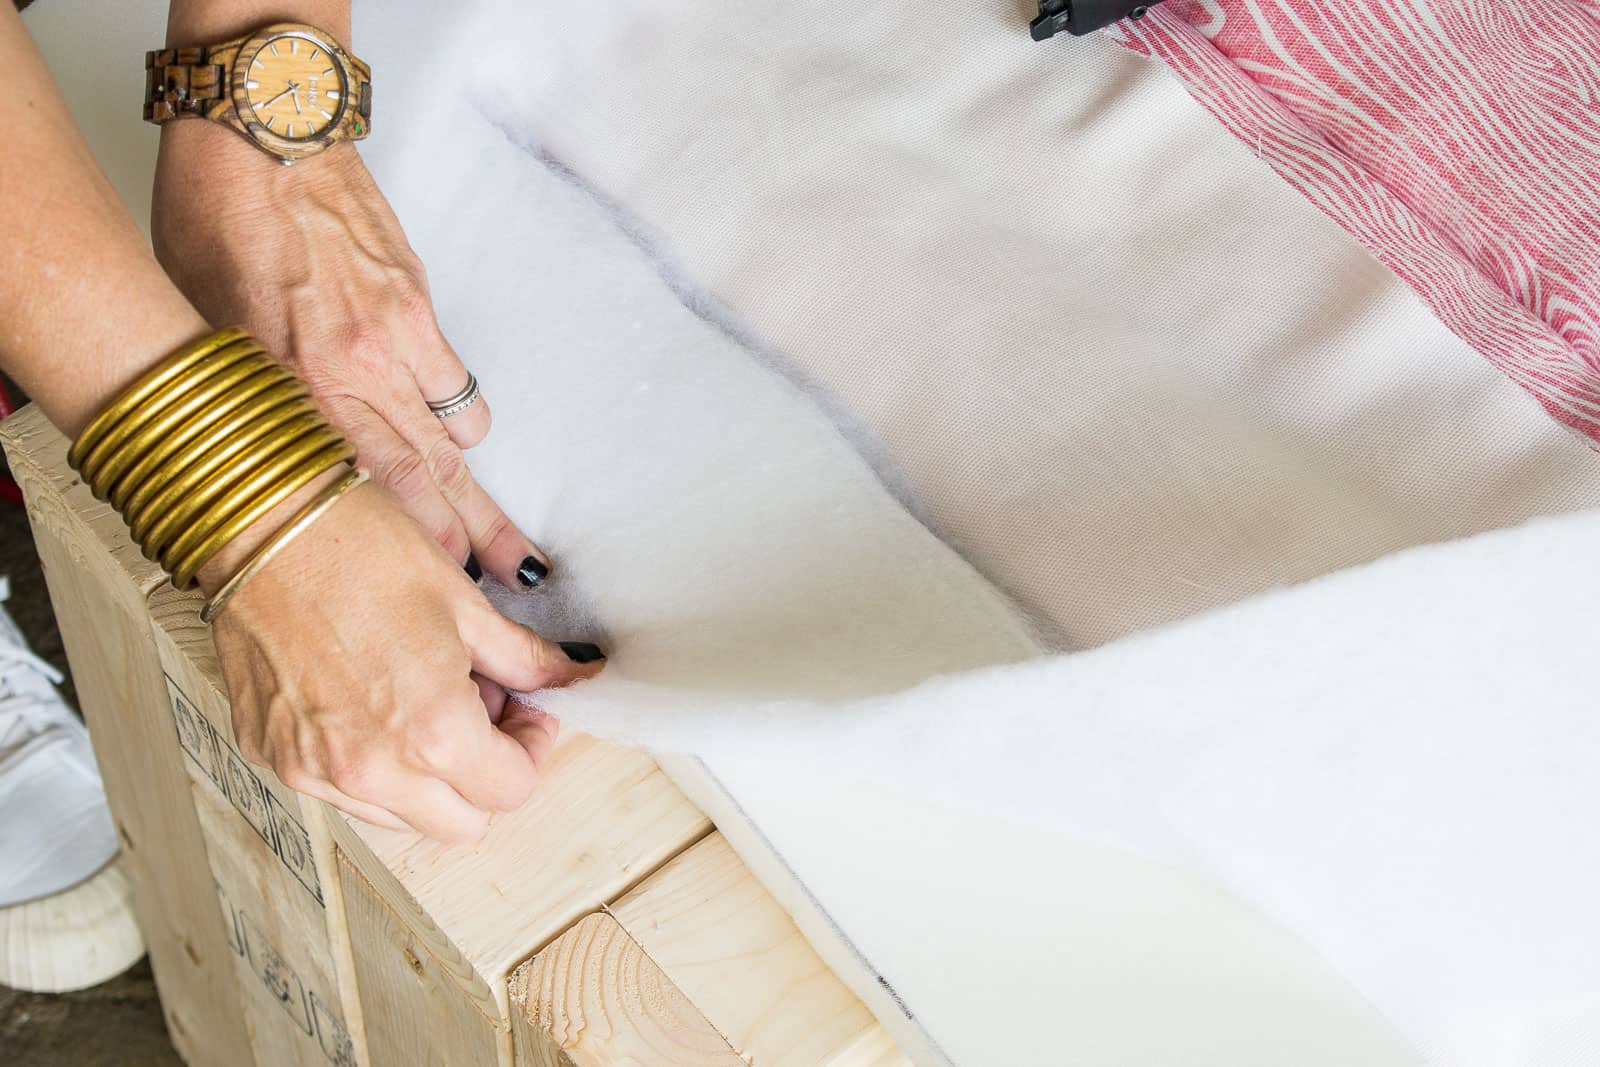
Step 4. Add batting (optional)
I chose to add batting but I saw some tutorials where this step was skipped. I secured my batting with a few staples first.
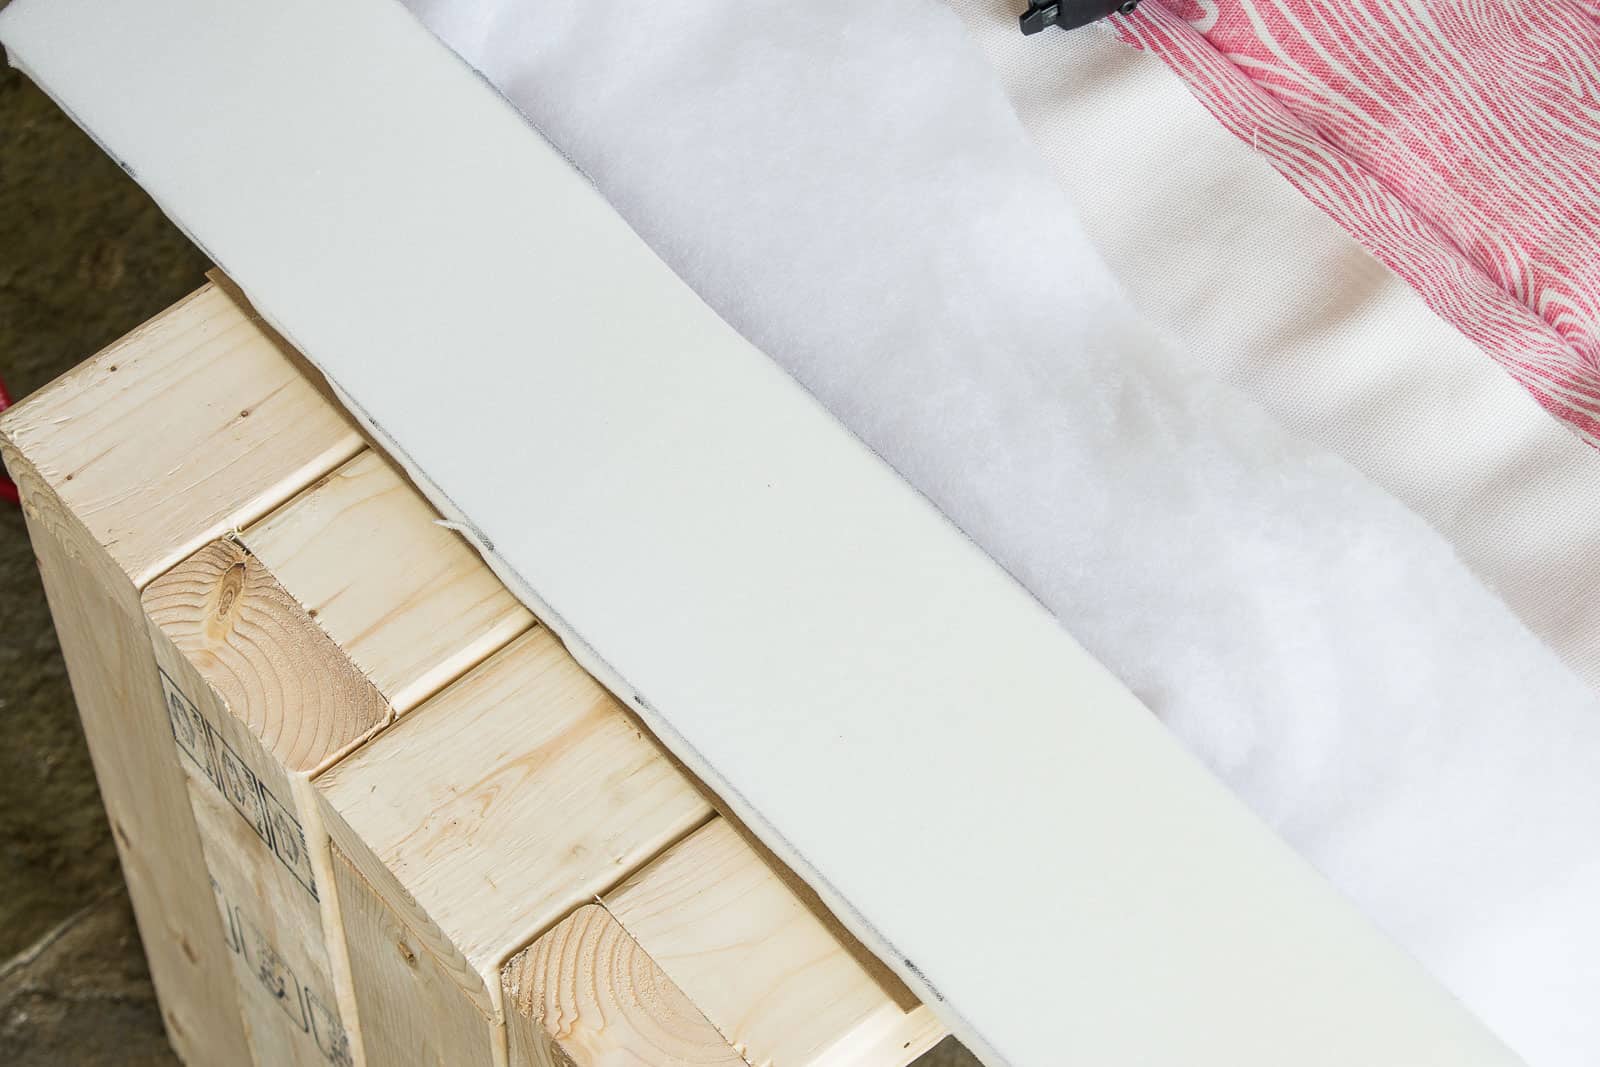
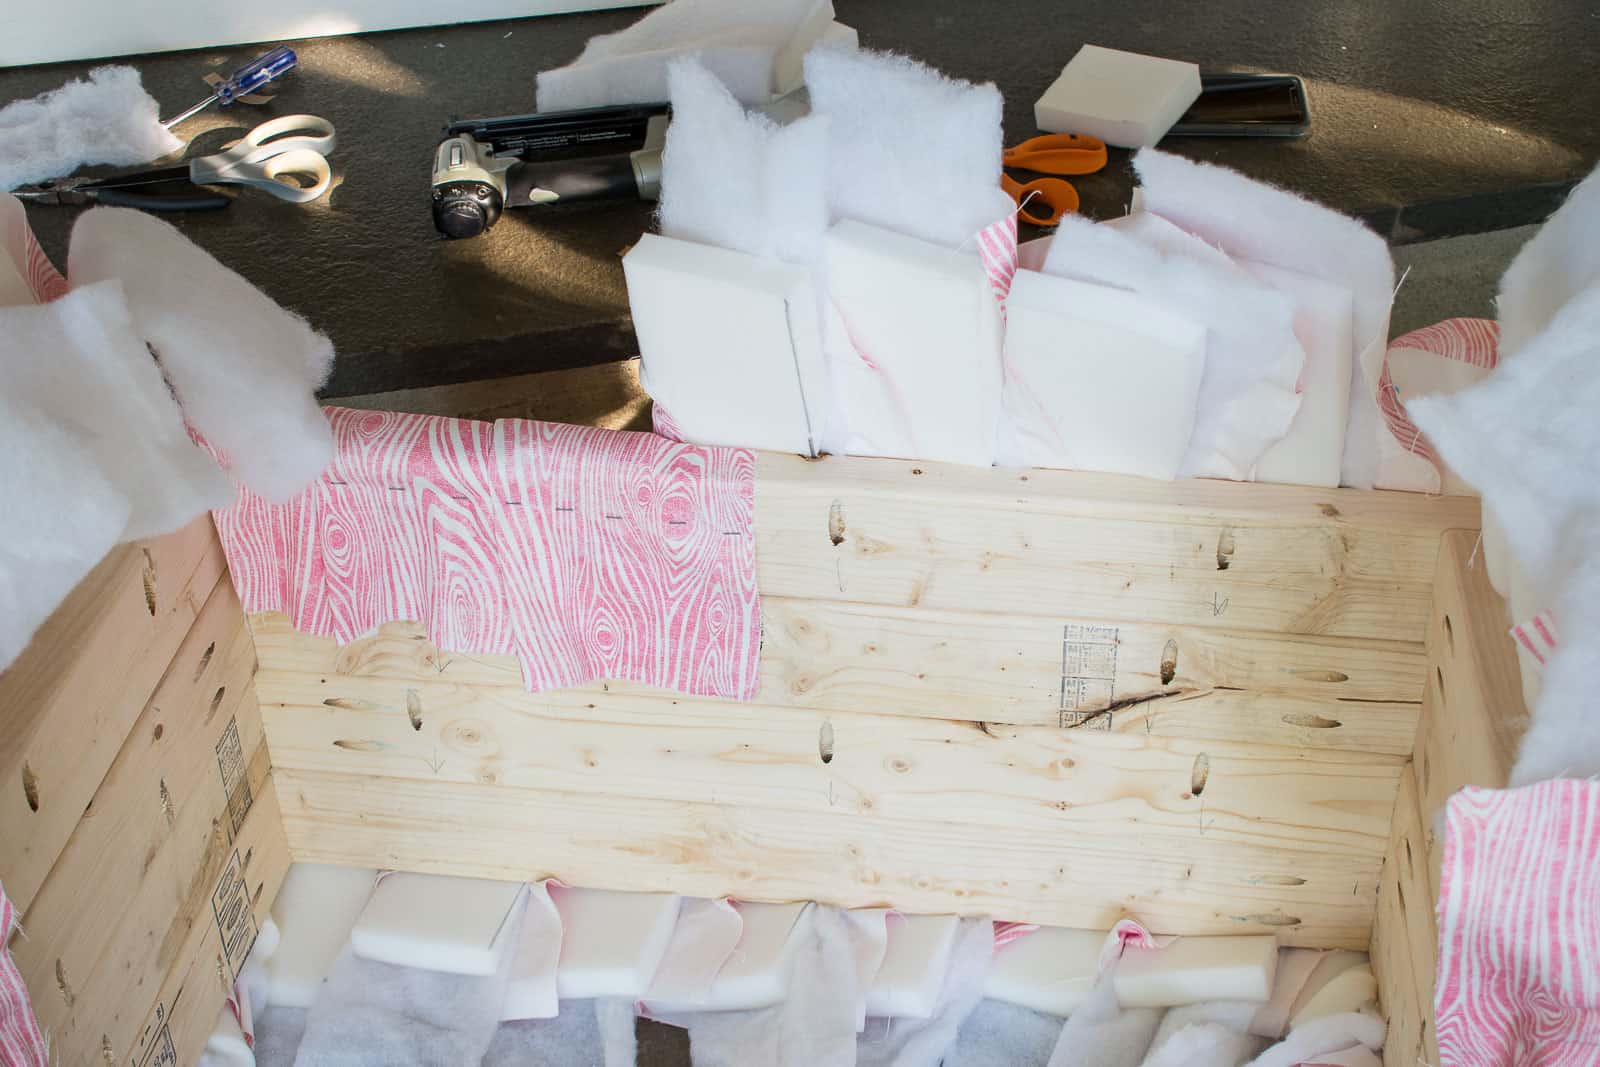
Step 5. Add foam
Place the foam between your tack strip guidelines. I didn’t use any spray adhesive but that wouldn’t be a bad idea. I was using 1-inch foam, but for thicker foam, I saw some tutorials suggest trimming off the corners to round it out a bit. I found that pulling my batting and fabric taught around the foam shaped it enough for me.
Pull the batting over the foam and secure with staples.
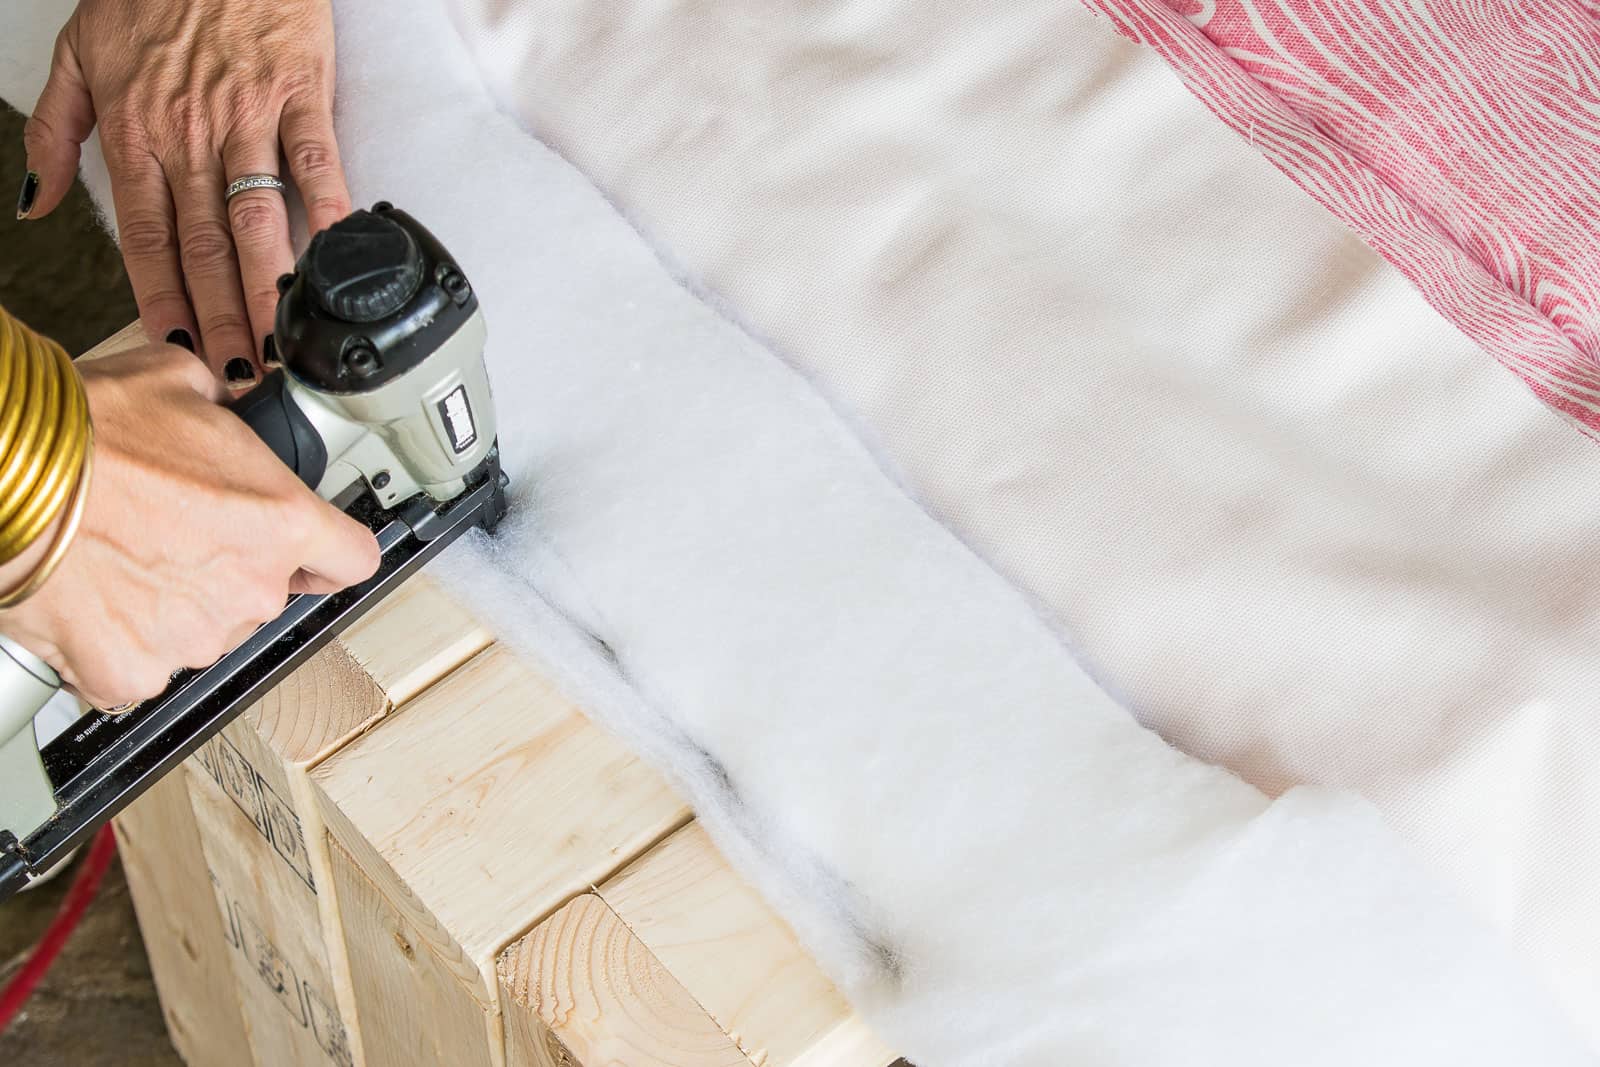
Then pull the fabric over the foam and again secure with staples. Ideally you won’t see any puckering of the fabric, but that takes time and practice to determine the right tension, the right number of staples, etc. etc. Practice makes perfect!
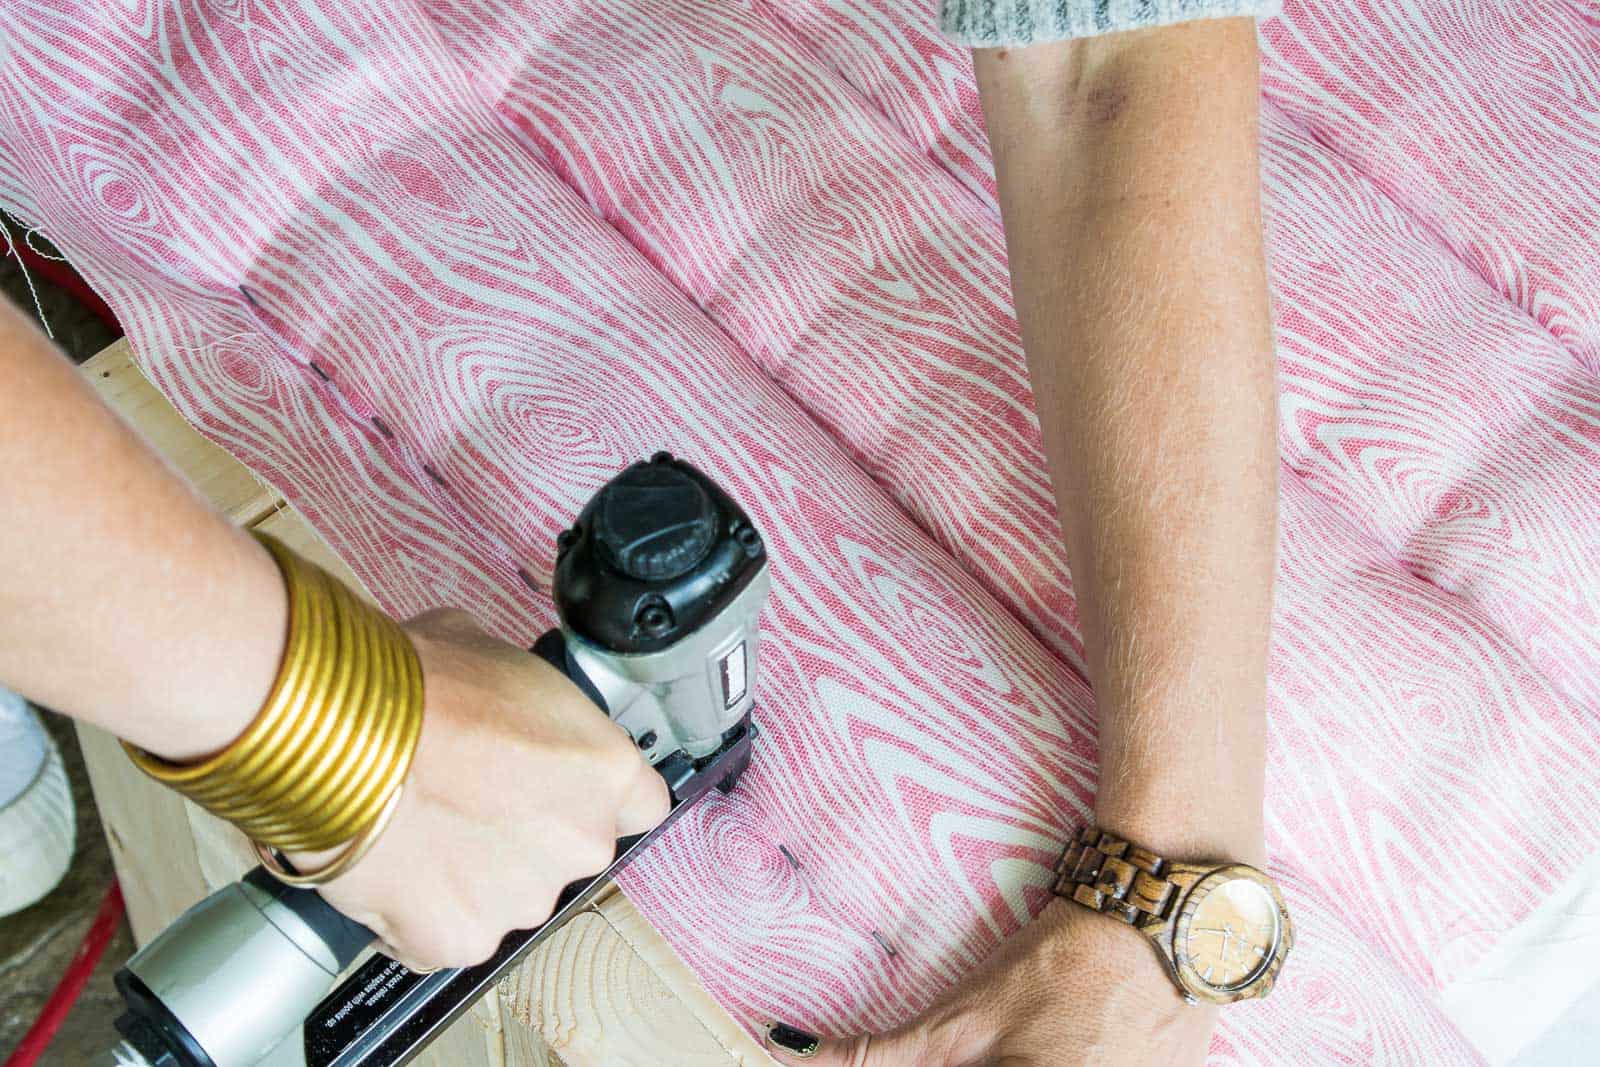
Step 6. Repeat!
Once you’ve added one tuft, just work your way along the bench repeating yourself. For the corners I wrapped the batting/ fabric around the corner by an inch or so and then I started fresh with a new tuft on the leg.
Step 7. Wrapping the loose ends.
I wasn’t sure how this part of the bench would go down when I started but, you guys… it was actually SUPER EASY! I started wrapping in the same place that I started tufting which I think was important. So make sure you go in the same order. I cut the foam and batting at the bottom edge of the seat, and then tightly wrapped the fabric around the edge of the bench being careful to tuck over exposed edges. The fabric is naturally wrapped around the foam so it ended up coming together really cleanly. Note: I made sure to staple these pieces about an inch away from the corner in order to leave space for the fabric I was hoping to upholster along the underside of the bench.
Step 8. Trim excess fabric
Cut the fabric as close to the staple line as you can.
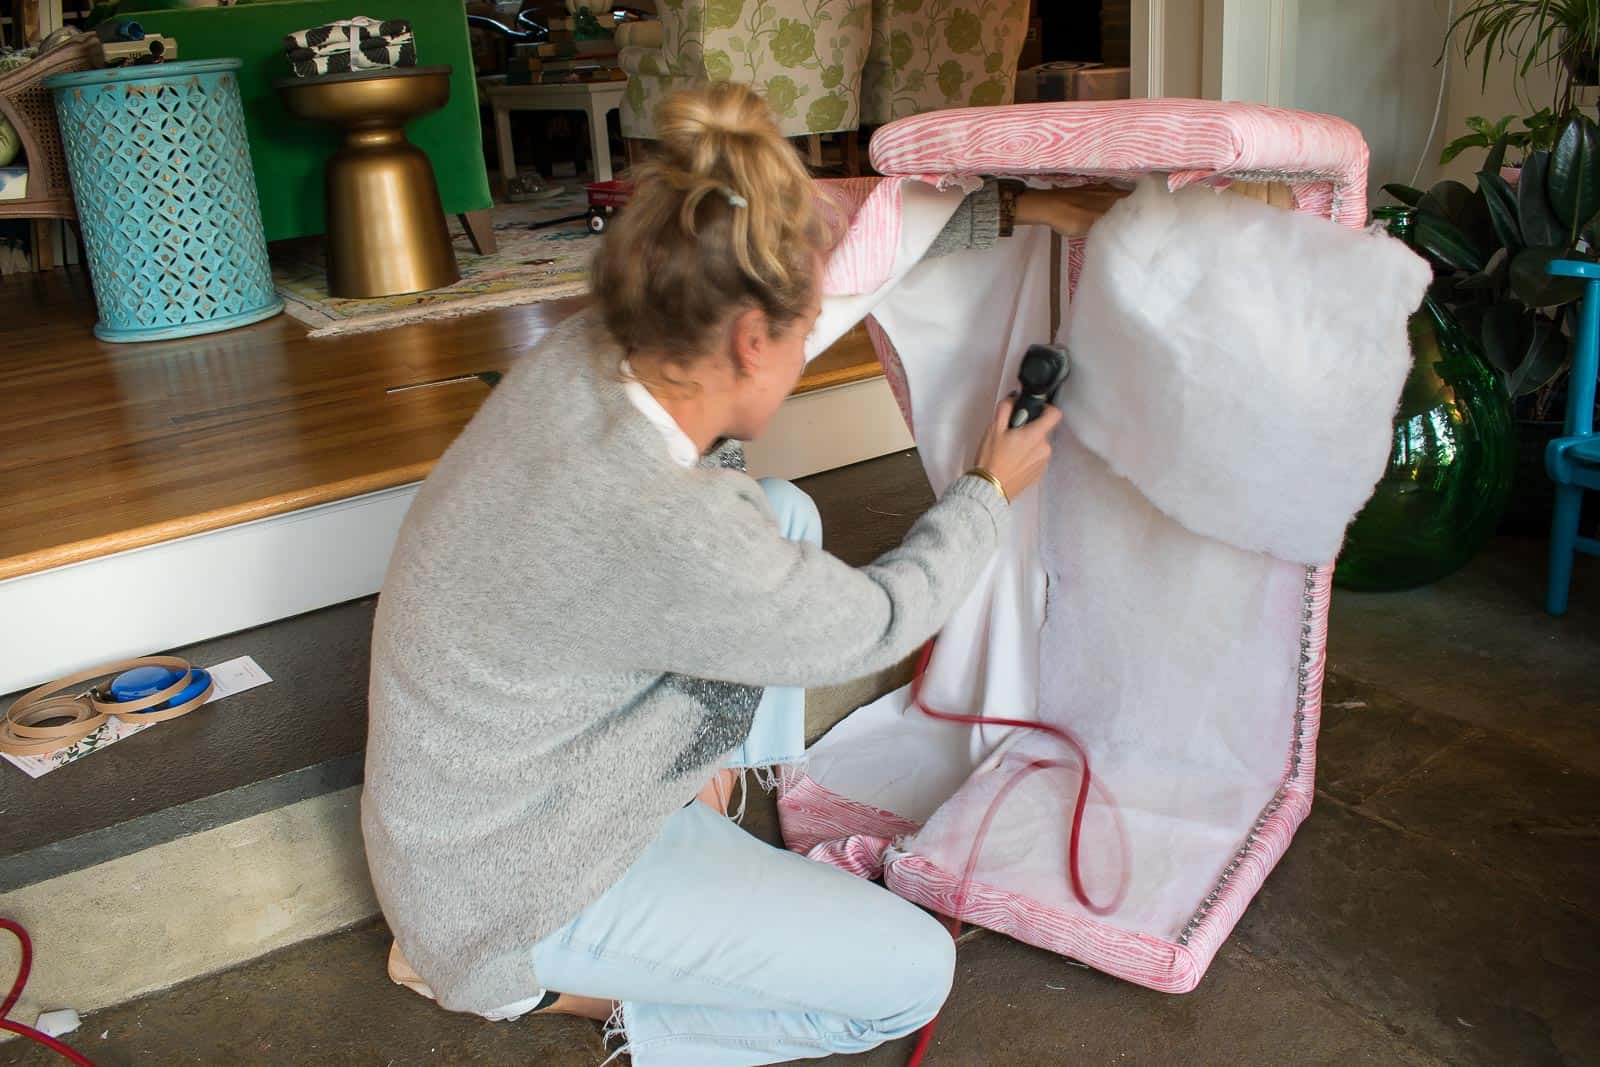
Step 9. Upholster the underside of the bench
At this point, the sun was setting and the finish line was in site so I apologize that some of the pictures are a little dark and grainy! Ideally I would have sewn the fabric together to create a continuous piece for the underside of the bench with the pattern going in the same direction as the tufting. But I was impatient so I simple railroaded the pattern and honestly, I doubt anyone would notice. But I mention because some patterns might not look OK without sewing them to run in the same direction as the tufting.
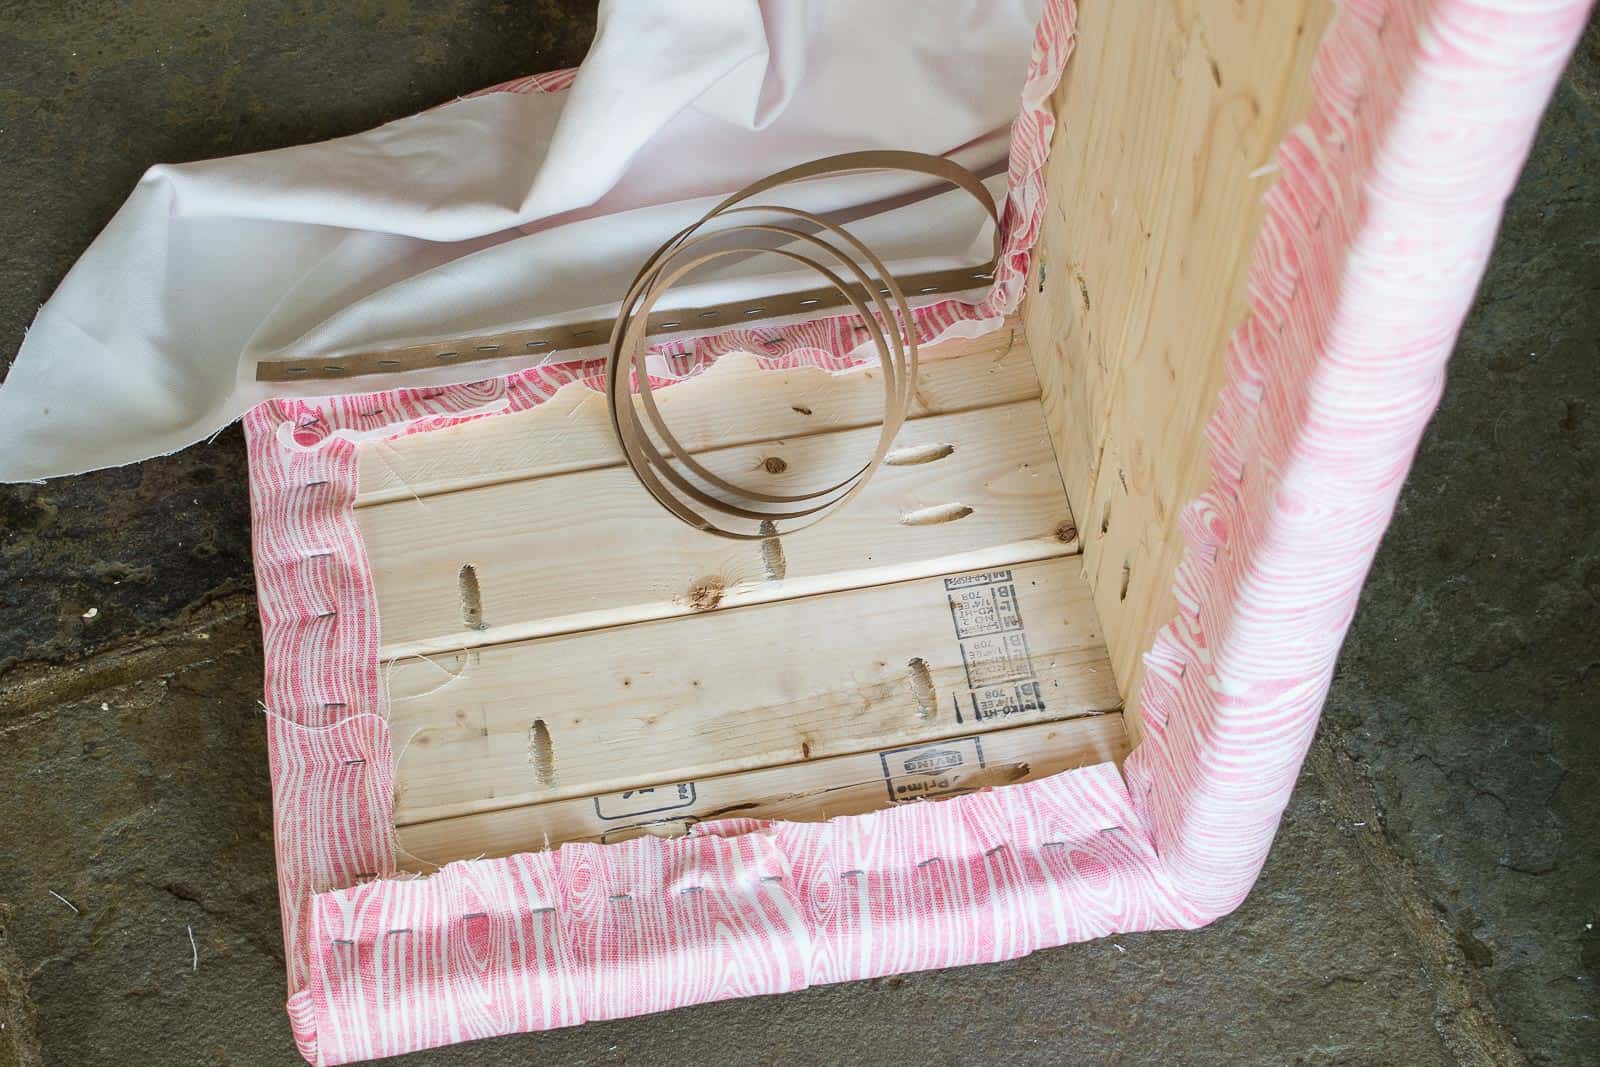
I used a tack strip to secure one edge of my fabric along the edge underneath one side of the bench. I added a layer of batting and stapled this in place. (Spray adhesive would have made sense here, but… #impatient.)
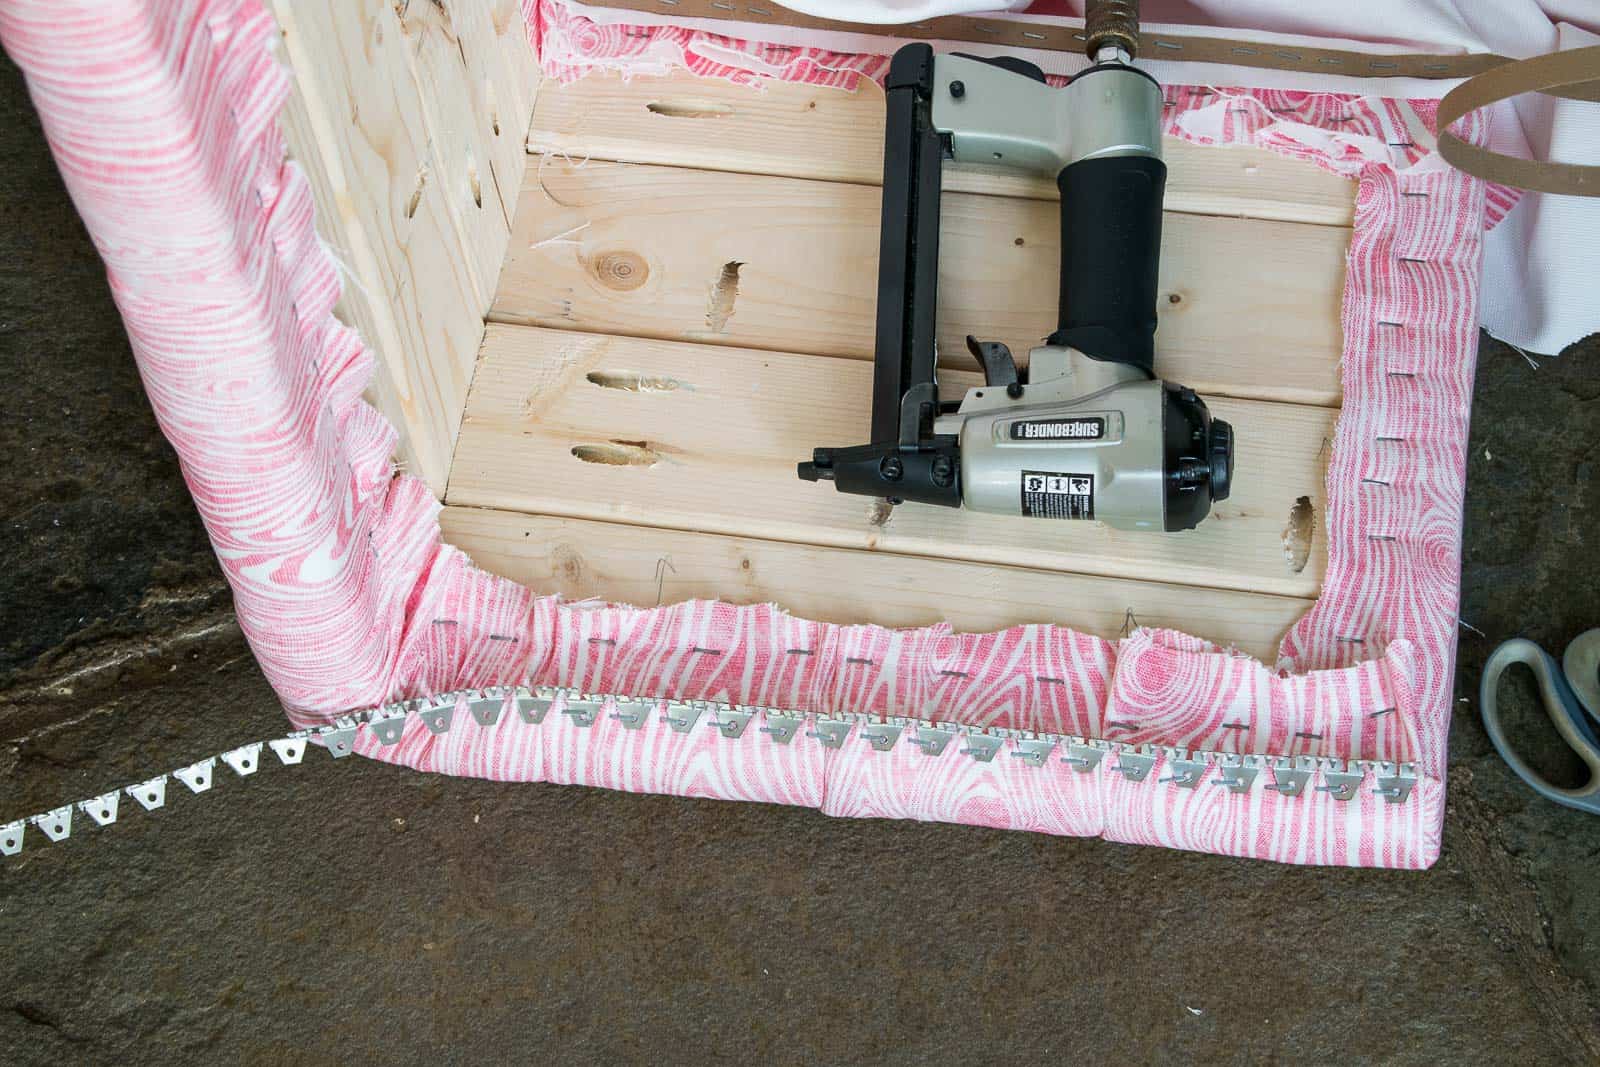
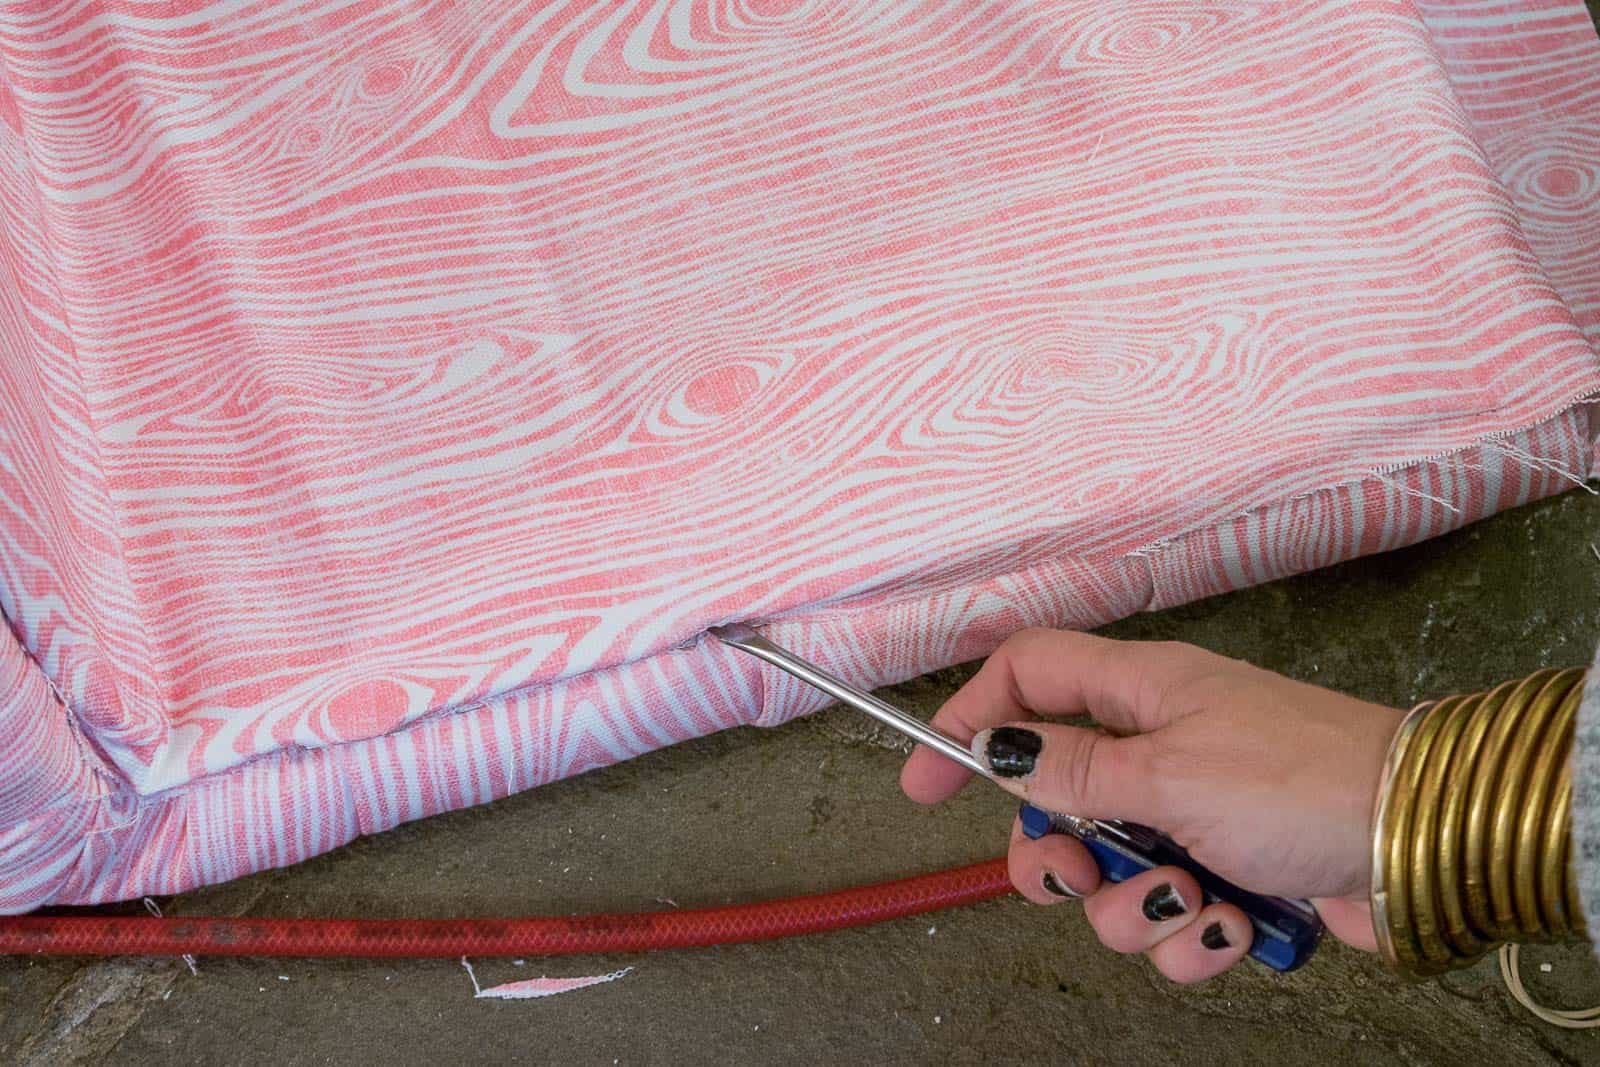
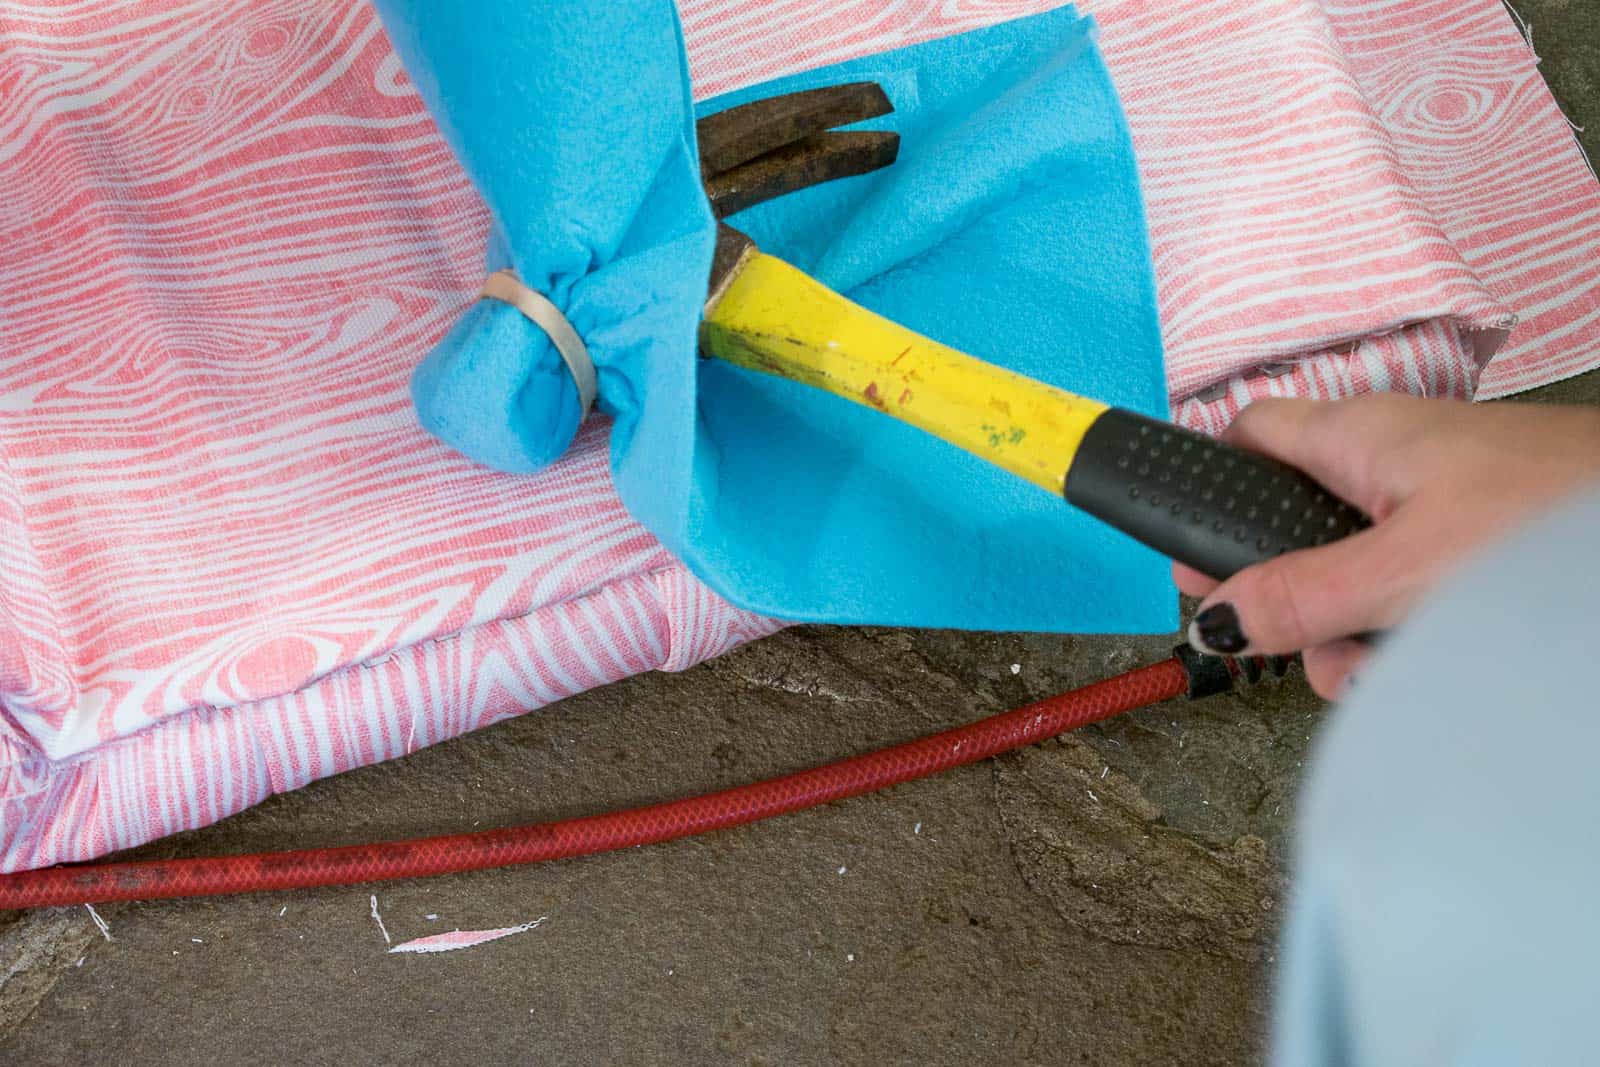
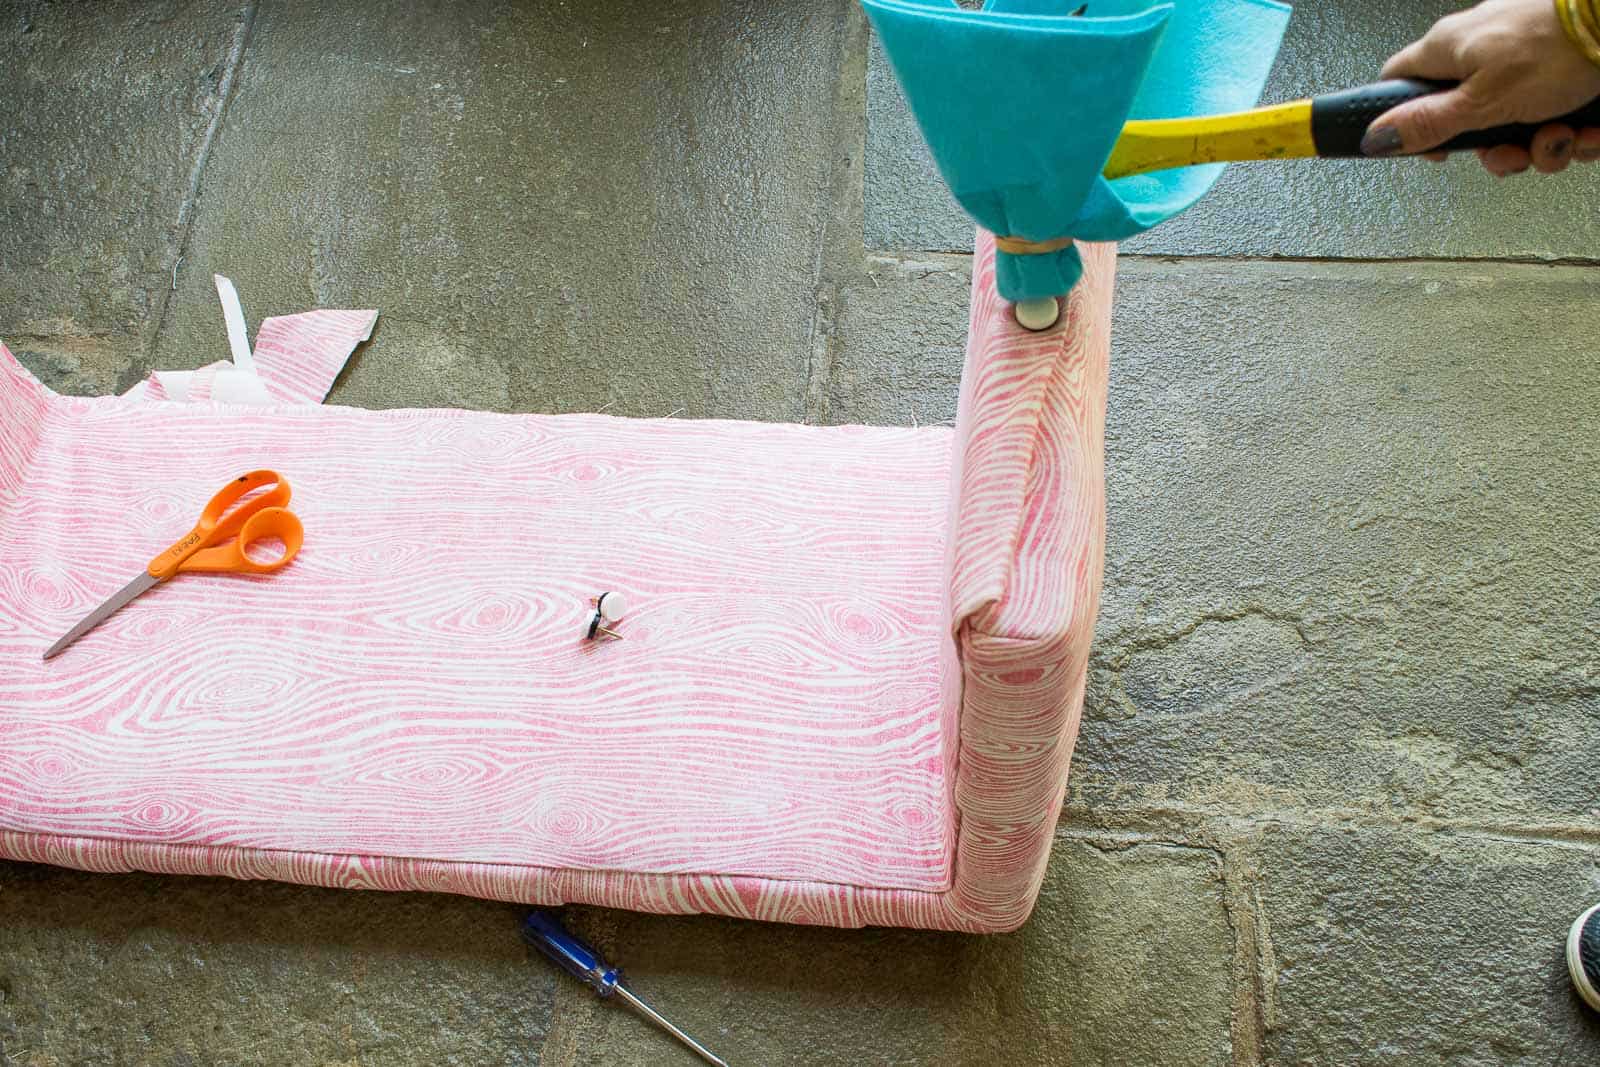
To secure the last edge of your fabric without exposed staples, you need to used a metal tack strip with teeth. It’s hard to show on camera but essentially you staple on side of the metal strip along the edge you’re upholstering with the teeth facing OUT. Pinch the teeth slightly together. Pull your fabric tight and use a flat nose screw driver to push the fabric over the top of the tack strip and then in between the teeth. Using a rubber mallet (or fabric wrapped hammer), gently hammer the tack strip closed thereby pinching the fabric between the teeth and holding it in place. I trimmed my fabric first and then pushed it into the teeth, but I’ve heard some folks recommend trimming the excess once you’re done hammering.
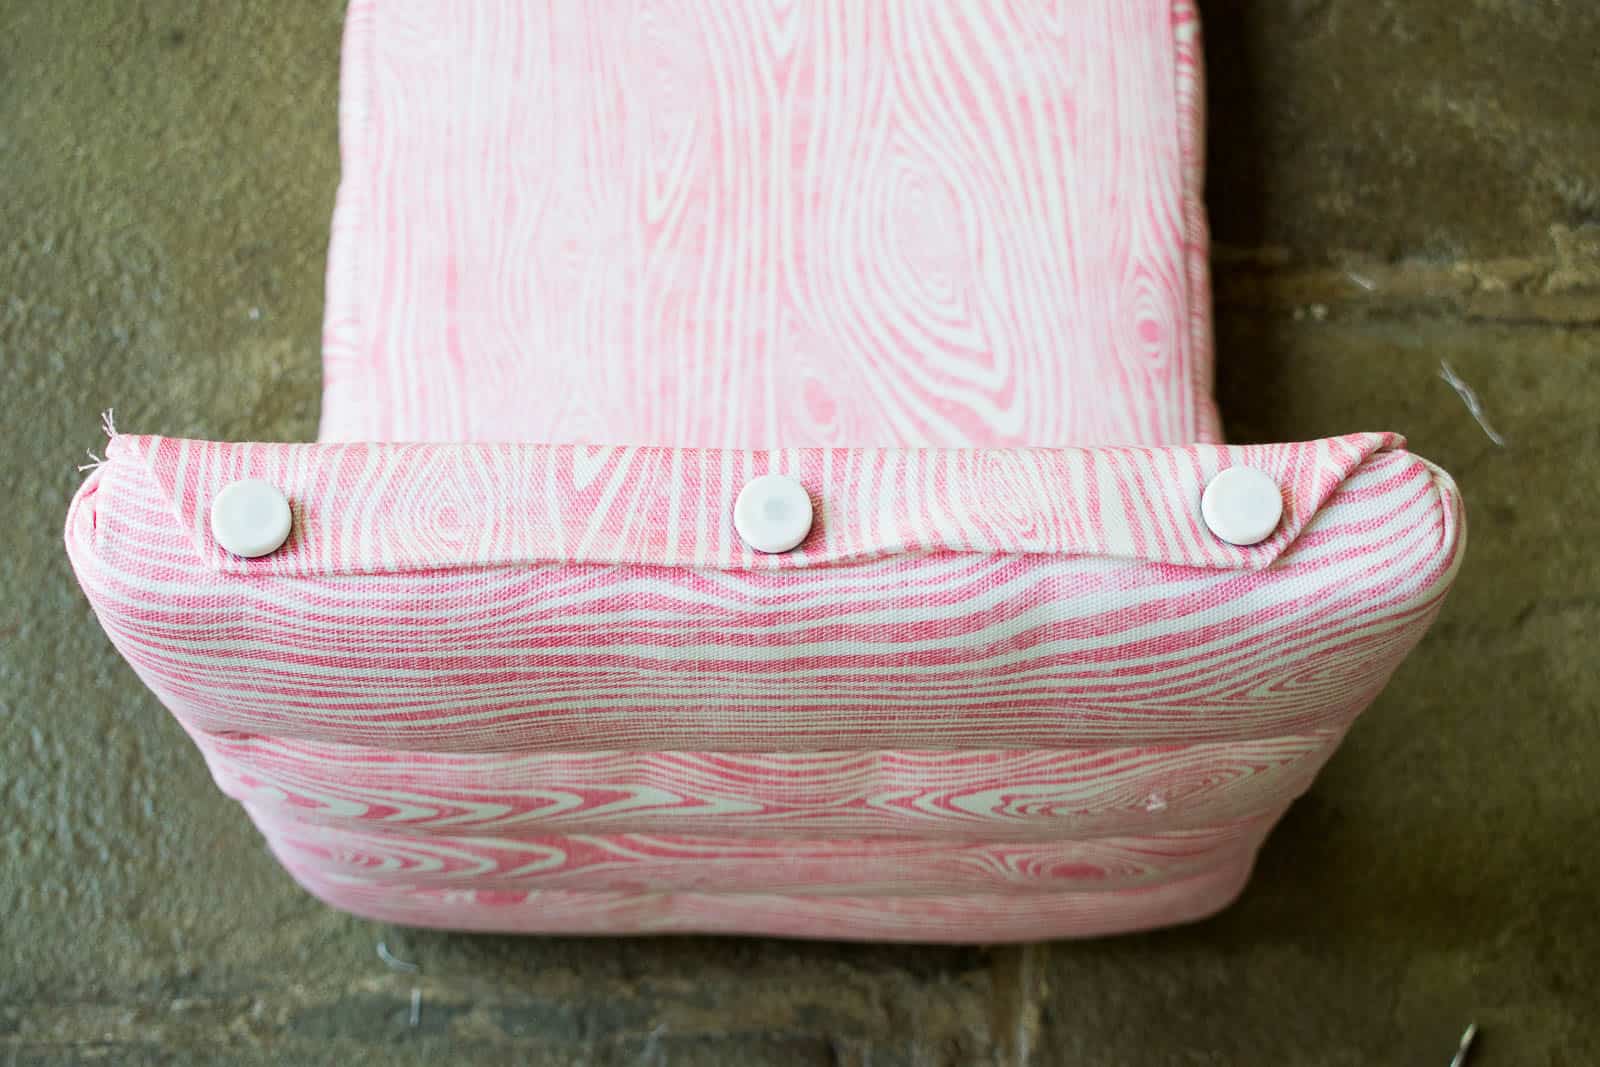
Step 10. Finish the legs
At this point, you should have 2 last pieces of fabric left to negotiate on each leg of the bench. I folded the corners over, pulled the fabric tight underneath the bench leg and nailed in place with these furniture leg caps.
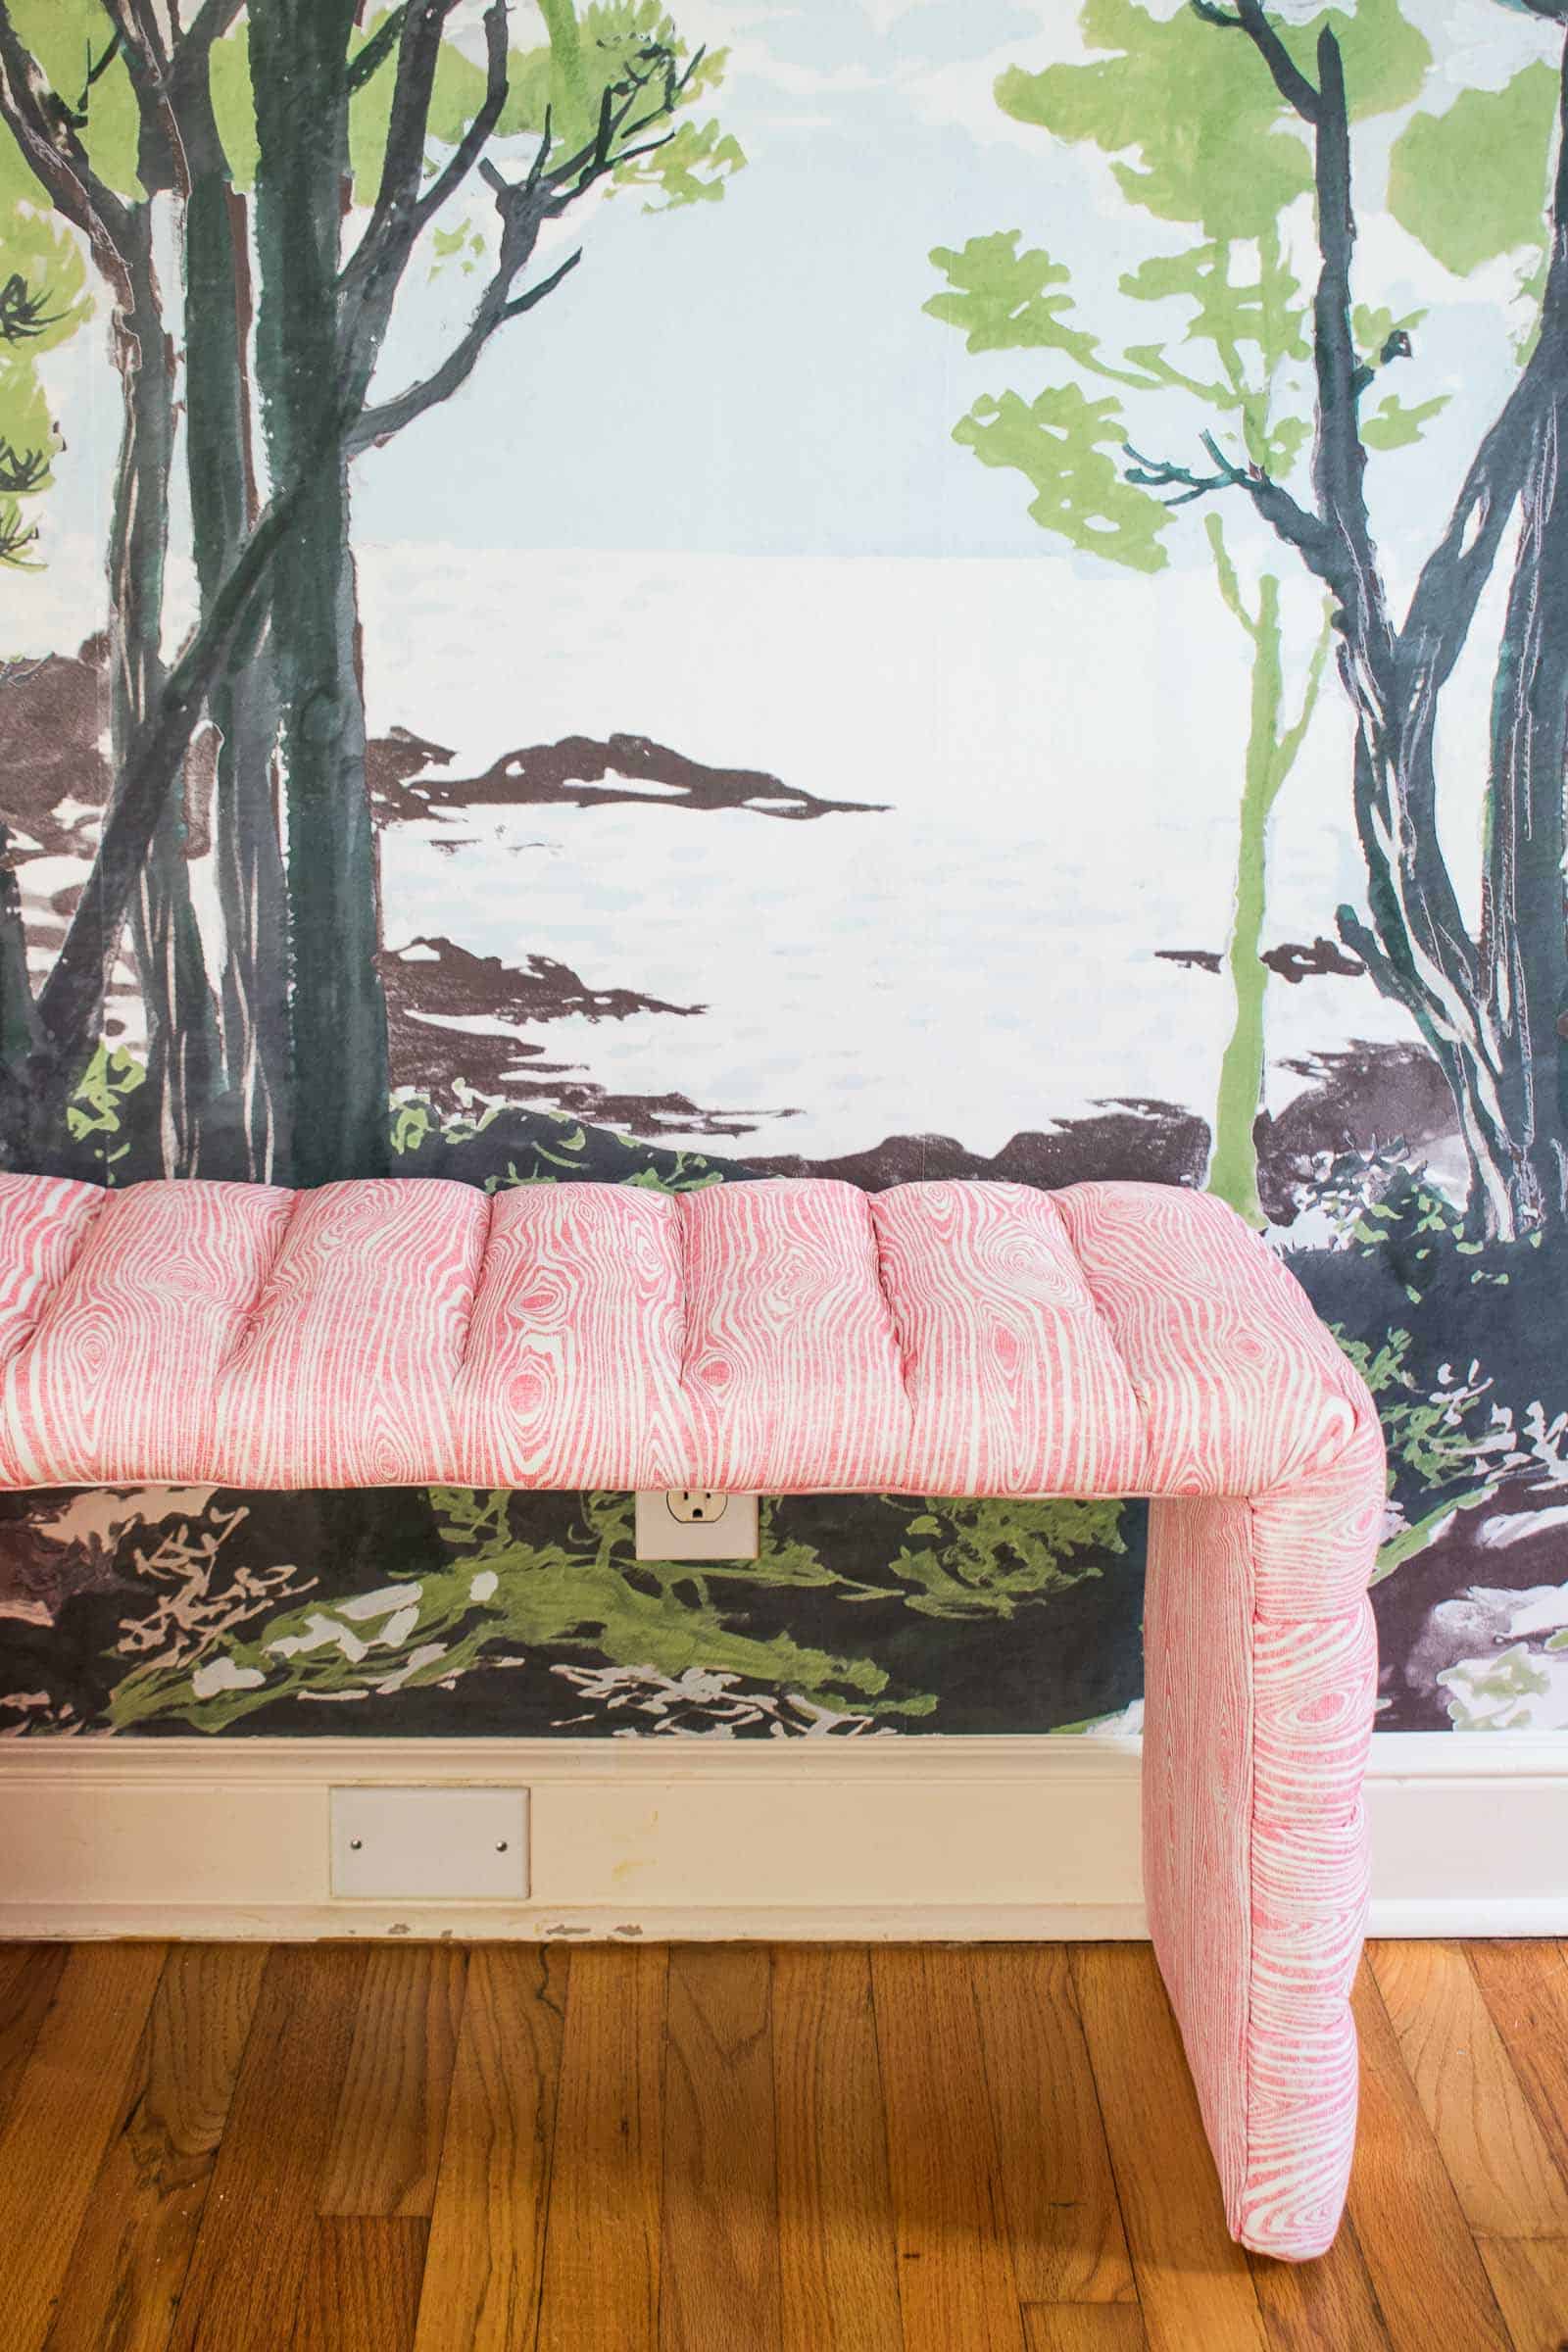
Did I mention how amazed I am that I even pulled this off and it looks like a legit piece of furniture?! I love the fabric (thank you Spoonflower!), I love the tufting, I love the size… basically I am beyond thrilled to have this new bench in my One Room Challenge space!
If you want to see how it all came together, I also spent some time making this tutorial into a video as well… I’d love you guys to hop over to YouTube to check it out and subscribe to my channel!


Nice work! Def does not look like a diy, absolutely gorgeous!!
Thanks, Sarah! SO happy with the finished results!
Seriously impressed. That bench is stunning. High fives to you.
THanks Peggi! I’m so happy with it!