
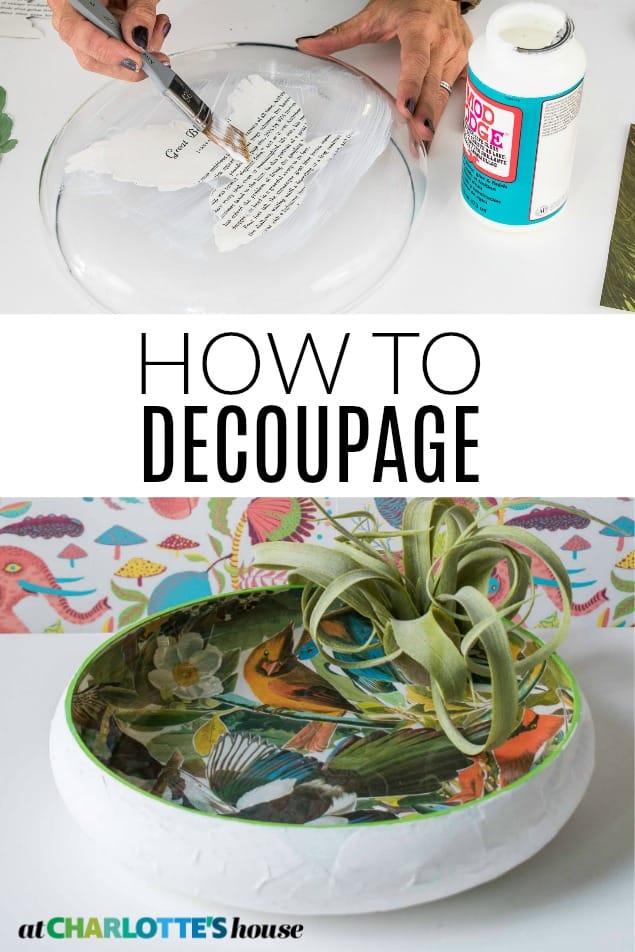
How to Decoupage a Glass Bowl
Psssst… this post *might* contain affiliate links: see my disclosure here.
Easy Thrift Store Makeover with Decoupage
This little decoupage thrift store trick is one of my FAVORITES! So many ways to personalize and always really affordable.
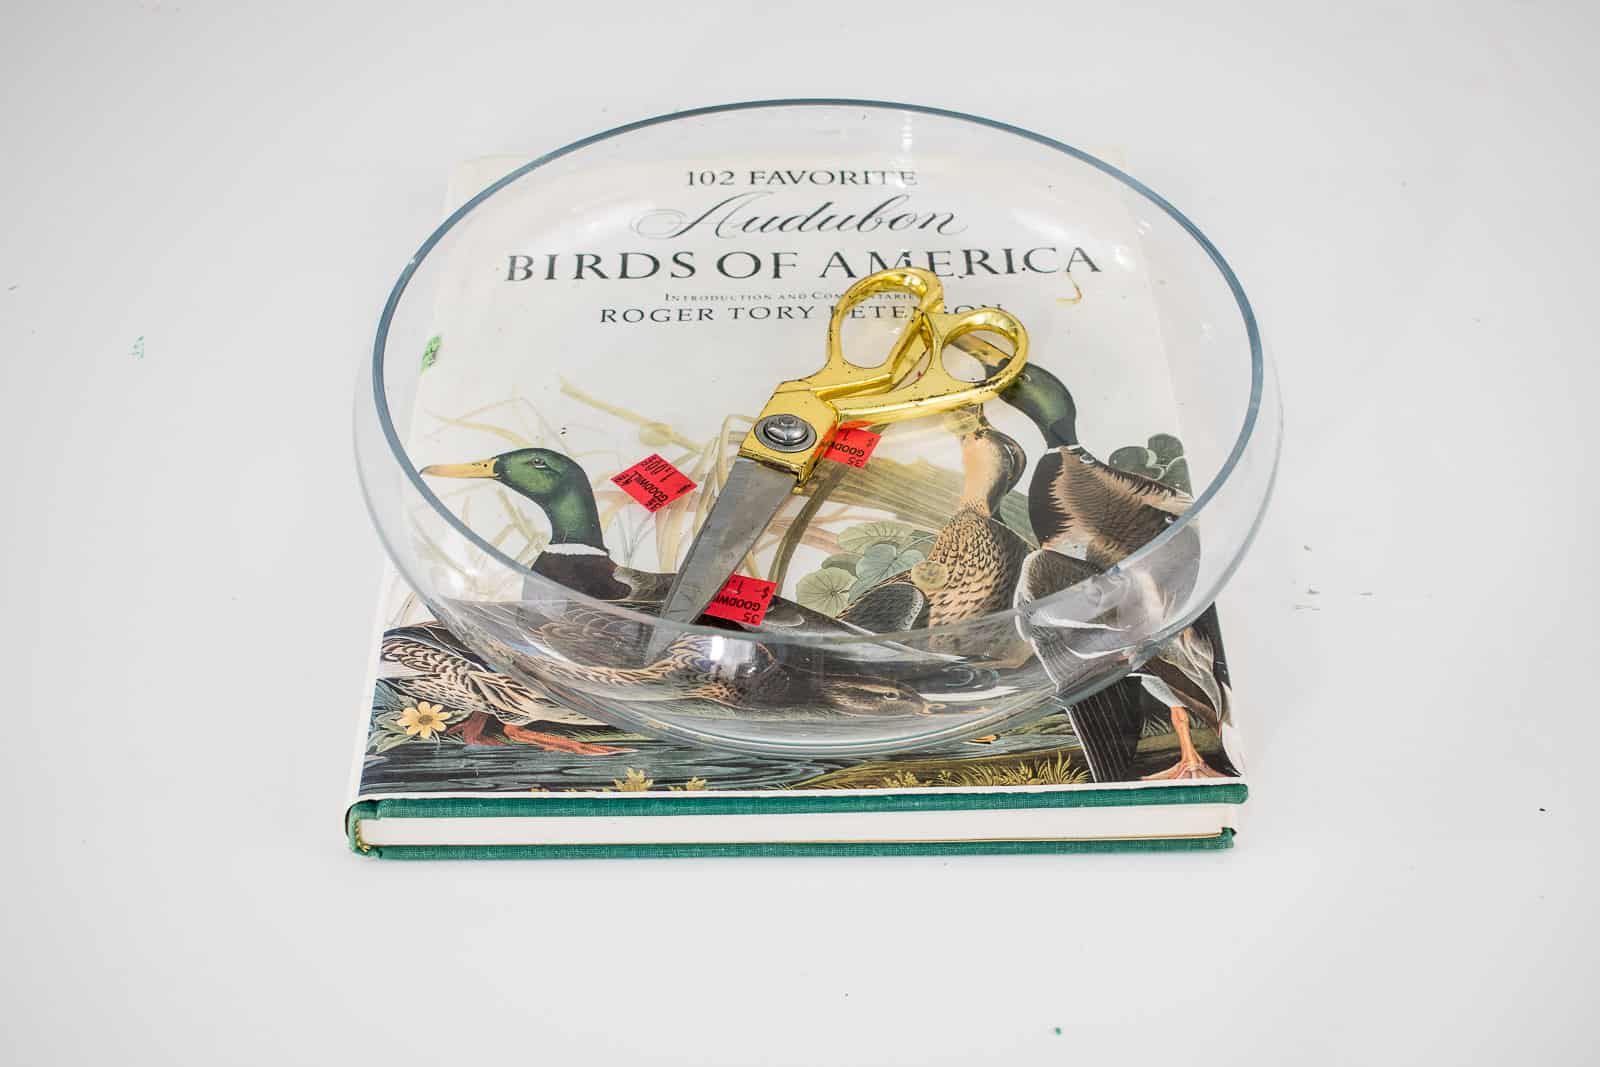
My friend Ashley from At Home With Ashley is a thrifting master and we often message each other about wishing we lived closer so we could just go out thrifting TOGETHER! Which is why I was so happy when she started to share thrifting tips with friends on her Instagram feed… it’s not as good as being together, but it will have to do! I picked up this glass bowl for $1 and then saw an amazing Audubon book that was also $1 and figured I’d walk you through the makeover! Decoupage is the art of decorating an object by gluing paper or other items onto the surface.
Shop my favorites!
Step 1. Find the right Items
This seems like an obvious step but I wanted to give you a couple tips. I love working with glass because it automatically gives the item a perfect finish if you glue your images on the underside, but look for glass that doesn’t have texture or grooves. They’re not impossible to work with, but smooth glass is much easier. As for the paper/ fabric, anything *can* work, but the thinner the paper the easier it will be to get a smooth finish. That said, anything TOO sheer (i.e. tissue paper) will have some transparency to it when you apply the mod podge so keep that in mind.
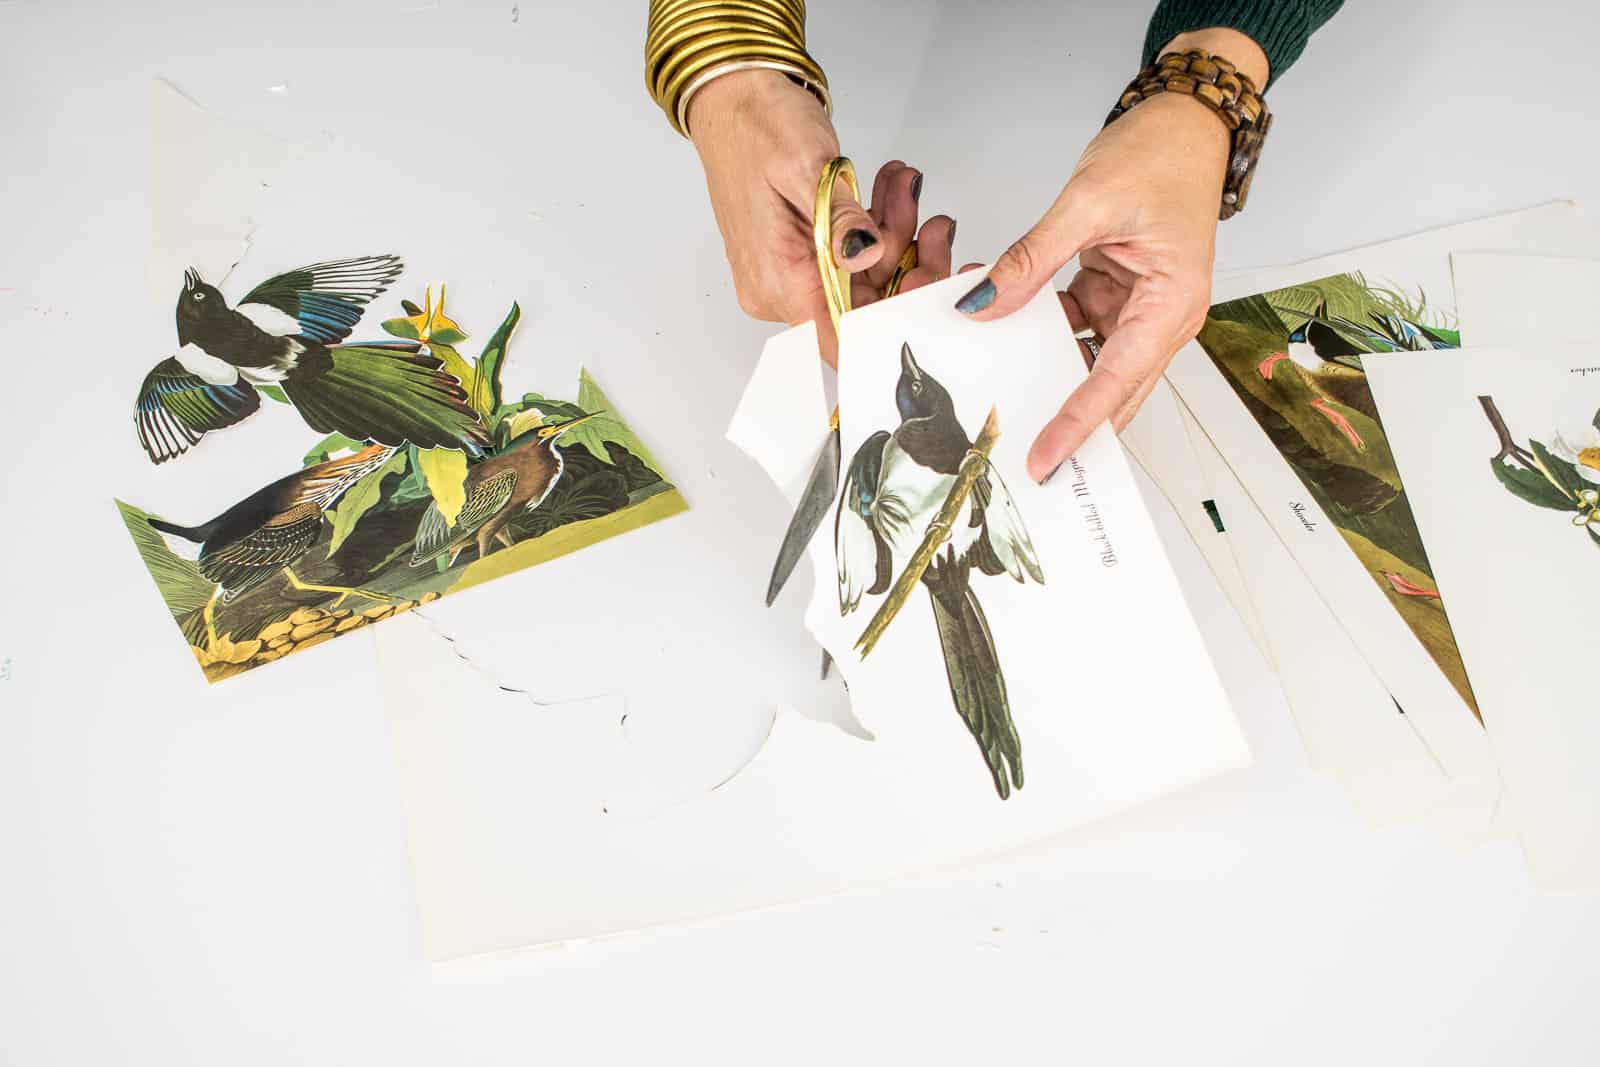
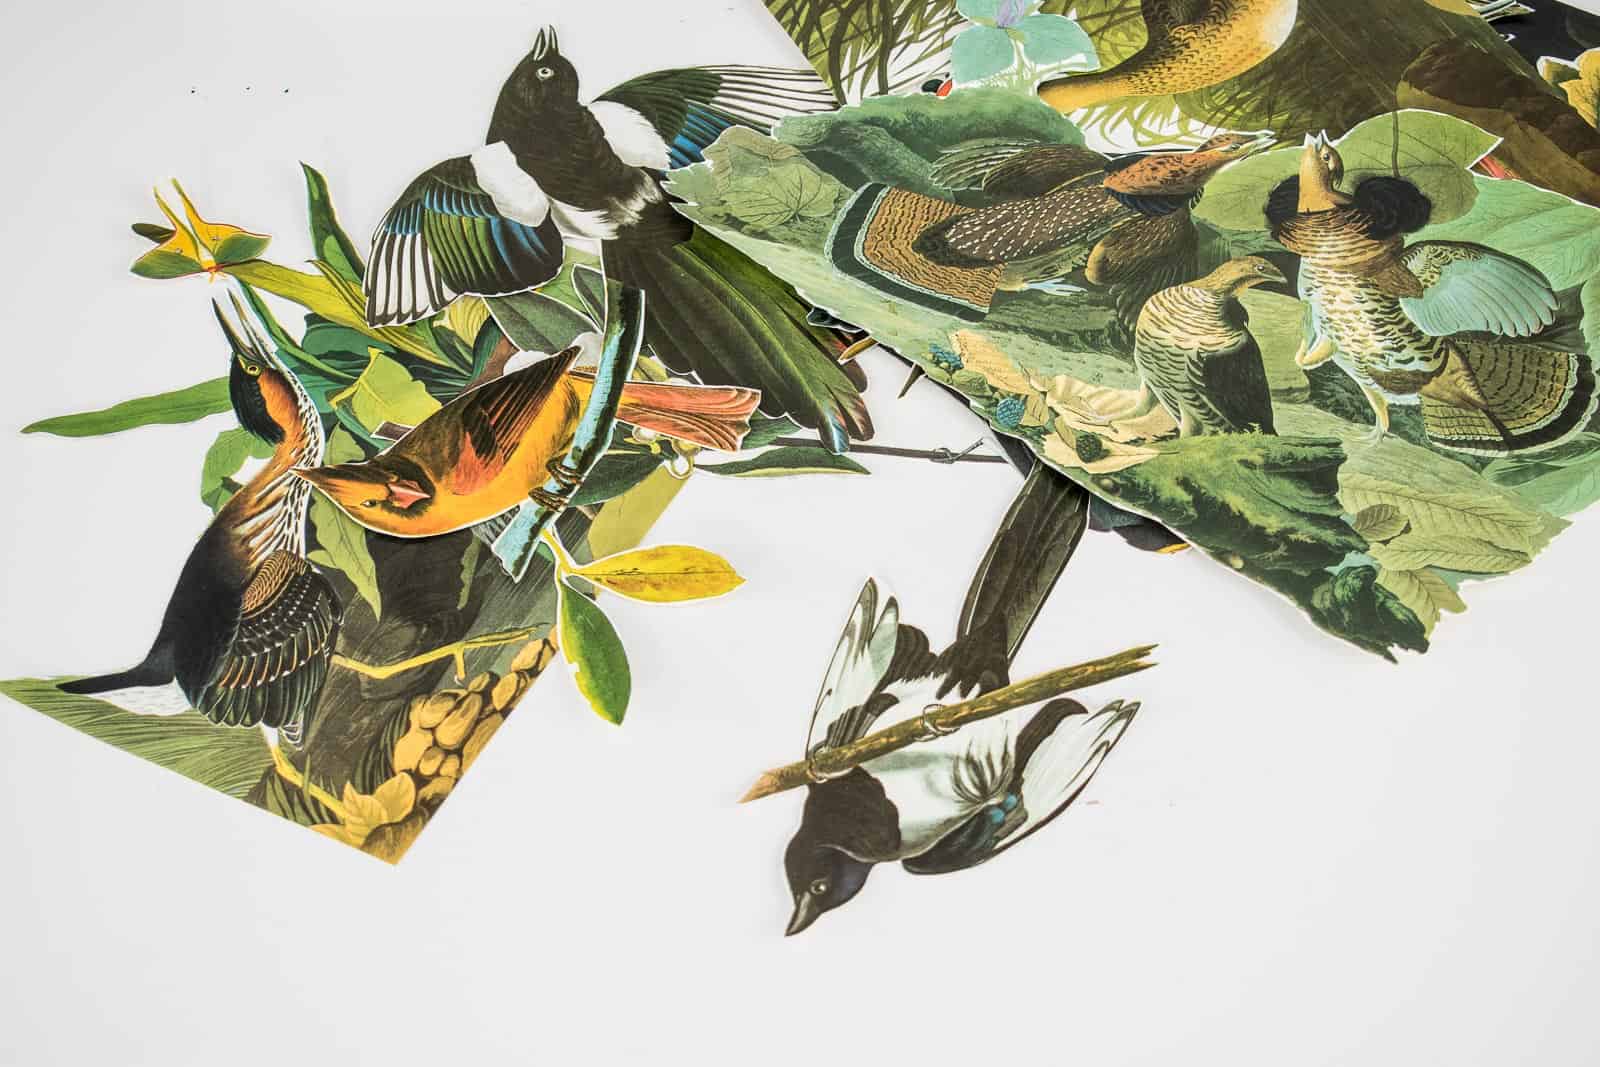
Step 2. Cut out your paper
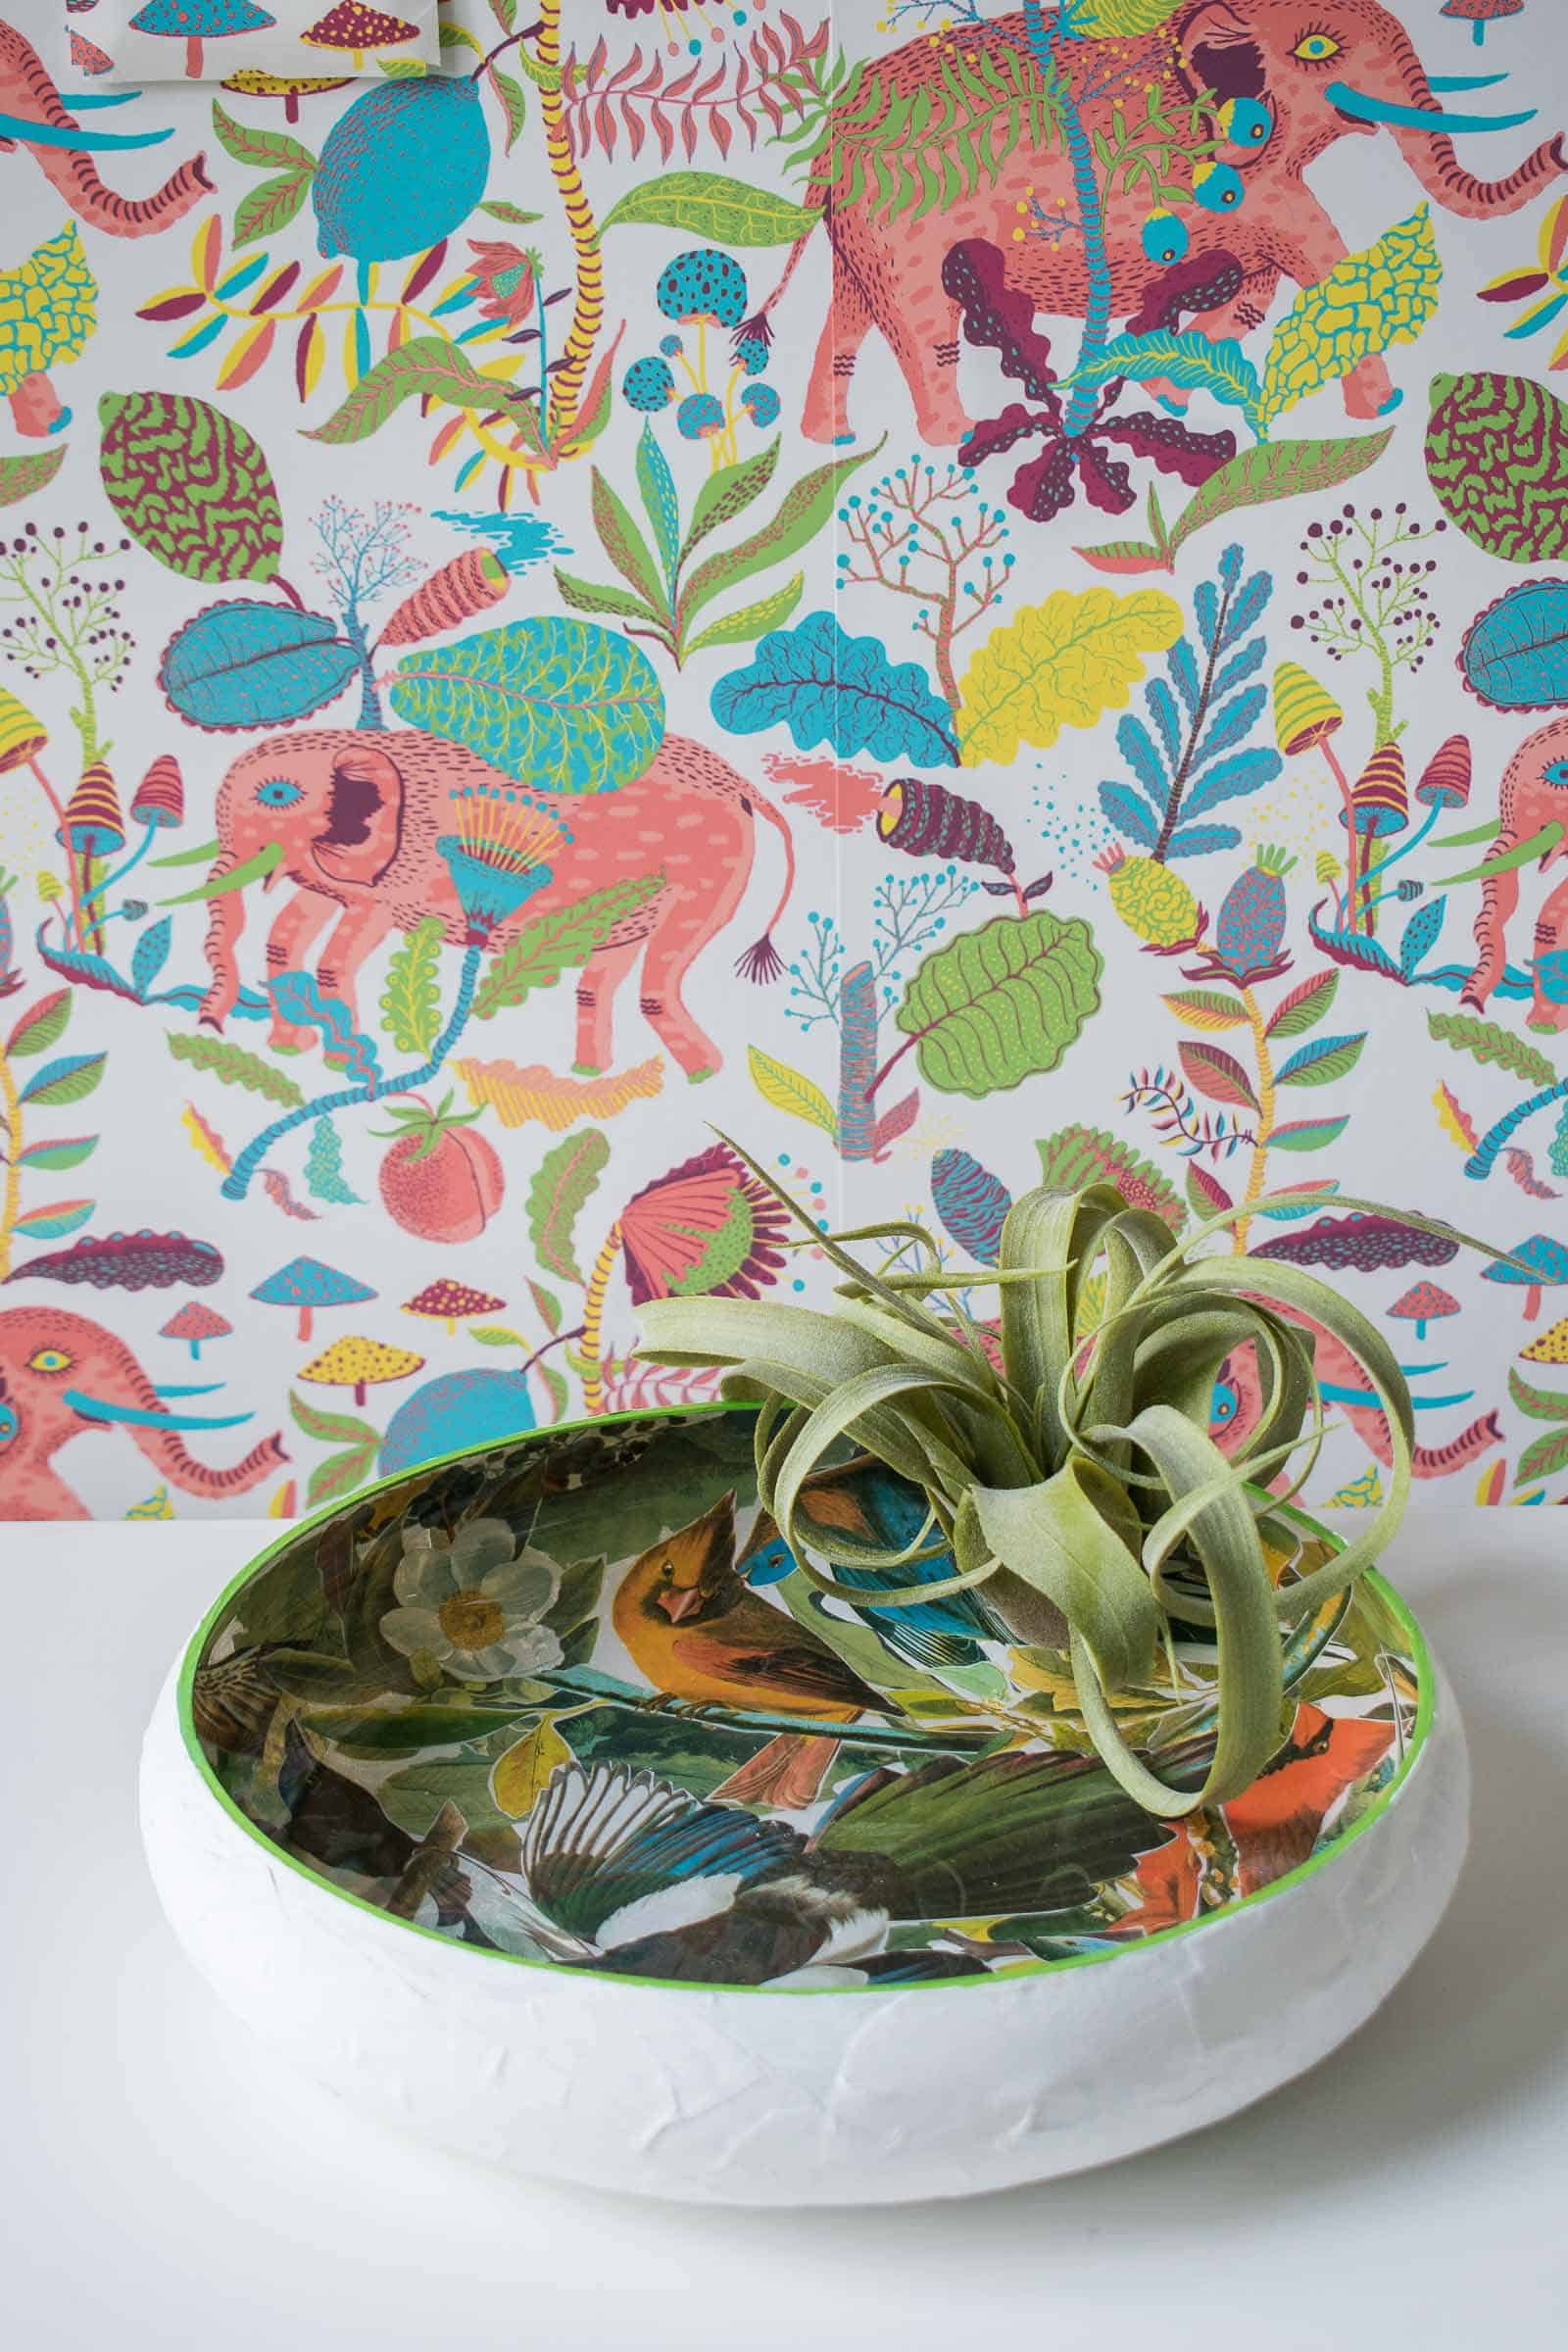
I selected some pages from the Audubon book that had isolated birds and cut these out. I had to fill in with other textures, but I wanted a few birds to be the centerpiece.
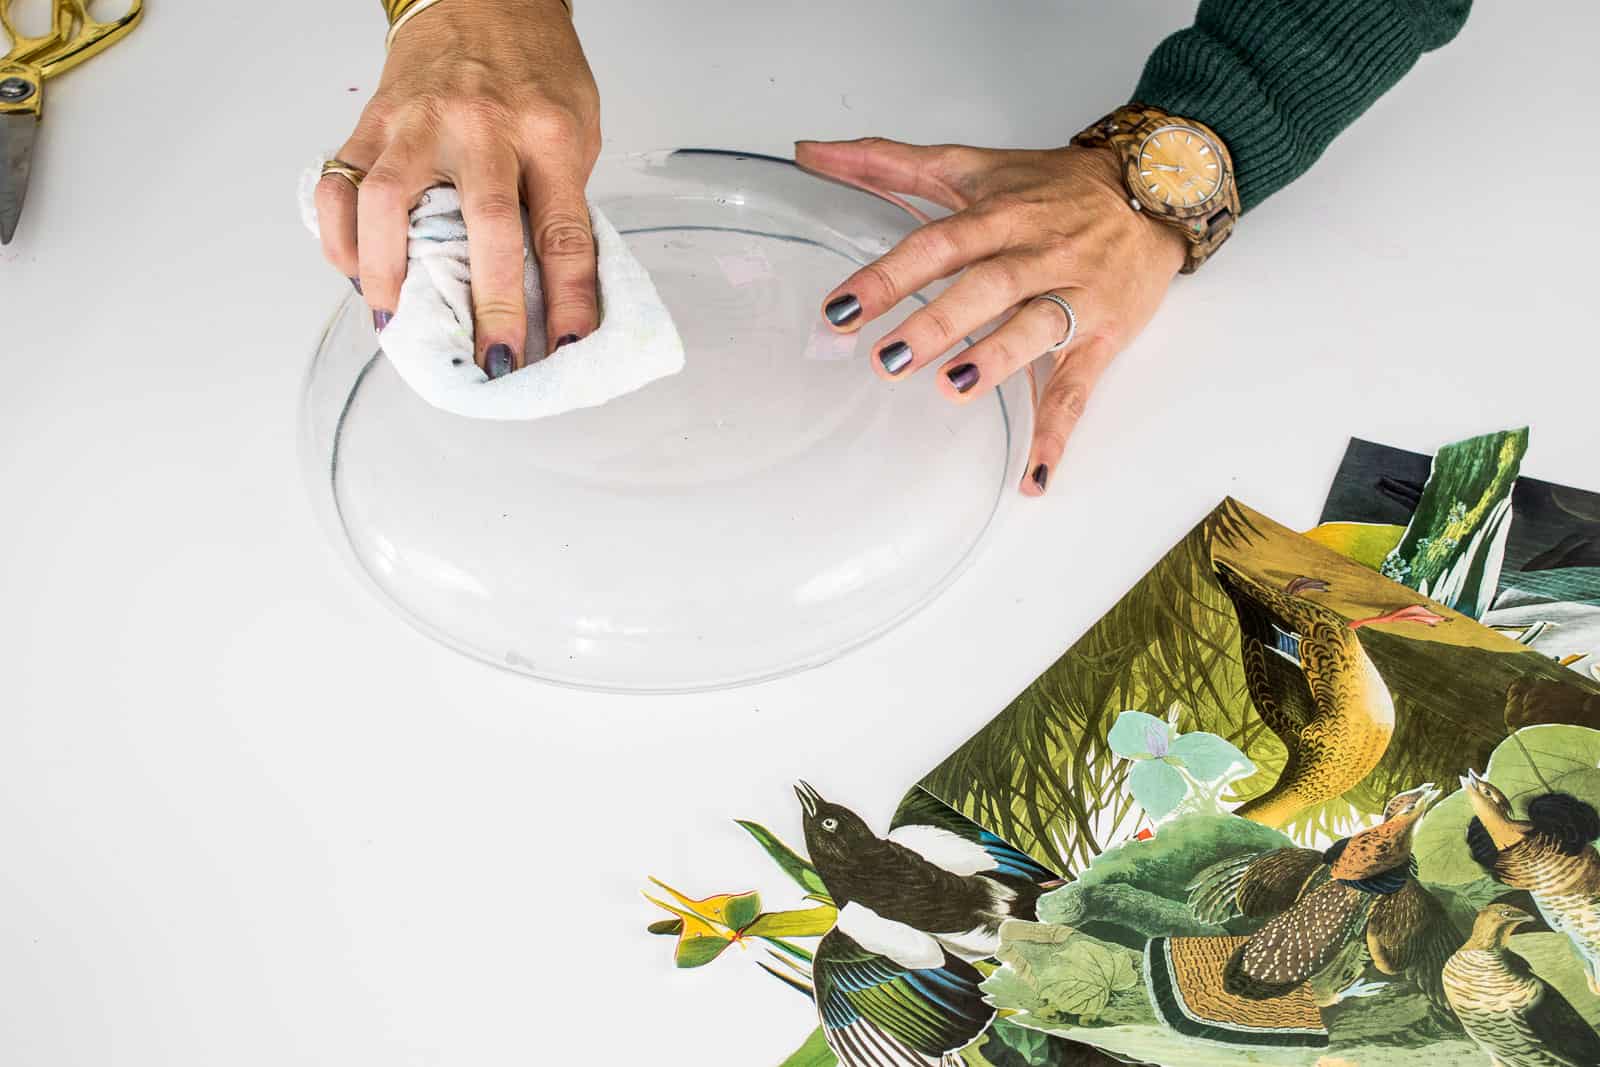
Step 3. Clean the surface
To make sure there’s not dust or dirt trapped under your decoupage, carefully clean the surface of your object.
Step 4. Glue your paper in place
For this item, I’m using dishwasher safe Mod Podge (affiliate). I won’t put it in the dishwasher, but figured this would hold up to water if I ever wanted to use it to serve food. Because I’m not touching the INSIDE of the bowl, this is still technically food safe which I love. I end up using my fingers a lot to smooth out the paper and make sure there aren’t wrinkles or bubbles in the paper.
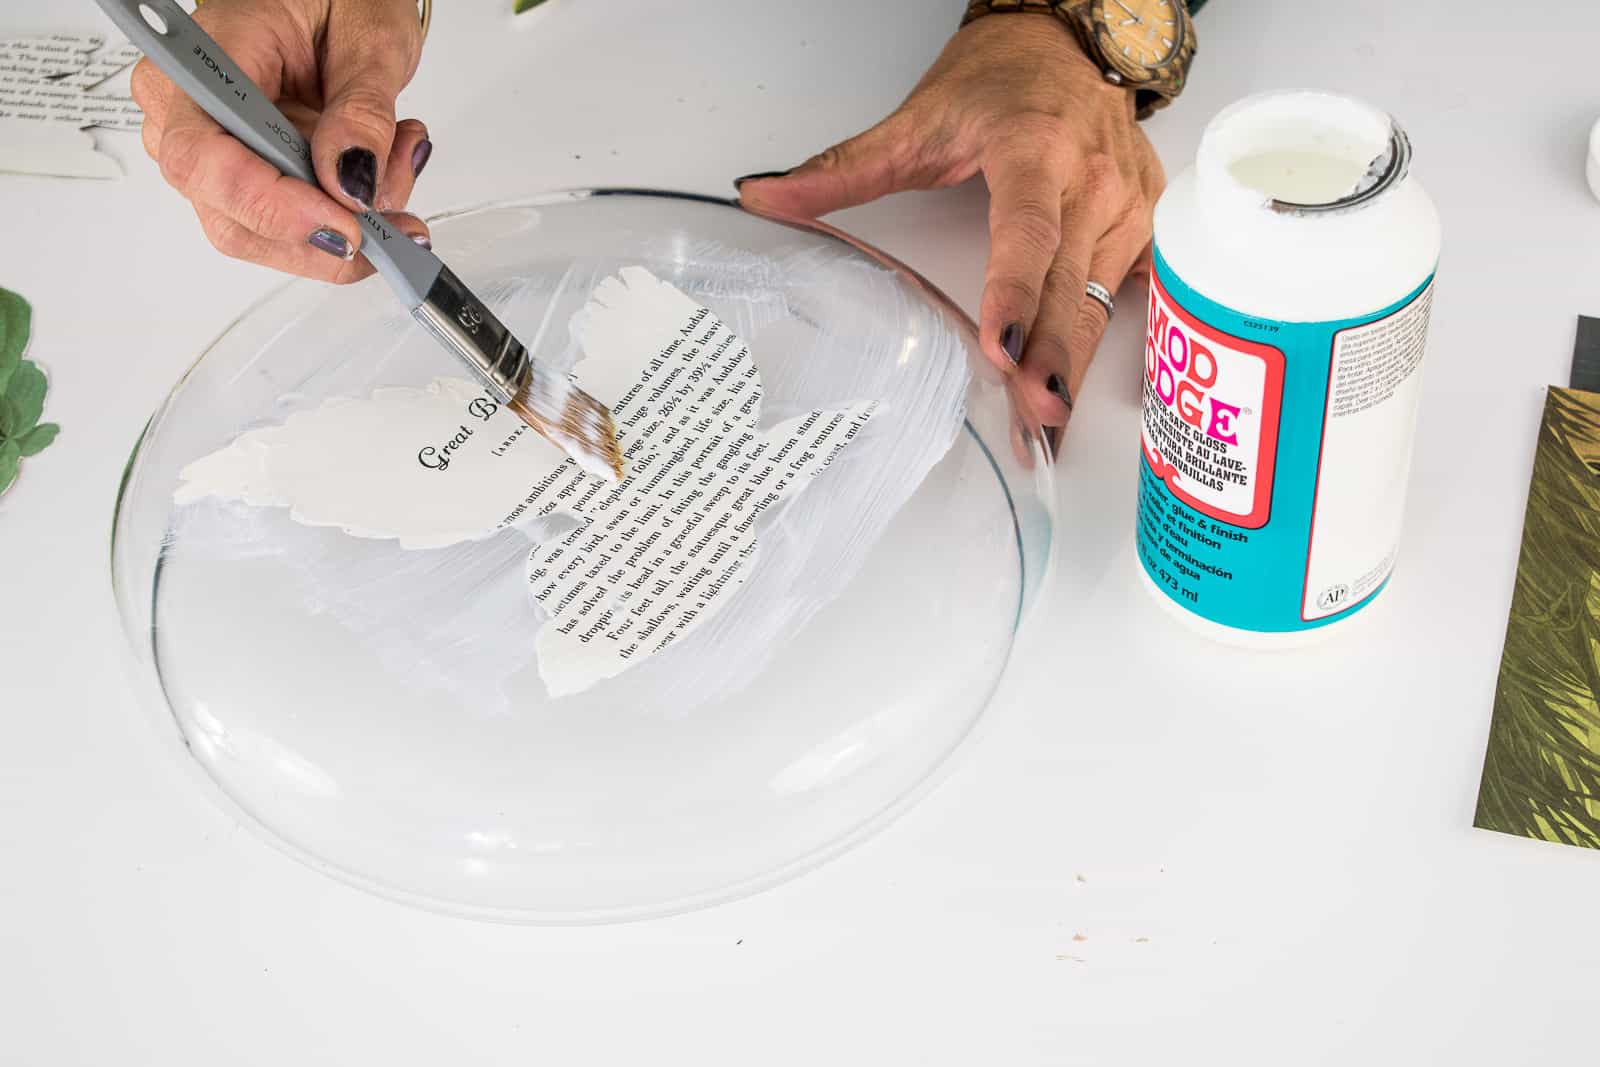
Start by brushing a thin coat of mod podge onto the surface and then place your paper on top. Remember to place your paper pretty side DOWN since that’s what you’ll see first through the glass. Also keep in mind the order in which you’re applying the paper… I wanted a few birds to be the superstars so they had to go down first and then I filled in behind them. Alternate between brushing the mod podge, placing the paper and smoothing it all out with your fingers.
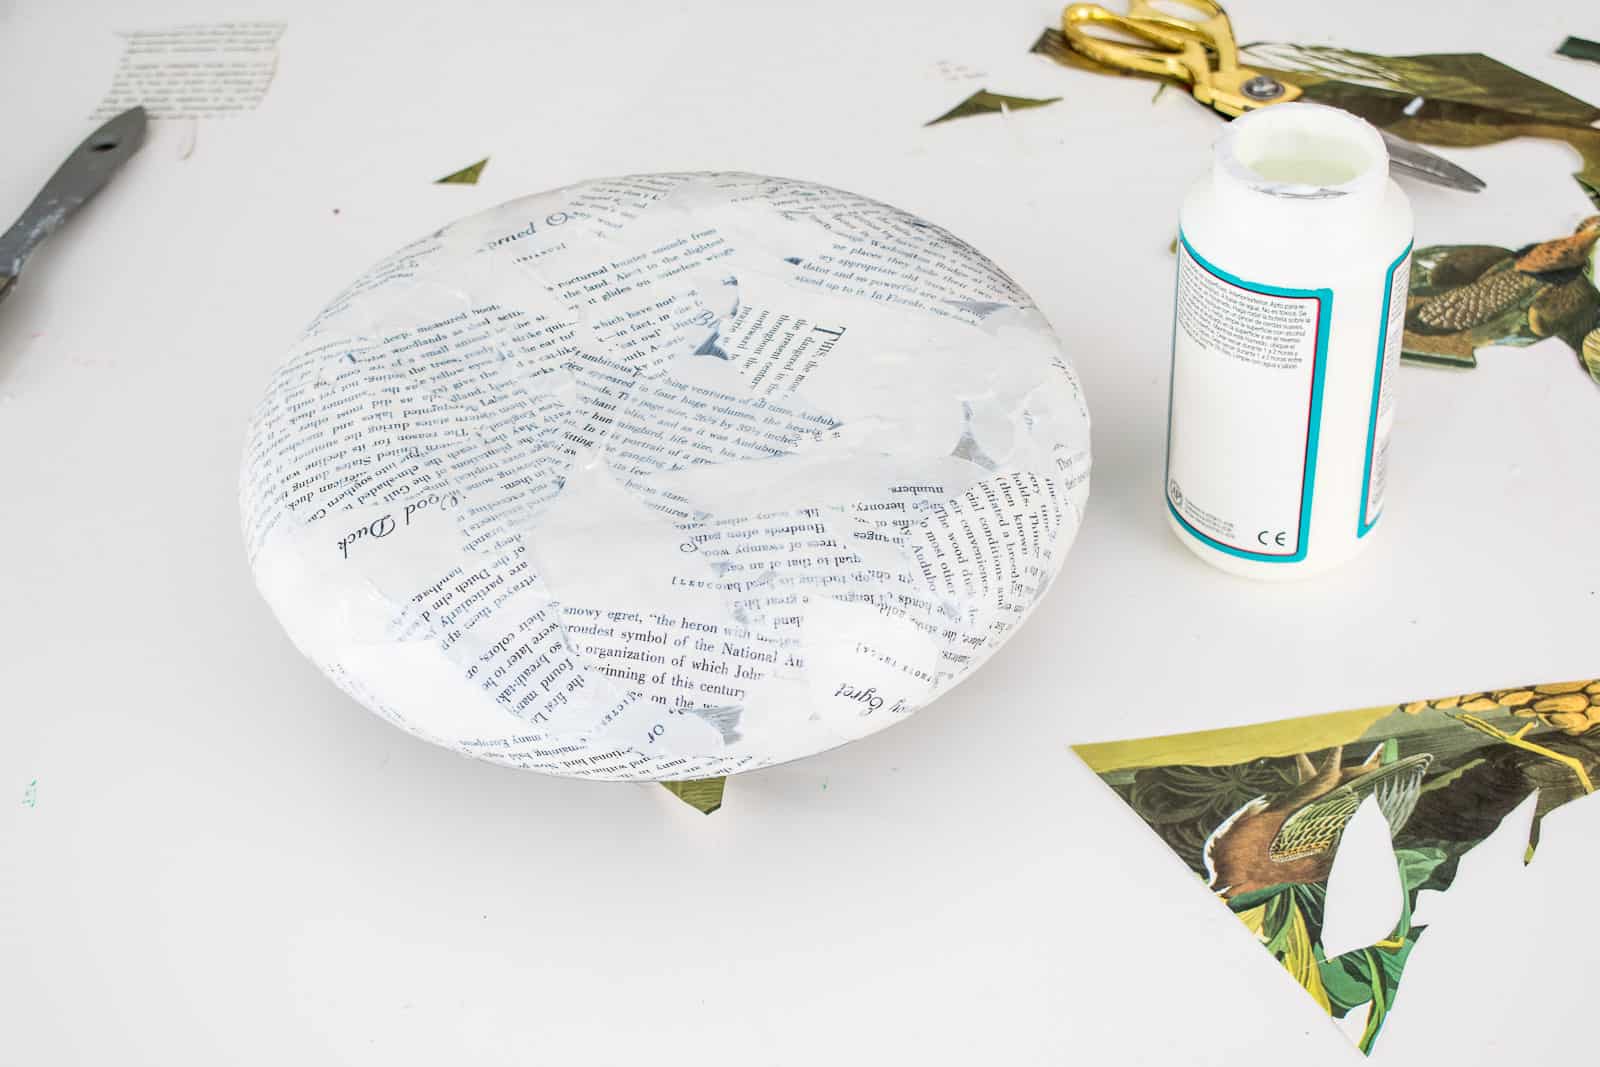
Step 5. Paint (optional)
When I was finished, there were still a few places on the bowl that weren’t covered with paper so I figured I’d give the underside a coat of paint. If you’re planning to wash your item, then consider what paint you use and/ or go over it again with a coat of the dishwasher safe mod podge.

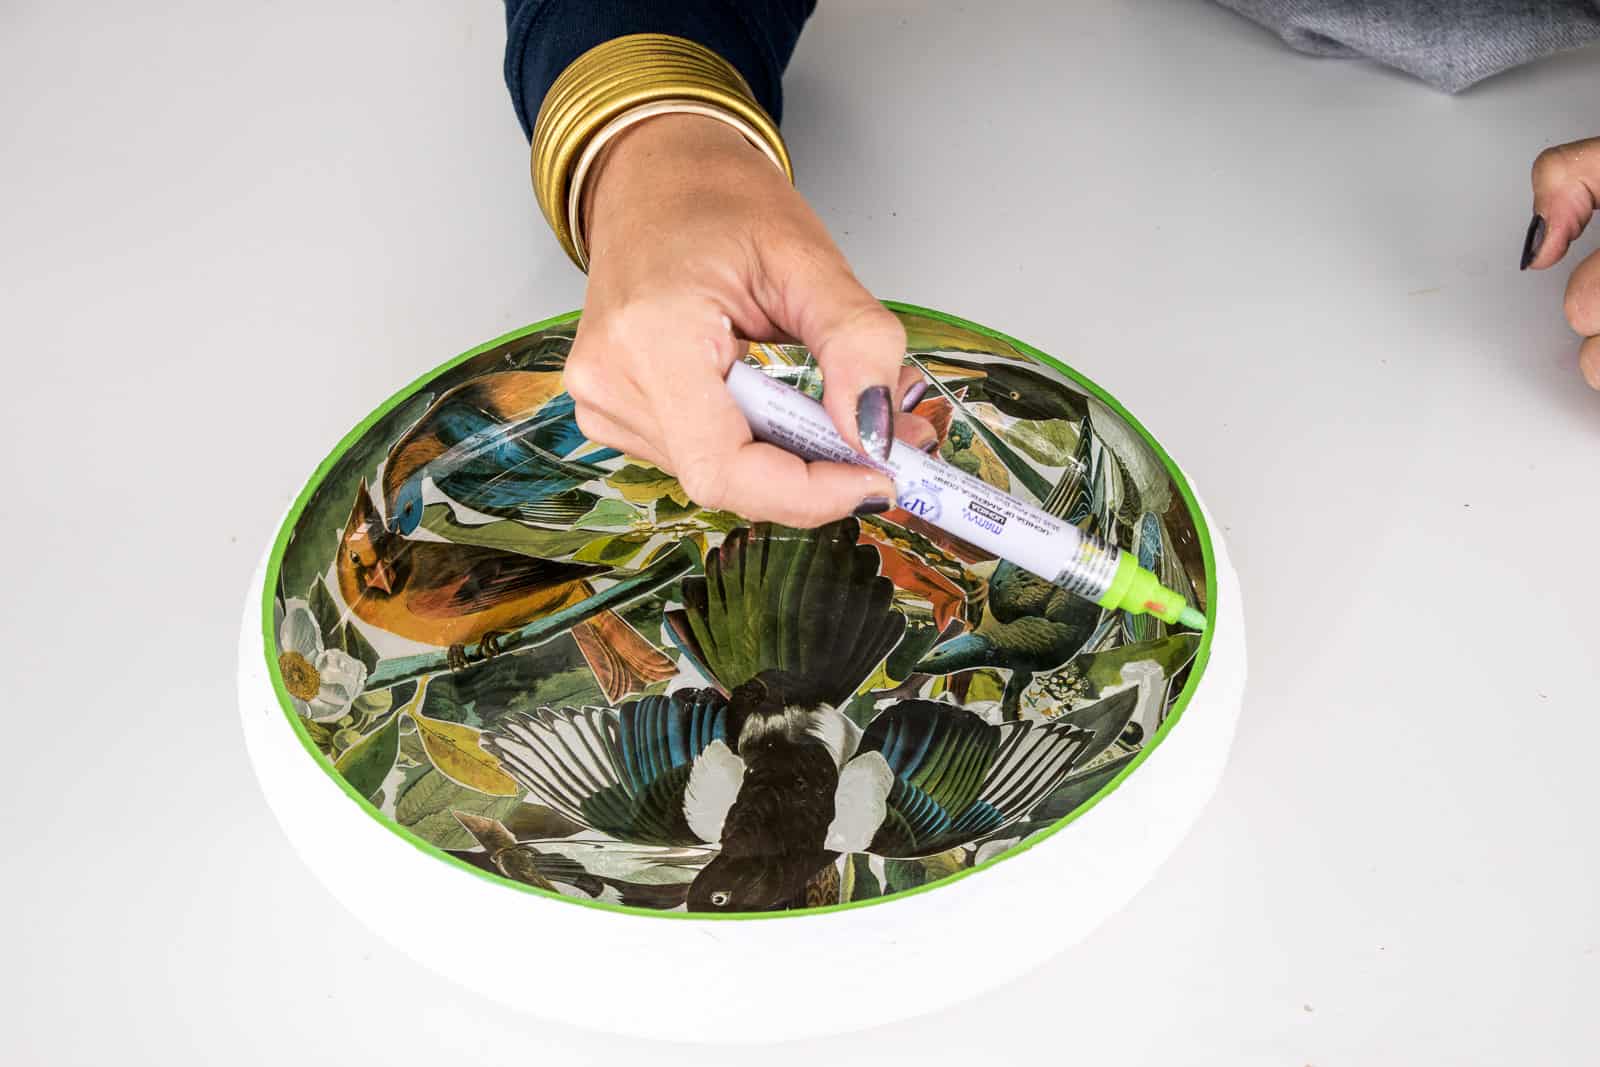
Step 6. Paint the rim
I used a paint pen to add a pop of color to the rim of the glass bowl. Not only did it mean I didn’t have to worry about any paint that got on the rim, but I also love the little bit of color right there.
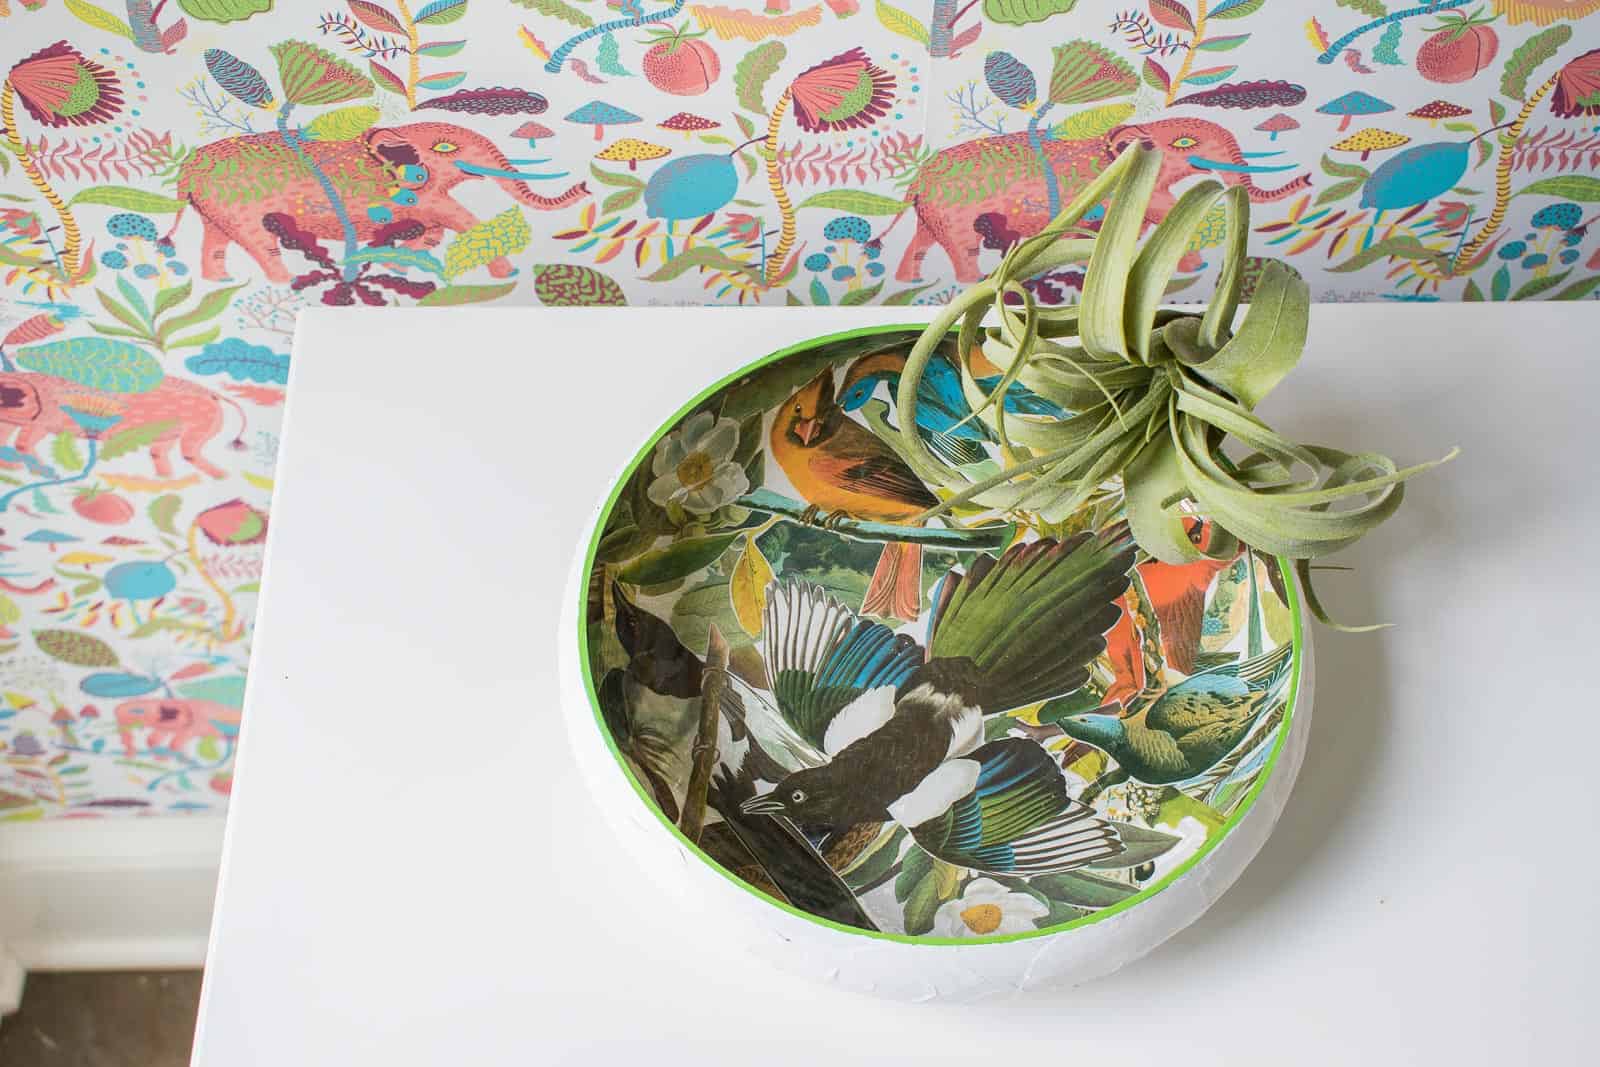
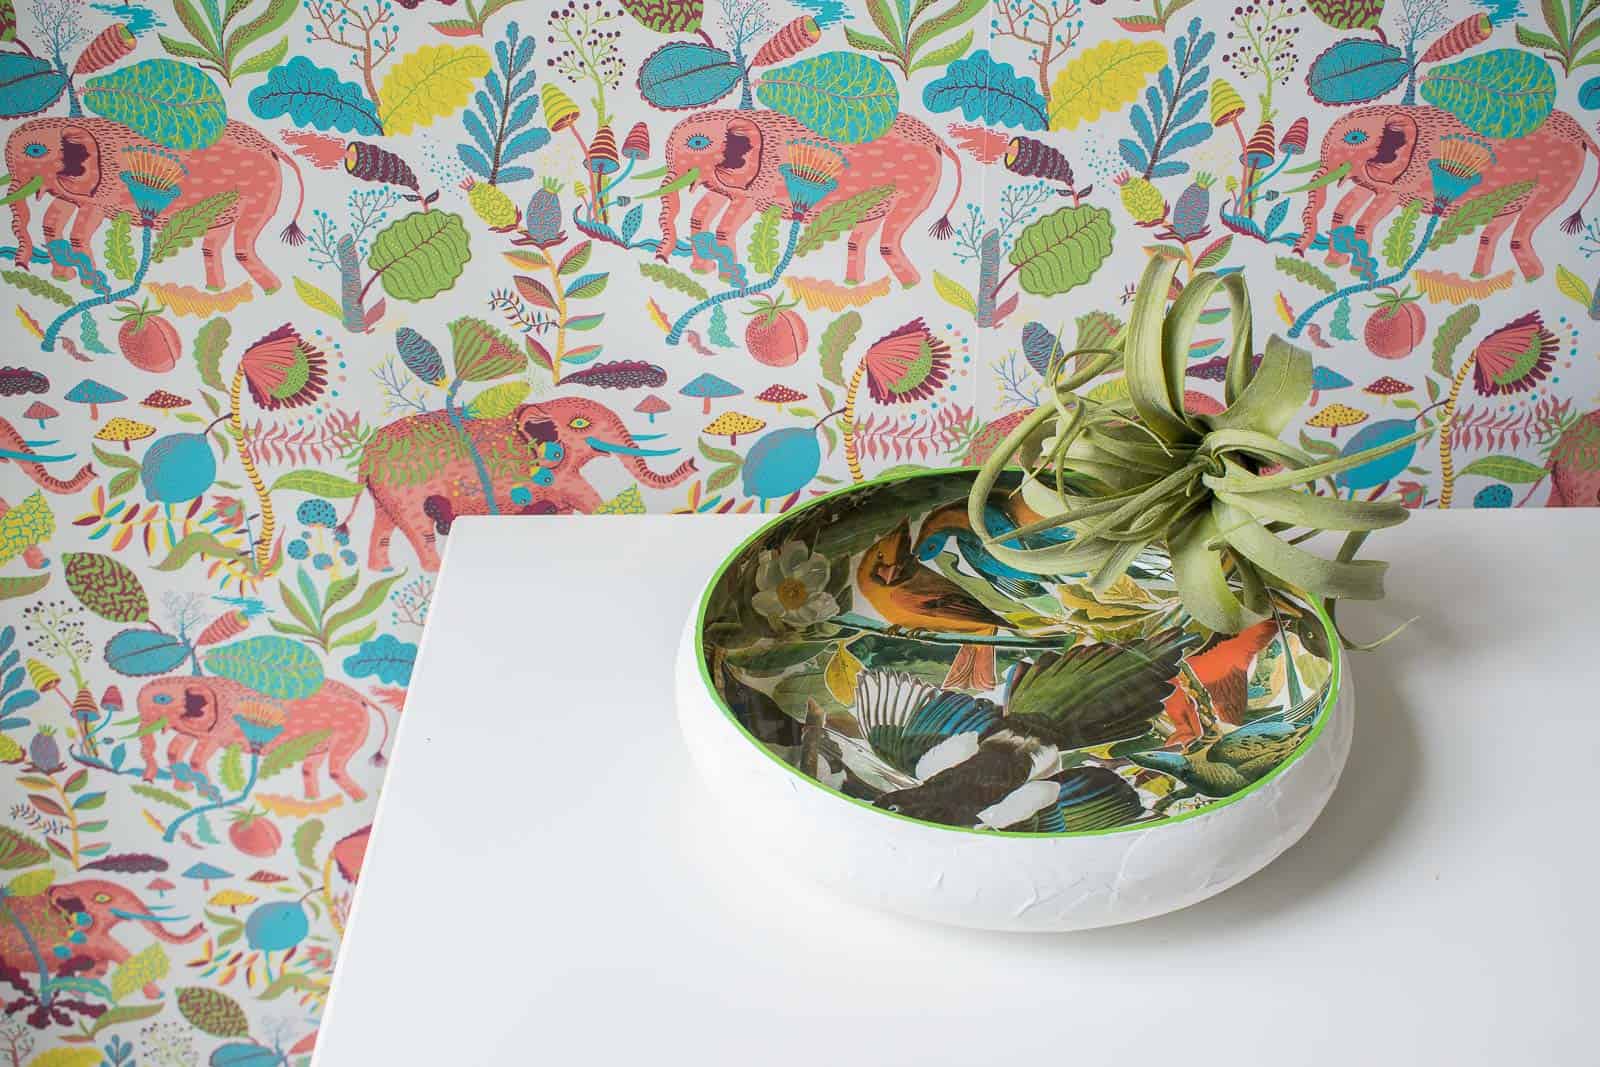
This is styled really simply and will probably live on a side table somewhere in the house. But given the chaos that is the One Room Challenge right now, I’m not sure where it will land! For $2, this was a simple and REALLY effective makeover, if you ask me. This would be a great project for kids coming into the holidays as you could photocopy some of their artwork and decoupage that onto the underside of a glass dish for someone. Just an idea…
I’ve also done this with plates to make fun chargers and you can see that HERE.


?I love distance thrifting with you! One day we’ll definitely do it in person. I love how the bowl turned out!
Hi Ashley,
Thanks for the tutorial. Can you tell me if there are specific types of paper that can not be used on glass. I have seen some really pretty wrapping paper that I would love to use.
Any suggestions would be greatly appreciated.
Bronnie
Hi there! I find that thinner paper works best. Anything too heavy isn’t ideal for decoupage!
Is there a certain brand of paint pen that is best suited for painting the rim?
You want an oil paint paint pen if possible but any brand should work!
I loved the easy way you explained the working prosess. Thanks
Thank you!
What kind of pen you used at the end?
Hi! That’s a Sharpie paint pen!