
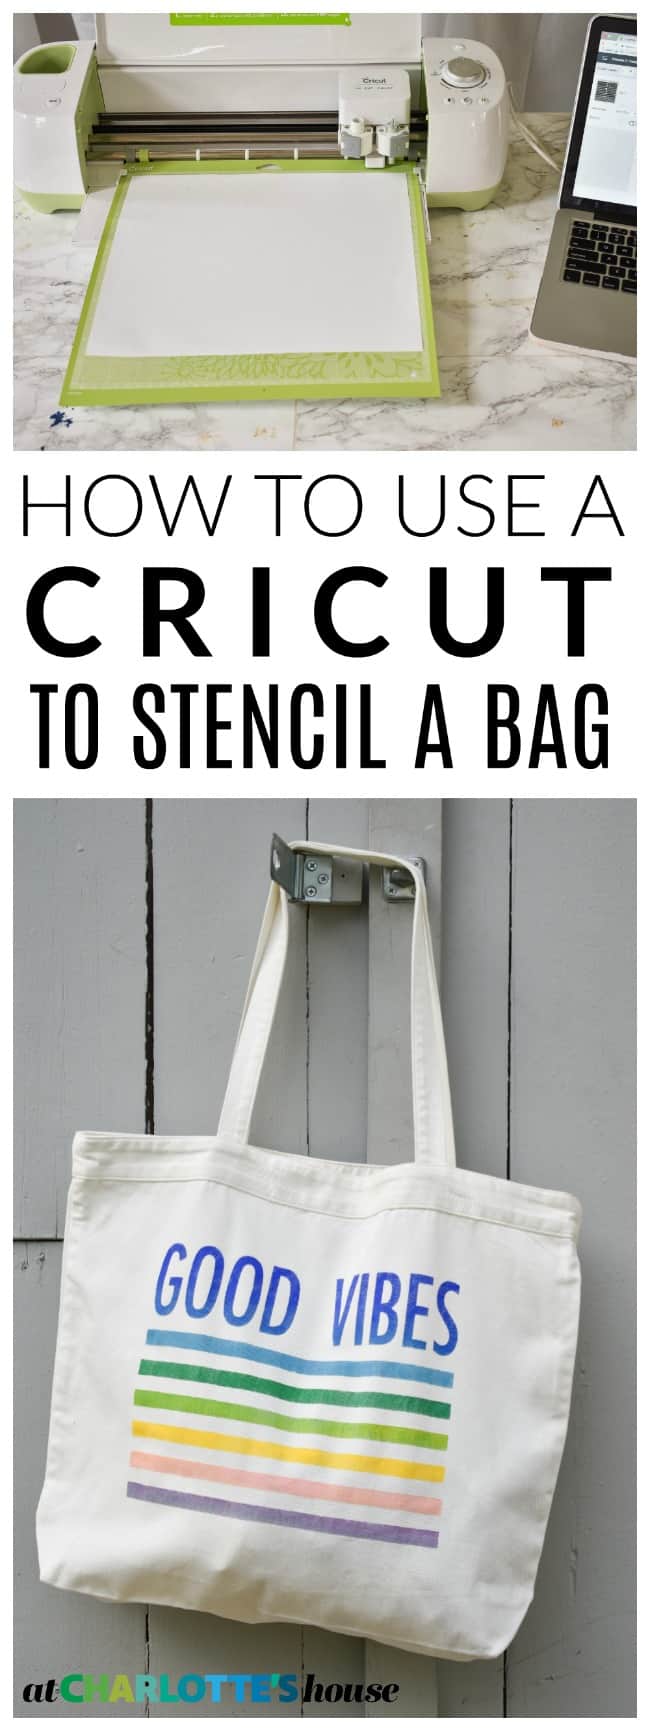
How to Make a Colorful Stenciled Tote Bag
Psssst… this post *might* contain affiliate links: see my disclosure here.
Using a Cricut to Stencil a Bag
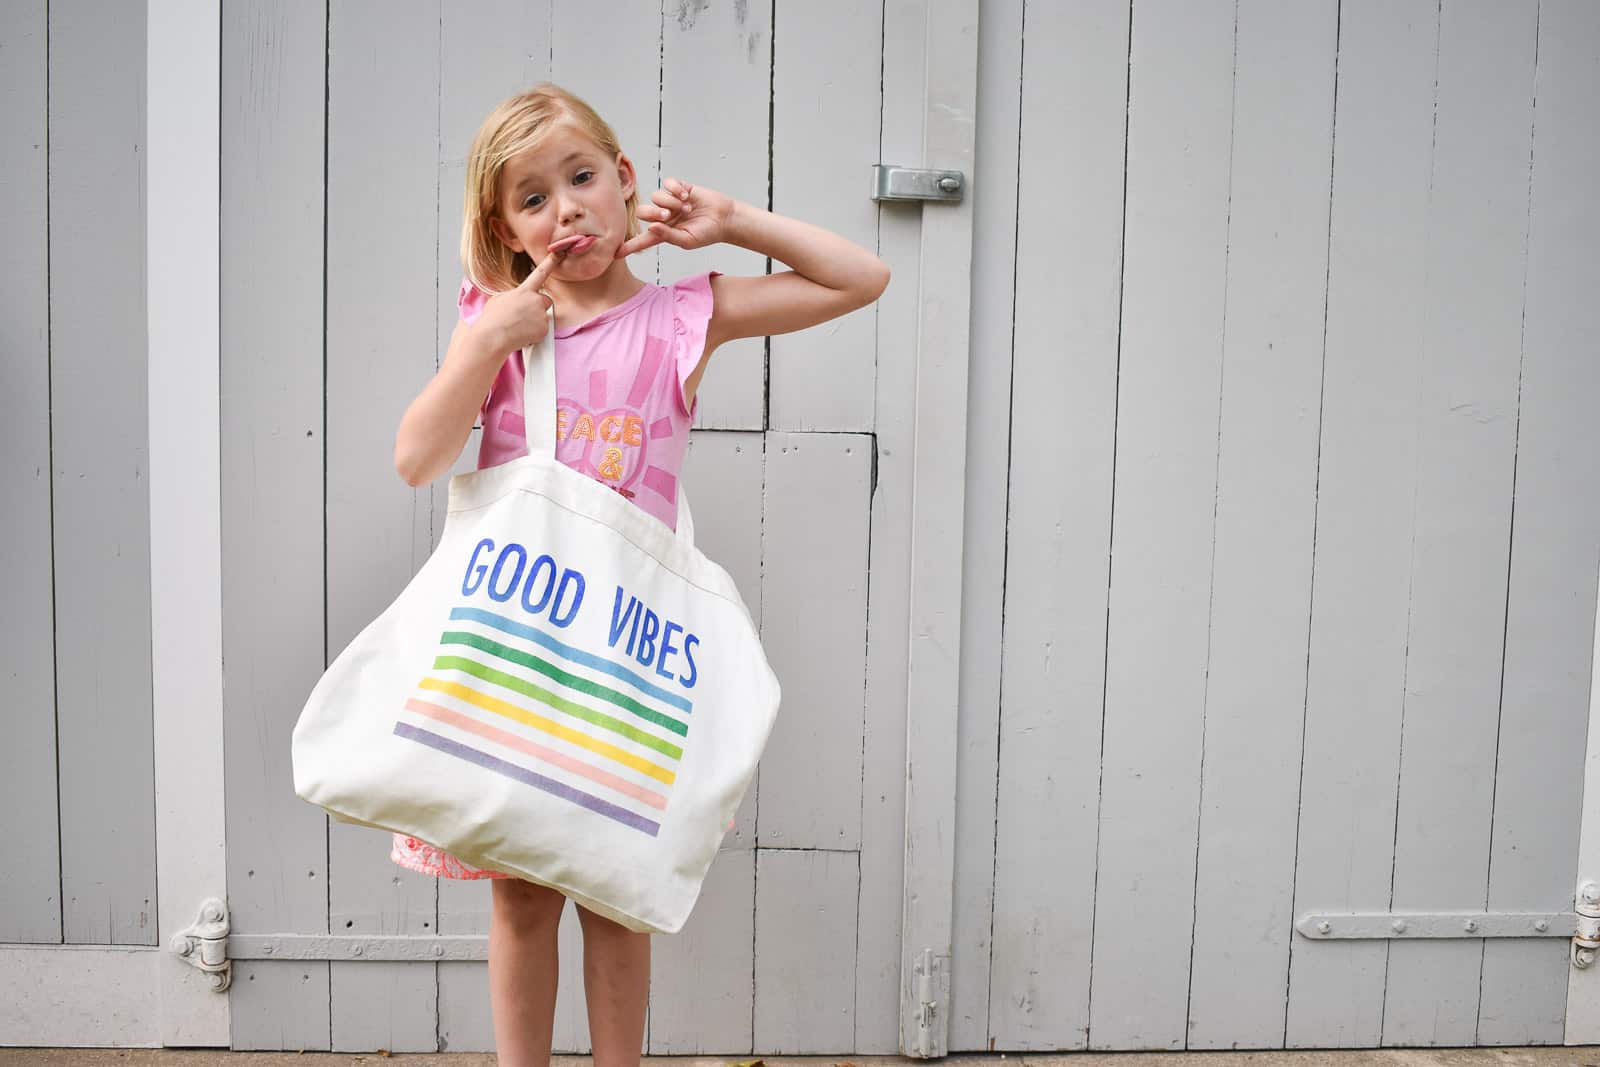
With 12 hours to spare a couple of weeks ago, I helped the kids make stenciled tote bags for their end of the year teacher gifts! I asked on Instagram whether you wanted a tutorial and something like 98% said, ‘heck yeah.’ So… here it is! A bunch of you also asked for a more step-by-step break down of how I use my Cricut so I’ll cover that too!
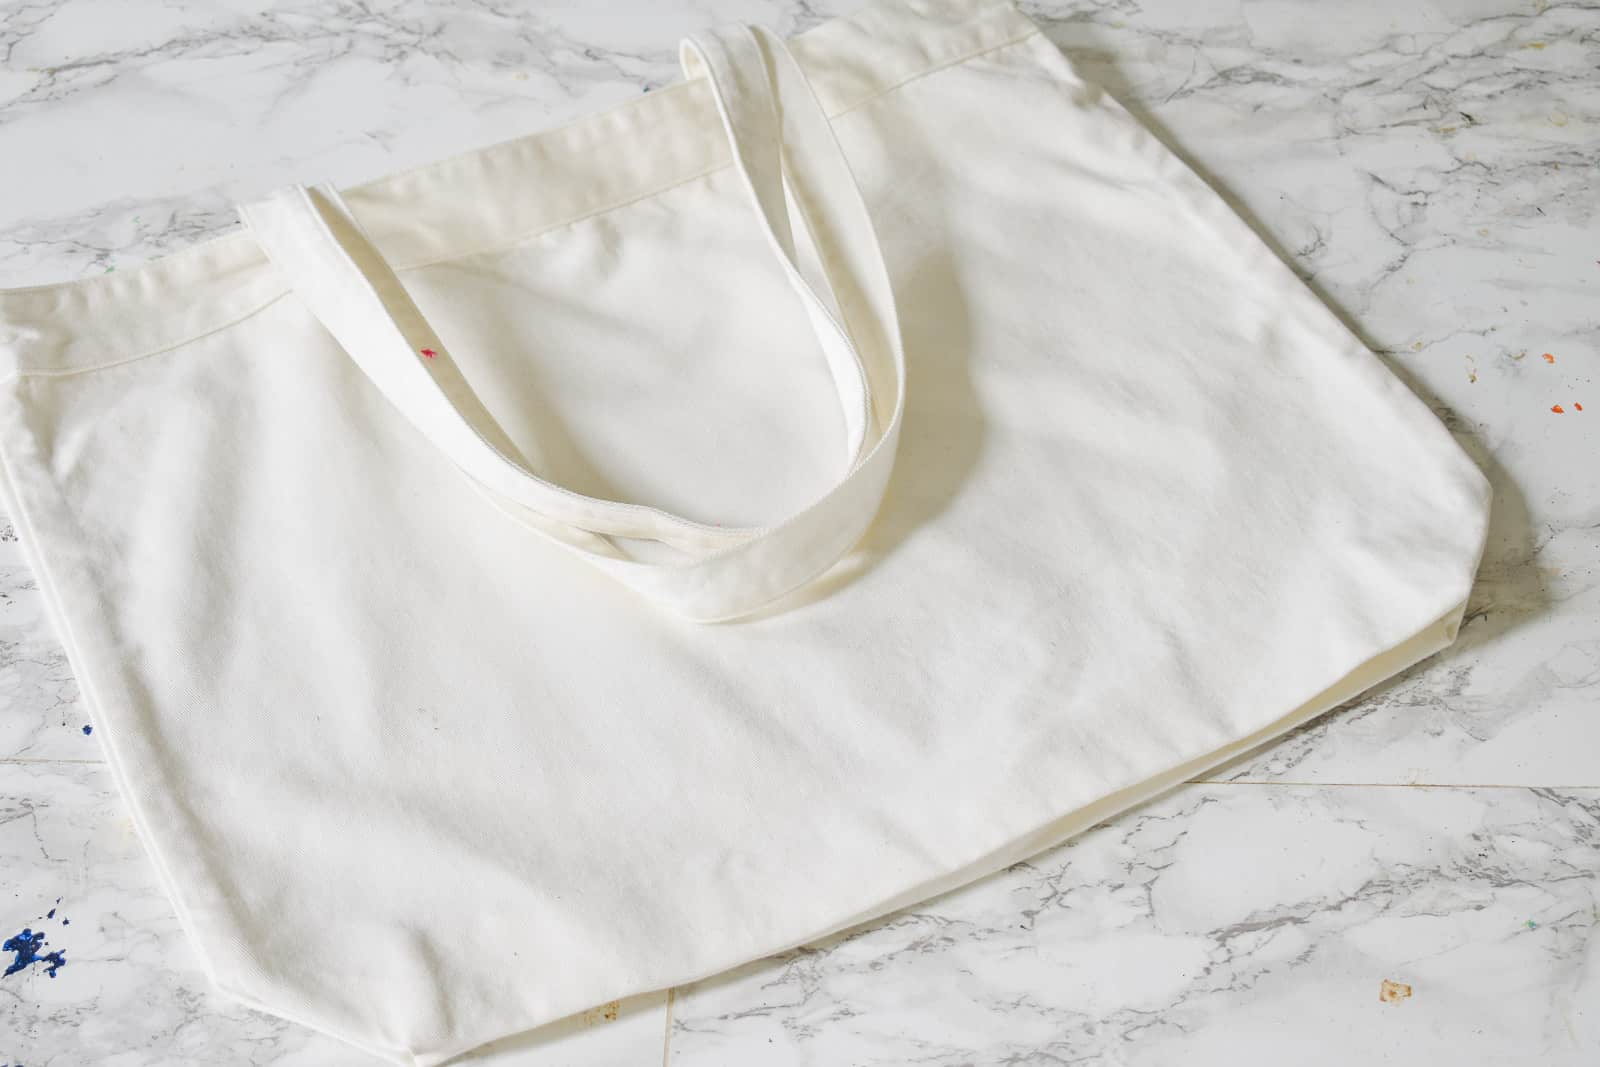
Step 1. Materials
Disclaimer. I’m a ROOK-iE when it comes to the Cricut. I use it for basically the same kind of thing, but I’m getting more and more ambitious so hopefully I’ll have bigger and better projects coming soon. In general, the materials I use for my Cricut are as follows:
I have this version of the machine (i.e. it’s old)
Cutting Mat
Vinyl
Transer Paper
Weeding Tool (comes with the Cricut)
Shop my favorites!
Step 2. Download the Cricut App
This is where you design what you’re going to cut. I found the Cricut platform basically intuitive, but reminder that I don’t do anything too complex. You can choose a font (some require you to buy them) OR work from premade projects. I choose my font and then adjust it to the size necessary. There’s a little ‘lock’ icon that you can click to ‘unlock’ the proportions of your letters in case you want to ‘stretch’ it wider or taller.

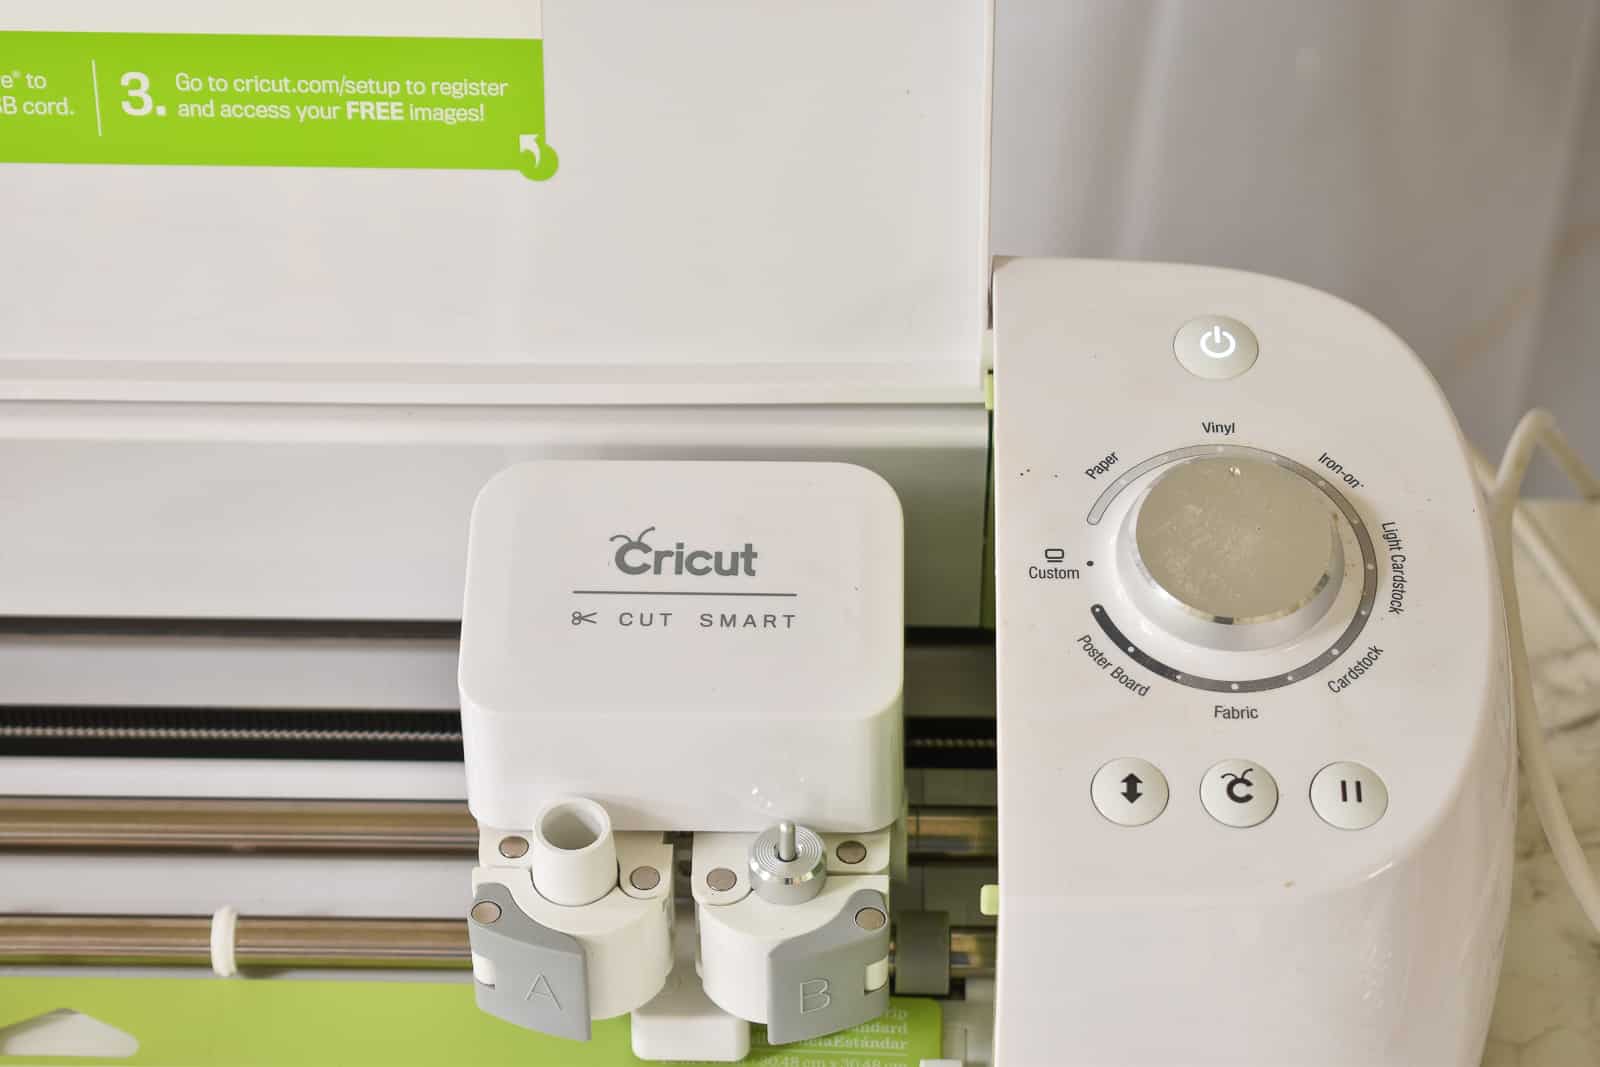
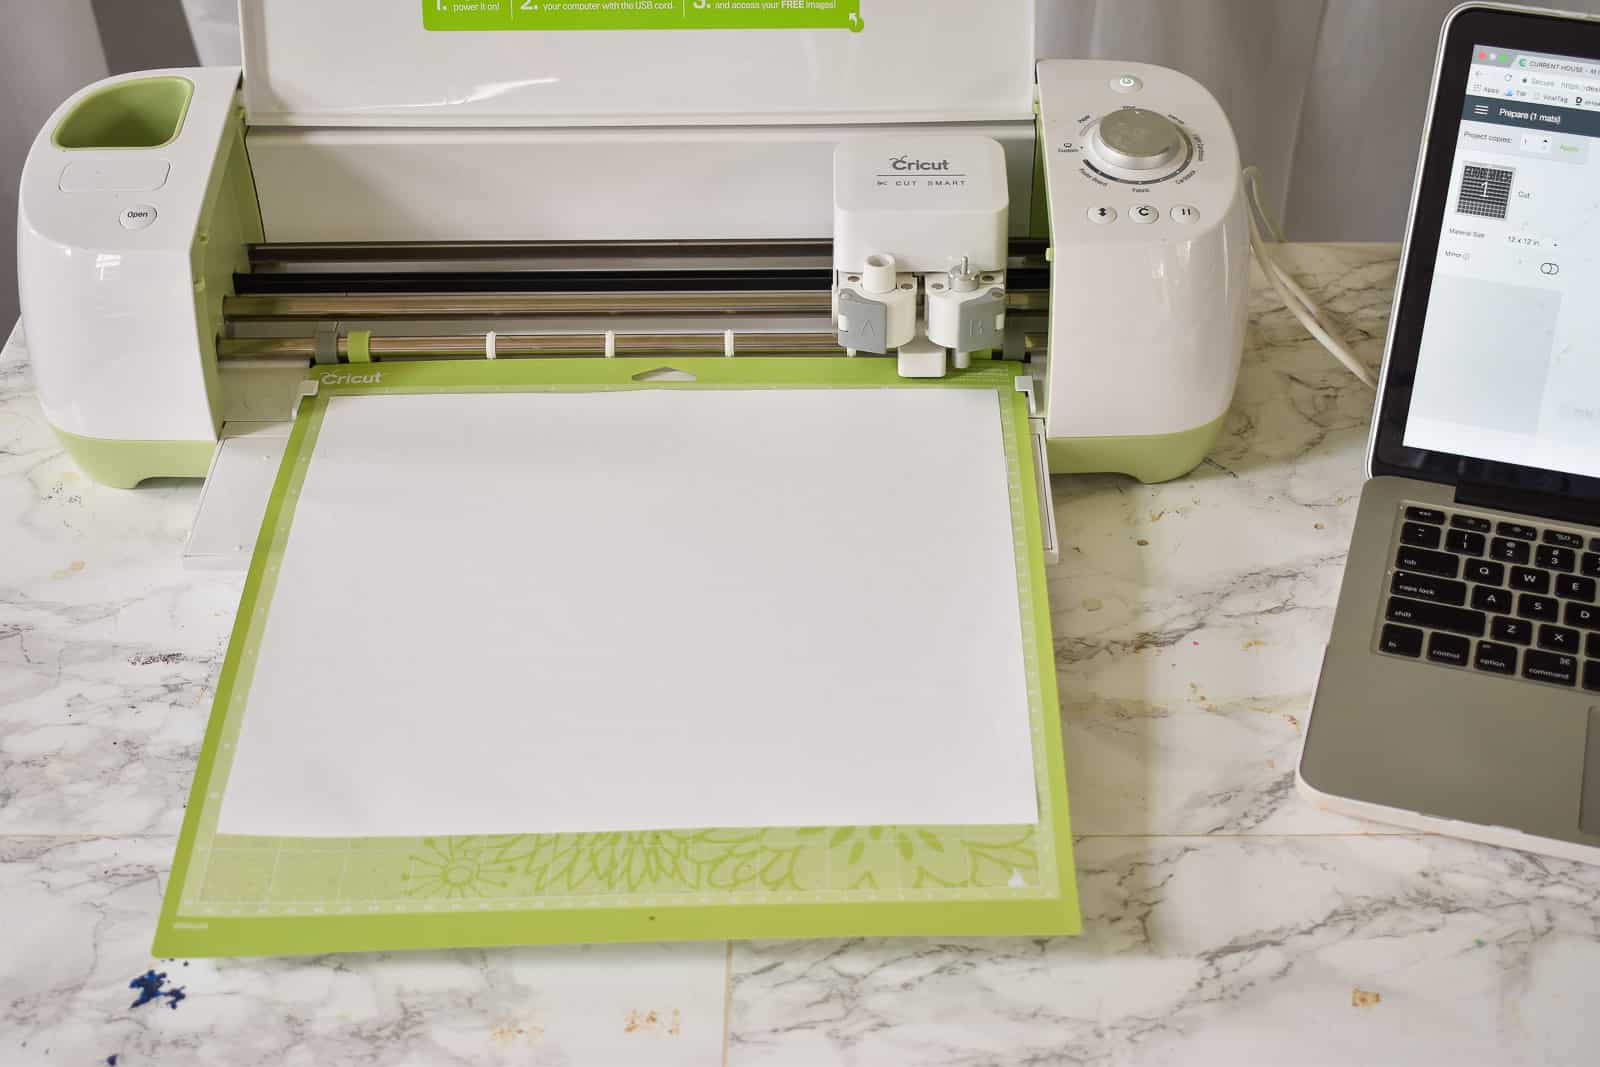
Step 3. Send to the Cricut Machine
Once you’re happy with your design, you click on the “Make It” button and your computer will direct you to check the settings on your Cricut. Tell the machine what type of material you’re cutting and load the cutting mat.
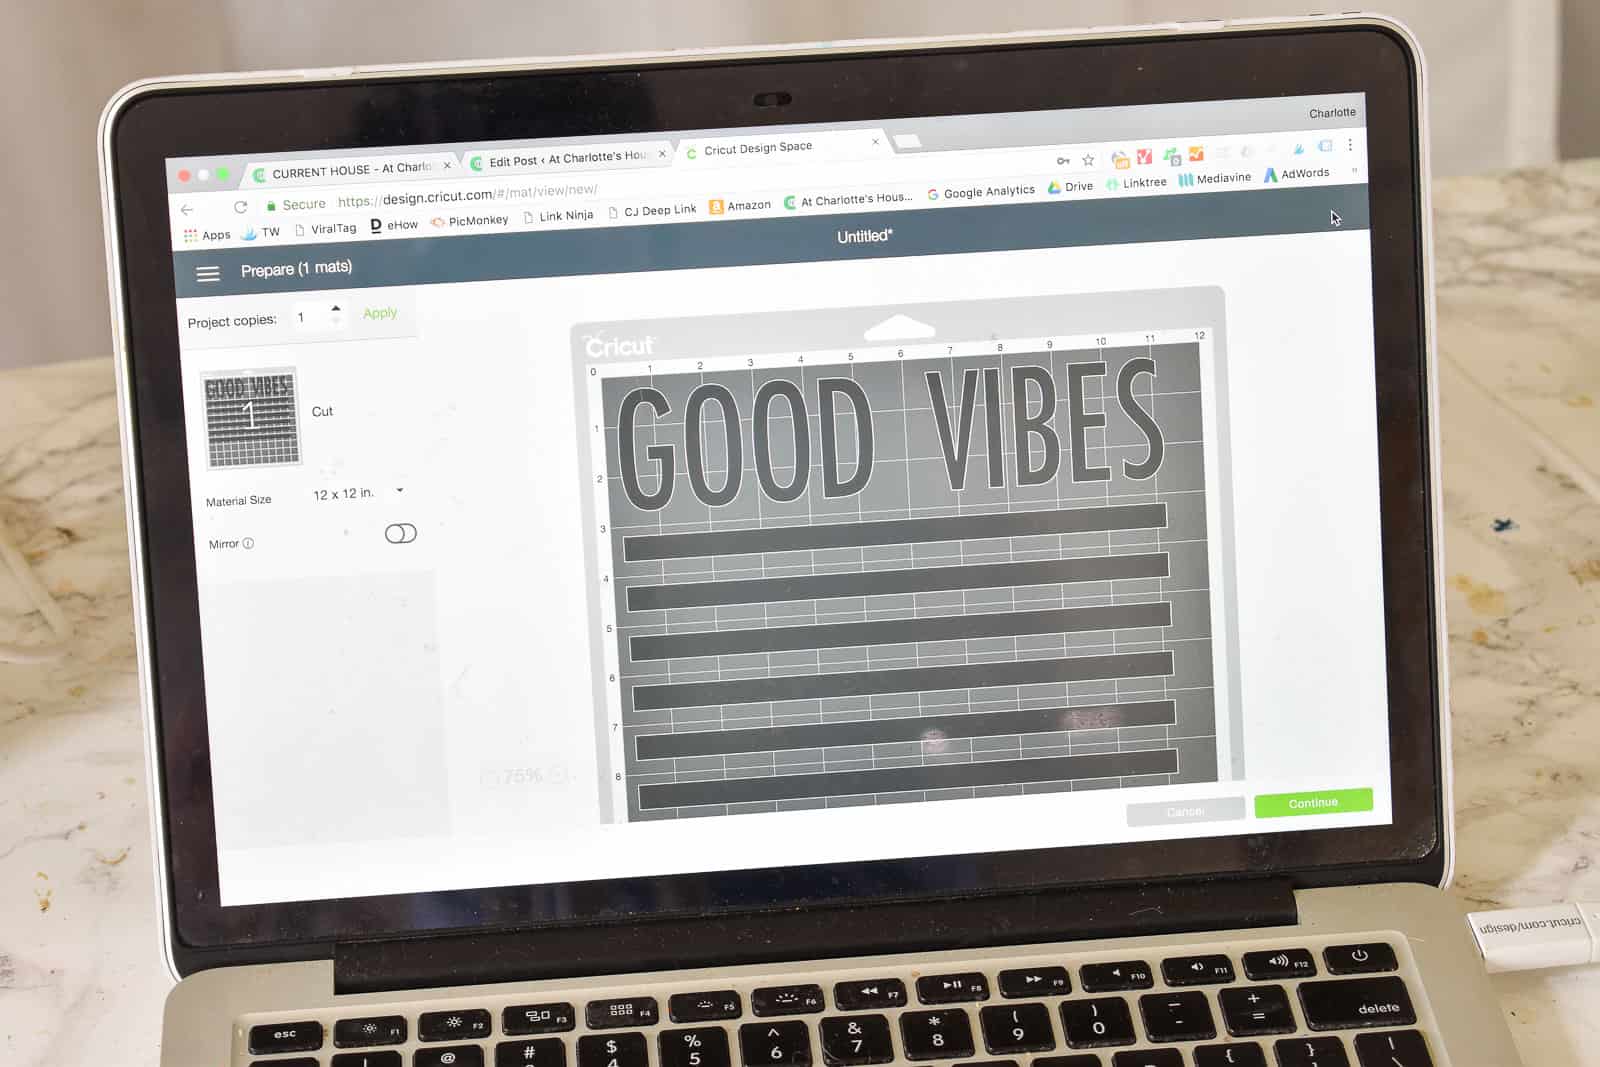
Tip: For this bag, I had everything arranged in the design studio, but when I clicked Make It… it rearranged everything to maximize the spacing… no bueno. I had to go back, Select All, and then clicked “Attach”. For me… this was on the lower right of the design studio screen. Once I’d clicked “attach” I could go on to Make It and… ta da… everything was laid out and ready to cut just the way I wanted it!
Step 4. Select Settings
My machine prompts me to 1) load my cutting mat, and then to 2) select the proper material (vinyl). Then… hit the C and the machine will cut out your design.
Step 5. Remove the vinyl from the cutting mat
The Cricut is so super smart that it cuts out the vinyl without cutting all the way through the backing. Remove the vinyl from the cutting mat.
Step 6. Transfer Paper
To transfer the stencil onto the bag, you need your transfer paper. Cut your transfer paper to size, peel back 1″ of the backing and slowly adhere the transfer paper to the top (vinyl) side of the pattern you’ve just cut out. (Don’t worry about bubbles… just make sure the transfer paper is covering the stencil.)
Step 7. Transfer the Stencil onto the Bag
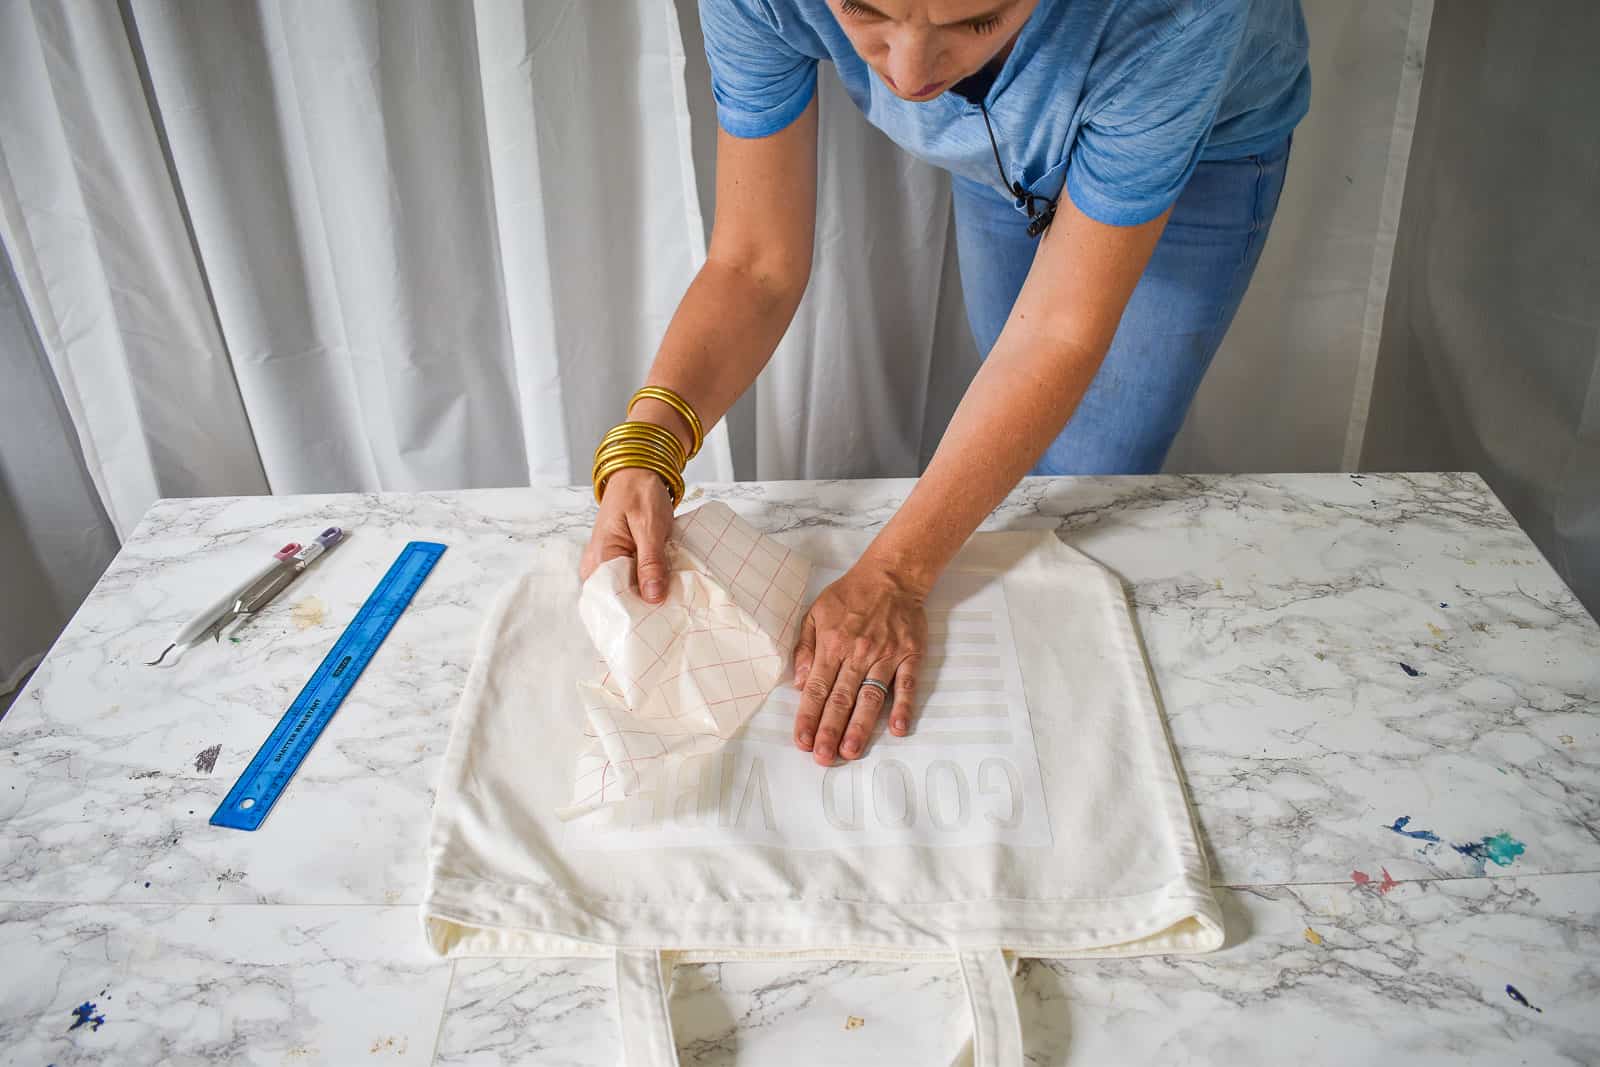
Once you’ve smoothed the transfer paper onto the vinyl, turn the vinyl over and remove the backing. You may need the weeding tool that comes with your Cricut to remove the smaller pieces of vinyl.
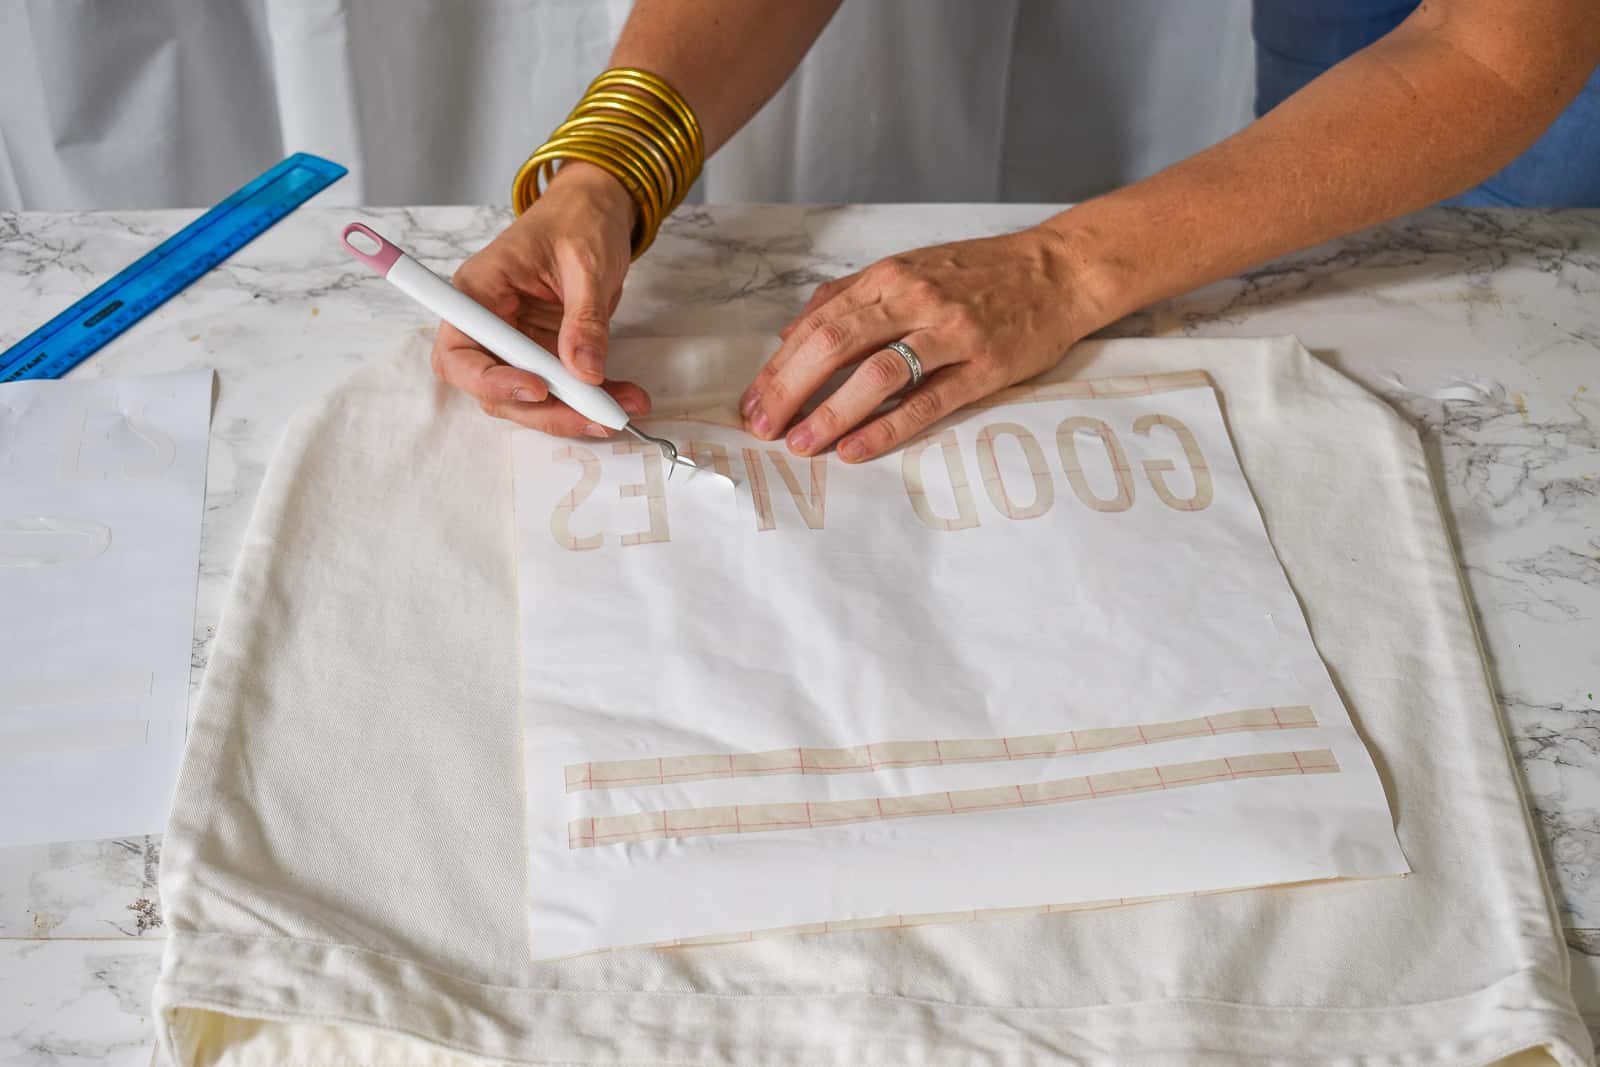
Make sure your placement is where you want it, and place the stencil onto your bag. Smooth out the vinyl and slowly remove the backing paper. I add a couple of inches of painter’s tape around the stencil just to protect my tote bag.
Step 8. Stencil
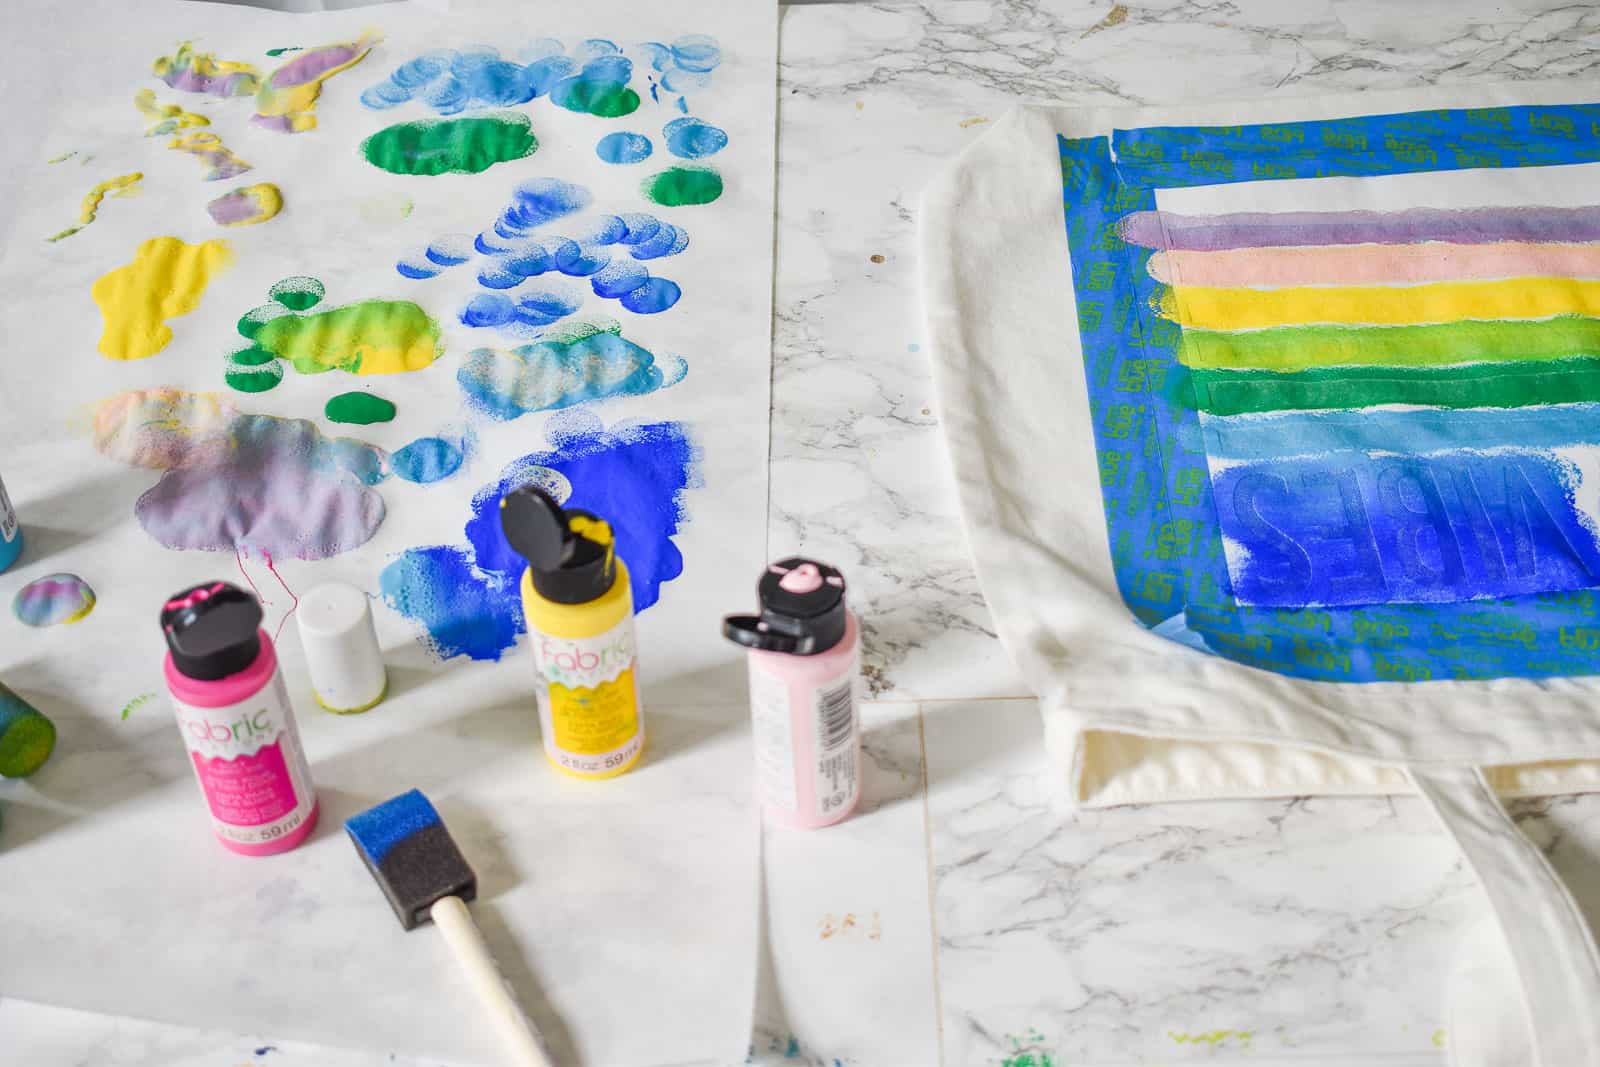
I love this round pouncer I grabbed at Michael’s. It comes in a set of three and has a plastic handle so it’s easy to control. I use a piece of large scrap paper to the side of my work space and dip my sponge into the paint. I use the paper to tap the sponge and remove excess paint, then I lightly press my sponge straight down onto the stencil.
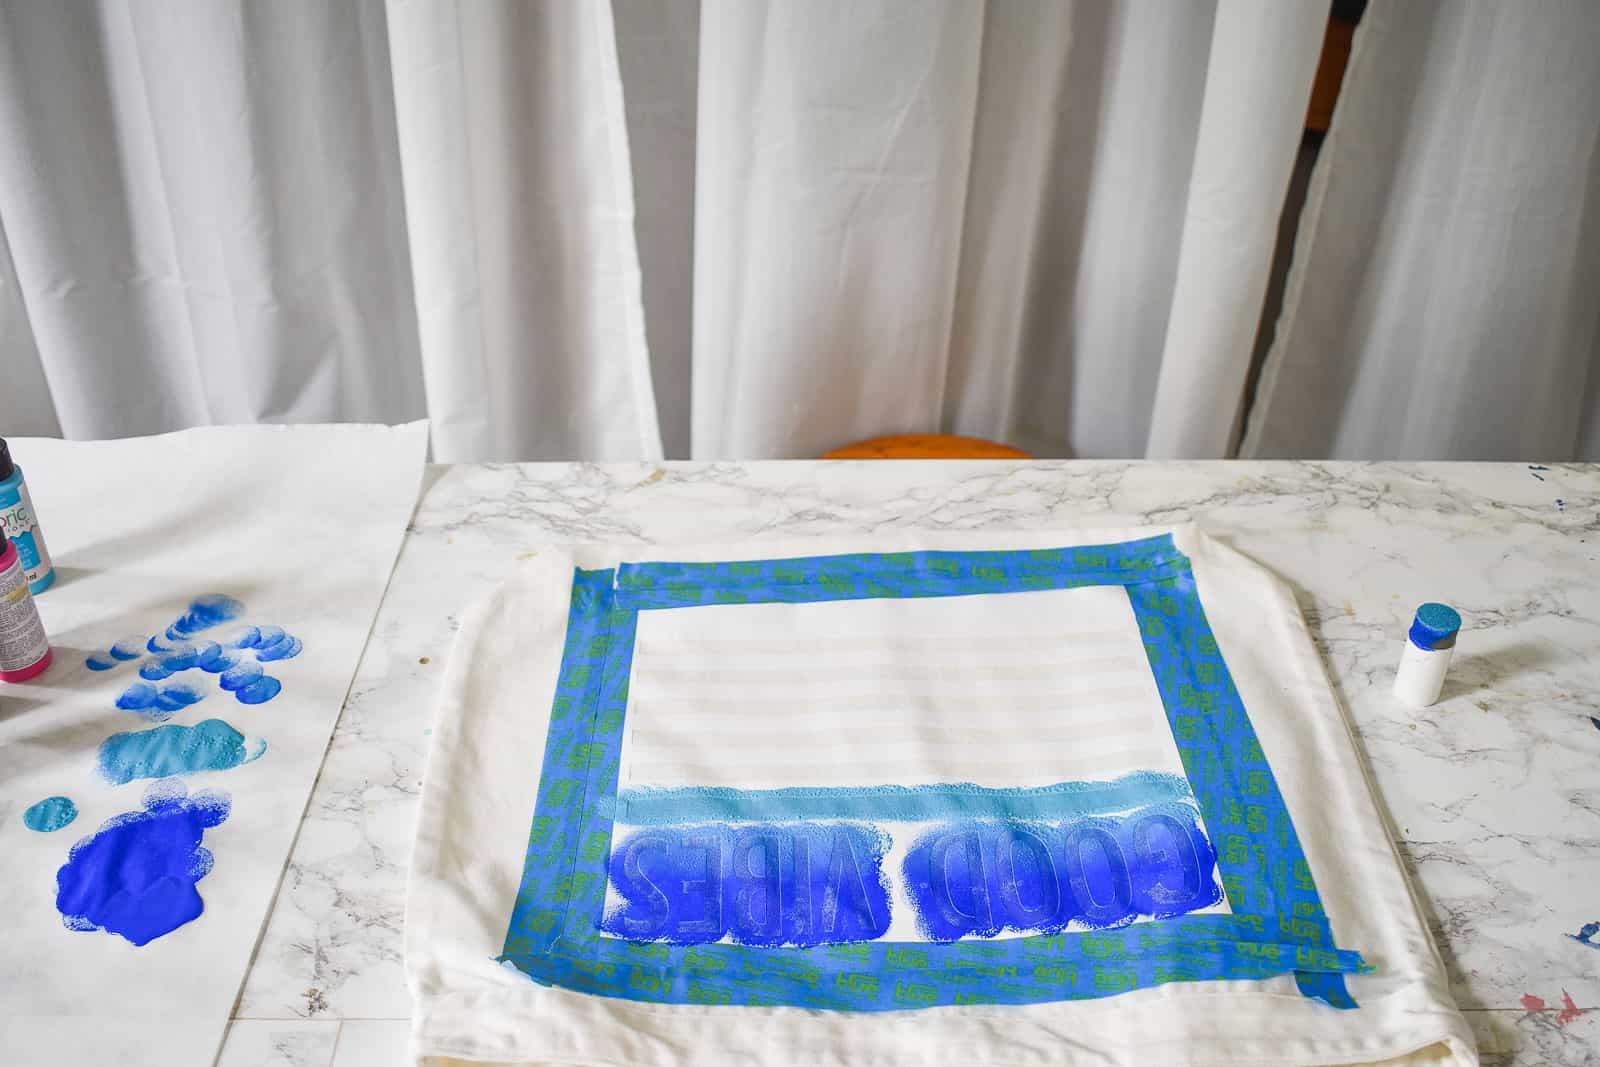
For this bag, I started with the darkest color. When the sponge was basically dry, I picked up the next lightest color and started stenciling with that. I love the way the paint gently mixes during the stencil process to create a soft watercolor affect.
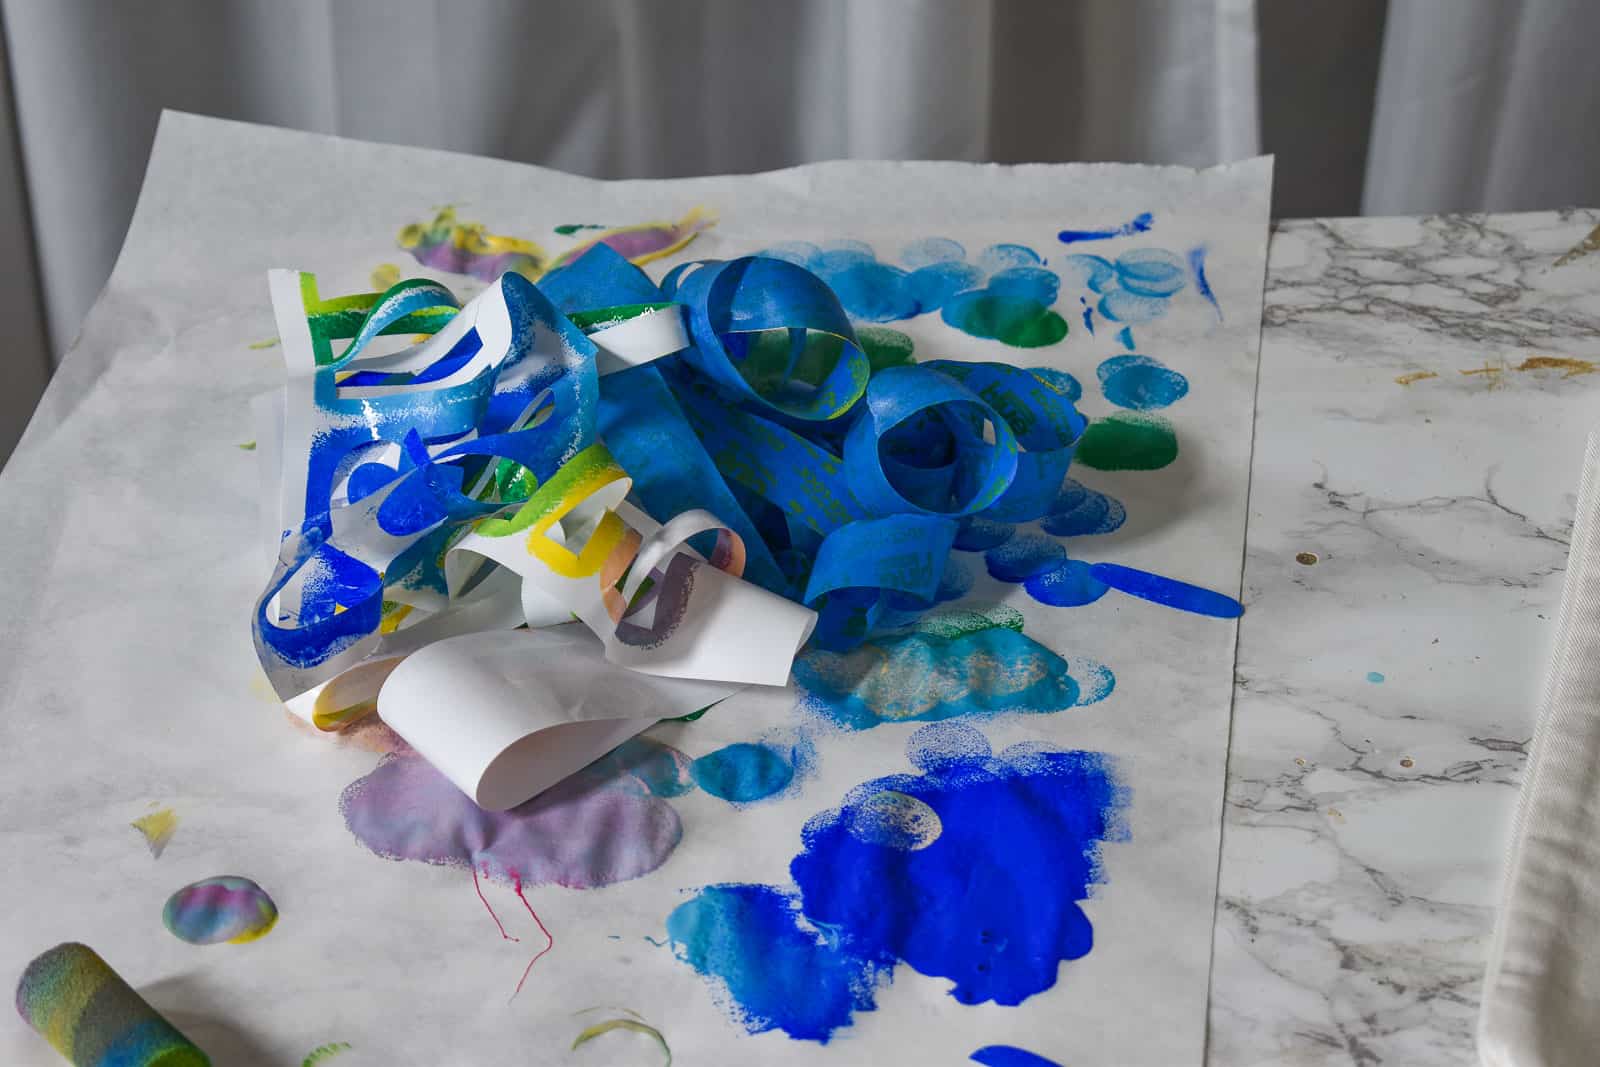
Step 9. Remove the stencil
Let the paint dry a bit so that it doesn’t smudge against the bag when you remove the vinyl. Then… carefully peel away the stencil and do a little happy dance, because dang it if that’s not the prettiest bag you ever done seen!
Tip: Read the label on your fabric paint to double check that nothing else needs to be done to set the paint… i.e. ironing, etc.


Do you prefer watching these tutorials on video? I have one for this so check it out if you want to see how I used the Cricut to cut a stencil for this tote bag.


Don’t Miss Out
Become An Insider!
Signup for exclusive tips, and tricks from Charlotte’s House!
Let’s chat!
I love comments from you, so feel free to leave your thoughts and ideas below! And don’t forget to follow me on Instagram for even more!