
How to Make a Faux Topiary
Psssst… this post *might* contain affiliate links: see my disclosure here.
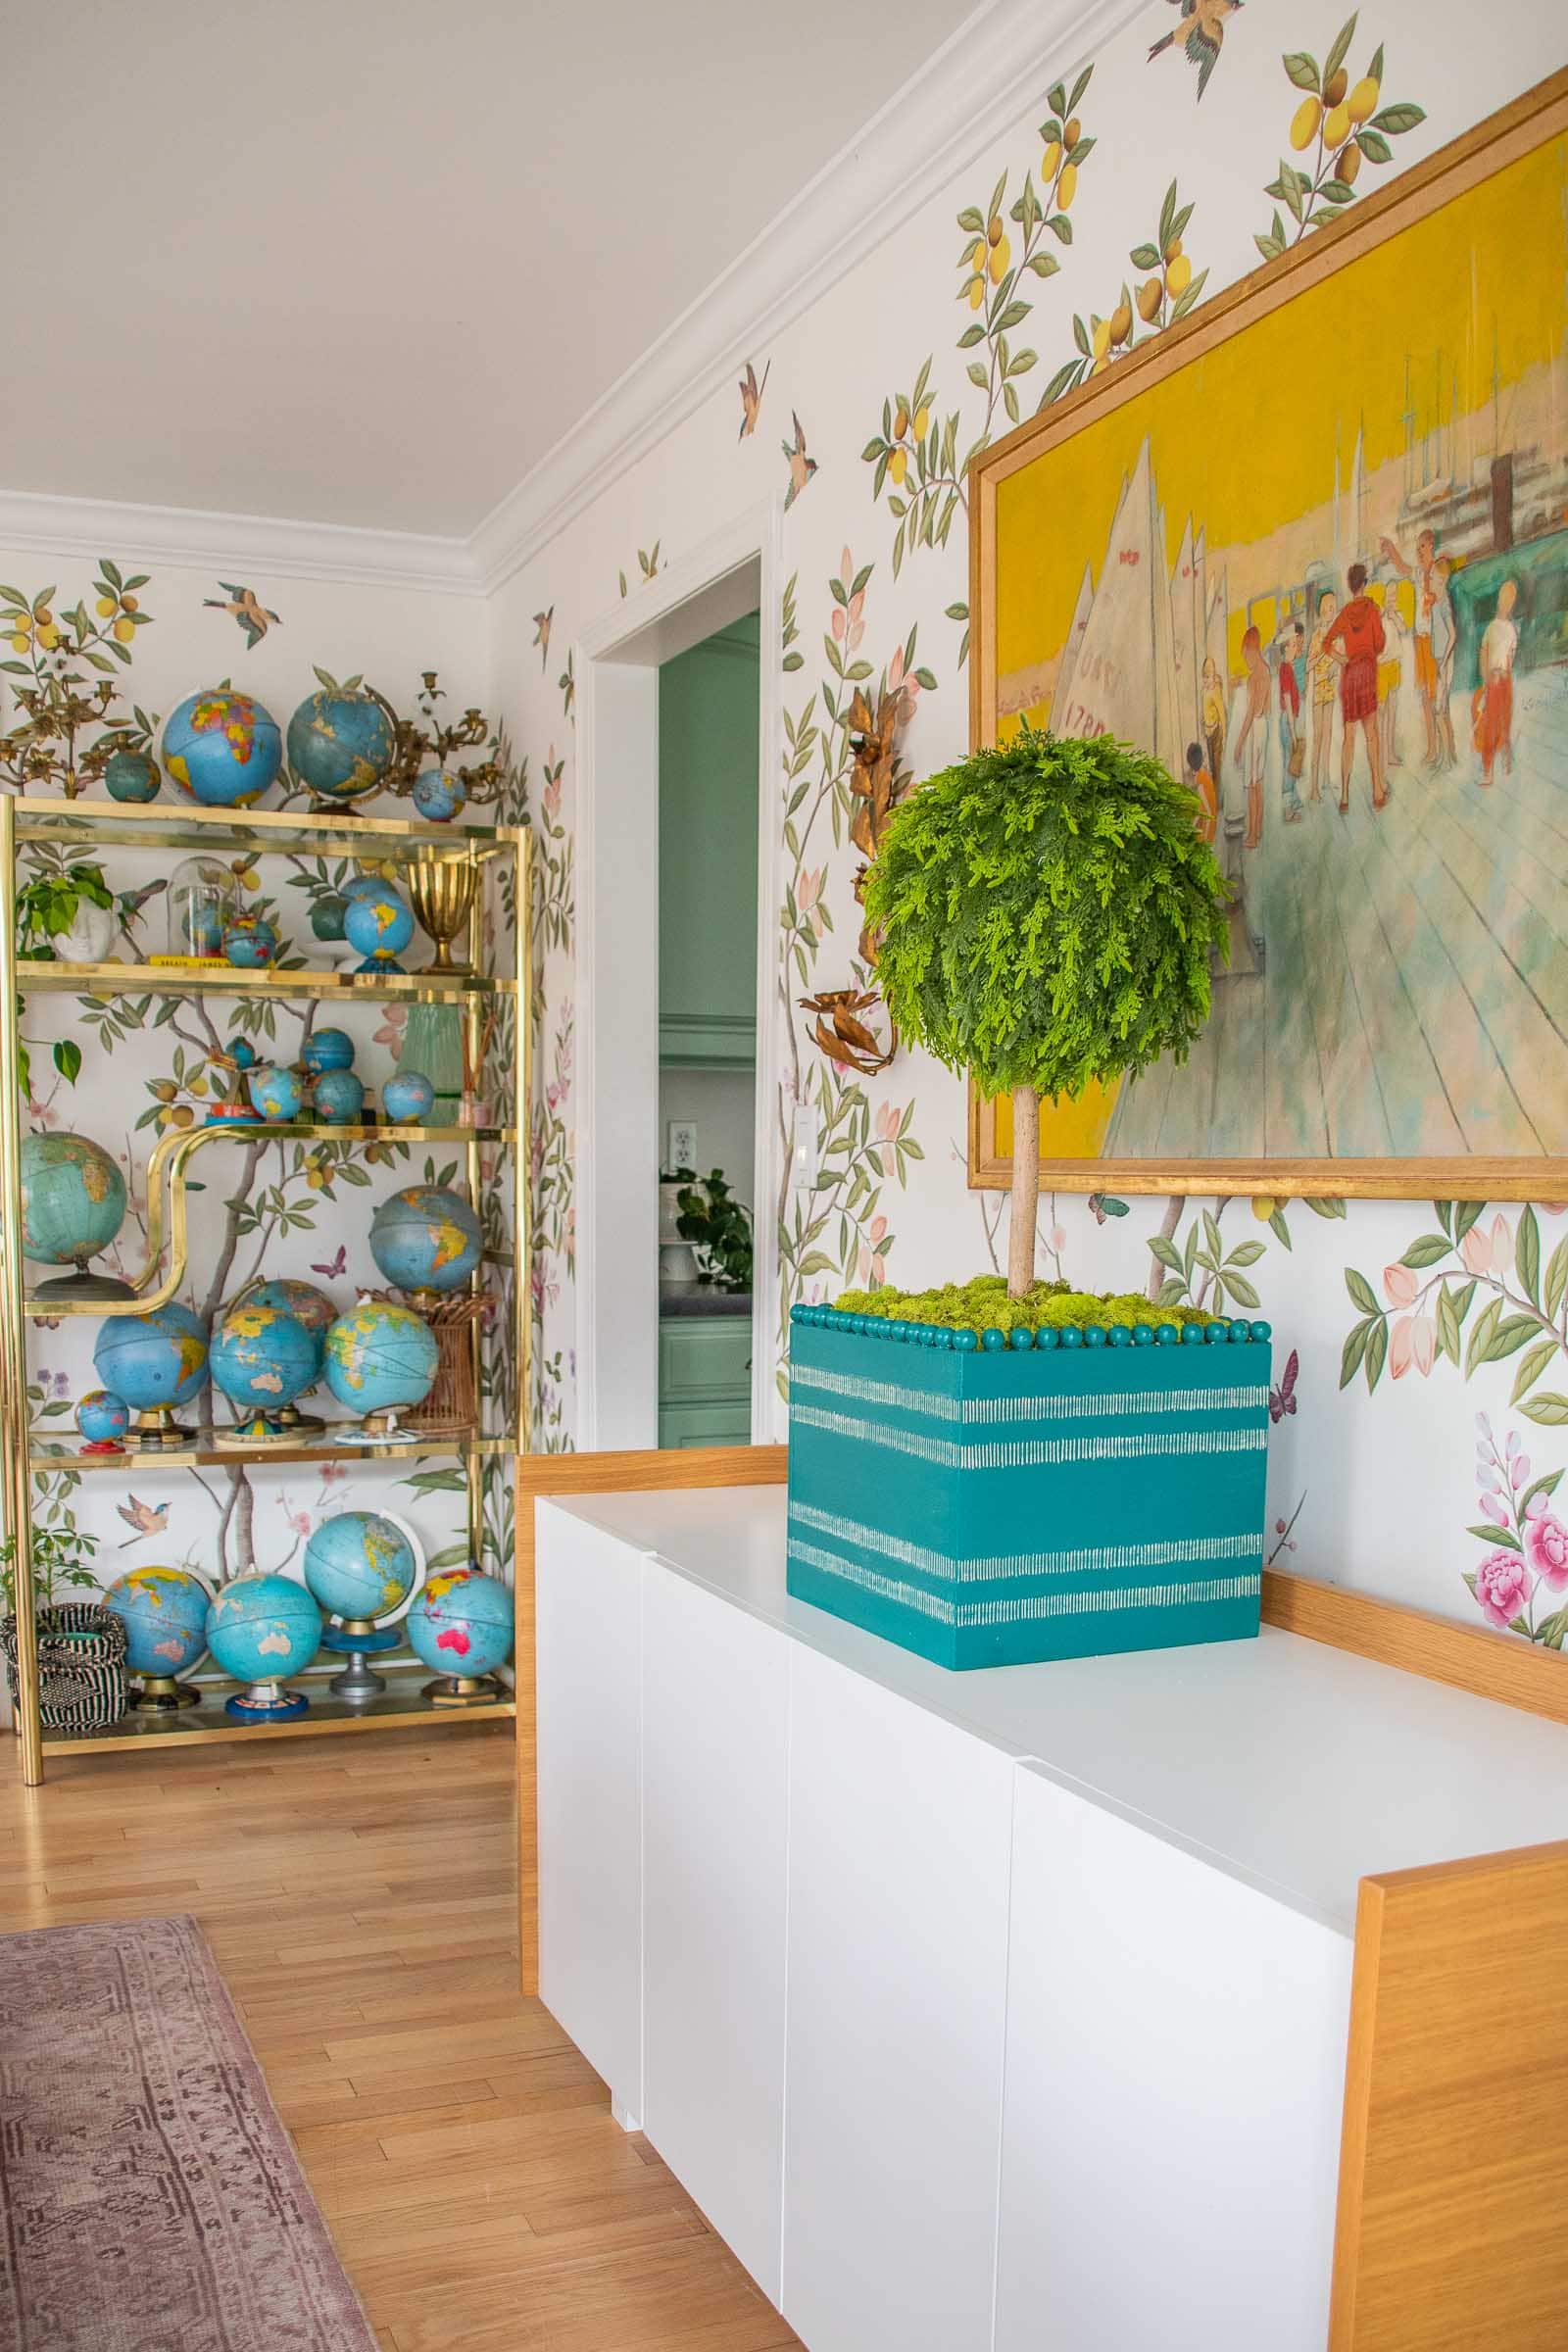
DIY Artificial Topiary and Box
I made a decorative carved box and then assembled and added a faux topiary.
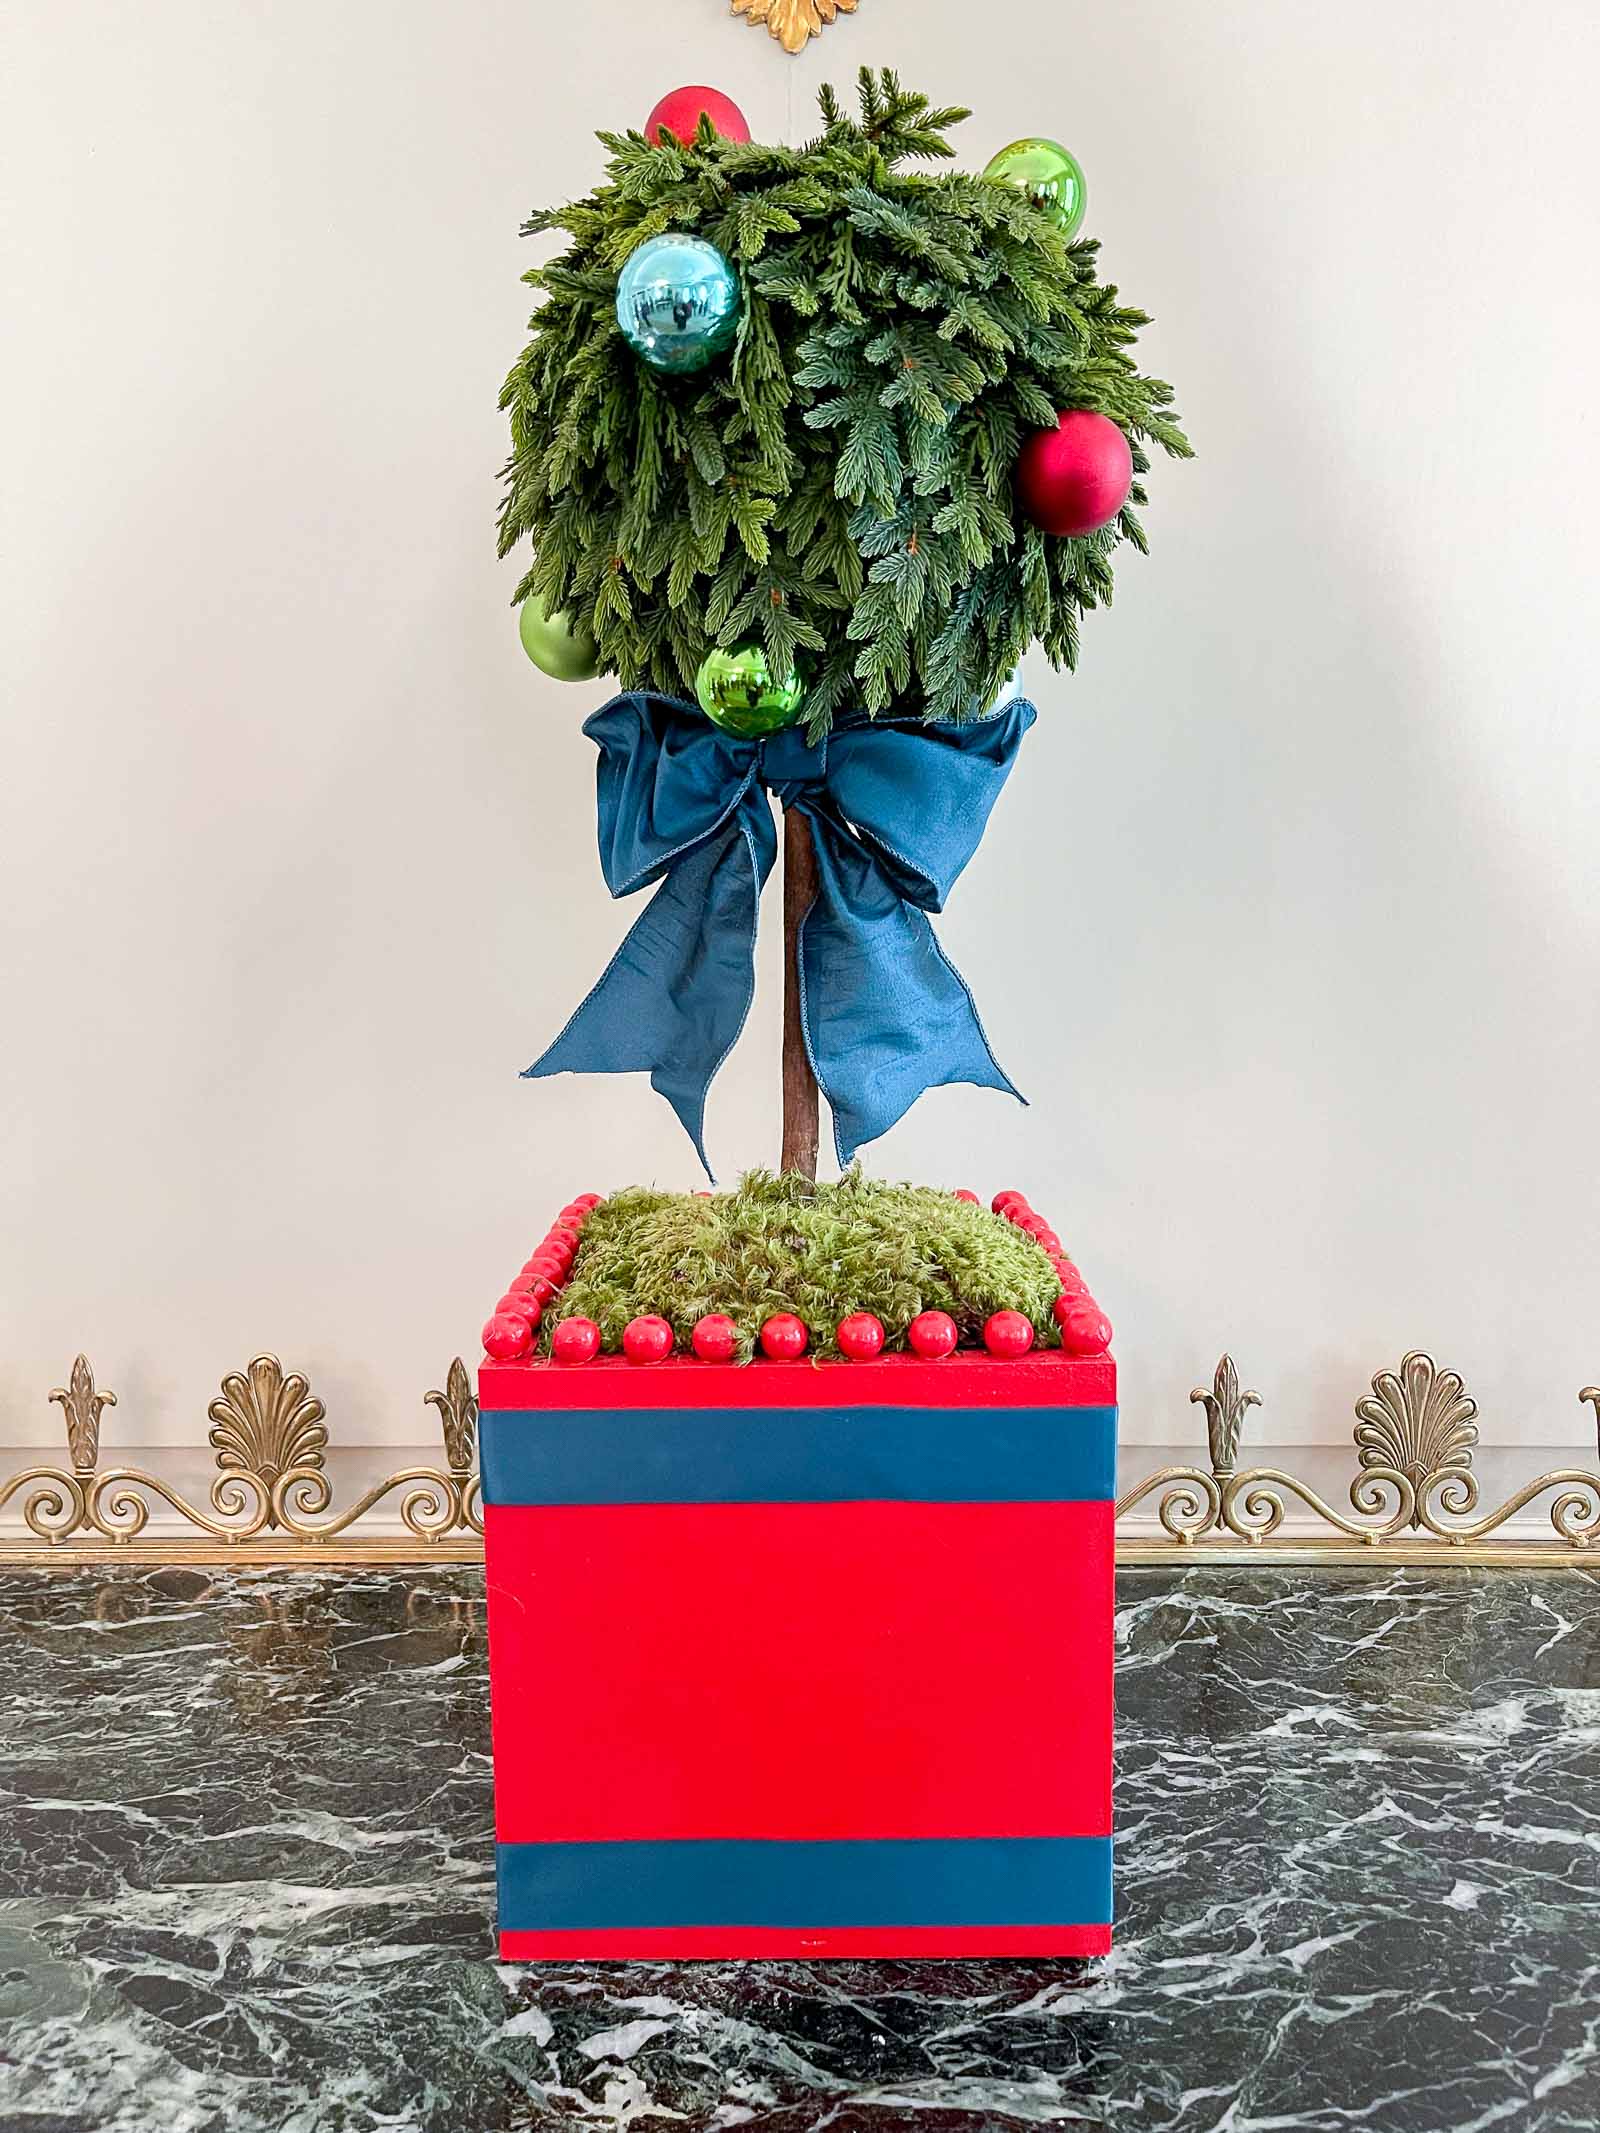
Story time: Remember that one time I went to the White House and got to decorate the whole space for the holidays? Yeah… me too and it was a pinch me moment! Everything we were working on was designed and planned months in advance so we were merely there as happy grunt laborers executing their vision. With ONE exception. For our room, the State Dining Room, there were two small tables on either side of the doorways into the Red Room that needed a little sumthin’ sumthin’. The lead designer had sourced a box and some foam balls and our first guidelines were to cover the ball with nonbreakable ornaments. That… did NOT work. We were going to just ditch the topiaries, but I had the idea to cover the balls with sprigs from an extra garland and the idea was approved! I know it’s so small and silly, but knowing something I dreamed up made it into the State Dining Room and was seen by the President of the United States and other holiday visitors like Jennifer Garner, Katie Couric, John Legend… just to name a few. I mean, that’s very very cool.
Shop my favorites!
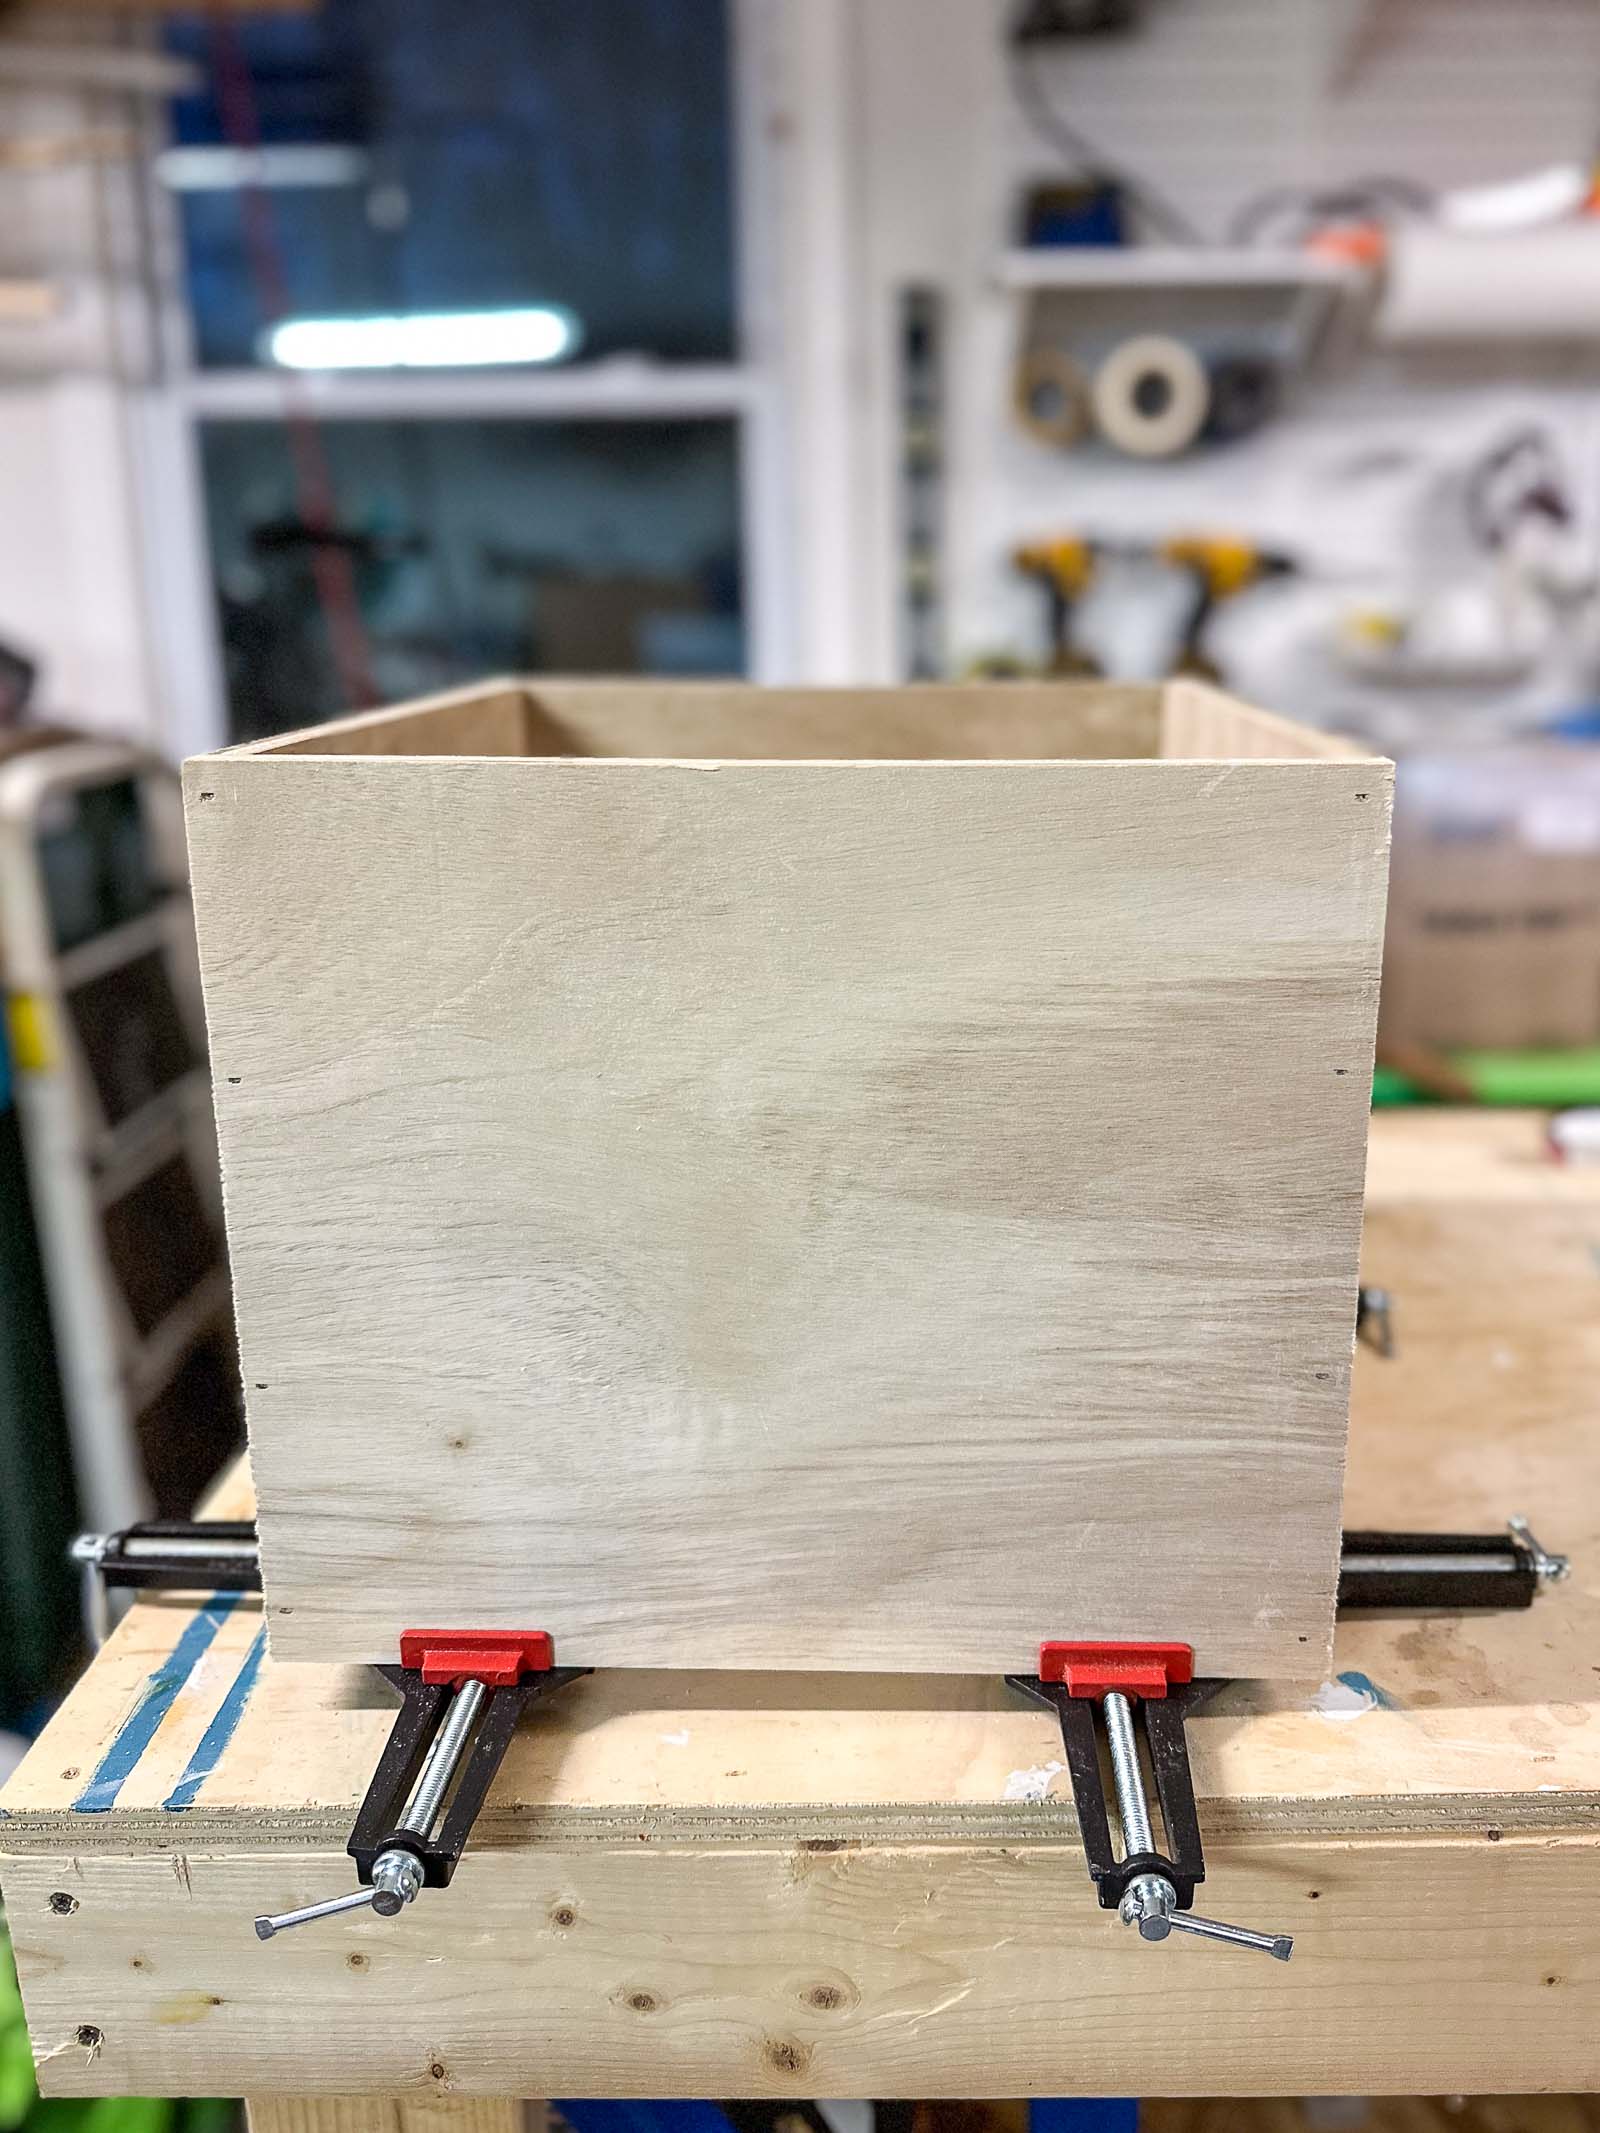
Step 1. Build the Box
I’m using 1/2″ sanded plywood from my scrap pile but you could use hobby board or even a pre-made box if you wanted. I assembled mine with wood glue and brad nails and then went back to fill the nail holes and sanded it smooth.
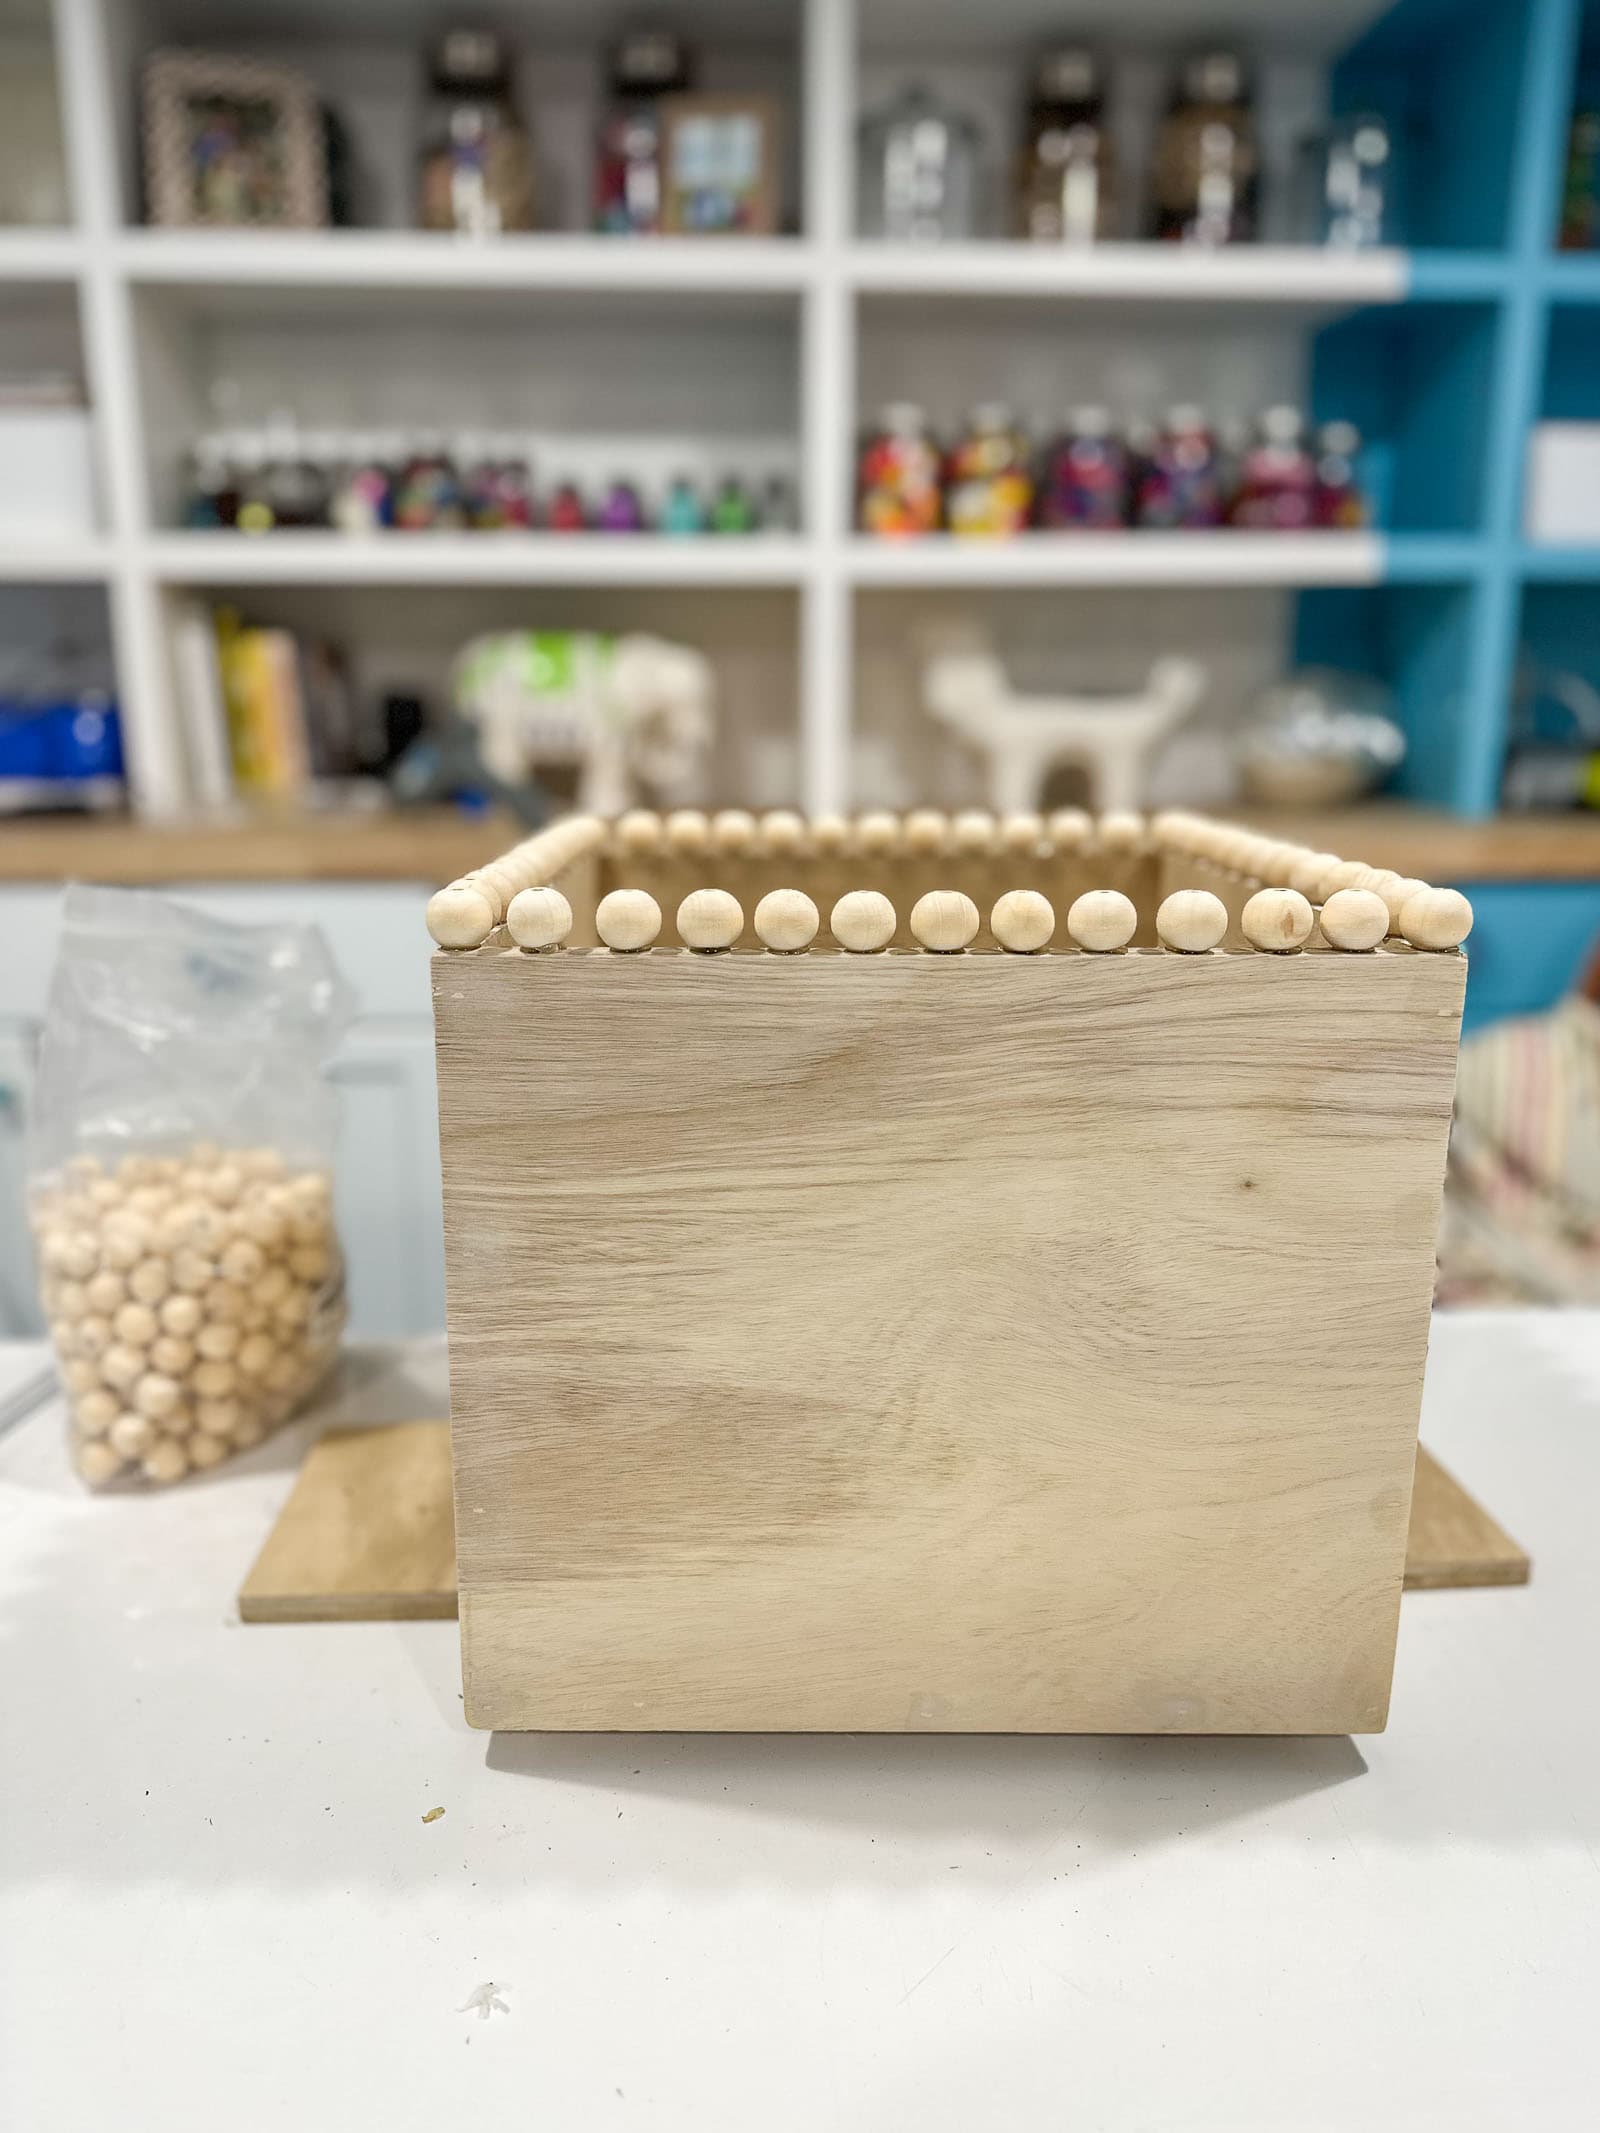
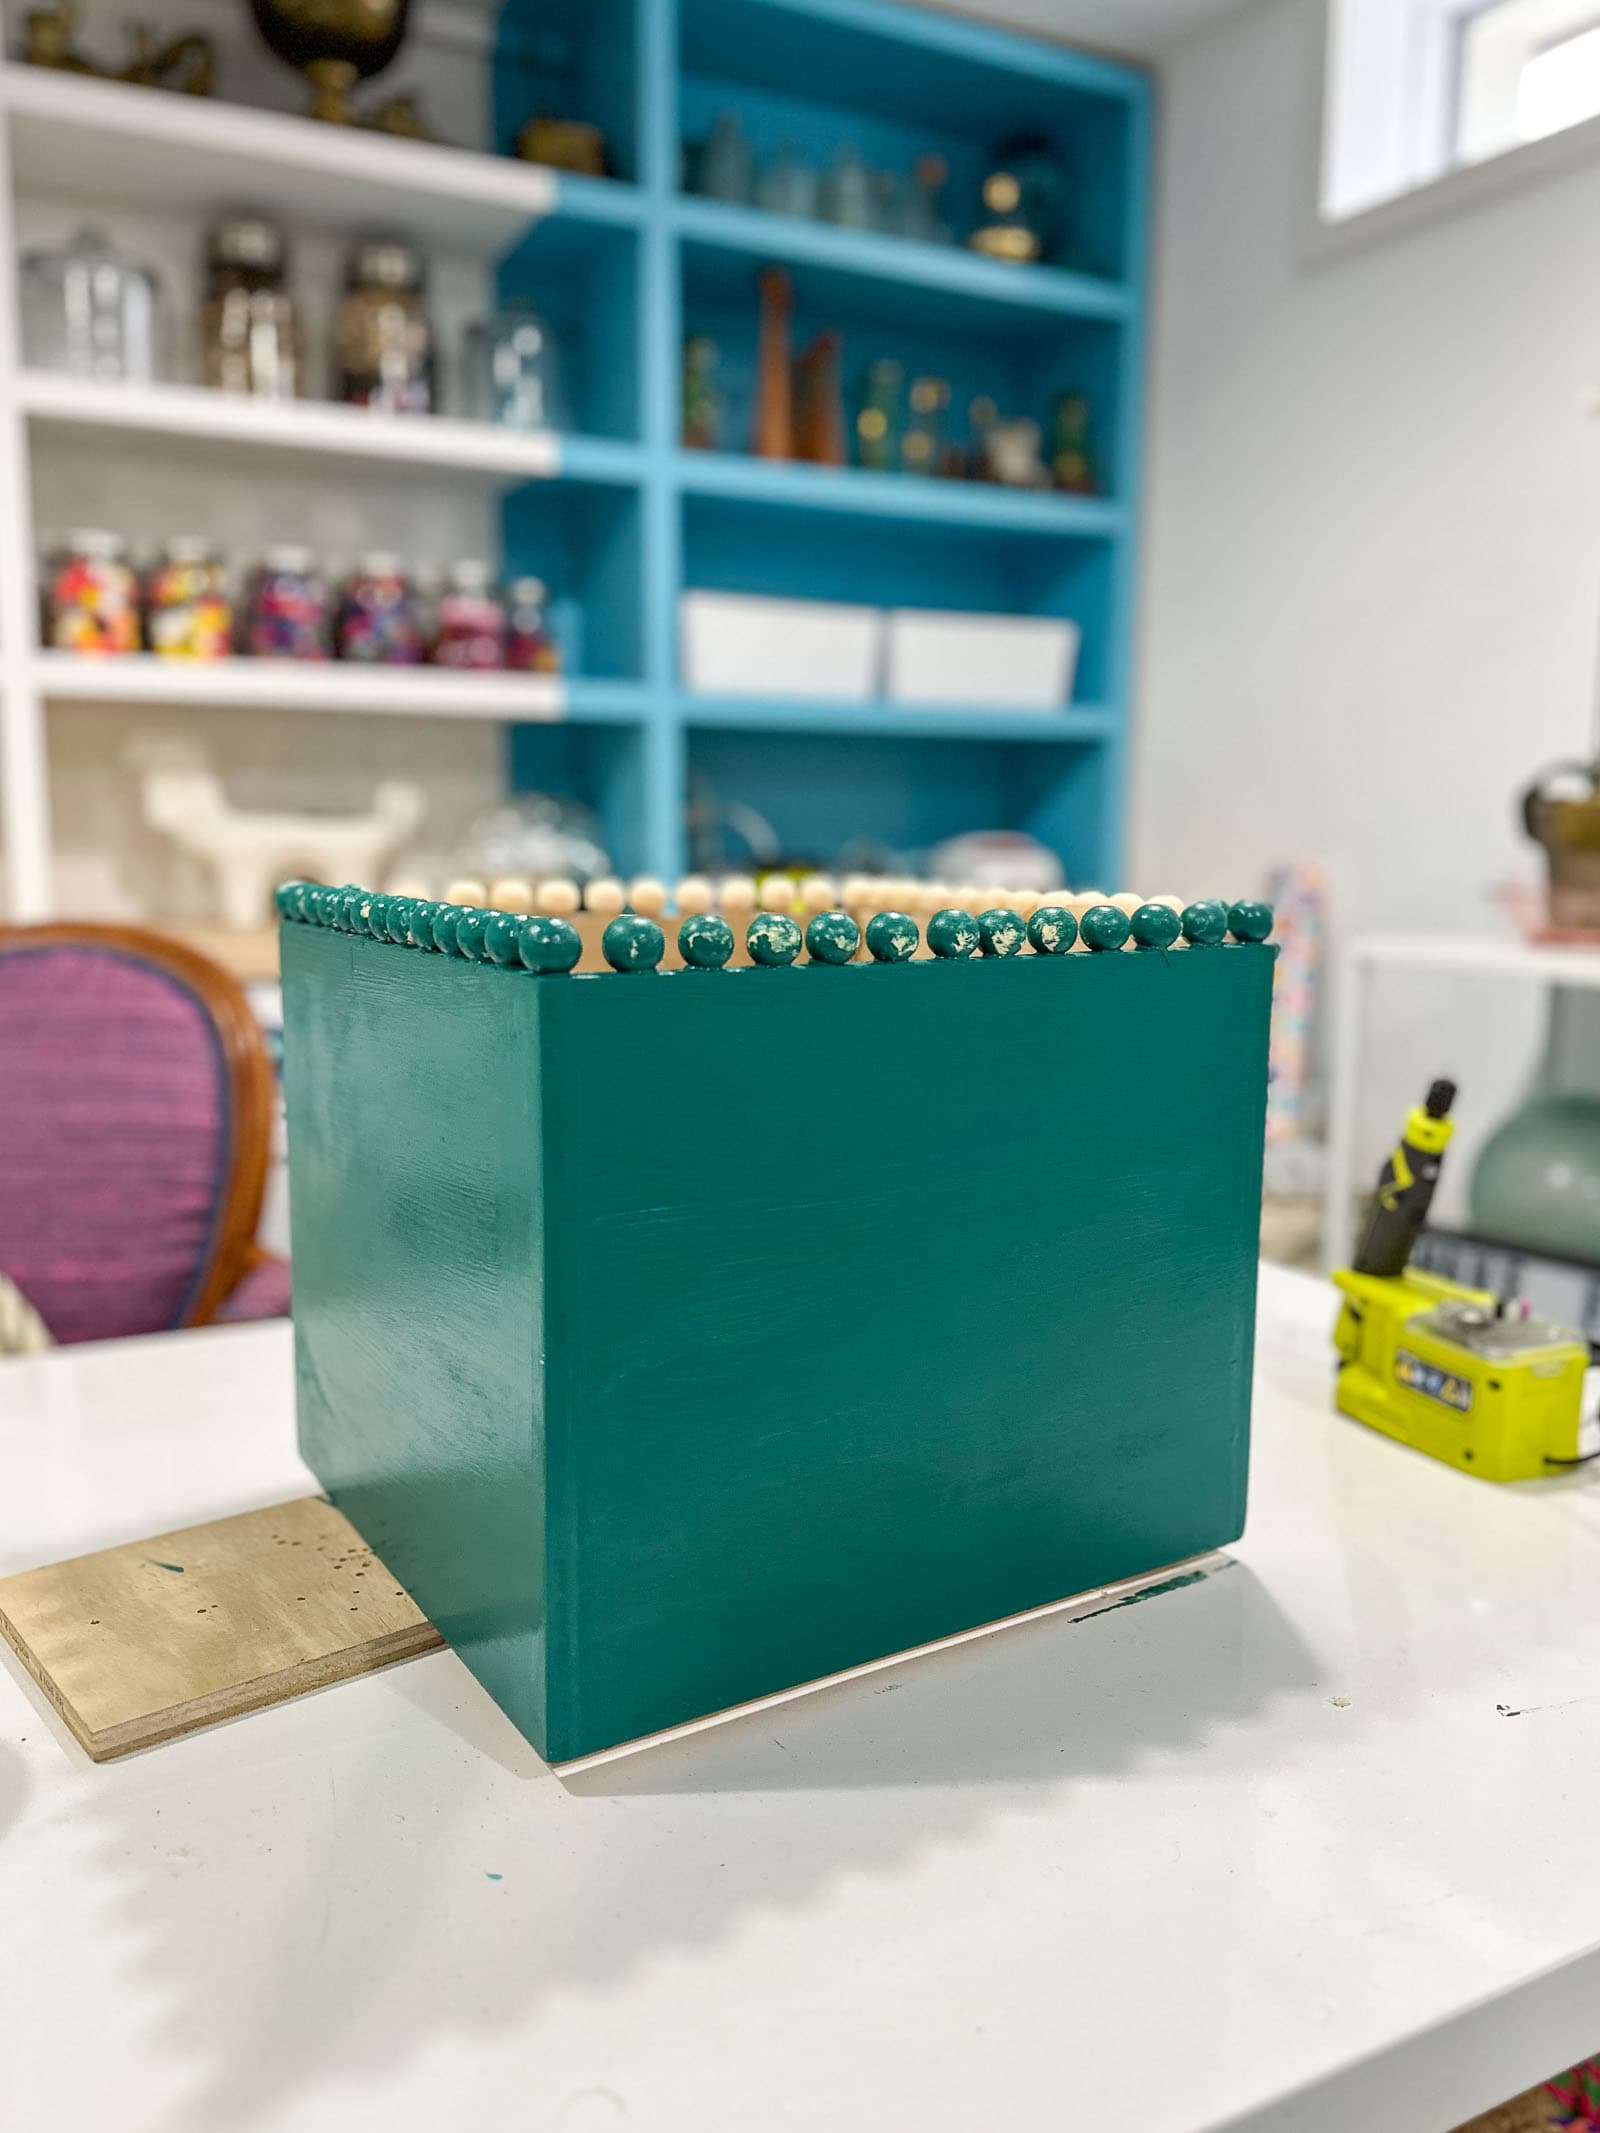
Step 2. Add trim along the top of the box
To give the planter box a little flair, I used a hot glue gun to glue some wooden beads along the top. Feel free to fill in the center hole of the bead with thinset or wood fill before gluing in place if you’d like. I opted to glue first and paint second because I didn’t want any visible hot glue, but it’s definitely more fussy to paint after. There are pros and cons to both.
Step 3. Paint
I’m using the same teal I used in our foyer.
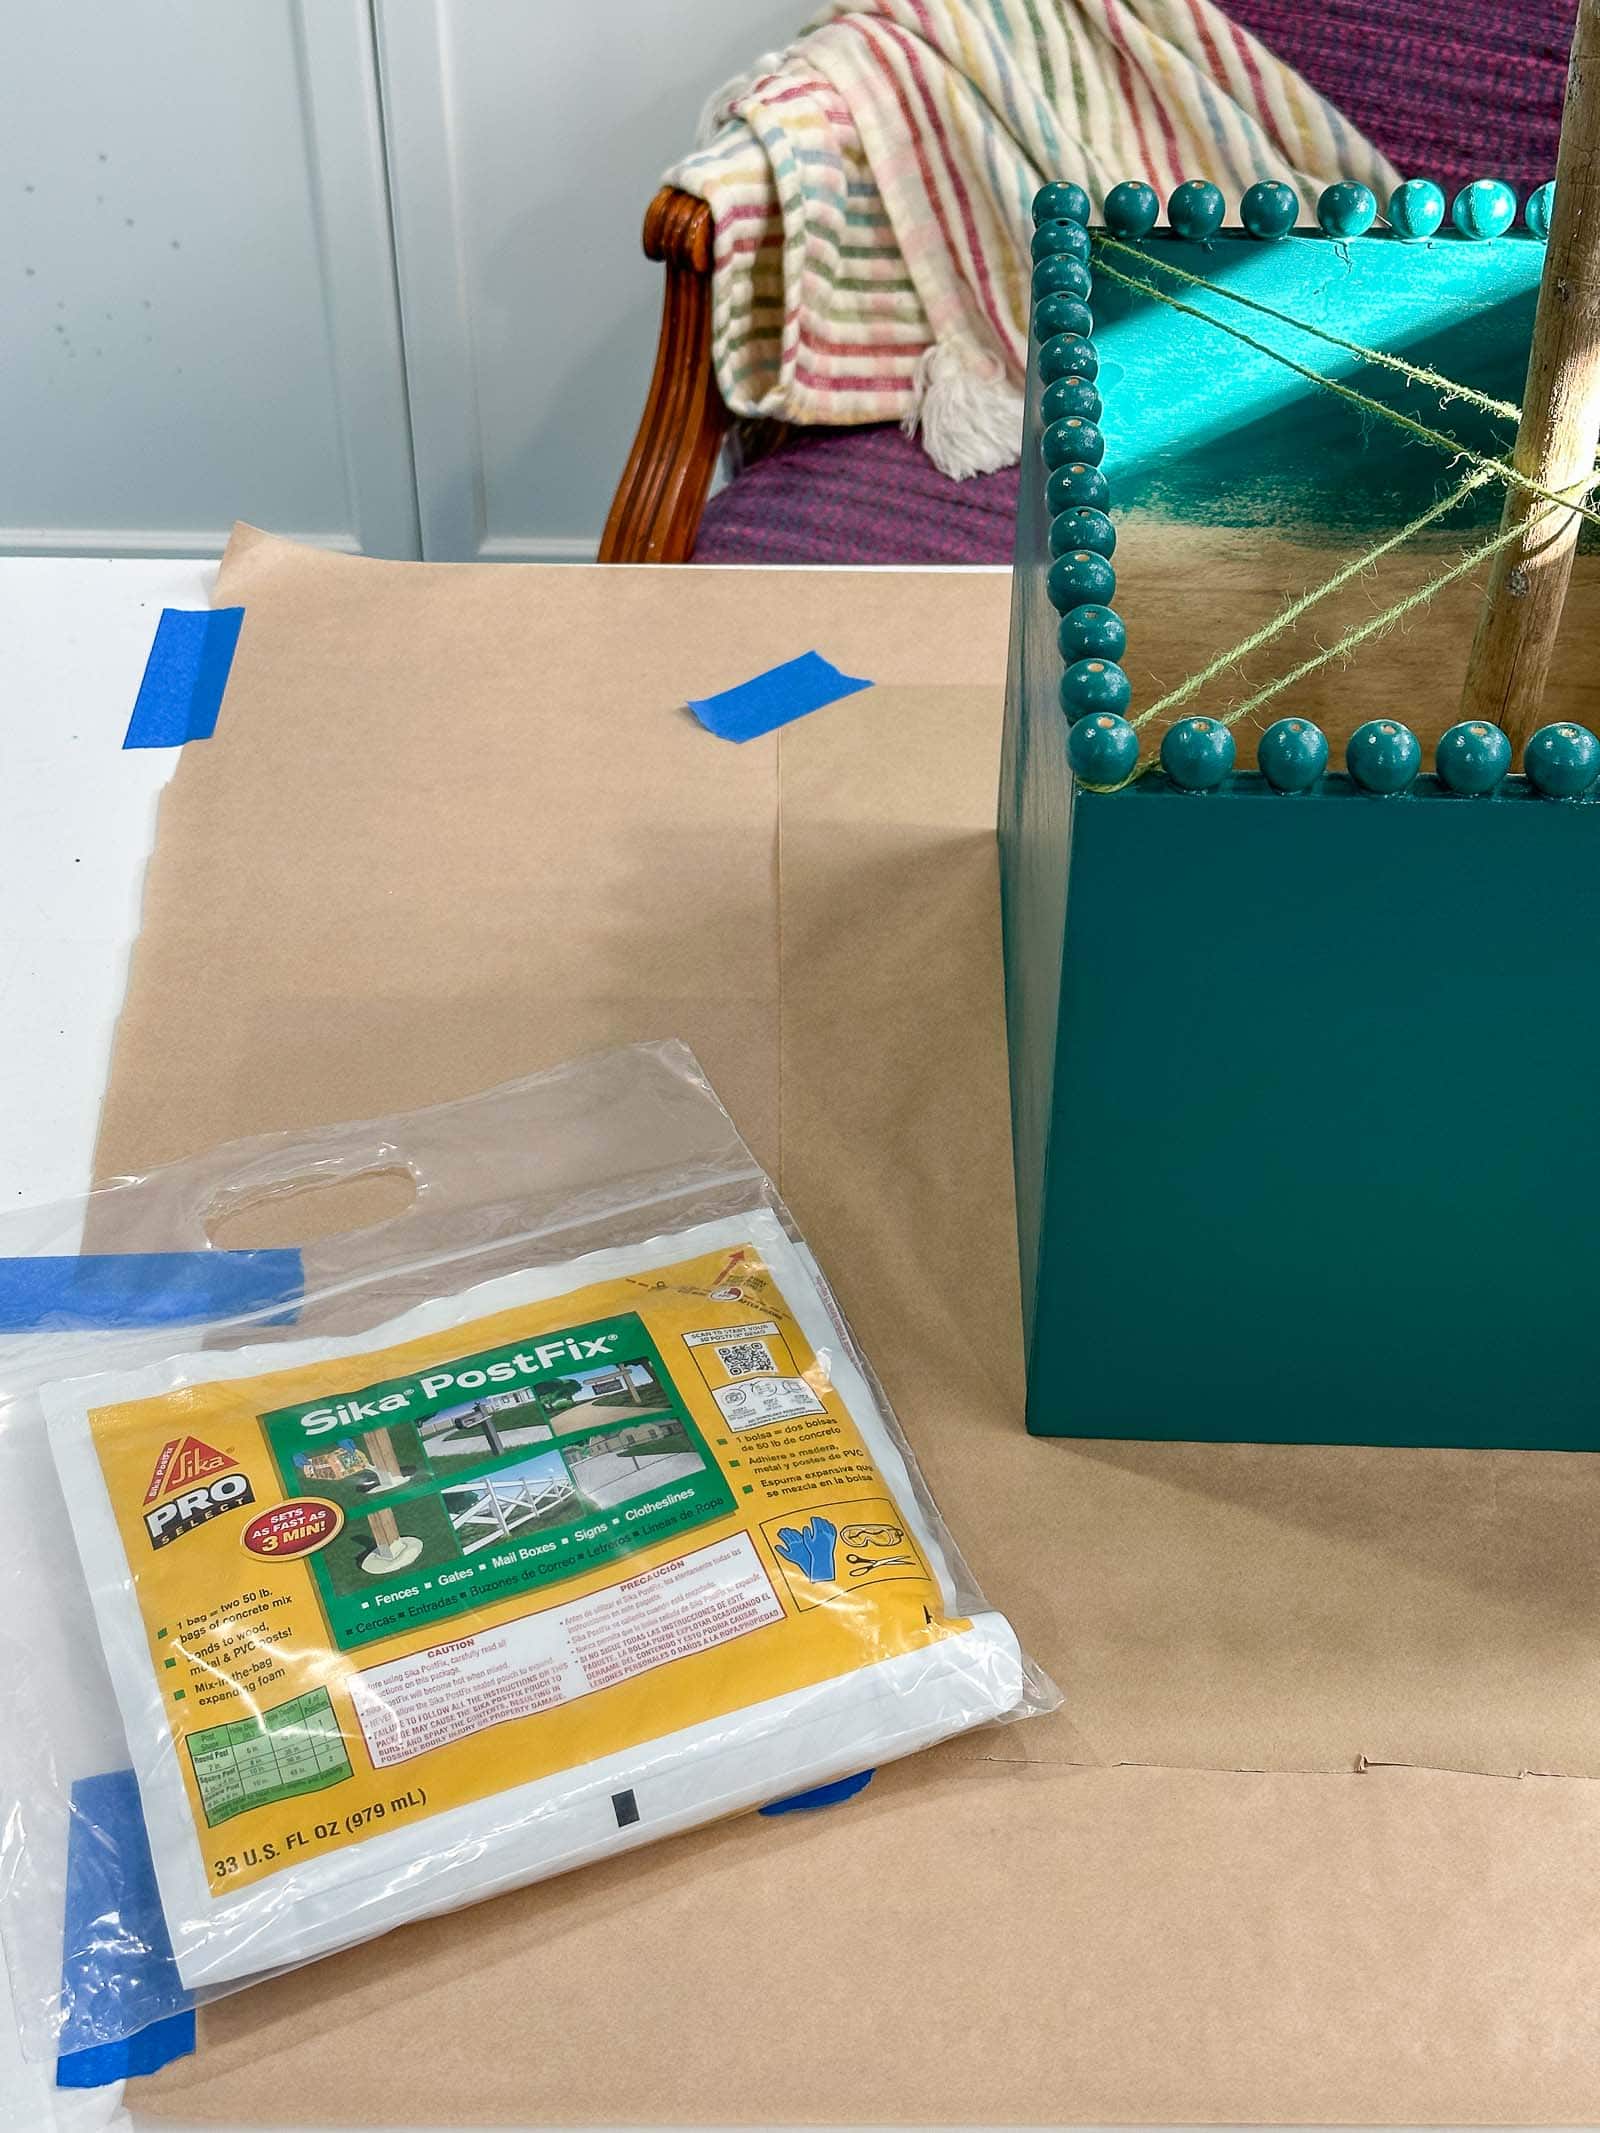
Step 4. Secure Center Post
I’m using an expandable post fix for this project, but you can certainly just grab floral foam or other styrofoam to wedge your center stick in place. For my post fix, I made sure the stick was centered and vertical by tying some yarn diagonals. The directions for the post fix are on the bag, but essentially you mix it for 15-seconds and then pour it into the container. I couldn’t believe how much it expanded and ended up pouring too much so it overflowed a bit. Once it cured, I could shave it away easily.
Step 5. Create the Topiary
Start by painting the foam ball a similar shade of green as your faux sprigs. We didn’t paint our balls at the White House and it meant it was that much harder to cover the white foam ball underneath the greenery.
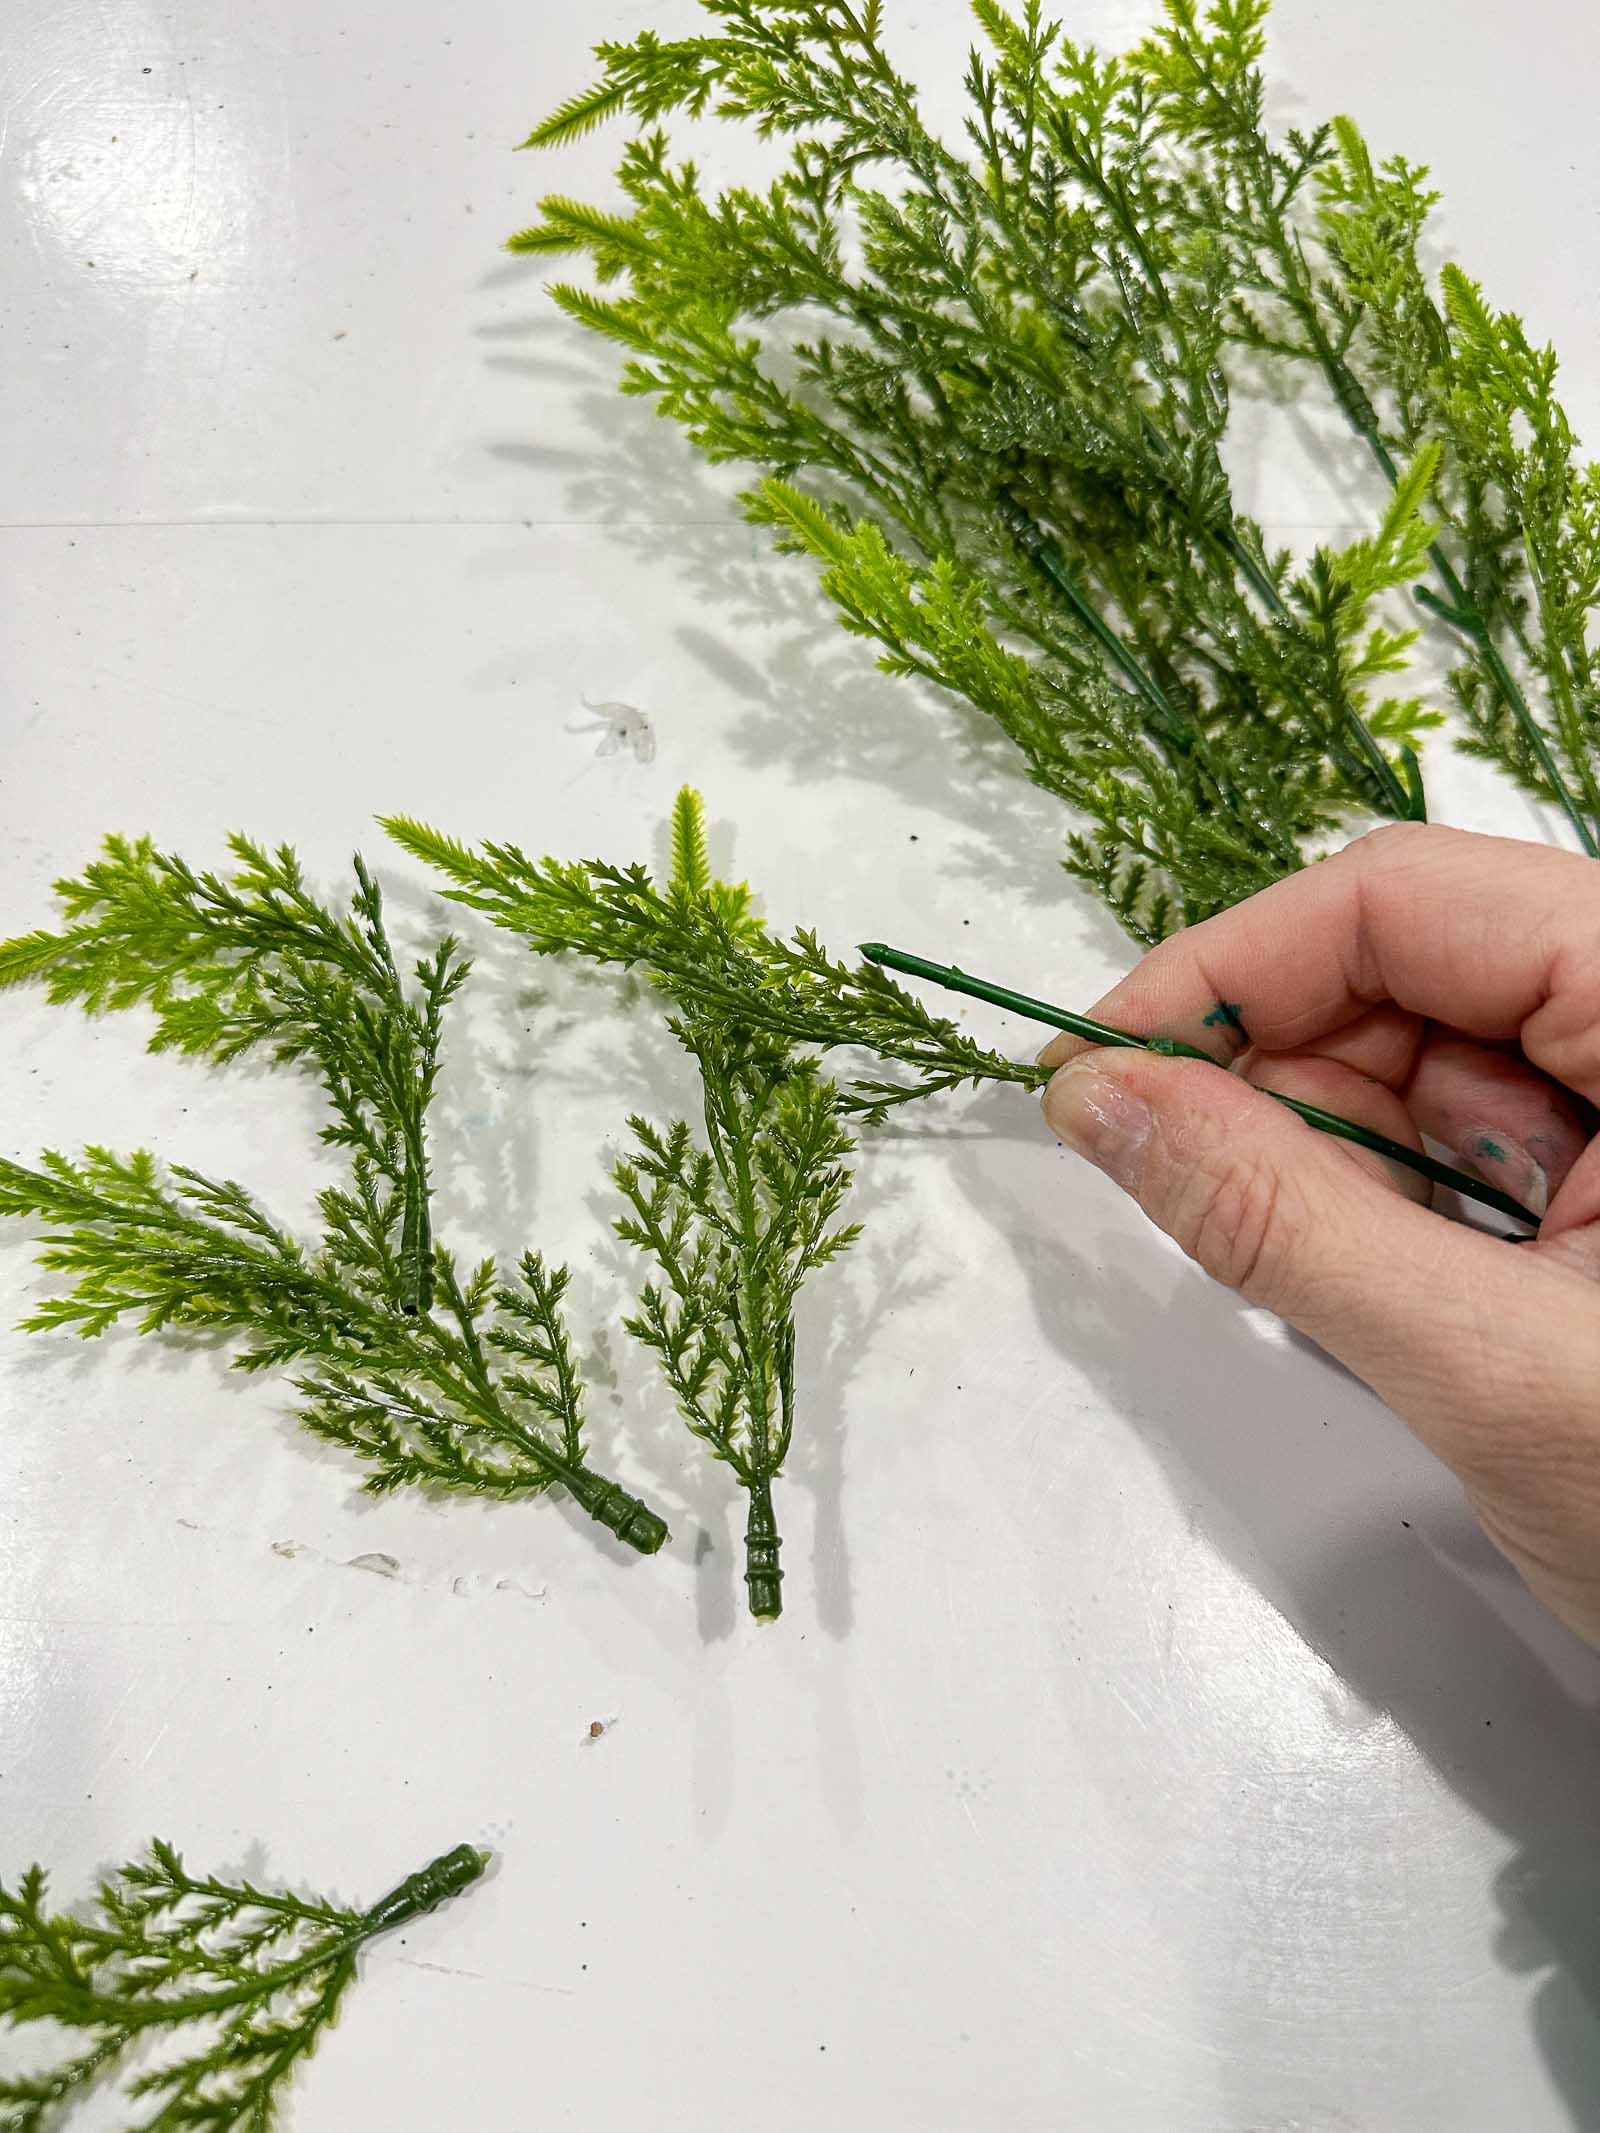
I’m using a 9″ foam ball from the craft store, these faux cedar sprigs and some floral/ greening pins. First, pull off individual leaves from the stem. Next, starting along the bottom of the ball, pin a small cluster of greens onto the foam ball and work your way around. Repeat on a second grow alternating the greens placement so as to cover the first row of greening pins and work your way up and around the ball until you reach the top. Once on the top, cover the floral pins as best you can. Go back and fill in any empty patches on your ball..
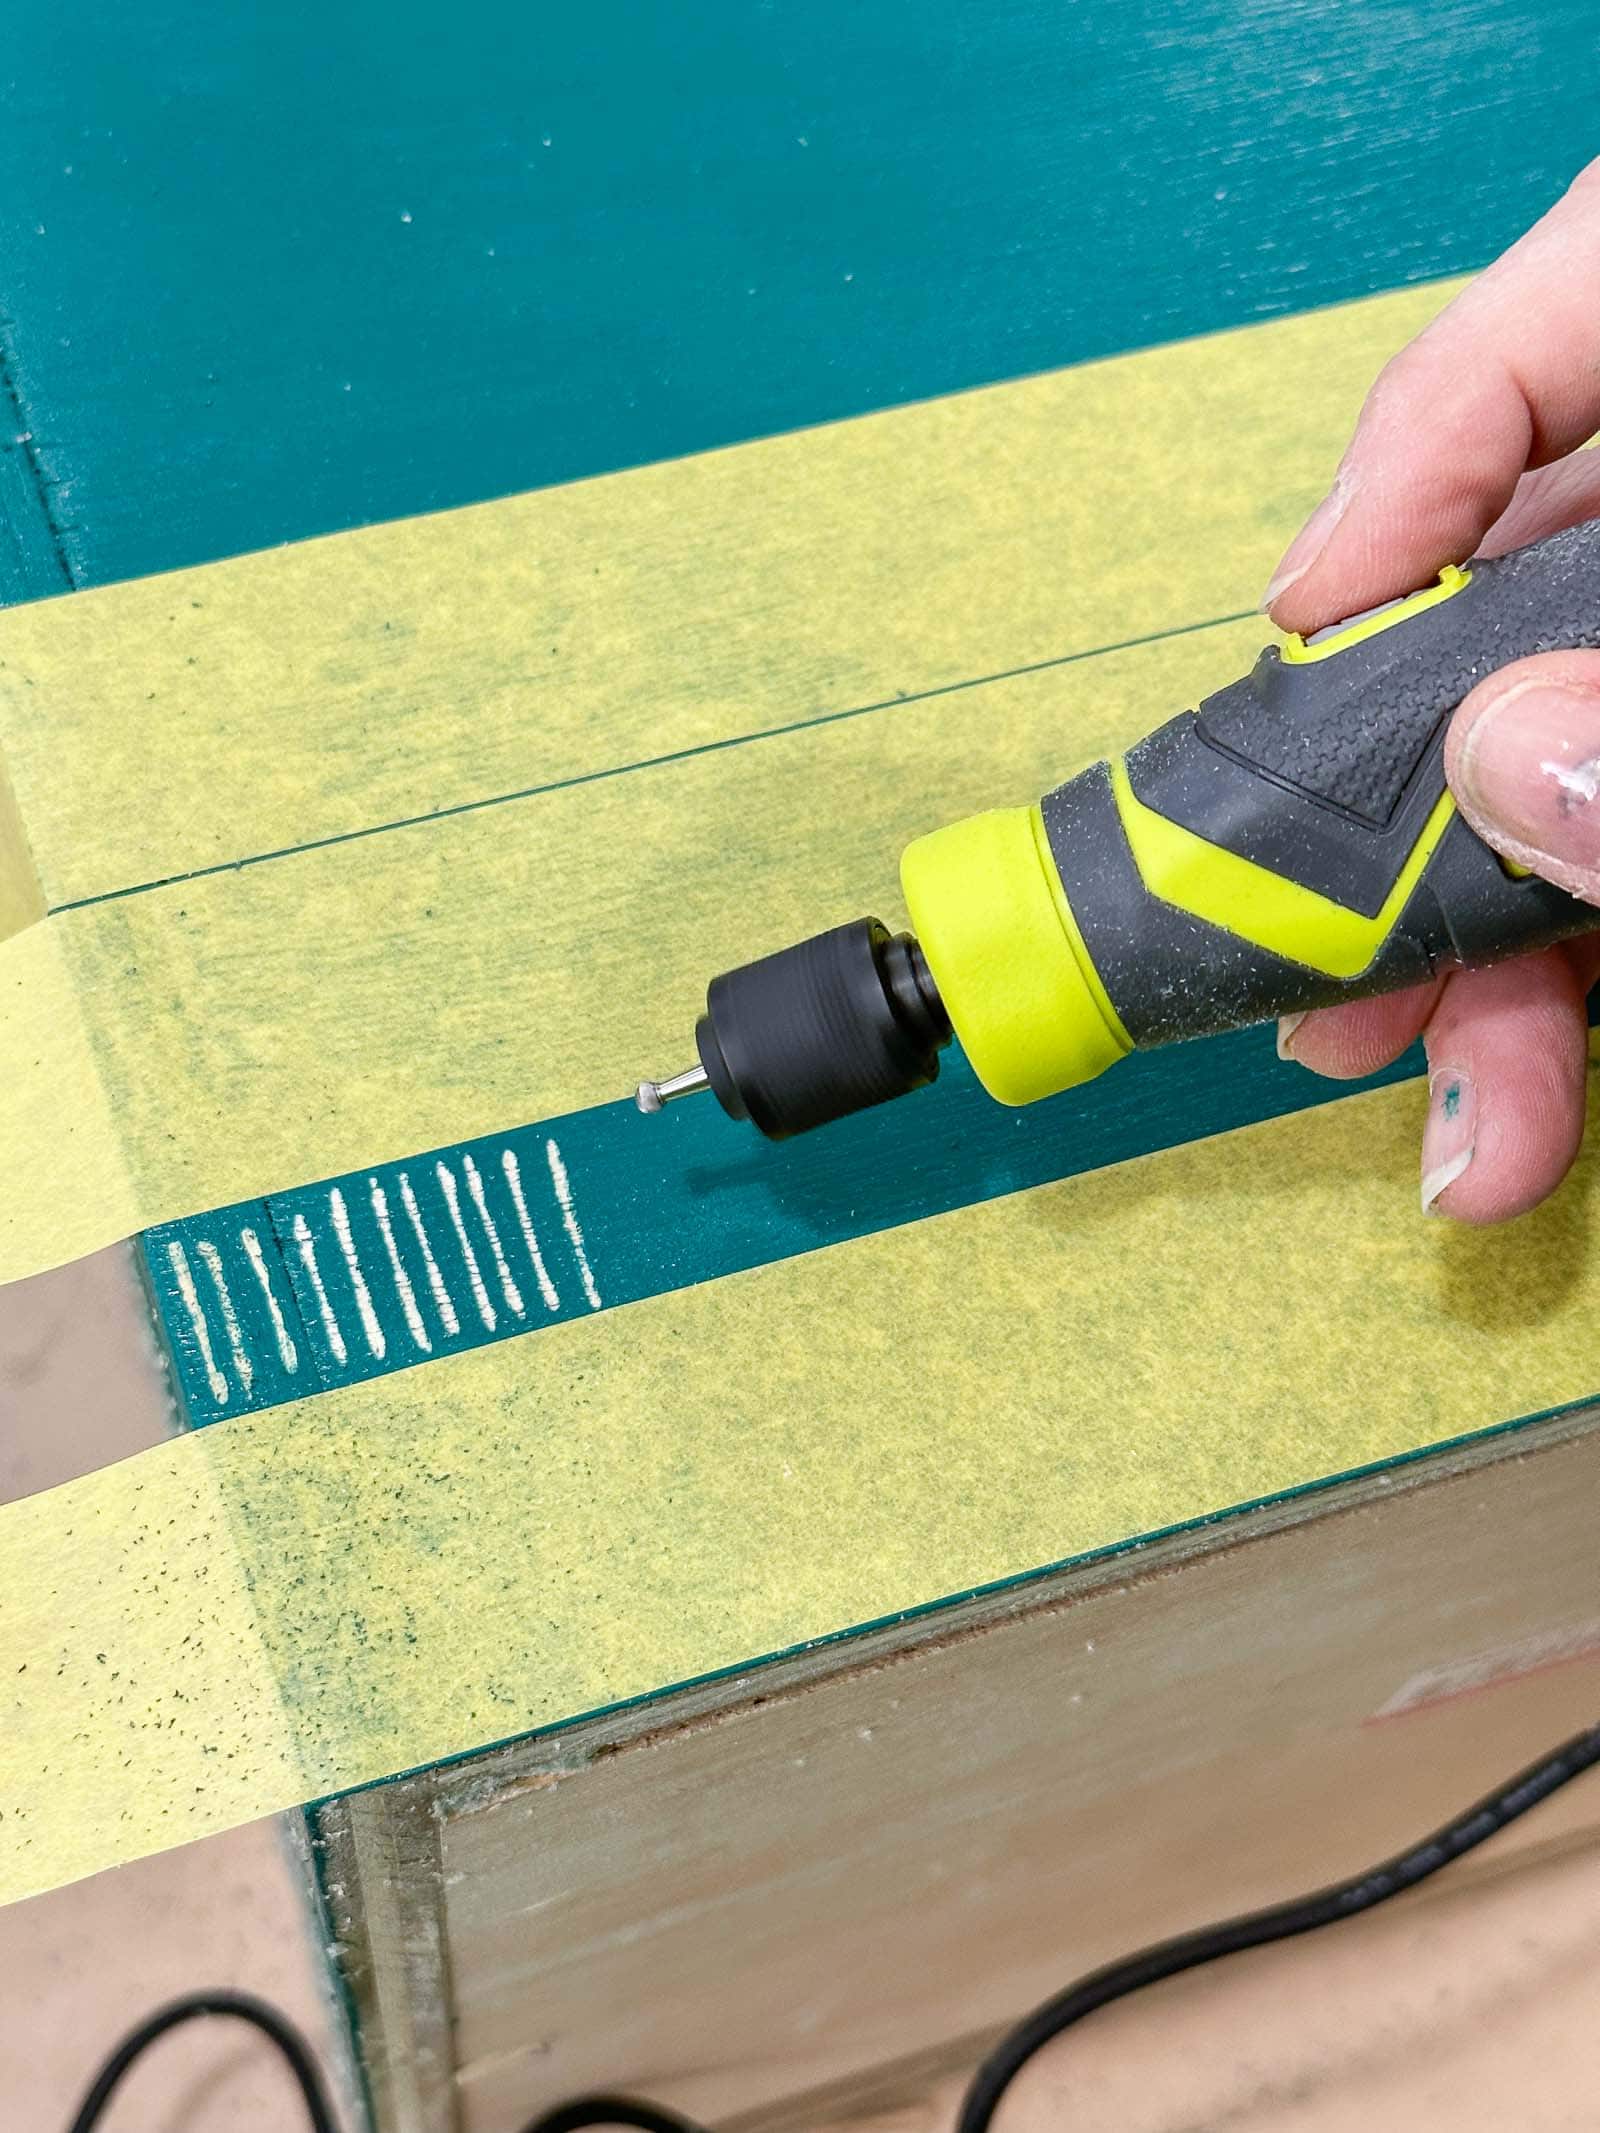
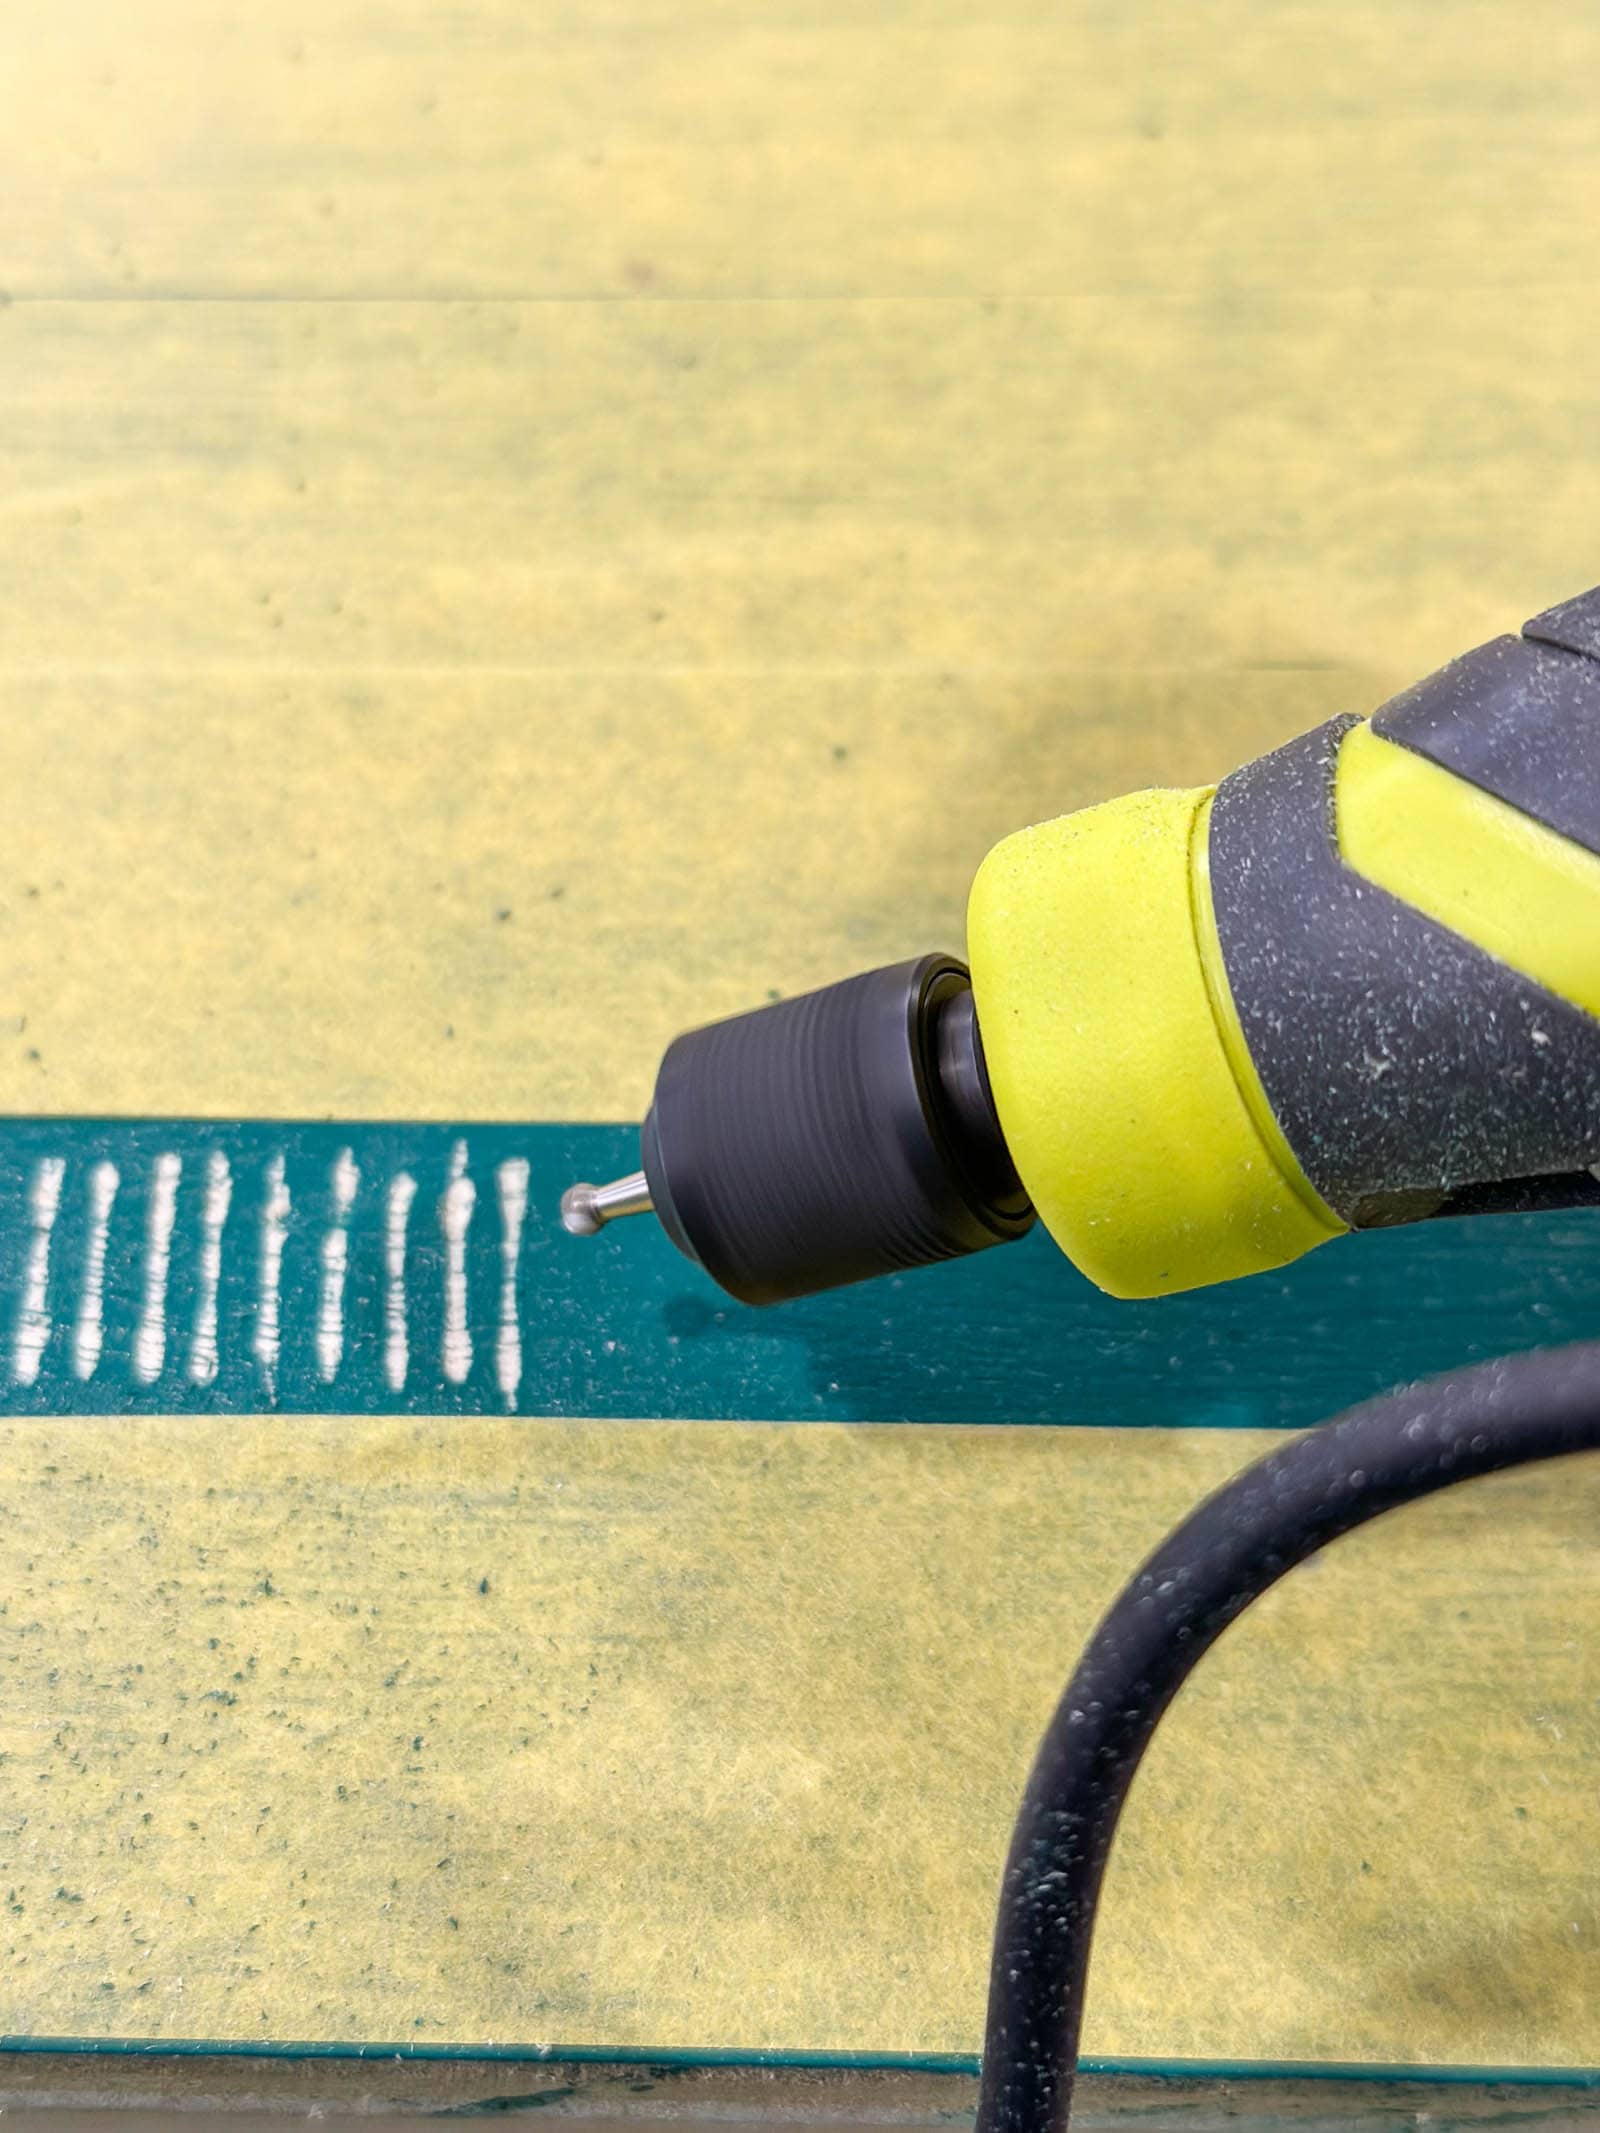
Step 6. Etch the planter box
Once the paint dries, Tape off stripes on the planter box to use as your guide, With a Ryobi rotary tool, carve away the paint leaving the exposed wood behind. I opted for simple straight hatches but sky is really the limit here. Circles… + signs… zig zags… you name it! This rotary tool is super easy to use and control and it felt essentially like I was drawing on the box.
Step 7. Finishing touches
Pop the foam ball onto the stick in the topiary box and cover the exposed foam with moss. I loved the little bow we tied around the base of the topiaries at the White House, but didn’t have quite the right style for this one I made at home.
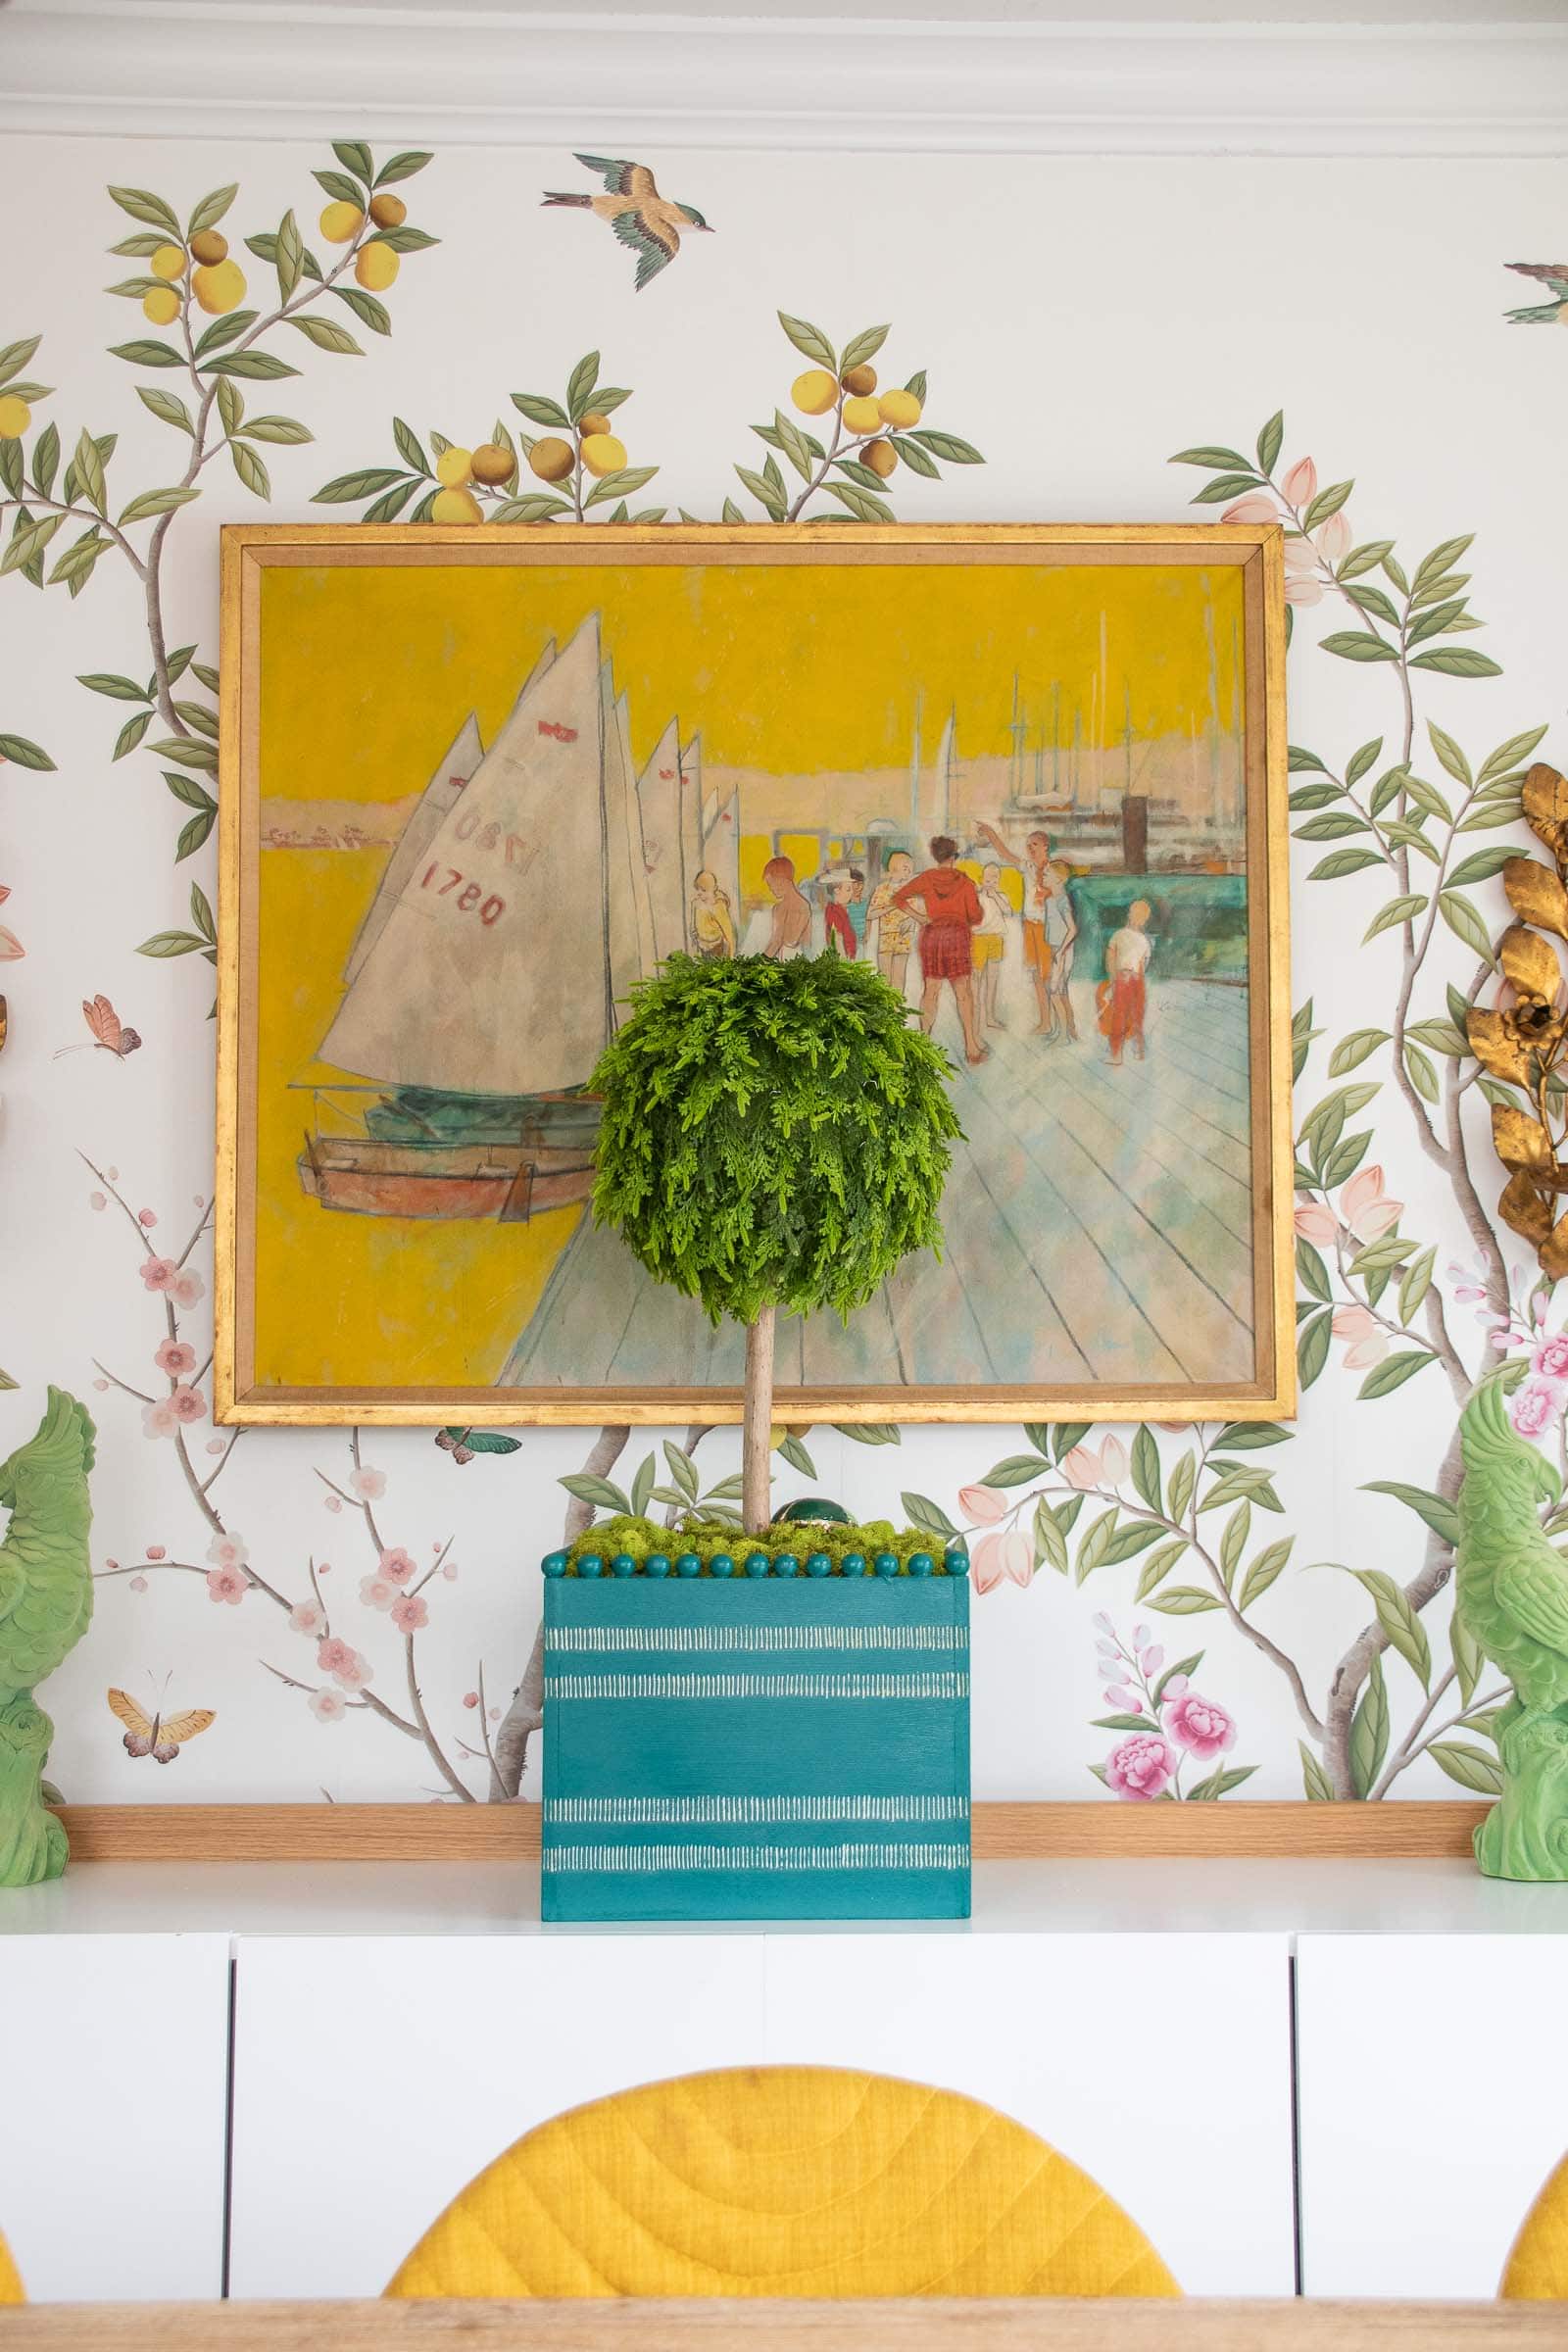
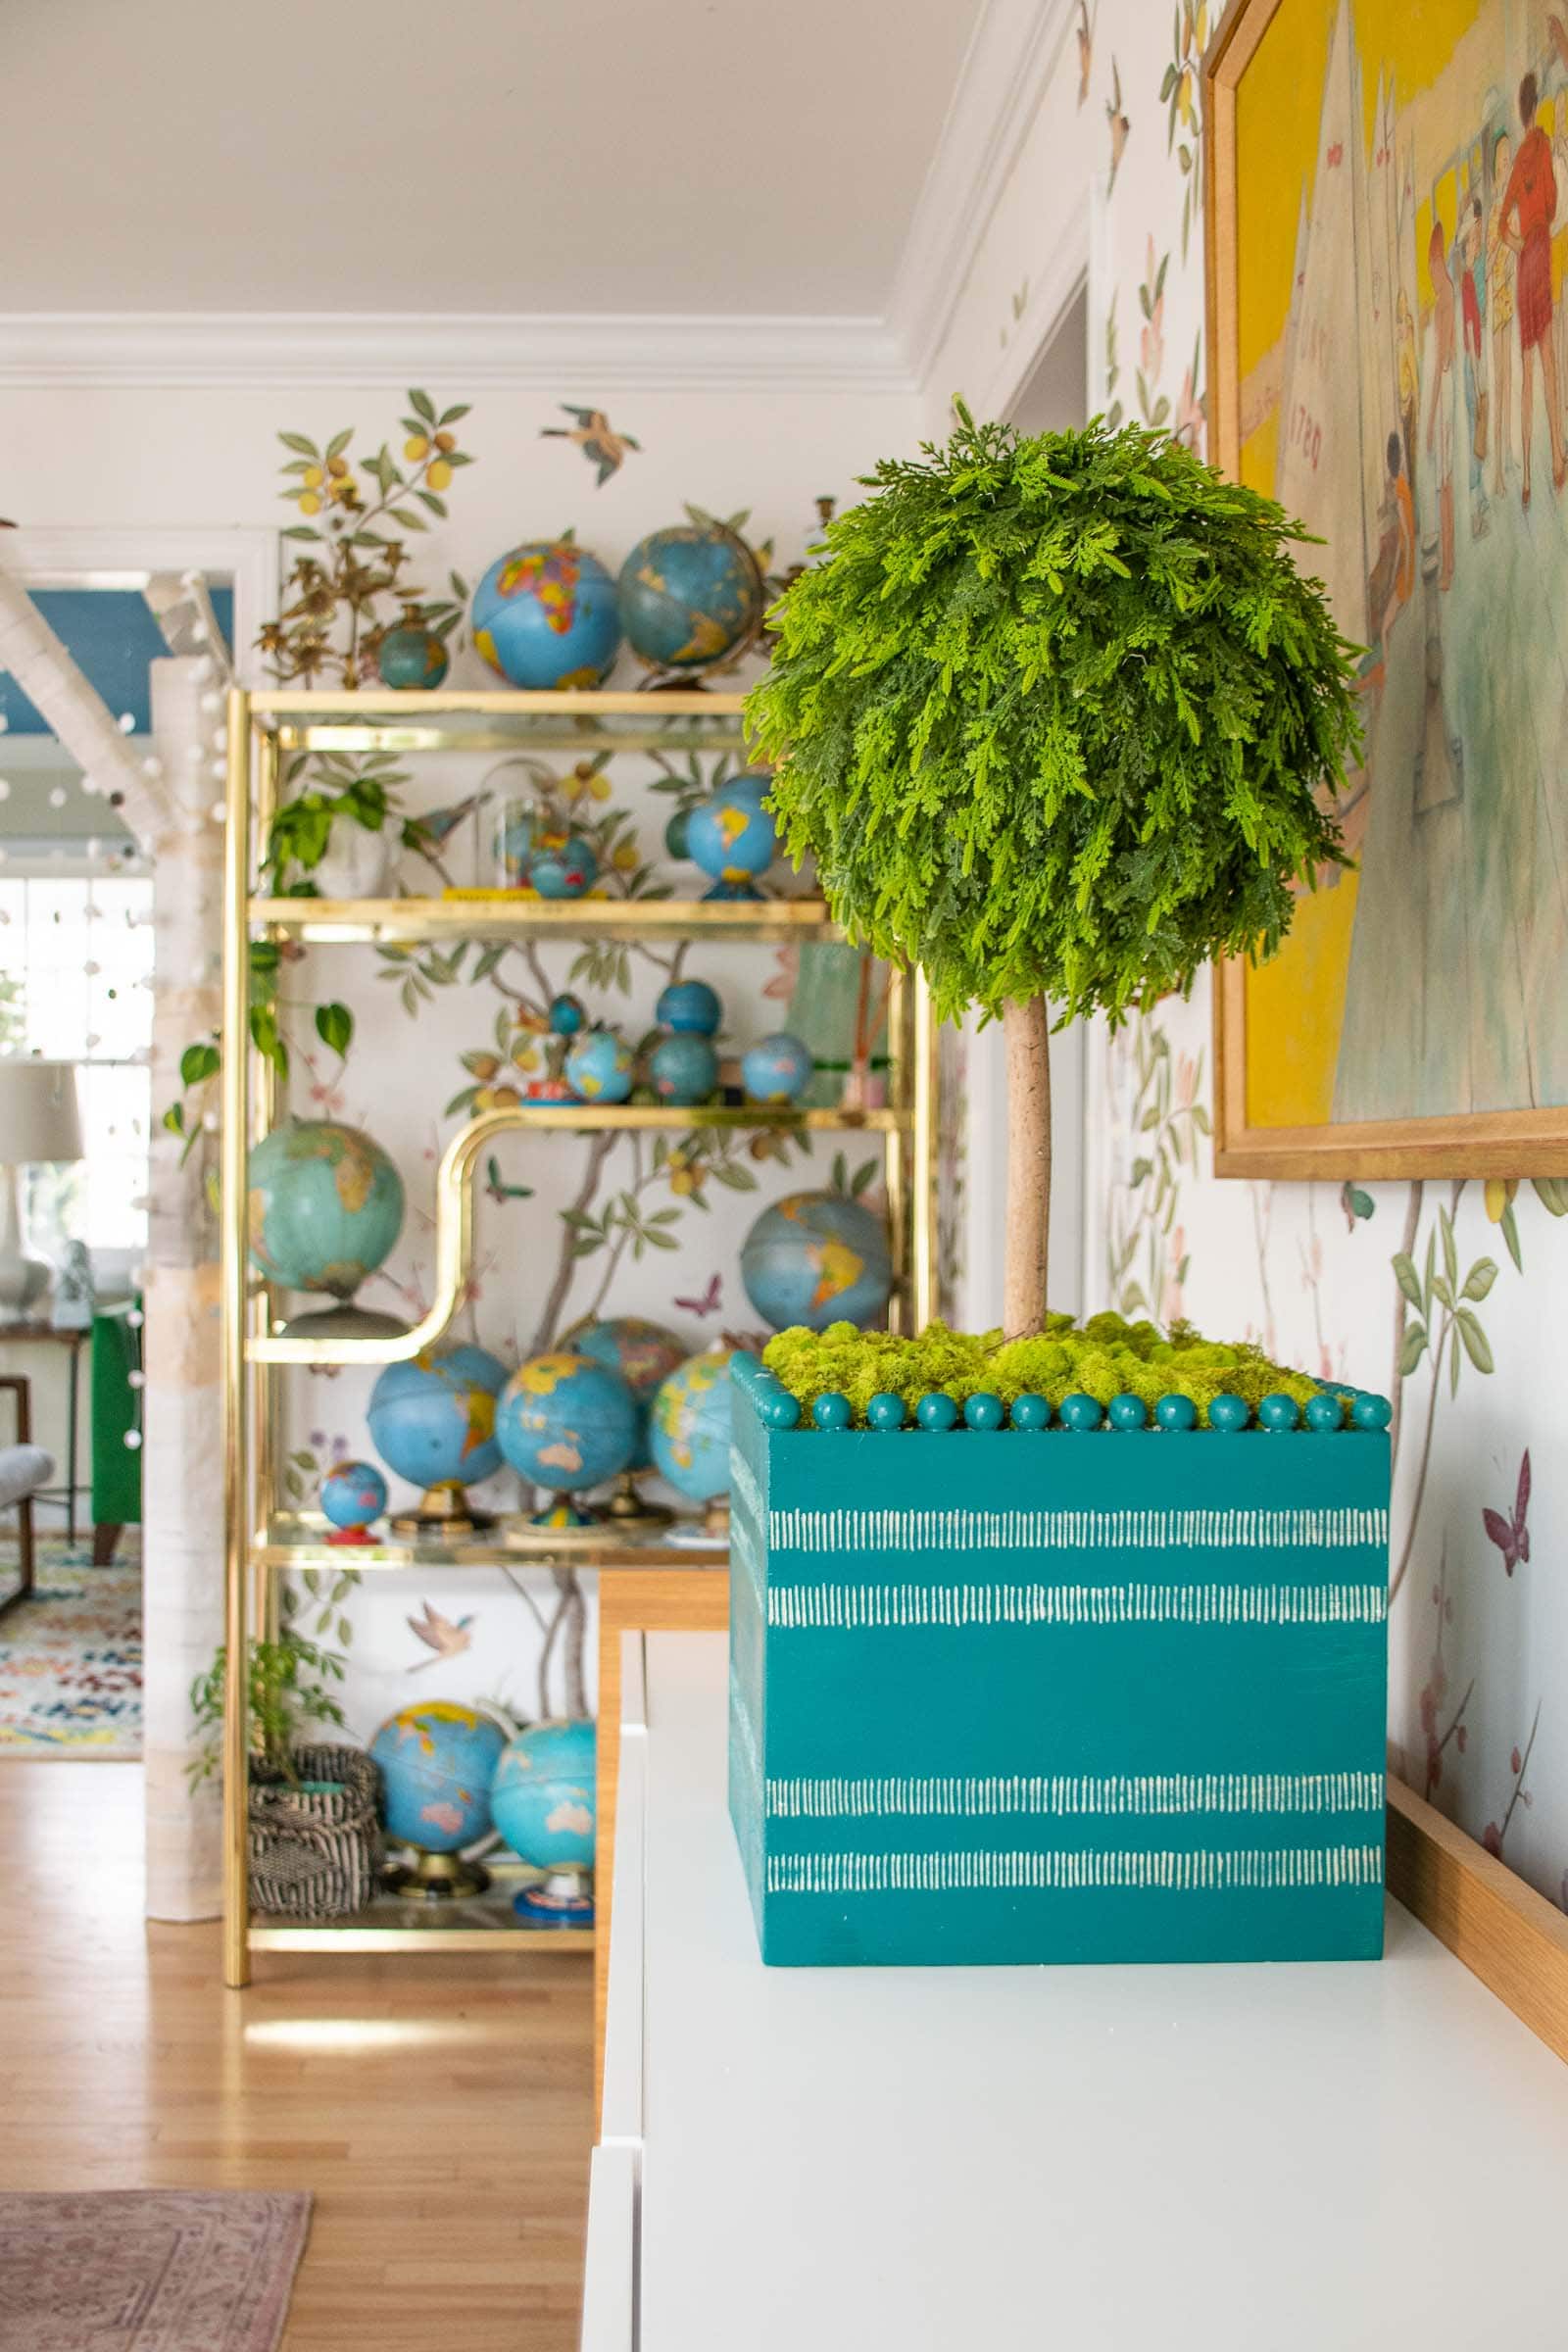
I’m mostly excited to have found such a great use for my etching tool, but I also love how sweet and realistic this faux topiary looks. A smaller version could be made for a mantel or table decor and would look adorable.
Materials:
- Plywood for the box
- Wooden beads
- Faux Greenery
- Floral/ Greening Pins
- Post Fix
- Ryobi Precision Rotary Tool
- Large Foam Ball
- Paint
- Stick (I found a straight one from my yard, but you could buy a dowel if you don’t have access to the woods!)

Don’t Miss Out
Become An Insider!
Signup for exclusive tips, and tricks from Charlotte’s House!
Let’s chat!
I love comments from you, so feel free to leave your thoughts and ideas below! And don’t forget to follow me on Instagram for even more!