
How to Make a Laundry Drying Rack
Psssst… this post *might* contain affiliate links: see my disclosure here.
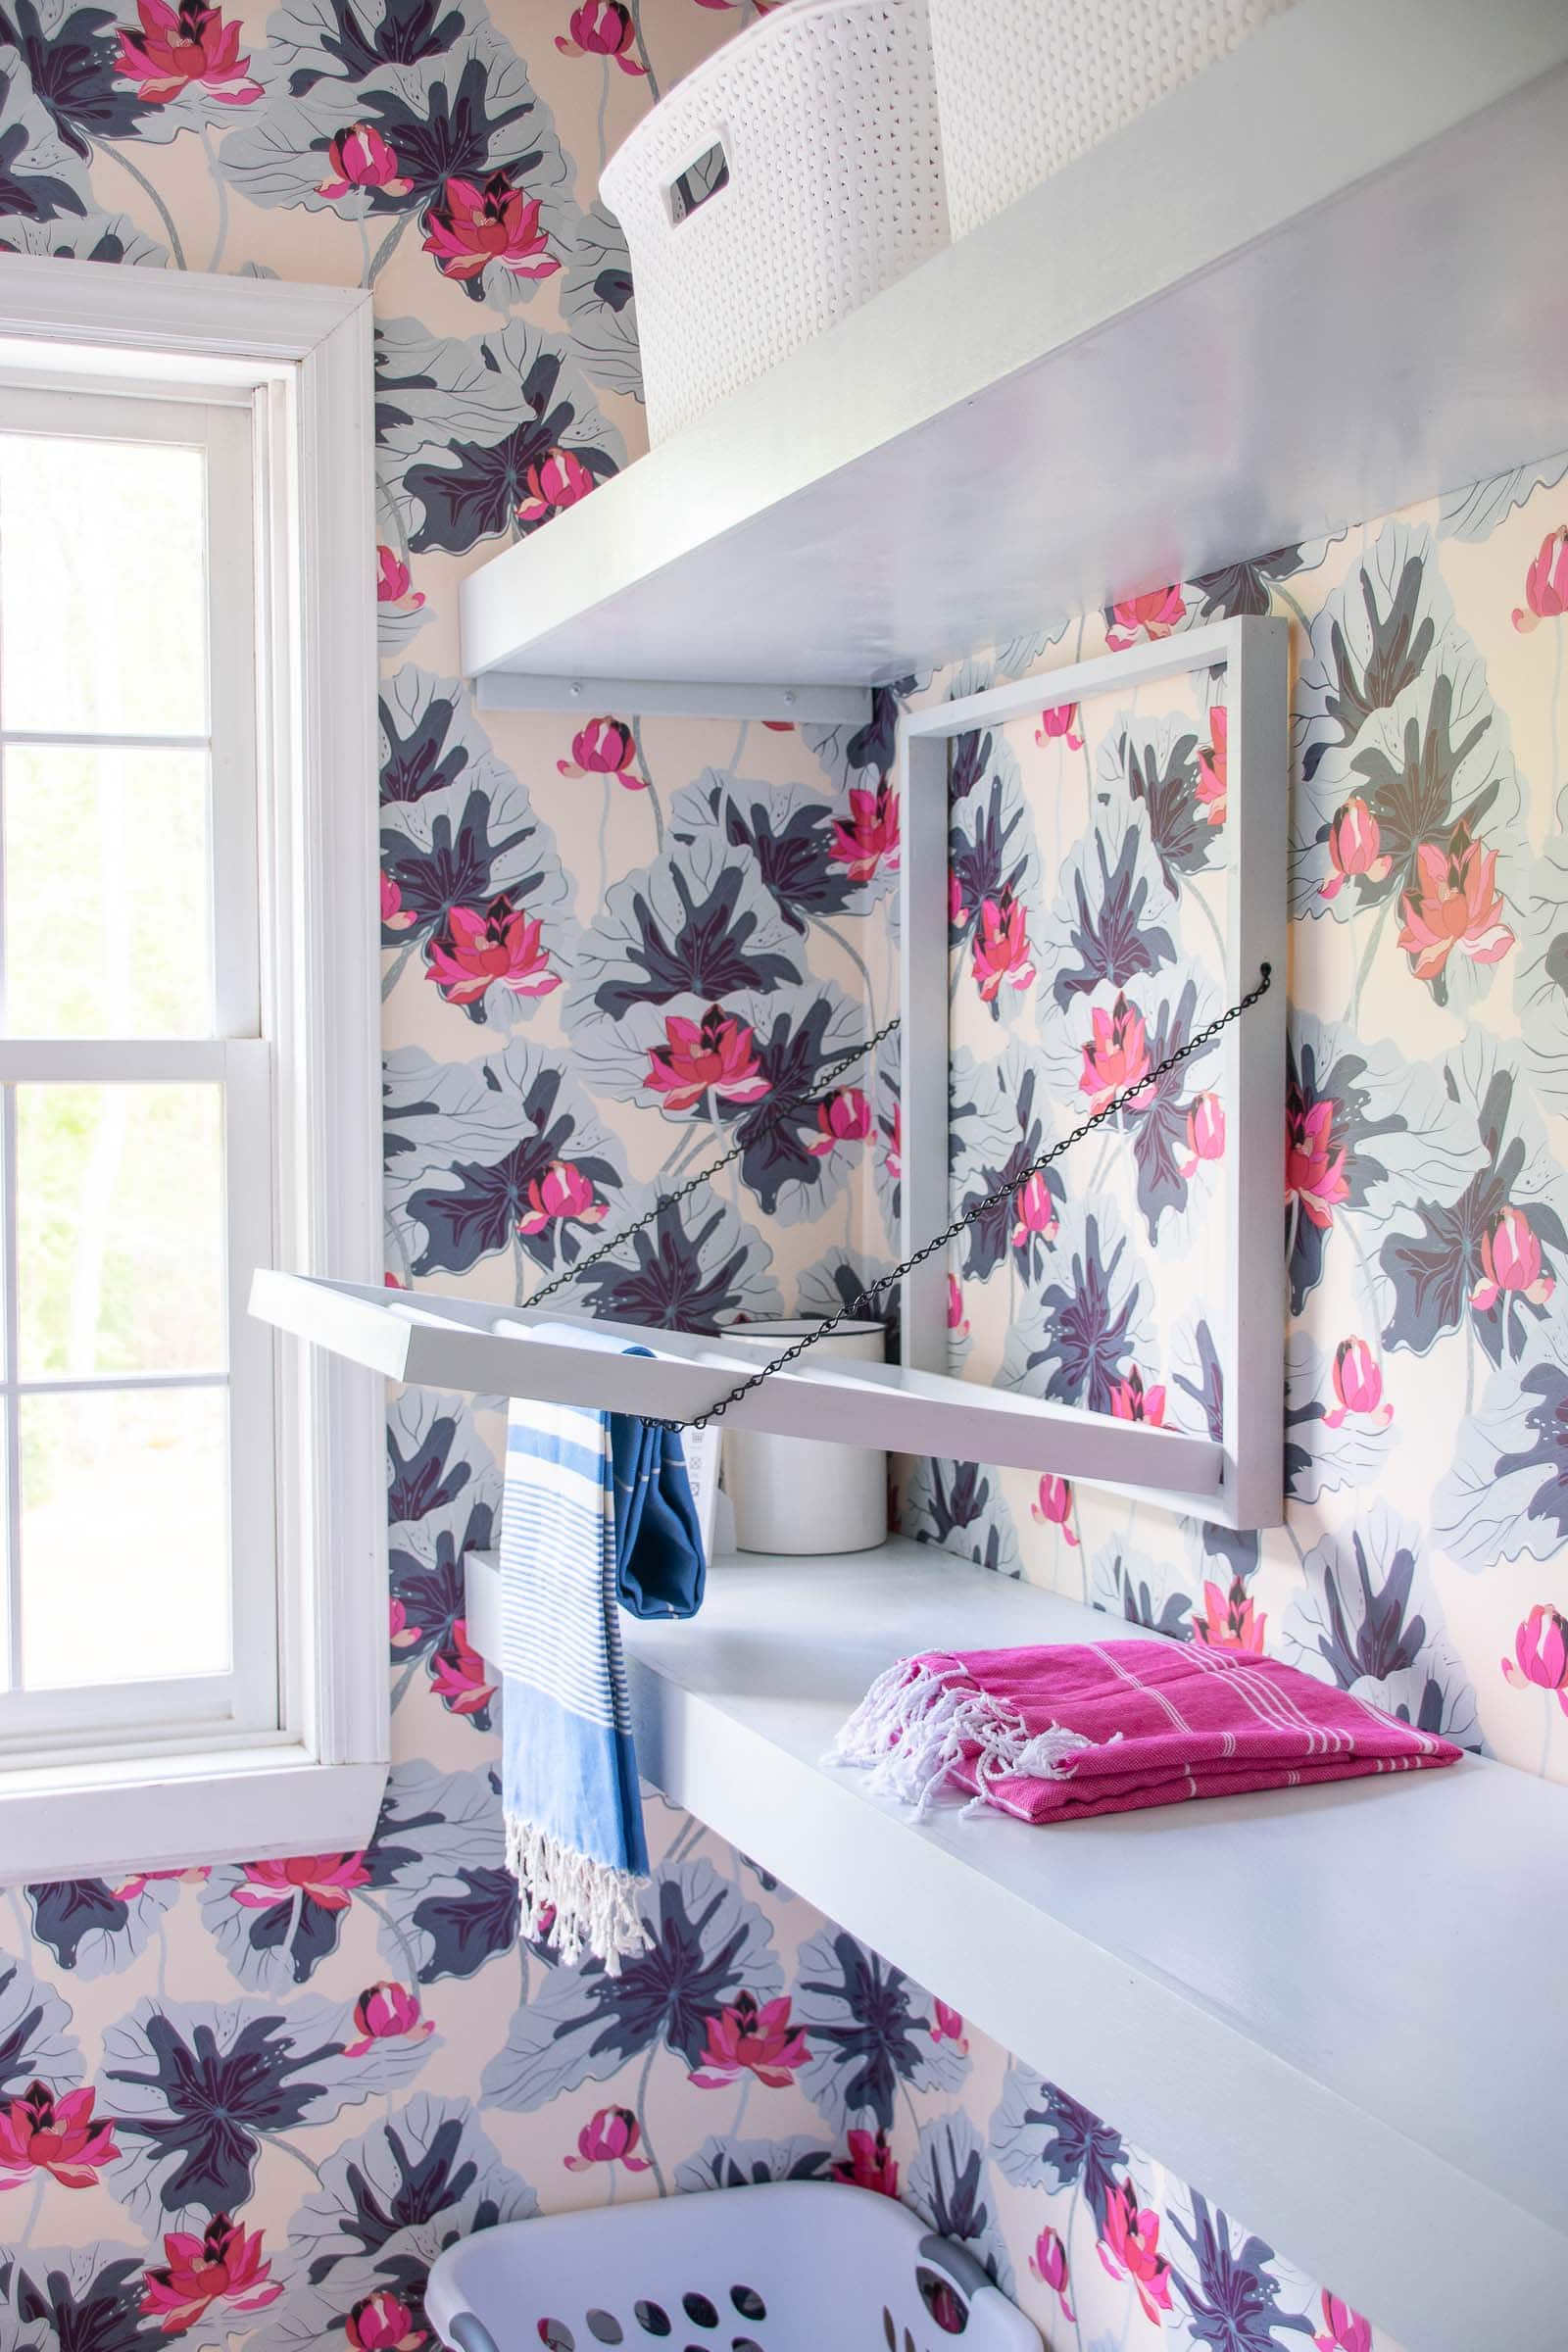
DIY Wall Mounted Laundry Drying Rack
I made this simple drying rack for our laundry room makeover.
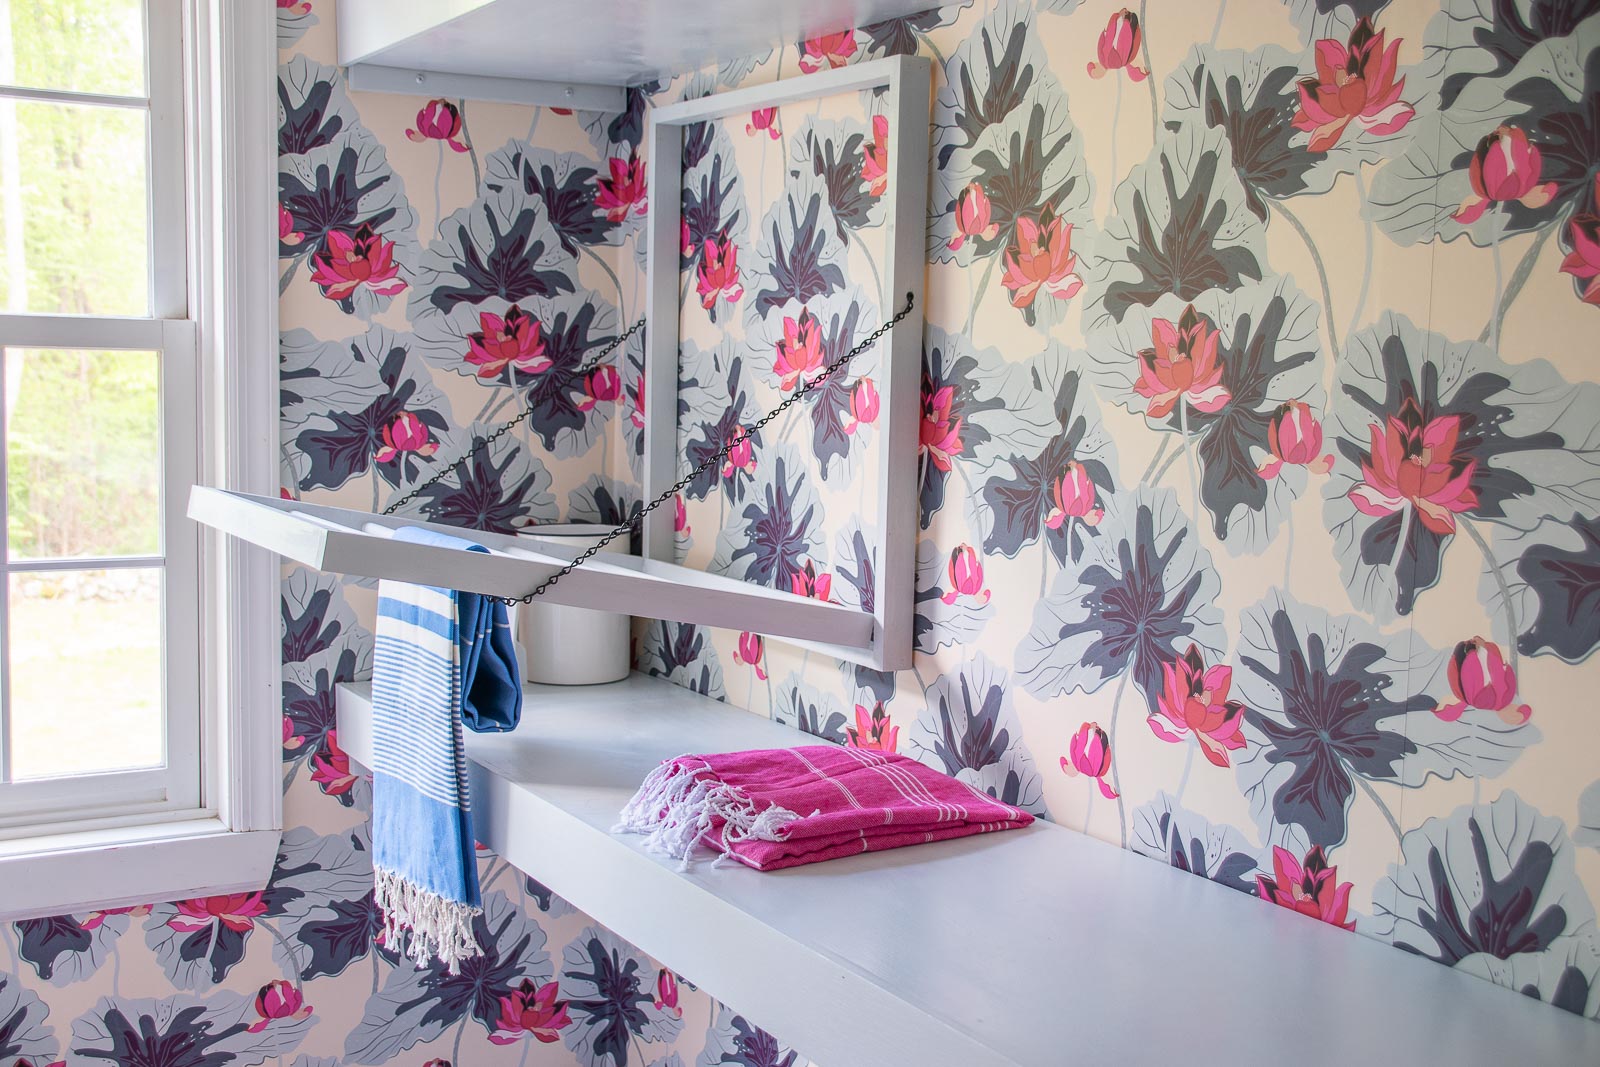
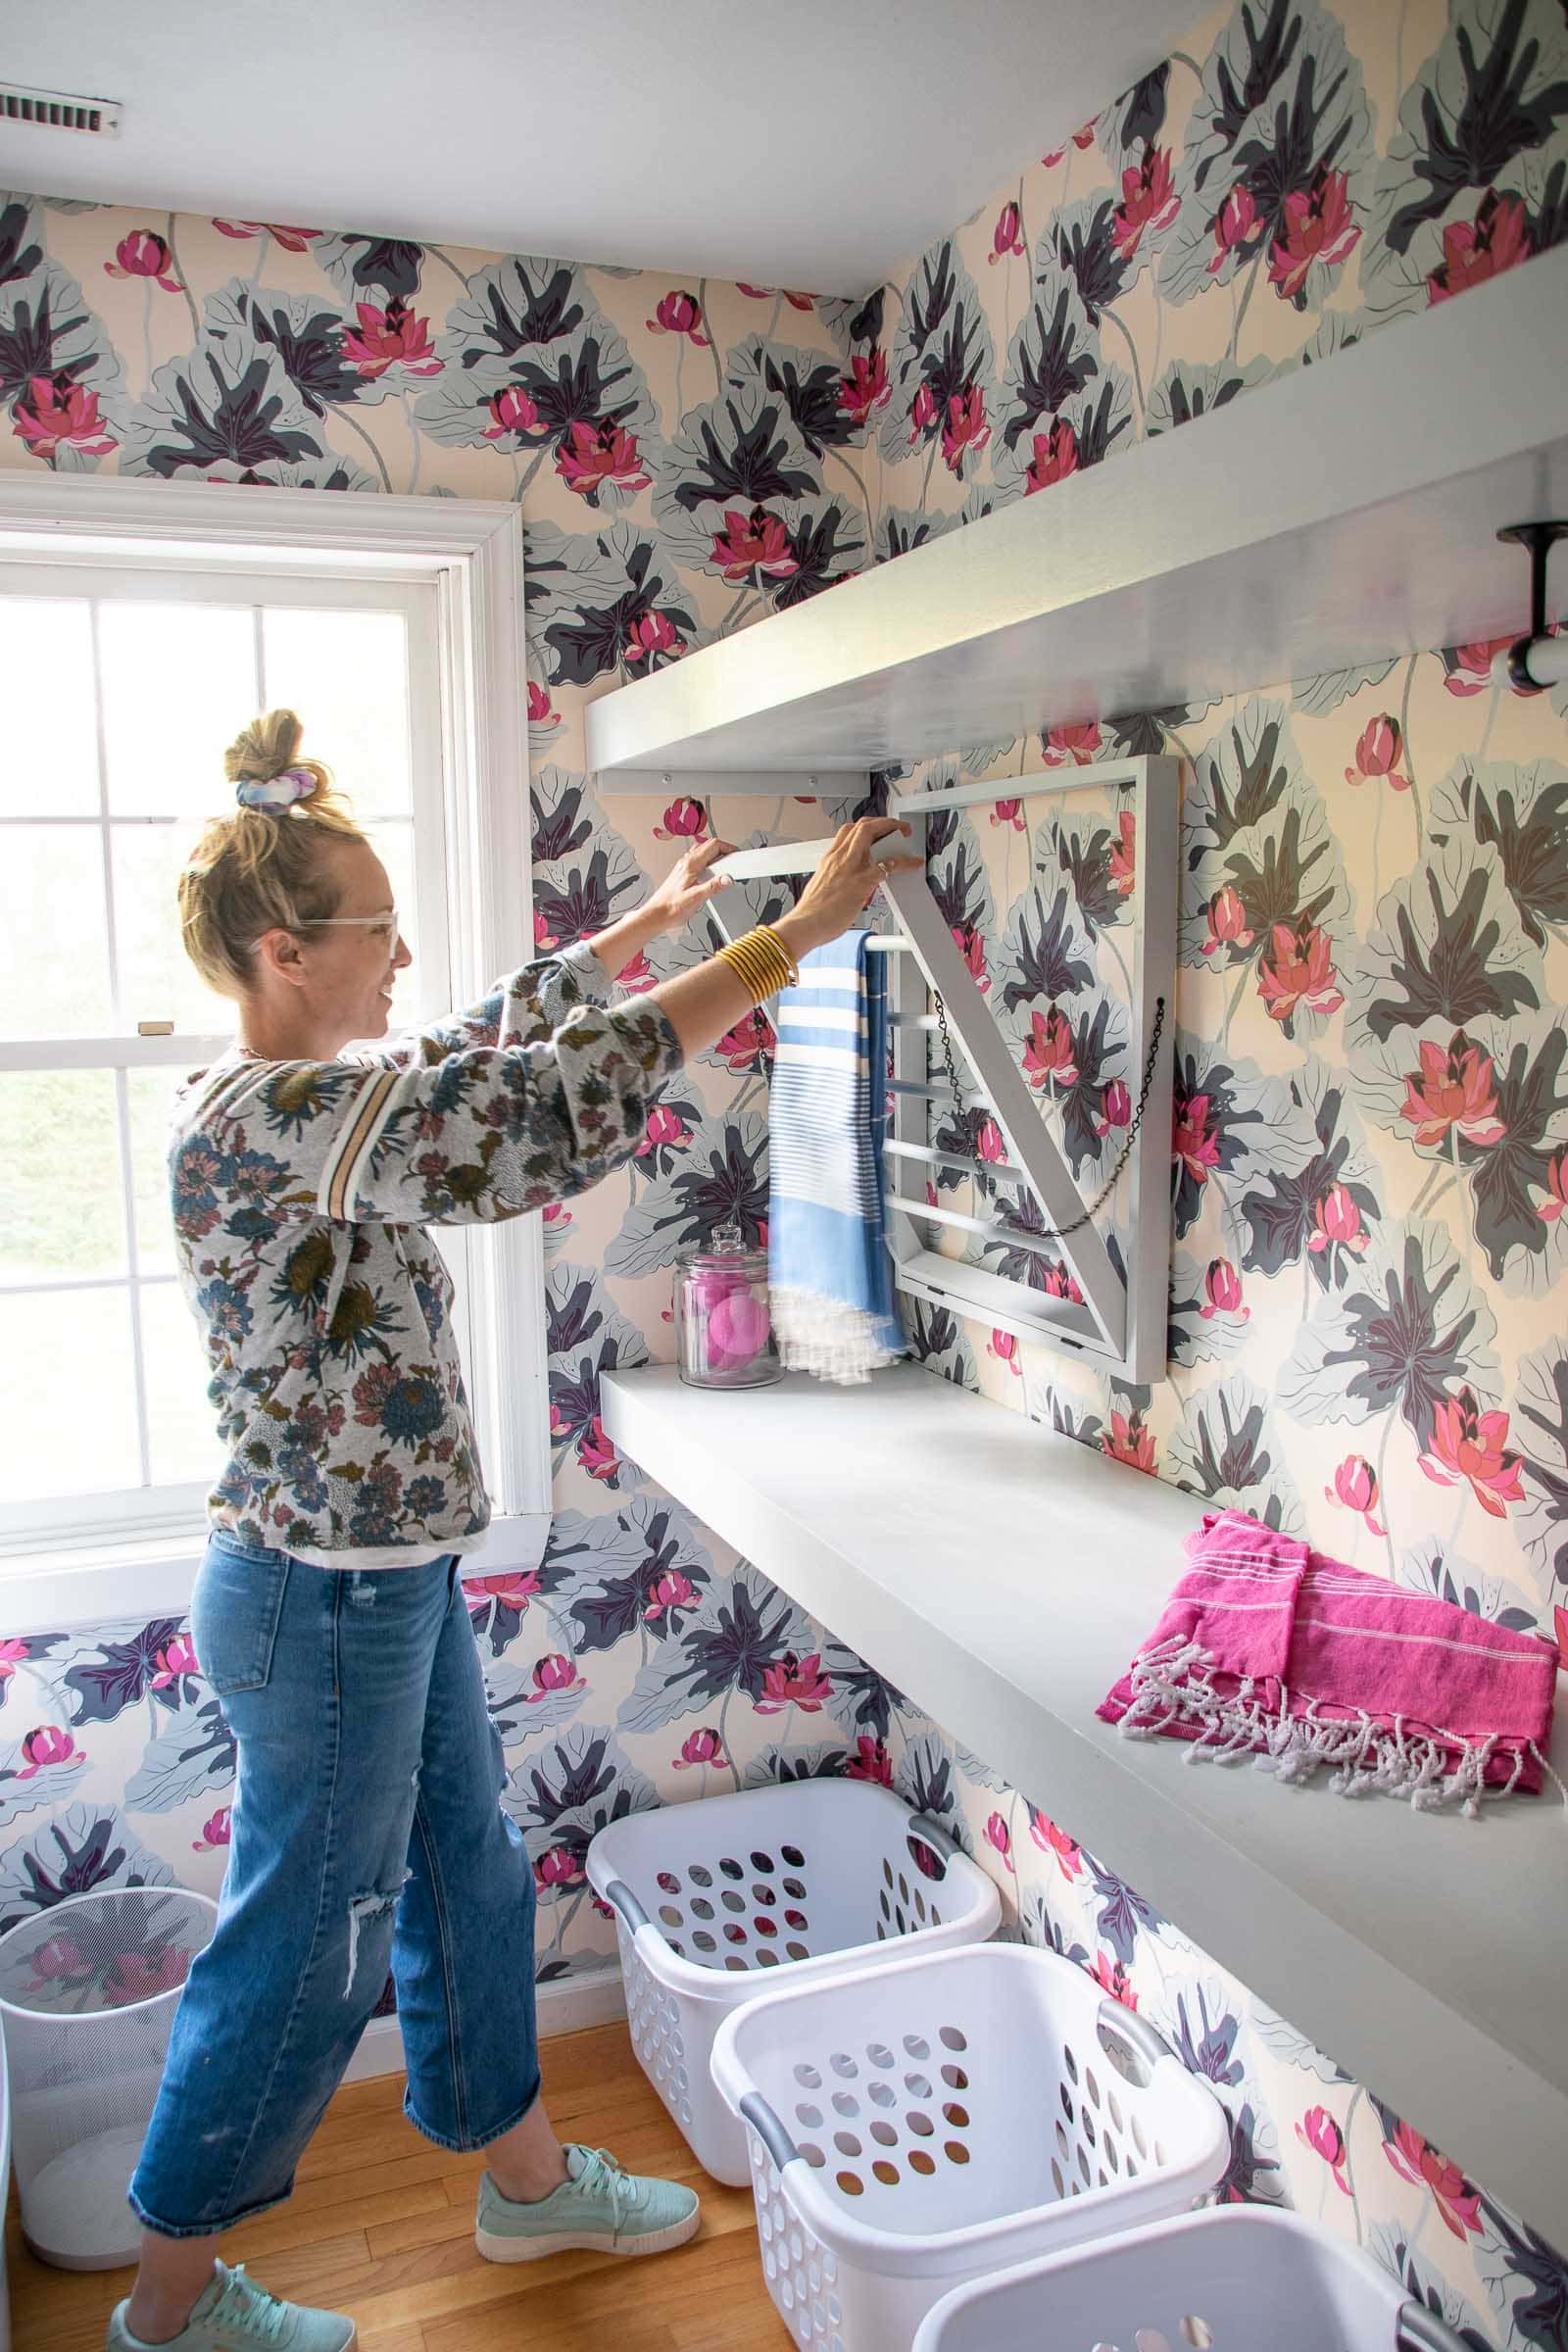
As part of our laundry room makeover, you all suggested a drying rack for the space! Truth be told, I use a laundry drying rack about once a year at best, but… I might use one more often for hand washing now that I have one! There are plenty of these available on Amazon or Etsy, but fundamentally it felt pretty simple so I wanted to try and make my own. Time will tell how this holds up, but it’s been a few weeks and I’ve used it once and it worked like a charm!
Shop my favorites!
Materials
- 1×3 lumber
- wooden dowels (I used 3/4″)
- Forstner drill bits
- Wood glue
- hinges
- Wood filler
- small link chain
- Wall mounts (I used these Z clips, but D rings or other cleats could work also)
Step 1. Figure out your dimensions
The dimensions of your drying rack will depend on the wall space on which you’re mounting it. I didn’t have a ton so I tried to make the most of it. You’re going to build 2 concentric rectangles. One will be the frame that mounts to the wall, and the inside one will be the rack that folds down from the wall.
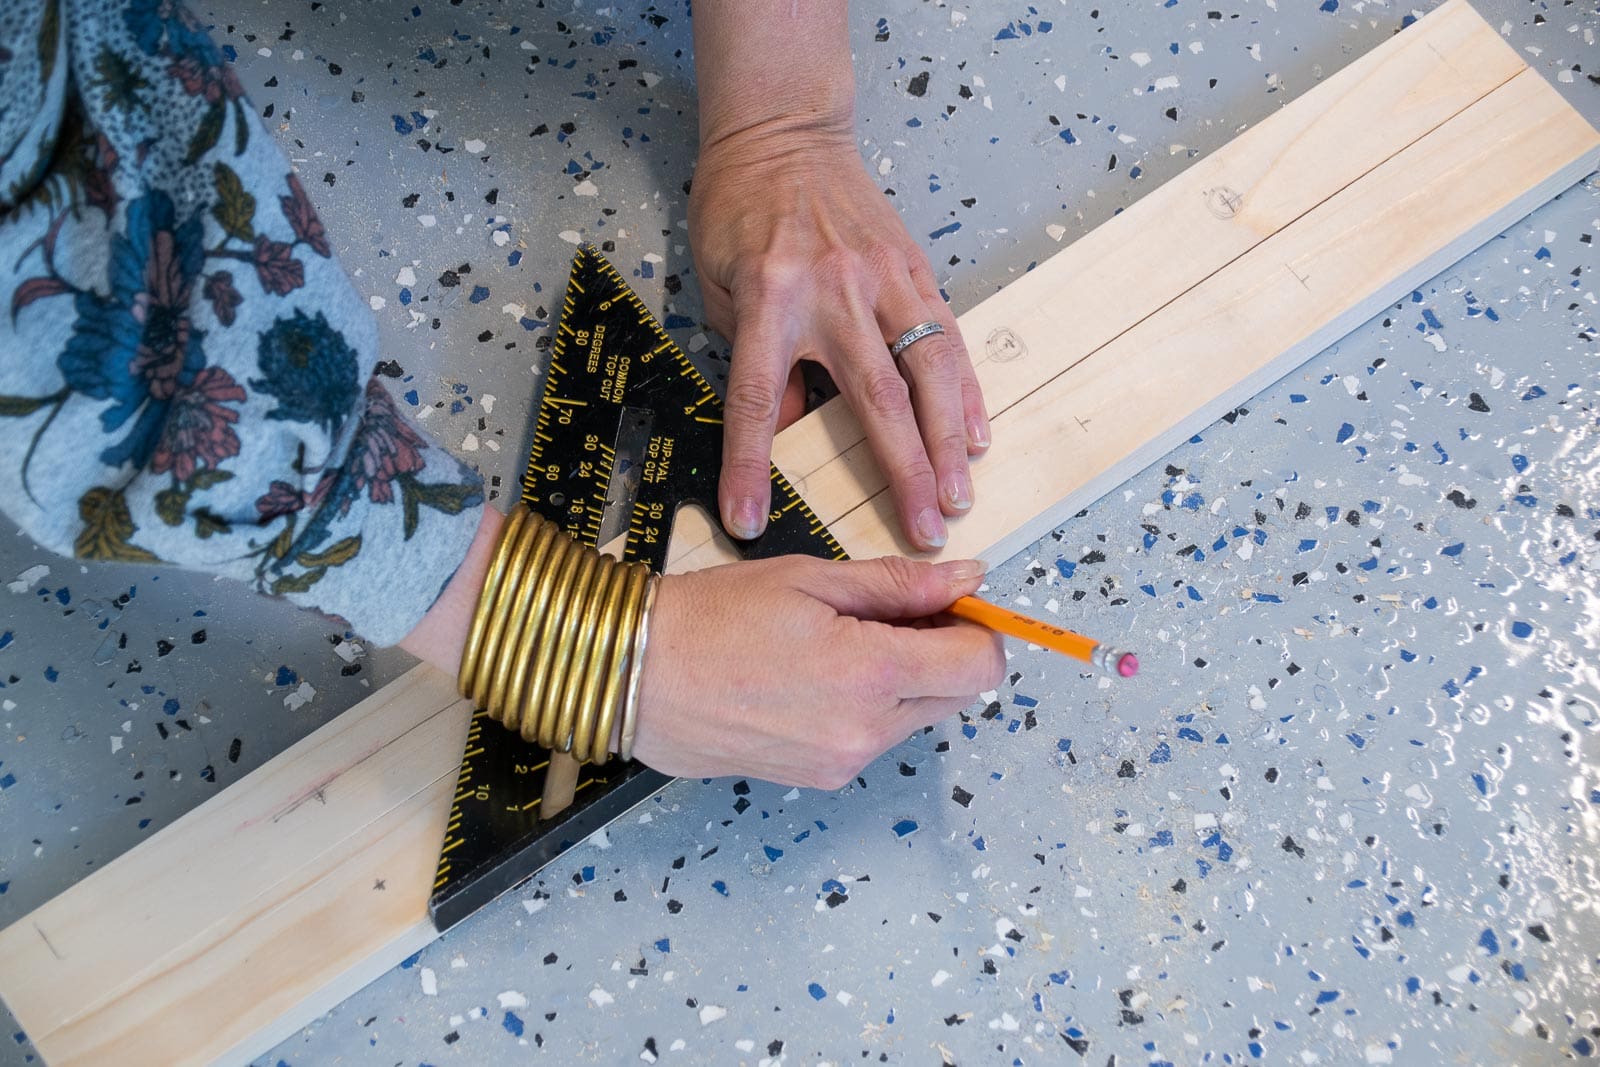
Step 2. Cut lumber
Cut the 1x3s to size. Cut the dowels about 1/4″ longer that the inside span of the inner rectangle. You’ll be drilling holes into the lumber for the dowels in the next step. (As a reference, the outside frame of my drying rack is 23 3/4″ x 25 3/4″ and the inside frame (with the dowels) is 22″ x 24″.)
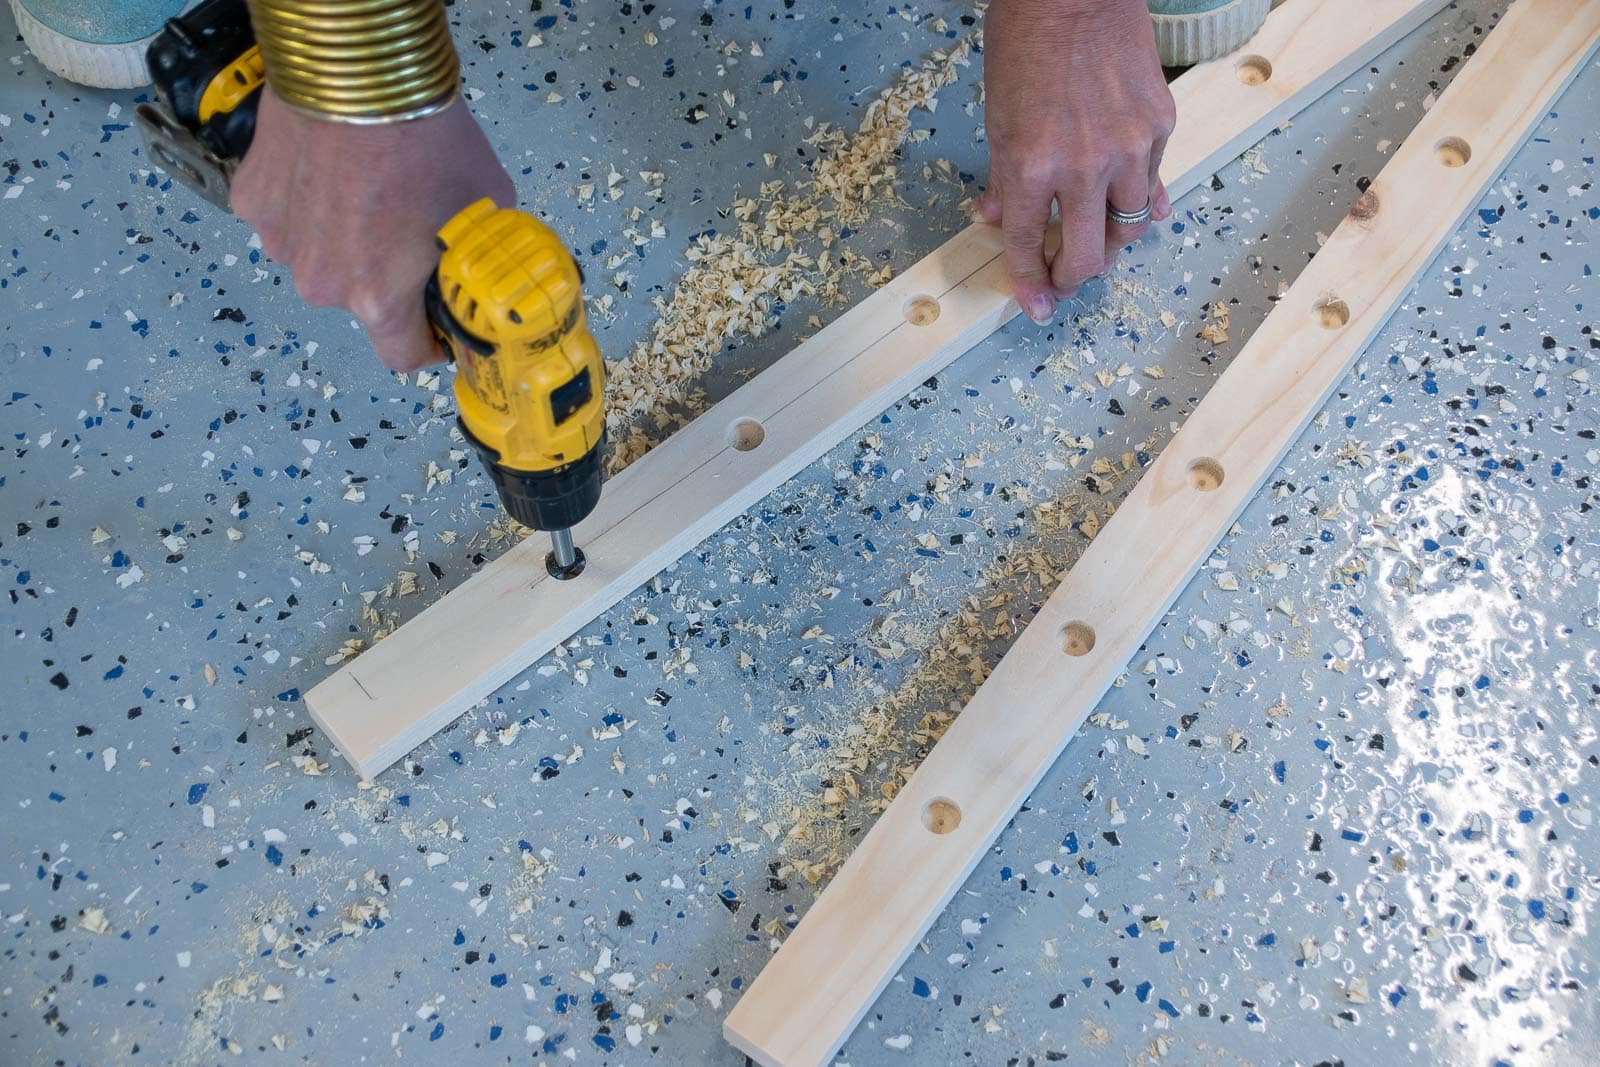
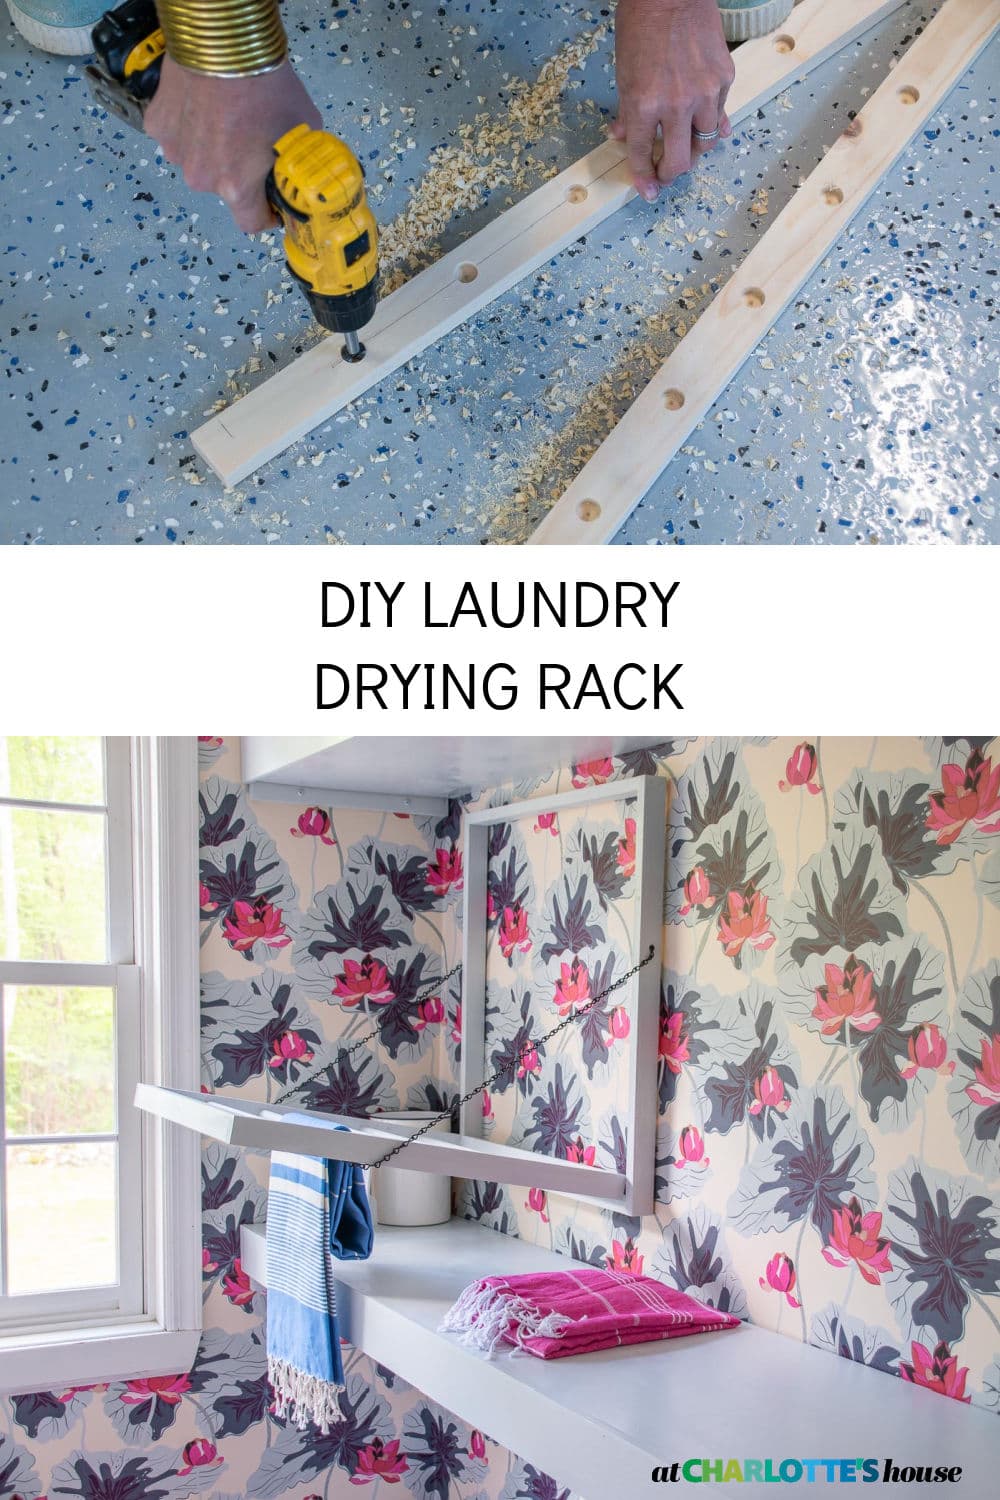
Step 3. Drill holes for Dowels
Carefully measure for your dowels on the two sides of the smaller laundry rack frame. I placed both sides together so I could be sure I marked the spots for the dowels in the same spot on each side. With a forstner bit the same size as the dowels, drill into the 1×3 1/8″-1/4″ of an inch.
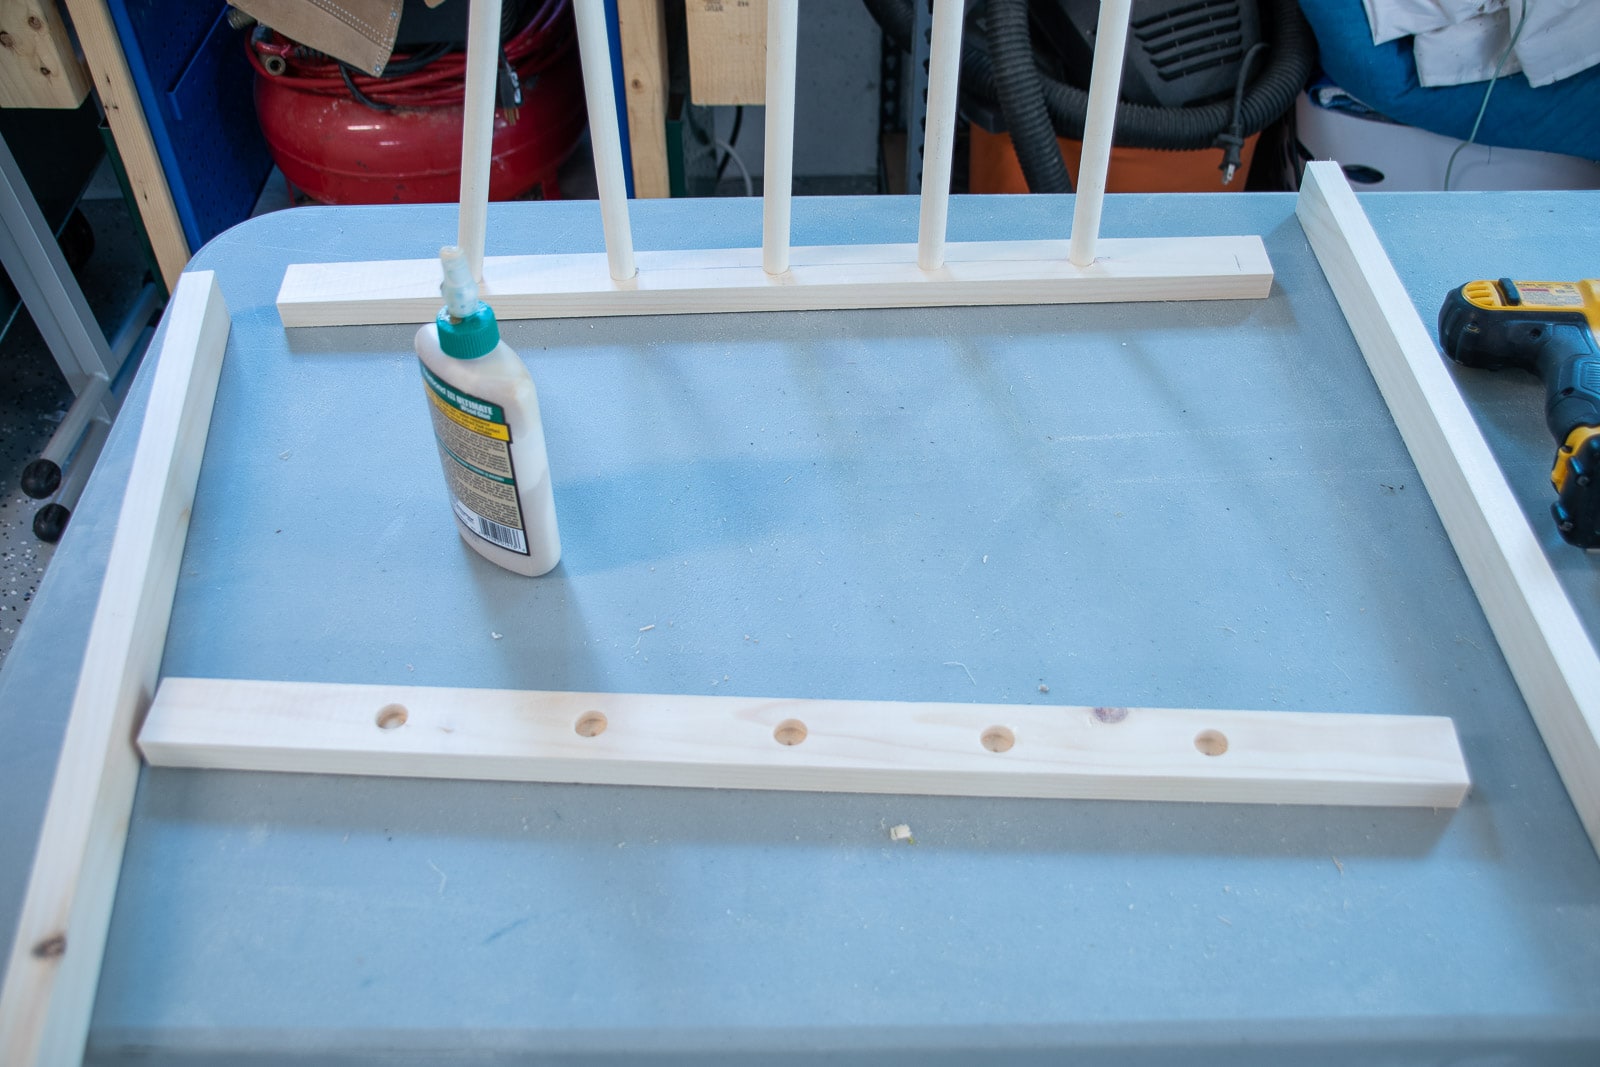
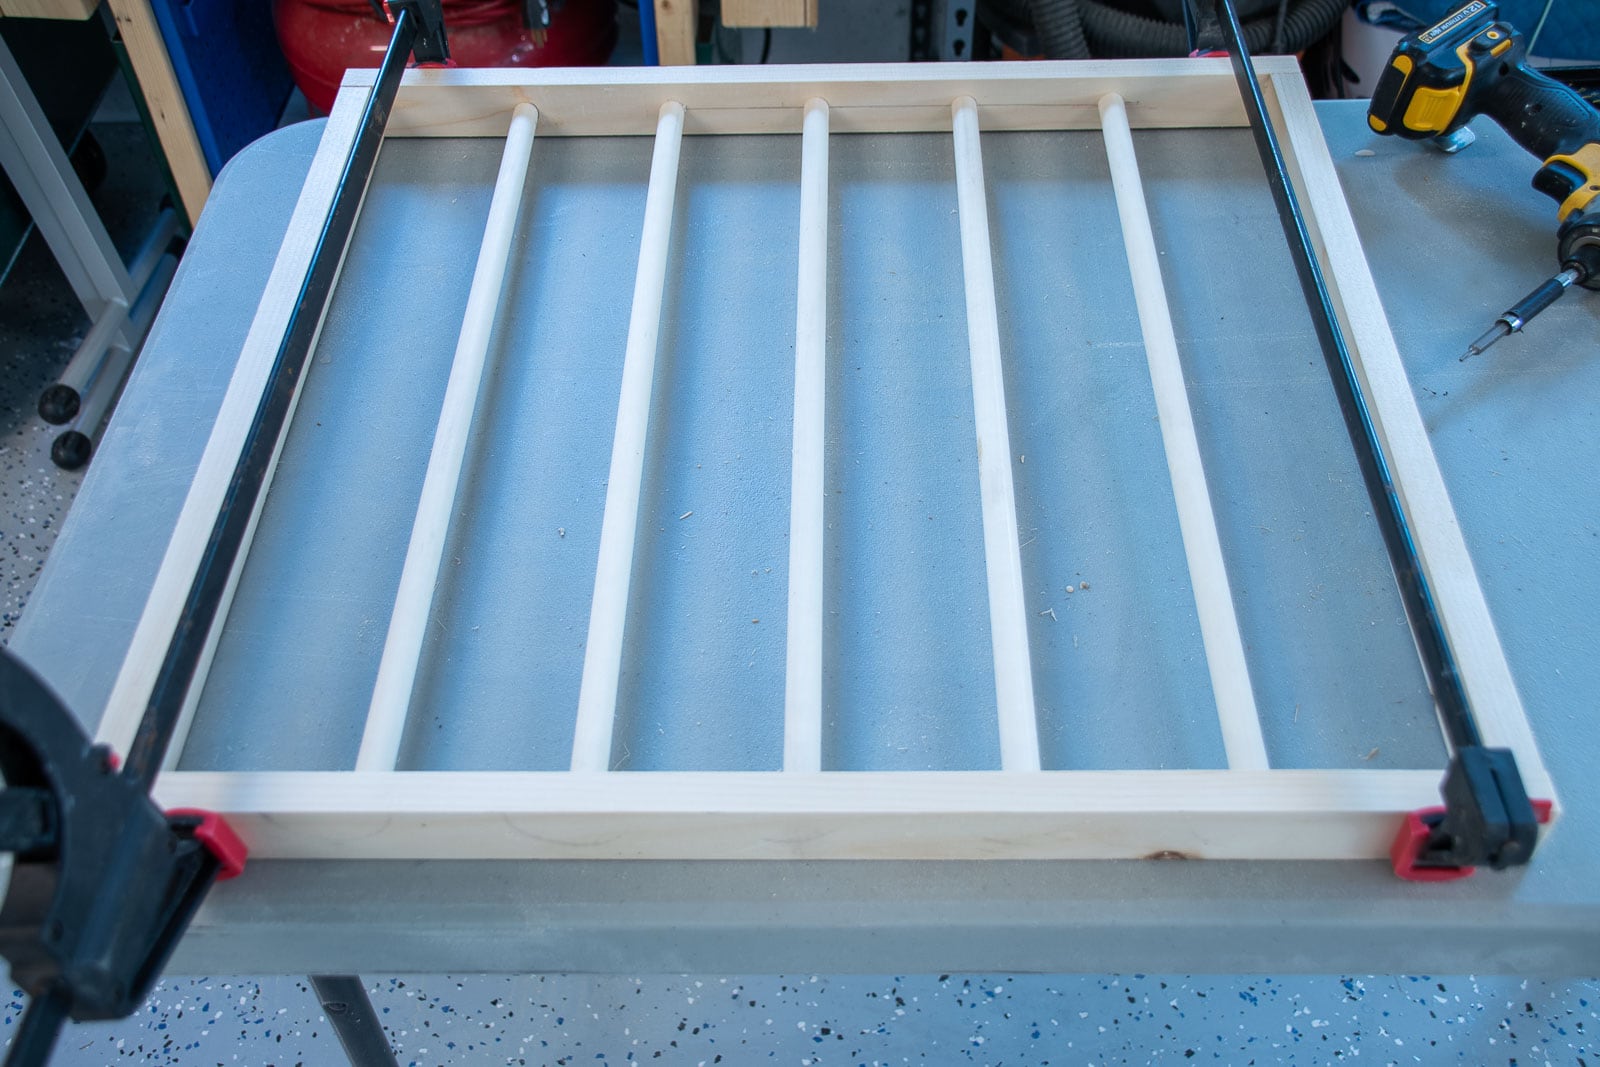
Step 4. Assemble the rack
Assemble the inner rack by gluing the dowels into each holes and then gluing the 1x3s onto either end. Clamp together. Once the glue dried a bit, add a finishing screw into each end to secure. Make sure you drill the head into the board enough that it’s recessed below the surface.
Step 5. Assemble the Wall Frame
Place the 1x3s around the laundry rack to make sure they fit. Allow a little extra room on the bottom edge for the hinge. I didn’t allow enough space on mine and had to etch out some space for the hinges; totally worked but probably easier to size it correctly the first time! Just like with the rack, I glued the corners and clamped them together before screwing in place with one finishing screw.
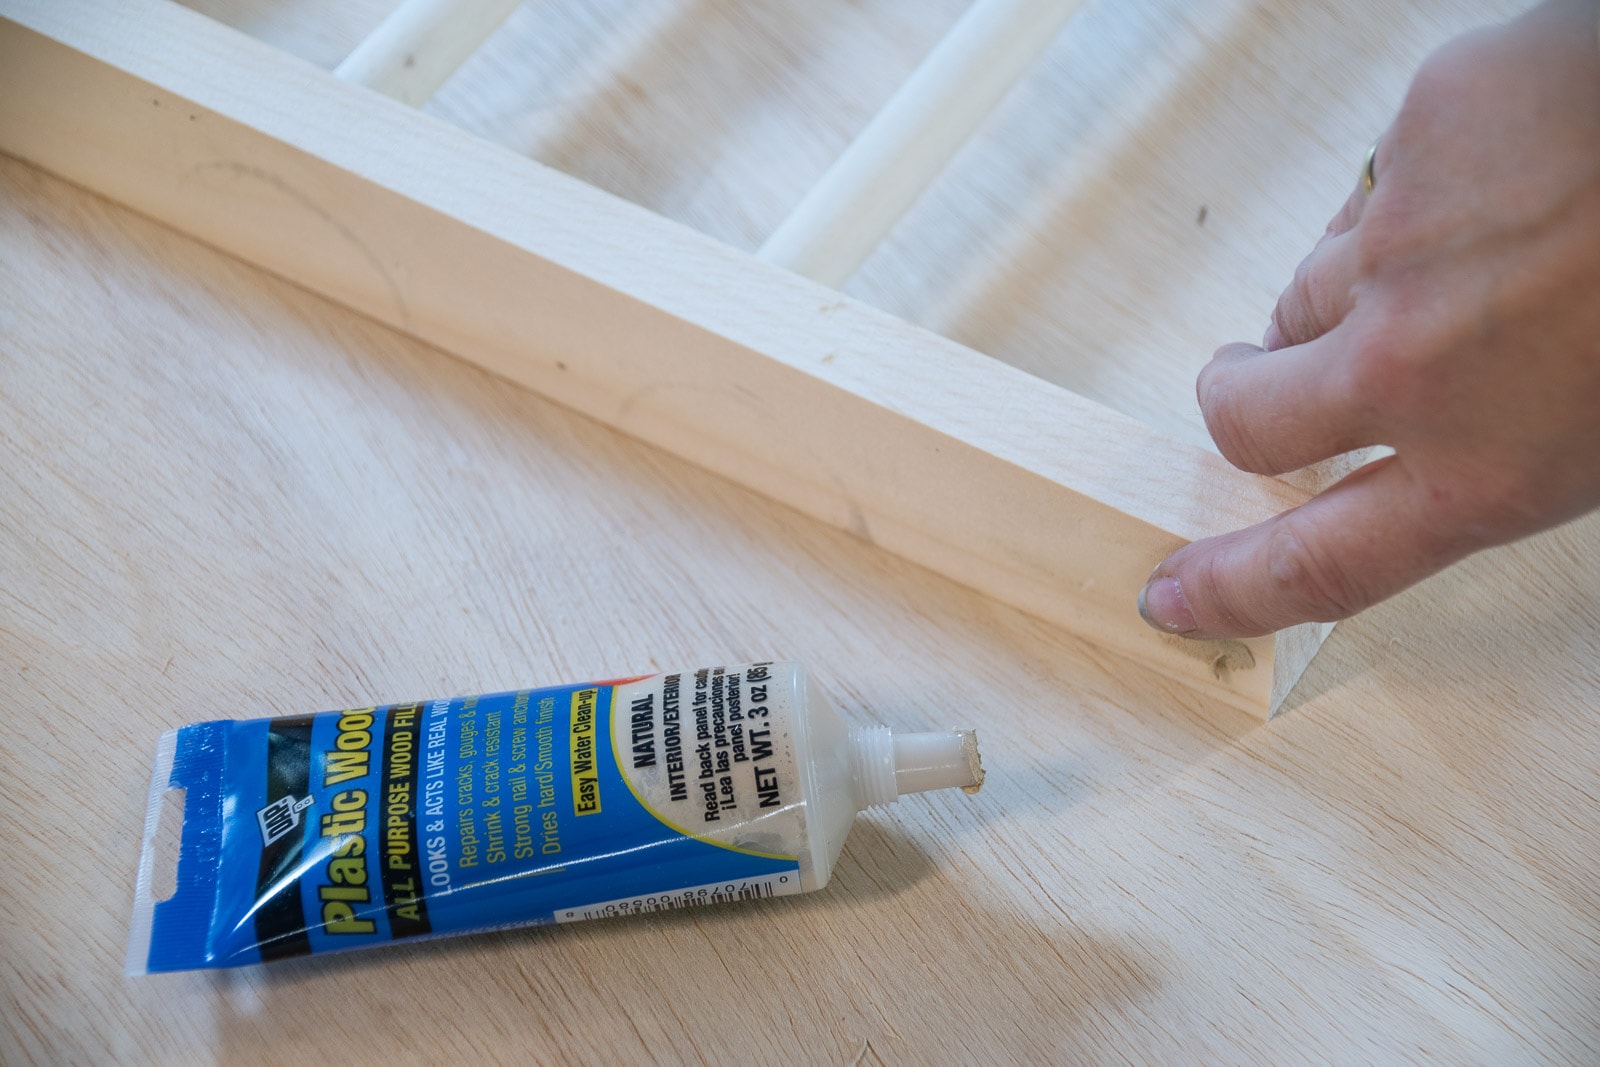
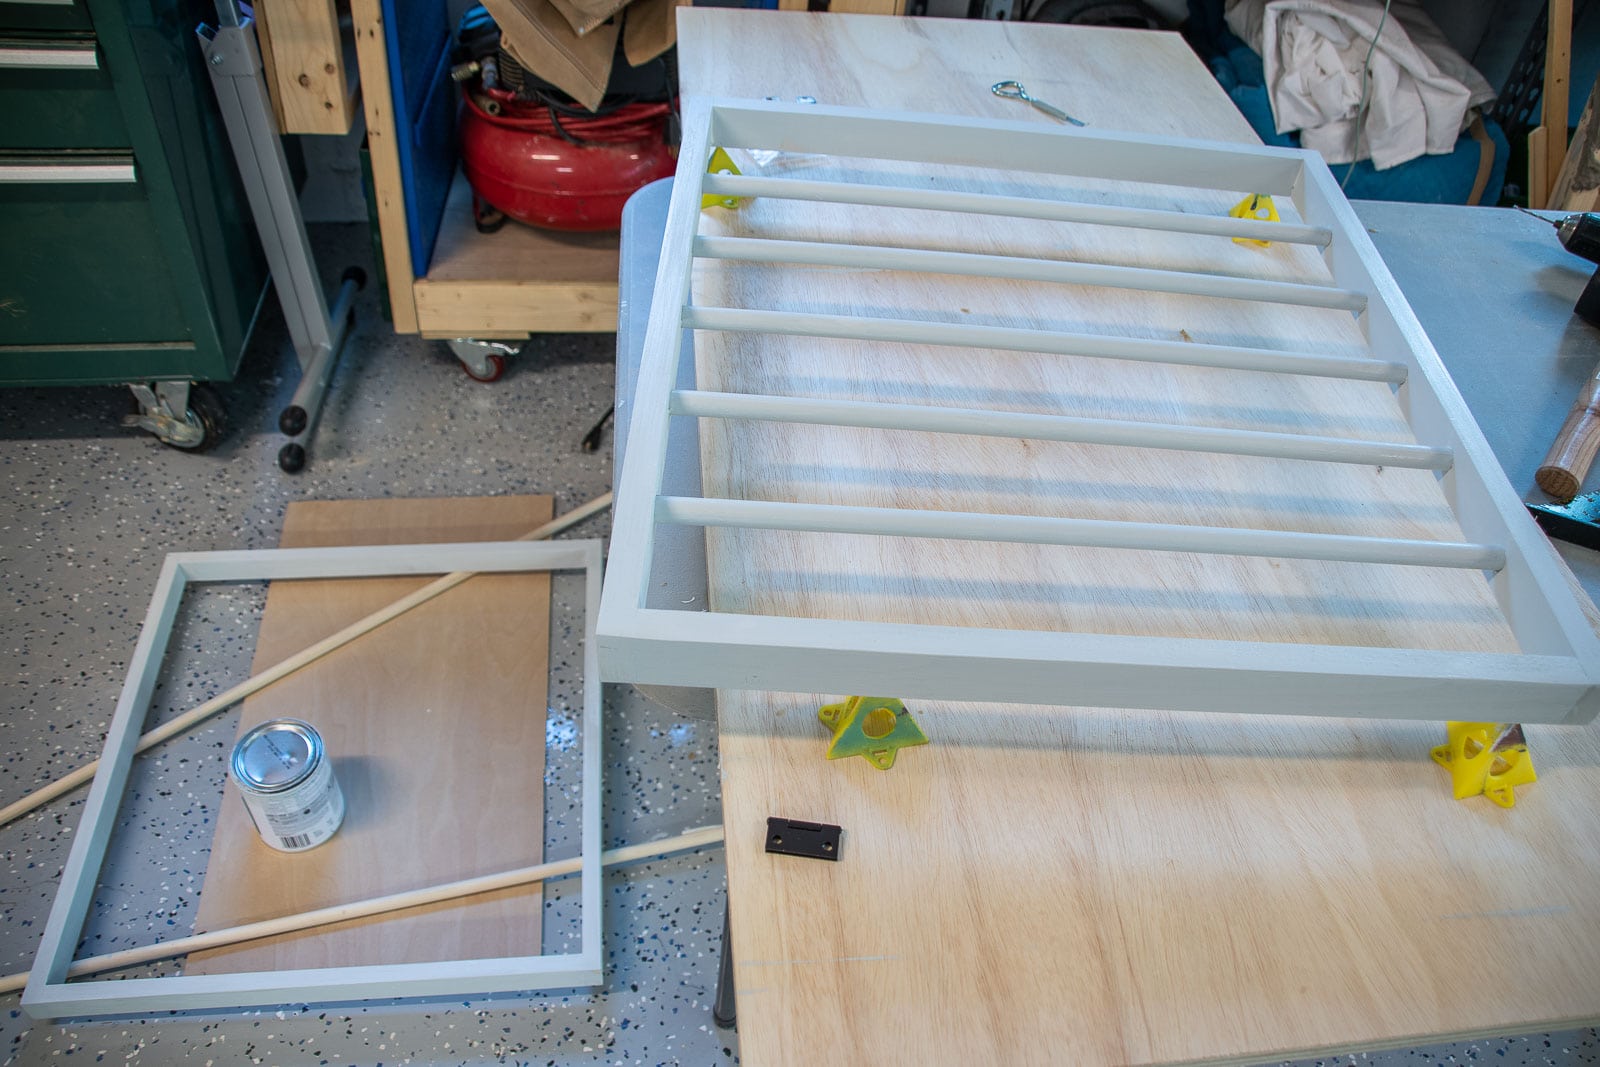
Step 6. Paint
Before painting, I filled the corner holes with wood fill and sanded them smooth. I painted with the same paint as the shelves.
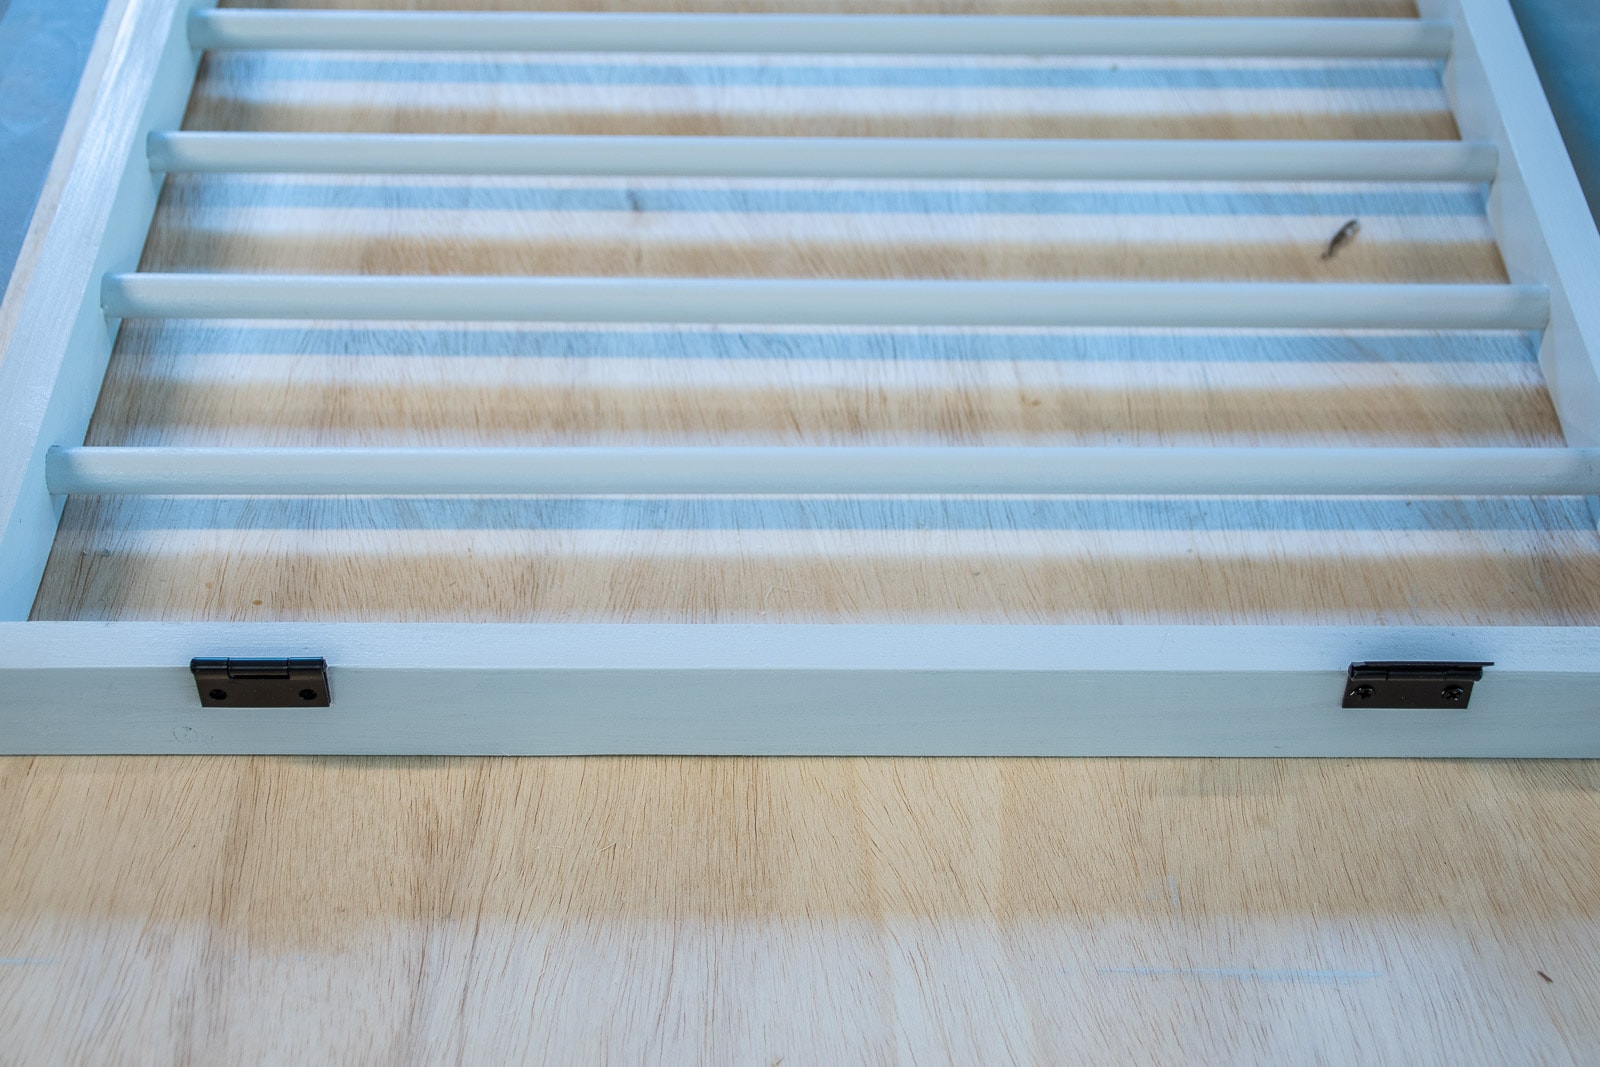
Step 7. Build the Laundry Rack
Attach hinges to the bottom of the two pieces of the rack so that the inside rack with the dowels can open from the outside frame. Determine what angle you’d like the rack to open to- I chose just short of 90-degrees. With small screws I attached the chain to the outside corner of the outside frame and the front of the rack portion. Where you attach the chain will dictate how the rack hangs.
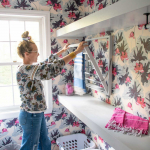
Step 8. Mount the rack to the wall
I used Z clips to attach the rack to the wall. They’re super easy to install and very durable. One side goes on the rack and the other side goes on the wall and the two parts fit together. I didn’t secure the bottom of the laundry rack so it feels a bit shaky when you open it up, but it’s not going anywhere unless you deliberately lift the rack up and away from the wall. (Not at all how you open it when using it for laundry.)
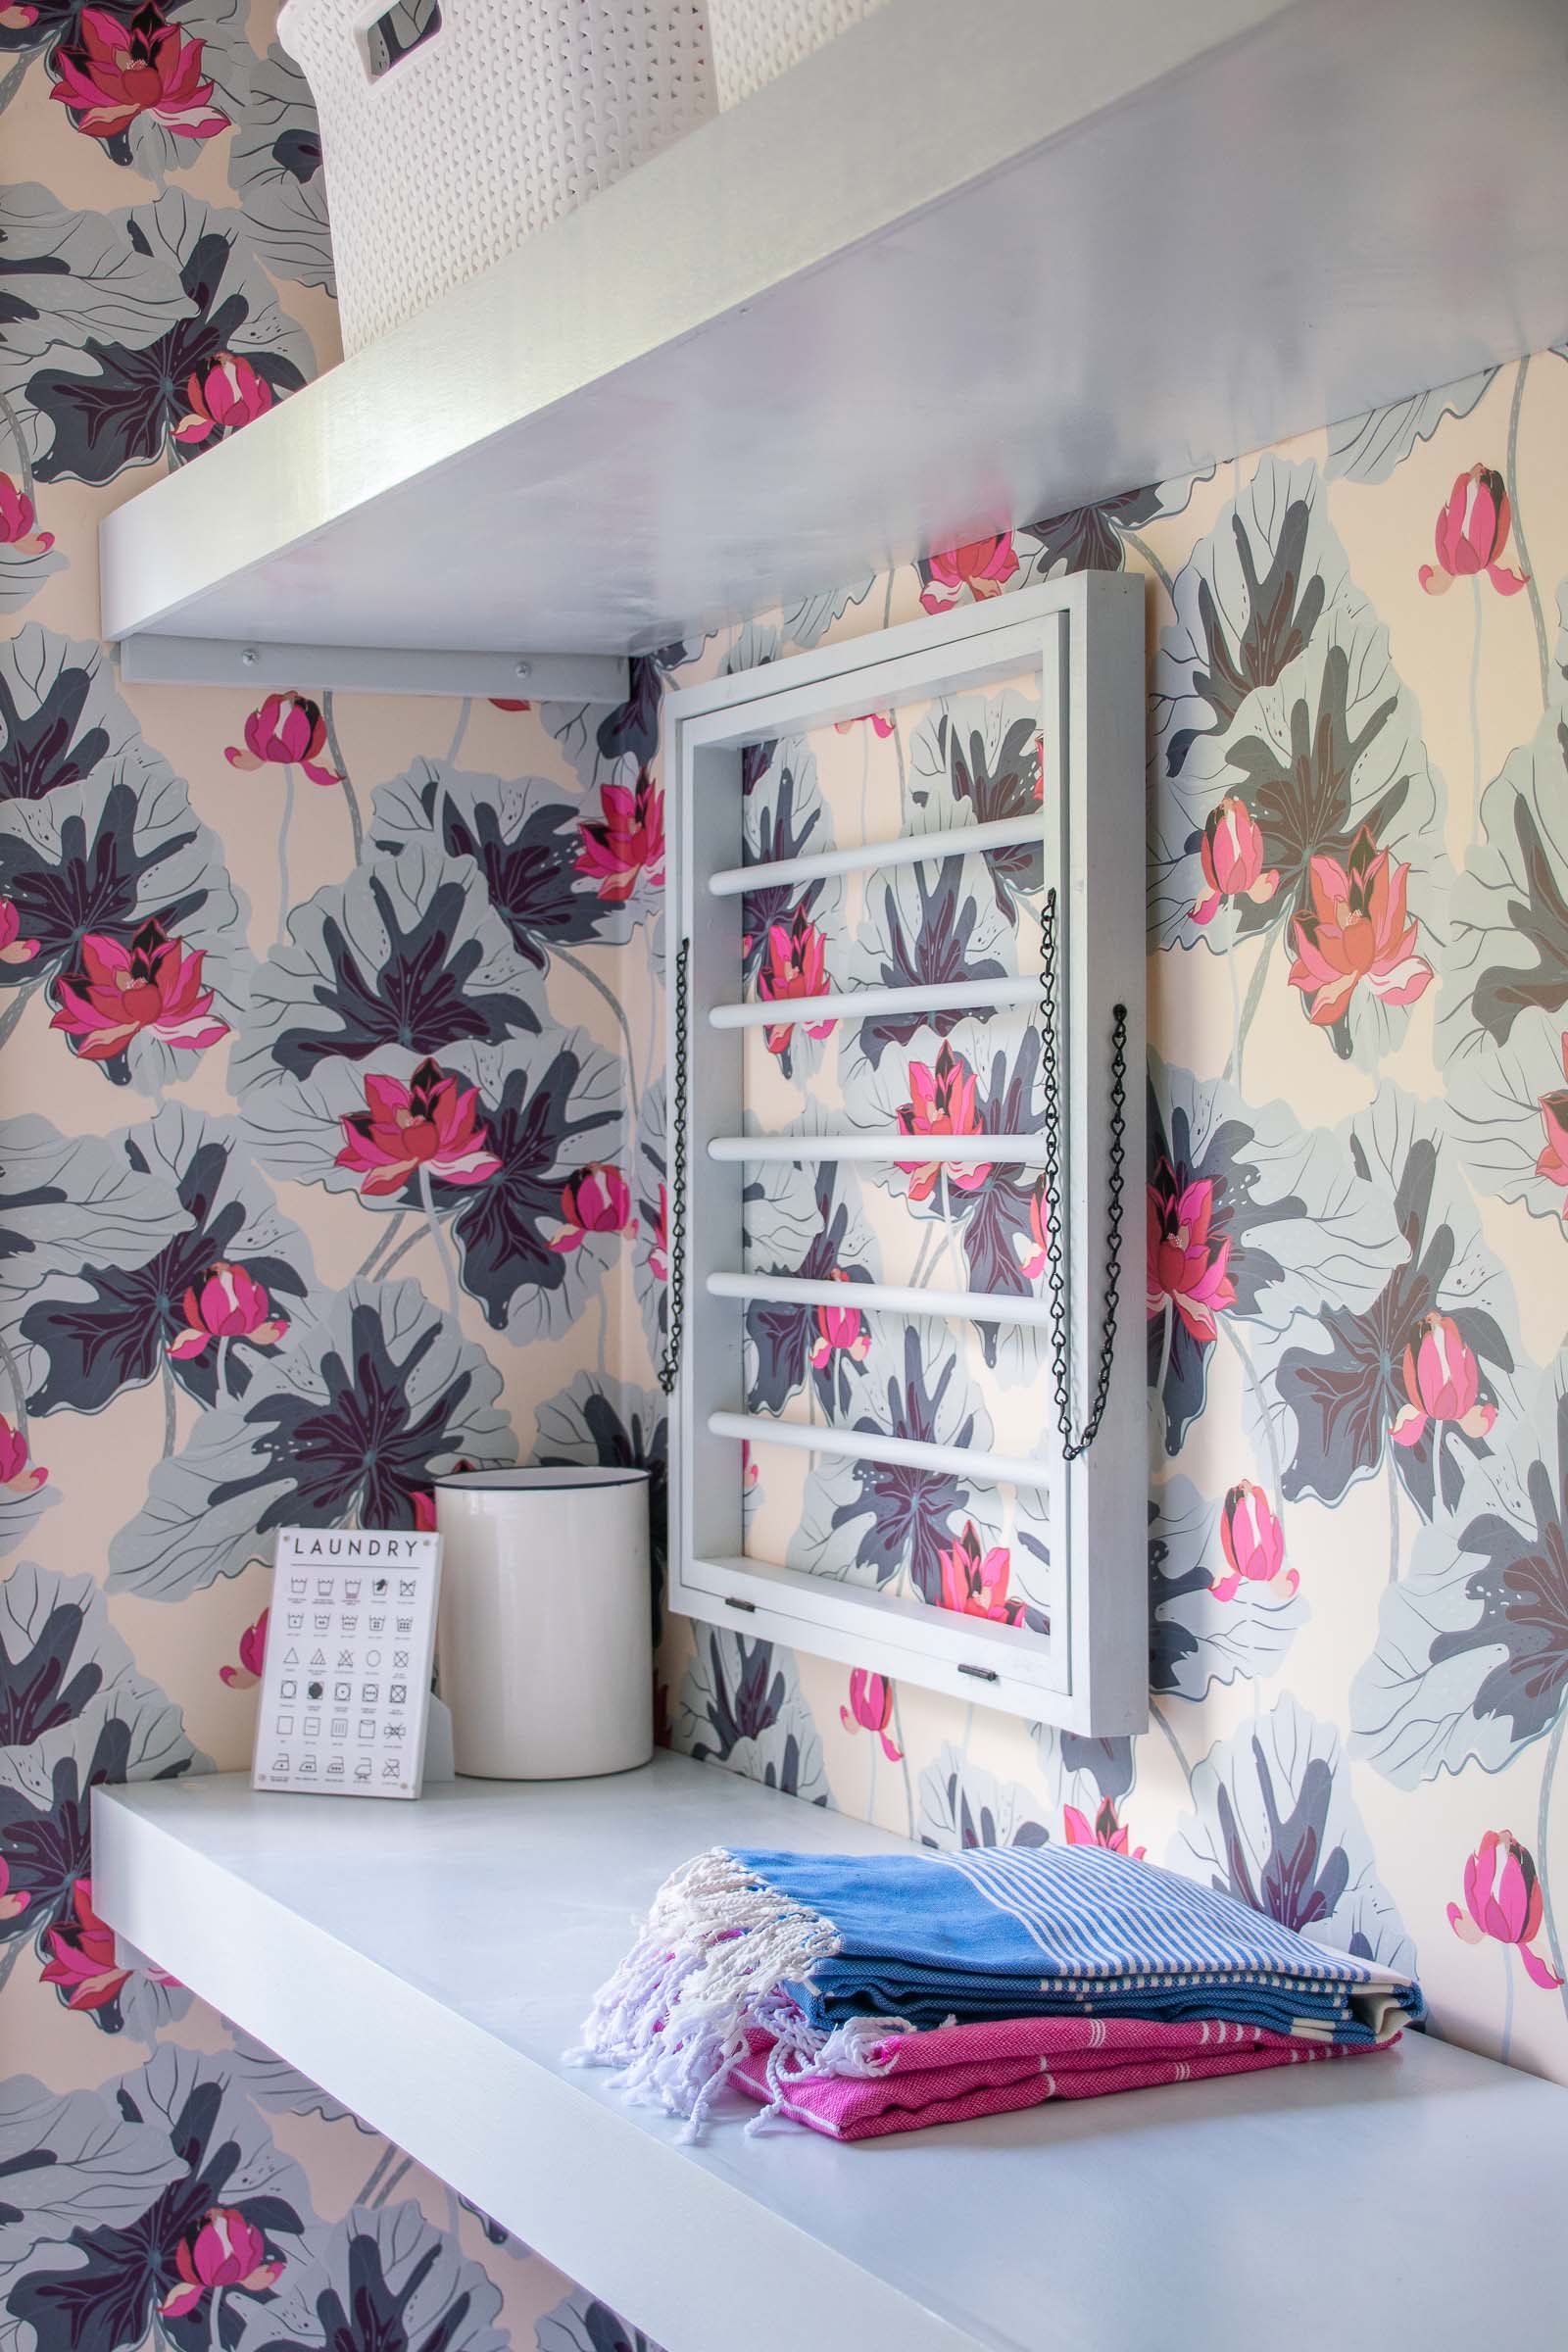
I’m hopeful that the dowels will stay straight because I’ve painted them, but I used common pine so it does have the tendency to warp when wet *if left untreated/ unpainted*. My inside rack stays in place without any sort of lock, but a small eye hook or a little dowel that might twist to hold the rack in place could work.
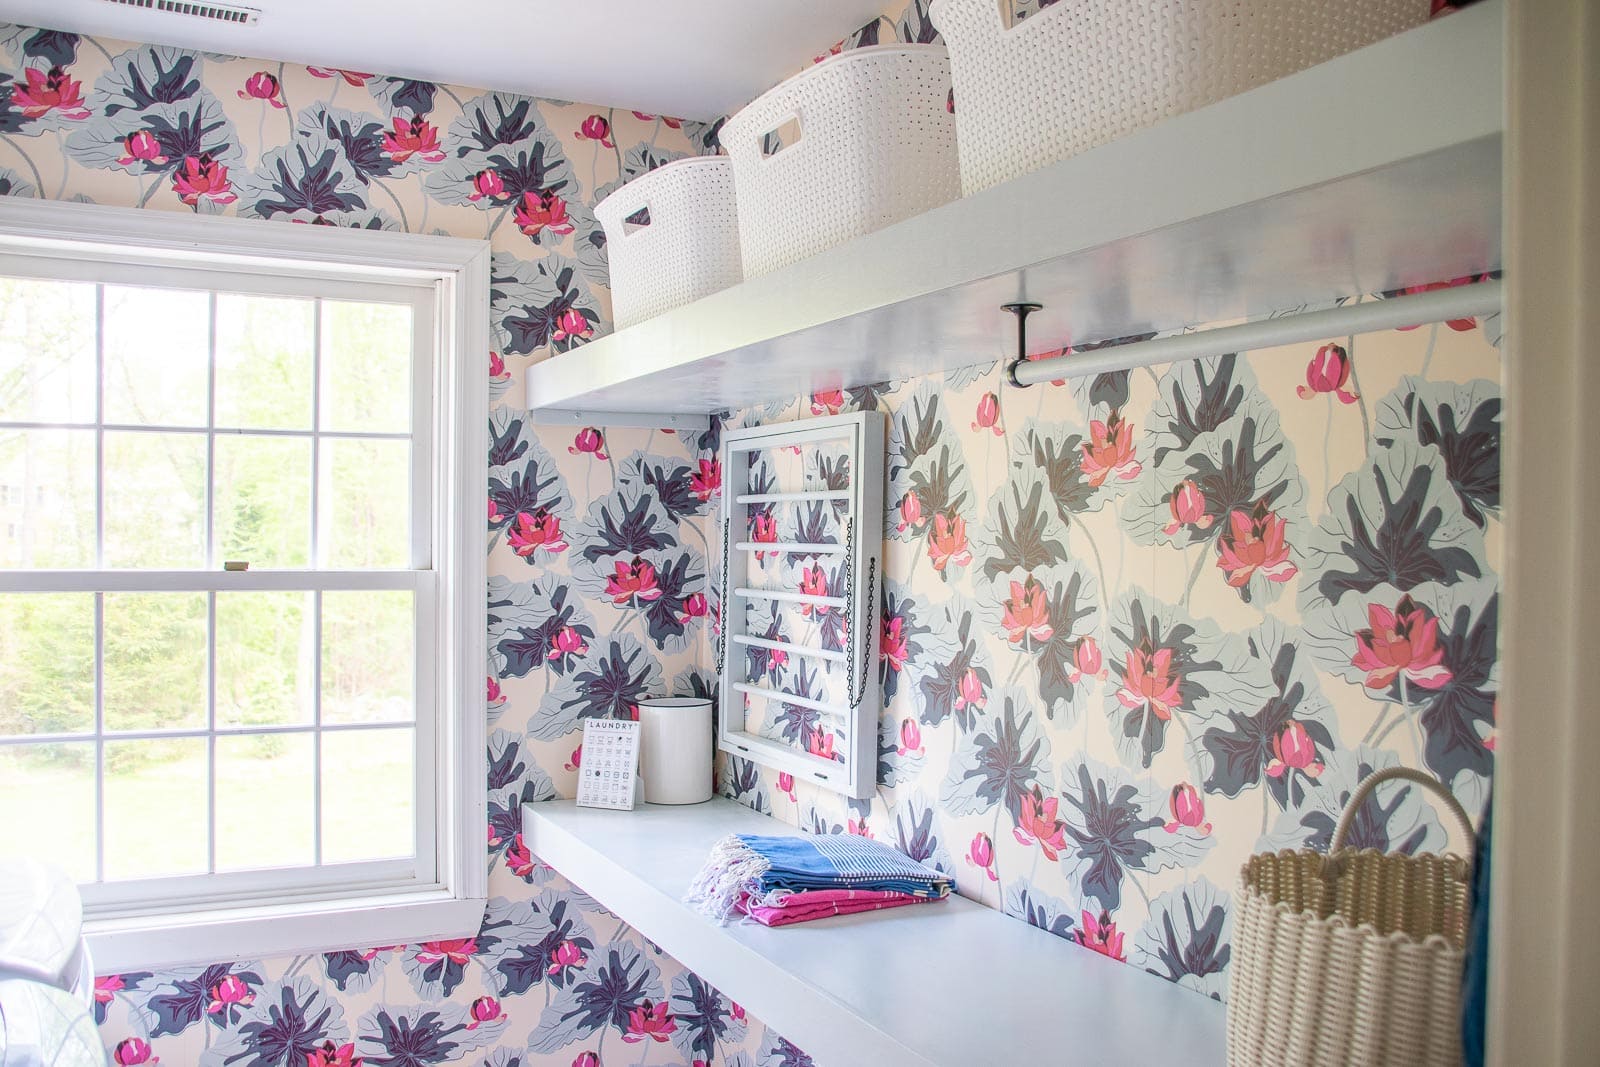
Click here for the full laundry room reveal.


I love love love your foyer! What is the name of the delightful wallpaper?
Hi there! I linked to all my sources on that post… head there to see!
https://atcharlotteshouse.com/foyer-reveal-eclectic-wallpaper-and-colorful-details/