
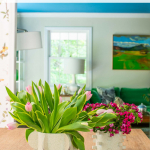
How to Make a Mod Geometric Vase
Psssst… this post *might* contain affiliate links: see my disclosure here.
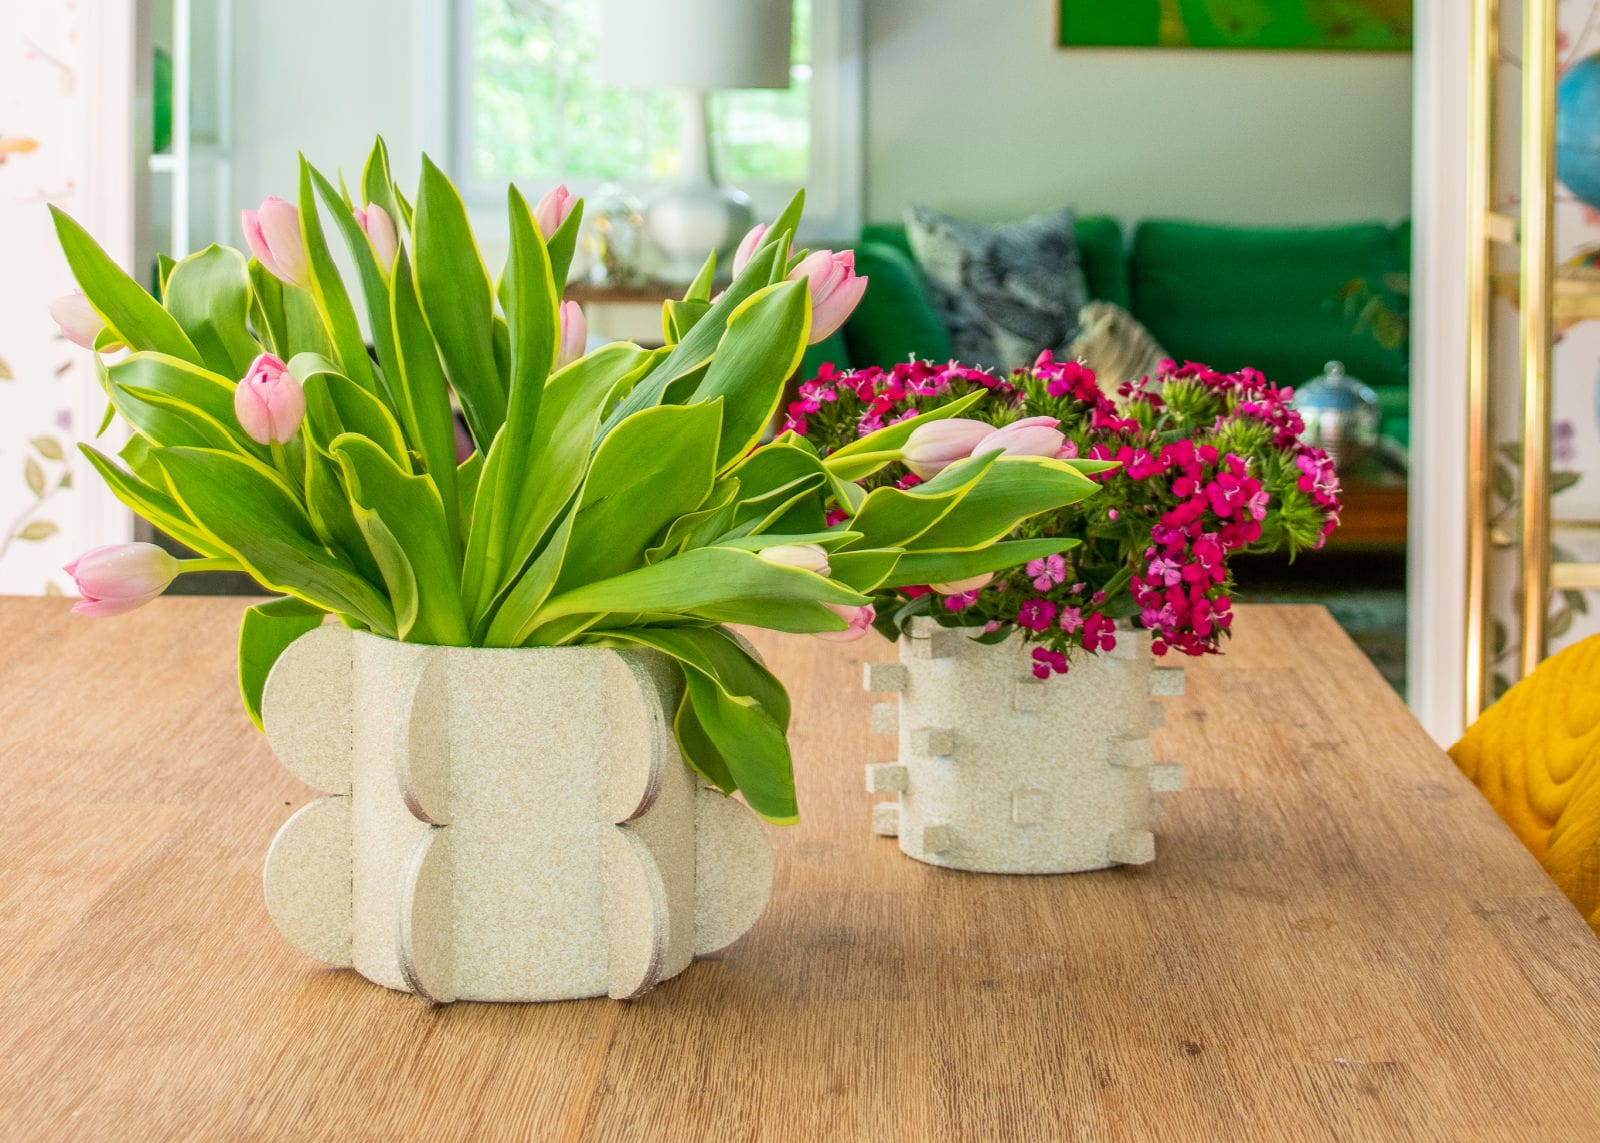
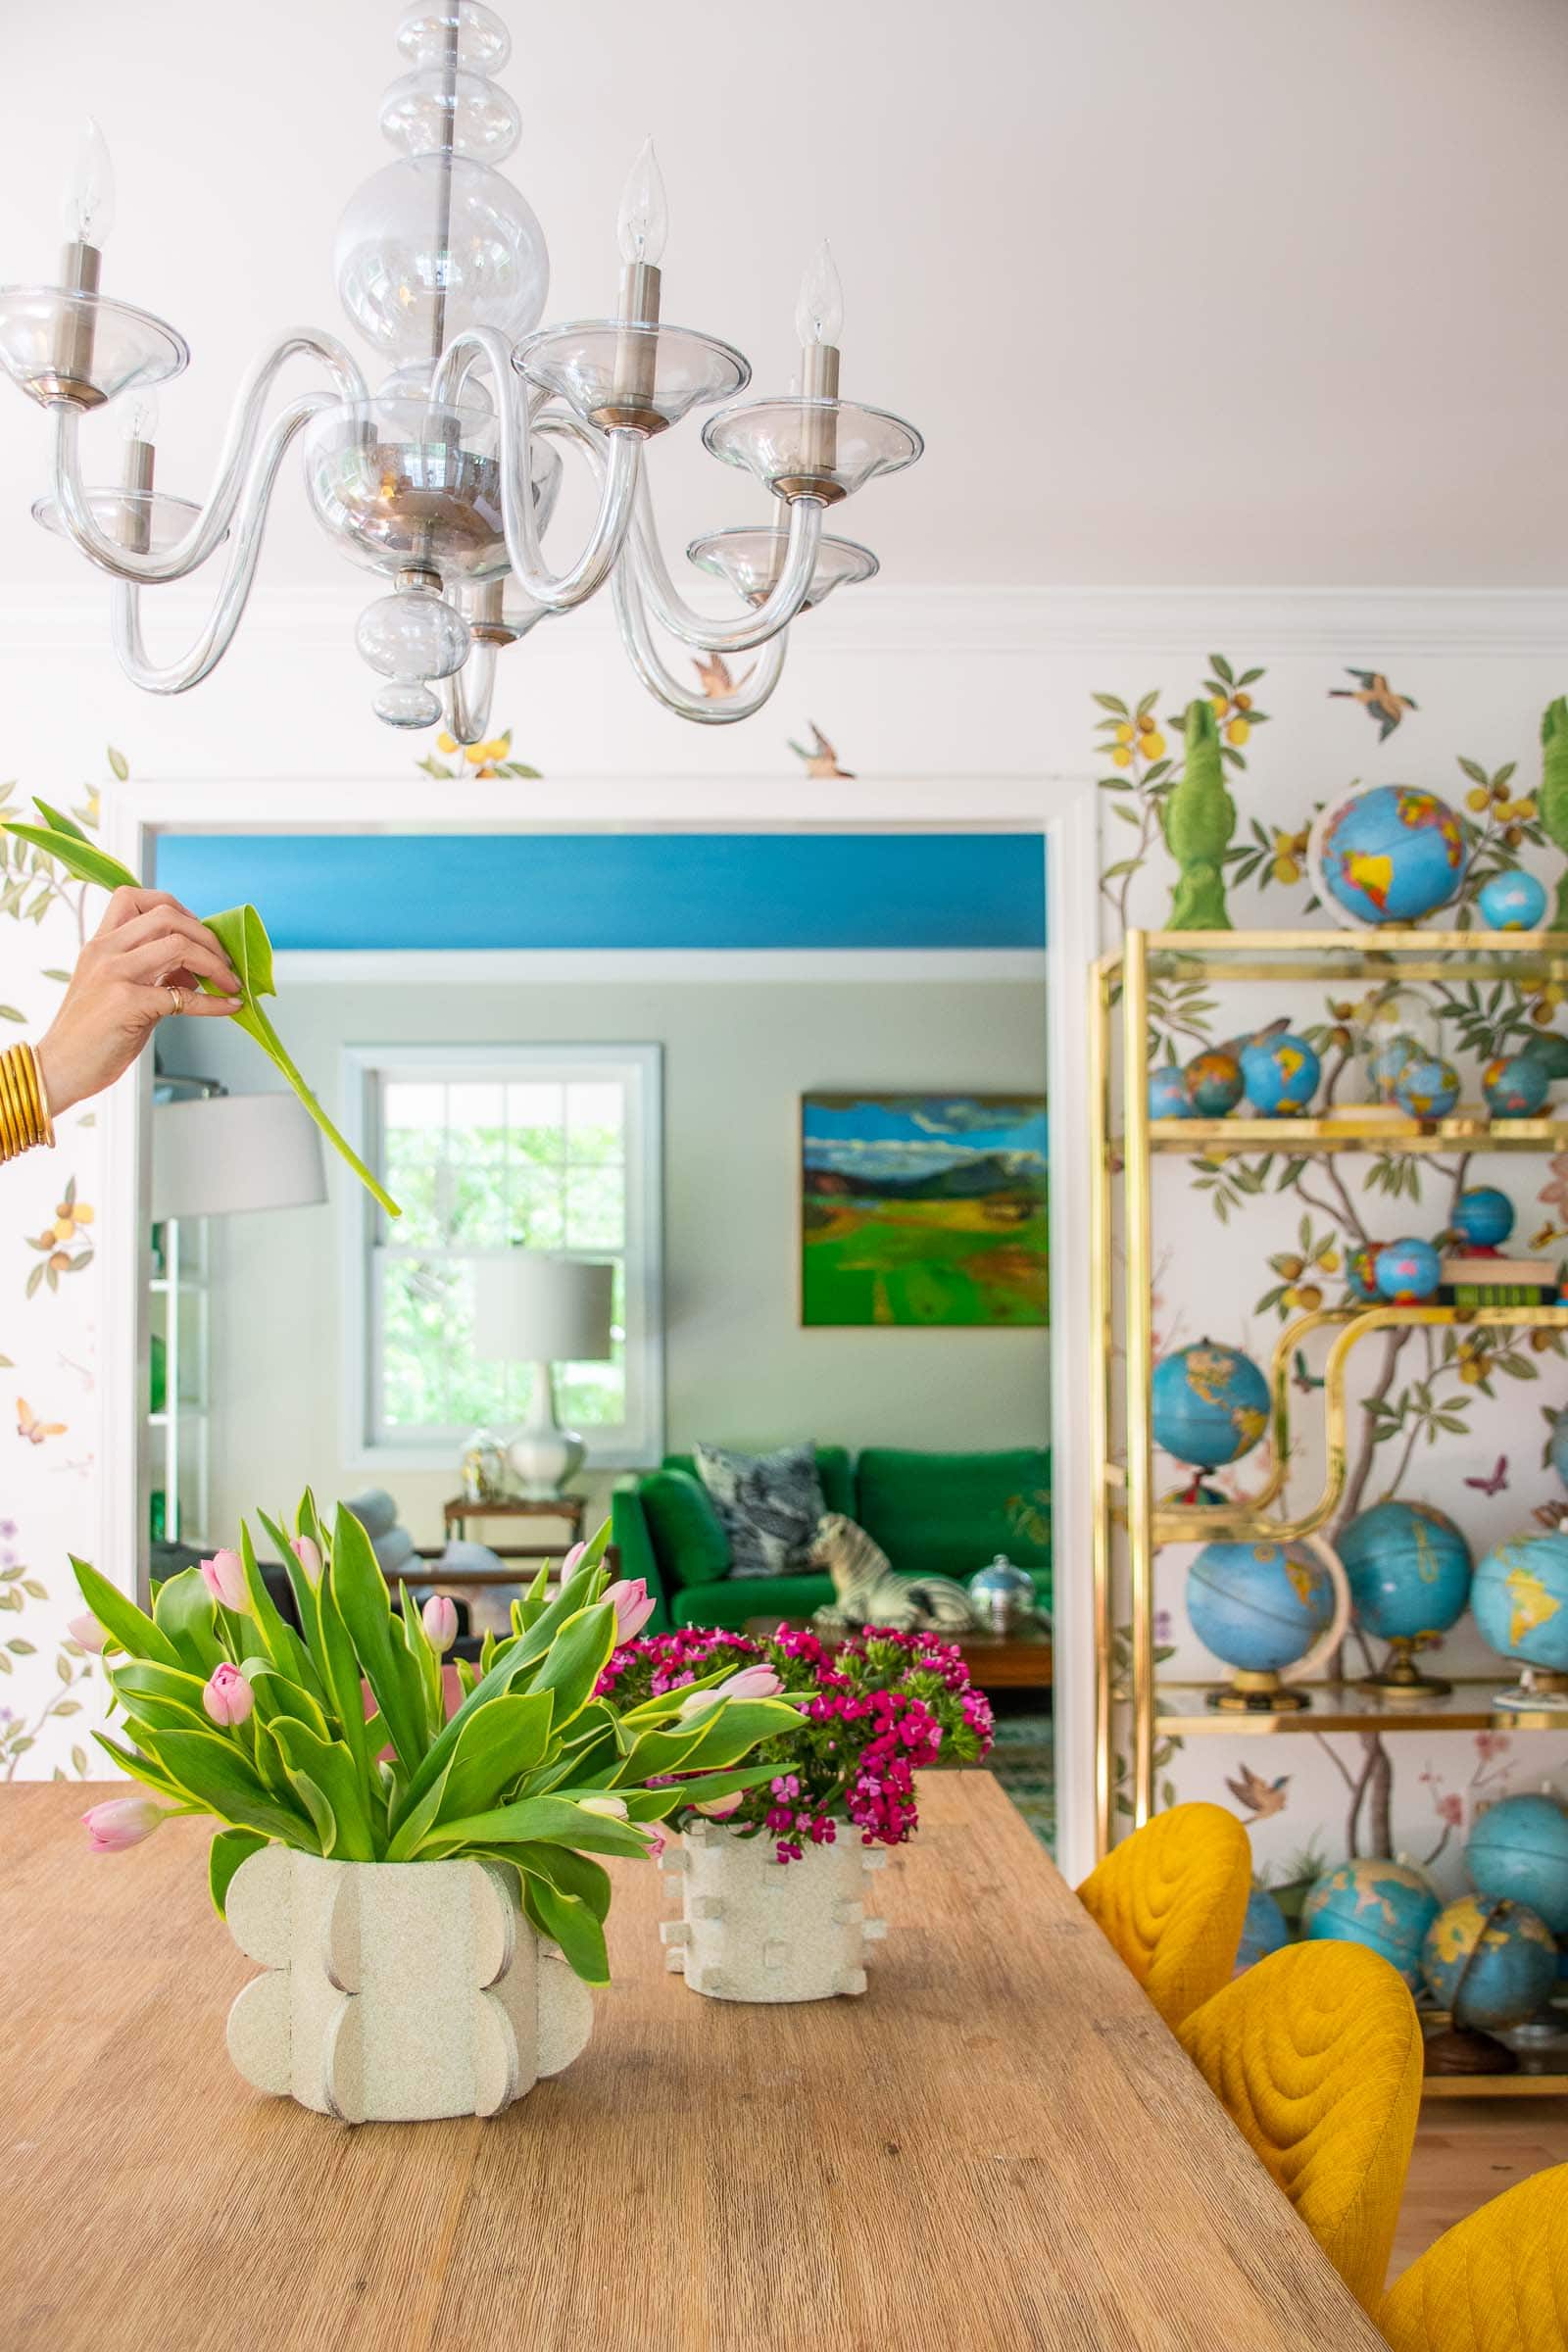
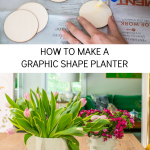
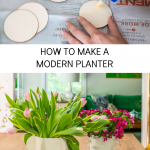
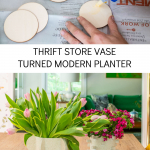
DIY Thrift Store Vase Gets a Geometric Glow Up
I took a basic glass vase and some wood shapes and gave it a simple but mod makeover.
I know I’m a broken record on here sometimes, but my favorite type of project is the one where I find something SO basic, like a $1 thrift store glass vase, and turn it into something much more fun and interesting. I don’t necessarily expect you to go off an make the identical vase to this, but I do hope you will see how I made it and consider how you might use the same principles to make something that suits your style!
Shop my favorites!
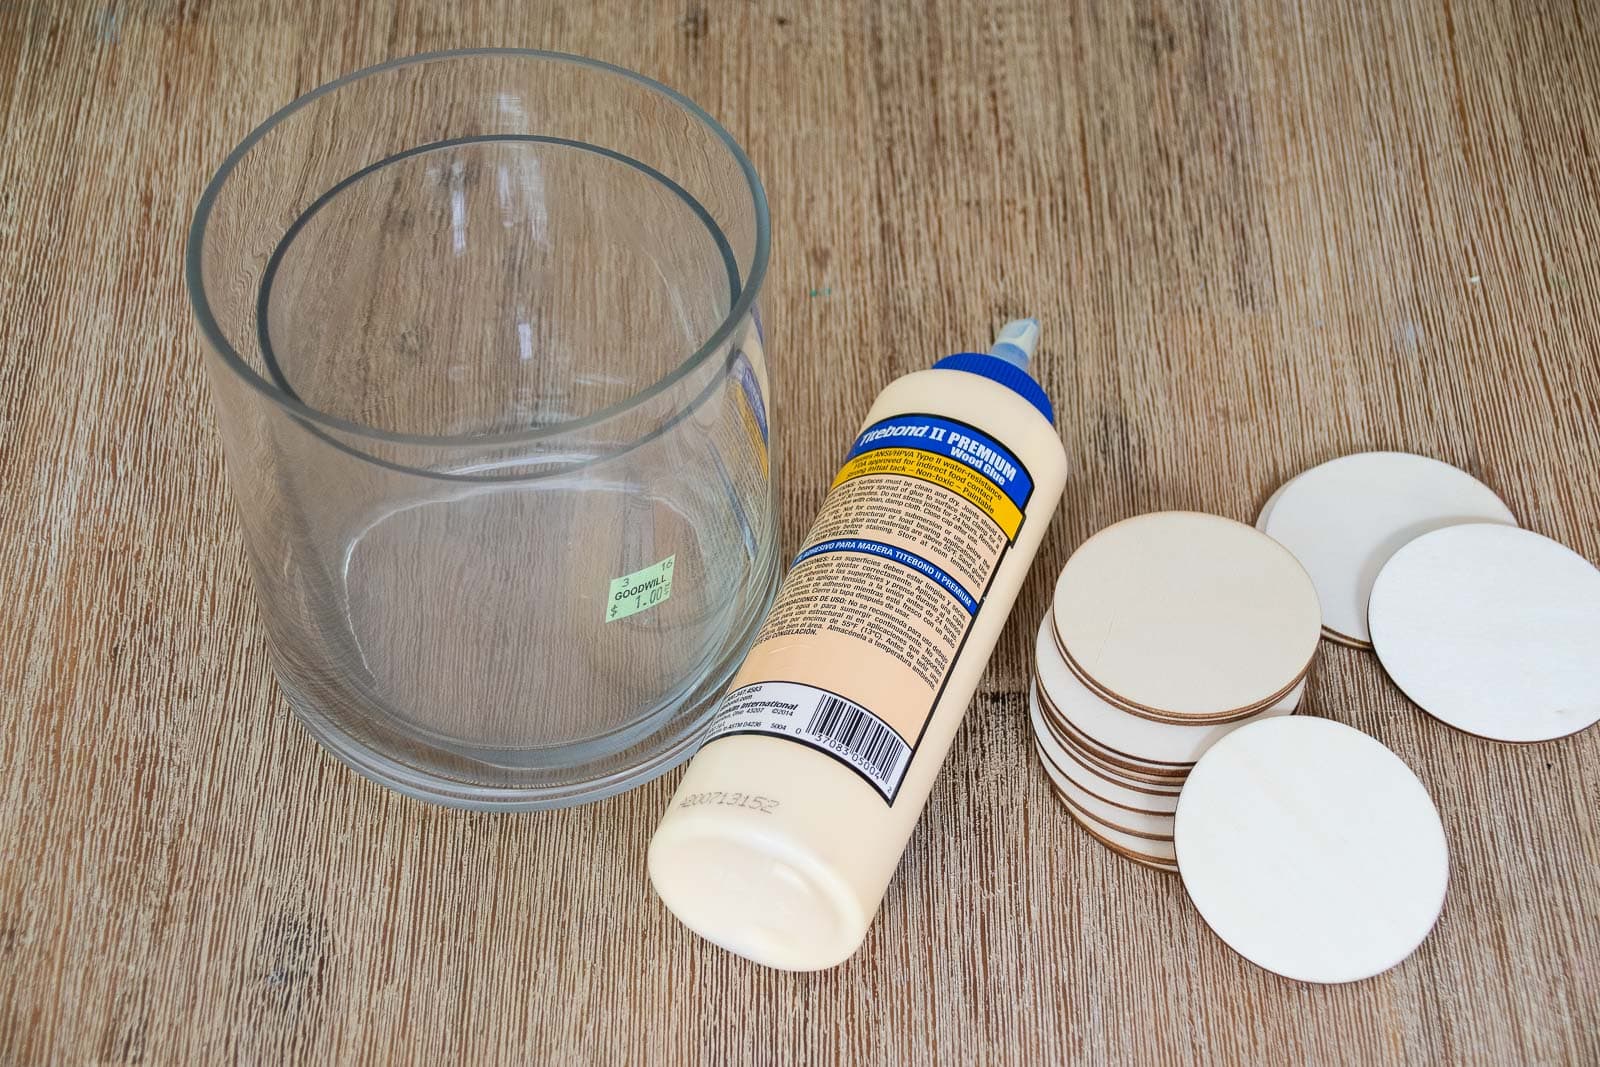
Materials
- Simple Glass Vases
- Wooden Circles
- Miter Saw*
- *If you don’t have a saw, you can spend a bit more and get these ready cut semi circles!)
- Wood Glue
- Super Glue
- Hot Glue
- Square dowel
- Spray Primer
- Stone Spray Paint
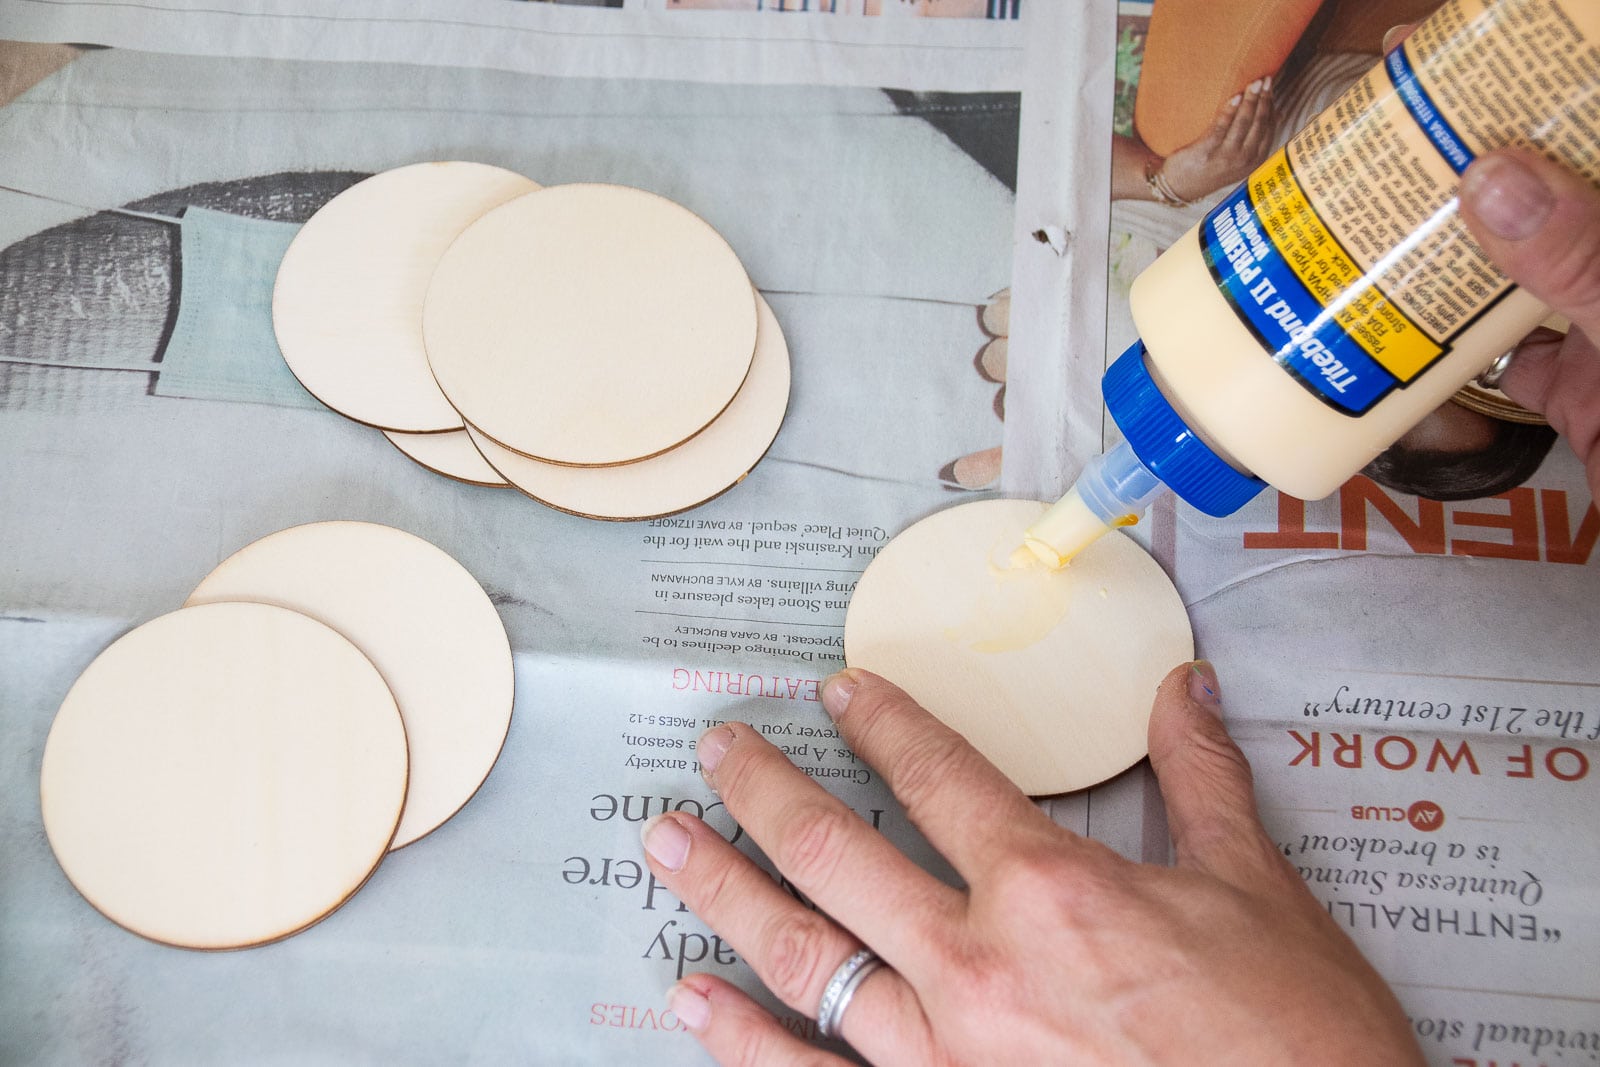
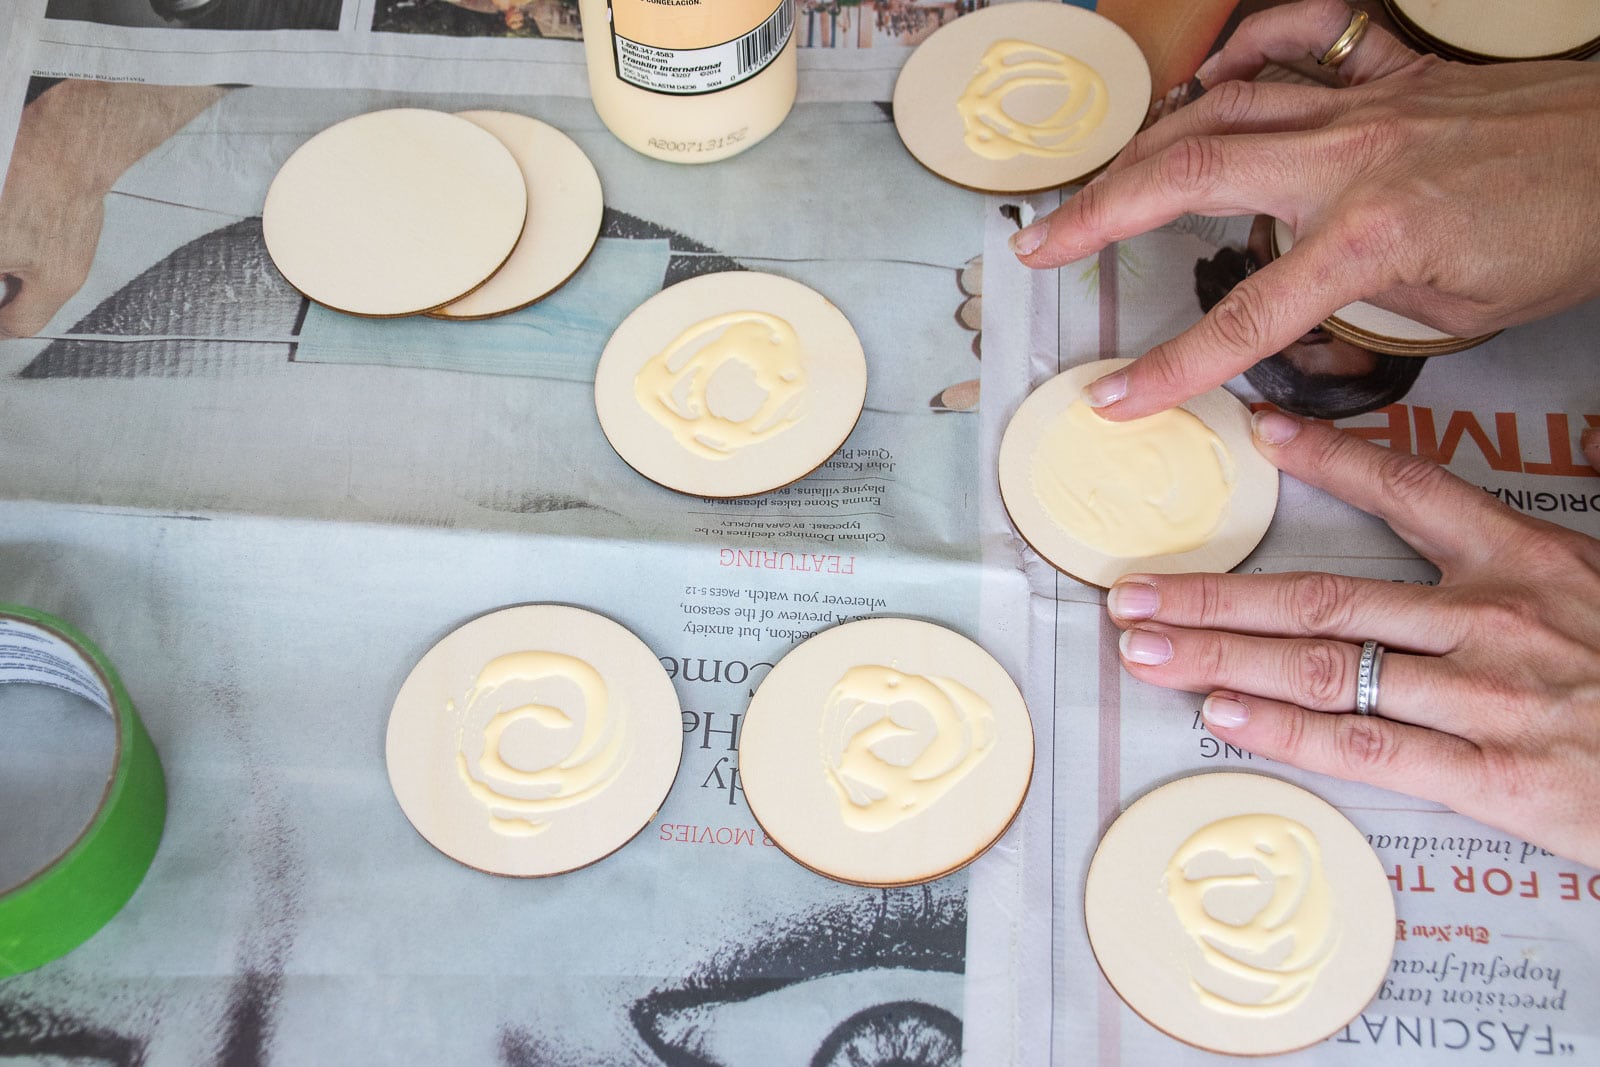
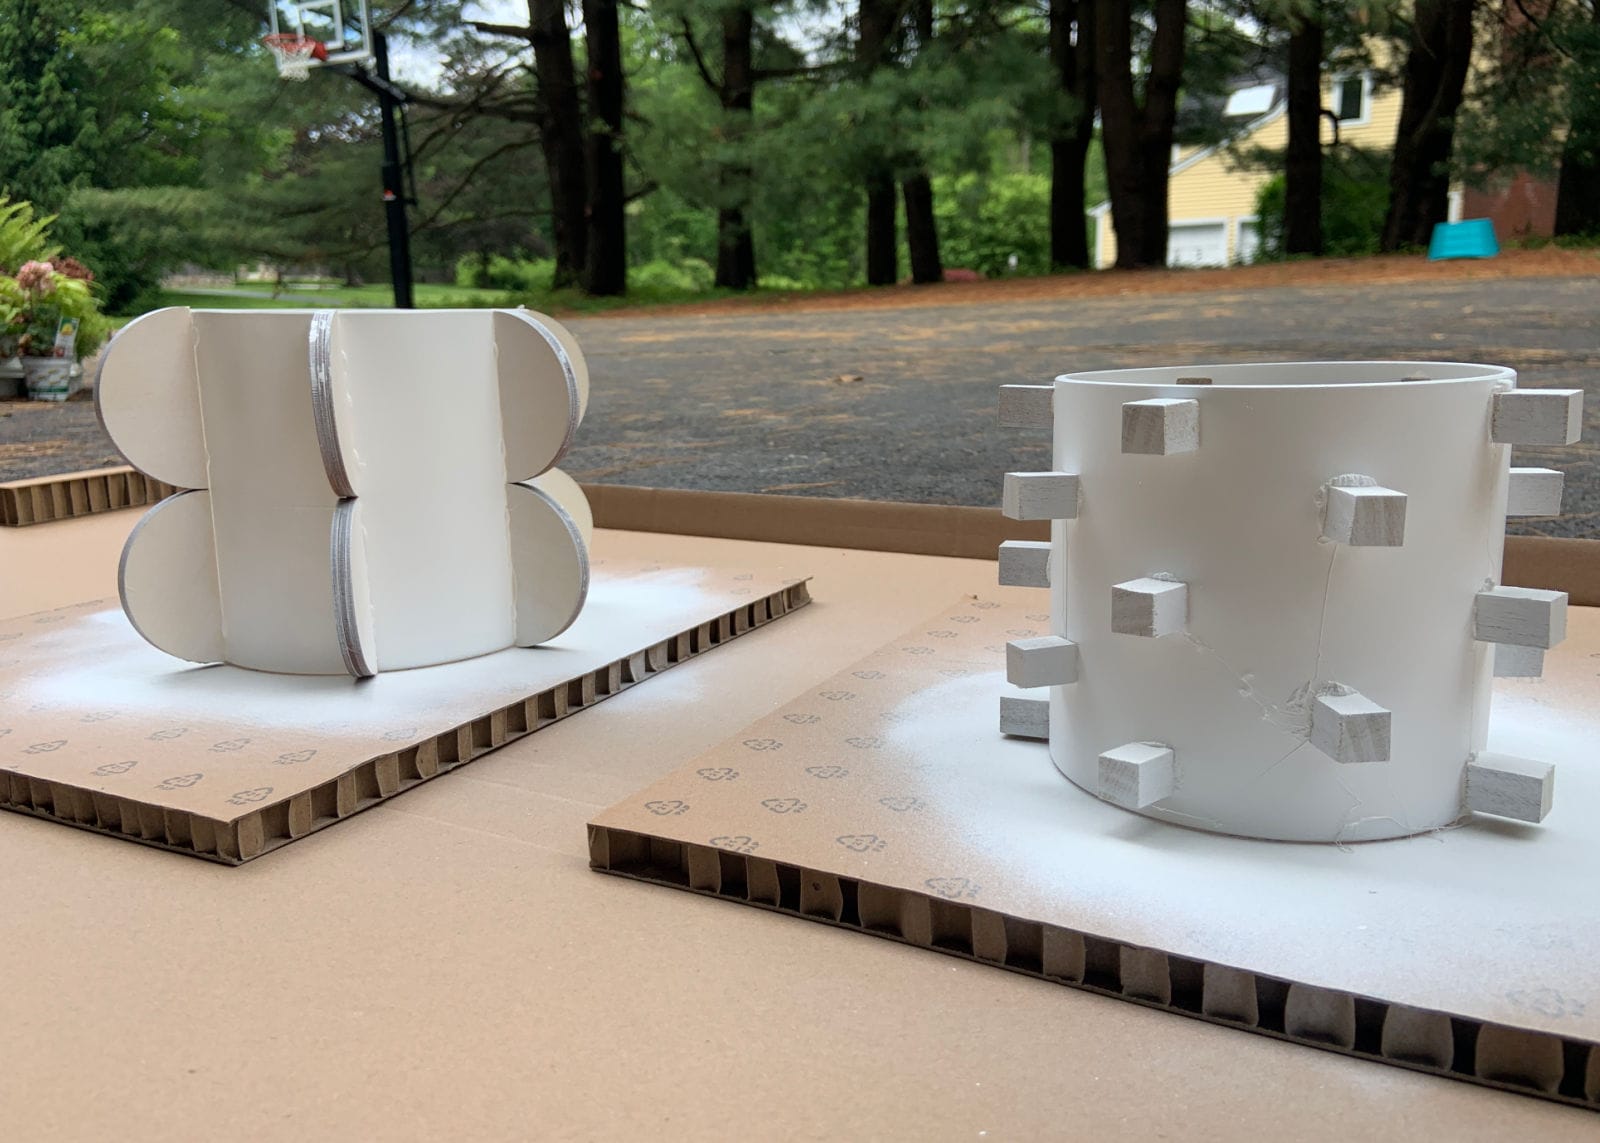
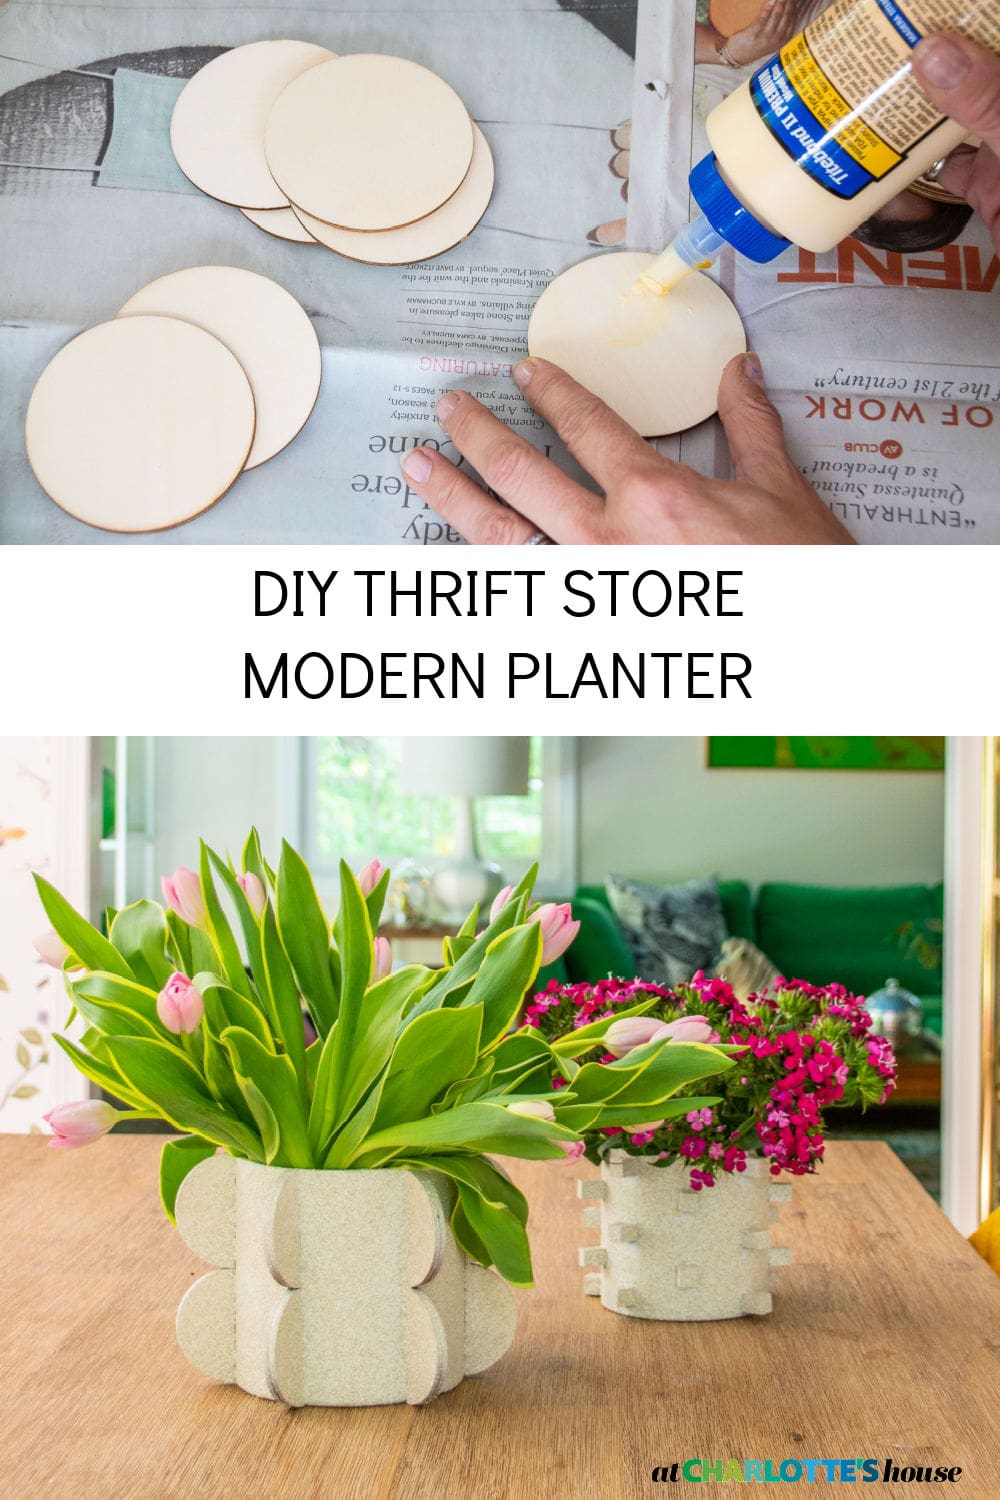
Step 1. Prep the Circles
The wooden circles I bought felt a little thin and dinky so I wanted to bulk them up a bit. I used wood glue to glue three of them together. Wood glue is pretty thick so it naturally held the circles together pretty tightly but I clamped them all in place just to be safe while they were drying. Be careful to wipe away any glue that might squeeze out.
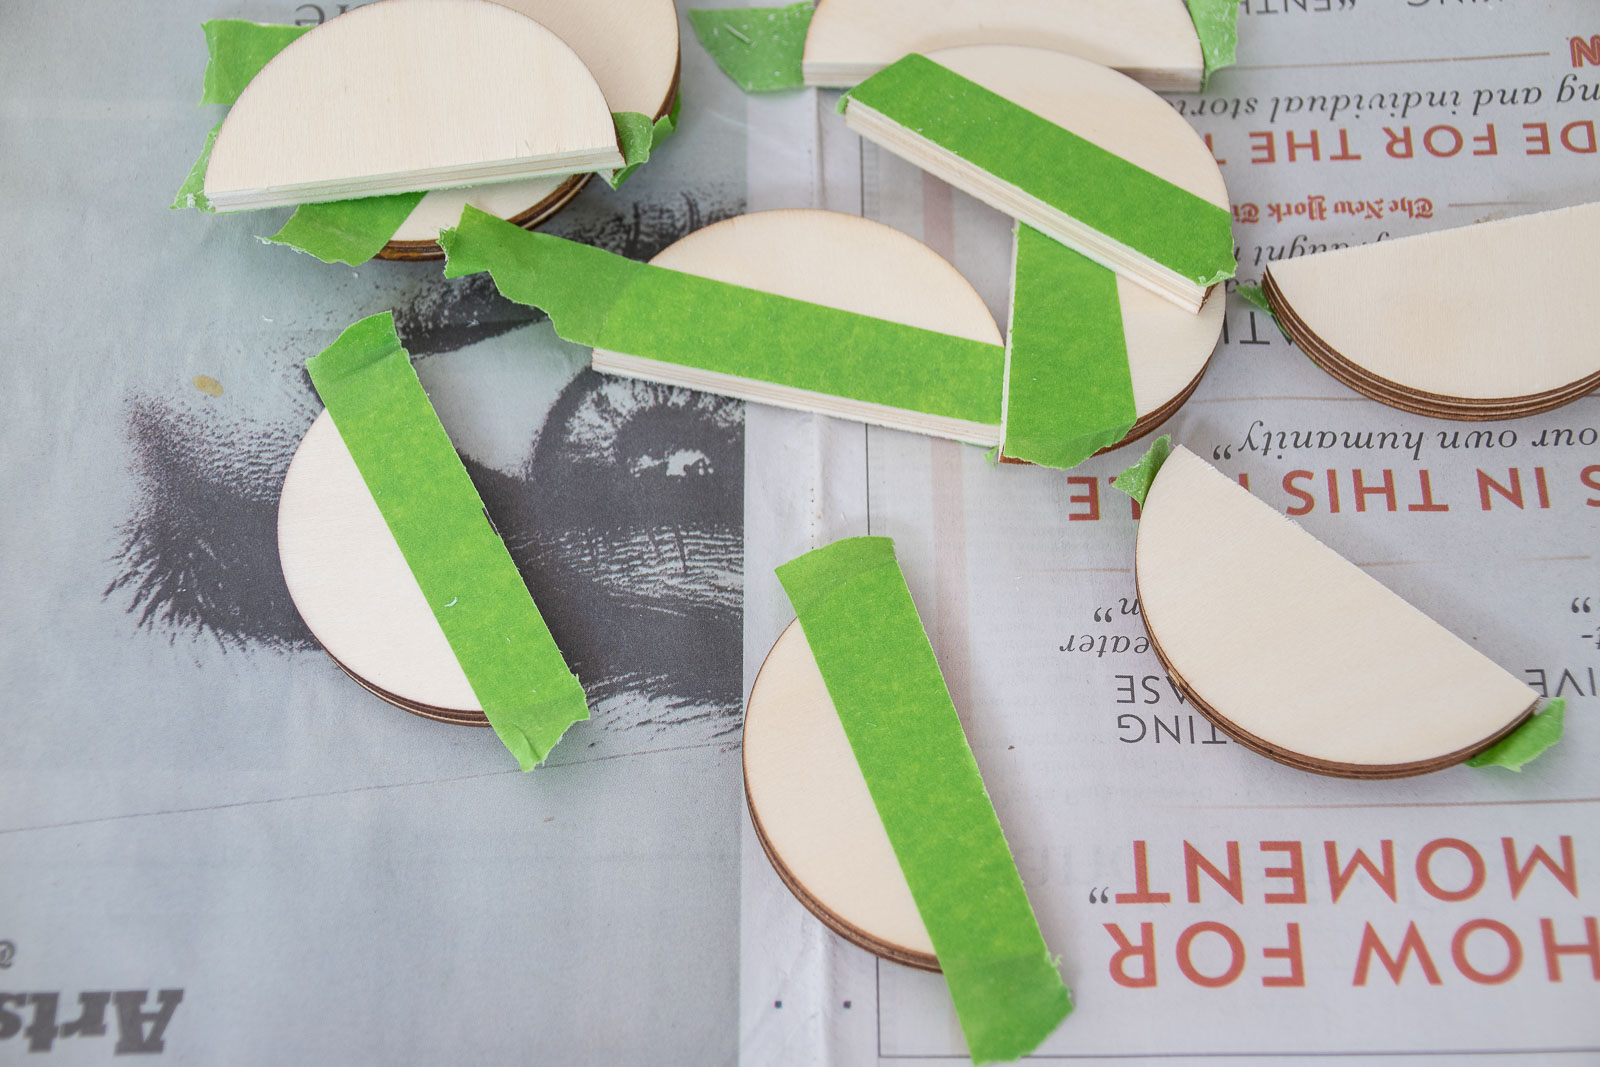
Step 2. Cut the Circles in Half
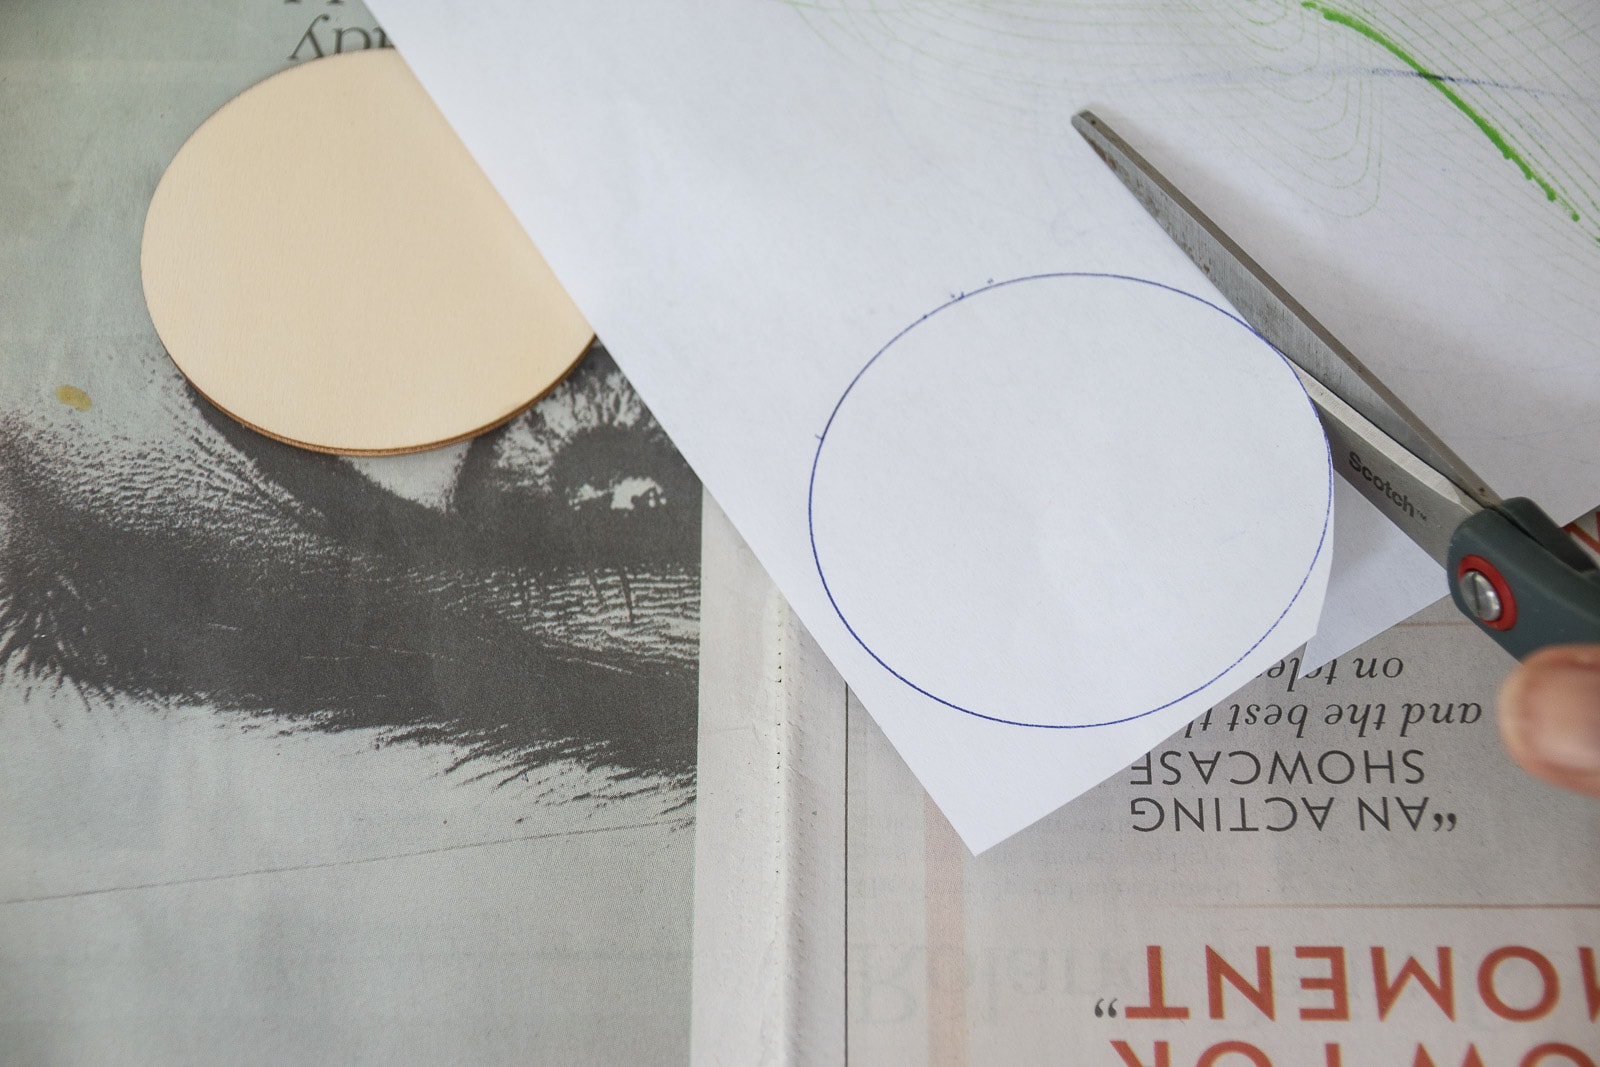
I mentioned in my materials list above, but you need a miter saw (or other type of saw) for this. If you don’t have one, they sell wooden semi-circles (linked above), but they’re a little more expensive. I traced my wooden circle onto a piece of paper, cut out the paper, and then folded that in half to mark the center point of each circle. I’m sure there’s a mathy way to figure this out, but tracing/ cutting/ folding the paper works just as well for me!
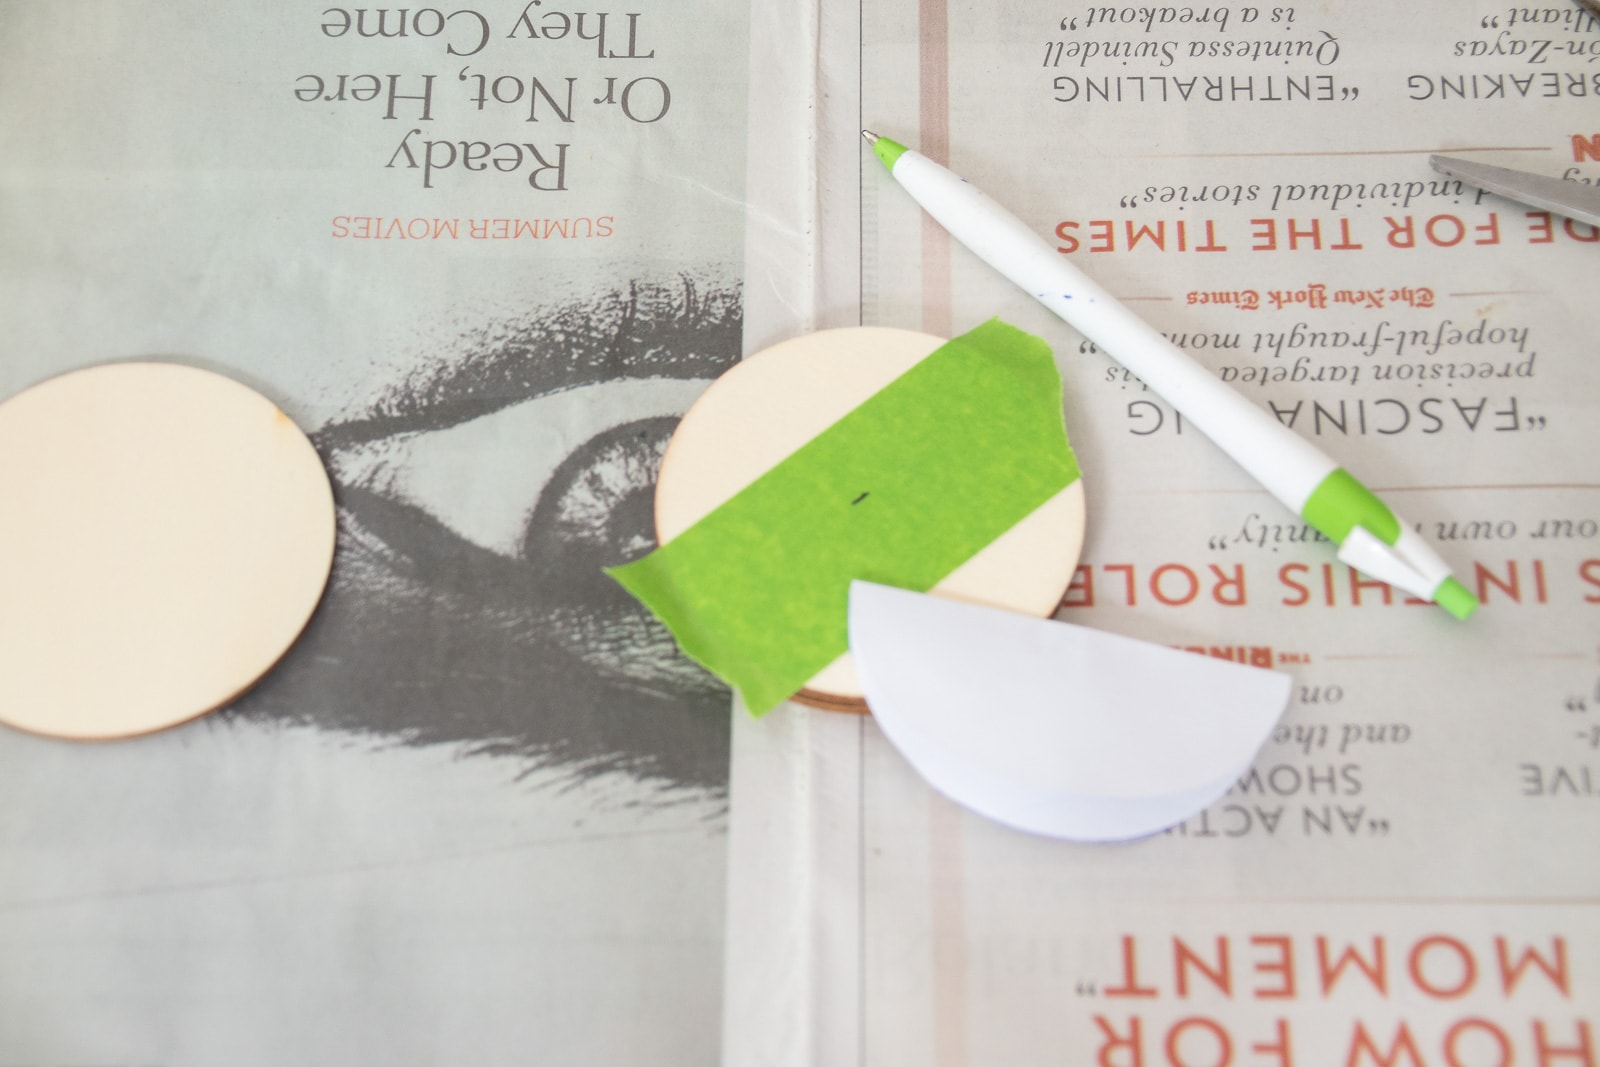
I added a strip of painters tape across each circle to help with tear out from the saw and then marked the center point with a pencil. I used this mark to cut each circle into a semi circle on my miter saw.
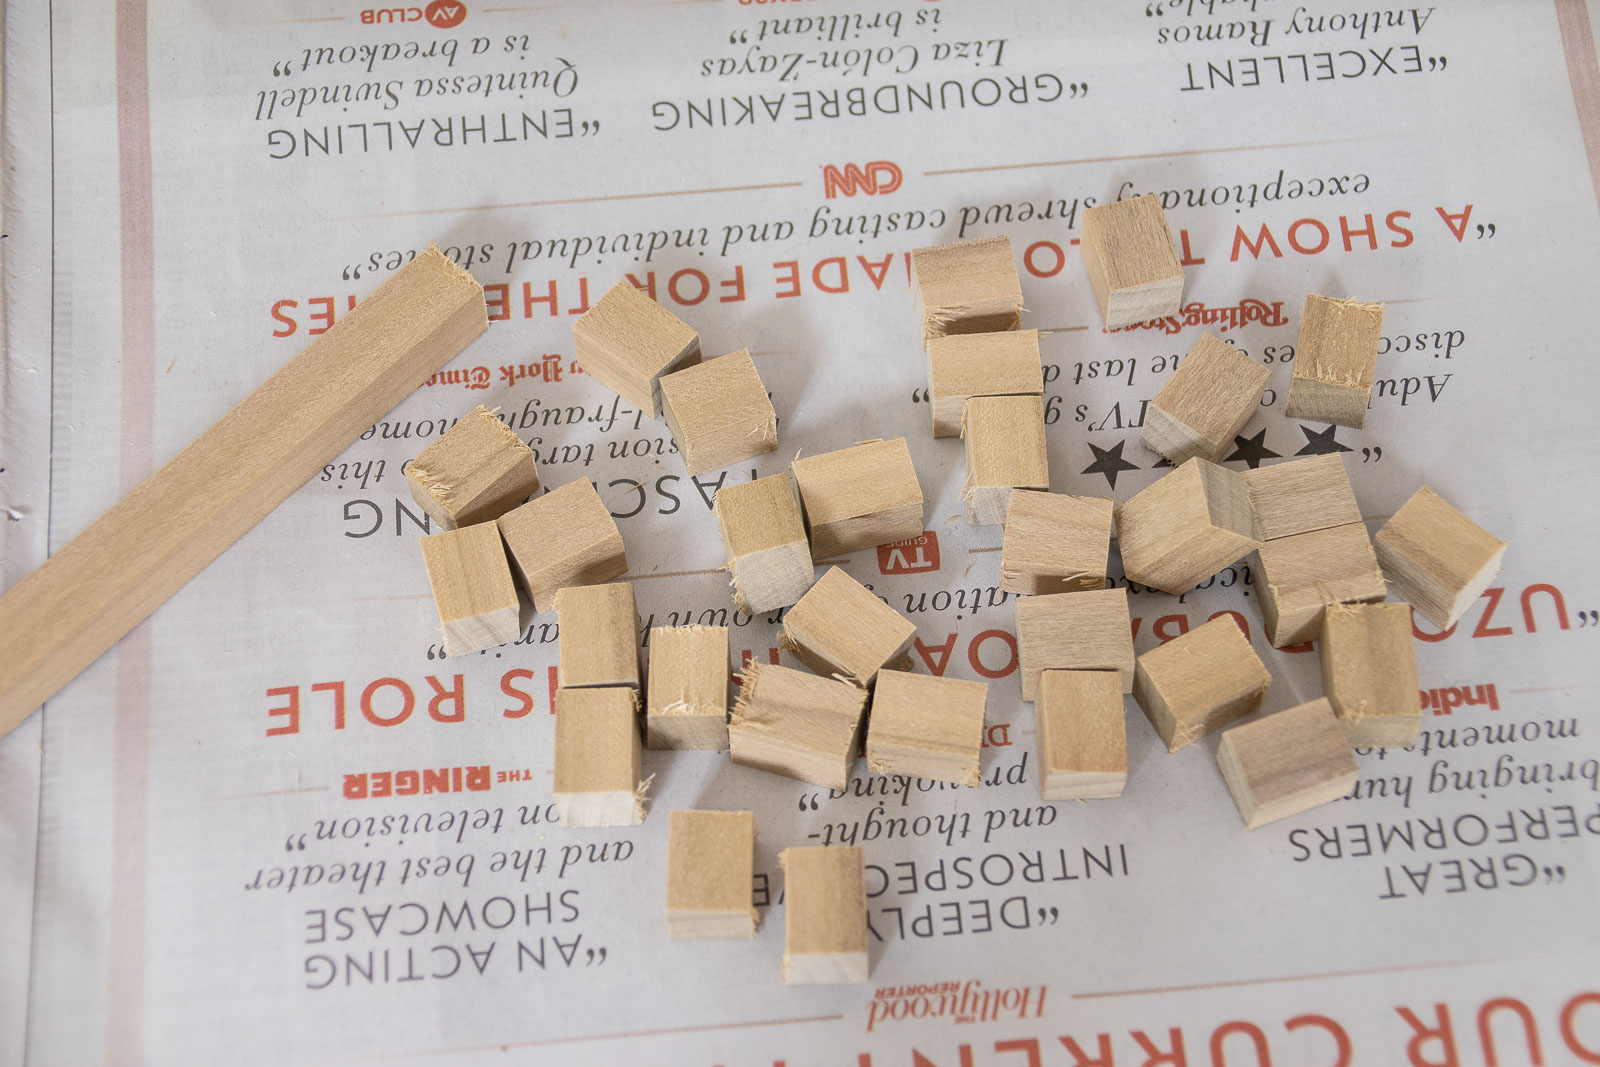
Step 3. Cut the dowels
I also used my miter saw to cut the square dowels into smaller pieces. Cutting small pieces like this is tricky on a miter saw as they can go flying from the momentum of the blade, so a hand saw is definitely another viable option.
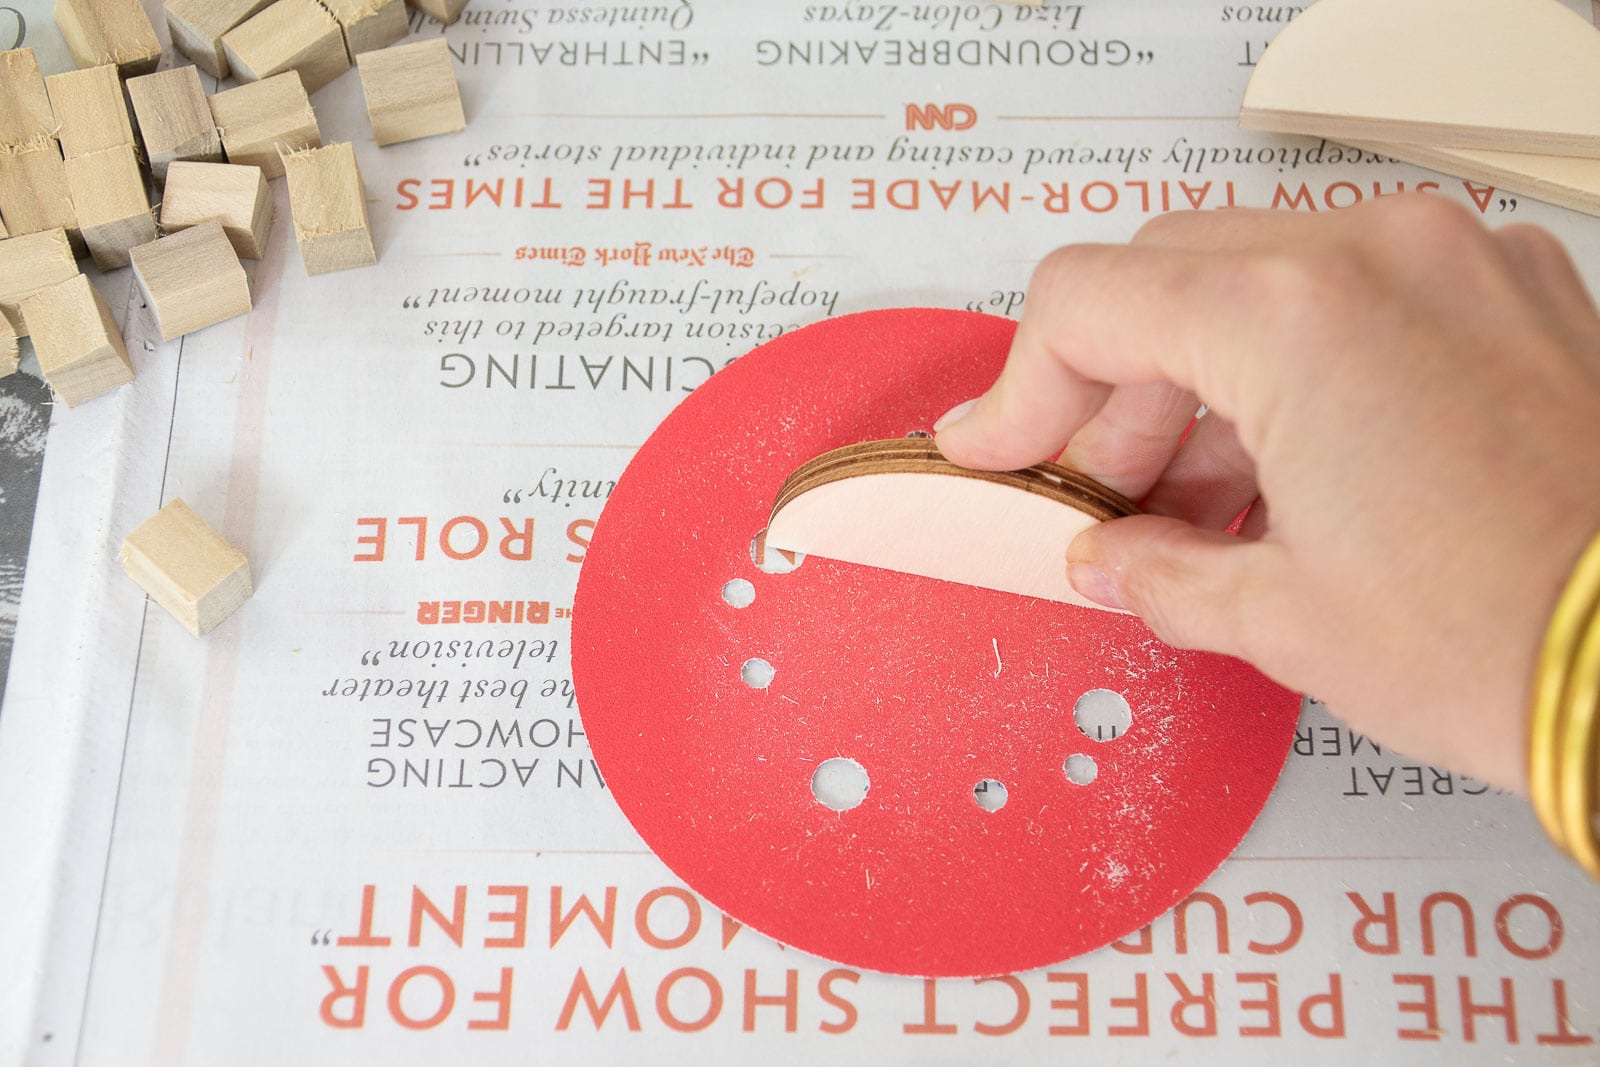
Step 4. Sand
Sand all the wood pieces to get rid of any rough edges and tear out.
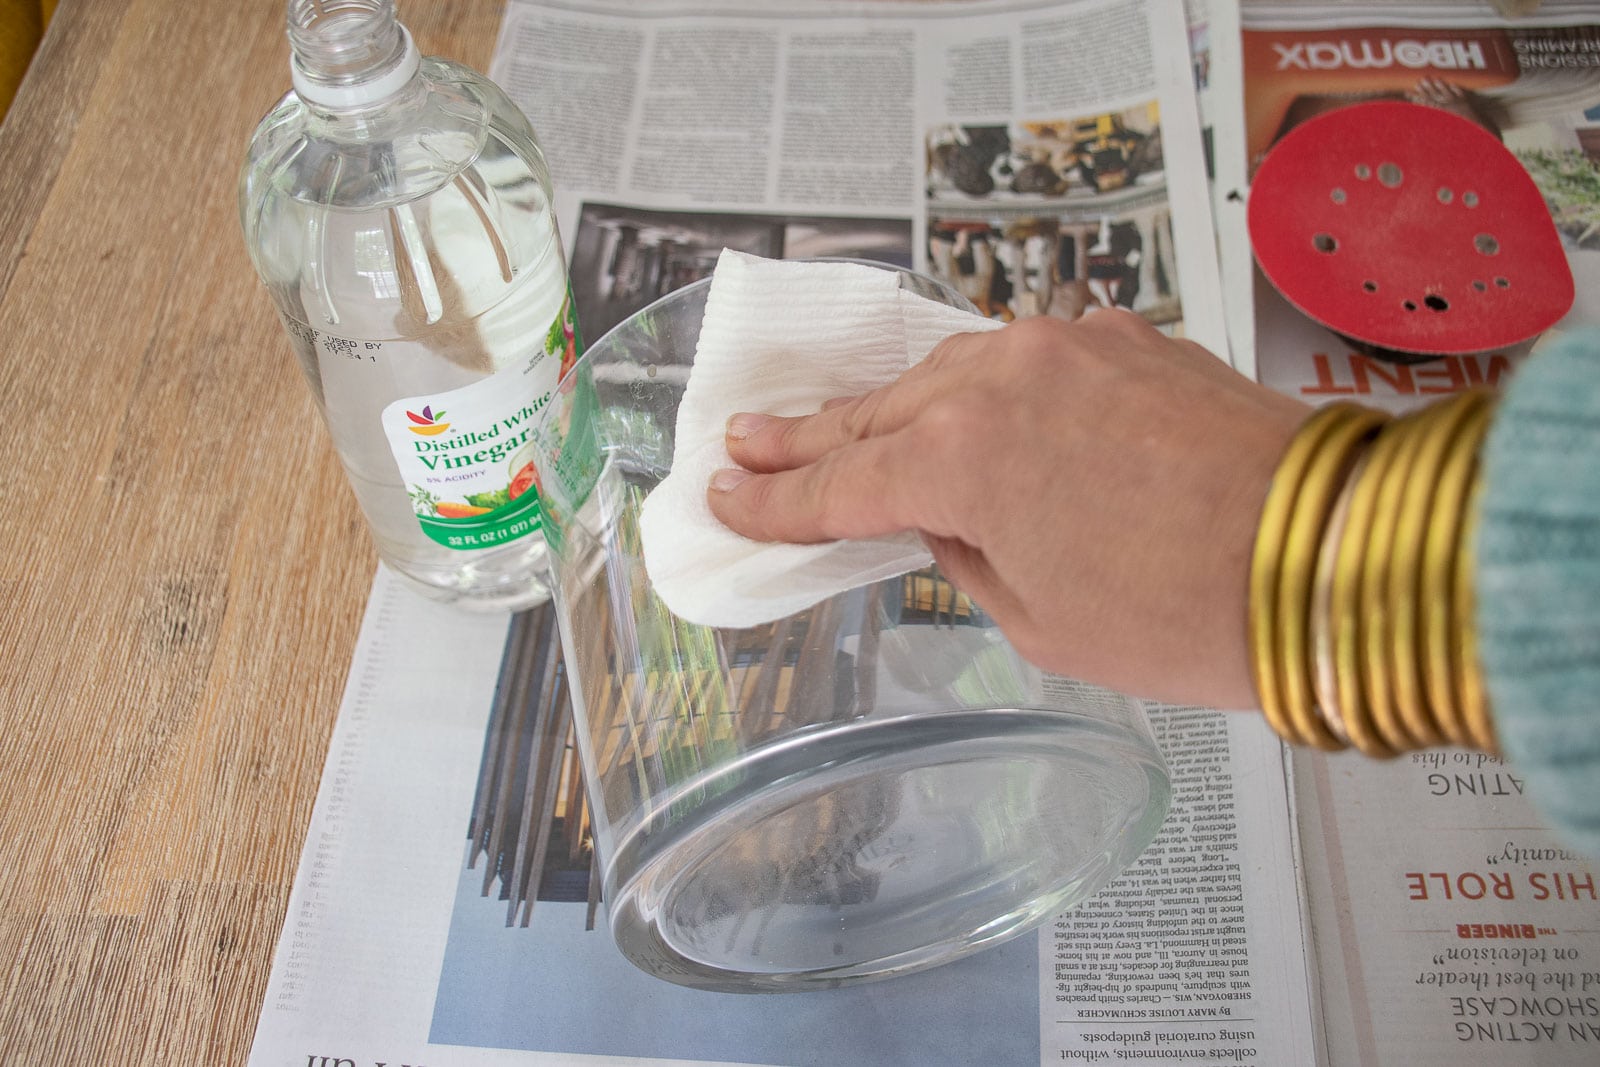
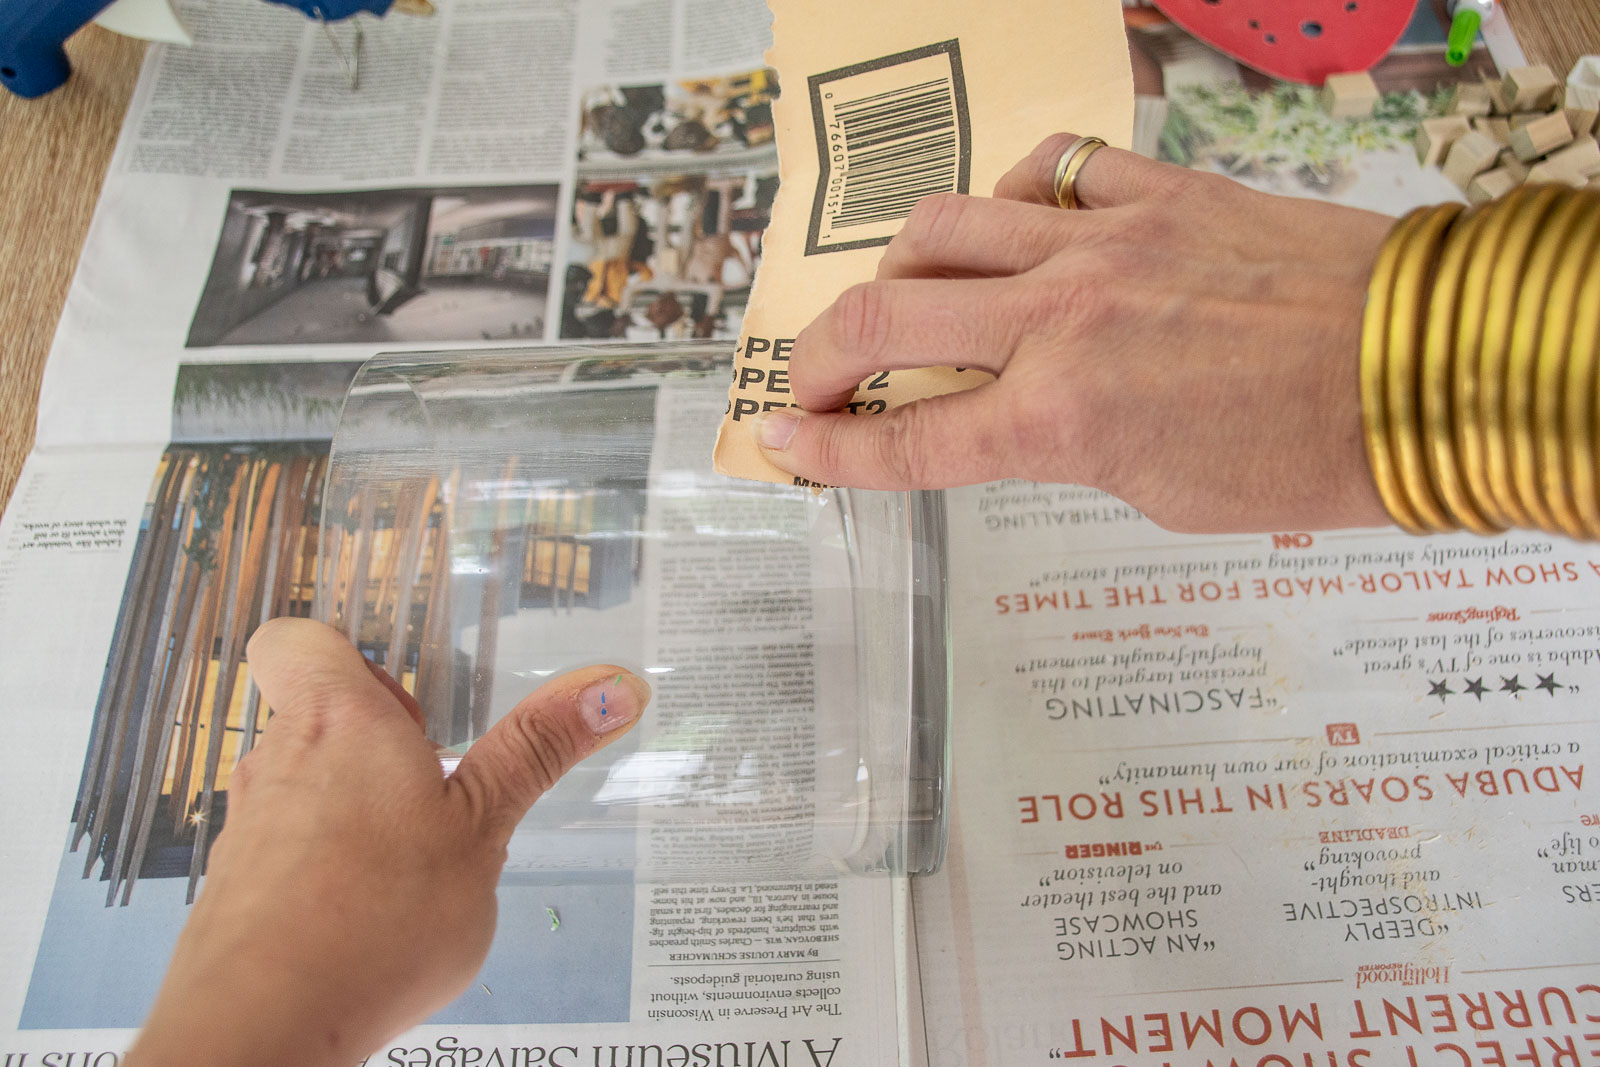
Step 5. Prepare the Vase
I wiped down each vase with good ol’ plain white vinegar and used a low grit sandpaper to rough up the vases where I was planning to adhere the shapes. Not sure if this helps, but it certainly doesn’t hurt!
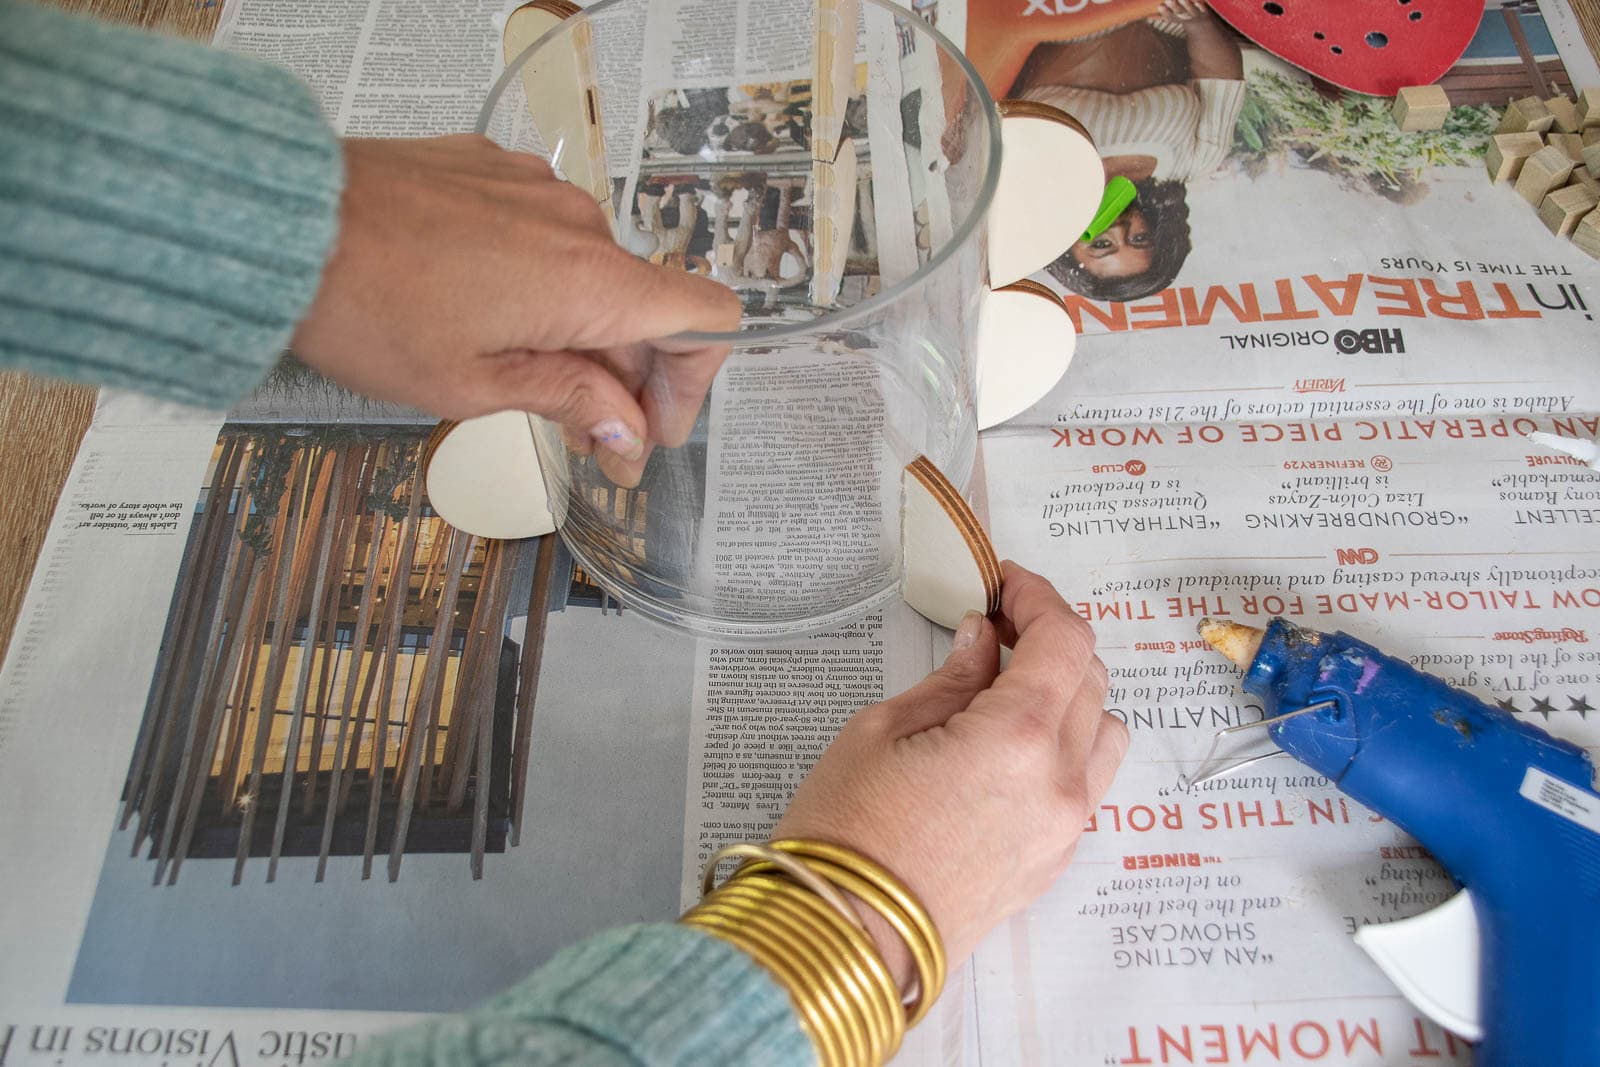
Step 6. Glue on your shapes!
My hack for gluing things like this is to use mostly super glue for adhesion, but alternate a couple of drops of hot glue to hold it in place immediately. Sticking anything onto glass is tricky so hopefully following these steps (cleaning, roughing up the surface, super glue) will ensure solid adhesion.

Step 7. Spray Paint
I chose to give my vase a quick coat of spray primer before adding the texture. The texture is spotty so adding a base coats means you don’t have to layer the texture quite as much for total coverage. Choose a primer/ base coat that is similar in color to the texture. I’m working with this Stone Texture by RustOleum. It’s not intended of outside, but I have to admit I painted something with it years ago that ended up outside and it actually held up! I don’t endorse that, obviously, but it’s good to know! The texture requires lots of light coats, letting each one sit for 15-minutes before layering on the next.
I LOVE the way the vase with the semi circles looks and I’m not mad about the one with the square dowels. I wonder if the spacing could have been a bit better for that one, but it’s all part of the discovery! This could be so fun with different shapes glued in place… or even a series of vases in bright colors instead of the stone texture.


These are so simple and fun! I’ve been hoarding a set of tiny square dowel pieces for years – now I know what to do with them!
Oh yay! Those would be perfect!!