How to Make a Rainbow Clutch
Psssst… this post *might* contain affiliate links: see my disclosure here.
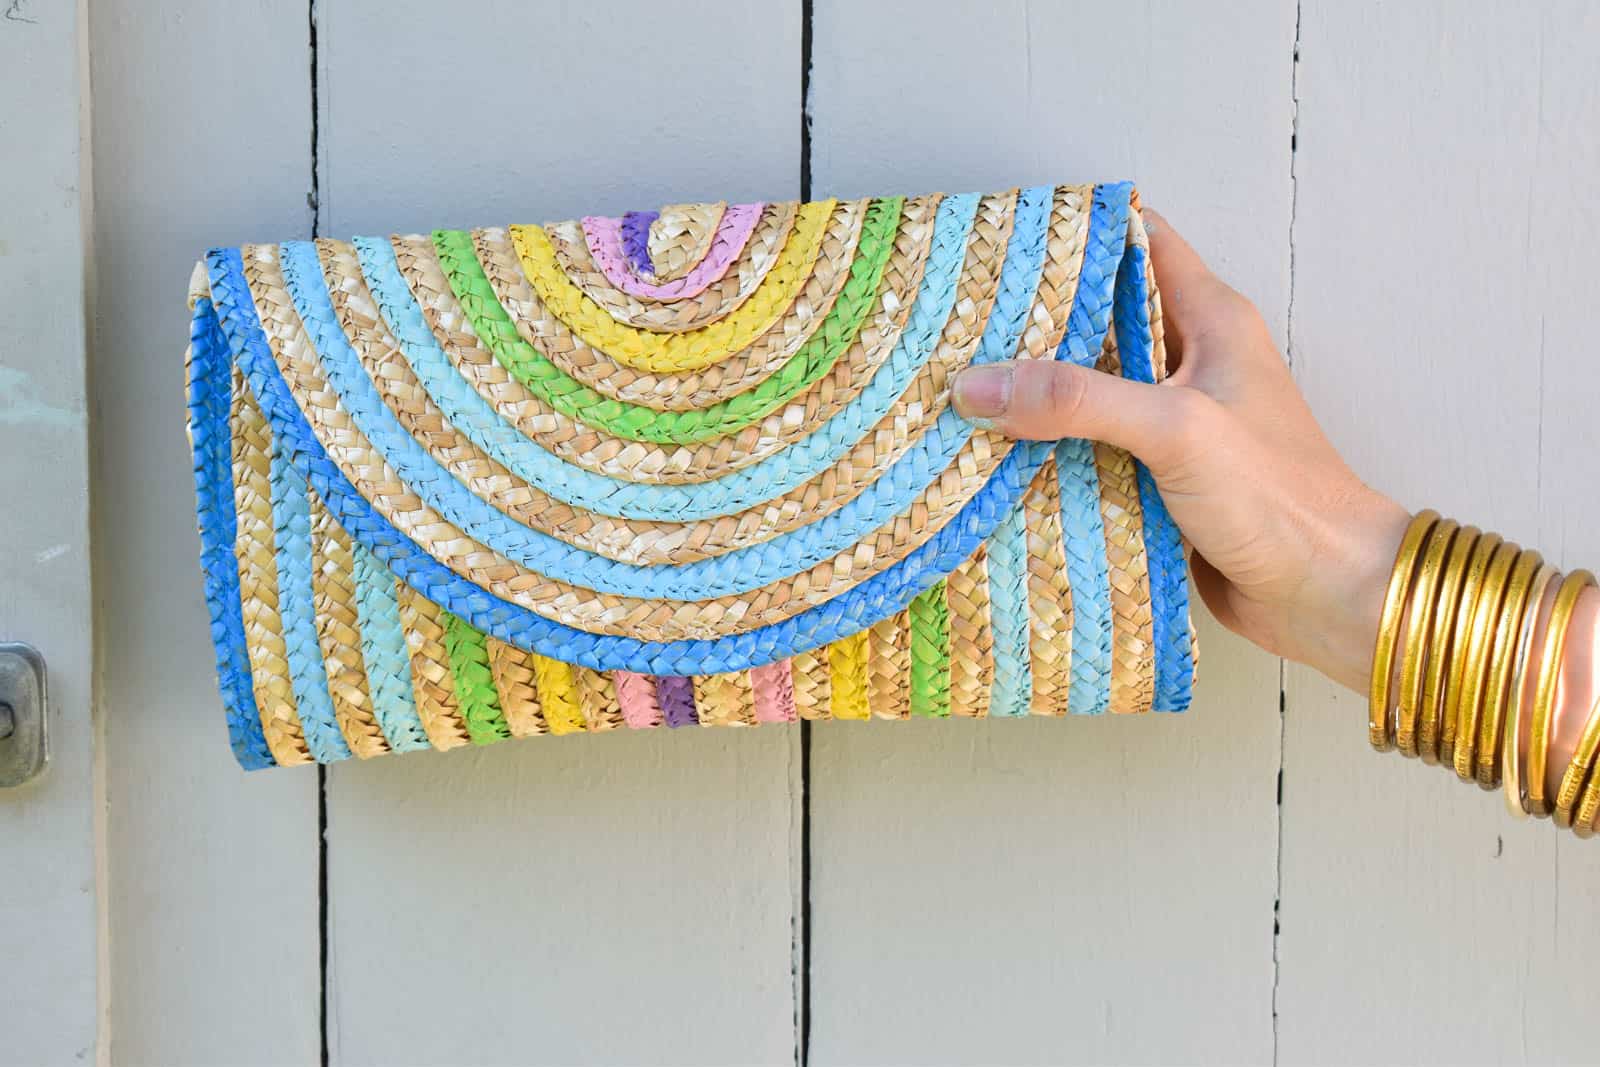
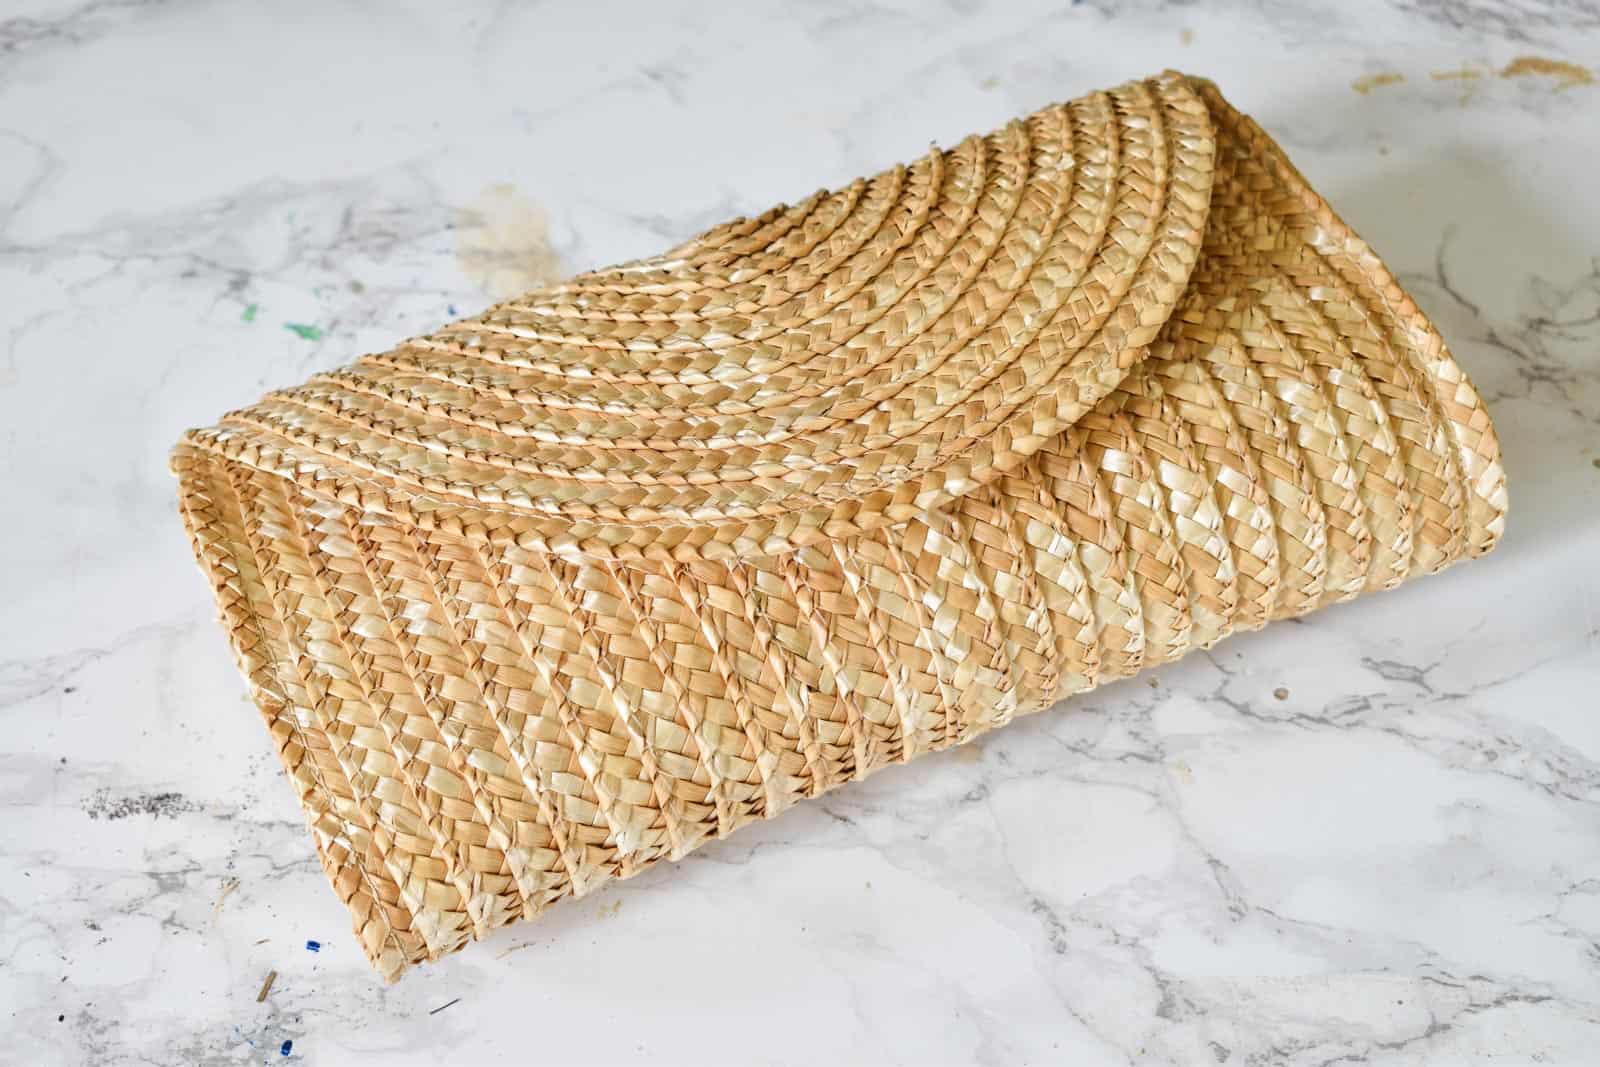
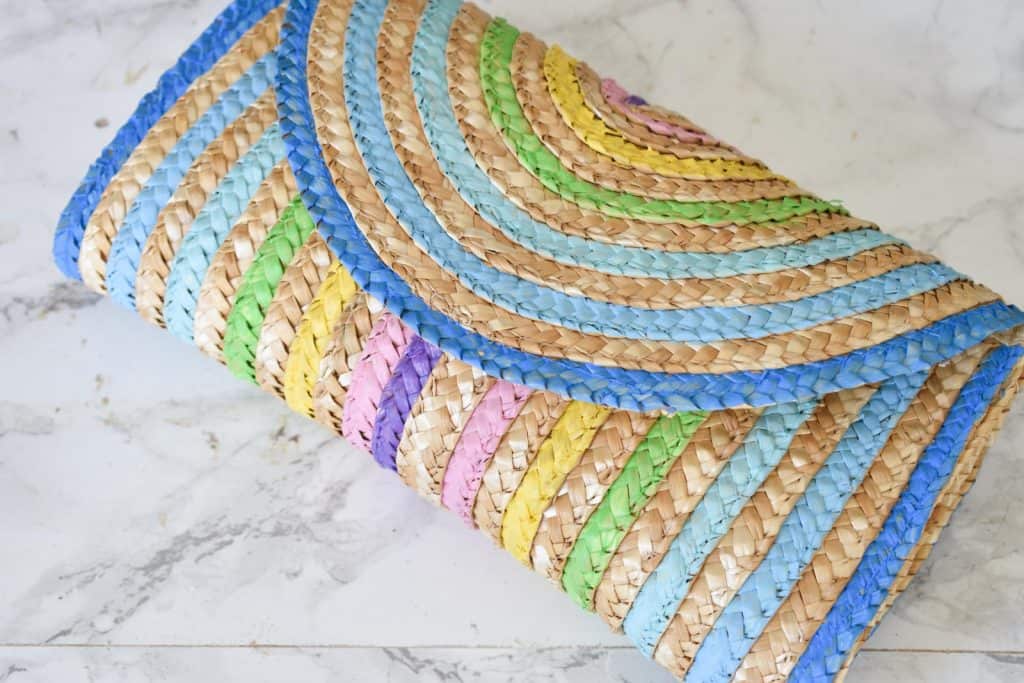
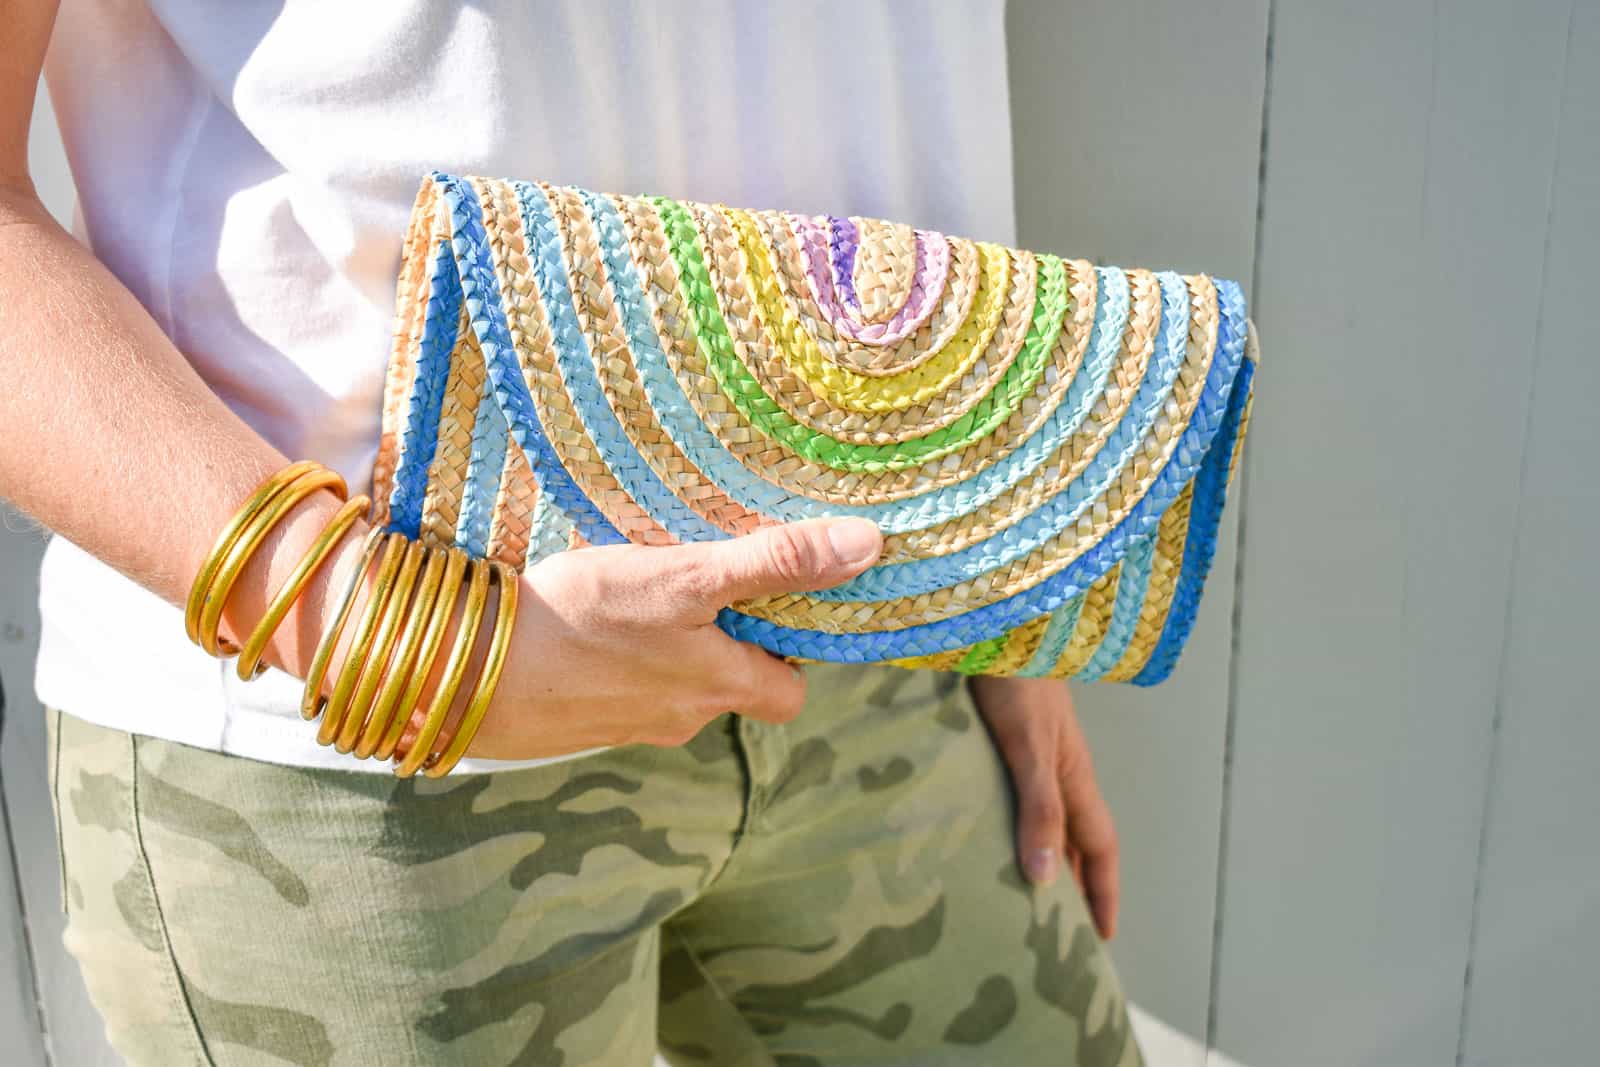
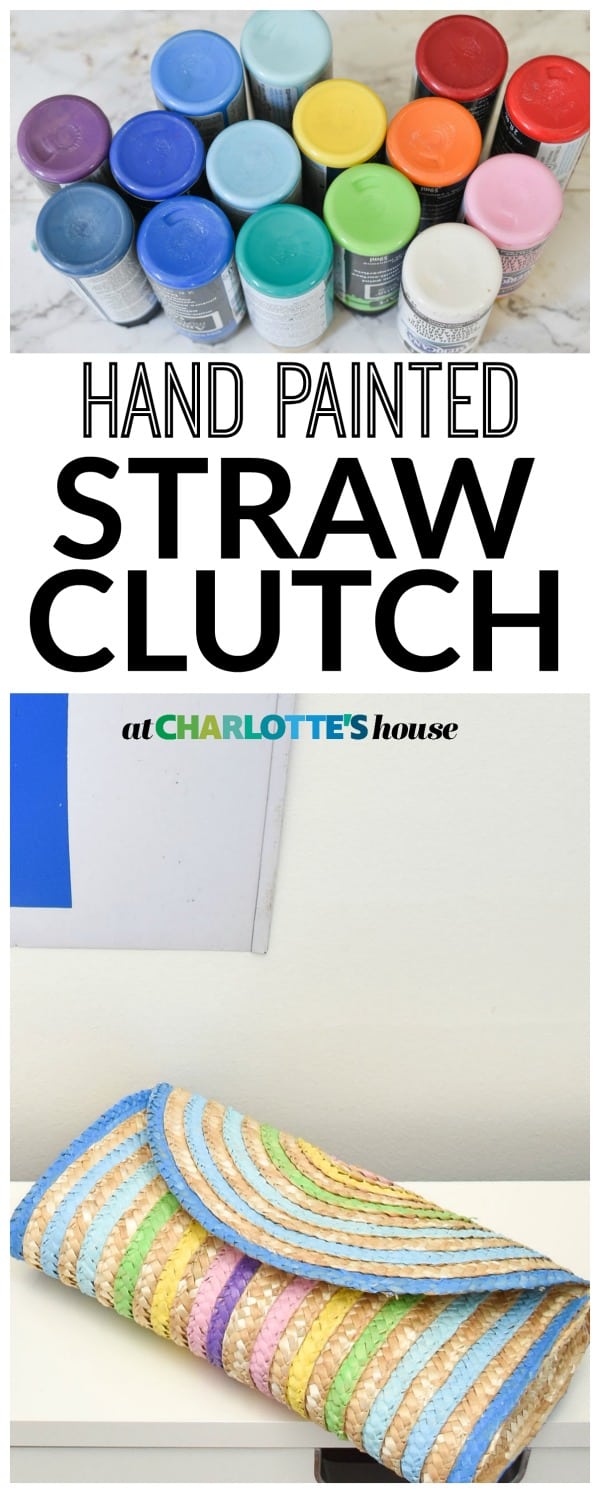
I painted a bag! I bought this $6 bag (affiliate) weeks and weeks and weeks ago when there as probably snow still on the ground, and I was dreaming of sun and beach weather. And… here we are! The bag is from Michael’s personalize it collection and truthfully, I love it even without a little DIY flare! But that would make for a lame post so… I added a little sumthin’ sumthin’.
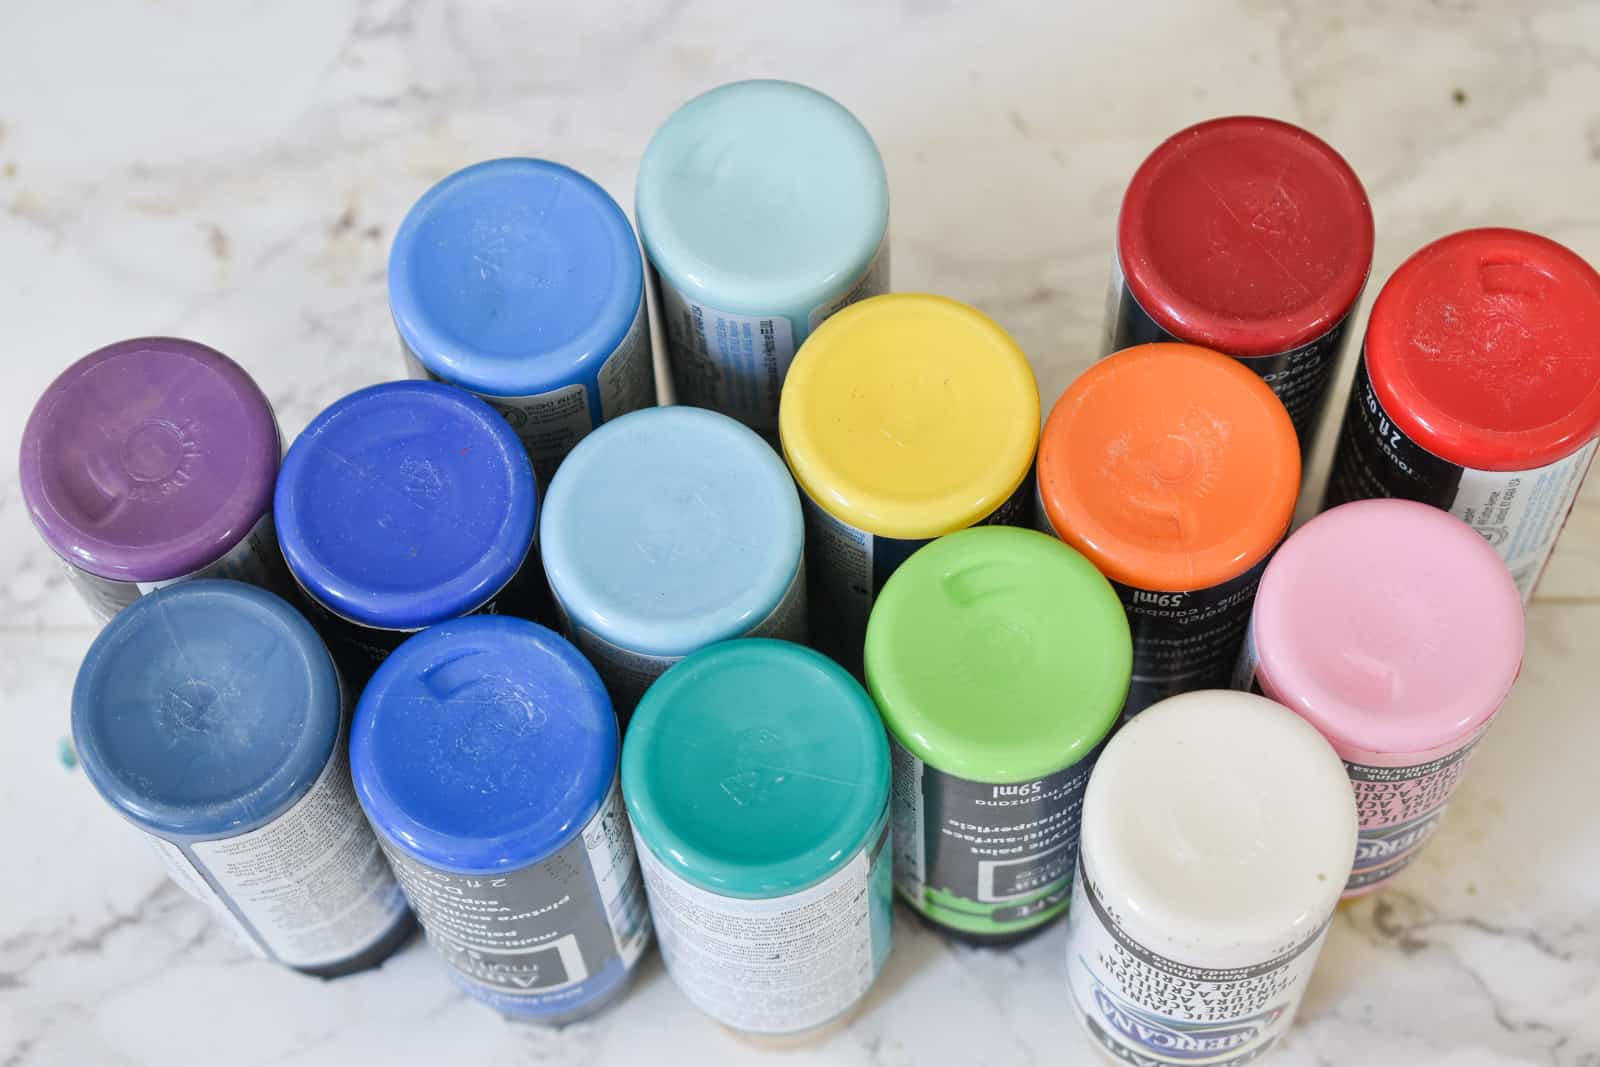
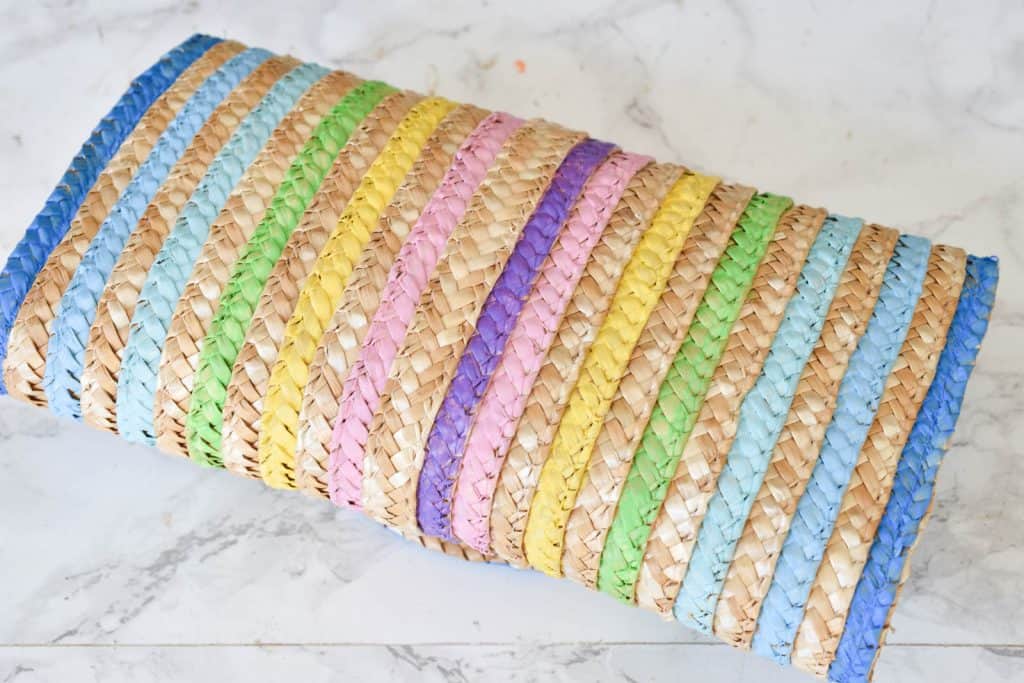
I’ve mentioned these paints before, but I’ve been using them for everything in the ‘other’ category lately… fabric, canvas and… woven beach bags. The only thing I really had to do was choose my colors. I’m TOTALLY a one trick pony and always end up grabbing ROYGBIV when given a choice. I knew I wanted to skip a row on the bag to allow for a little bit of the natural texture to shine through, so I only had six colors to work with. No problem.
Shop my favorites!
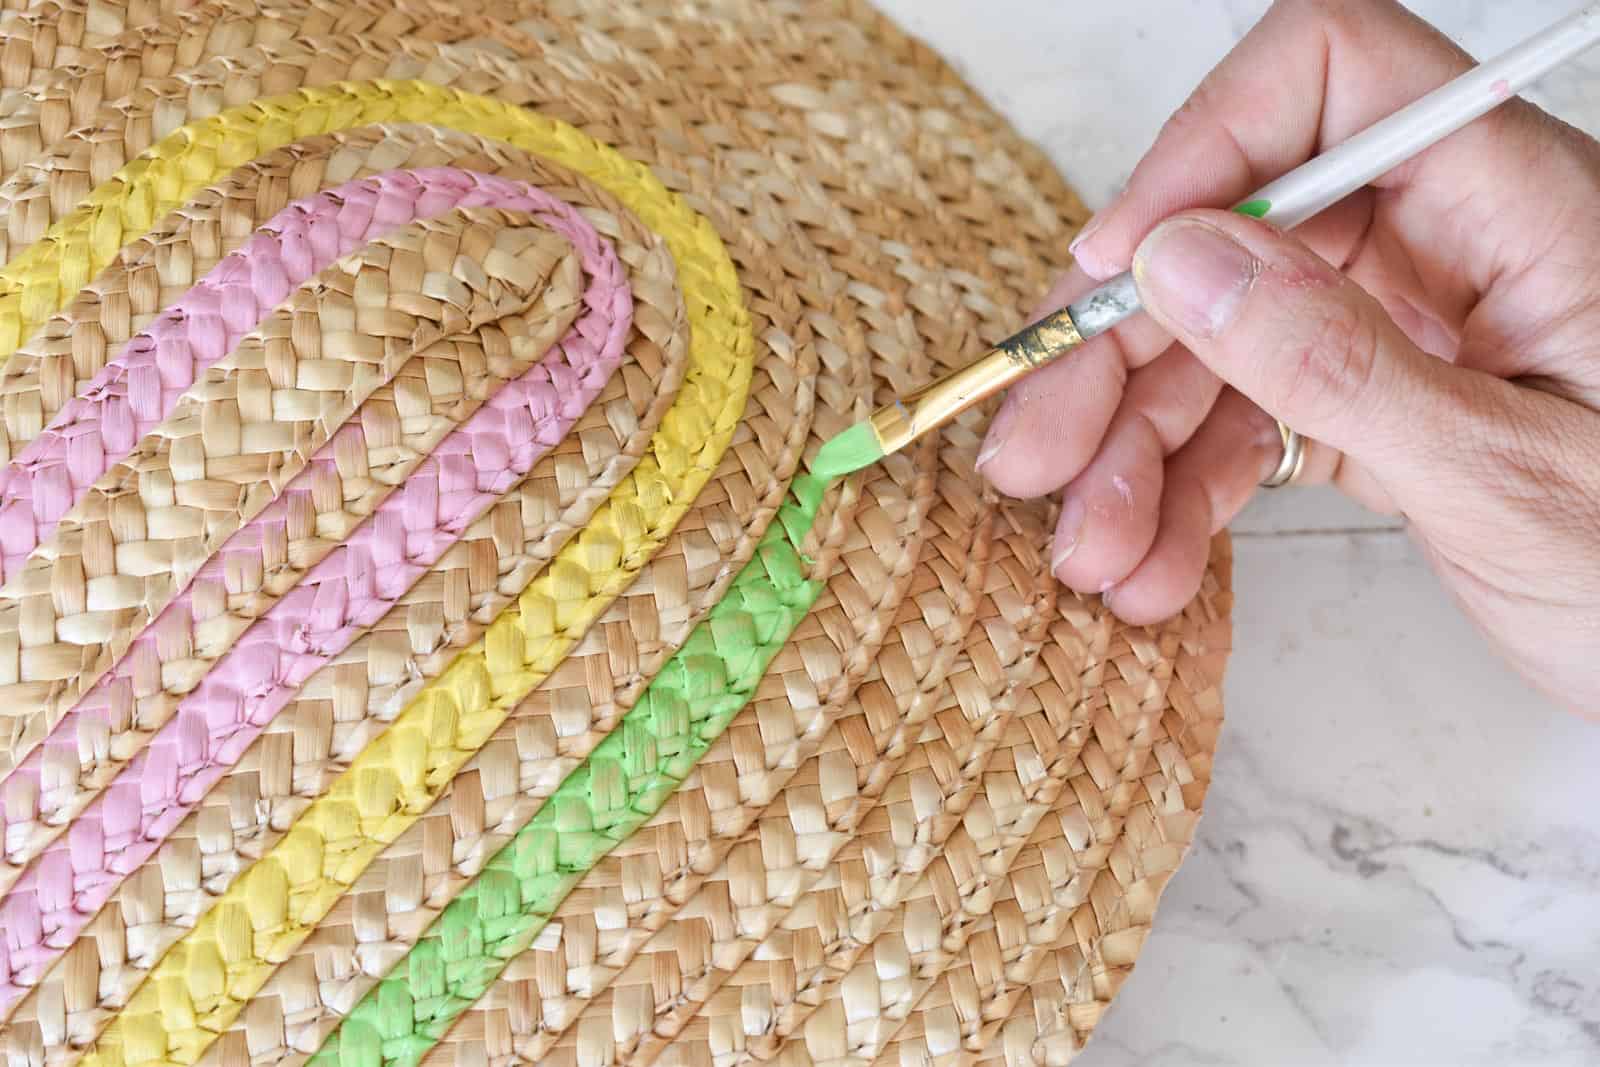
It seems a little silly that I’m even writing a tutorial for this because the instructions are: paint the bag. I opened up the flap and started with one side. Most of the paint had dried by the time I needed to flip the bag over to paint the other side. I didn’t seal it. I didn’t do multiple coats. I left well enough alone, and I LOVE it.
It’s been rainy for the last three weekends here in Connecticut so no cute beach picnics in which I can flaunt this… but I will. Trust me, I WILL!
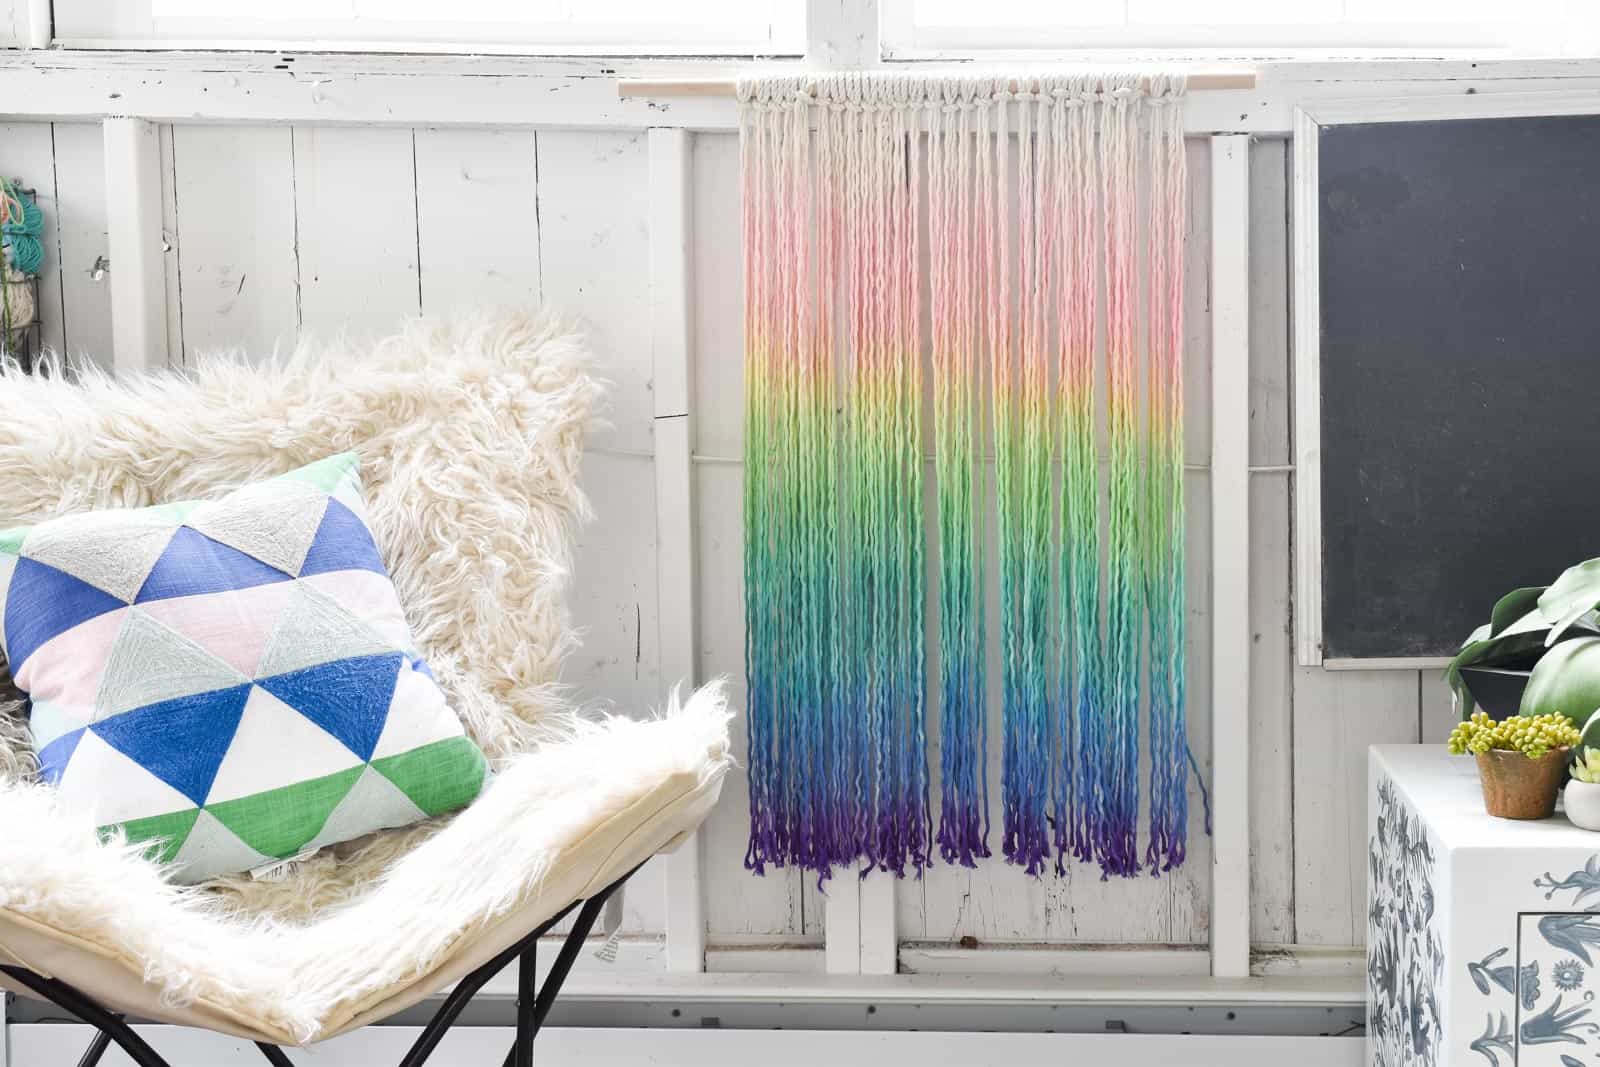
If you’re a rainbow fan like me, then you might like some of my other rainbow projects! I made a rainbow wall hanging:
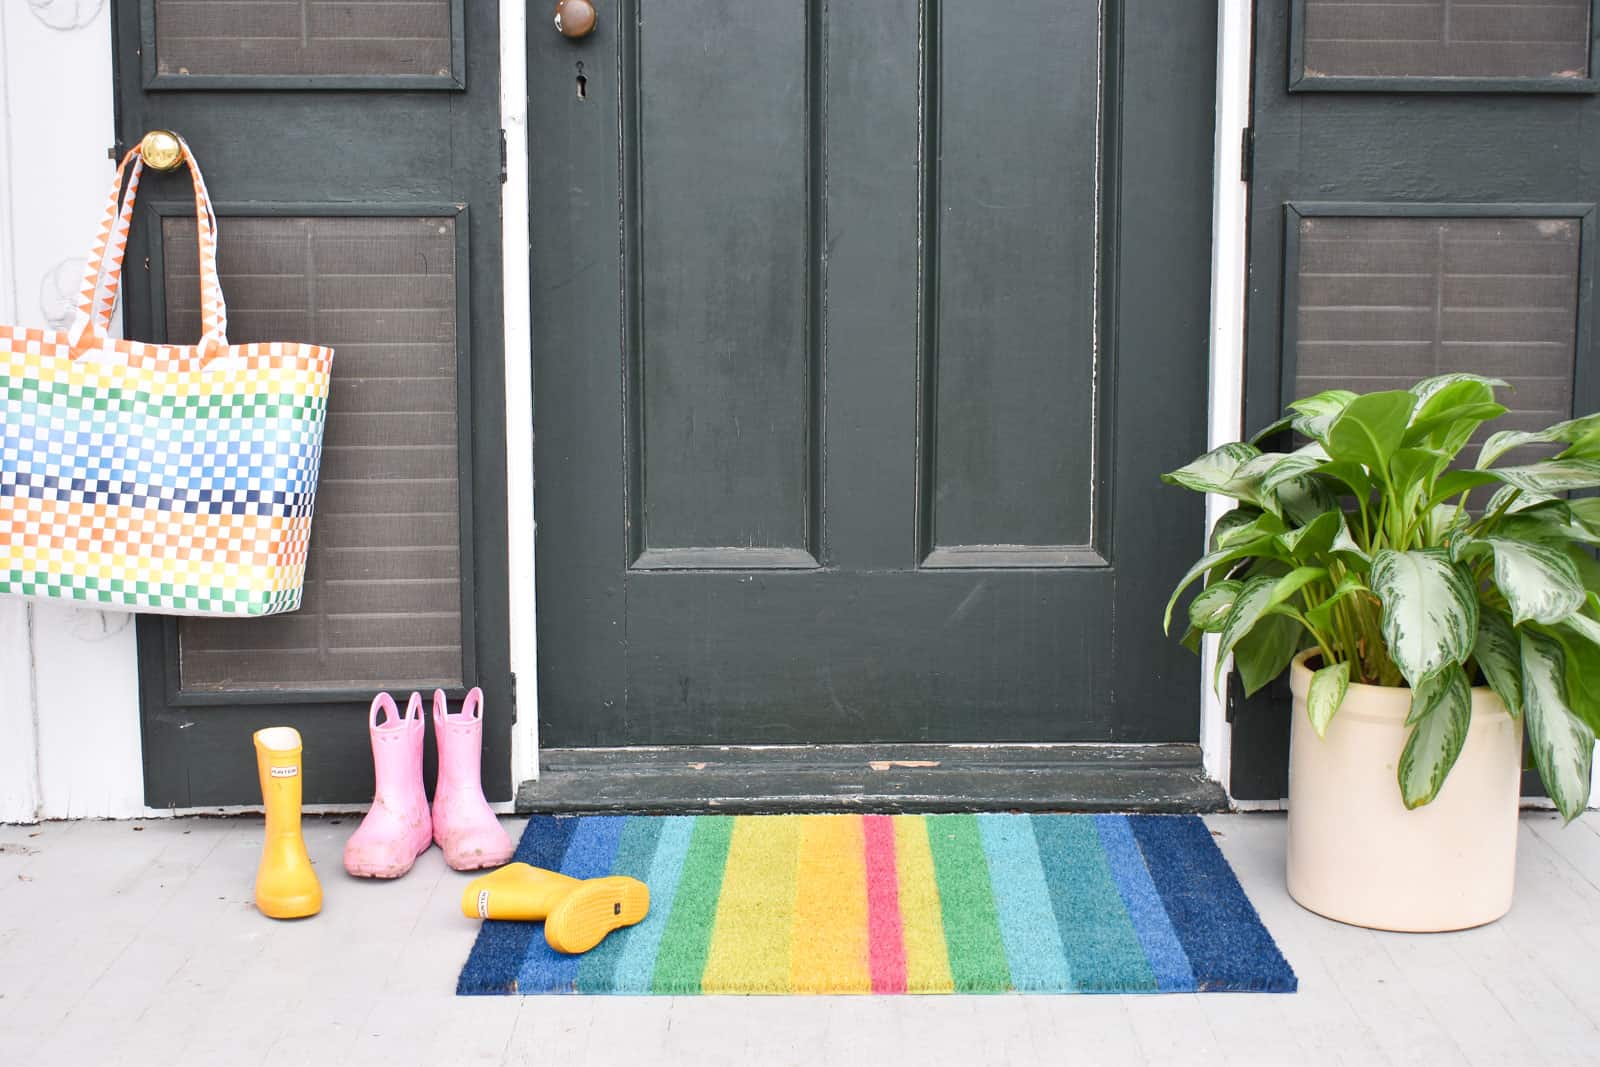
Then I painted a spring doormat all rainbowlicious:
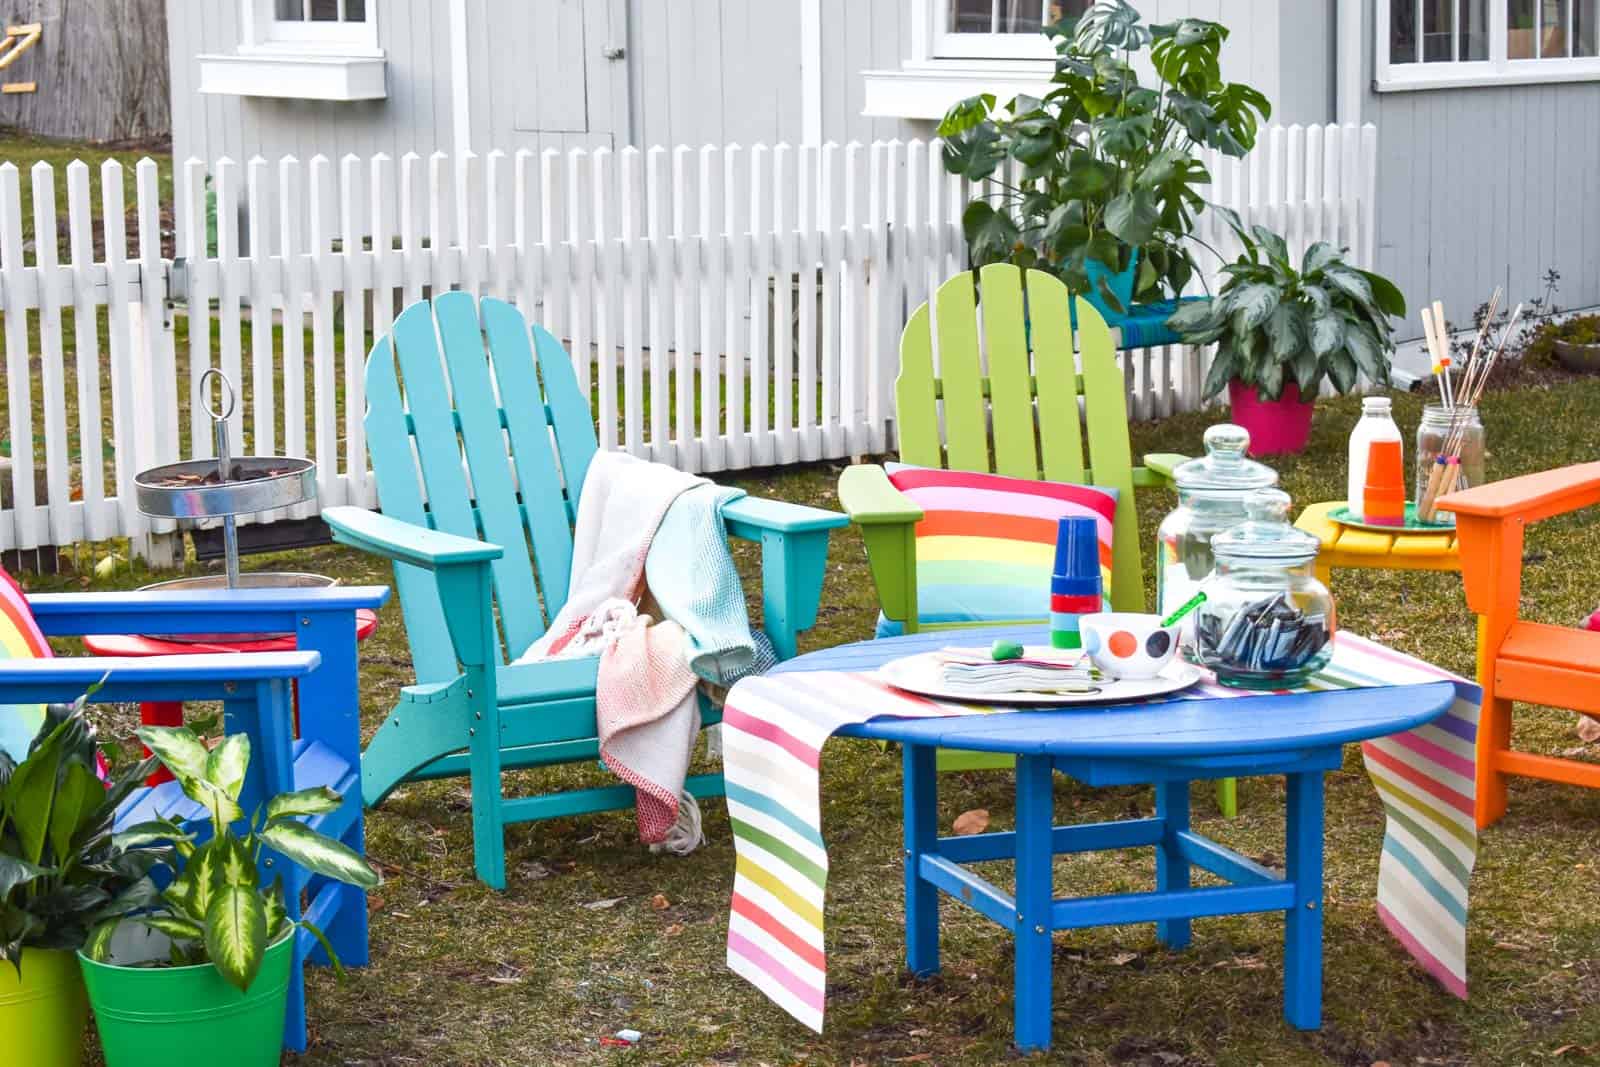
And then I even set up an outdoor s’mores area with allllll the colors in the rainbow.
See what I mean? Rainbows 4 Life.



Don’t Miss Out
Become An Insider!
Signup for exclusive tips, and tricks from Charlotte’s House!
Let’s chat!
I love comments from you, so feel free to leave your thoughts and ideas below! And don’t forget to follow me on Instagram for even more!