
Colorful Spring Doormat
Psssst… this post *might* contain affiliate links: see my disclosure here.
DIY Spray Painted Doormat
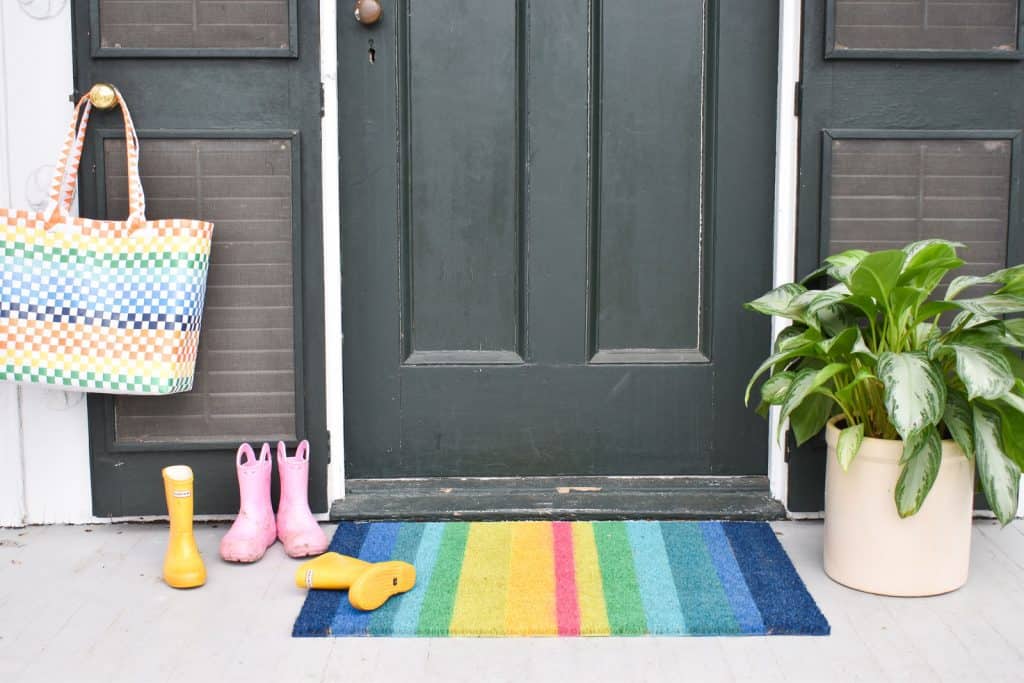
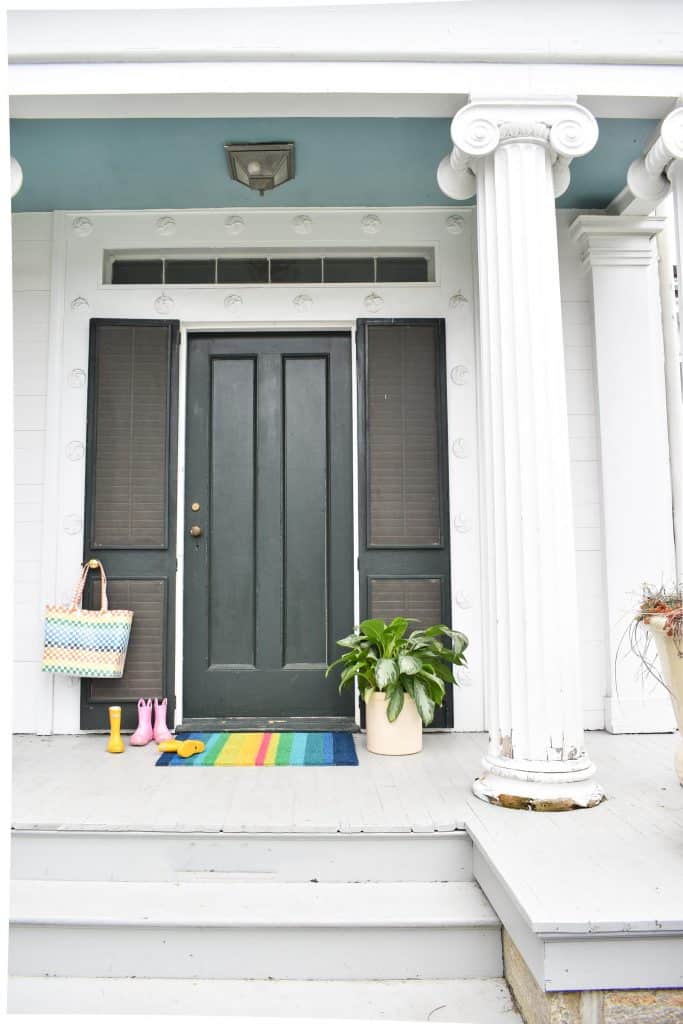
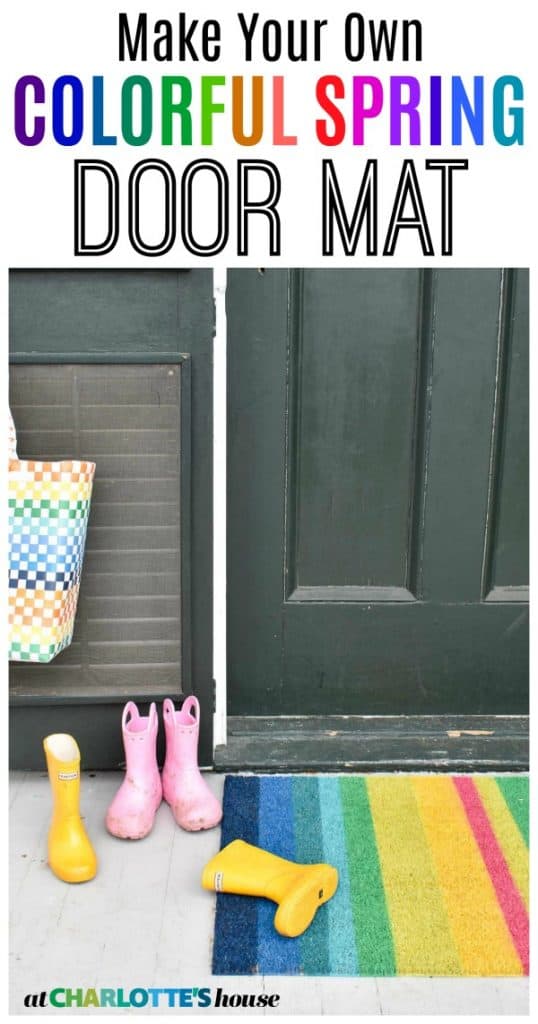
I added some color to our front porch with this colorful DIY doormat.
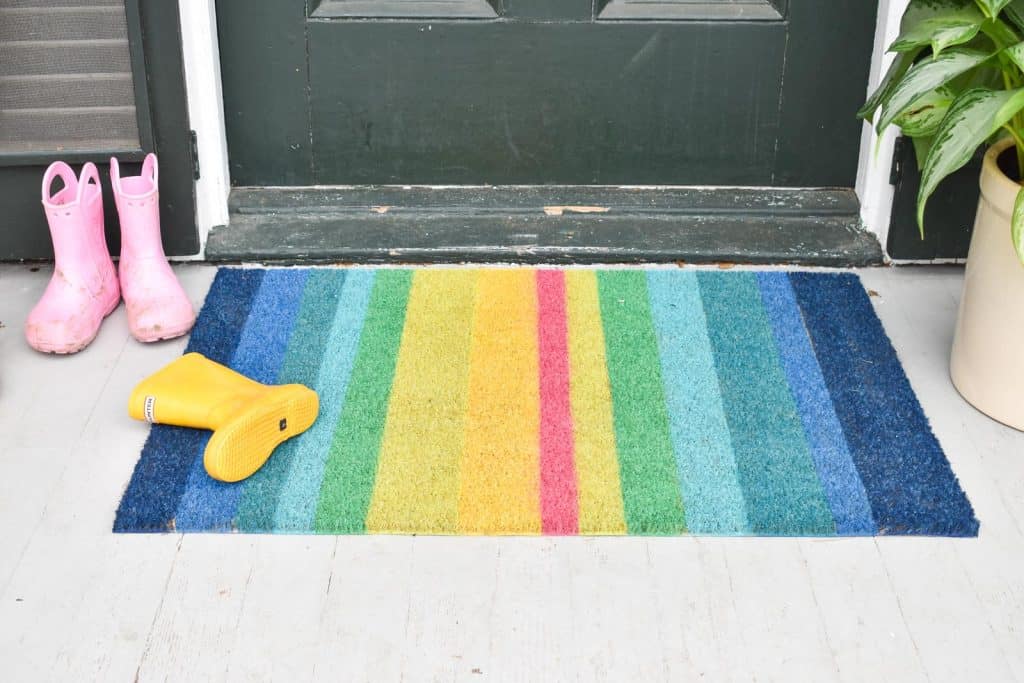
I’m having a real rainbow moment this spring. Whether it’s my dyed wall hanging, my patio furniture, or these DIY light boxes… I want alllll the colors! Ikea sells a natural fiber doormat for under $10 that I love. It’s inexpensive and larger than most… but it’s boring. Not for loooong!
Shop my favorites!
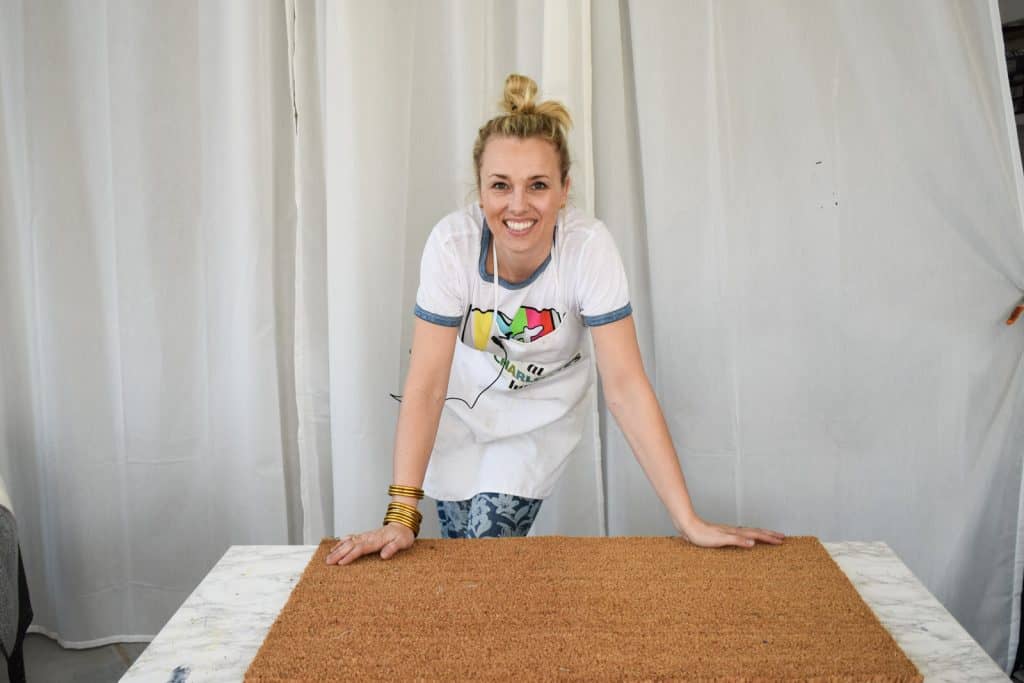
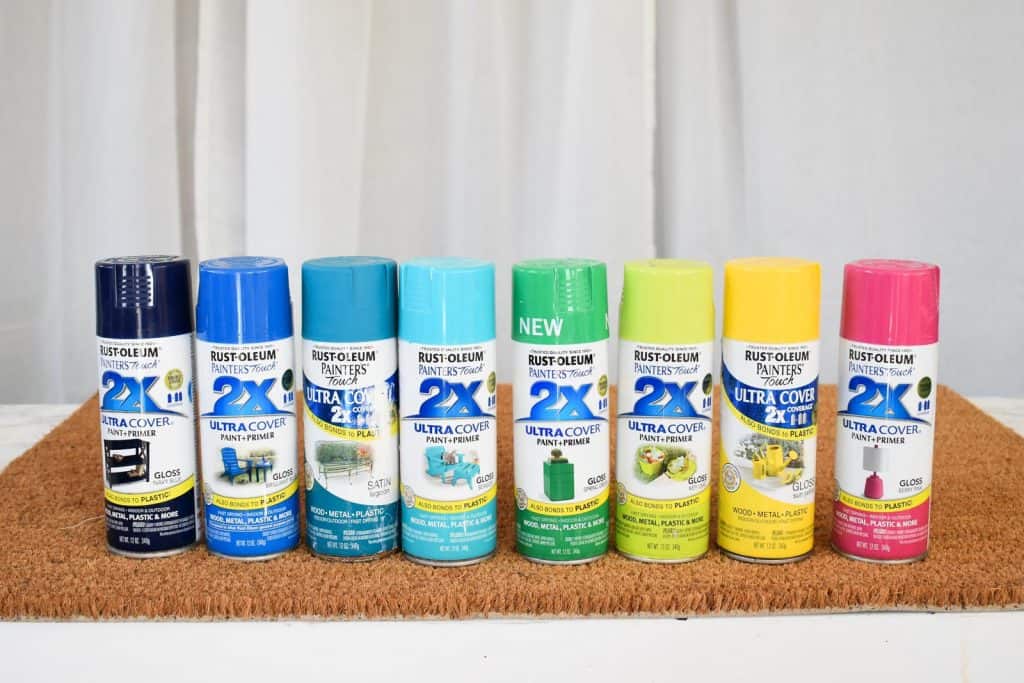
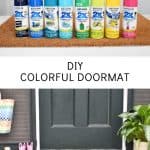
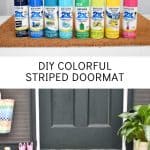
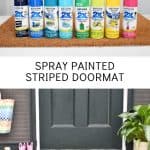
This project is truly super easy and it’s a GREAT way to use up old paint! Win-win! I’m using spray paint. I’d done it before and it won’t last forever, but it’s super easy to apply and holds up well enough for a season. I’ve done elaborate cut outs, but for this one… I kept it simple and am SO glad I did!
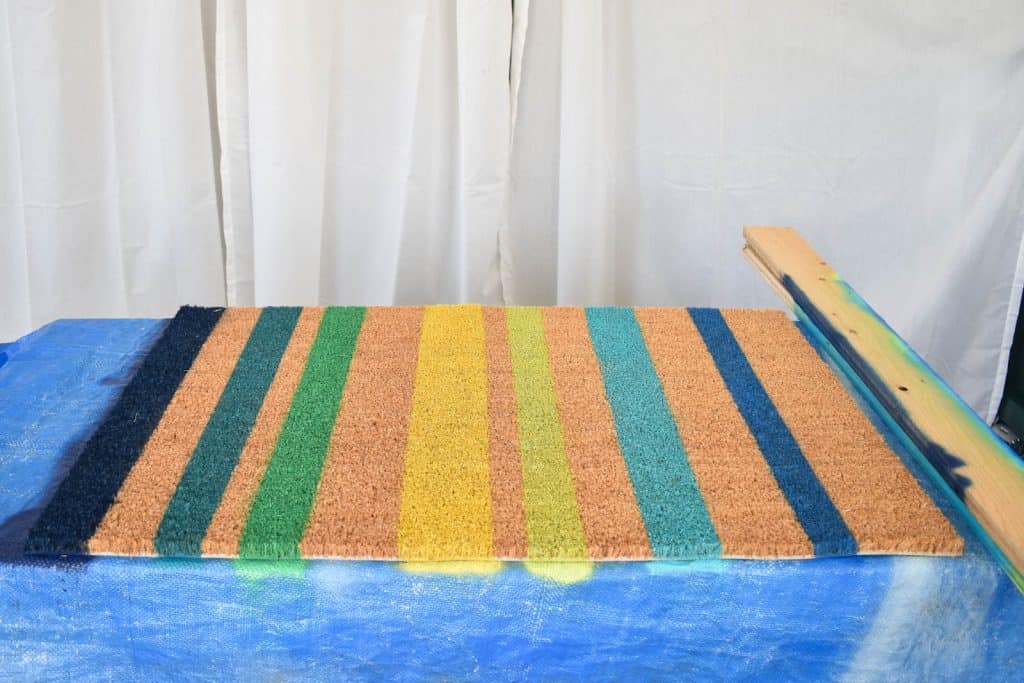
Step 1. Tape Off Stripes on Doormat
I started by taping off random stripes. The tape won’t really stick to the fibers of the doormat, but smooth it down as best you can!

Step 2. Spray Paint Doormat
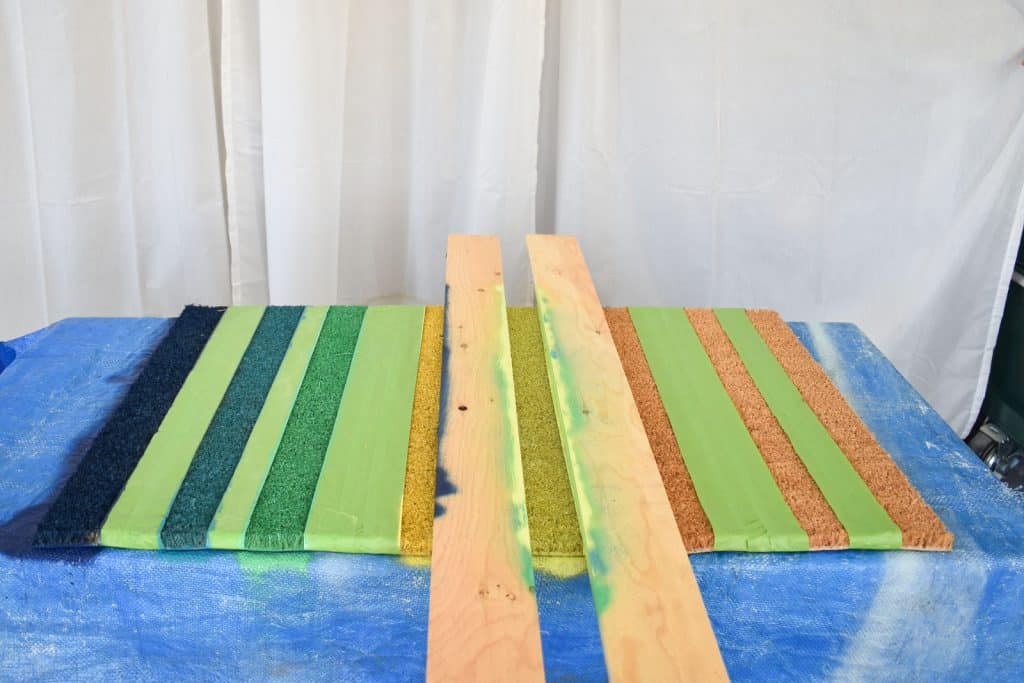
My hack here is a couple of lengths of scrap wood. Making sure I kept track of my color palette, I used the boards to act as a stencil, lining them up with my tape edges. Typically you want to hold a can of spray paint 10+ inches away, but for this I kept it nice and close to get primo saturation.

Moving down the mat, I carefully picked up and replaced the boards on either side of each stripe. The tape ends up protecting the mat from any wet paint still on the boards!
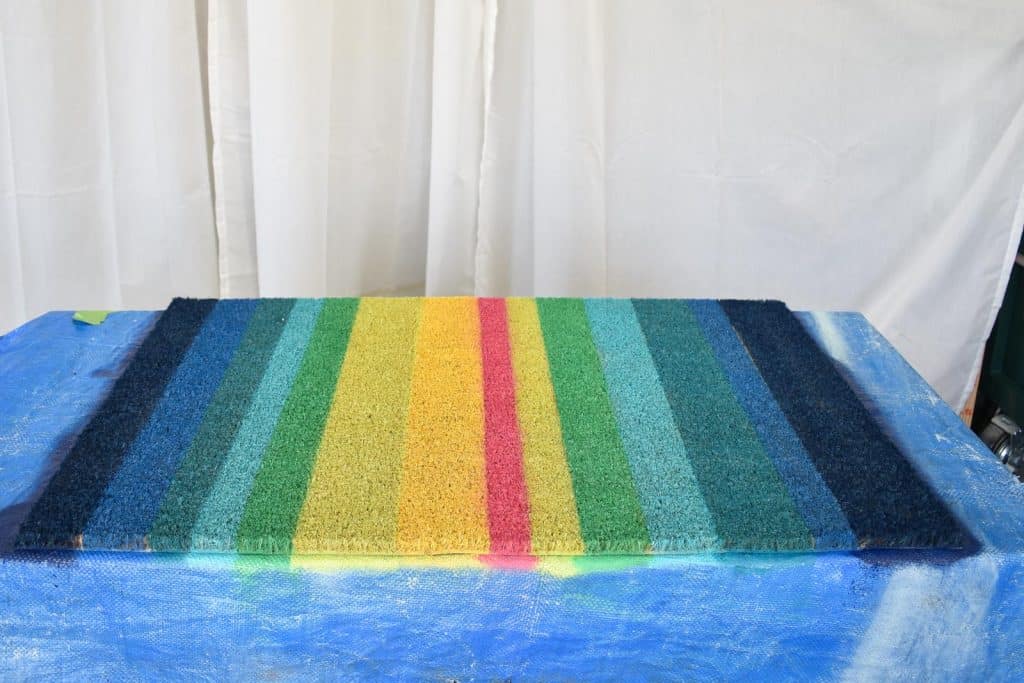
Step 3. Remove Tape from Doormat and Reapply on Unpainted Stripes
Once I’d painted the first round of stripes, I removed the tape and re-taped the pattern again leaving the unpainted stripes exposed this go around.
I mentioned before, but I didn’t measure my stripes… these are just random and I love it this way. You could certainly be more precise or apply the stripes in two directions for more of a plaid/ checked look. This took me maybe 15 minutes to make just as a base line!
I have this outside our front door so it won’t get as much traffic as the mat outside our back door. The paint will eventually wear off so this definitely doesn’t last forever, but given the price point and the time it took… I’m totally happy with that ratio!
For a video tutorial, see below. (I’d love you to SUBSCRIBE by clicking that little red subscribe button while you’re over there… please and THANK YOU!)


Don’t Miss Out
Become An Insider!
Signup for exclusive tips, and tricks from Charlotte’s House!
Let’s chat!
I love comments from you, so feel free to leave your thoughts and ideas below! And don’t forget to follow me on Instagram for even more!