
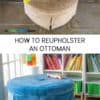
How to Reupholster an Ottoman
Psssst… this post *might* contain affiliate links: see my disclosure here.
Reupholstered Thrift Store Furniture
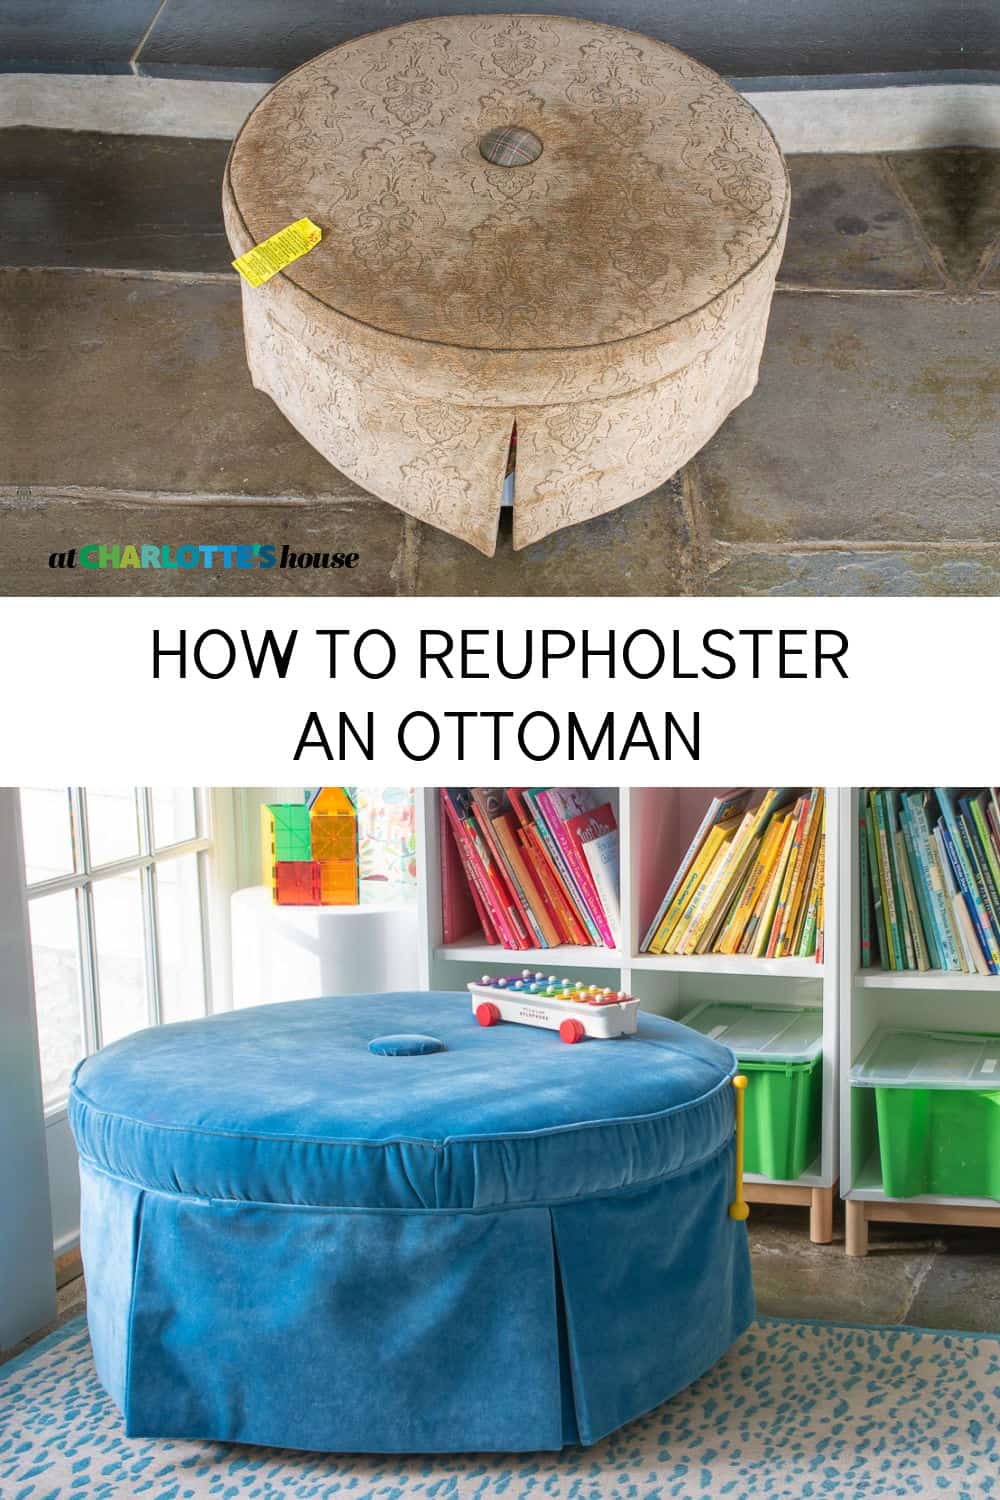
I reupholstered this thrift store ottoman for a budget friendly furniture makeover.
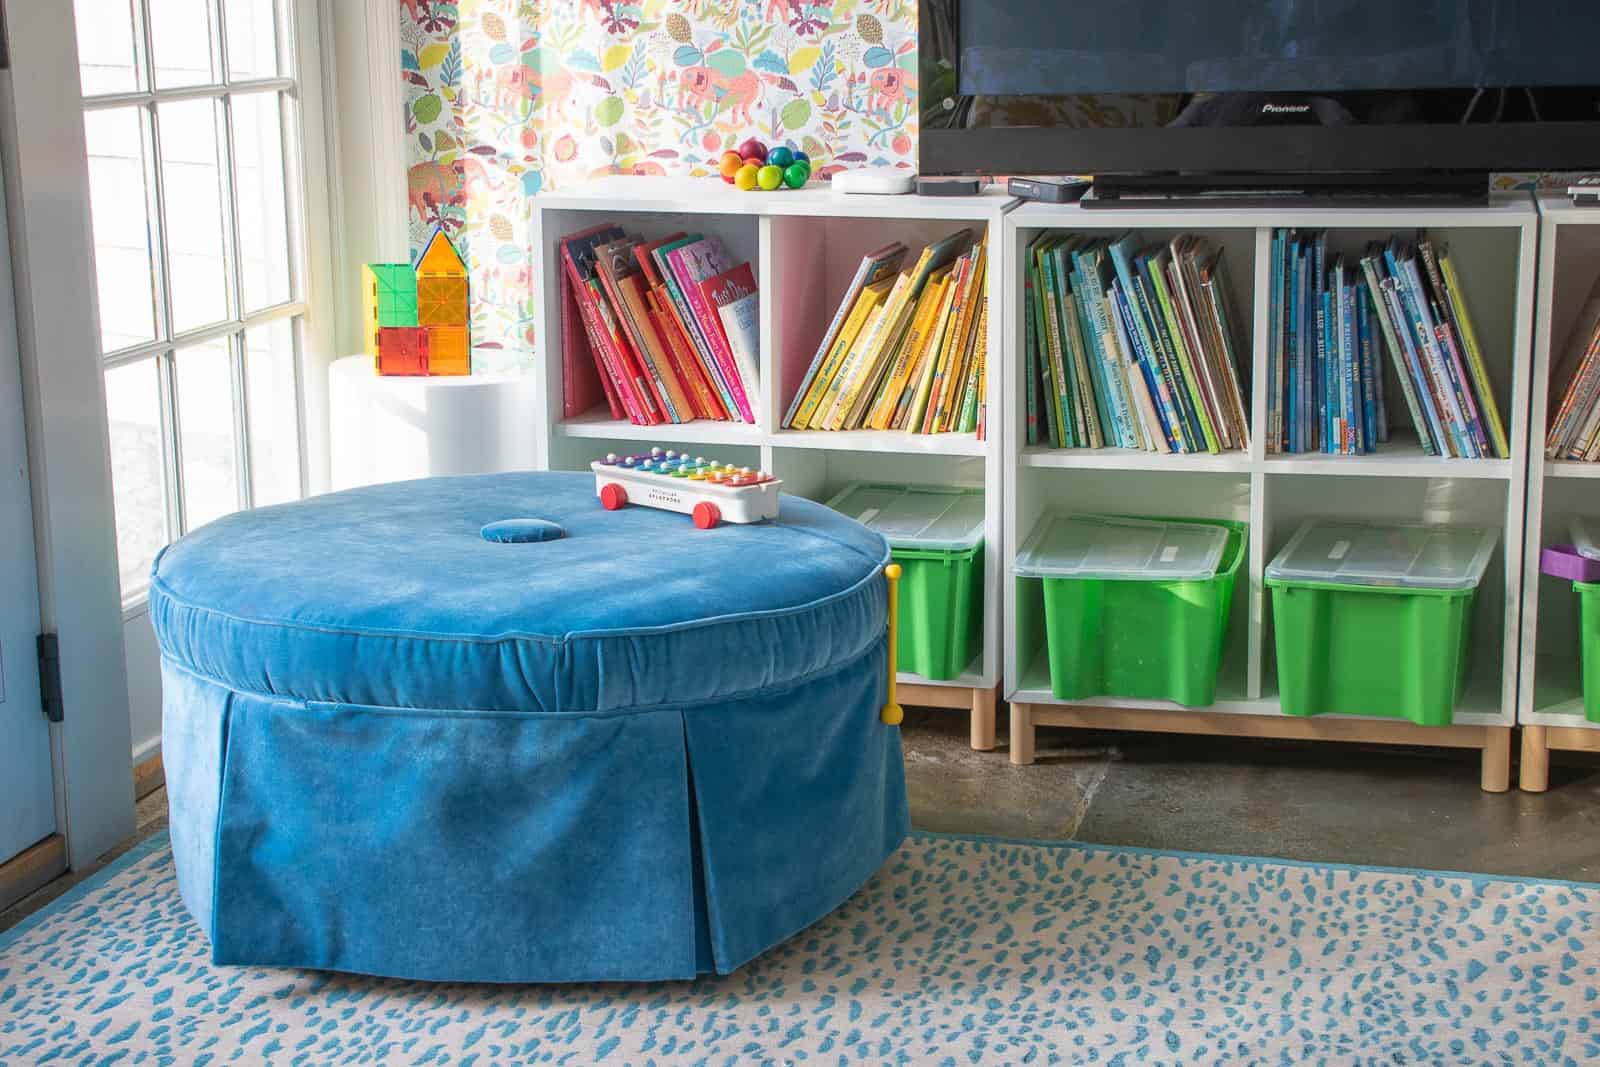 I found this round ottoman at our local Habitat Restore. It cost me $13 and I knew I could give it a makeover. Before I get into the step by step, let me start by sharing *why* I chose this ottoman. For one, it was a great size, I loved the casters, and felt super sturdy. Next, the foam and batting seemed to be in great shape. Everything was still very squishy and soft so there was no evidence that anything was old or breaking down. Finally, the fabric itself was in good shape. I wasn’t going to keep the fabric, but there were no stains that would effect the underlying structure of the ottoman.

Shop my favorites!
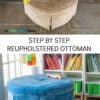
How to Reupholster an Ottoman
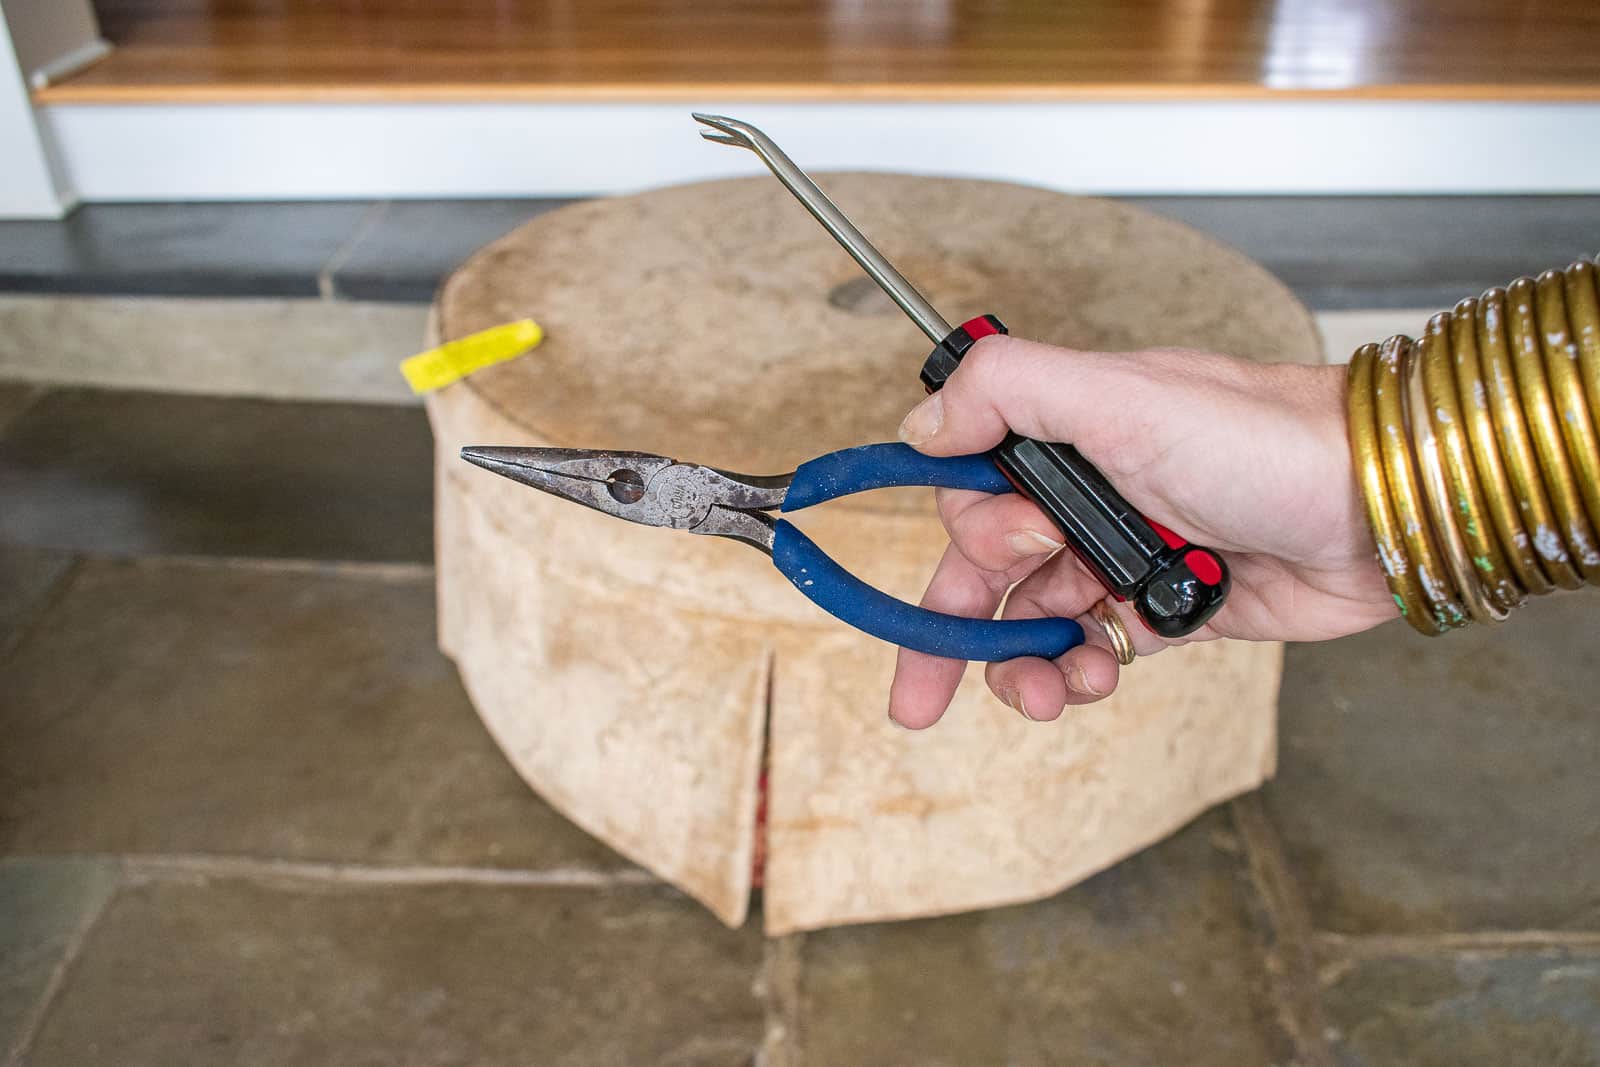
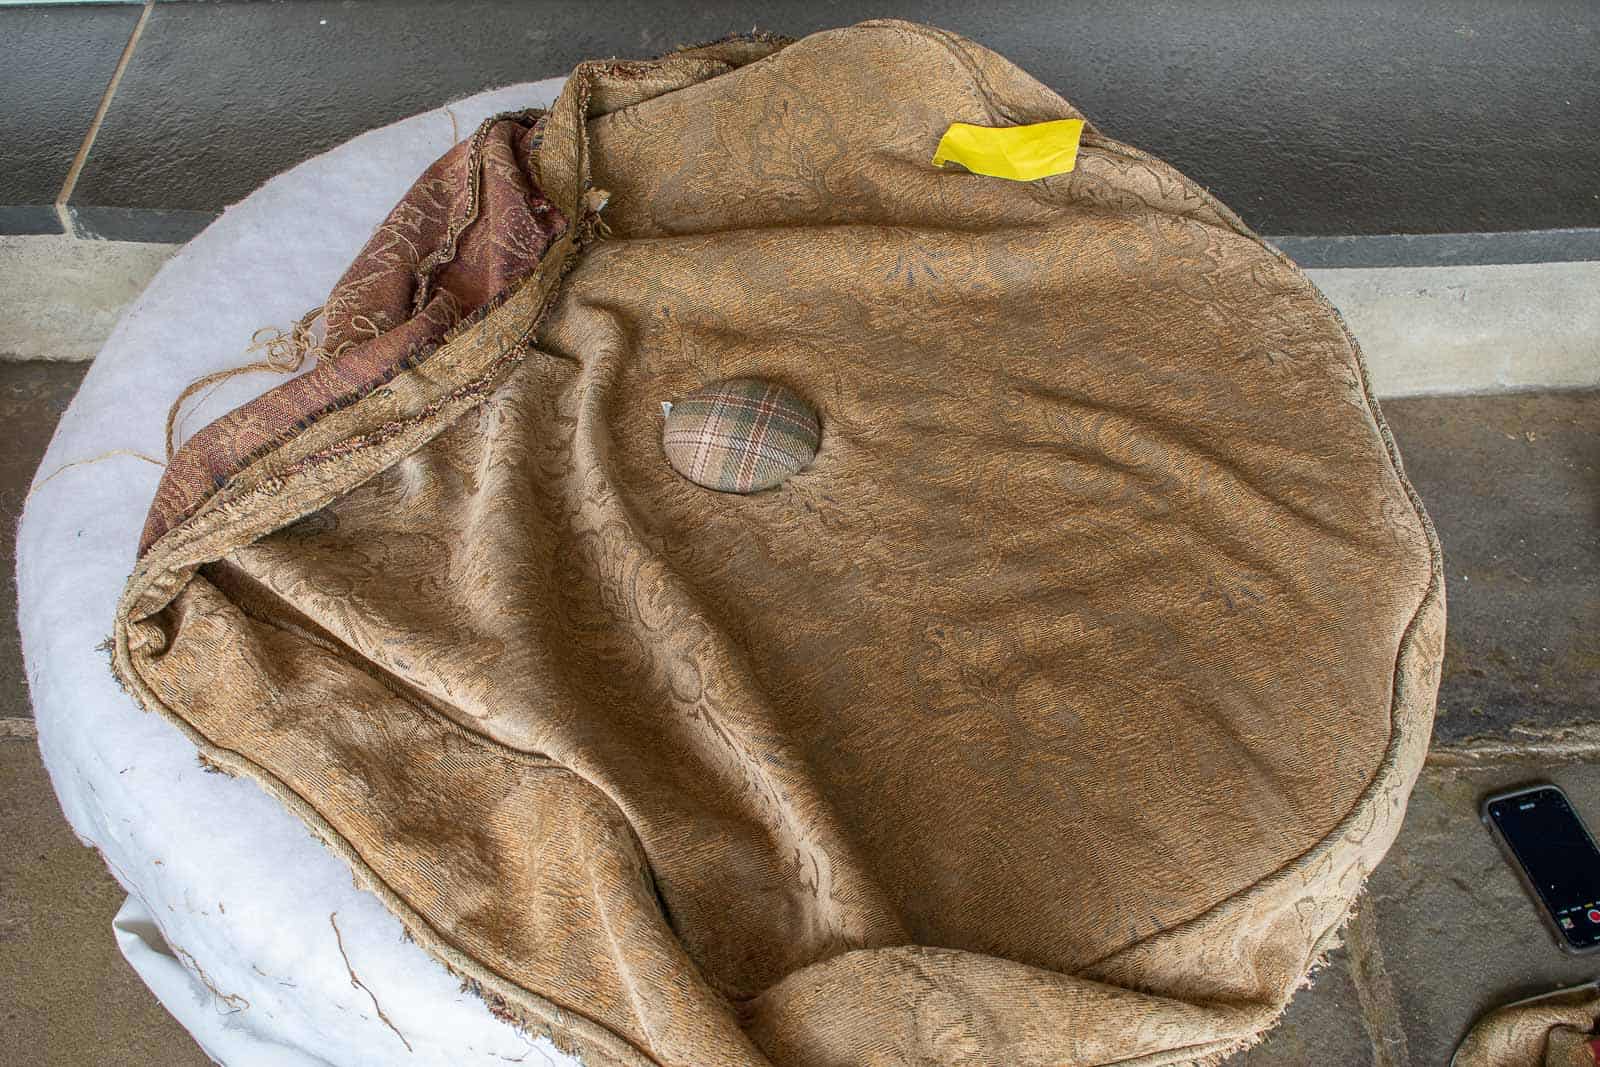
Step 1. Remove the Existing Fabric
This is a little bit easier said than done, but essentially it’s the first step to any re-upholstery project. Work slowly and take pictures to help you remember the order in which the piece was upholstered. For my ottoman, I started by removing the skirt panels. In doing so, I could see that they had been folded in place with the staples right up inside the folds. I use this staple remover and a pair of needle nose pliers. I prefer to remove as many staples as possible just to make it a bit easier and cleaner when I go to staple the new fabric in place.
Important: Remove everything CAREFULLY and save these pieces. You will use these as a template to reupholster your furniture.
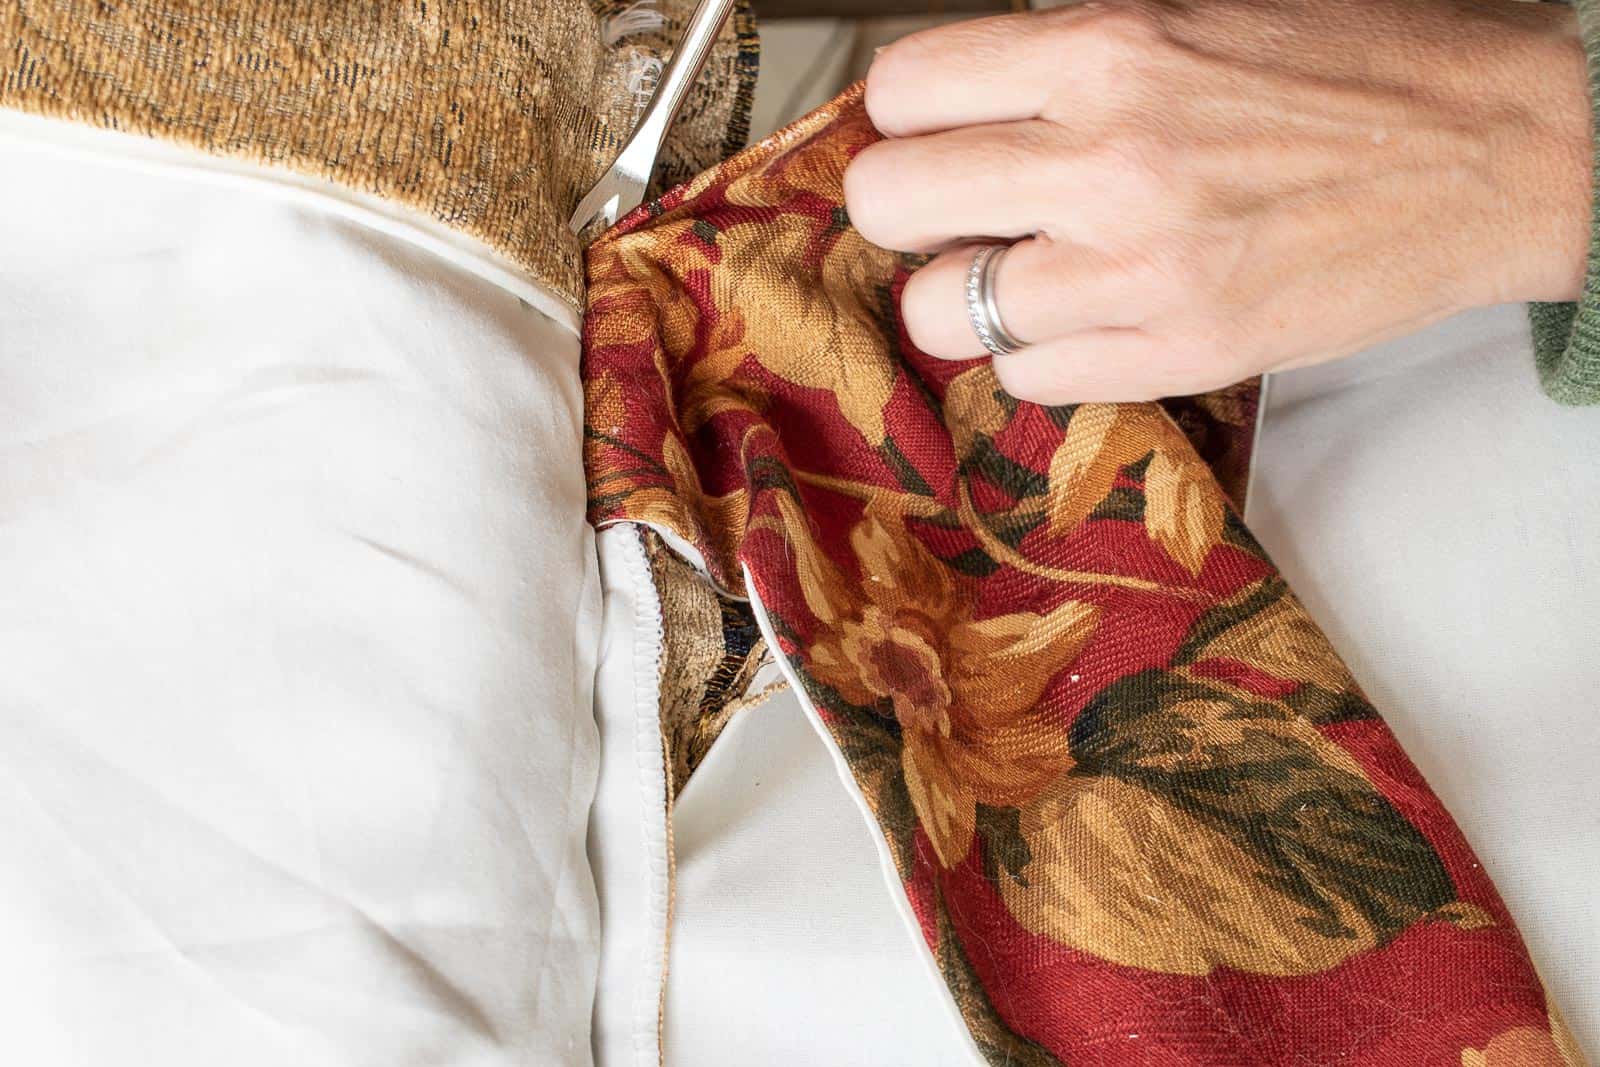
Once I’d removed the skirt panels, I removed the top edge of the thin muslin around the sides. I could have removed this entire panel, but it would have mean removing the dust over and the casters from the bottom of the ottoman, so I tried to preserve it as best I could because… lazy.
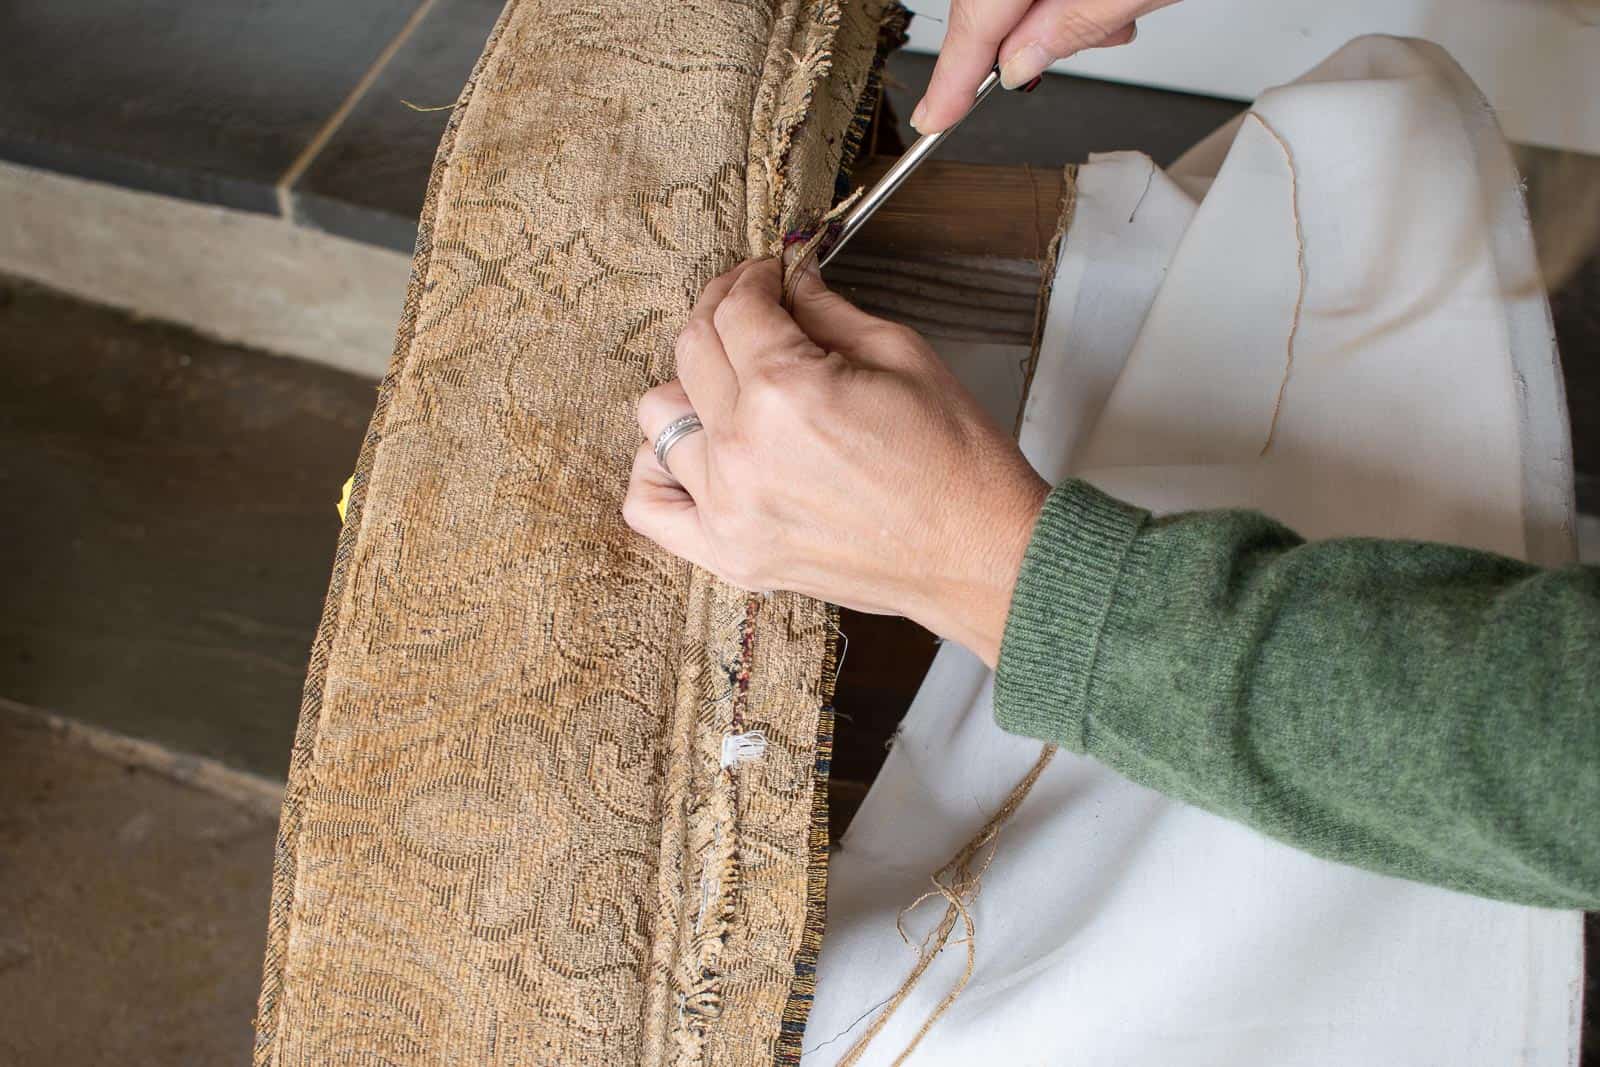
Lastly, I removed the staples holding the fabric seat in place. There was a single large tuft in the middle of the ottoman, so I had to untie the string holding this in place underneath the seat before removing the entire cover. Thankfully the foam and batting was in great shape so I didn’t need to replace either of these!
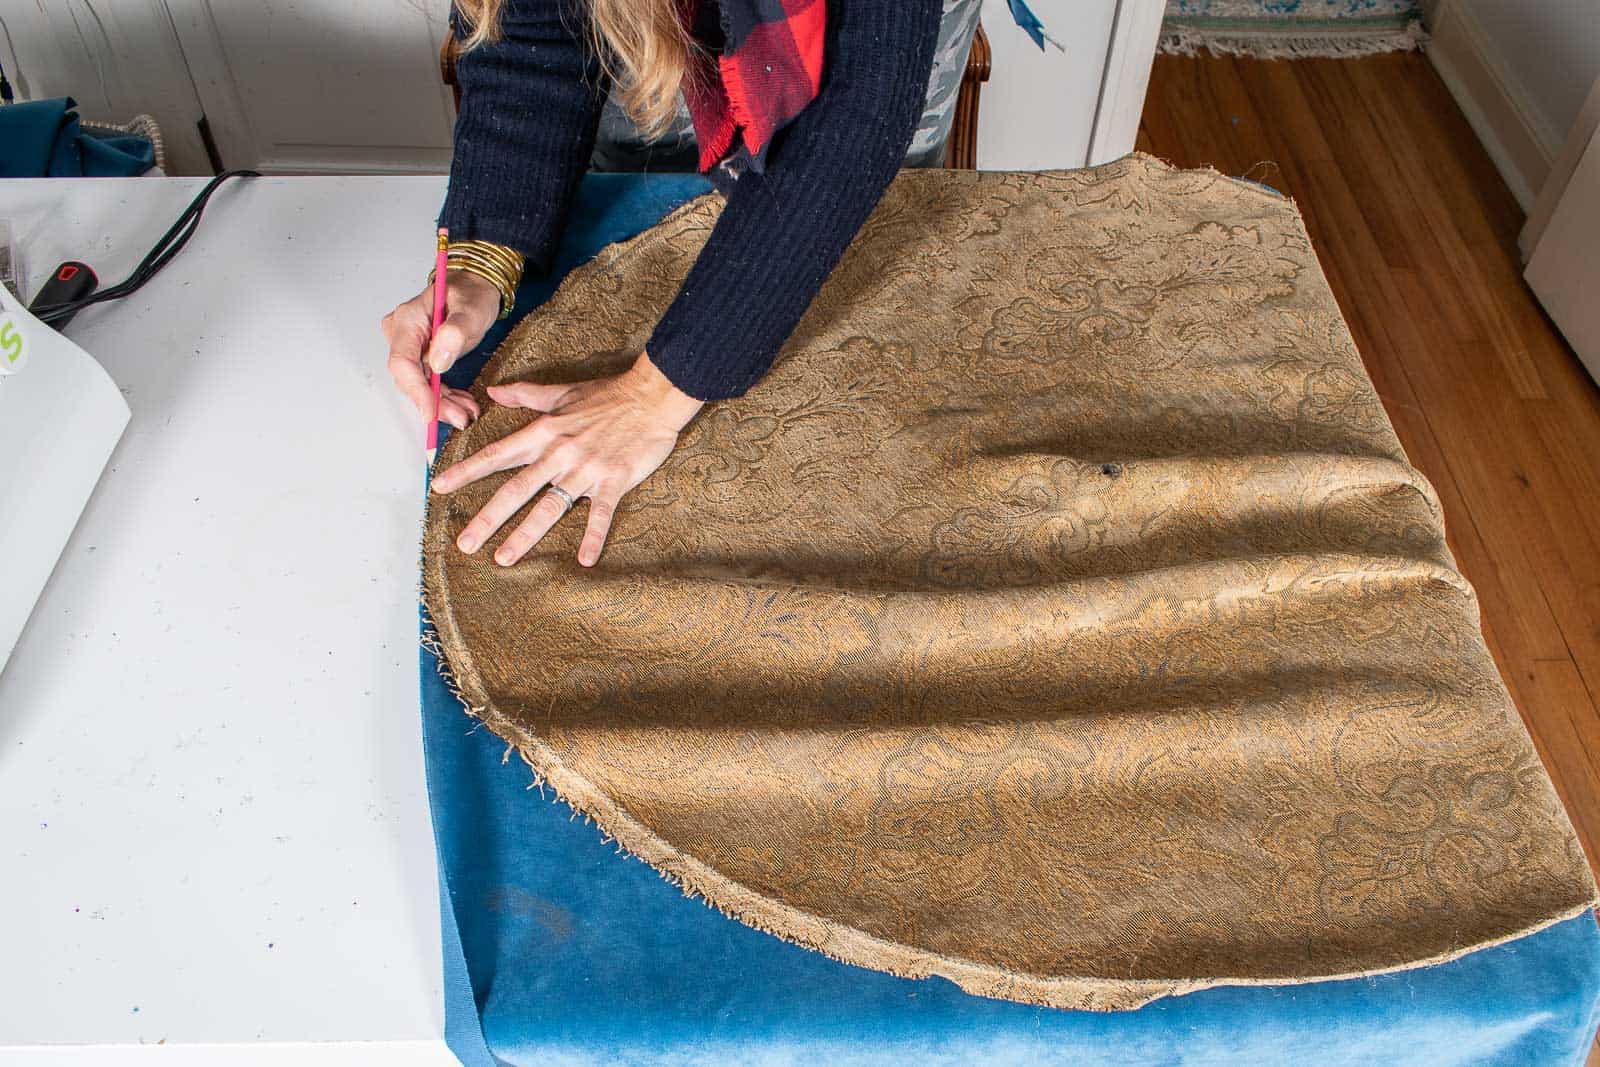
Step 2. Cut the New Fabric
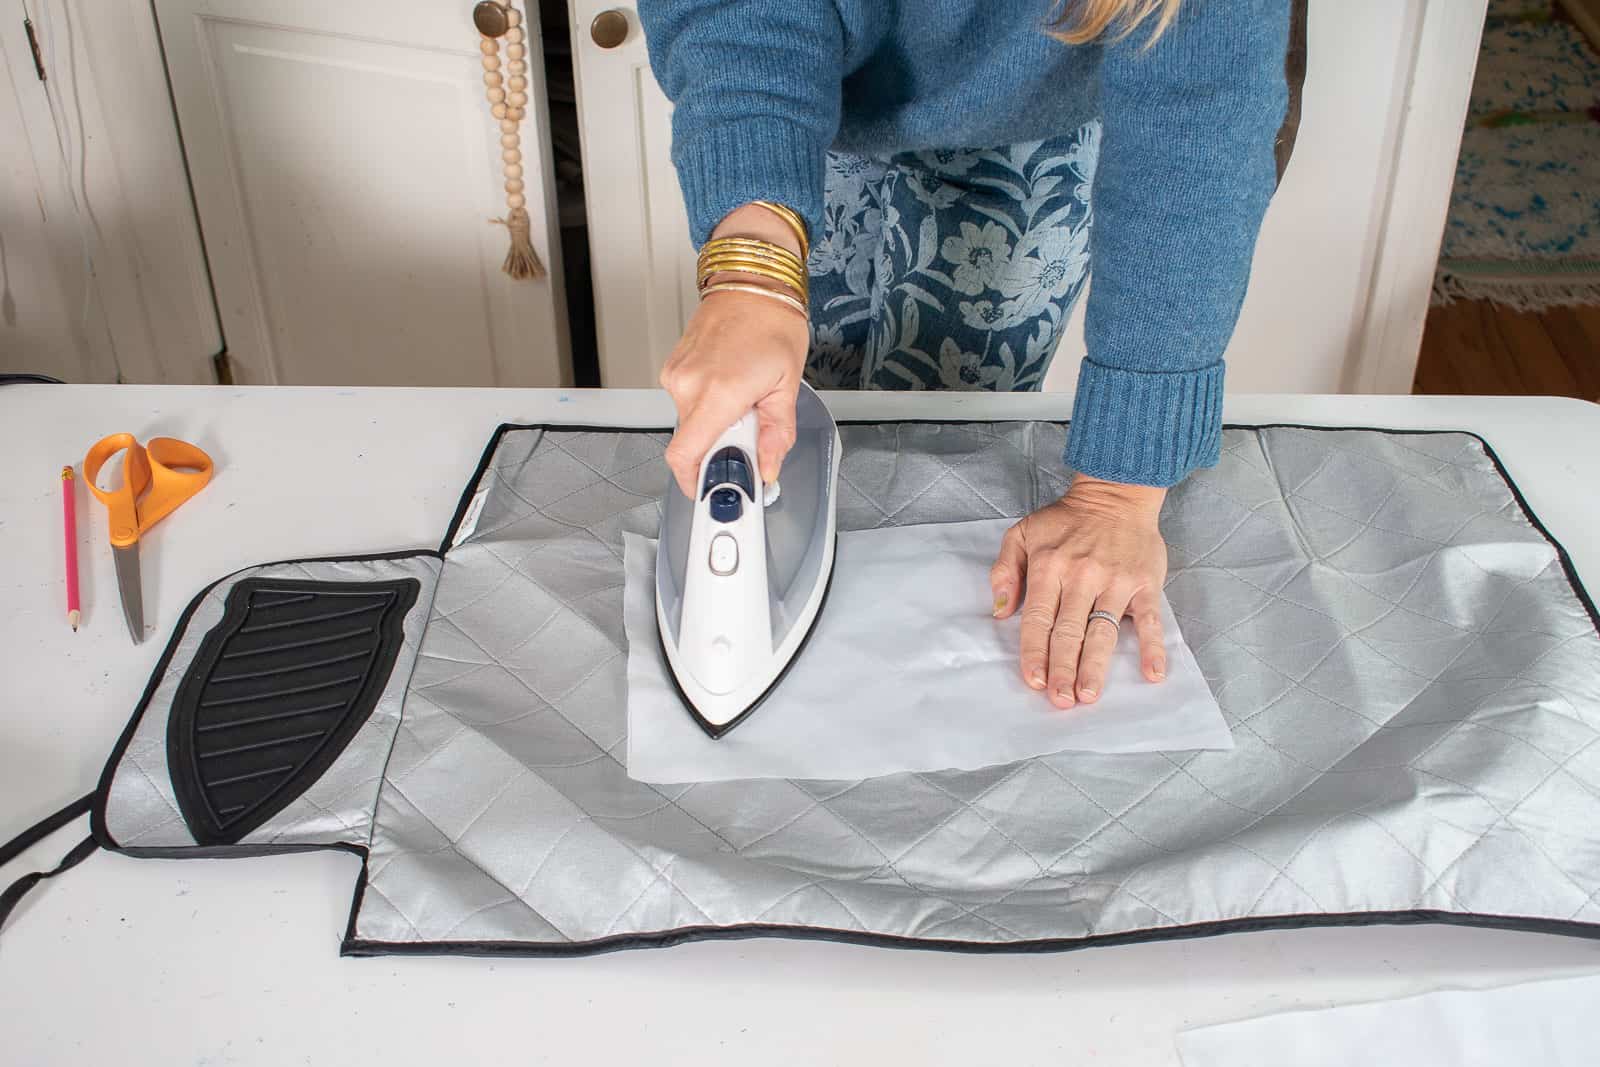
Using the pieces you’ve just removed from the original piece of furniture as templates, begin to recreate each one with your new fabric. I started by cutting out and sewing the flaps for the skirt. They had a liner but I just used a cotton twin sheet for this. The flaps were pretty simple to make: the liner was slightly smaller so that when everything was sewn together, the new blue velvet fabric will wrap around the bottom hem. Every piece of upholstered furniture will be unique so pay careful attention to how your specific one was made.
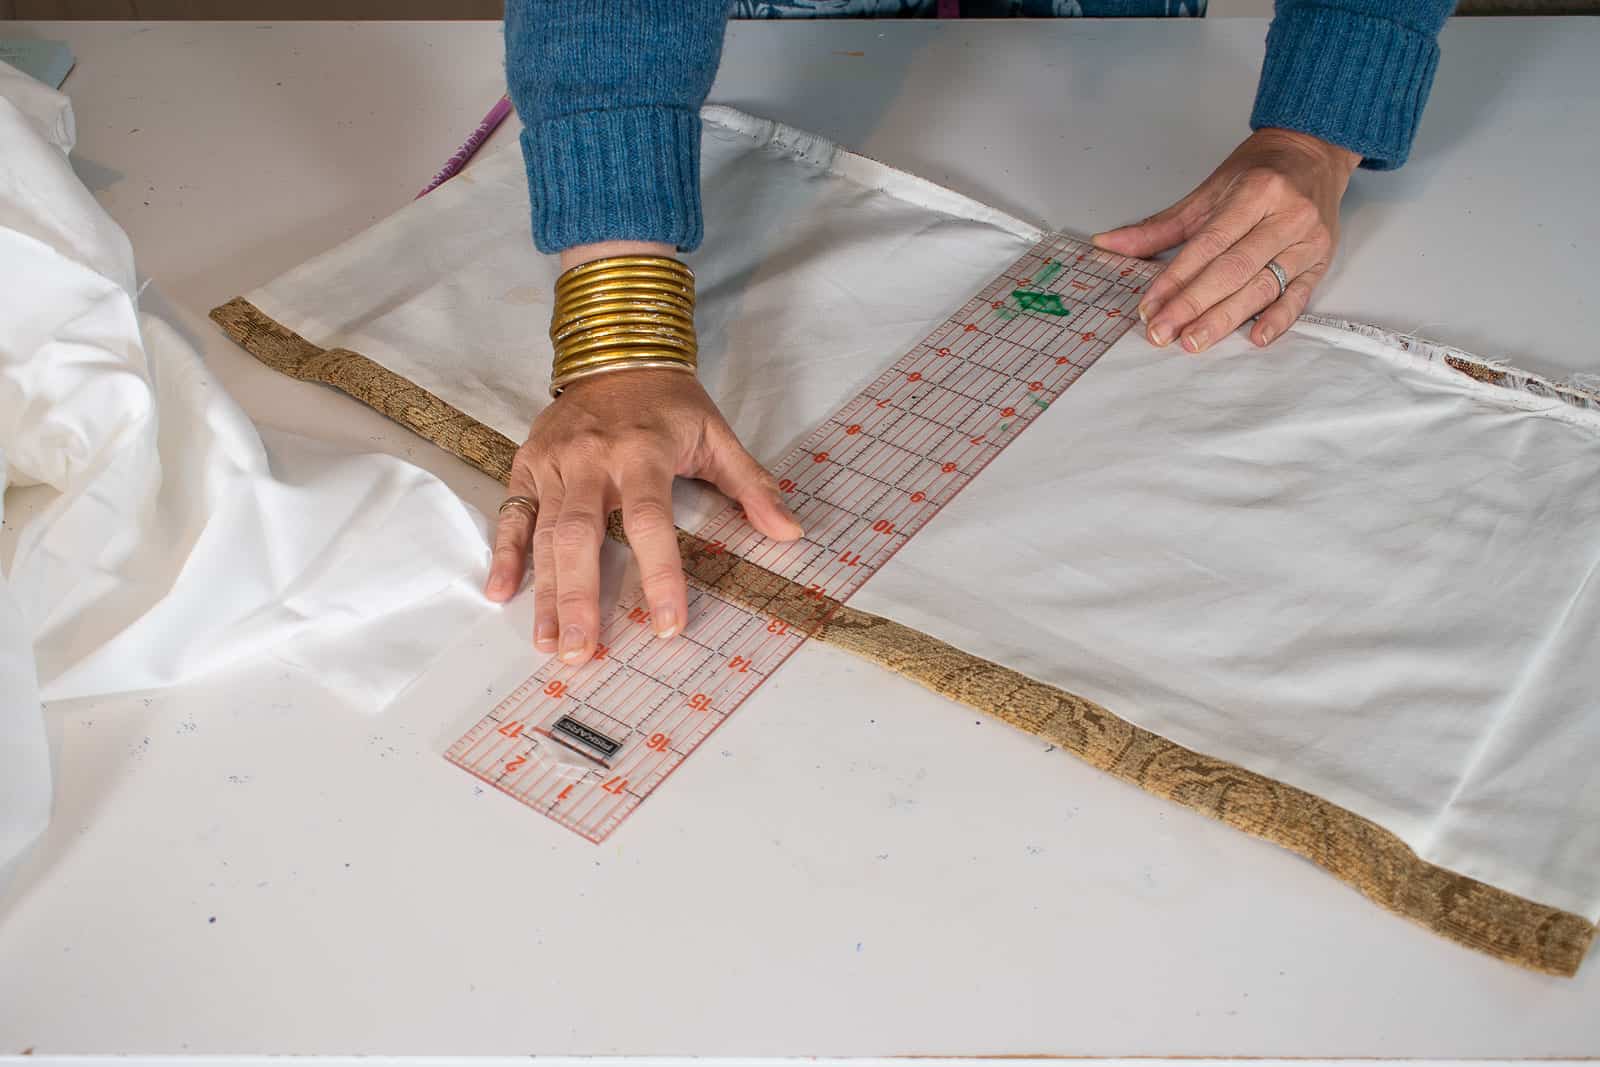
Tip: An iron will be your friend. Iron the fabric as you go, and use the iron to press folds for hems, etc.
Step 3. Sew Piping
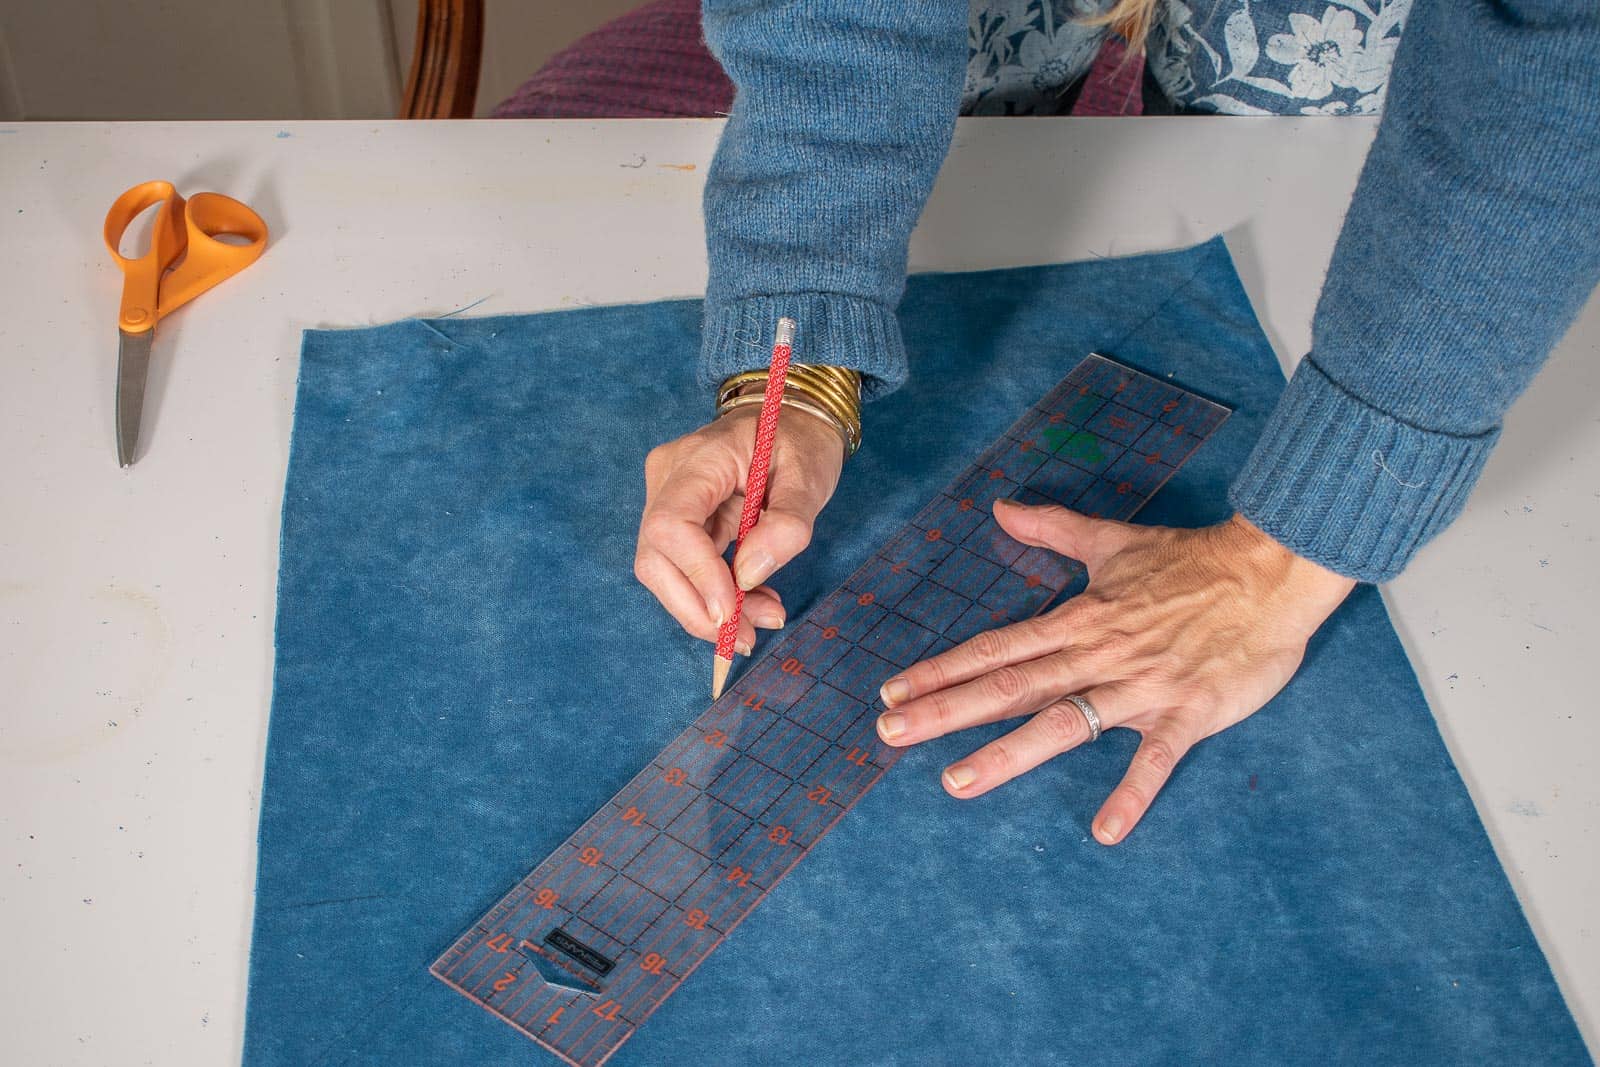
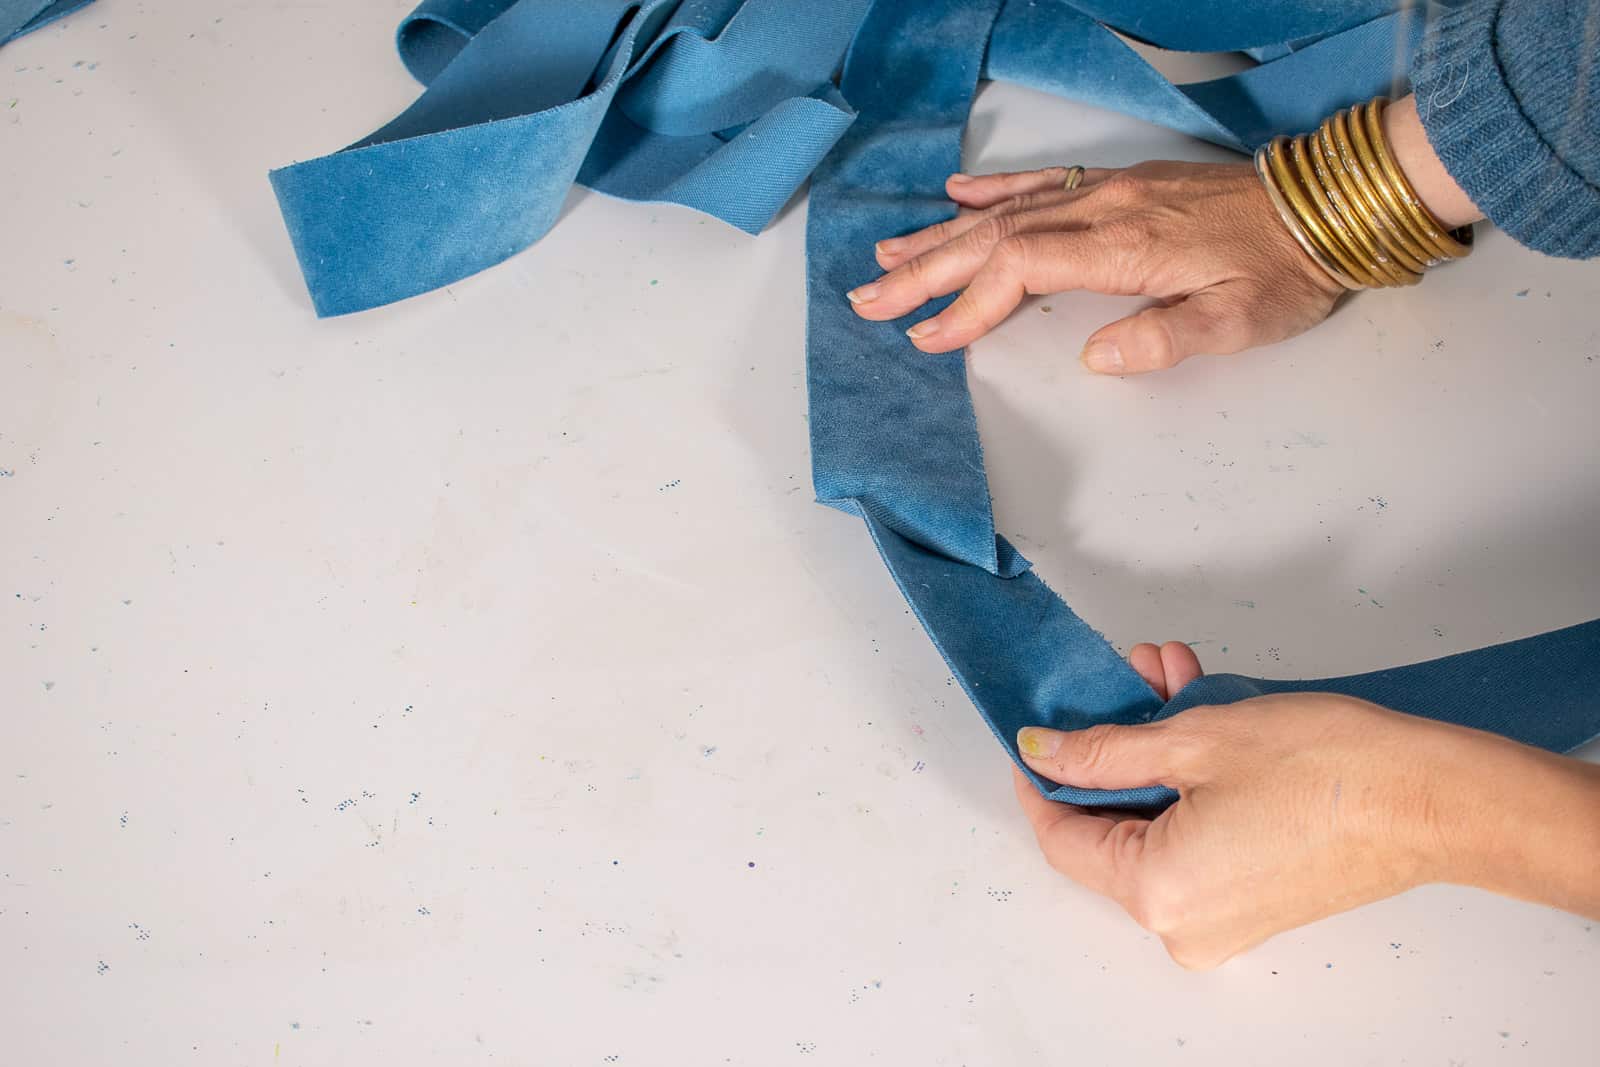
Piping used to be my nemesis until… I got myself a piping foot. A piping foot is a foot for your sewing machine with a special groove in the bottom just the right size for piping. To sew piping, you start by cutting a bunch of strips cut from fabric on the bias. ‘On the bias’ is a fancy word for diagonally. Cutting diagonally across the grain of the fabric gives your fabric more movement which is important for something like piping that will need to conform to the seams and edges of the furniture. I cut my strips about 2″ wide and just sew them together at the ends to make a long enough strip for the piping needed for my reupholstery.
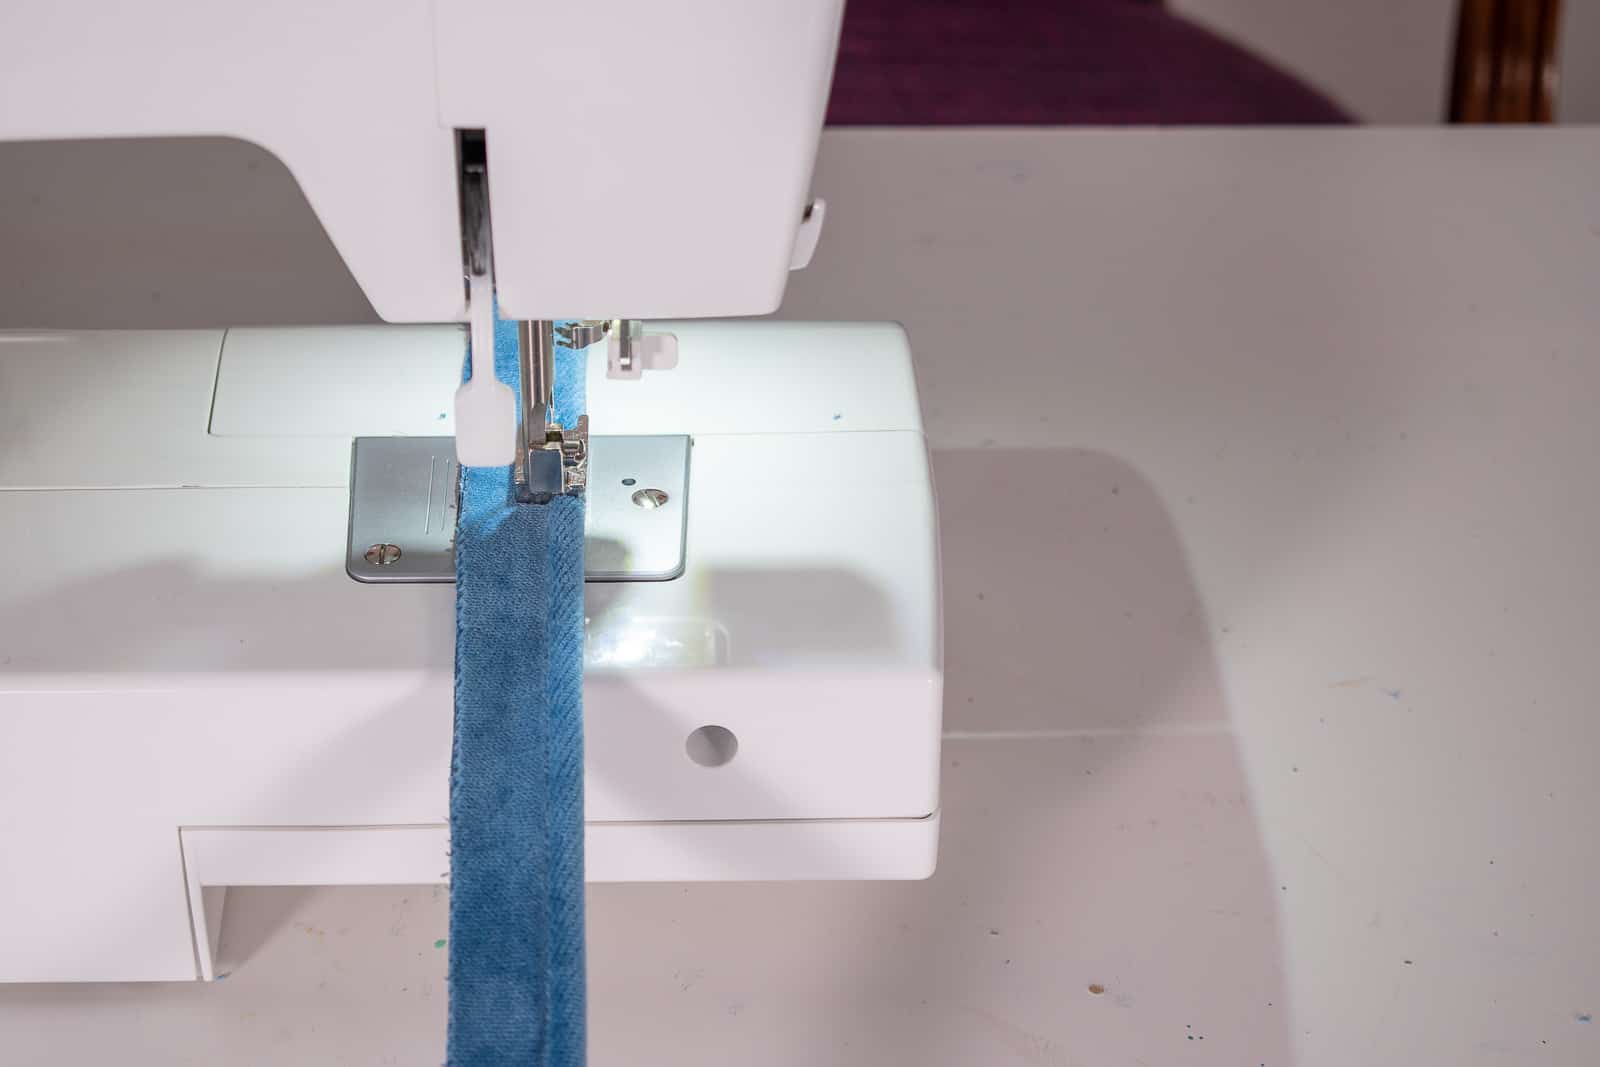
To make the piping, fold the fabric strips around your piping (it comes in various sizes so choose one that looks best to you), and feed it through the piping foot. Tadaaa… piping magically sewn.
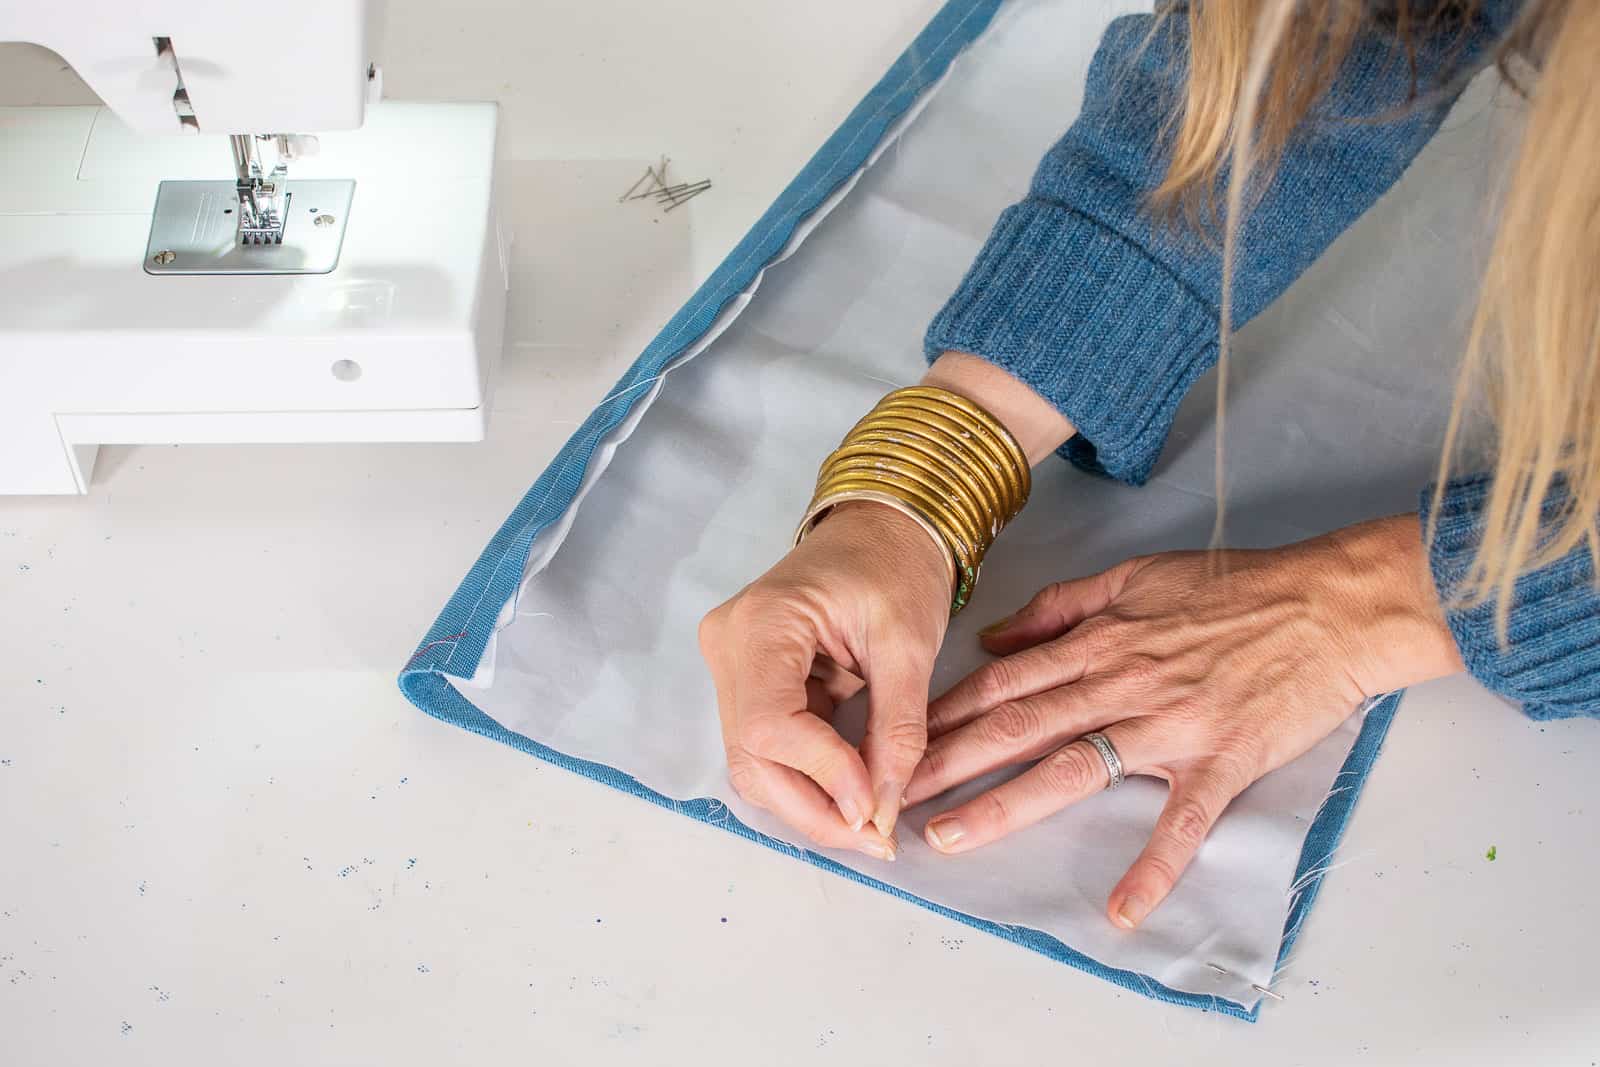
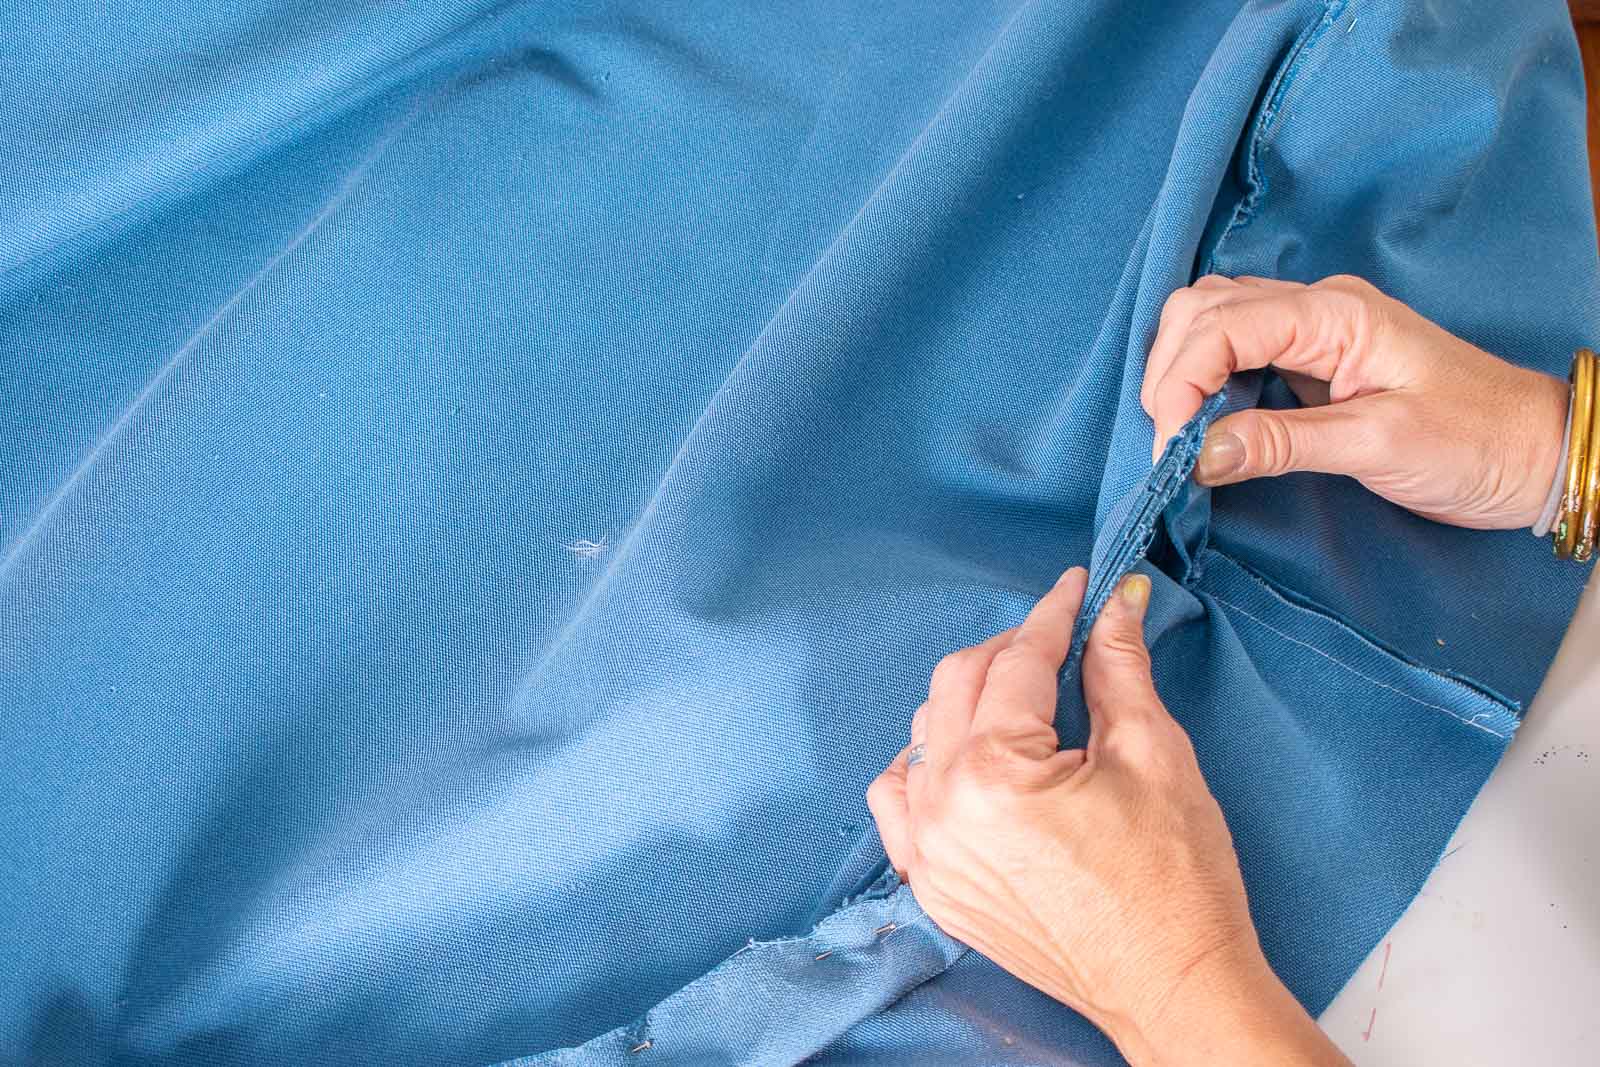
Step 4. Sew the Seat Cover
Note that I actually made a mistake here. The piping right above the skirt was sewn onto the side of the upholstered seat. To get a straight and even line, I *should* have sewn the piping in place here FIRST. But I didn’t. I started by sewing the sides onto the top of the upholstered seat. It’s a little hard to see in photos, but it’s a piping sandwich. With the right sides of the fabric facing each other, sandwich the piping in the middle. When you turn everything right-side-out, the piping should be neatly sewn along the seam.
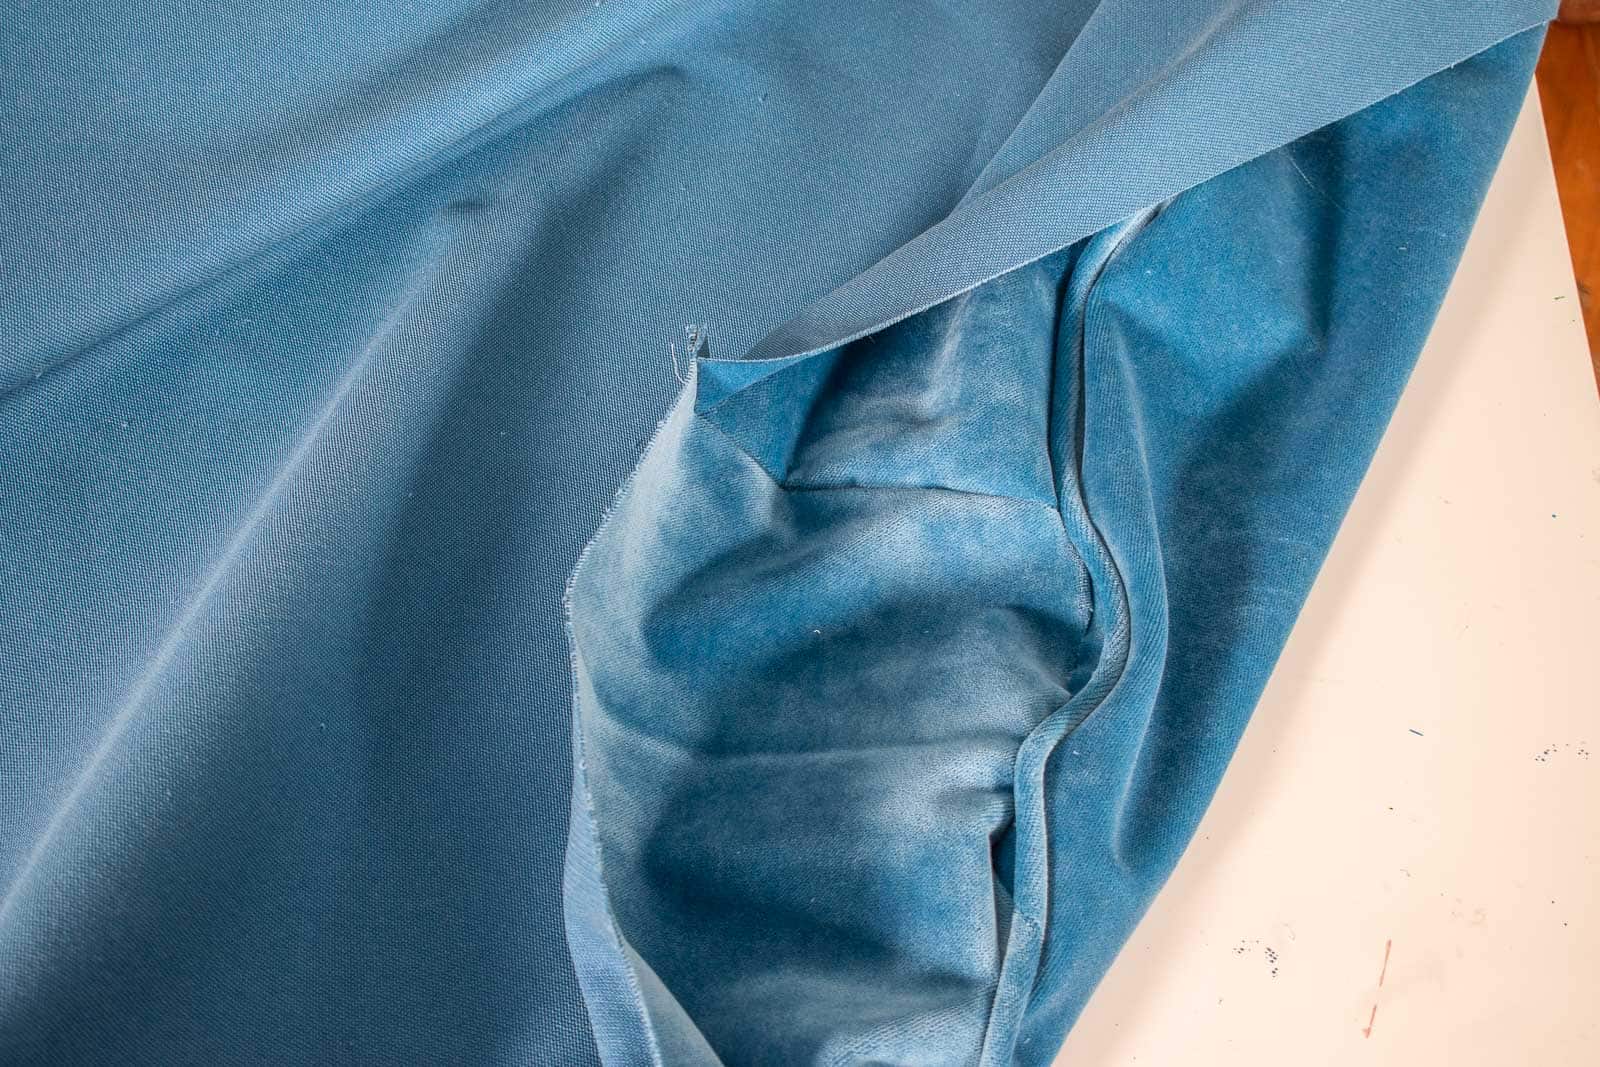
I made sure the seat fit the ottoman before going any further. It’s a tiny bit loose, but not enough of a problem for me to have pulled it apart and resewed it!
This was the point when I realized I should have sewed the bottom strip of piping in place first… because the seat was already sewed, the curve made it a little tricky to ensure the bottom piping would be precise. But no worries, because lots of times piping is stapled right onto the furniture itself without being sewn onto the upholstery itself.
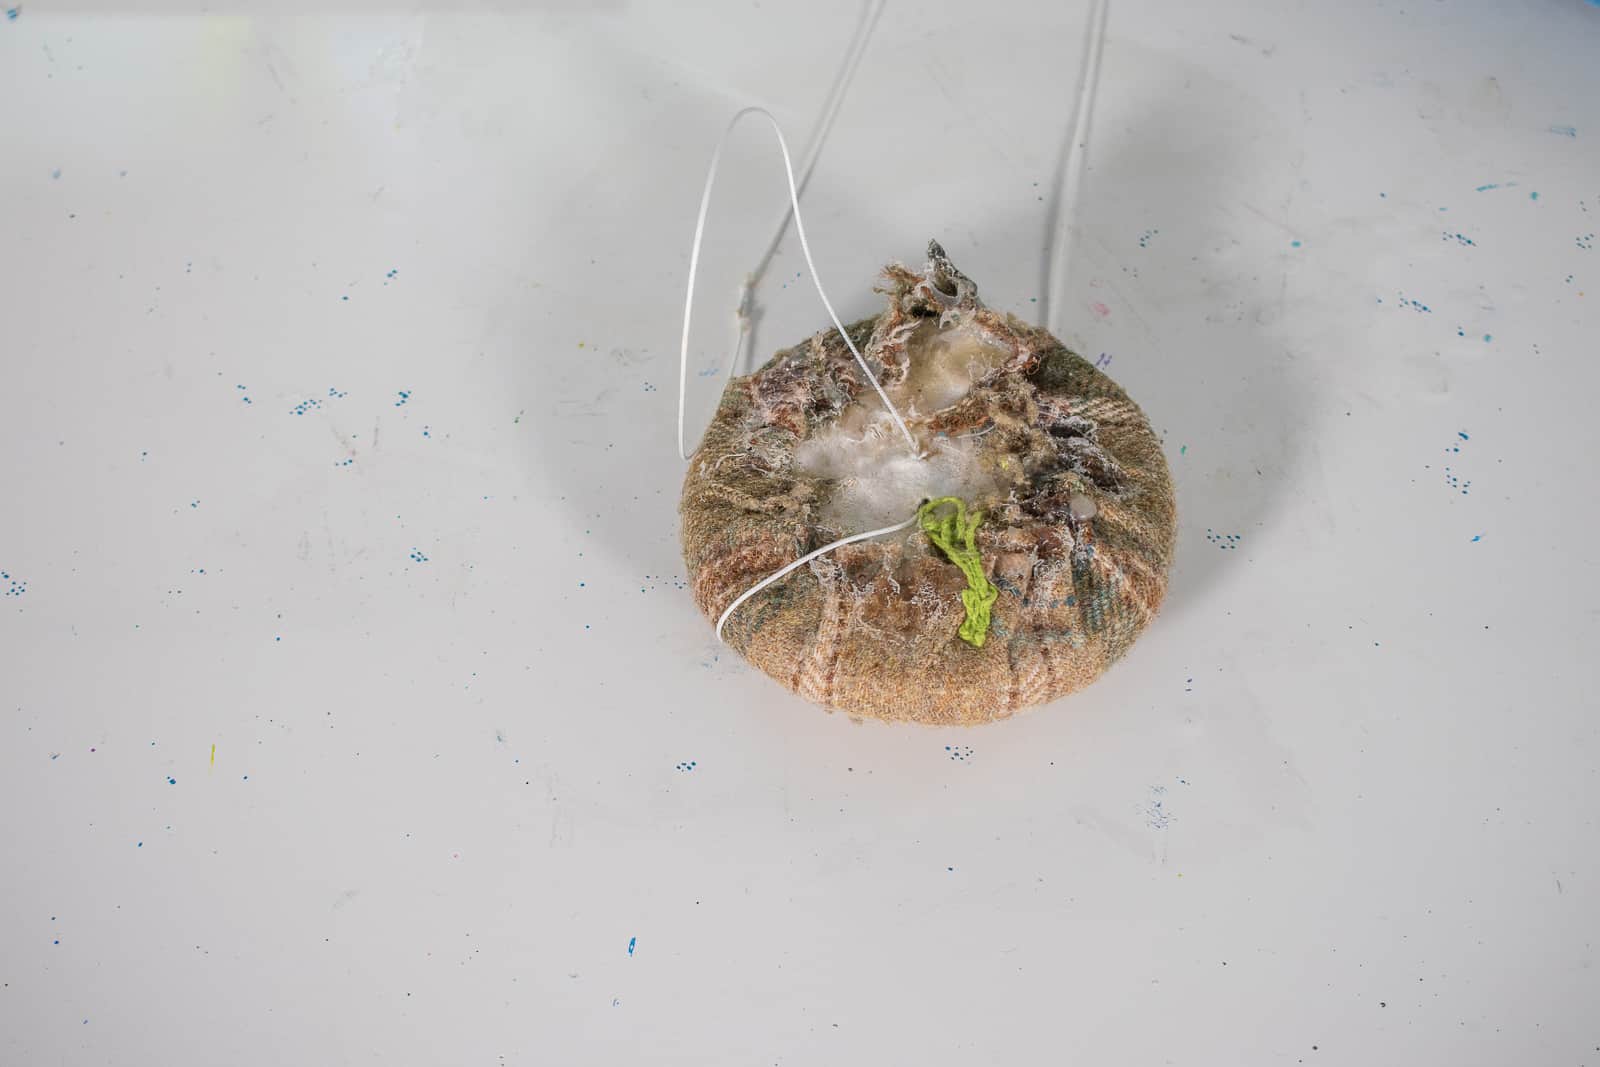
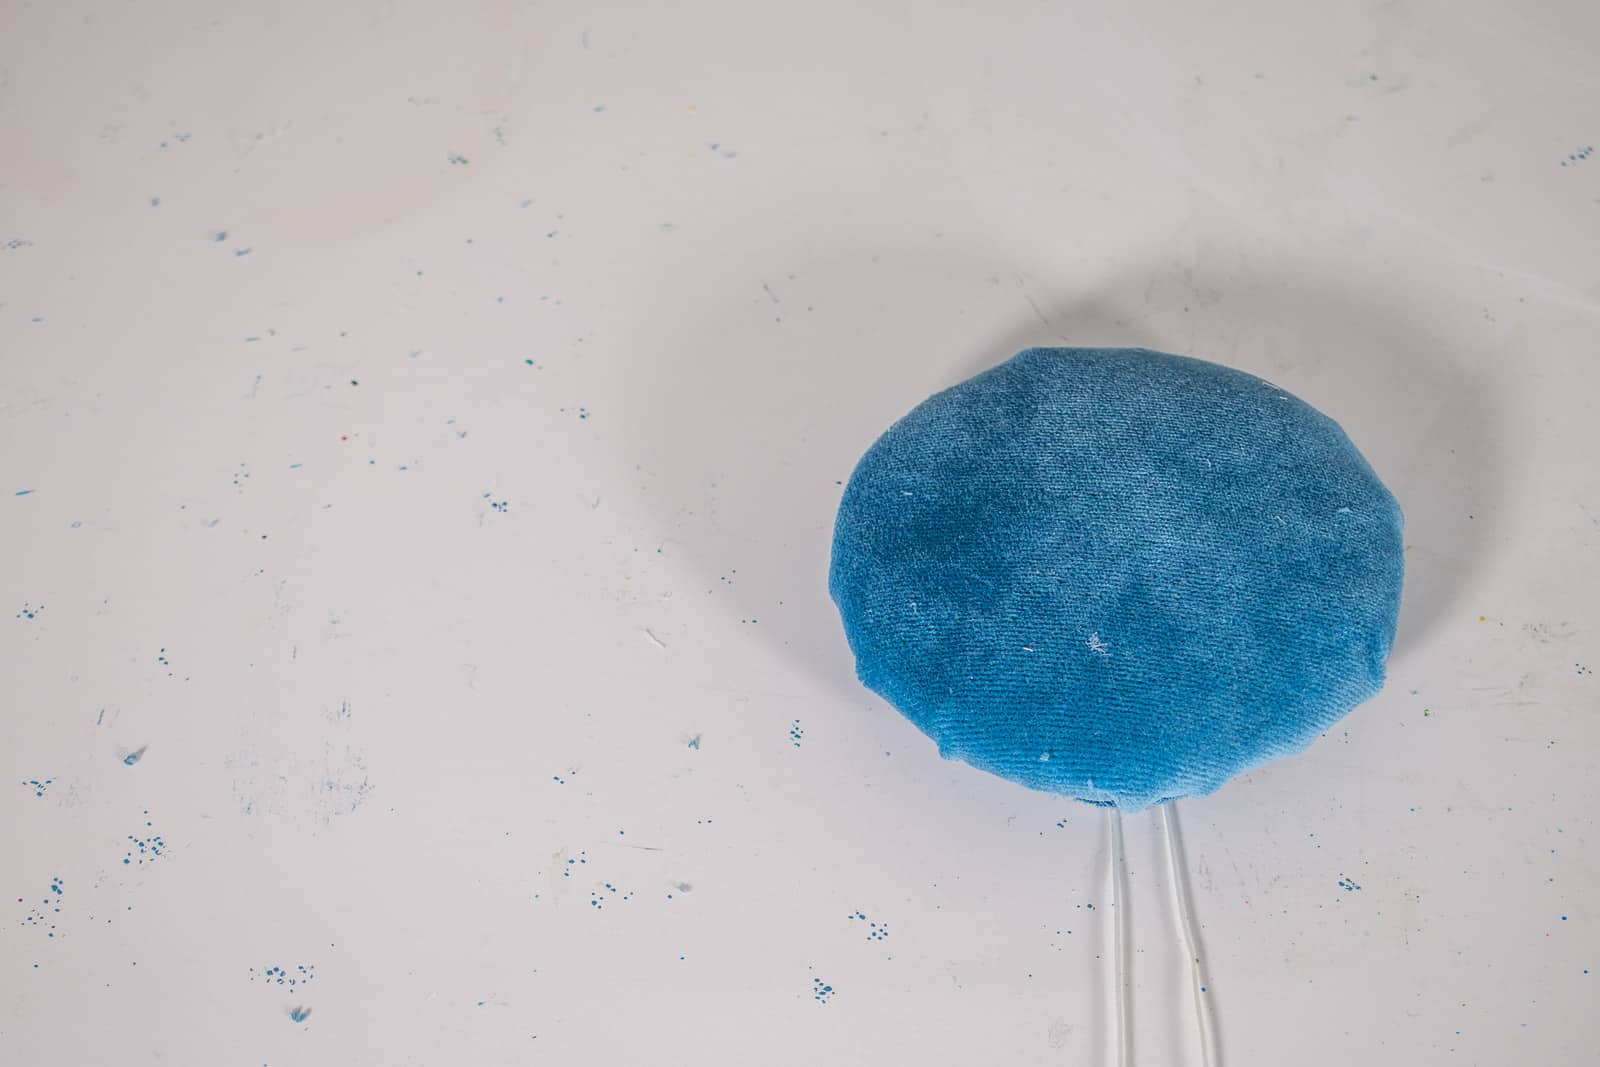
Step 5. Reupholster the Button for the Tuft
The tuft on my ottoman was made with one giant button that had been wrapped with fabric and glued in place with SO much glue! I removed the old fabric and wrapped it with my blue velvet.
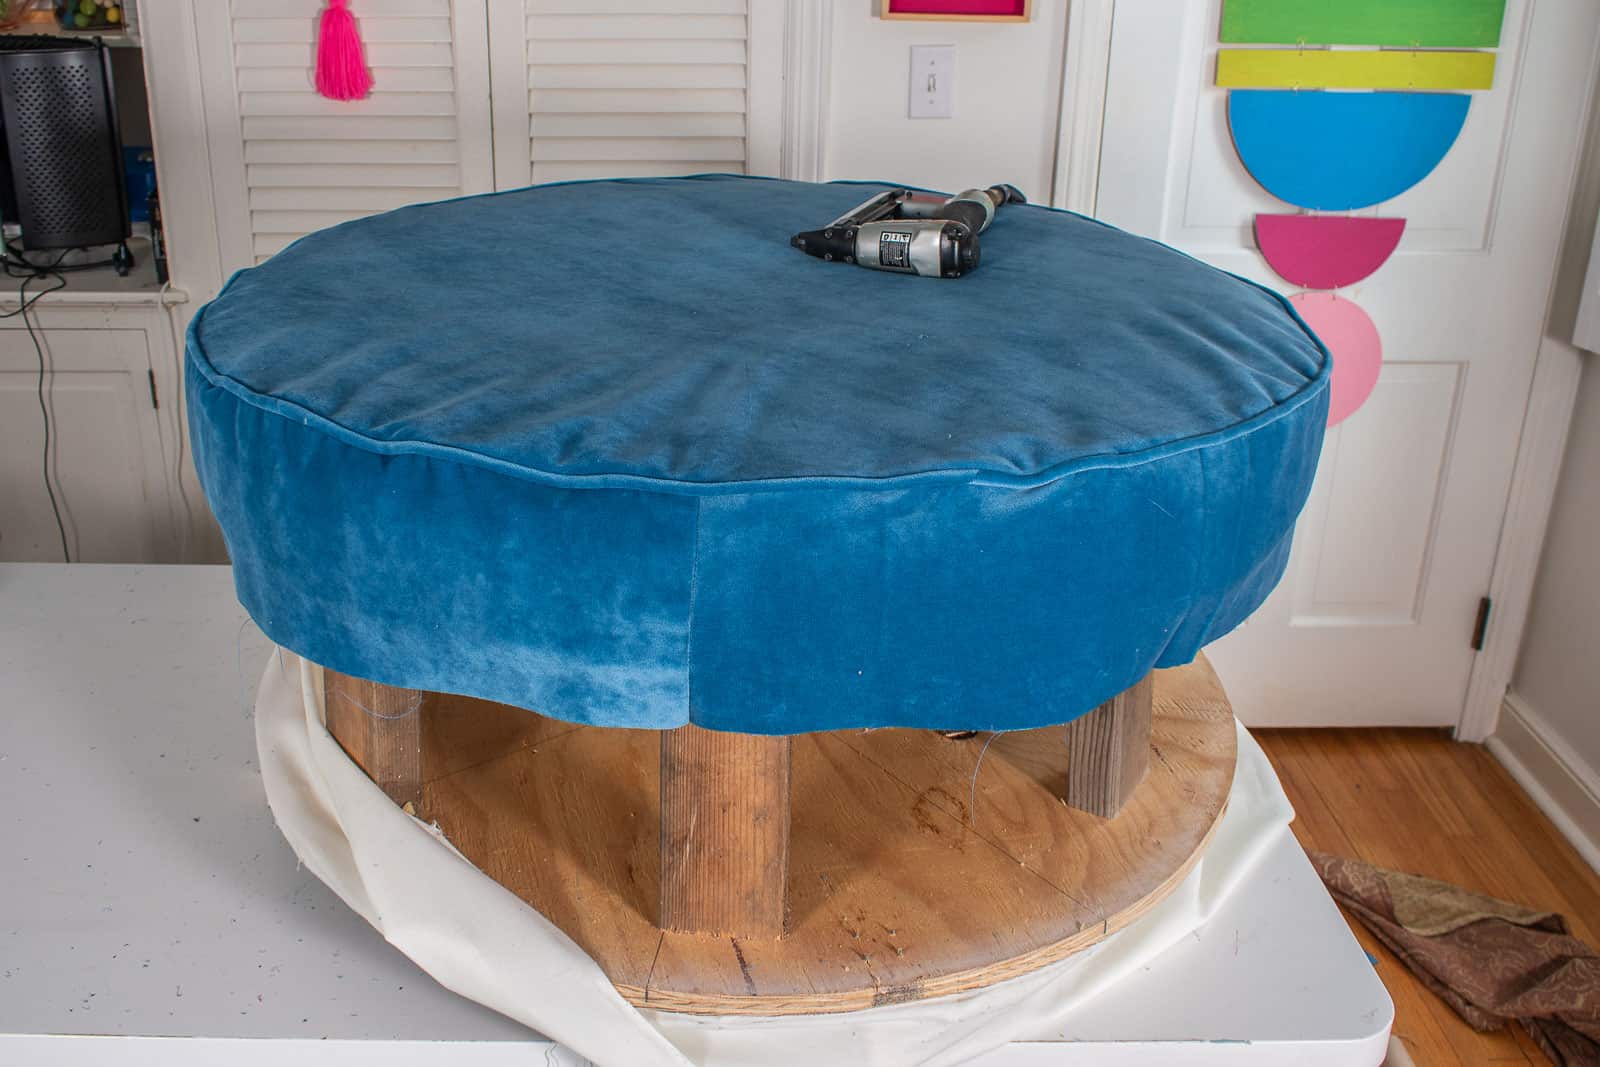
Step 6. Assemble the Seat
Once I’d pulled the seat back over the foam, I needed to replace the tuft. I poked a hole through the velvet and pulled the tuft as taught as I could before securing in place underneath the seat.
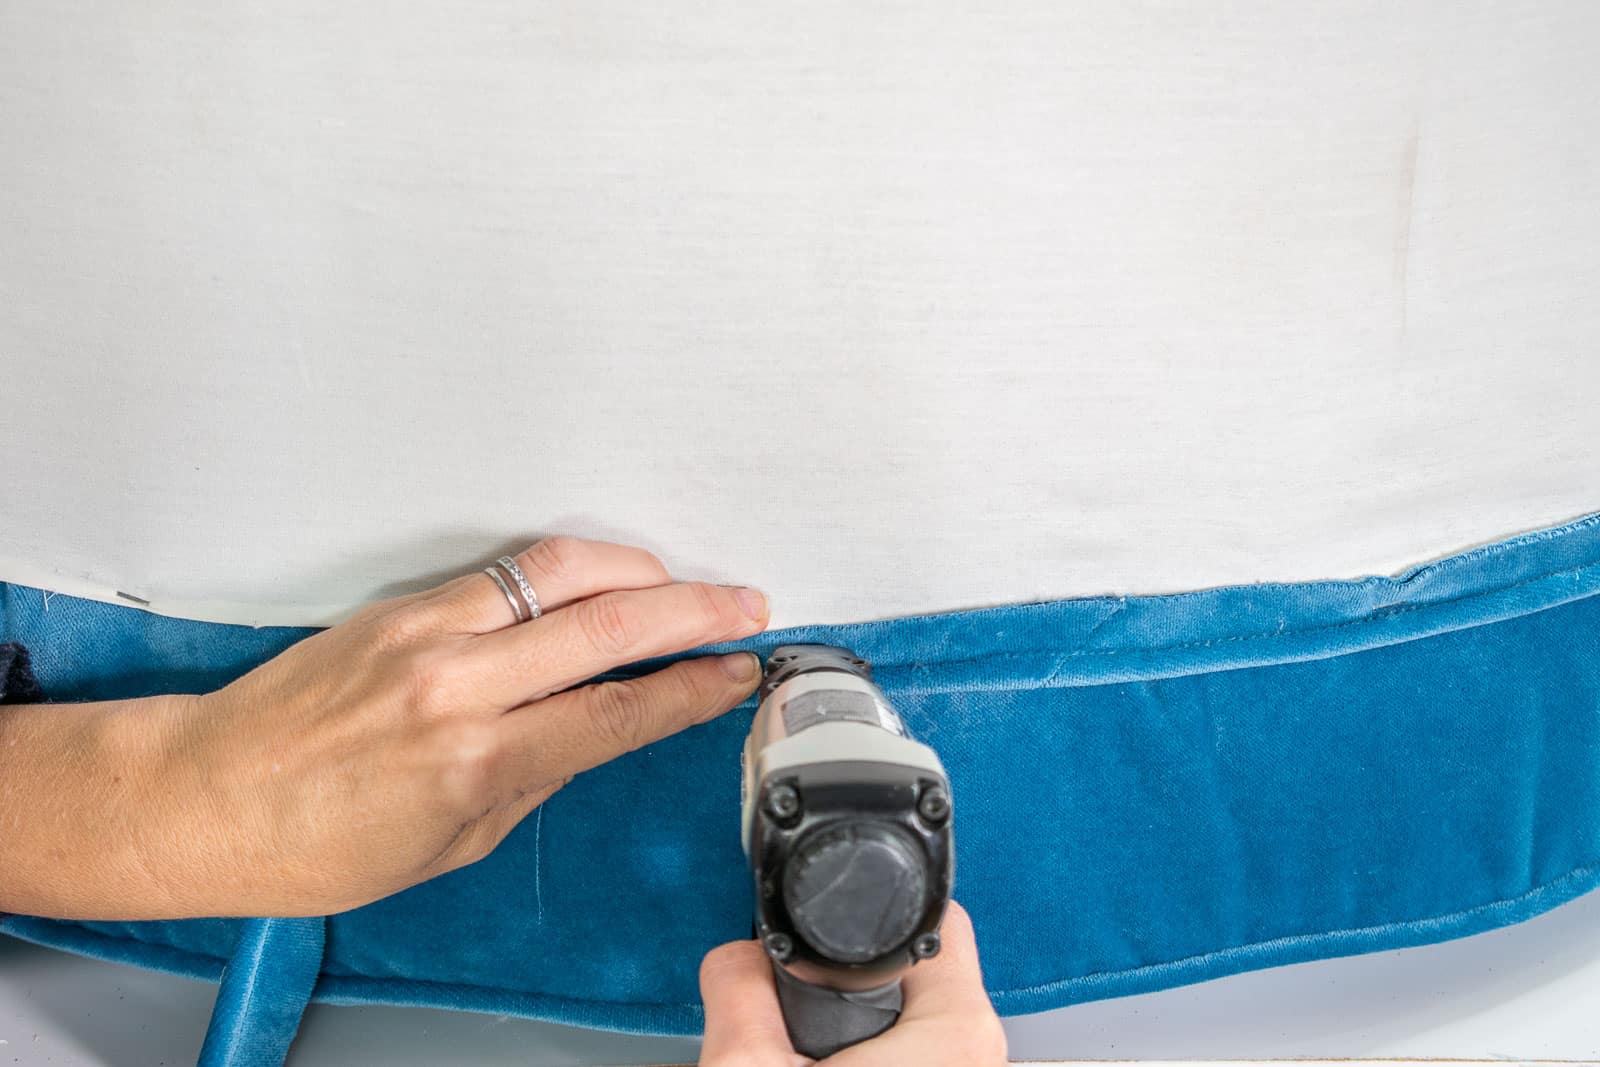
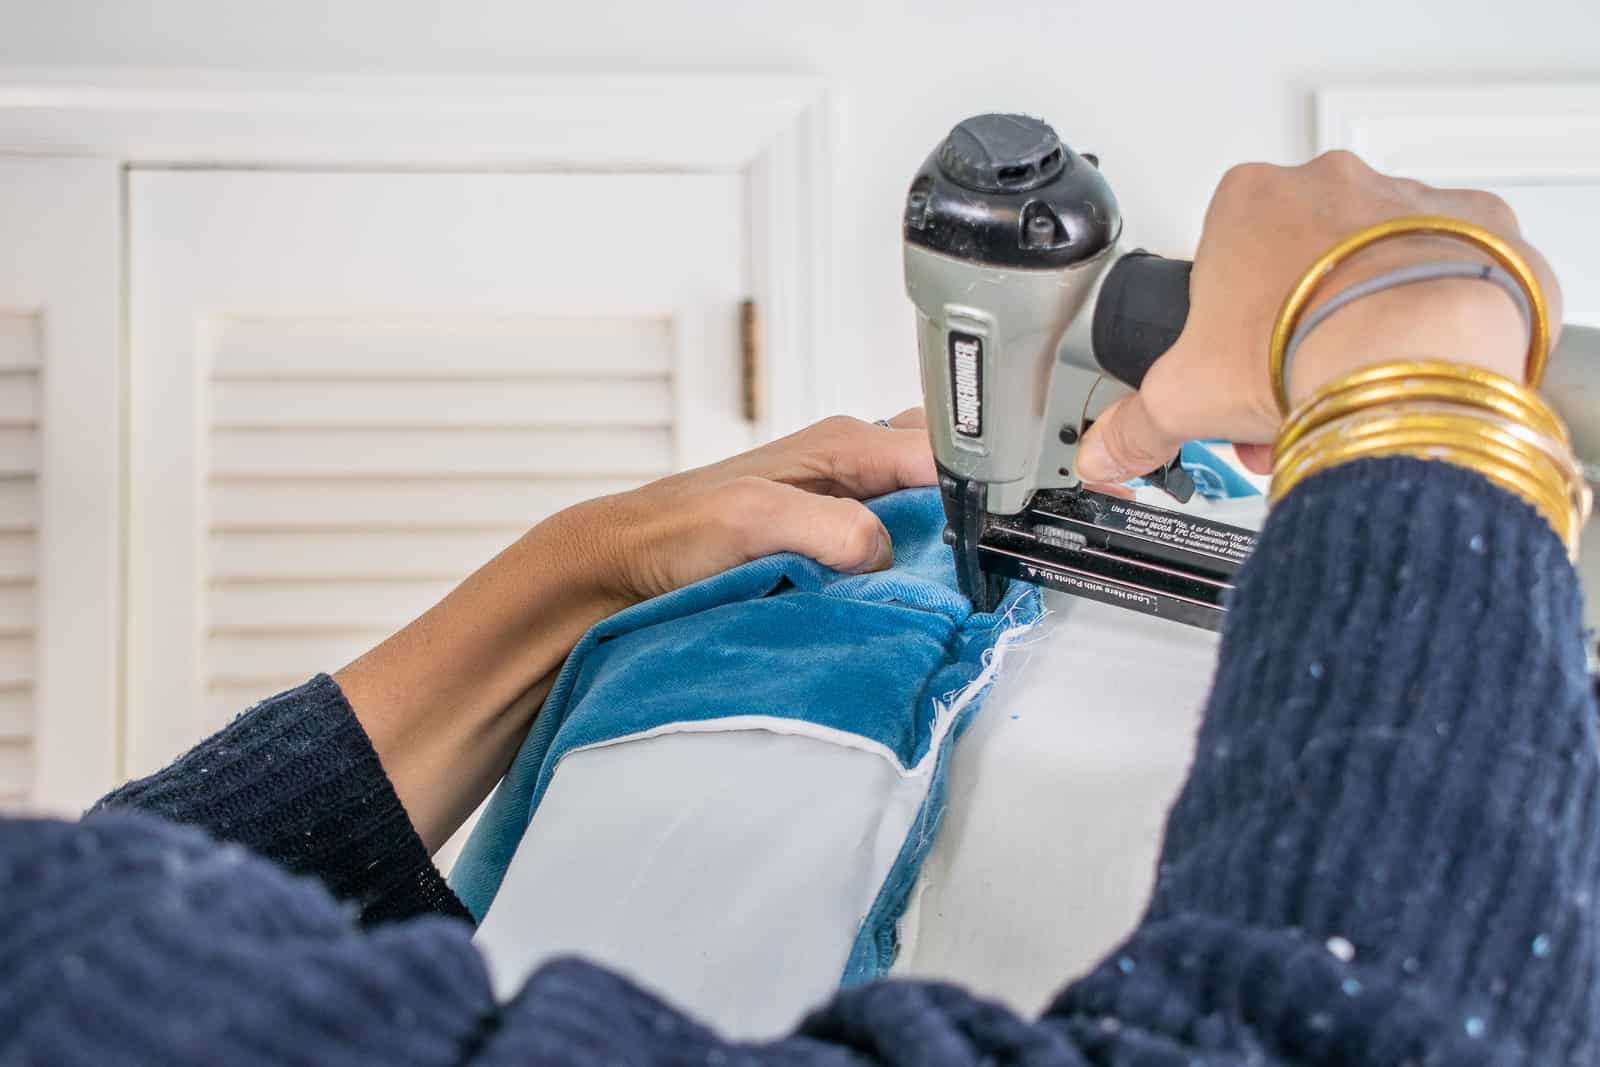
Next I secured the seat fabric underneath the ottoman with staples. I’m using a pneumatic staple gun which I find makes it so much easier to get the staples through the layers of the fabric.
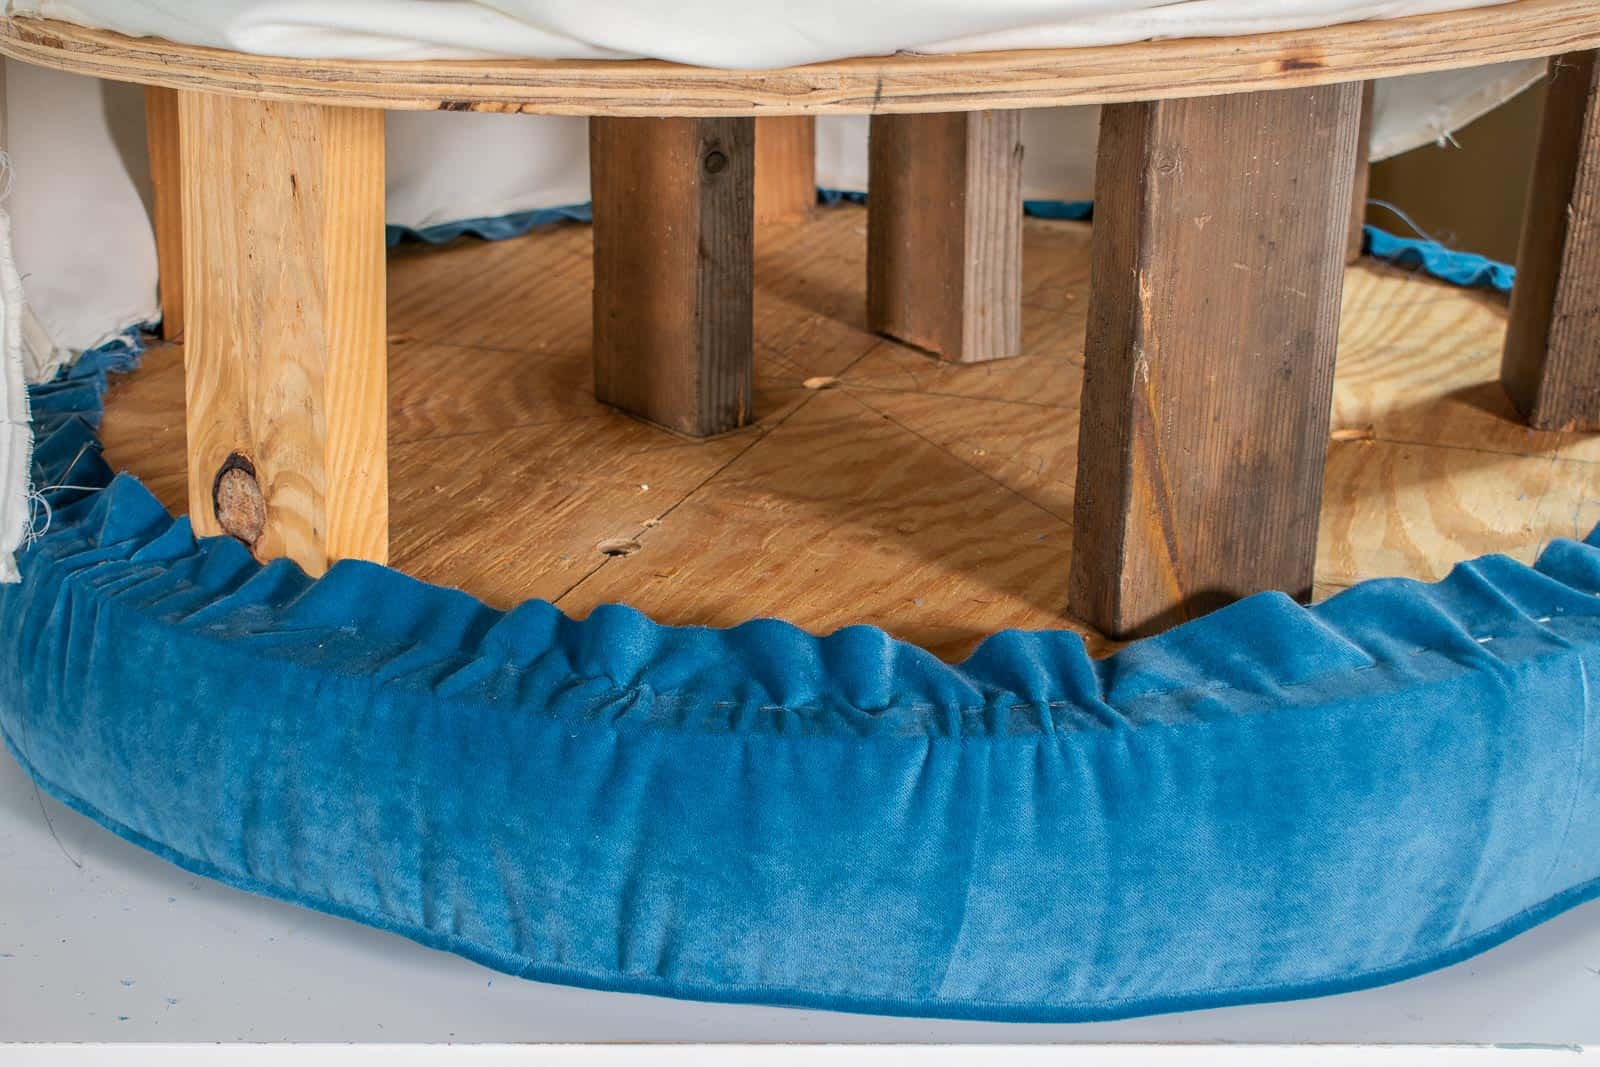
Next I had to replace that muslin.
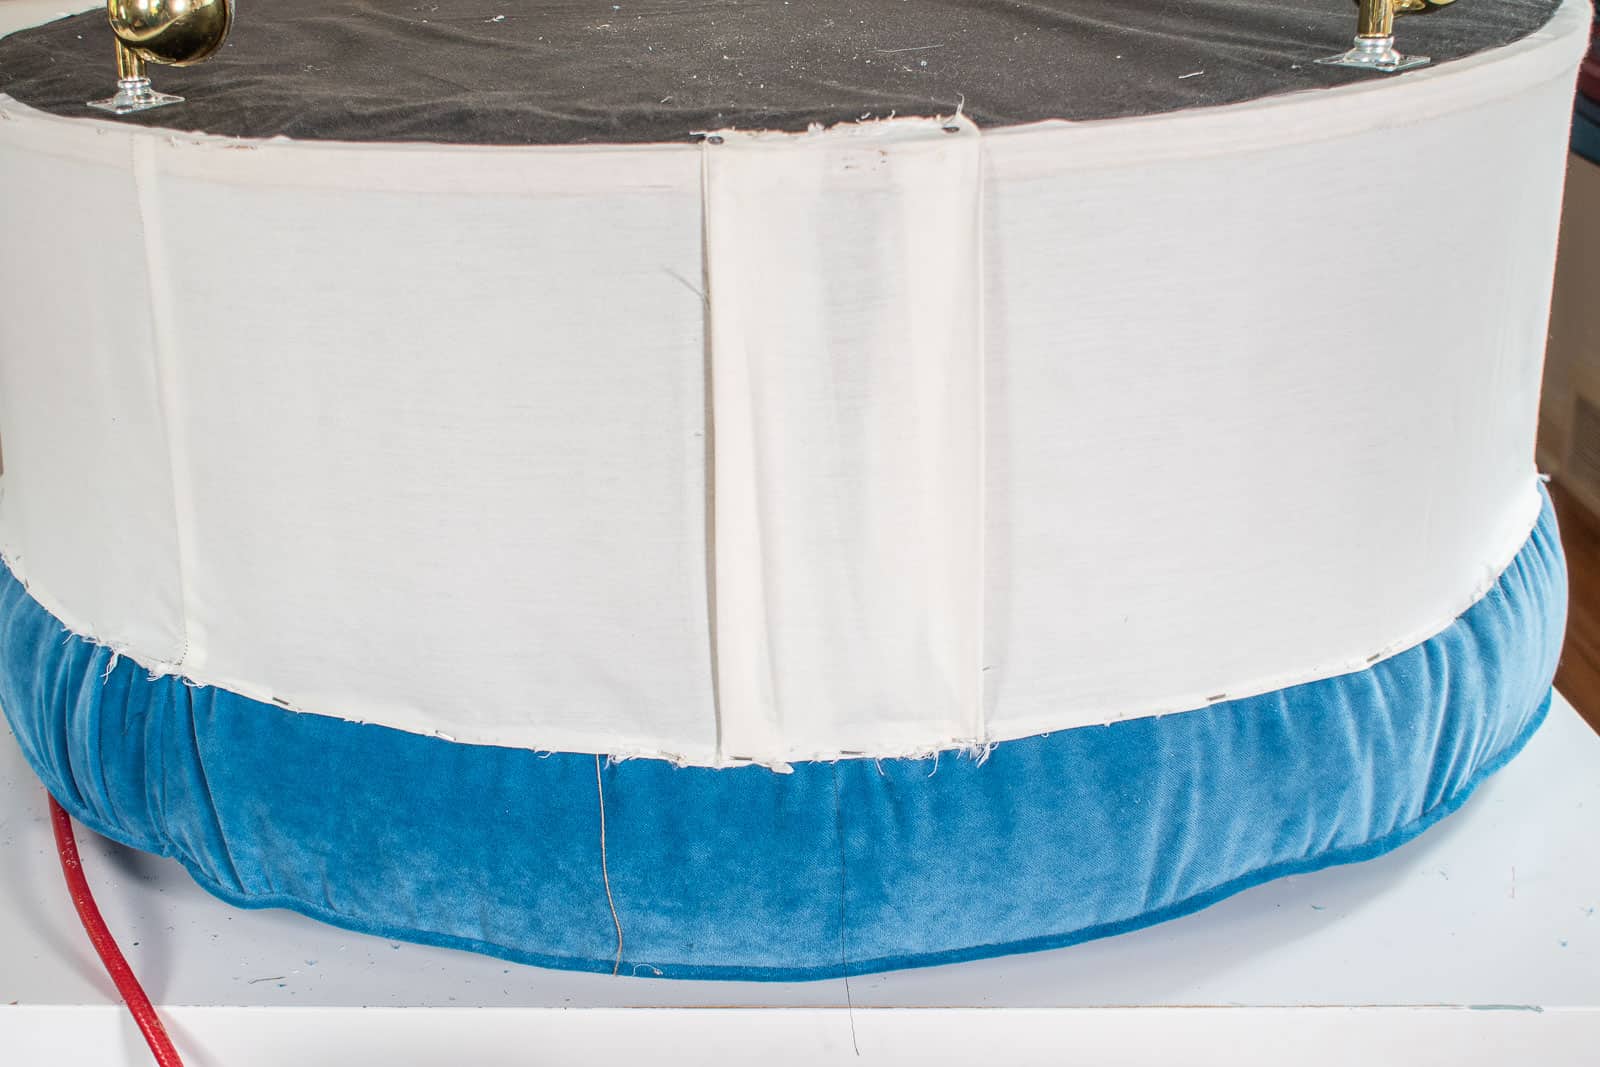
Because I didn’t sew the lower edge of piping in place, I had to staple it in place now.
Last step was to staple the ottoman skirt in place. Having the pictures as a reminder to how it was all originally assembled was mission critical so don’t forget to document when you take apart the original fabric.
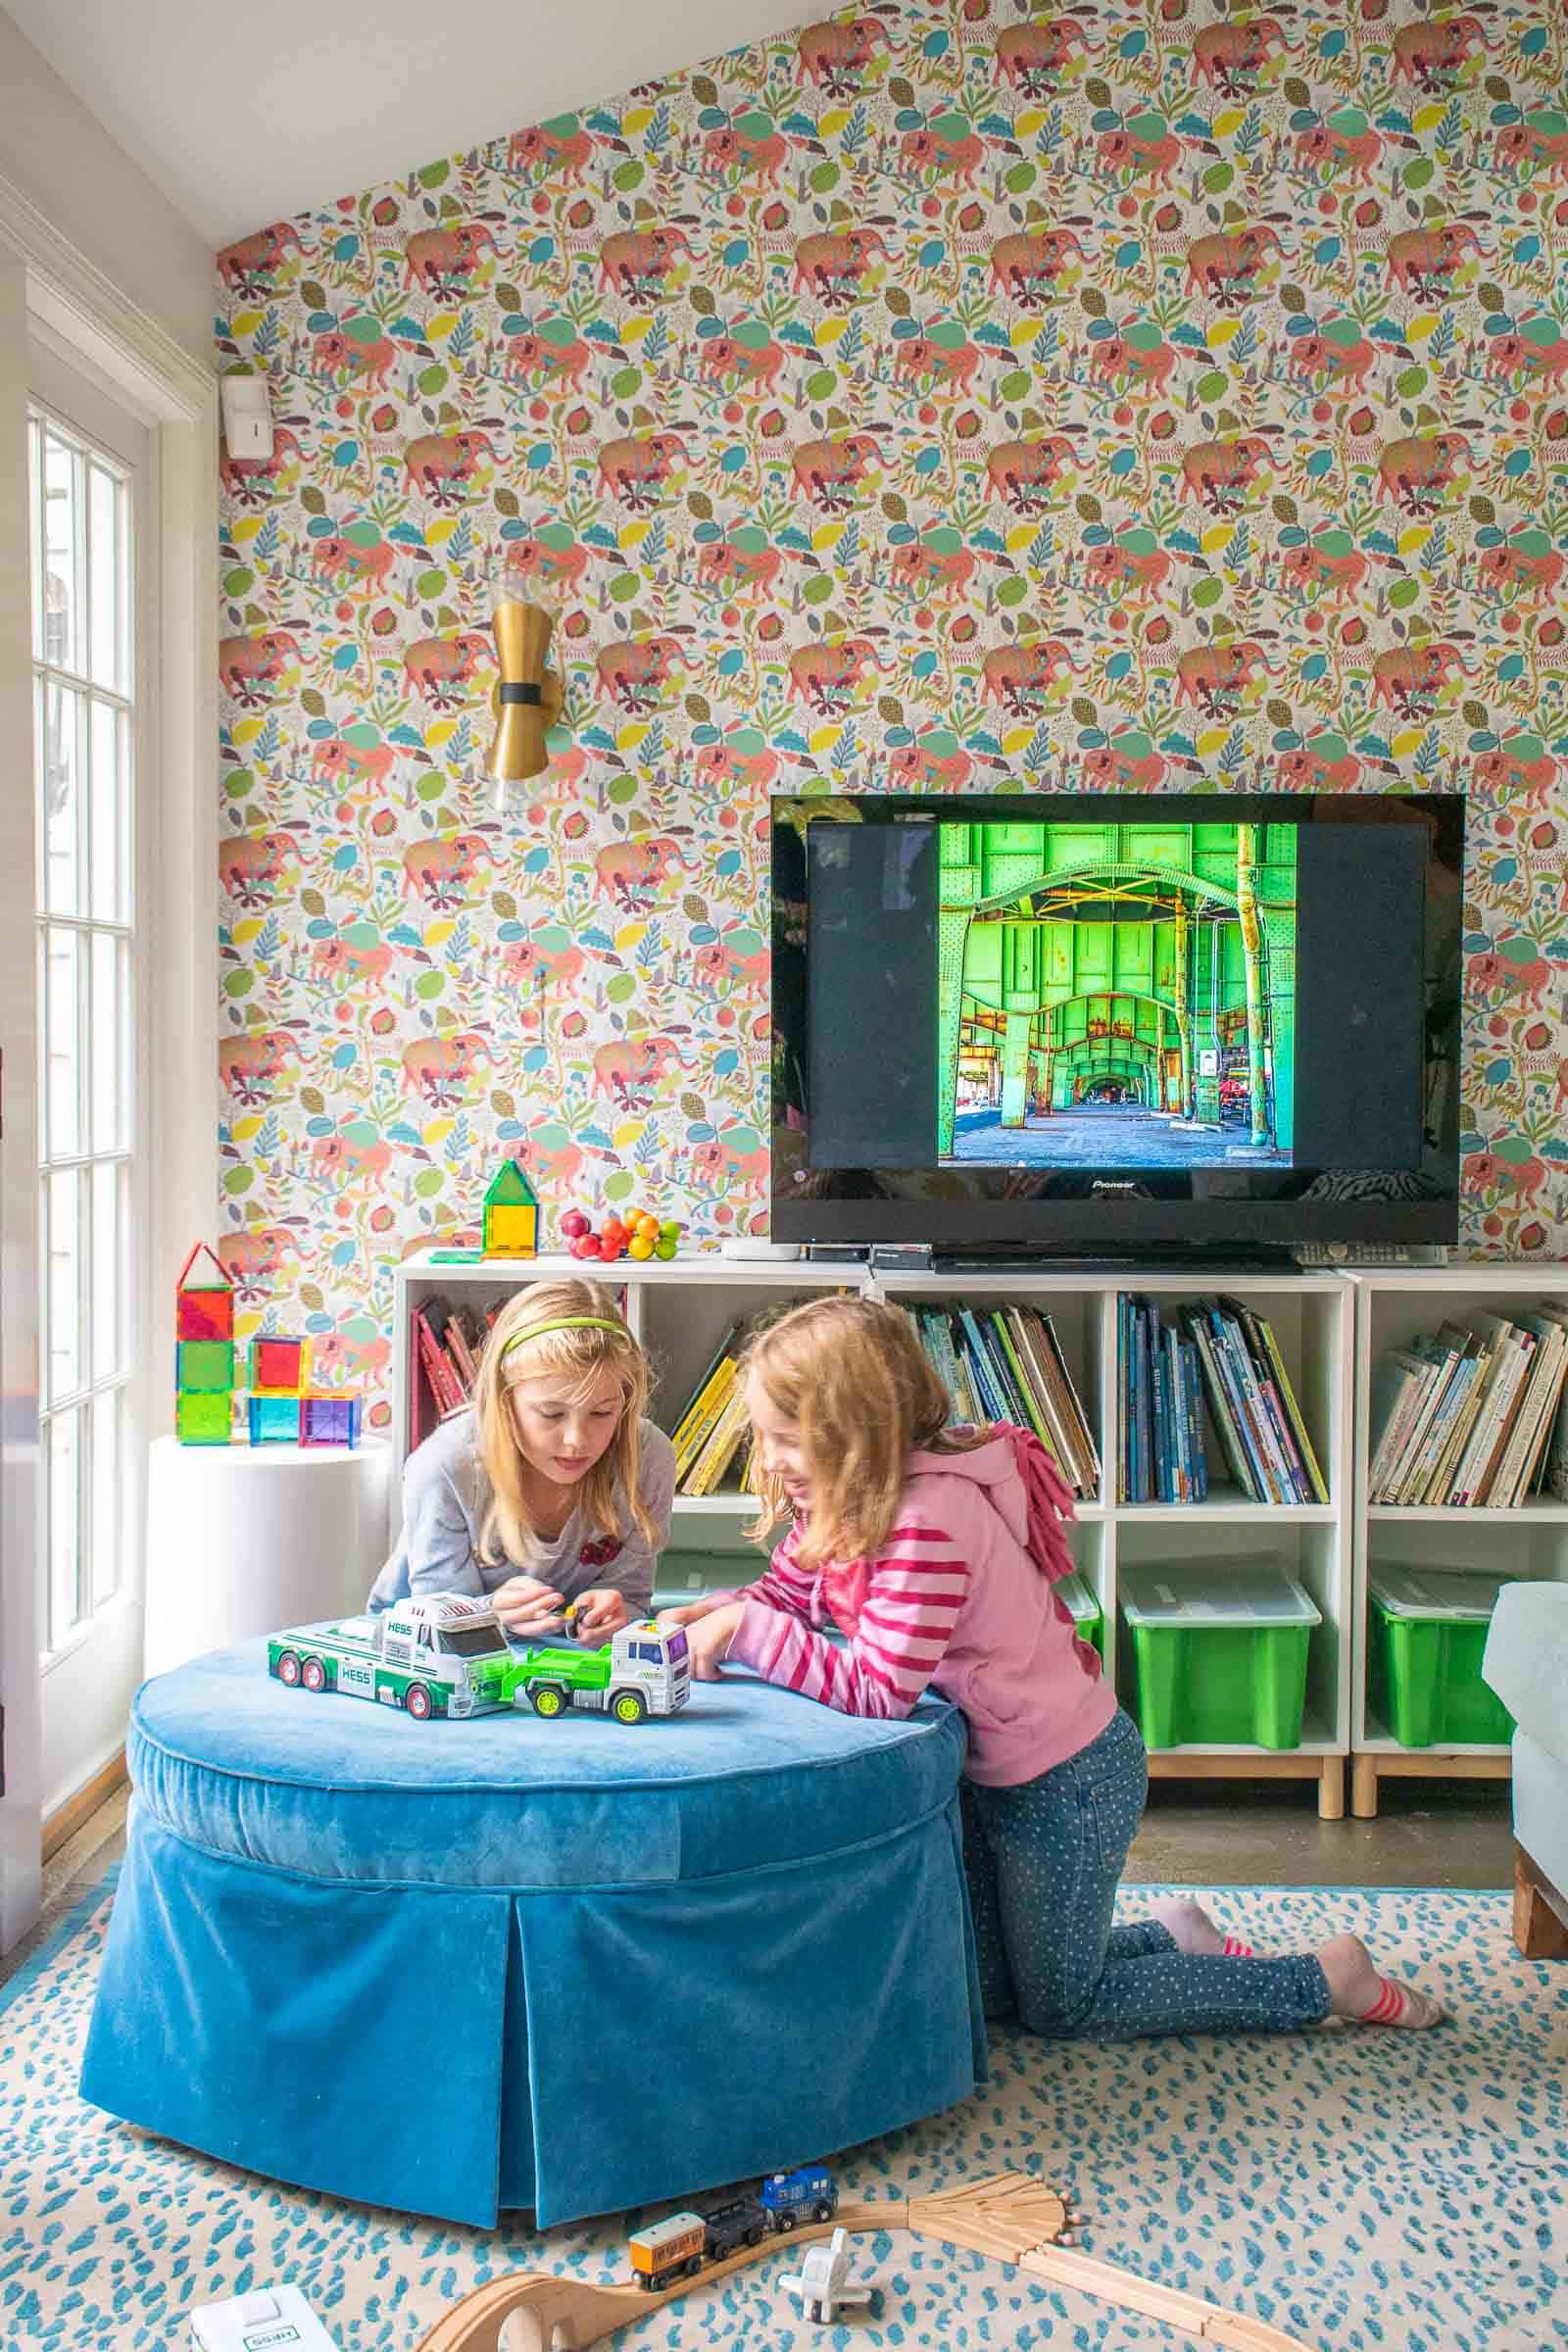
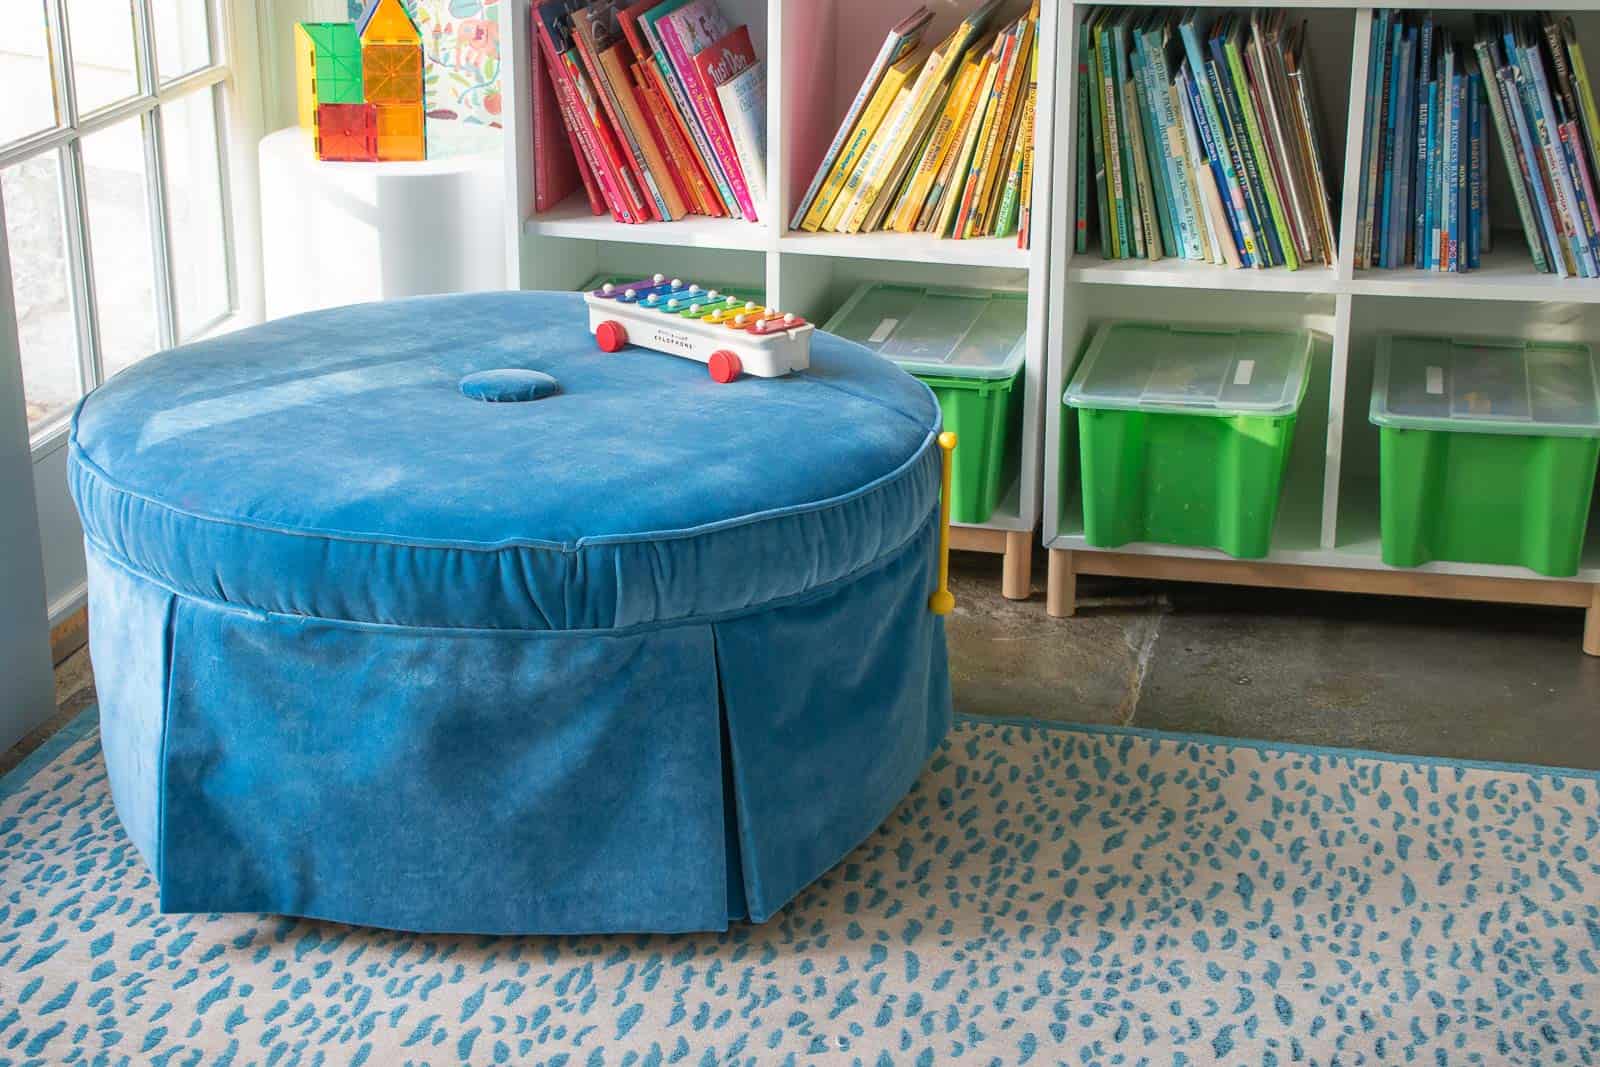
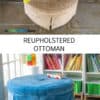
The velvet is a heavy fabric so I need to steam it a bit to train it to lie flat, but other than that, this new upholstery looks AMAZING and is such an improvement to the dated upholstery that came with this. I had the blue velvet in my stash from the flea market so technically… this ottoman makeover cost me $13. THIRTEEN DOLLARS!!!
Upholstery is still super intimidating to me, but I find that I learn a little something each time I try and get a little more confident with every project. I always make mistakes. This time I needed to cut and sew an extra strip of fabric for the side because I didn’t cut the side piece long enough. But ultimately, if I go slow, document the process and can really suss out the initial construction… I can figure it all out!


I love this! thanks for the inspo and detailed pictures for each step ( i’m a visual learner!)
Good luck! I learn so much visually too but for upholstery it’s ultimately been most useful just to dive in! 🙂 Ha!