
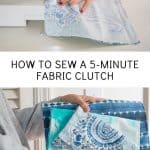
How to Sew a Fabric Bag in Under 5 Minutes
Psssst… this post *might* contain affiliate links: see my disclosure here.
Easy DIY Fabric Clutch Bag
I sewed this simple fabric bag in under 5 minutes!
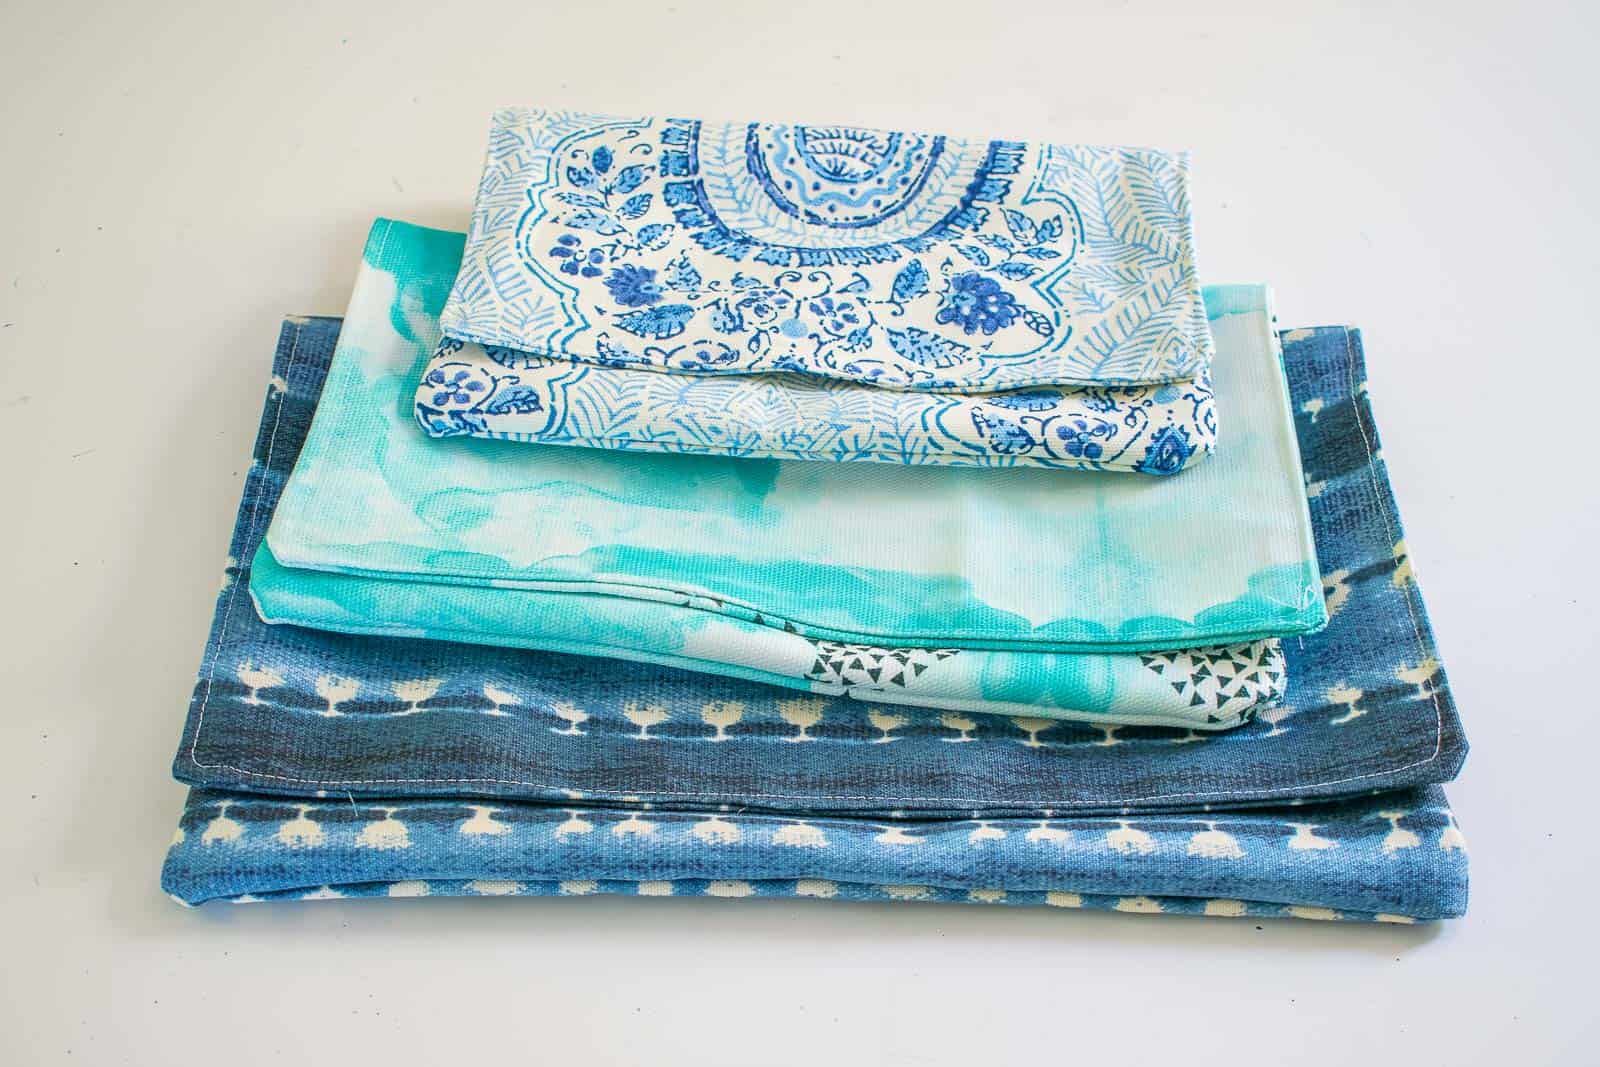
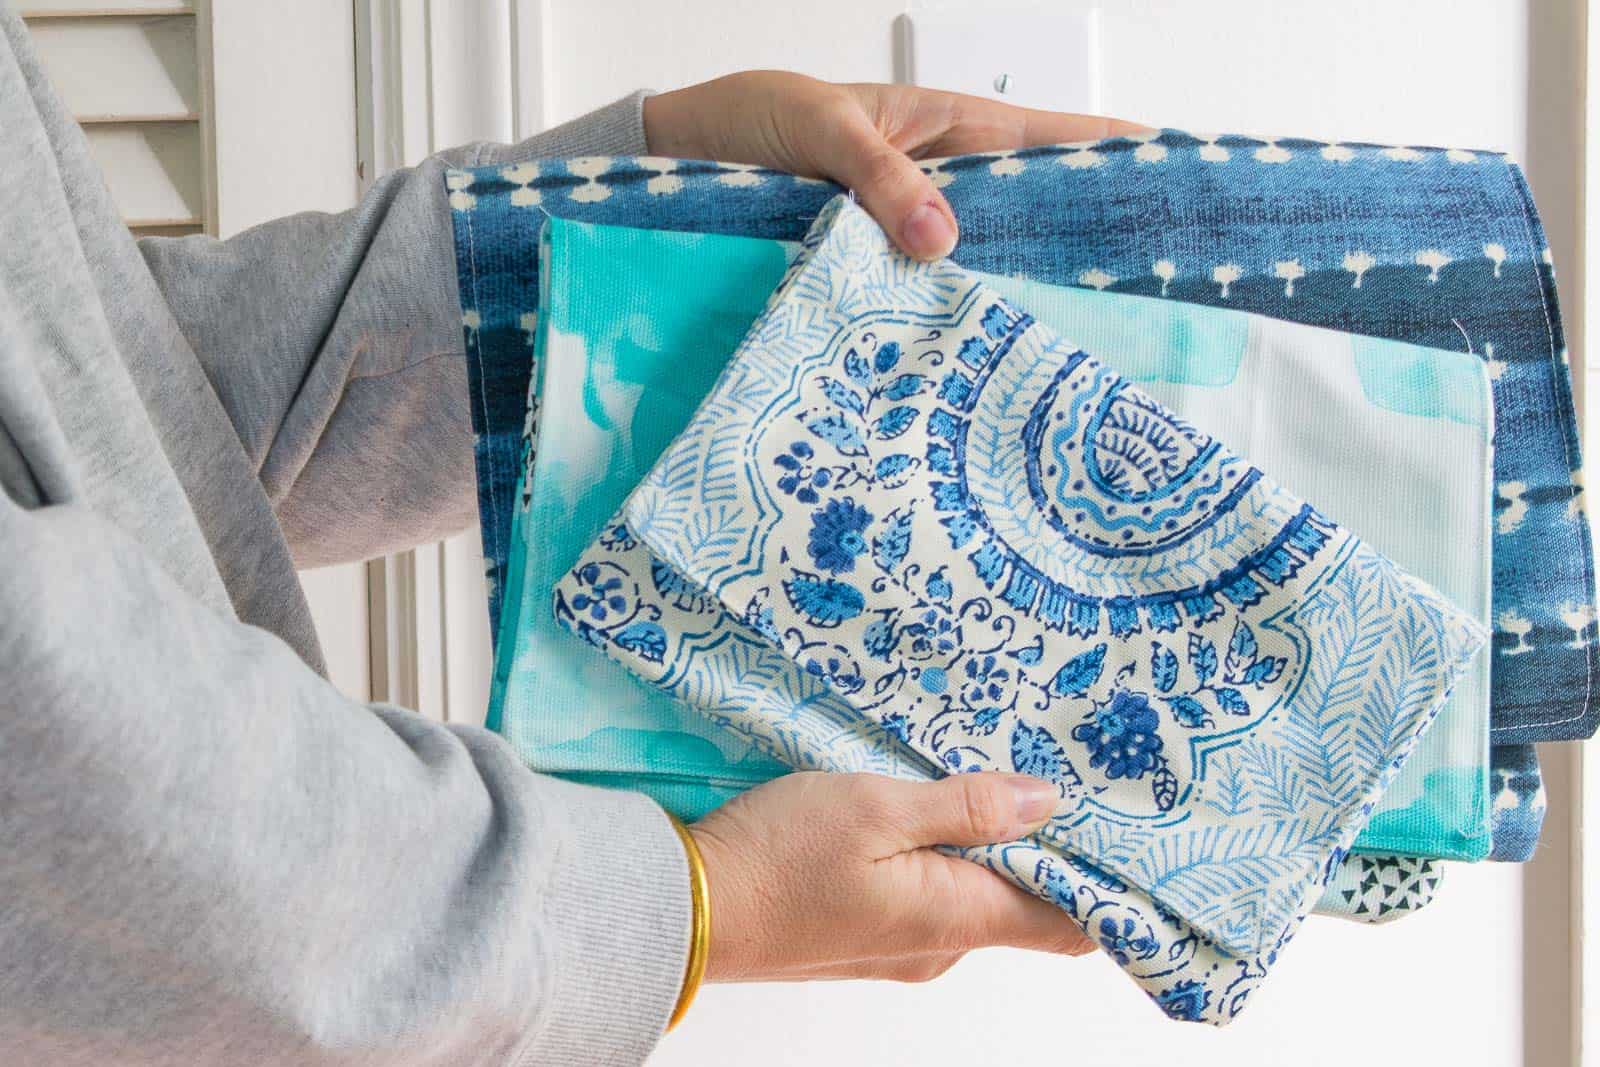
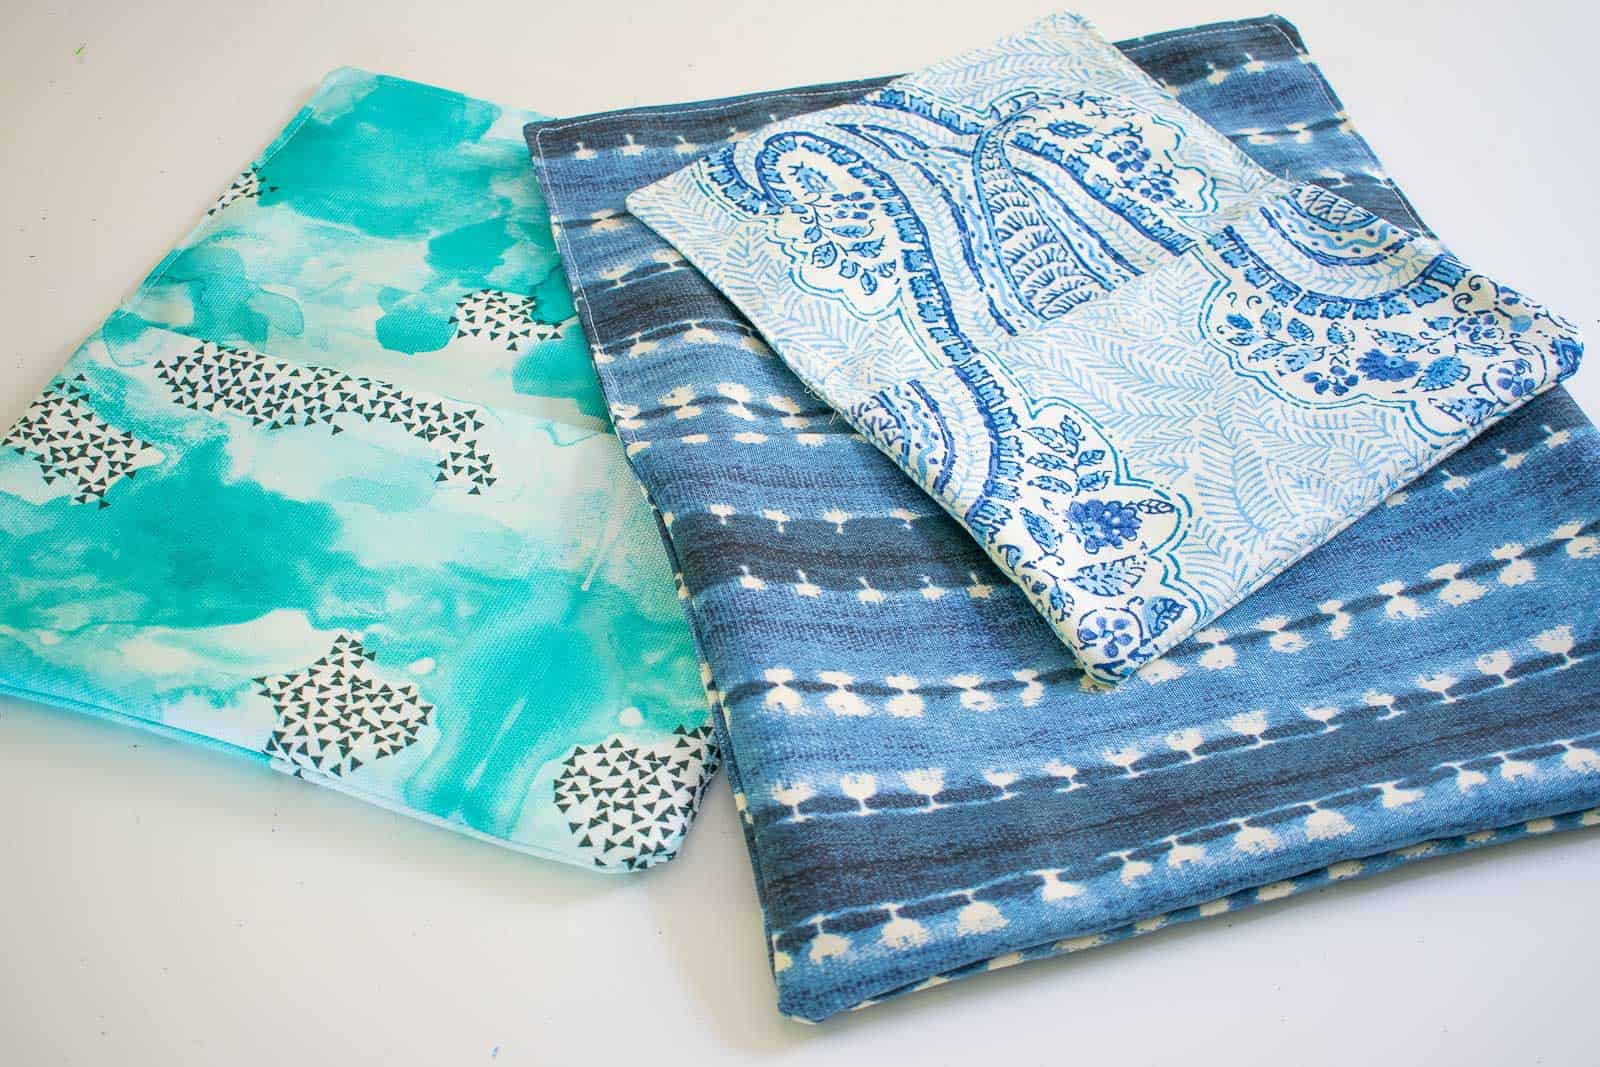
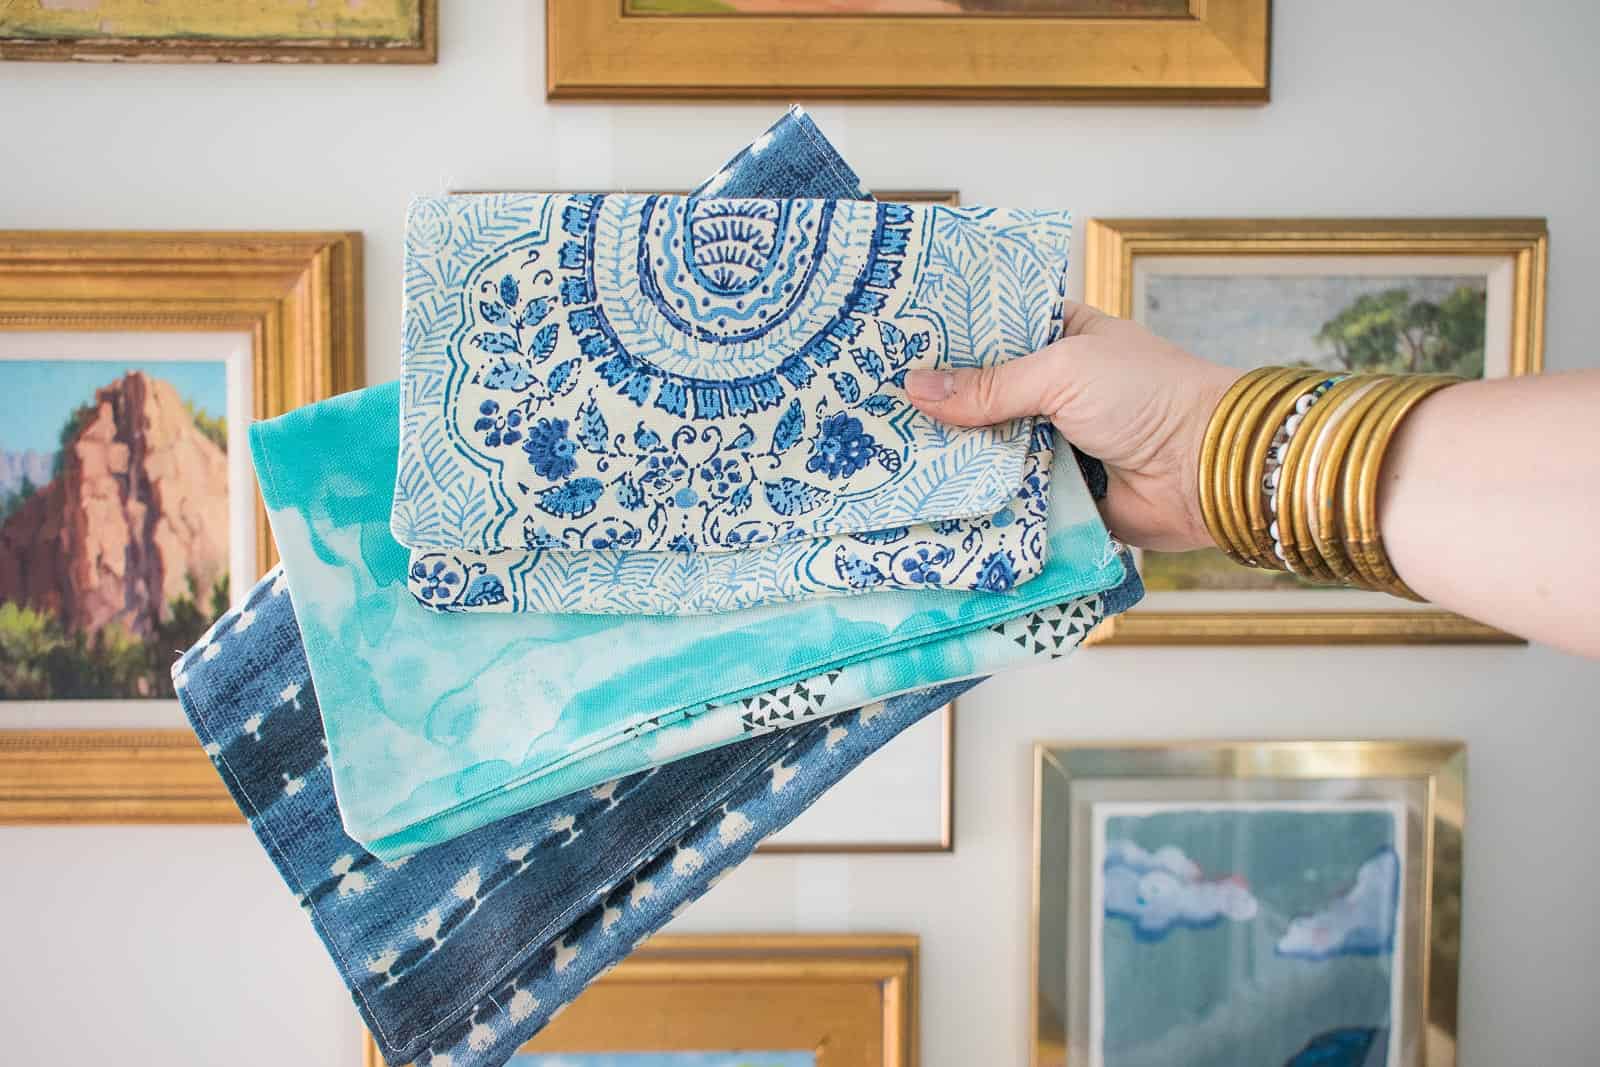
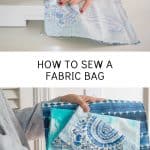
I’m pretty sure I start every sewing post I write with the same thing: I can barely sew a straight line so if I can do it, you can too! Today’s project might just take the cake… I used leftover upholstery fabric to sew THE CUTEST fabric clutches and each one took 5 minutes MAX. I was so pleased that I was able to sew something so functional that I just left it at that, but there are SO many ways to customize this and add some embellishments: fringe, trim, buttons, paint… you name it!
Shop my favorites!
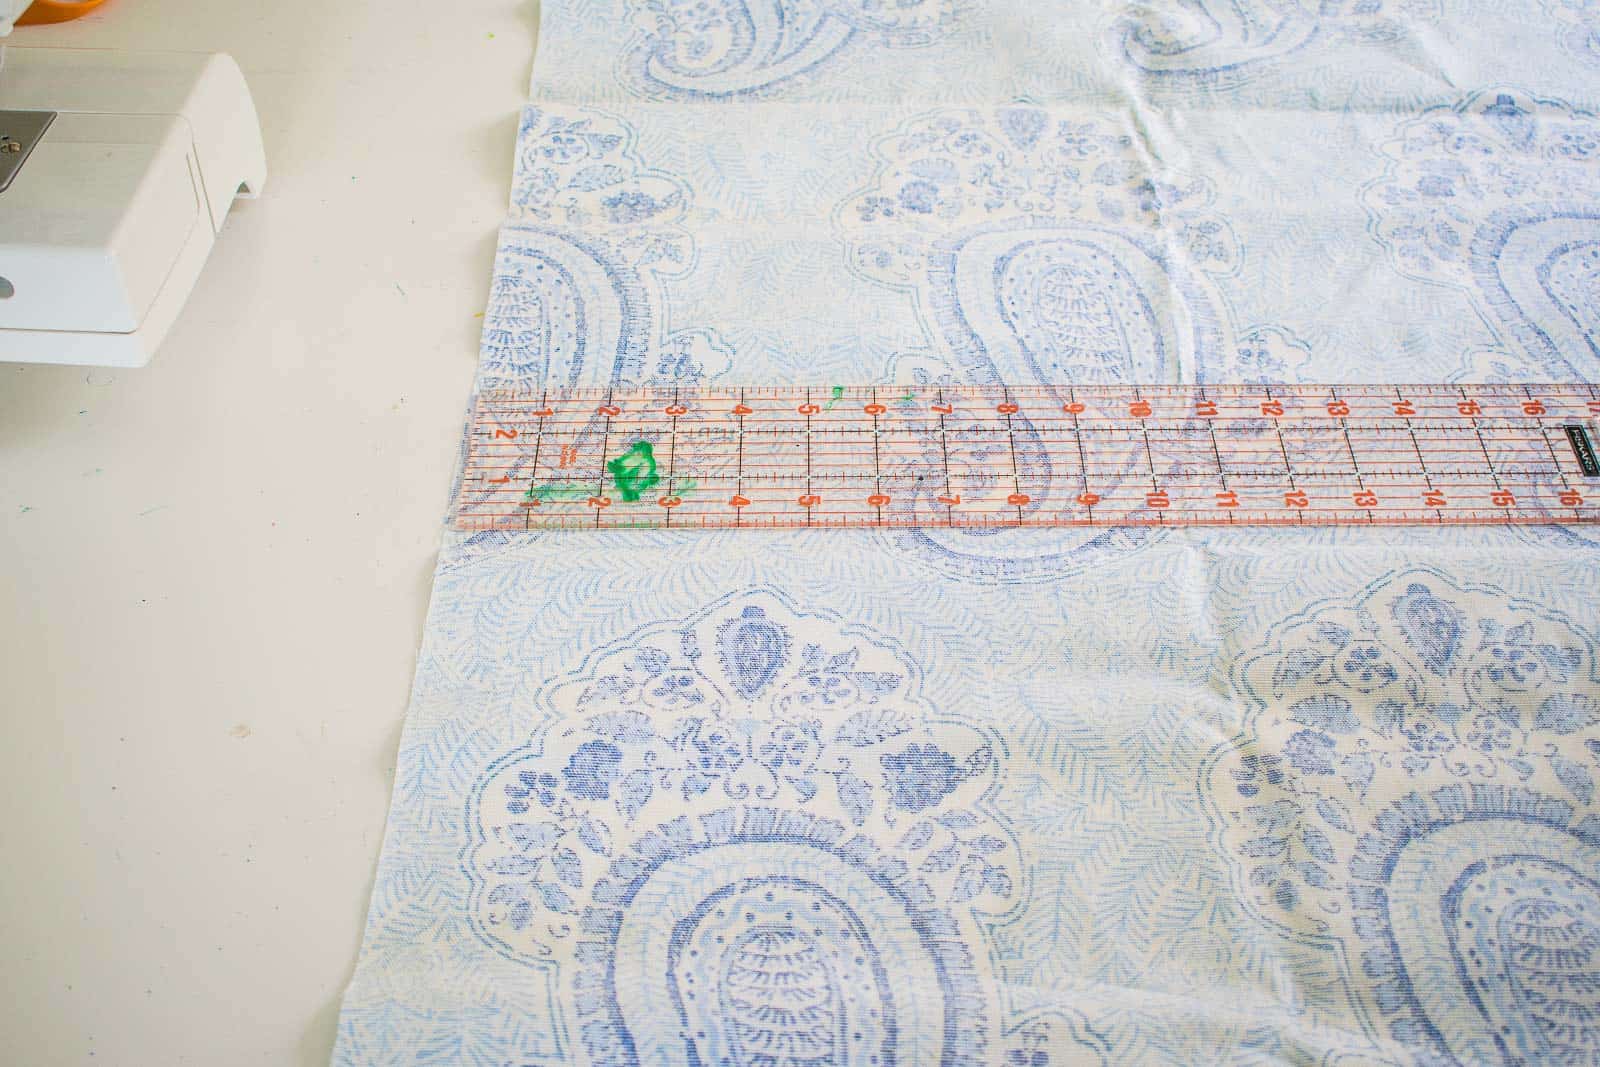
Step 1. Cut your fabric
You want to cut your fabric the same width as you want your bag. And then, in general, you want the length to be about 4x longer than your final clutch. So… if you want a clutch that’s about 10 inches wide and 6 inches deep… cut your fabric 10 inches by 24 inches. Maybe add 1/2 an inch to allow for the seams. Also note that this will give you a flap that’s about the same size as the bag itself so adjust the length if you’d like a longer or shorter flap!
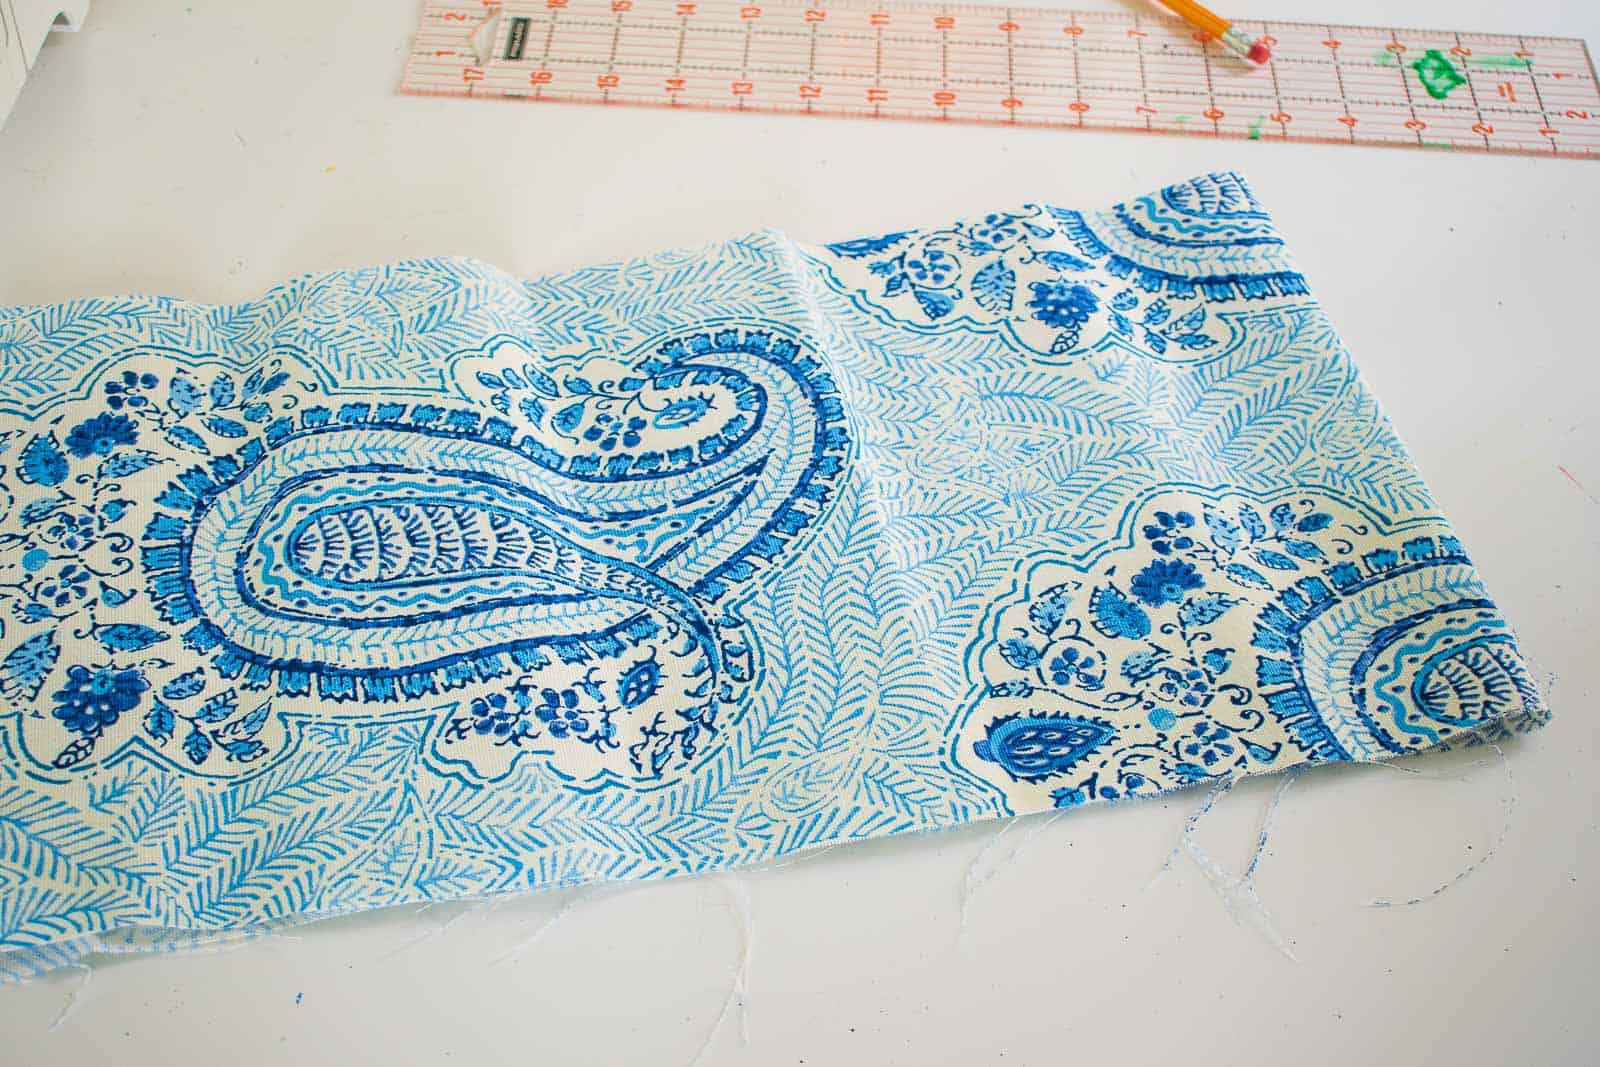
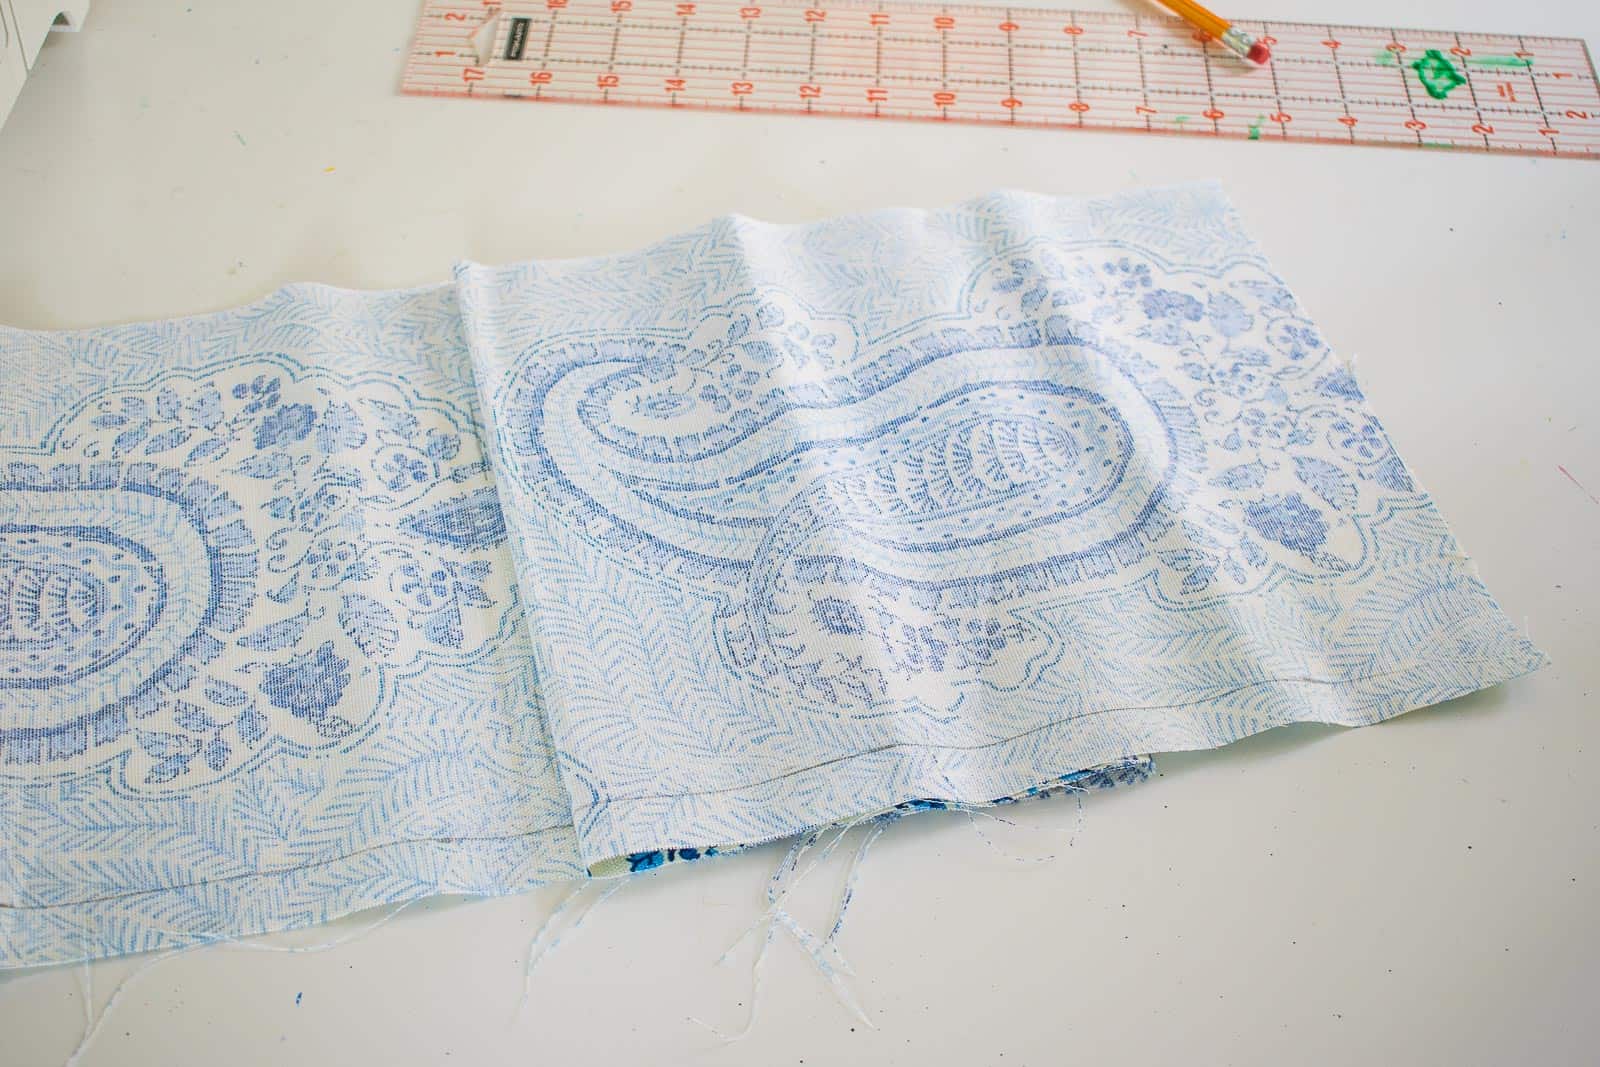
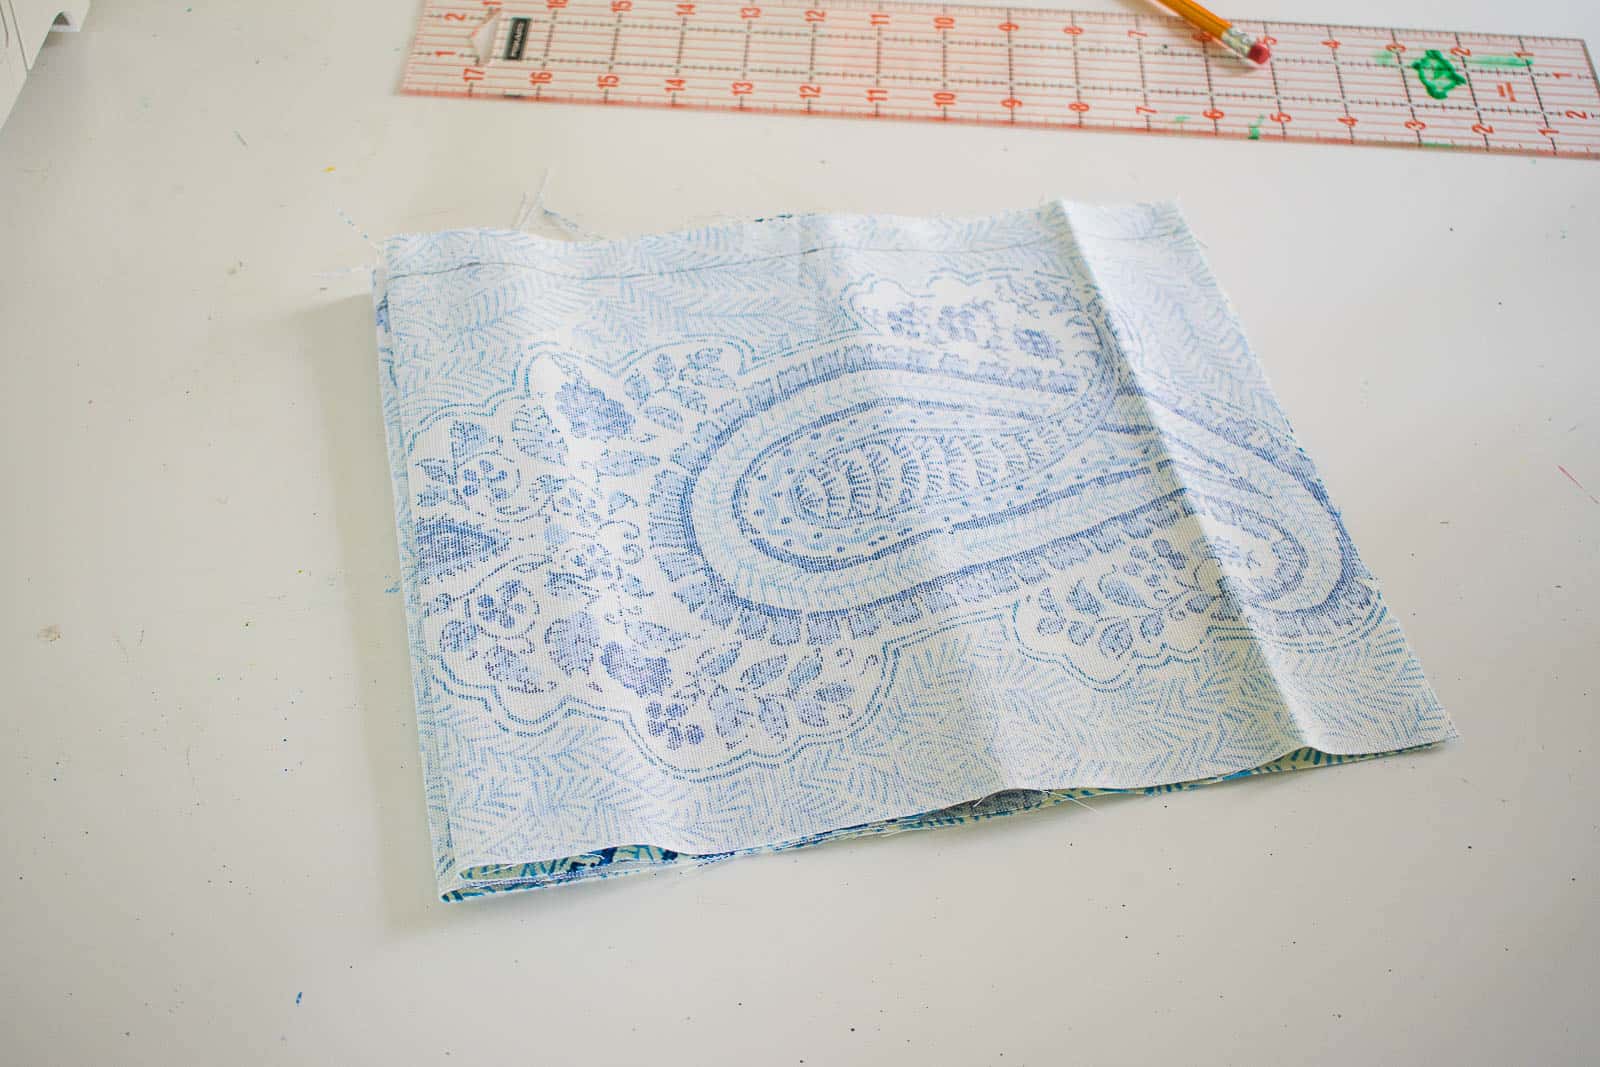
Step 2. Fold you fabric
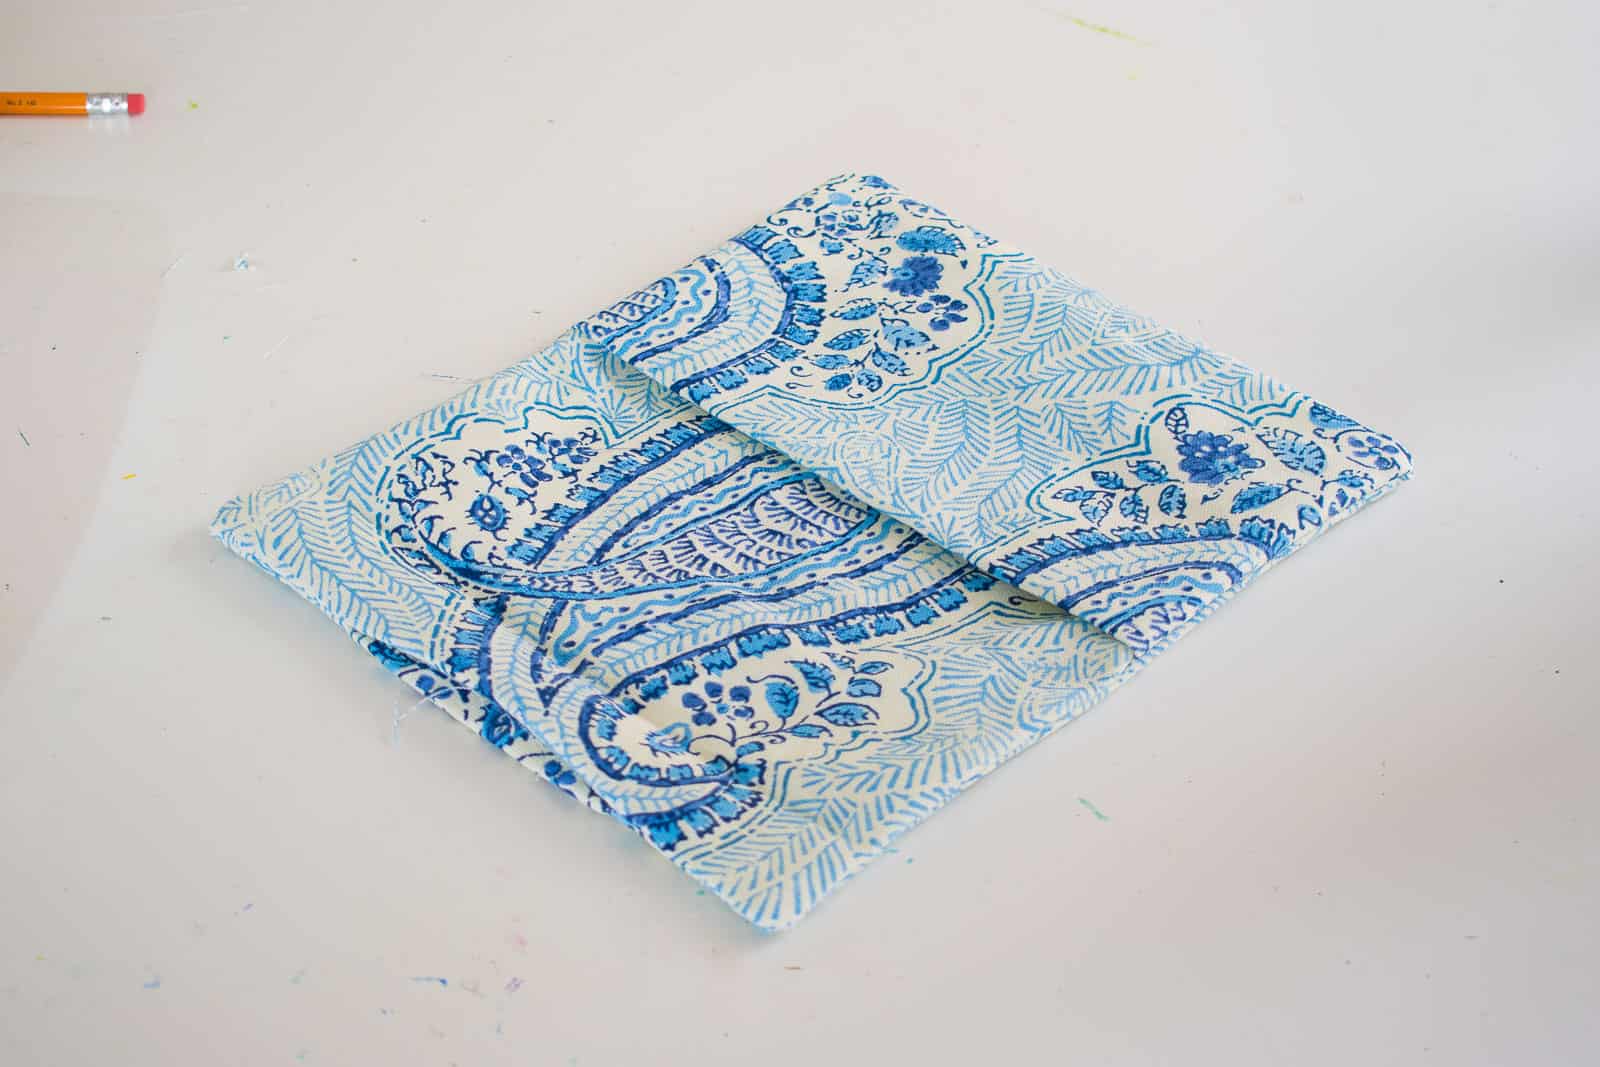
You need to fold your fabric three times to make this clutch. That’s IT. The first fold is to fold the strip in half with the right sides of the fabric facing out. Next fold is to take the top flap and fold it BACK over the middle fold. This fold determines how DEEP the pocket of your bag is. For a 6-inch pocket, make your crease 6-inches from the center fold when you fold this flap back. Turn over your bag and repeat this fold with the other flap. Now you should be looking at the back of your fabric and you should see three folds as pictured.
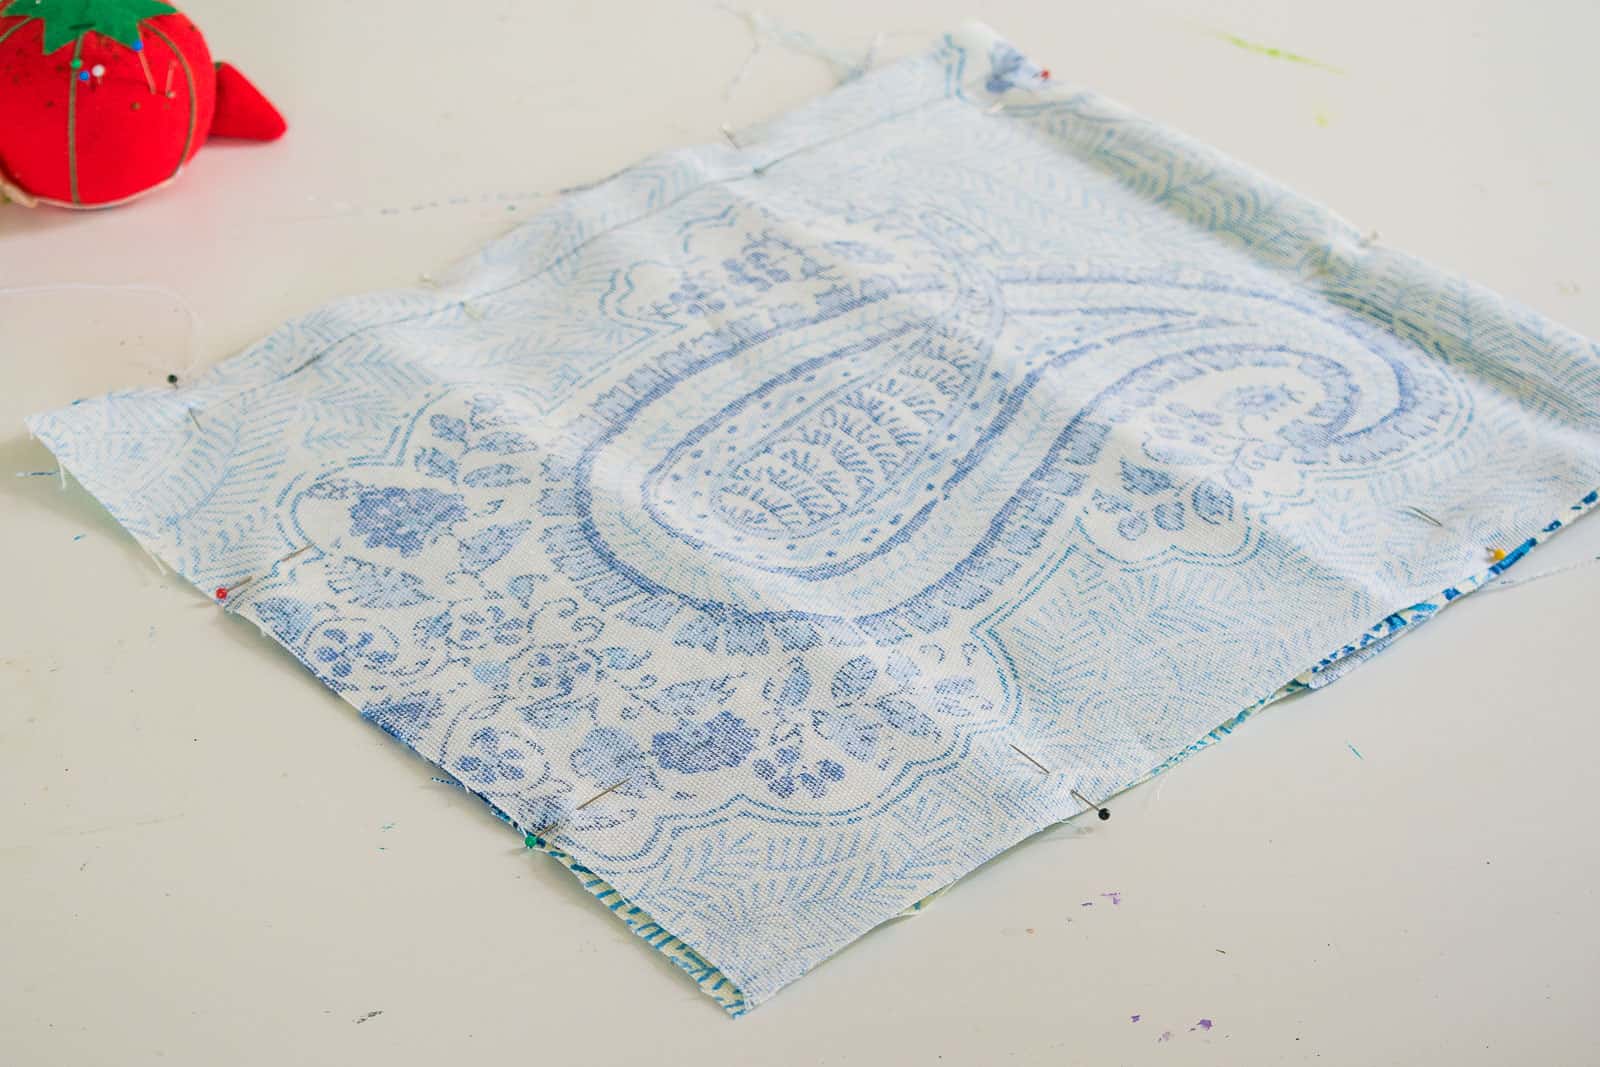
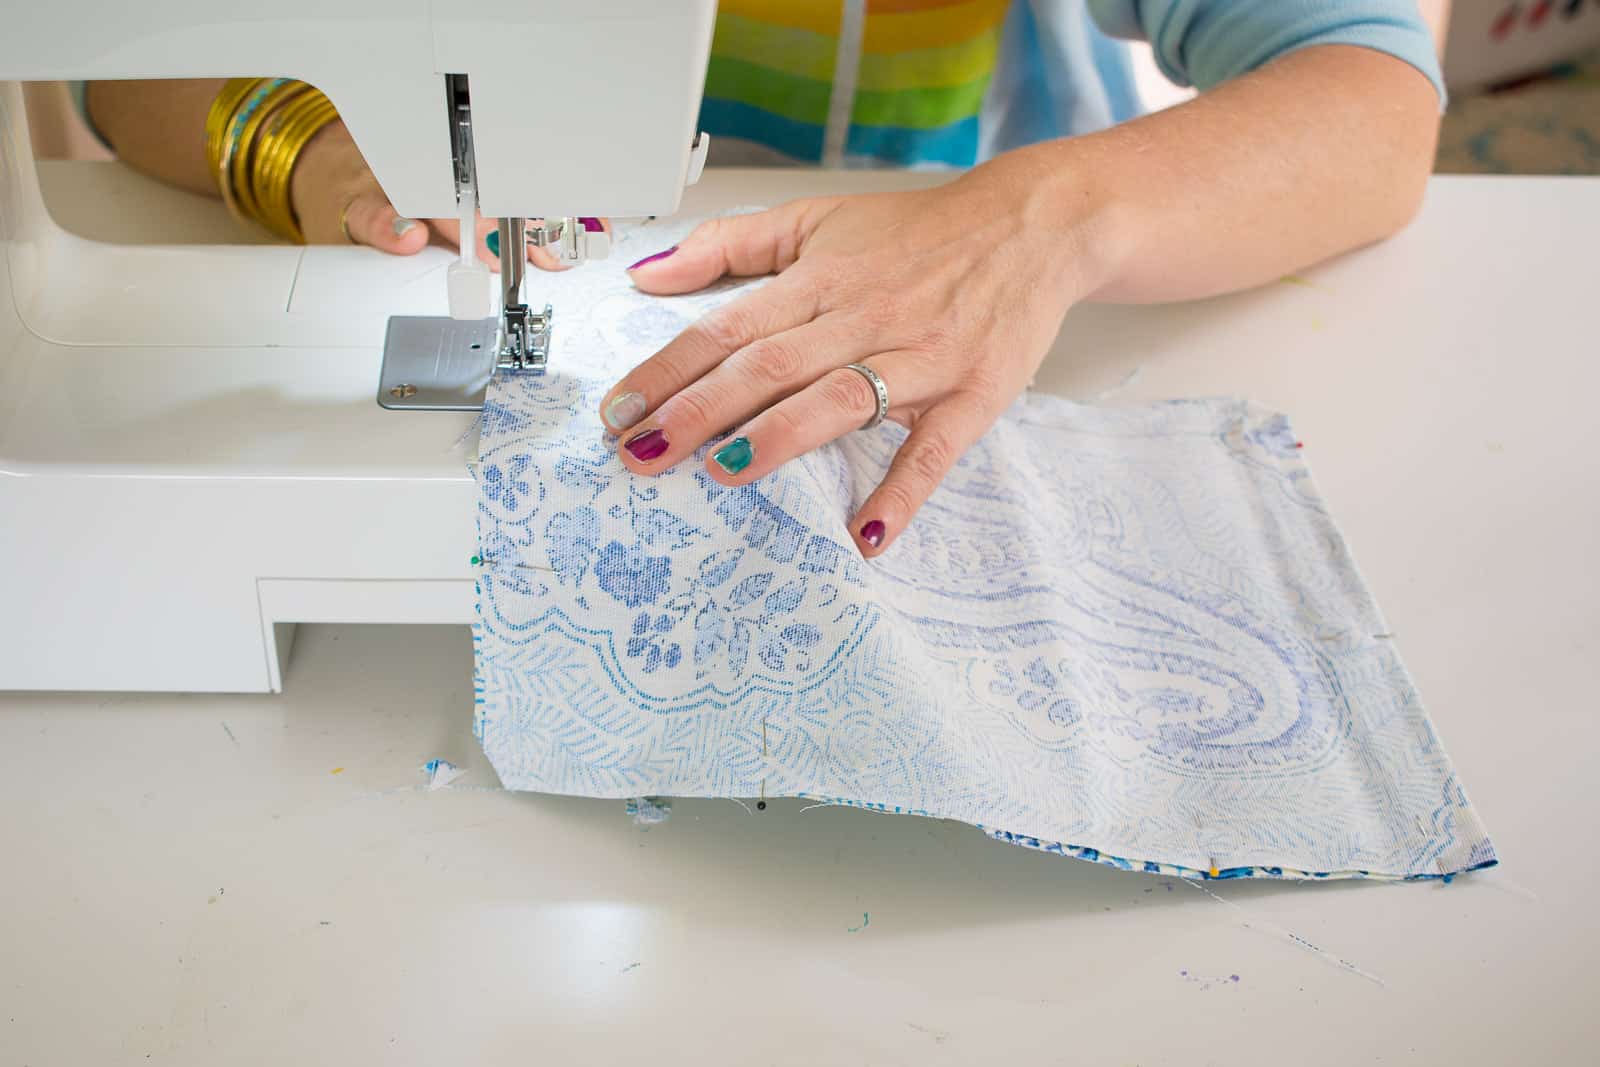
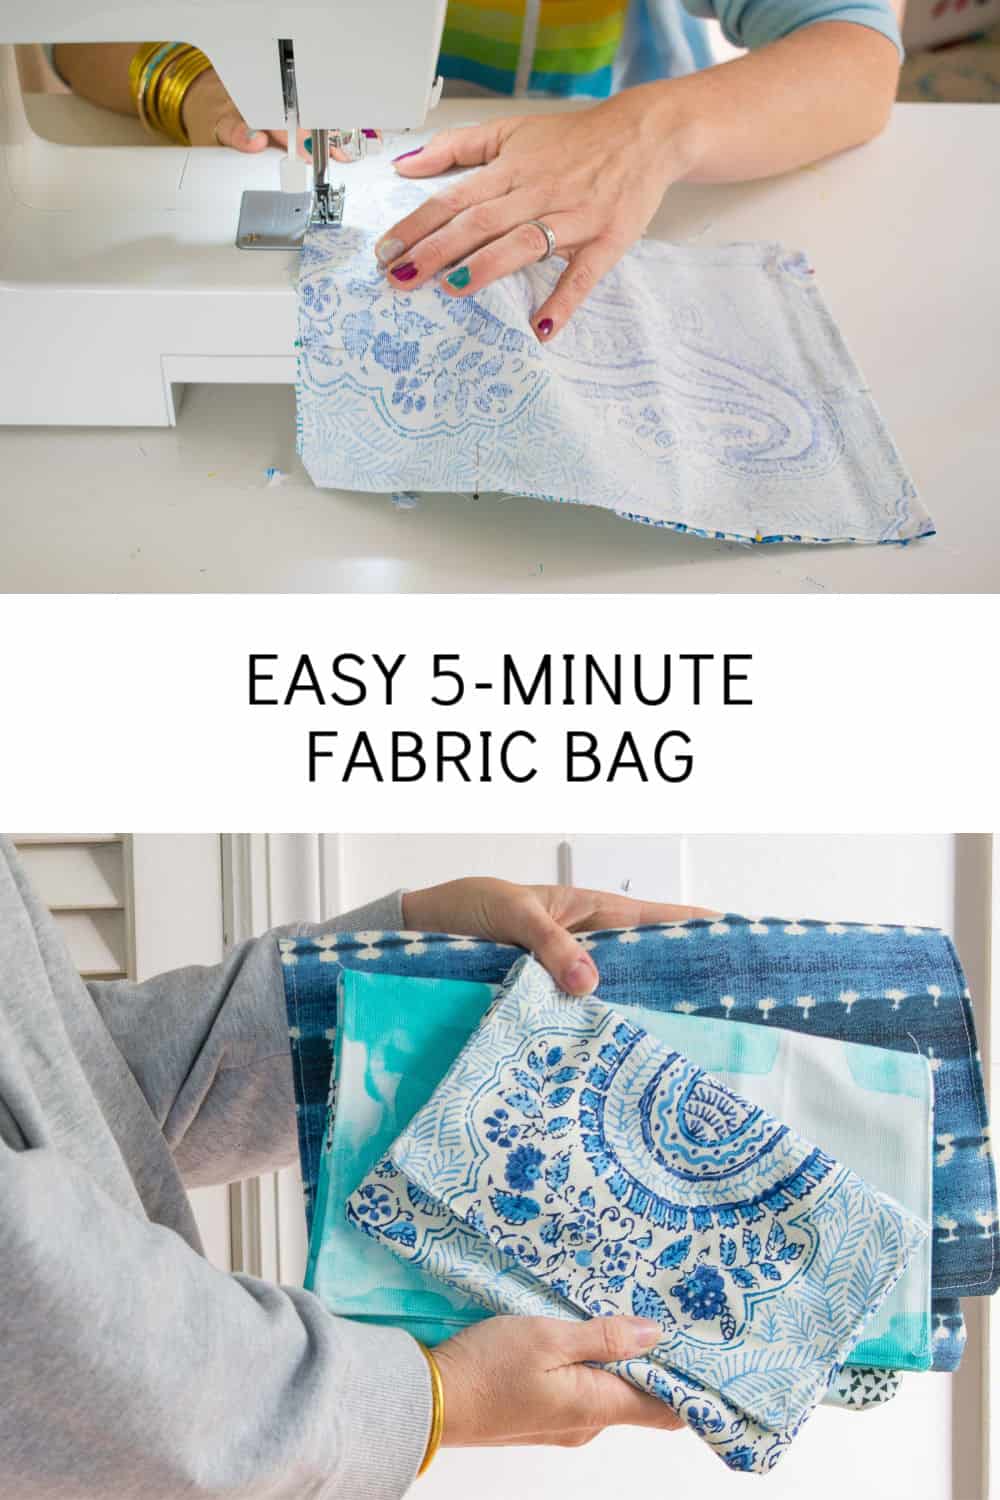
Step 3. Pin and Sew around the perimeter
Sew around the outside of your fabric making sure to leave 3-4″ unstitched where the two flaps meet. I used maybe 1/4″ seam allowance. Please not my kindergarten manicure and my multicolored nails… super professional.
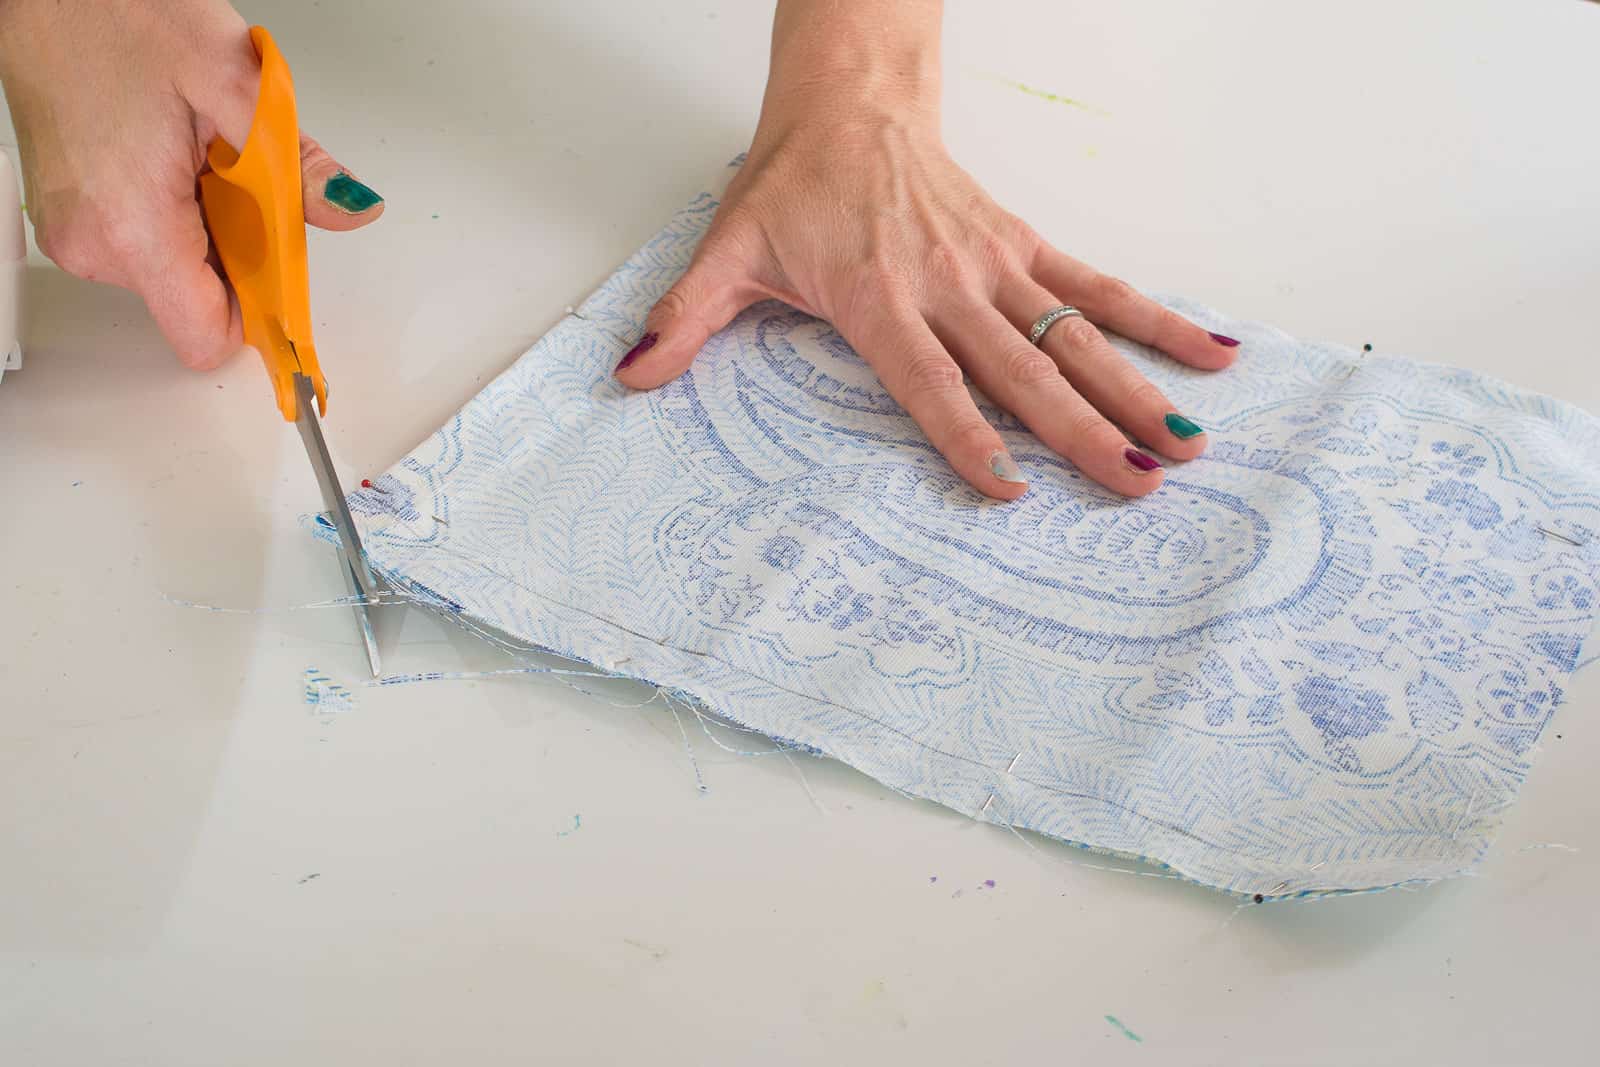
Tip: Snip the corners of the fabric before turning it inside out in step 4… it helps to reduce fabric bulk.
Step 4. Turn bag inside out
Reach through the unstitched section of the clutch and pull the fabric right side out.
Step 5. Stitch the top flap closed
If you’re fancy and know how to sew a hidden stitch, you can stitch up the unsewn 3 inches at the top of your clutch this way. If you’re like me and have no idea how to do that, then you can just top stitch around the edge of the flap of your bag. I actually don’t mind the appearance and it doubles as a nice reinforcement for the flap.

At this point, you’ve made a clutch (hurray!)… it would be SUPER easy to sew on a snap or velcro to the top flap. Trim? Go for it!!! Little pom poms around the perimeter would look ADORABLE. Add a tassel? Always… if you make this and add some sort of embellishment…. PLEASE leave me a comment and share!


Nice. Ill make some and tag you. I have The fabric they make great gifts and wrapping if gifts also
Thanks!!! I loved making them!
I ran across your video of this and tried it – Oh my gosh!! This is pure genius!! You are my new hero!! 🙂
My youngest daughter is getting married soon and I plan to make several of these, put a snap closure on and embellish them and fill them with Breath mints, tissues, chapsticks, hand sanitizers and a few safety pins for a ‘bridesmaid’s survival kit’.
Fast, easy and very customizable. Something they can stick in their purse or use as a clutch purse.
The video and web page instructions were very easy to understand. Thank you!
This will be my ‘go-to’ project for quick, easy, fun and personal gifts.
Oh that’s awesome!! I love that idea! Congratulations on the wedding and good luck!! xx
Stumbled upon your video – and I think I’m going to try it. I’d need to use interfacing and considering using soft and stable with it to make the bag a bit more firm.. If you have any tips, I’d much appreciate it! Thank you.
Good luck! I think that makes sense re. interfacing… it’s a super simple pattern so I’m confident you’ll get it!