
How to Sew a Letter Pillow
Psssst… this post *might* contain affiliate links: see my disclosure here.
Sew Your Own Alphabet Pillow
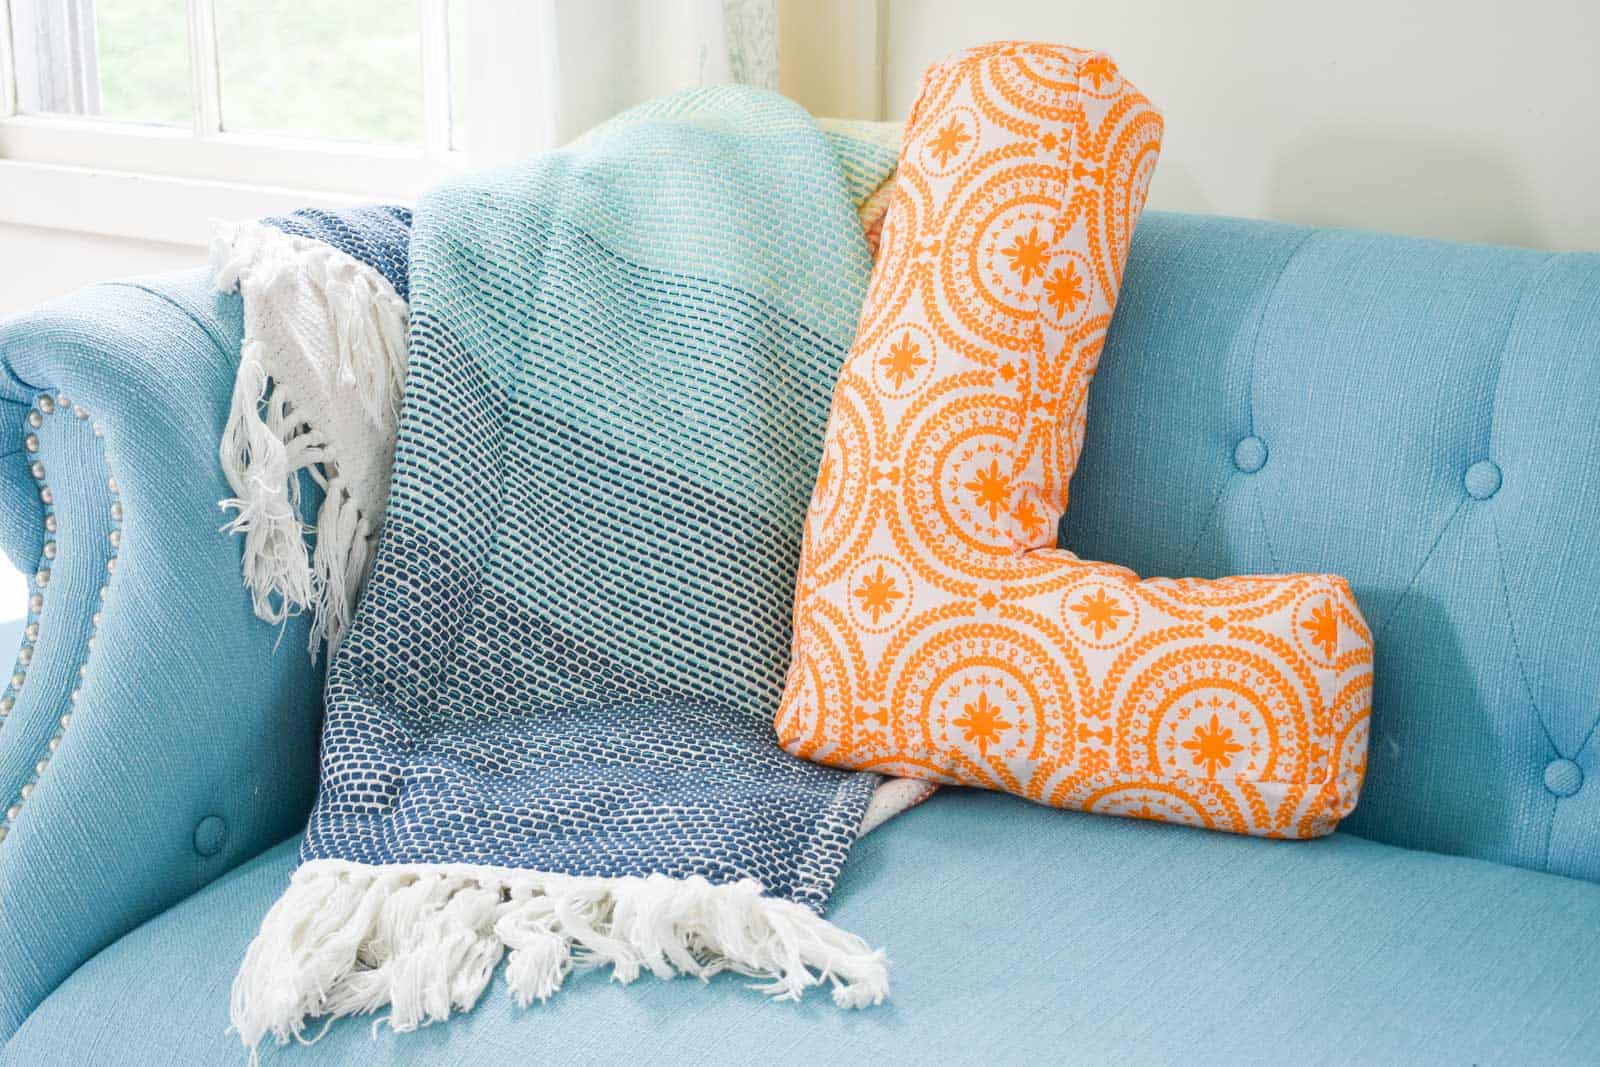
Years ago, I made a fun alphabet pillow, so when I was invited to participate in my friend Bari’s Indigo & Aster Blog Tour, I was thrilled to join the fun to make another one of these pillows and share the tutorial with you! Yay for sewing! (More specifically… yay for kinda sorta sewing… the rest of the ladies on this blog tour are SEWers. Ha!)

Shop my favorites!
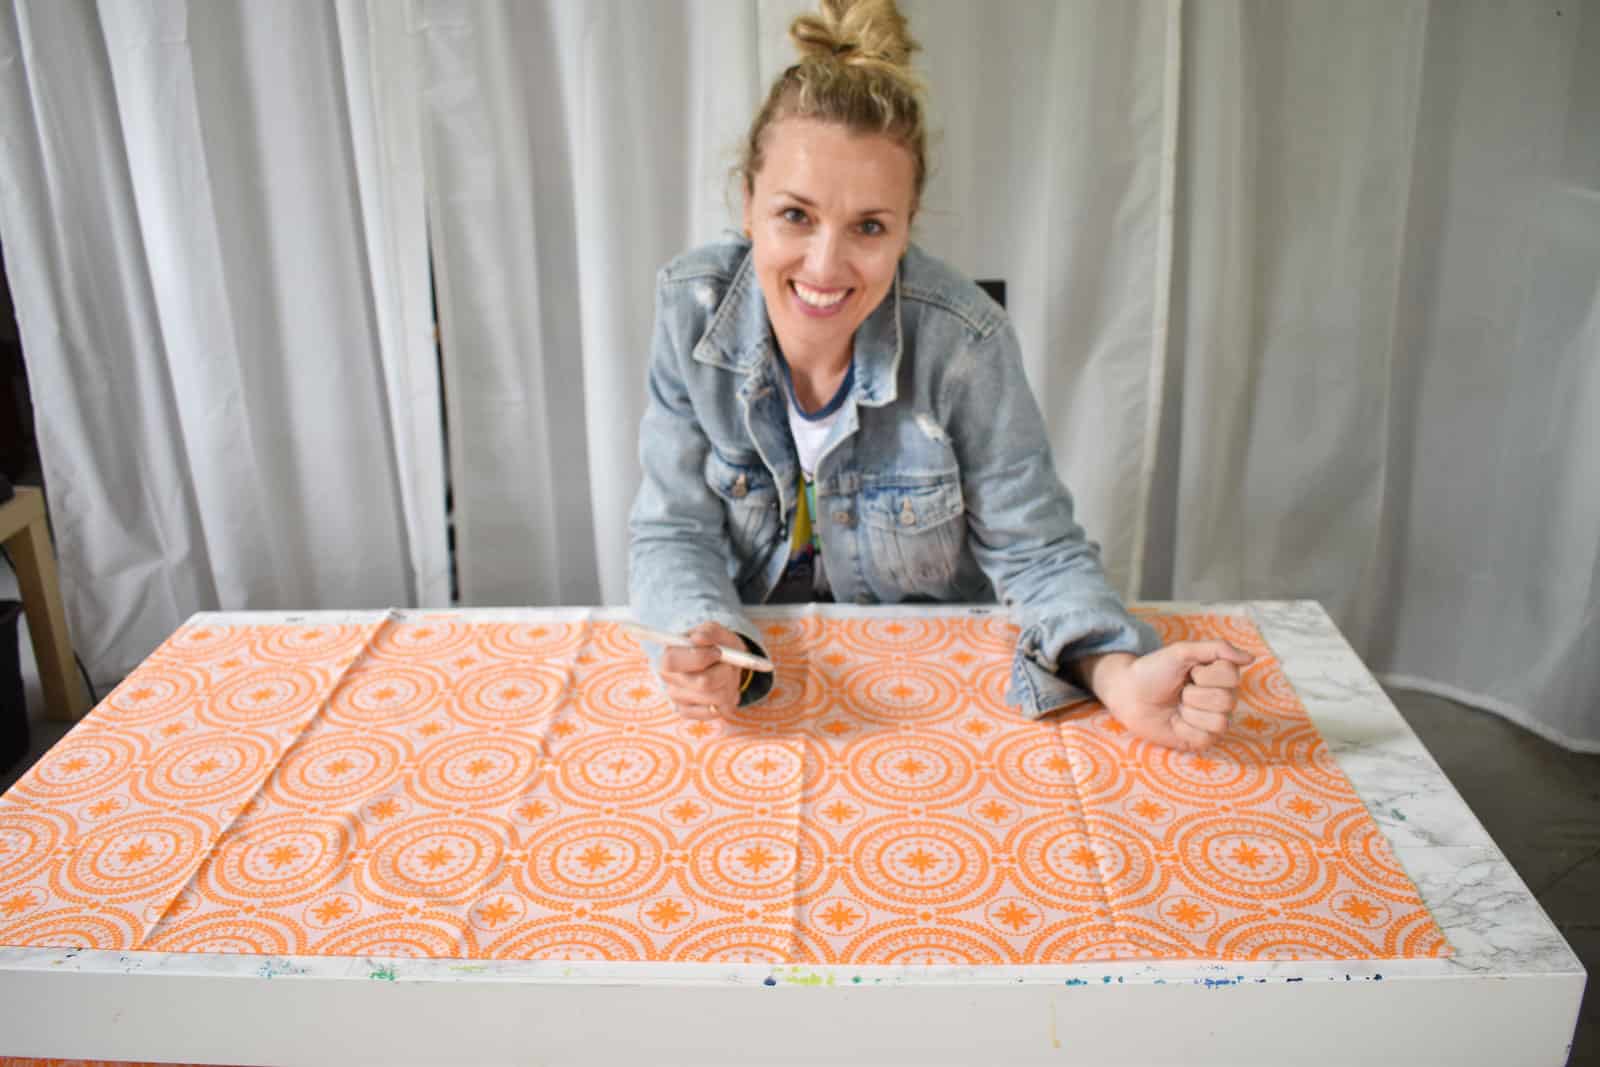
Step 1. Choose the perfect fabric
I’m using Bari’s gorgeous Splendour Tang fabric. This is a lightweight cotton fabric so pretty easy for a novice sewer like me to maneuver. I love the pattern and citrus color palette!
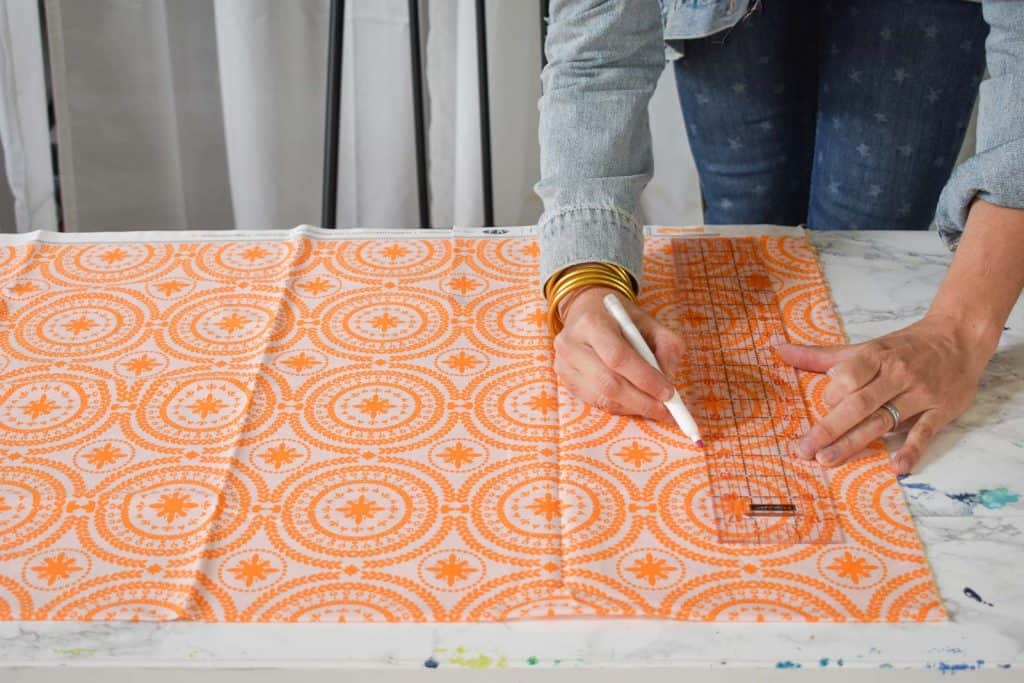
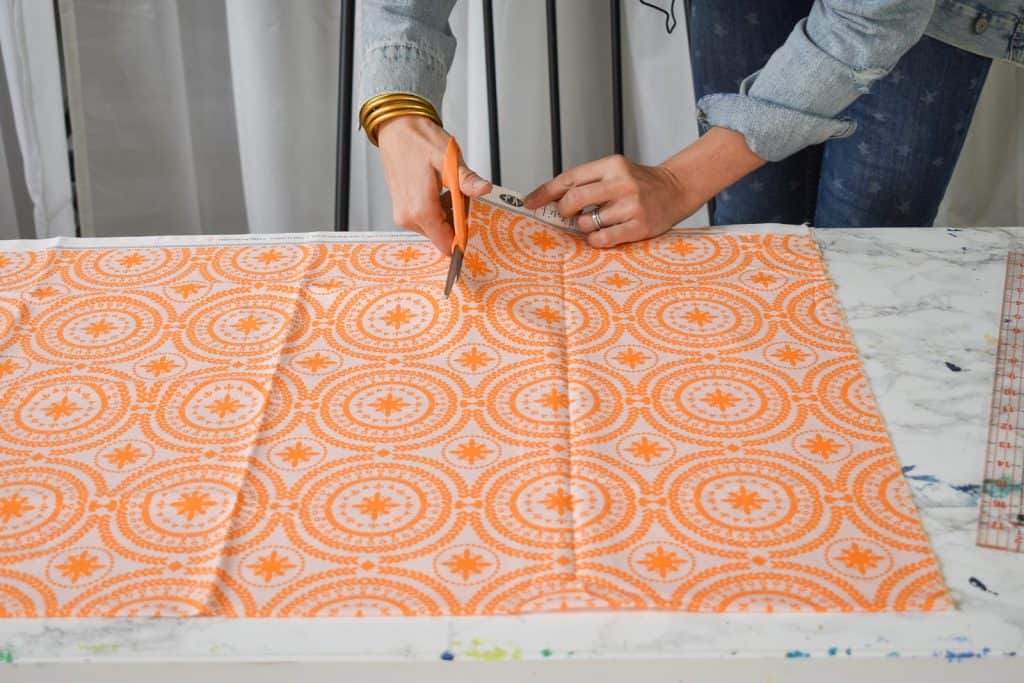
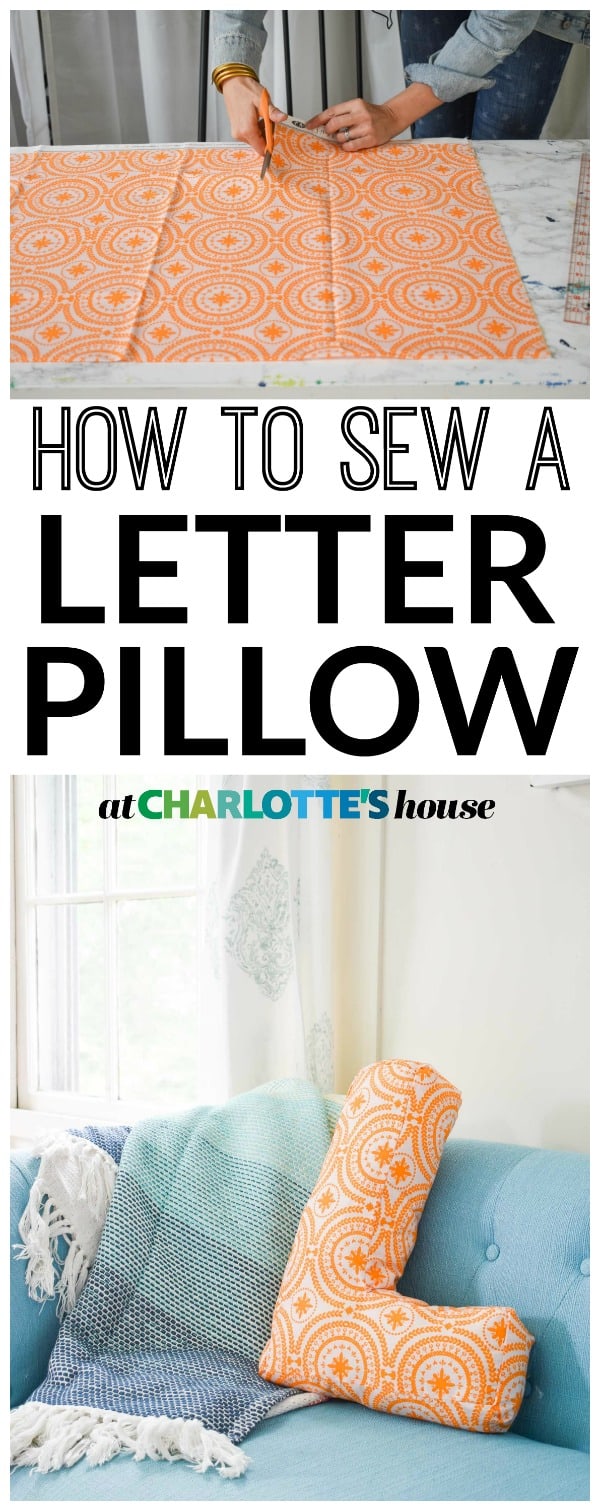
Step 2. Measure and Cut Your Fabric
I already have an “M” so I decided to make an “L” for Louisa. I decided to make the letter itself about 4-inches wide and then added an extra inch for seam allowance. You’ll also need to cut out a strip of fabric for the side of your pillow… this will determine how ‘deep’ your pillow is. Mine is about 3-inches deep. You’ll want the strip of fabric to be long enough to go around the entire circumference of the letter so it may be necessary to sew two strips end-to-end to make them longer.
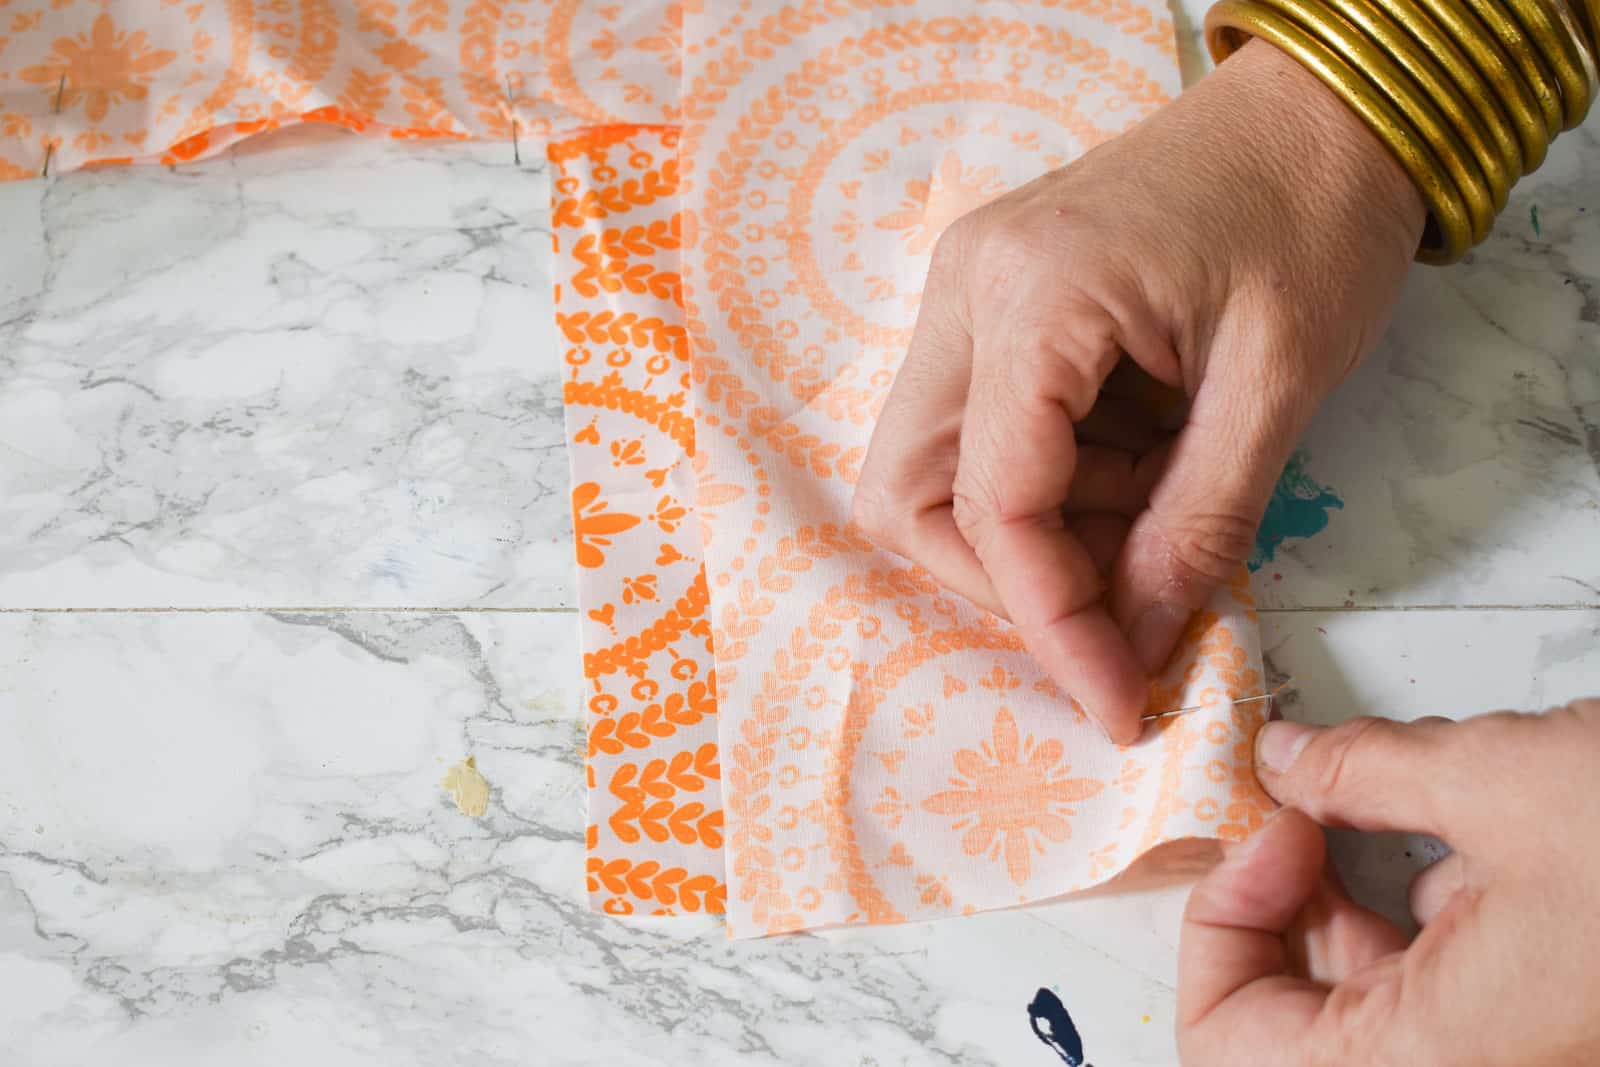
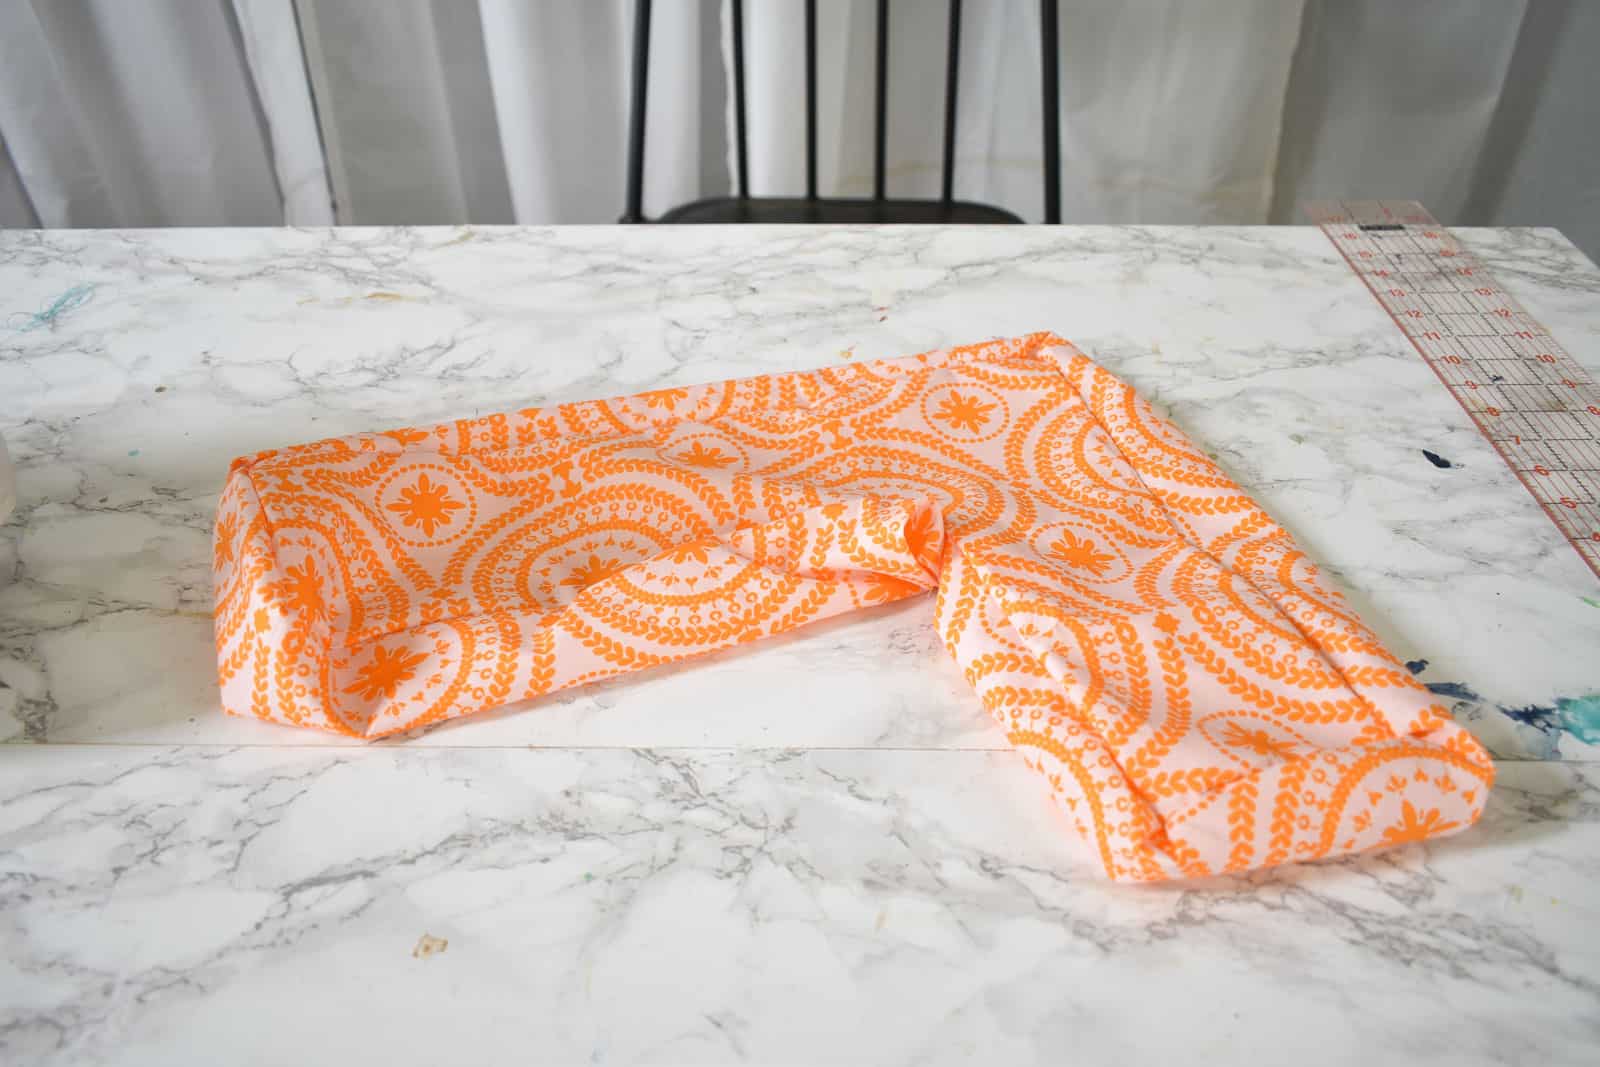
Step 3. Pin the sides of the pillow together
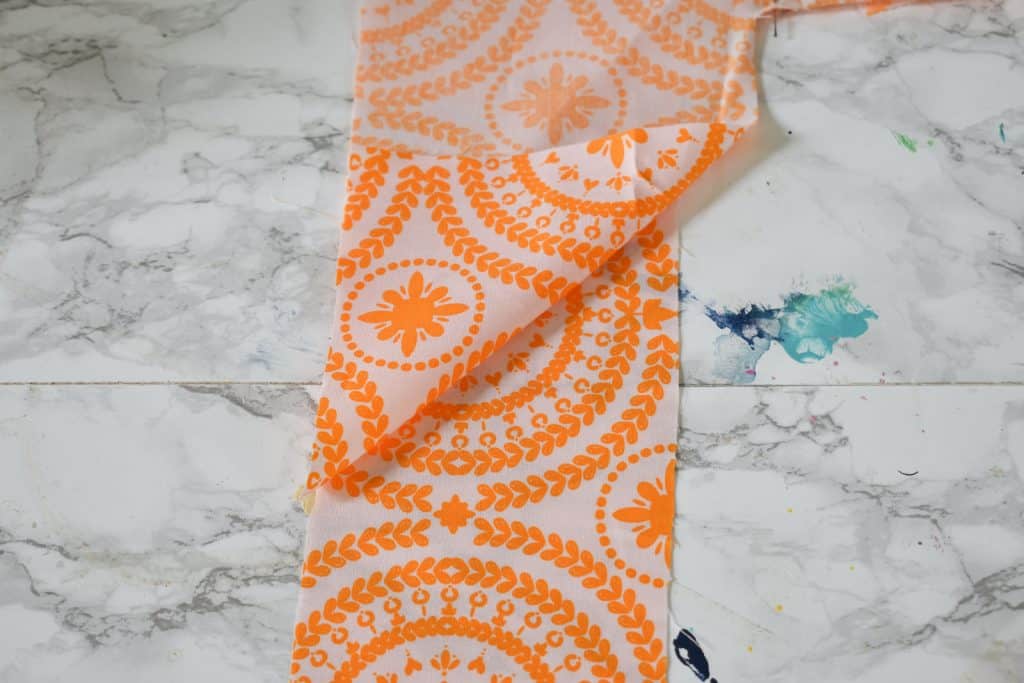
With the right sides of the fabric facing each other, pin one edge of the side strip of fabric to one of the letter cut-outs. Corners are the trickiest. For my letter “L”, I only had one inside corner to maneuver so I started there. For the outside corners, fold the corner of the letter back 45 degrees, and then fold the strip on top. Look at the images for a better explanation.
Step 4. Sew.
You’re welcome to hand sew the pillow… it will take a little while, but there’s nothing fancy about it. I used a machine and had to go carefully on each of the corners. I’m sure there’s a better way, but I just went slowly and folded the excess fabric neatly before sewing along the corner edge.
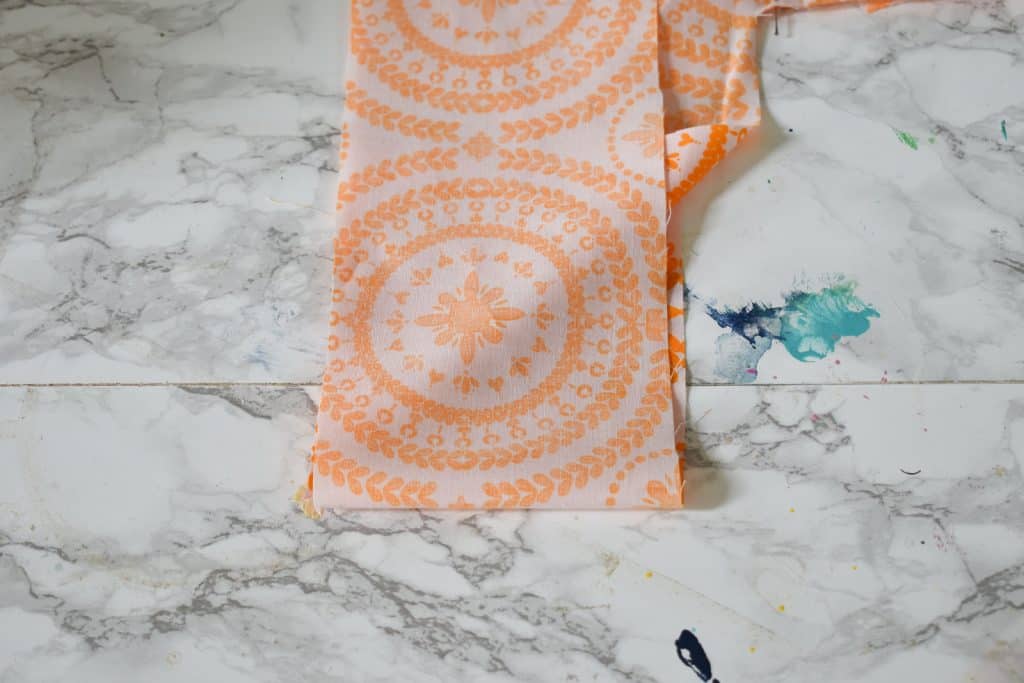
Ultimately, the corners have a slight pleat to them, but for a pillow, I don’t mind this detail at all. Sew around the top edge of the entire pillow and end at the inside corner where you started. Repeat with the second letter cut out and sew the bottoms edge of the entire pillow.Leave the ends of either side strip open so allow for stuffing.
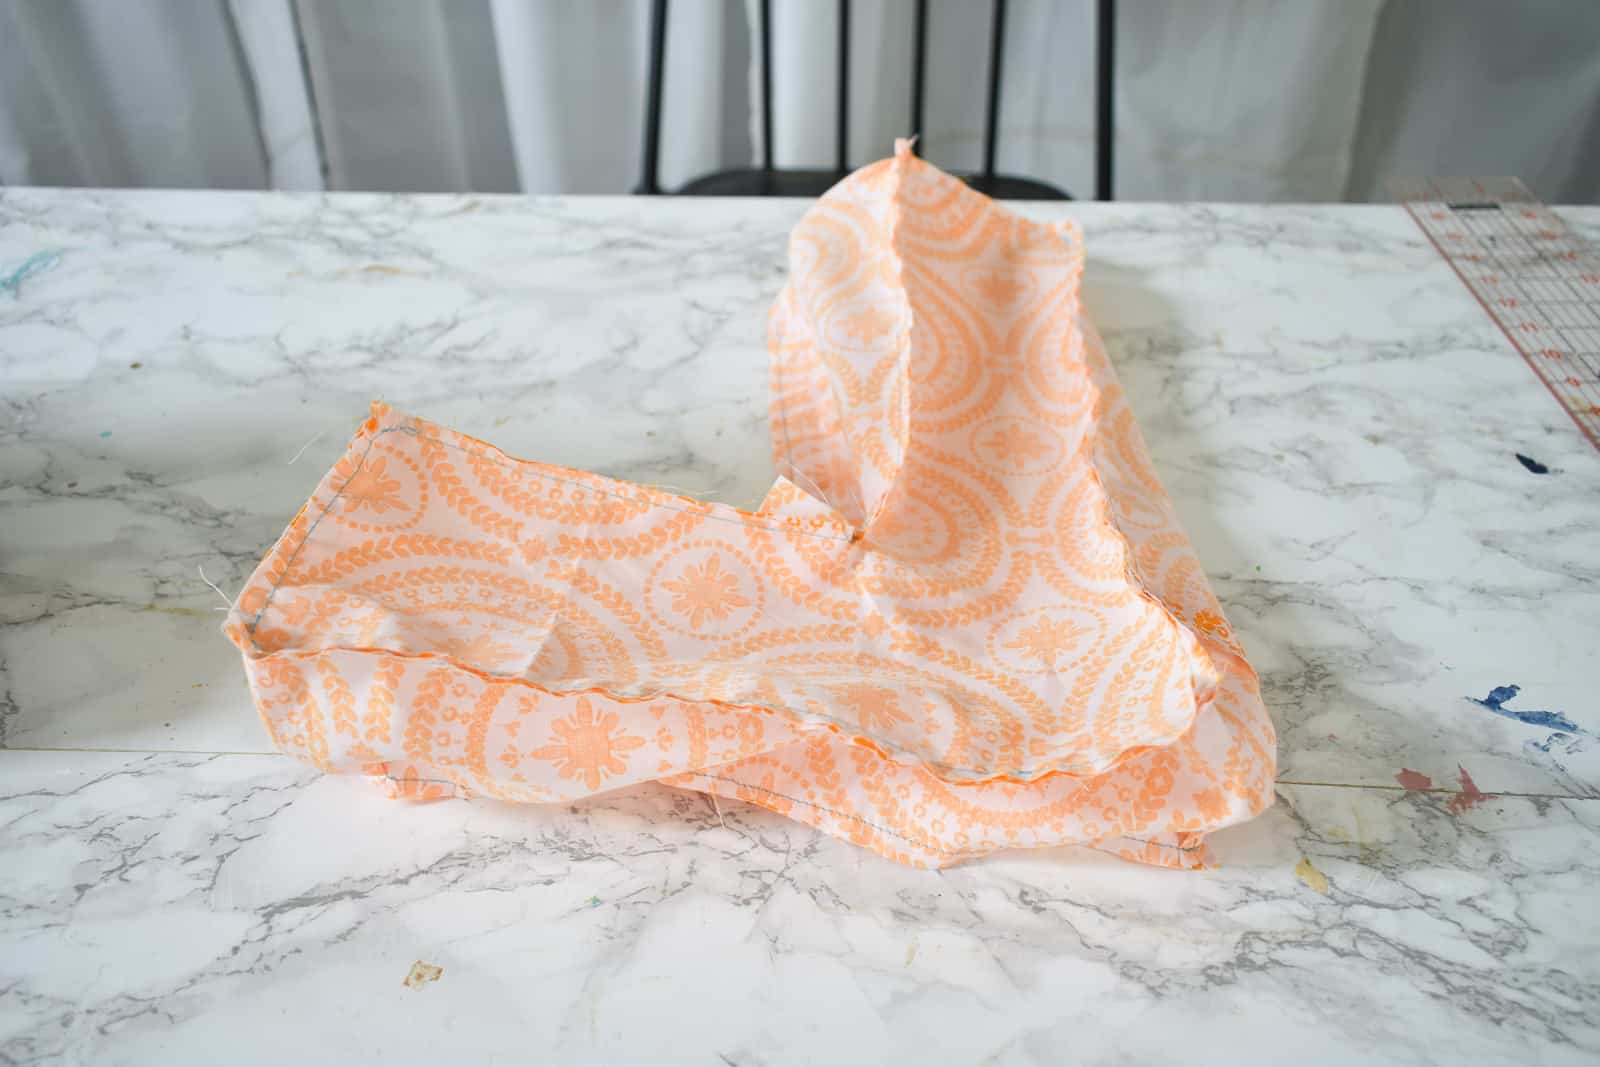
Step 5. Turn the pillow right-side out
Once you’ve sewn all the seams, turn the pillow right-side out so the seams are on the inside and the fabric print is now facing outside.
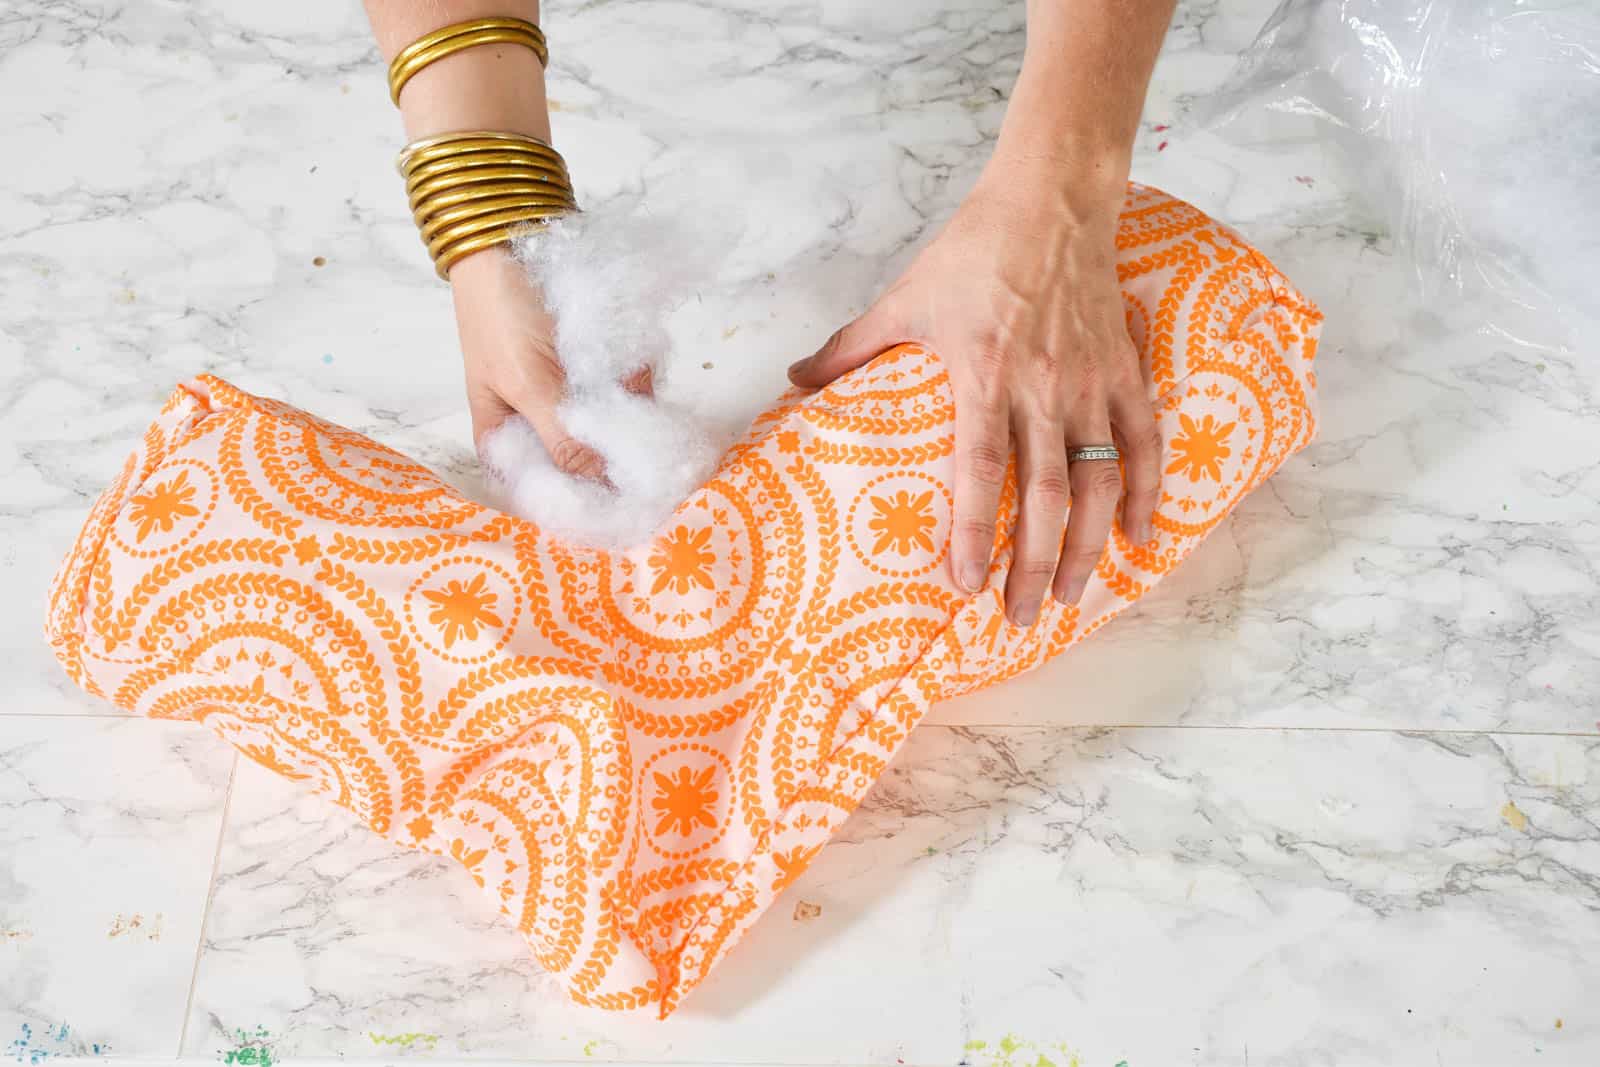
Step 6. Stuff it
I used basic polyfill from the craft store, but any pillow stuffing will work. Make sure the stuffing is as fluffy as possible before you put it into the pillow and be careful to push the stuffing up into the corners.
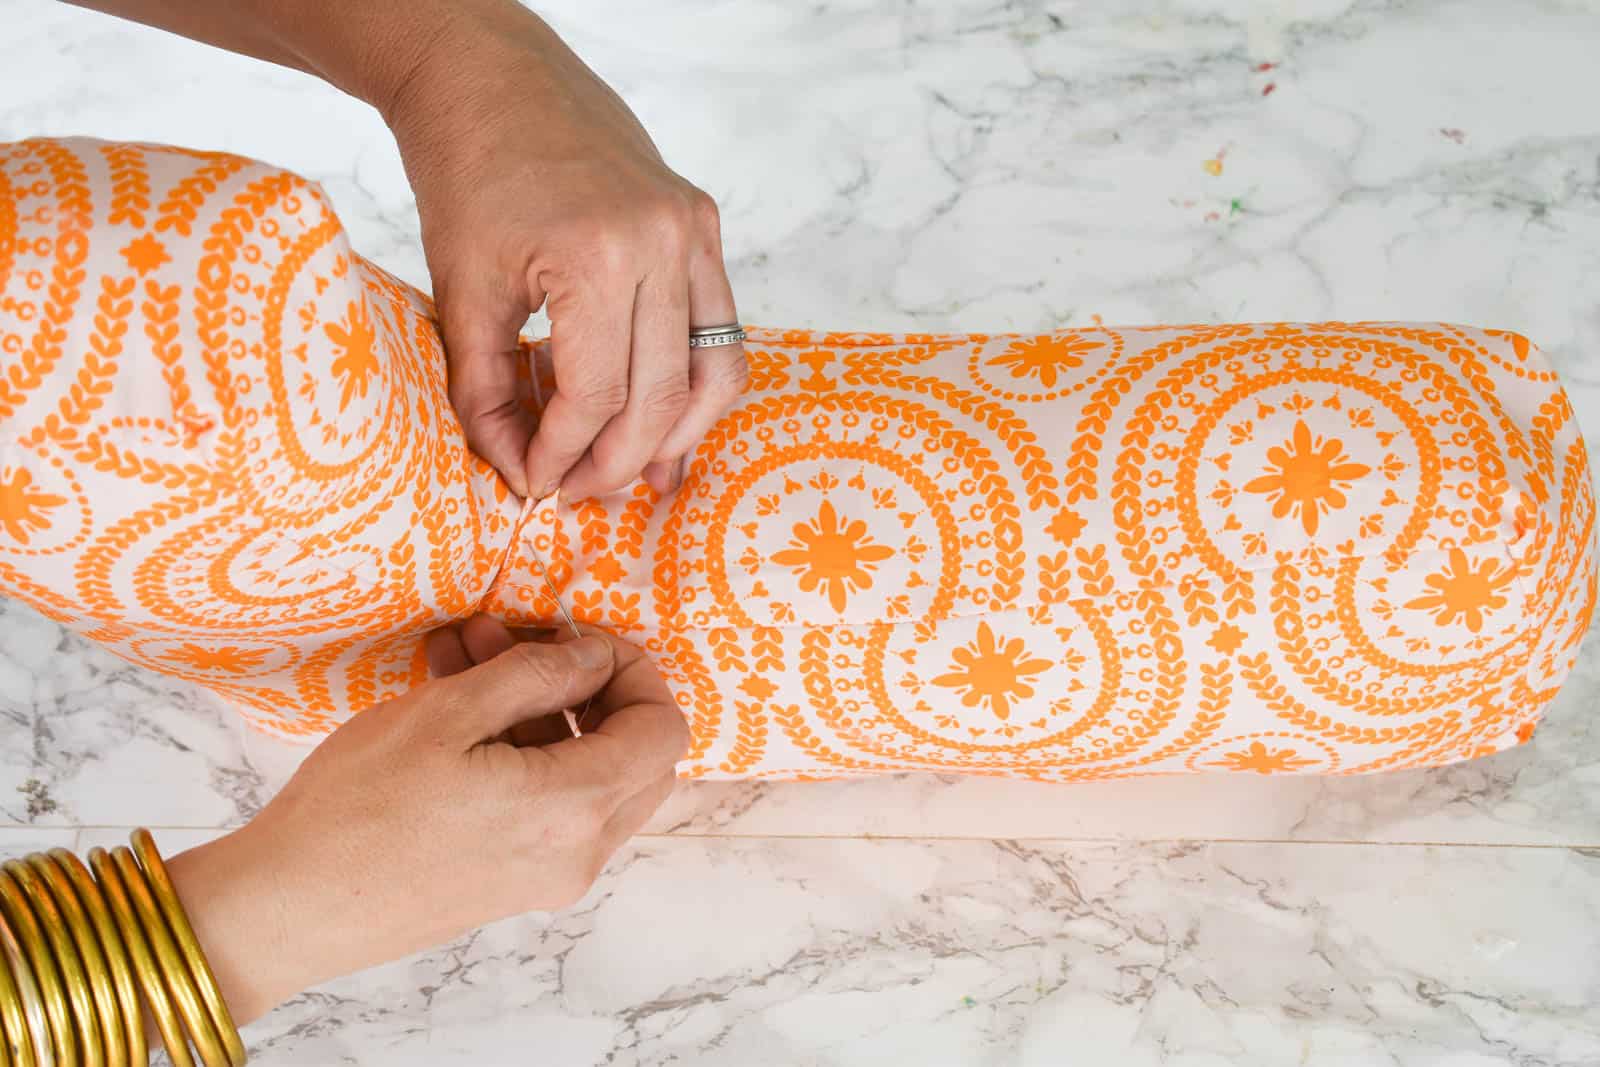
Step 7. Sew the inside seam
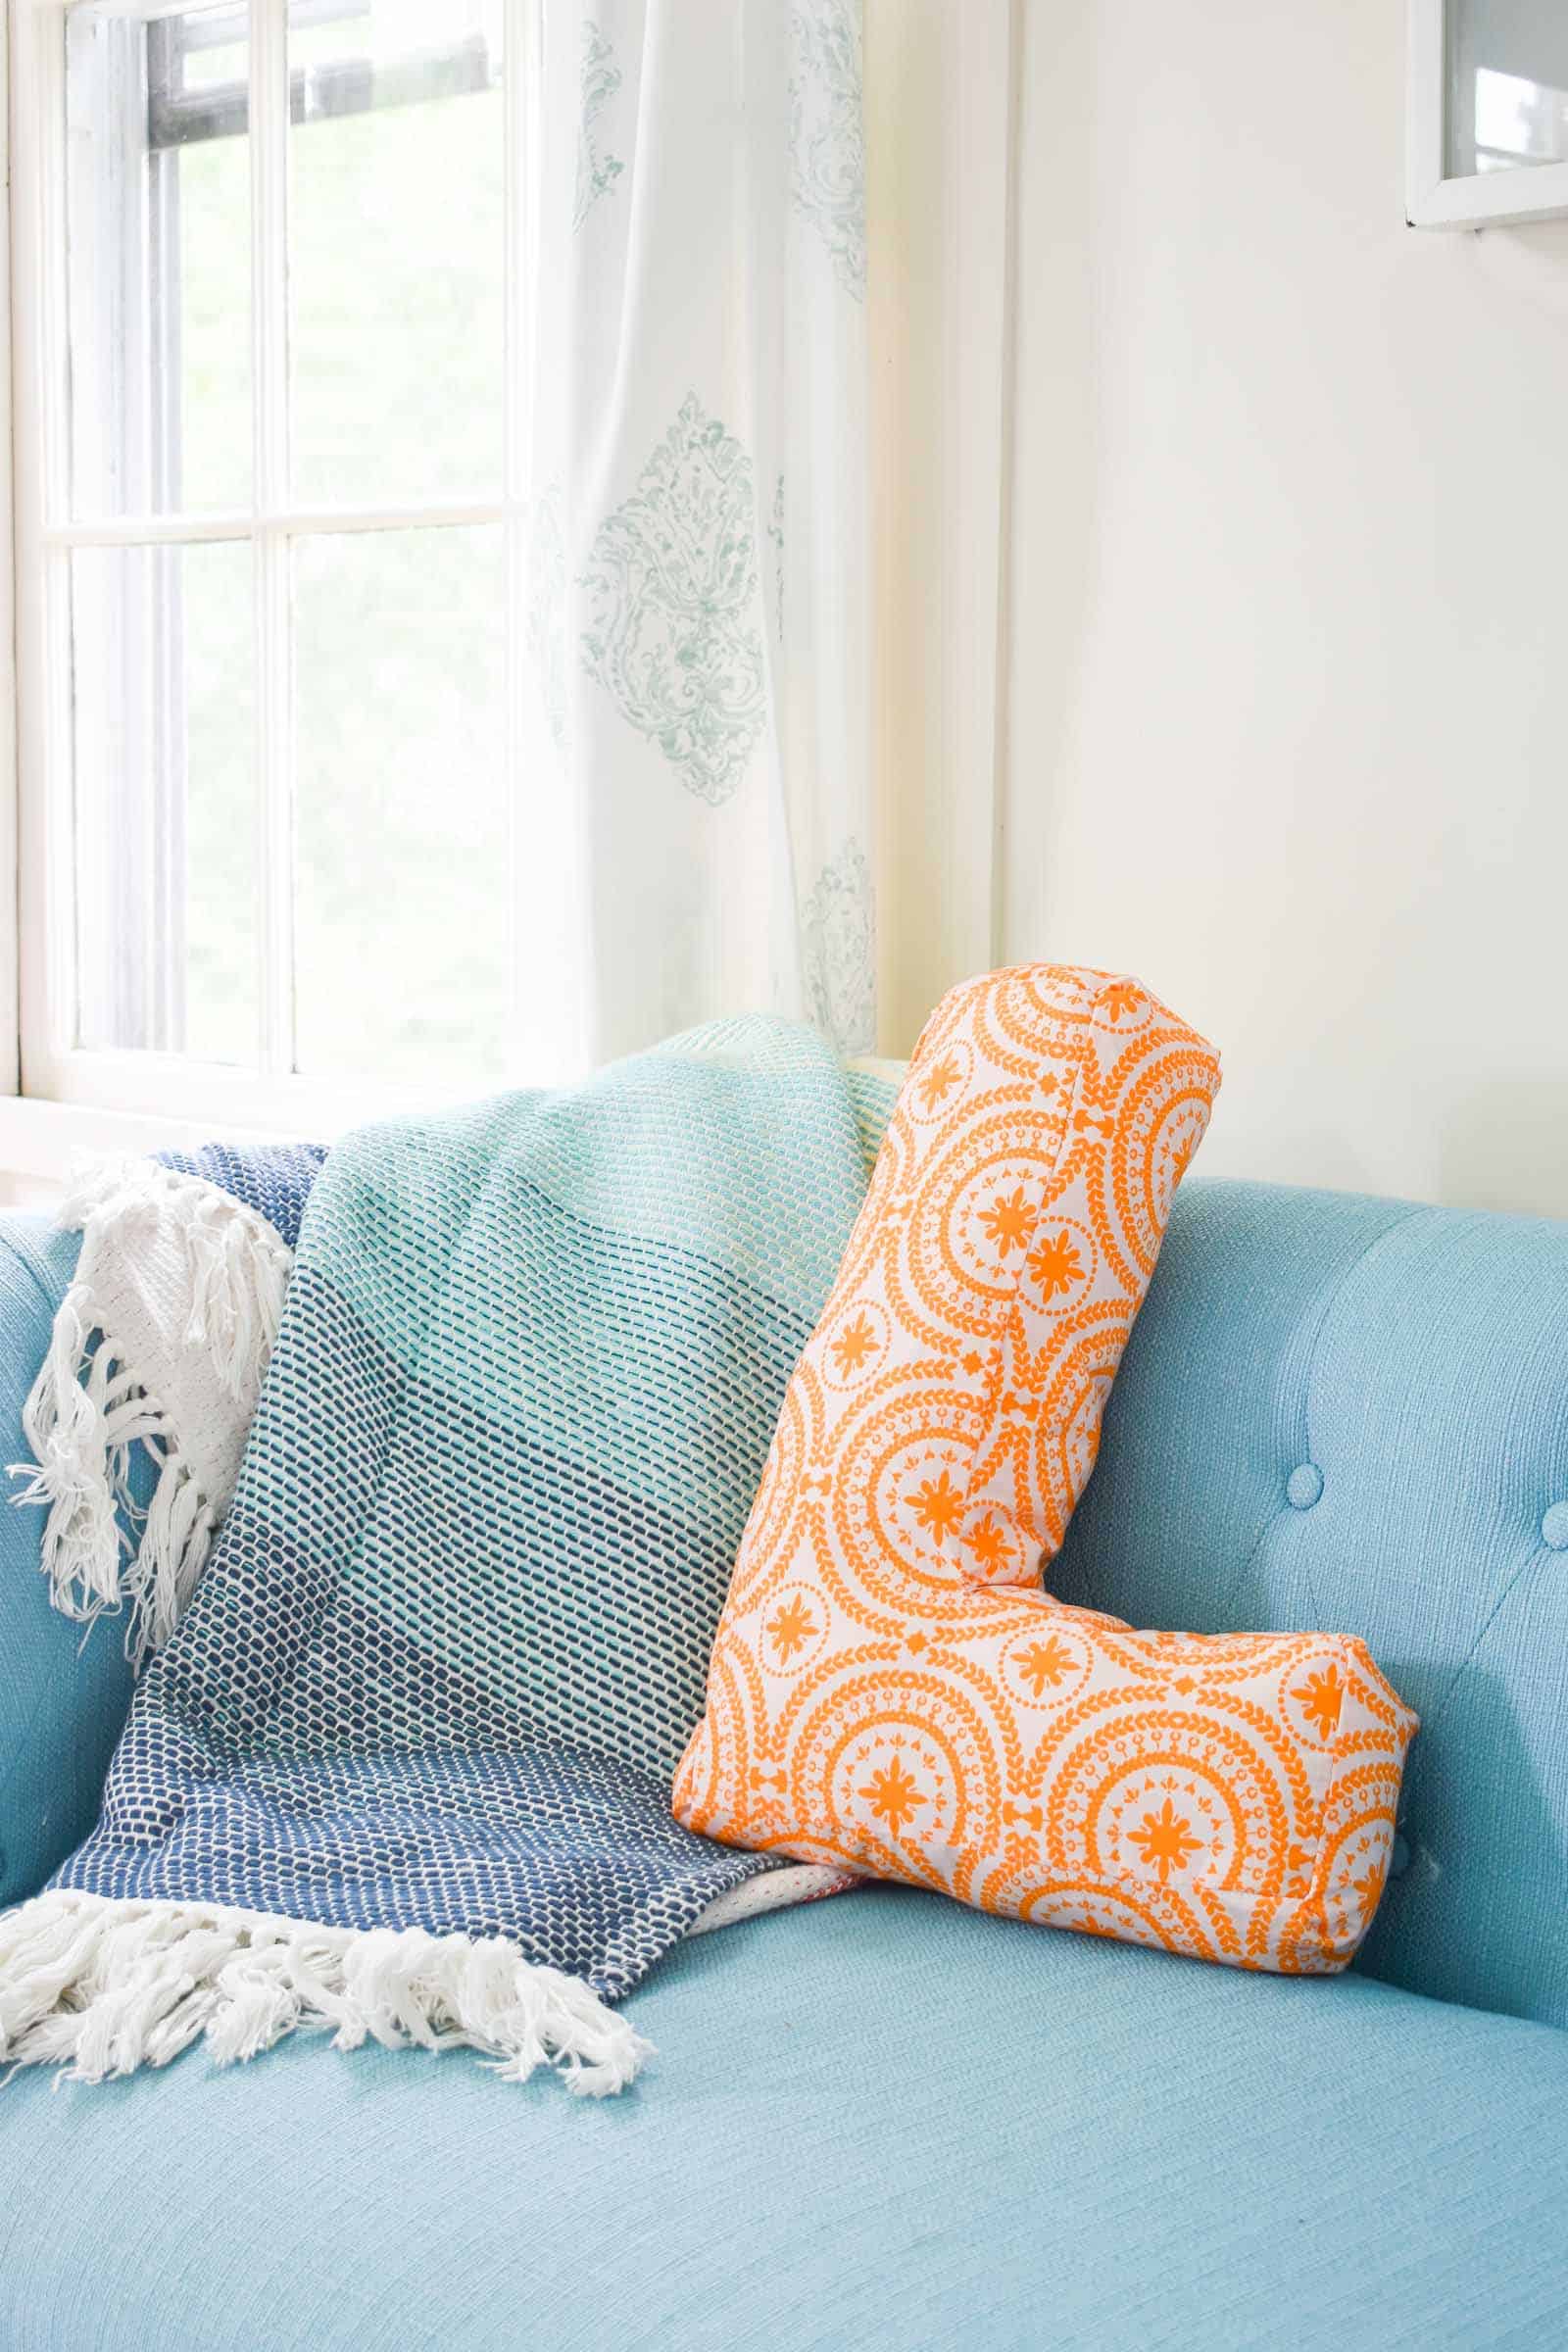
I had to sew this inside corner using small stitches to hide them as best I could.Again… NONE of this is perfect, but… I love the end result and how cute the initial pillows came out.
Every time I make one of these, I think about how sweet it would be to have a whole word full of initial letters. Louisa has been carrying hers back and forth to the ‘clubhouse’ in the backyard, and Martha loves that she had the OG letter pillow. Thanks again to Bari and all the other talented ladies for letting this novice seamstress join the party!
In case you prefer to WATCH me make this pillow, I also made a video so check that out below. (And if you like what you see, I’d love you to SUBSCRIBE to my channel! Please and thank you!)


Don’t Miss Out
Become An Insider!
Signup for exclusive tips, and tricks from Charlotte’s House!
Let’s chat!
I love comments from you, so feel free to leave your thoughts and ideas below! And don’t forget to follow me on Instagram for even more!