
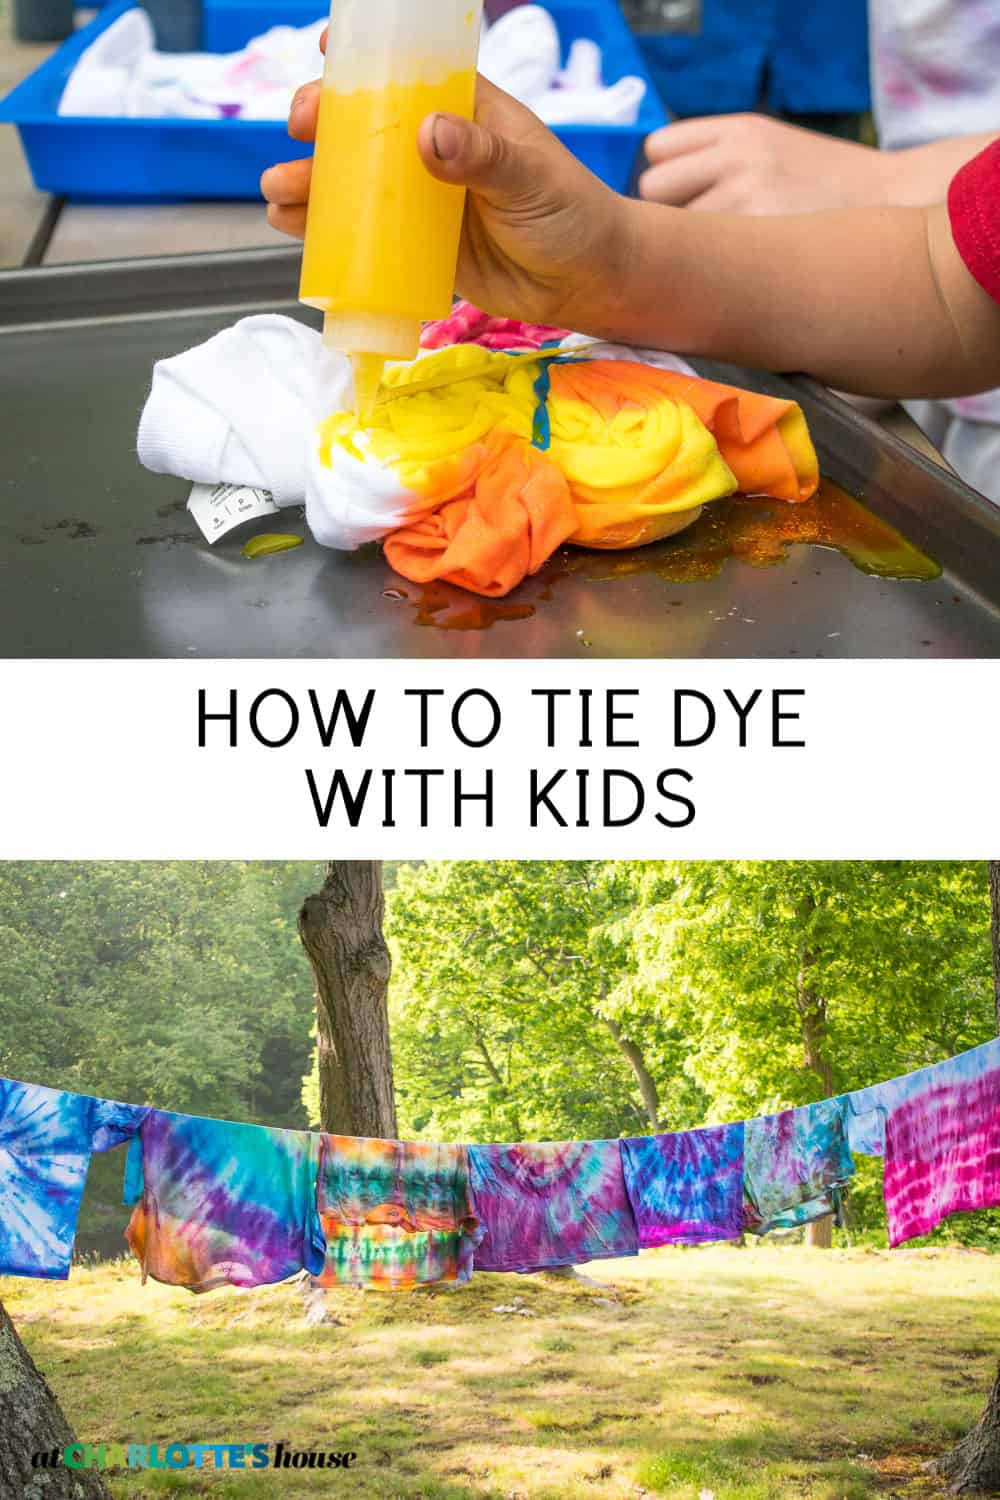
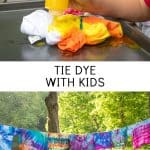
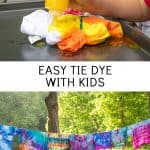
How to Tie Dye with Kids
Psssst… this post *might* contain affiliate links: see my disclosure here.
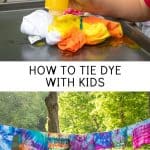
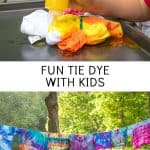
Tips for Successfully Tie Dying with Children
Tie dye is everywhere lately so I’m sharing my tips for creating colorful tie dye creations with kids!
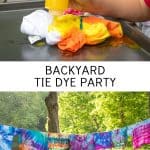
For the last few summers, my family has spent a week at a family camp in New Hampshire where they had their first experience with tie dye. In New Hampshire, there were buckets of dye and the kids could dip their t-shirts in each one accordingly. But… it was hard to control the dye, the colors were limited and, more importantly, it was MESSY. This weekend we tie dyed in our backyard and here are my tips for tie dye success!
Shop my favorites!
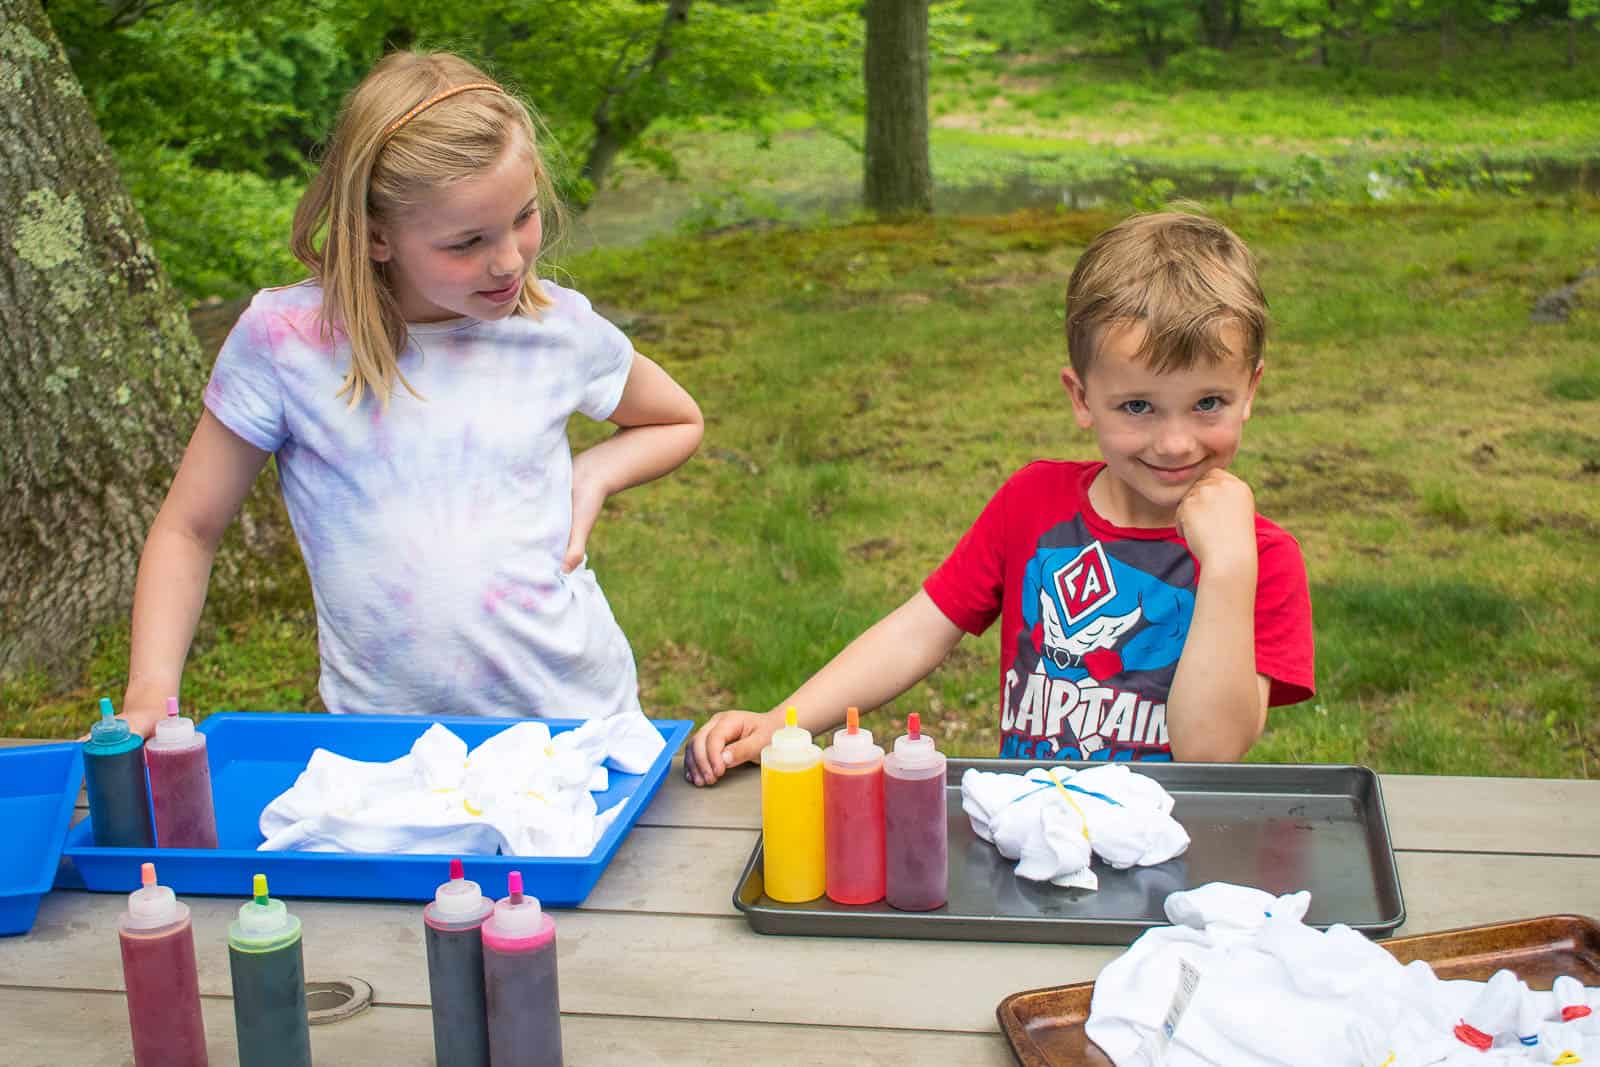
1. Preparation
No matter how careful you are, tie dye is messy. I recommend accepting that fact and setting yourself up outside on trays. I used both cookie sheets and plastic craft trays. Other things to consider when prepping your area: is the table or floor beneath you porous/ will it stain with the dye? Wood, plastic… both should probably be covered with plastic. Our metal table and the natural stones beneath… not a problem.
Assume there will be spills so consider what your children are wearing when they tie dye. Darker clothes or previously tie dyed creations are recommended. The tie dye kit we used came with gloves, but they were all a little cumbersome for the kids so we just went without. Fingers were a little discolored after tie dying, but it washed off after a few hand washes.
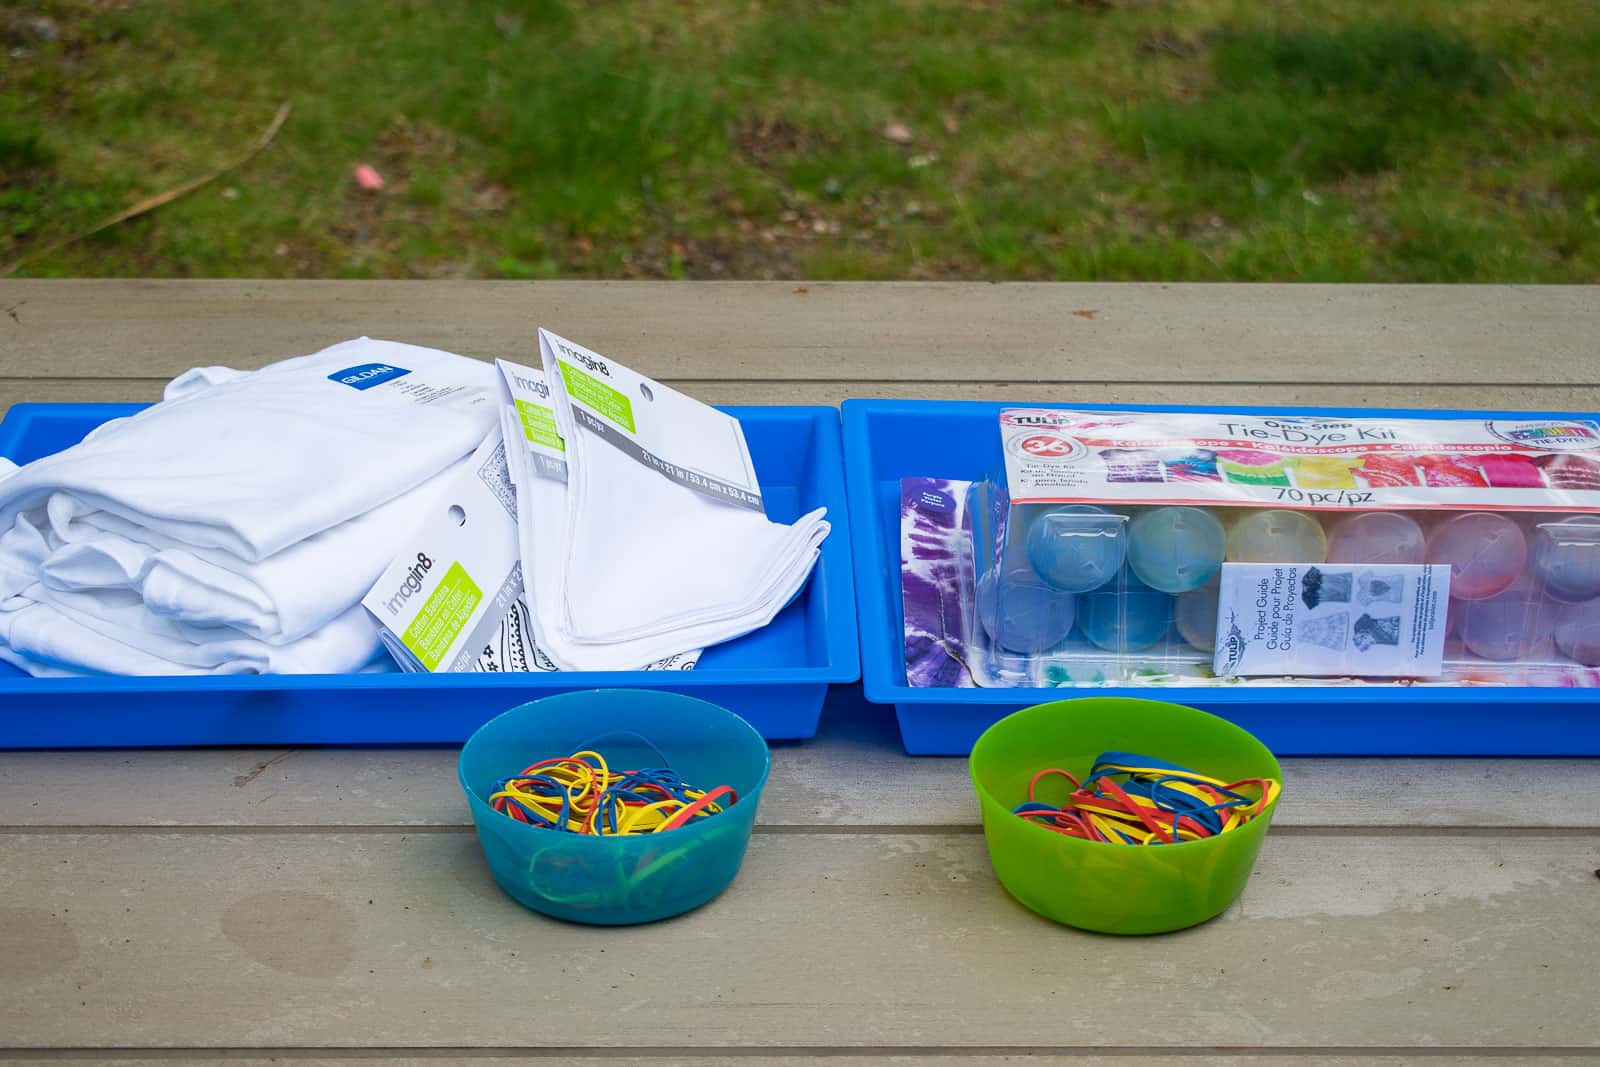
2. Materials
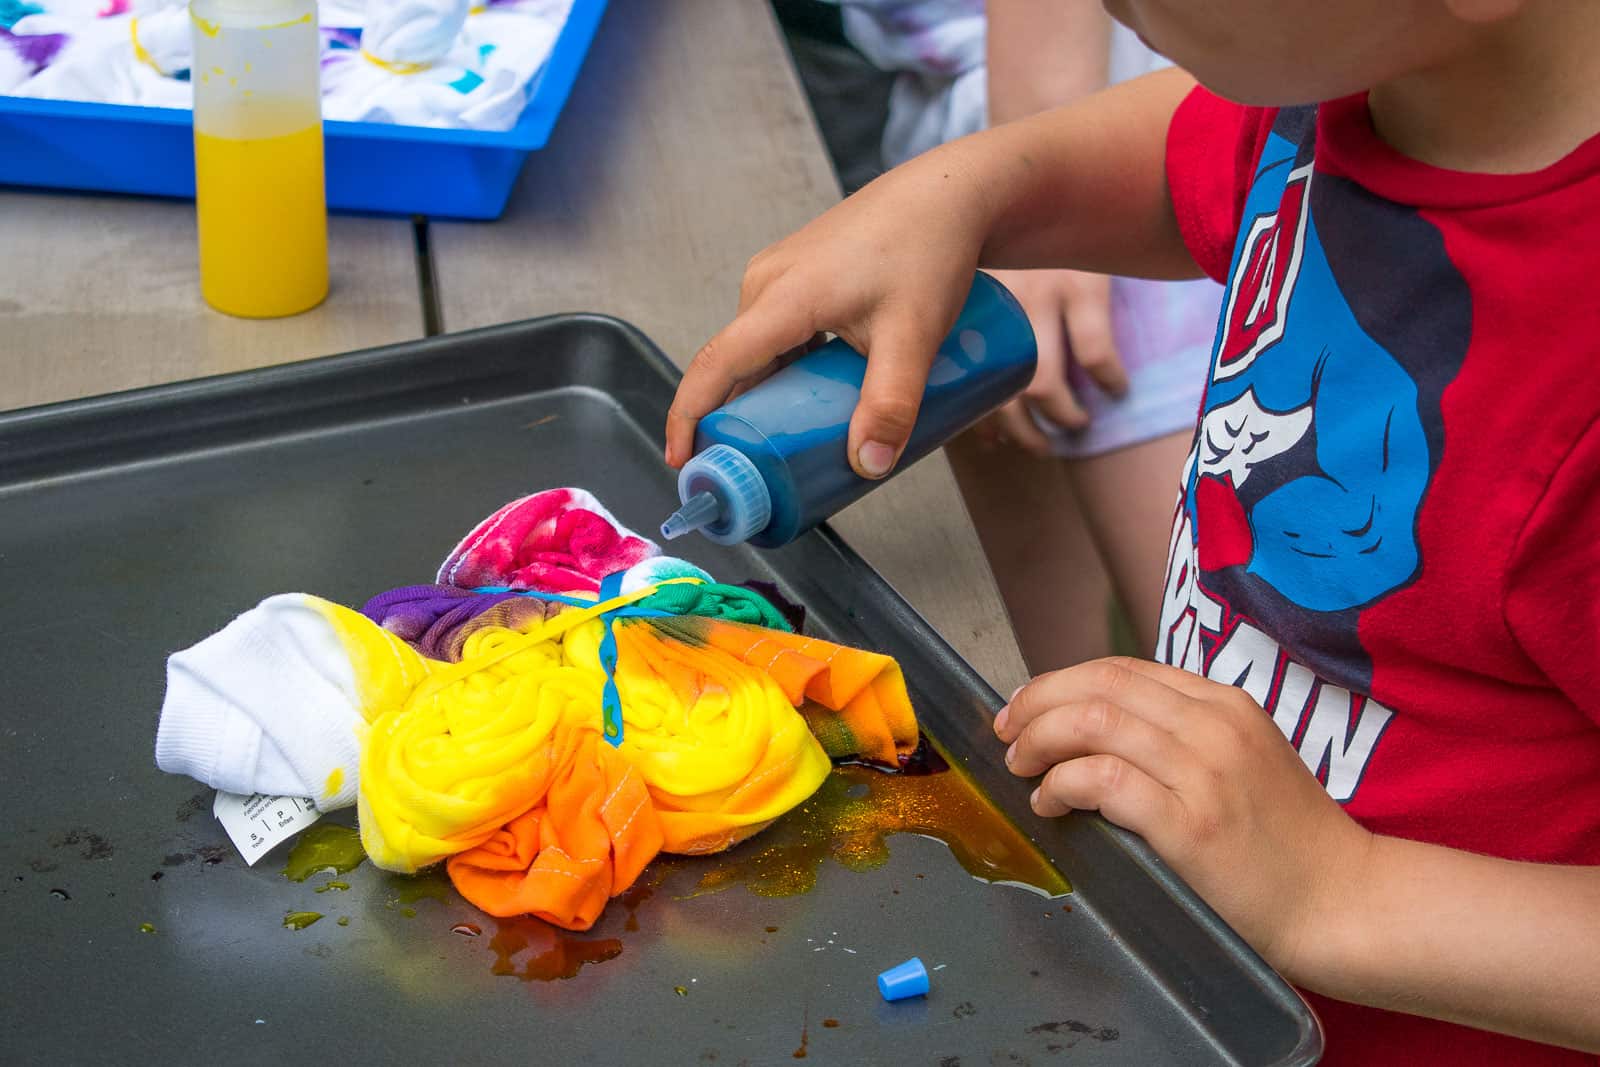
Obviously you need things to tie dye. I picked up some plain white cotton t-shirts at the craft store, but the kids also went and grabbed some of the white clothing they had in their drawers. We also tie dyed some bandanas and some white sheets and I’ll use those to sew some masks. Tip: I suggest washing your items before tie dying to remove the fabric sizing and help make them more absorbent. We were impatient and skipped this step, but you can see we used a water bottle to help the dye soak in a bit.
I used this tie dye kit and it was great. The first round was really bright and vibrant and then I topped off the bottles so the second round was a little more diluted. Here’s what I think is important: the squirt bottles. You can buy them separately (like these ones here) or get the kits like we used that include the bottles. The bottles mean there are less spills, the kids can control where they’re spraying a little easier, and they could stick the tips of the squirt bottles into nooks and crannies as needed.

Our tie dye kit comes with rubber bands, but you’ll need a handful of those as well. I find that medium thickness rubber bands are easier for the kids to work with. The super skinny ones are almost too stretchy so it takes them forever to wrap the tight, and the smaller thicker ones, are just too hard for kids to maneuver.
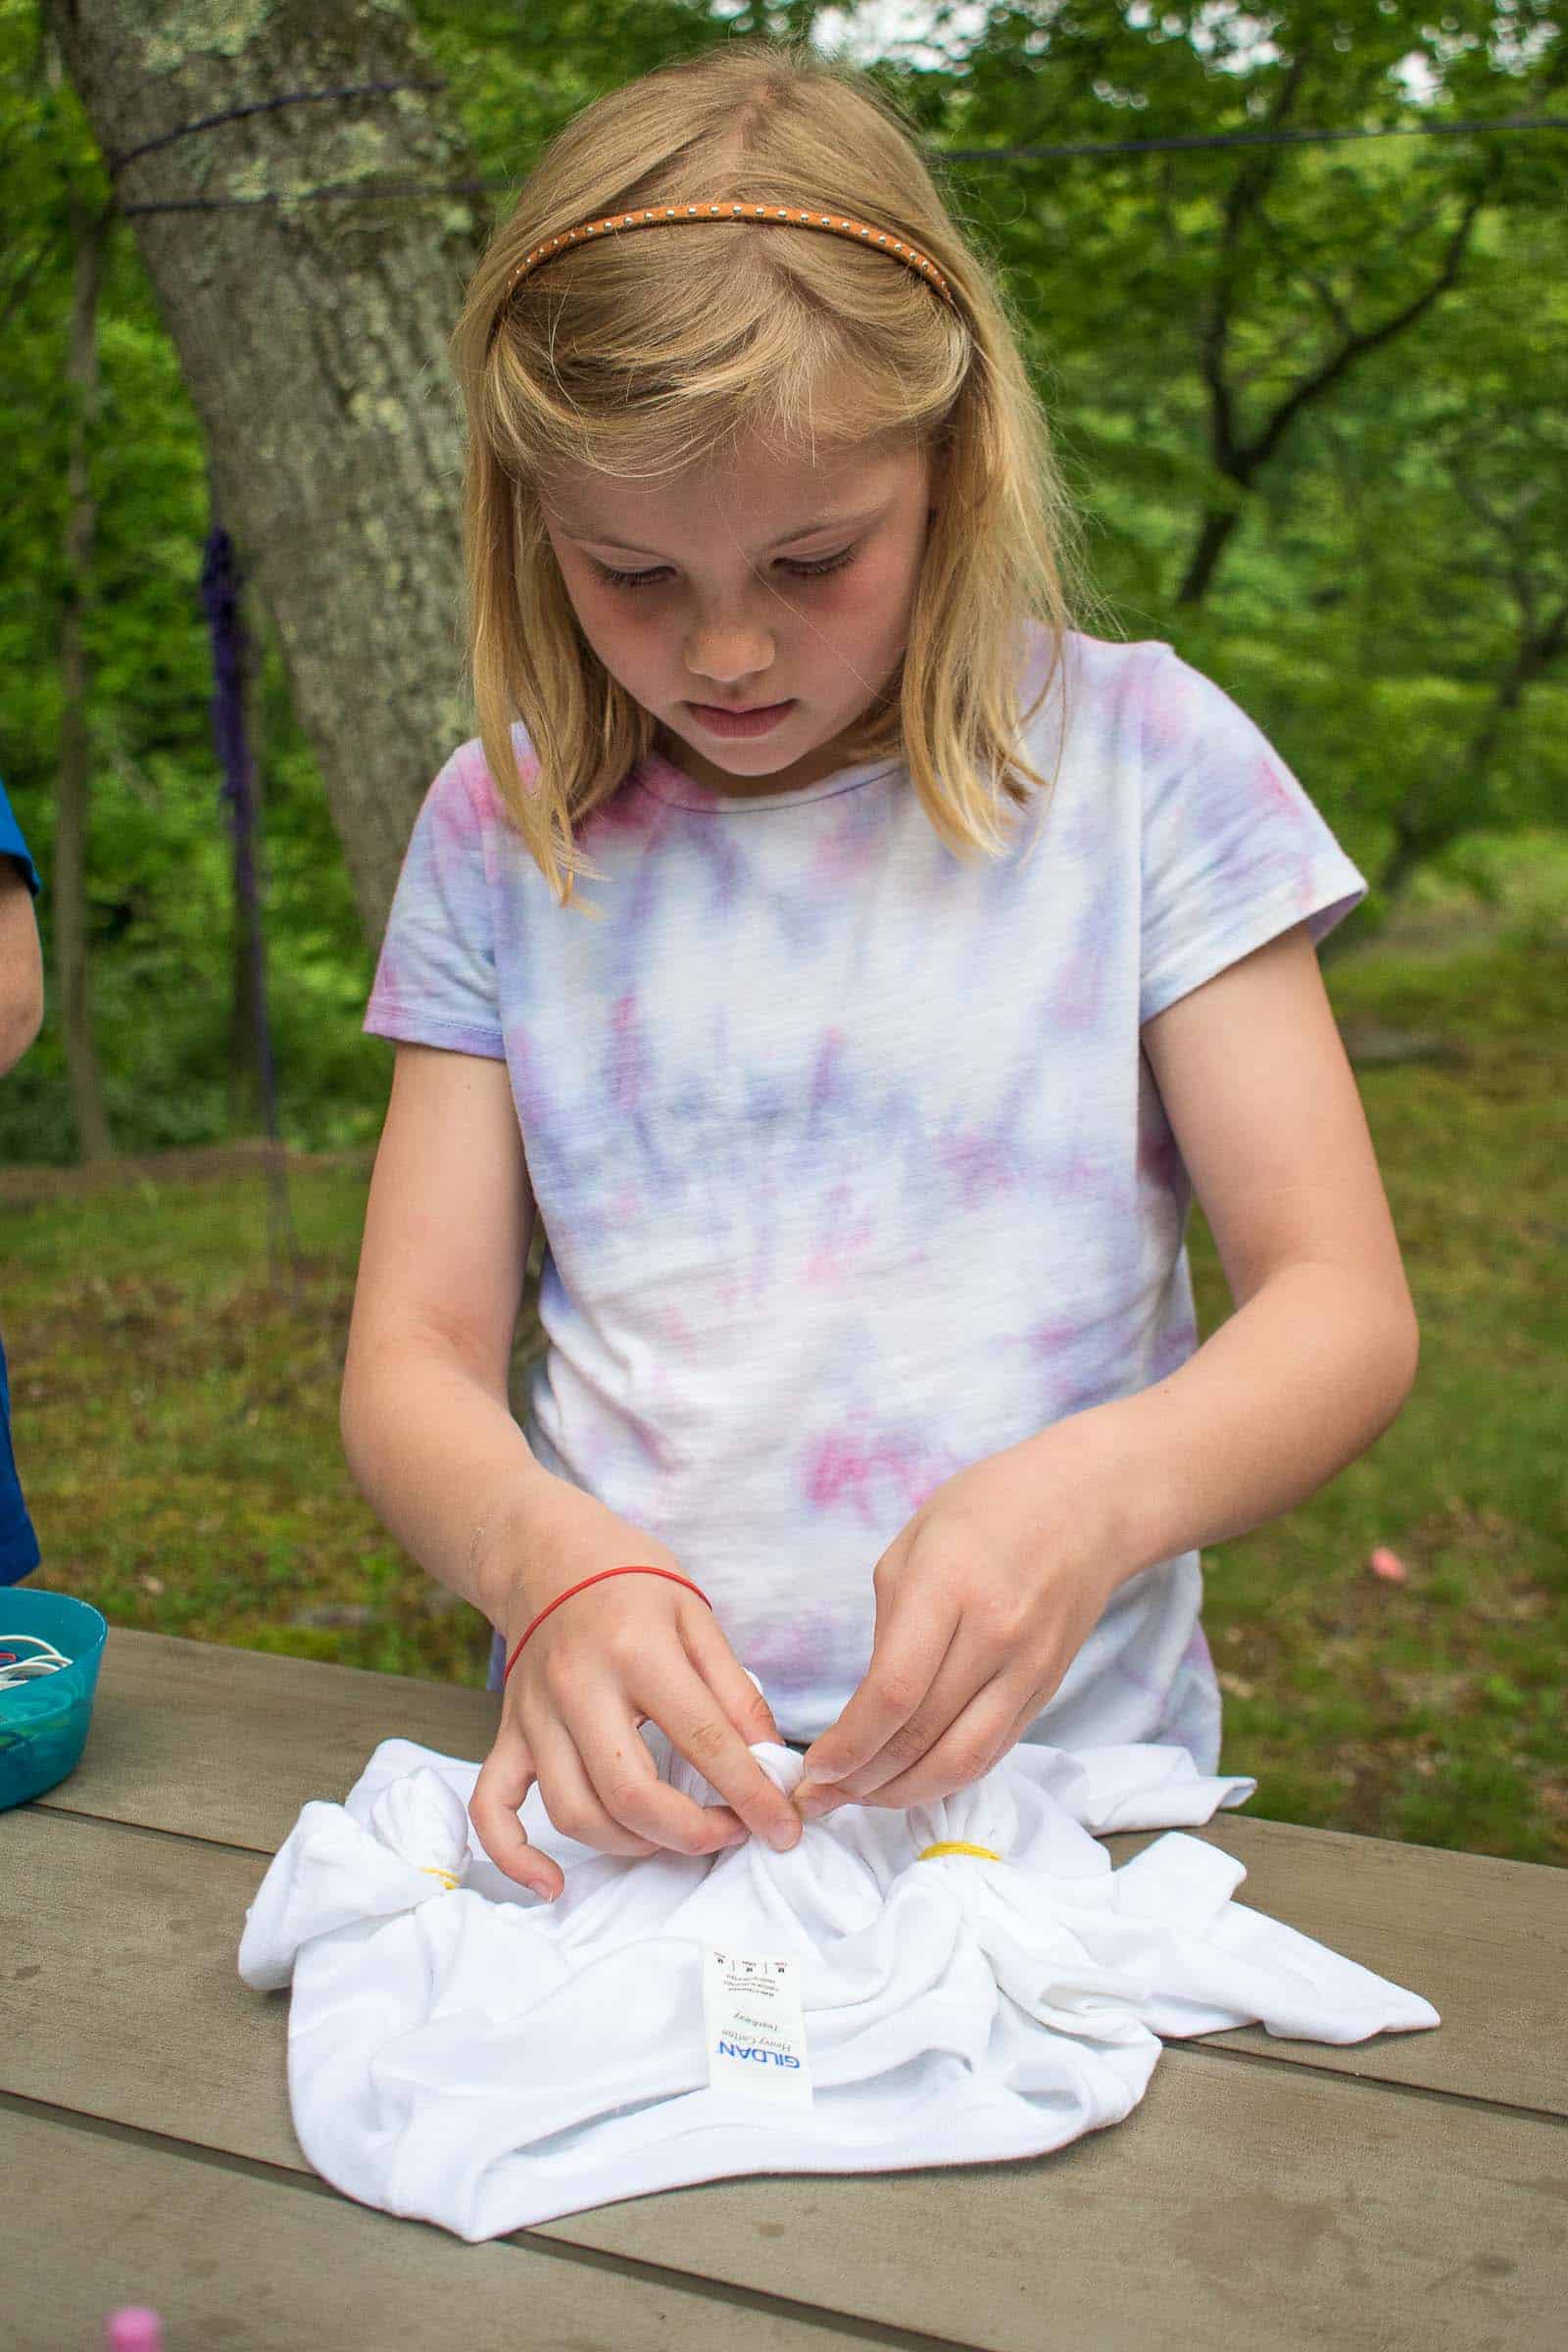
3. Folding Patterns
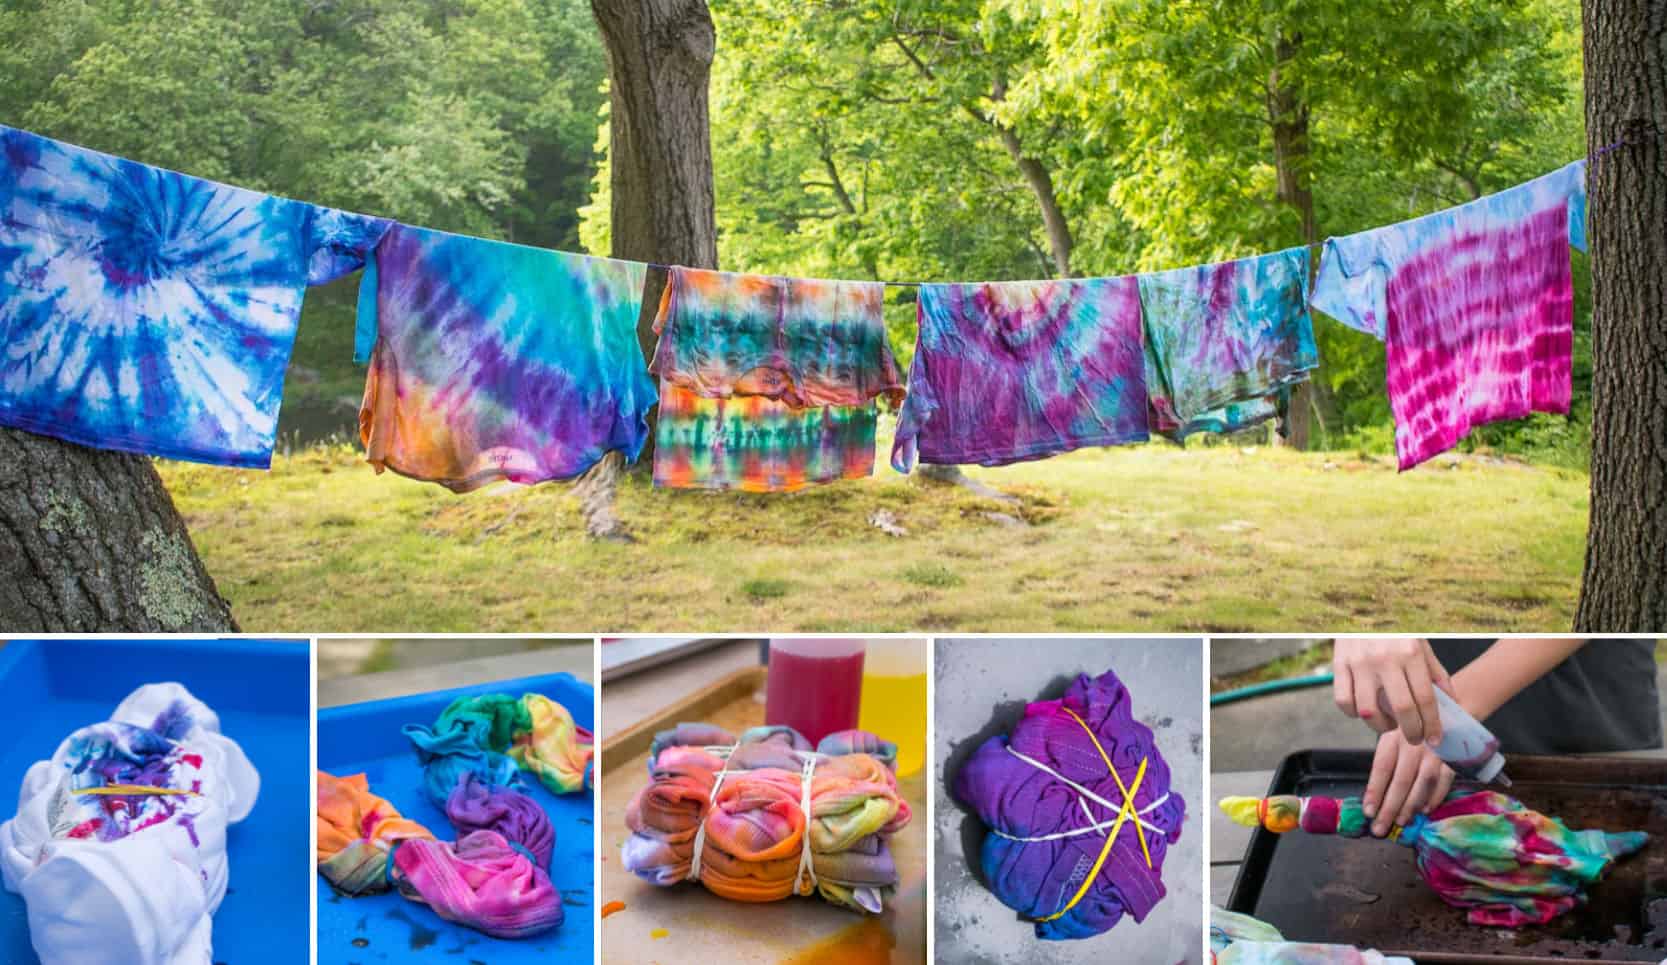
We experimented a bit with different ways to fold our shirts, and these were the four basic techniques we used. Most of the kids could figure out the rubber bands (ages 11, 9, 8 and 6), but I had to help Arthur a little bit with his (5)
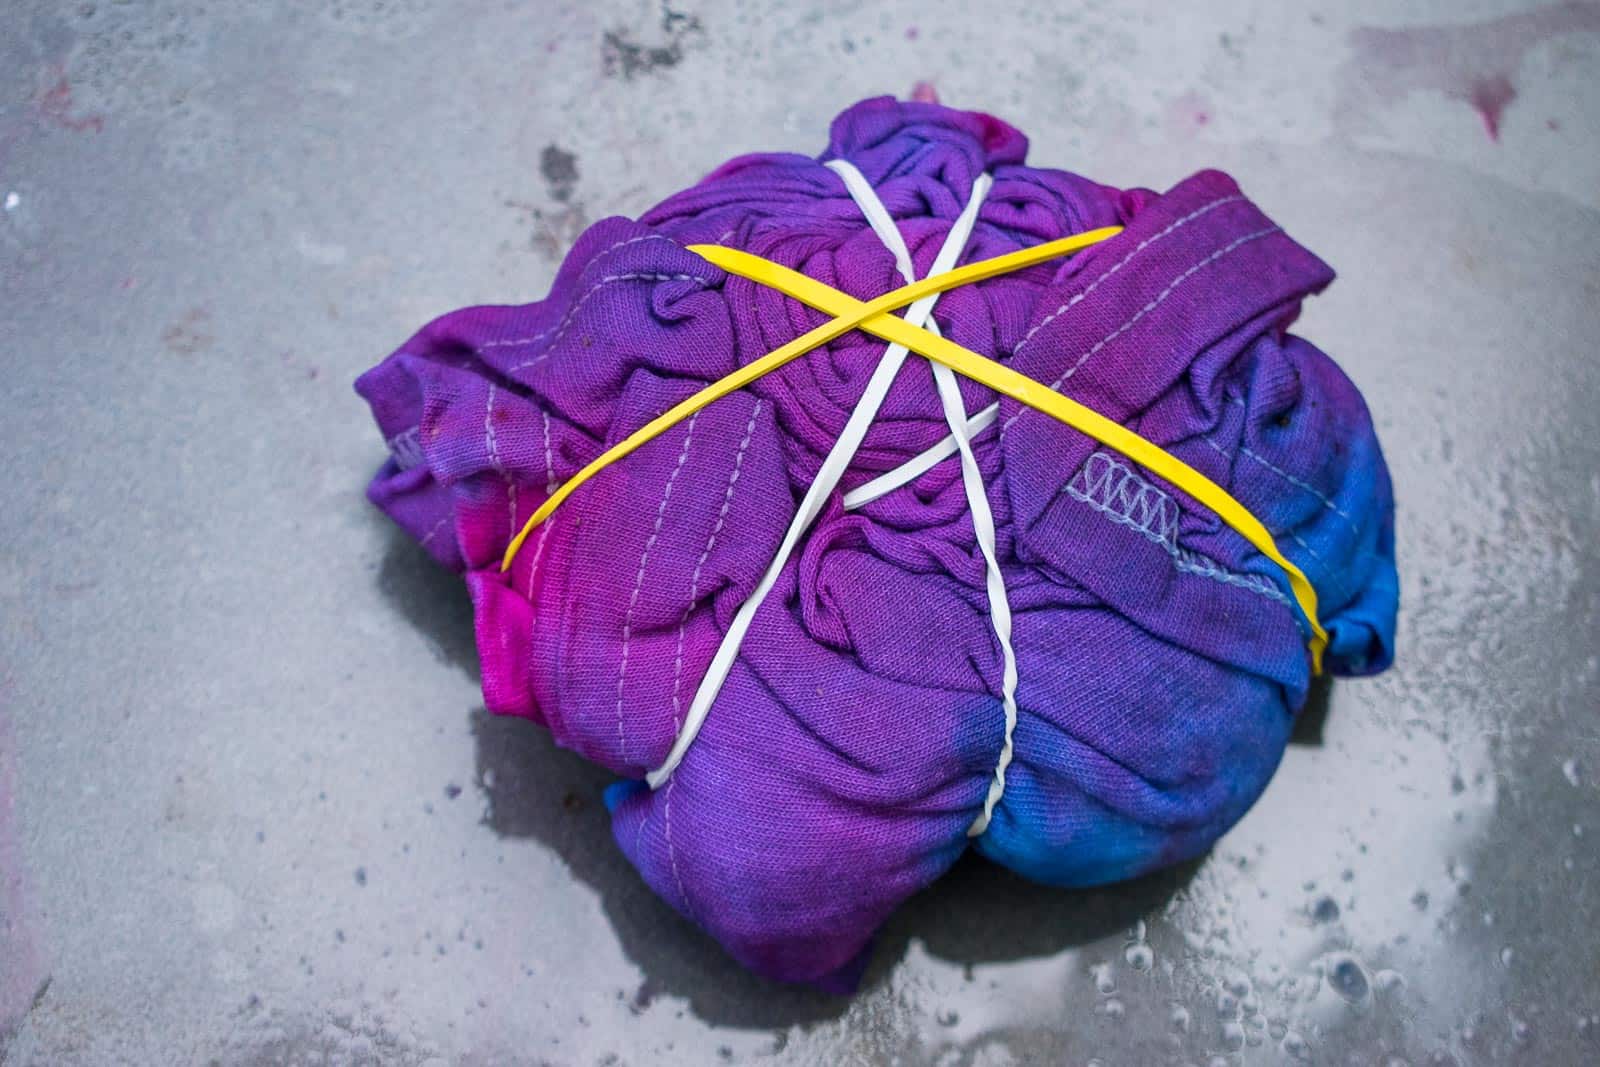
SPIRAL: Lay your shirt flat and pinch one area on the front. Without letting go, twist the shirt to create a spiral around that middle point. Use three rubber bands to hold the twist in place.
FOLDING: To create squares (a la shibori), fold your shirt like a fan. Once you have your folded strip of shirt, fold it again the opposite direction. Use 4 rubber bands to hold tightly in place.
BULLSEYE: Lay the shirt flat and pinch were you want the center of the bullseye to be. Tightly wrap a rubber band around about two inches from the end. Repeat with another rubber band a few inches below your first rubber band. Etc. The more rubber bands you use, the more rings on your bullseye Alternate technique: instead of wrapping the rubber bands consecutively onto the shirt (making a t-shirt snake of sorts), just randomly wrap the rubber bands around handfuls of t-shirt.

SCRUNCHING: This is exactly what it sounds like, Simple ball up your fabric and wrap into a clump with rubber bands.

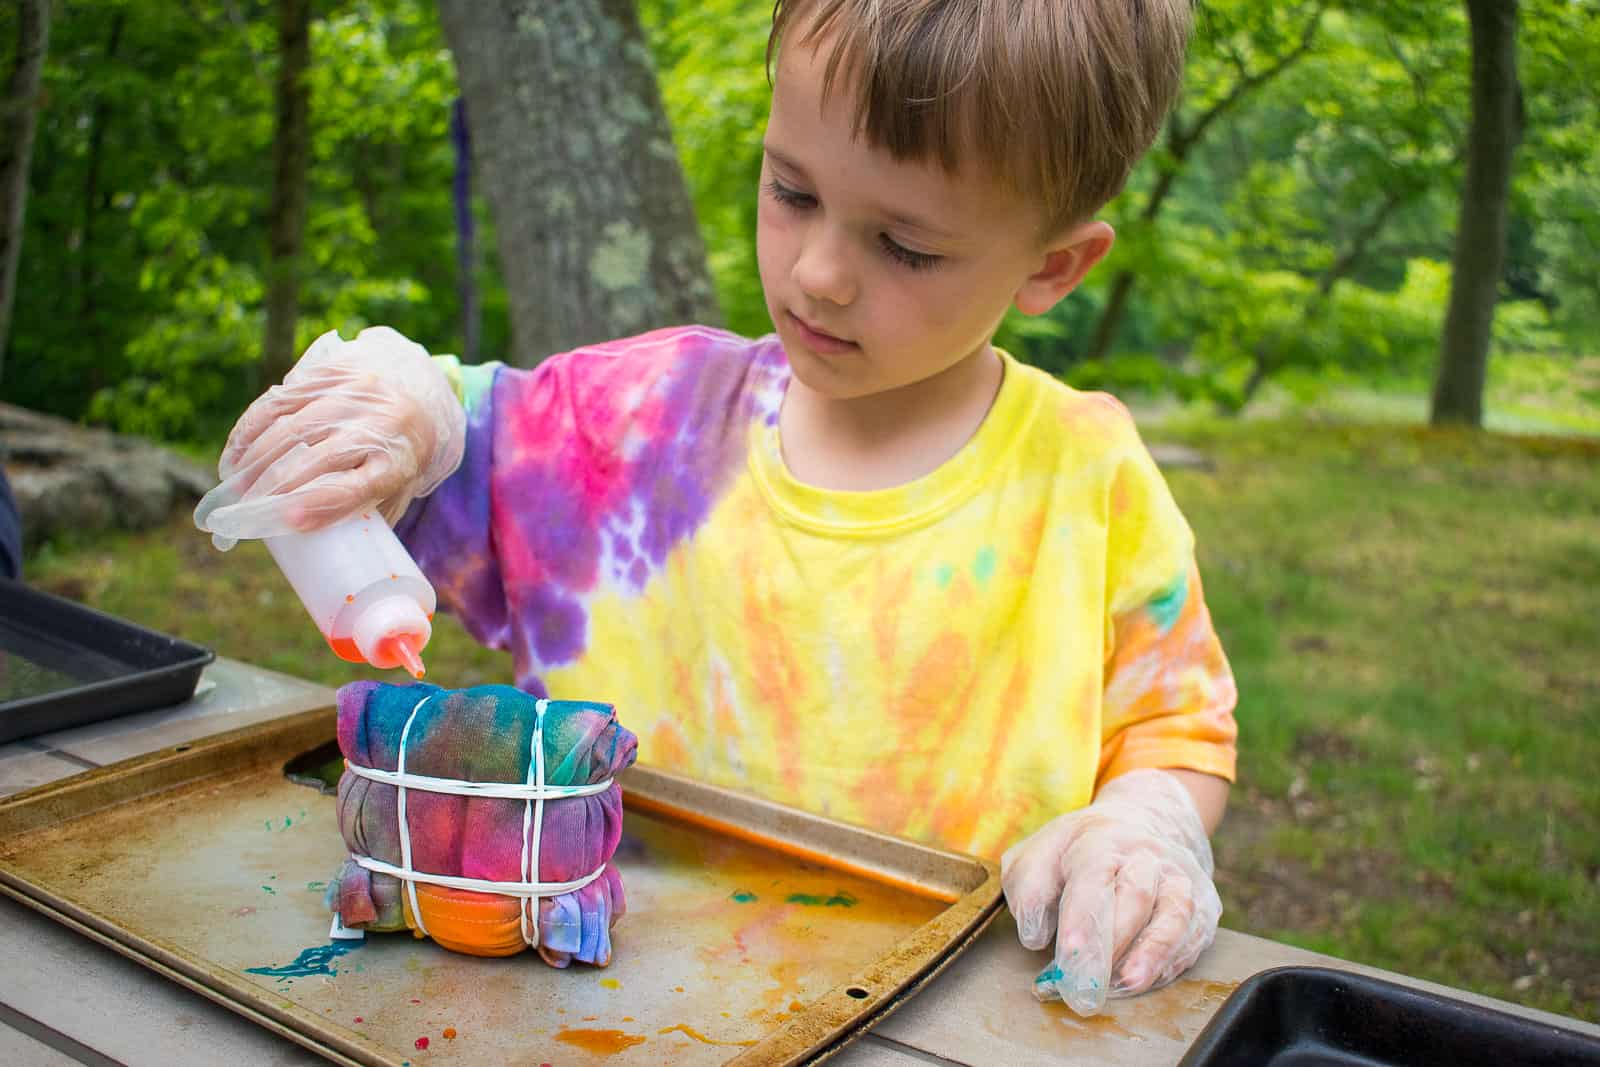
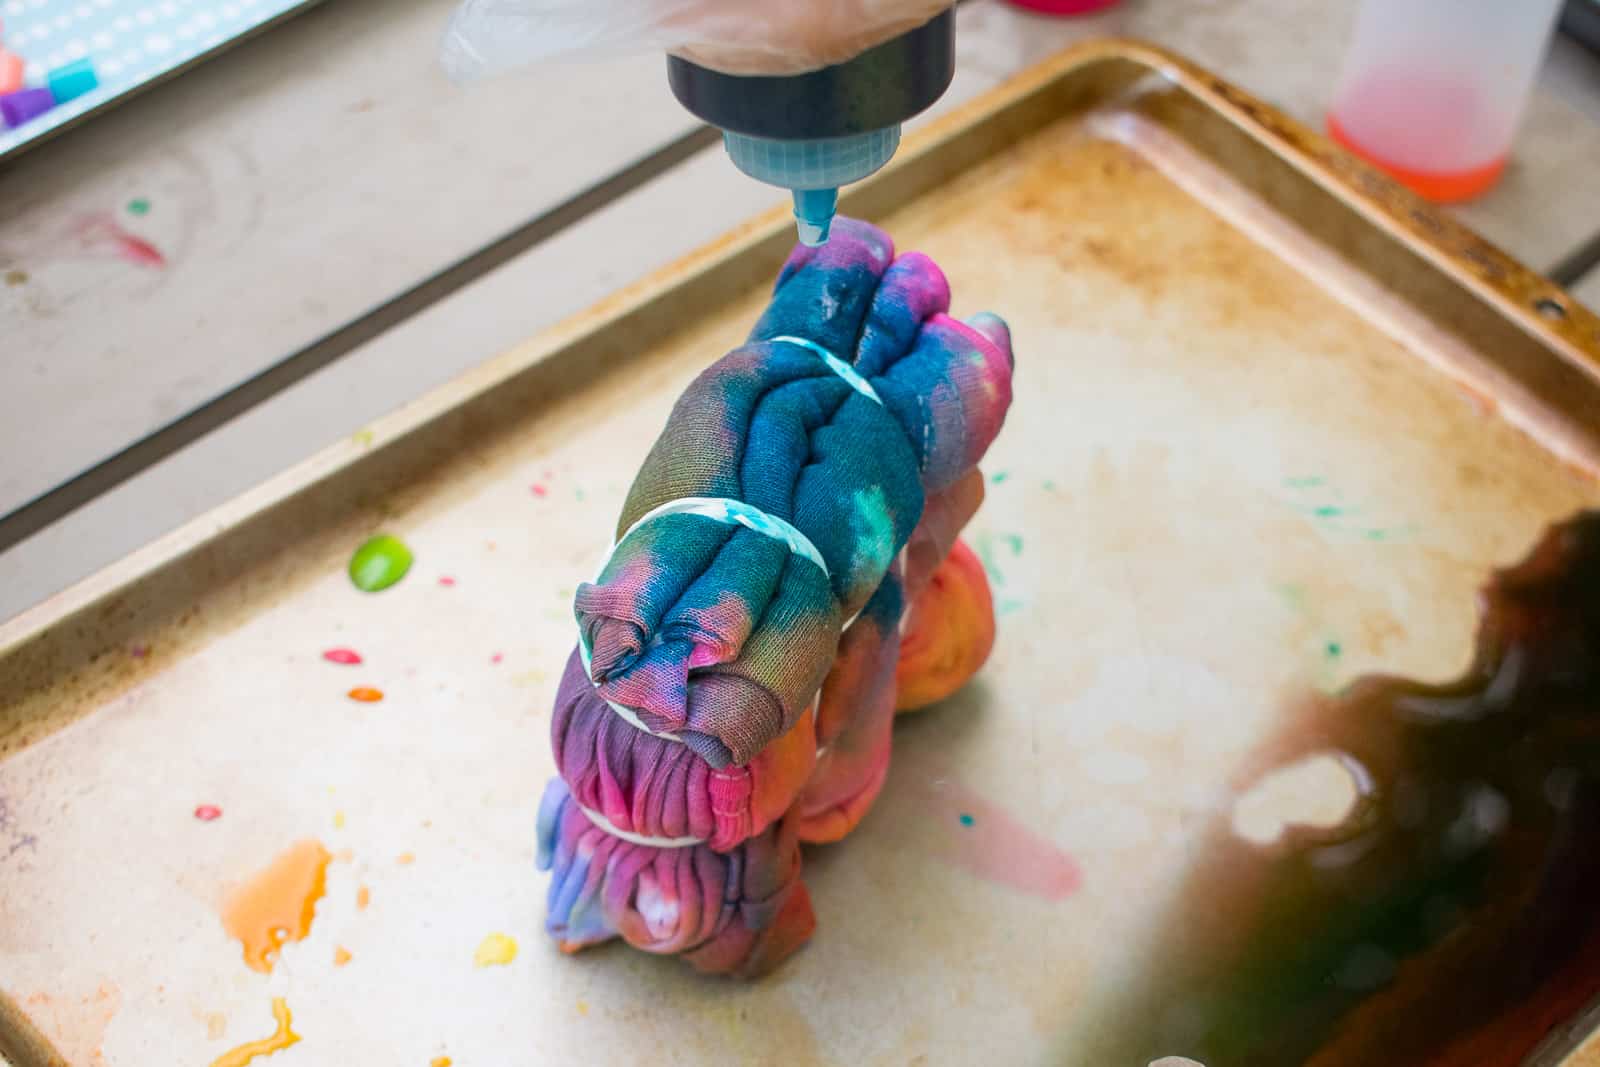
4. Tie Dying
Make sure the work area is covered as needed, and the prepped t-shirts are on trays. I liked that our kit came with so many colors so we tried to split up the colors and give everyone a couple choices to start with. Then…. let ‘er rip. The kids were pretty good about controlling the squirt bottles so they didn’t overdo it. I didn’t give any guidance for the actual dying part of this projects unless I noticed that they were spraying way too much and wasting the dye. I loved watching each child’s technique and observing them problem solve and create.
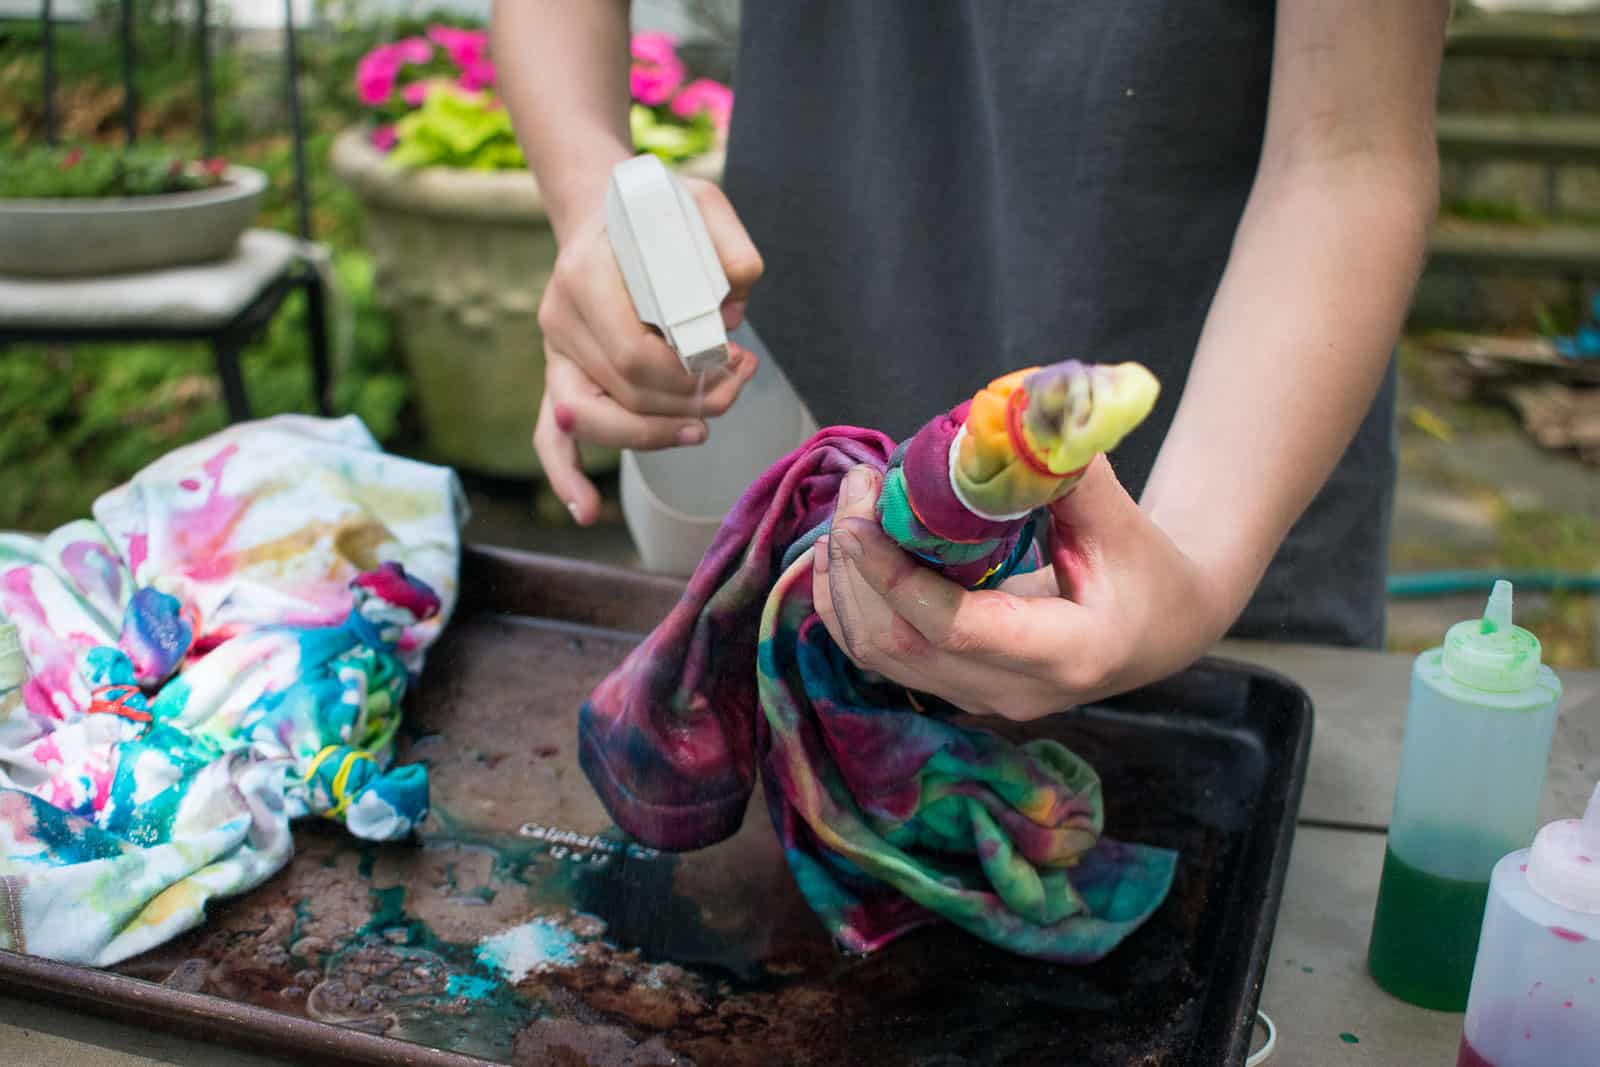
5. After Care
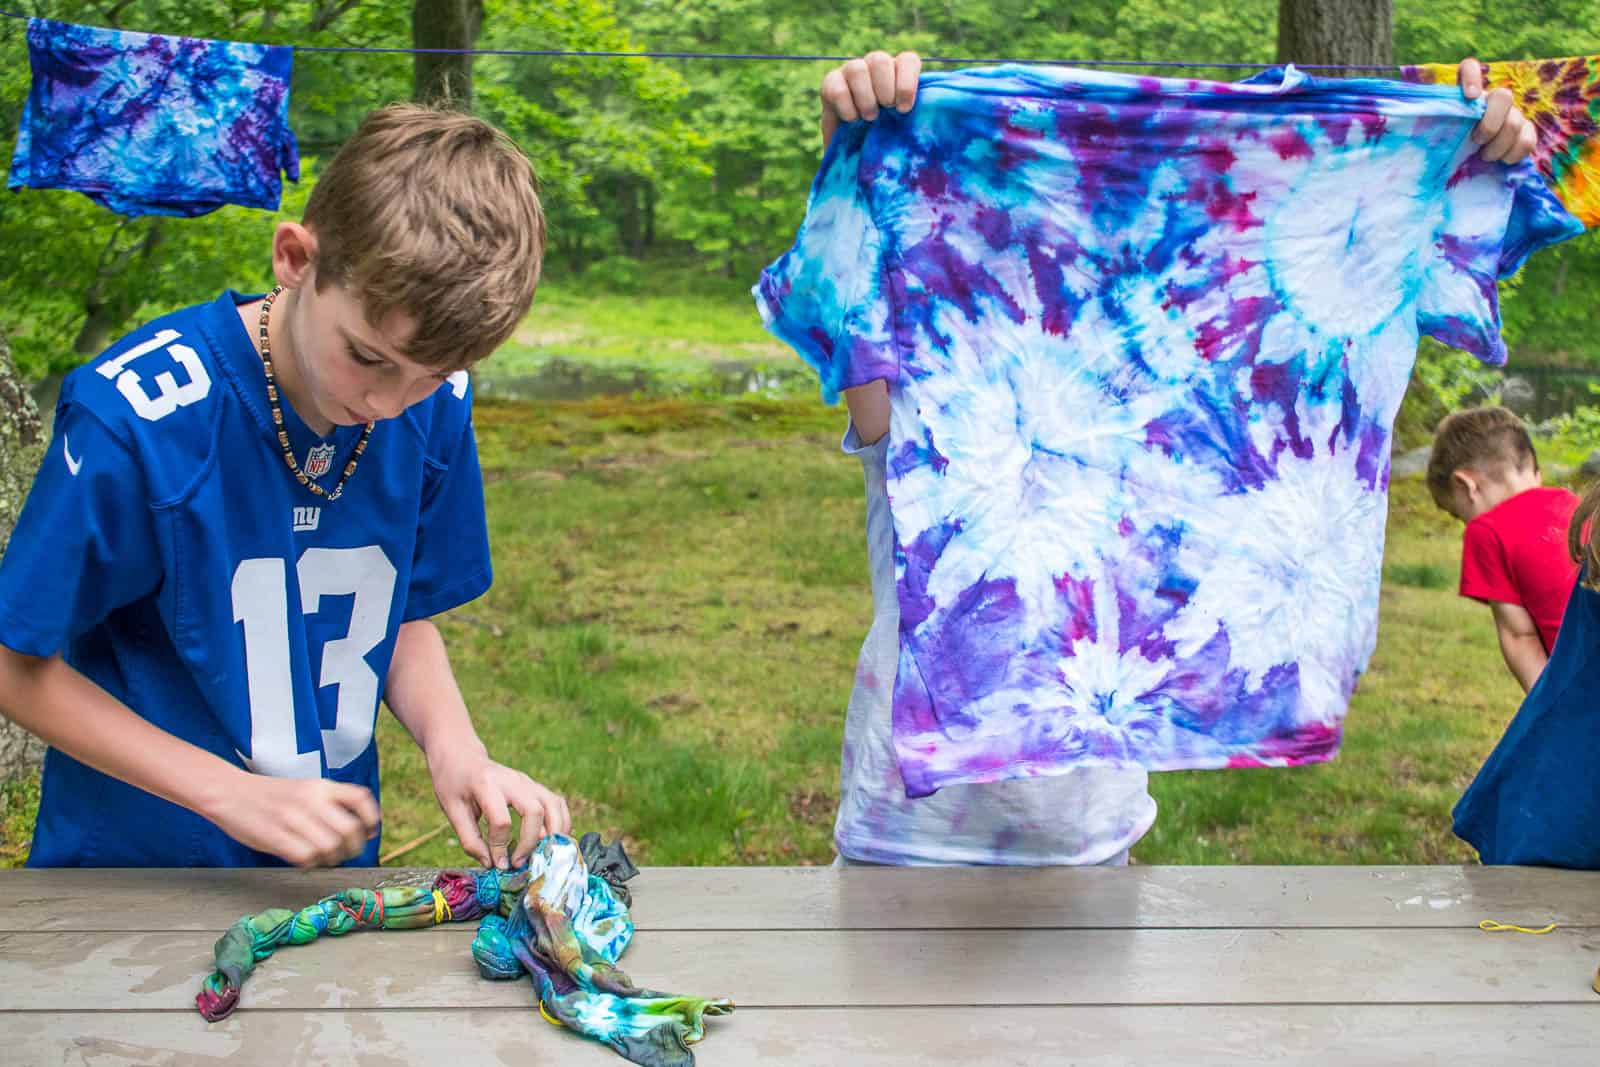
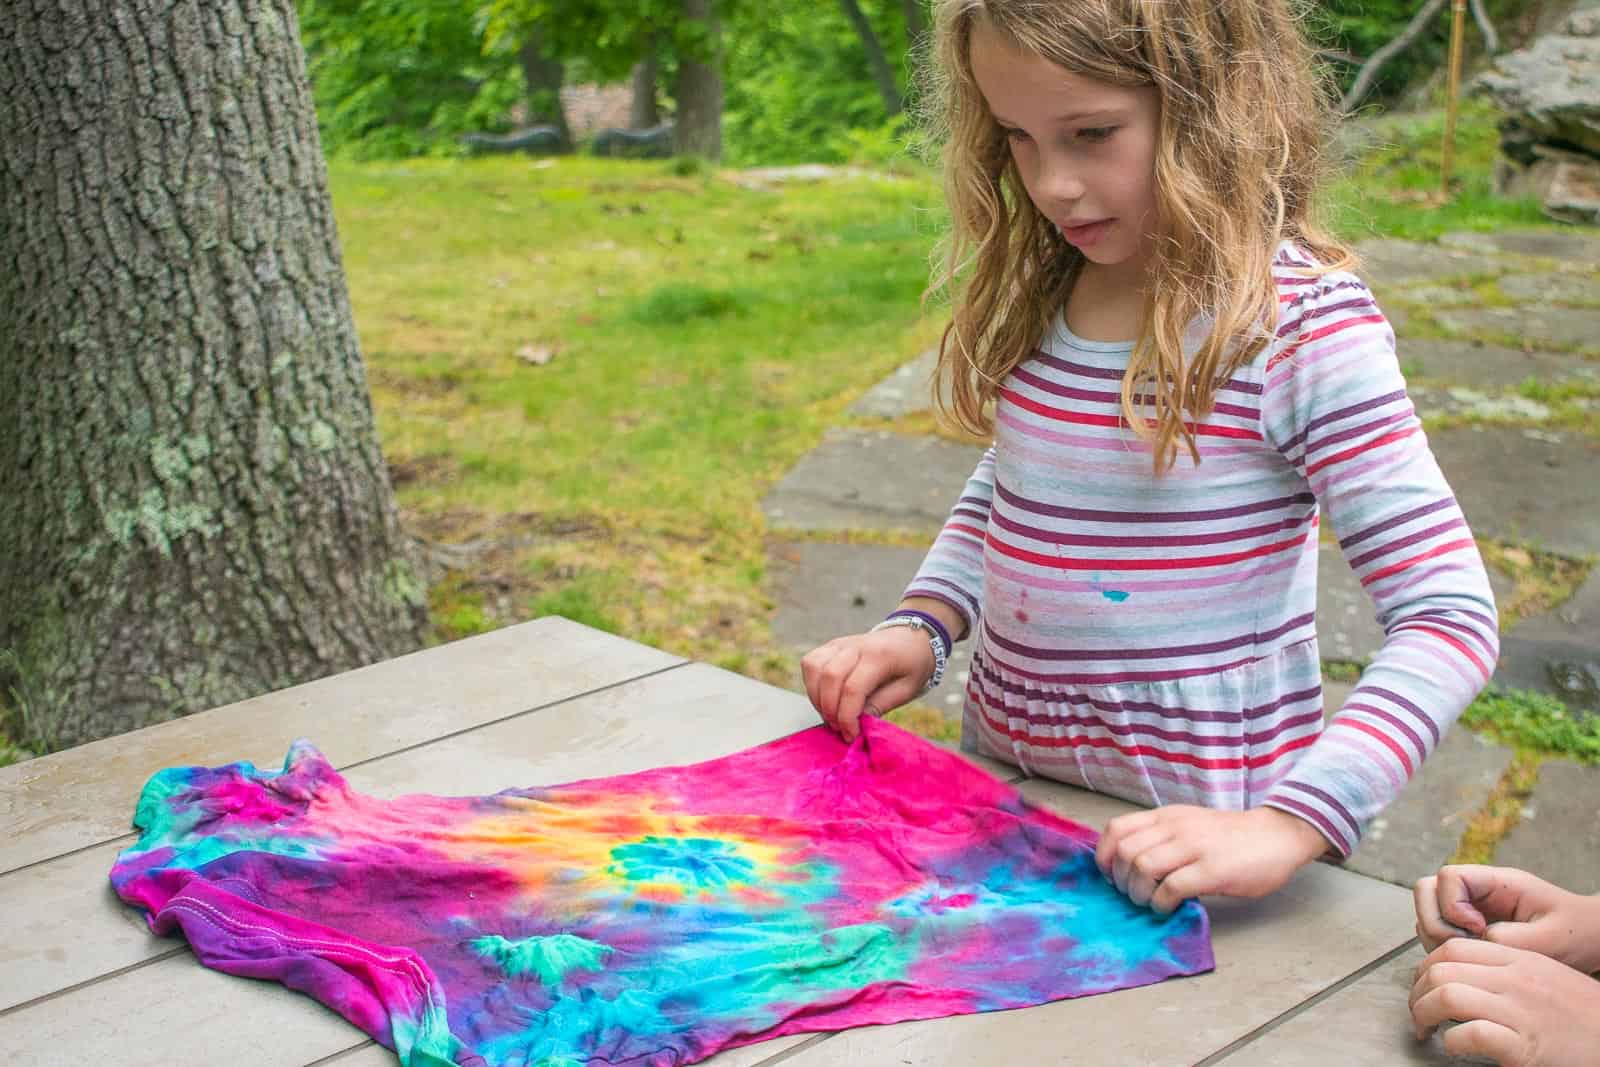
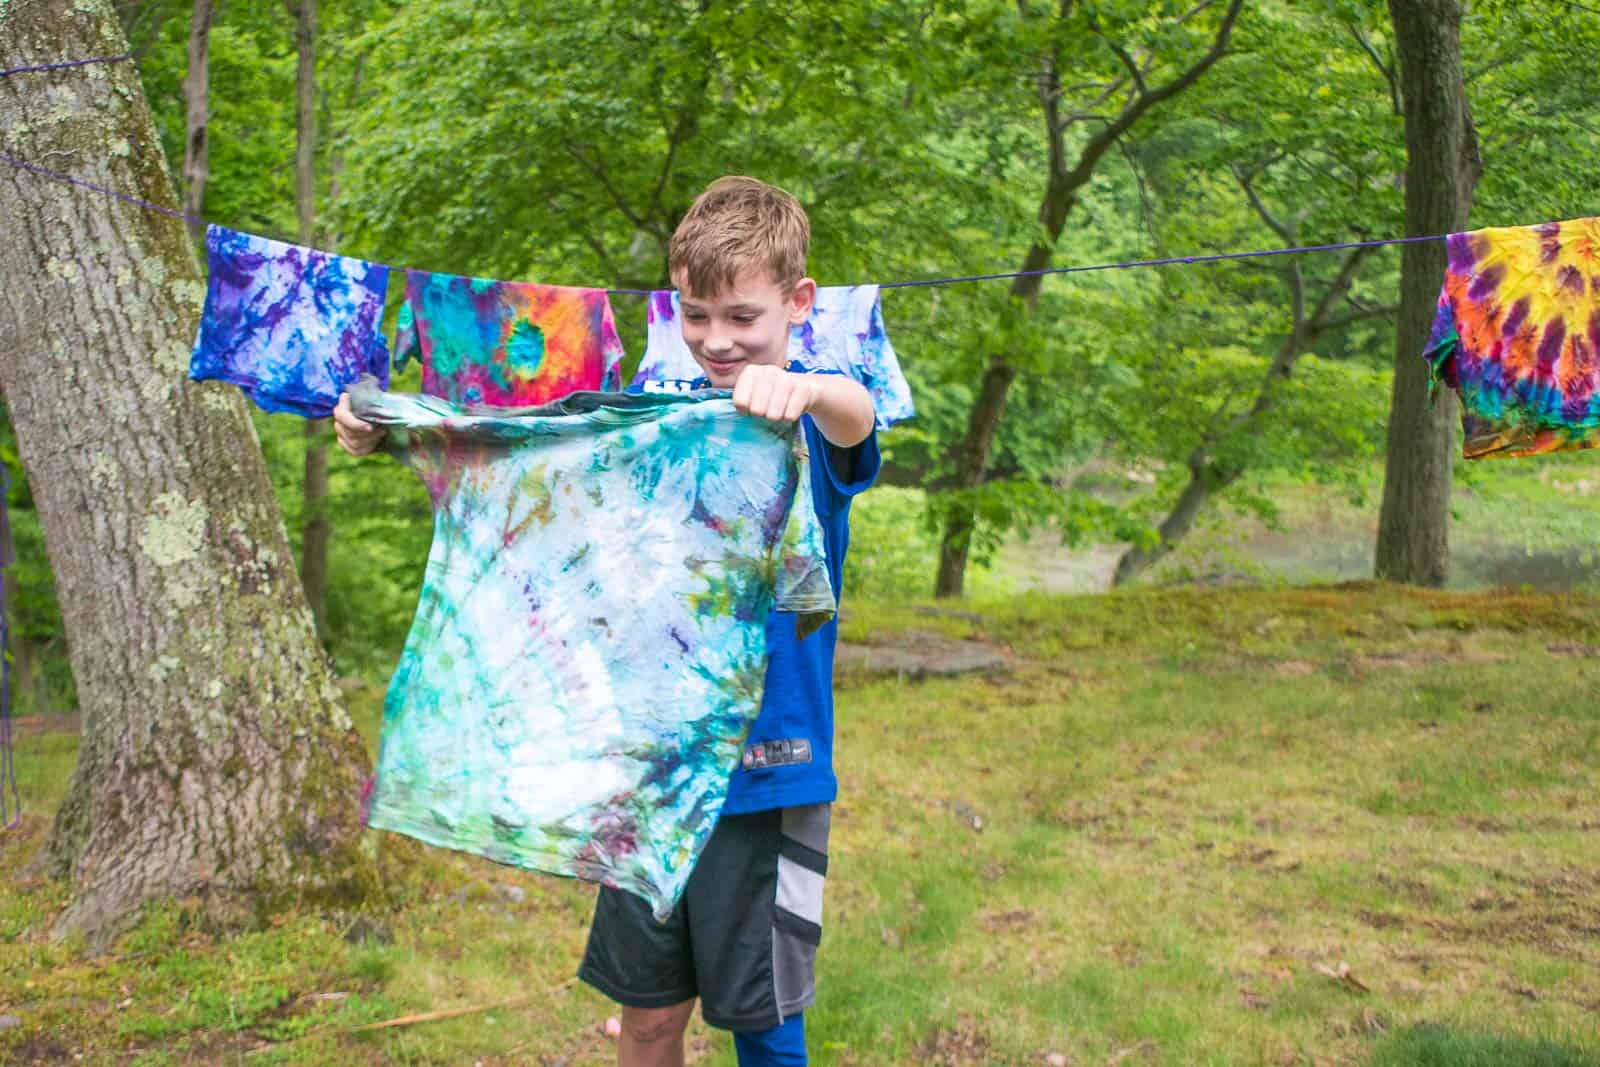
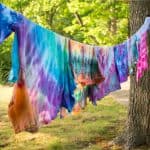
Our package suggested letting the dye sit for 6+ hours. We didn’t let it sit for that long with either batch, but I will say the difference in saturation after the first watch was noticeable so if you’re going for a super bright dark vibrant color, let that dye sit for as long as possible. After a few hours, we rinsed our t-shirts until the water ran clear (leave the rubber bands in place). Then came the fun part… pulling off all those rubber bands to see how it looks! I LOVED watching the eager excitement as each one of my kids revealed their shirts.
We let them dry a bit, but ultimately rinsed them one more time in the washing machine and then dried them in drier.
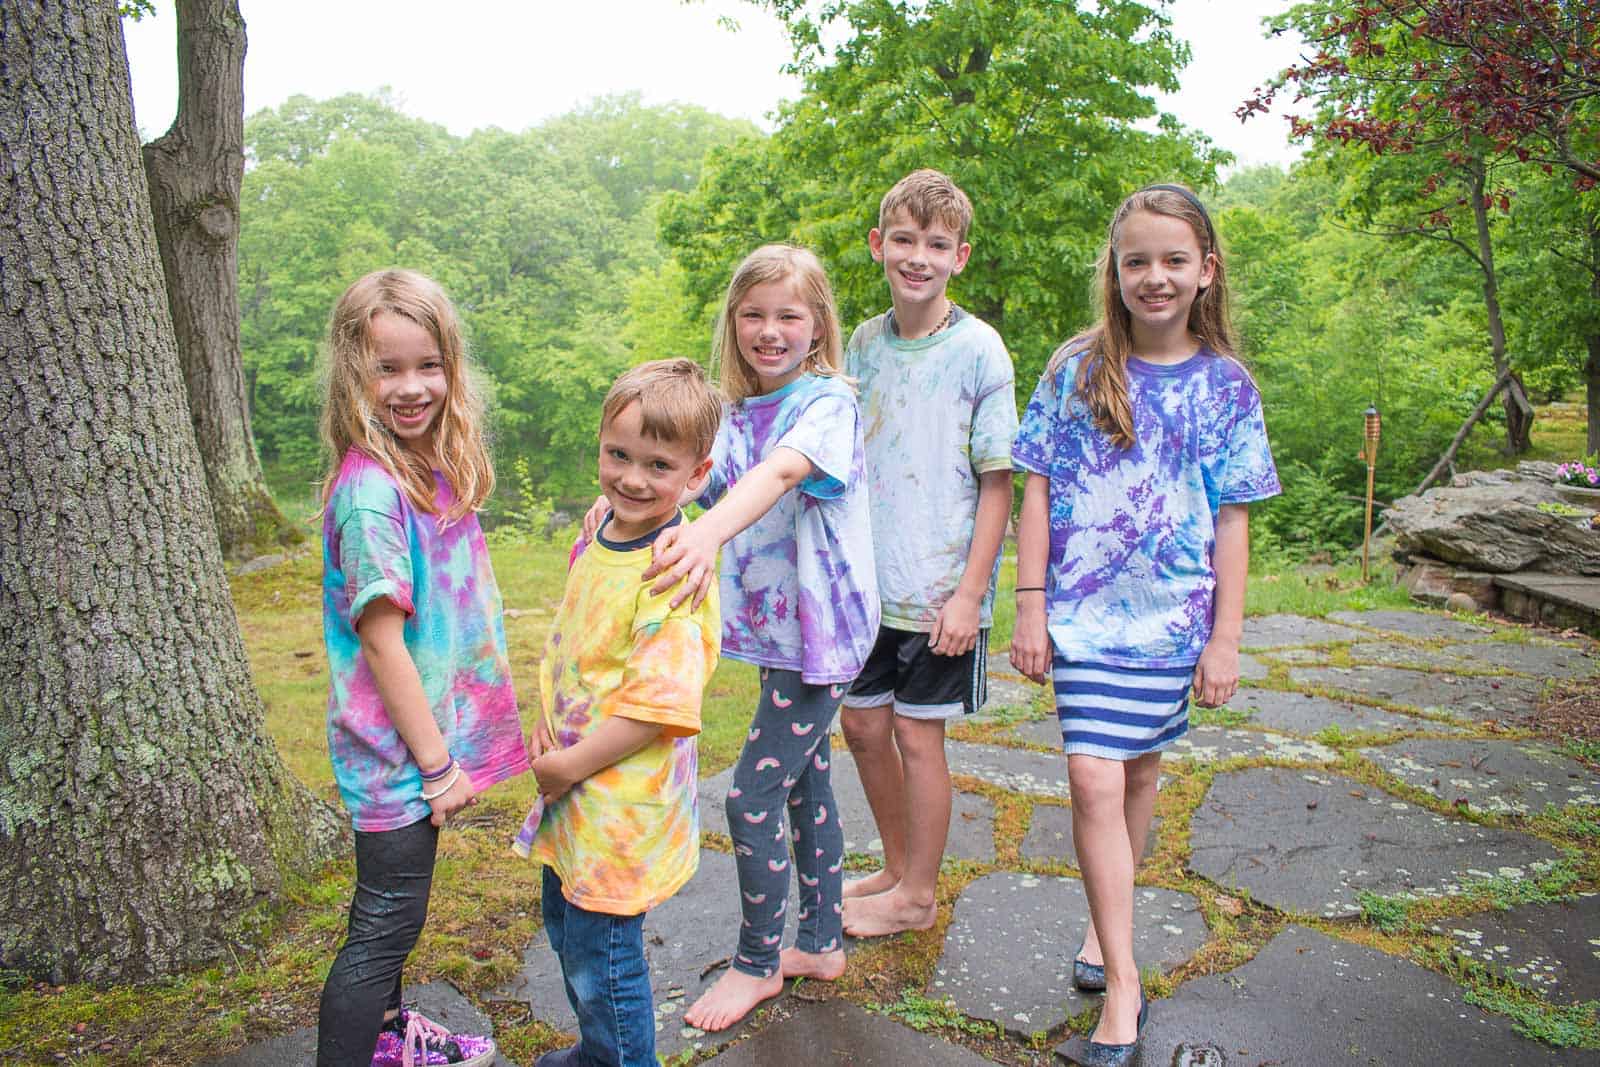
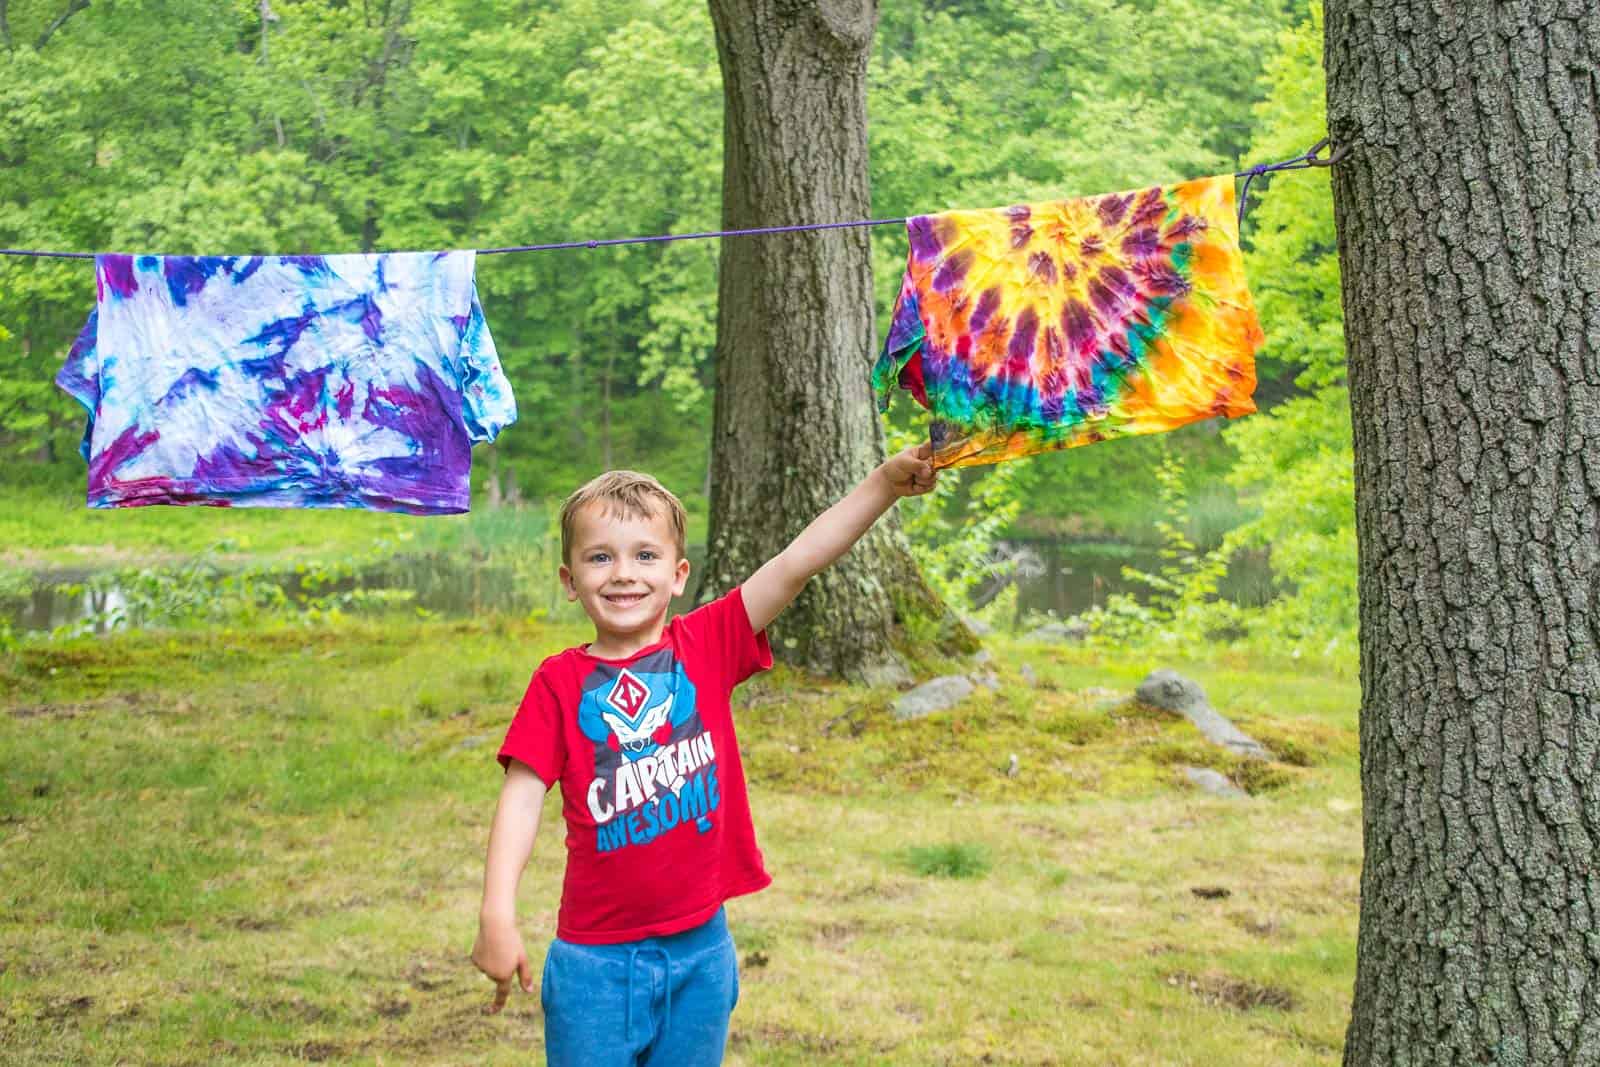
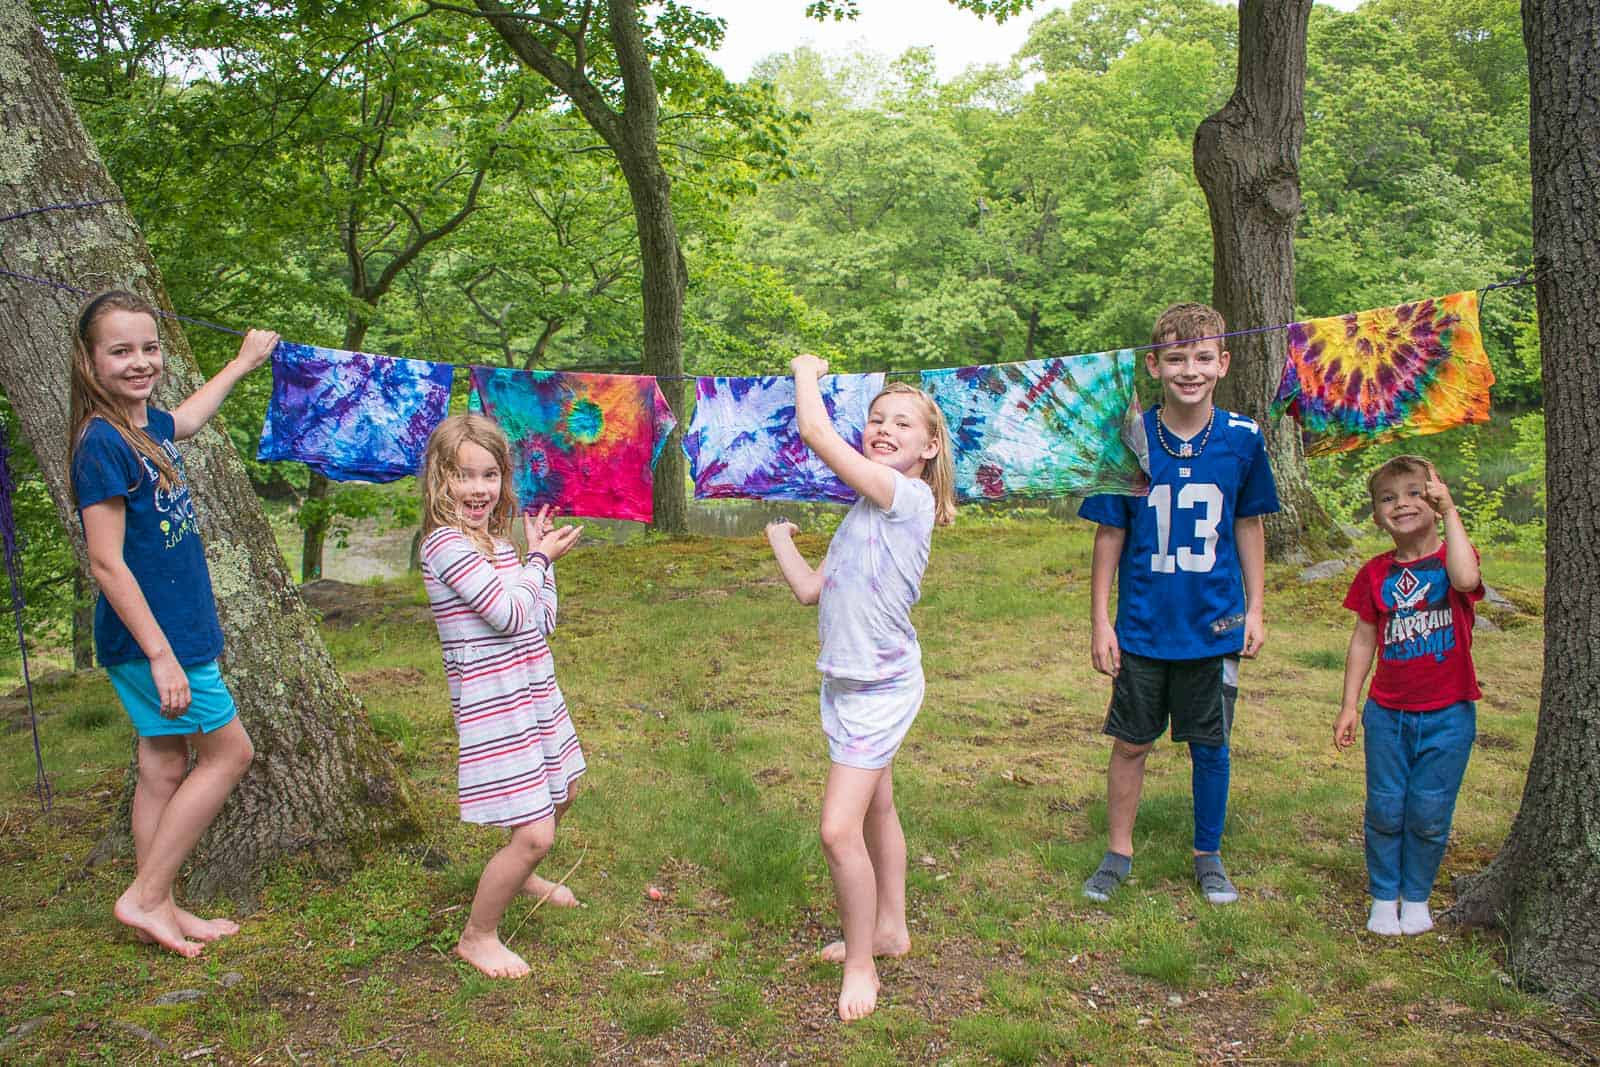
This isn’t the cheapest project you’re going to find, but the kids had the BEST time and I loved watching them think through each of their creations. They’ve been wearing tie dye ALL weekend and super pleased with themselves. The funniest thing to me was how each child approached their tie dye and how their approach matched their personalities! Louisa didn’t have much rhyme or reason but hers were AMAZING. Oliver was impulsive and squirted too much dye but he loves it. Eleanor was SUPER methodical and created a beautiful rainbow. Martha took ages and had a deliberate plan for each of hers but they both kind of look the same. And Arthur? He just liked squirting allllll the colors.
Just to be helpful… here’s a break down of all the shirts and which folds are which. Here are the finished results with the folded shirts below. The second picture is our first batch of tie dye so those are different shirts!


This looks like so much fun! I loved tie dying when I was a kid