
I Painted a Fish
Psssst… this post *might* contain affiliate links: see my disclosure here.
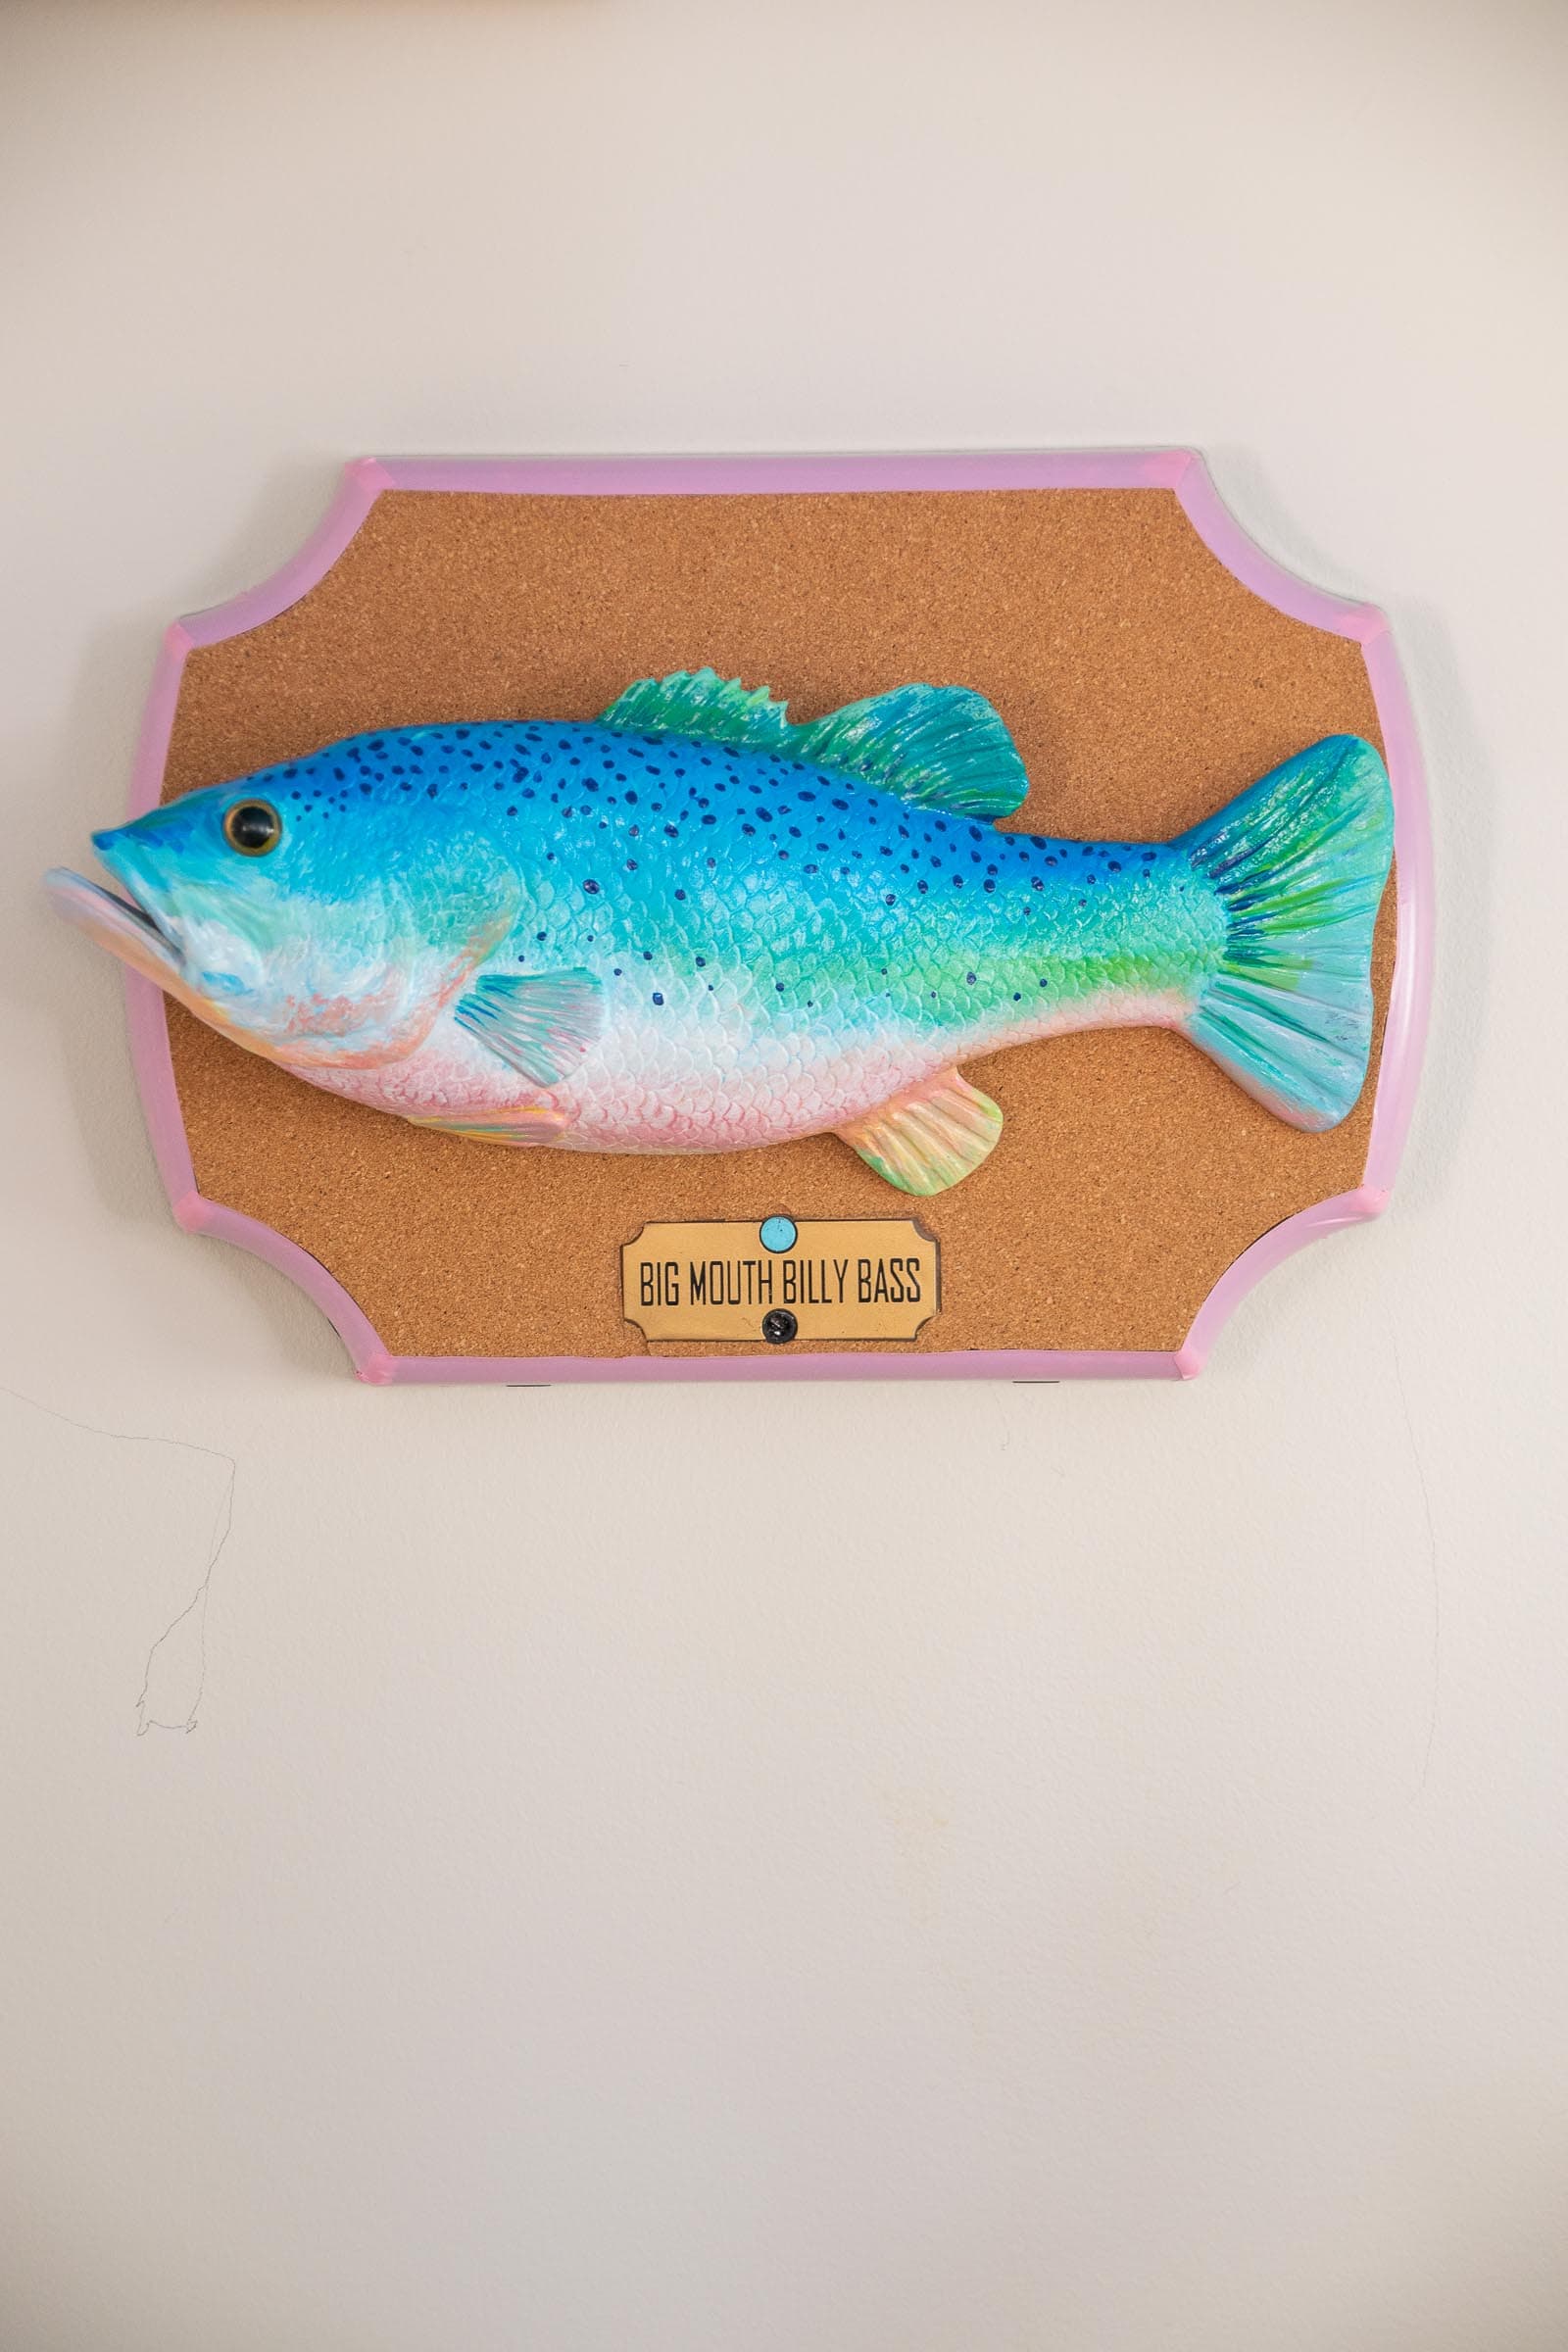
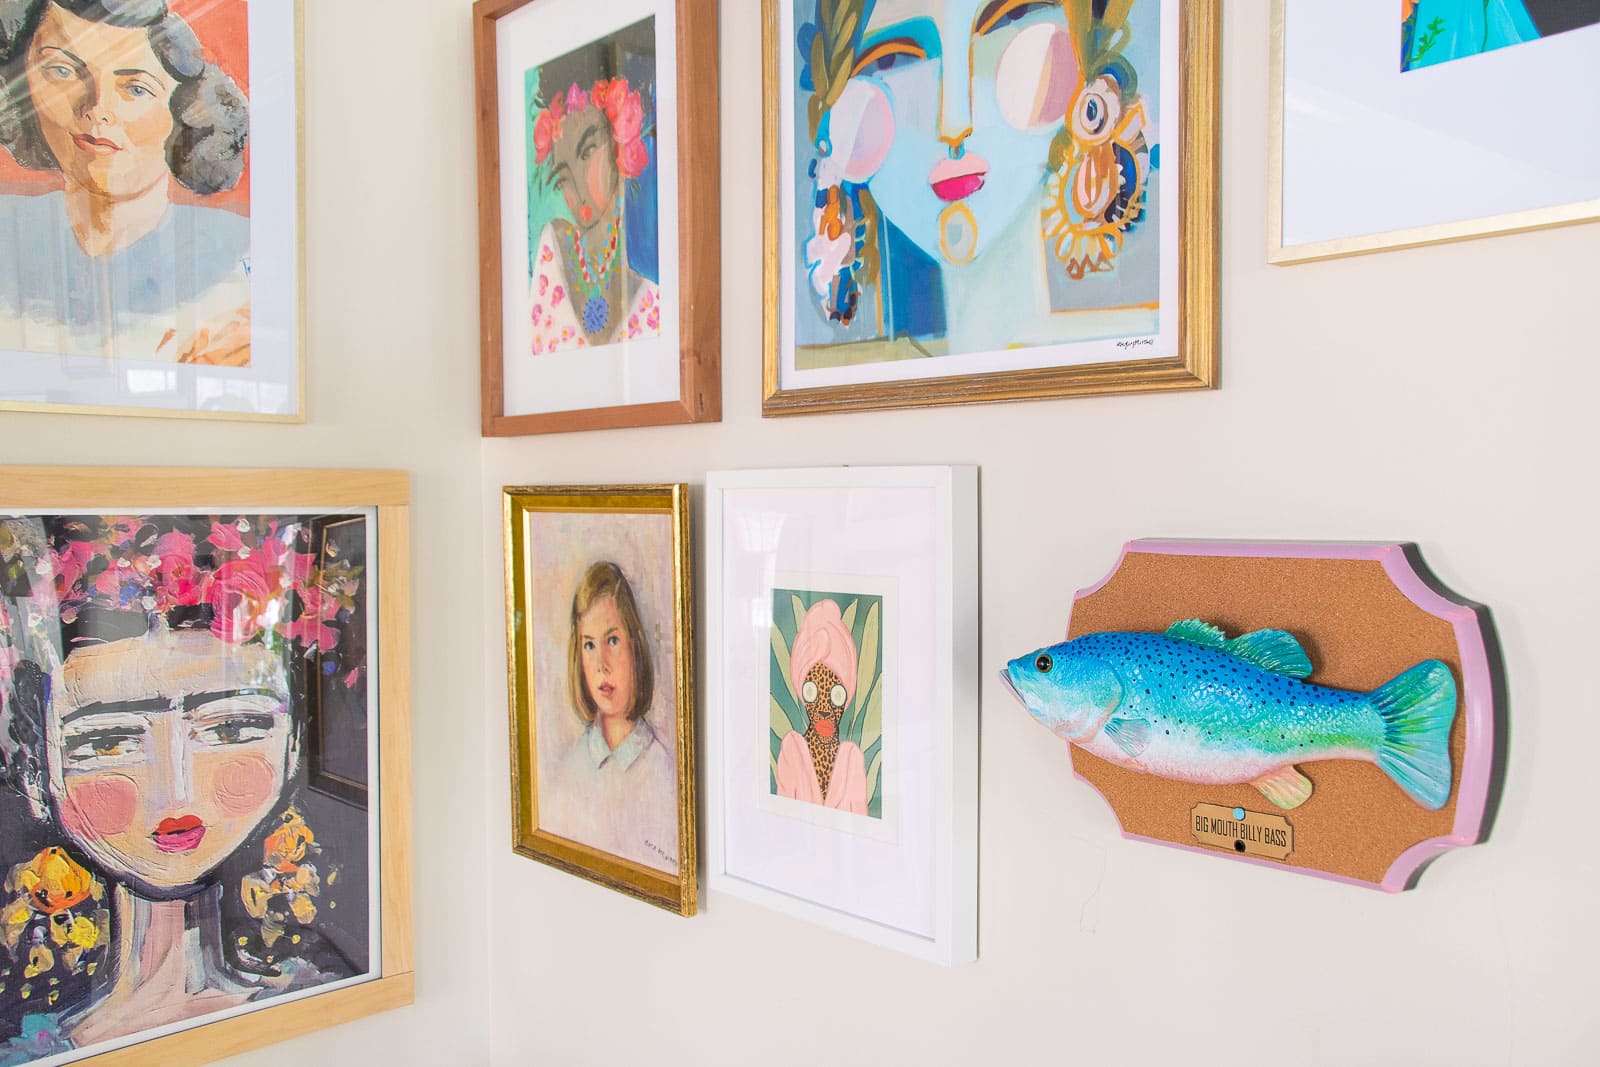
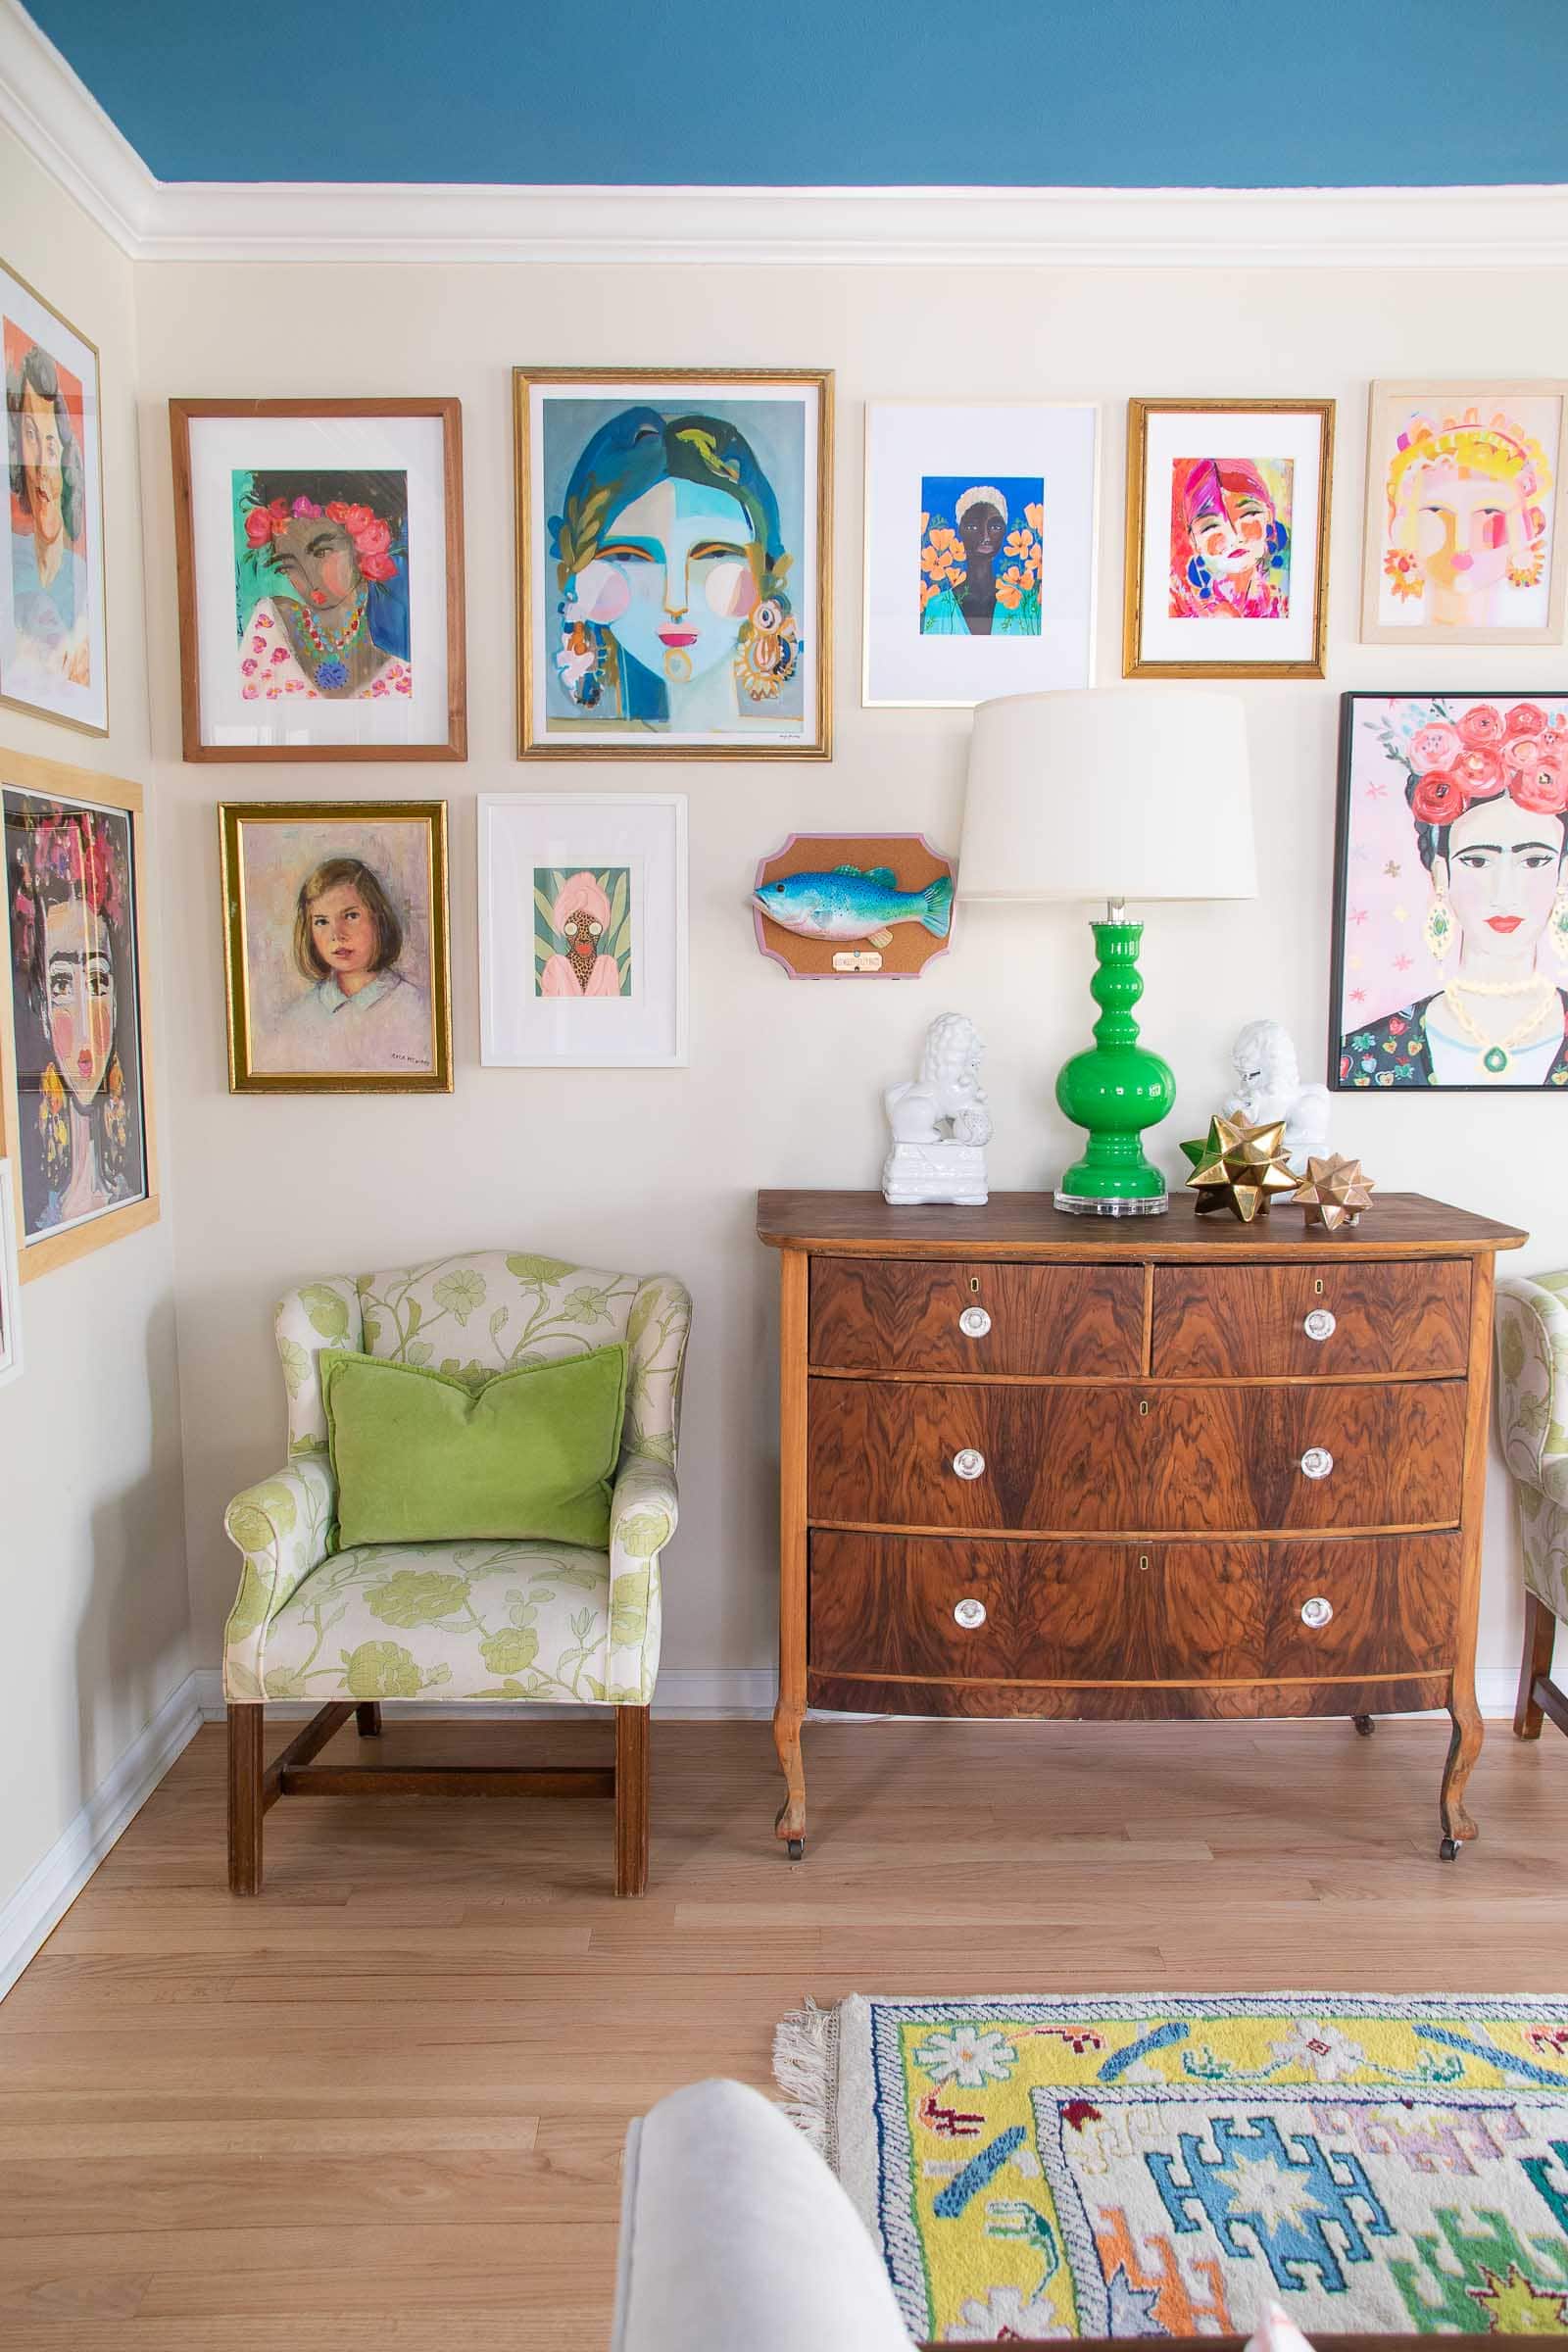
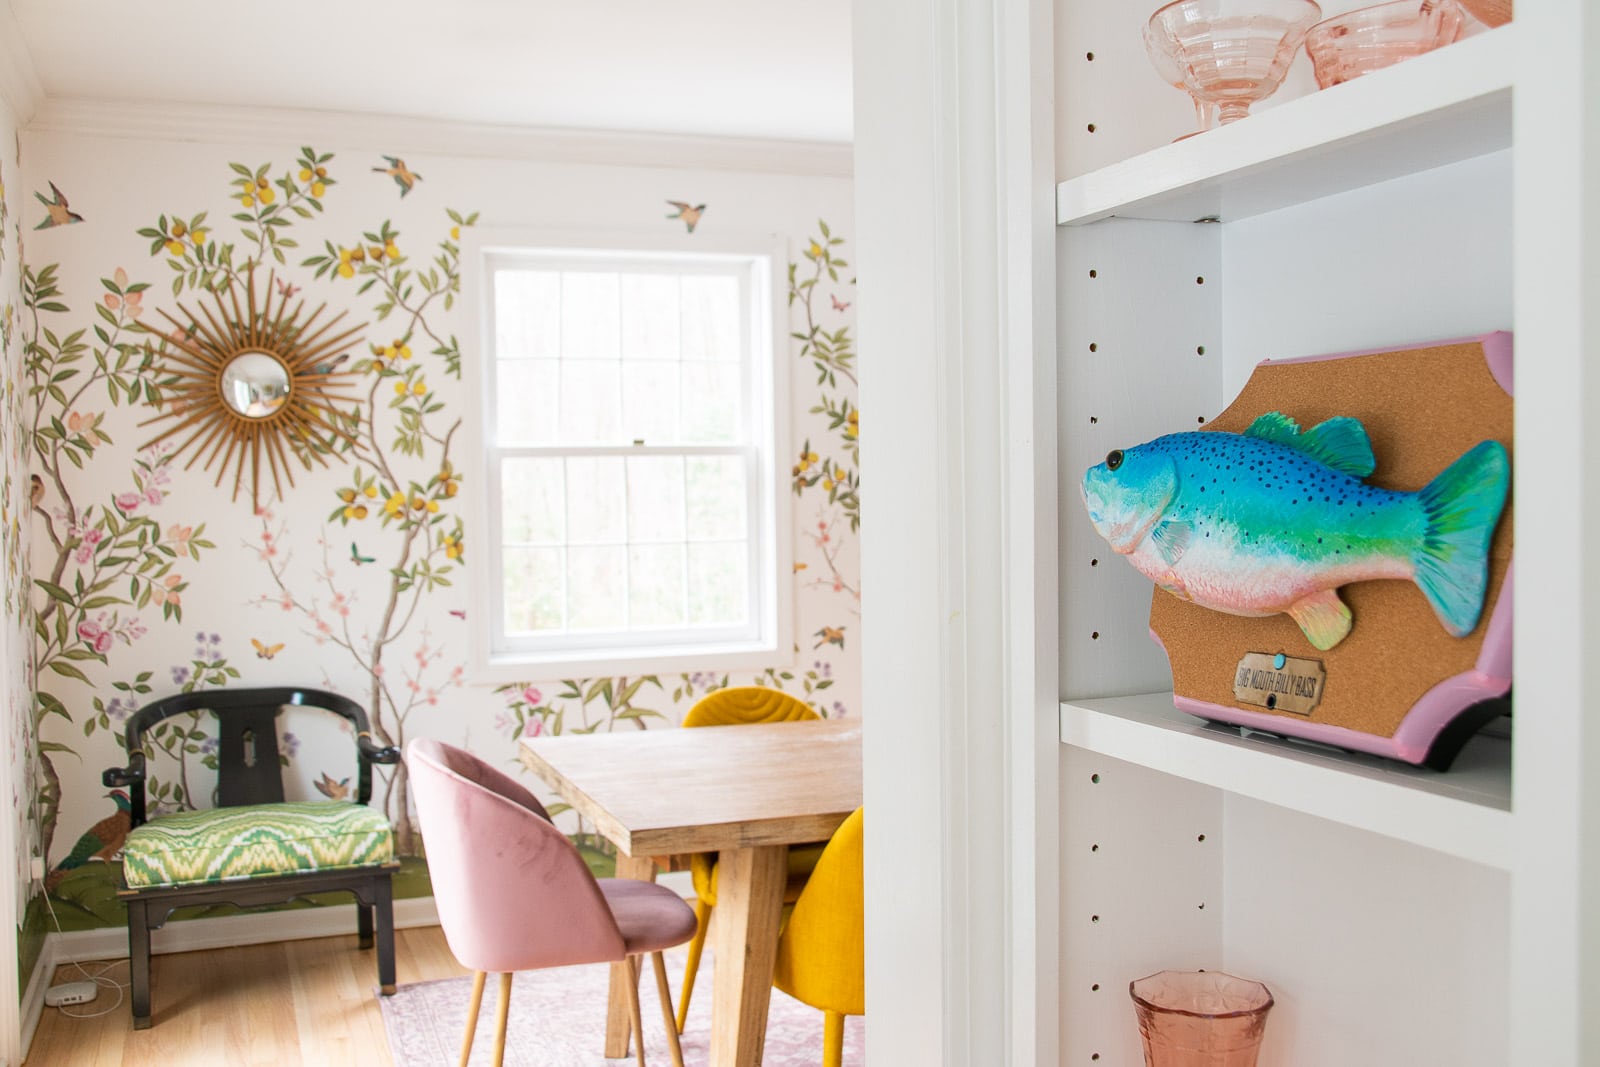
Billy the Big Mouth Bass Gets a Makeover
I bought an old Billy the Big Mouth Bass at the thrift store and gave him (her?) a glow up!
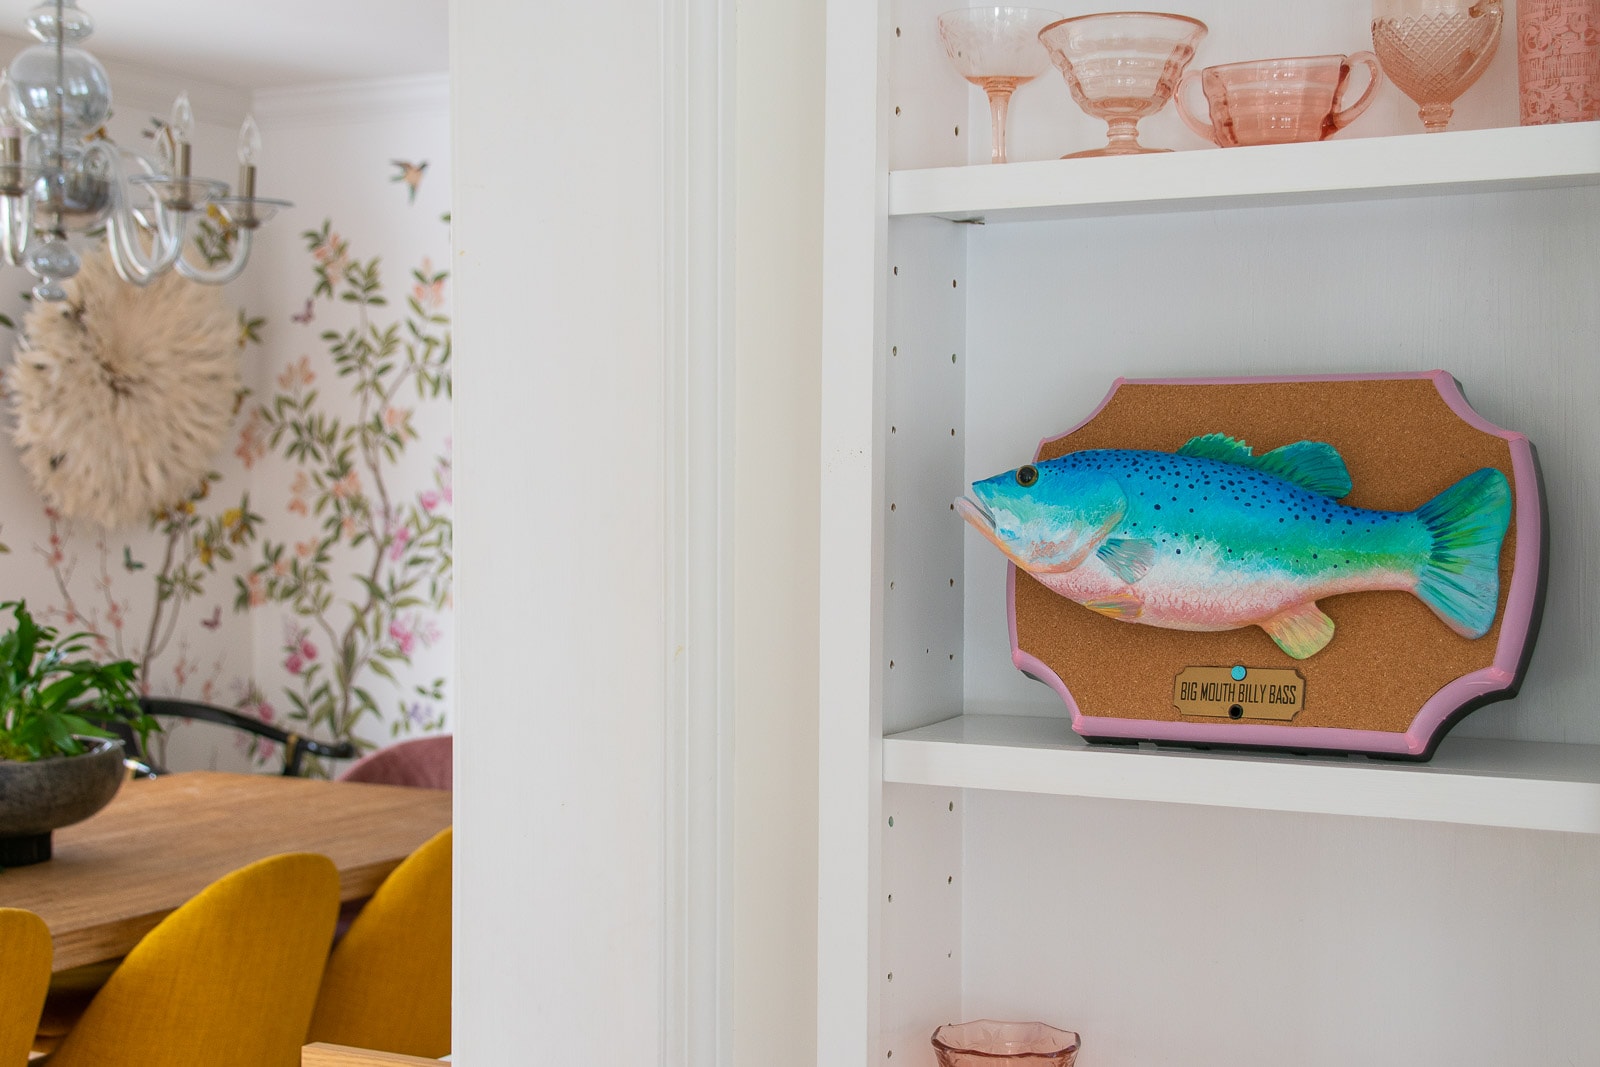
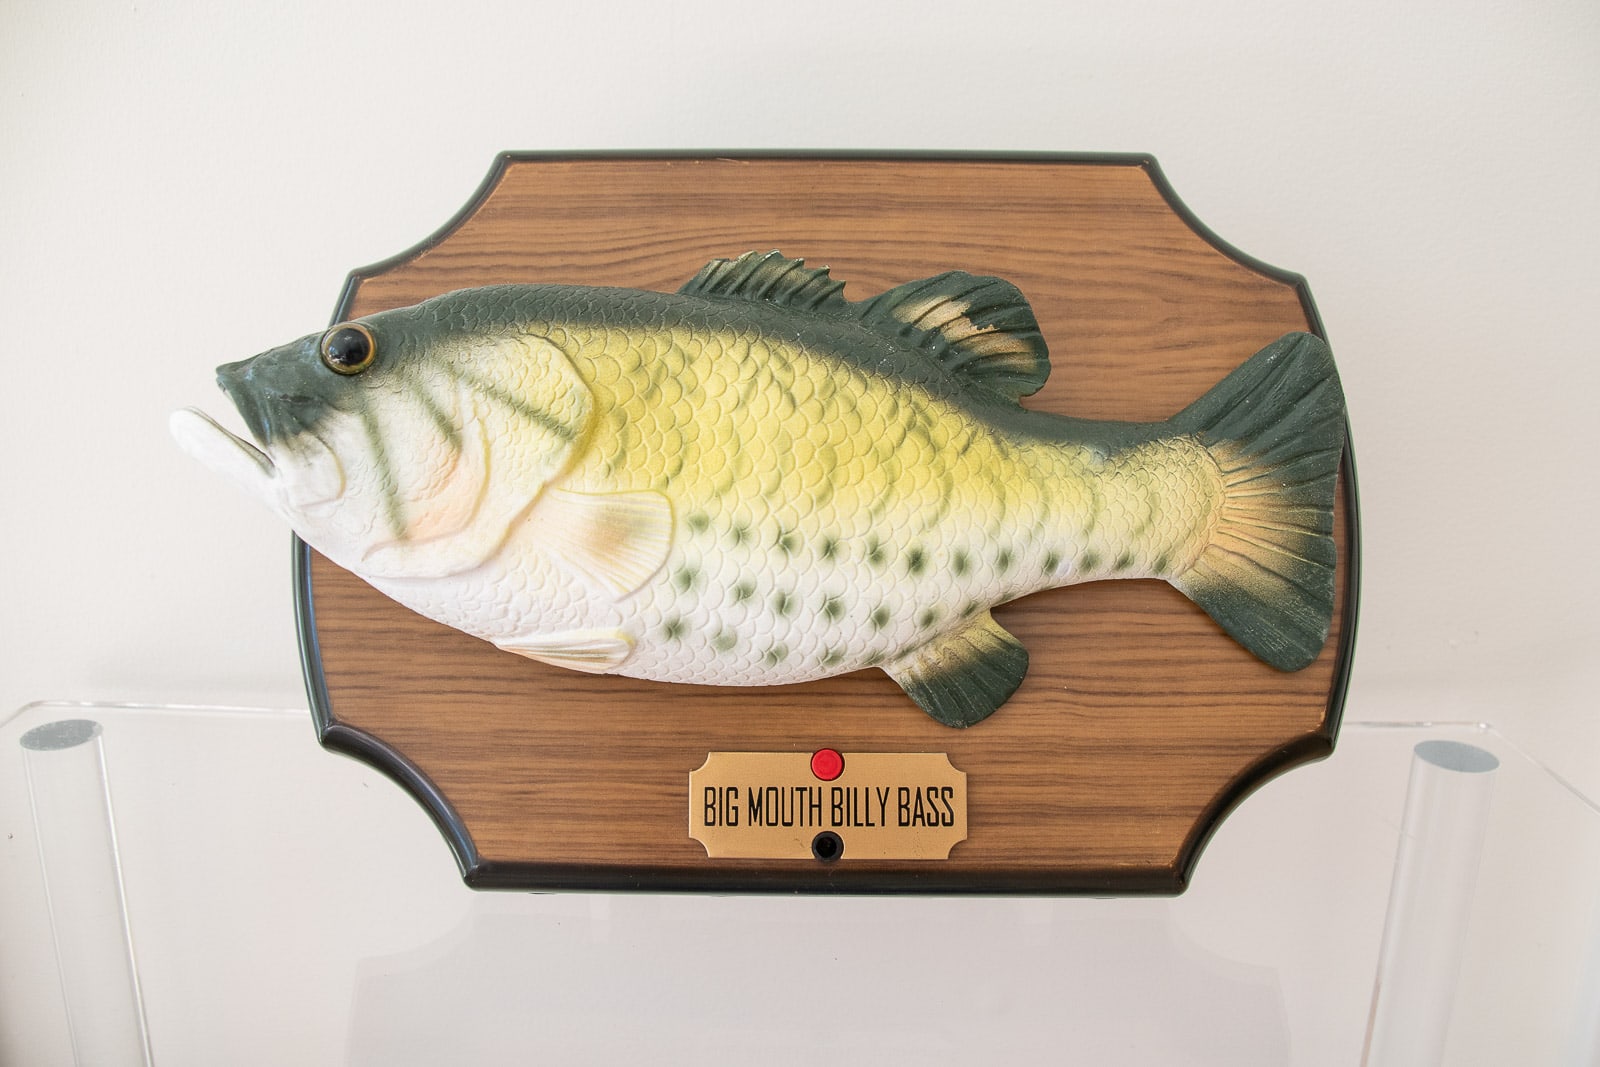
Between some of the bigger projects around the house, I’m having fun taking on some smaller projects. Lots of my recent makeovers involve the thrift store! (This lamp, a planter, a canvas…) Today’s project might be the most absurd. I had one of these singing Billy the Big Mouth Bass in my first grade classroom when I taught and he’s always held a special place in my heart. When I saw one at the thrift store I wondered whether there was a way to give Billy a bit of a glow up! (Note: some of these photos are screen grabs from video on my phone so apologies for the low quality.)
Shop my favorites!
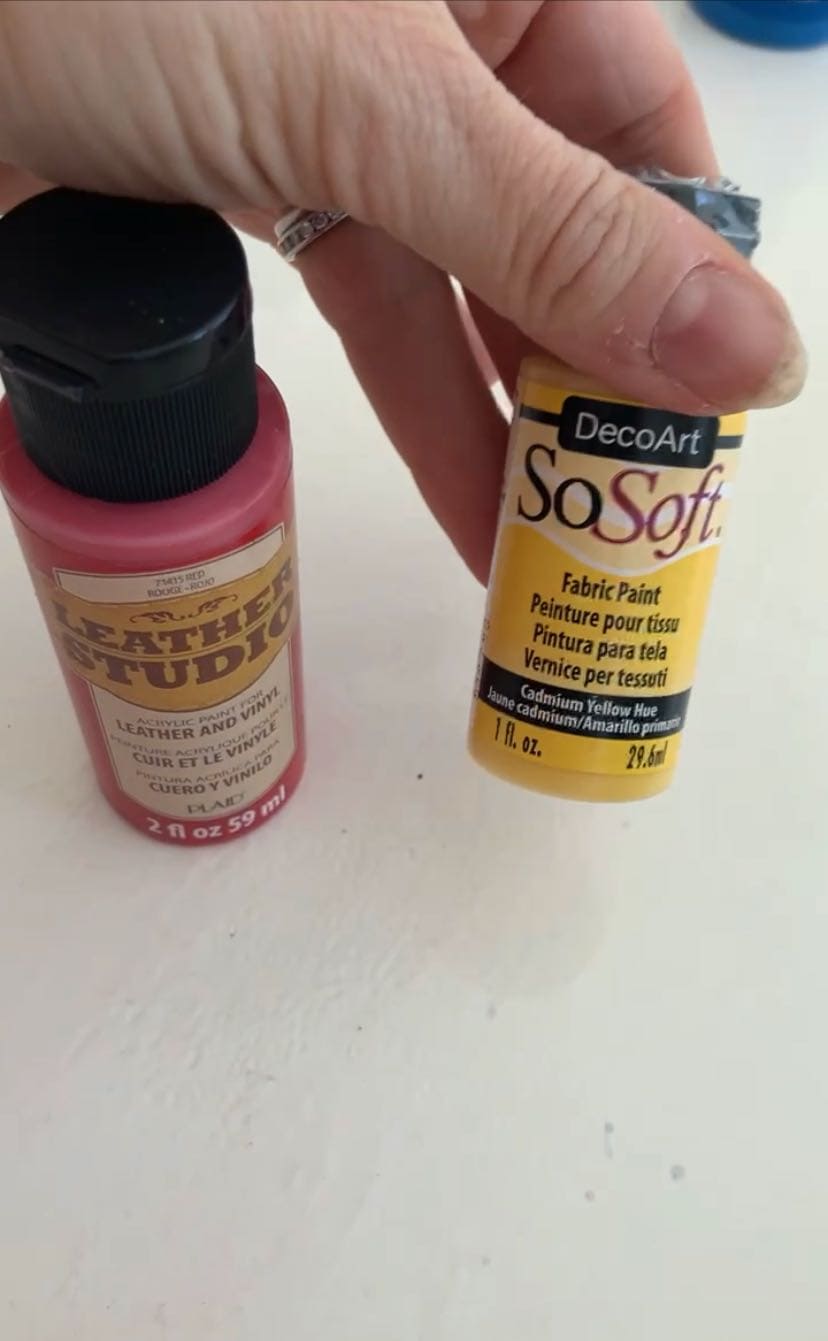
Step 1. Choose the Paints
Billy is made of flexible rubber that ultimately moves. (When Billy sings, the tail and mouth move.) Finding a paint that had some movement was important. I went with a combination of leather paint and fabric paint. They both adhered well and seem to have worked.
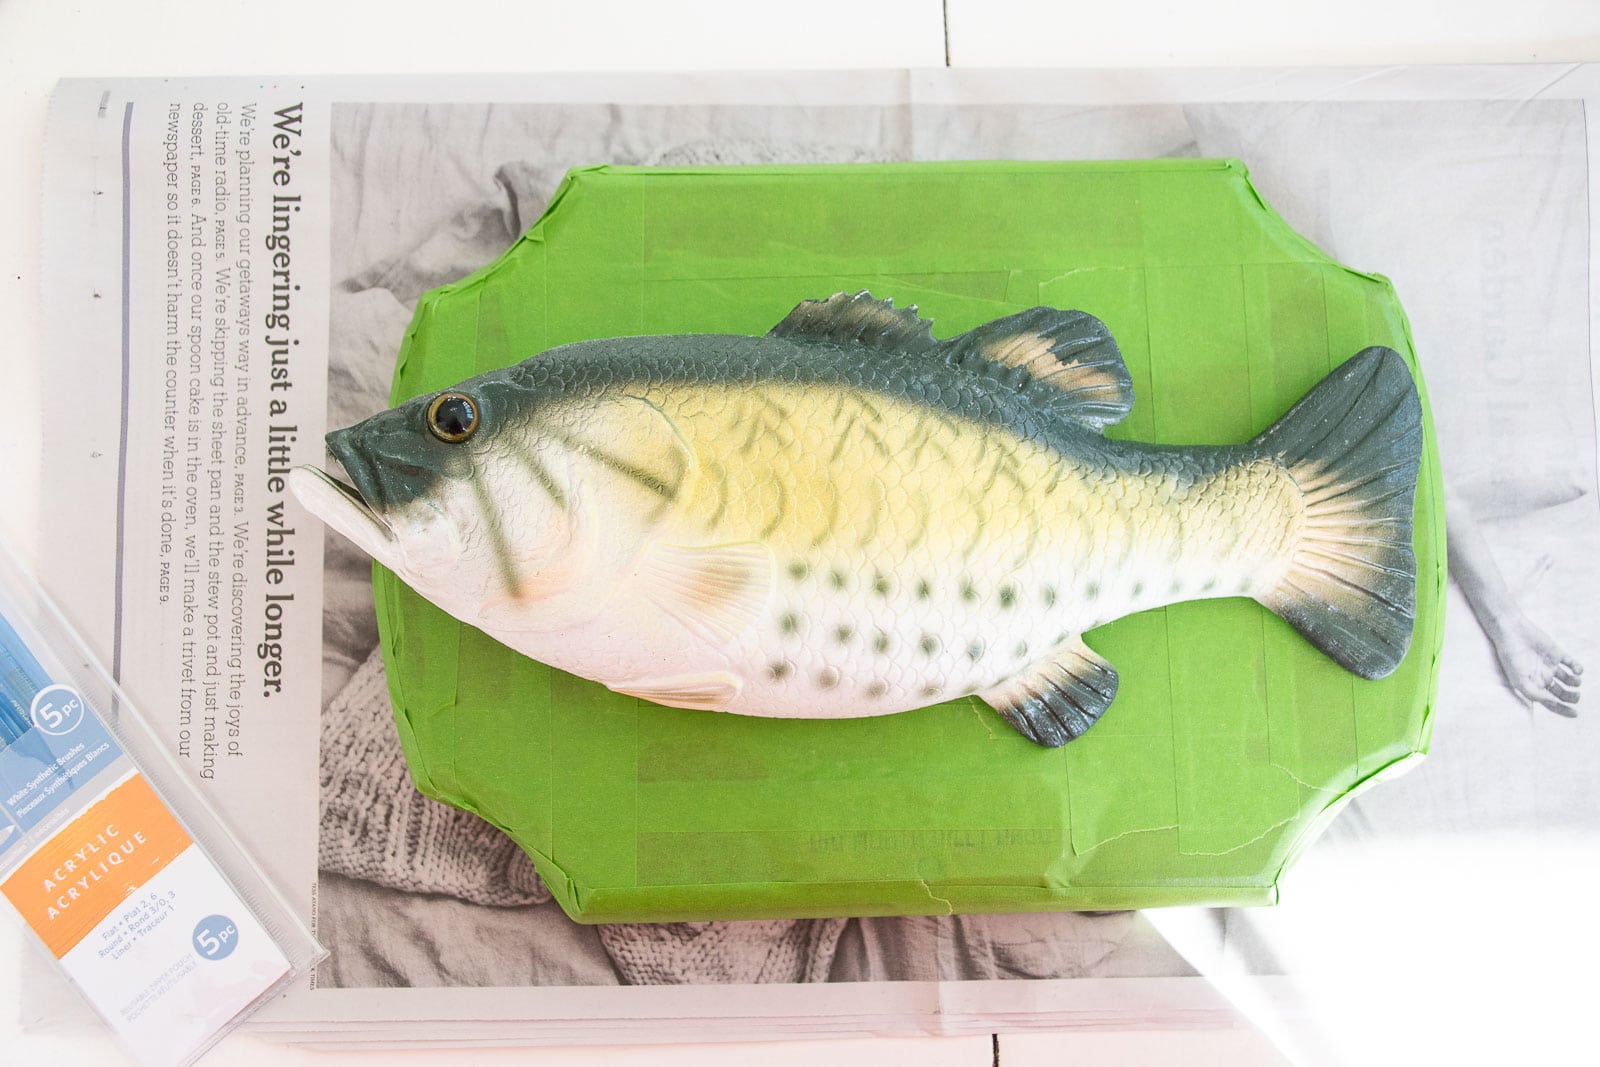
Step 2. Tape off the Base
I didn’t see an obvious way to remove Billy from his base so I taped off the base to protect it from the paint.
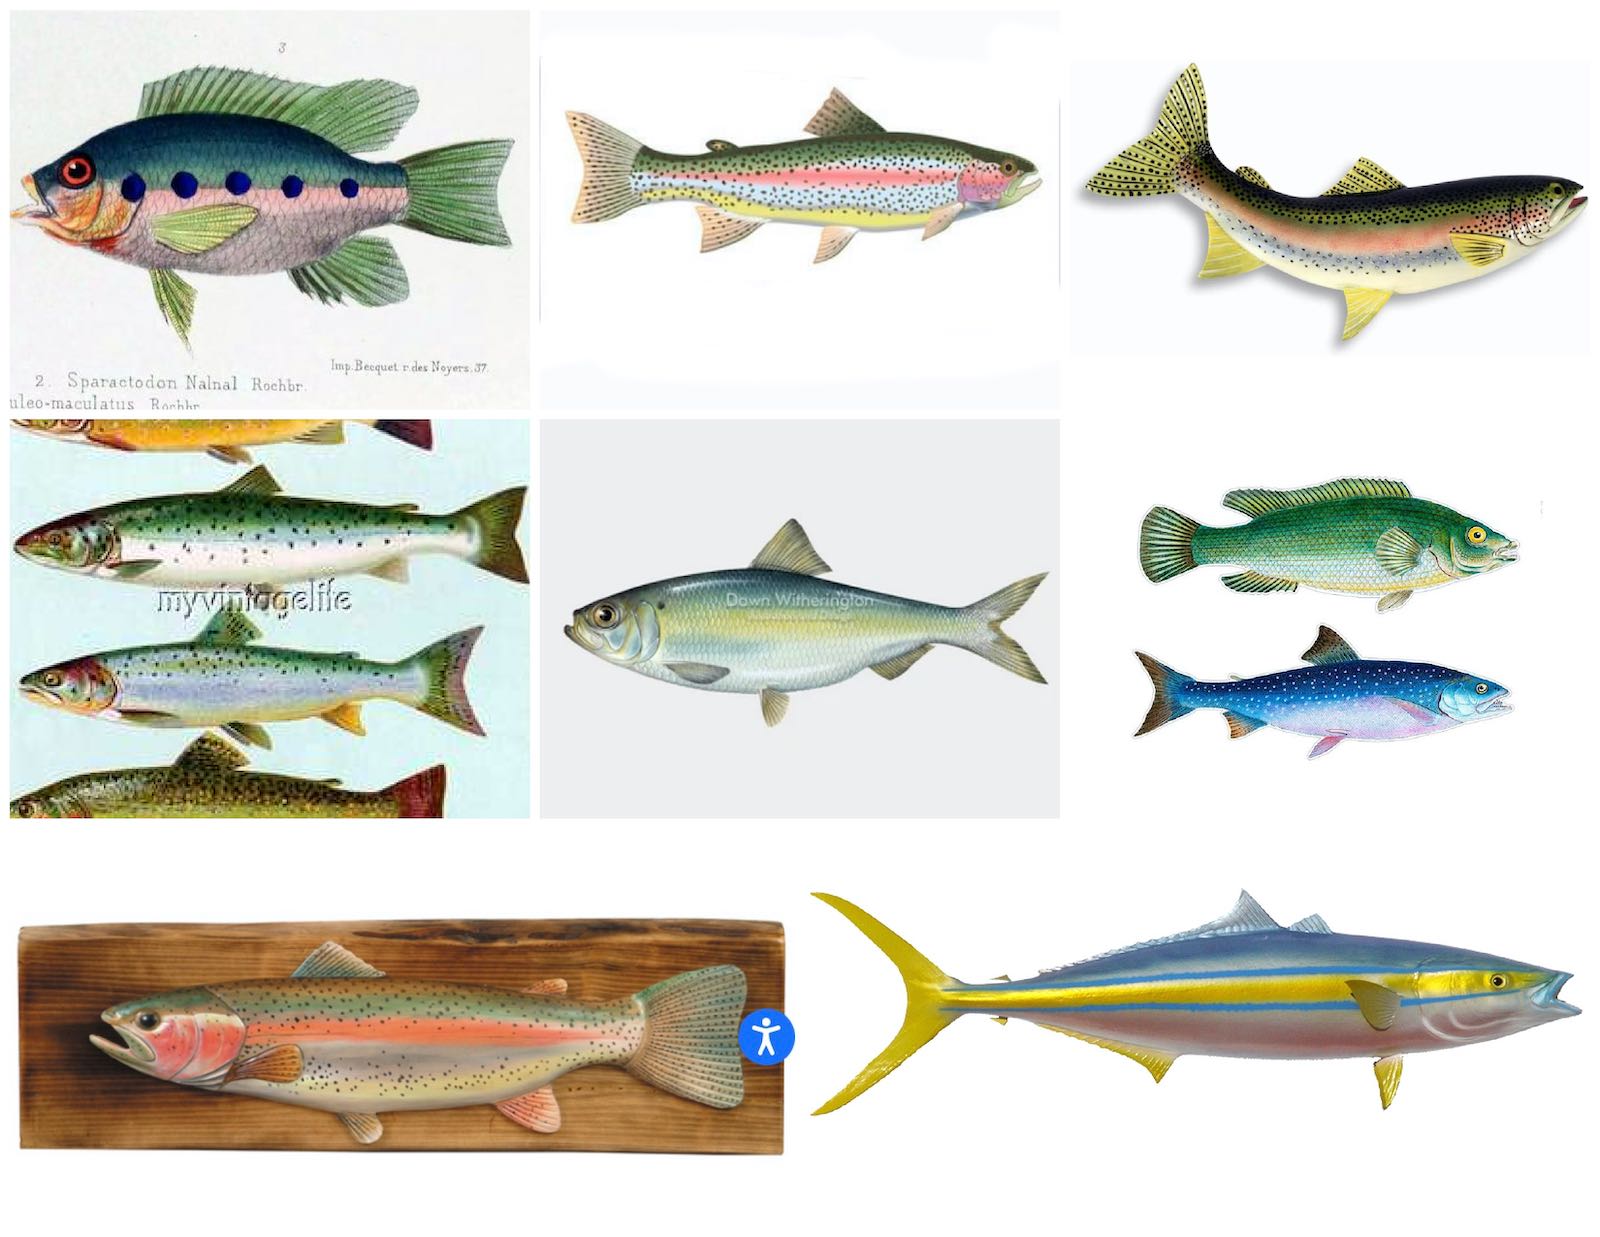
Step 3. Grab some Fish Inspo
I found a handful of images online to inspire me. I looked at vintage fish illustrations, actual stuffed fish taxidermy and other examples of colorful painted fish.
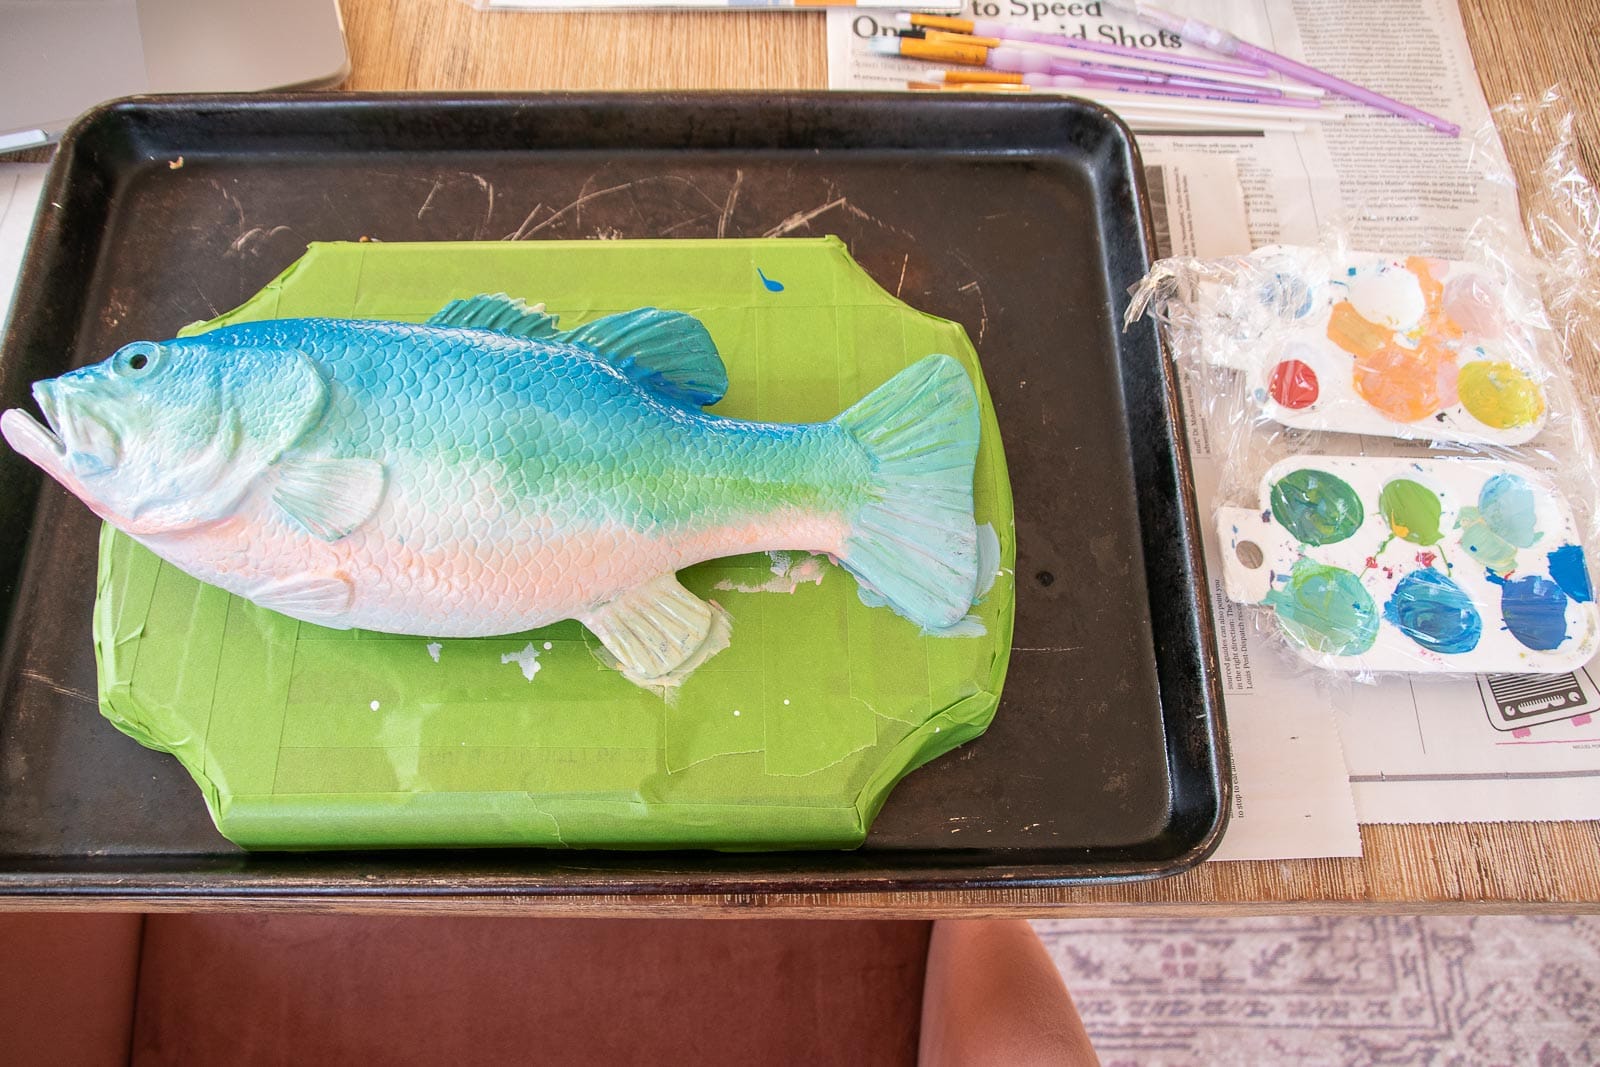
Step 4. Paint!
I wiped down my fish before starting to remove any dust and debris and then mixed my paint. I started with a pale pink on the fish belly and then feathered that into an aqua blue around the middle and finally ended up with a darker blue with a hint of green across the top. A dryer brush helped me blend the two colors seamlessly. Once the first coat of paint had dried, I used a detail brush to add dots to the top of the fish. I also added some colorful highlights to the fins.
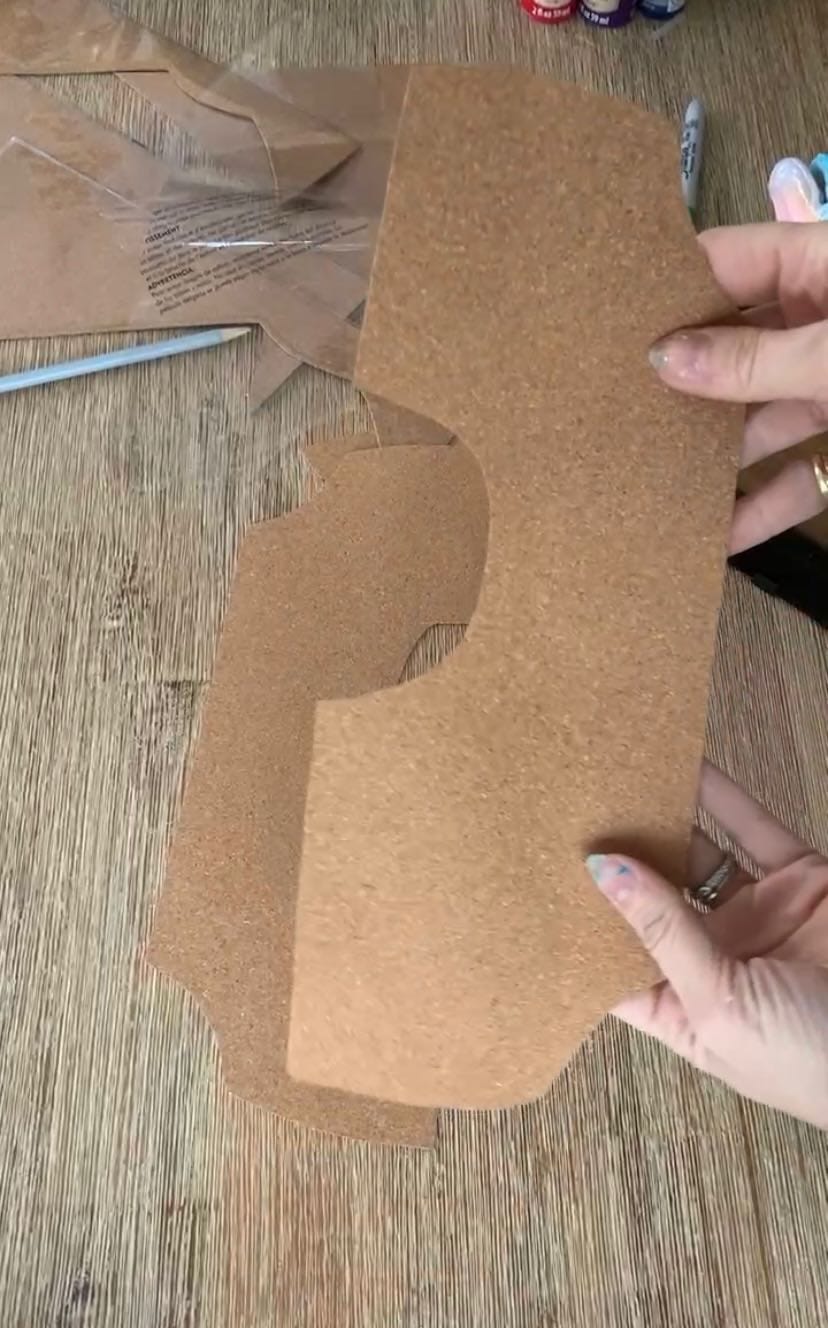
Step 5. Cover the Base
The base of the fish was a lovely ‘faux’ wood but I wanted to tone it down a bit. I grabbed some cork paper in the decorate paper aisle and traced and cut them to fit the base. I used a leather/ fabric glue to adhere the cork to the base and trimmed the edge with a sharp utility knife.
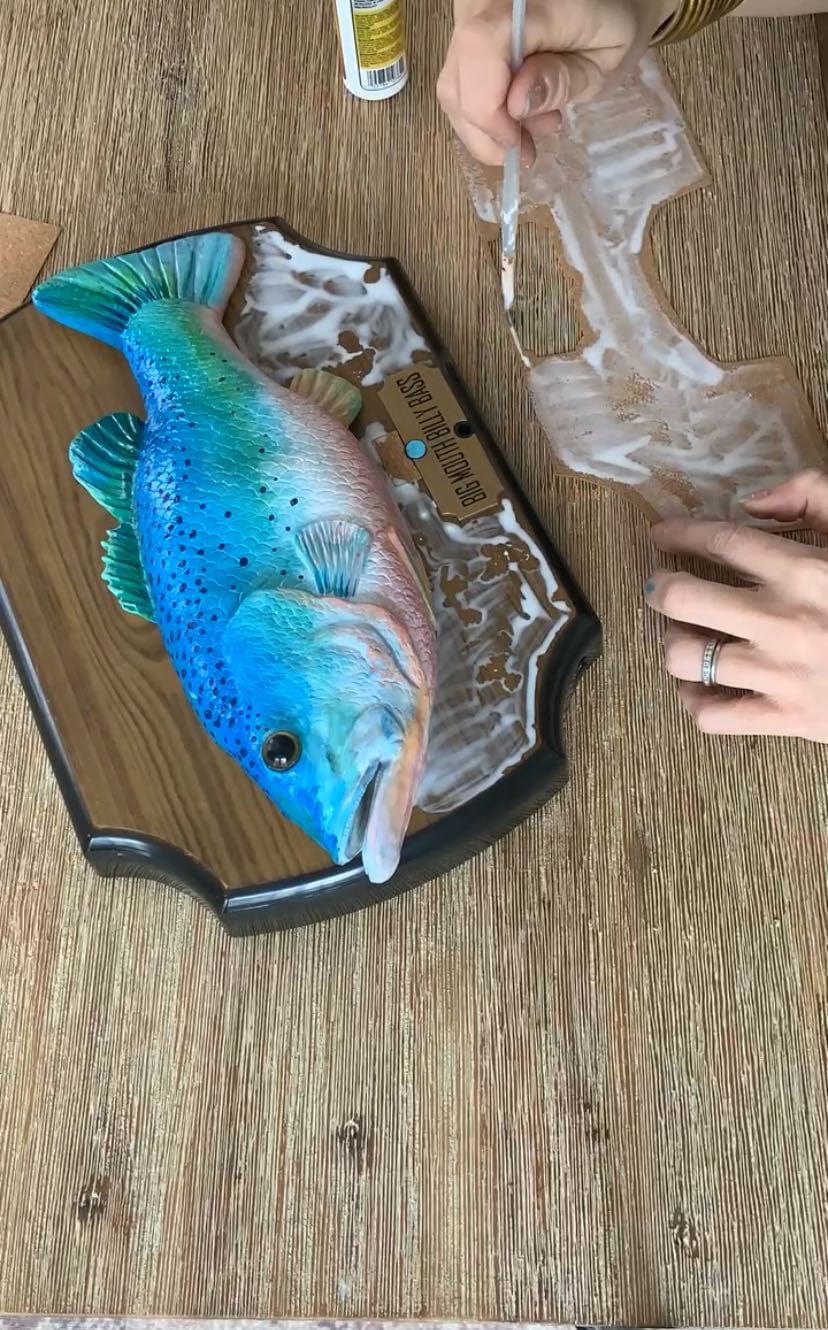
Step 6. Add Trim
To take away focus from the cut edge of the cork, I added a strip of pink electric tape to the edge of the base. It’s stretchy enough to wrap around the sides, but it also adds a fun little flare of color.
That’s it! You’ve just painted Billy the Big Mouth Bass to be the pertiest darn fish you ever saw. Why paint a singing rubber fish? Why not! I had SO much fun working on this and isn’t that such a delight? I have FUN creating and making something just because it makes you smile and chuckle a bit? I’m now on a hunt for other curious and unexpected things I can makeover… just because.

Another Charlotte maSterpiece. Bravo!
Haha! THanks, Pat! This one was so silly and fun!
Omg, this is hilarious!! I look forward to many more random items that are painted/remodeled.
It looks really nice! Does it work too?
Yes! It actually does!
Love!!! I just picked Billy up at a small, hometown auction for $5.! I just might change his colors too. I thought he’d look great in my vintage camper trailer. Thanks for the inspiration:)
Do it! It’s so fun!!