
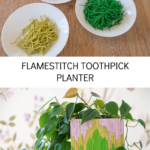
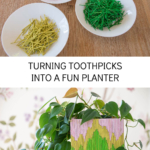
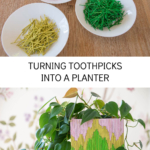
Toothpick Art: Flamestitch Planter
Psssst… this post *might* contain affiliate links: see my disclosure here.
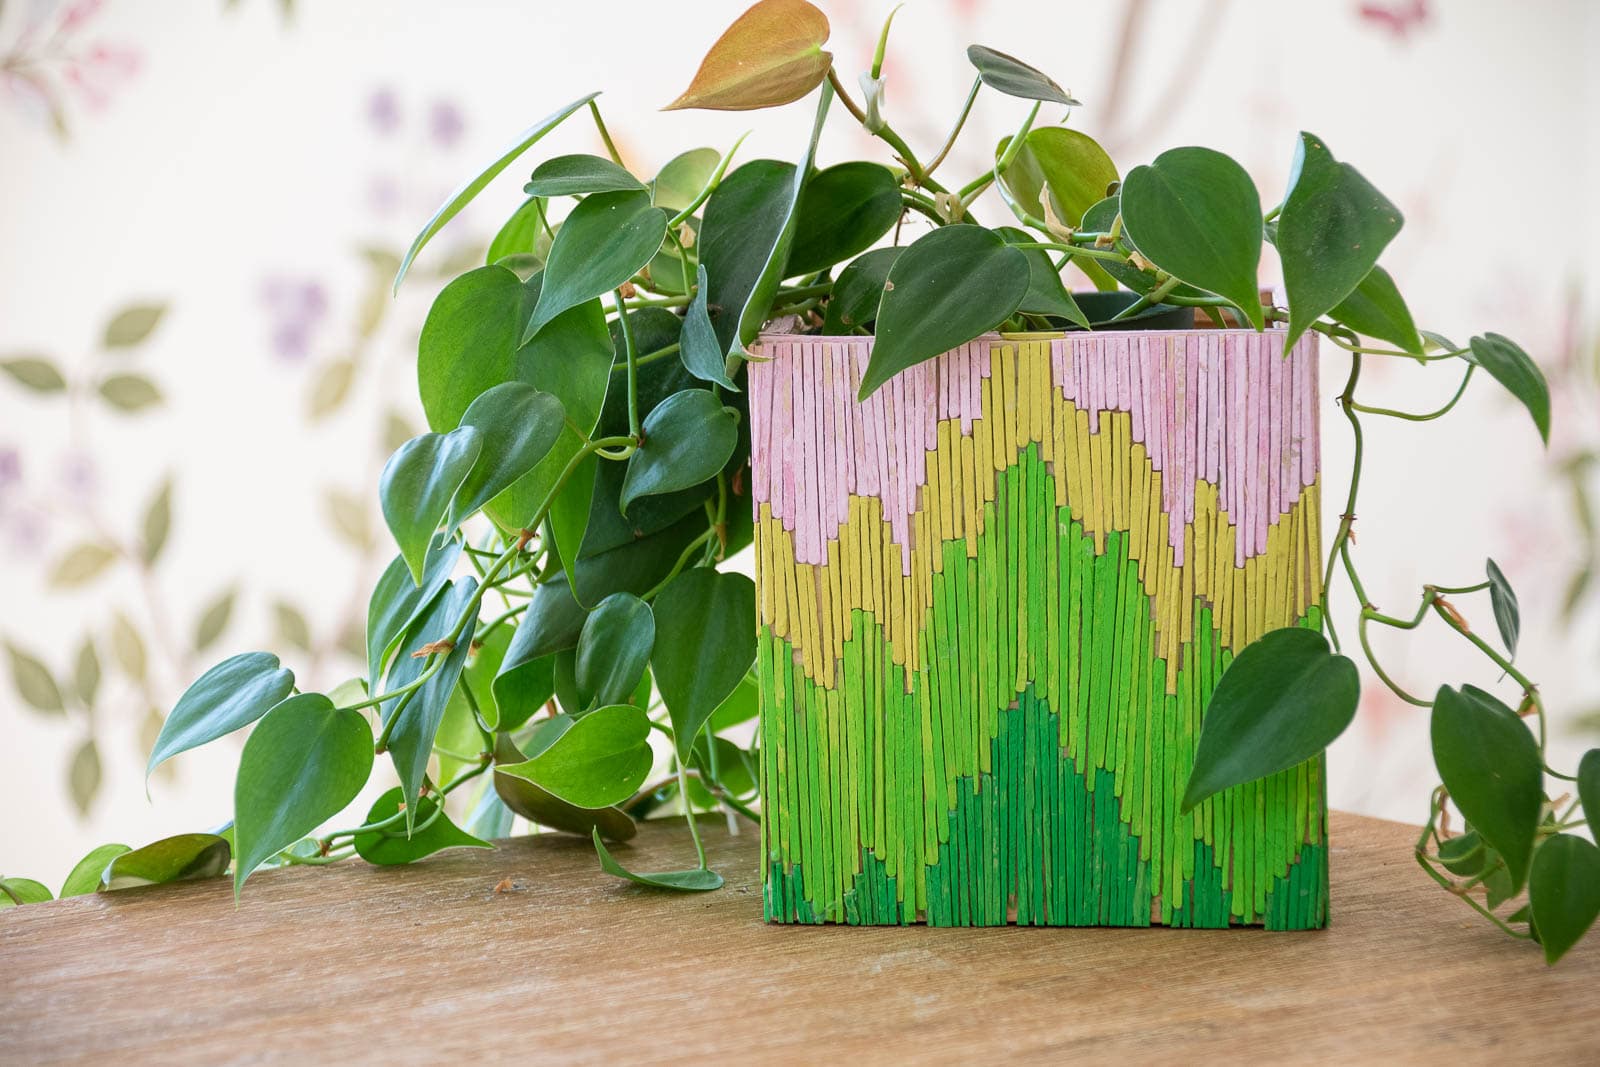
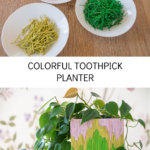
DIY Colorful Toothpick Planter
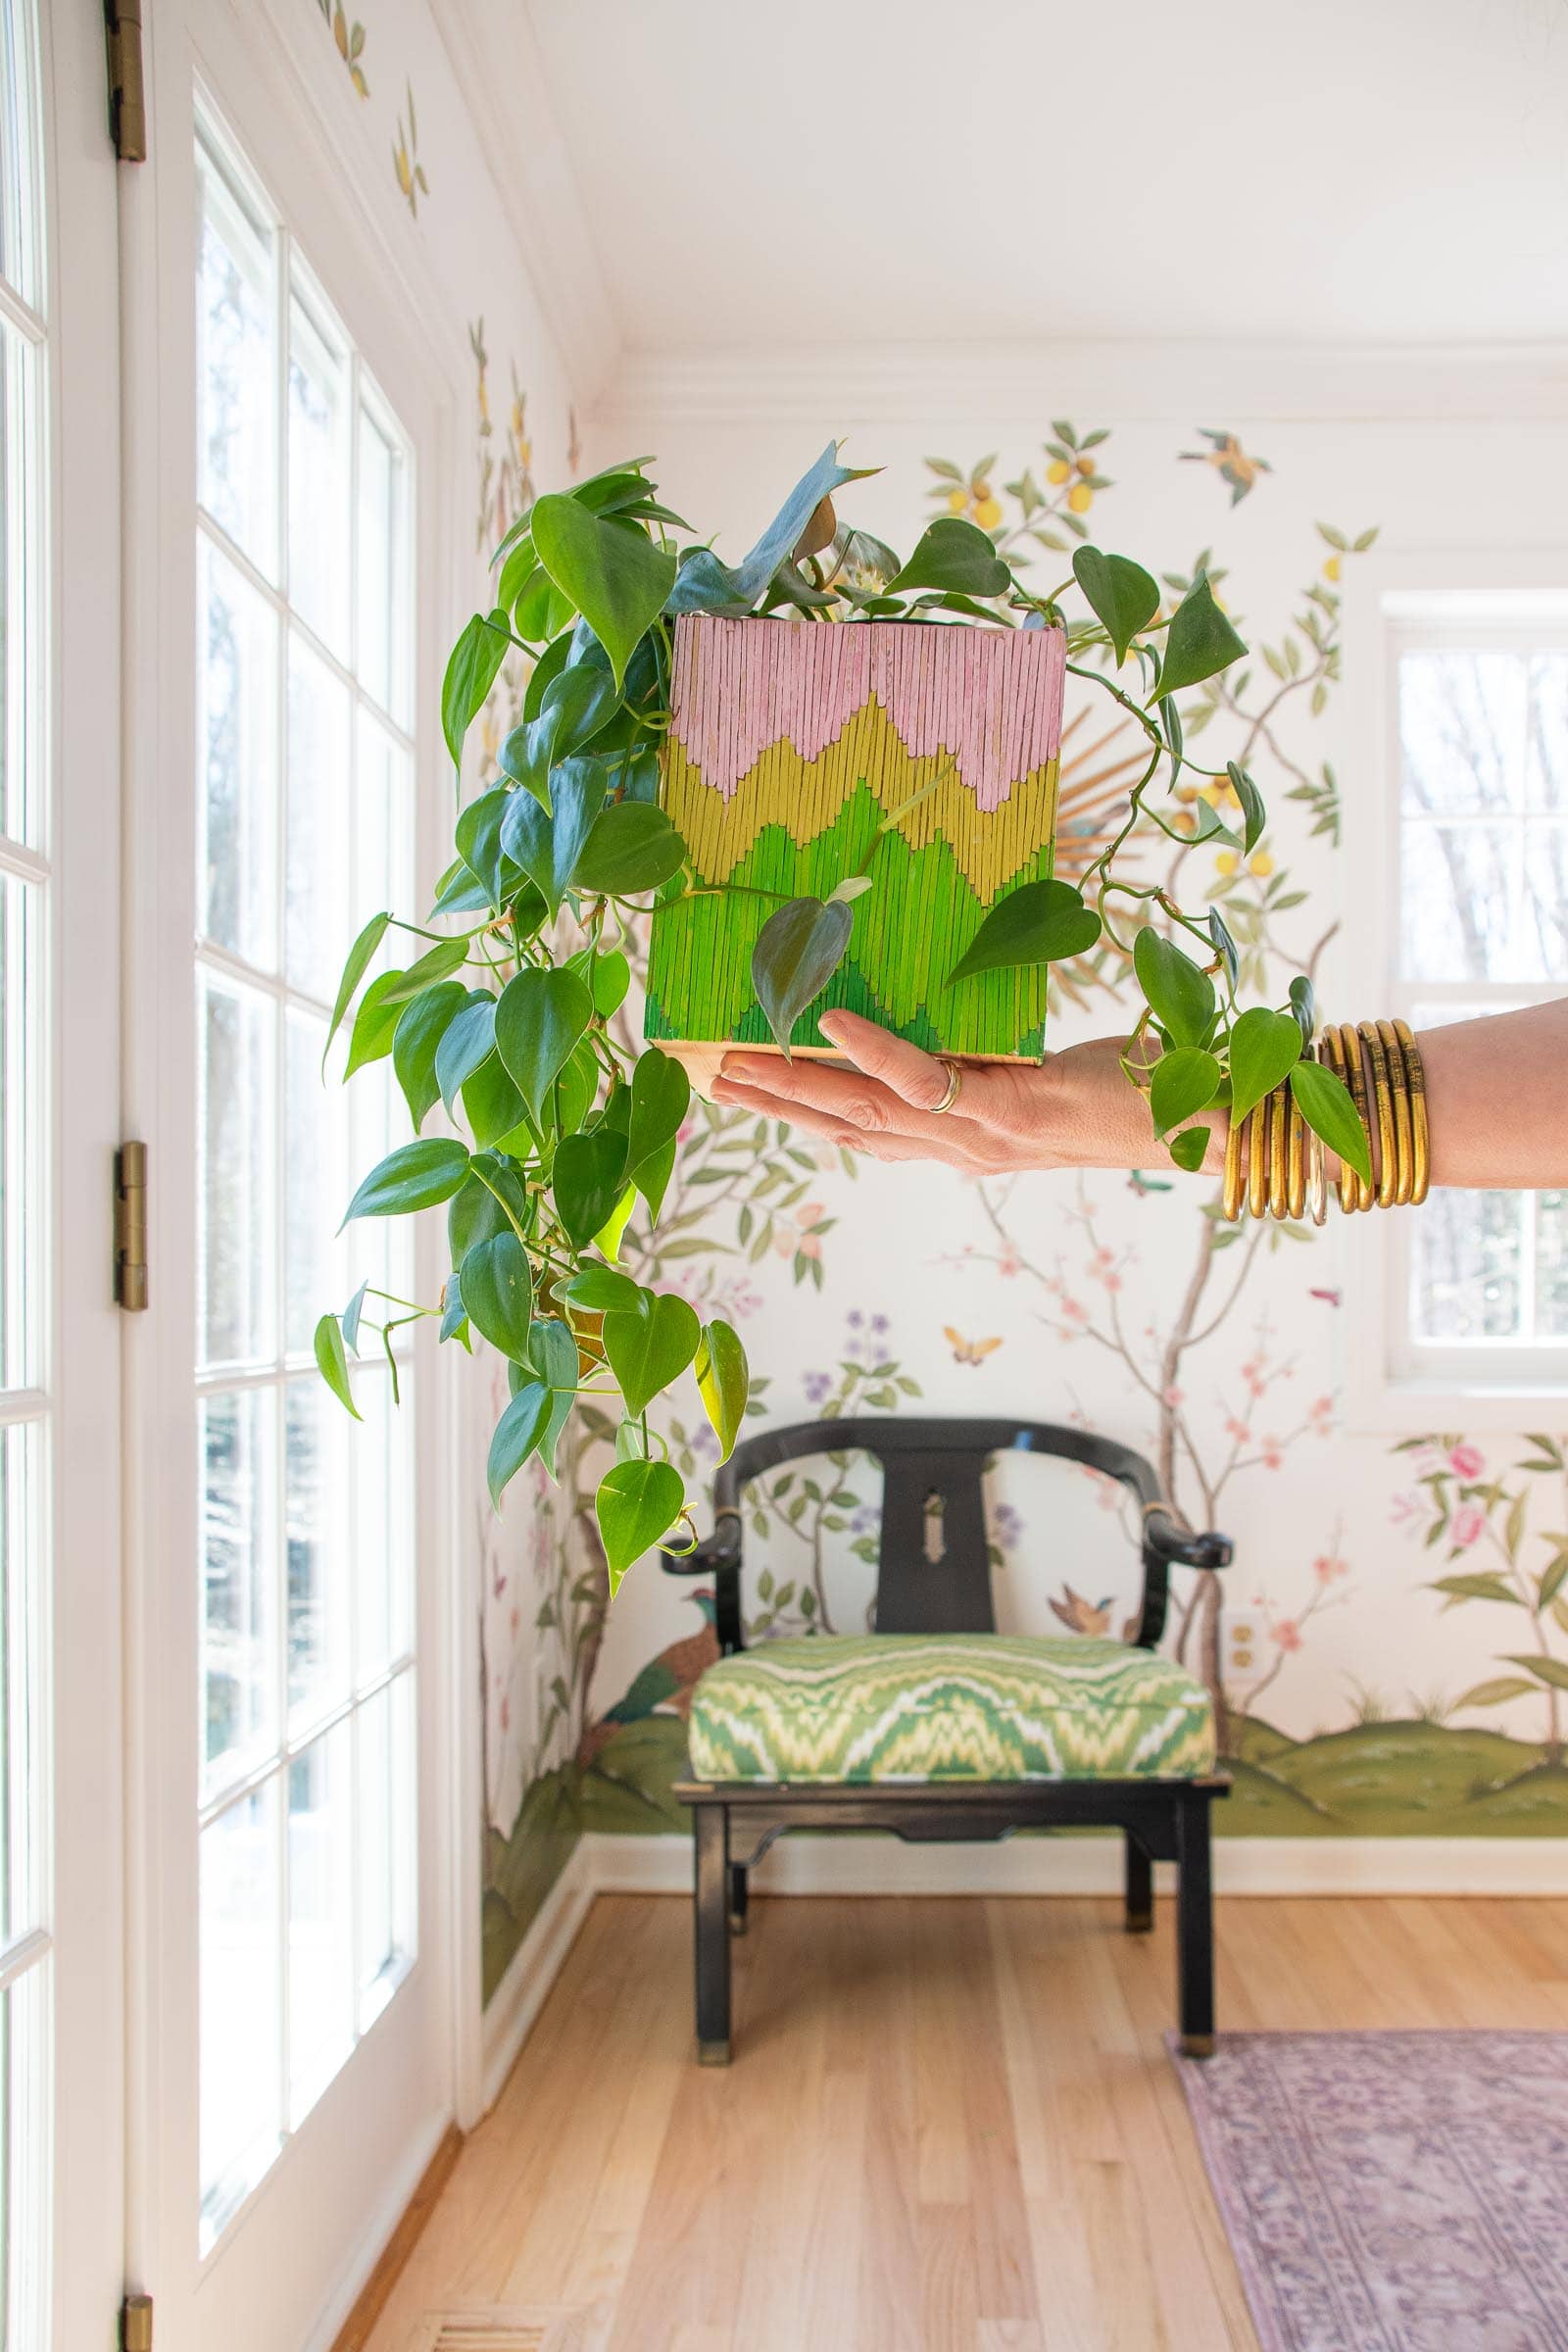
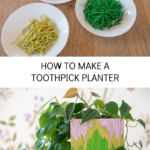
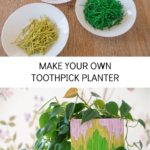
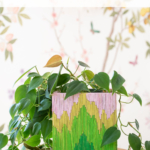
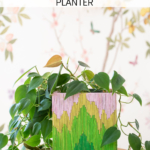
I covered an old tissue box with toothpicks to make this retro flamestitch planter.
I’m having the best time making fun projects using unconventional materials! (Remember that time I painted a singing fish?!). Well for today’s project I asked my Instagram audience to suggest a material that I would have on hand or could easily get. (There were SO many fun ideas!!) My daughter helped me choose one at random and we landed on: toothpicks. Not gonna lie… I breathed a little bit of a sigh of relief because toothpick art felt like something I could have fun with! Let’s dive in and see what I did!
Shop my favorites!
Step 1. Which toothpick?
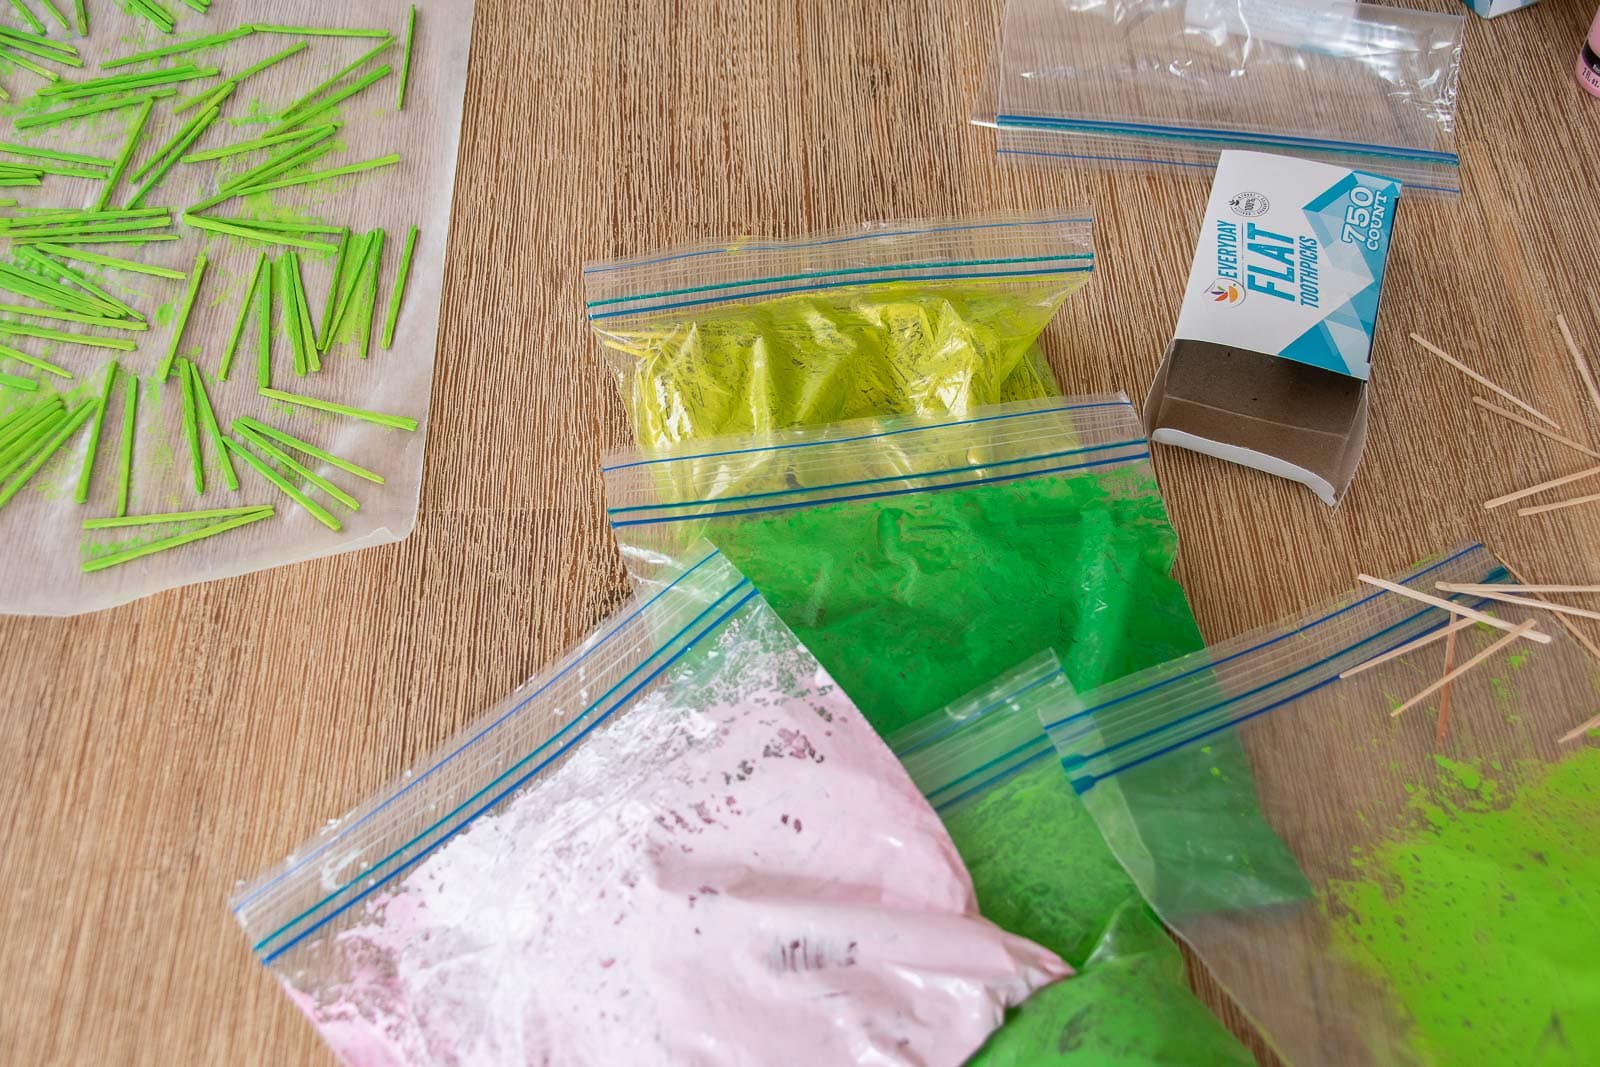
So… apparently there are two styles of toothpicks: flat or round. Honestly, I didn’t investigate too much but there were like 3x as many toothpicks in each box of the flat toothpicks so those are what I grabbed. Note that they are MUCH rougher than the rounded ones. Sizes are irregular and not quite as pristine as the rounded ones. For this project, I actually loved the way the flat toothpicks worked, but for a different pattern you might want the cleaner round toothpicks. Thank you for coming to my Ted Talk on Toothpick Art.
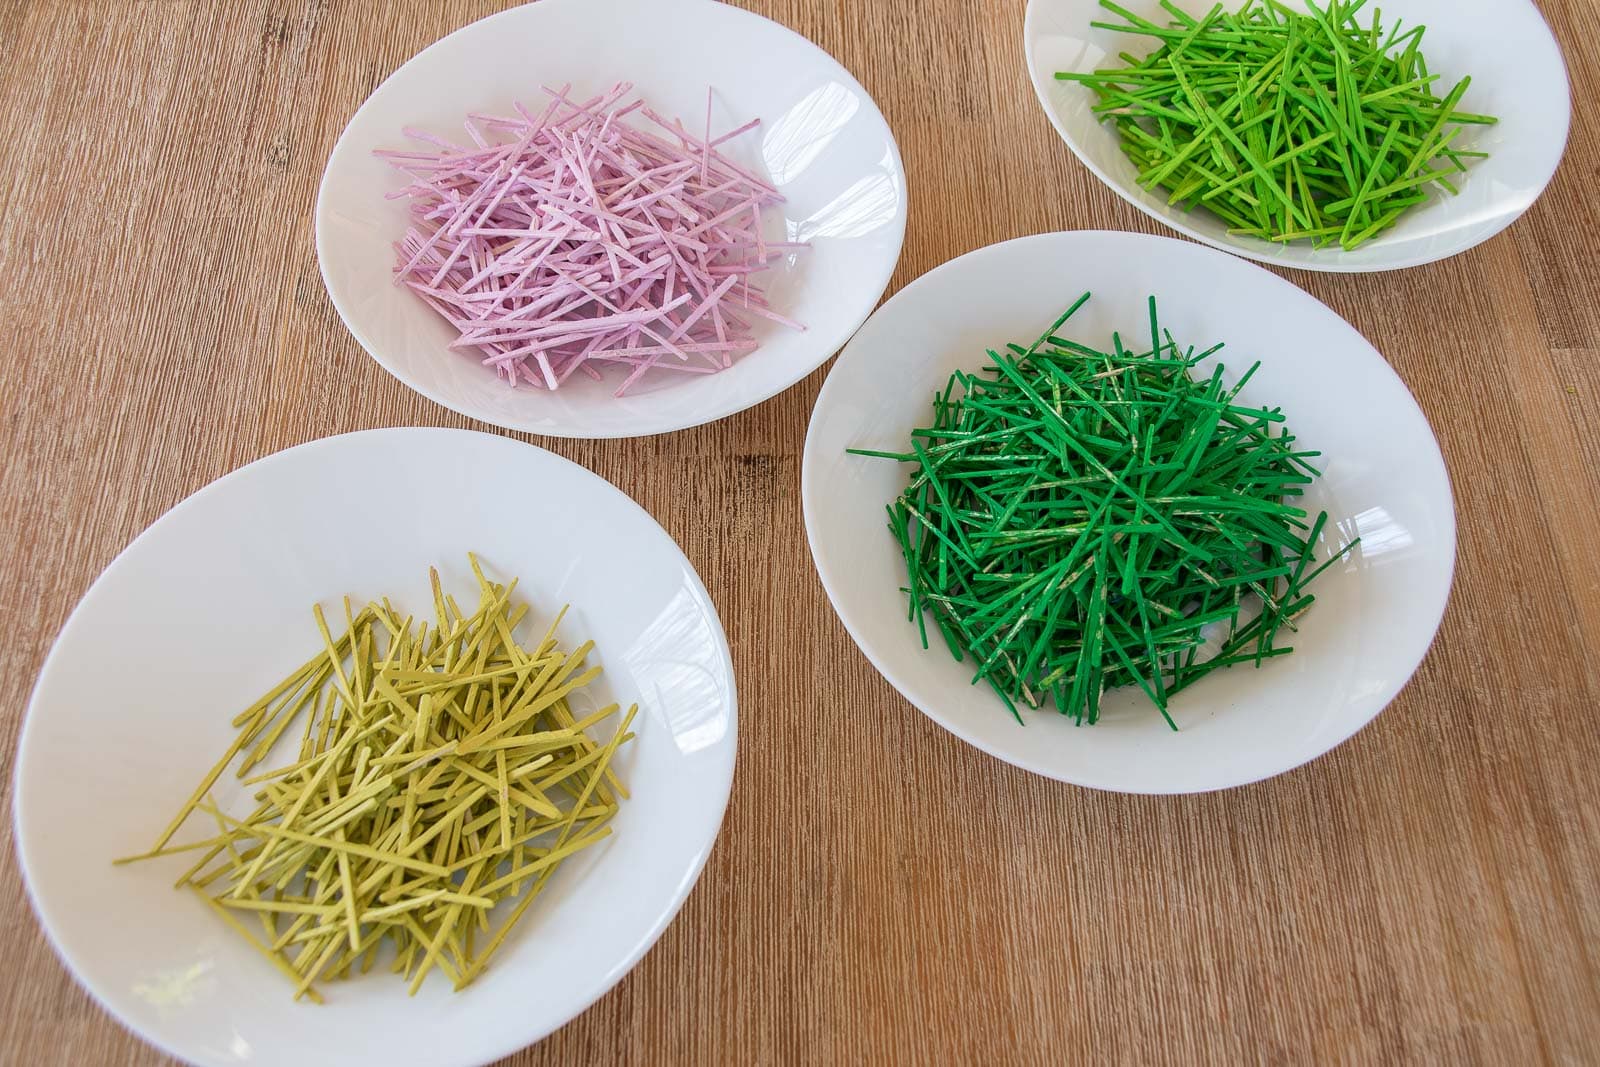
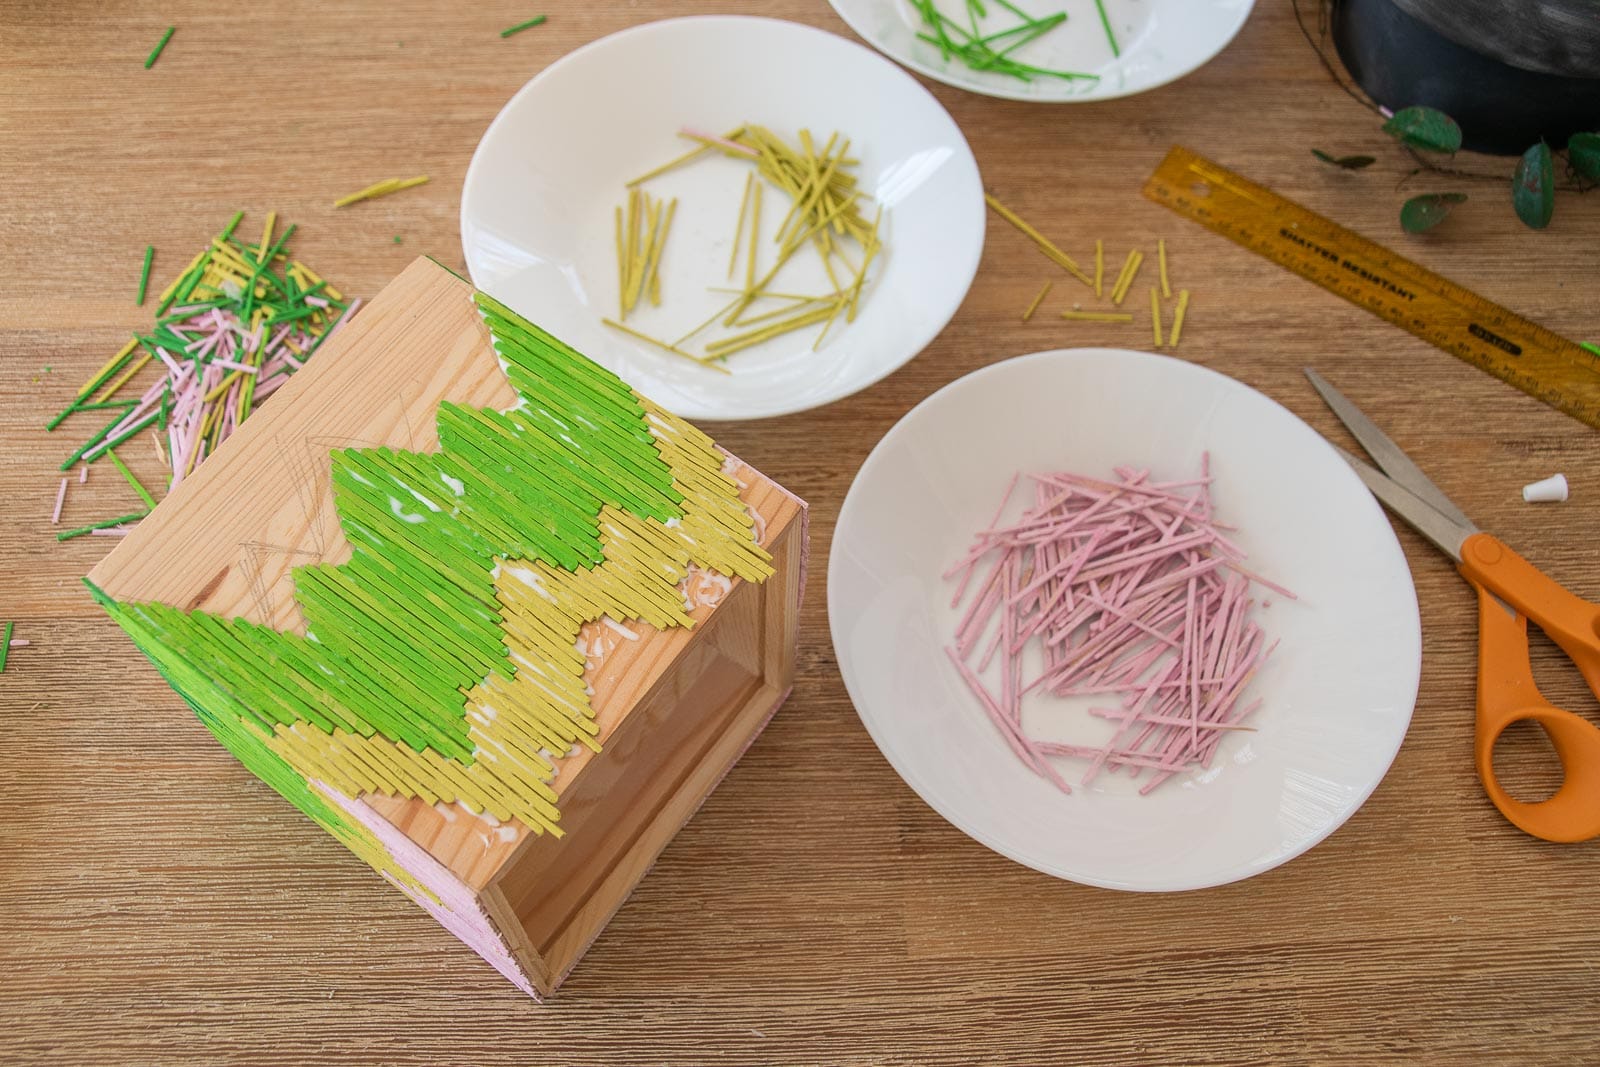
Step 2. Add Color
Here’s my hack for painting tiny annoying things: plastic ziplock bags. I added regular craft paint and a tiny bit of water (maybe 1 tsp?) to a ziplock bag along with a handful of toothpicks. Swish them around until the toothpicks are covered as best you can. Pour them out onto some wax paper to dry. Separate them as best you can before they dry.
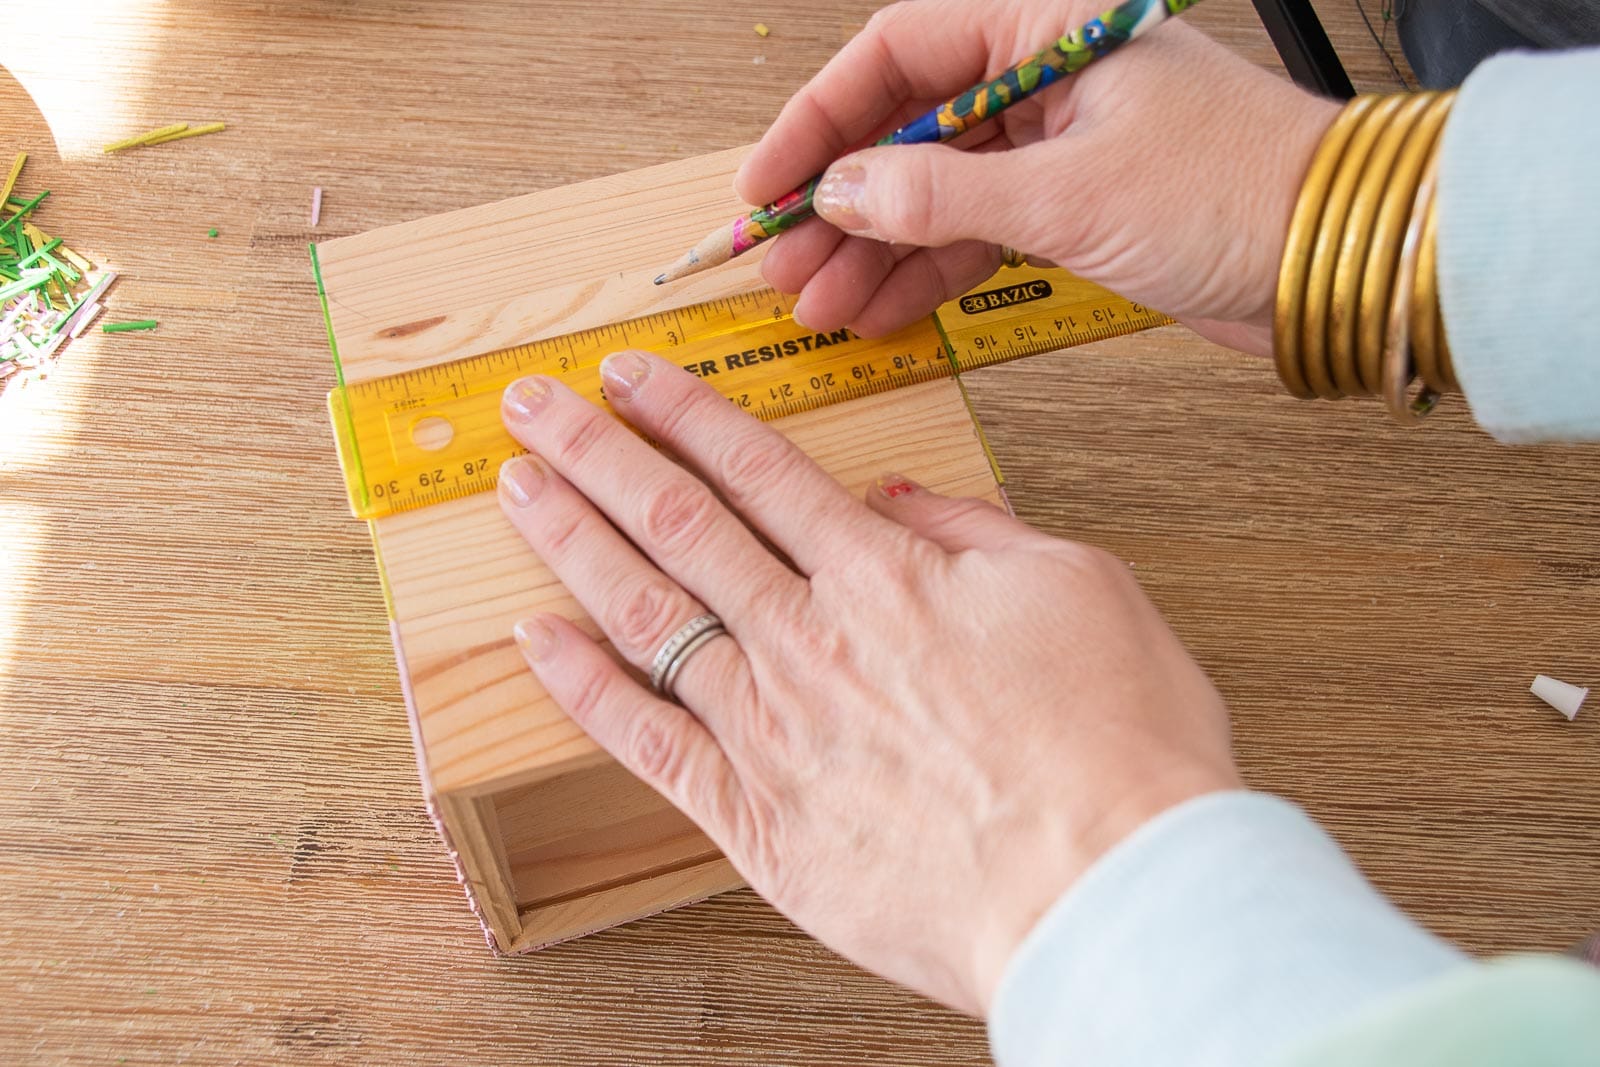
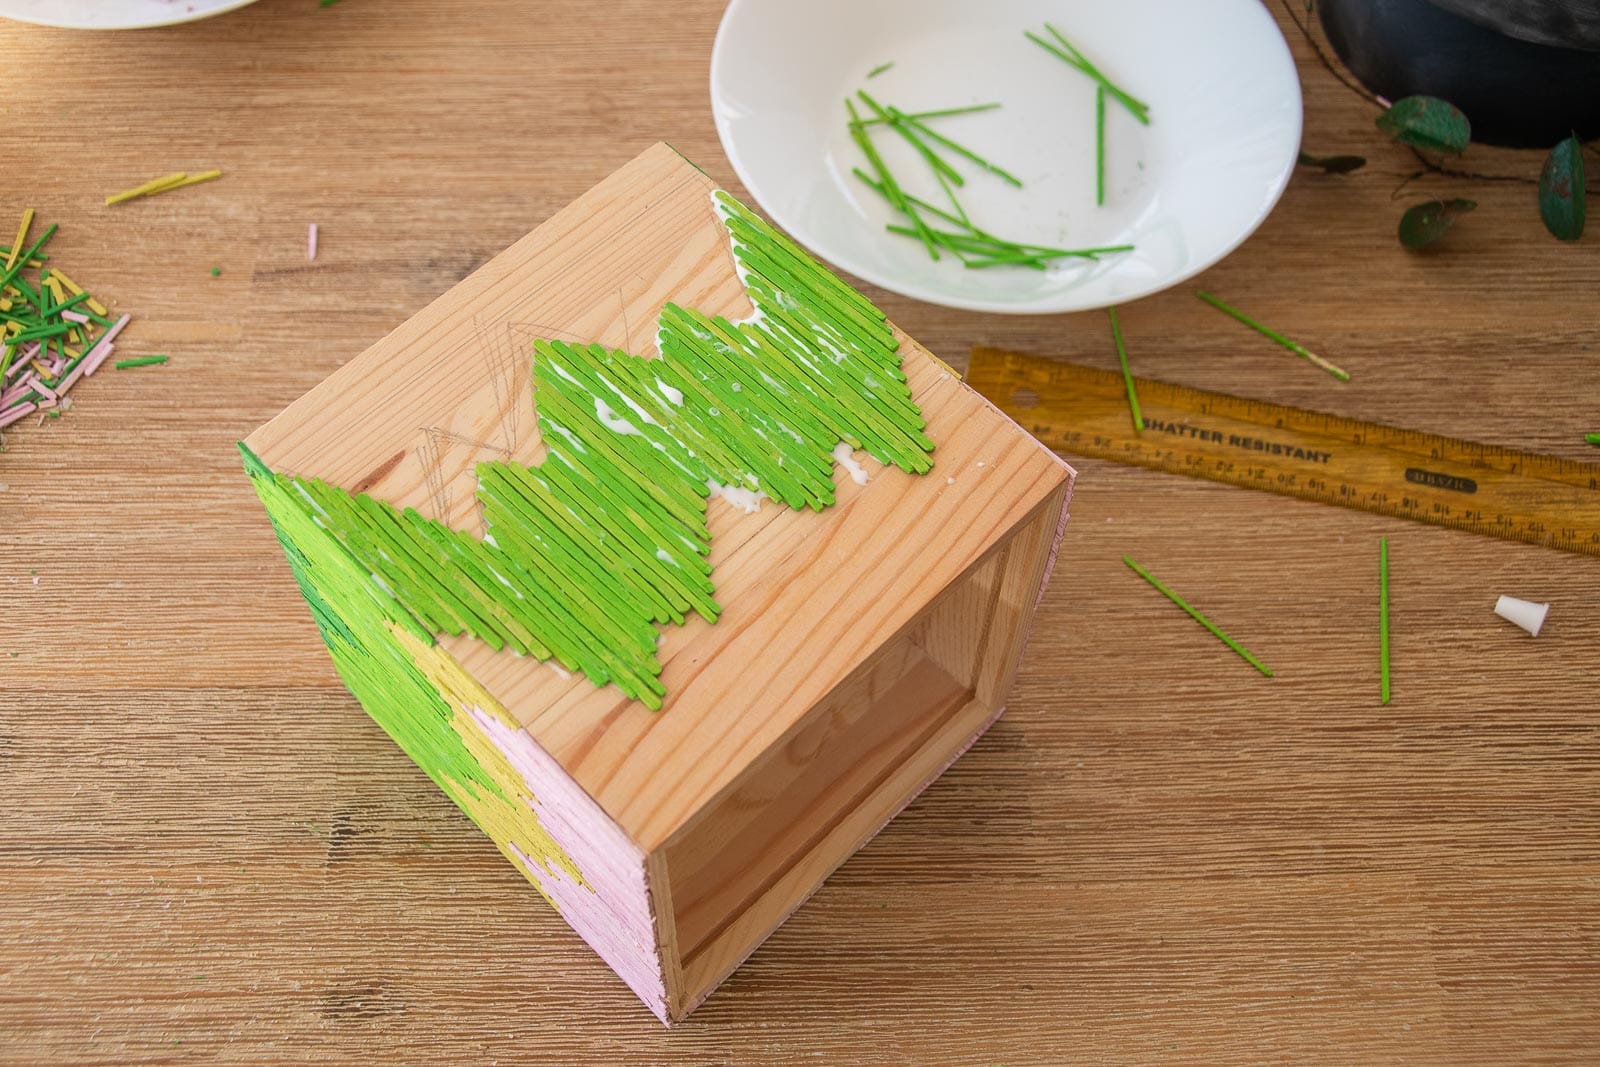
Step 3. Draw guidelines on your container
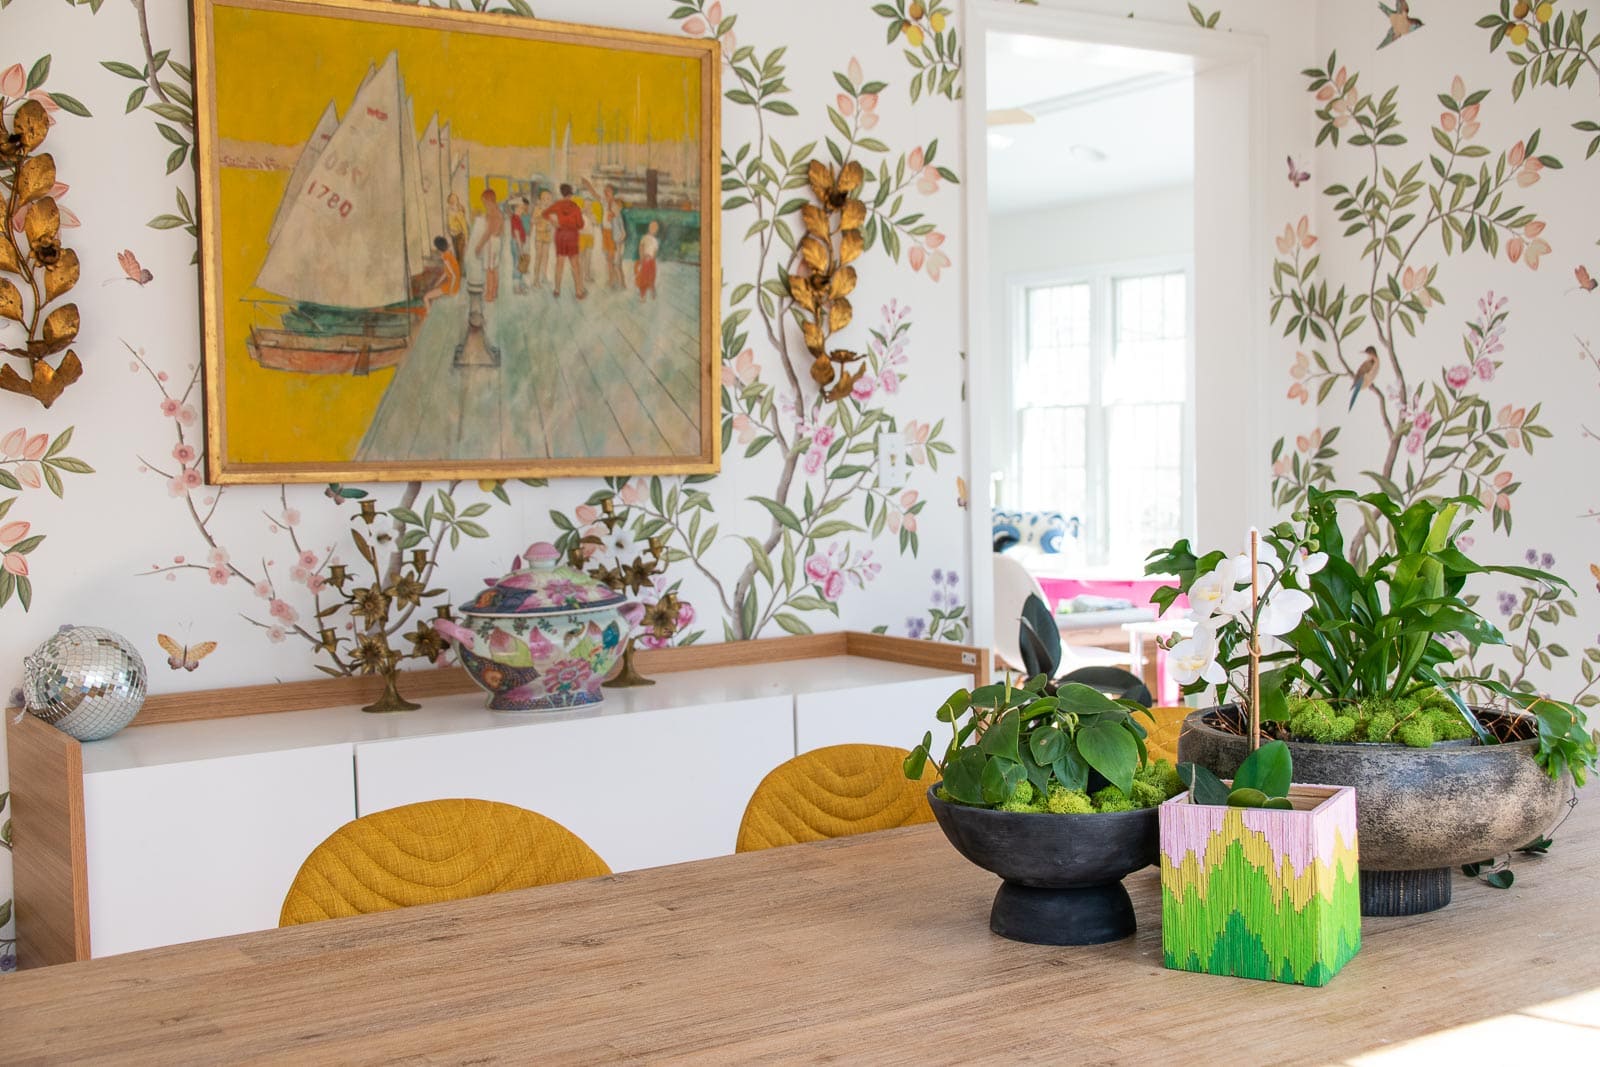
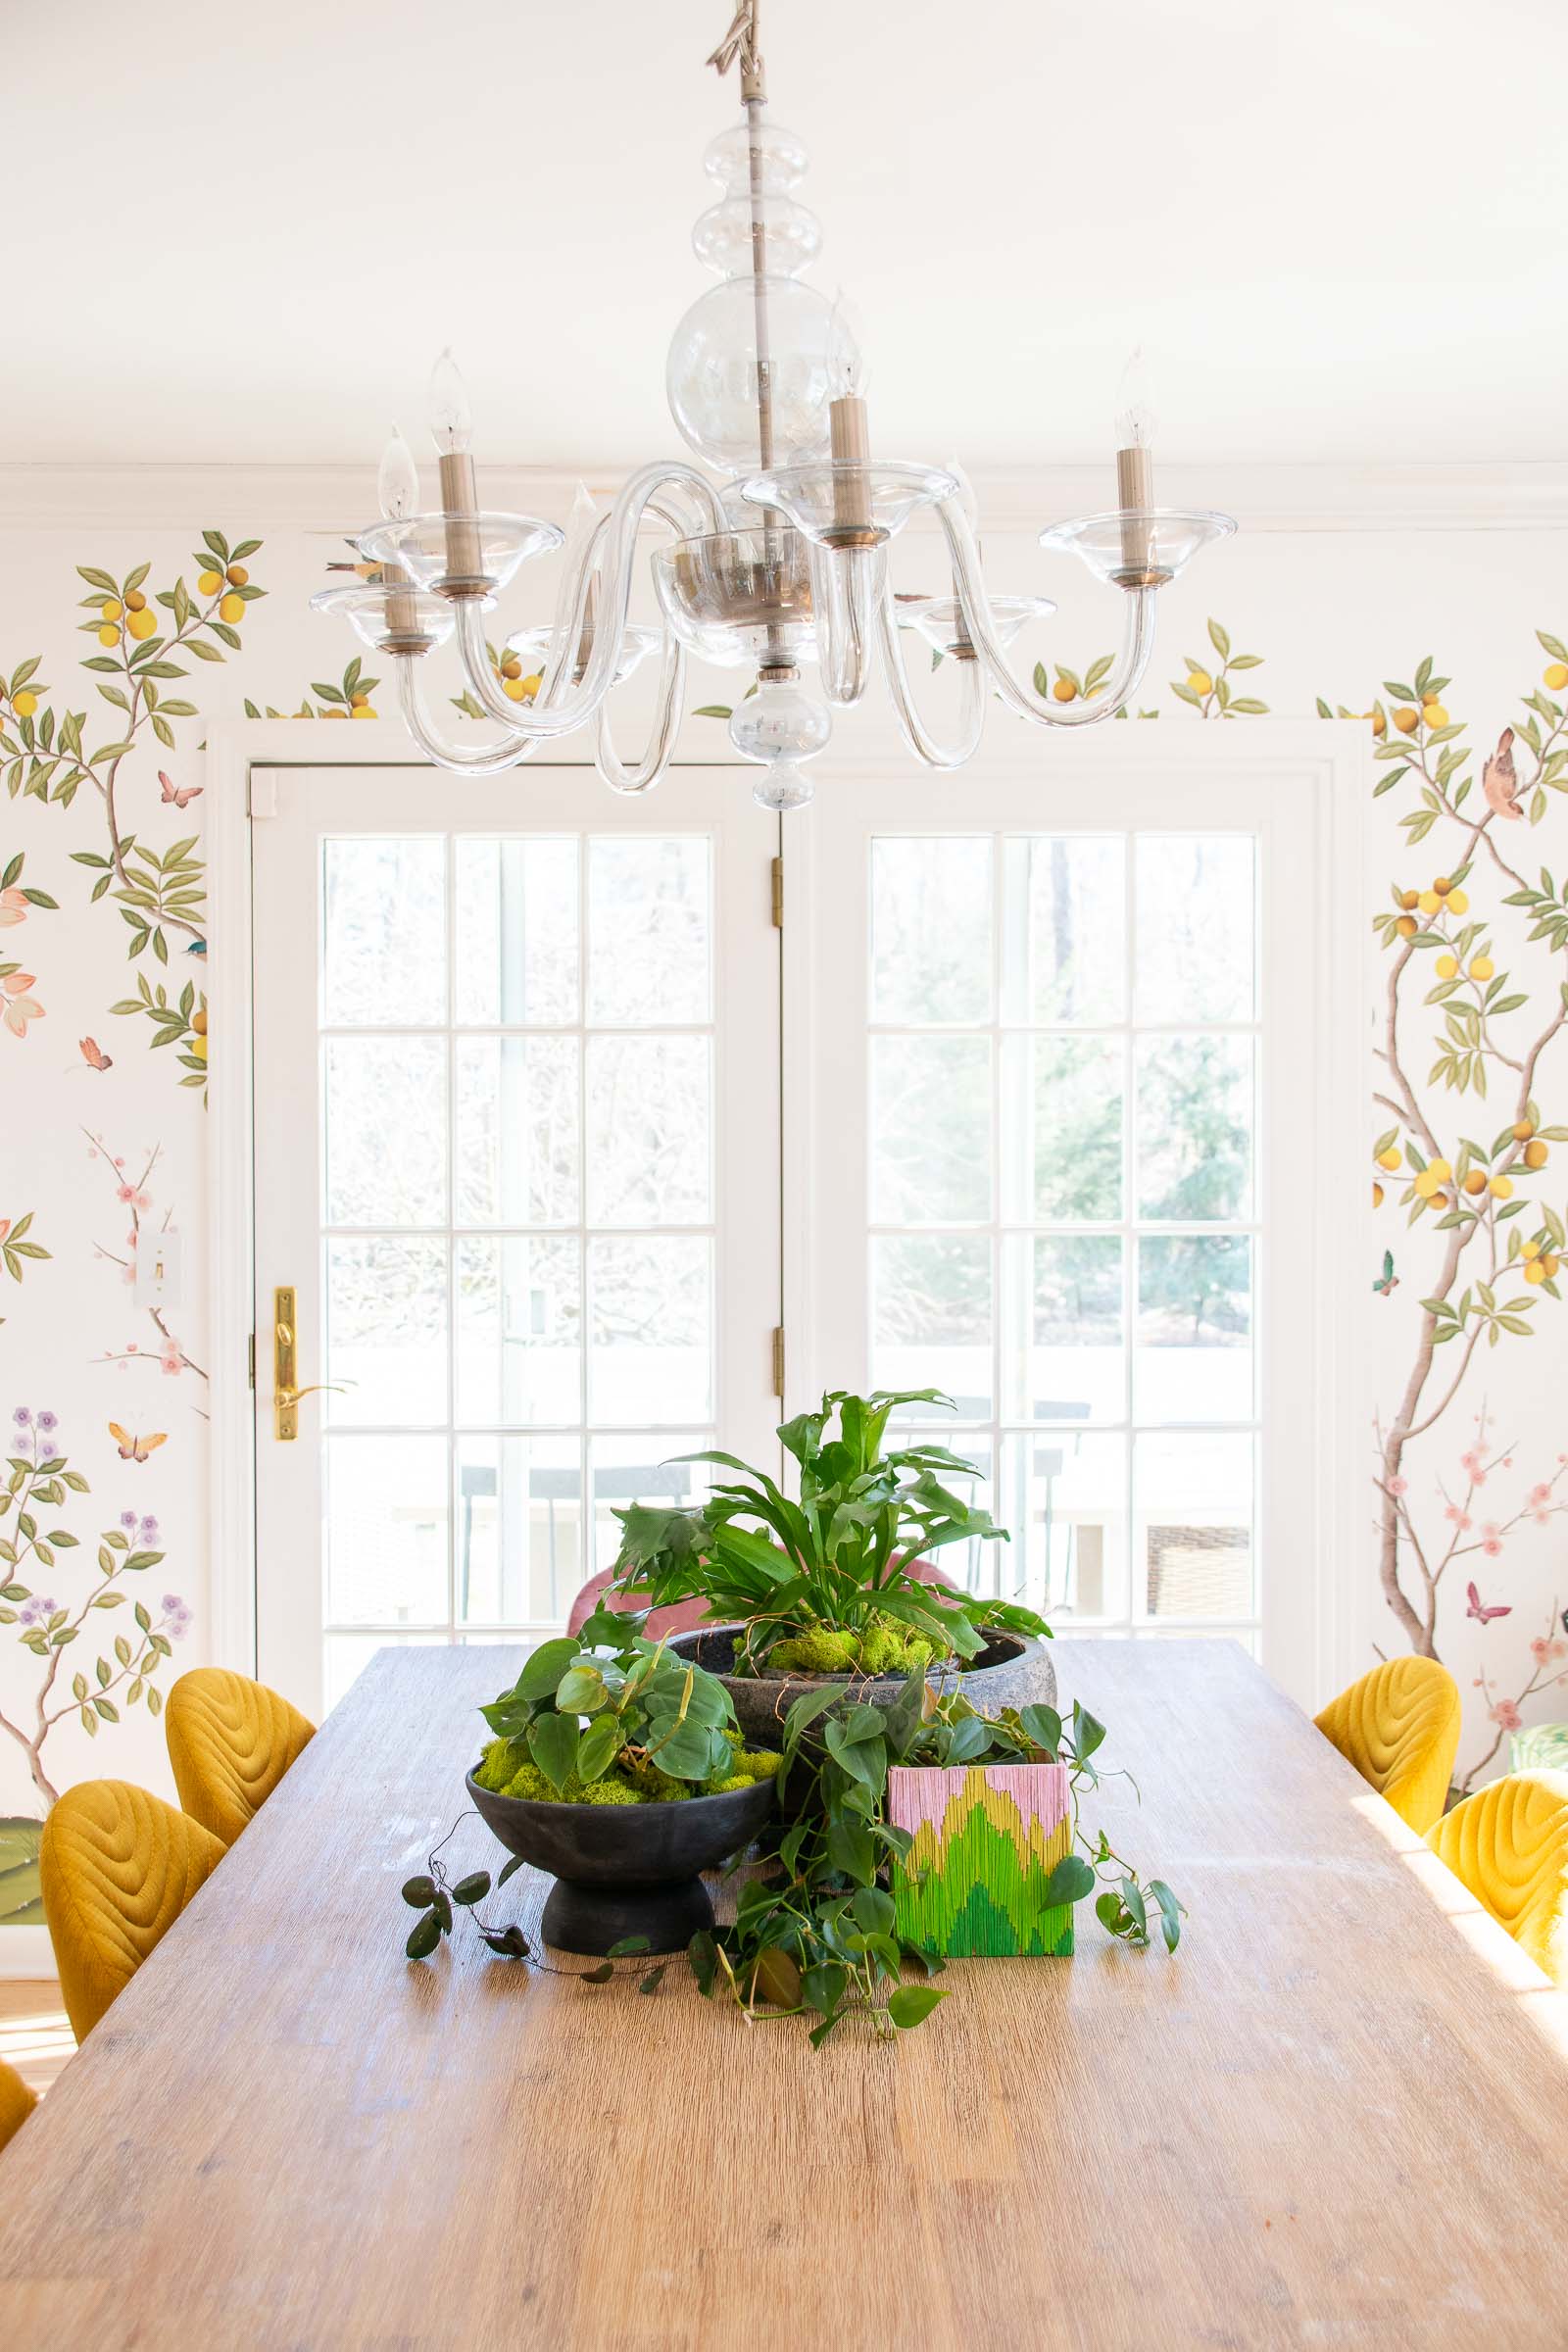
I thrifted a plain wooden tissue box and was going to flip it over to use as a planter. Our dining room has a pair of flamestitch side chairs so I decided to try and mimic that pattern a bit on the planter. (You could obviously use this tutorial but make a different pattern like stripes.) I drew one varying zigzag to use as a guideline when gluing on my toothpicks. After the first side, I learned that a more erratic zig zag looks more like the flamestitch fabric than something more chevron-ish.
Step 4. Attach the toothpicks
For the first row of toothpicks, I used regular craft glue and lined up the top edge of the toothpick with my guideline and glued in place. Note that you might have to alternate the direction of each toothpick because one end is wider than the other.
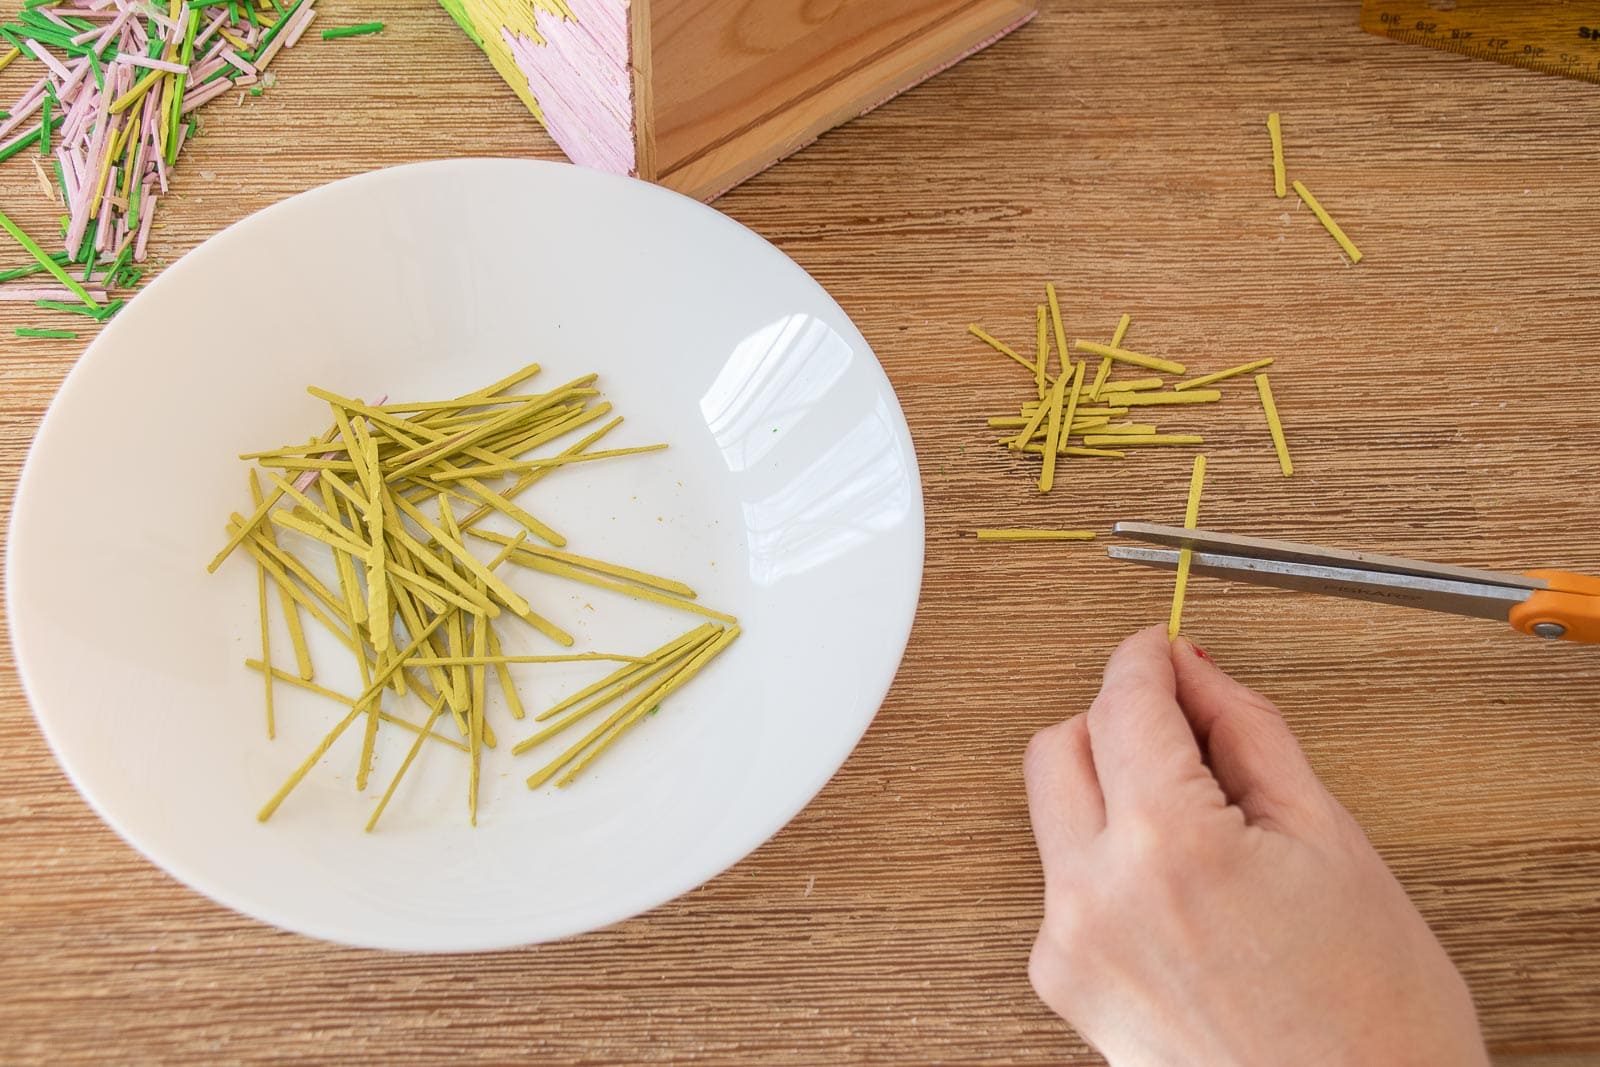
To vary the pattern (and look more like my fabric inspo), I cut the pink toothpicks in half using scissors/ wire cutters so that this stripe was a little thinner. Don’t worry if the toothpicks on either end hang over the edge. Once the glue dries, you can go back and cut.
Step 5. Trim excess toothpicks
Once the glue has dried, use sharp craft scissors (or a utility knife) and trim the ends. (If using a utility knife, place the container toothpick side down and carefully trim. You may have to glue smaller pieces that fall off after you cut them.
Step 6. Cover the top exposed edge
Once all my toothpicks were trimmed, I glued a handful of toothpicks onto the top exposed edge of the planter.
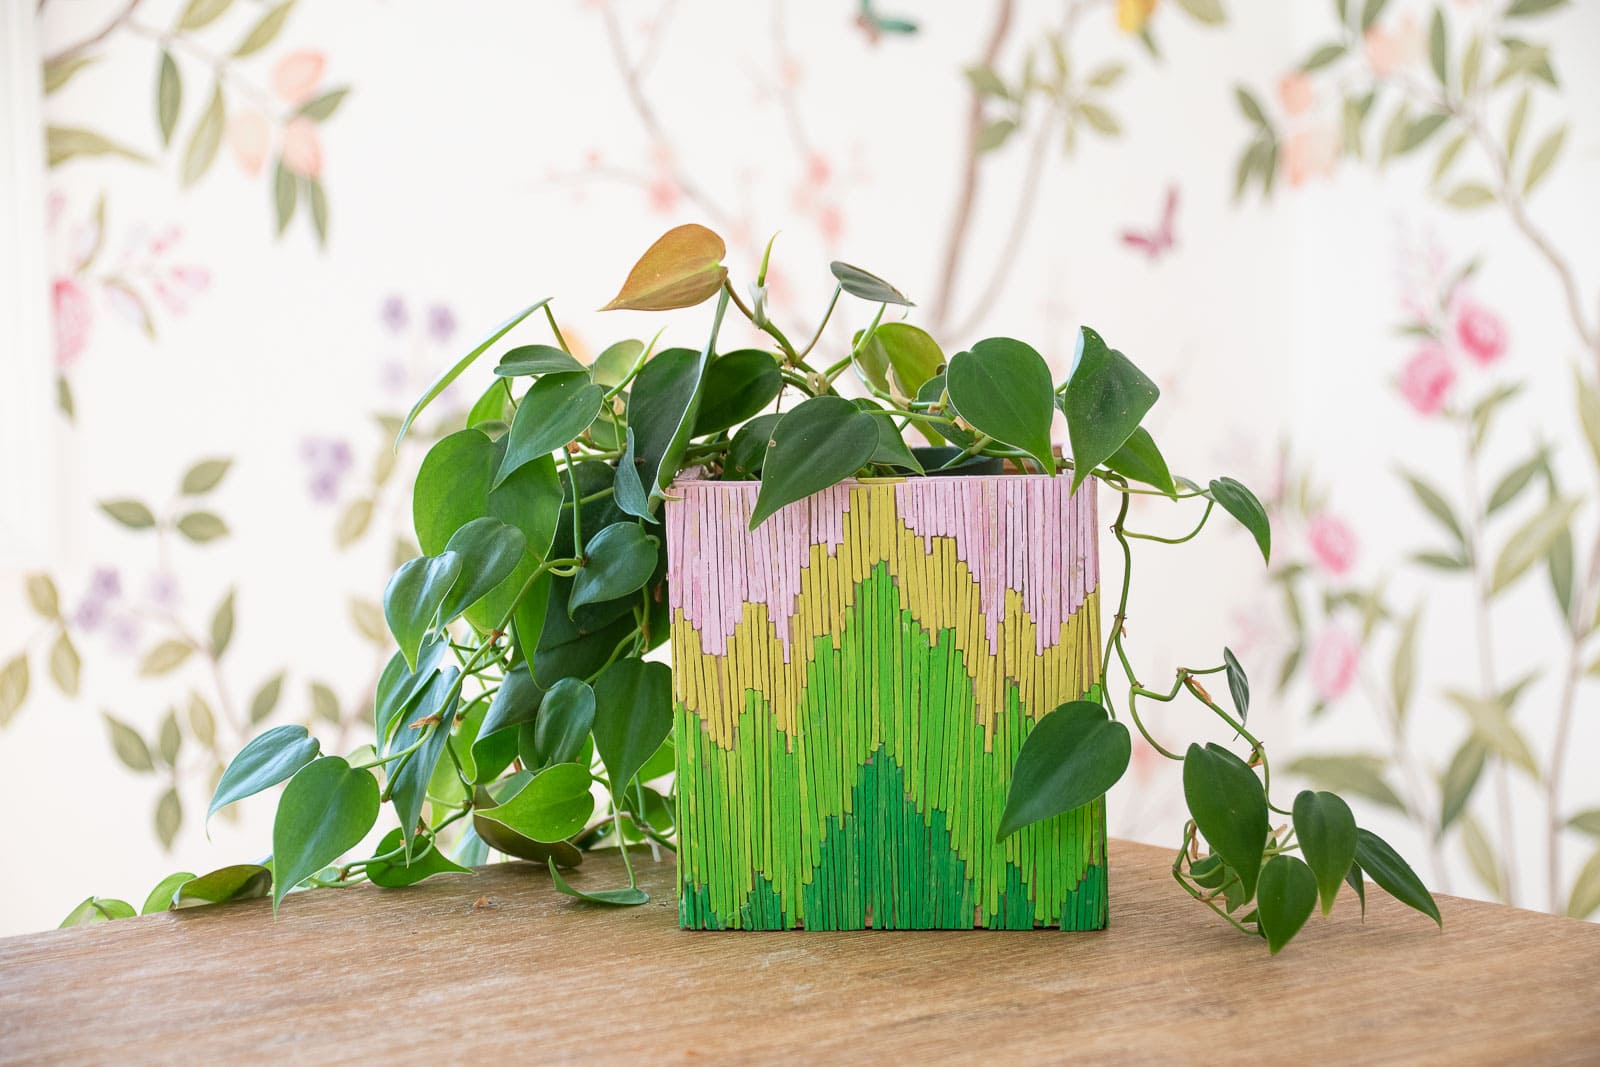
And that’s it! Every time I do one of the these smaller fussier craft projects I tell myself how cool this would have looked if I’d covered something much larger! I know it seems like this would have taken forever (and maybe it did), but it didn’t FEEL like it at all! The toothpicks were very easy to adhere and I was able to work one section at a time while listening to a podcast which I always love. Pop a plastic plant tray inside to protect the wood and go find a plant to put in the planter!


Don’t Miss Out
Become An Insider!
Signup for exclusive tips, and tricks from Charlotte’s House!
Let’s chat!
I love comments from you, so feel free to leave your thoughts and ideas below! And don’t forget to follow me on Instagram for even more!