I Painted Our Porches!
Psssst… this post *might* contain affiliate links: see my disclosure here.
Painted Porch Makeover
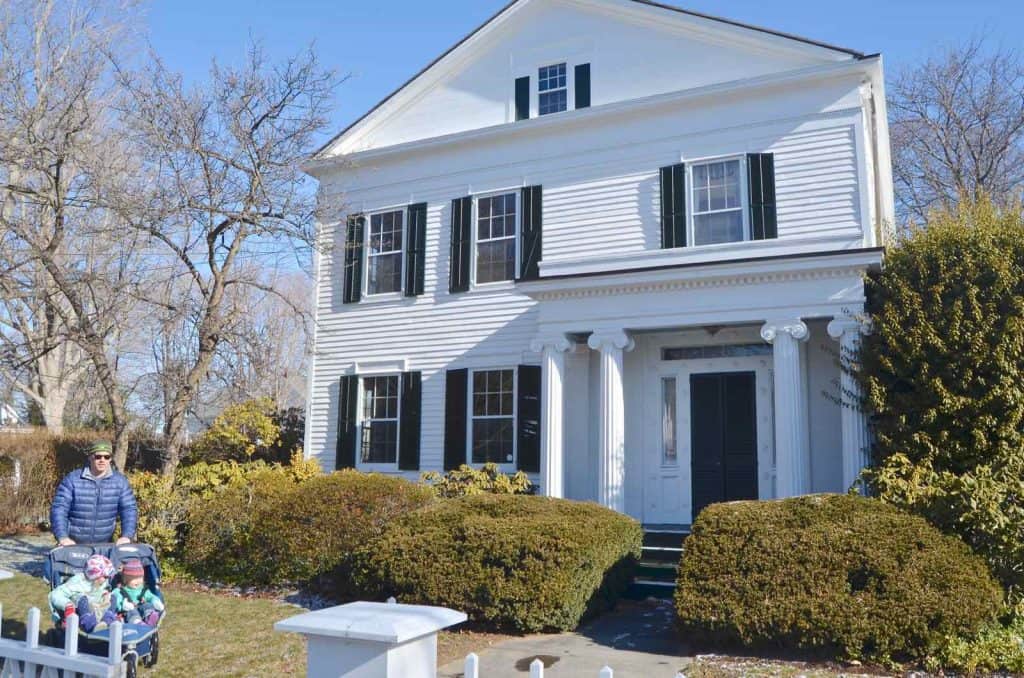
The exterior of our house was one of the first things I fell in love with! Classic details… columns… dental trim… and just a hint of rot. Lots and lots of rot. Grrrr. The previous owners had allowed the trees and bushes to hang over the porches which meant years of snow and rain just sitting on the wood. No bueno.
Disclosure: Thanks to Homeright for sponsoring this post and providing me with the magical paint stick. All opinions and incredible results are entirely my own!
Shop my favorites!
I’ve been wanting to fix up the two front porches, and, thanks to Homeright, I was able to paint BOTH of them in a few days!
Step 1. Power Wash to Expose Rot
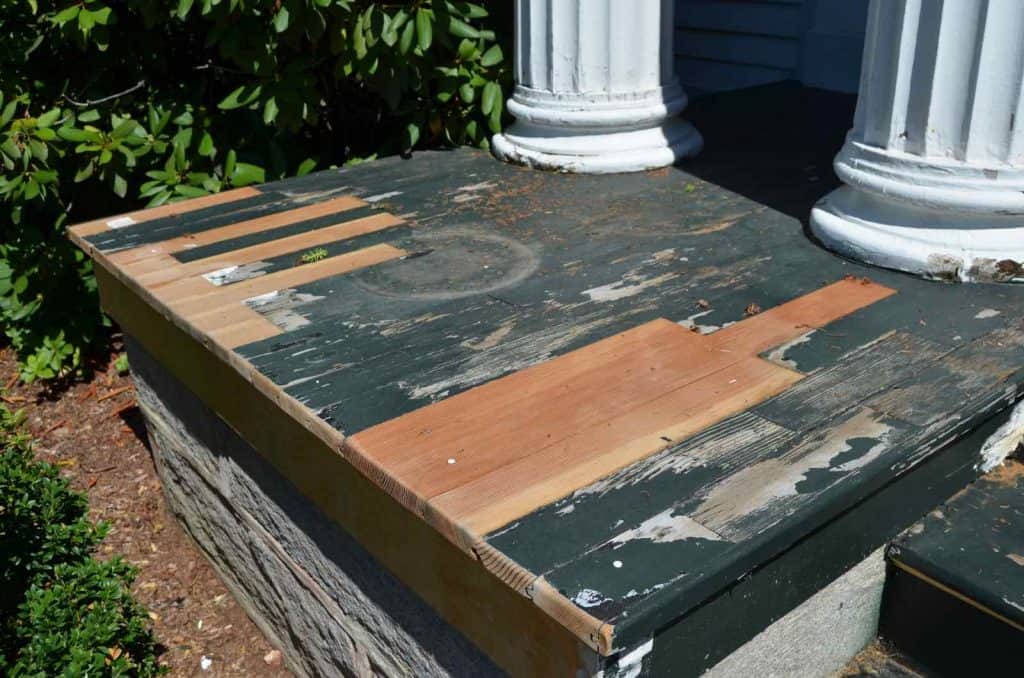
Step 2. Remove and Patch Rotted Wood
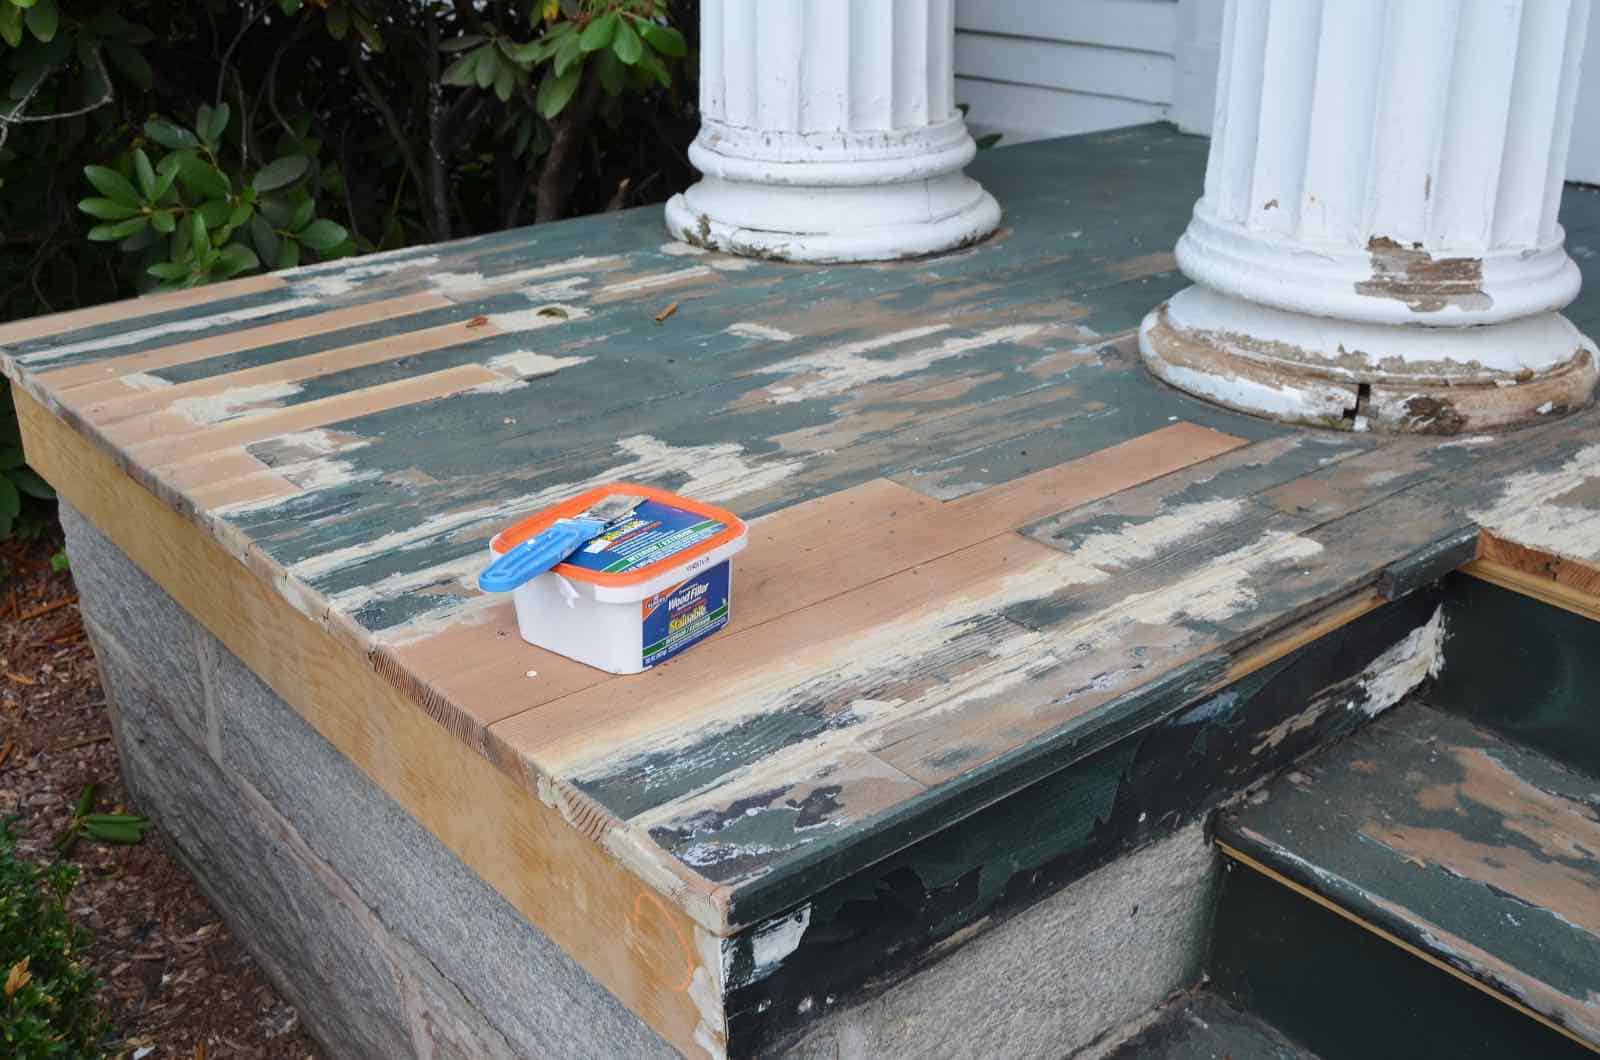
Our contractor helped remove the rotted wood and feathered in some new cedar boards. Once the rot was gone… time for the elbow grease.
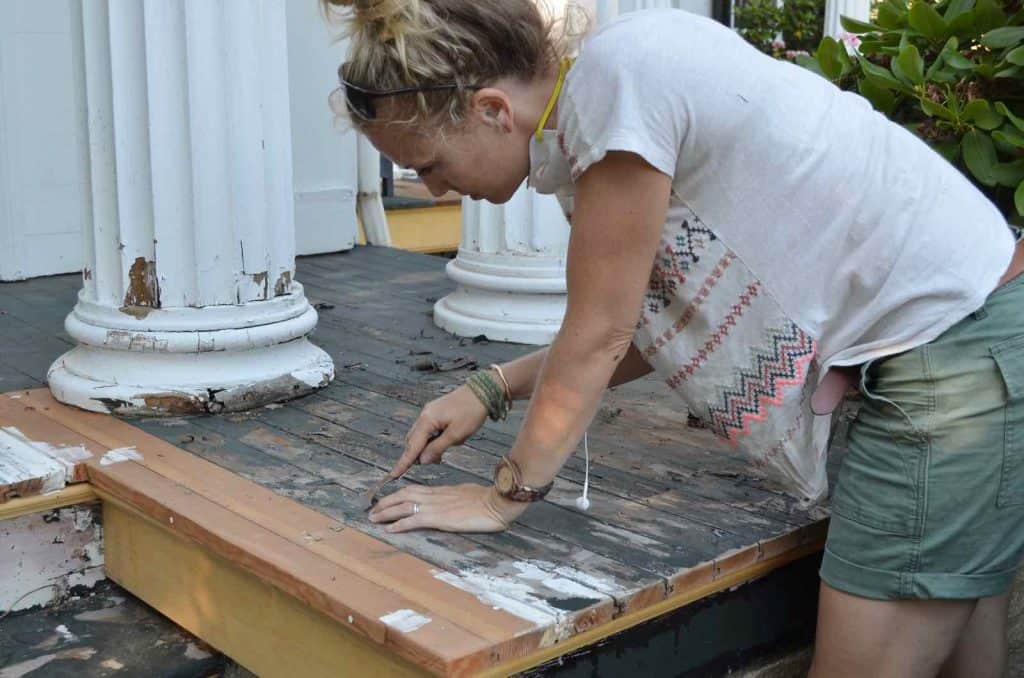
Step 3. Scrape Loose Paint
We’d already power washed the porches so that the rotted wood was a little more visible, so I could skip that step. I spent a full day scraping away any loose paint (note: check for lead before getting involved with ANY paint projects!).
Step 4. Fill Holes With Wood Exterior Putty and Sand
I filled any large holes with exterior wood putty and let it sit overnight. Then I sanding the ENTIRE deck. I swept any dust and debris off the surface before… PAINT!
Step 5. Pick Your Paint
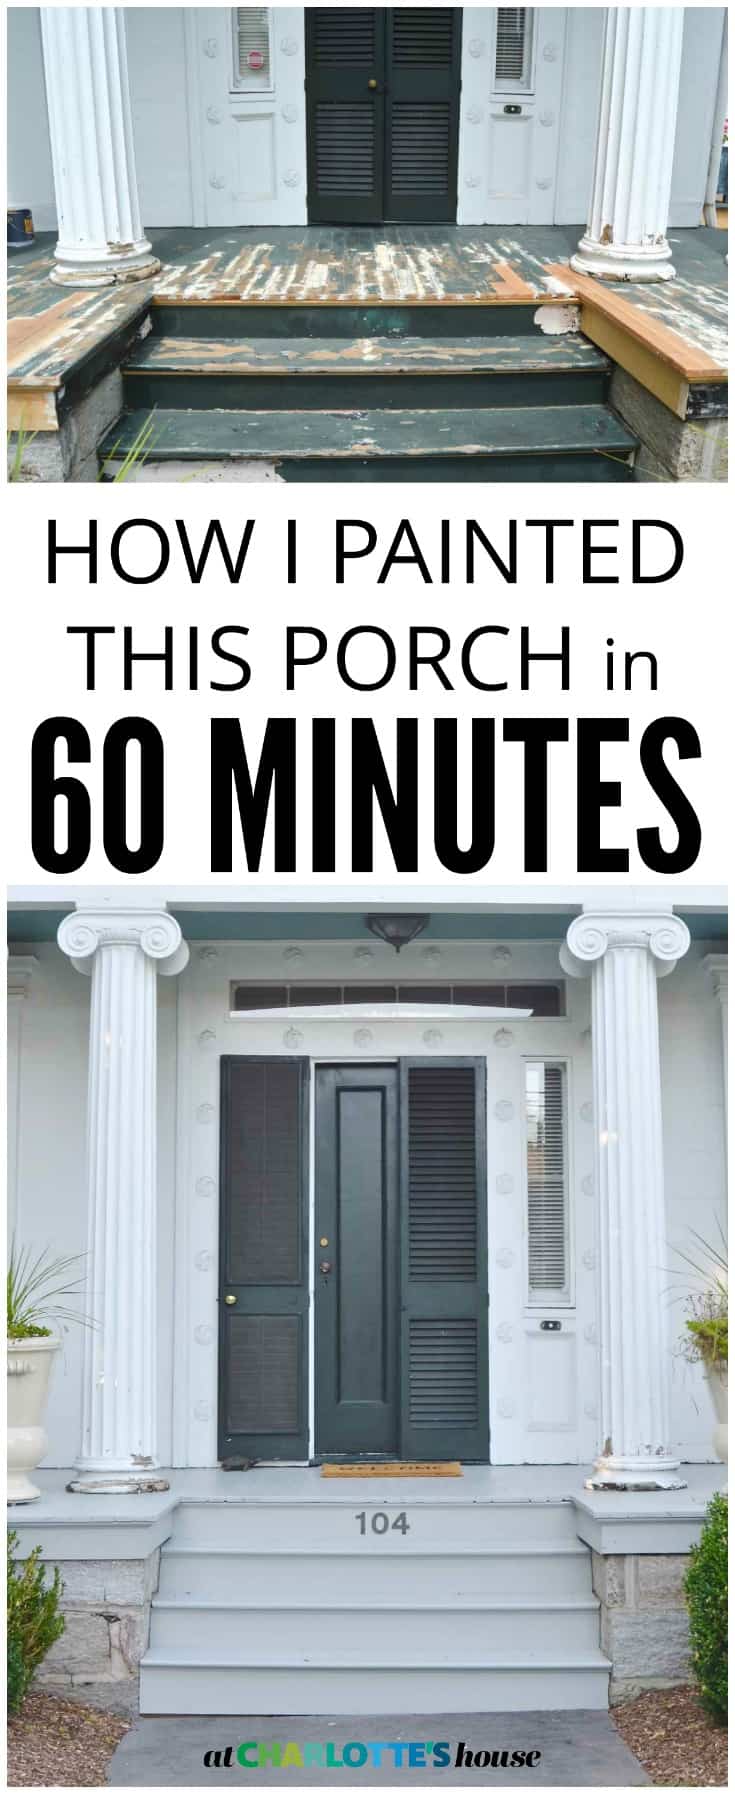
The porch used to be a dark pine green which showed all the pollen in the spring and felt a little dated to me. Lots of the older homes in our neighborhood have gray porches and I love how bright and classic they feel. Something you should know about me… I am WILDLY impatient when it comes to paint color selection. You know how some people will bring home 12 samples of a color and stare at them on all 4 walls before choosing? Yeah… I don’t have that gene. I asked the folks at Benjamin Moore for a classic gray porch color and he said Platinum Gray (a premixed color) is pretty common. Given that it’s also a historic color, I figured it wasn’t worth over thinking it! Also… this is porch and floor paint. Natch.
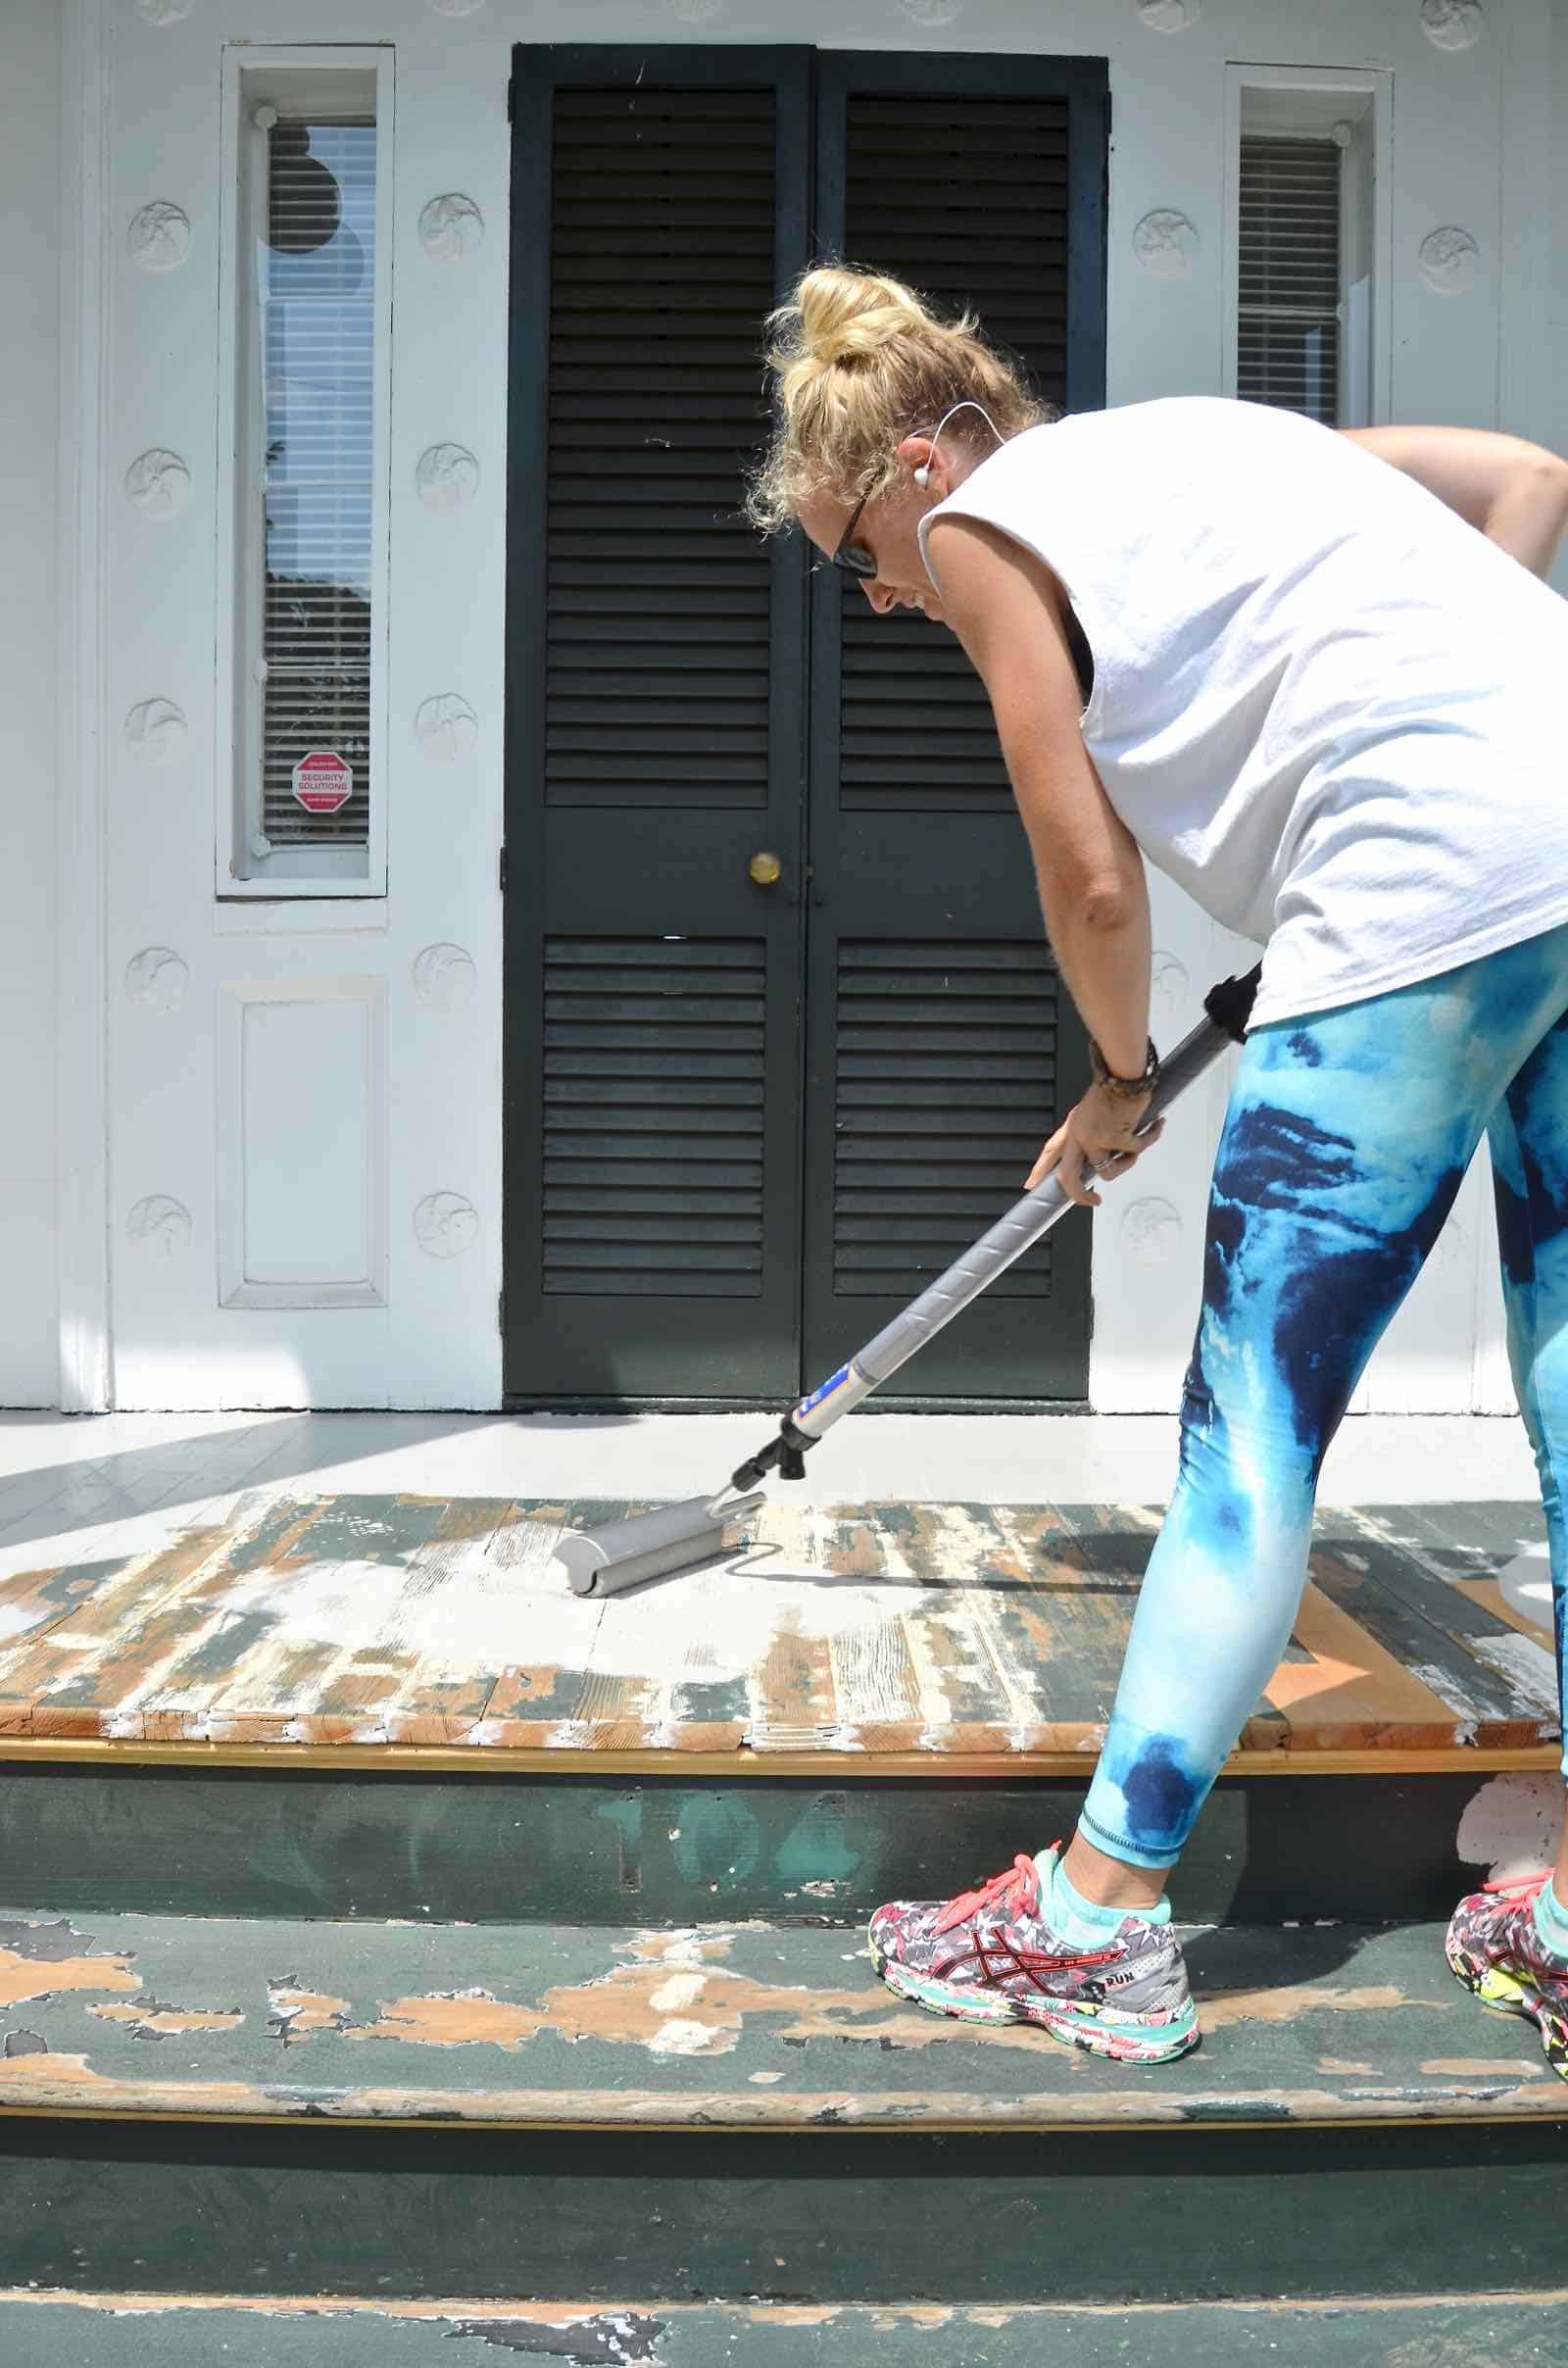
Step 6. Edging and Rolling on Paint
I started by going around the edges with a brush and then I loaded the Homeright Paint Stick. I LOVE this thing. Once I’d finished edging, it took *maybe* 15 minutes to finish painting the rest of the porch. It was HOT when I was working, which meant an exposed tray of paint would have been problematic. With the paint stick, I was able to go over the porch with a nice thorough coat without fear that the paint would dry up in the tray or collect dust and debris.
In a nutshell… here’s how the paint stick works… you place the paint stick onto the fill tube that sits in the can of paint. When you pull back on the handle of the stick, the paint is sucked up into the tube. Then… the only thing left to do is twist the handle to slowly push the paint into the roller and… transform the ol’ porch! (As I type, I realize a better blogger than I would have taken a picture for you of this step… but who can wait when the only thing standing between them and a freshly painted porch is a process shot?!)
Imagine a never-ending paint roller and that’s what you have here. Sure… once or twice a porch, I had to go back to my can of paint and refill the paint stick, but that’s IT!
The first time I used the paint stick in our master bathroom, I didn’t read the directions for proper cleaning. I know I know I know… This time around, I read through and… doy… it’s not that tricky. The whole stick comes apart for easy rinsing, and it’s super easy to return any unused paint back to the can.
In conclusion: paint stick good. Plain ol’ roller bad. It saved me lots of time. It saved me lots of fuss with paint trays and rollers and, best of all, I feel like it saved me lots of paint! I only loaded the roller with the paint that I needed and it was easy to push any extra paint back into the can when I was finished.
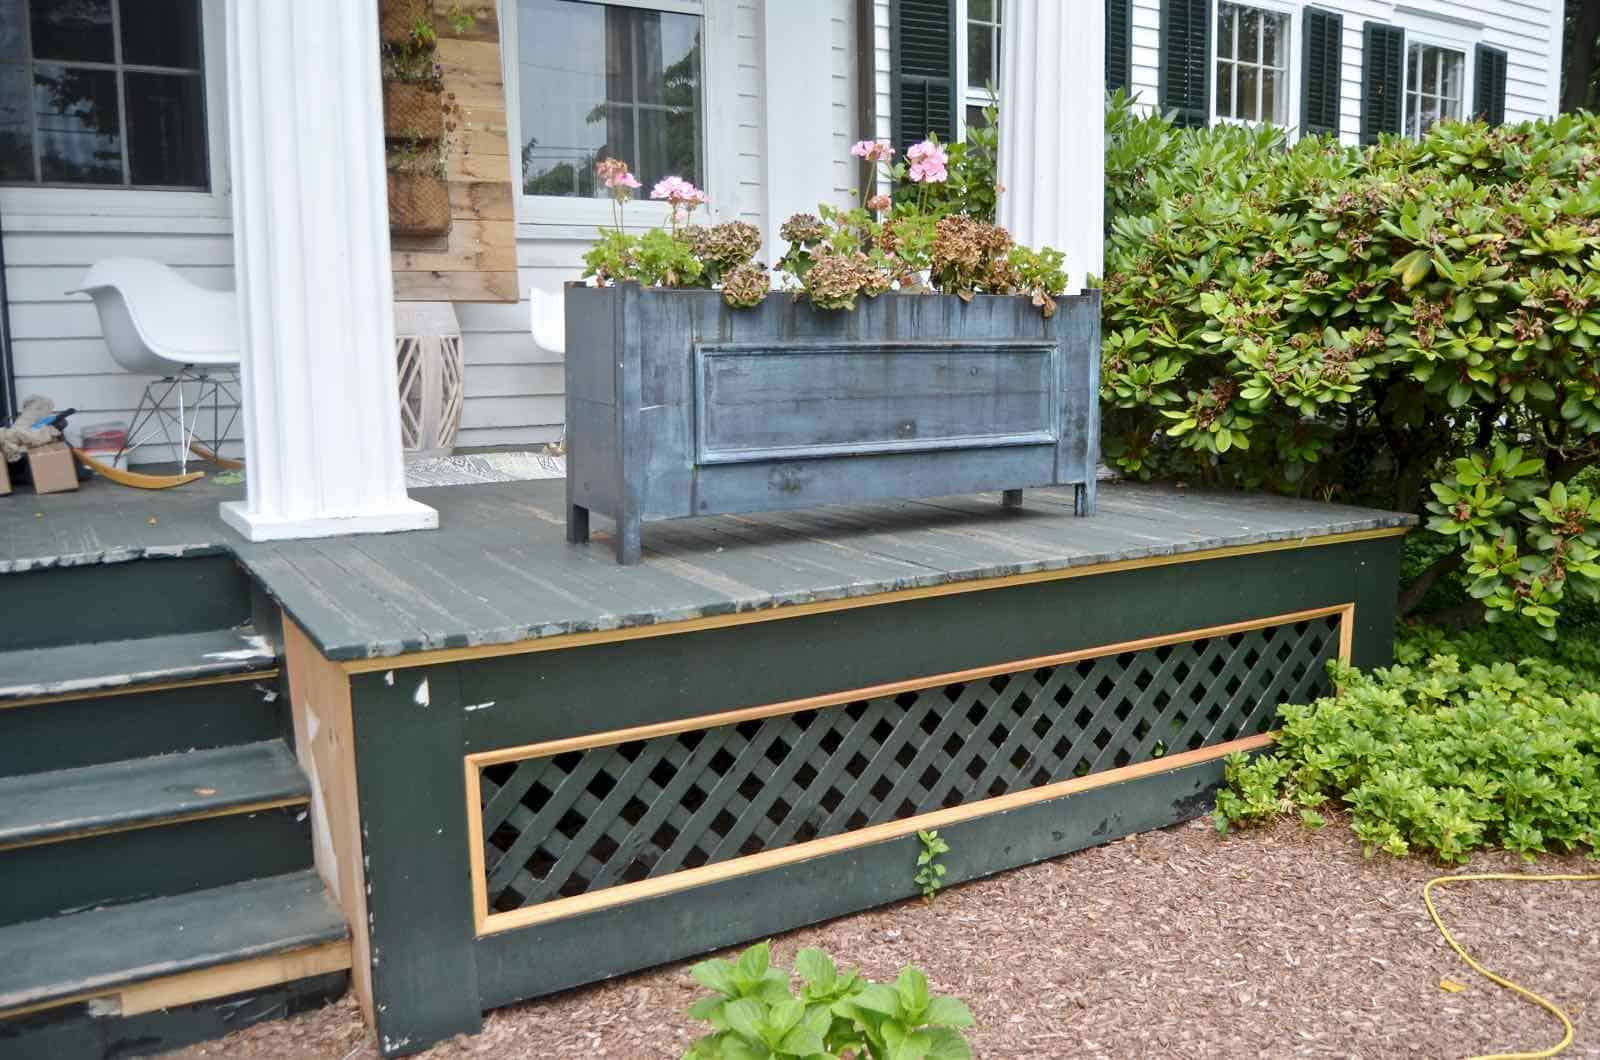
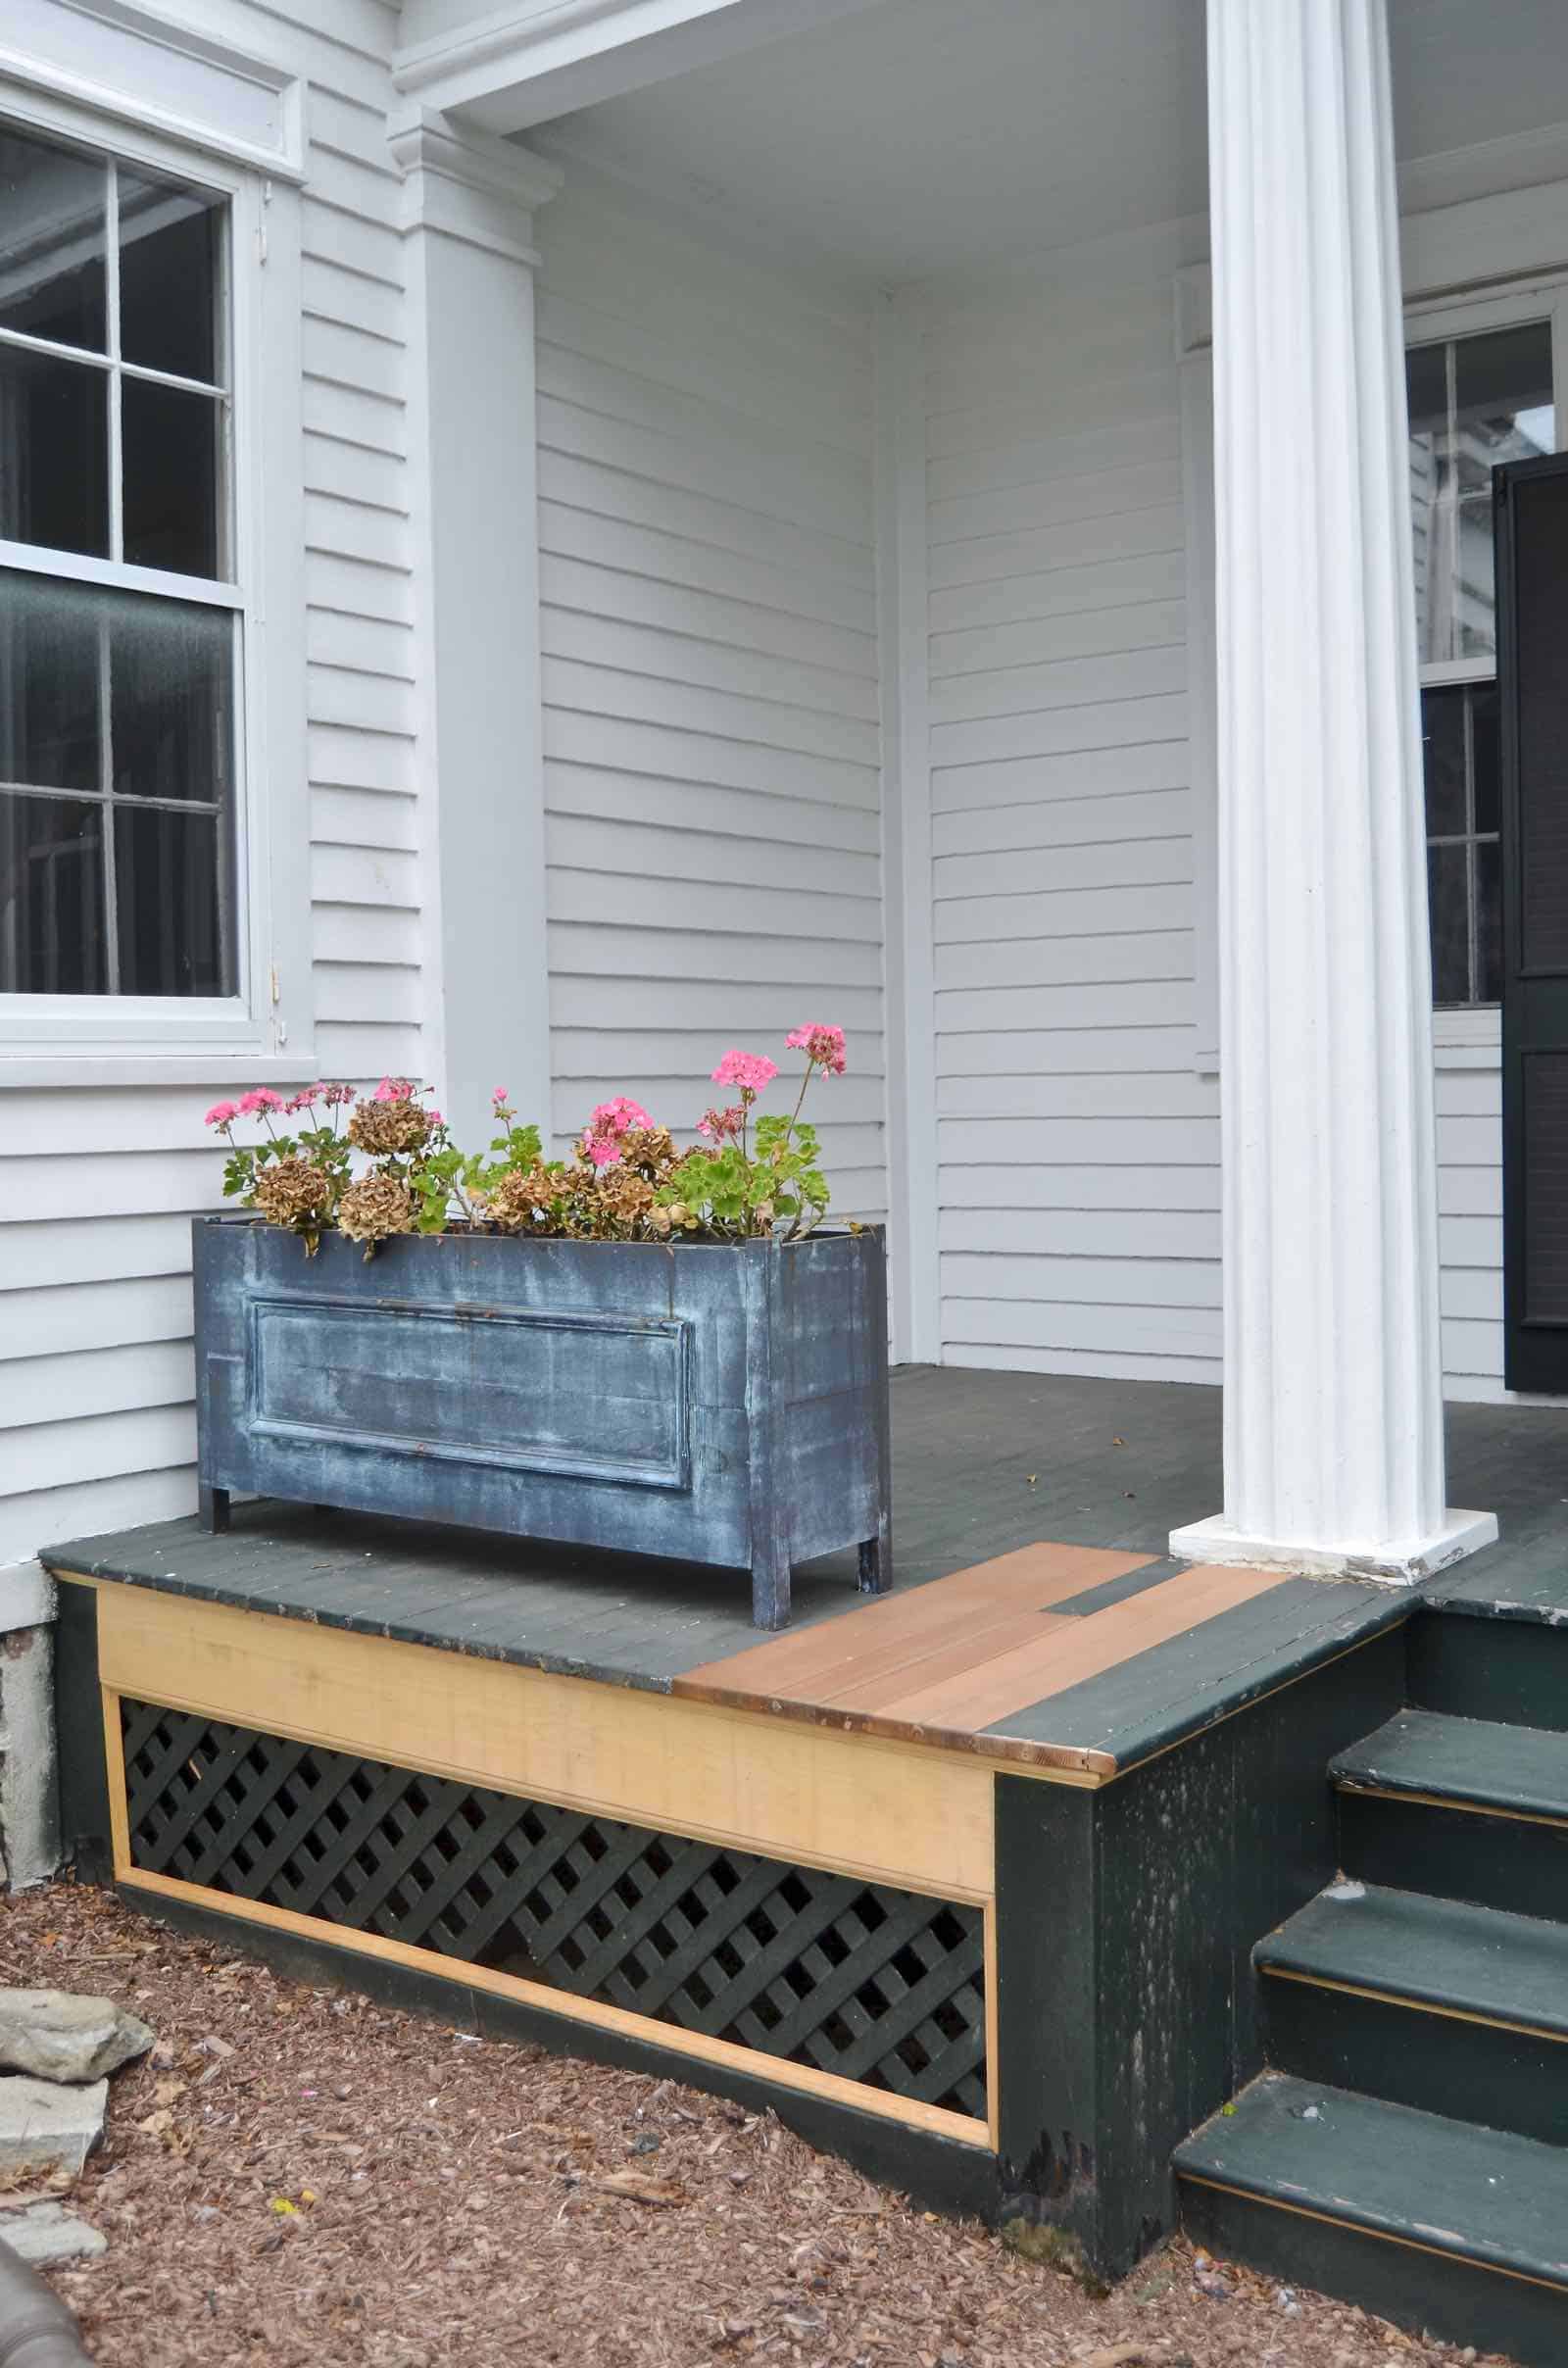
A reminder… here’s how the porch looked BEFORE:
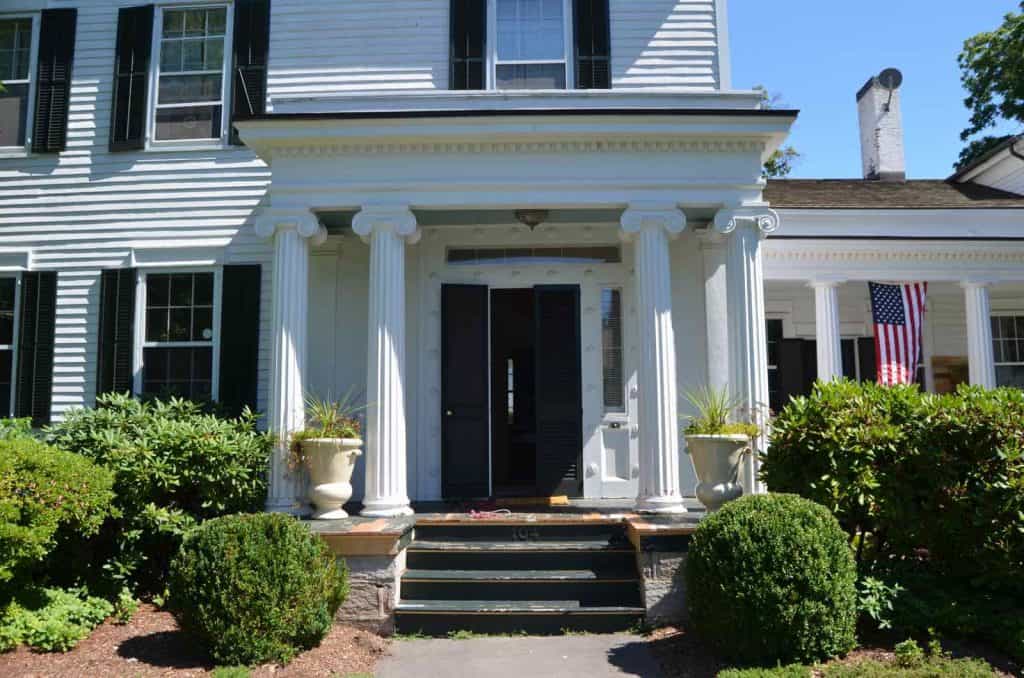
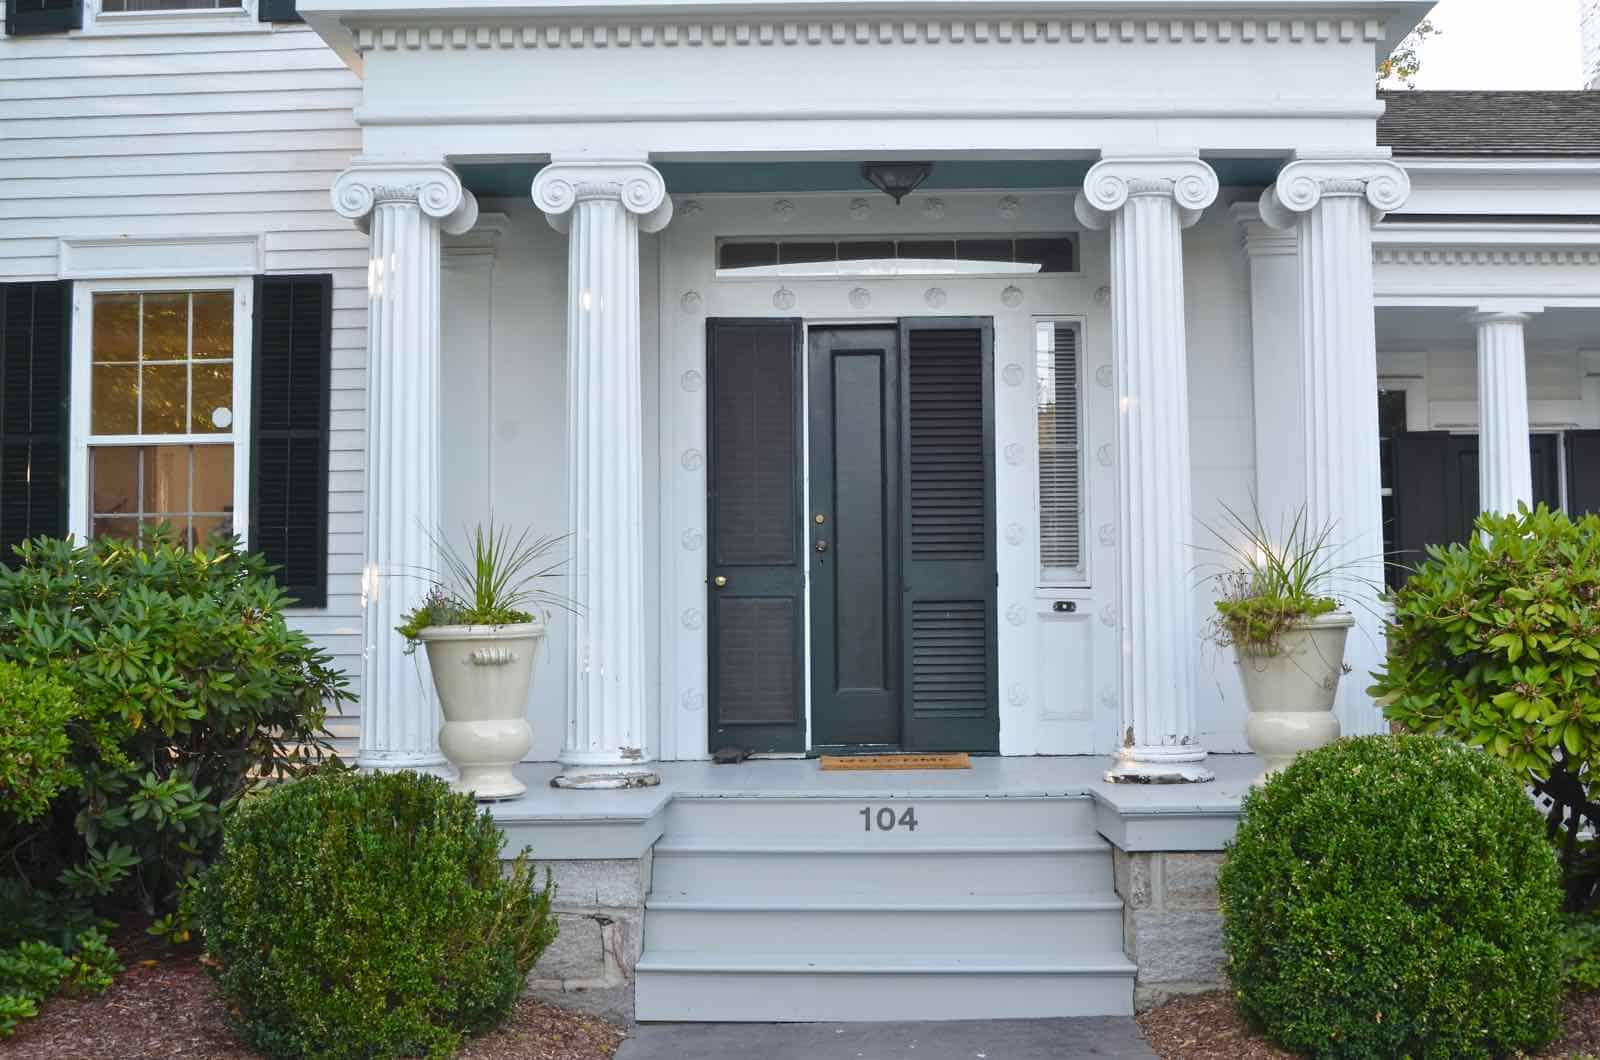
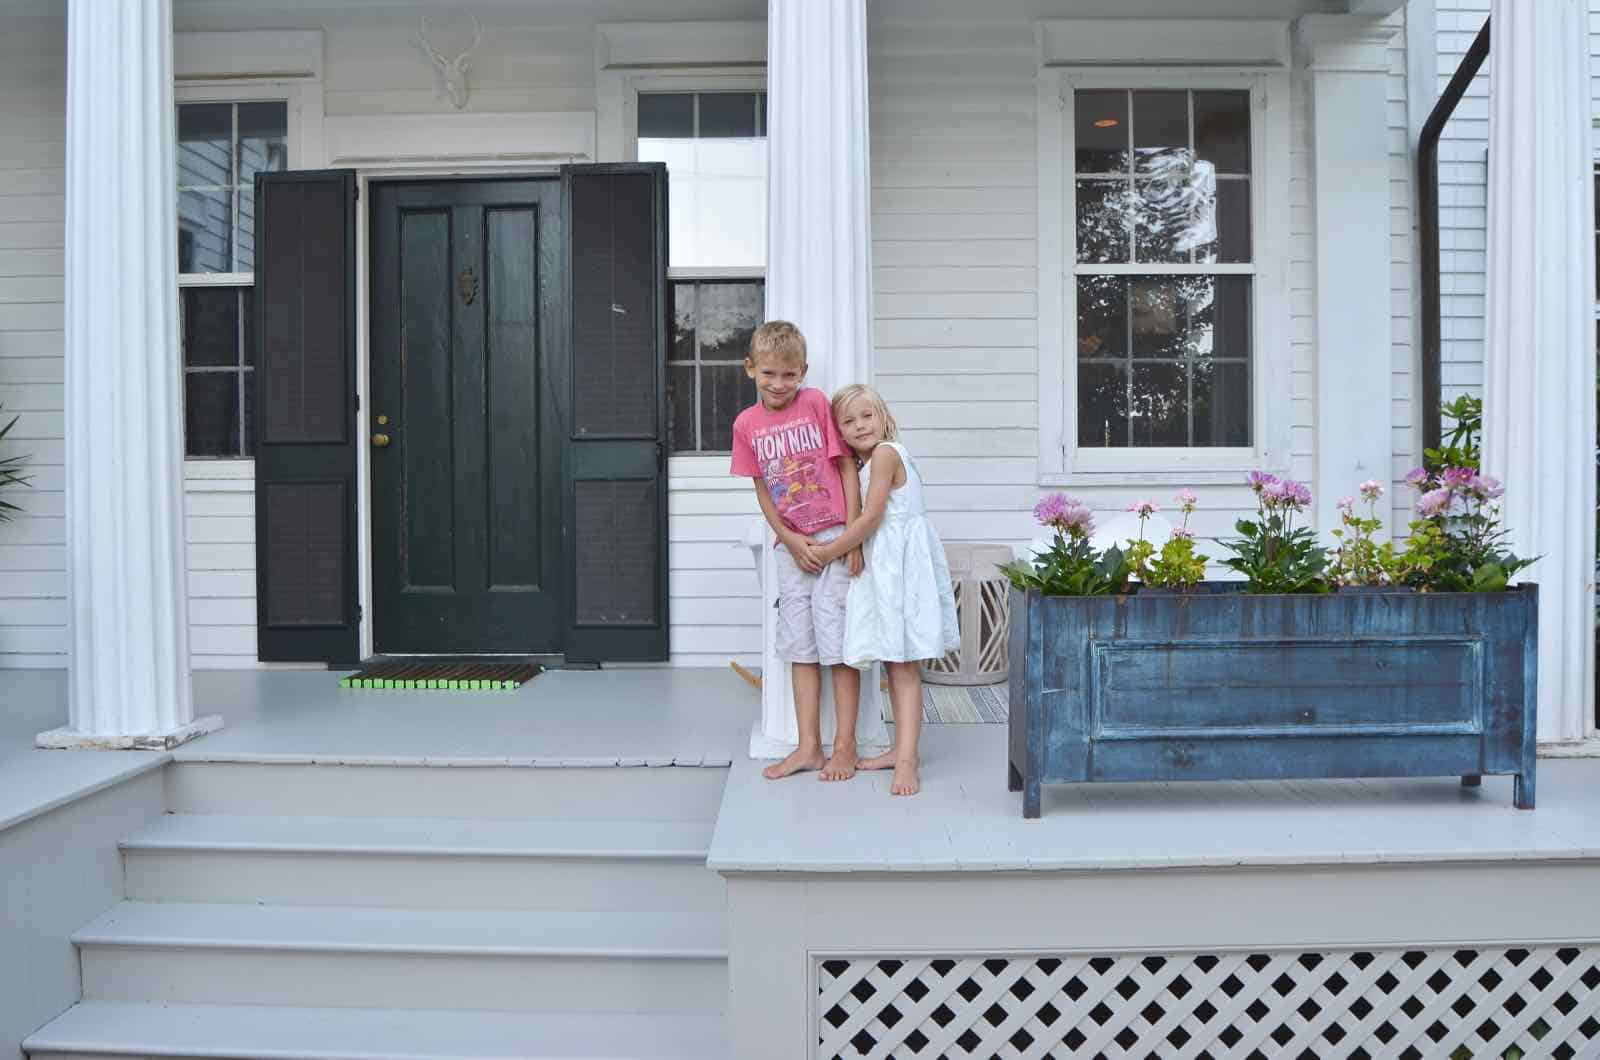
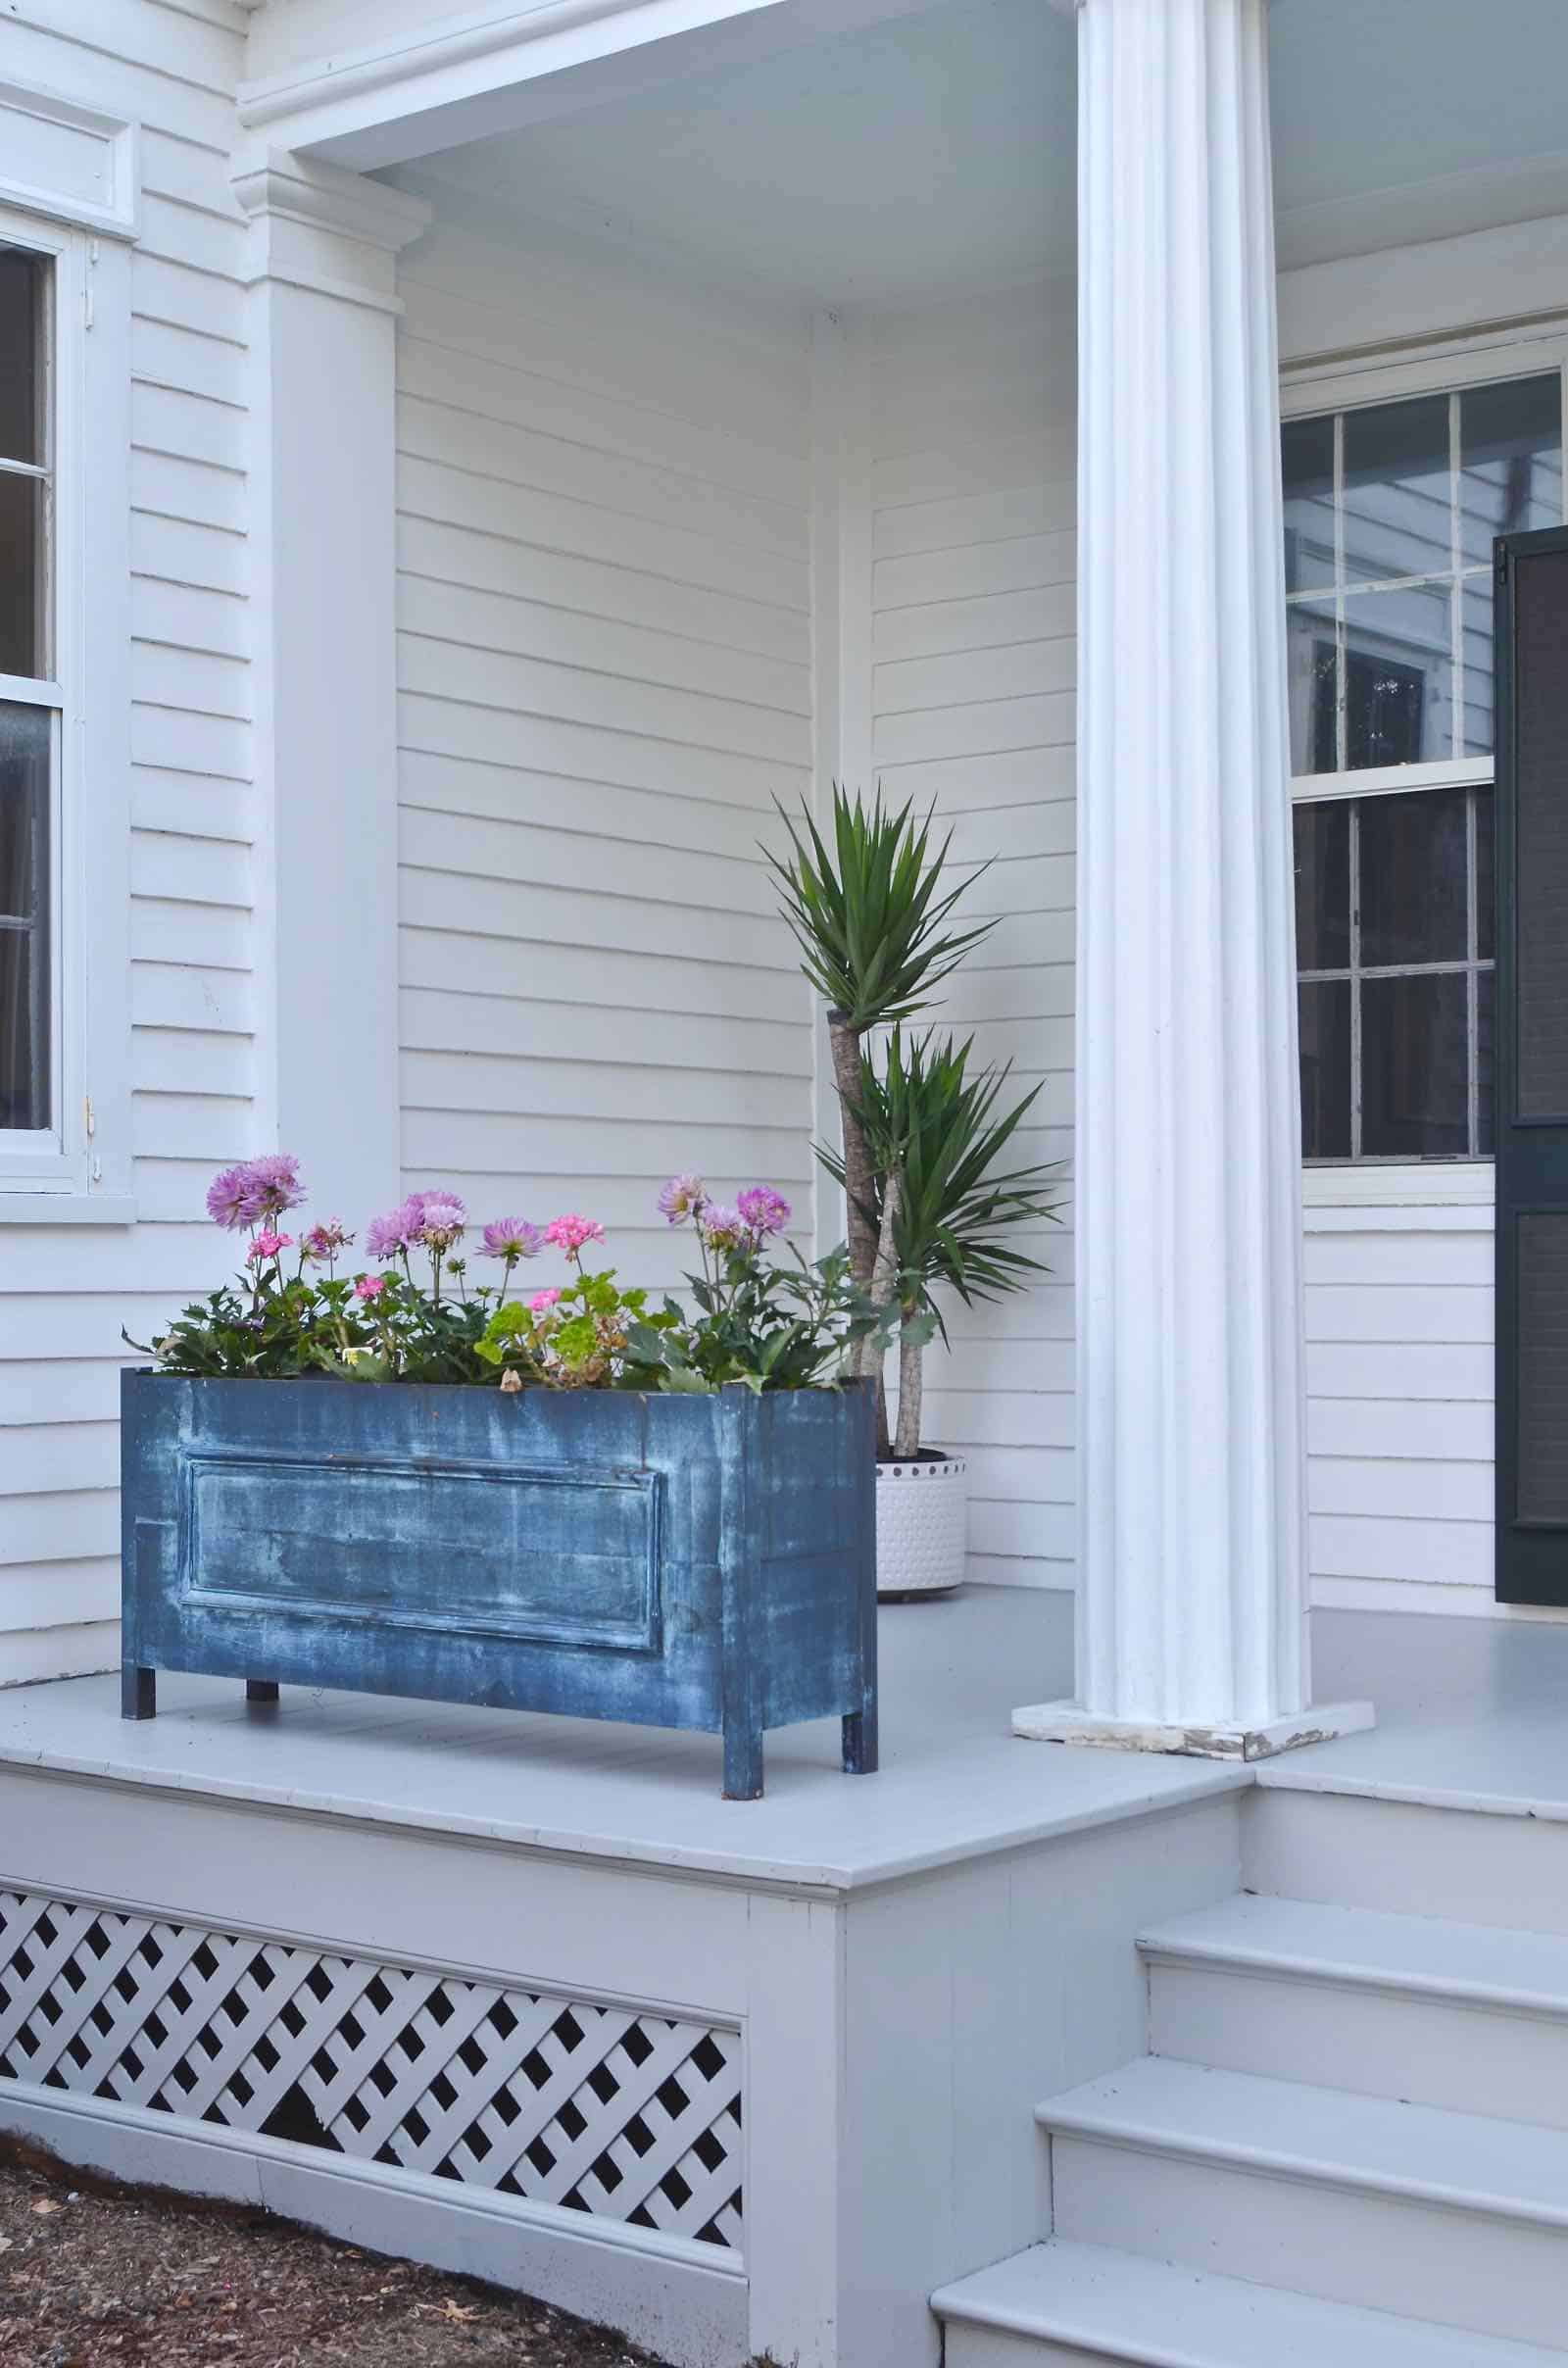
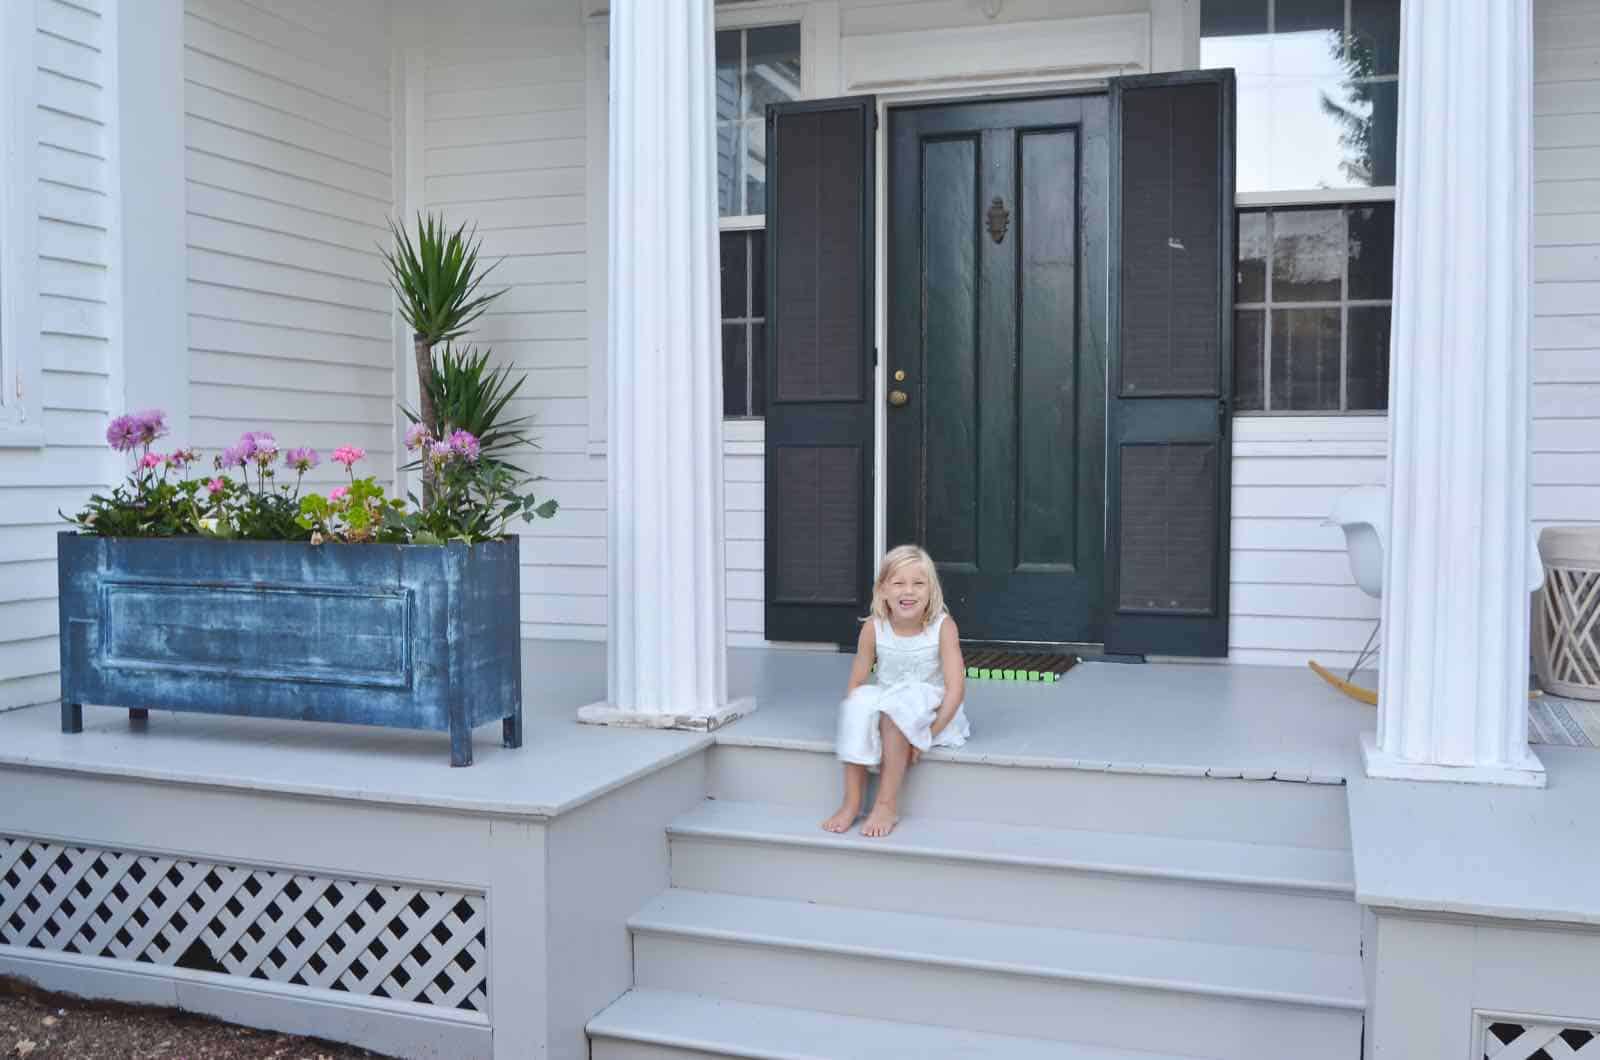
And here’s the glorious gray AFTER:
(I made those planters… tutorial is HERE.) I love the gray and cannot believe how easy painting BOTH porches ultimately was… took a couple of days and lots of podcasts, but the difference is WORTH IT!
Thanks again to Homeright for sponsoring this post… the only way it would have been easier to paint those porches was if they’d come up to Connecticut and done it for me!!
Materials:
(Affiliate links included for your convenience.)





It looks really great Charlotte! And those ionic columns are cool too! Great color choice, sometimes you don’t need to fret just trust the tried and true!
Thanks, Mary! The columns are really lovely… I need to do some work on them next as the paint is a mess, but they’re such a big part of the house!
WOW that is a great before and after good job!!!! p.s. ilove gray paint
Thanks!!! I’m LOVING the gray! It’s so much brighter and fresher. Wish I’d done it sooner! xx