
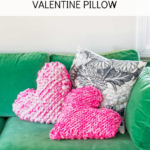
Knitted Heart Pillow
Psssst… this post *might* contain affiliate links: see my disclosure here.
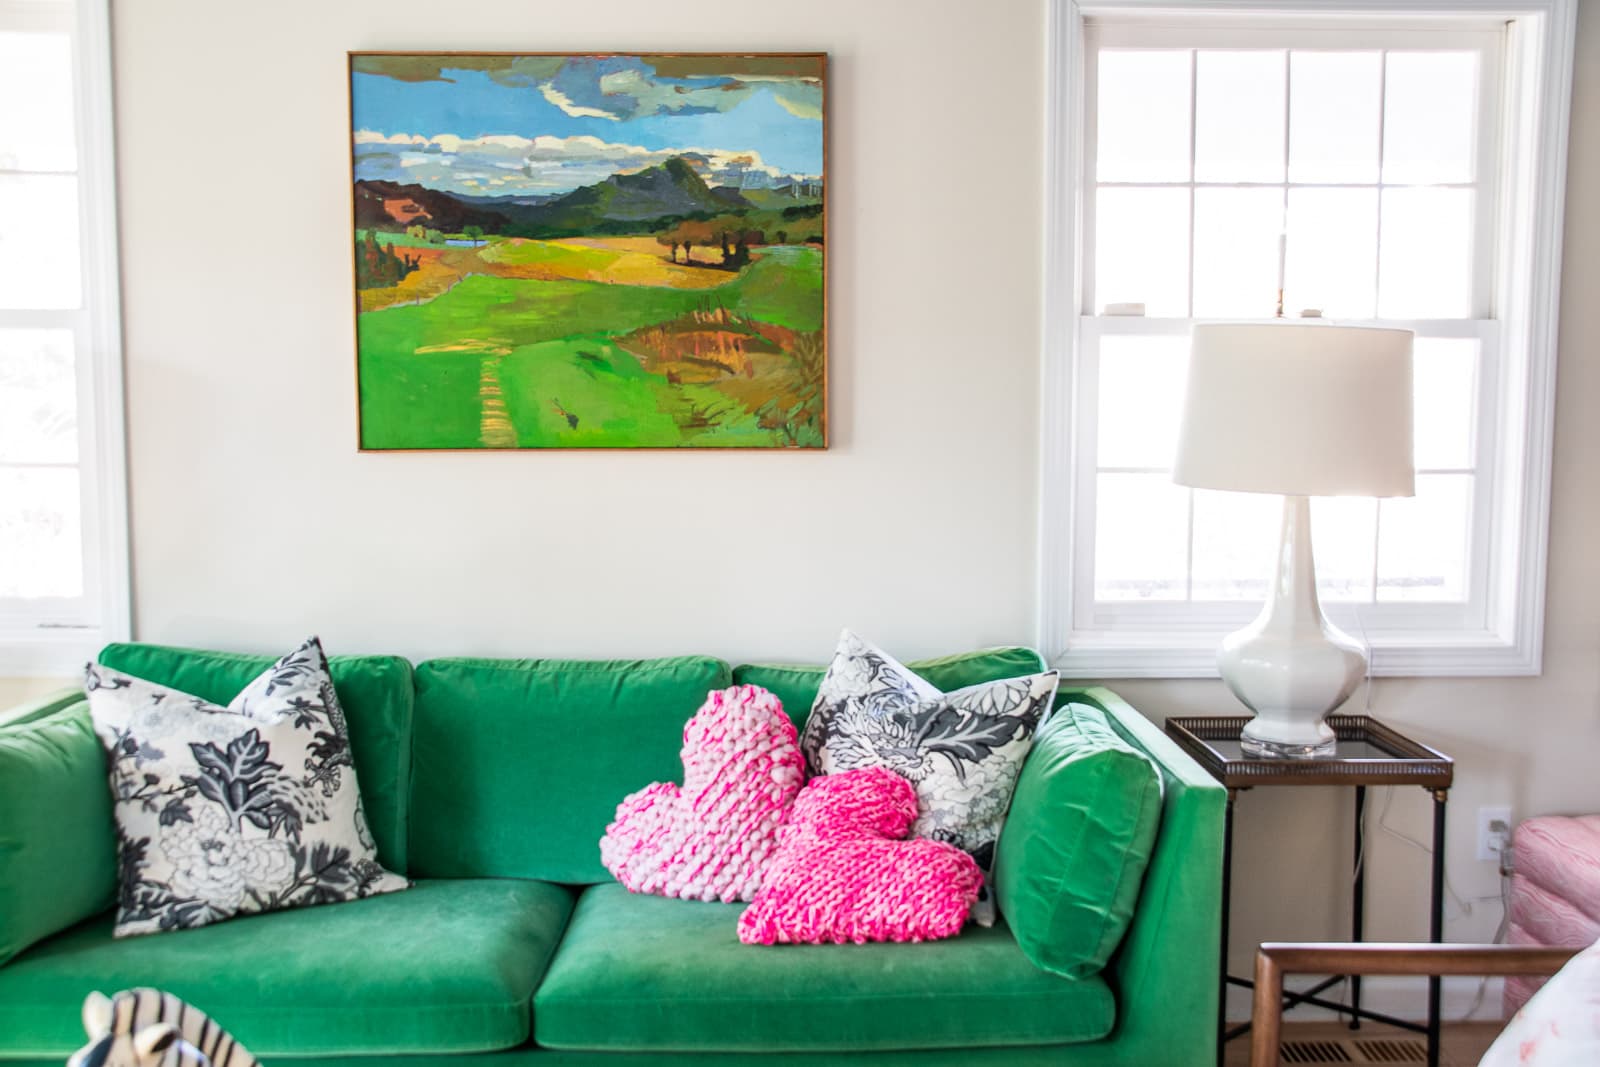
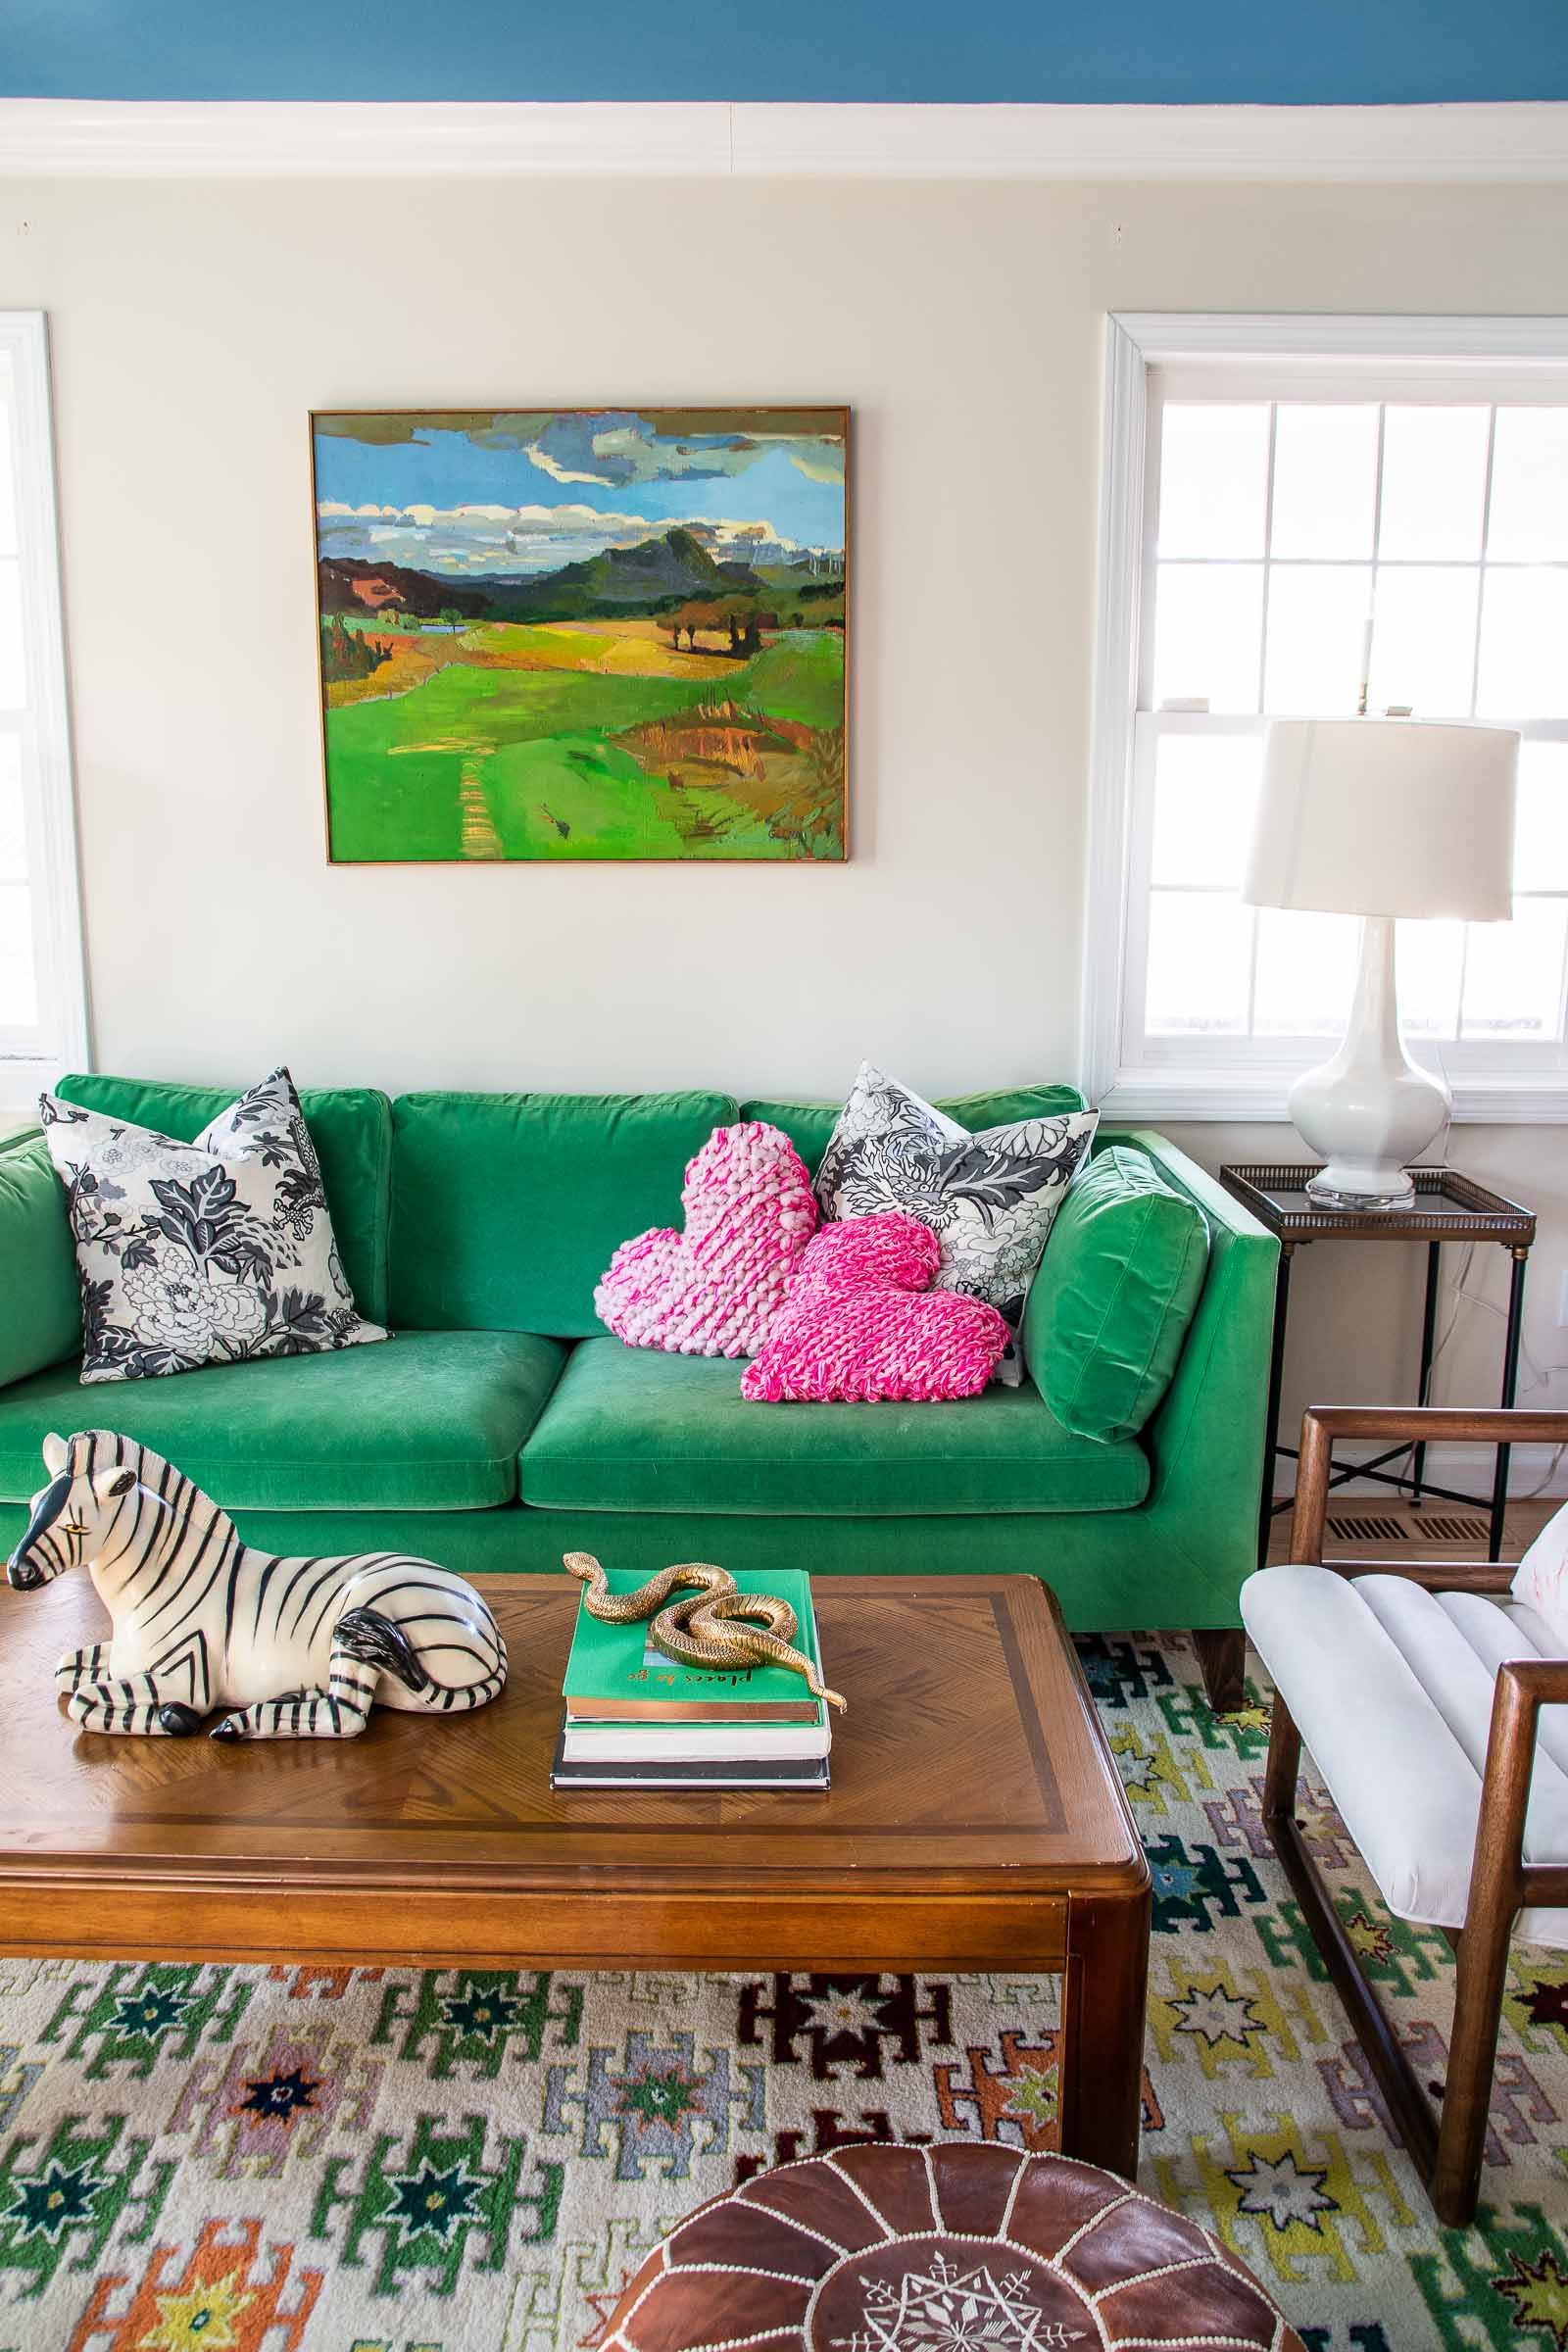
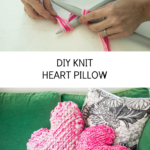
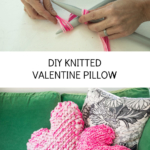
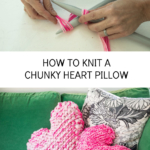
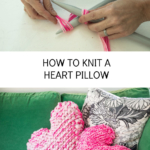
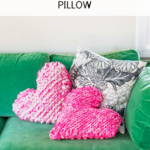
DIY Chunky Knit Heart Pillow
I used big oversized needles to knit these fun chunky Valentine heart pillows.
Disclosure: I’m partnering with JOANN to bring you this colorful Valentine’s Day Craft.
Shop my favorites!
True story. When I was in high school, I used to sit in my dorm common room (I went to boarding school), knit sweaters and watch Days of Our Lives. My mother still watches and trust me when I say not much has changed 30 years later. This summer I was handed a bag FULL of all my old sweaters and even though they’re all super dated, it’s fun to remember those days waiting with baited breath to see whether Marlena’s exorcism was going to work and if Roman was going to get together with Billy (spoiler: yes and yes.) I digress… today I went back to my knitting routes and made these fun chunky heart pillows for Valentine’s Day. Want to see how?

Note: This isn’t really intended to be a “here’s how you knit” tutorial. Without video, it’s hard to really describe how to knit. BUT… this is a VERY simple knitting project so IF you know how to knit, this is a beginner project. Another note? Bright pink is maybe the hardest color on the planet to photograph so apologies if this feels like it’s jumping off your screen!
Step 1. Prep the yarn
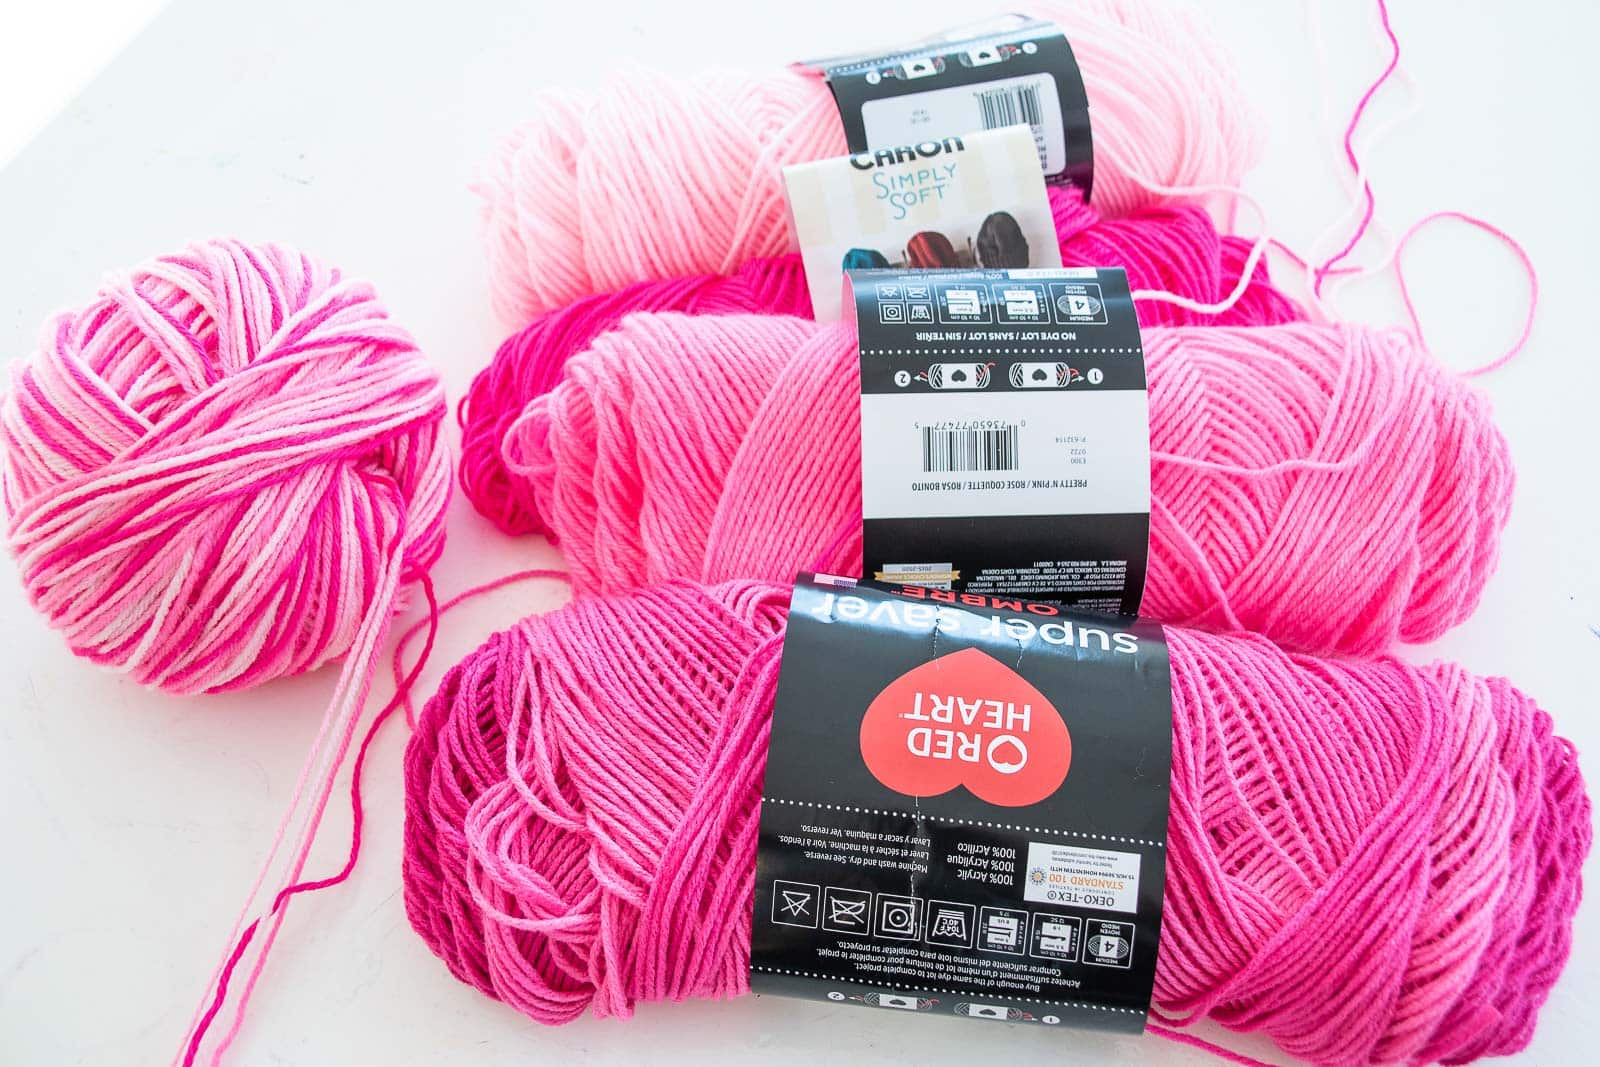
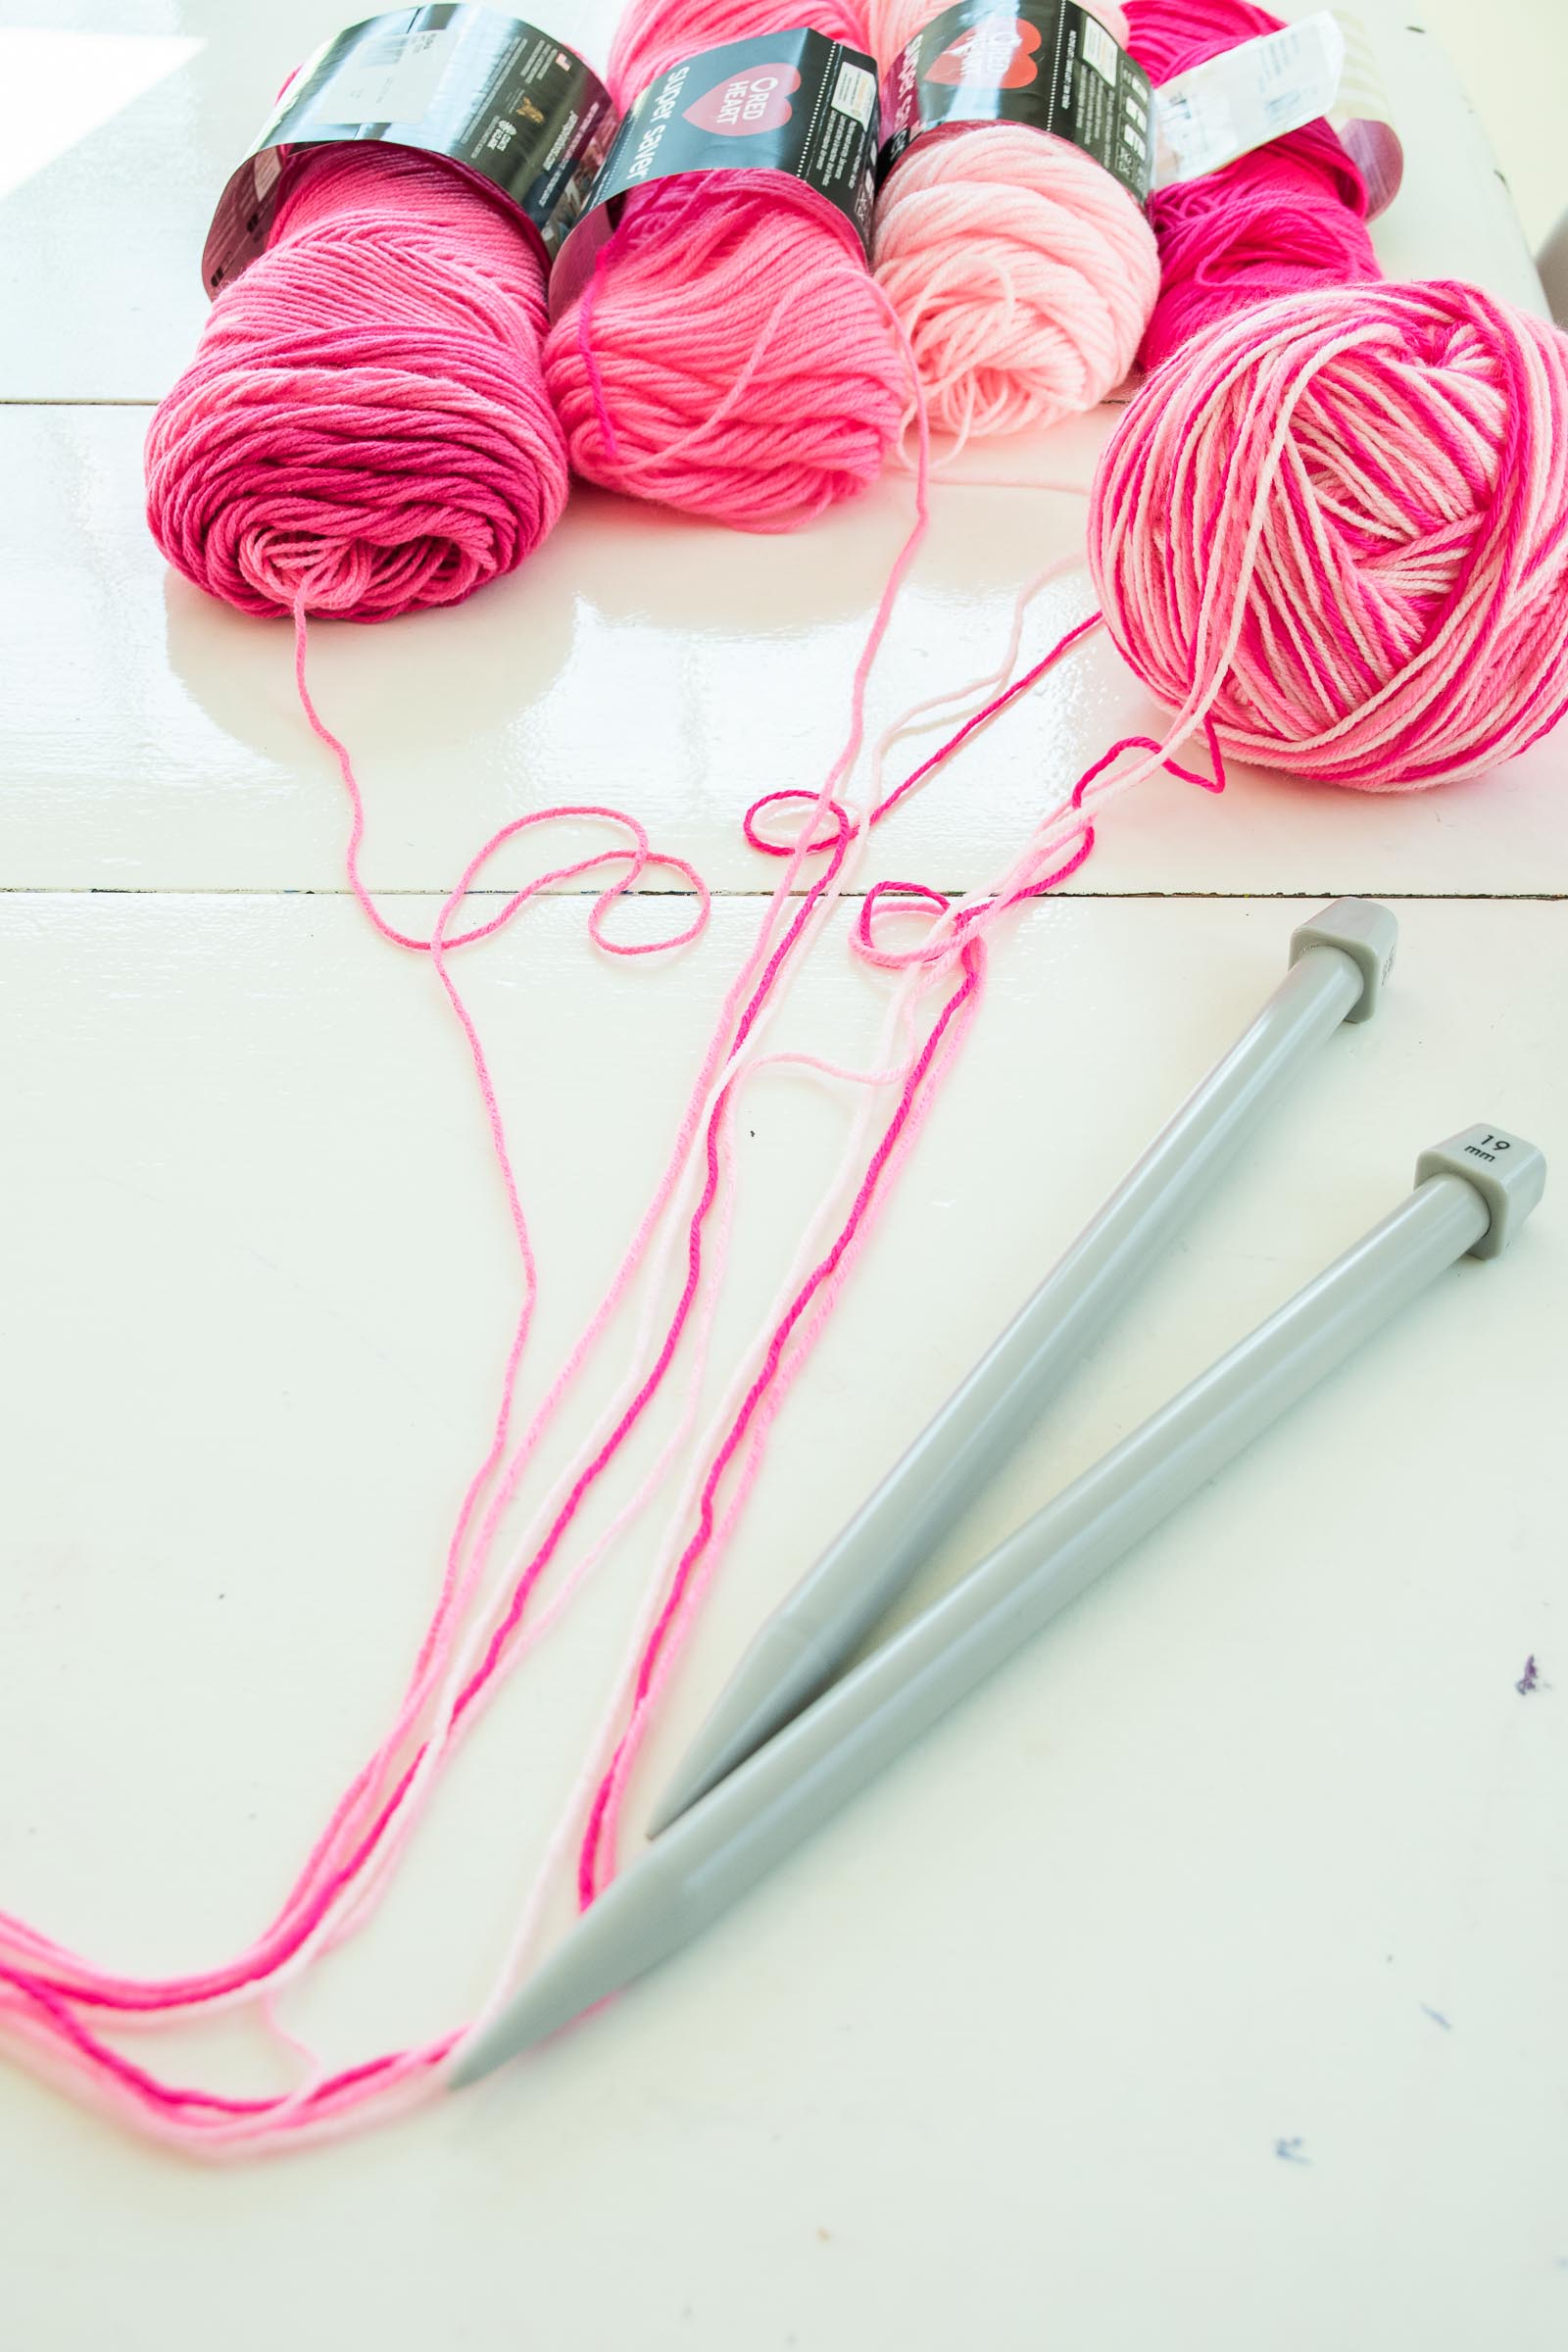
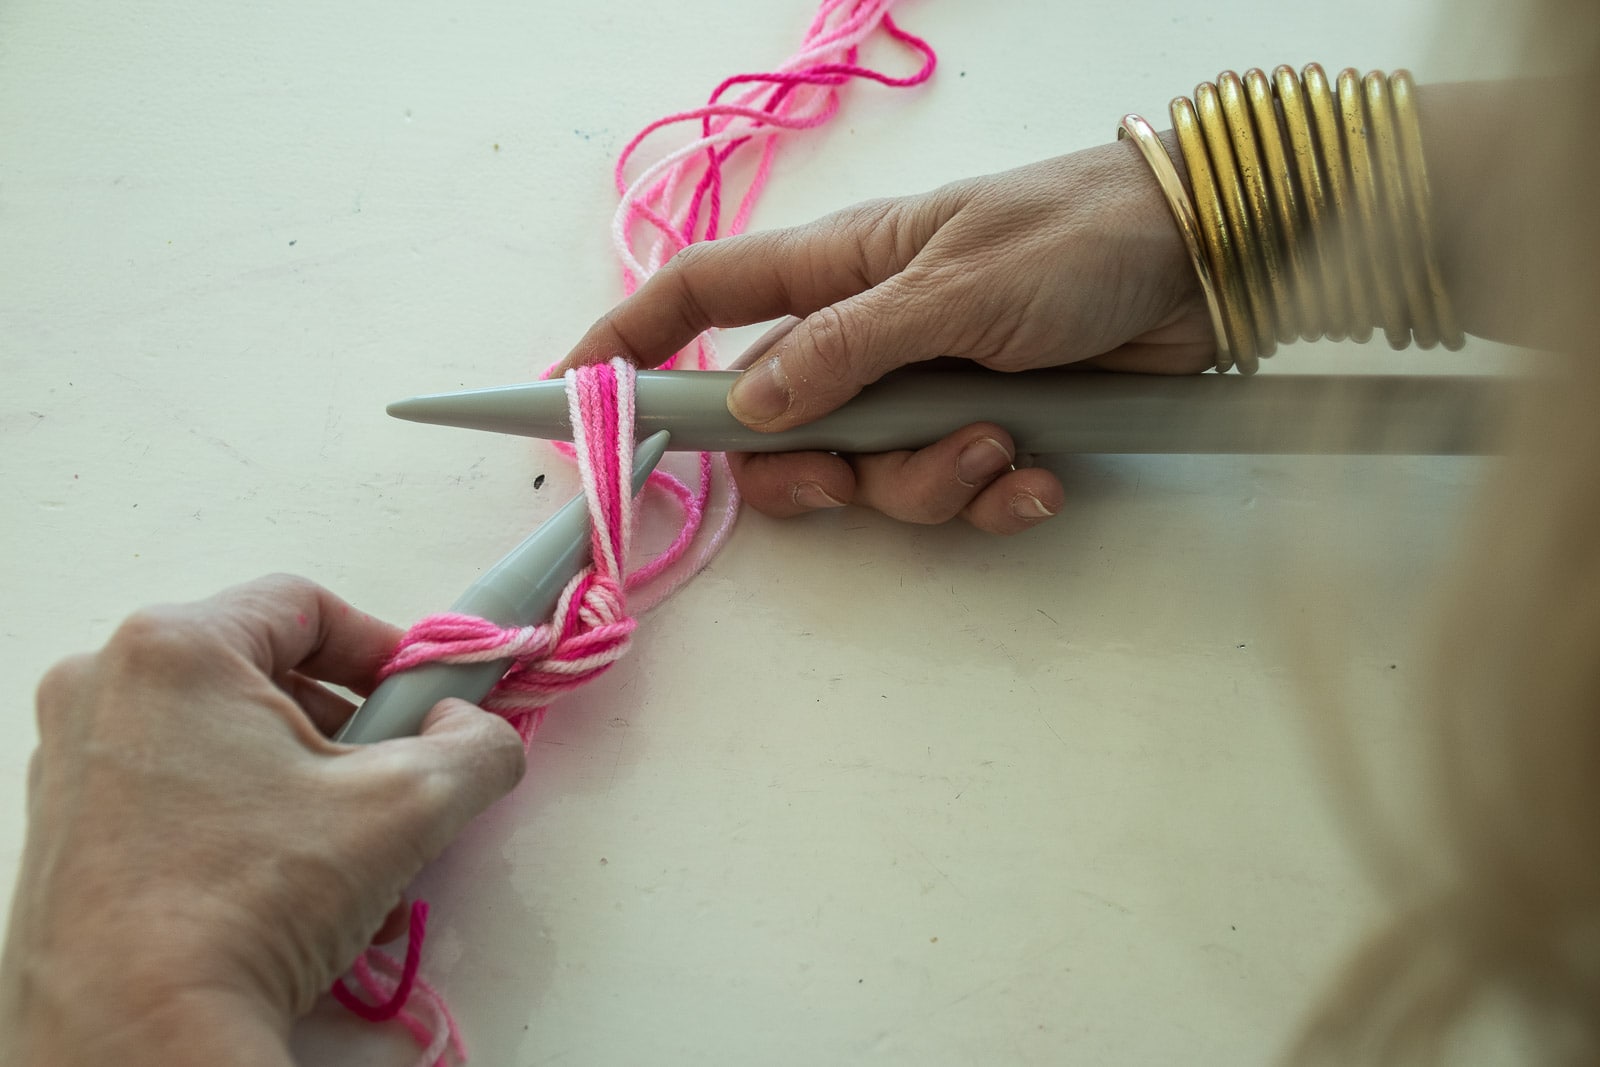
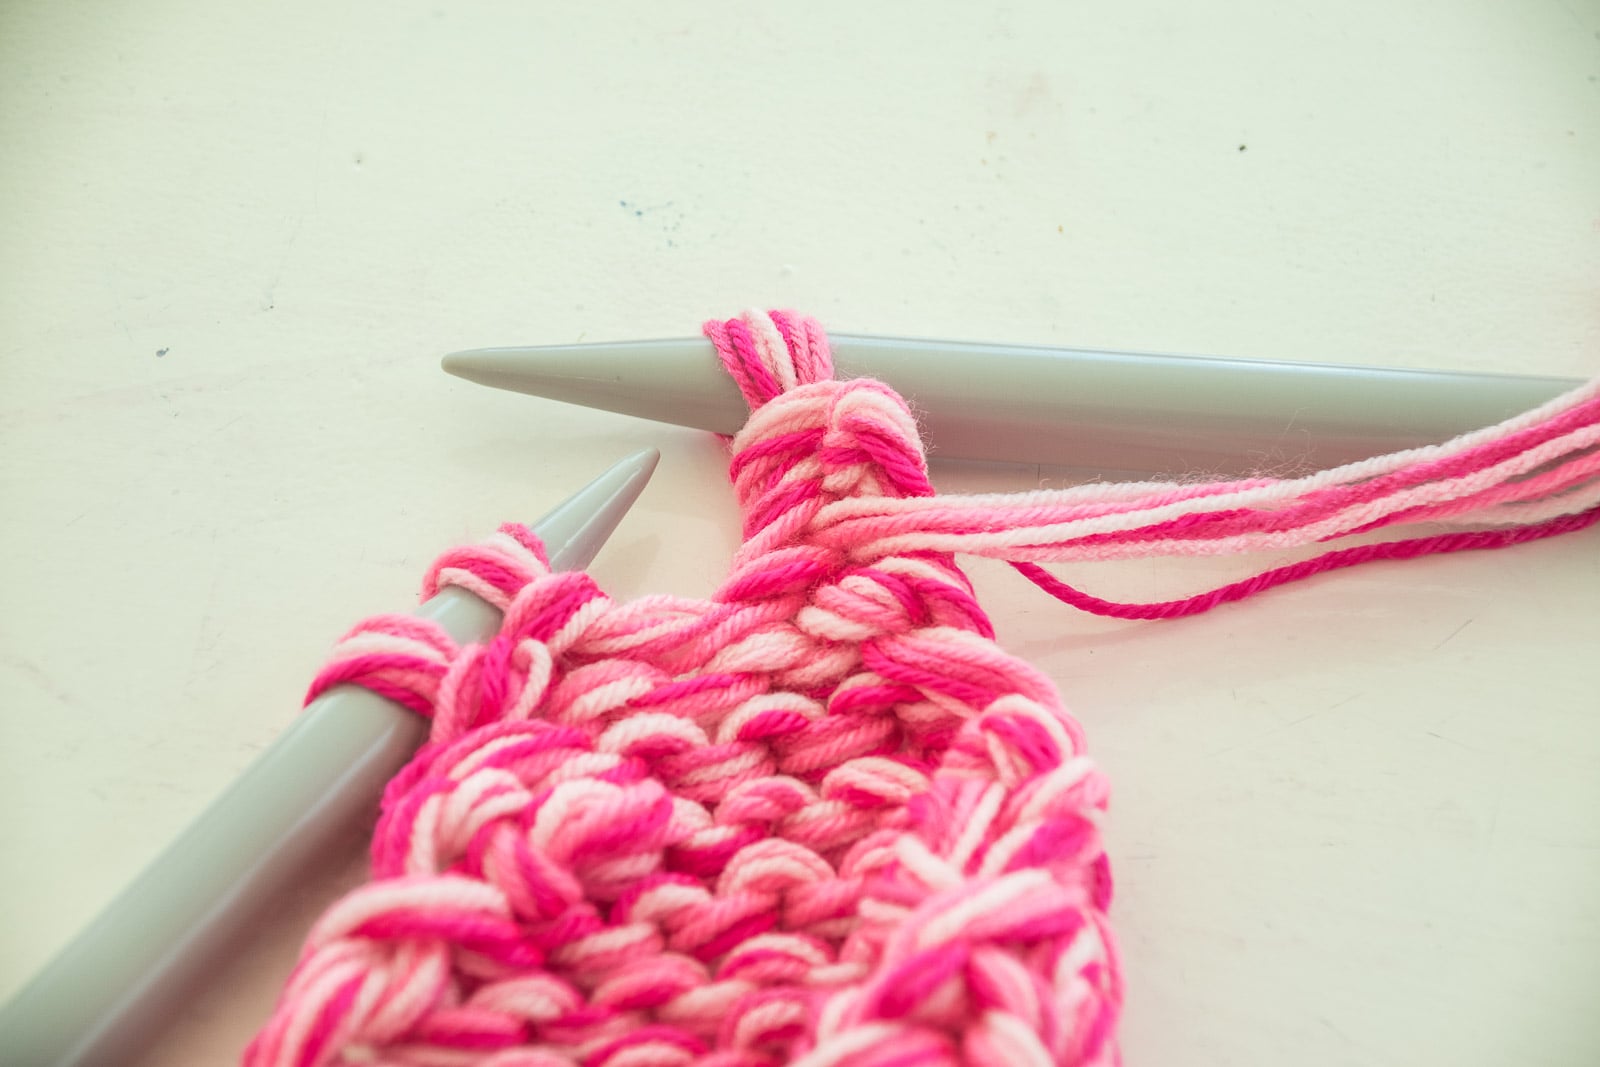
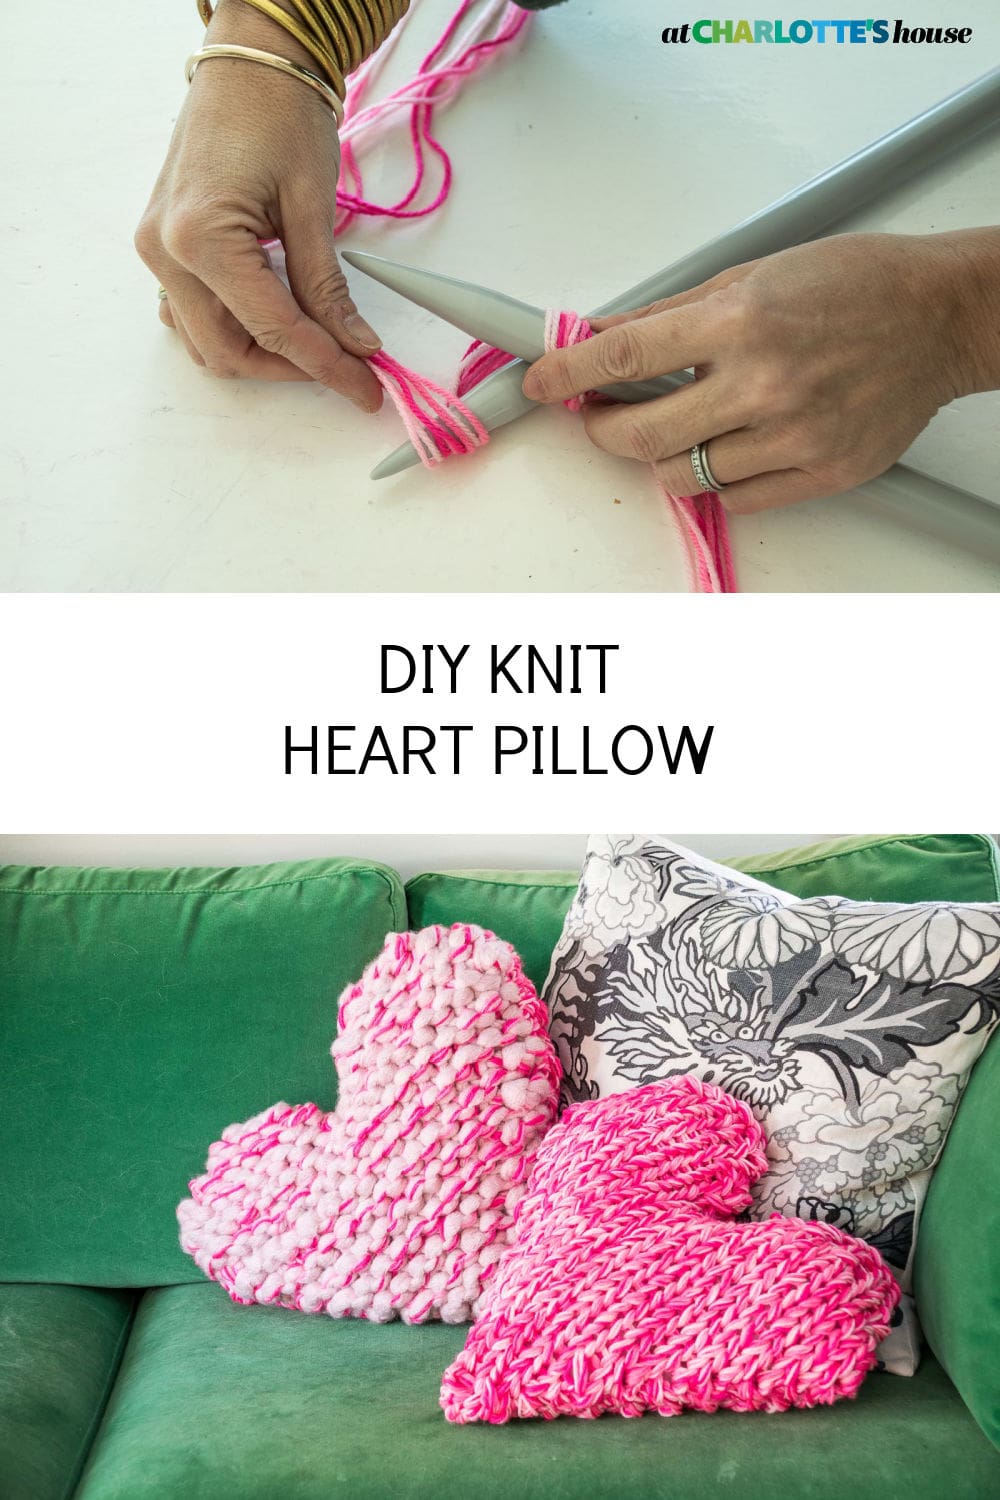
I’m using Size 35 needles so they’re *really* big. You need a pretty chunky yard for needles this big. I was working with one SUPER heavy yarn and then I had to get creative with the other smaller gauge yarns. If you can only find skinnier yarn, you’ll have to prep it. Essentially I needed 8 strands to make up a thick enough gauge for the needles so I started by making a ball of yarn with 4 strands all together. (So wind a ball of yarn with 4 strands of yarn just the same as you would with a single strand.) Then, to knit, you will pull 4 strands from the ball you just wove and 4 strands from the original skeins of yarn from the store. Make sense?
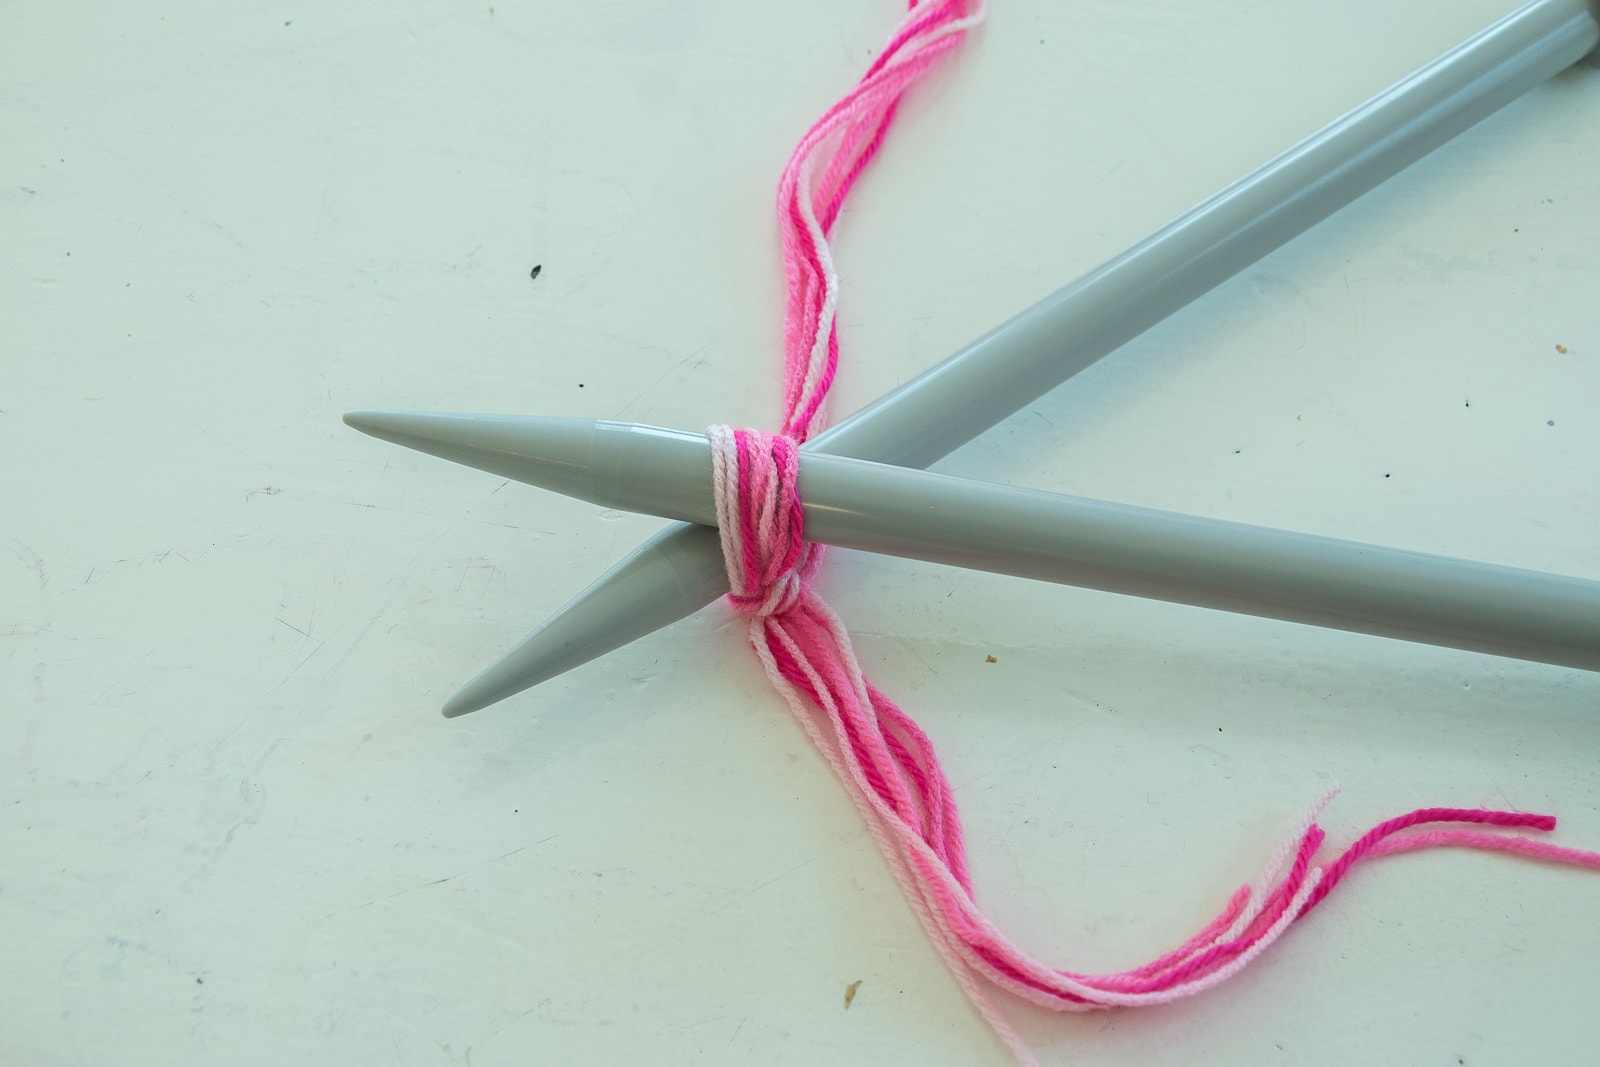
Step 2. Cast on
Cast on 2 stitches and knit 2 rows. (Note: I made two hearts: one was garter stitch so I knit every row. The other was the stockinette stitch so I knit one row, and purled the next.)
Step 3. Increase Stitches
For a more traditional heart, increase one stitch at either end of every other row until your heart is about 1/2 as long as you’d like. (Adding the top part of the heart will make it full size…. I increased stitches on my heart until there were 20 stitches on the needle to give you and idea. For a more elongated heart, increase one stitch on either end of every third row.
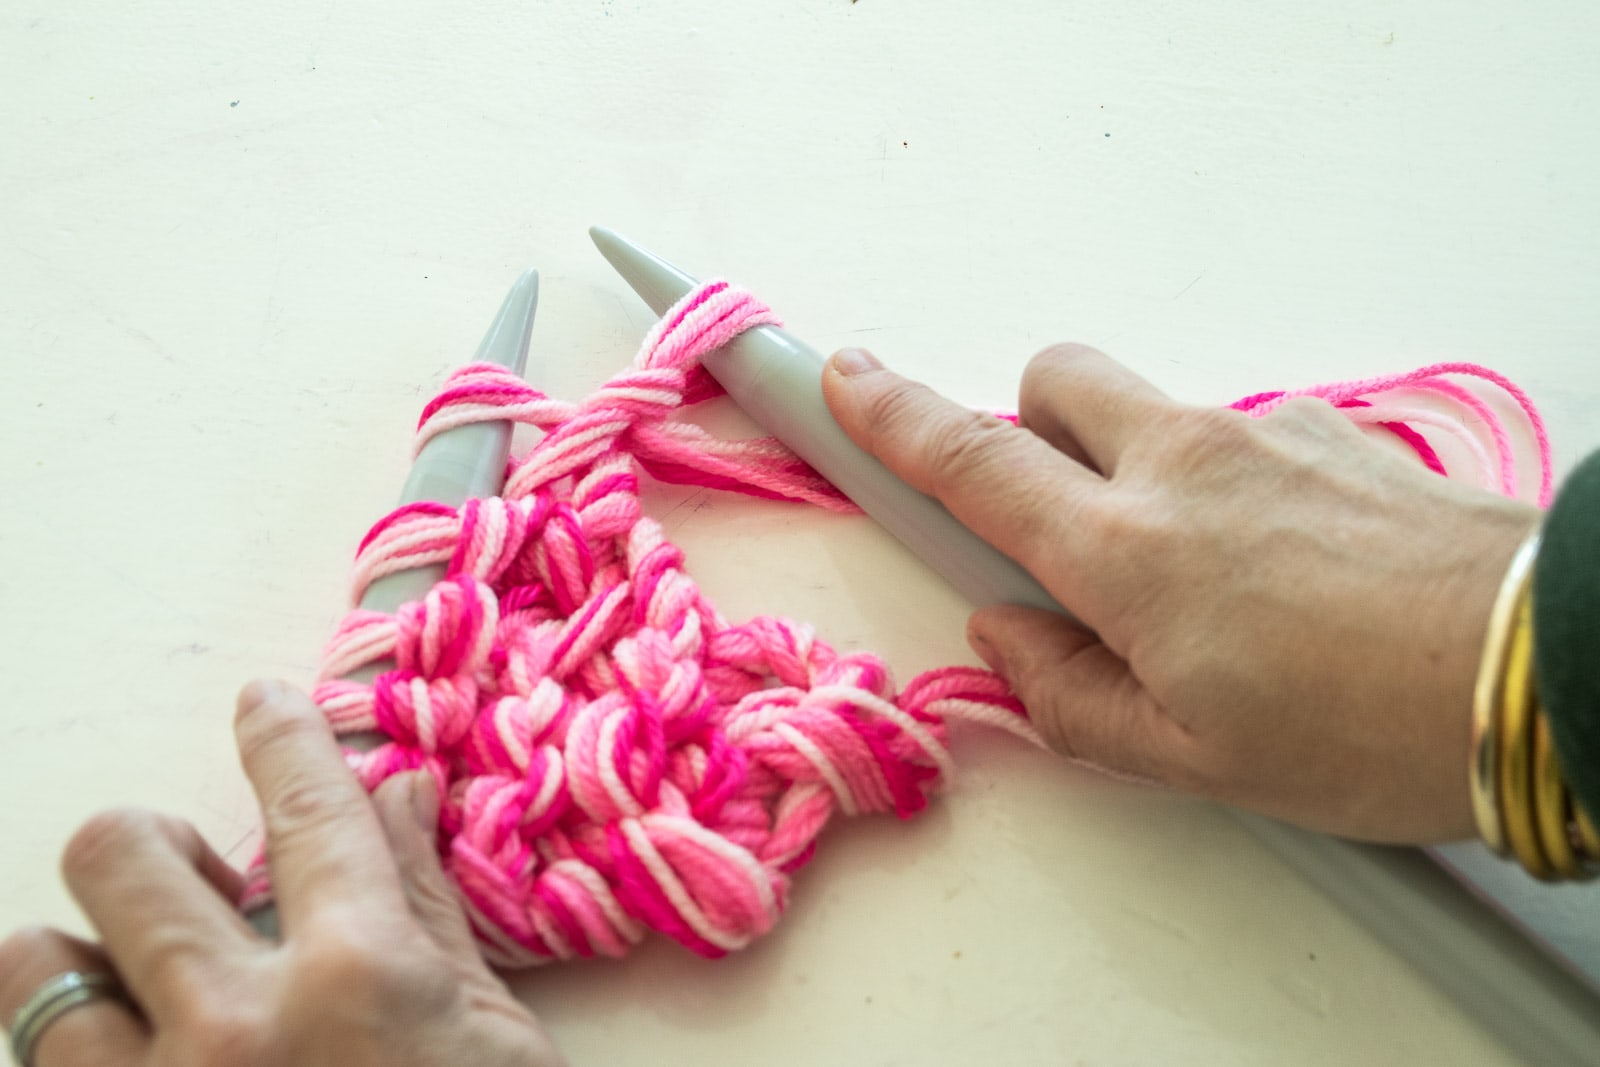
Step 4. Split the yarn on the needles
To make the top of the heart, split the yarn on your needles into two halves. YOu’ll knit one halve and then go back and pick up stitches to knit the other half. I was able to keep all my stitches on the needle but it may be easier to put the half you’re not using onto a stitch holder.
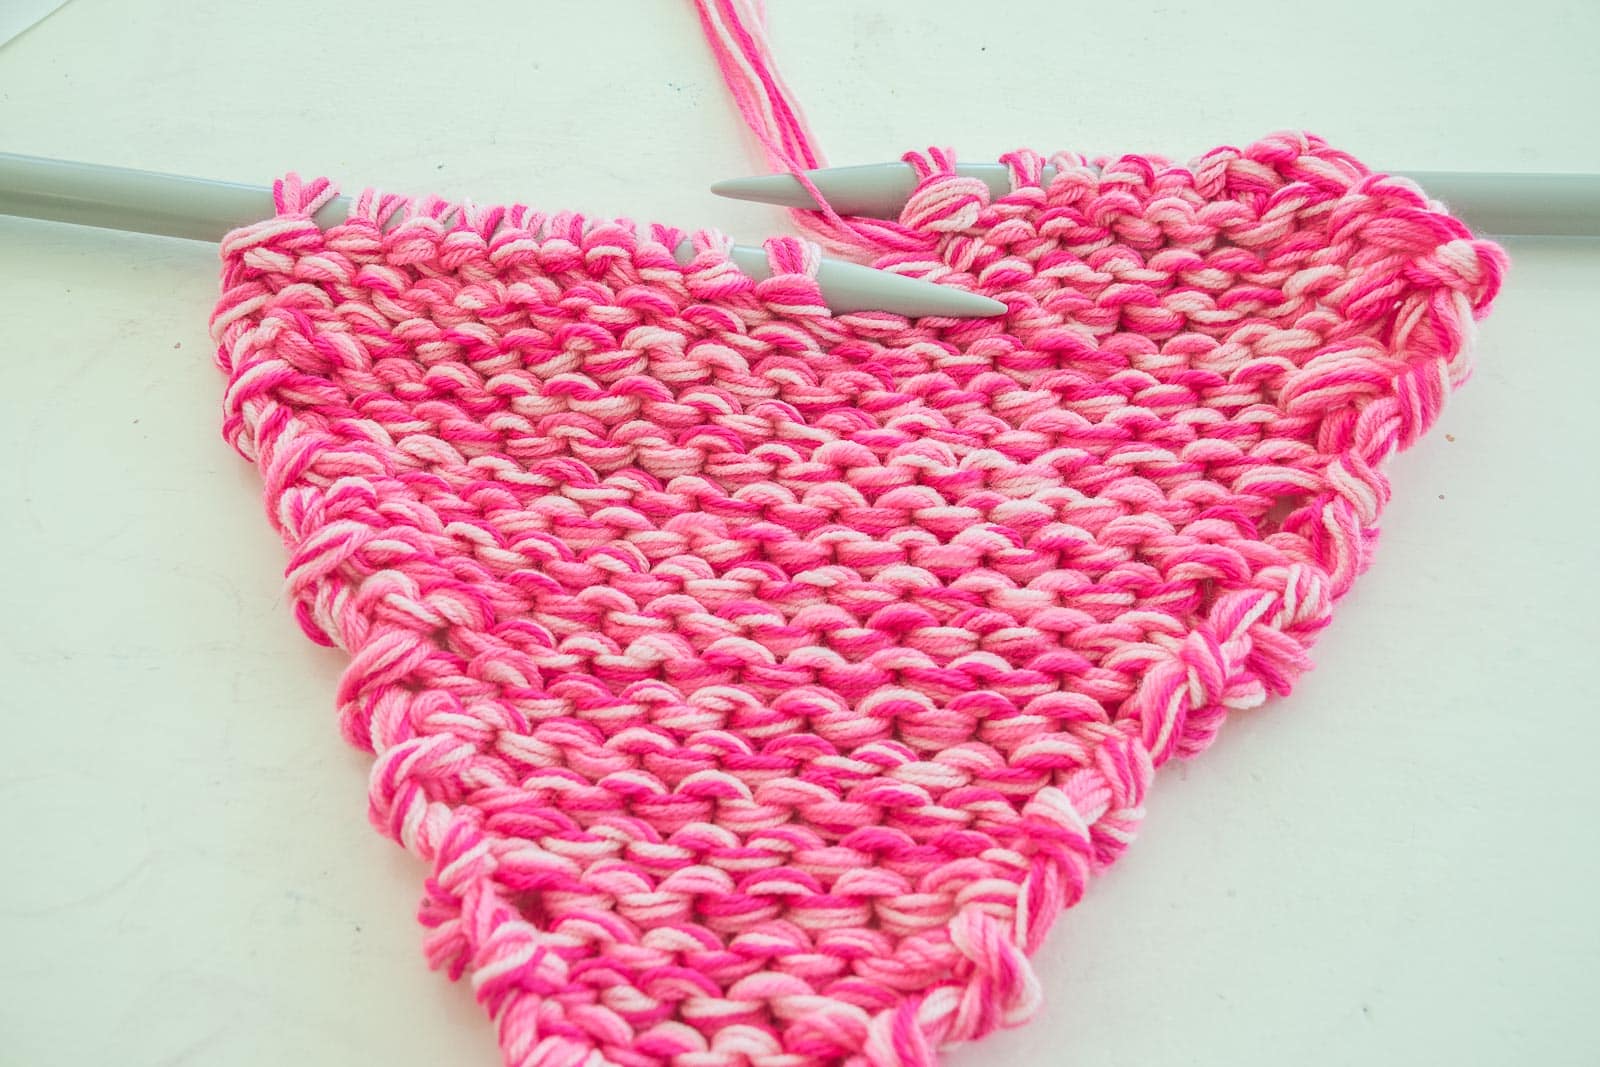
Step 5. Shape the top of the heart
To shape the top of the heart, start by casting off one stitch on the outside of the heart. The easiest way to do this is by knitting two stitches together. Knit the next row (or purl depending on whether you’re working in a stockinette or garter stitch). On the third row of the top of the heart, you will knit two together at the beginning of the row AND the end of the row. Essentially decreasing stitches on either side now. Knit the next row (or purl). Continue in this manner (casting off one stitch at the beginning and end of every other row) until you have 4 stitches left on the needle.
Step 6. Cast off and Knit the other side
Cast off the stitches on one side of your needle. Pick up stitches on the other half of the needle and cast off as above but invert the directions so you’ll knit the first row and knit the LAST two stitches together. Continue as above casting off at either end of every other row until you have 4 stitches left on the needle. Cast off.
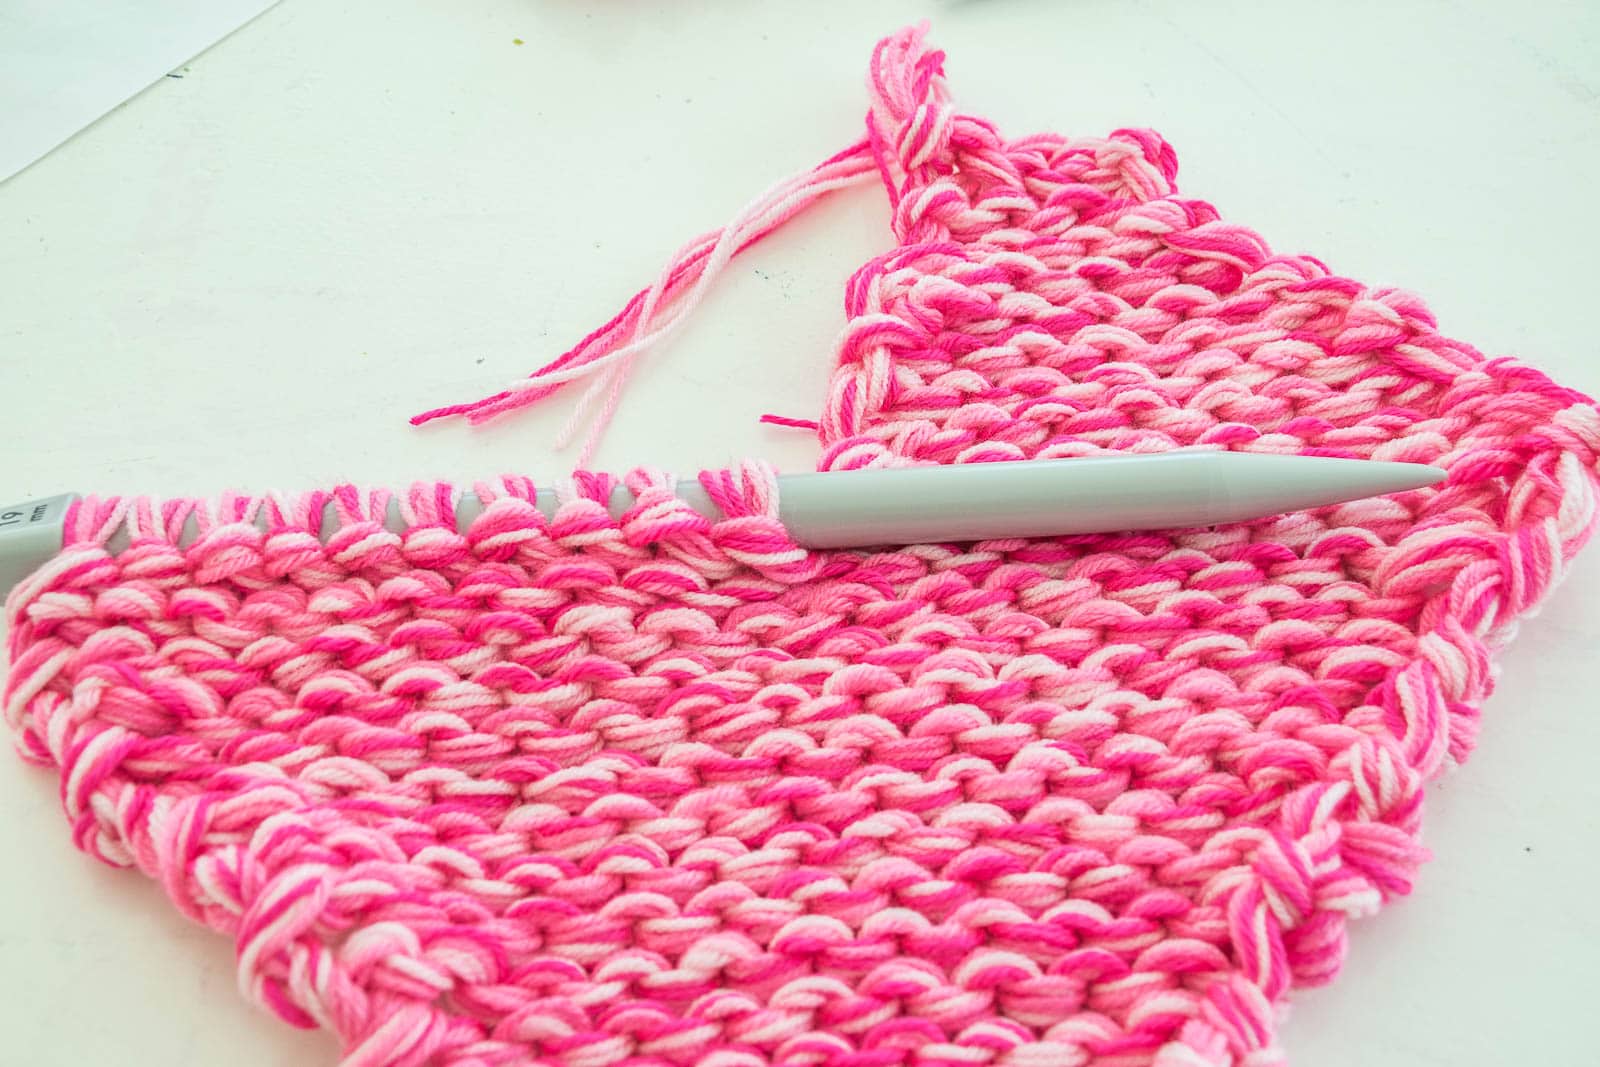
Step 7. REPEAT
Repeat Steps 1-6 to make a second heart. You need two hearts to make a pillow.
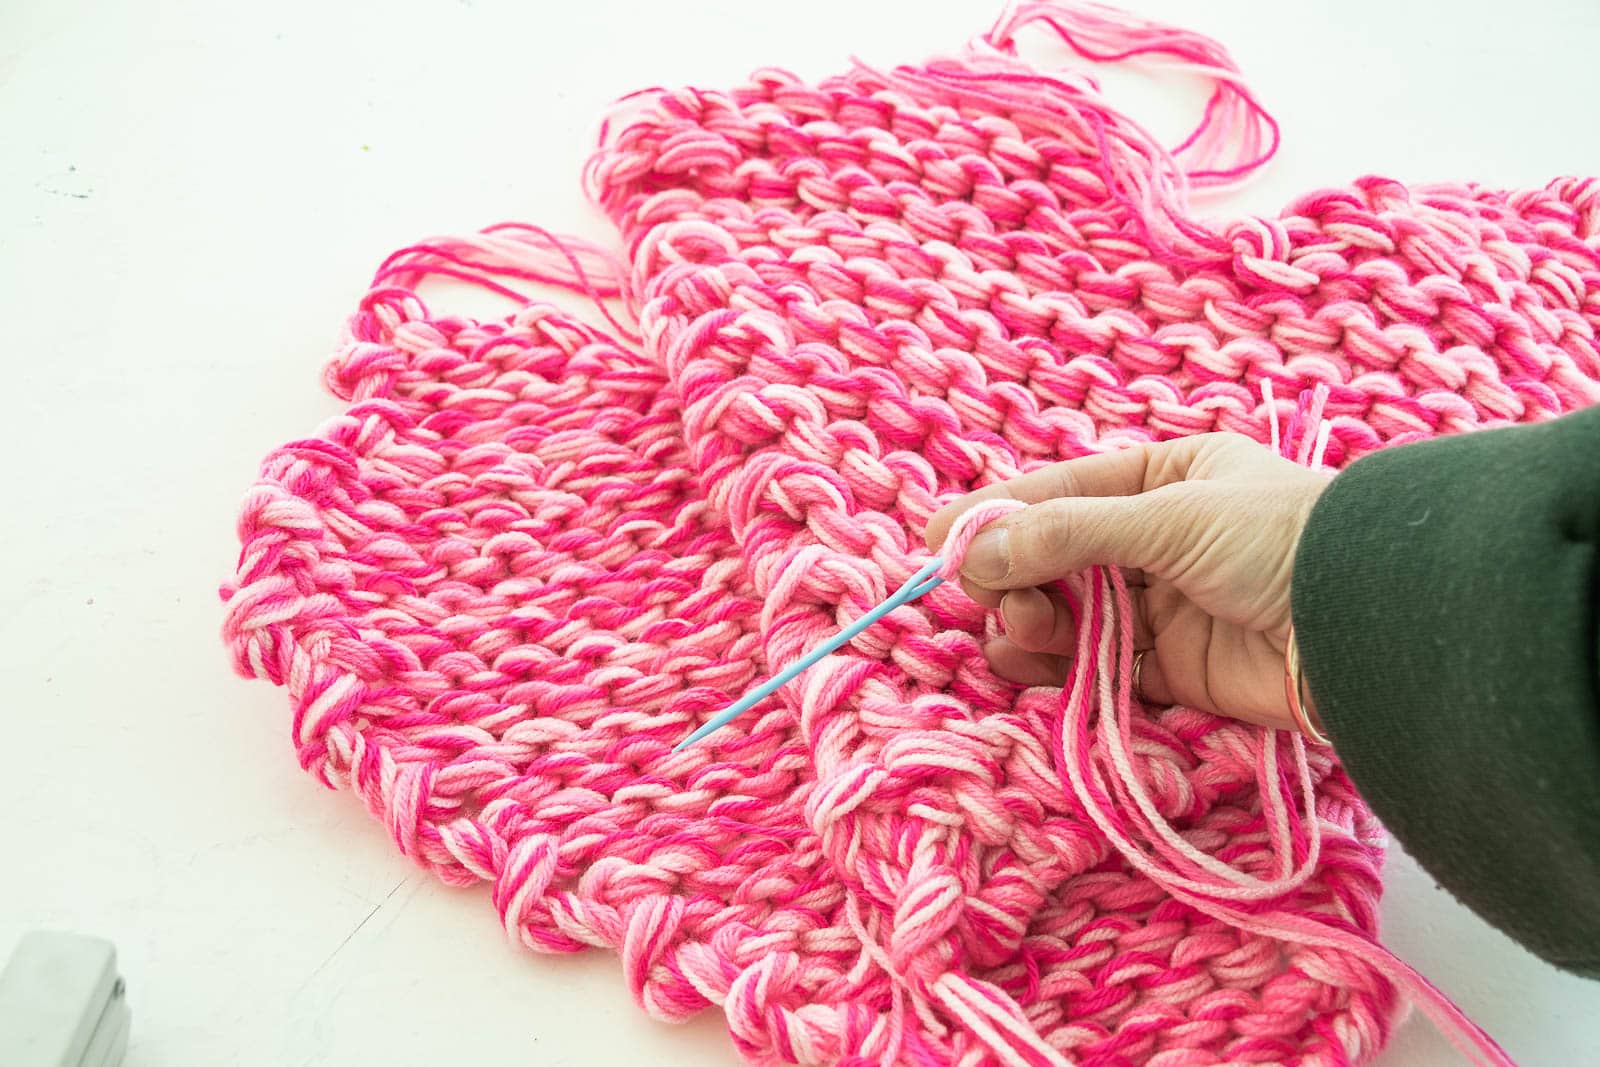
Step 8. Sew together the two hearts
With a few strands of yarn (or a single strand if working with chunkier yarn), places the hearts together and stitch the edges together. The chunky yarn is pretty forgiving so either a whip stitch or a mattress stitch will work great. Leave a few inches at the end.
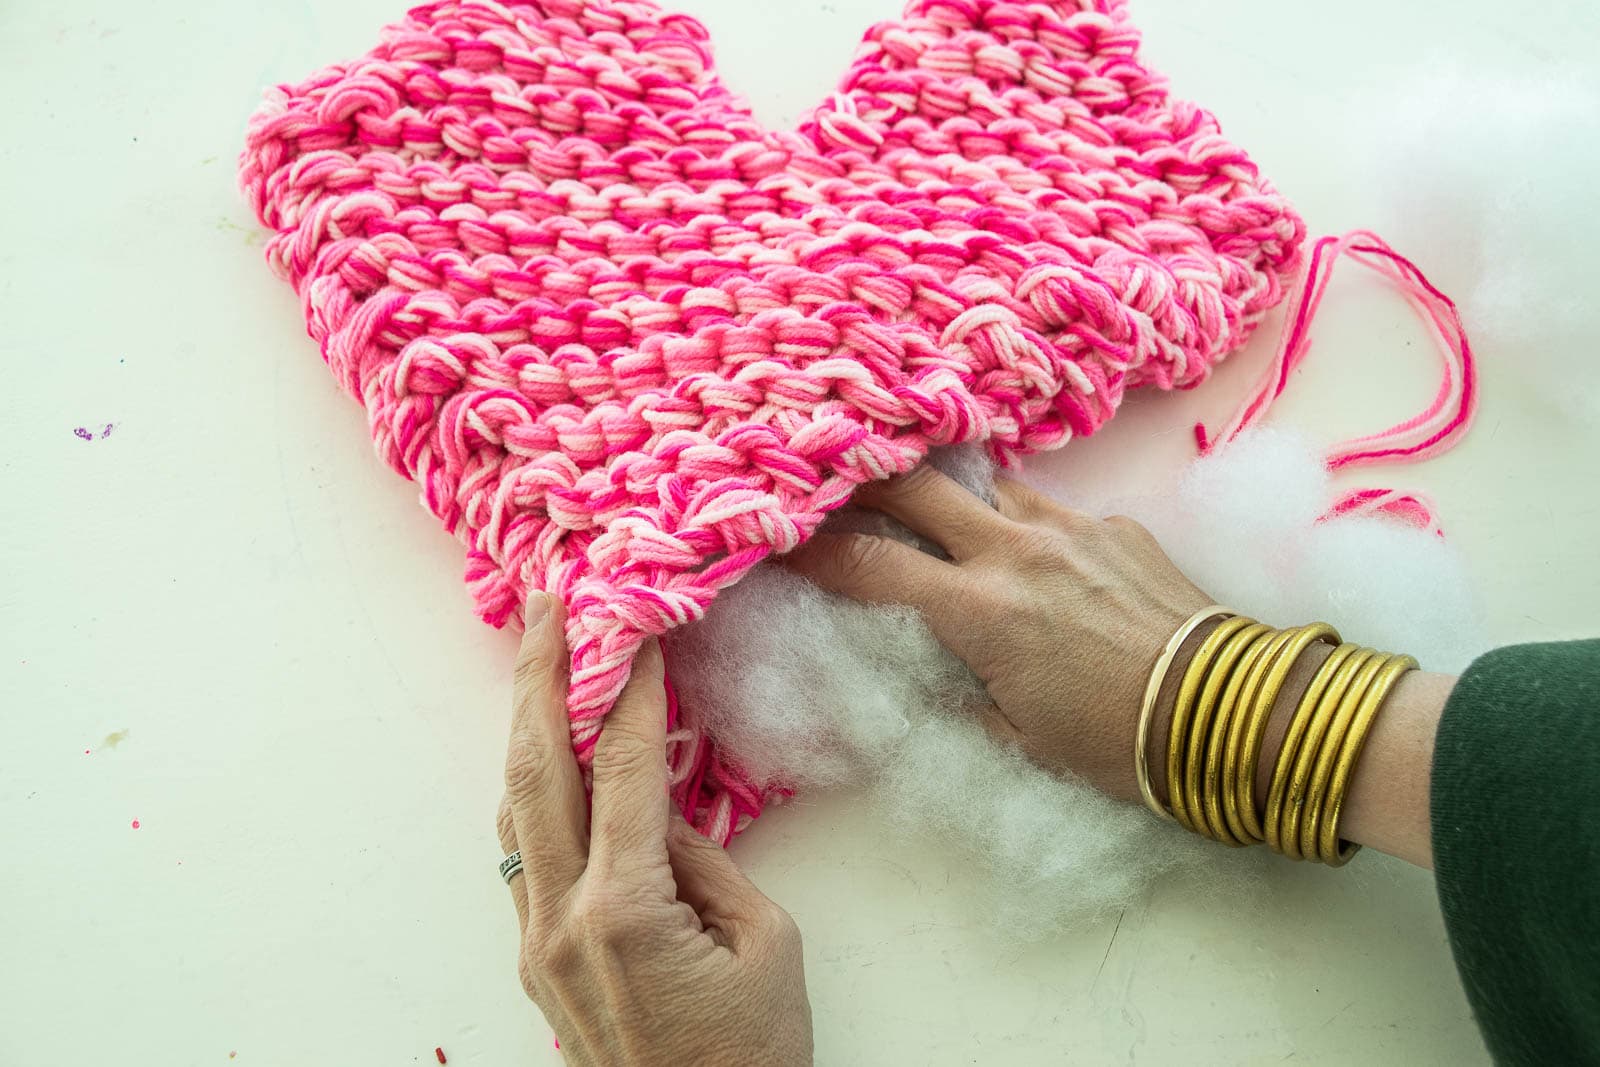
Step 9. Stuff and close up
I stuffed my pillow with polyfil and then closed up the seam.
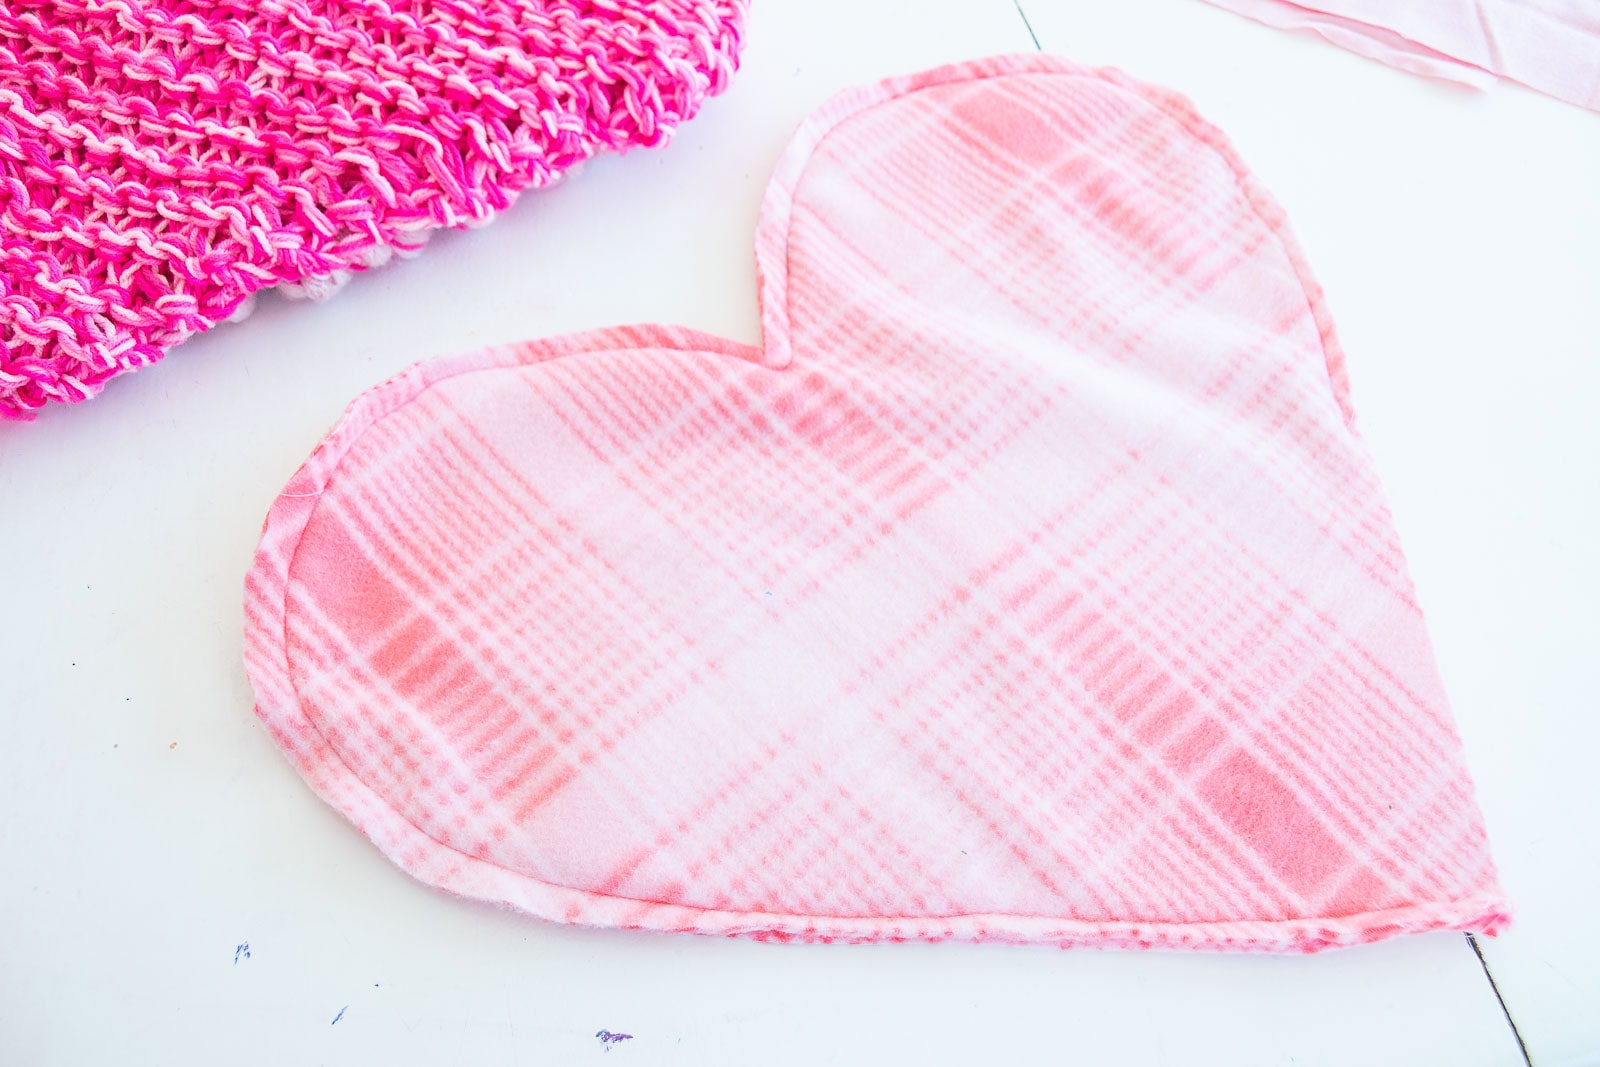
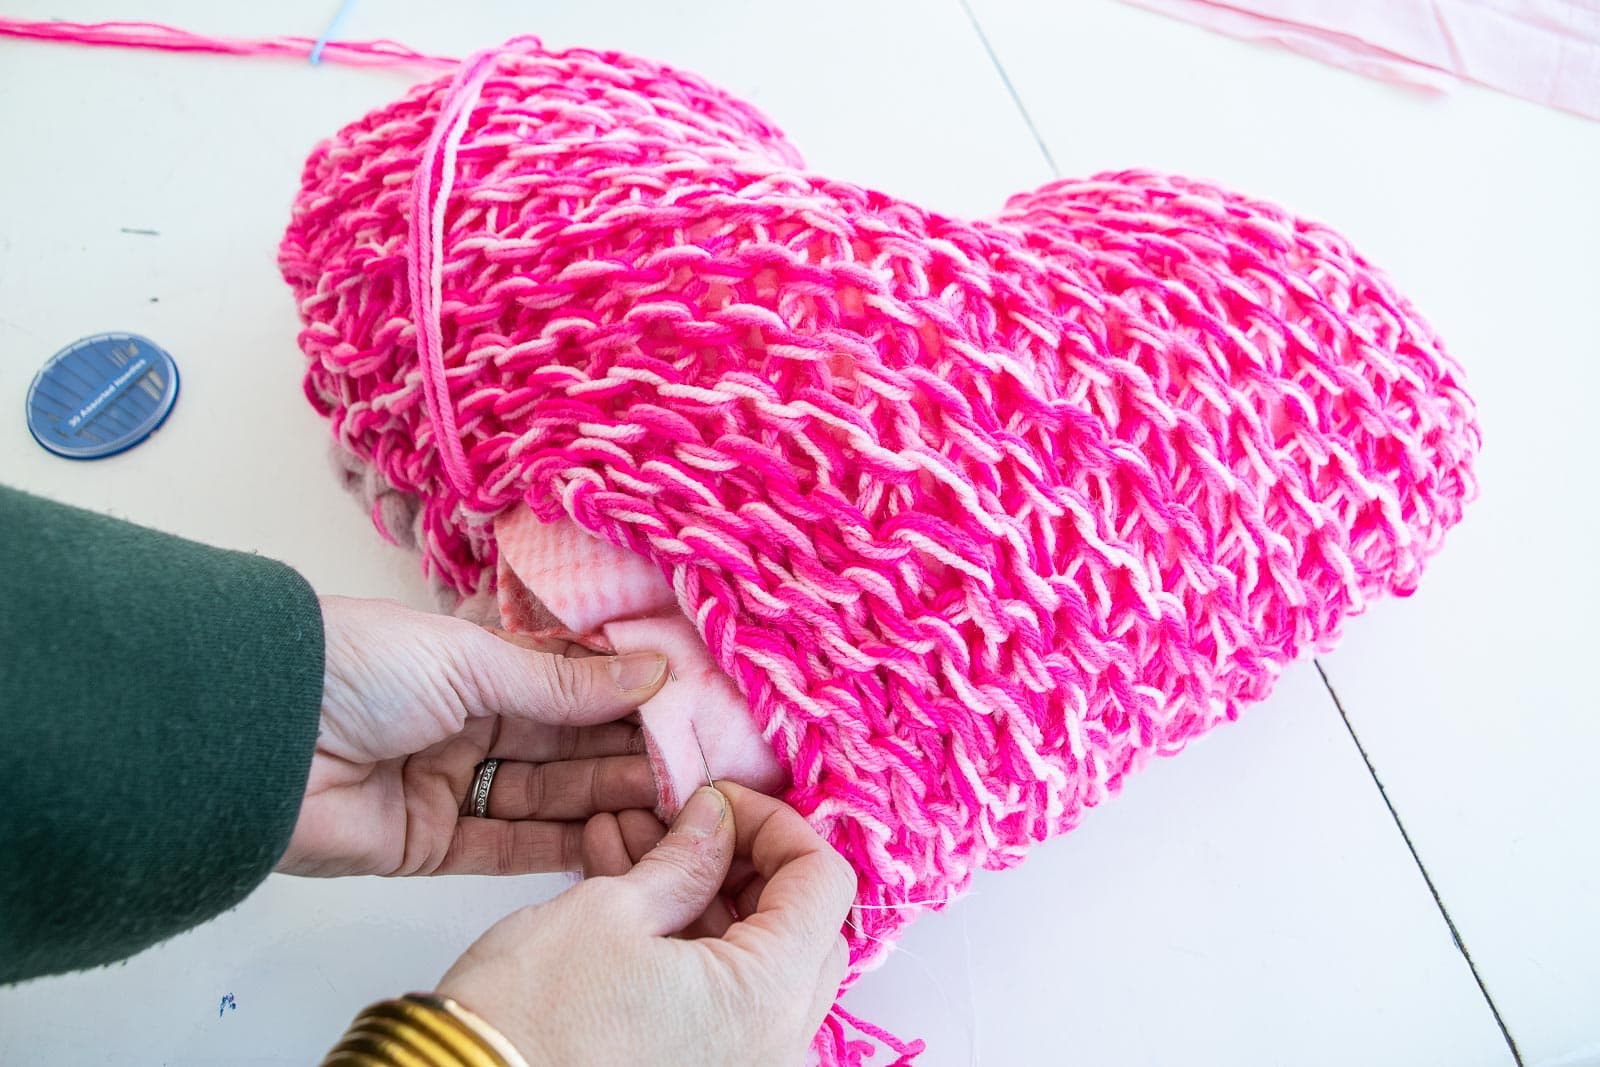
Note. I experimented with one heart that was a looser knit and you could see the polyfil through the stitches. Not a good look. I grabbed some scrap fabric and quickly sewed a simple heart insert. I traced the knitted hearts and cut out two pieces of fabric a little bit larger to allow for the stretch of the knitting. I sewed the fabric hearts together, inserted this liner into the knit heart, then stuffed it. I only needed to do this on one heart with the looser stitches but wanted to mention if you have the same problem. It was an easy fix that took 10 minutes to make!
I loved being able to curl up with my knitting needles again and work on these pillows. My biggest problem with knitting nowadays is that I just don’t have the time for a longer project so these hearts were perfect! I wanted these to look stellar for the website, but three of my kids have just learned how to knit so this kind of project would be PERFECT for a beginner knitter not interested in working on yet another scarf! It’s a super basic pattern and very easy to keep track of.

Materials
- XL knitting needles
- Assorted yarn: I used THIS chunky yarn and skinnier yarns like THIS
- yarn needle
- Polyfill
Click here to see all of my other simple Valentine’s Day projects!!


Love these pillows!! 💕
Thank you! A fun weekend project!
So cute, Charlotte!!
Thanks, Dina!
Adorable!!!💗💗
Thank you, Meryl!
Marlena is still alive??!! I watched that show in the late 70s. Cute pillows
HAHA! I don’t actually know but I wouldn’t be surprised! 🙂