LEDelightful… DIY Light Box
Psssst… this post *might* contain affiliate links: see my disclosure here.
I’ve had lots of discoveries and professed obsessions on this blog, but this right here might be the reigning title holder. Oh. Em. Gee.
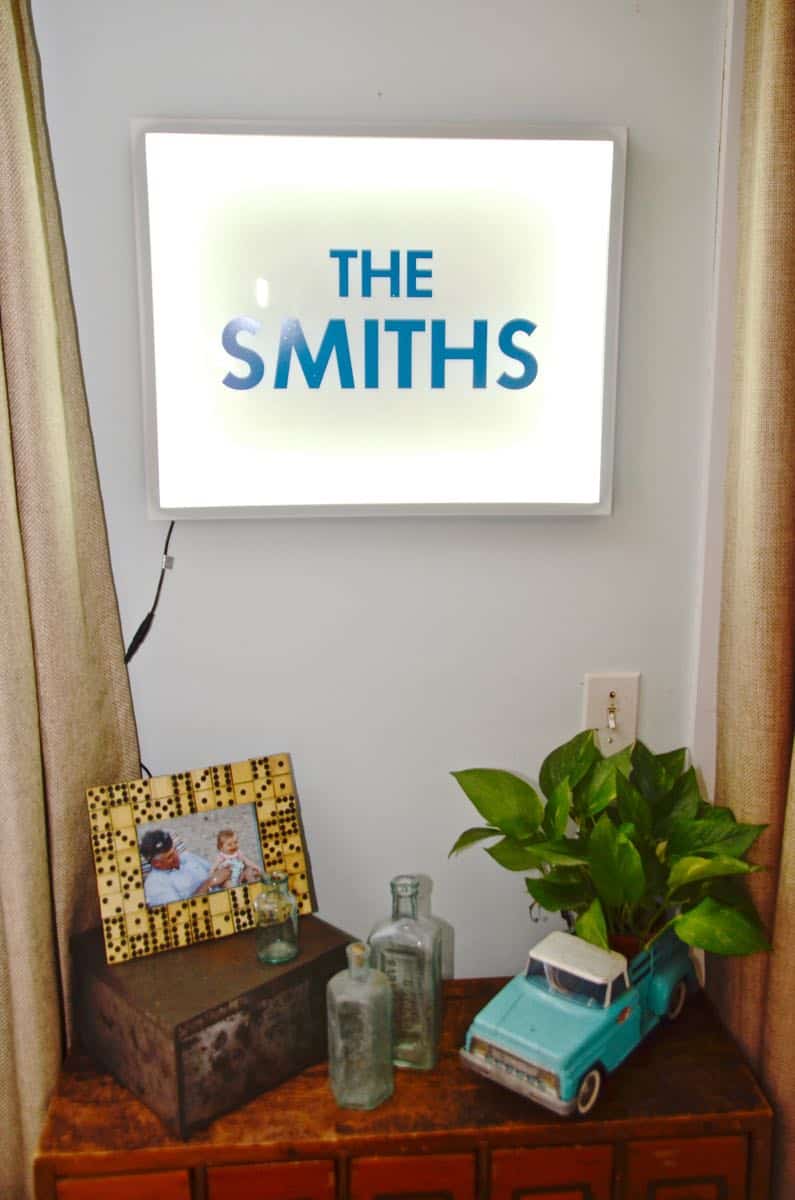
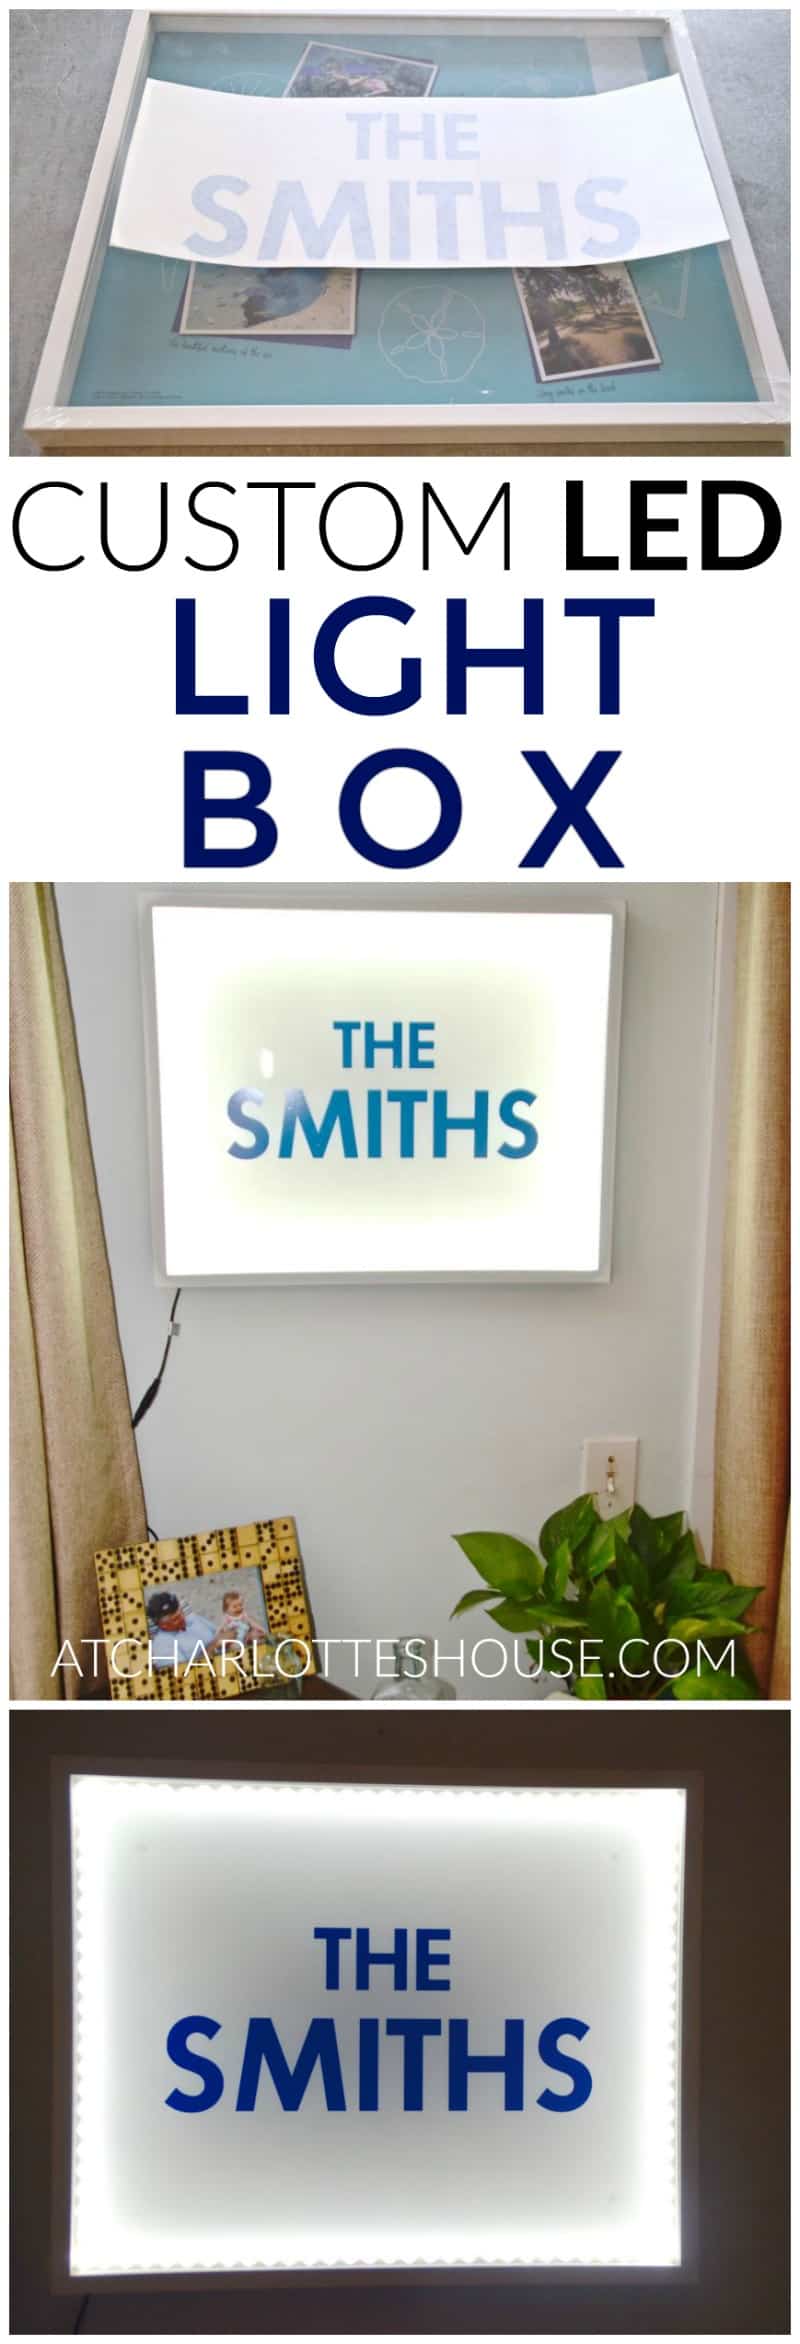
Custom LED Lightbox
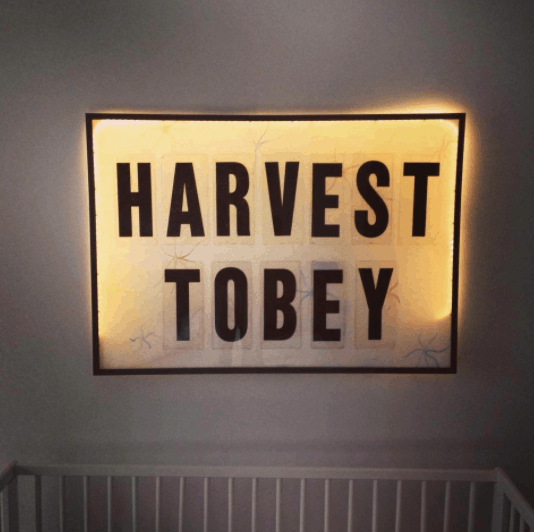
My amazingly talented friend Page, posted this photo to her Instagram feed and emailed me to say it was a fun project that I should try. Um, light-up sign? Yes please.
Shop my favorites!
Here’s what she turned me onto. Are you sitting down for this or at least prepared to have your mind blown?
What you’ll need for a DIY Lightbox
You only need a few supplies (affiliate links included for your convenience):
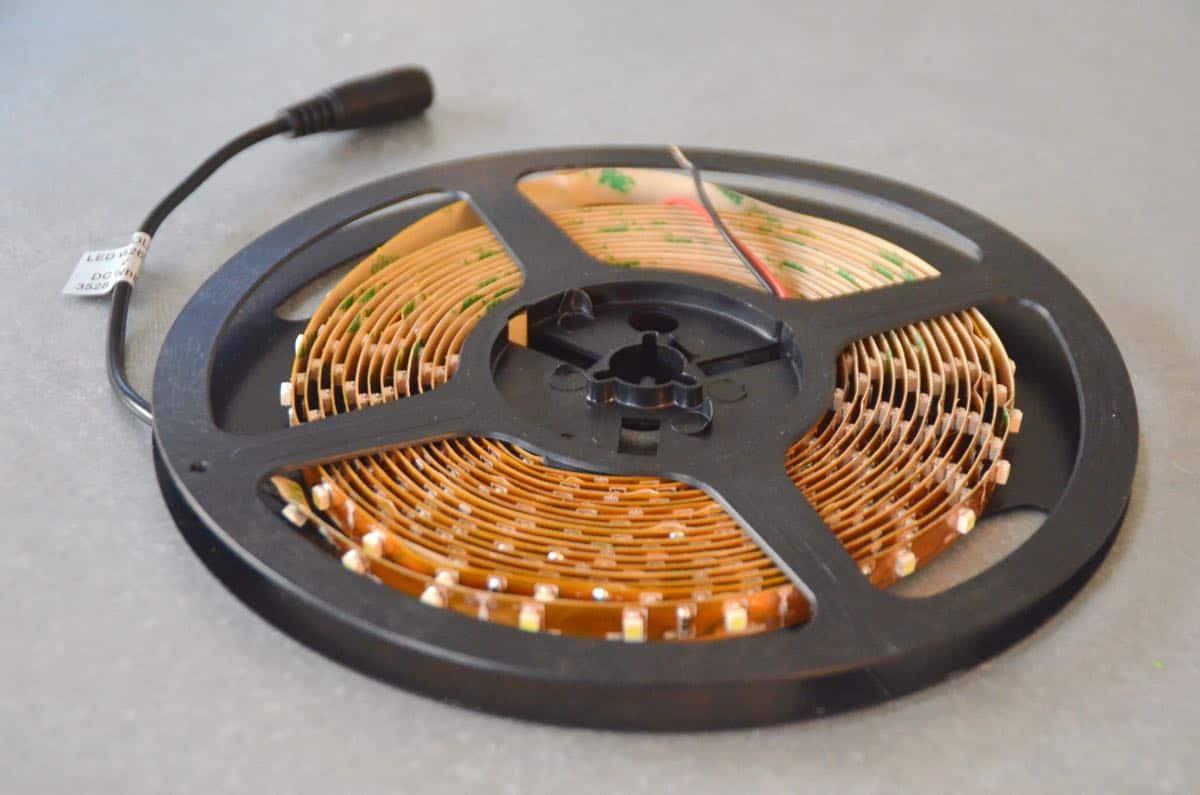
• LED lights
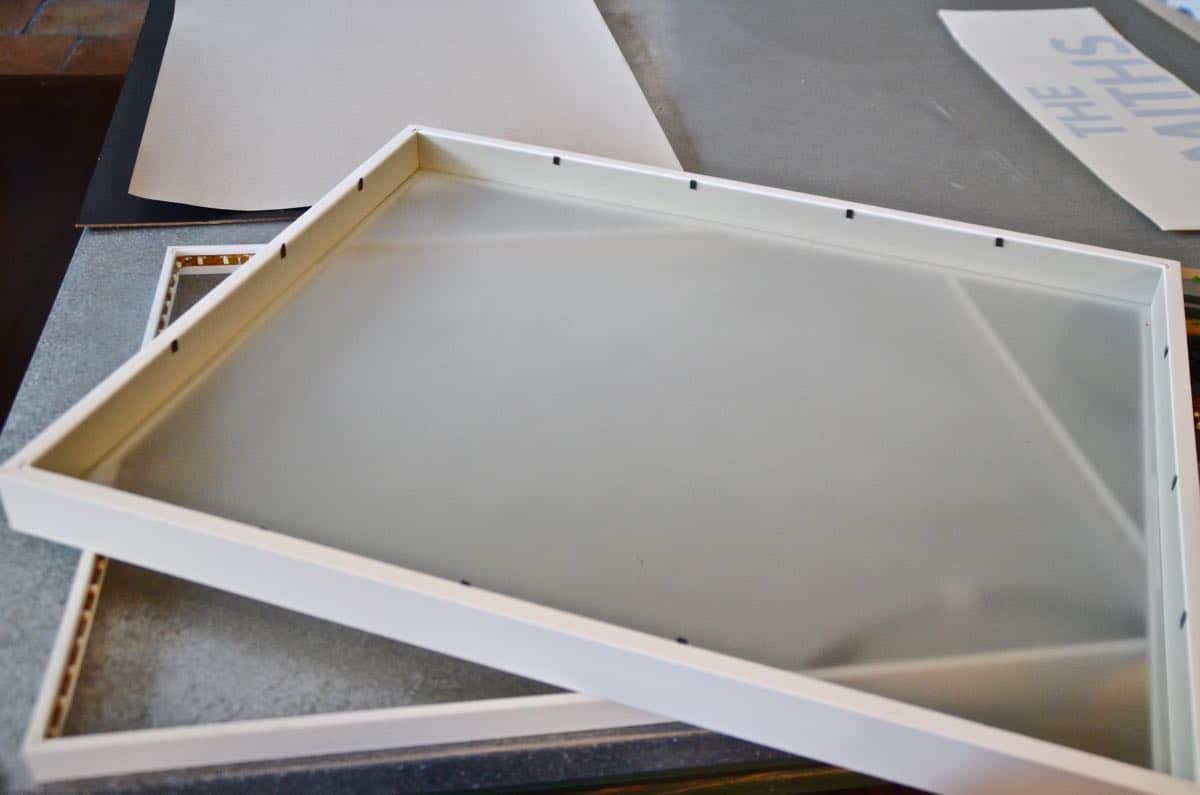
• Shadow box
• Vinyl letters. I ordered mine online, but now I have a Cricut so I’d totally just use that!
• Frosted Glass Spray Paint
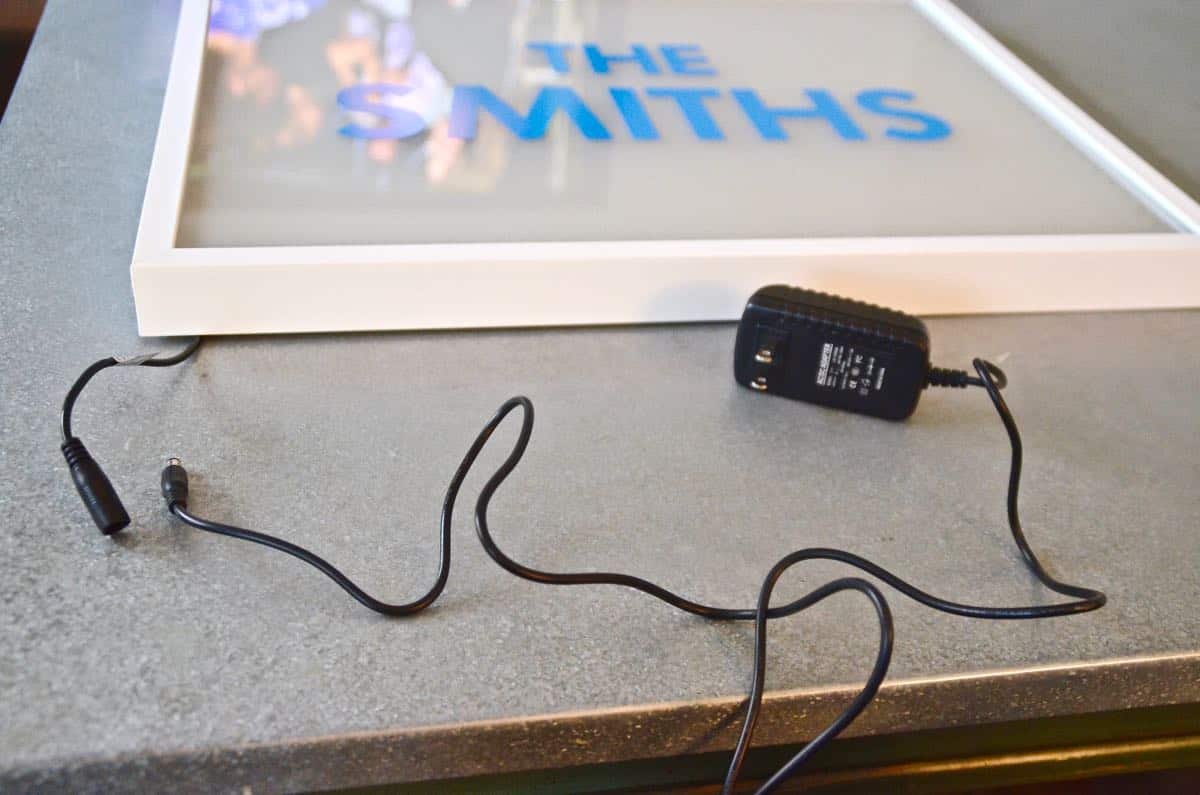
• Power supply for light strip
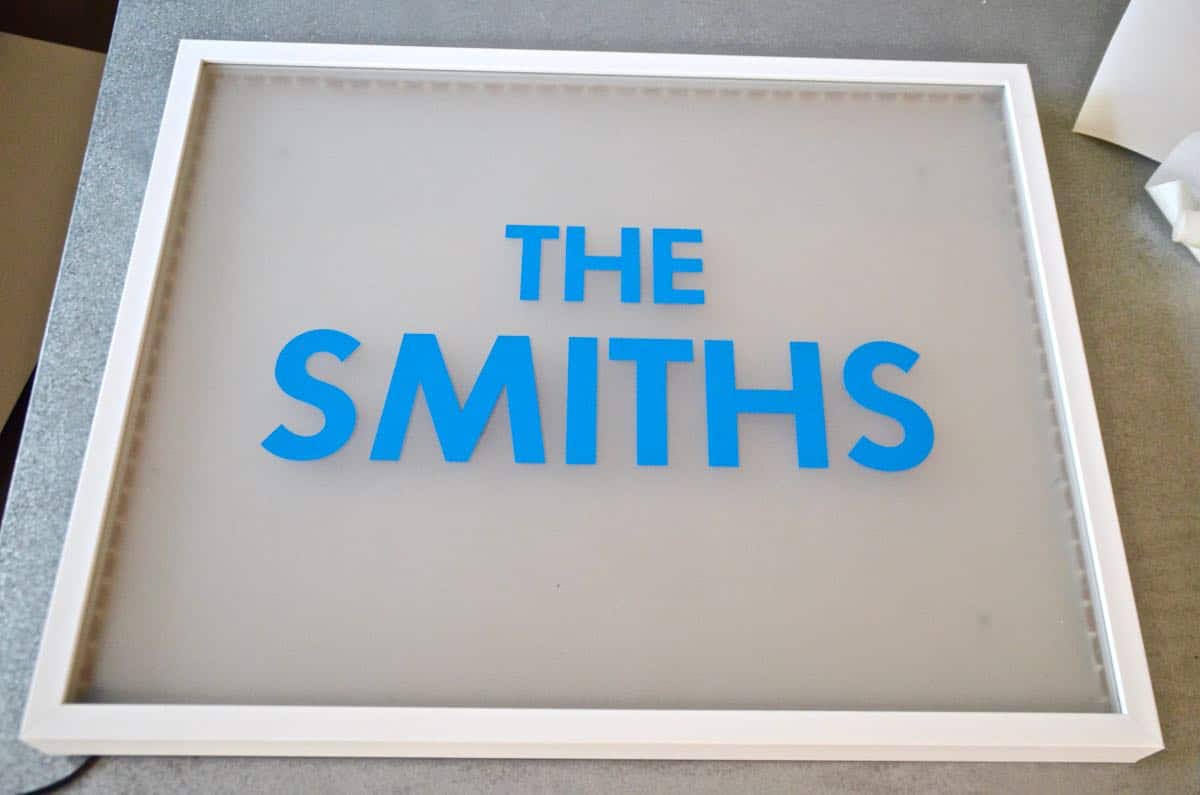
The LED lights are miniature and adhesive… which means you can pretty much make a light box out of ANYTHING. I followed Page’s lead and used a simple shadow box frame but anything with enough depth to accommodate the tiny strand of lights would work. I also grabbed a can of Rustoleum’s Frosted Glass spray paint. In hindsight, I could have gone with something that had a little bit more coverage, but this ended up working just fine. Without even removing the glass from the frame, I sprayed the inside of the shadow box. I had to give the glass of the shadow box frame quite a few coats of the spray paint, but I ultimately ended up with the right amount of opacity.
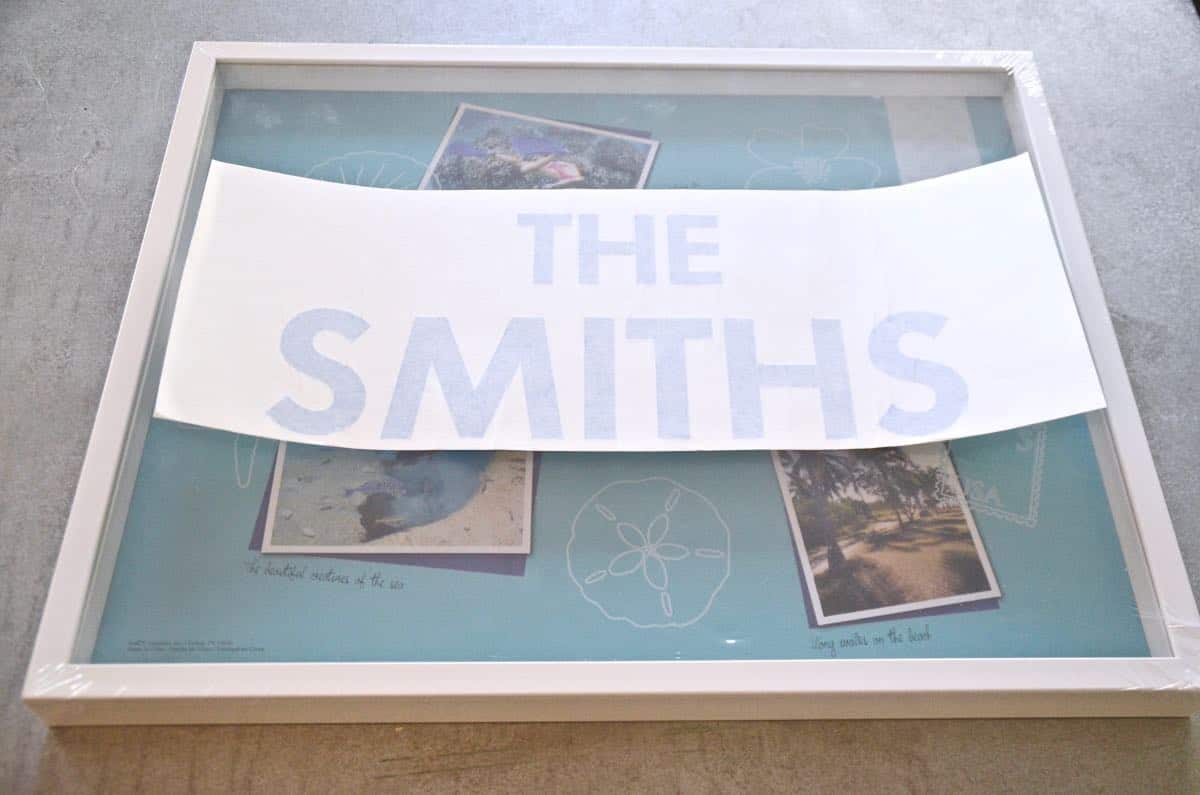
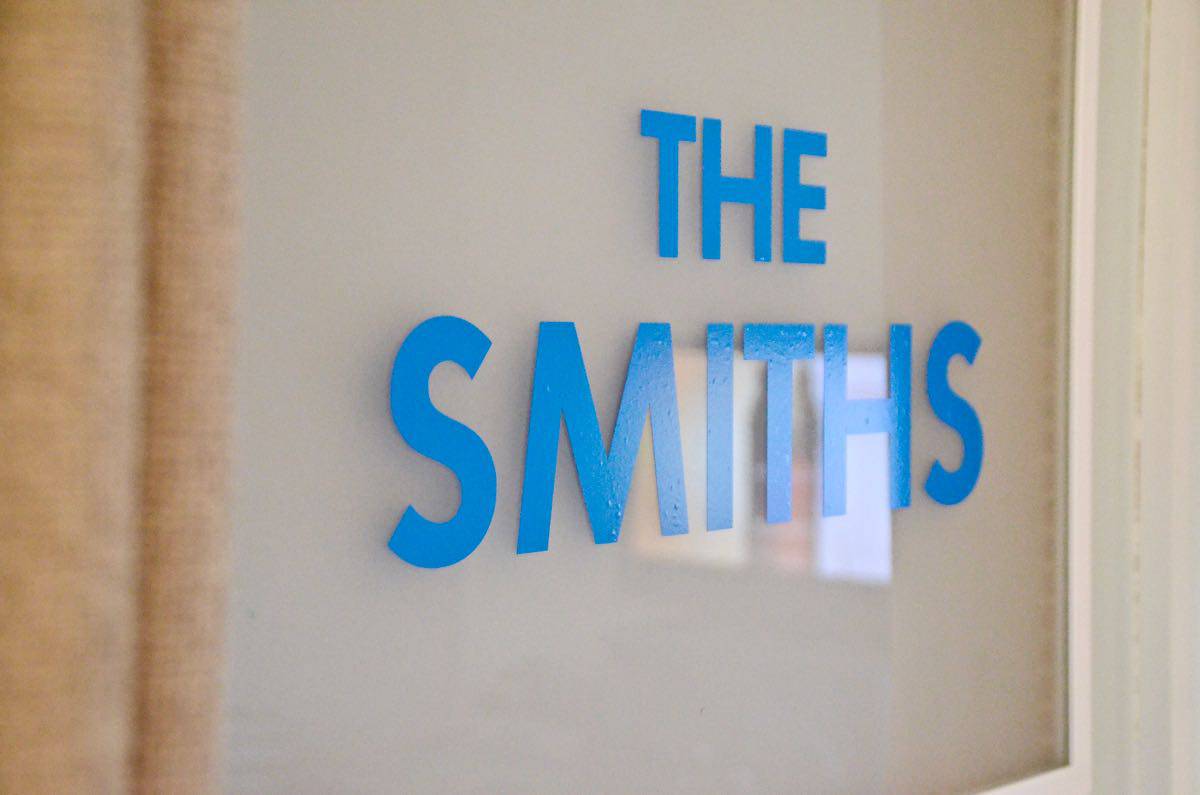
Page happened to have some vintage marquee letters on hand for her project, but I wasn’t that lucky. However… a little bit of time with google and I found this company. It was SUPER easy. I went with vinyl letters like you’d use on a glass window (Futura font). A few days later and I had letters for my sign.
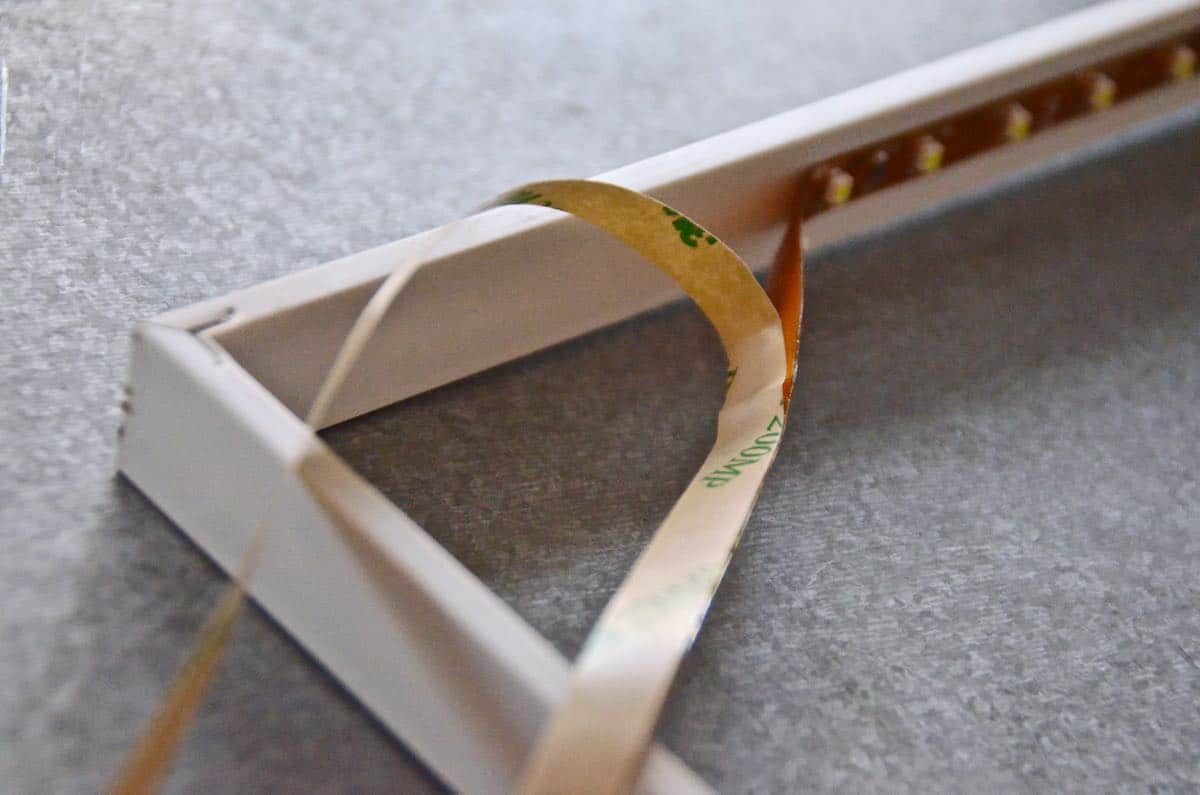
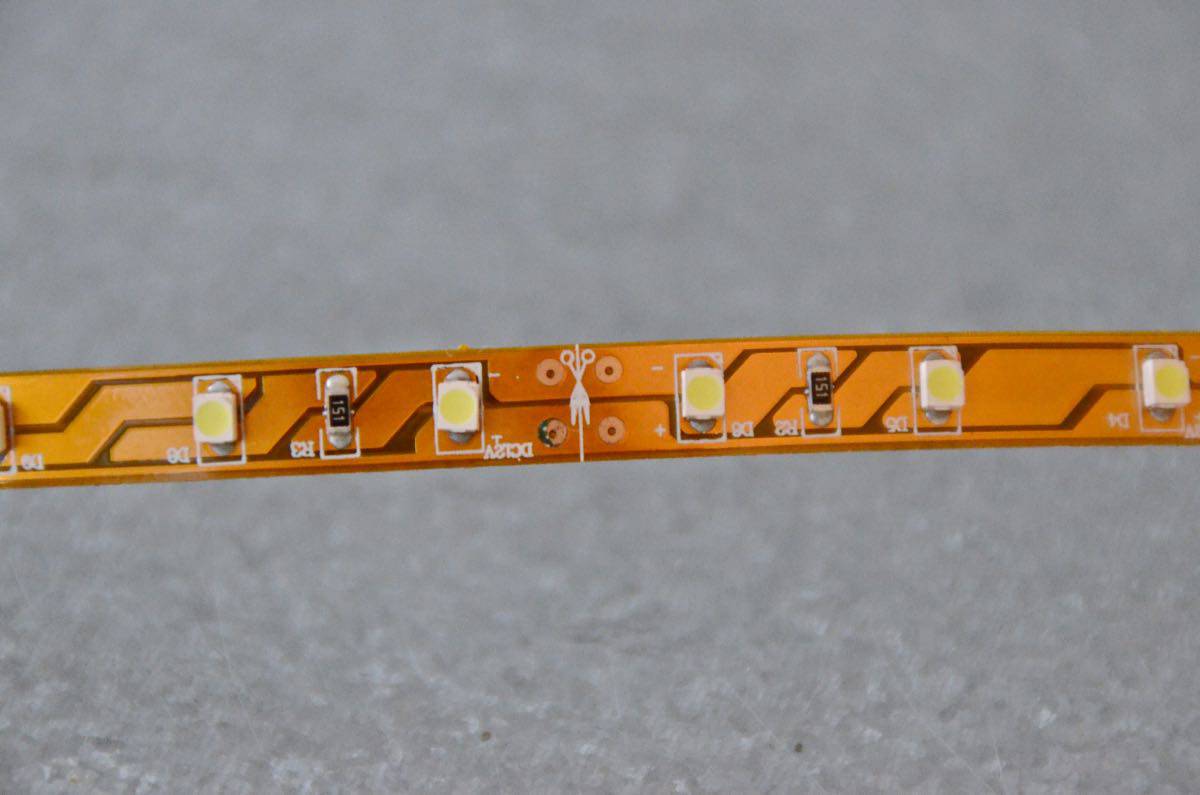
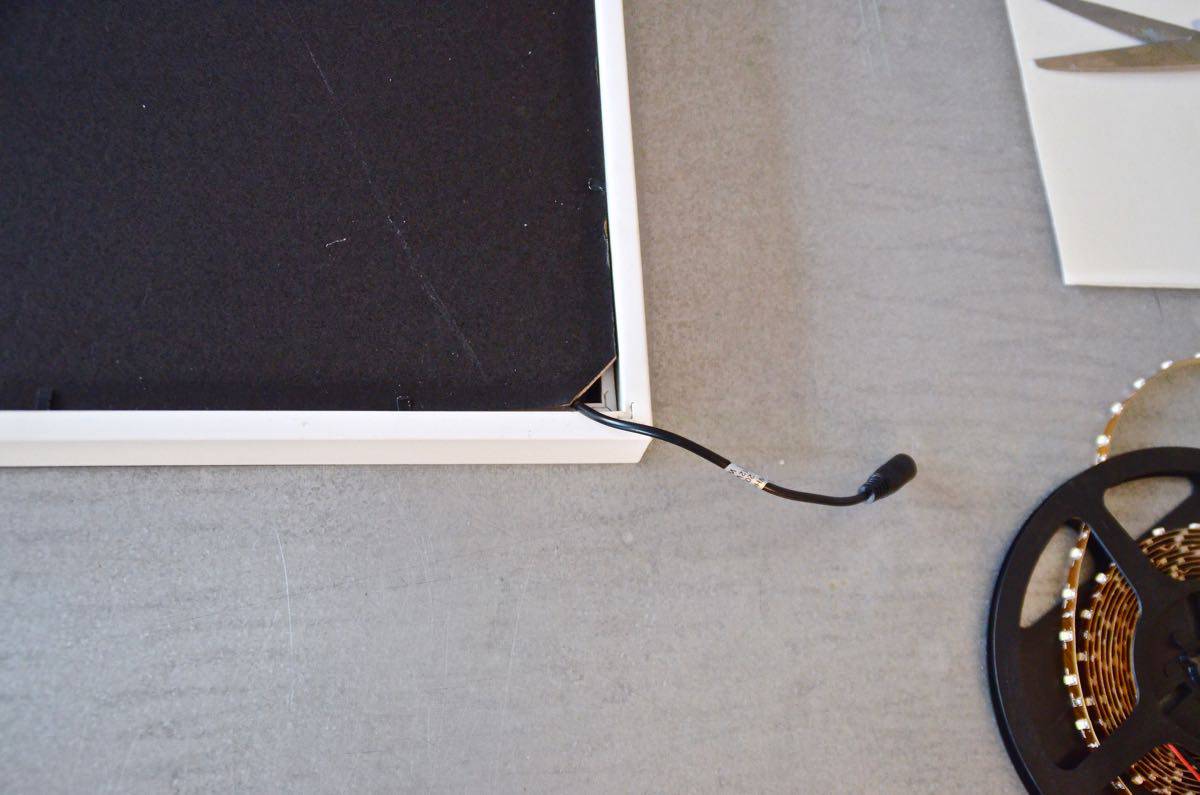
The LED light strips couldn’t be easier to work with… the adhesive backing peels right off like a sticker and the strip is clearly marked between every 3 LED lights for where you can cut. Once I’d worked my way around the inside of the frame, I cut the strip and moved on to the next super simple step.
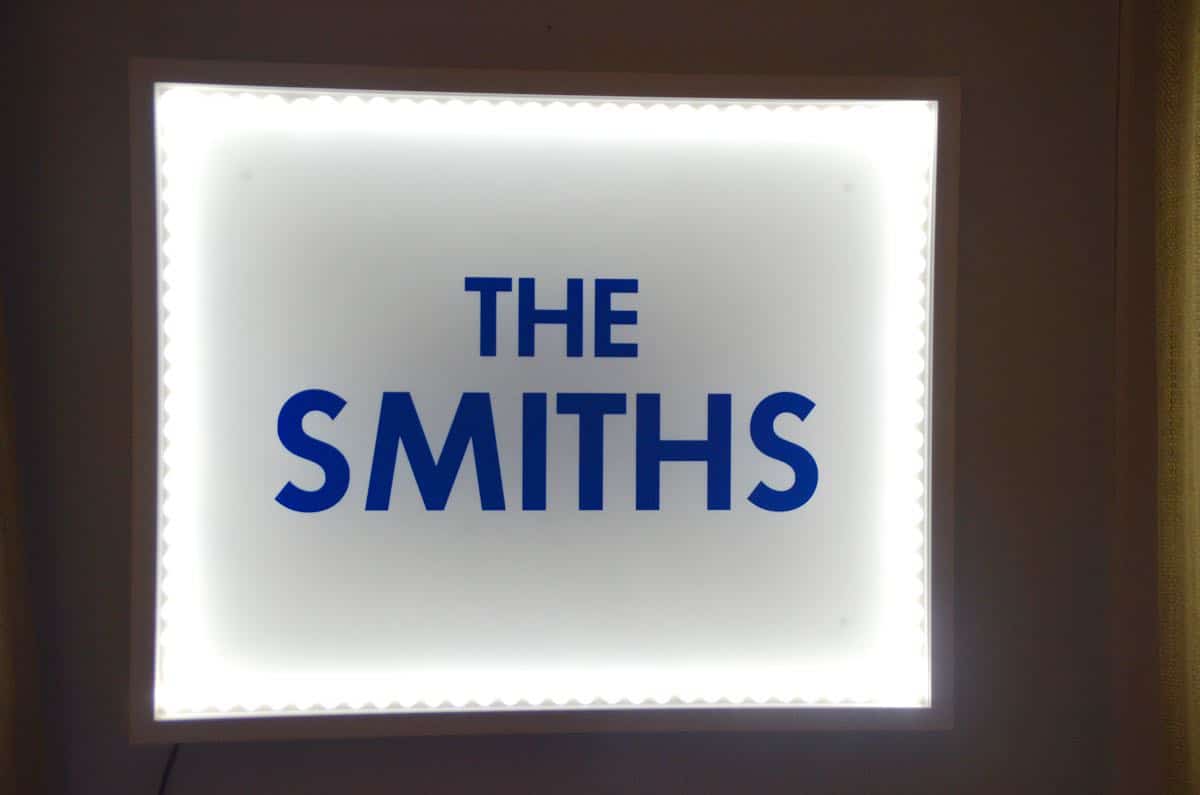
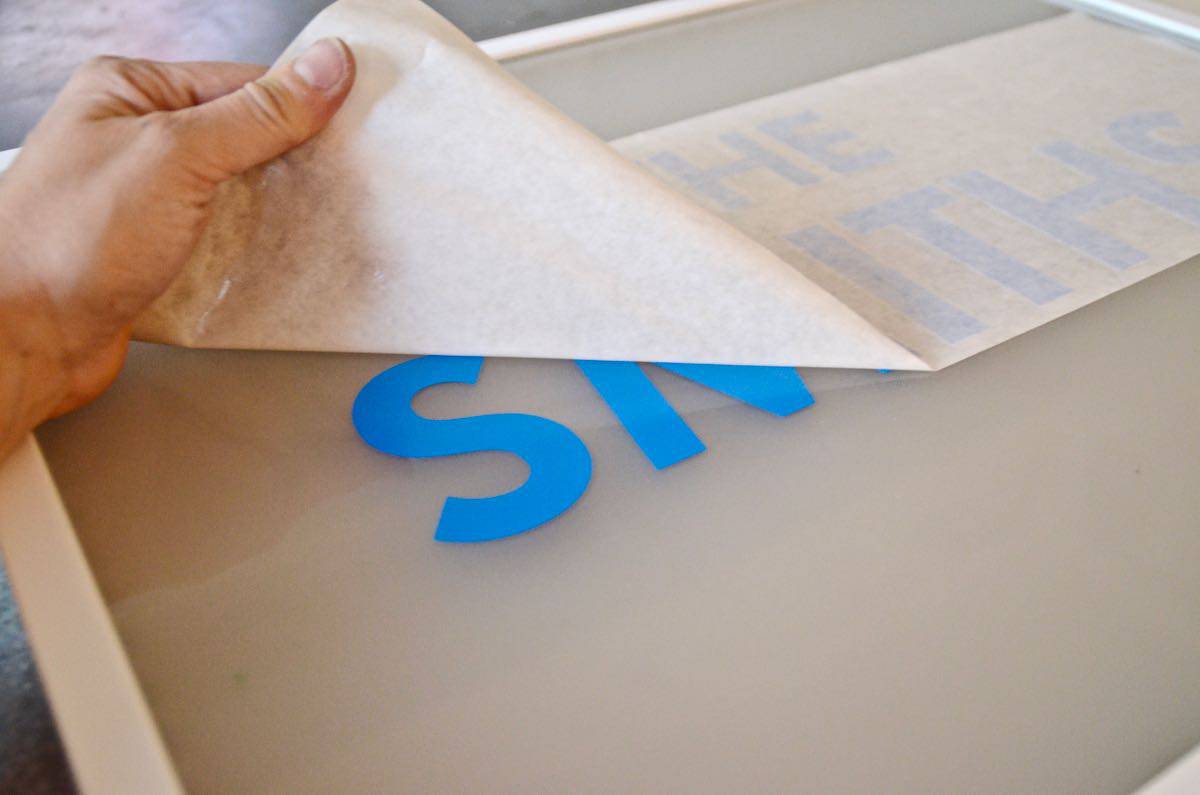
The vinyl letters went onto the front of the glass really easily. (Alphabet Signs actually includes a tool for applying the letters to the glass…) I mean, this looks amazing already, right?!
In order to make the LED lights actually work, you also need a simple plug. In order for the plug to fit the shadow box, I cut one little corner from the back of the frame.
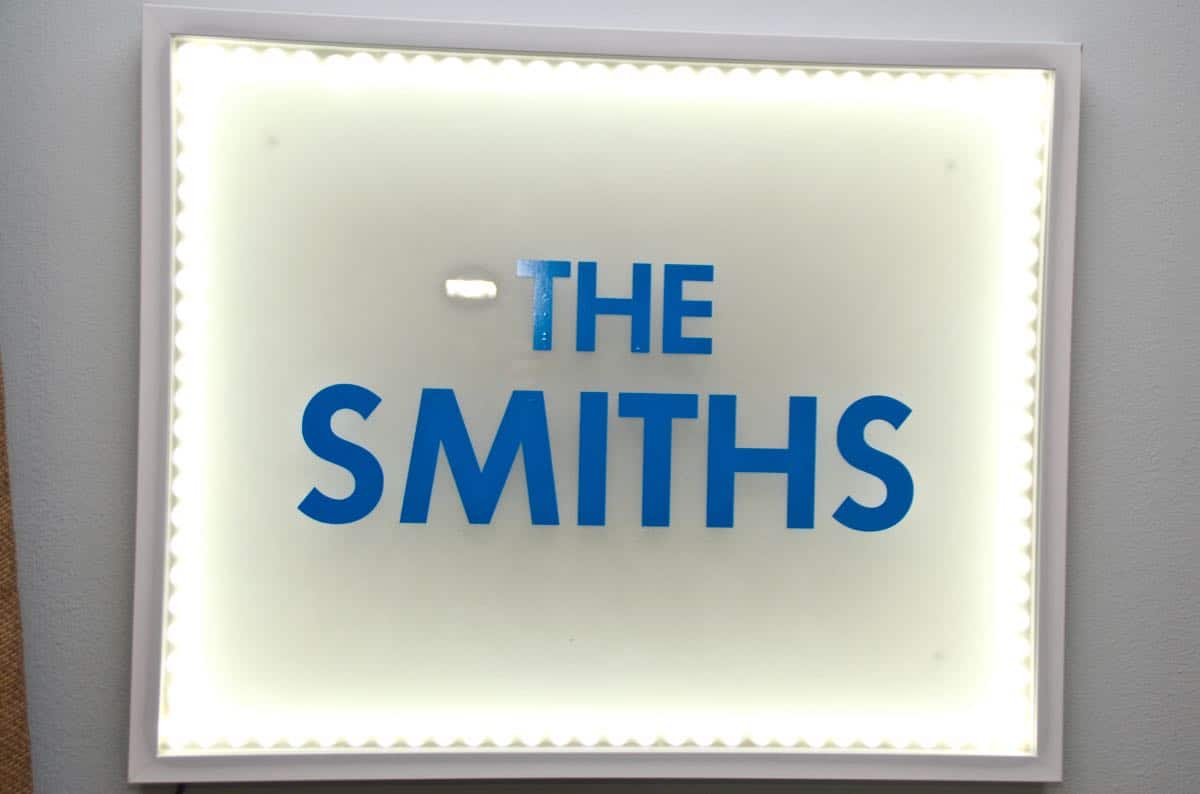
If you happen to have a wall outlet, this project will work perfectly as you won’t see the plug. I’m still not sure where I’m going to hang this, but if it’s over a table or something, I can hide the plug. Otherwise, I might try to spray paint the cord white so it doesn’t stand out so much.
Regardless… I can’t believe how easy this light box was- the possibilities are endless. It cost maybe $7 to have “The Smiths” made out of vinyl letters, but I could have used any color and come up with any text. I might make one where each letter is a different color and spell out one of the kids’ names. Or a favorite word of ours. Or quotes… I told you… I’m in love. Not to mention that it looks just as nice with the lights turned off as it does when they’re on!



Ummmm….as always, I knew you’d improve on the design. Love the letters you chose. what’s the size frame you used? Thanks for the shout out!
I just couldn’t find any marquee letters! 🙂 The frame is 16×20, also. xx
I love this! I have been wondering about those LED strips. I am going to be trying this for some movie poster in a 3-x40 frame…. Since there isn’t a plug I will be attempting to power the lights with this:
https://www.superbrightleds.com/moreinfo/compact-power-supplies/portable-12vdc-8-cell-battery-power-supply/934/2290/?utm_source=googlebase&utm_medium=base&utm_content=BPS-12VDC&utm_campaign=GoogleBaseChild&gclid=CJzm0rGTqbwCFdHm7Aod_iEAnA
I hope it will work! I thought I would make note of it for those wondering if there was an option other than a power supply 🙂
Thanks again for this, it has been very helpful!
Thanks!!! I might have to grab one of those… would be great not to have a cord hanging down!
Hi, New to this website and very impressed! I clicked on the link for the battery light pack- it looks really good, but how do you hide the battery pack for the illuminated light box?
Thanks in advance of your answer.
Hi there! Thanks so much for your comment! The battery pack was definitely a bit unsightly and I had to hide it behind a piece of furniture or accessory which was not ideal. If I were to make this project again now, I would probably look for one with a longer cord or research possible rechargeable/ cord free options!
did the battery adapter work? I want to do this to light a class auction shrink plastic art in a shadow box but want it with no cords
I never actually got one because I got used to the cord… but I have another project like this in the works so I’ll look into it!
thanks for replying. I am thinking about lighting a picture frame to highlight kids shrink art of Seattle icons….. or another clever way to display them lol! it will be about 20×16 30 shrink art pieces all linked together by jump hoops 🙂
Love that idea!!!
Love this idea and will work on it soon!
Do you think this would work with white paint spray instead of frosted glass spray? Or would that be too much coverage?
Thanks a lot!
Hi! I would worry that white paint would be too much coverage… I suppose you could be careful and do a reeeeaaaalllllly thin coat, but frosted is probably best! The alternative is to tape out the word, paint it, and then REMOVE the tape so the word is the only thing the light shines through.
Good luck!