
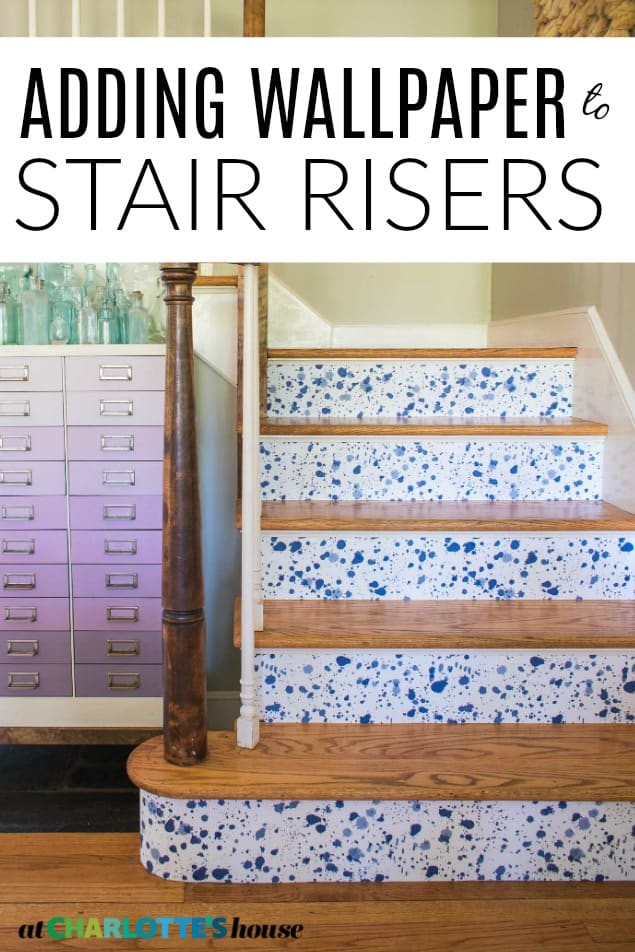
Make Decorative Stair Risers Using Wallpaper
Psssst… this post *might* contain affiliate links: see my disclosure here.
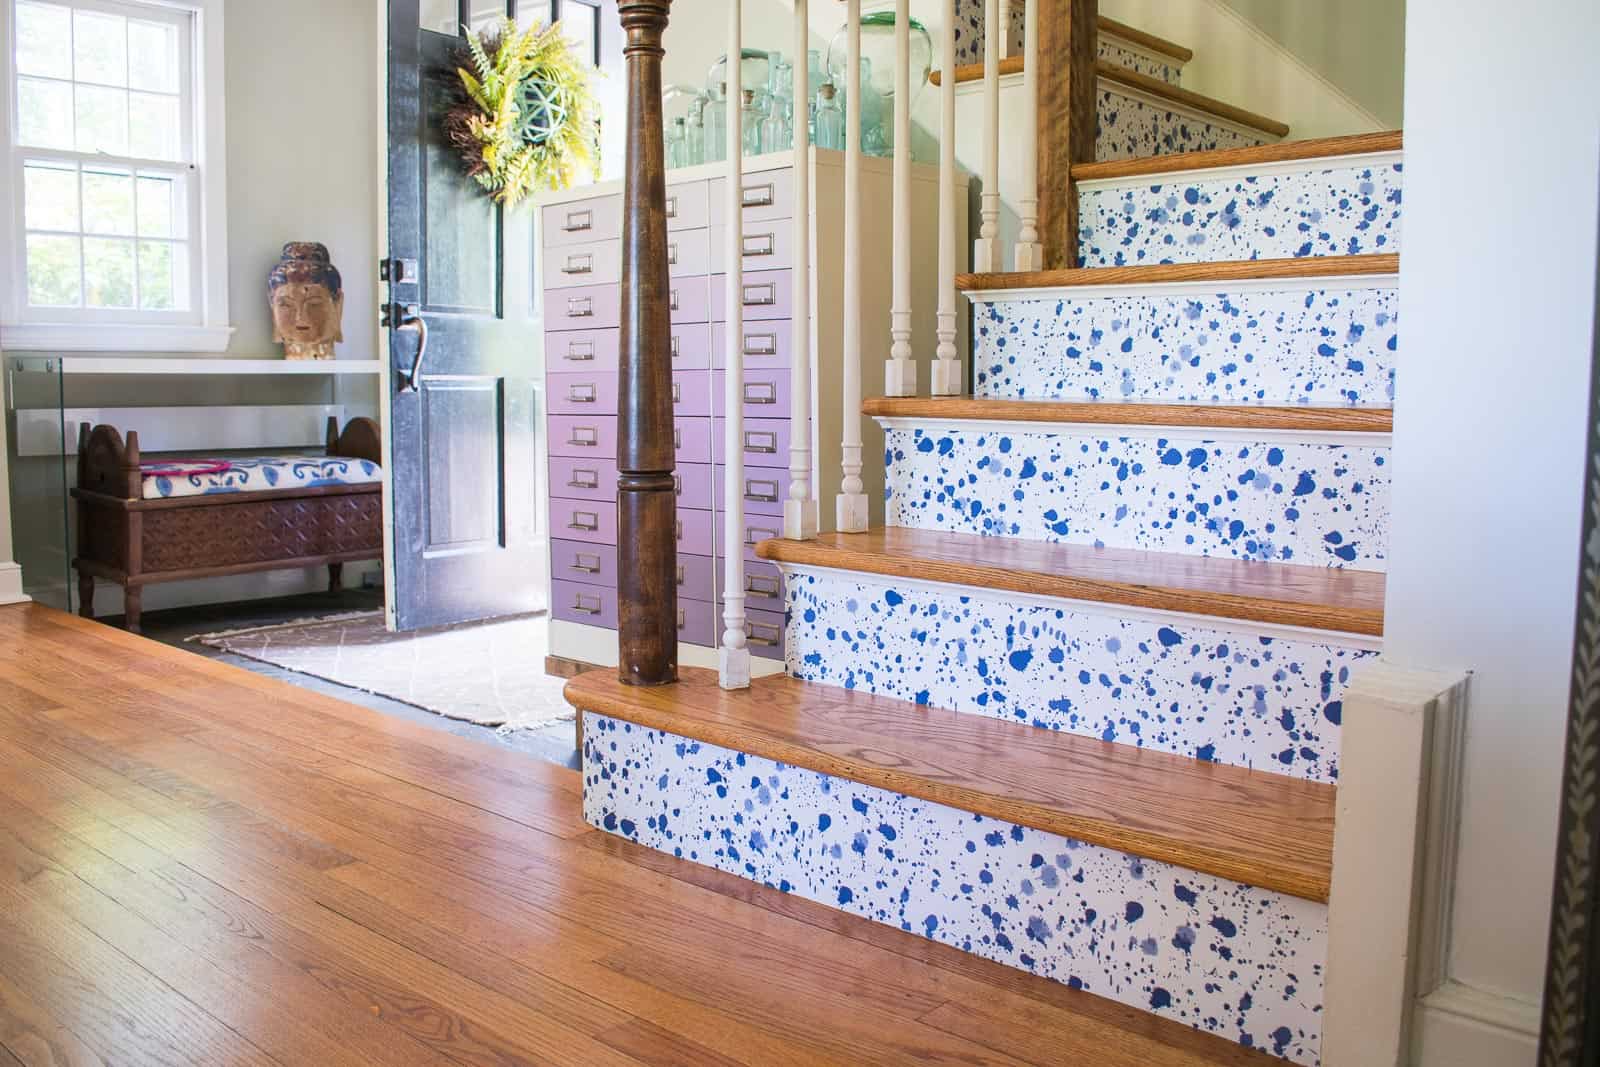
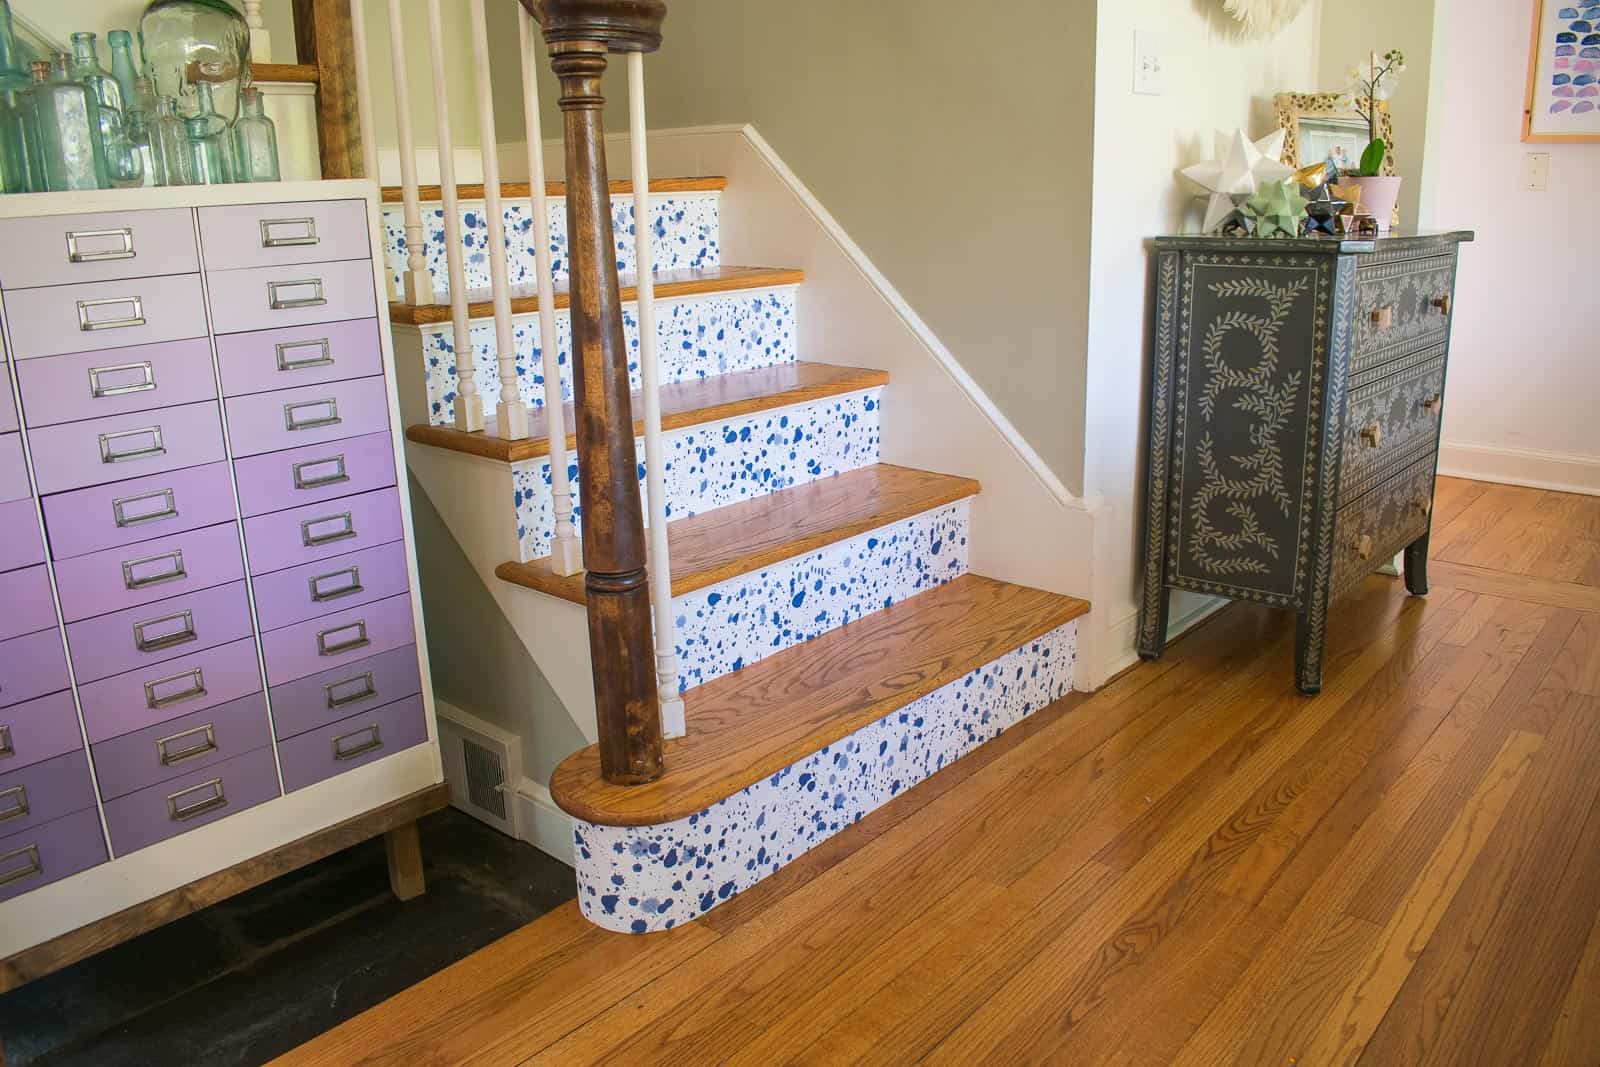
Wallpapering Our Stair Risers
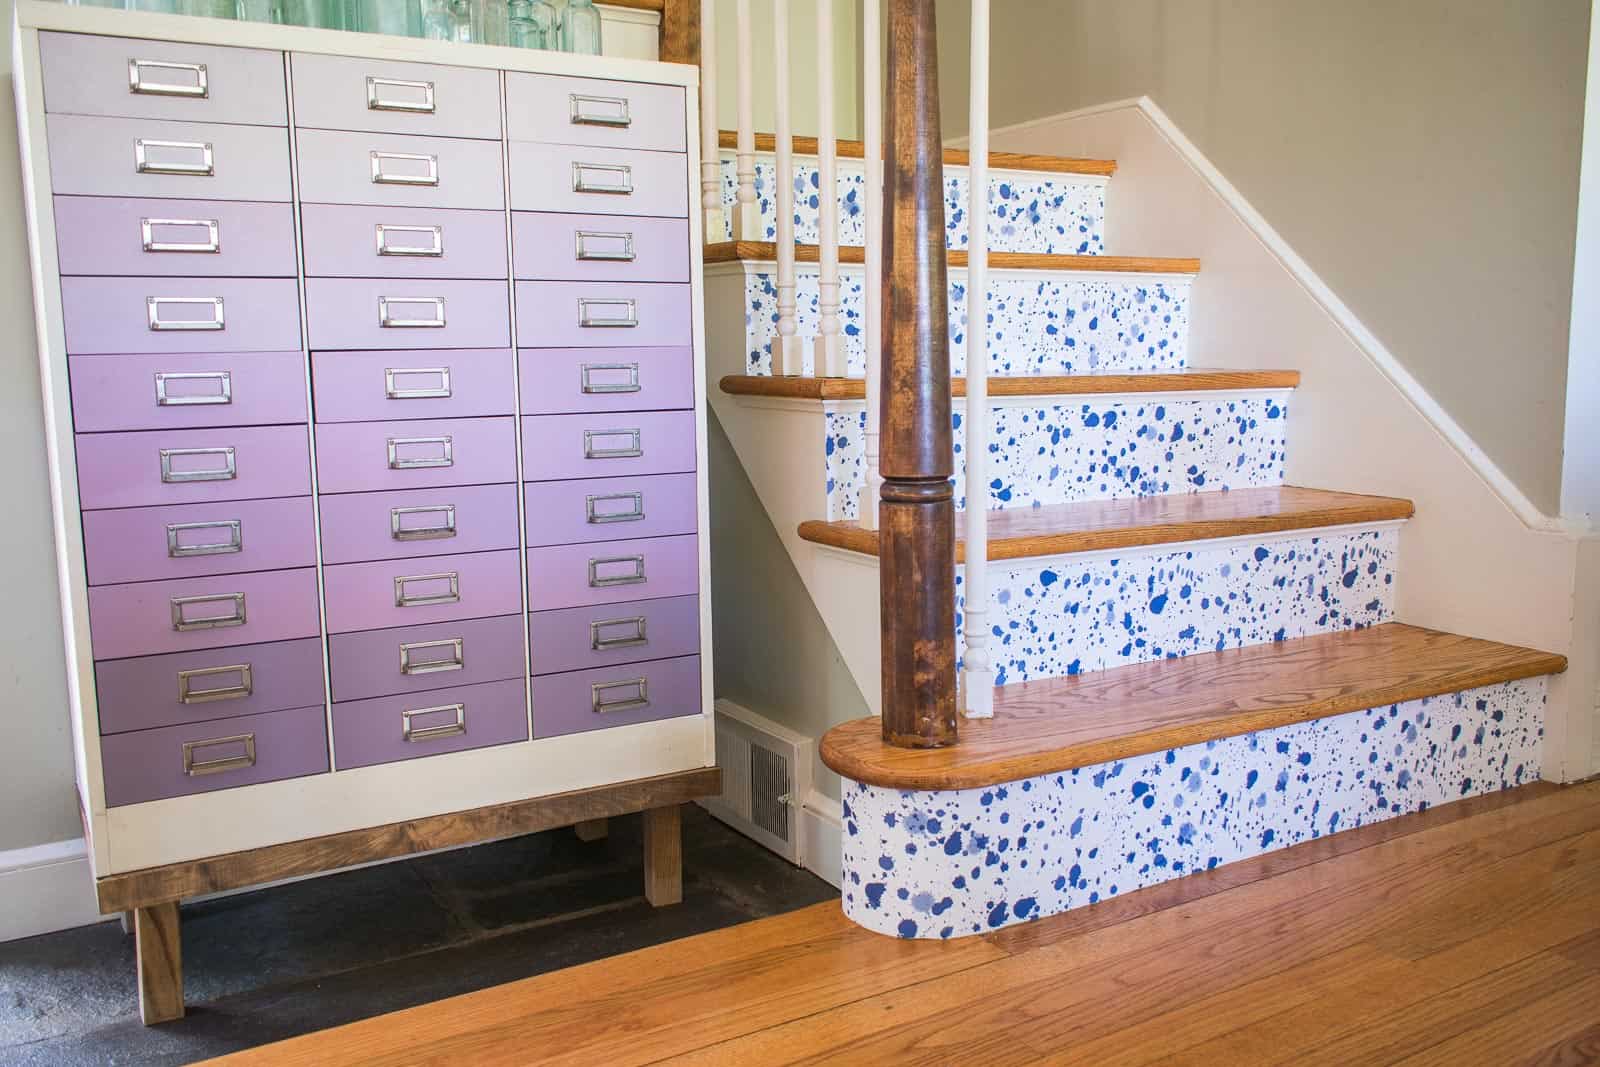
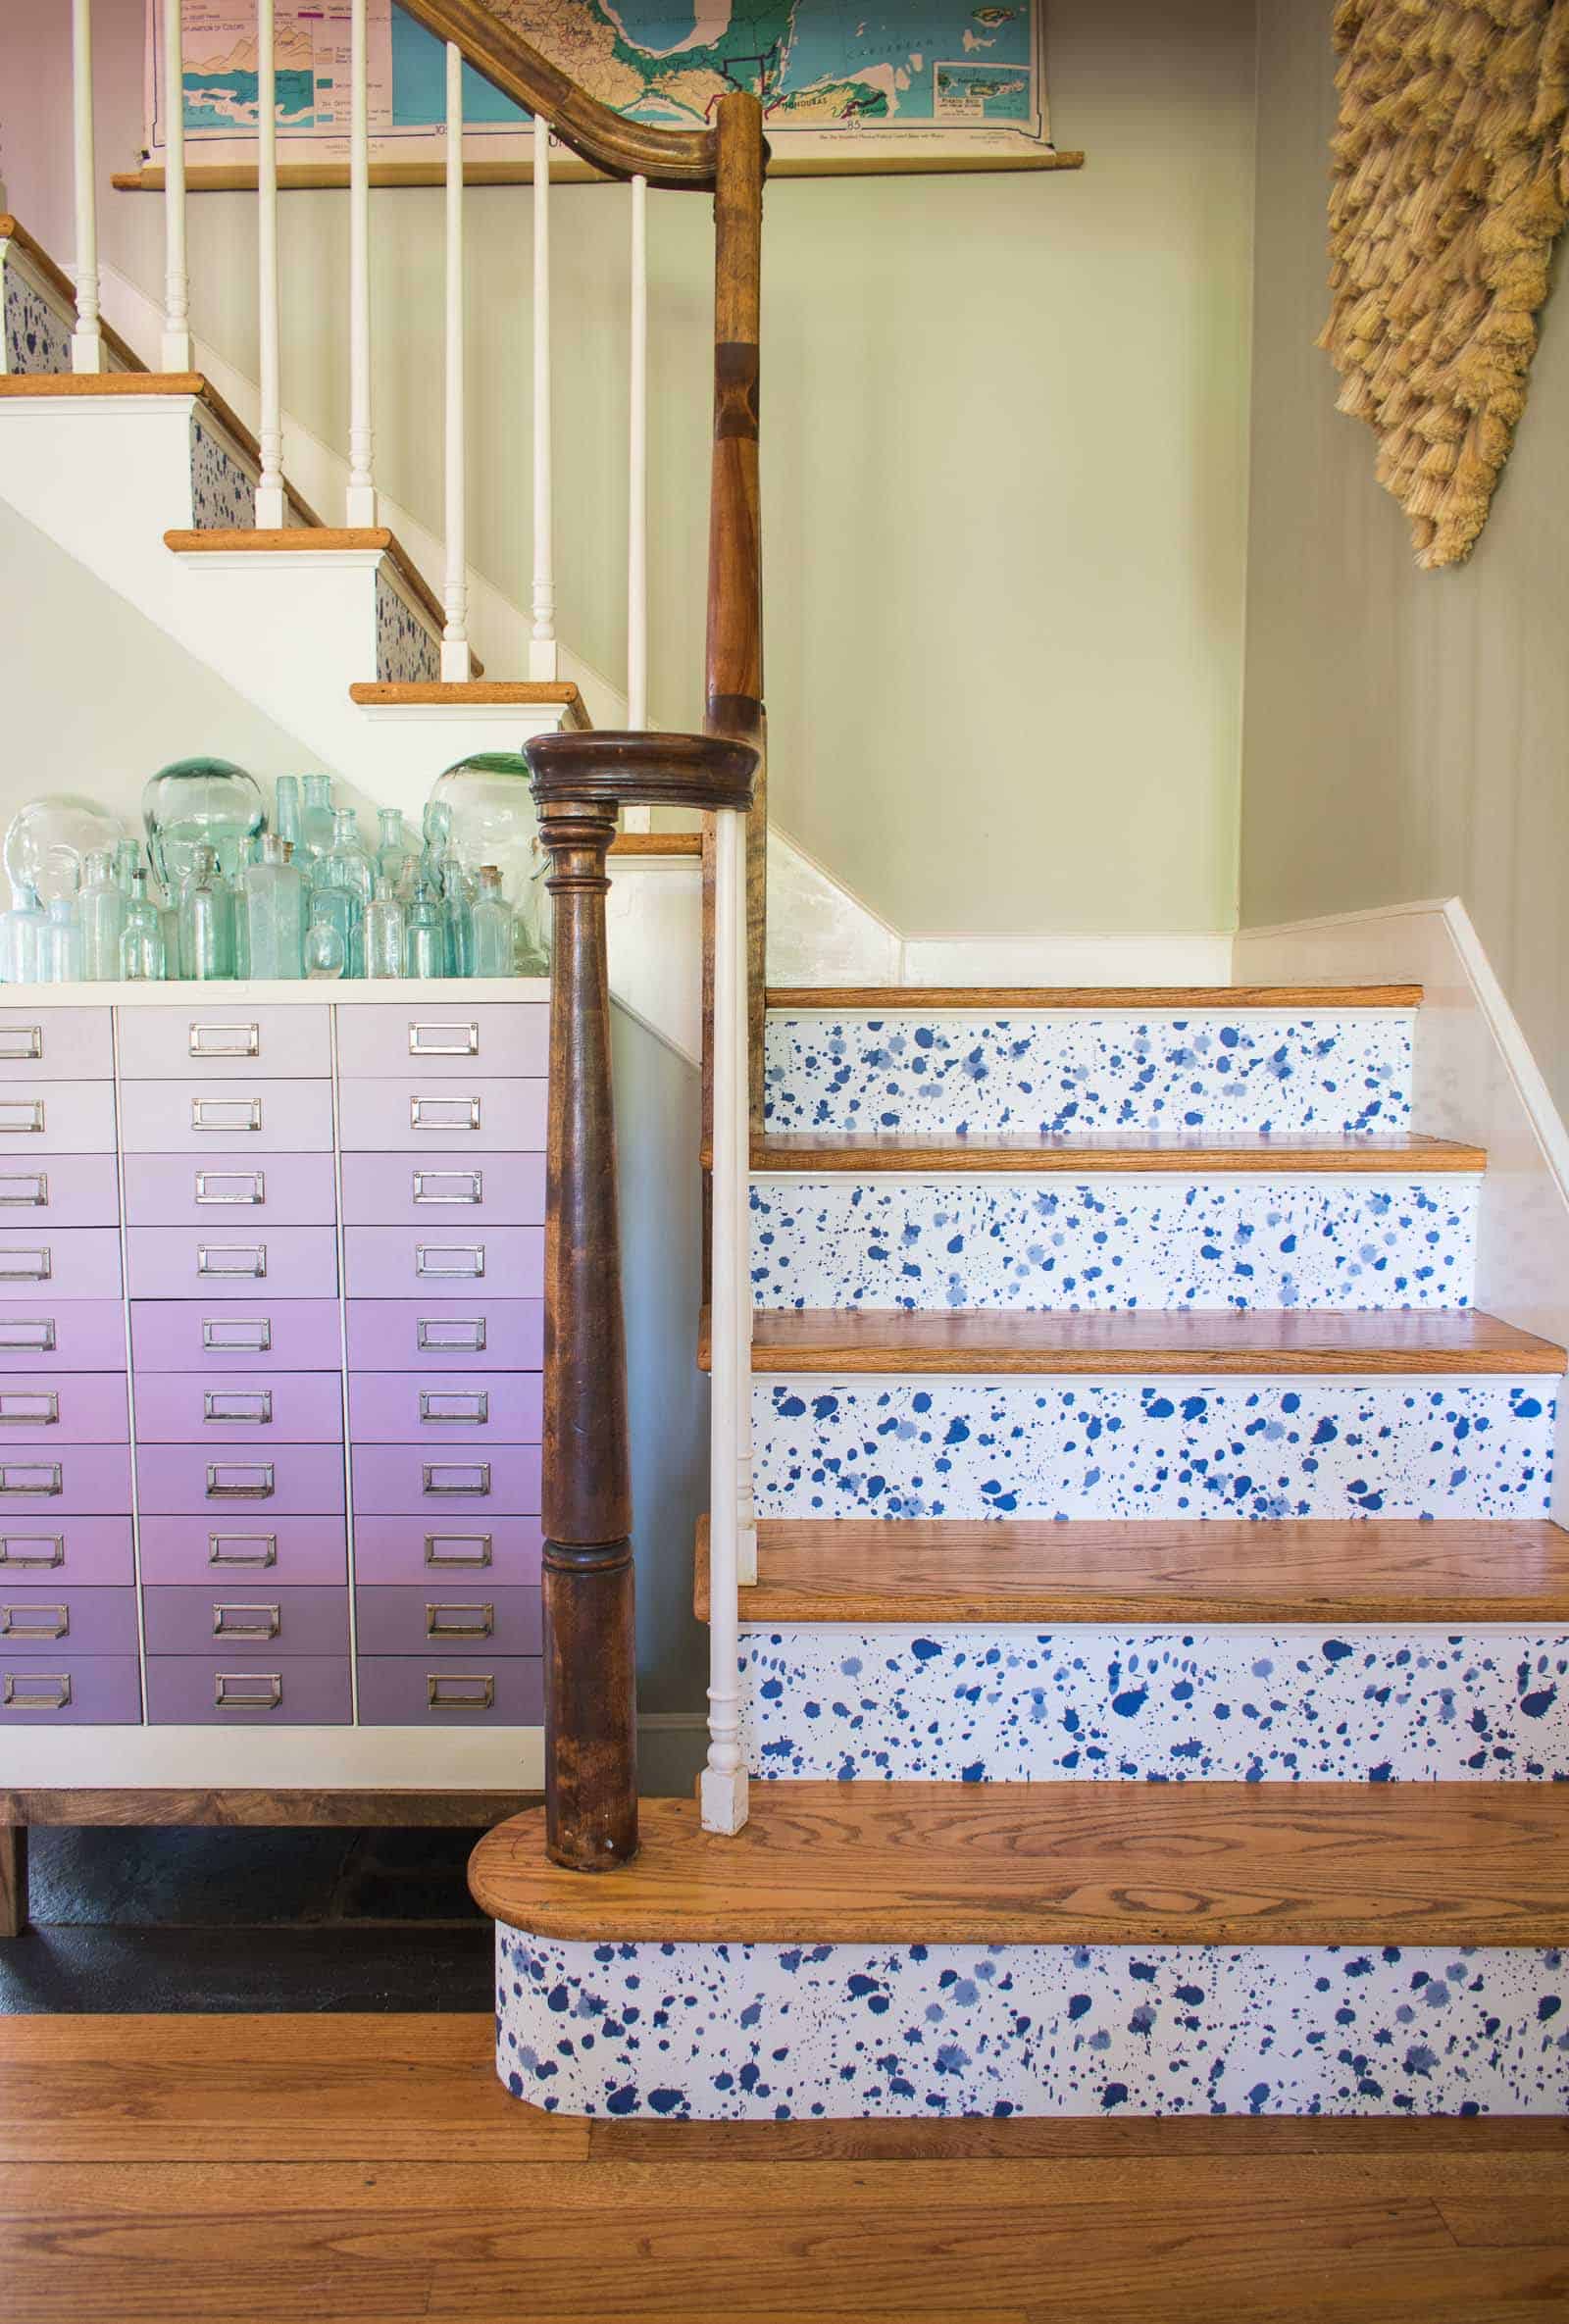
One of the projects I was dying to try in this new house was an update to the stair risers… since paint was out of the question, I brought in some removable wallpaper! For $90, I added this fun pattern and color to an otherwise neglected part of the house!
Shop my favorites!
This project is pretty simple to do… it took me a short afternoon one weekend. The biggest thing to consider is what style wallpaper to use!
1. Choosing the Right Wallpaper
Chances are, your staircase will be WIDER than the width of the roll of wallpaper. Which means one of the following:
- You will have a seam somewhere on each riser where the two widths of wallpaper meet.
- You need to choose a wallpaper with a pattern that you can turn 90-degrees in order to cover each riser completely.
(I went for option 2!) Note: This was a super easy workaround since my pattern easily worked sideways, but… another thing to note… Spoonflower designers are sometimes able to rotate their design 90 degrees so you won’t need to railroad it the way I did. I’ve never done it, but try contacting the artist.
2. Finding the right measurements
Determining how much wallpaper you need is always the challenge. Here’s how I figured out my measurements: I started with the width of my stair risers. Because I was running my wallpaper sideways along each riser, the width of the riser actually meant the LENGTH of wallpaper. (Imagine the top/ bottom of the section of wallpaper on the right and left side of the riser.)
Before you go and order 12 rolls of wallpaper… remember that the height of your stair riser is MUCH narrower than your roll of wallpaper. I was able to cover three risers with each section of wallpaper I cut. In other words… one roll of wallpaper was just enough to cover allllll my stair risers.
3. Cutting the Wallpaper
I started by cutting one panel of wallpaper long enough for each riser. (i.e. a riser that was 36-inches wide meant a 36-inch long panel of wallpaper. Well technically, 37-inches to allow for some wiggle room!
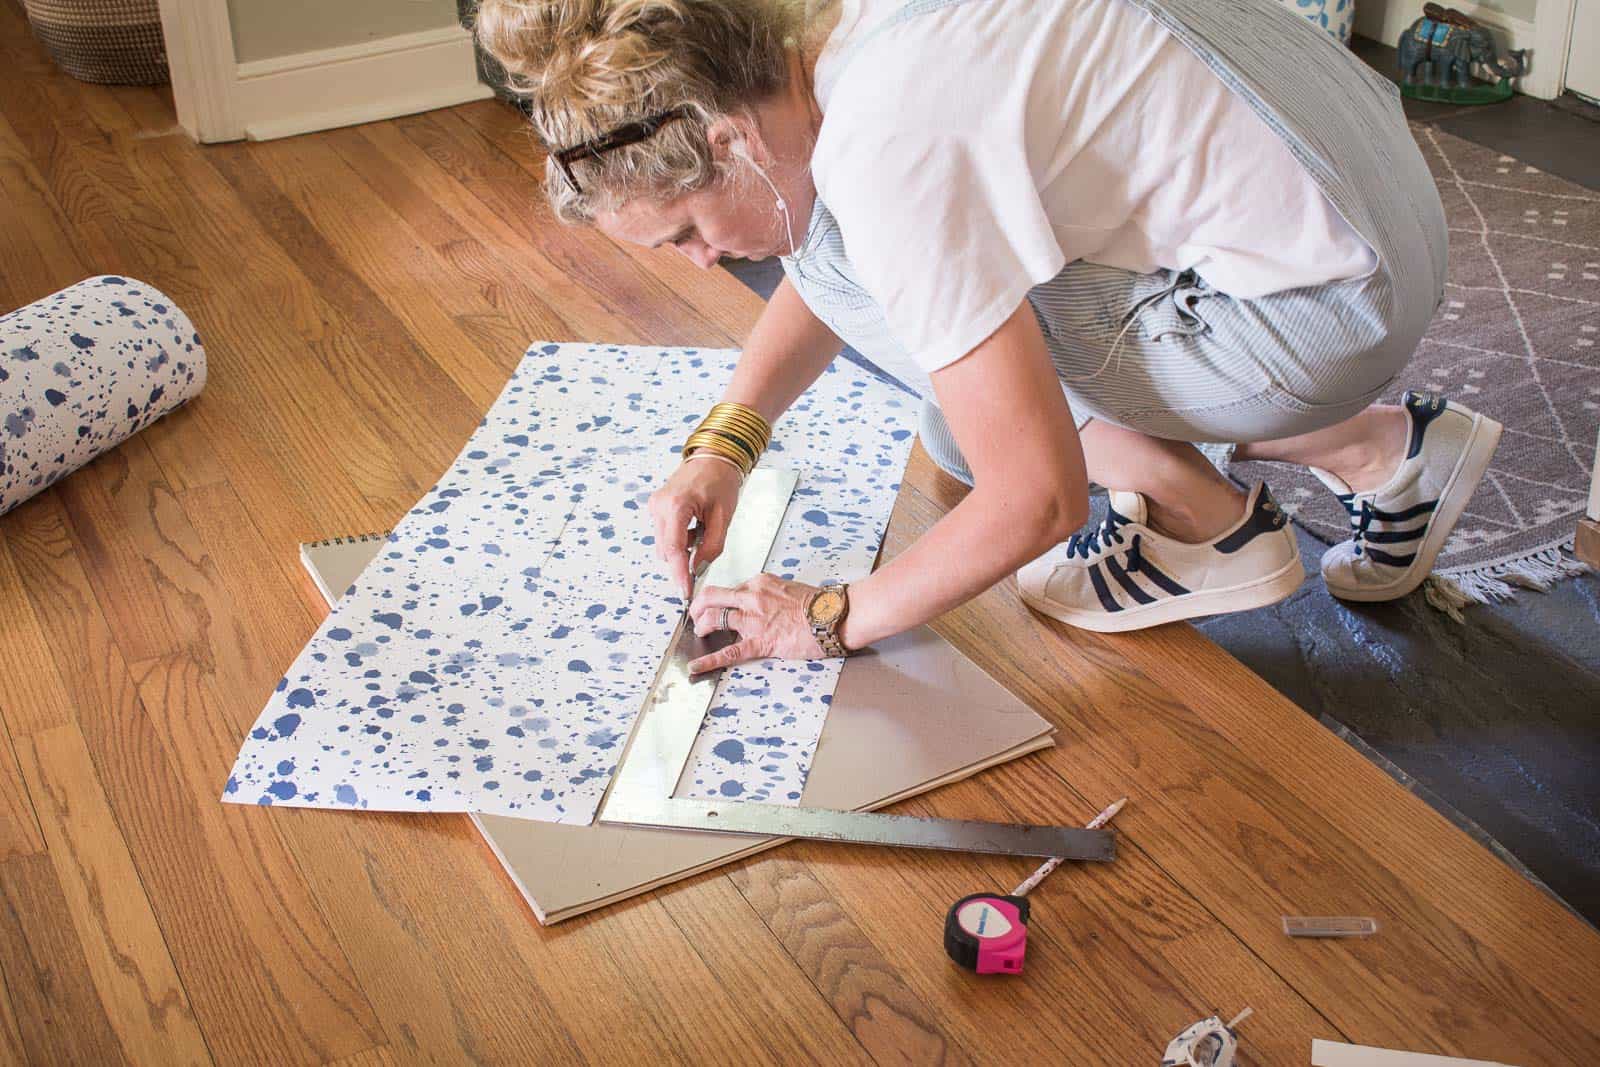
Next I cut each panel into strips as wide as the height of each riser… with some wiggle room. So for riser that is 8-inches tall, I cut my panel of wallpaper into 9-inch strips.
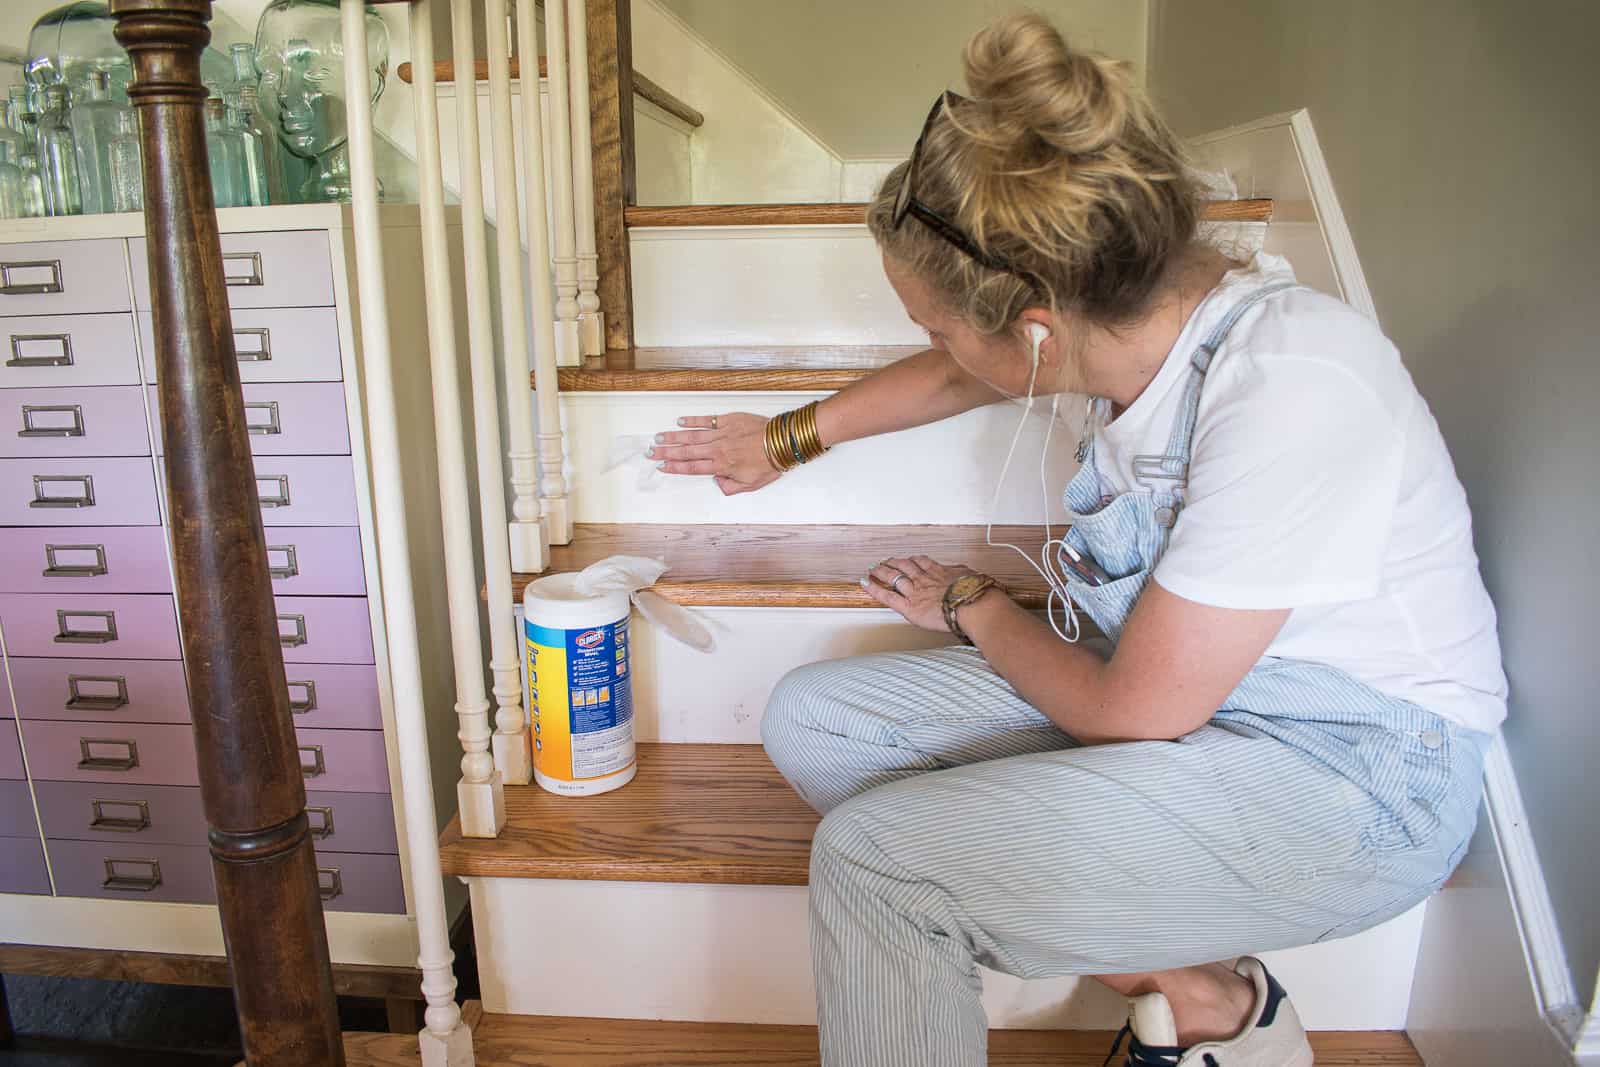
4. Wallpapering the Risers
Start by CLEANING the risers. I would have used white vinegar but we didn’t have any… my Clorox wipes seemed to do the trick.
Because this is removable wallpaper, I peeled off a few inches of the backing and matched up the top right hand corner with the stair riser. Using the top of the riser as a guide, I carefully removed the backing and smoothed the wallpaper into place. I had a bit of excess along the bottom of each riser and then at the end of each riser. Using a SHARP blade, I trimmed off the excess. (I buy a large pack of flat razors and reach for a new one every 4th cut or so.)
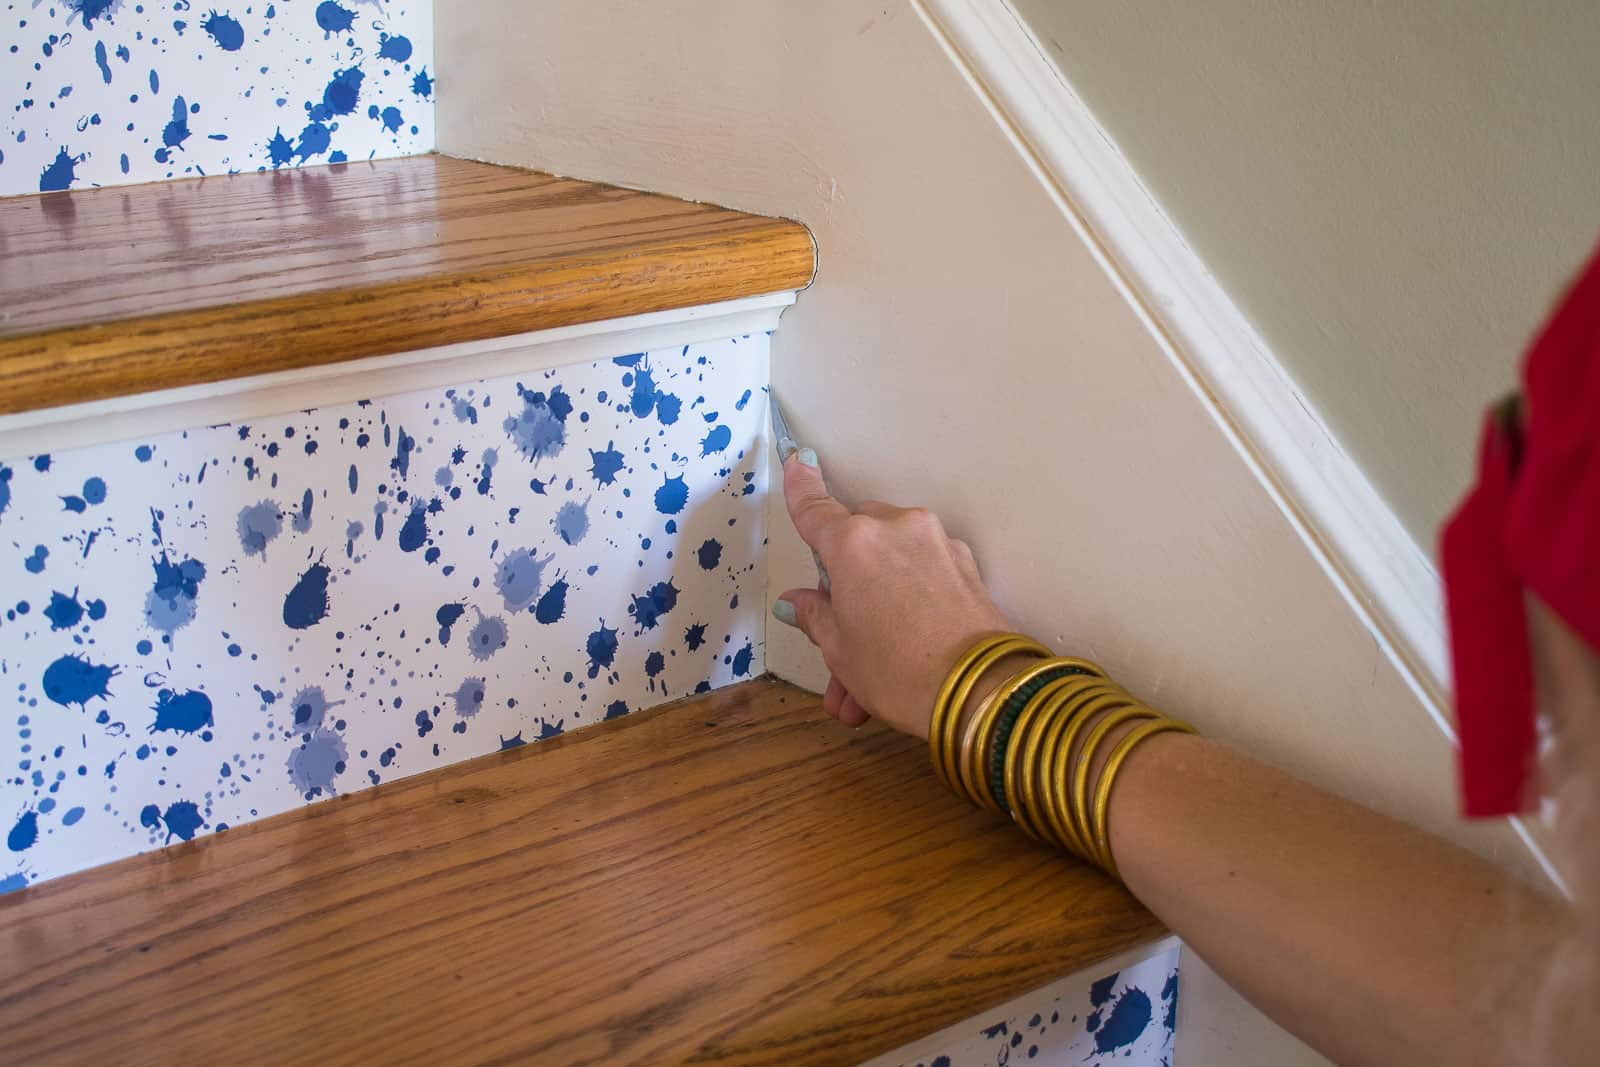
As with any wallpaper project, using a flat tool will help to ‘pull’ the bubbles to the edges of the wallpaper to smooth it out. I was using an old plastic library card… technical I know.
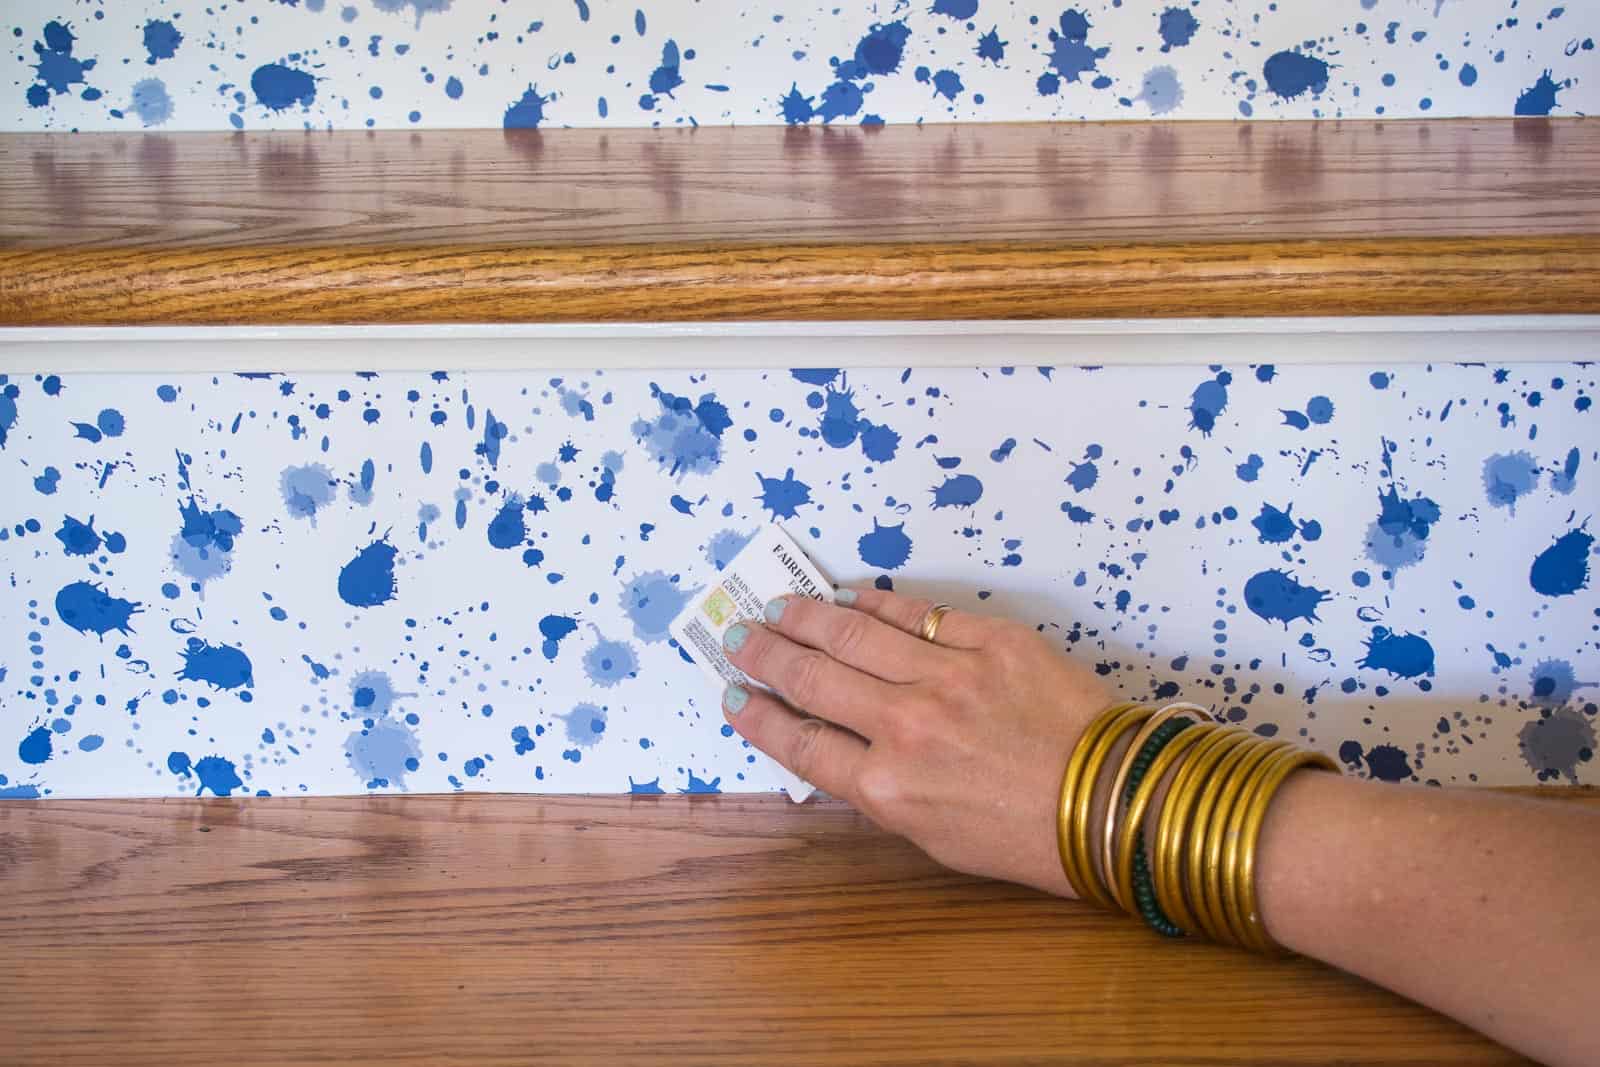
For any stubborn bubbles, make a small incision with your blade to release the air and then smooth out with your flat tool.
Tip: Double check each riser before you cut the wallpaper. I made the wrong assumption that the three stairs at the top of our staircase would be the same width as all the others… wrong. They’re a few inches wider so I had to add a second strip of wallpaper to these risers.
Maintenance: I suspect that over time these risers will get scuffed, but they should be easy to replace as needed. I’ll cross that bridge when I get there. In the meantime, I’m not using any sort of mop or wet cleaner near the wallpaper just to make sure it doesn’t get smudged or pulled loose from the stair.


Use of the wallpaper in a very nice way its look really nice and it inspired me to do something similar to use it in my own home.
Thanks so much! Good lucK!
Looks so awesome!
Getting ready to do the same to my risers but wondering if we need to put something over the wallpaper as a sealer….Modpodge?
Hi! I didn’t put anything on top because the wallpaper is fairly durable, but I will say there are a few risers that could stand to be replaced because they get wet when they’re mopped so they’re bubbling. So I’d avoid water. 🙂
It’s been a while since this post. any update on durability, or things you’d do differently a second time?
Stair risers naturally get scuffed a bit so choose a durable or wipeable paper ideally!