
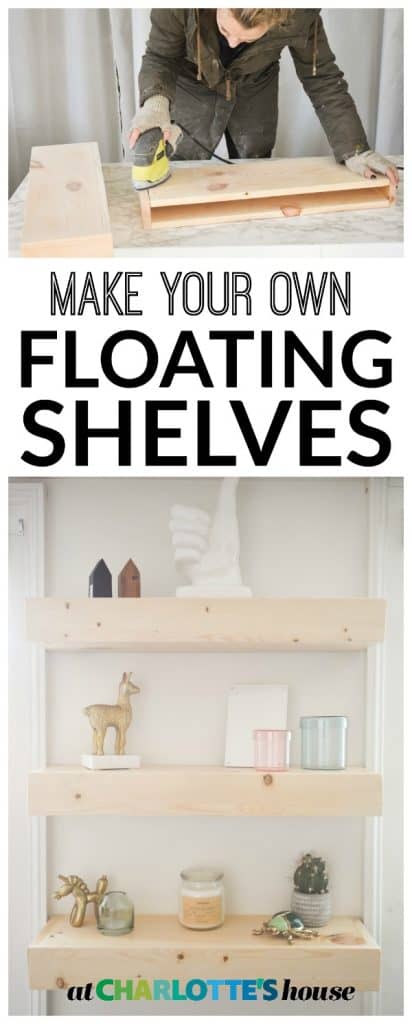
Modern Floating Shelf Tutorial
Psssst… this post *might* contain affiliate links: see my disclosure here.
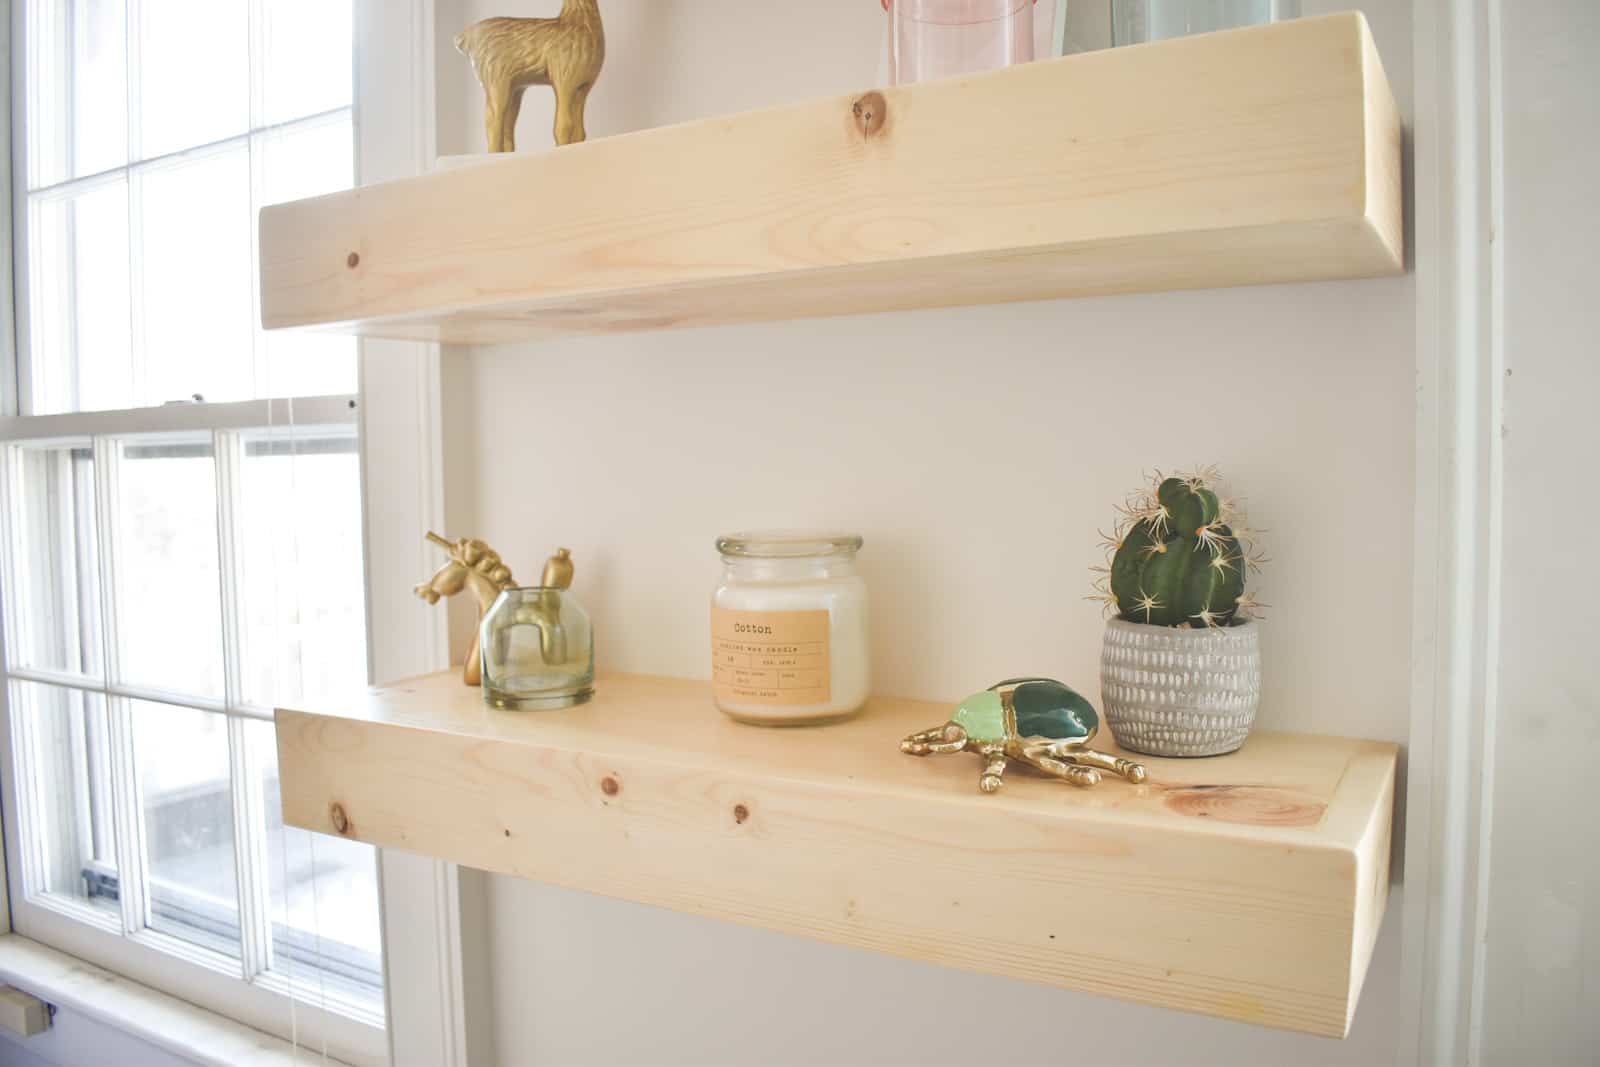
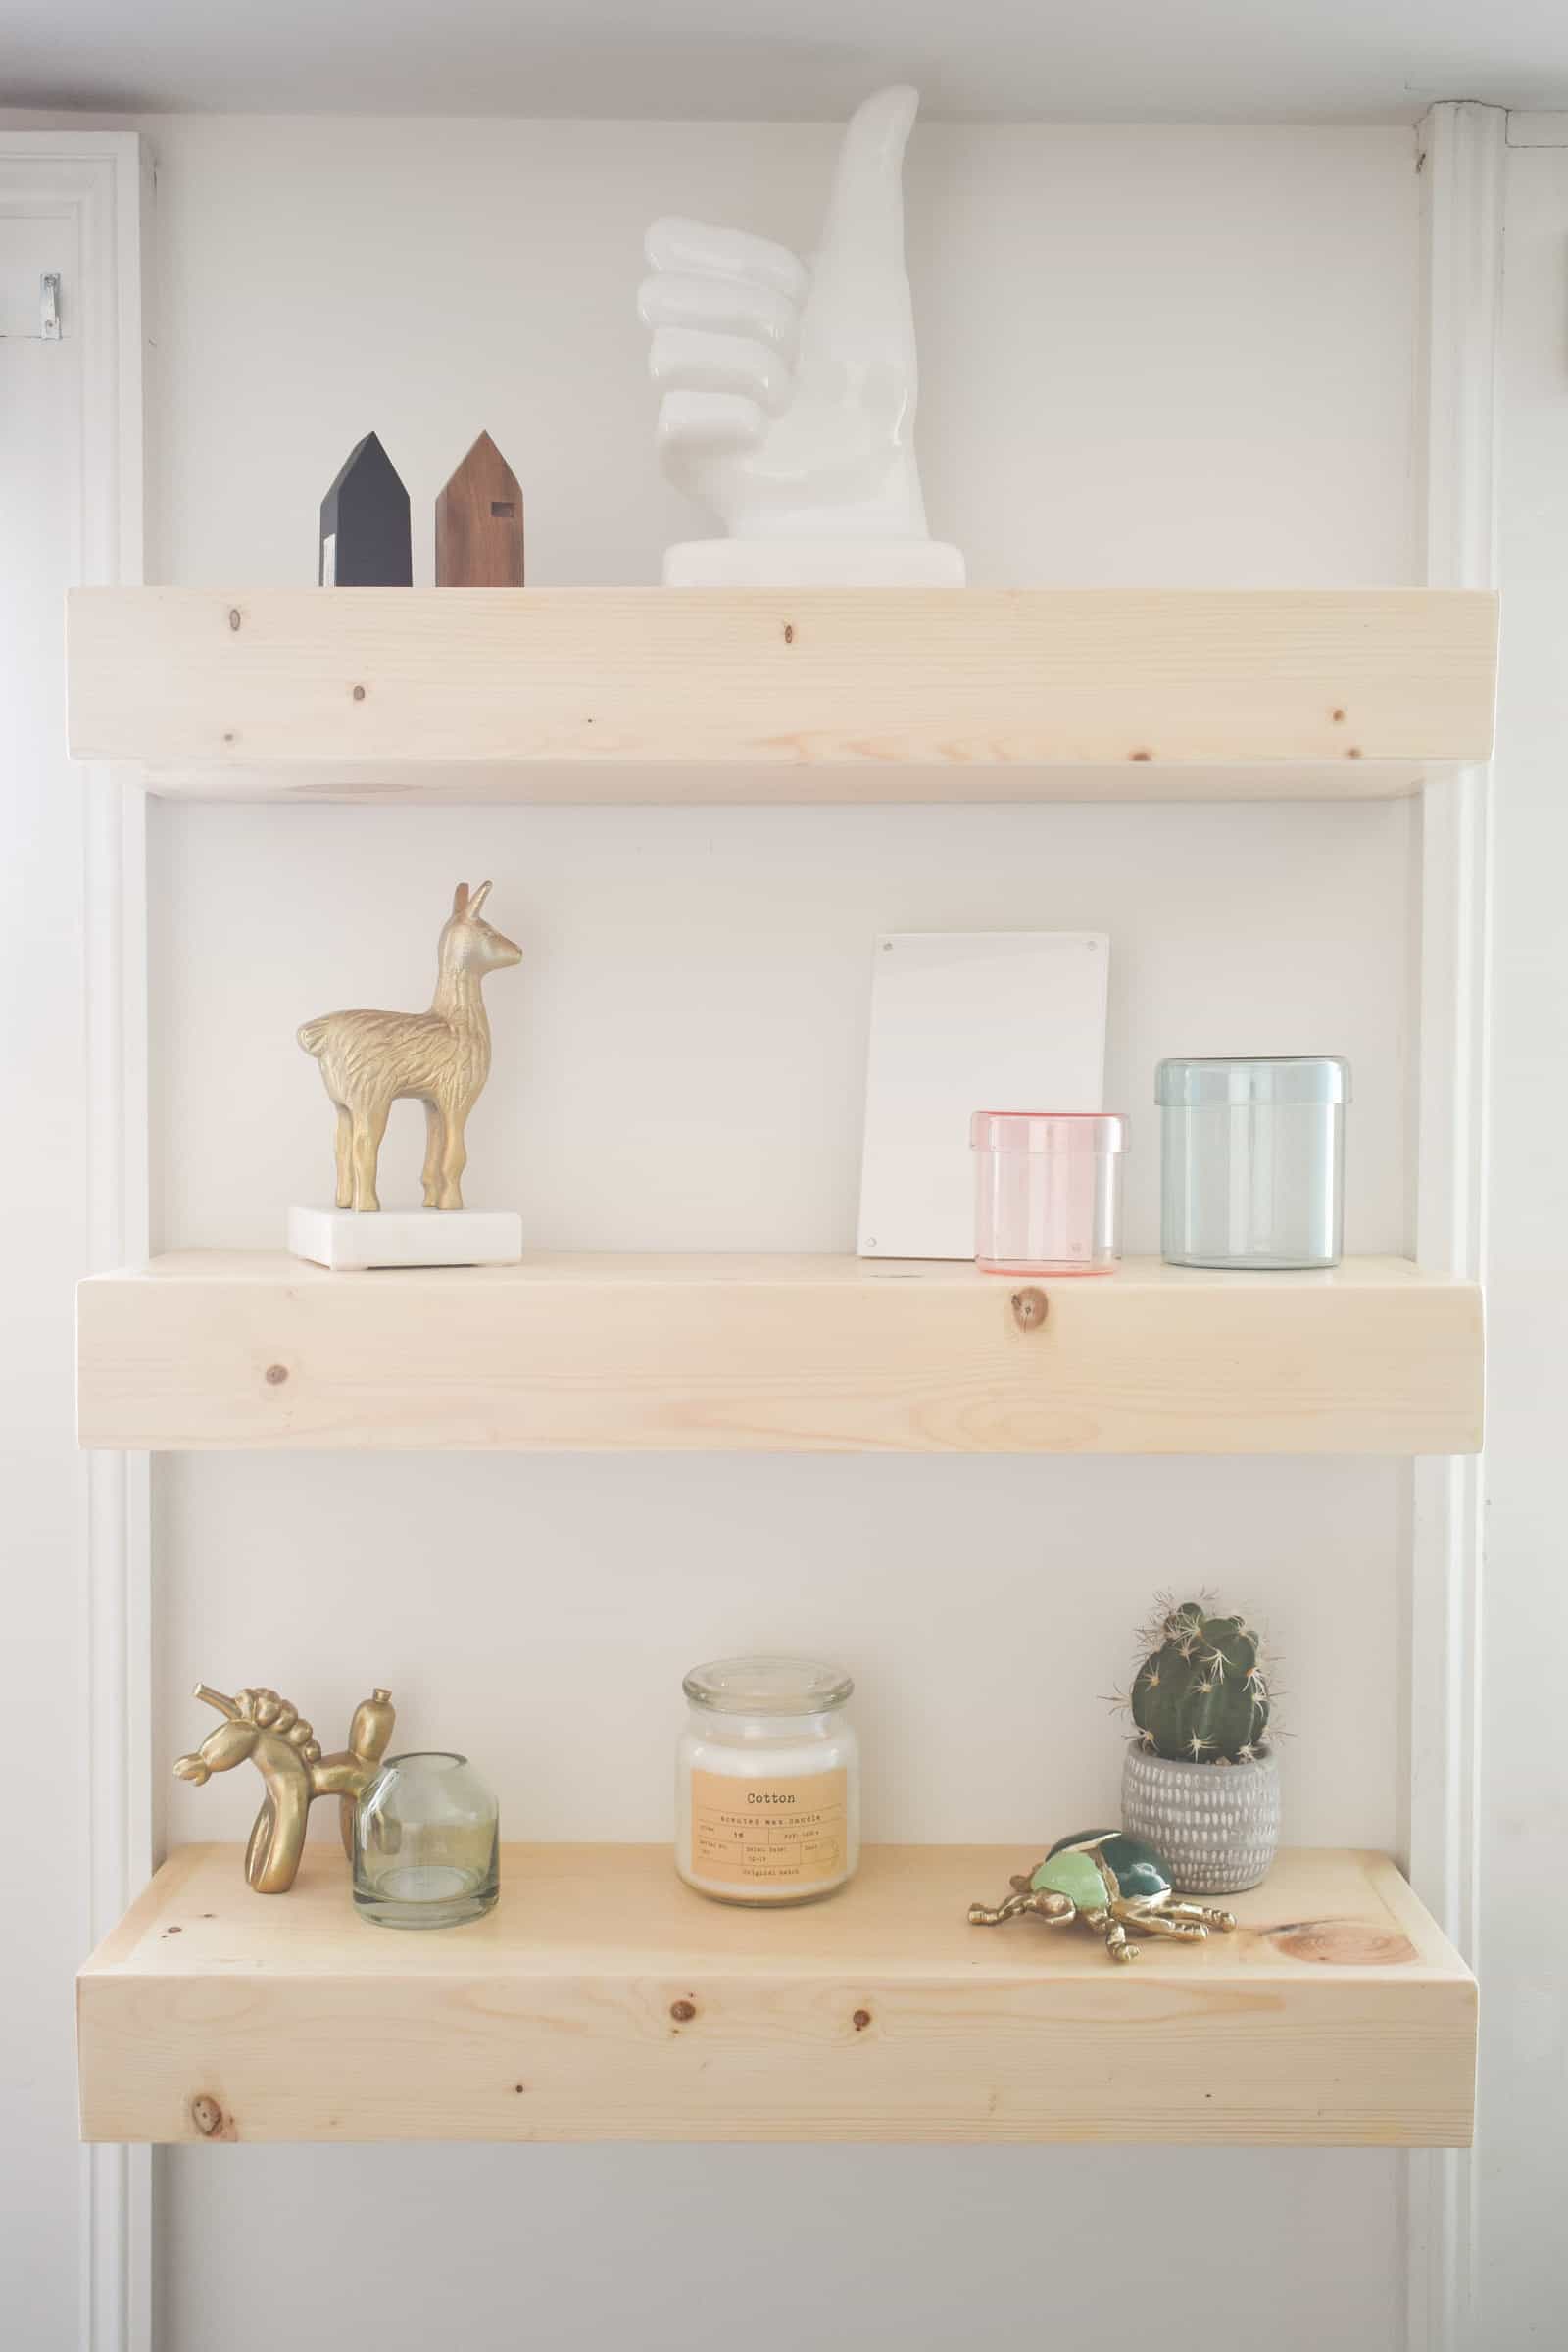
Clean and Simple Floating Shelves
Disclosure: I am thrilled to be partnering with Minwax on this post. I LOVE their products and am really excited to share this tutorial with you!
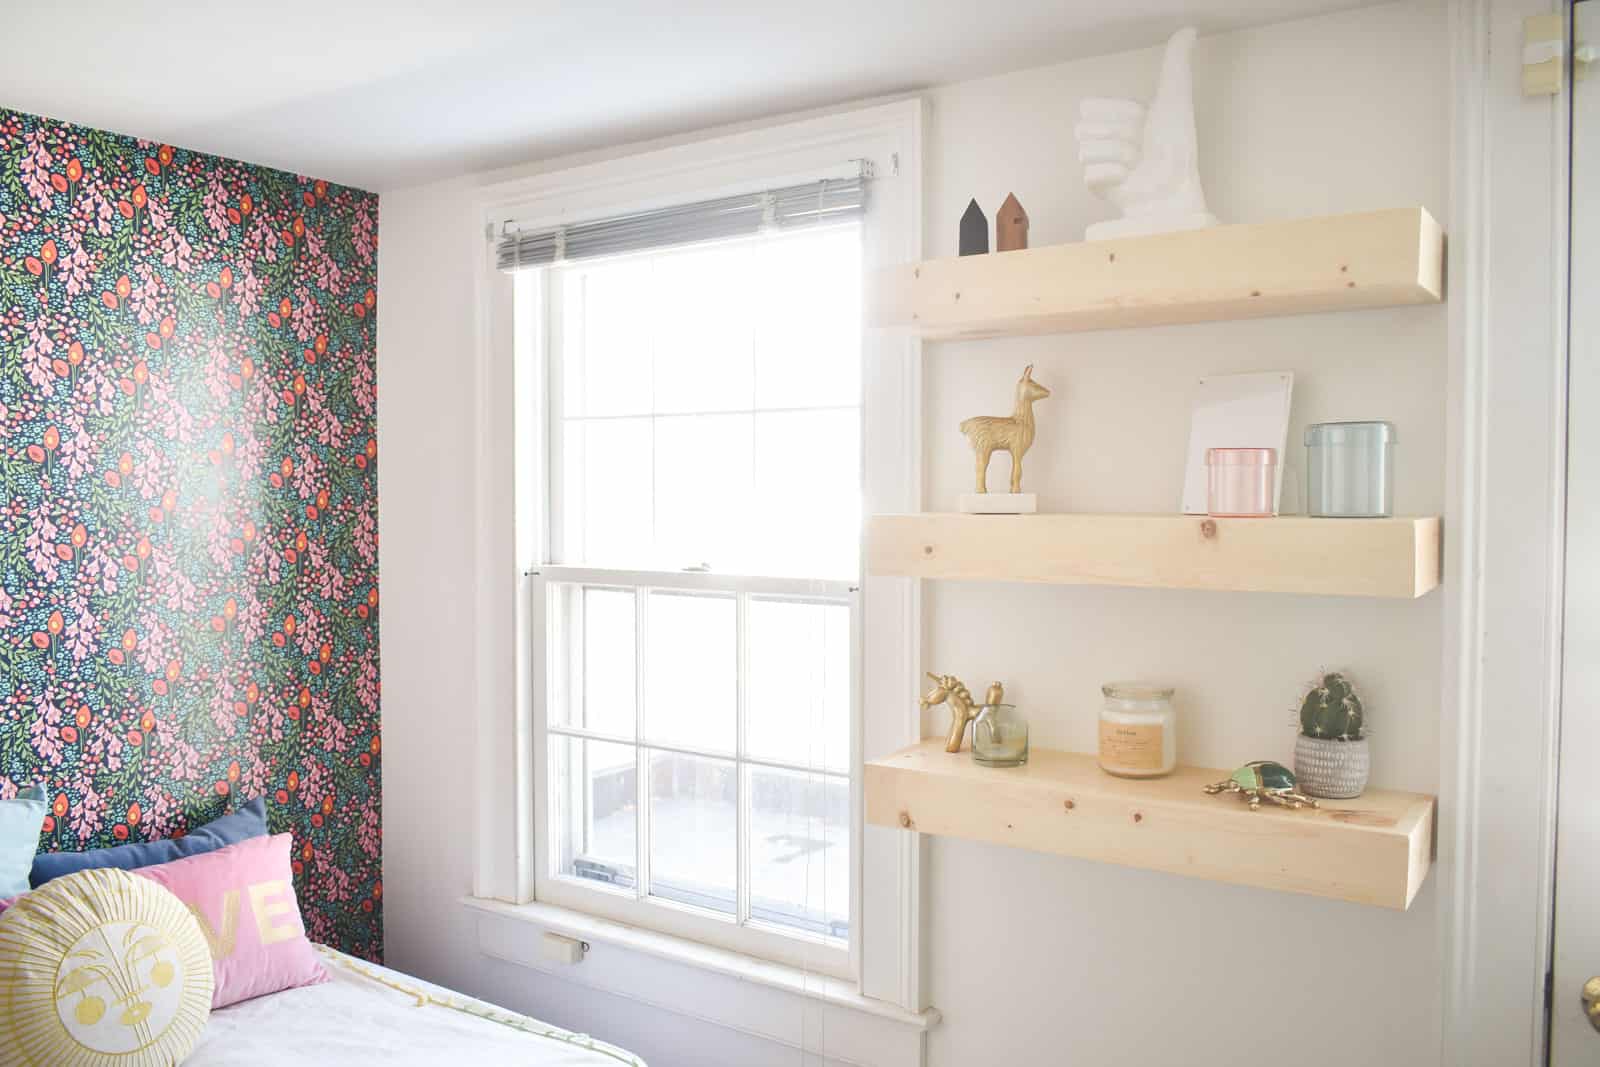
In my updated guest room, I wanted a place to display accessories and to stash little extras… but I didn’t want to take up the floor space that the old set of bookshelves used to. Floating shelves are an easy practical solution to clean lined wall storage and… I love them!
Shop my favorites!
The best part about floating shelves is that they’re *really* easy to build and surprisingly easy to install! Keep reading for full tutorial on how I built these and how I preserved the clean bright finish of the wood!
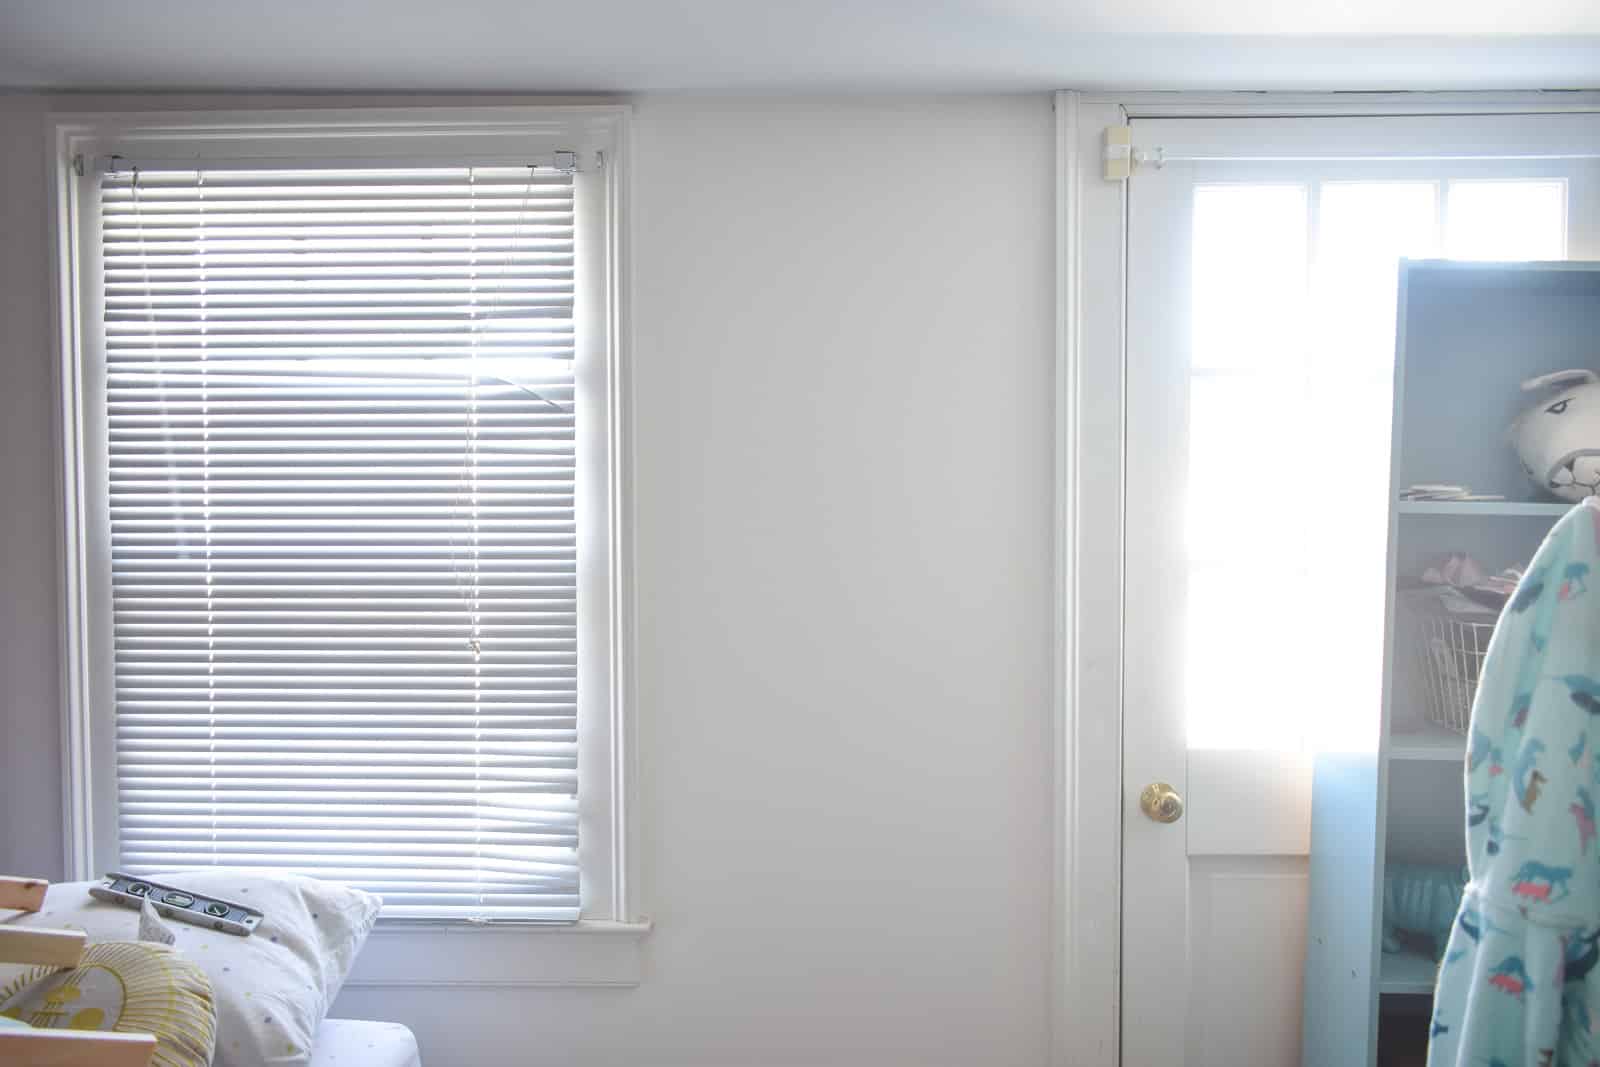
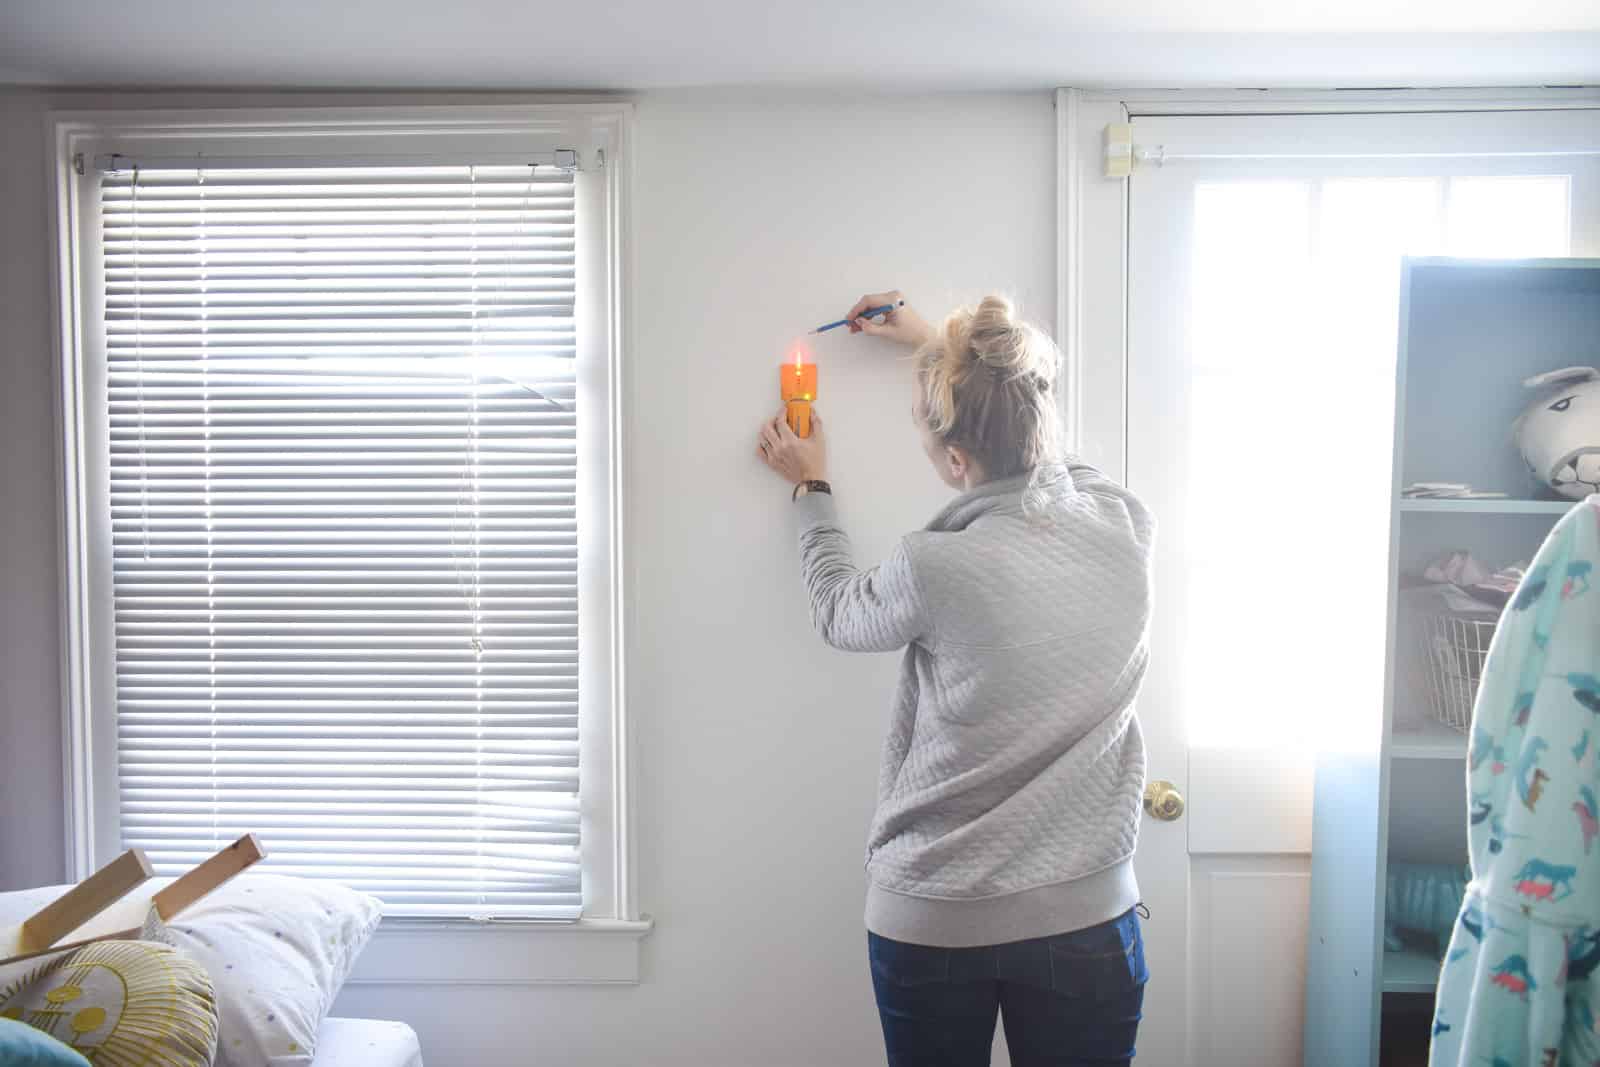
Step 1. Measure
Proper measurements were truly the most complicated part of this project… Here’s what you need to know: 1) the width of your shelves, 2) depth of your shelves, 3)where the studs are on the wall. Because I was trying to keep these a little more diminutive in scale, I was using 1x common pine lumber.
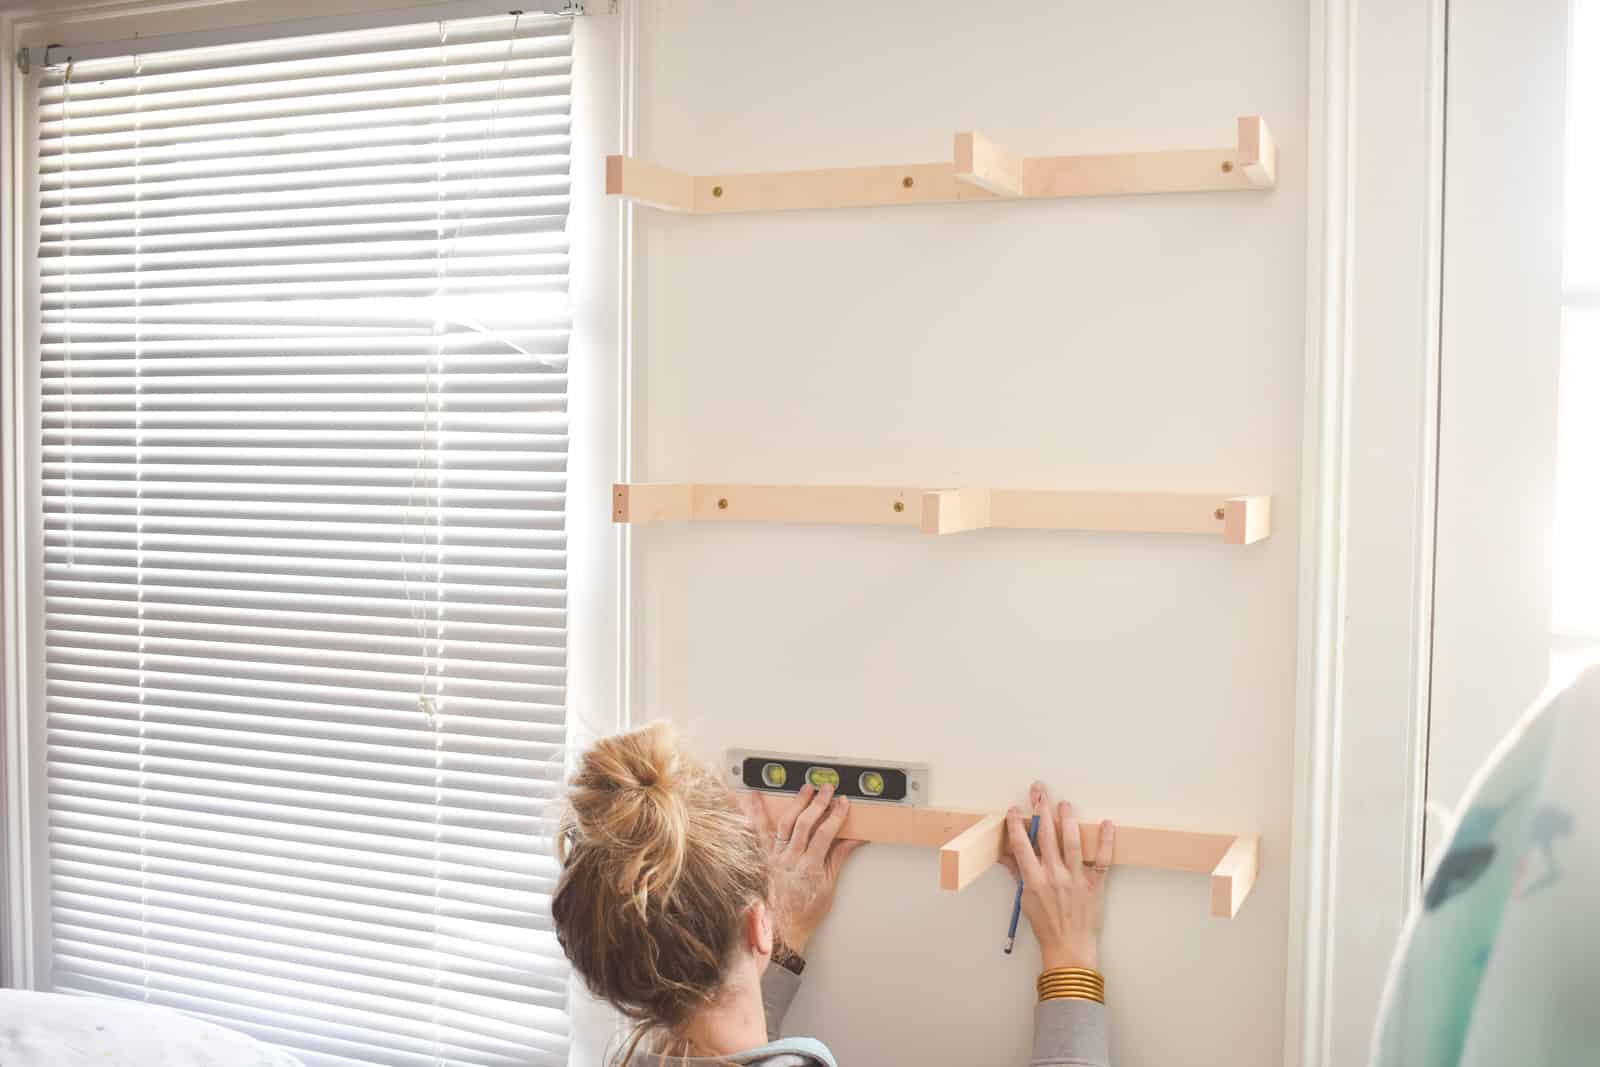
Step 2. Build the Brackets
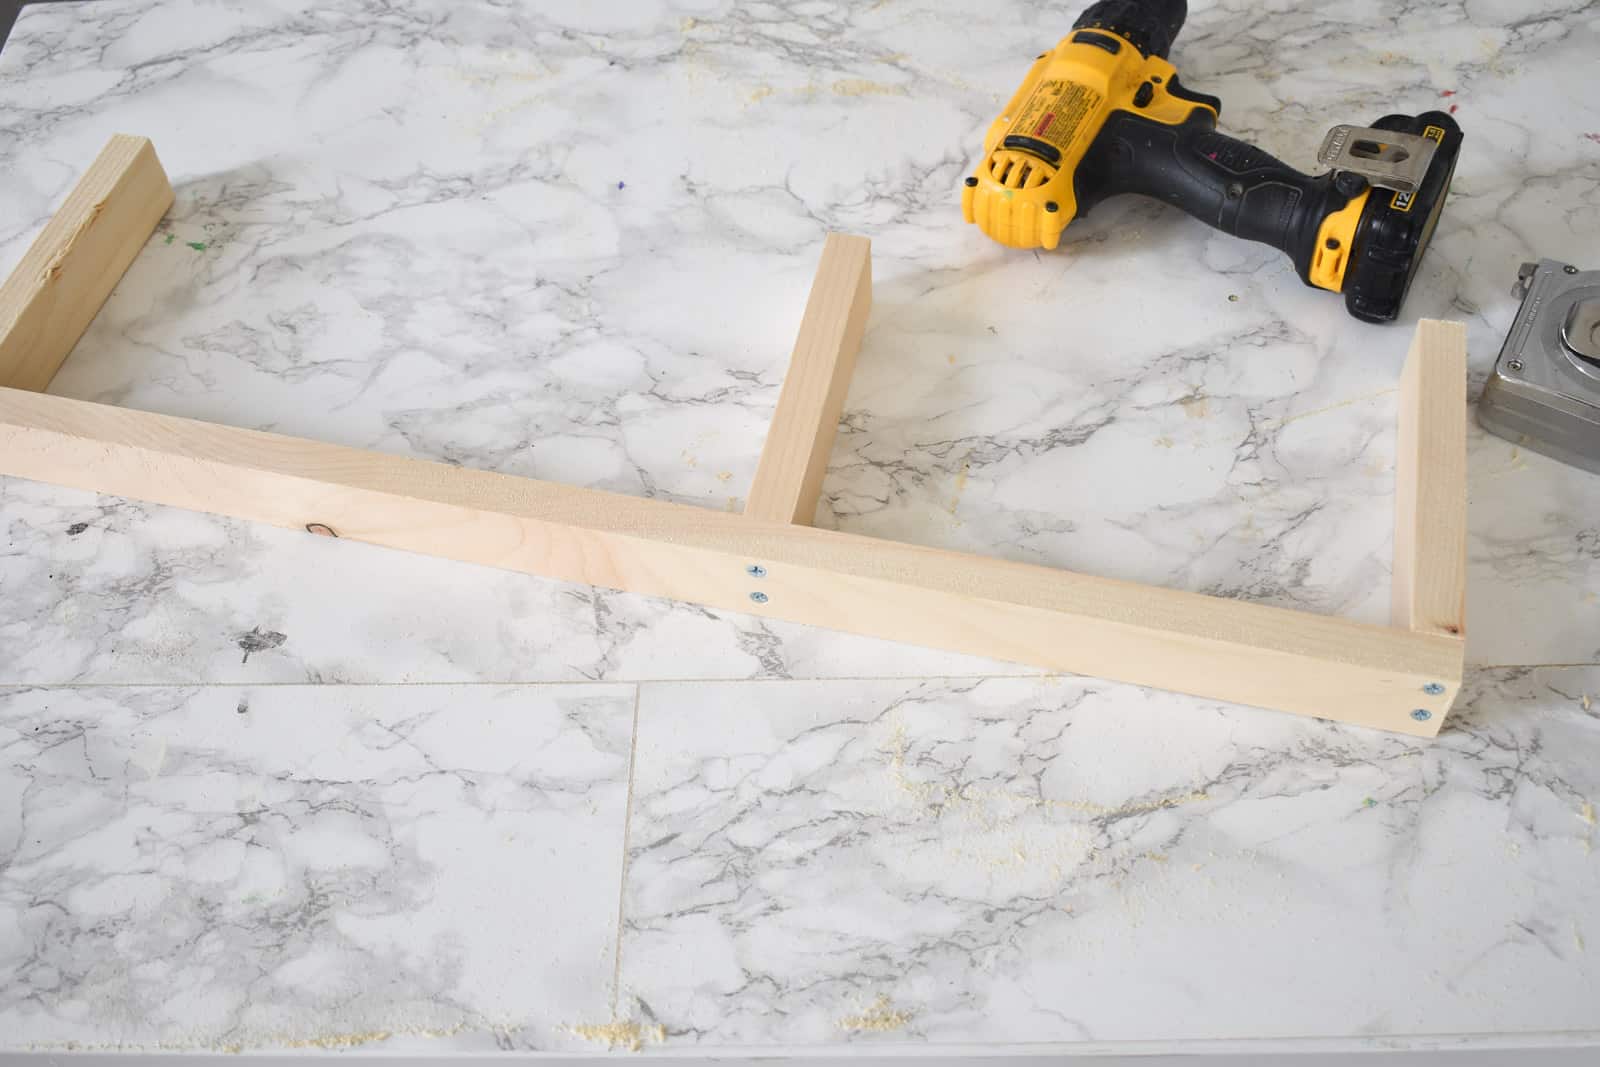
The brackets are what will secure your shelves on the wall. These provide the support and allow the “floating” aspect of the shelving.
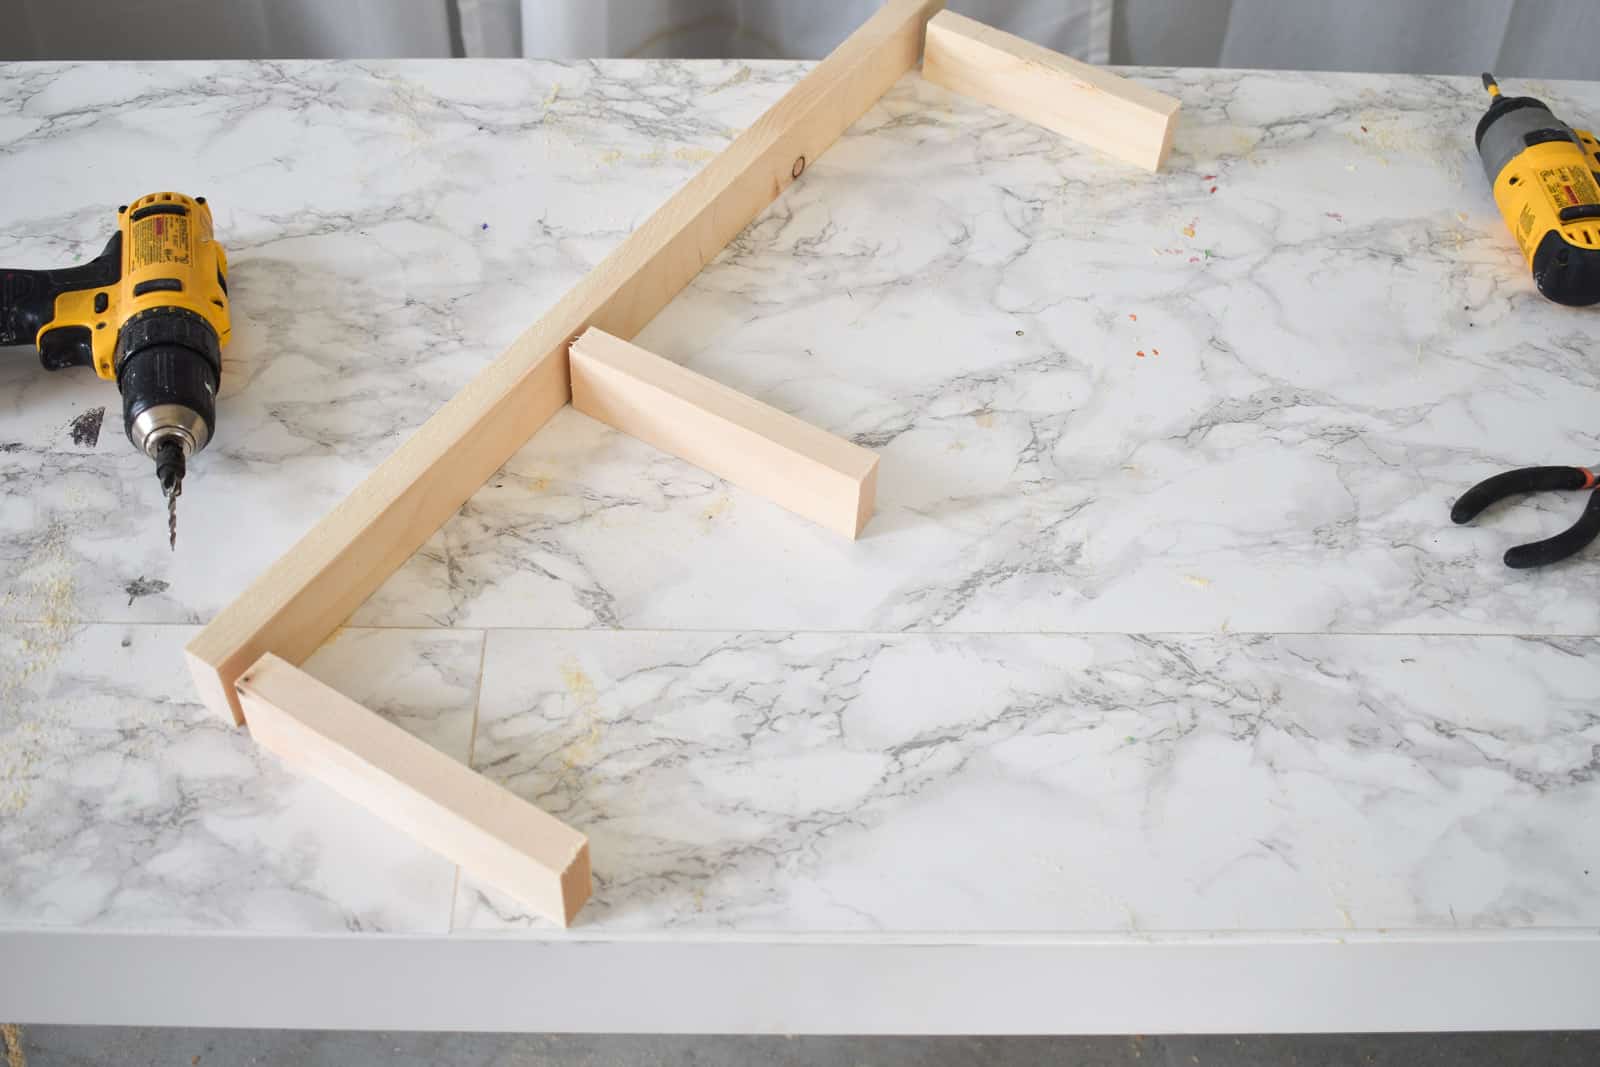
I used 1x2s so these are fairly skinny. I knew they wouldn’t be that long and I knew they wouldn’t need to hold a ton of weight. For larger, longer shelves… consider thicker lumber like a 2×4.
Determine the depth of your shelves taking into account the width of the material you’re using to build the shelving box as well as the width of the bracket itself. Countersink the screws and attach the smaller support pieces to the longer bracket as shown.
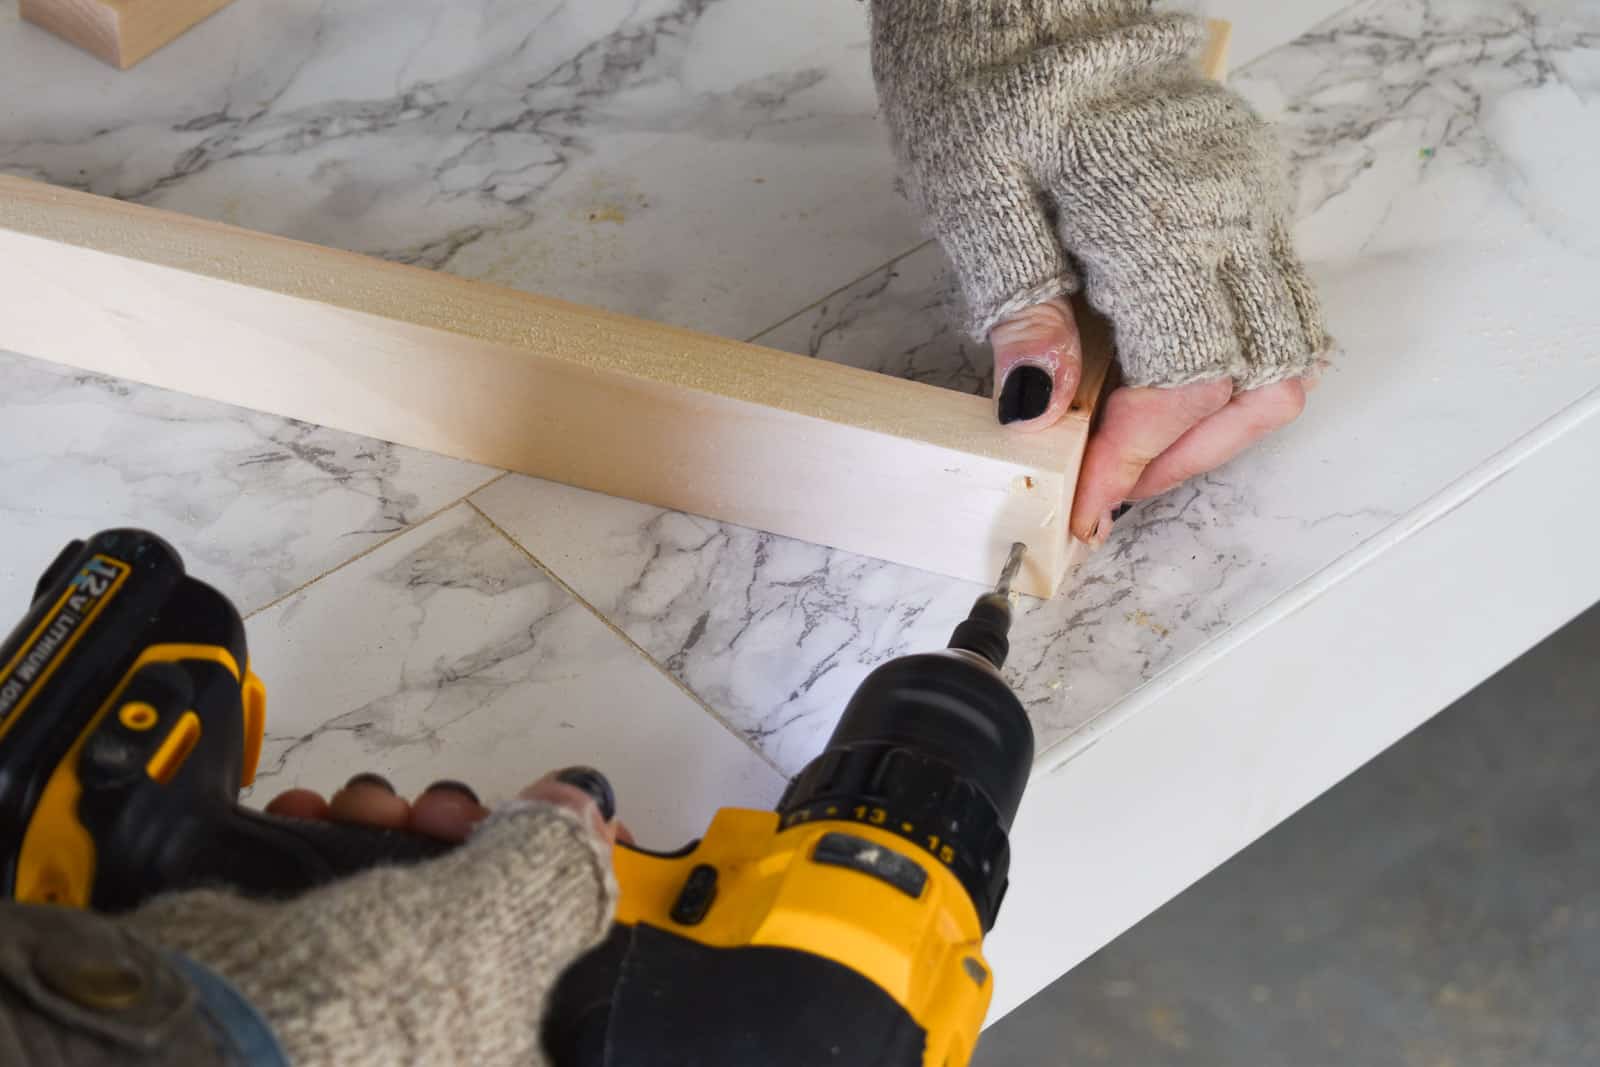
Note: Take into consideration where the studs are and make sure you’re not screwing the smaller support pieces onto the brace where any studs are.
Step 3. Build the Shelving Boxes
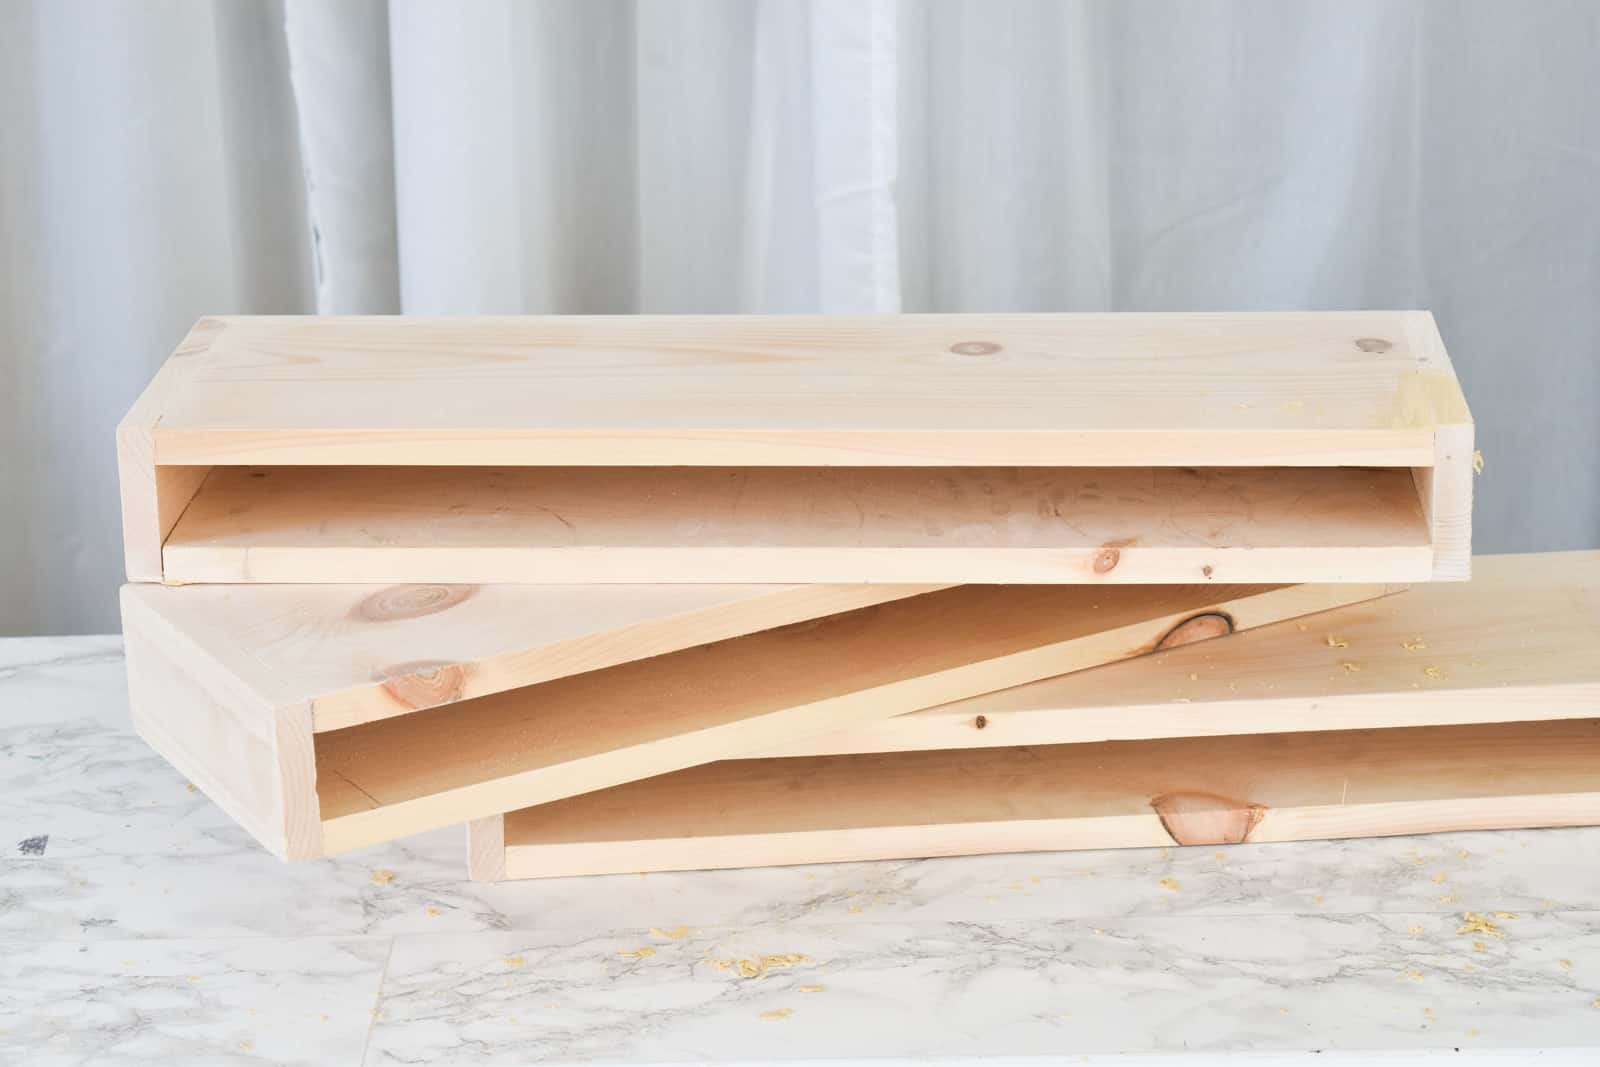
You want these “boxes” to slide onto the brackets perfectly. If they’re too loose, the shelves will wiggle around and won’t be secure. Check and double check your measurements as you go… consider yourself warned.
I wanted the edges to be fairly clean since I knew I couldn’t hide behind paint, so I mitered the two front corners of my front boards so they could sit flush.

I used wood glue and brad nails to build the shelving boxes. Again, I measured and cut each board as I went to make sure they were perfectly aligned.
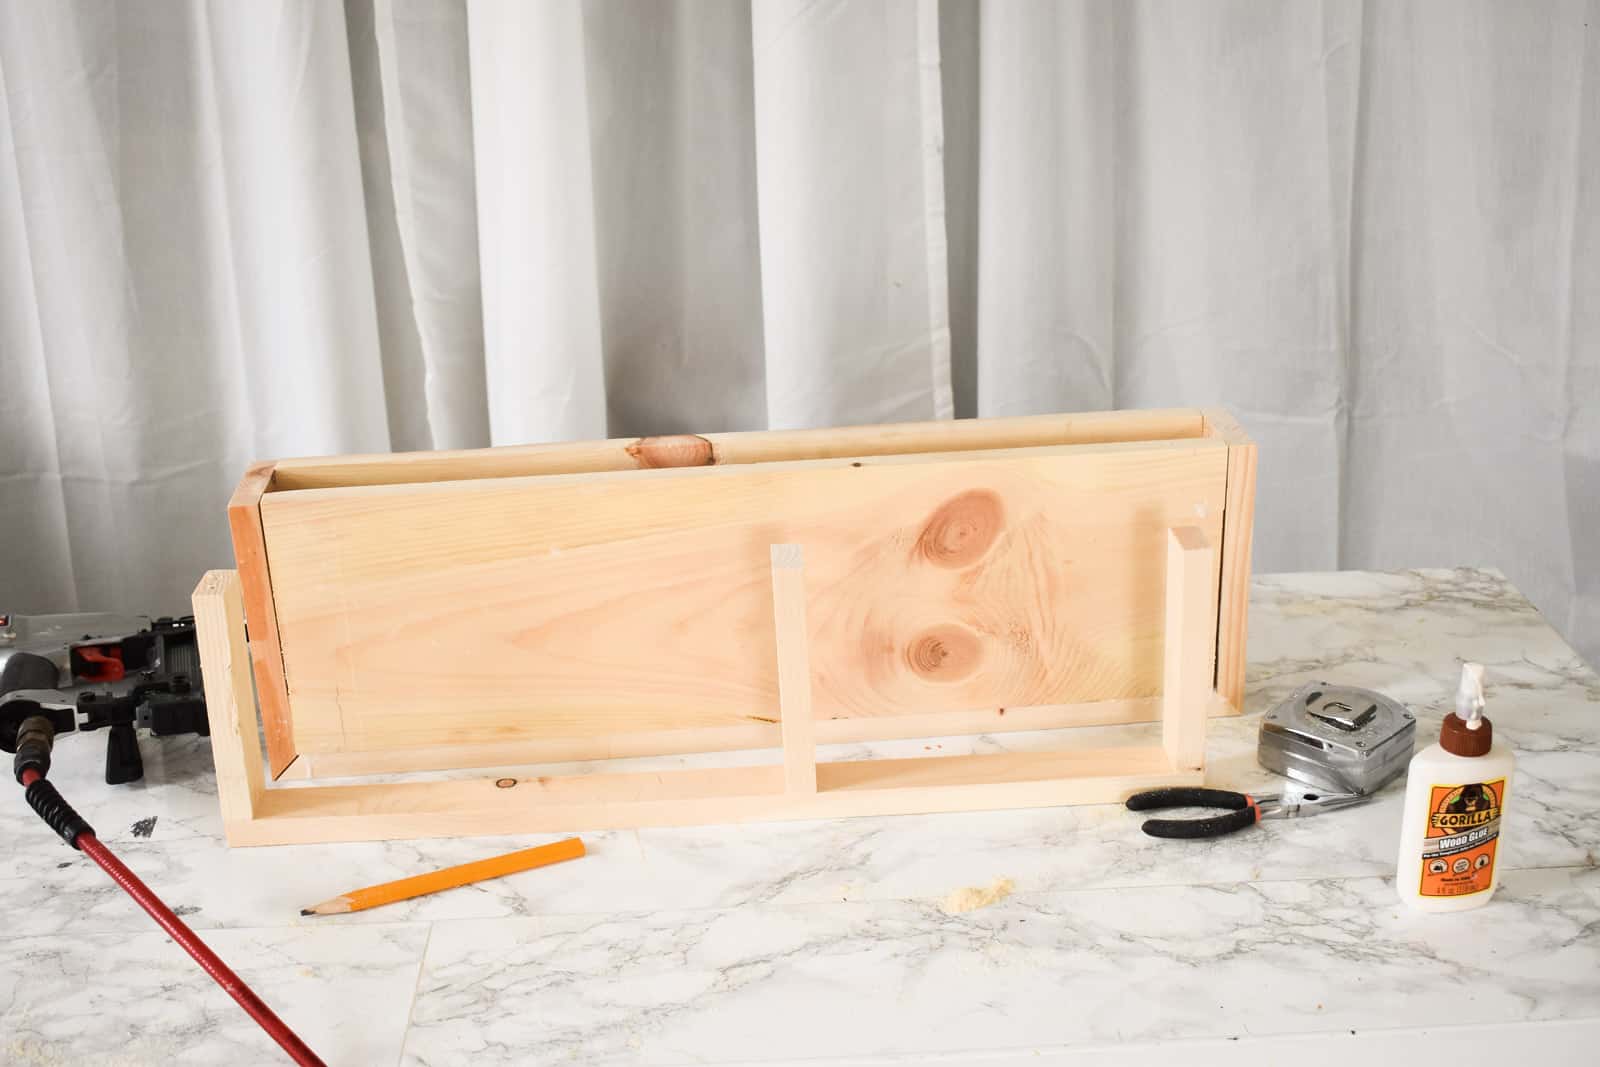
Before the glue dries, make sure the shelving boxes fit over the brackets nice and snug!
Step 4. Apply finish to Shelves
I have a long standing love affair with Minwax’s Polycrylic. I’ve used it for anything from applying a top coat to stain to adhering fabric onto furniture. In this situation, I wanted to maintain the natural wood tone of the pine, but… I didn’t want the shelves to look unfinished or stain.
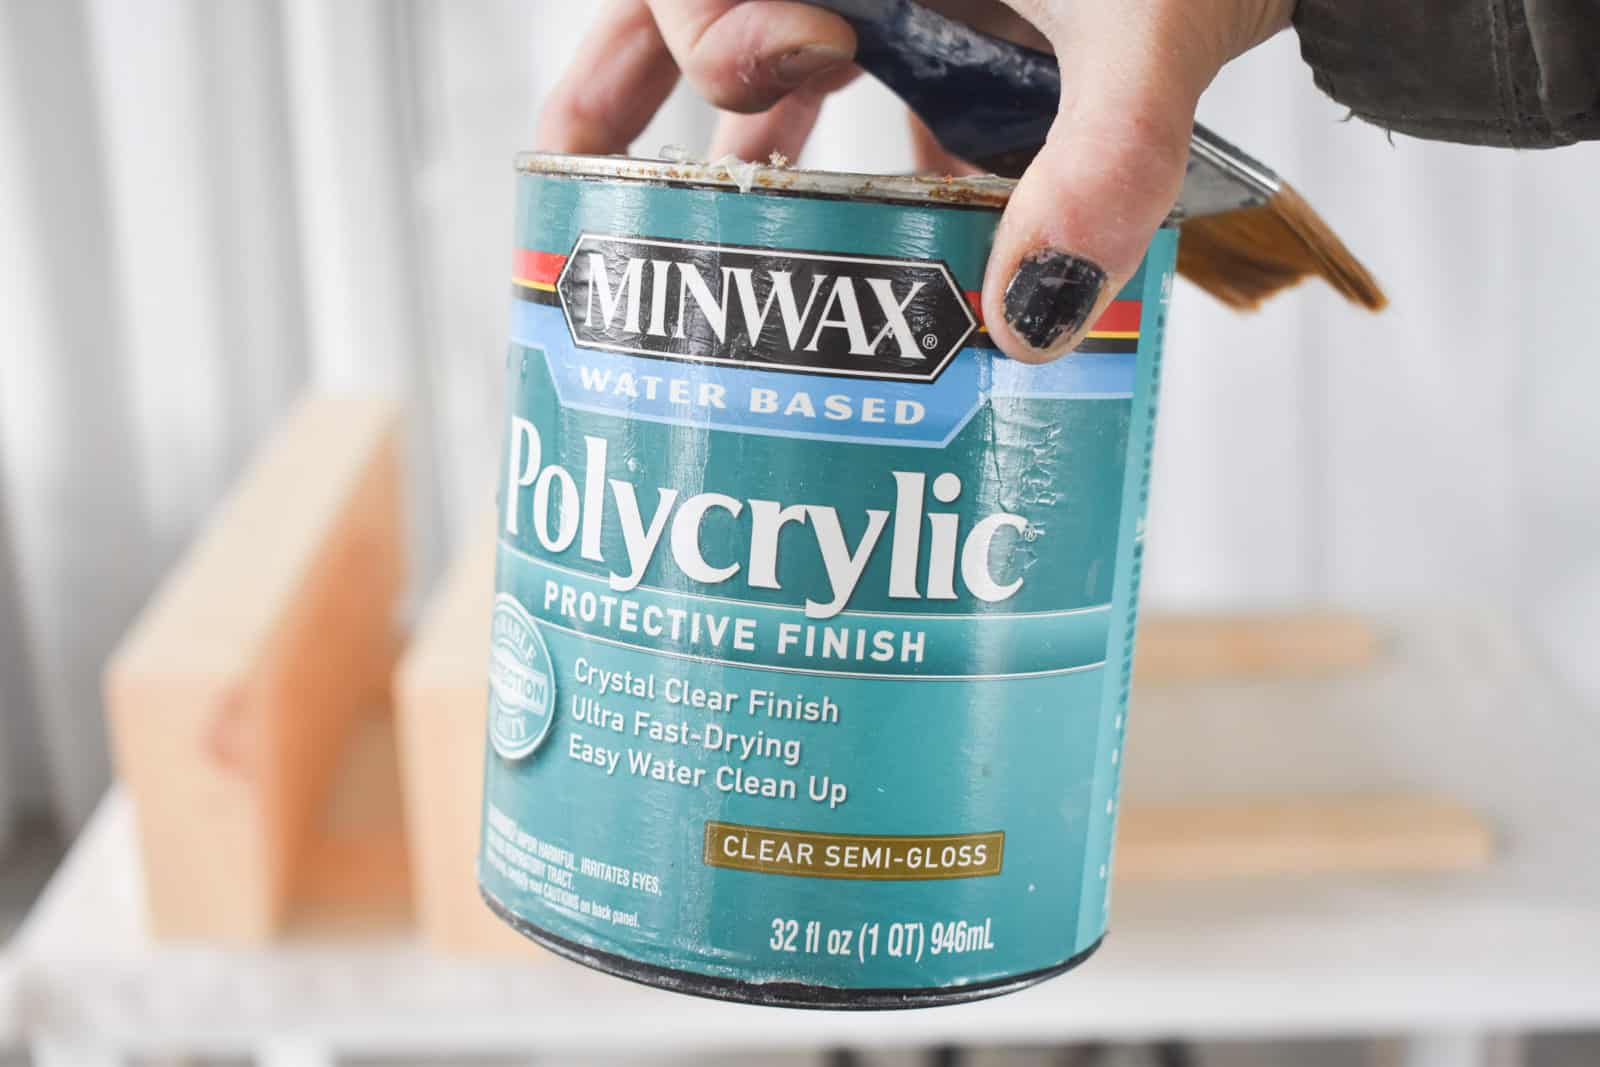
Polycrylic to the rescue. One of the things I love about polycryclic is that it’s WATER based. Yep… you read that correctly… easy clean up and easy application. There were a few places on my shelves where I was able to add a bit of wood fill… because I wasn’t staining, I wasn’t as concerned about discoloration, so I filled in my nail holes and any gaps between the boards.
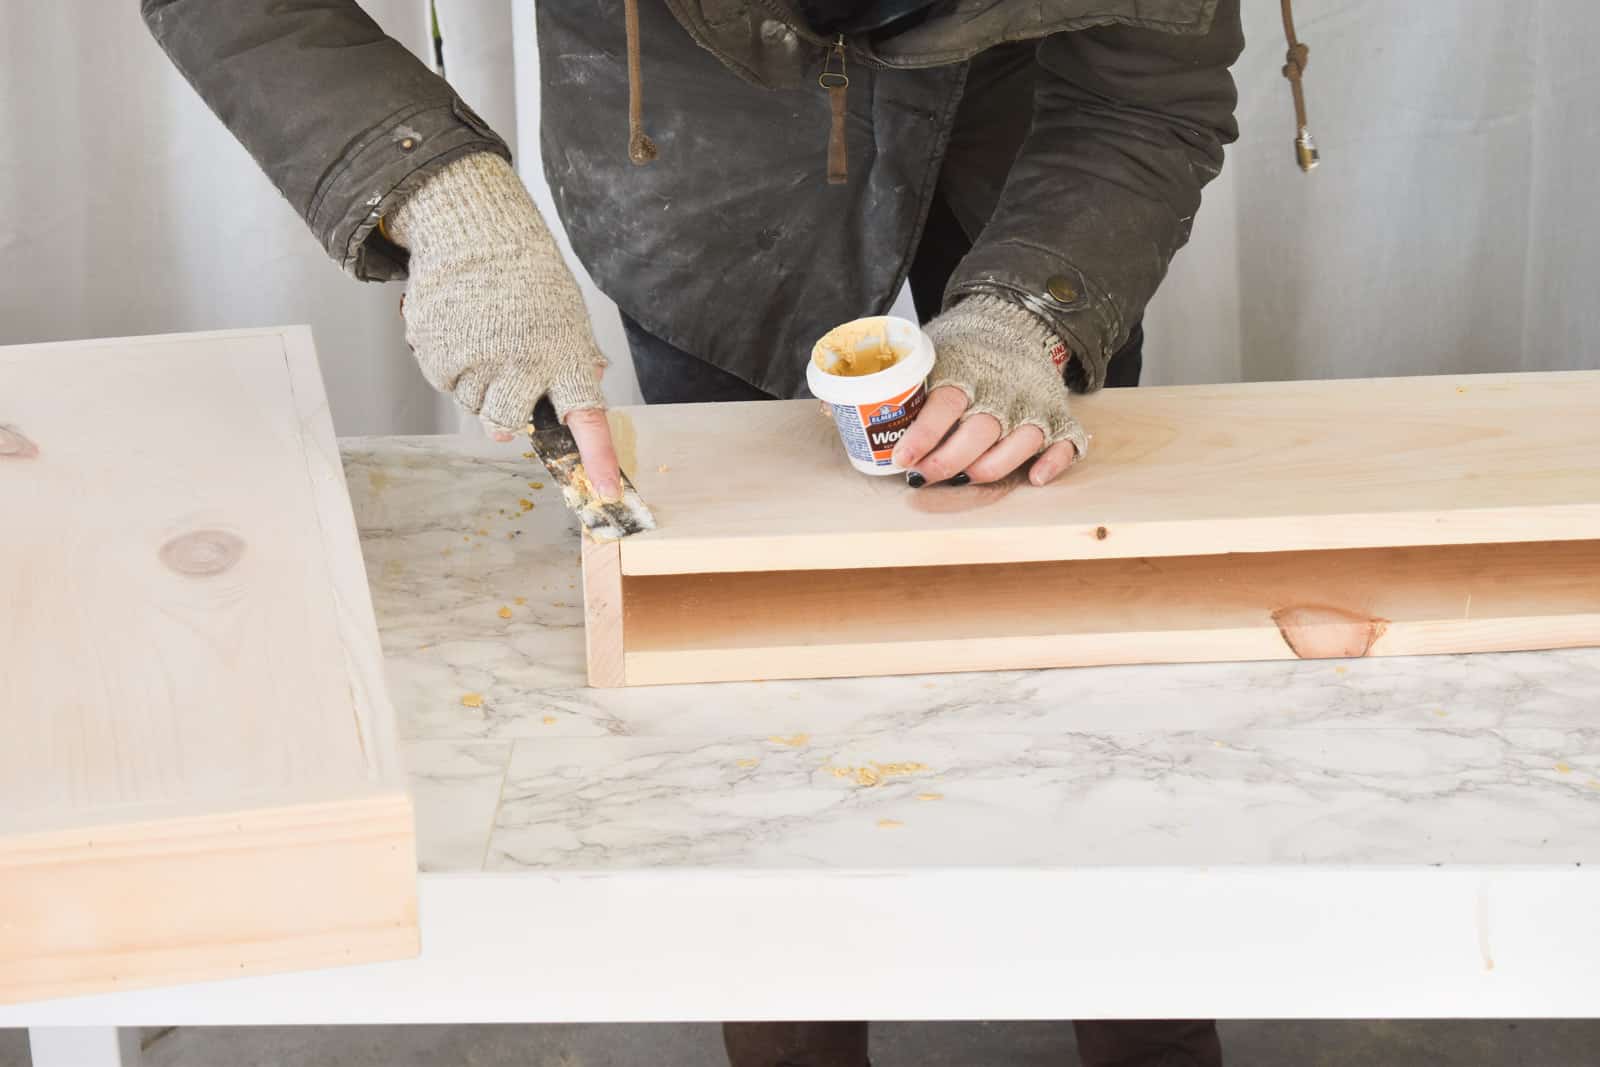
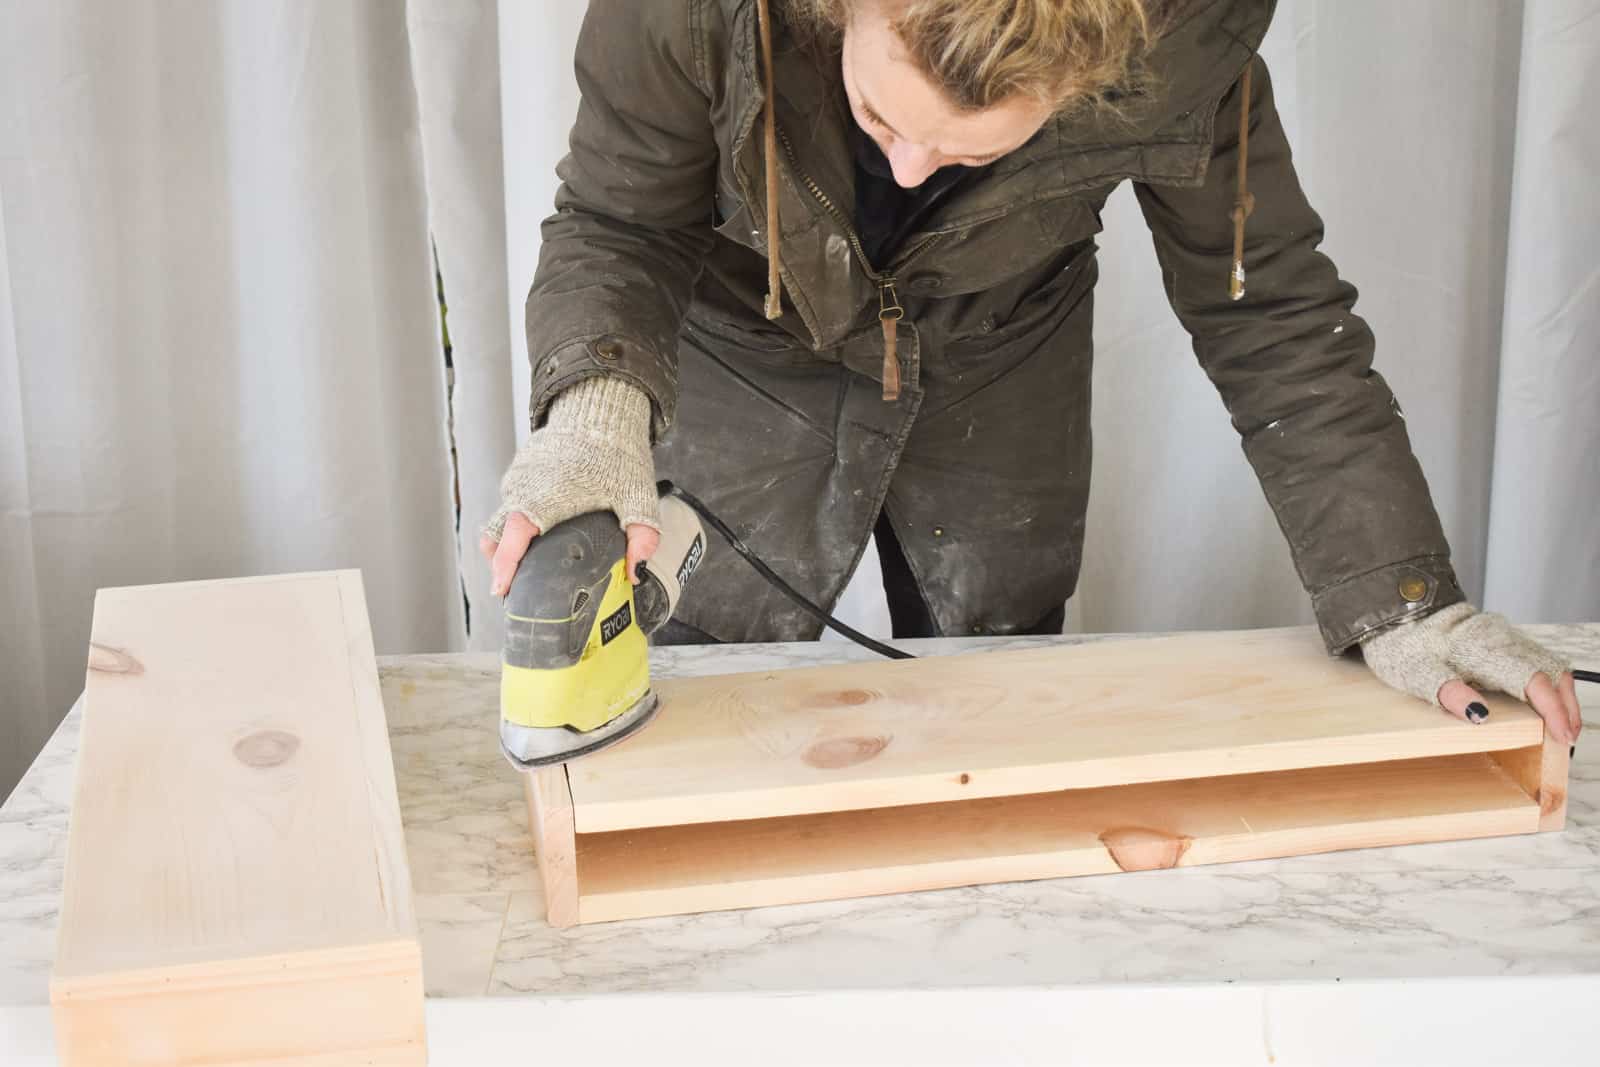
Before applying any finish, make sure to sand your piece well and work your way up to a fairly fine grit sandpaper (220 or higher). Make sure your piece is clean of all sanding dust and debris.
Using a natural bristle brush, lightly apply one coat of polycrylic. Polycrylic is super thin and goes on really easily. No odor and dries fast. Did I mention it’s the easiest to work with? I try to keep an eye on drips, but it’s super easy to sand smooth once it’s dried so either way, you can correct.
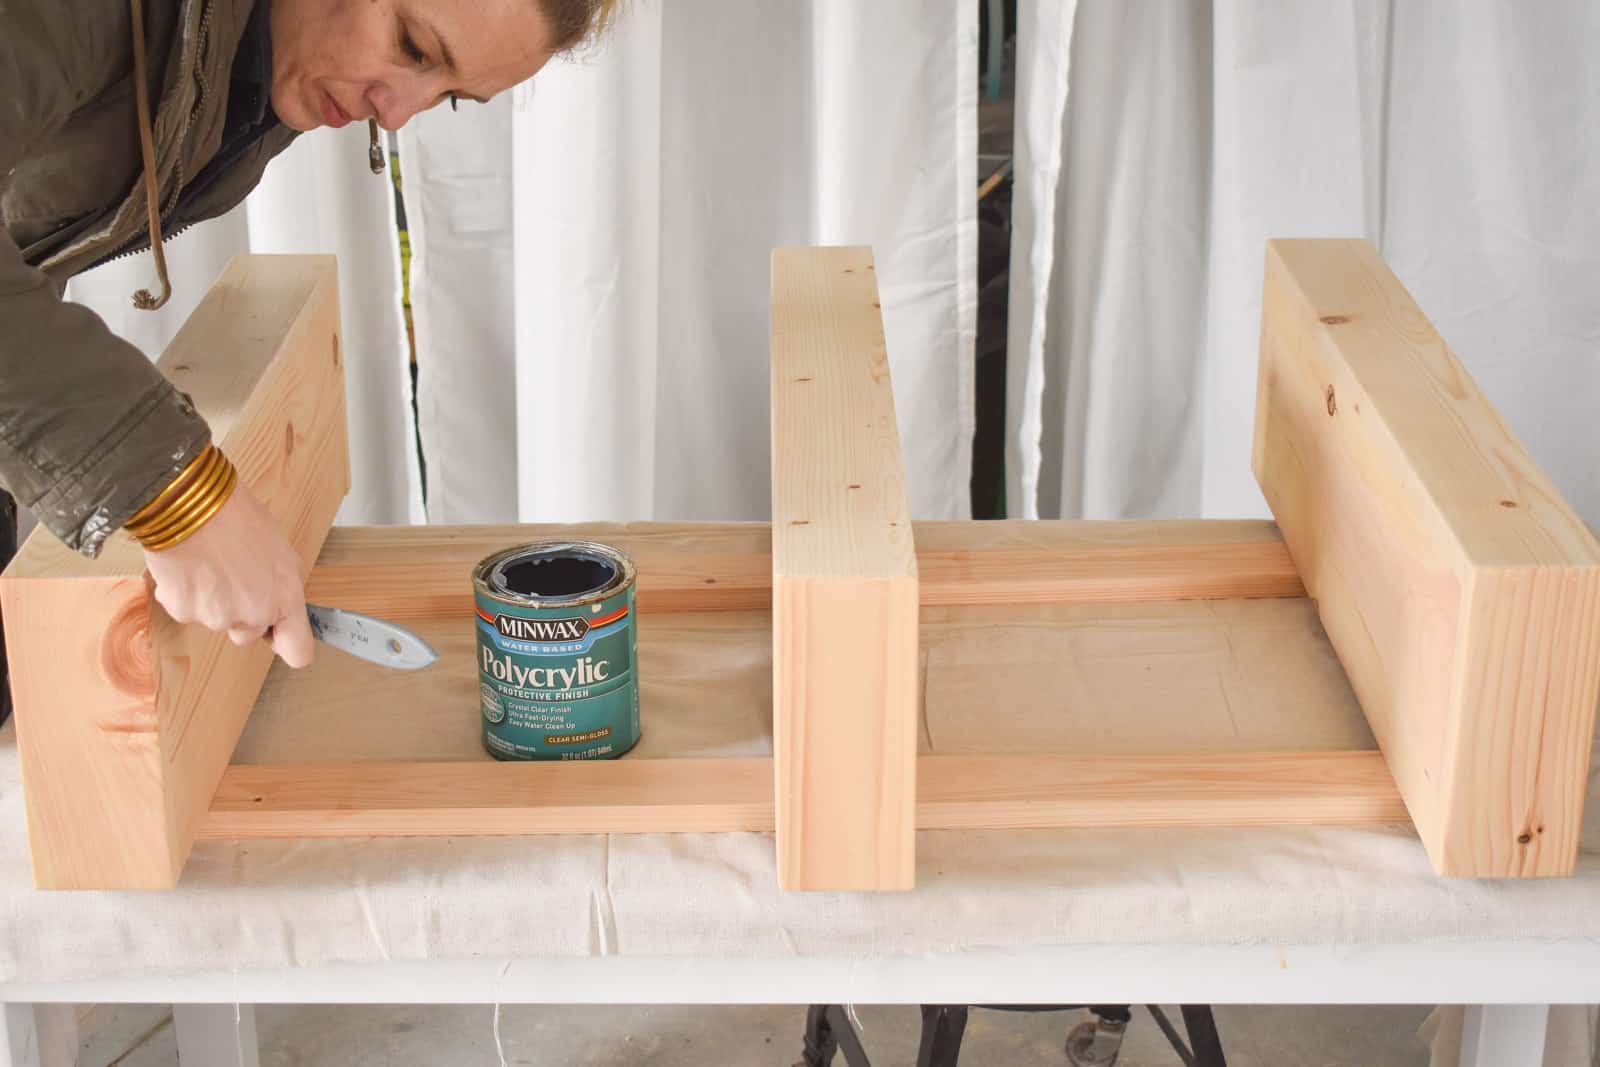
This shelf won’t be getting too much action, so I only gave it two coats of polycrylic but for something that will be getting a bit more ware, consider giving it 3+ coats.
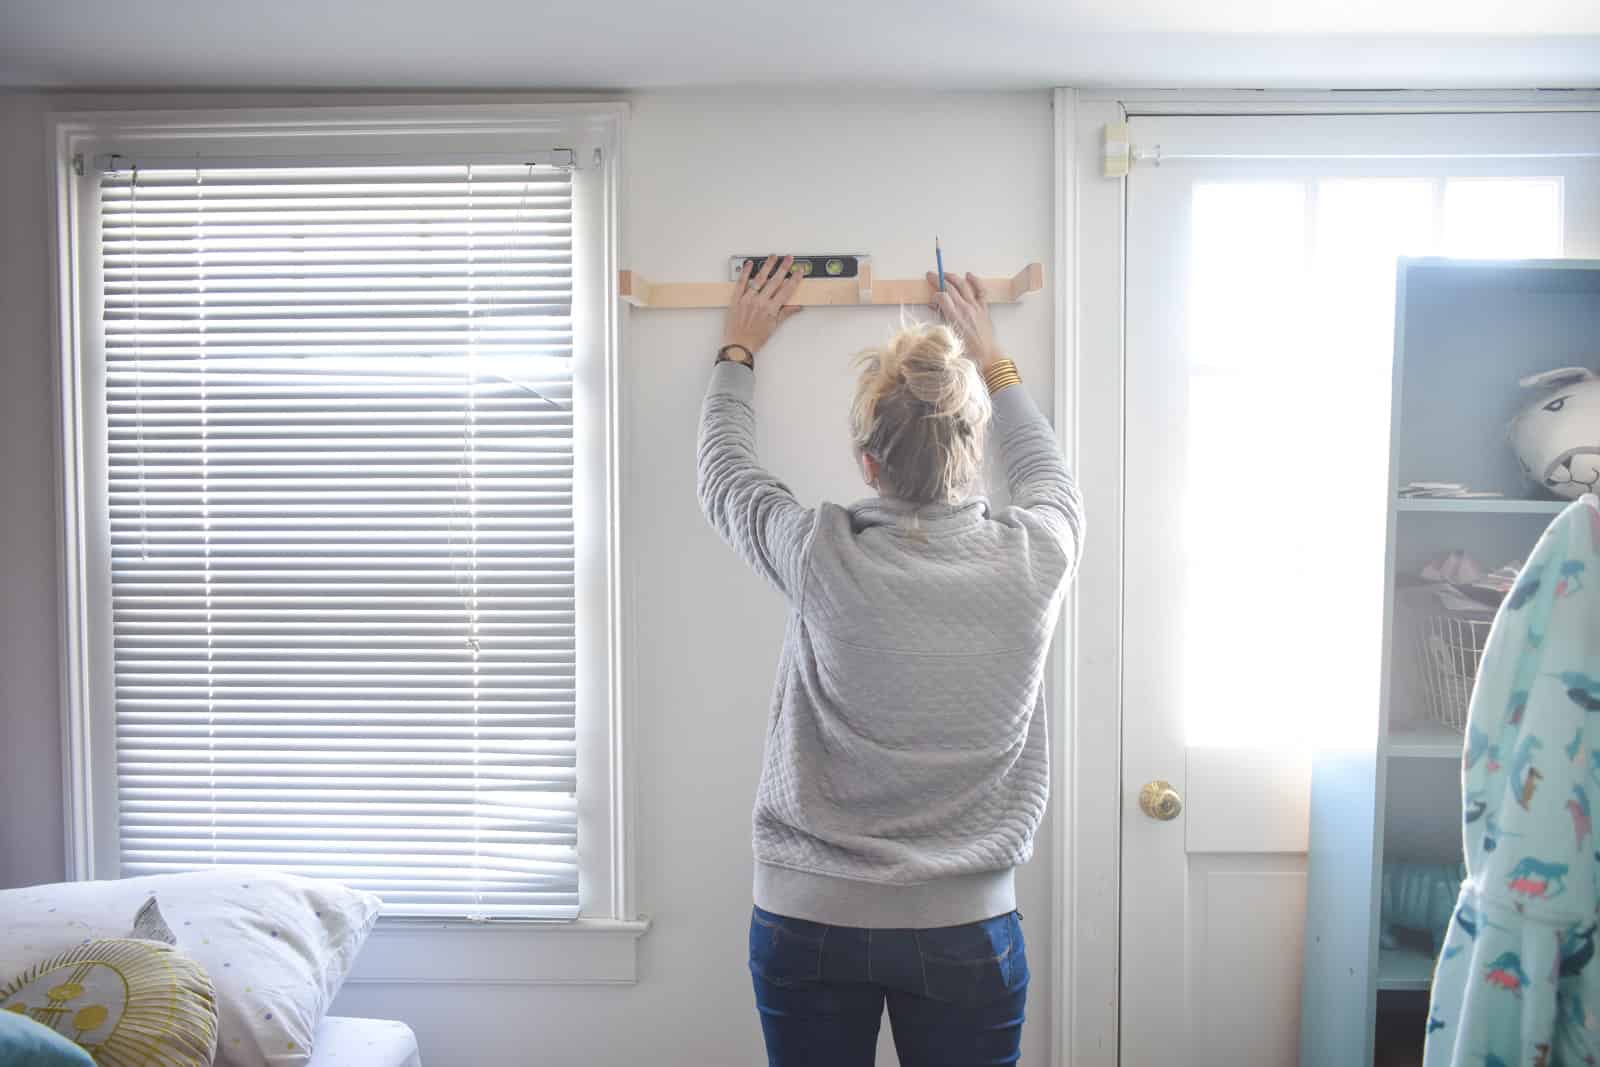
Step 5. Install Shelving
To install shelving, you need a level, a stud finder, and a drill. Because of the shelf placement on this wall, I was only able to hit one stud, so I also used some heavy duty drywall anchors.
Determine the shelf height and mark the stud. Predrill your brackets and then screw through your brackets into the studs using a level to make sure they’re straight. I used cabinet screws because I had them. Not sure if that’s right, but they seemed pretty sturdy.
If you’ve build everything correctly (fingers crossed!), your shelving boxes should slide riiiiiiight over the brackets and sit securely on the wall. For added security, screw up through the shelves into the brackets.
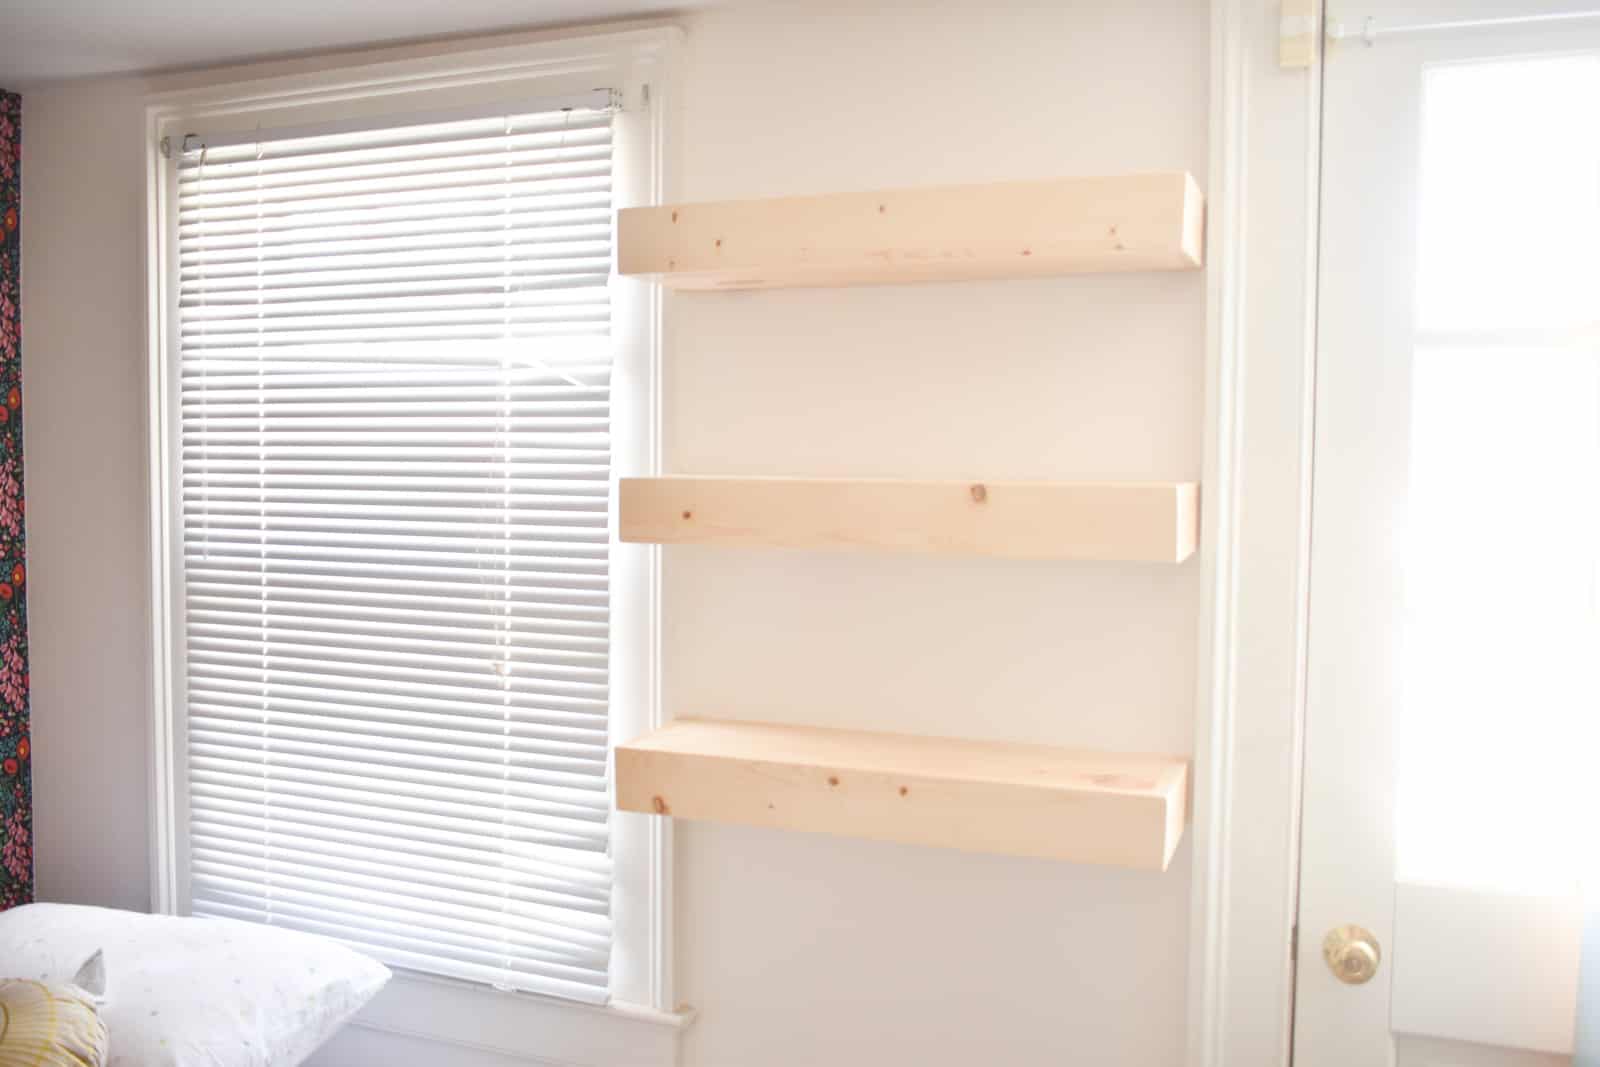
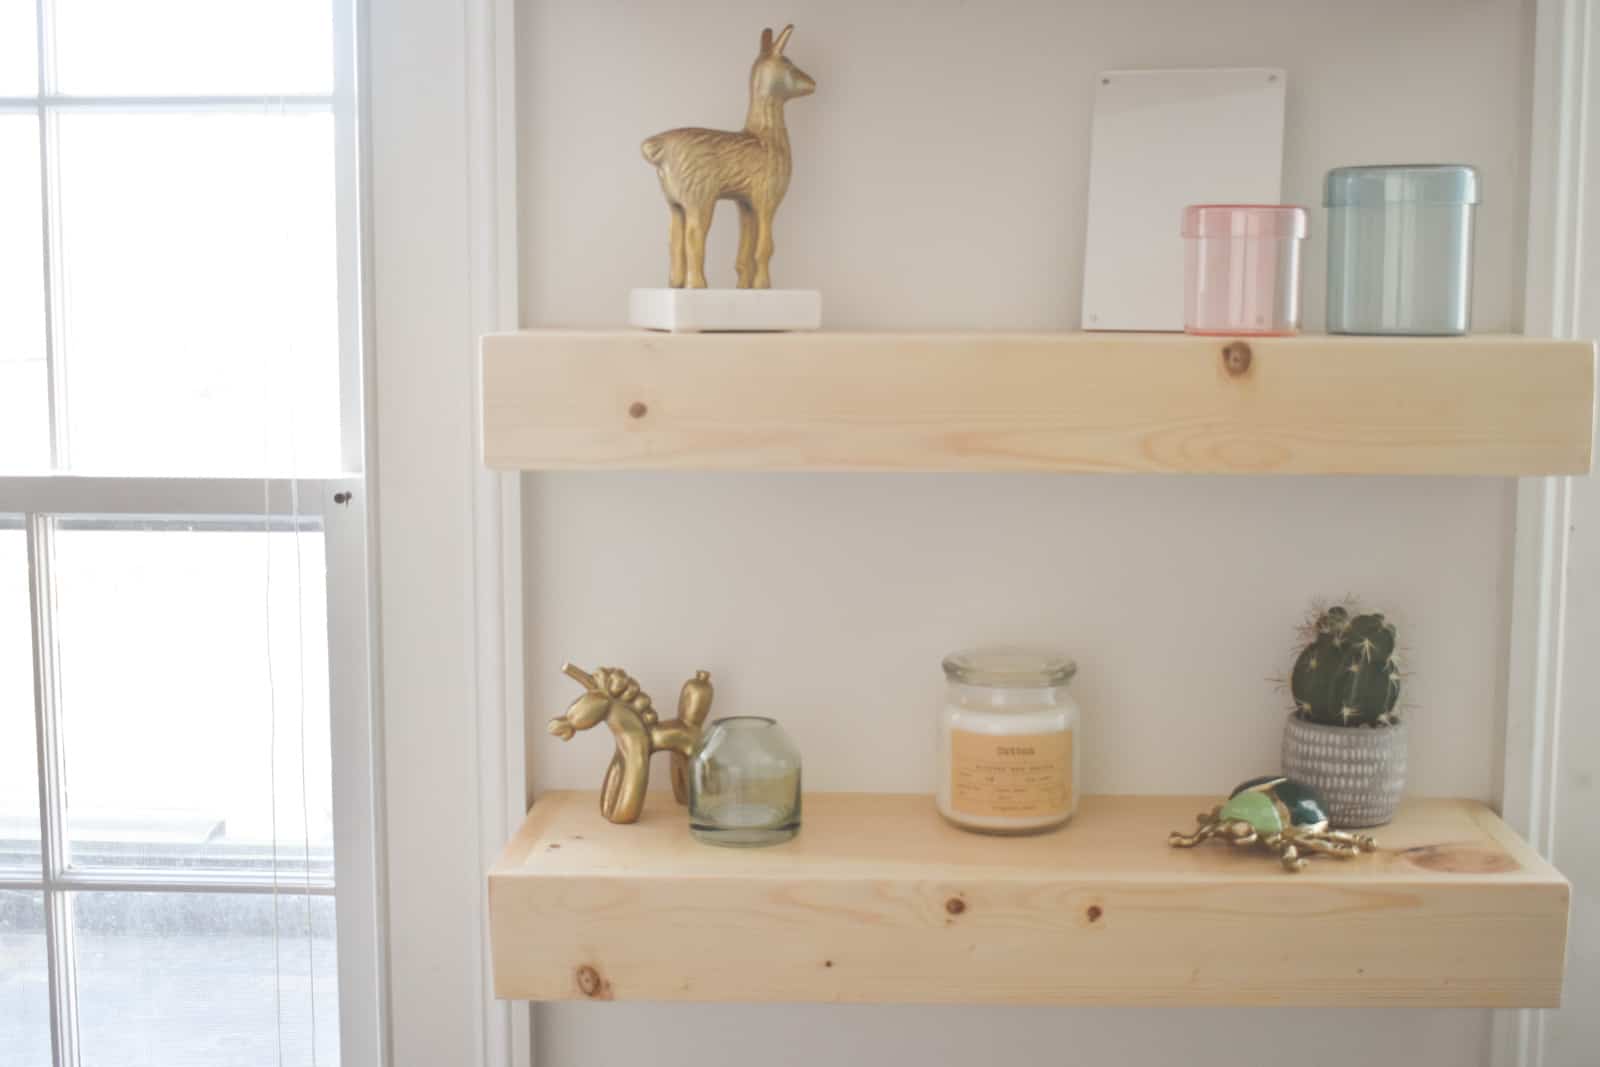
I have lots and lots of color planned for this space so I love that these shelves are clean and modern and neutral. The wood tone is PERFECT and the polycrylic gives them a perfectly finished appearance and as you saw… is just the easiest to work with!


Don’t Miss Out
Become An Insider!
Signup for exclusive tips, and tricks from Charlotte’s House!
Let’s chat!
I love comments from you, so feel free to leave your thoughts and ideas below! And don’t forget to follow me on Instagram for even more!