
Painting a Dry Erase Table
Psssst… this post *might* contain affiliate links: see my disclosure here.
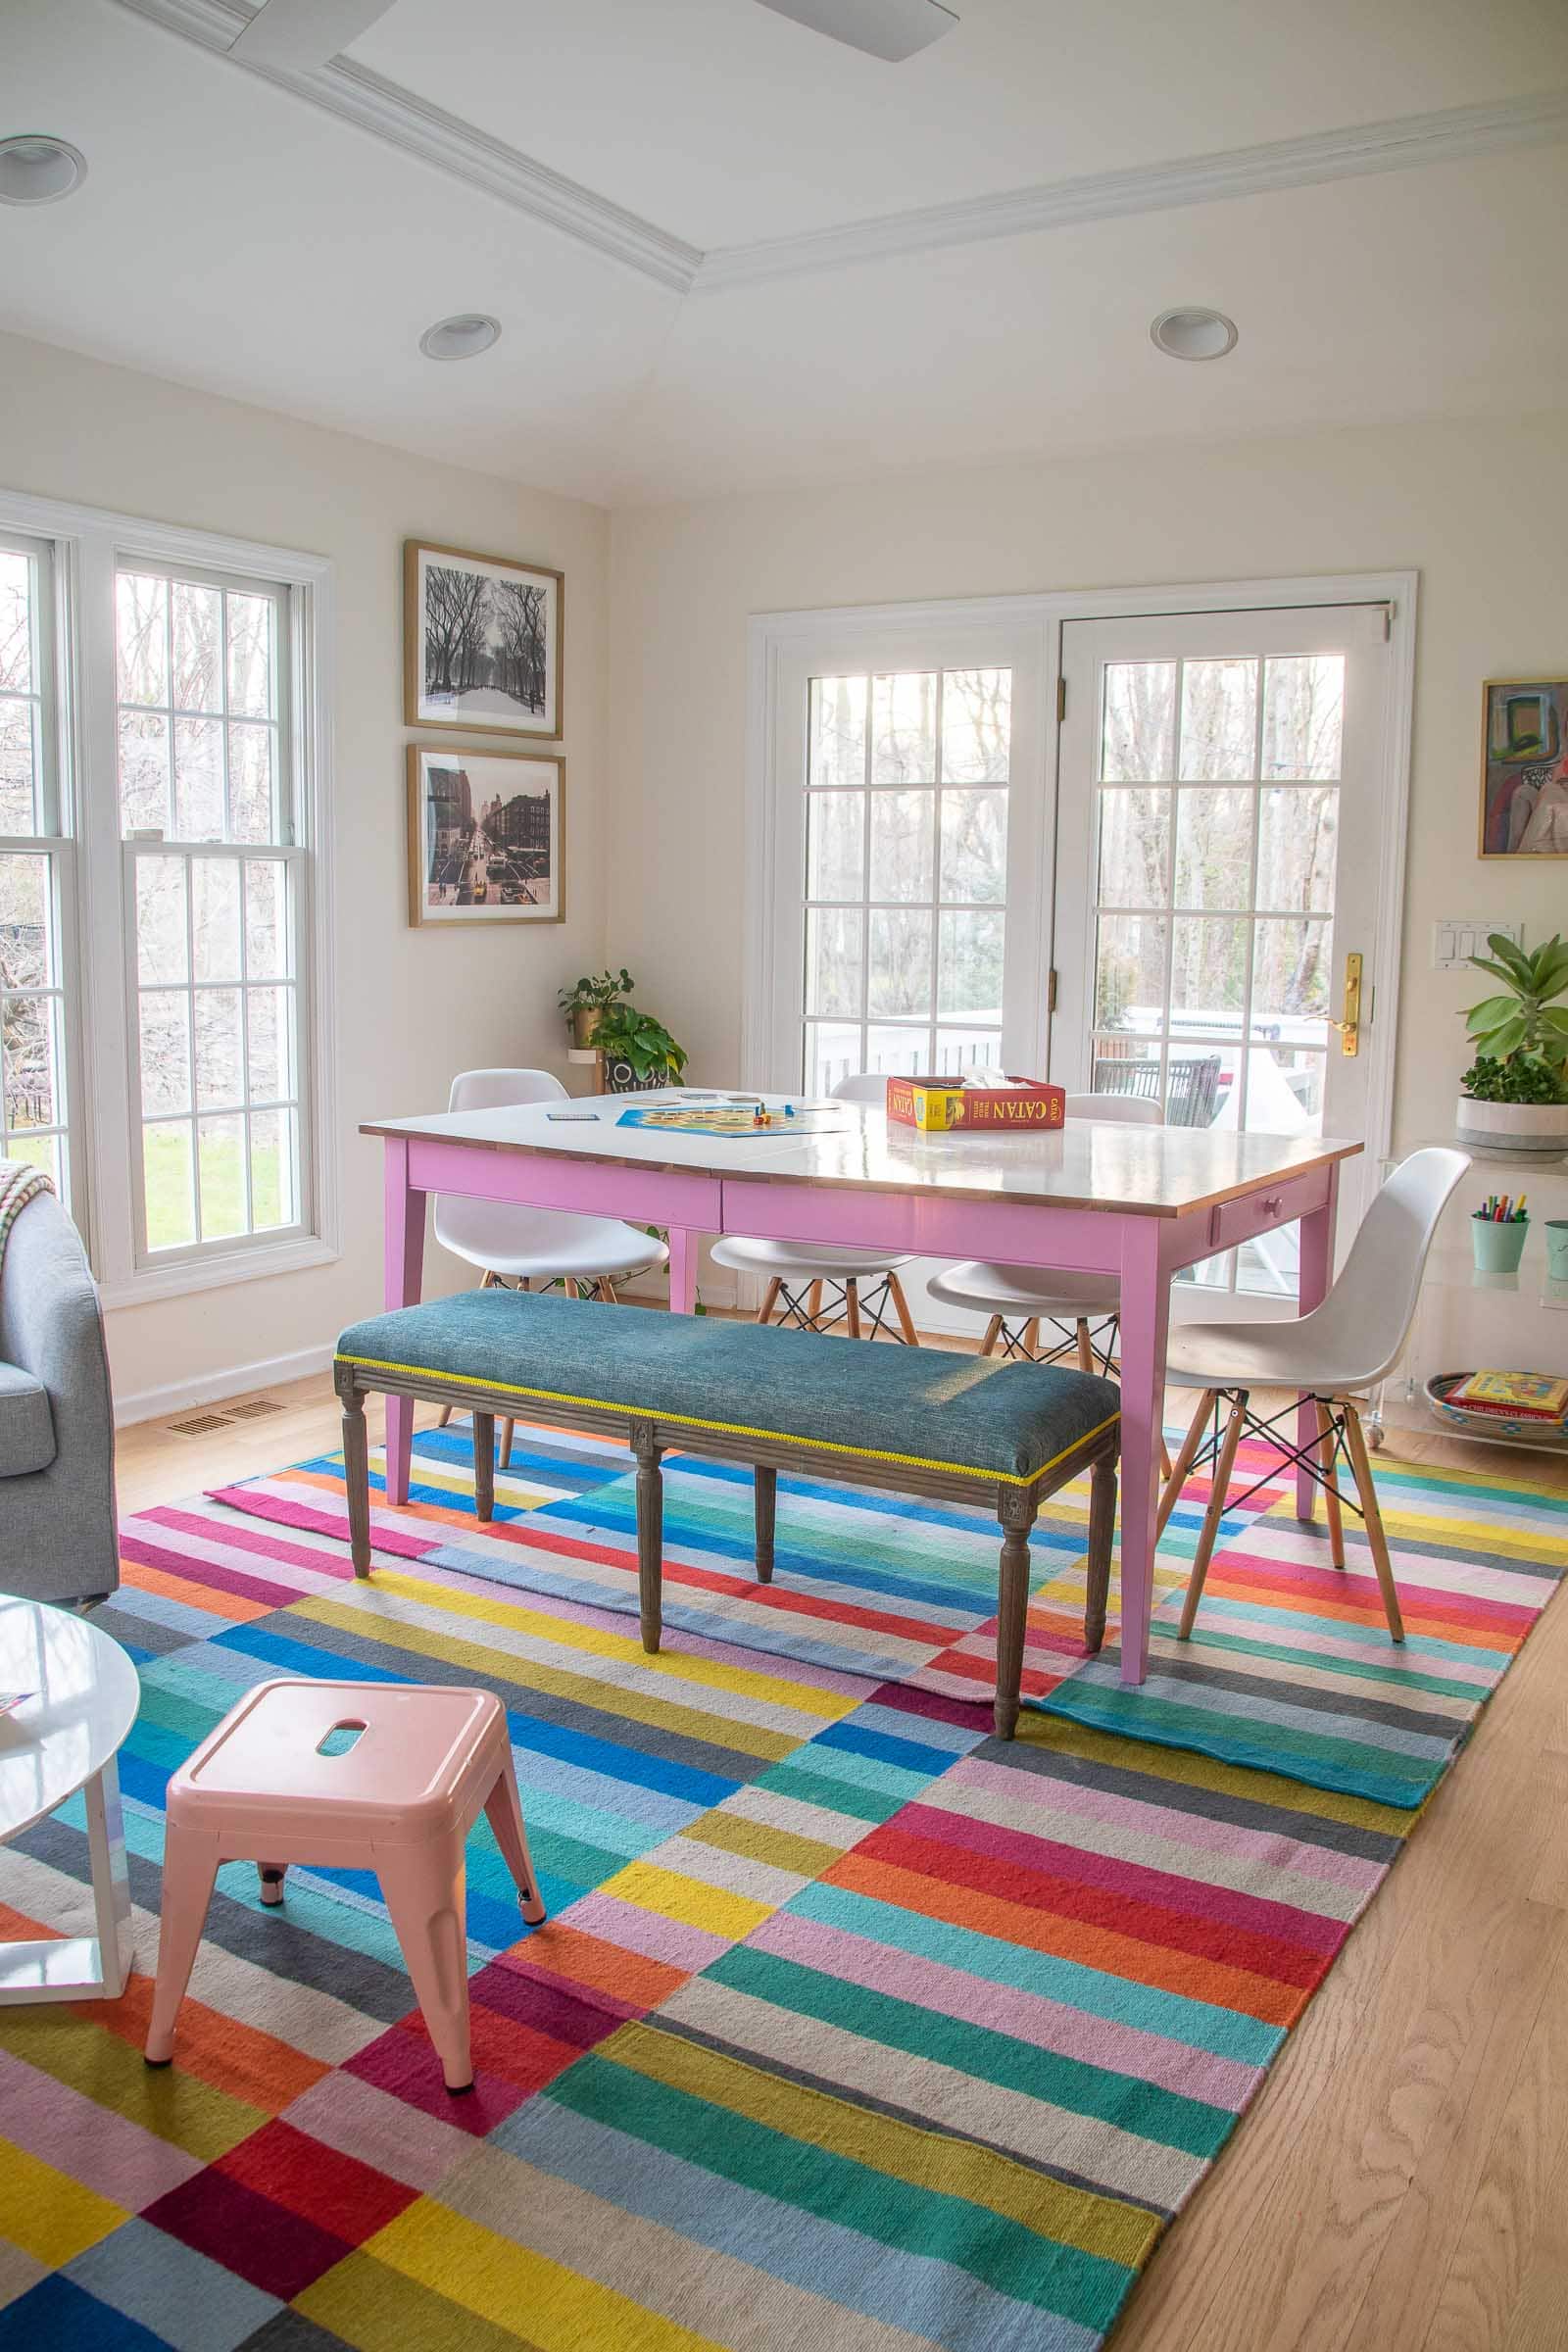
DIY White Board Table
The kids use our dry erase kitchen table every day for drawing and homework and more!
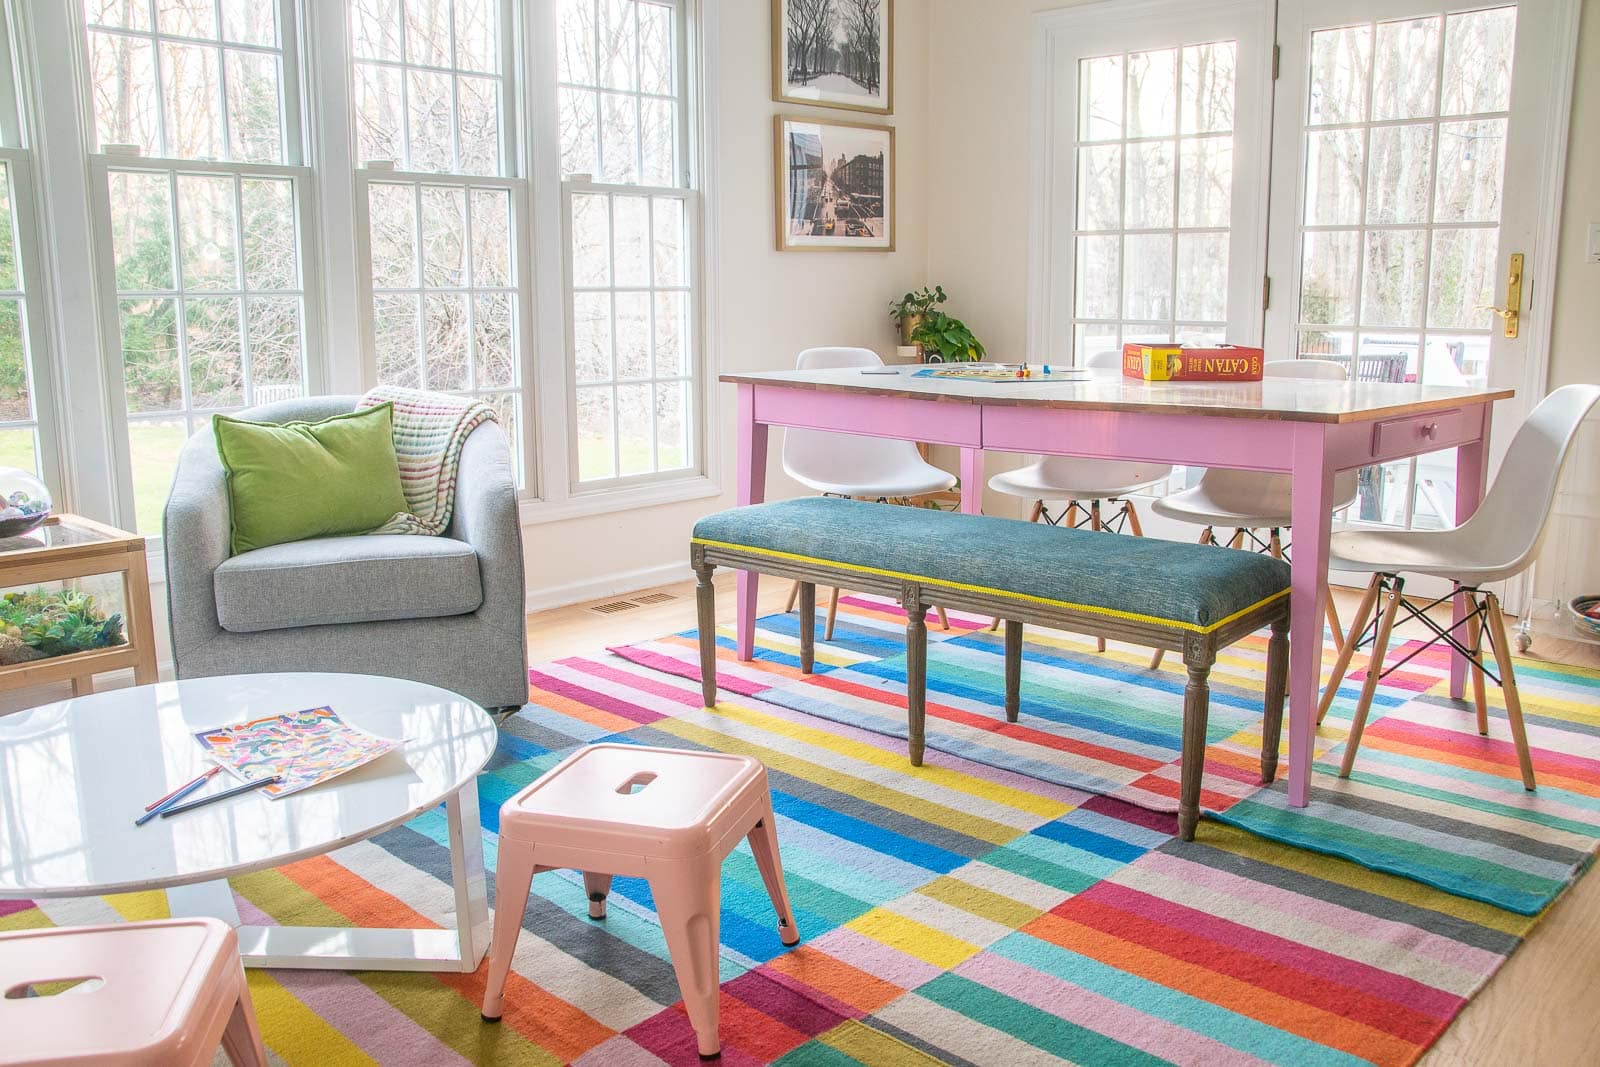
I’m finally sharing one of our favorite furniture hacks with you here on the blog: our dry erase kitchen table. We had something similar in the old house… and there was no way I could go without it now. It’s truly the most simple furniture update and we stumbled into it by accident a couple years ago when I was working on THIS project that required dry erase paint. Once you mix white board paint, you only have an hour or so to work with it so I went ahead and used the extra paint from my project to touch up our white painted kitchen table. I have no idea what kind of ‘food safety’ this has… my kids are old enough that food isn’t really in contact with it, so do your own research if you’re worried.
Shop my favorites!
Step 1. Prepare the table for dry erase
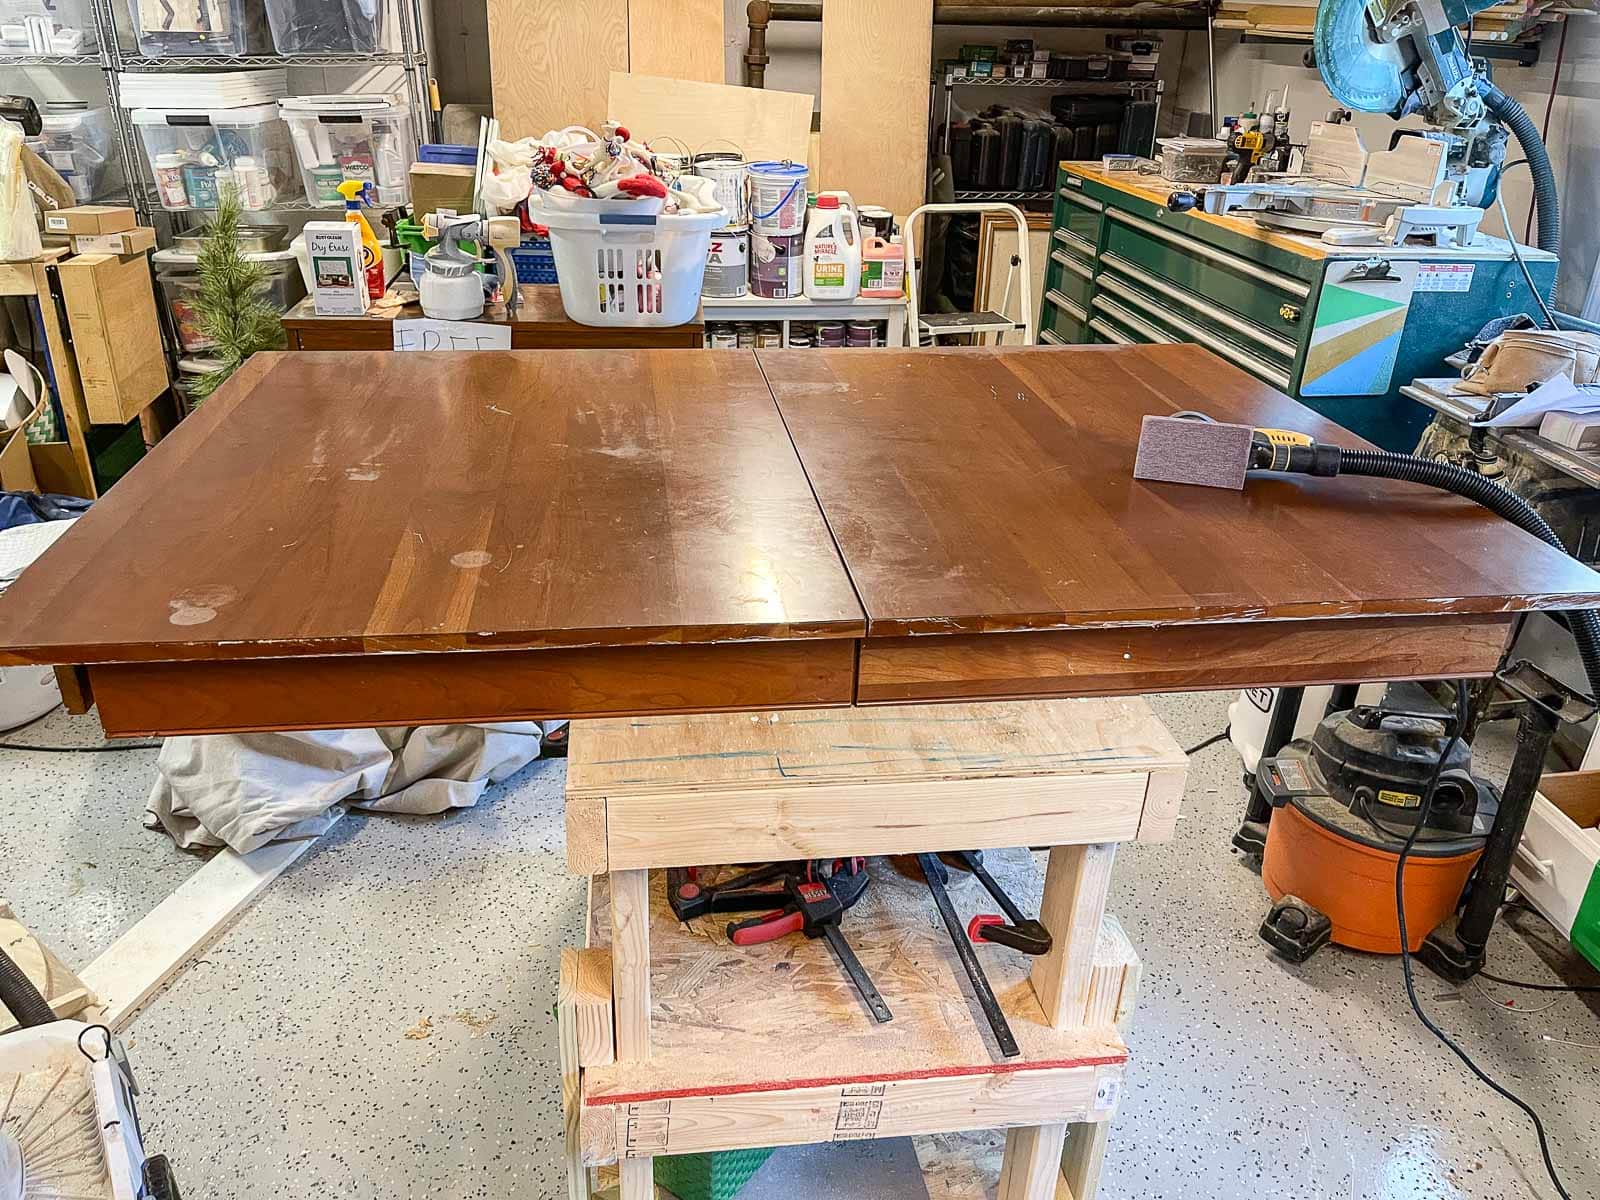
I grabbed this table on Facebook marketplace for $80. It’s the right size and has nice clean straight lines. (Our previous one, shown here, felt a little more ‘thrifty’ so I was looking for a table that had slightly cleaner modern lines.)

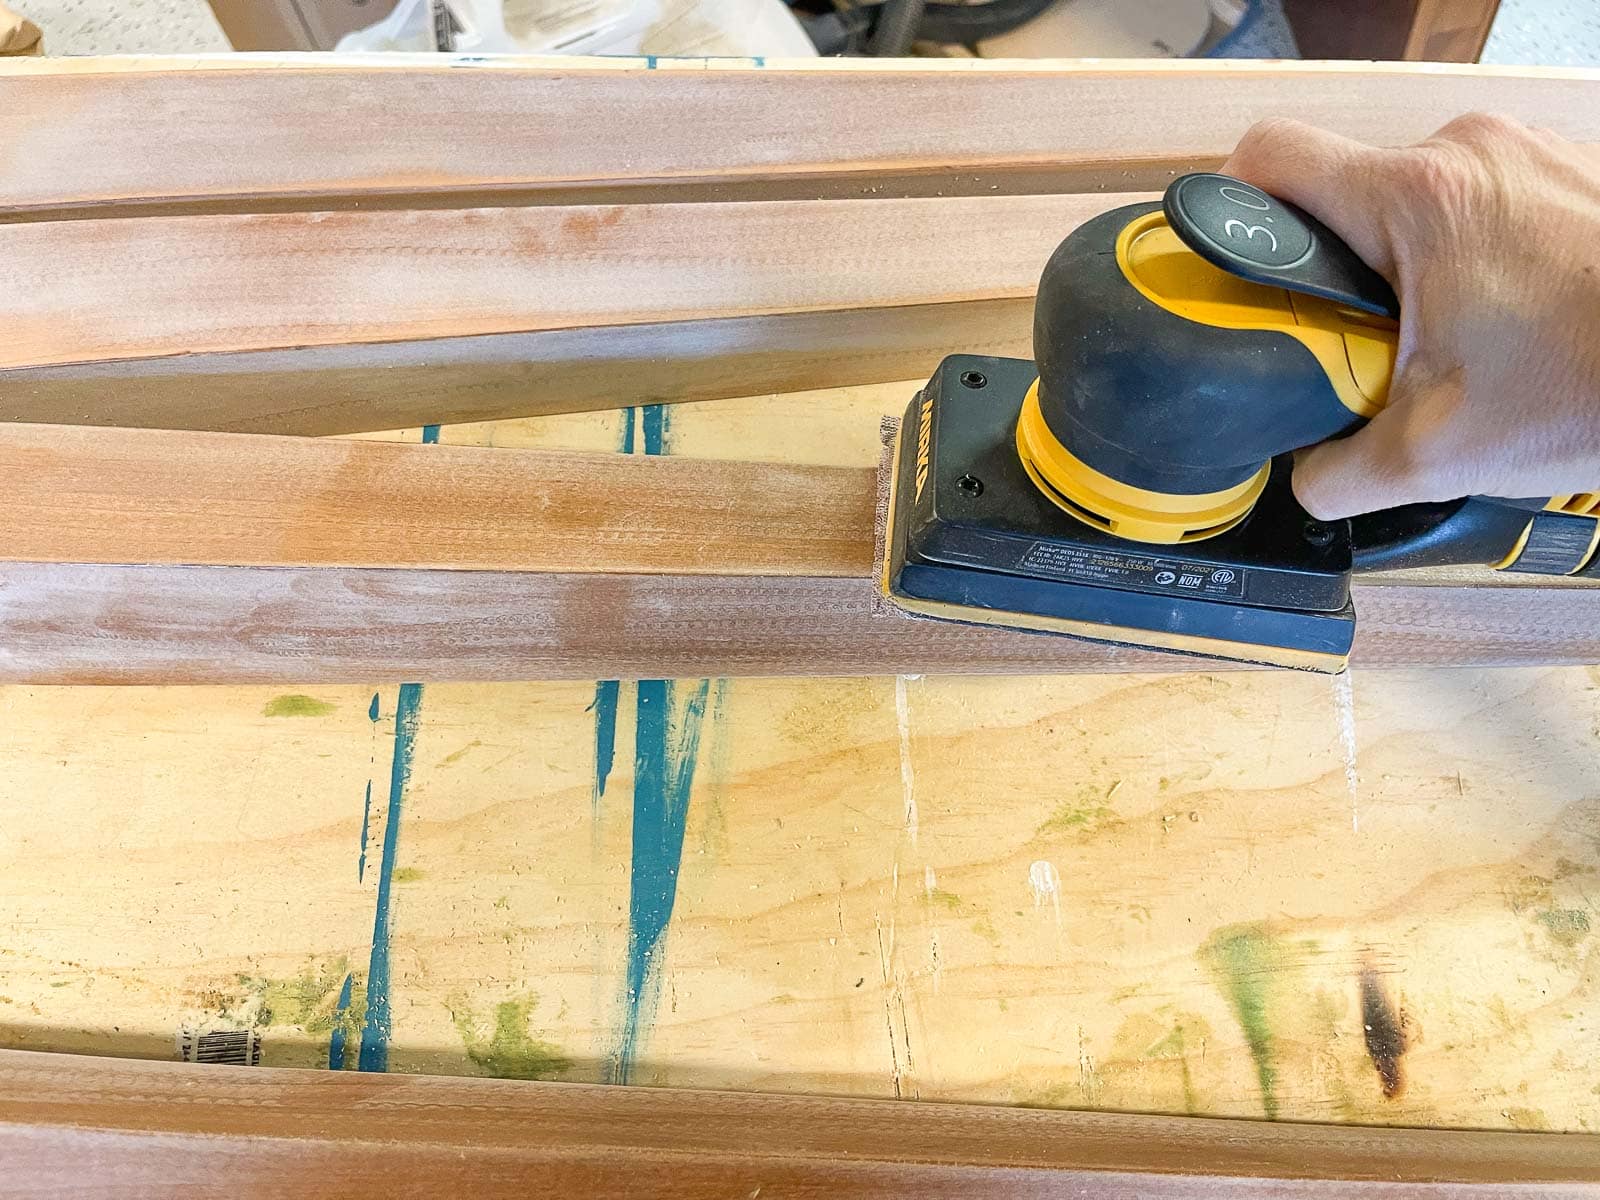
With a 120 grit sandpaper, I sanded the table legs and the table top to remove the shiny finish. As with any painting project, clean the surface to remove all grease, grime and sanding dust. I used Krud Kutter because it was sent to me by RustOleum for another painting project so I figured it was somewhat endorsed!
Step 2. Paint the legs
With my favorite brush, I painted the table legs with Behr semi gloss paint. I didn’t bother priming, but I probably should. The paint includes primer and is fairly dark, but there’s a chance for some bleed through without it so as always…. do as I say, not as I do.
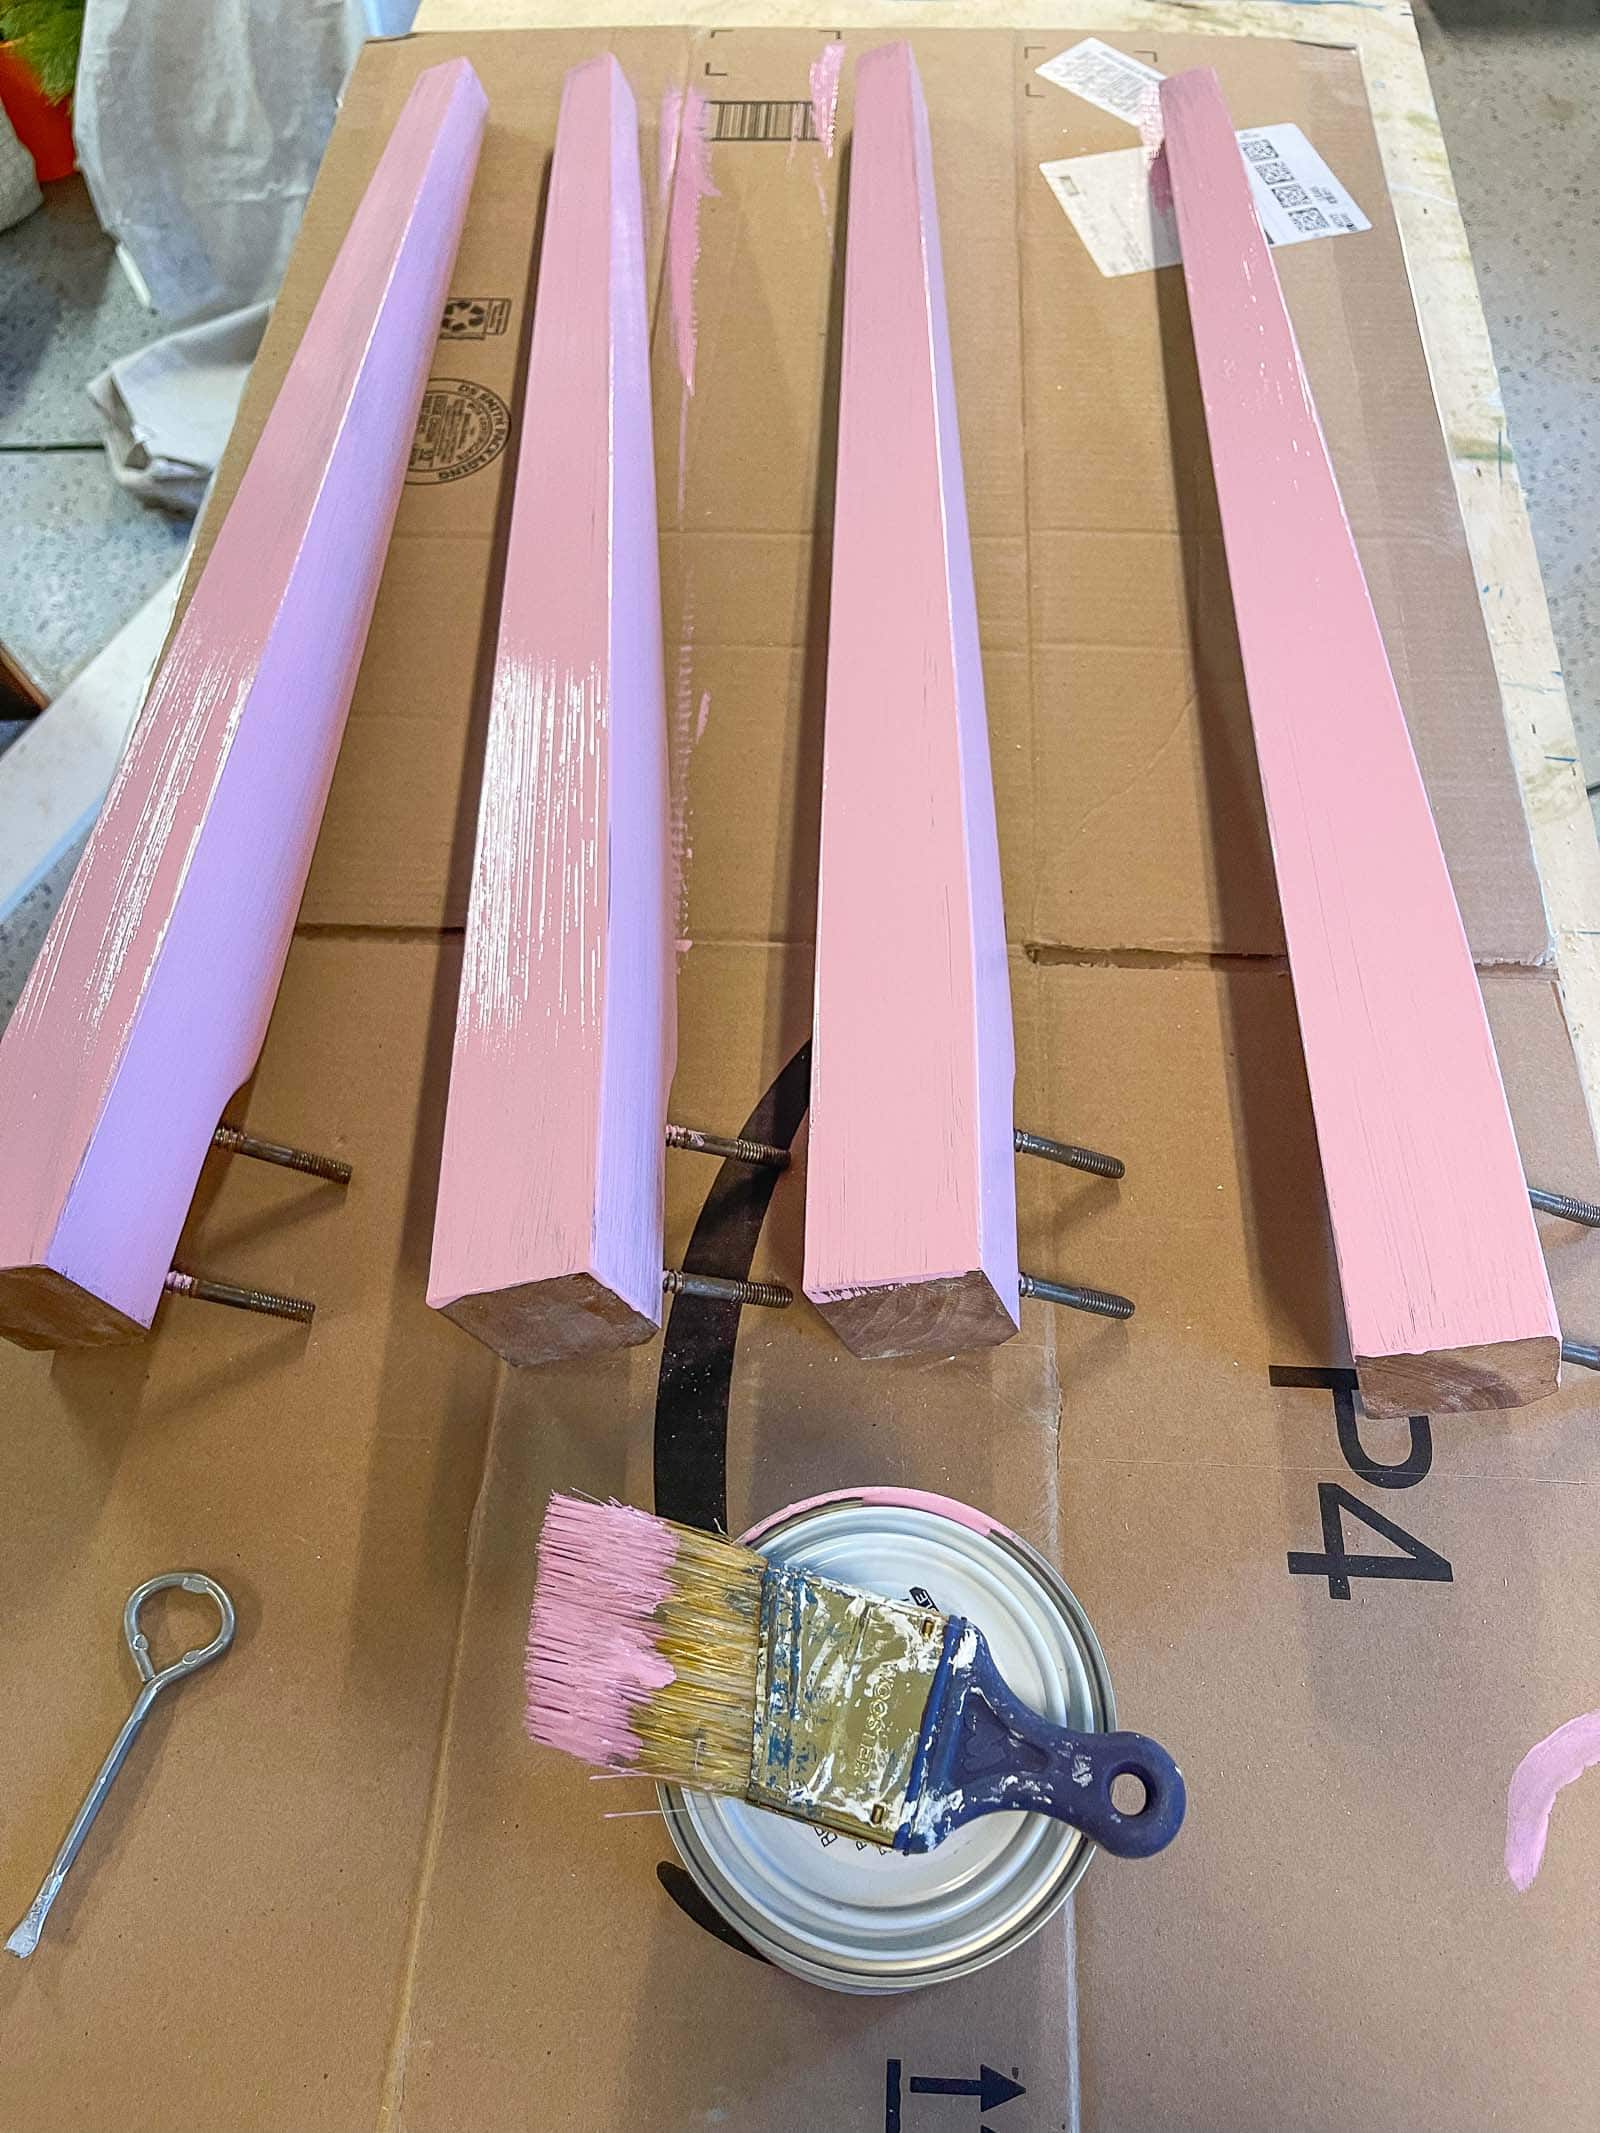
I actually really liked the wood tone on this table and thought for a hot second about skipping the paint but ultimately we get too much pleasure from the white board so onward I go. To make life easier, I taped off the edge of the table so that the top surface would be the only part painted with the dry erase paint.
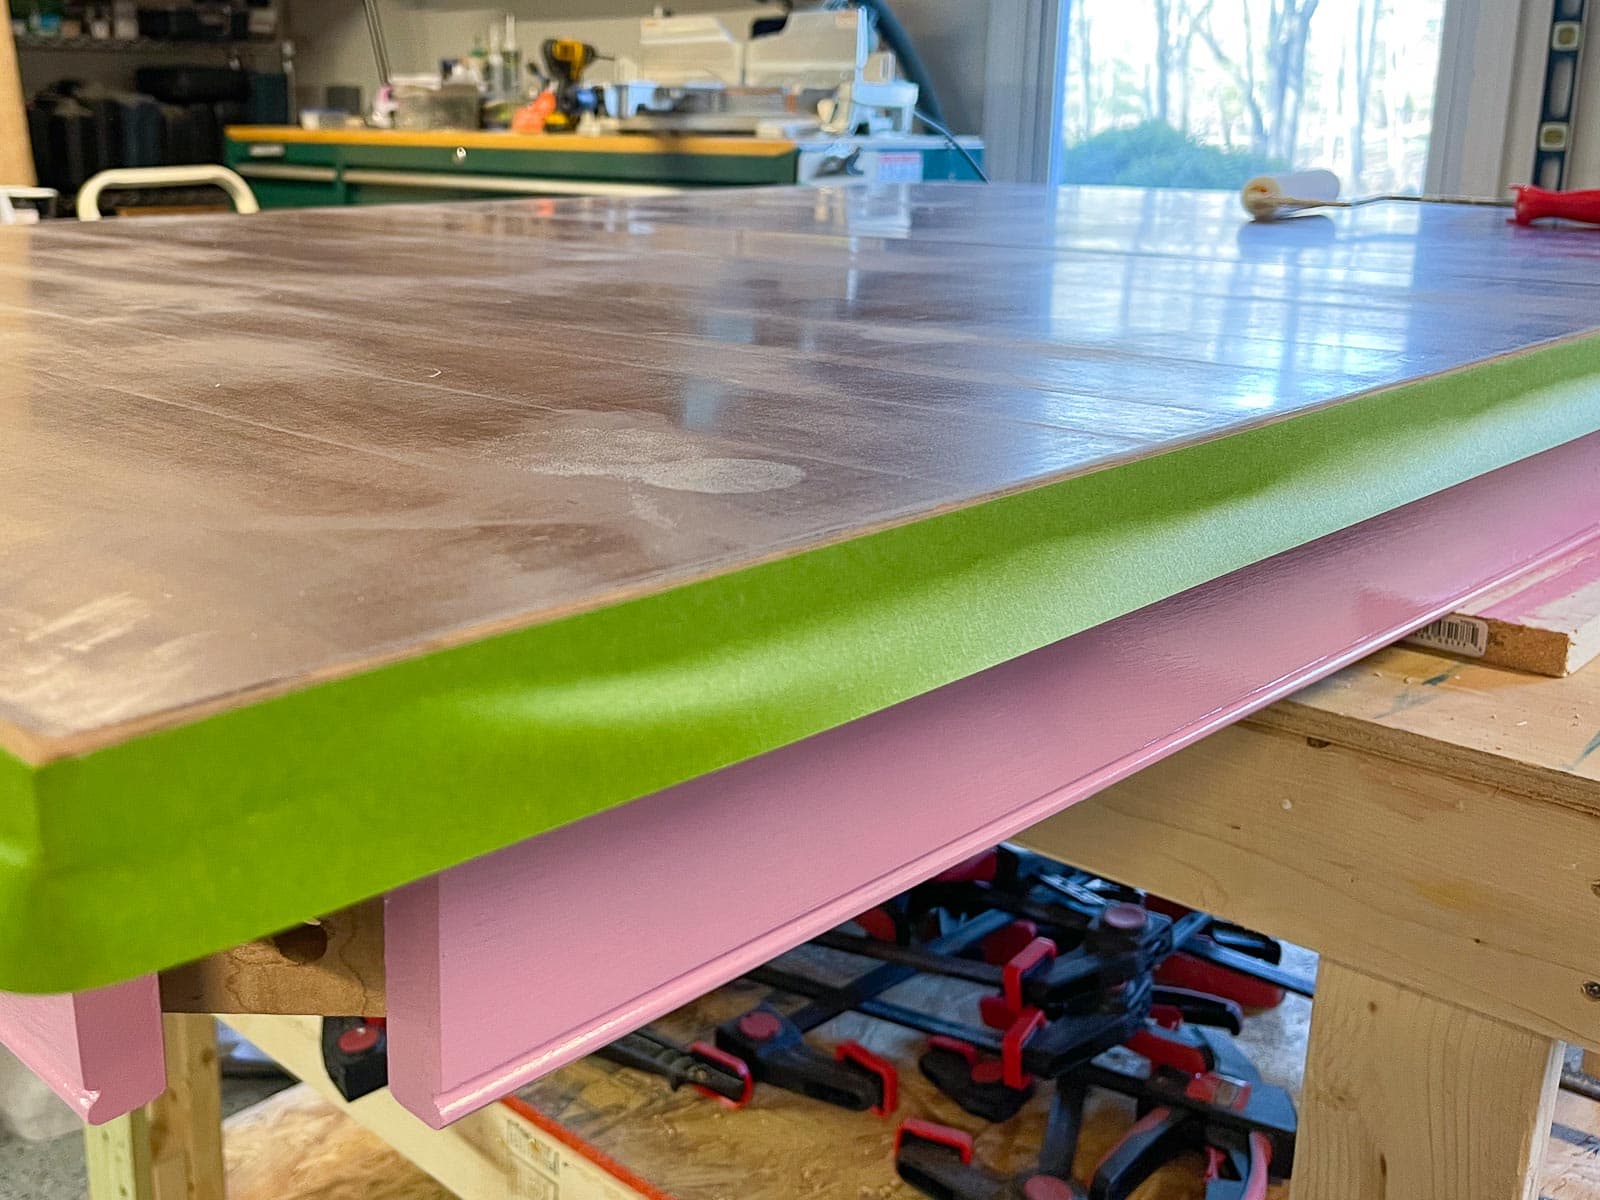
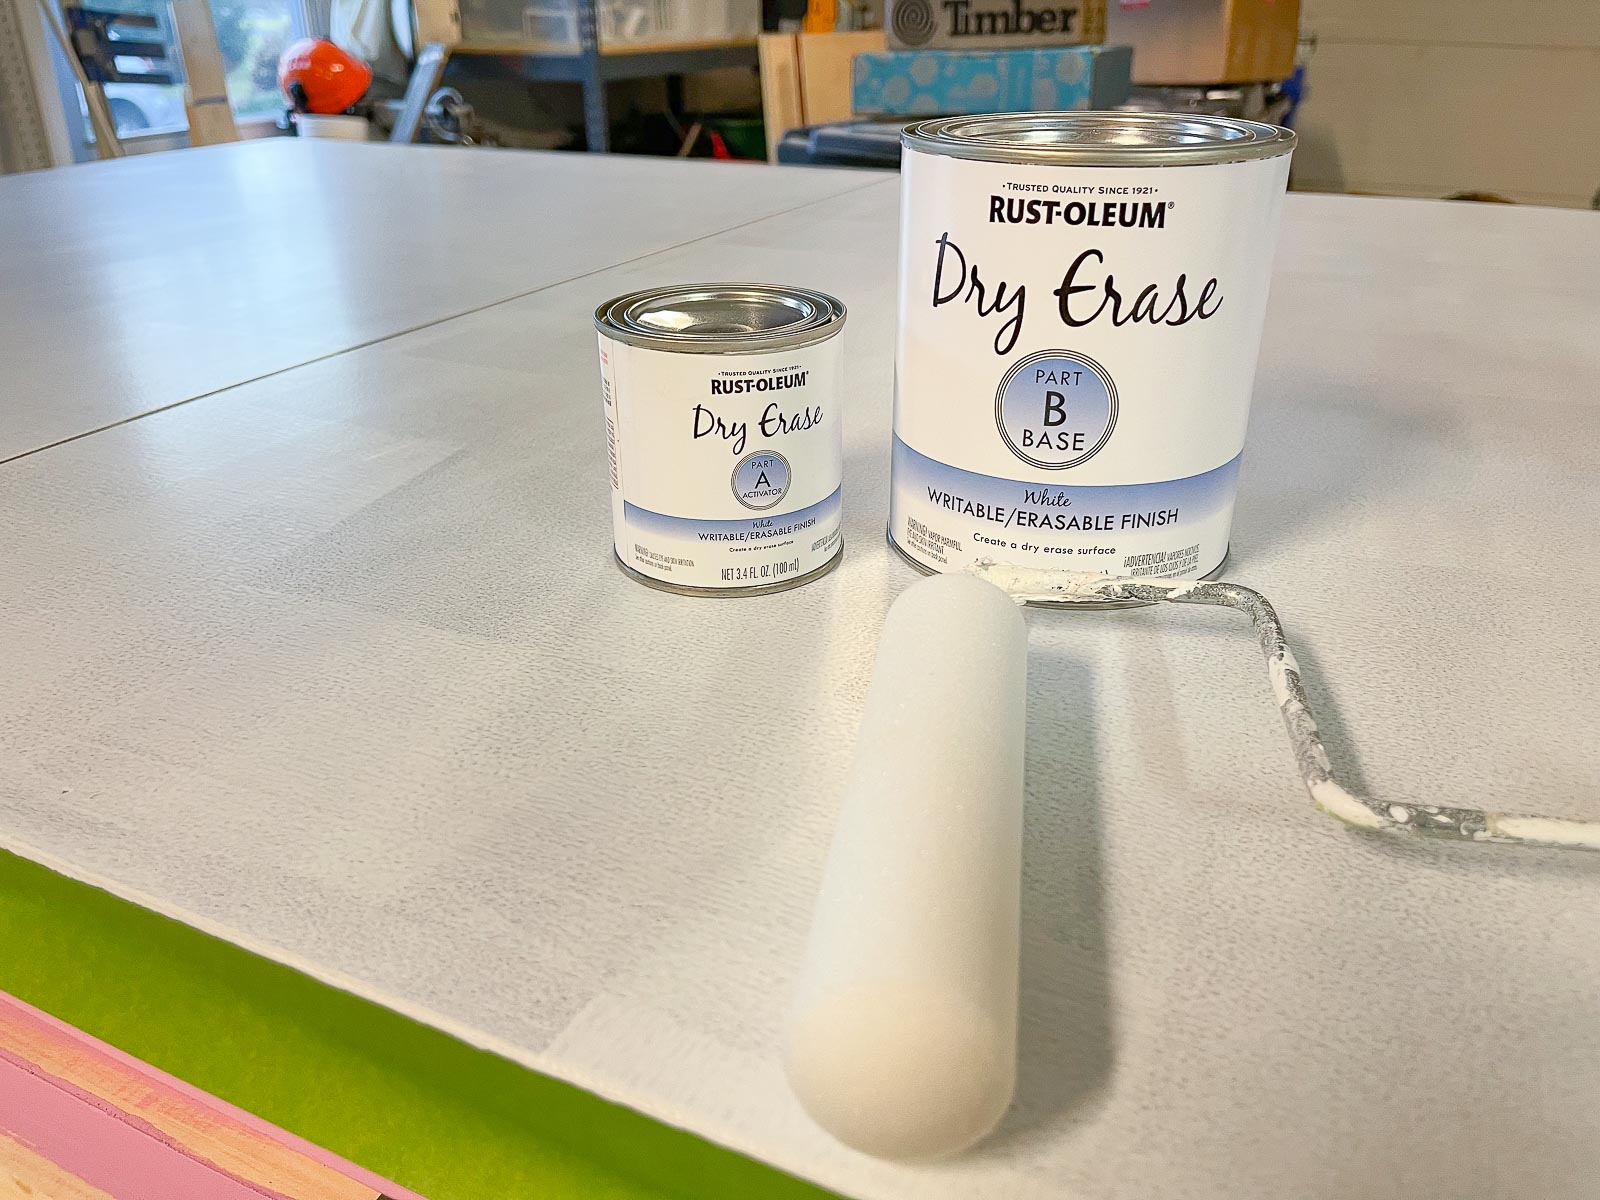
Step 3. Dry Erase Paint
Dry erase paint comes in two parts that must be kept separate until you’re ready to paint. Once your area is all set up, combine part A into part B and stir for a minute or two. I’m using a foam roller to leave the smoothest finish but I made sure to wrap some painter’s tape around the foam first to remove any lint or small debris. Then I poured the dry erase paint into a paint tray liner and rolled it on. I had enough paint for the table top but didn’t have too much leftover just to give you a sense of how far one box will go.

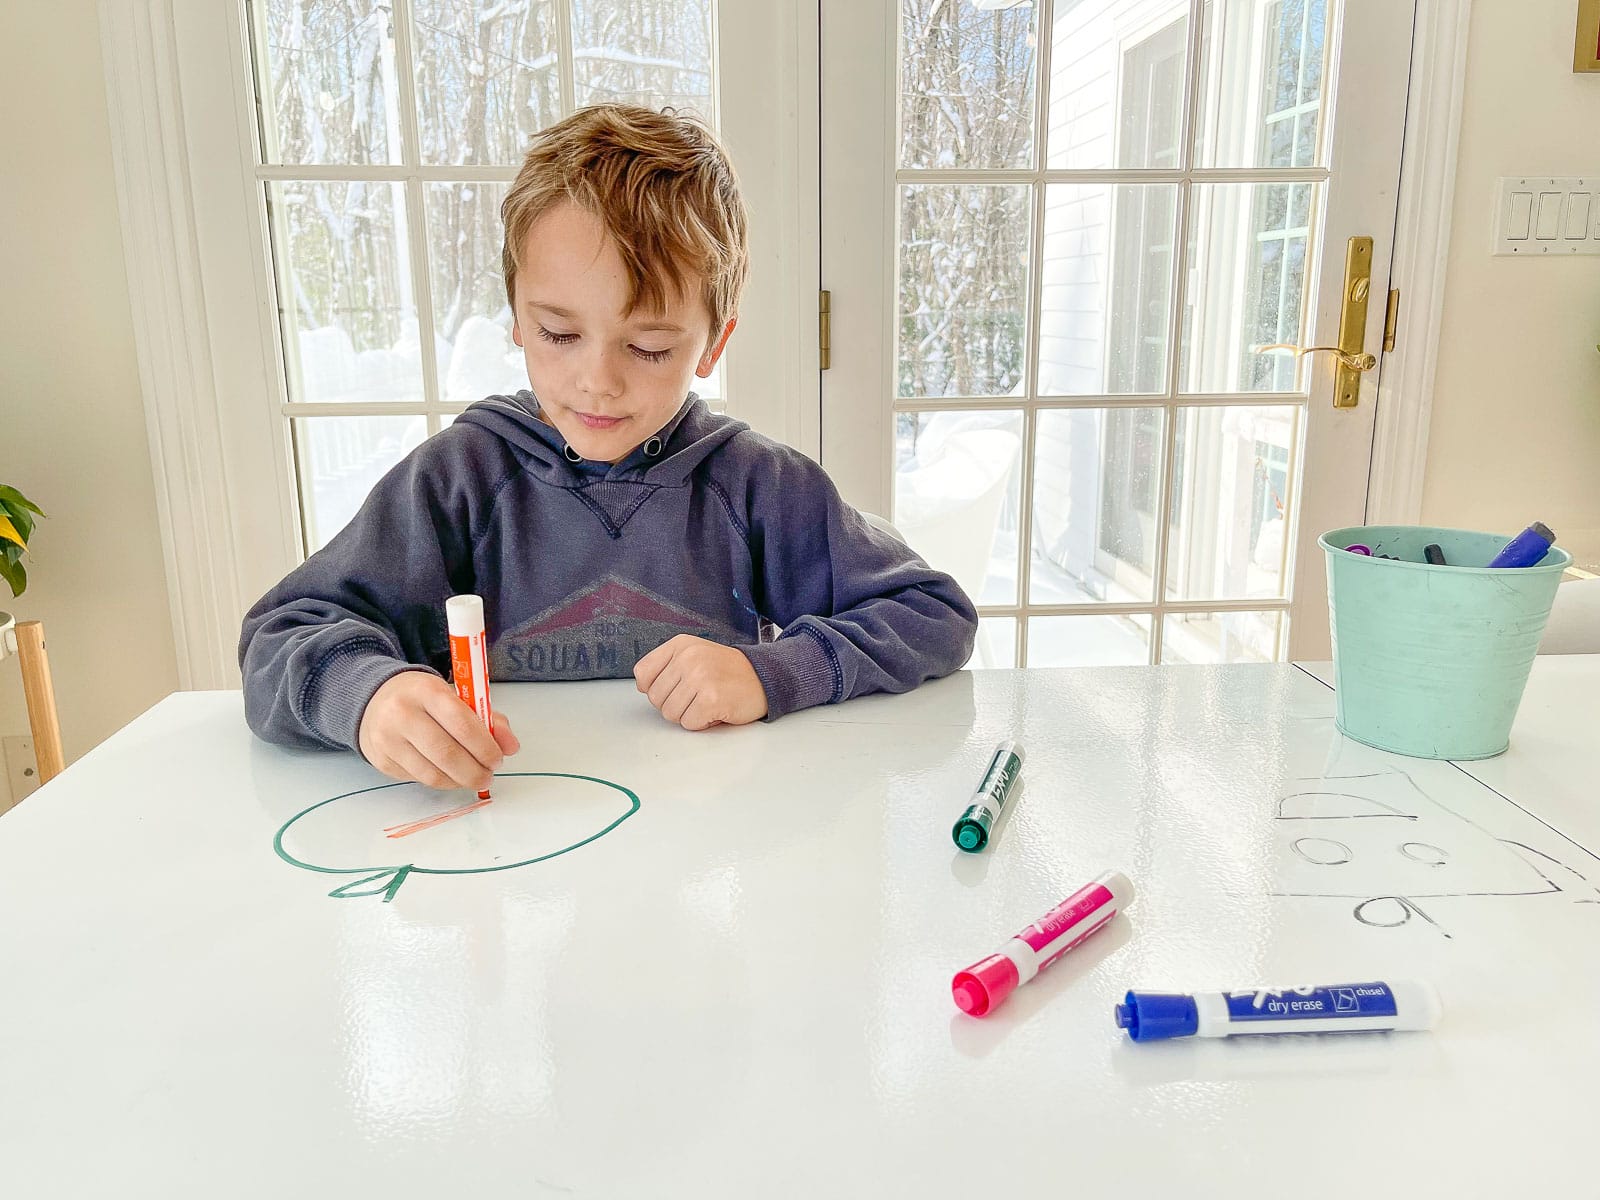
Step 4. Wait
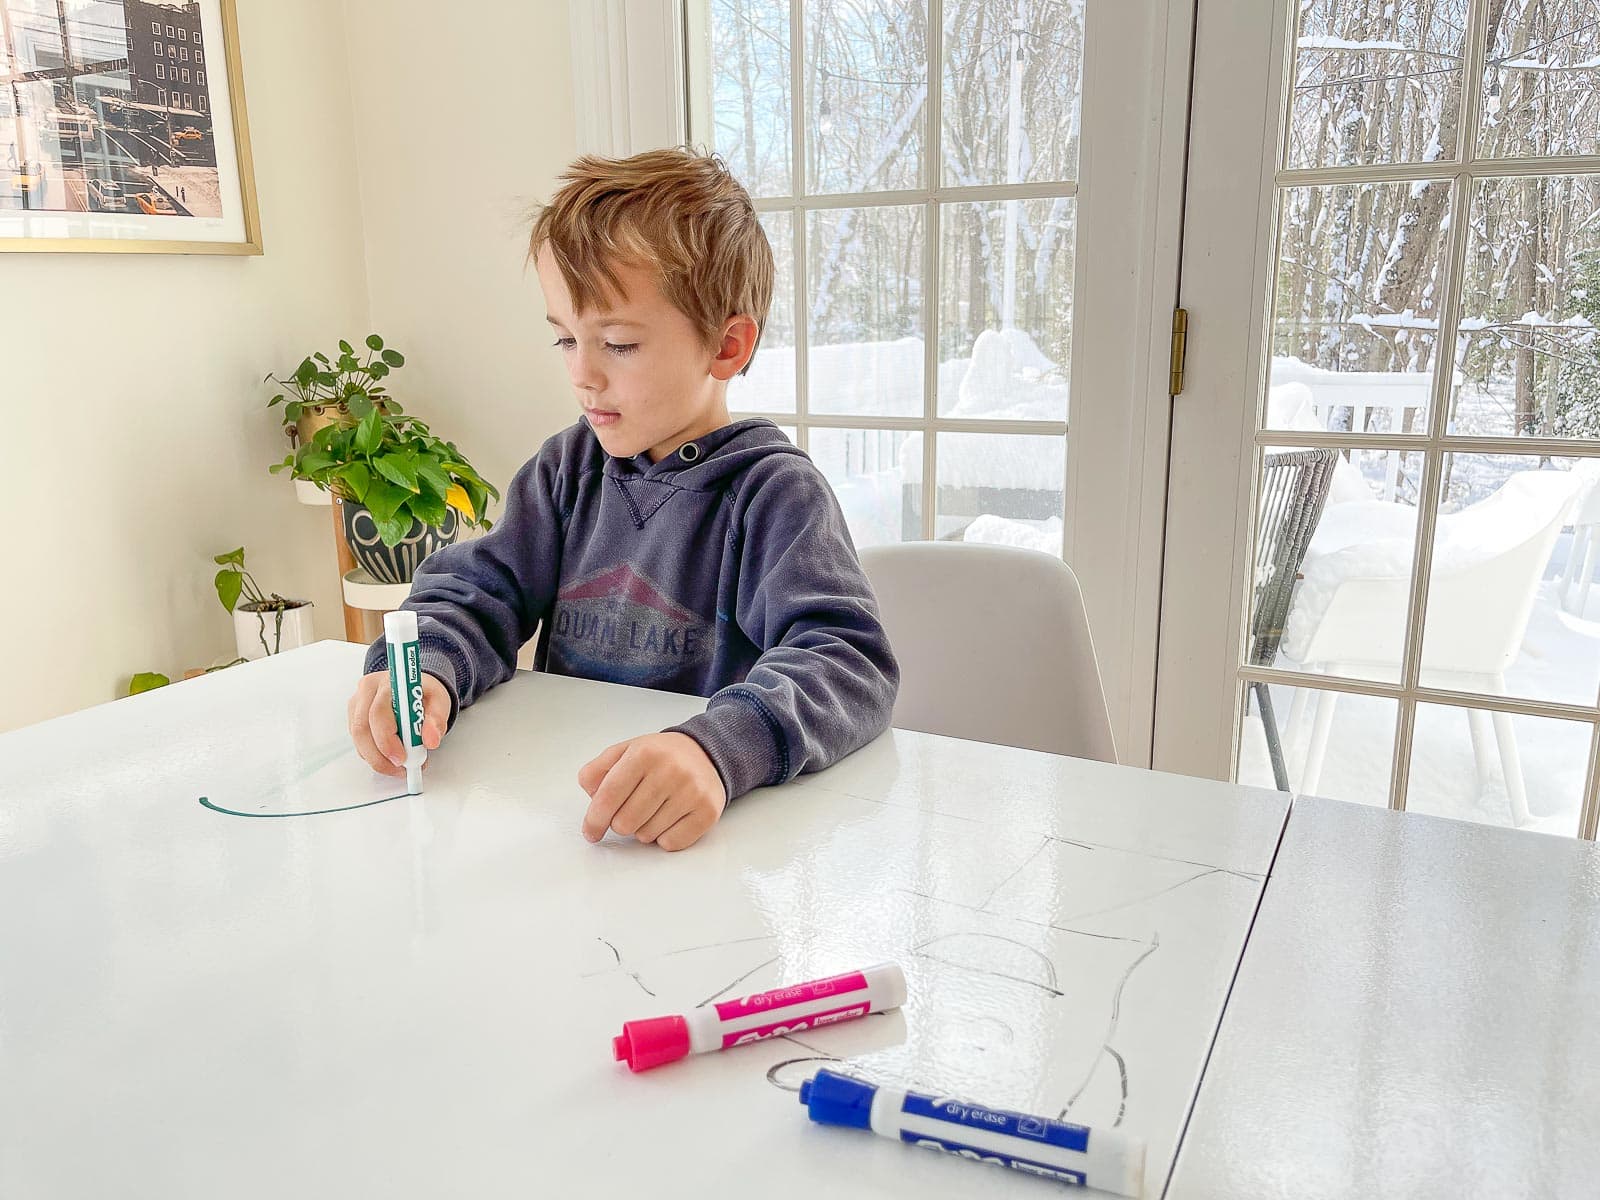
I suspect this is true of other brands, but for the dry erase paint I was using I had to leave the paint to cure for 3 days before writing on it. After three days, we brought it upstairs, screwed the legs on and… let the kids go to town. A couple notes: there are certain colors/ brands of pen that seem to stain the table. We already have a slight purple smudge on one section that isn’t very visible but… it’s also not going anywhere. We try to wipe the board clean when we’re finished so the pen isn’t just sitting there forever, but in general… the white board paint behaves just like a store bought white board would.

We use our table for coloring, math, mazes, note taking… you name it! It’s also a pretty durable high gloss white paint so there’s that too! Trust me… if you have kids, they will love an excuse to get creative and doodle away on their table! Mine have always understood that this table is special so they obviously don’t draw on other pieces of furniture, but I suppose that’s something to consider if your kids are younger than 3 or so?

Don’t Miss Out
Become An Insider!
Signup for exclusive tips, and tricks from Charlotte’s House!
Let’s chat!
I love comments from you, so feel free to leave your thoughts and ideas below! And don’t forget to follow me on Instagram for even more!