
Painting Colorful Stripes in Our Playroom
Psssst… this post *might* contain affiliate links: see my disclosure here.
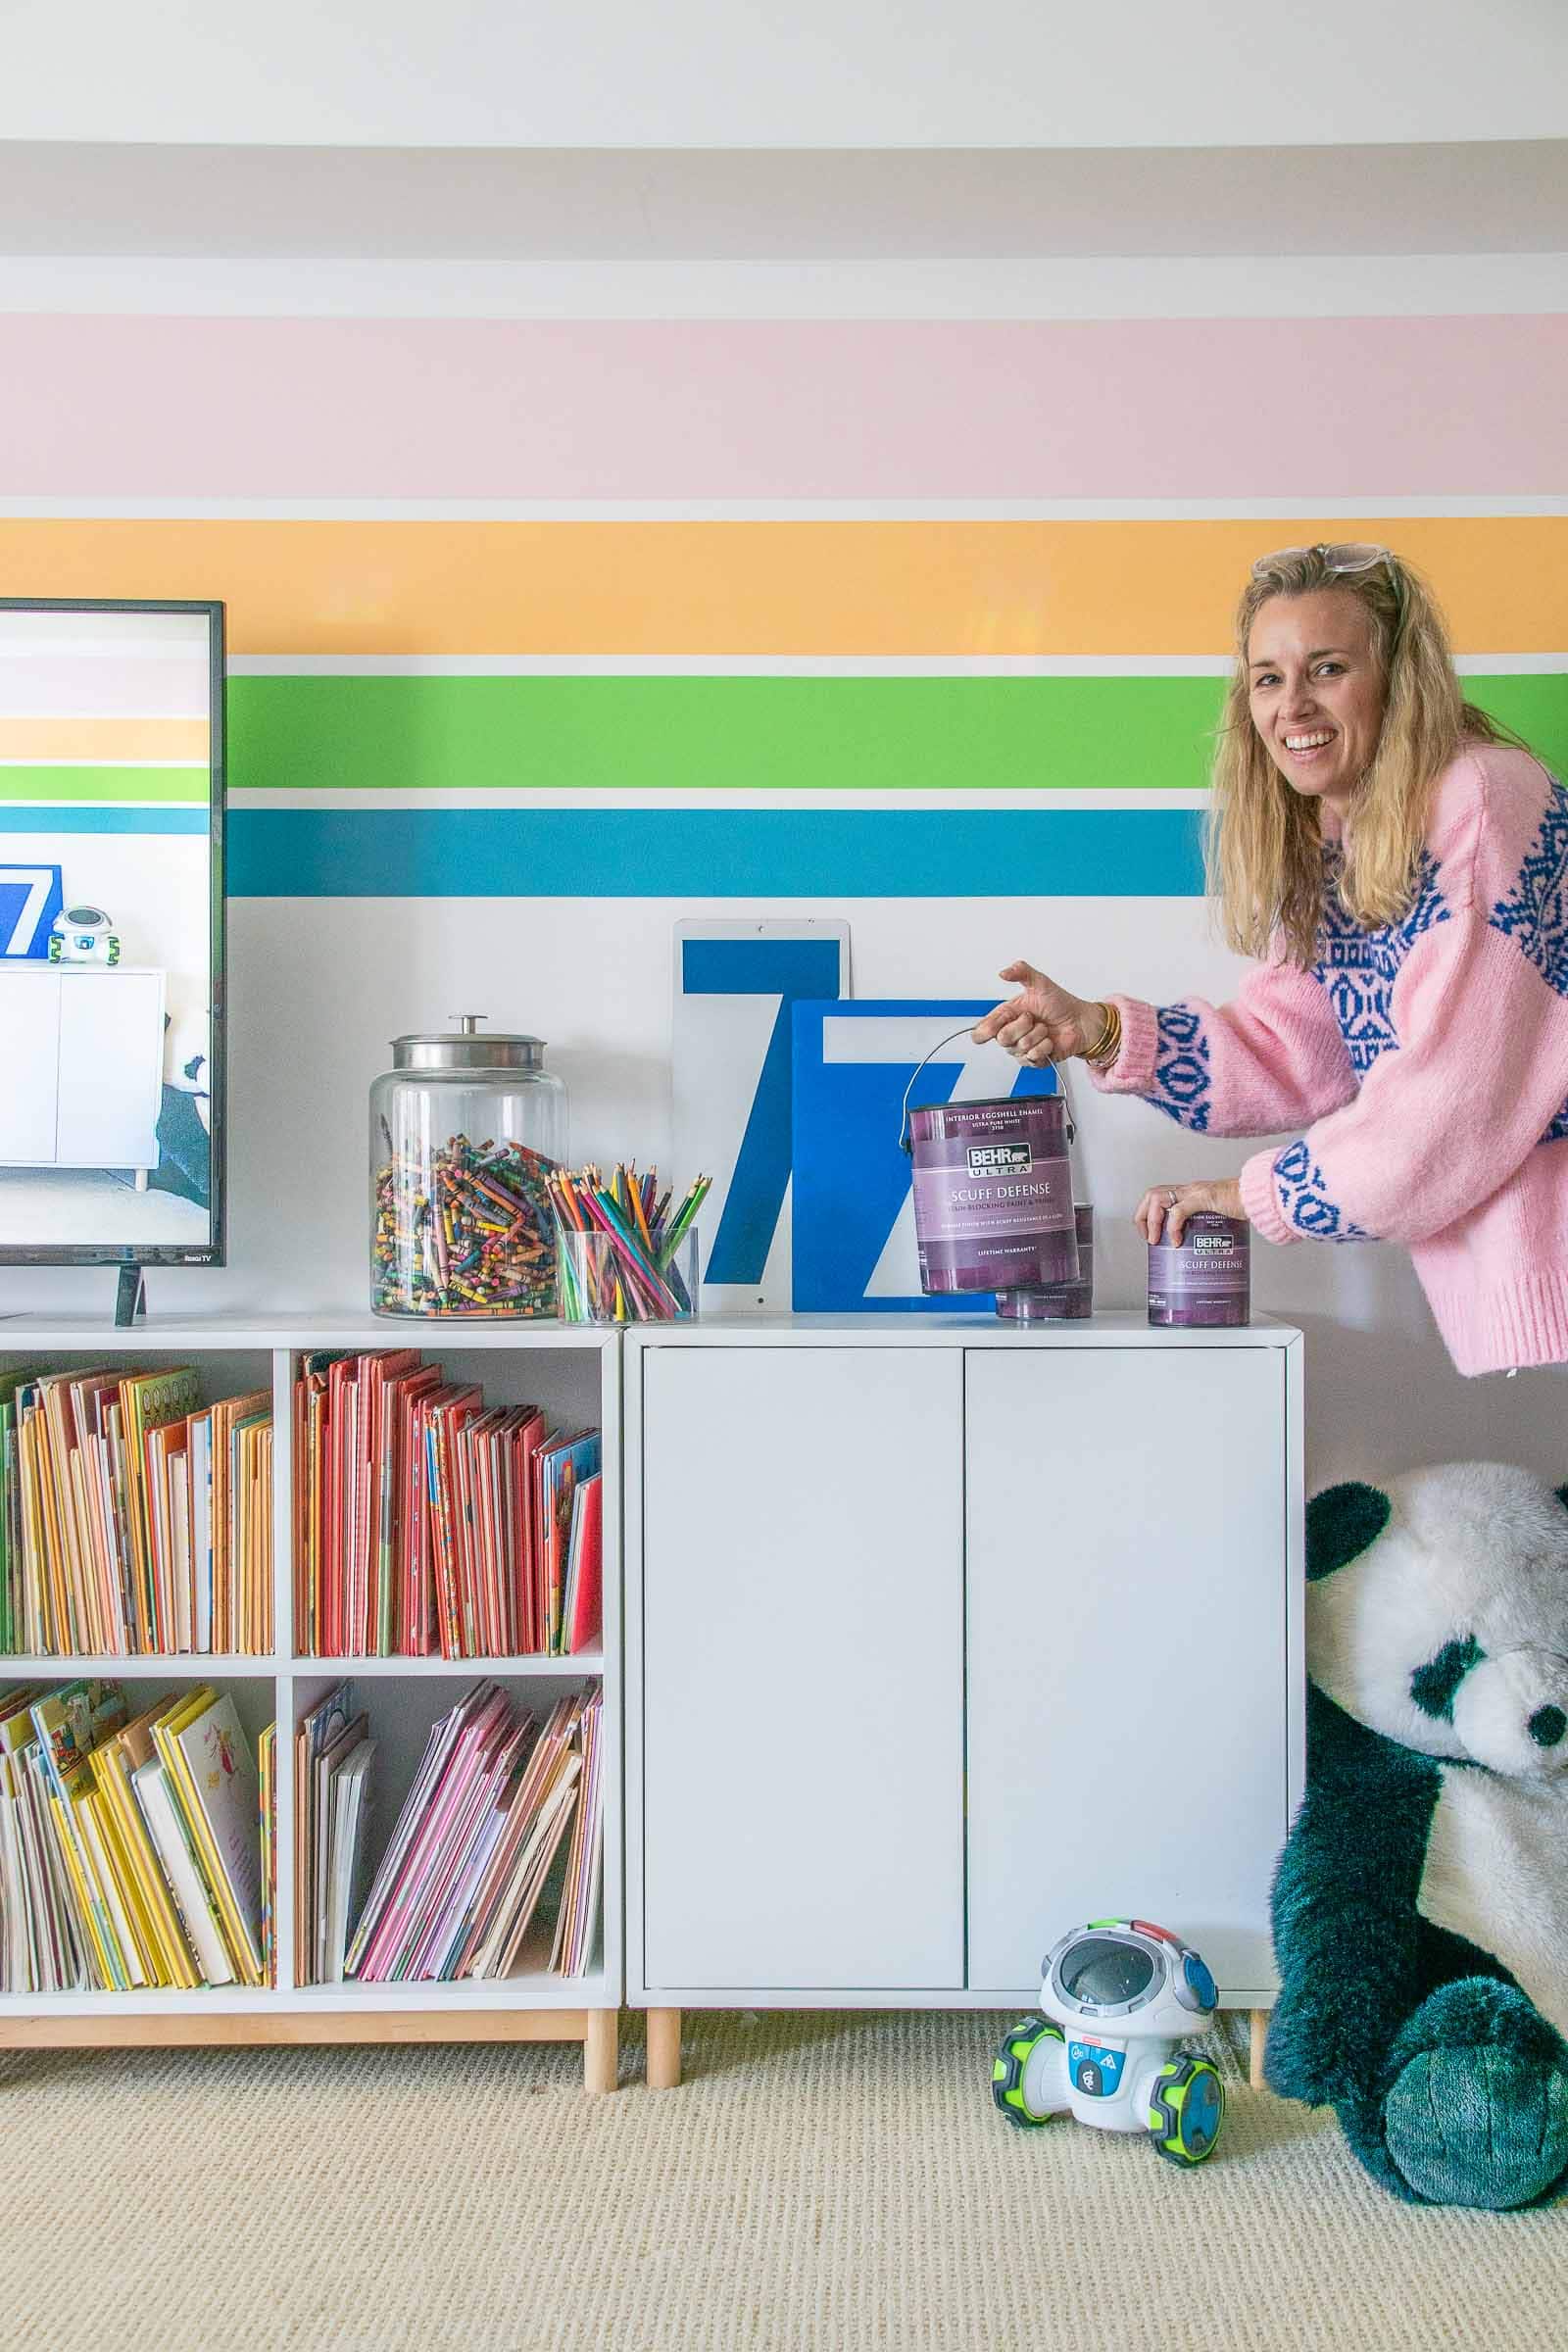
Playroom Refresh Thanks to Paint and Colorful Stripes
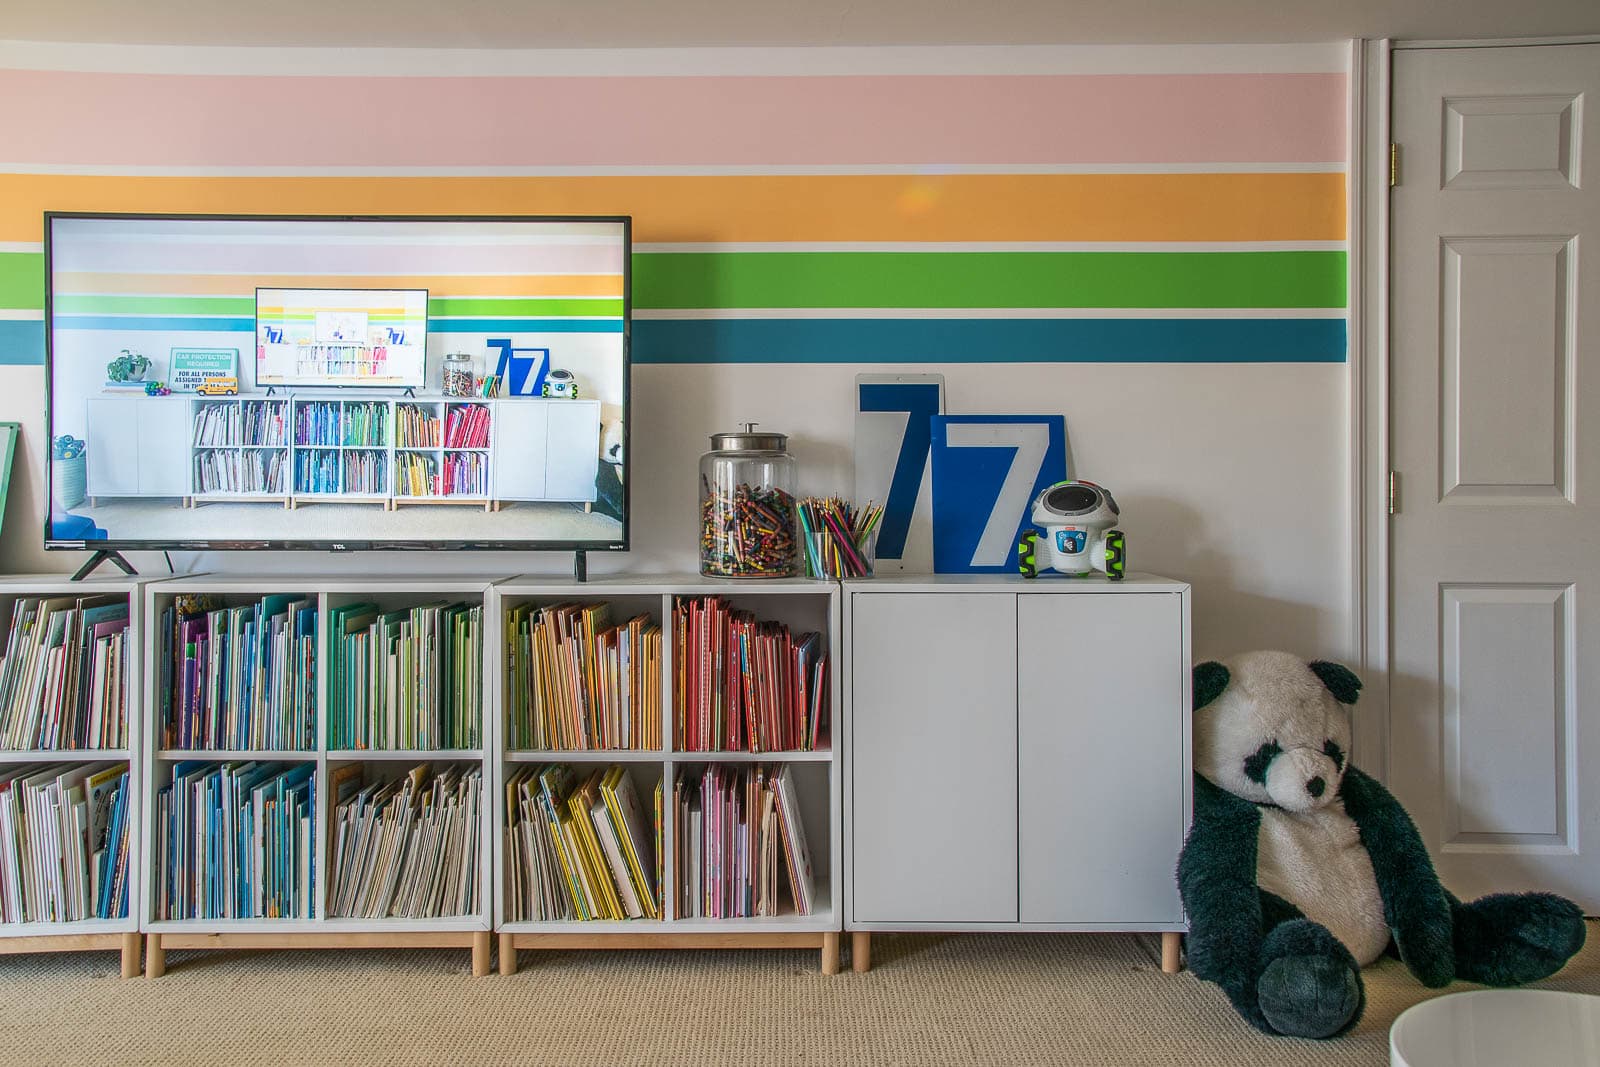
I painted these colorful horizontal stripes on our long playroom wall and they make such a difference!
Disclosure: I partnered with BEHR Paint and am using their BEHR ULTRA® SCUFF DEFENSE™ Paint available exclusively at The Home Depot. Spoiler: it’s amazing.
Shop my favorites!
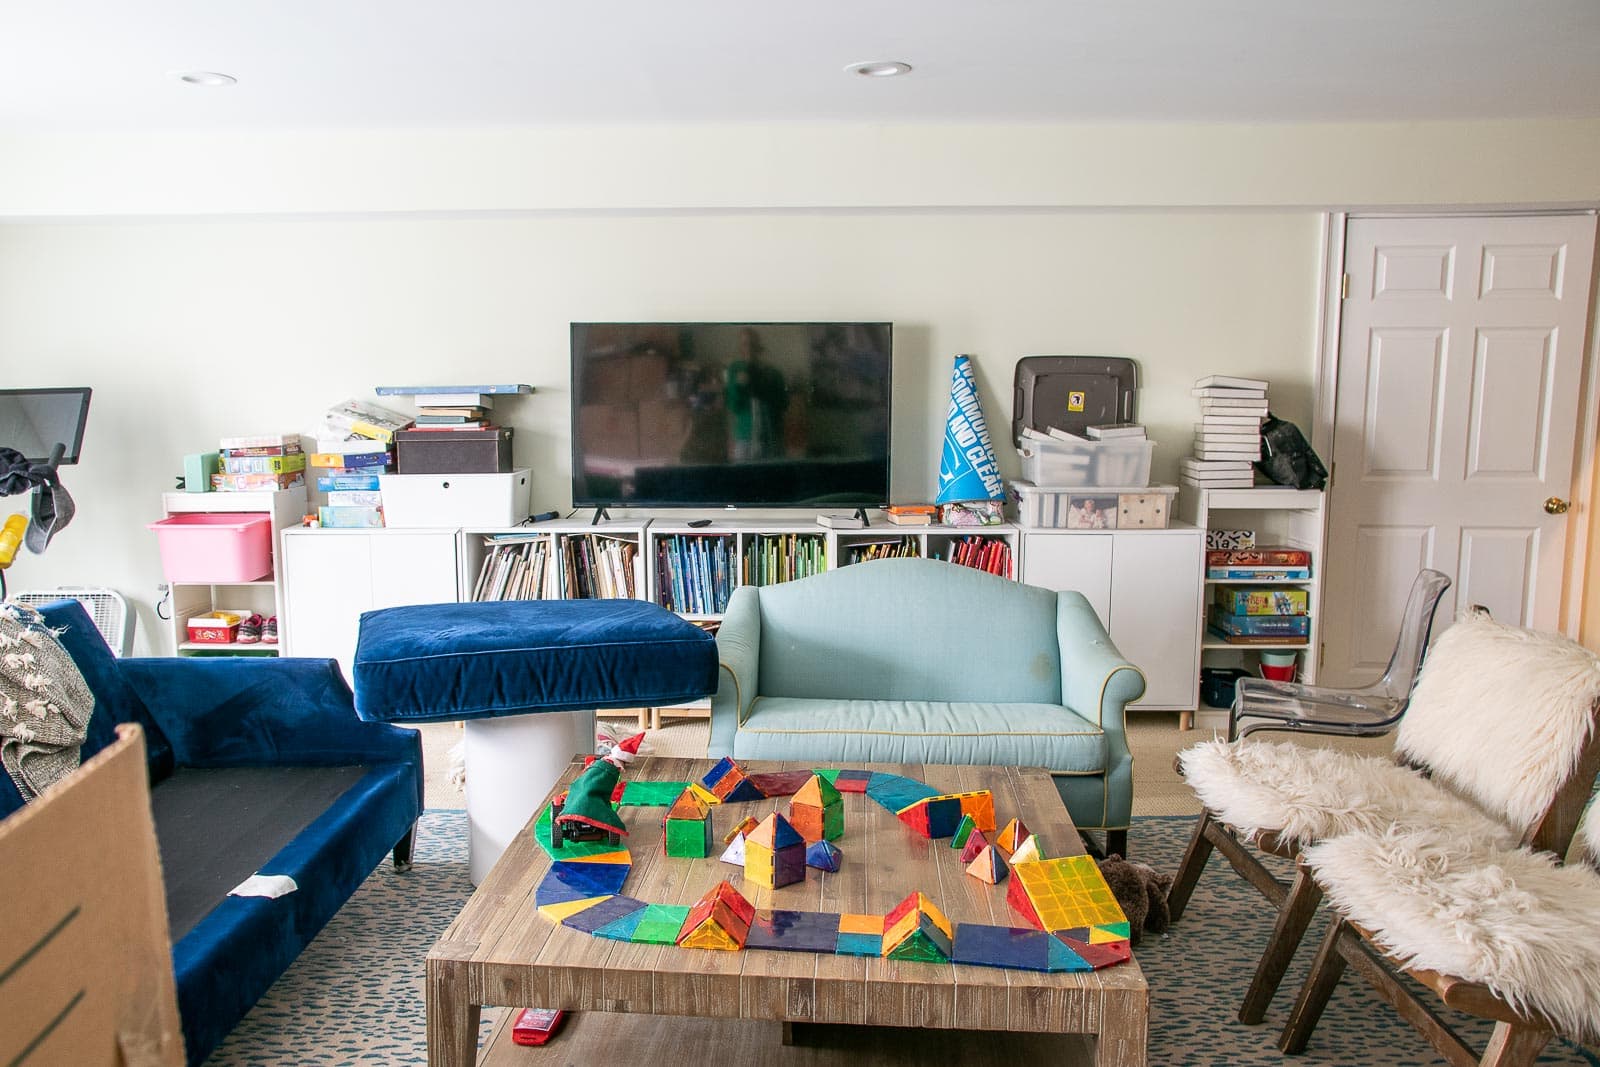
I didn’t realize how much I wanted to paint the playroom until… I painted the playroom! These stripes give the space SUCH an unbelievably needed boost of fresh and clean energy and I LOVE it. I also love that the scuffed and drab walls are now doubly protected because I used a special scuff defense paint that should help with the fingerprints and ball marks that were *everywhere* down there. It also helps that the playroom was a DISASTER thanks to my office makeover which make for an epic before/ after.
Step 1. Clear out the space
I moved everything away from the wall and removed all switch plates. I didn’t bother cleaning the wall really, but I ran a rag down the corners to remove any dust/ cobwebs.
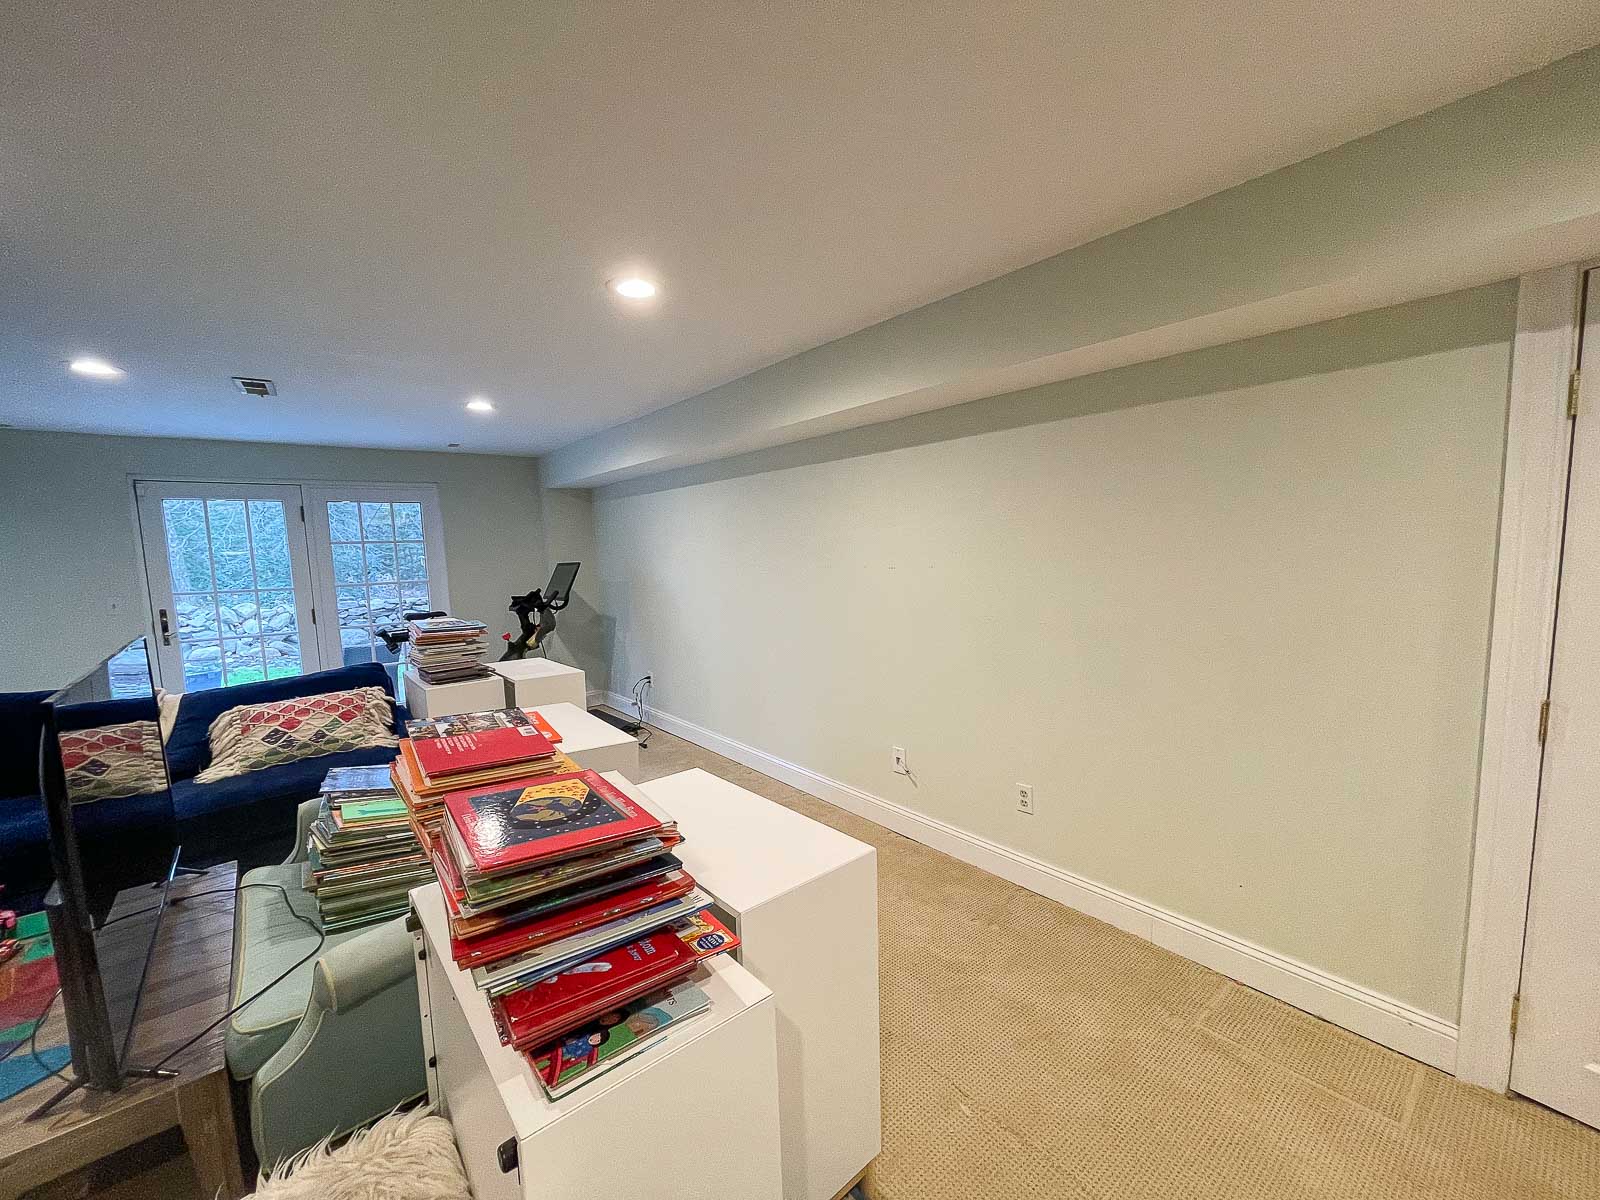
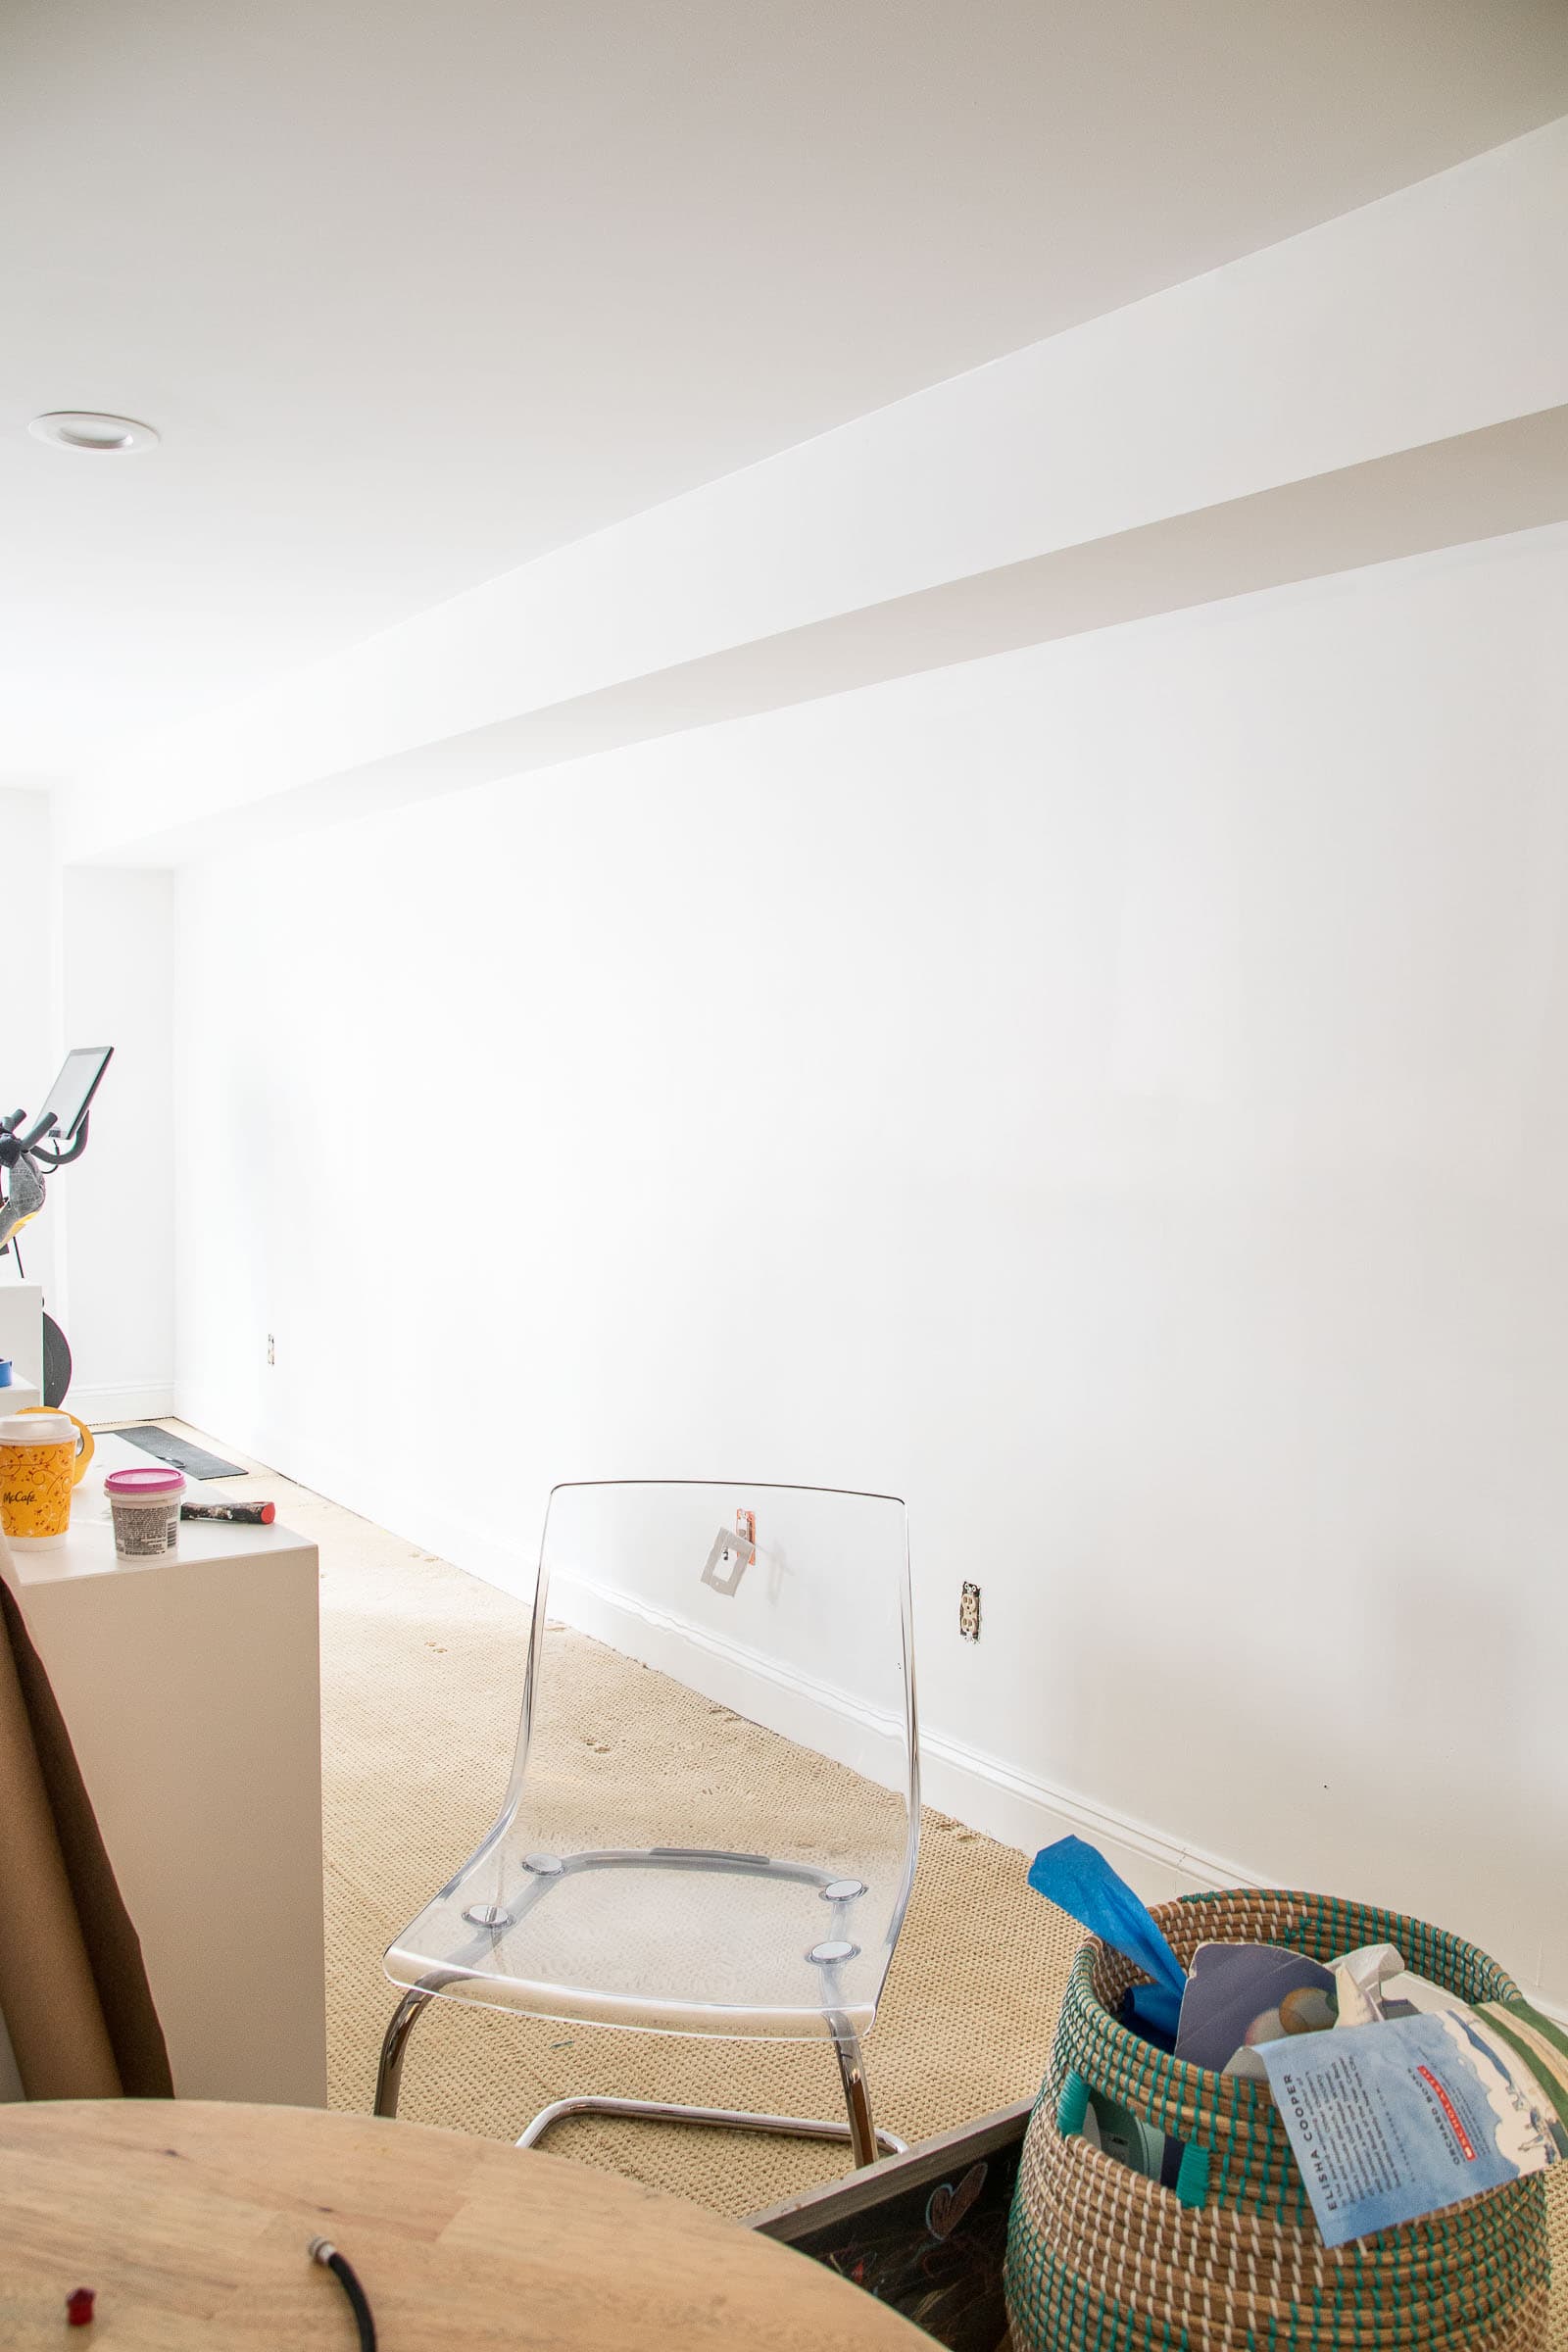
Step 2. Paint the first coat
I’m using Whisper White BEHR ULTRA® SCUFF DEFENSE™ as the base coat. As always, a coat of white paint works MIRACLES. The base color in here was a green that was deceptively dark. To be safe, I painted two coats of white paint just to prevent any of the green from showing through and affecting the tint of the white paint.
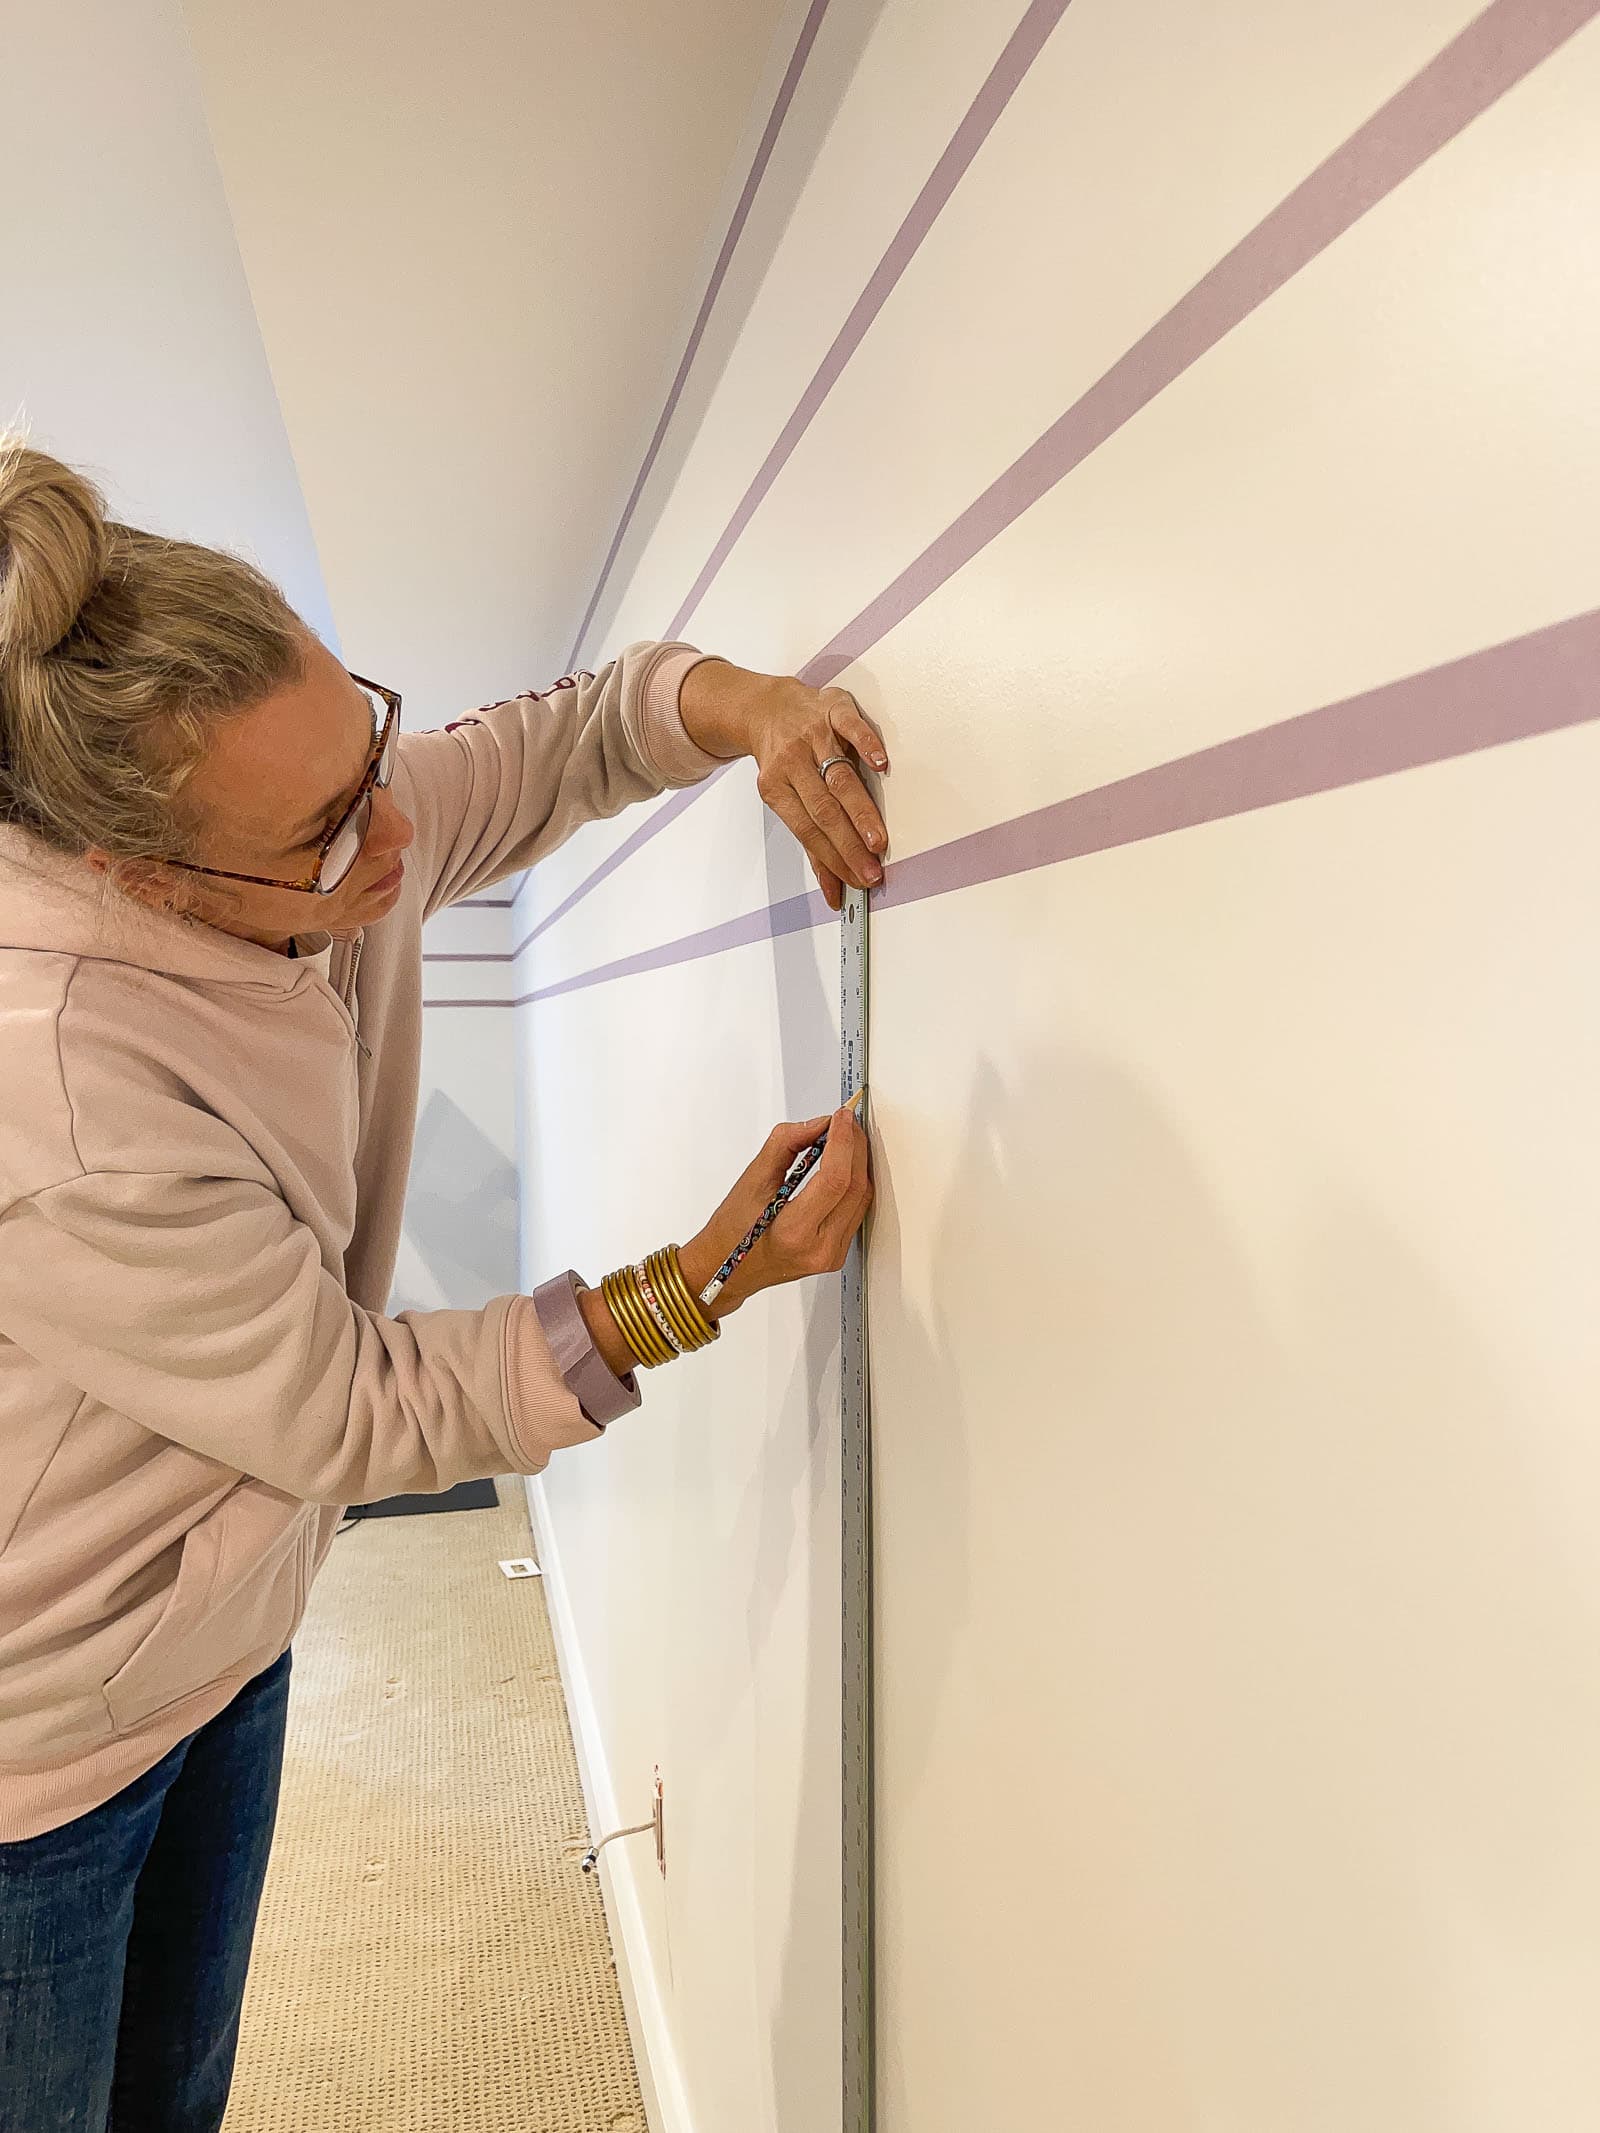
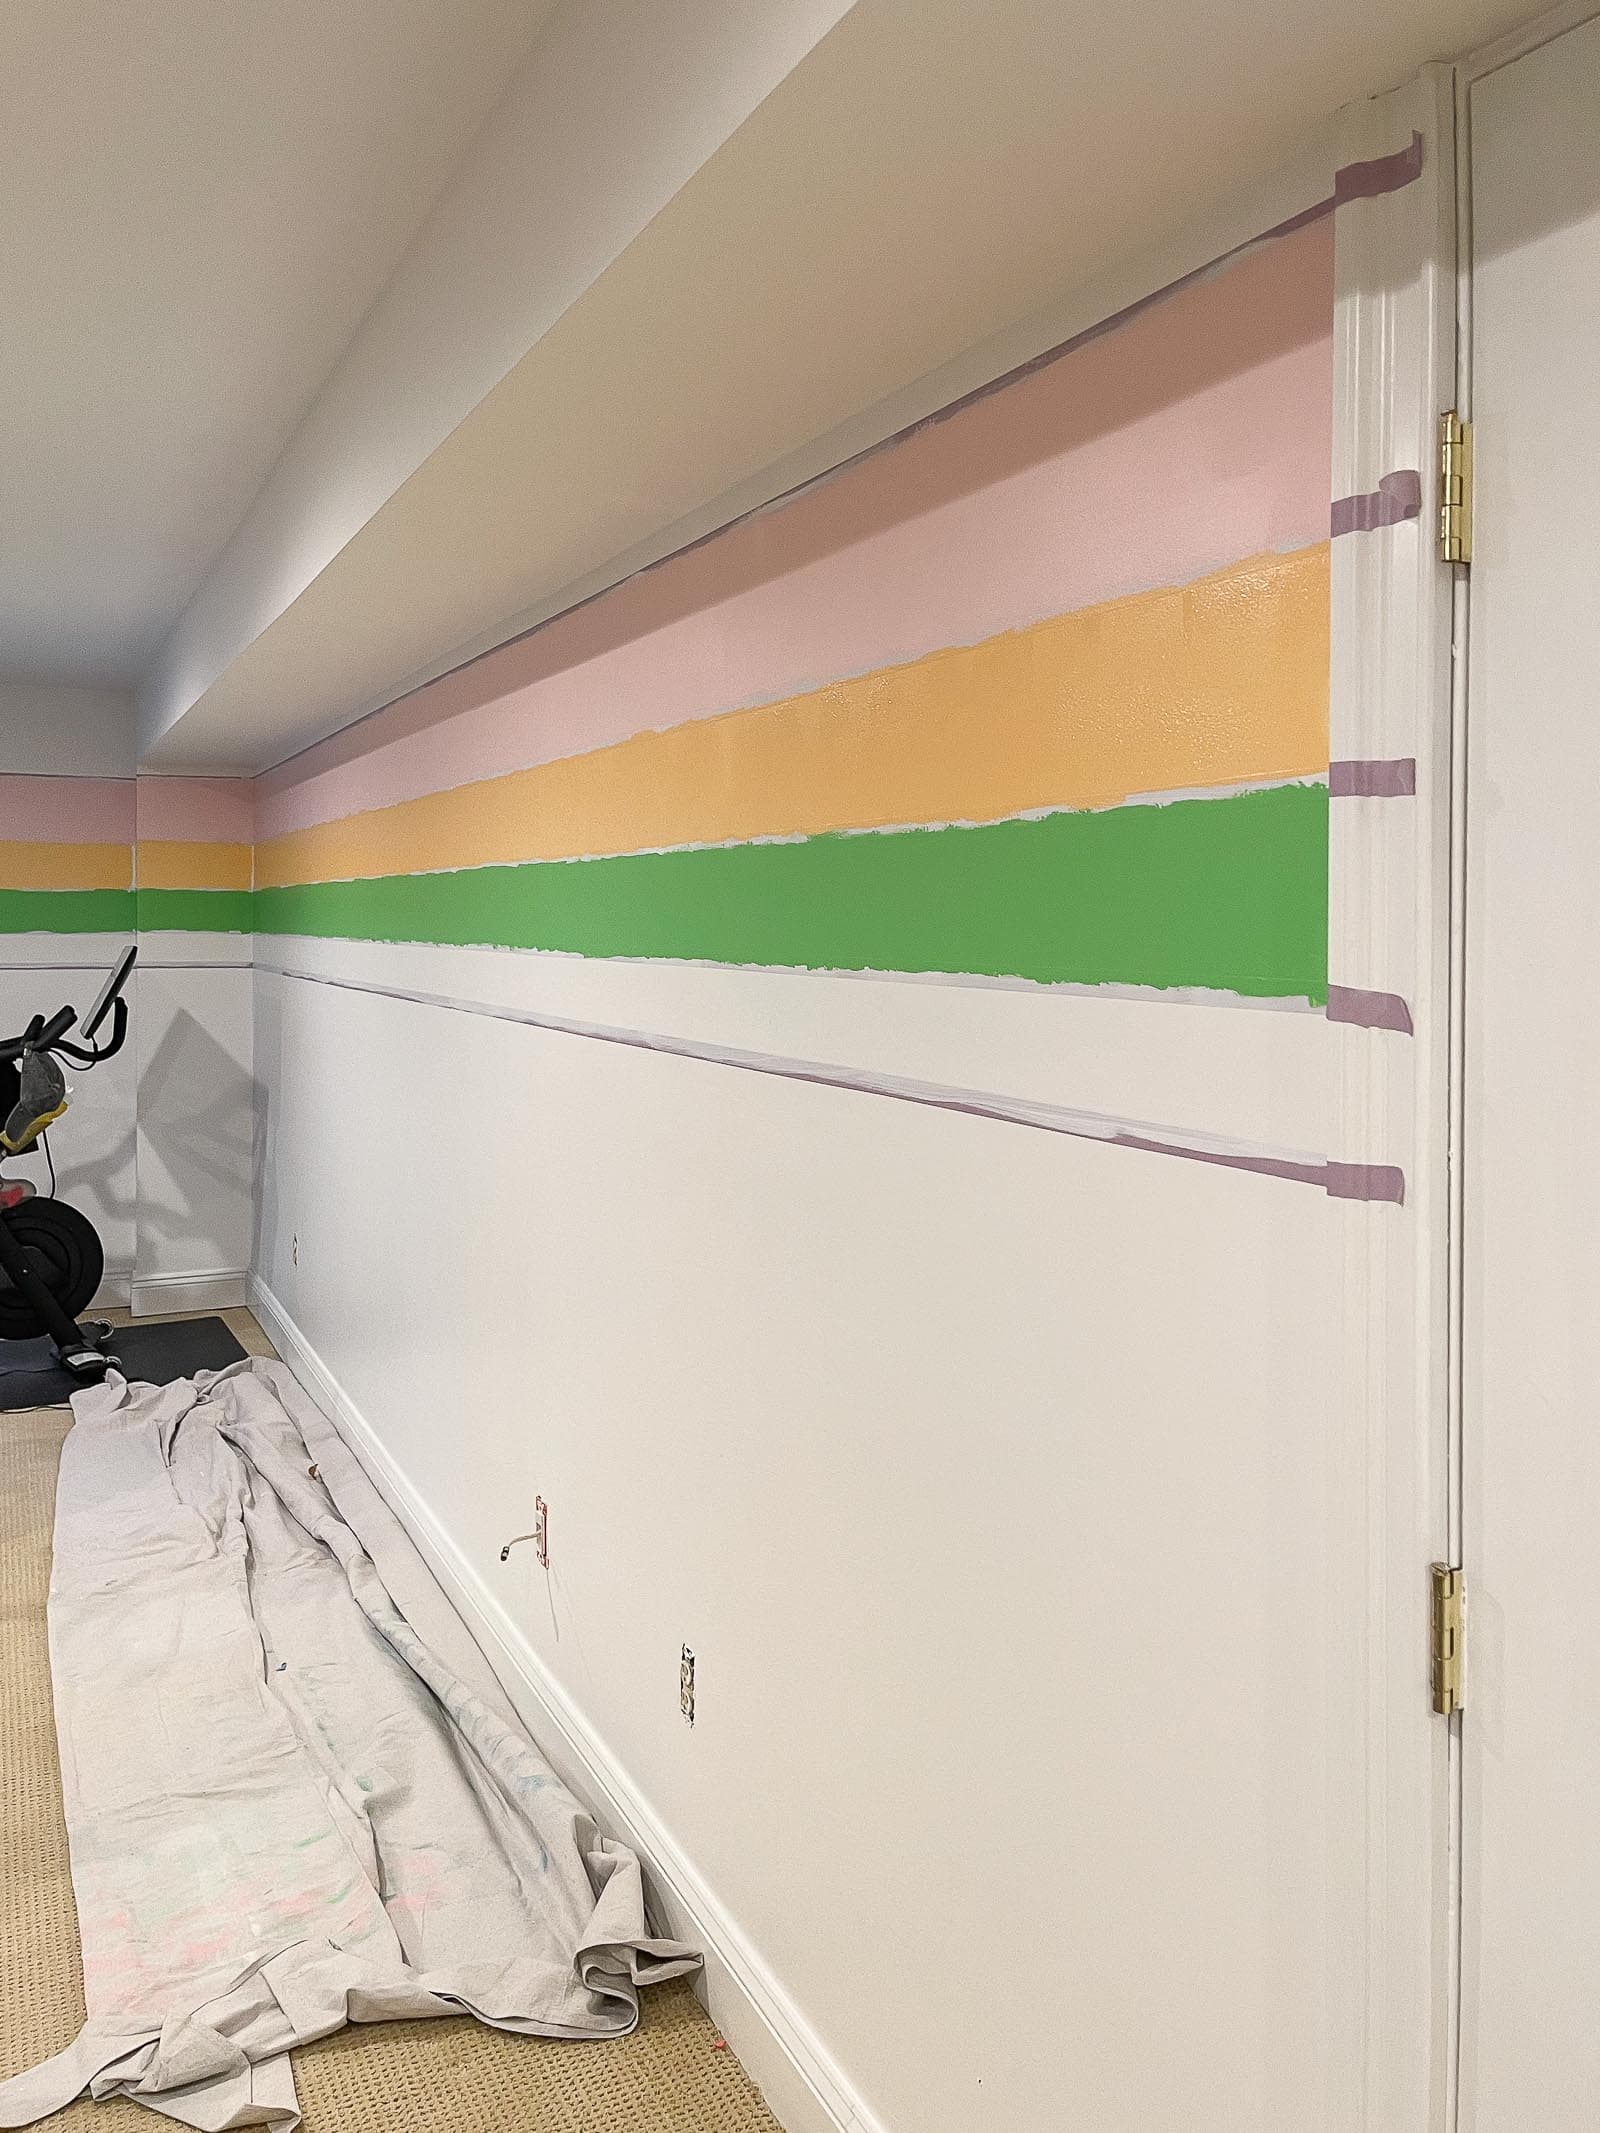
Step 3. Tape off the lines
This wall has a horizontal soffit across the top and it’s a long wall so I thought a series of horizontal stripes would work with the lines in the room really well. Stripes are tricky so take your time! The walls in here are pretty close to level so I was able to use my level to draw straight lines across. (If your ceilings/ walls are NOT level, then a pattern like this might be tricky… ) I measured for how thick each line would be and then used the level to draw the horizontal line across the wall.

Because I had just painted these walls, I used a painters tape intended for newly painted (delicate) surfaces. I’m just using the width of the tape as the stripe. Easy peasy.
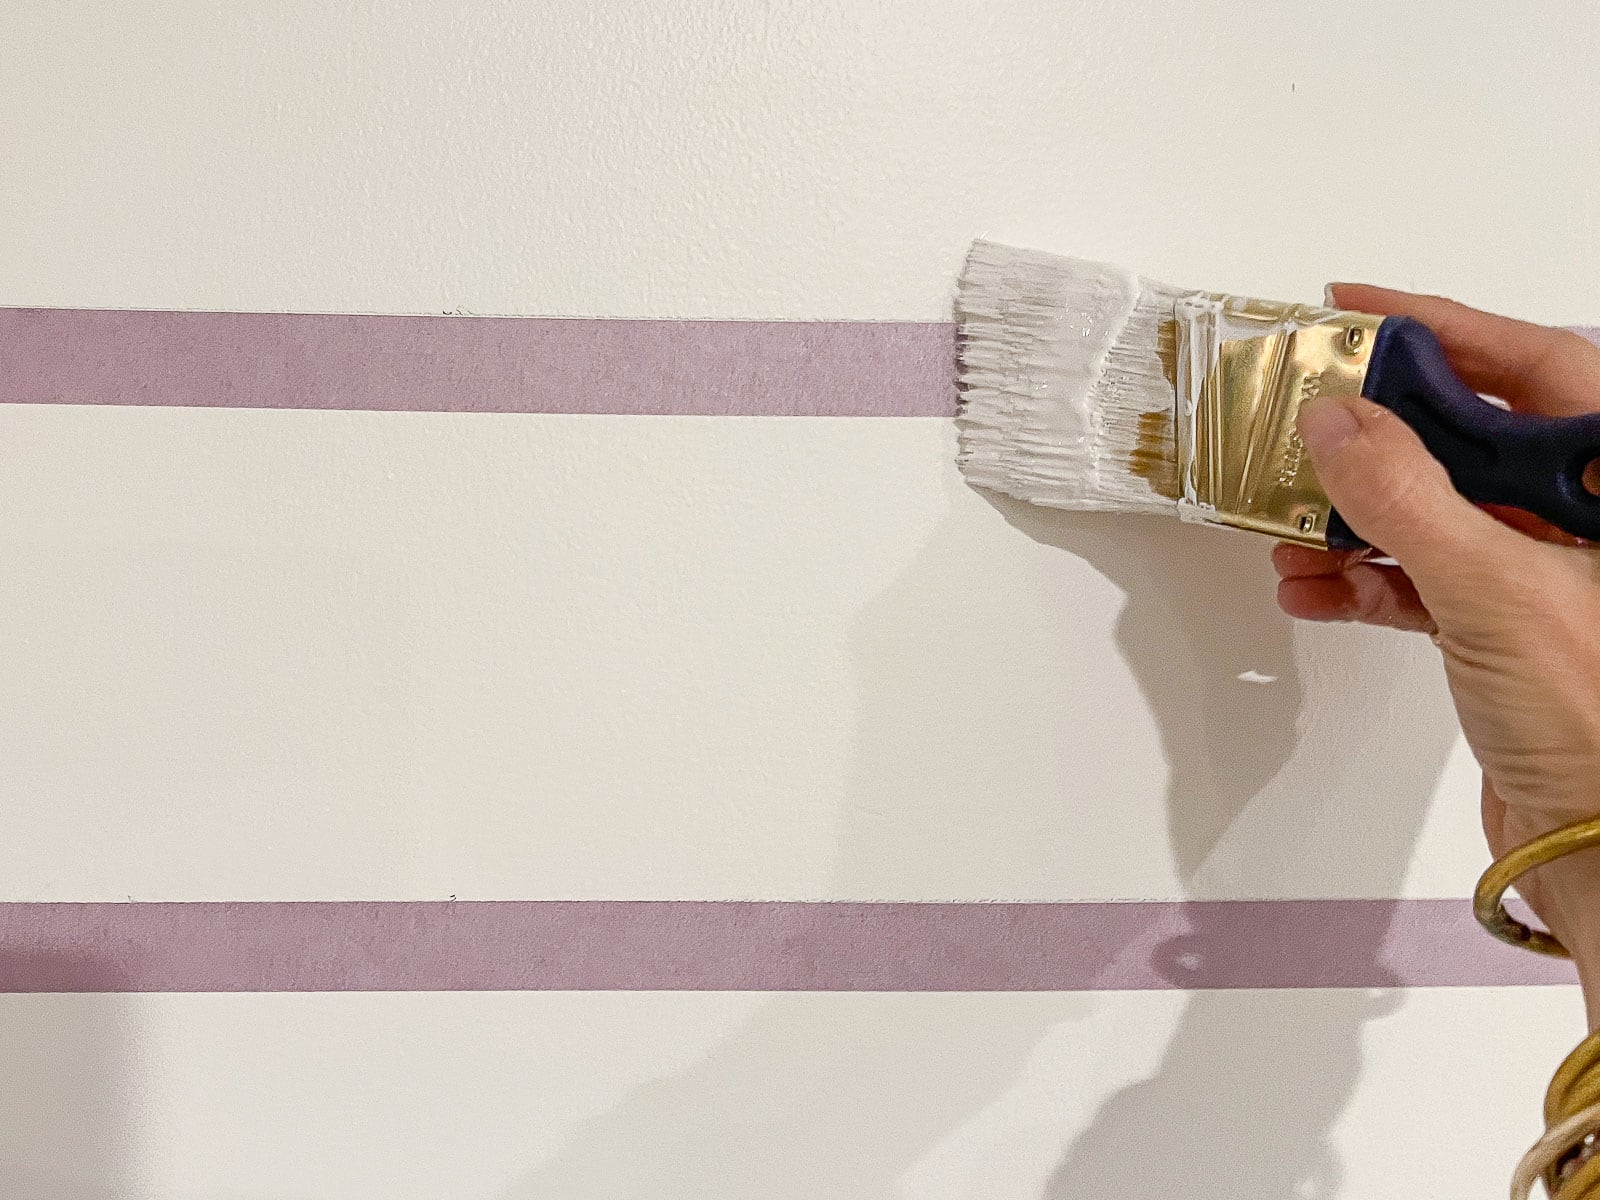
Step 4. Seal the tape
A great way to ensure crisp lines is to seal the tape edge. This simply means painting over the tape with the SAME paint that you used for the underlying wall color. In this case, Whisper White. This way, if there are any places on the tape line where the paint can bleed under, the paint that bleeds under will be white so you won’t see it! Then, when I go over with the contrasting colors, there won’t be any place for the paint to creep under the tape.

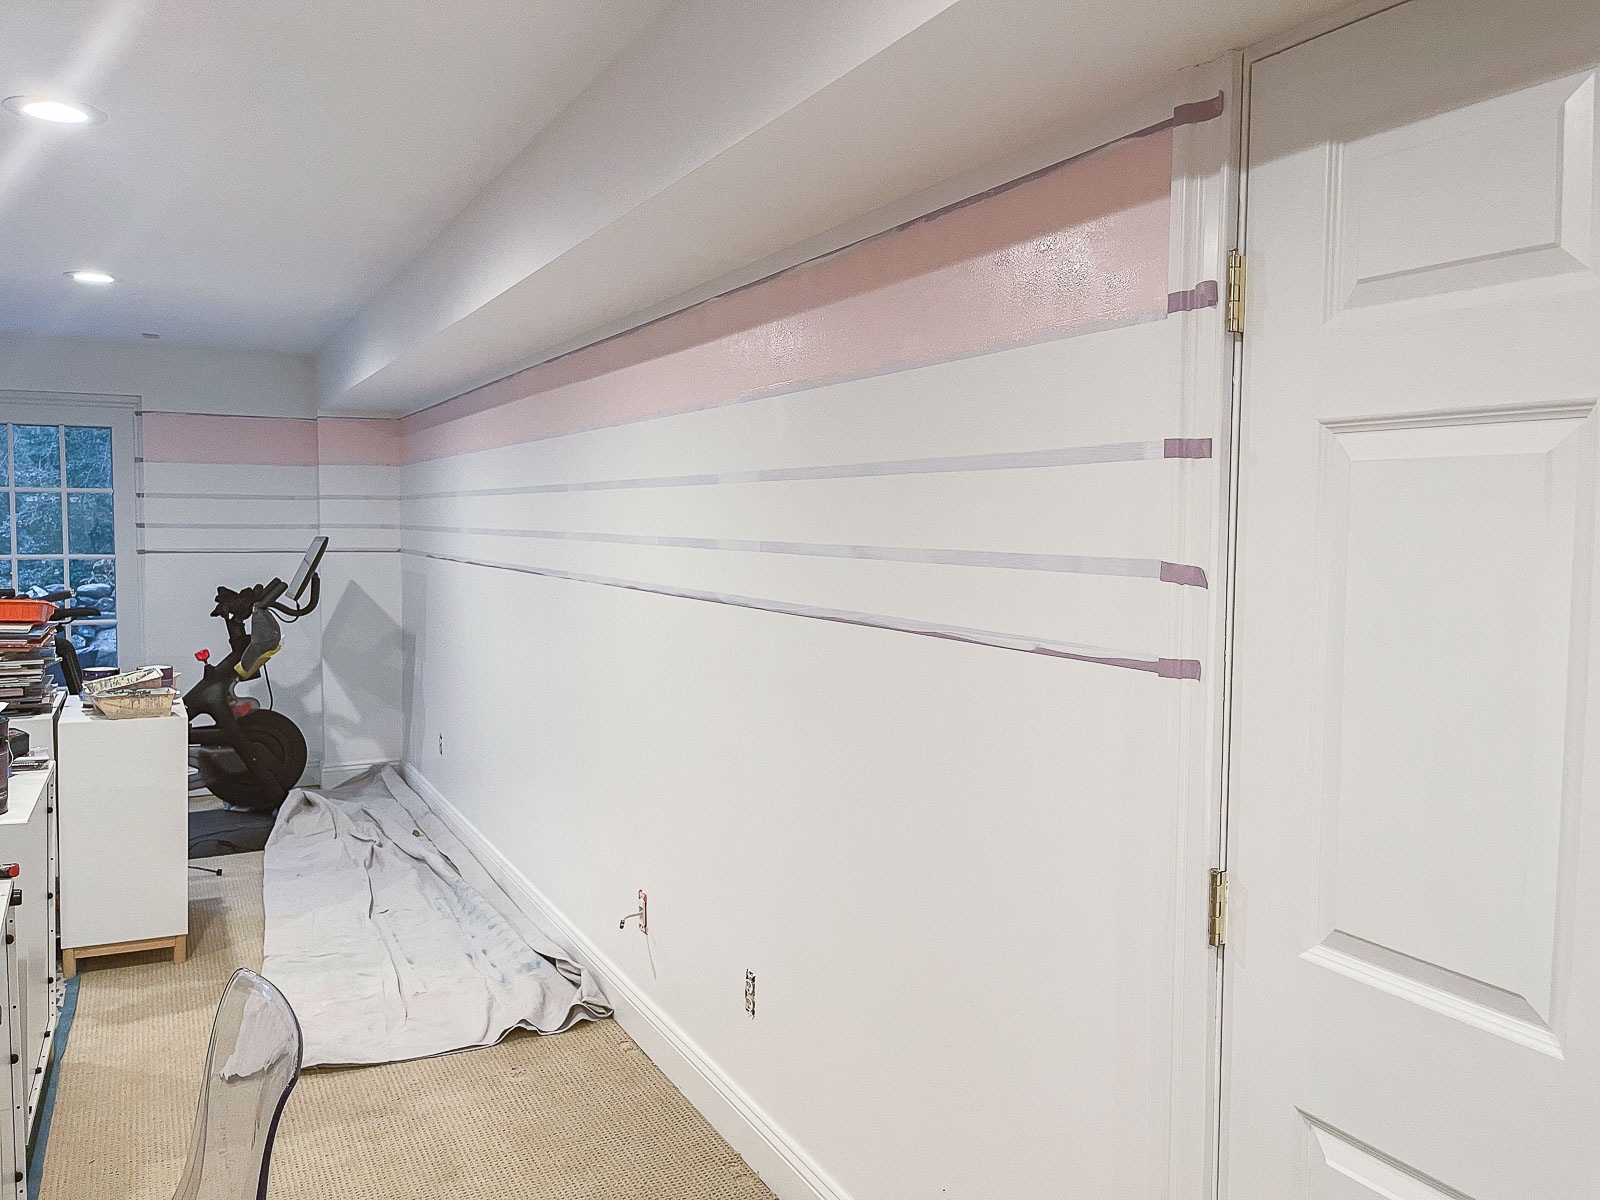
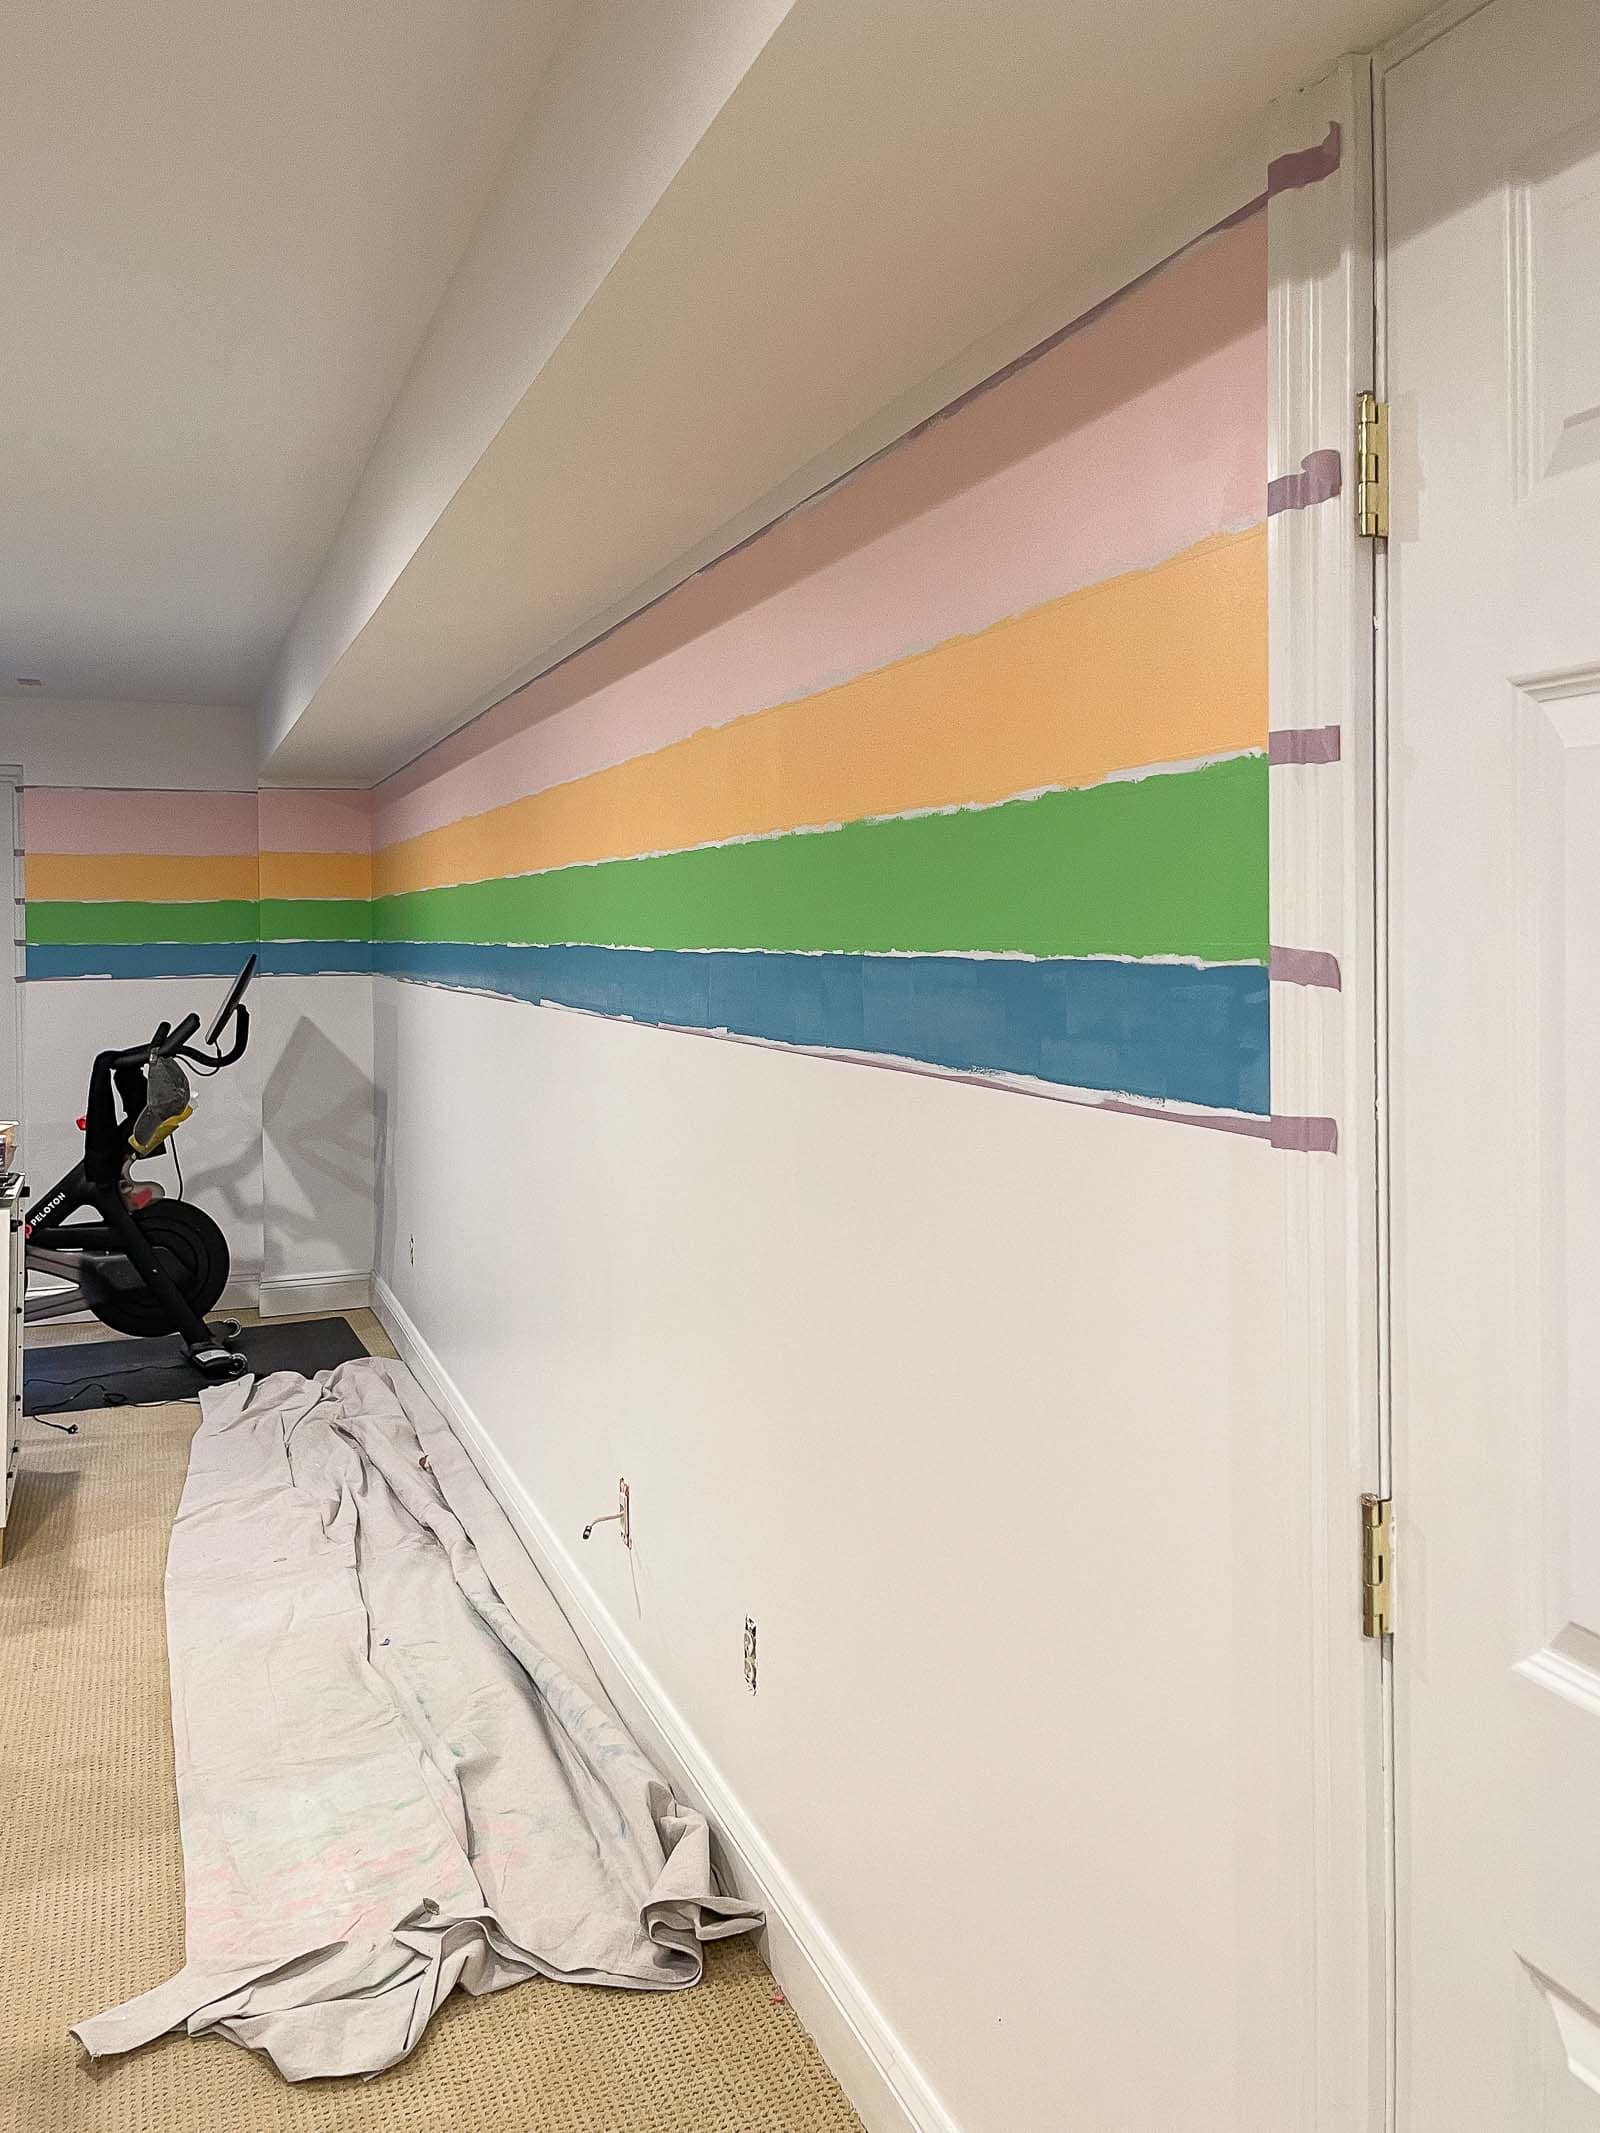
Step 5. Paint the horizontal stripes
I used small rollers to paint the following colors (all BEHR ULTRA® SCUFF DEFENSE™): Explorer Blue, Apple Orchard, Mango Nectar, Cupcake Pink and Carolina Parakeet. One rookie mistake I made was to use a roller for semi smooth surfaces which meant the pile was a little longer and it left behind some mottled marks. Once I switched over to the better quality roller, I only needed one coat of the stripes for the most part. The coverage of the BEHR ULTRA® SCUFF DEFENSE™ is great!
To avoid any smudges, I painted the 1st and 3rd stripe first, and then went back to paint the 2nd and 4 stripes.
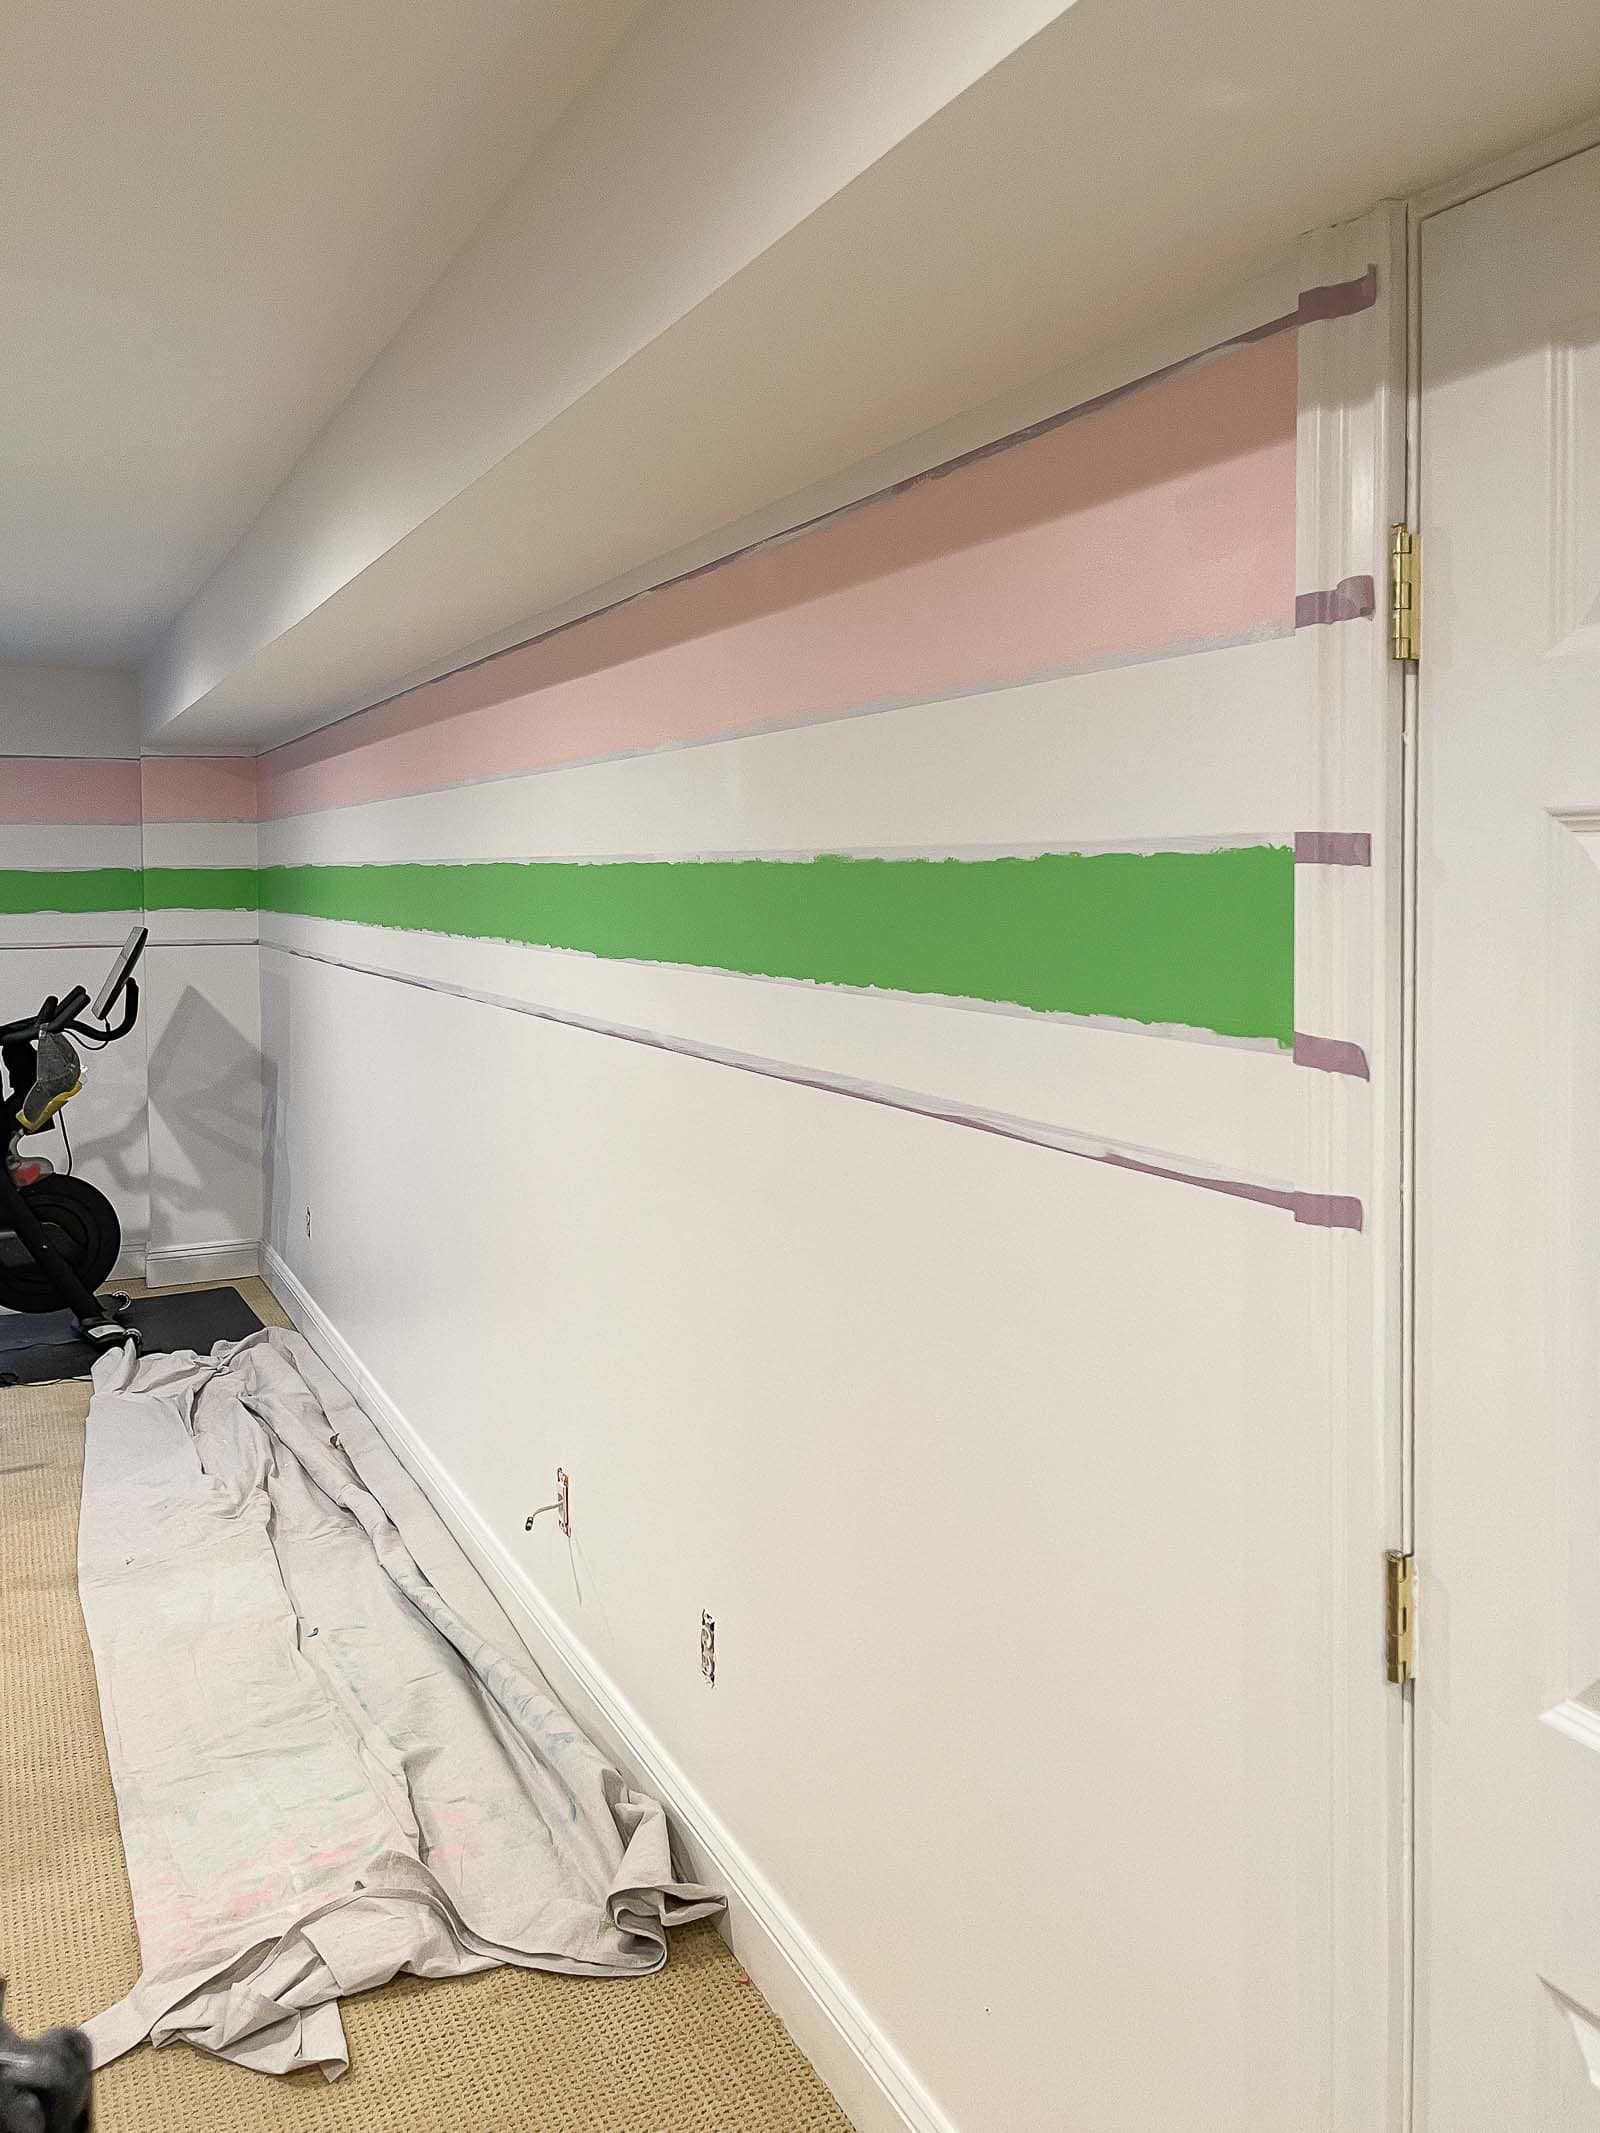
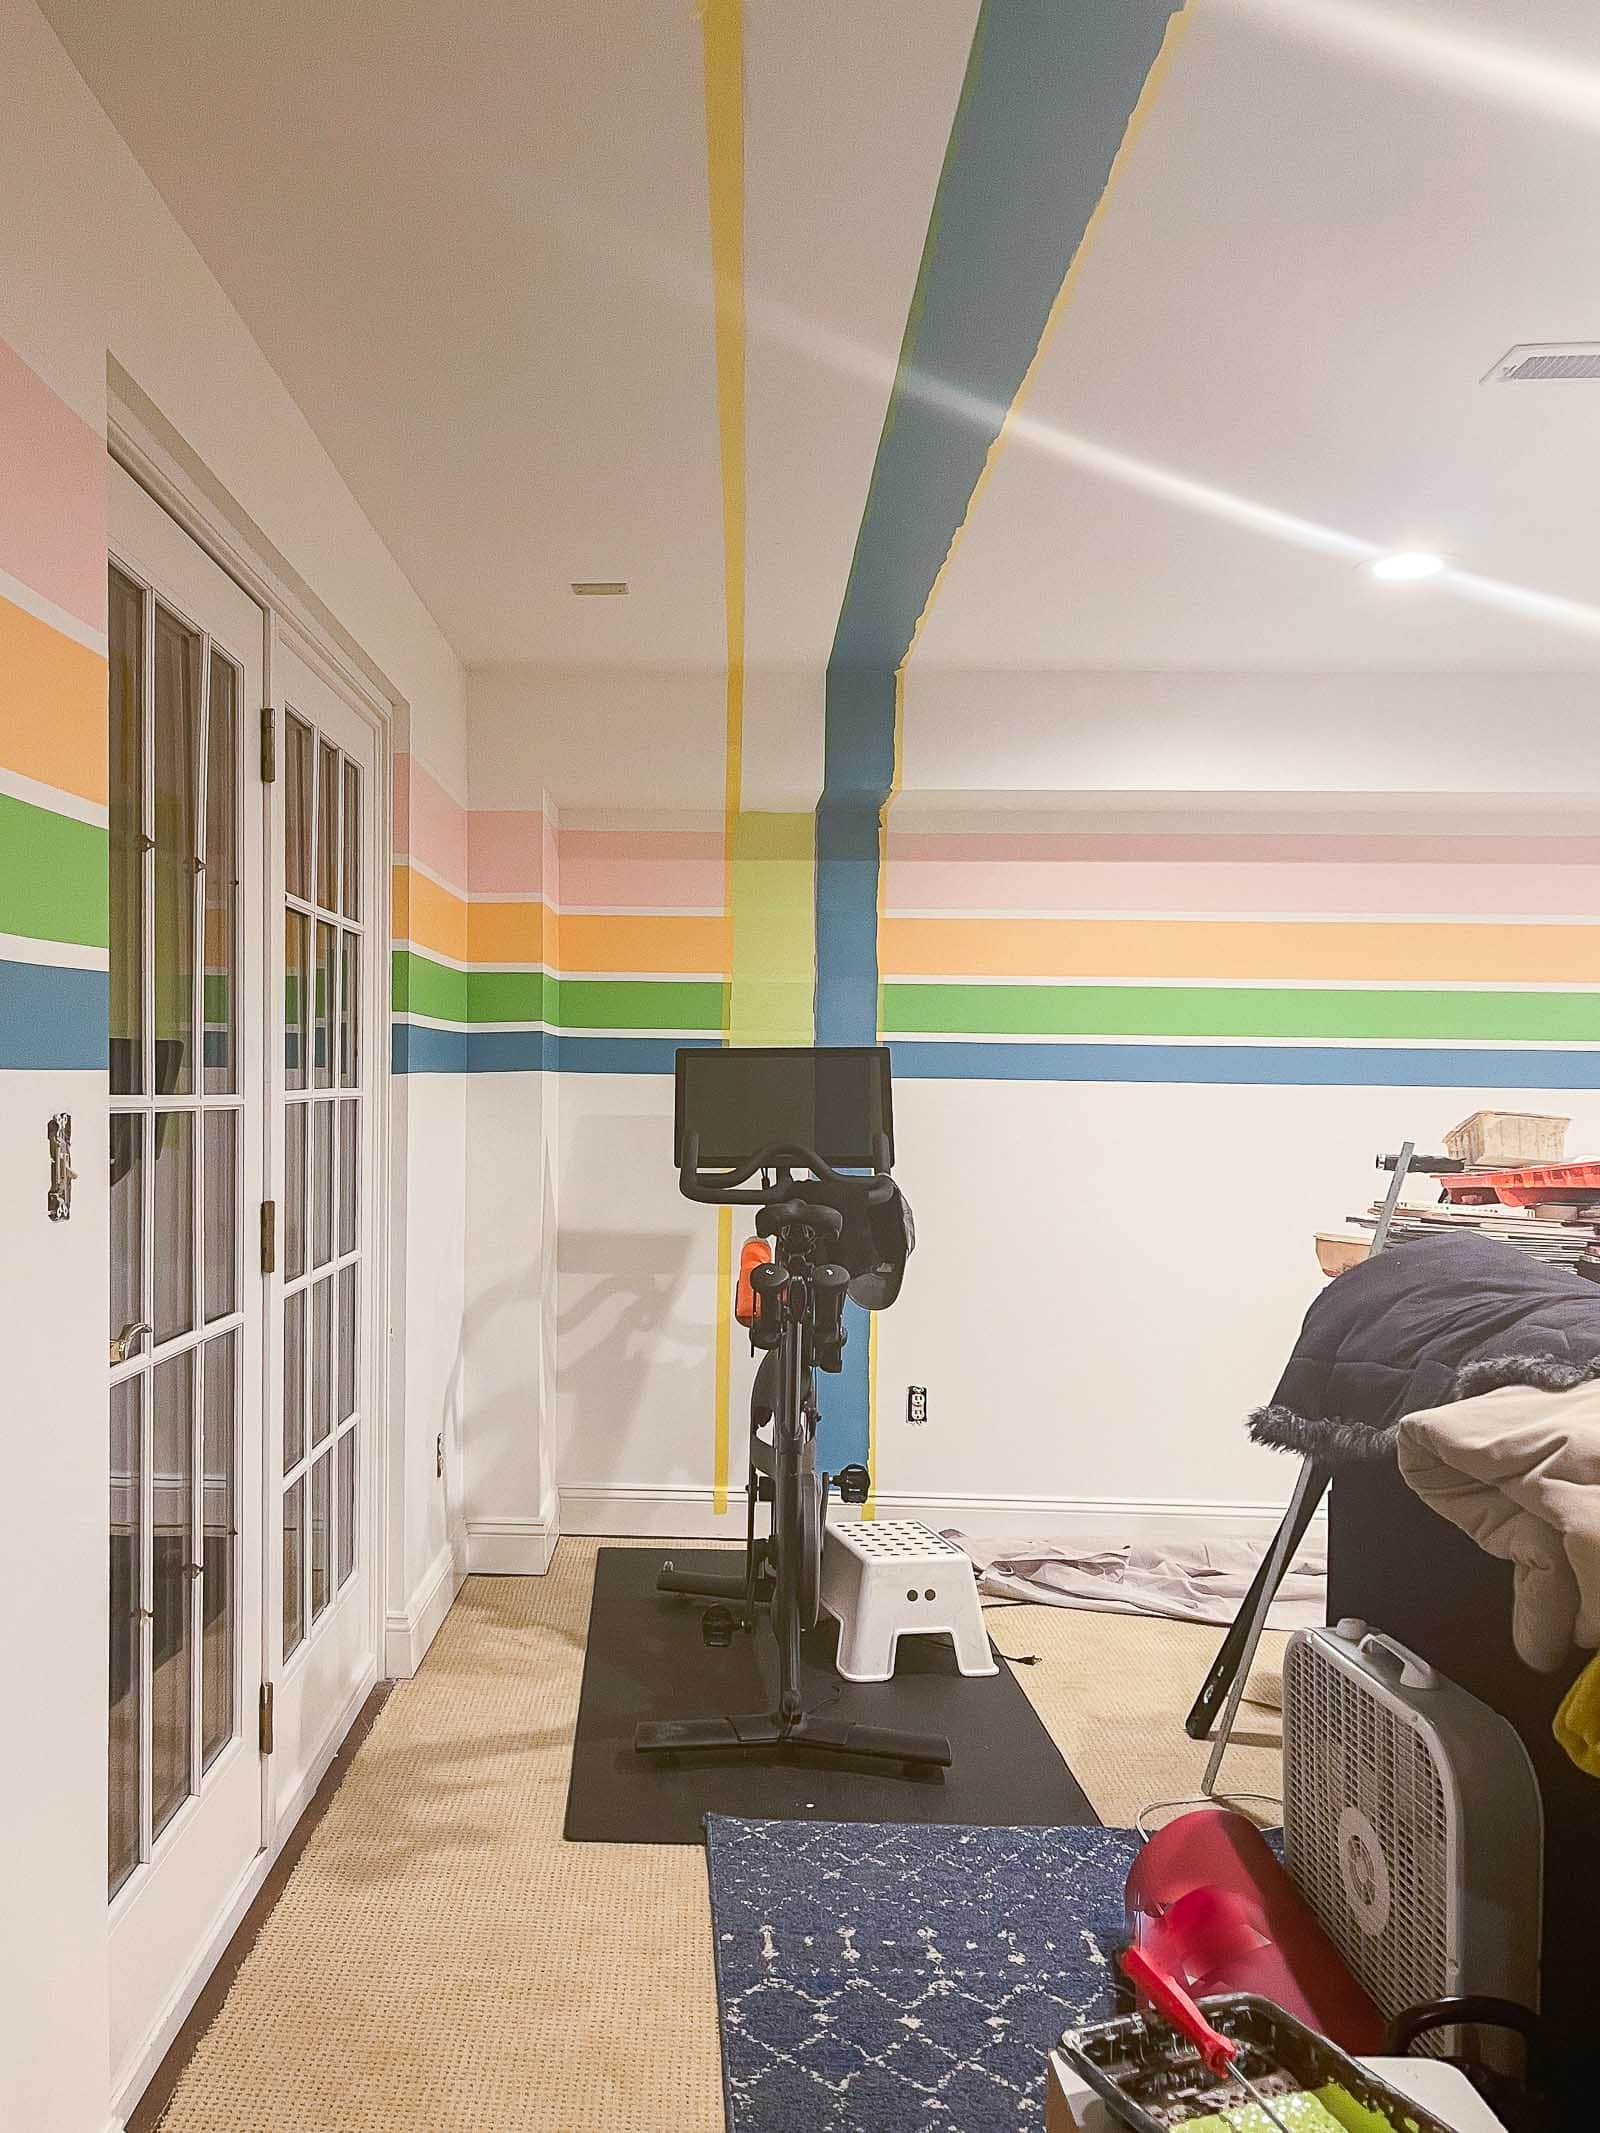
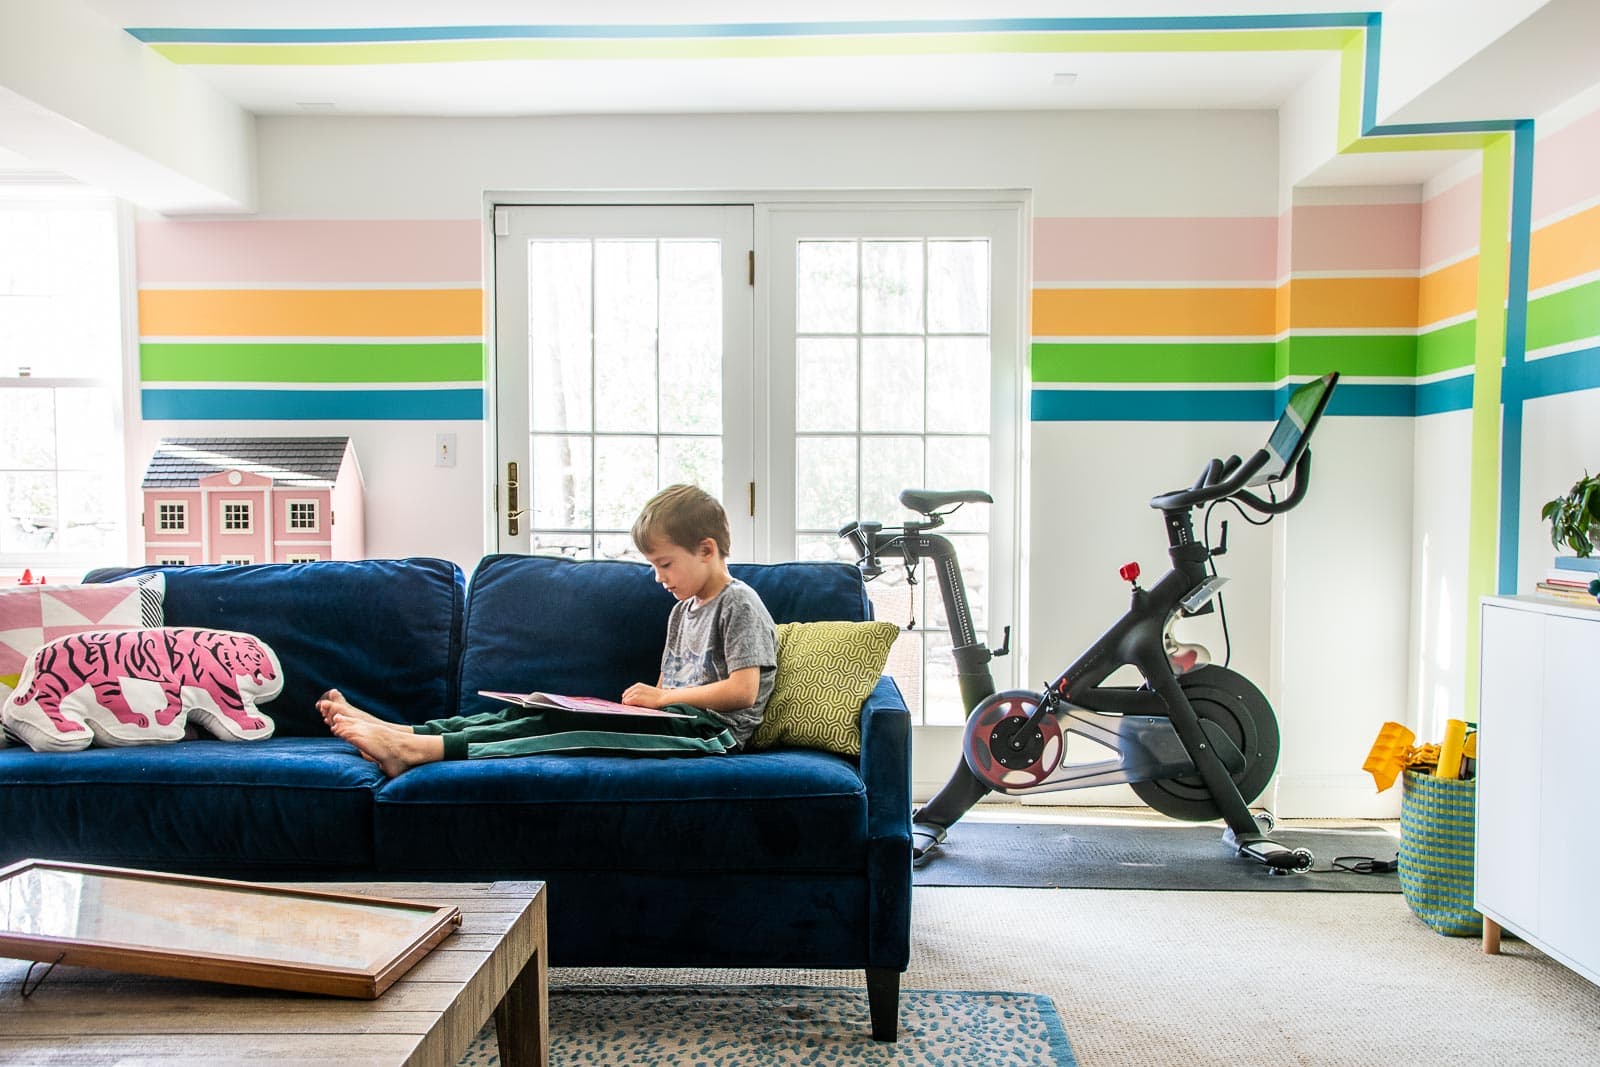
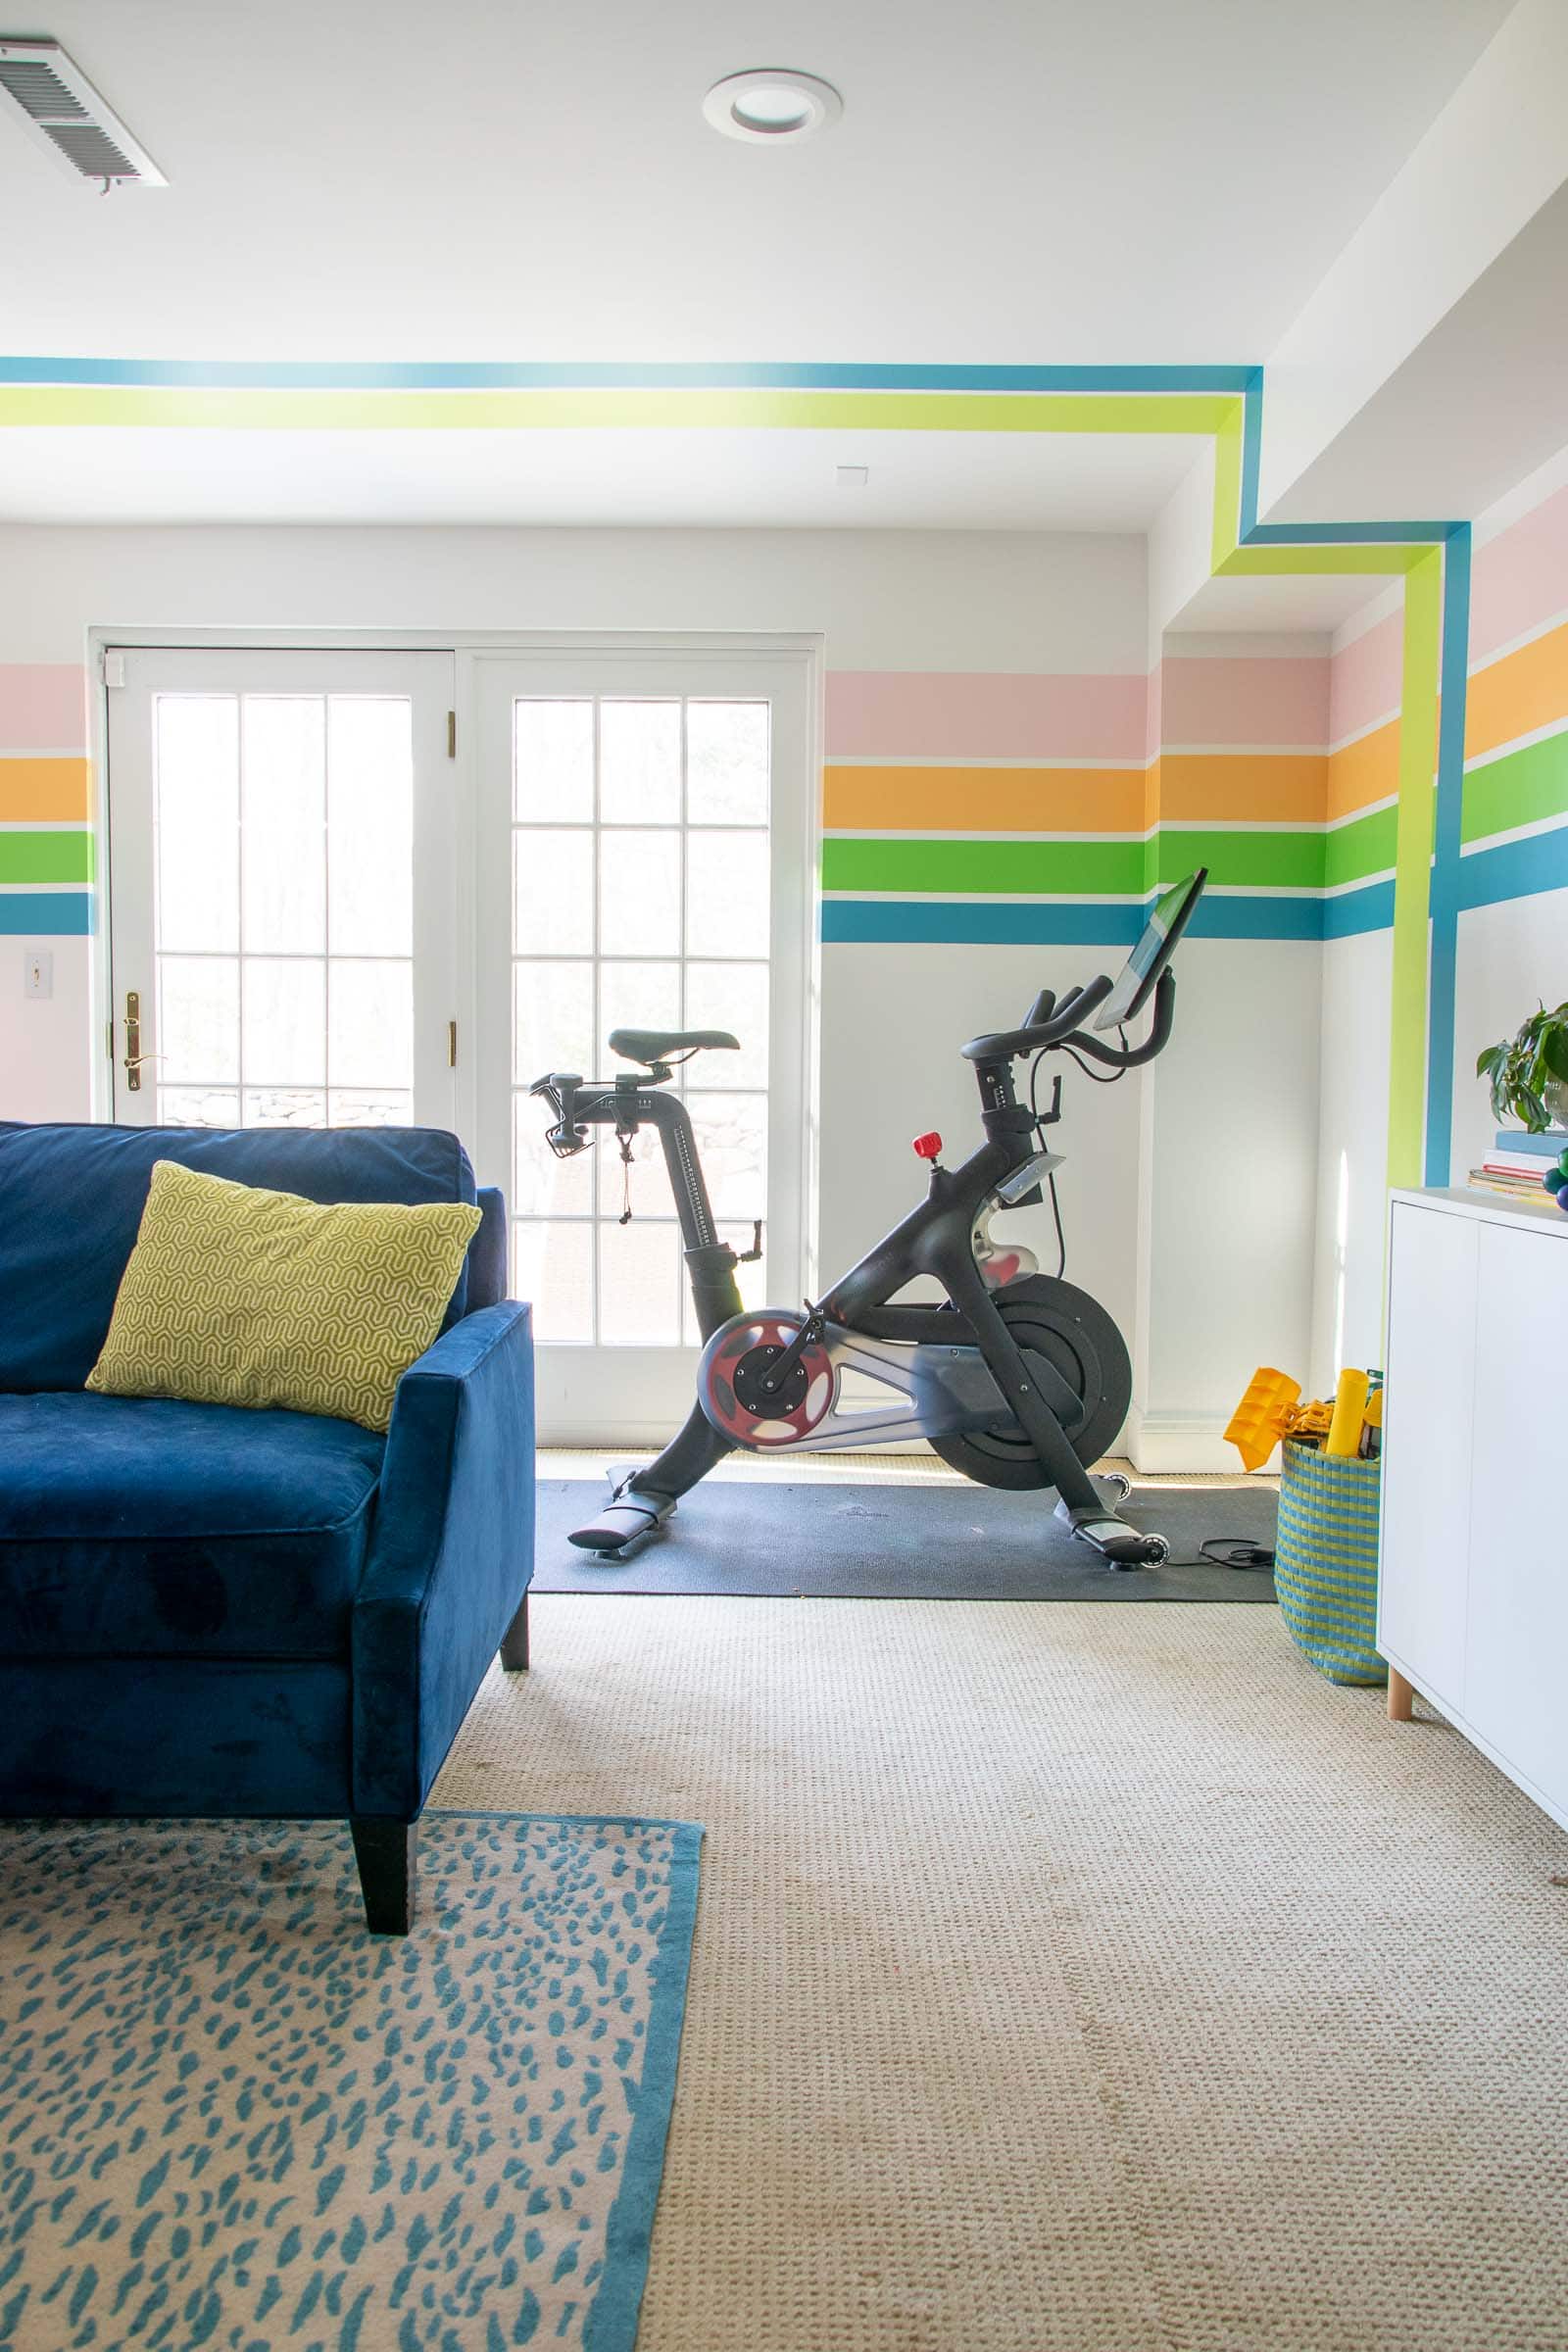
Step 6. Tape and paint the vertical stripes
Just to add some pizzaz, I added a pair of vertical stripes over on the corner that went up and across the ceiling. I didn’t have any of the ceiling paint on hand to seal the tape edge, but I used Frogtape delicate here which meant I was able to seal the tape edge by running my wet finger along the side. It’s magic. Truly.

The vertical stripes here are Explorer Blue and then a new color: Carolina Parakeet. I love the way the citron green looks with all the other colors!
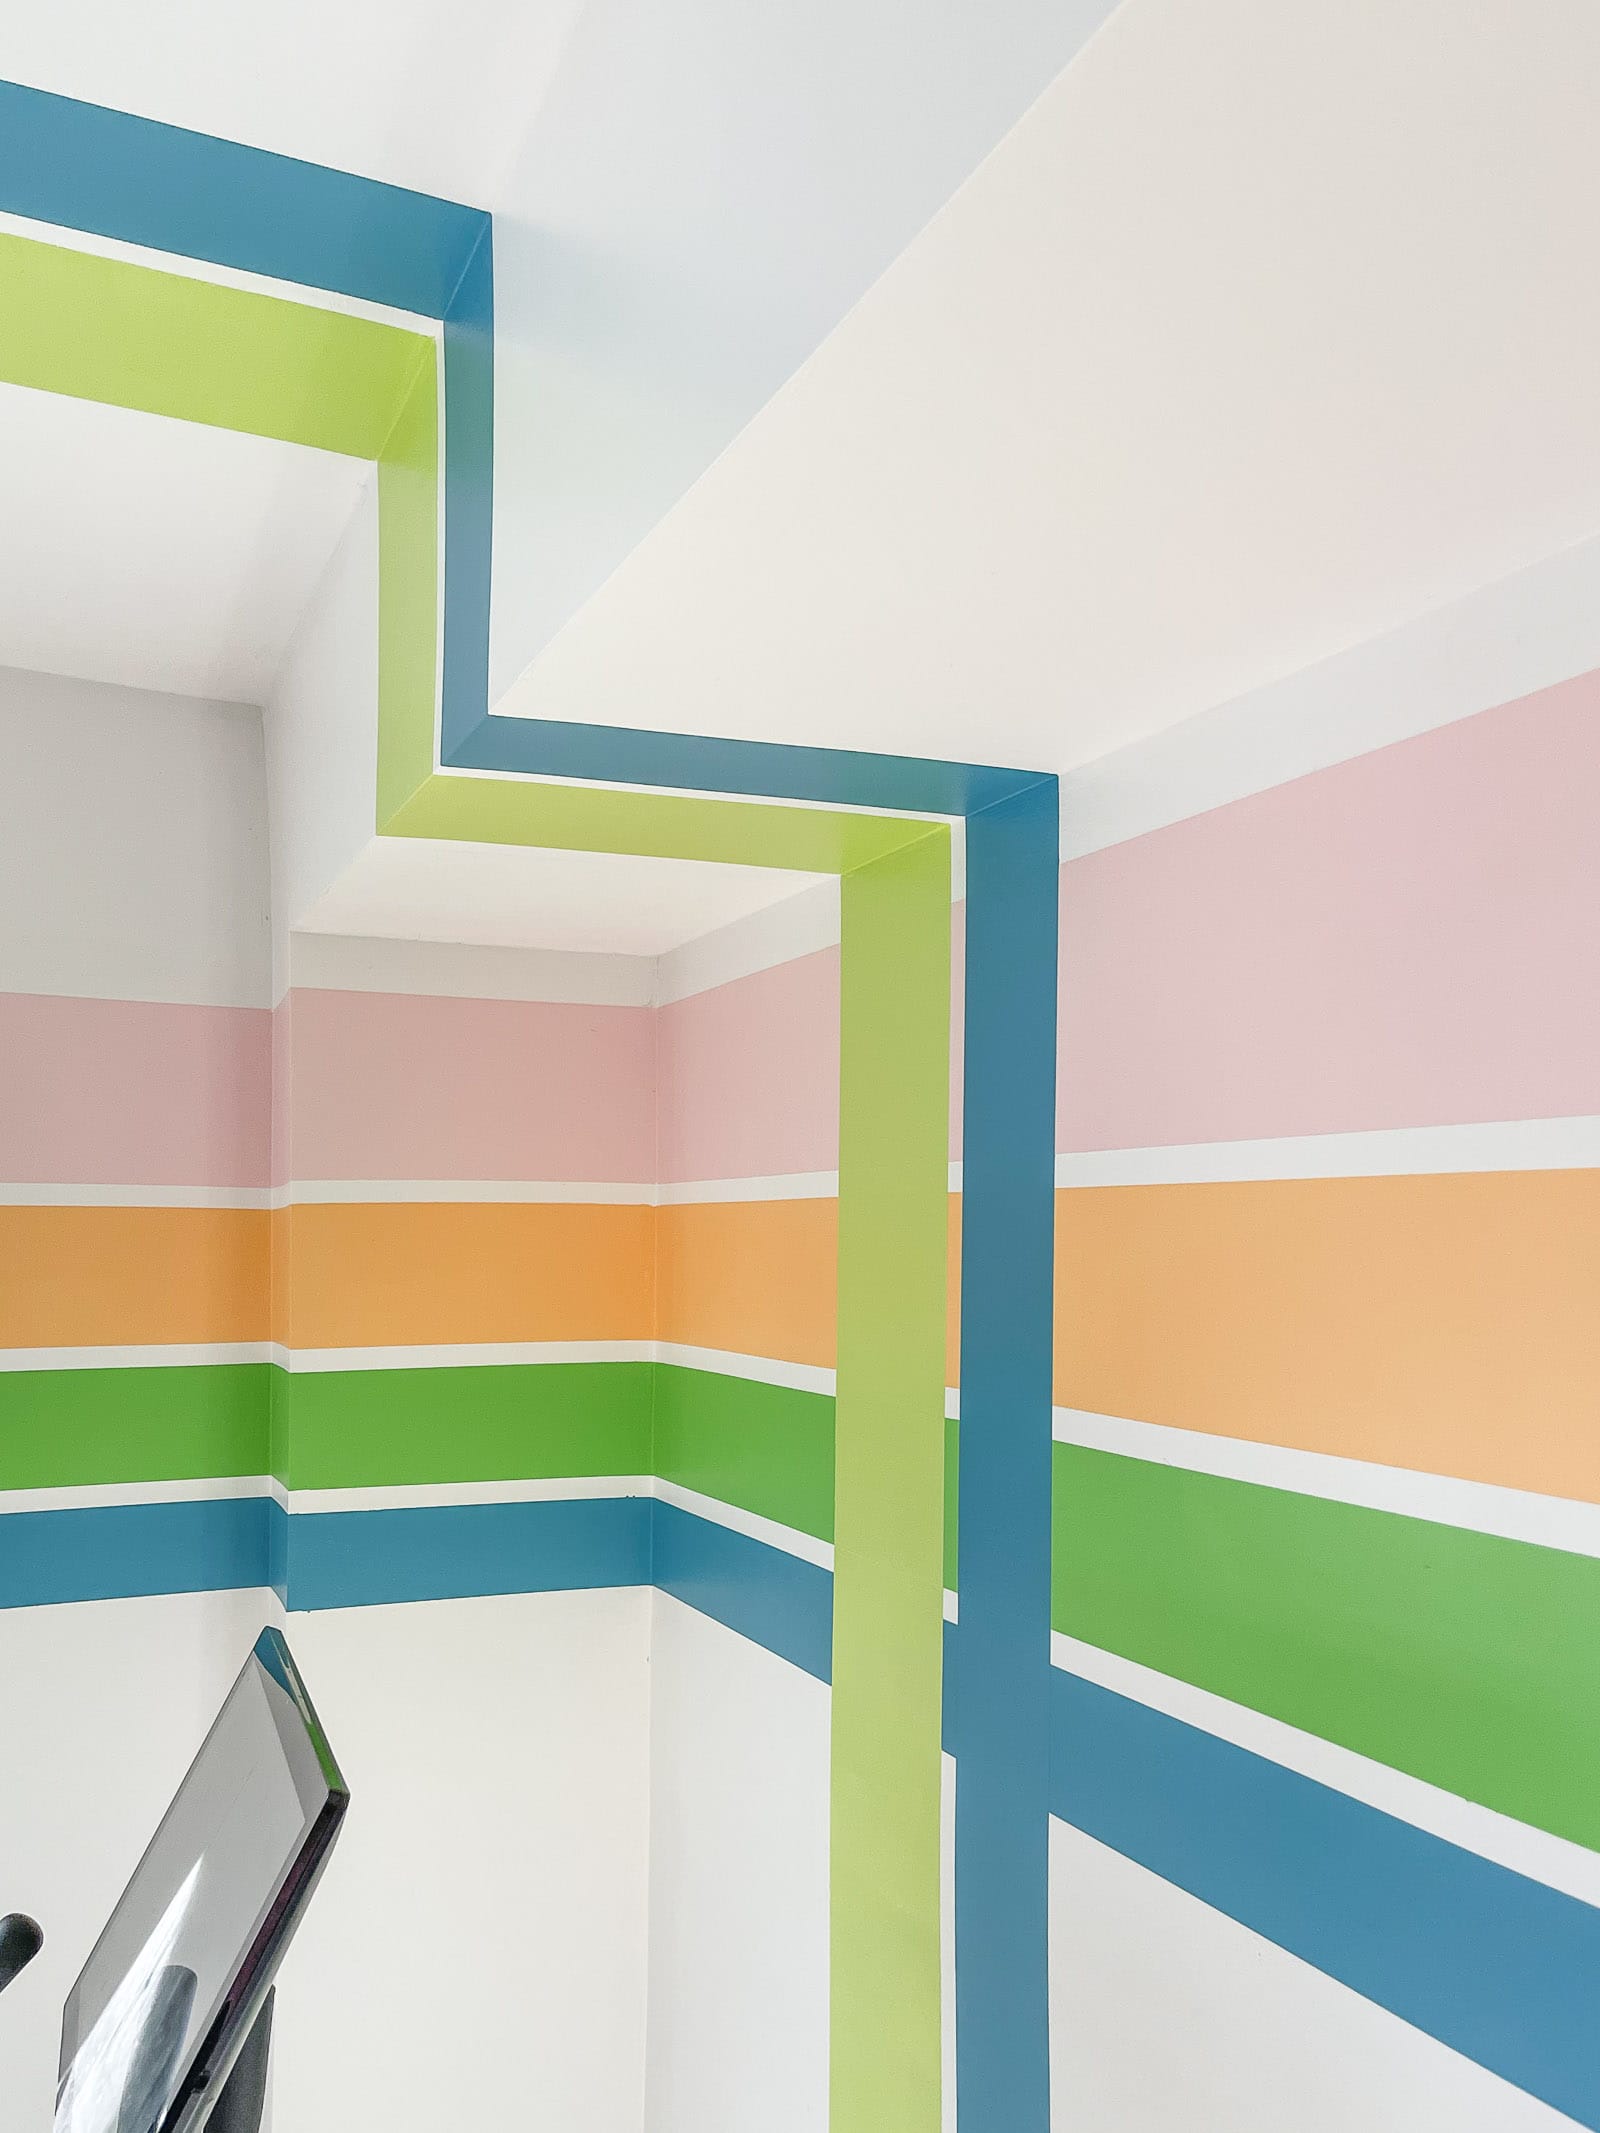
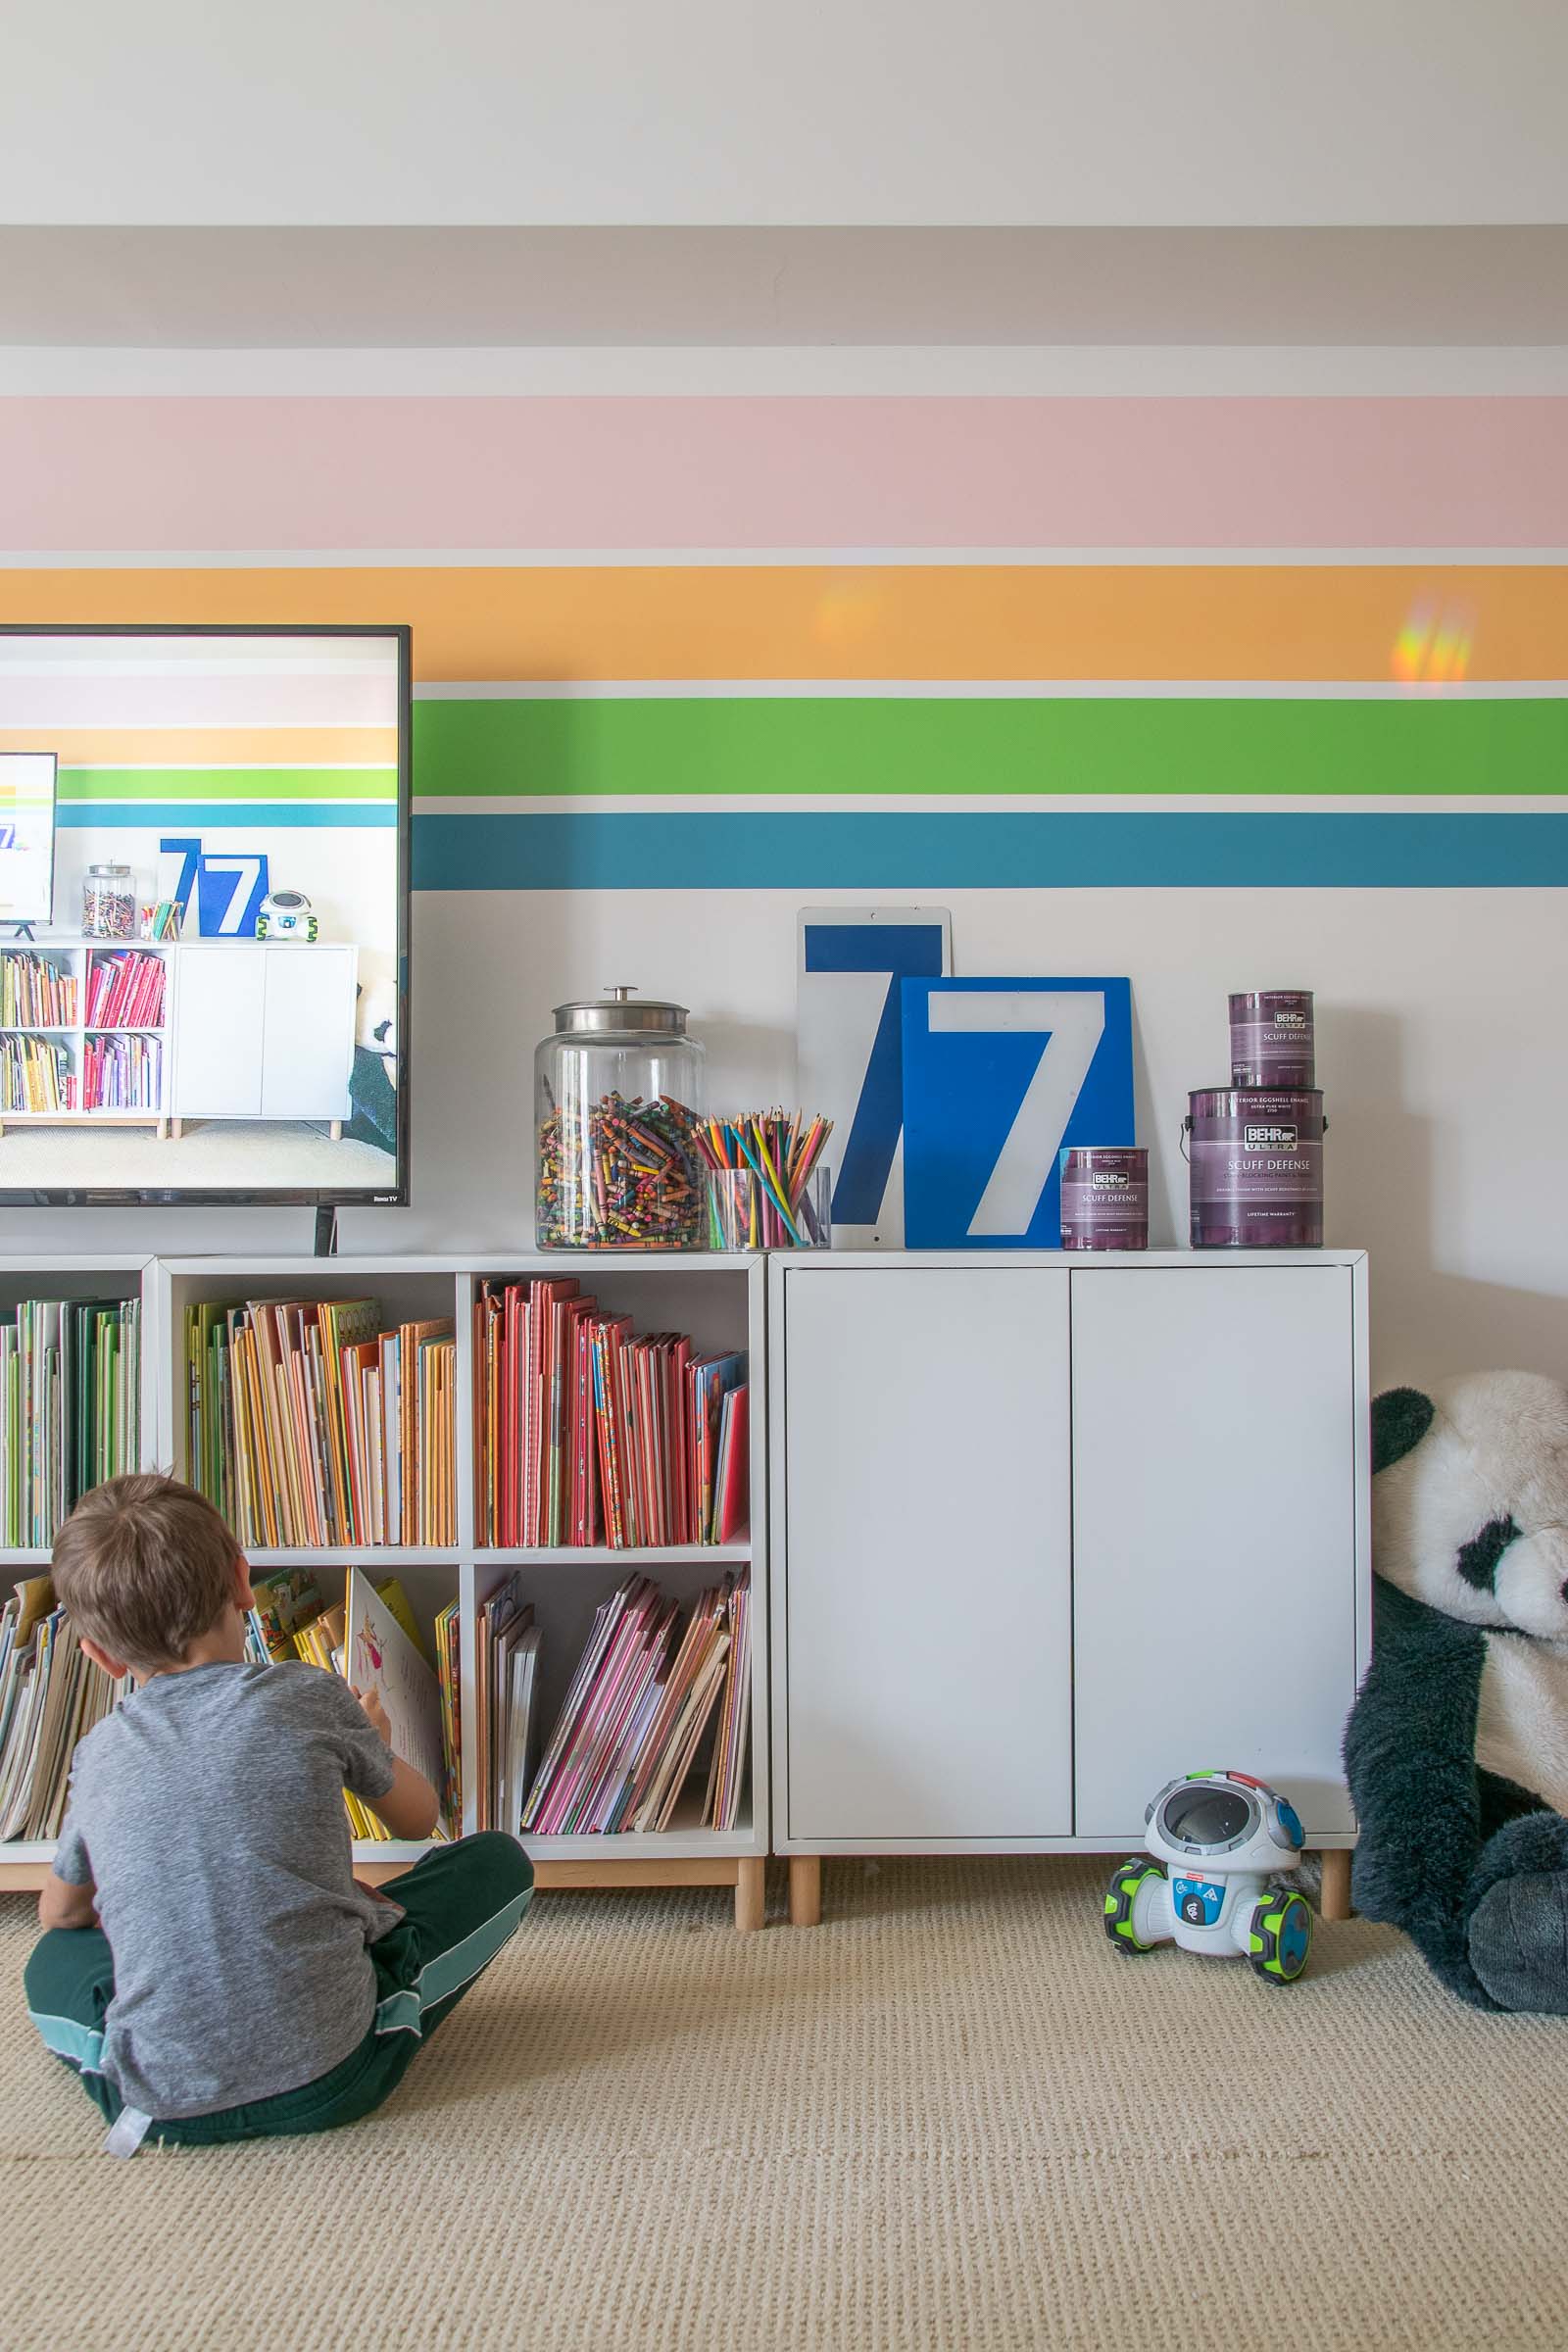
Step 7. Remove the tape
No tricks here, but it’s the most fun part of the project so I thought I’d give it its own section here in the blog post. Nothing better than peeling back the tape to reveal the crisp lines. I was a little nervous that the white stripe between the colors was mistake when I saw how great they looked running into each other, but once I removed all the tape, I actually like the way those thin white stripes play off the space and the soffit! Also… It was a little faster to paint because I didn’t have to wait for paint to dry and then retape, etc. etc.
I moved the furniture back into place and used this opportunity to swap the loveseat for the flokati chairs. They’re a bit lower so work better in front of the TV. The kids all sit around the table and play games so it’s nice to have all that seating, but no question the space looks a *bit* better without the chairs in front! I’m crazy about these stripes and how much they pull the space together. It’s a playroom so these big playful colors work perfectly and… NO FINGERPRINTS is a happy happy bonus!

Looks awesome charlotte
Thanks, Kate! (Clearly I’m on my email game with this 2 months late…) 🙂
PERfect for a color lover like you! And even for someone more neutral like me. Stripes are a gateway to color.
Haha! That’s so true! They’re also fairly easy to undo if/ when the time comes!
COULDN’T love this more!!! 🥰😍
Thanks, Katie!!