
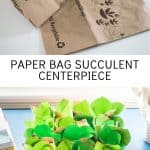
Paper Bag Succulent Centerpiece
Psssst… this post *might* contain affiliate links: see my disclosure here.
How to Make Paper Succulents
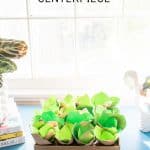
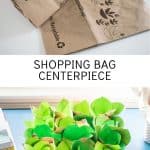
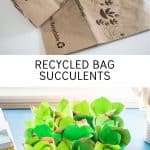
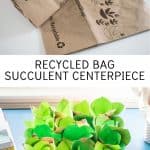
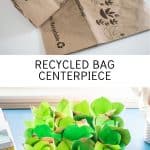
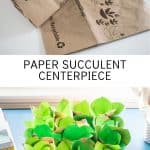
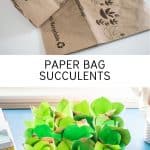
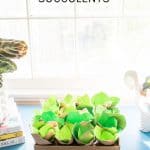
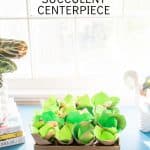
I made these paper succulents using recycled grocery bags and they make the perfect centerpiece.
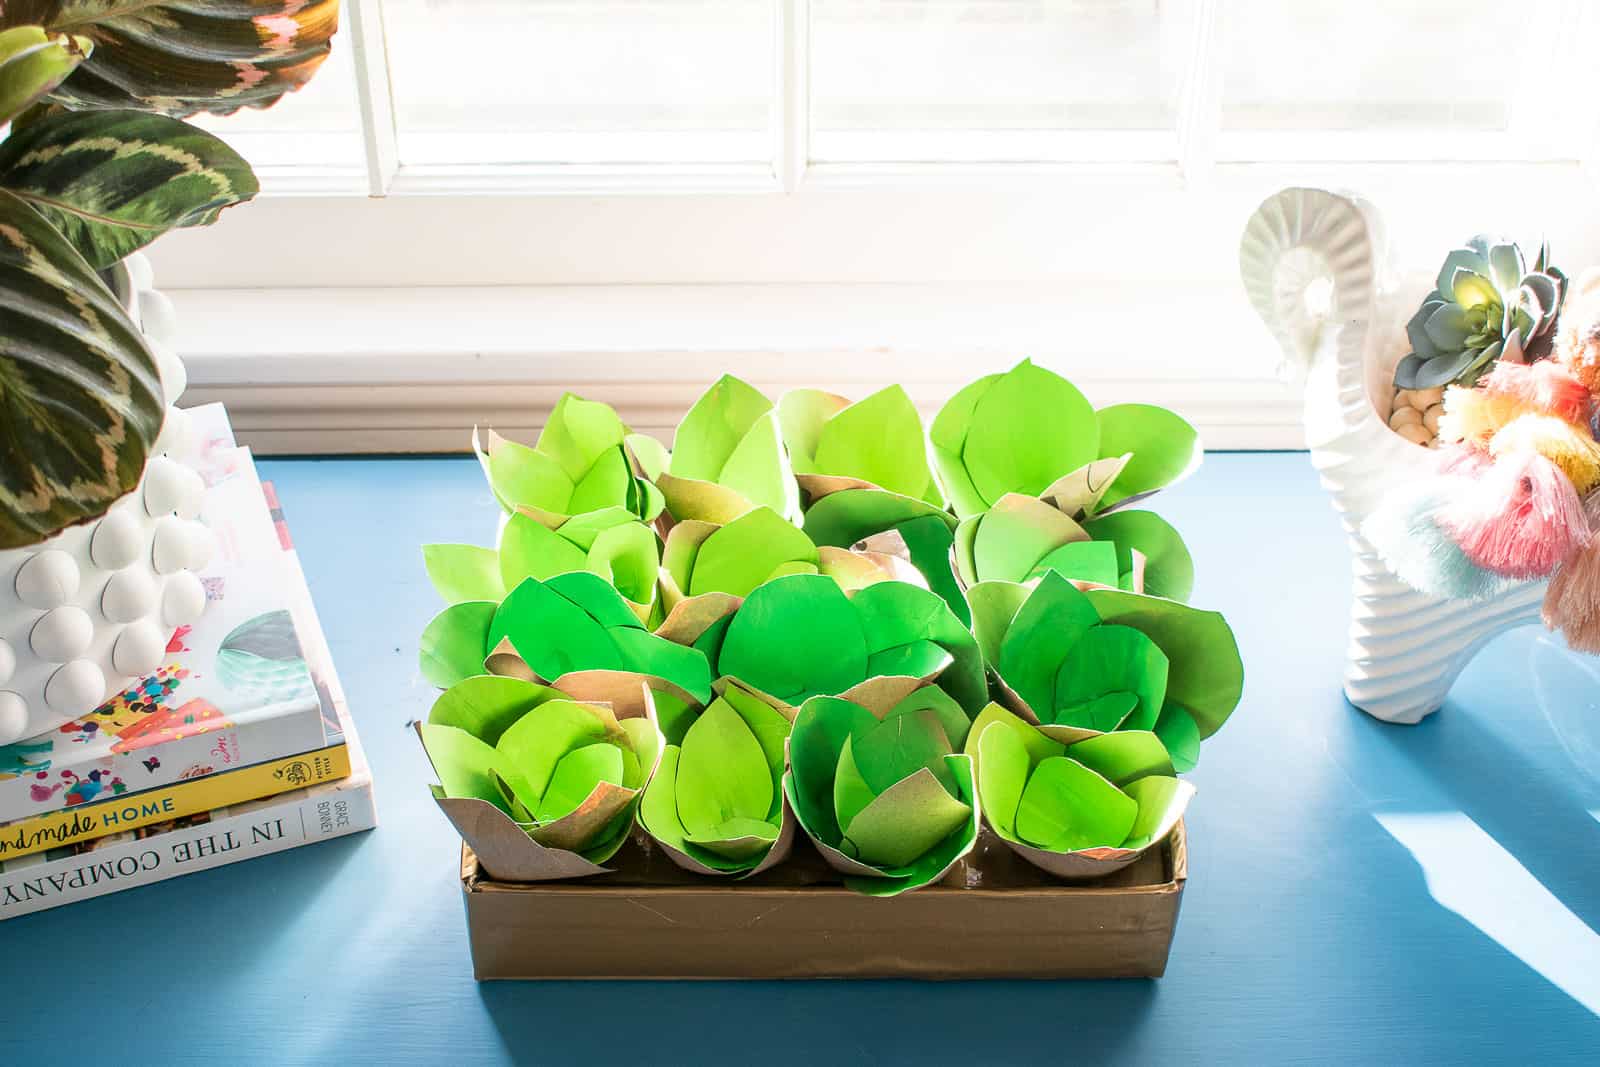
Cute colorful crafts that you can make with things lying around the house are kind of my gold standards nowadays and these paper bag succulents are the bomb. Quick and easy to make, I love that this succulent centerpiece could be replicated and personalized with ease. See how I reused some paper shopping bags to DIY this free paper succulent centerpiece.
Shop my favorites!
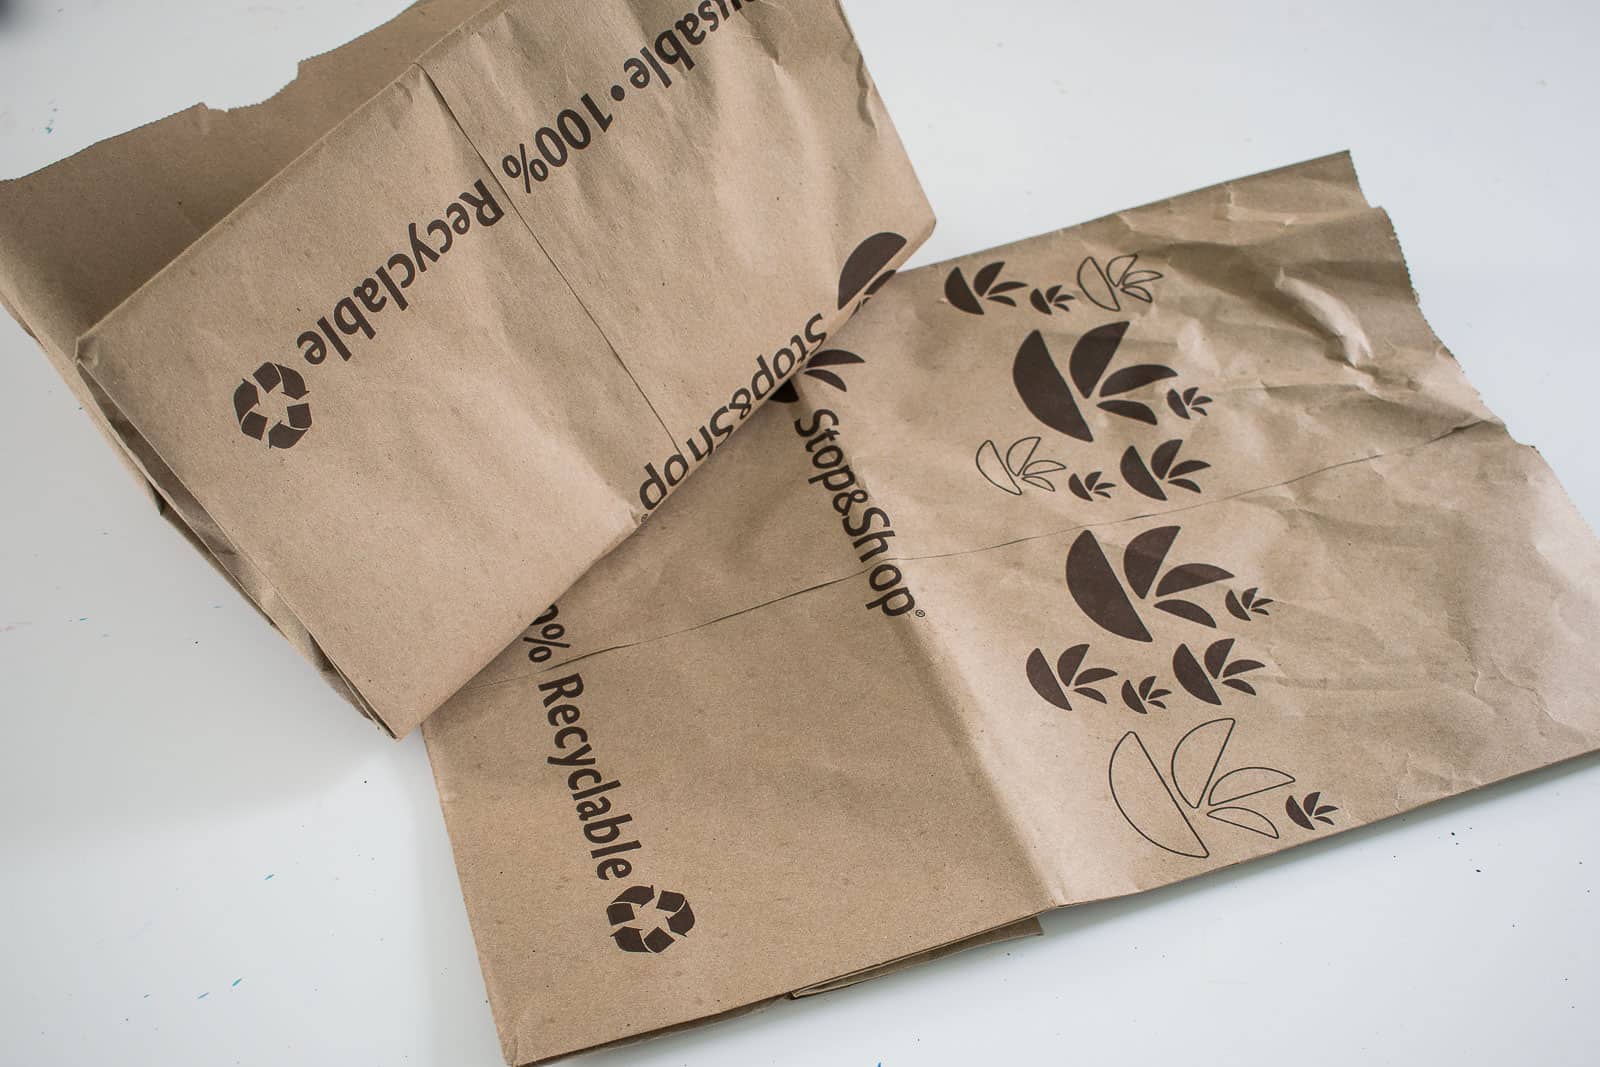
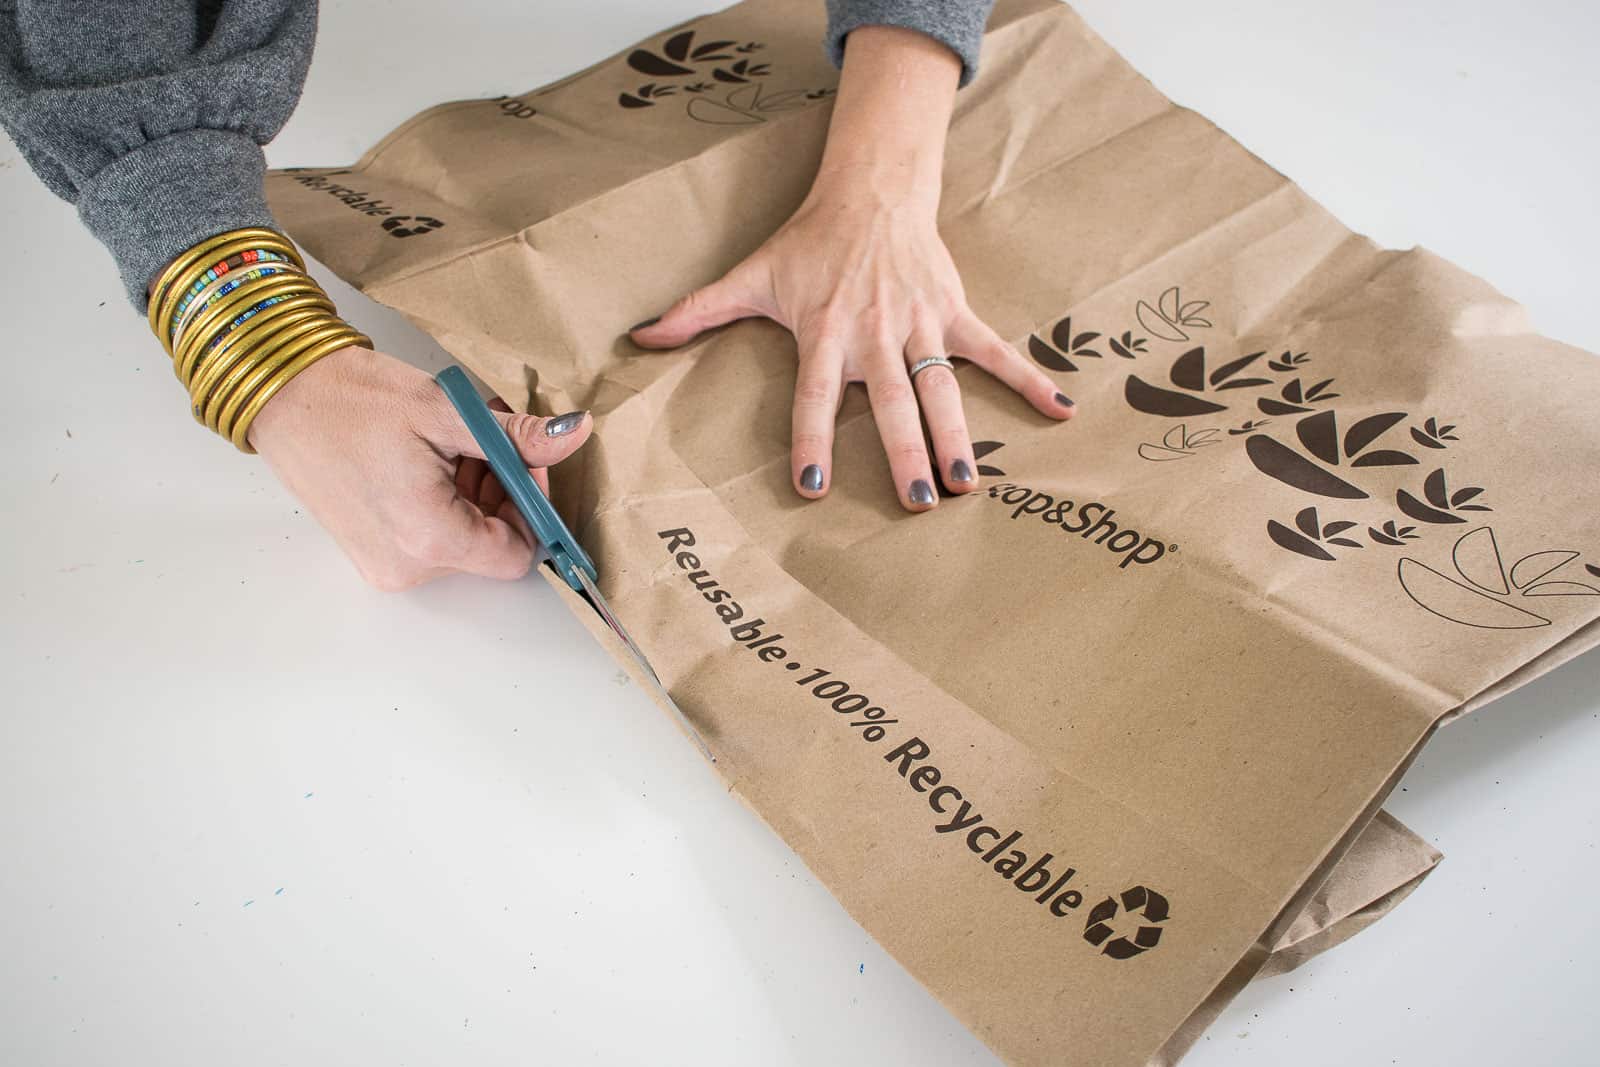
Step 1. Open up the Paper Bags
Cut your paper bags open and remove the bottom so that they can lie flat.
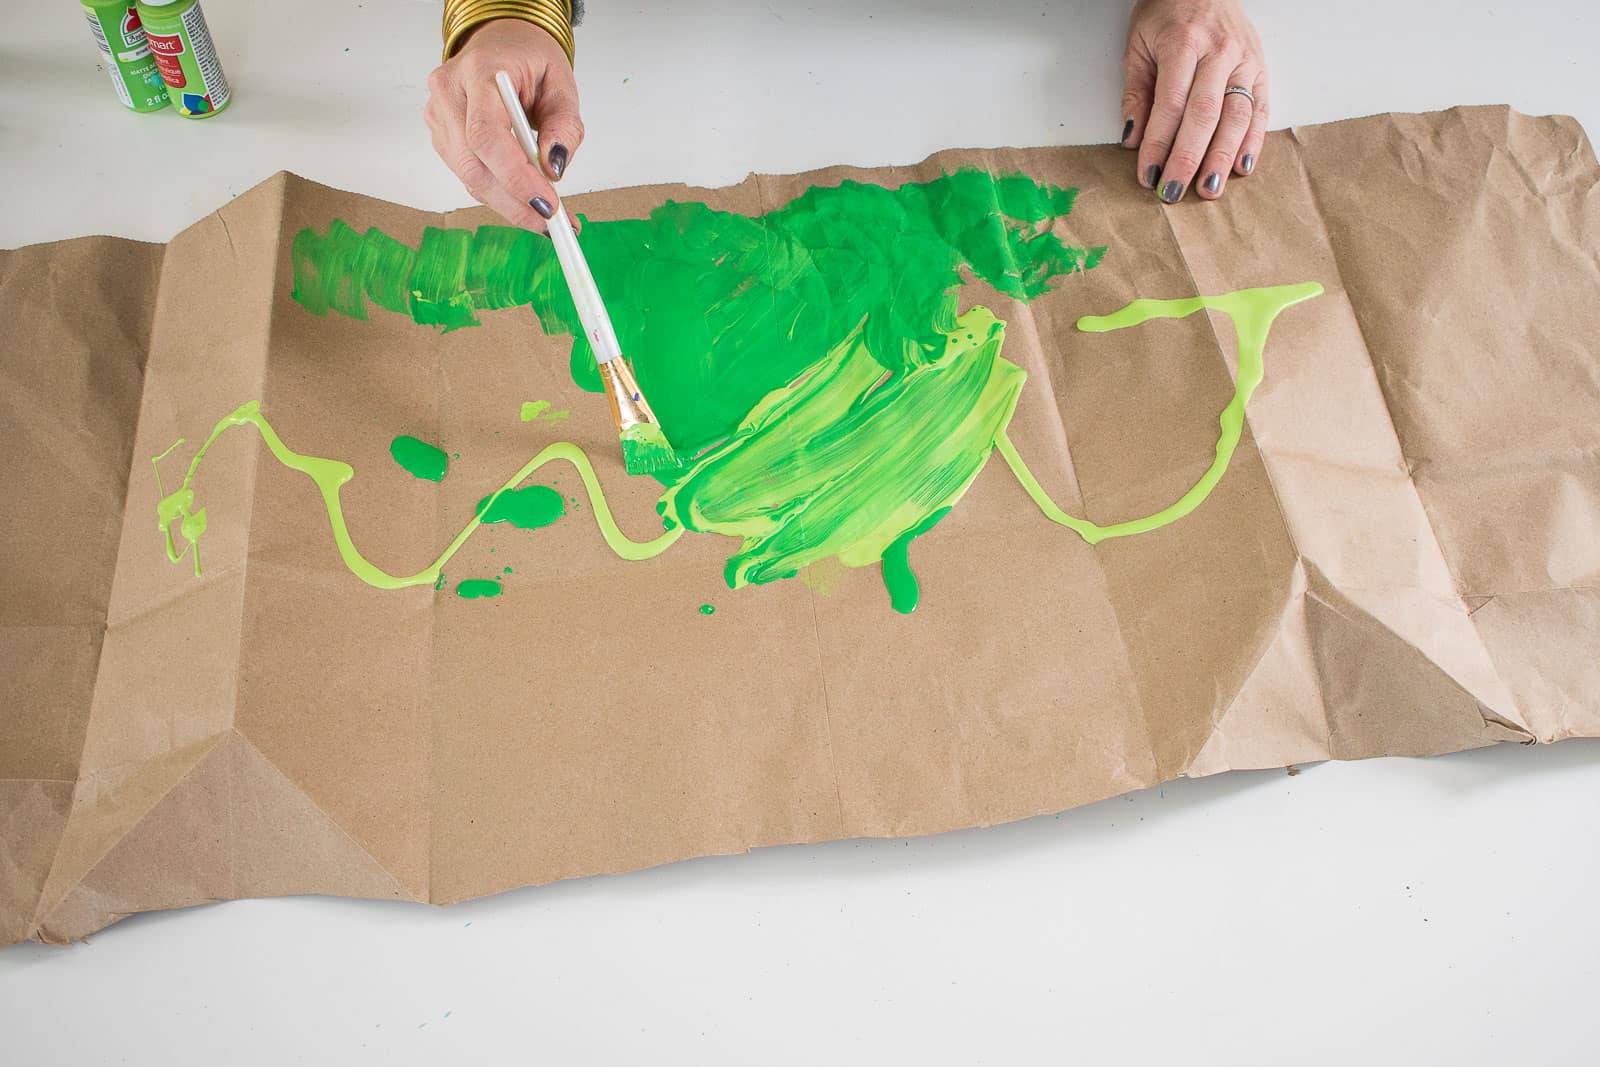
Step 2. Paint the Paper Bags
I used green craft paint, but you can use any color you’d like. Personally, I love the look of the mottled swirled paint, but the only suggestion is that you cover as much of the paper bag as possible!
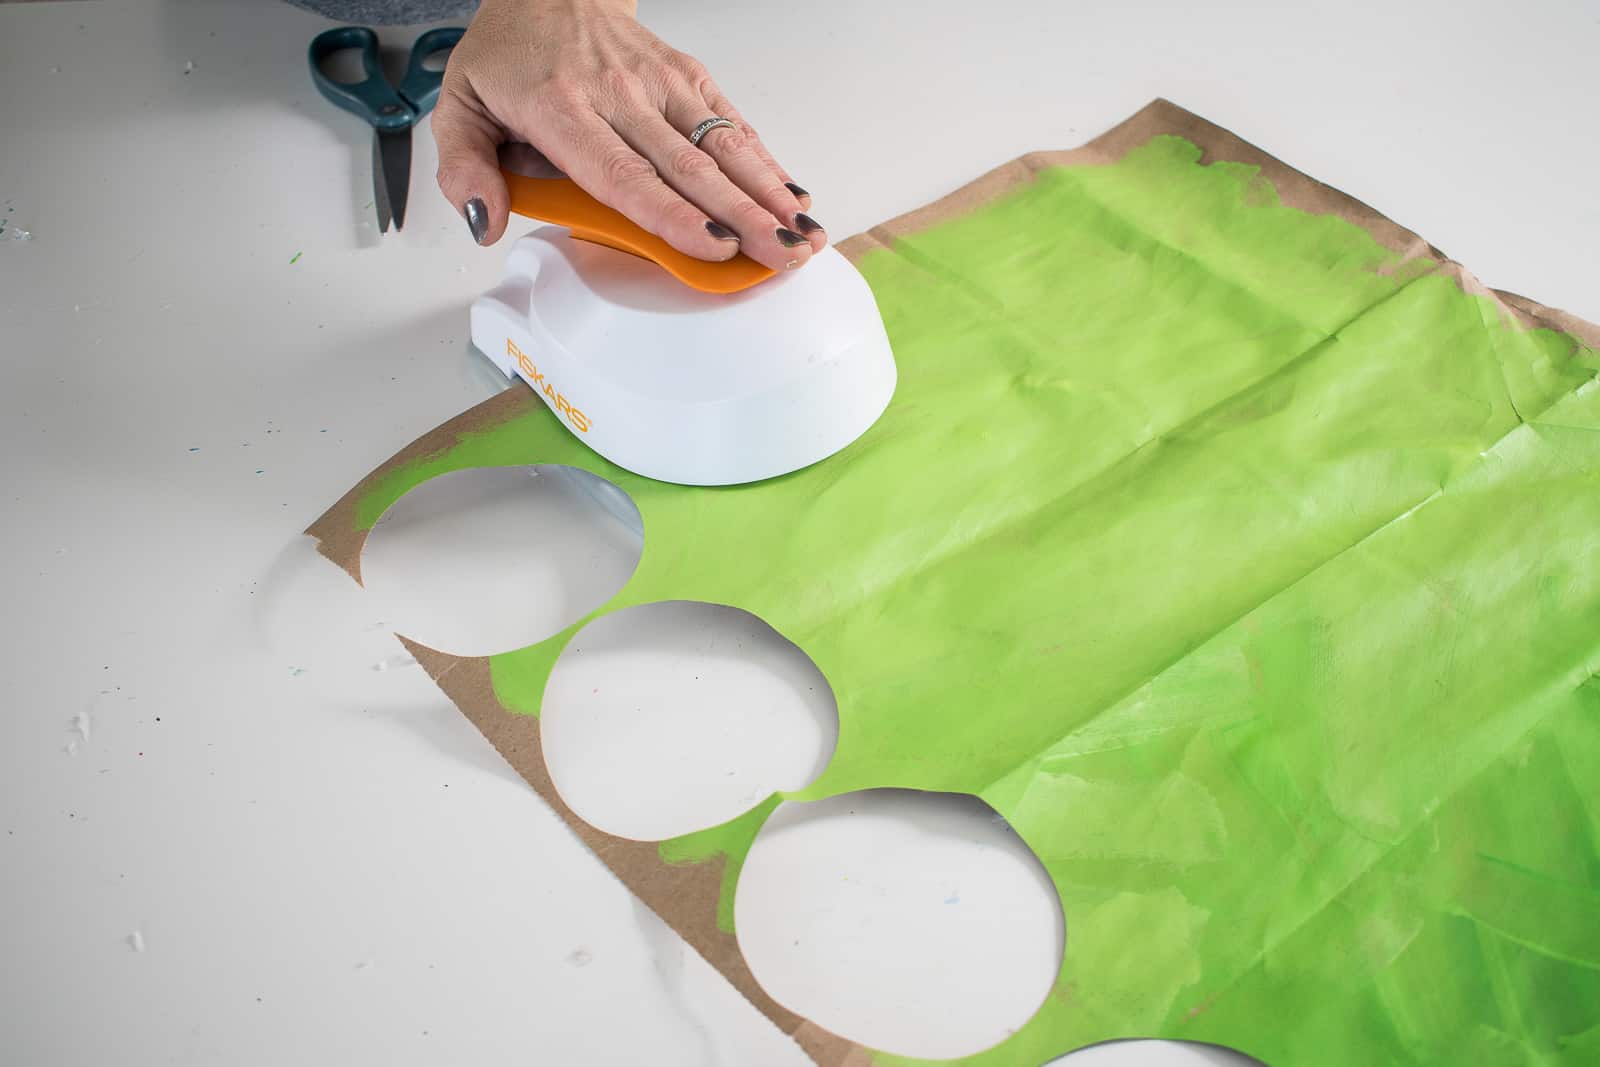
Step 3. Cut Out Petals
Once your paint has dried, cut out your petals. I used a combination of my 3-inch circle punch and scissors and cut out assorted petals, circles and ovals. No need to measure or be precise…. any round-ish shape will work!
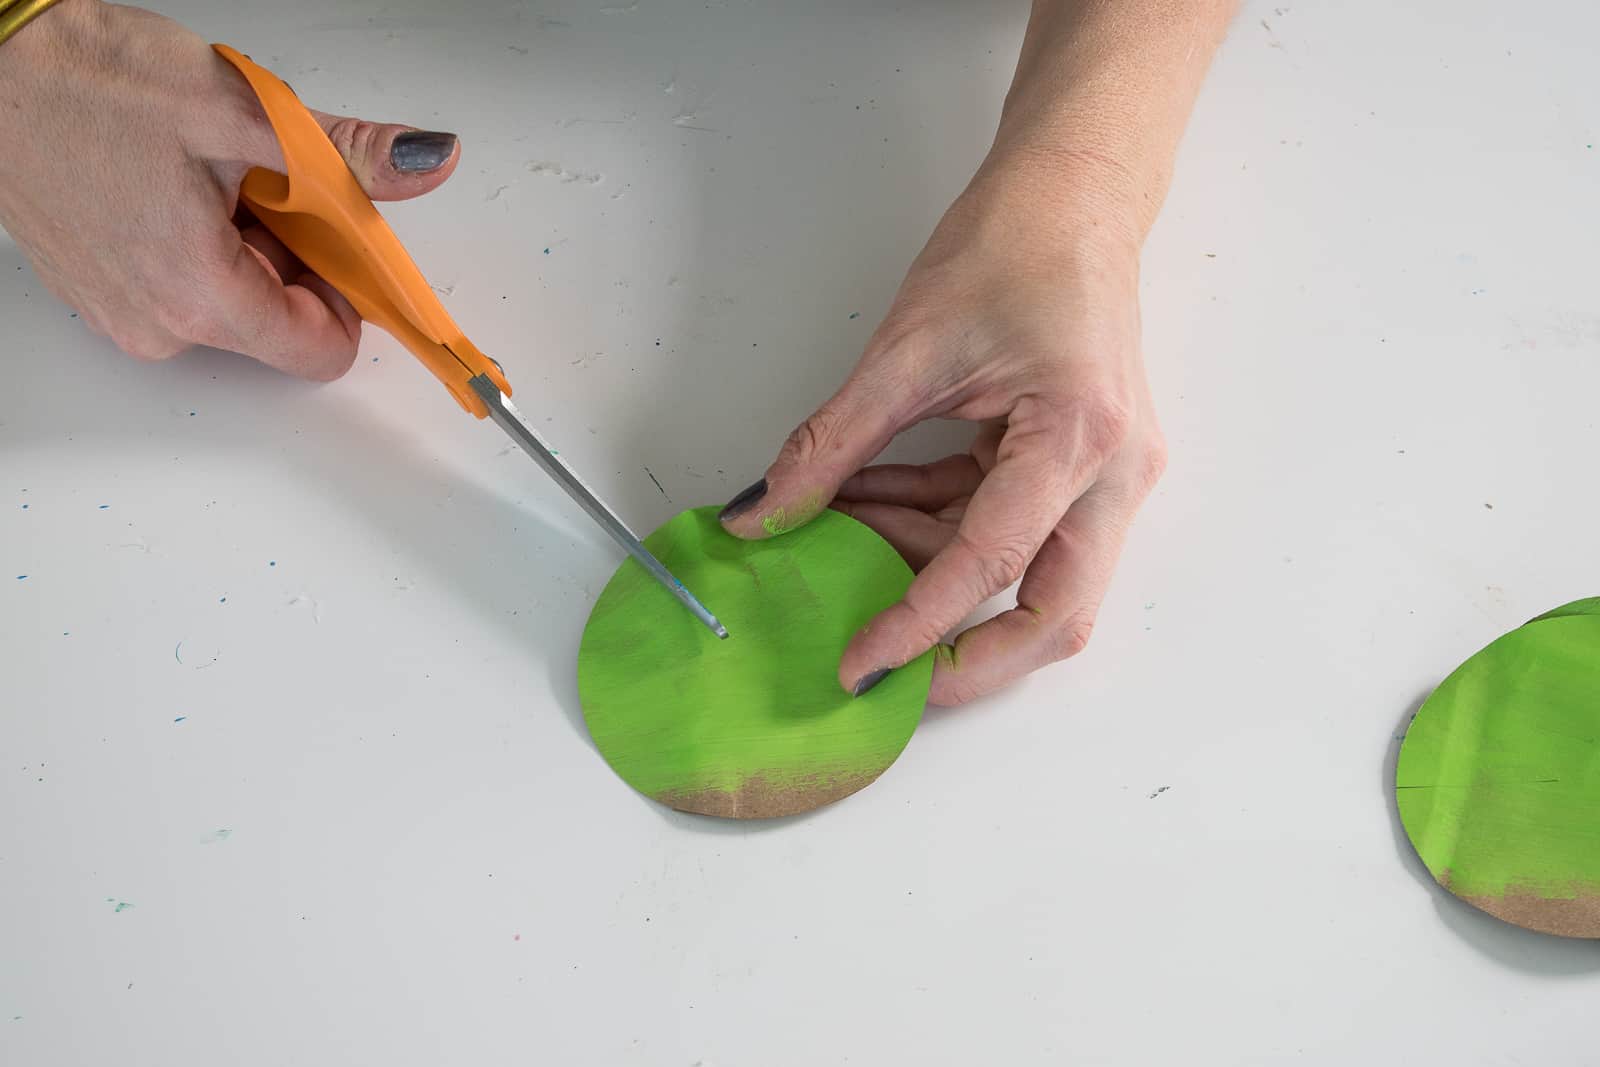
Step 4. Shape the Petals
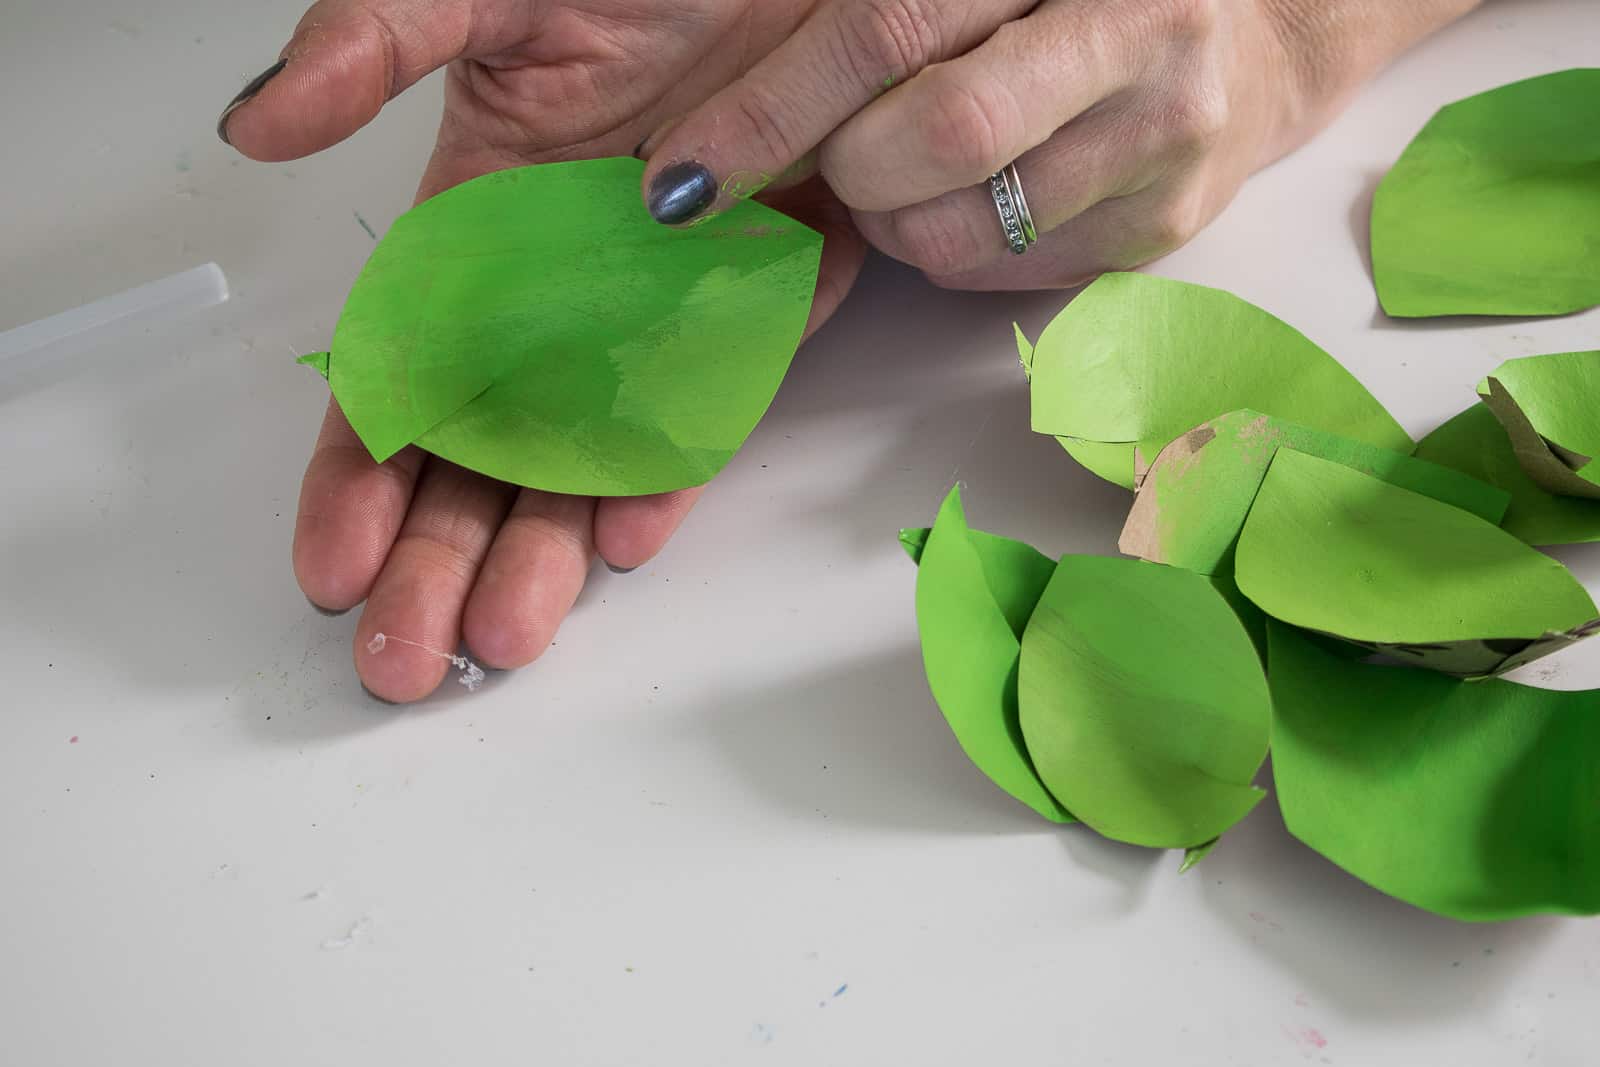
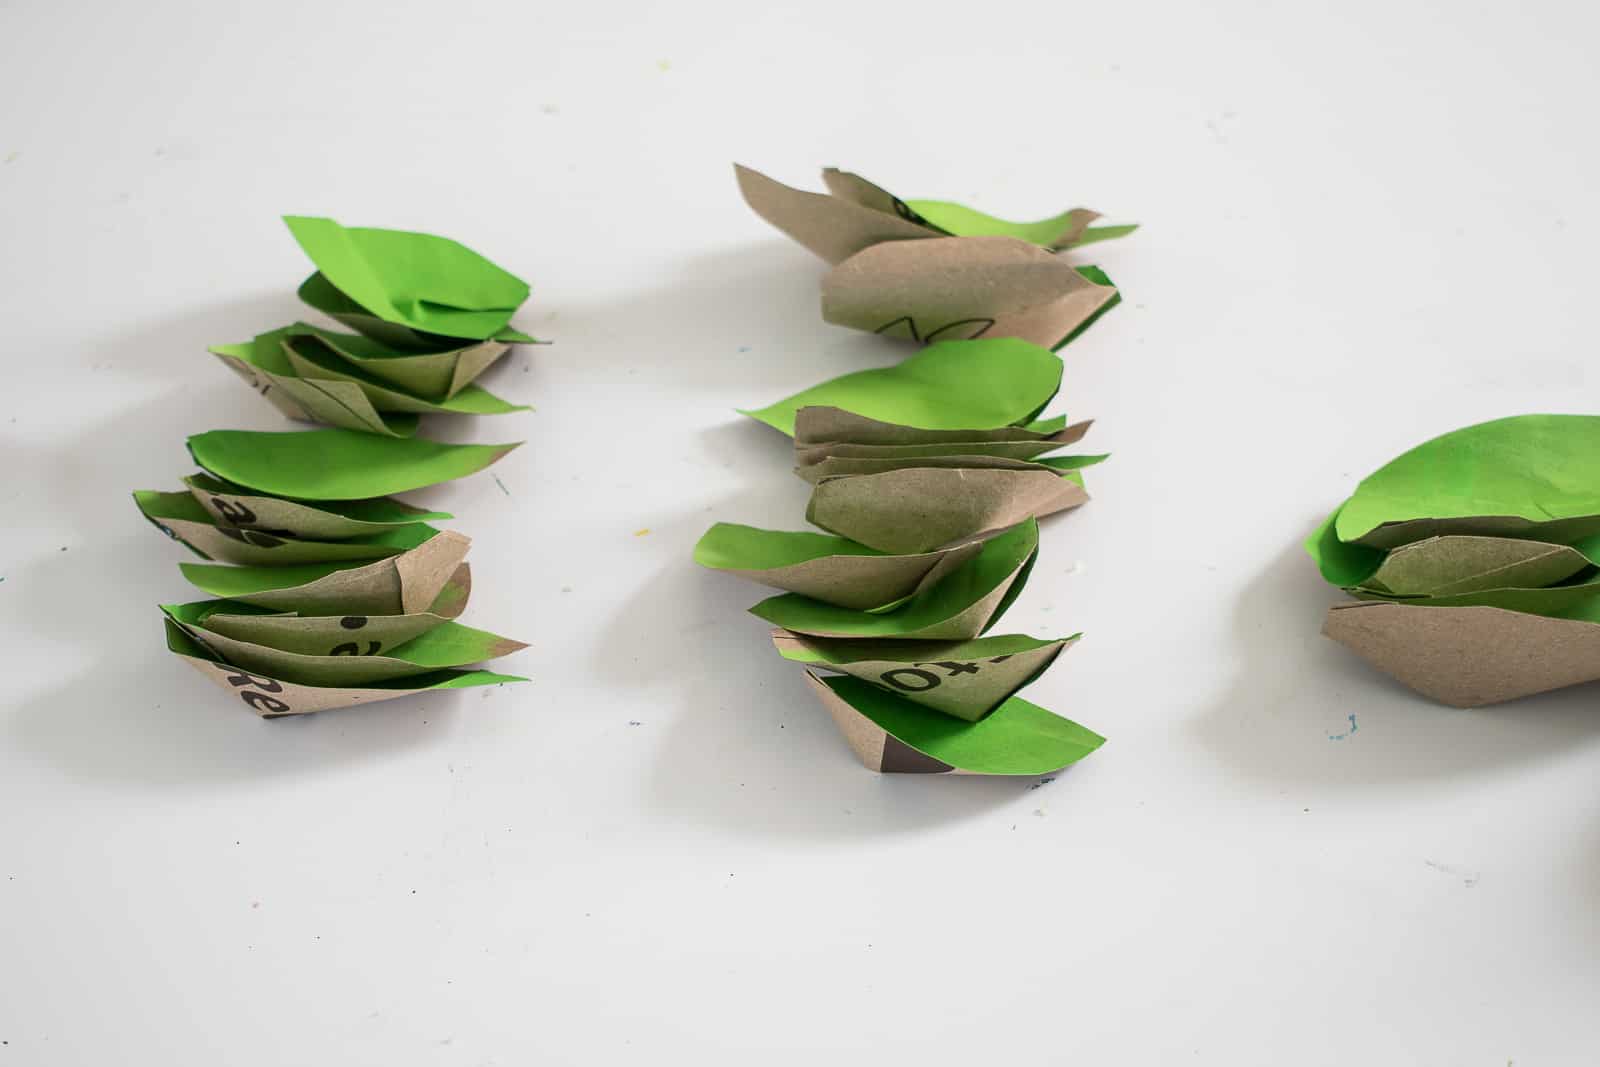
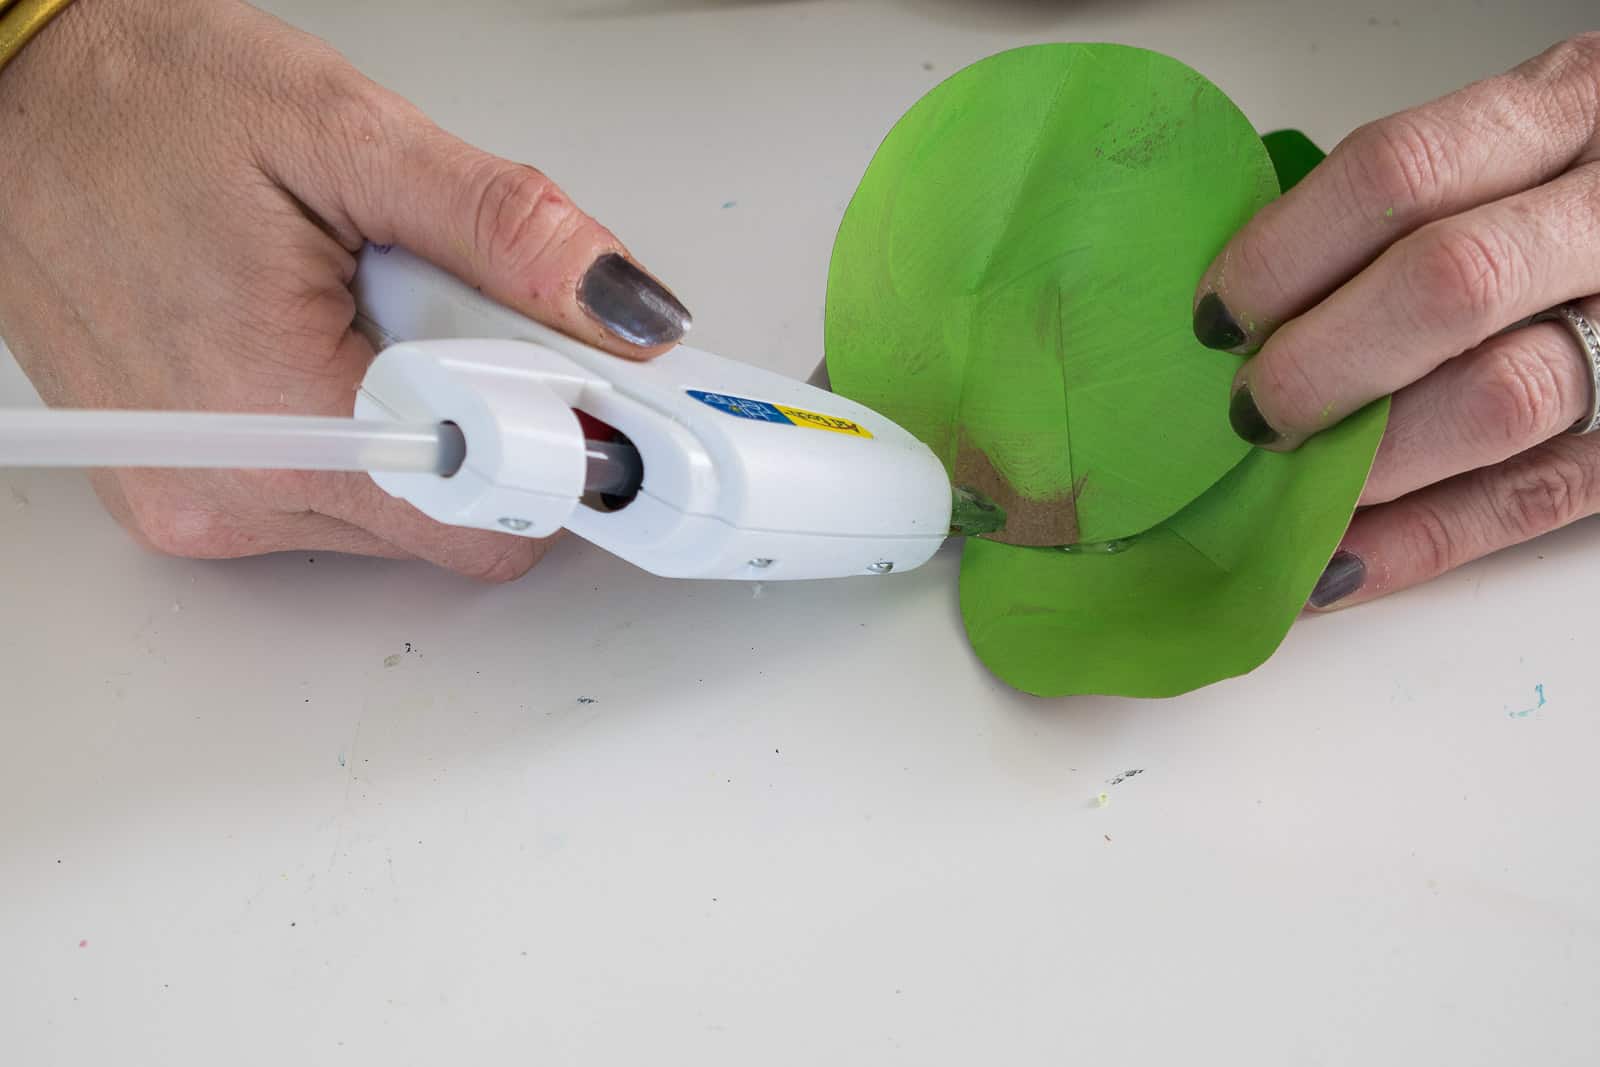
To give each petal shape, make a small cut in the bottom of each one. Place a small bead of hot glue on one side of the cut and bring the other side on top… your petal should now look like a scoop. Repeat this with all of your cutouts to turn them into petal scoops.
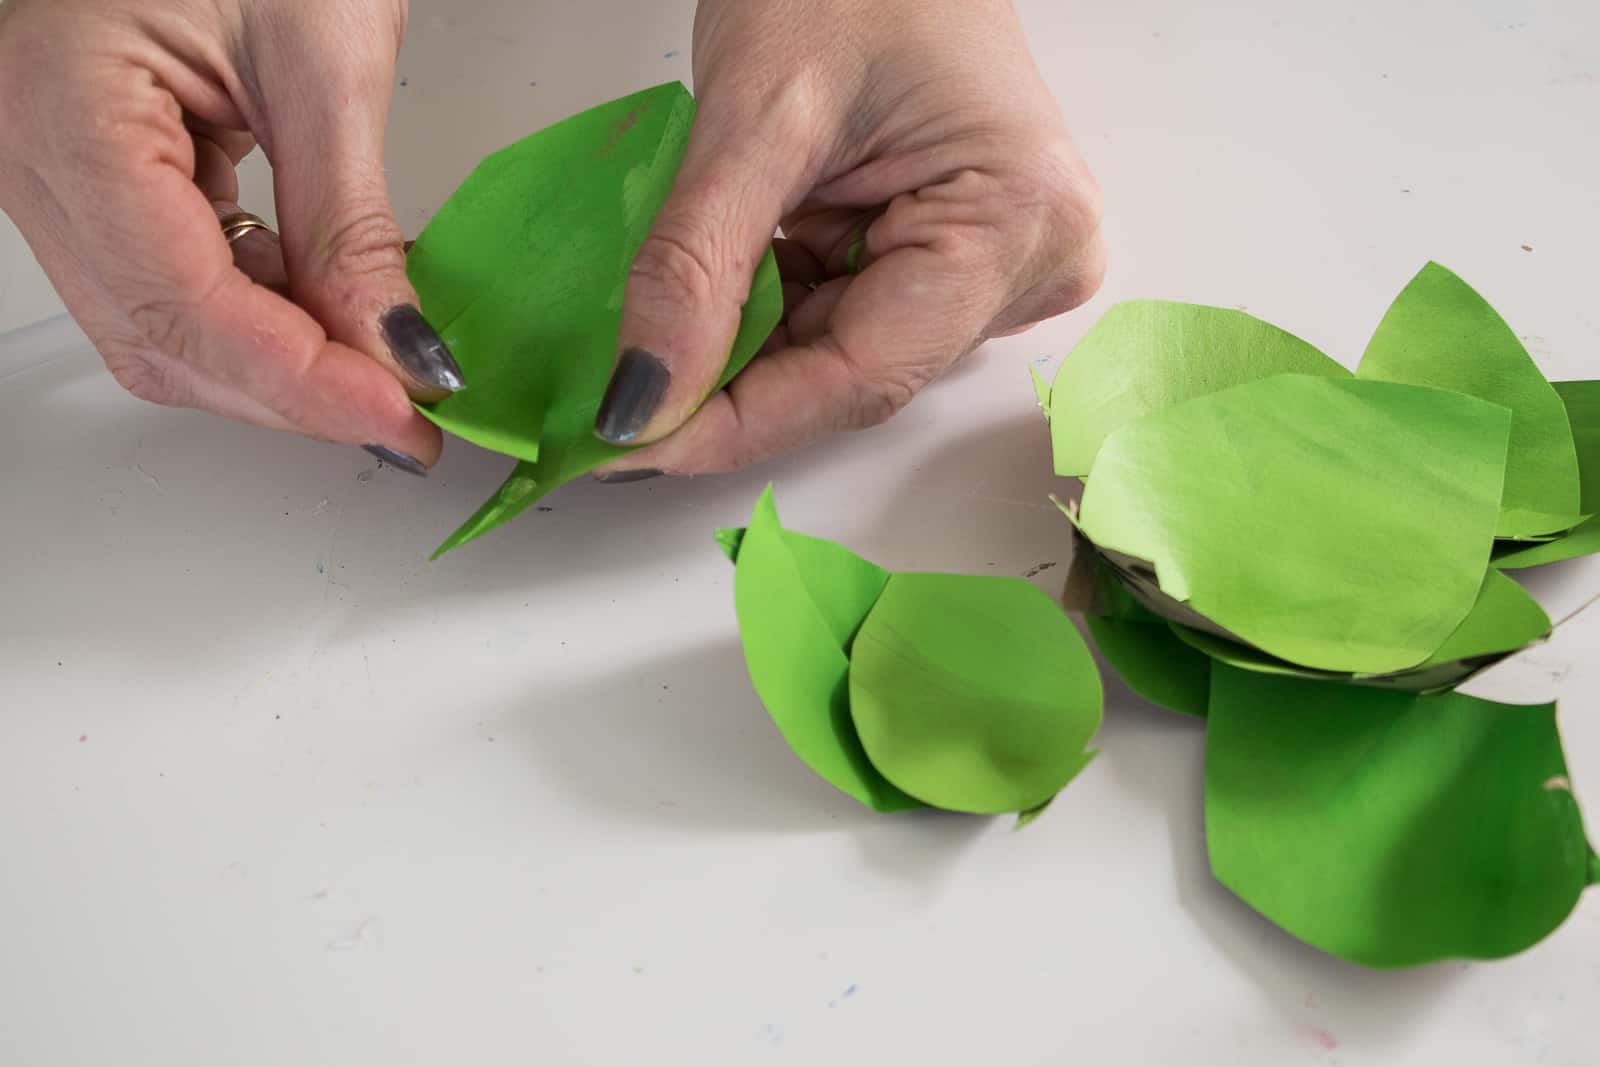
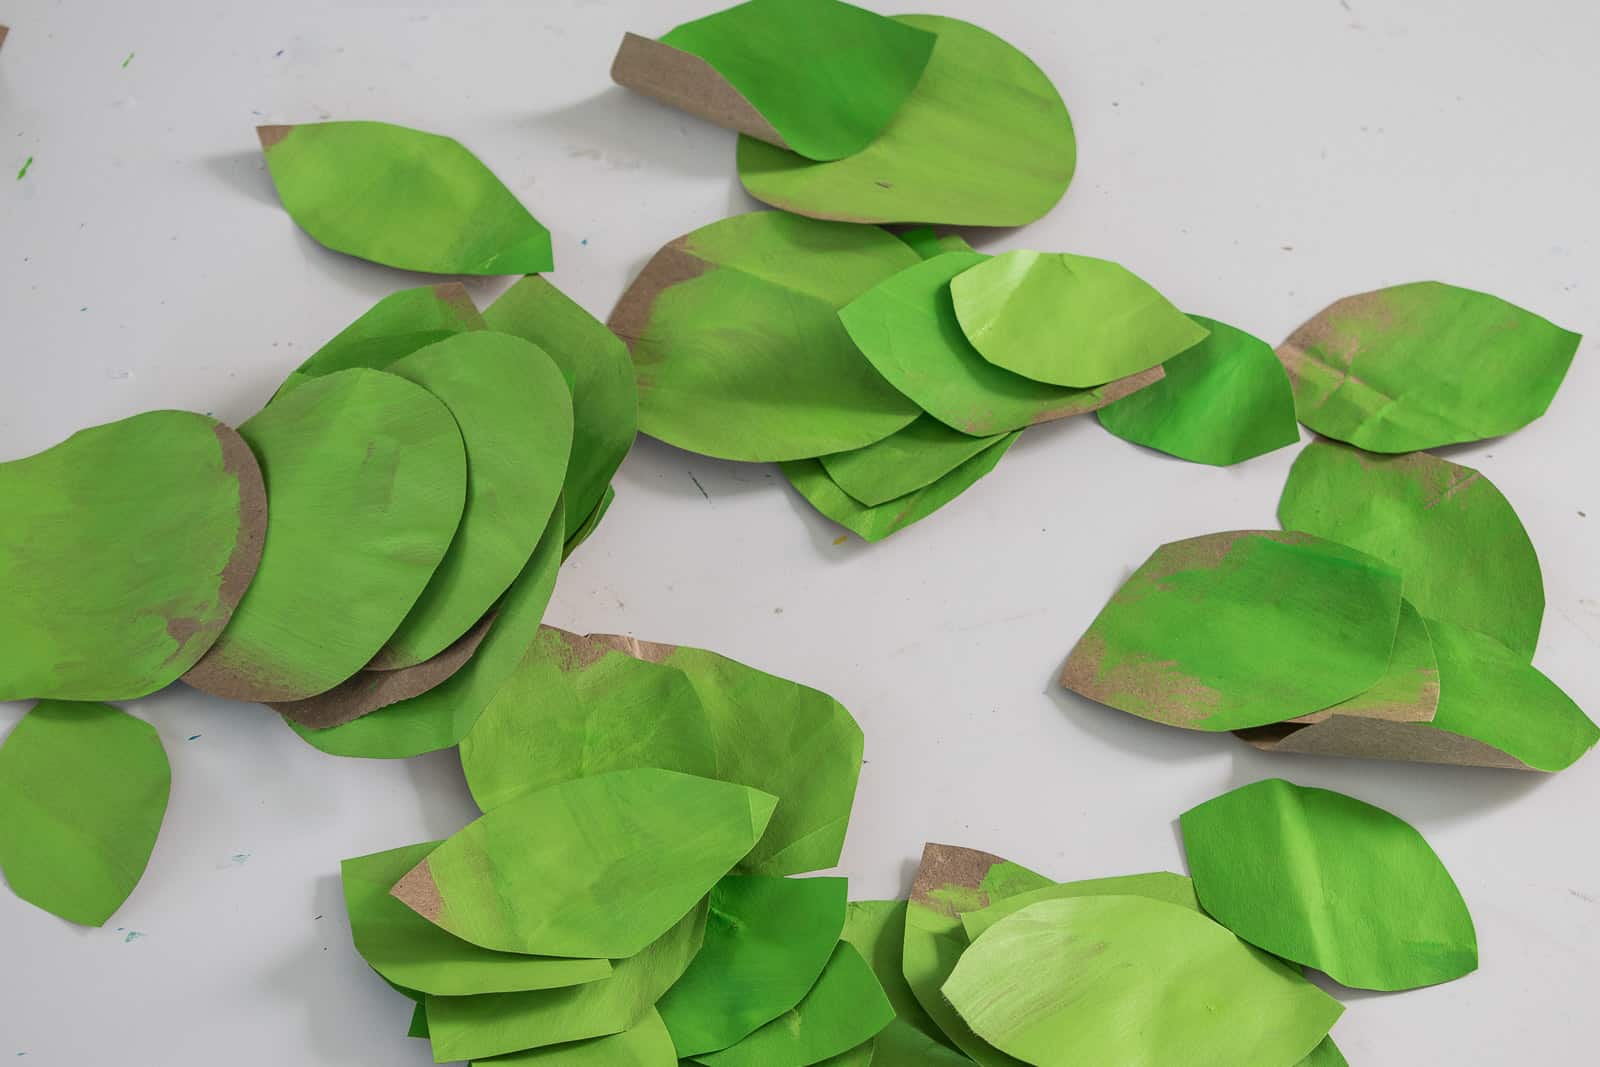
Step 5. Assemble the Succulent
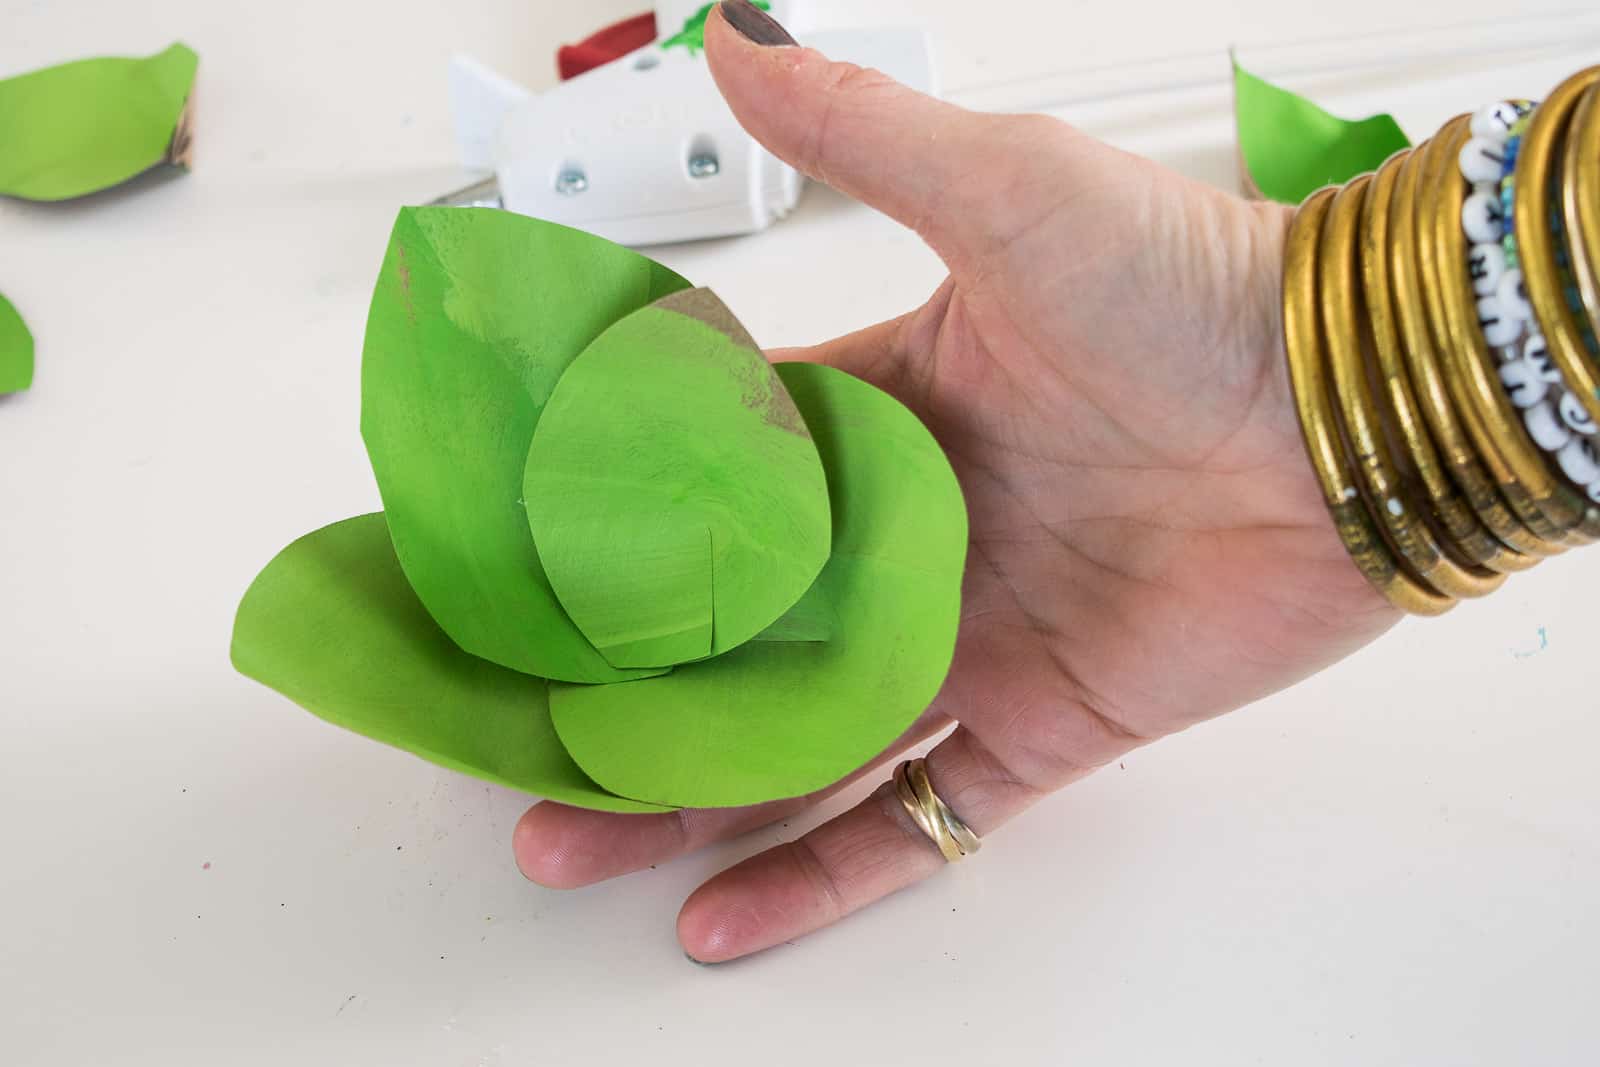
To turn all those wonderful rounded petals into a succulent, arrange them by size first. Take 3 or 4 of the larger petals and glue them side by side forming them into a wreath shape. Take 3 or 4 of the medium petals and glue them inside the larger petals staggering them with the first row. I added one or two small petals to my succulents and considered them done, but you could certainly keep adding layers to make fuller succulents. Note: I’ve seen some people make similar succulents starting with the smallest petals and then adding along the outside. I’ve never tried it, but wanted to mention!
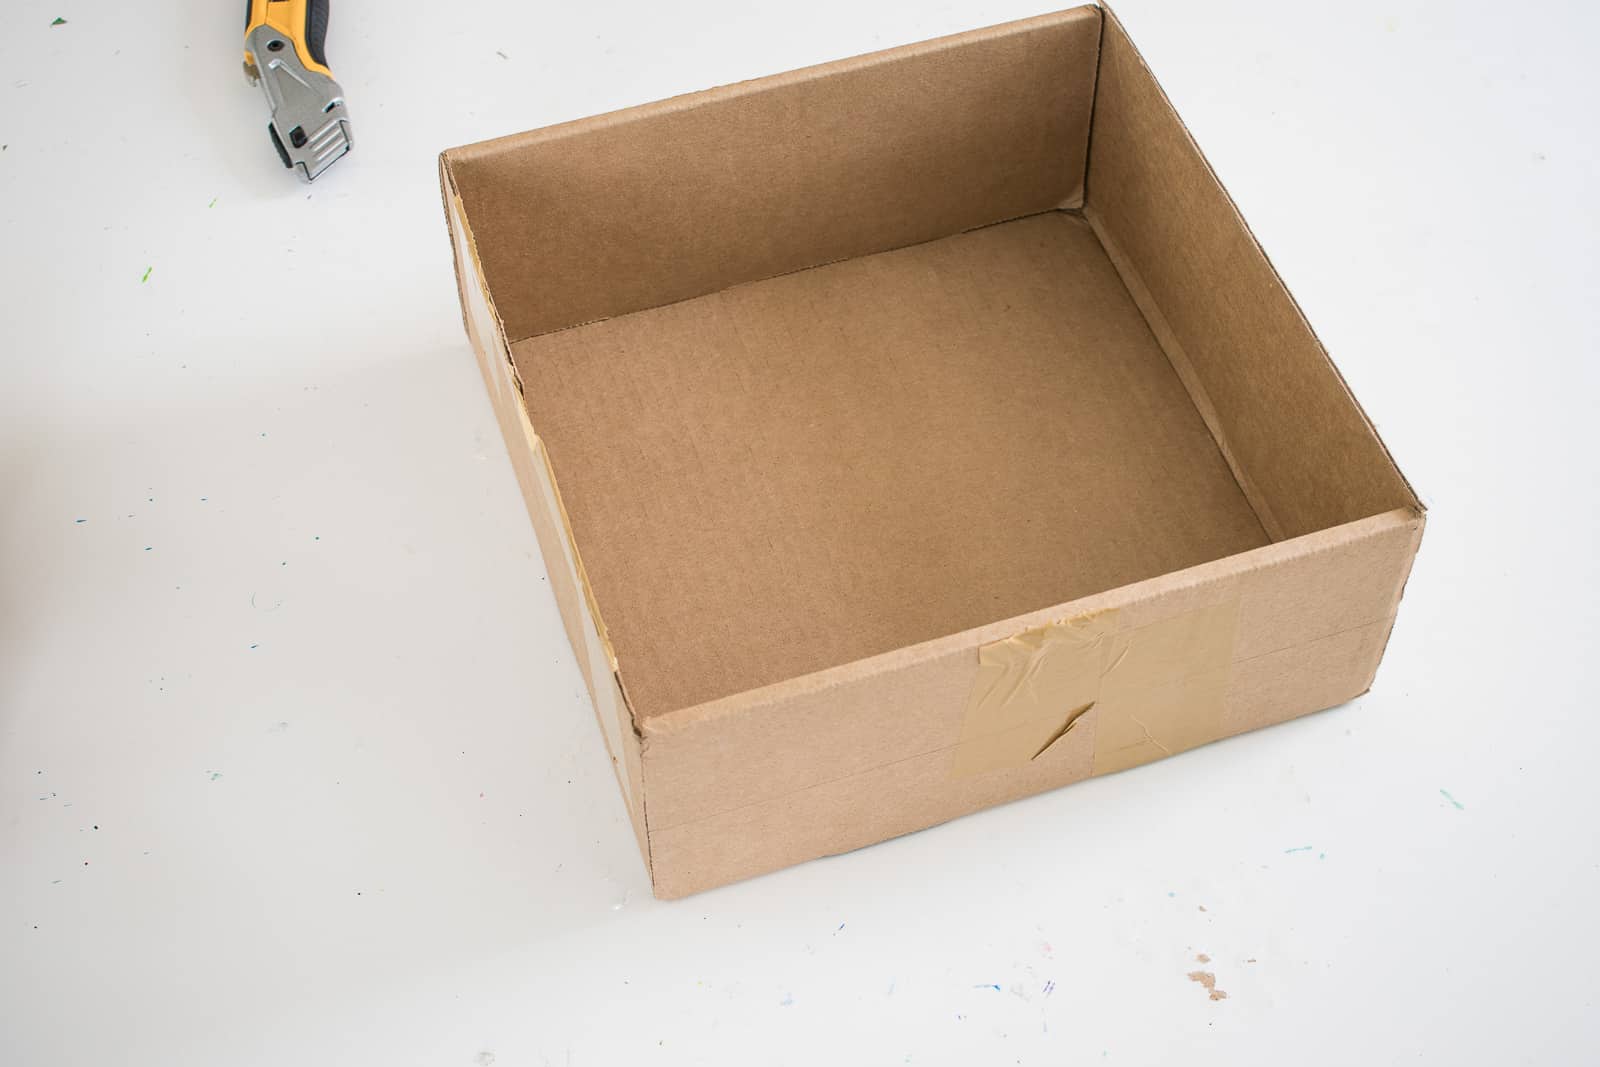
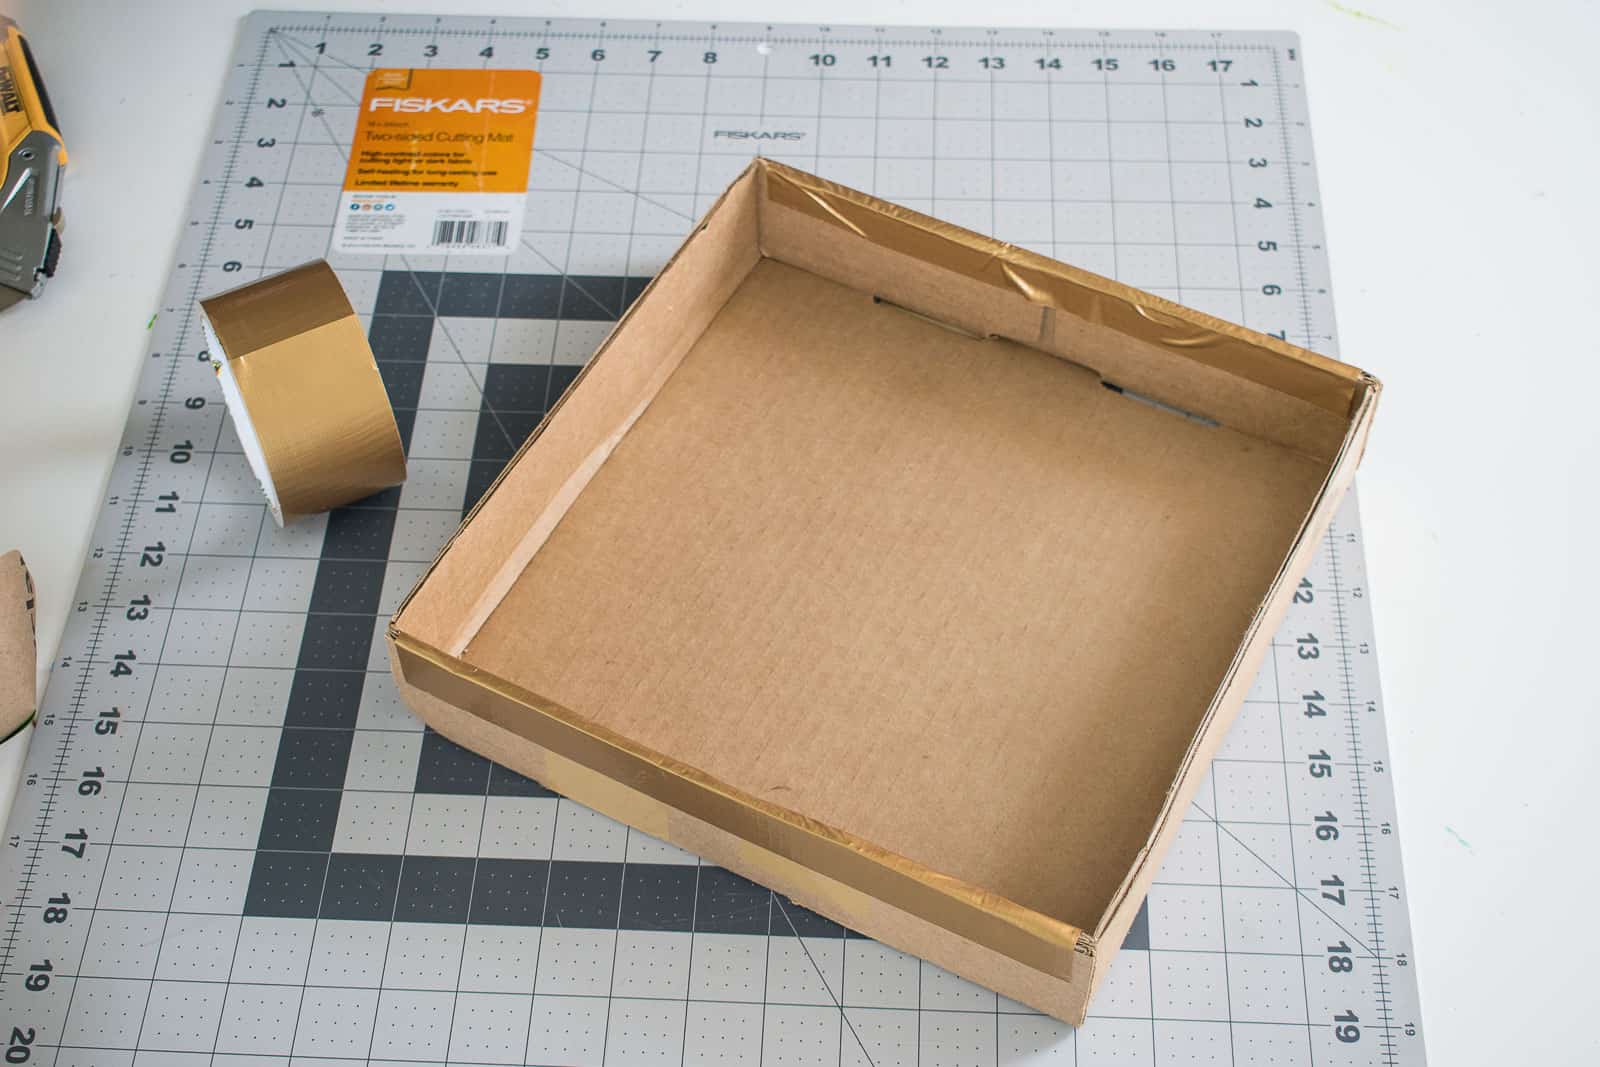
Step 6. Build the Container
I had this cardboard box on hand and the size was perfect. The sides were a little too high so I cut it down shorter and then wrapped it with gold duct tape. You could use any color tape, spray paint or craft paint (or just leave it plain). If you don’t have a box that’s a suitable size, you could cut up cereal boxes or other larger cardboard boxes to make a container that suits your table best.
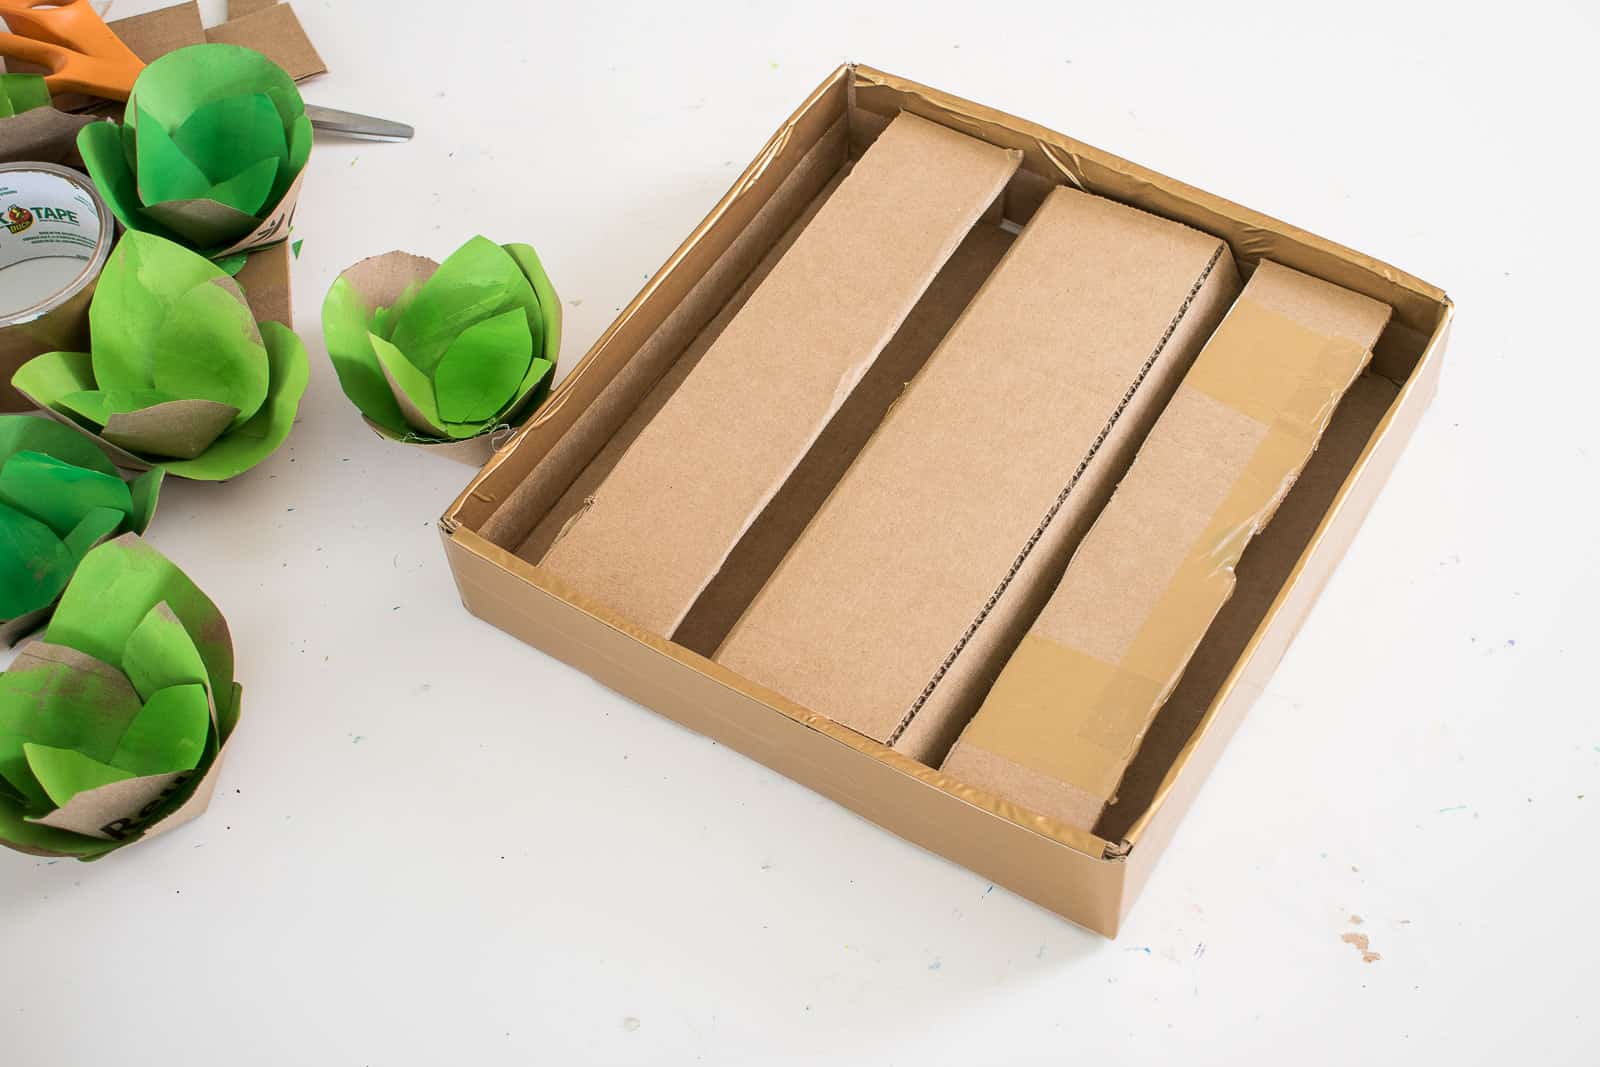
I wanted my succulents to sit up a bit in my container, so I added a few strips of cardboard to the bottom of my box and then glues the succulents onto these.
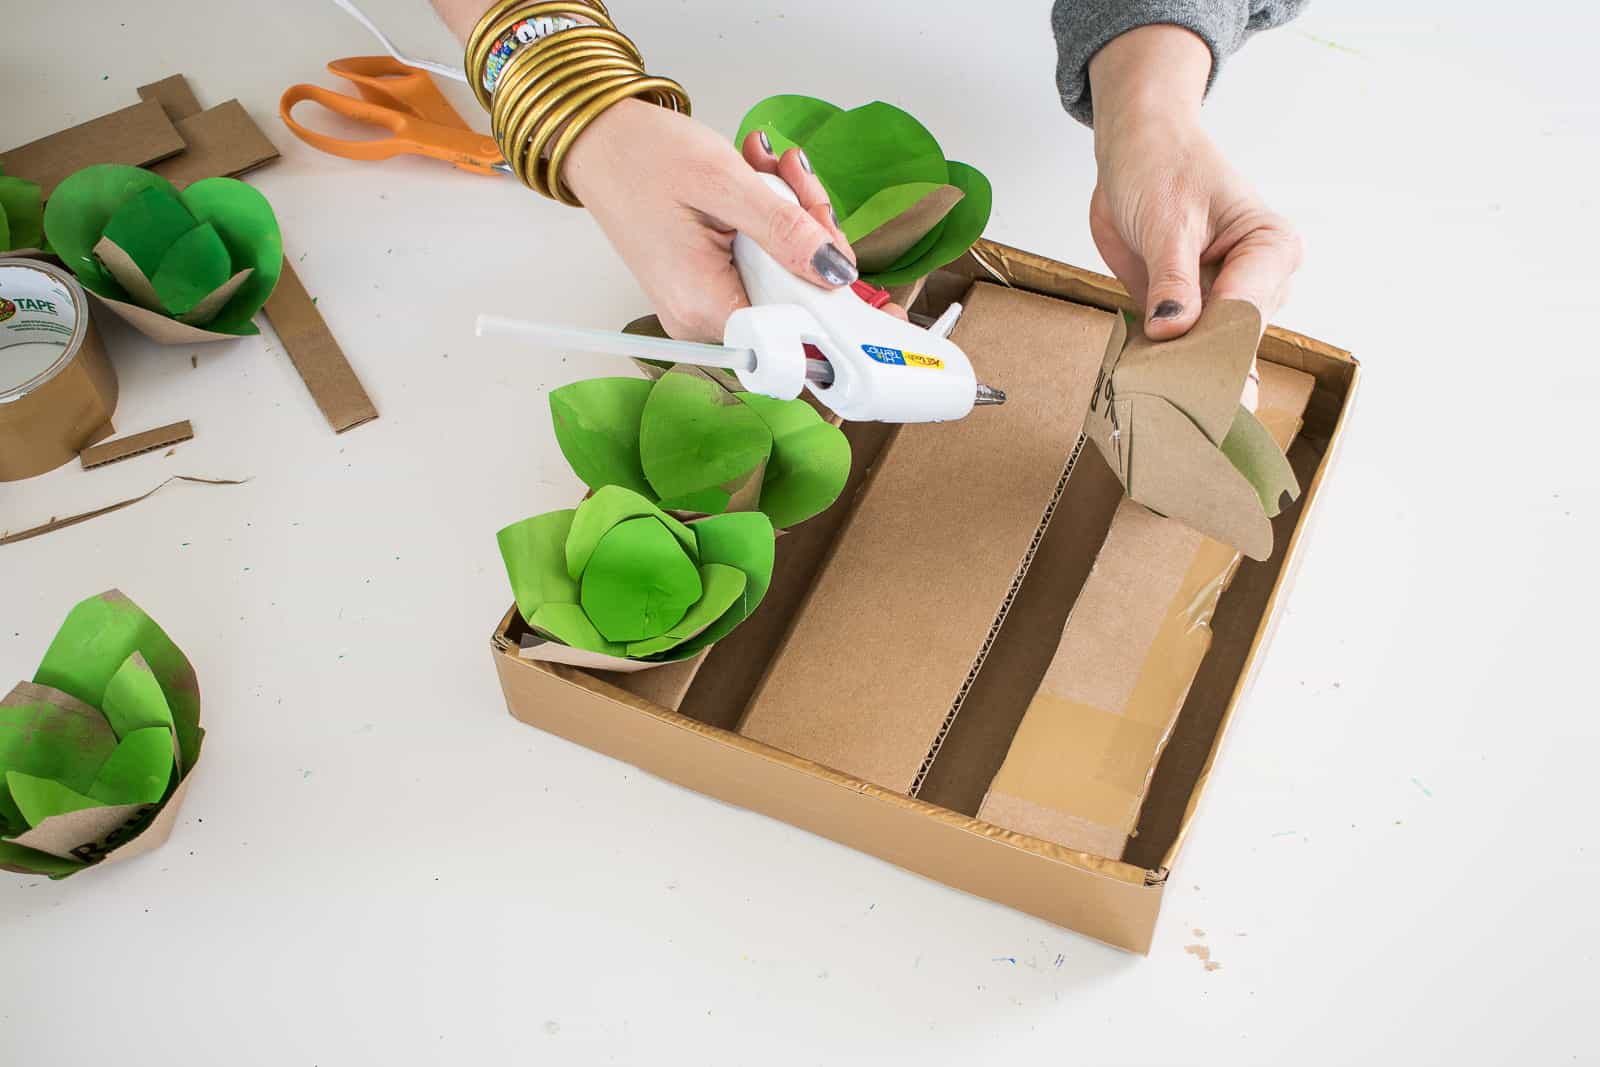
This container took about 16 succulents to fill in completely and I painted and cut out 2 grocery bags. This is the kind of project that makes me want to tweek it and try it in slightly different ways… I’ve love to experiment with various colors to create more of a rainbow spectrum.. my favorite two words: stay tuned!


Don’t Miss Out
Become An Insider!
Signup for exclusive tips, and tricks from Charlotte’s House!
Let’s chat!
I love comments from you, so feel free to leave your thoughts and ideas below! And don’t forget to follow me on Instagram for even more!