Day 9: Twelve Days of Ornaments-Circle Paper Ornament
Psssst… this post *might* contain affiliate links: see my disclosure here.
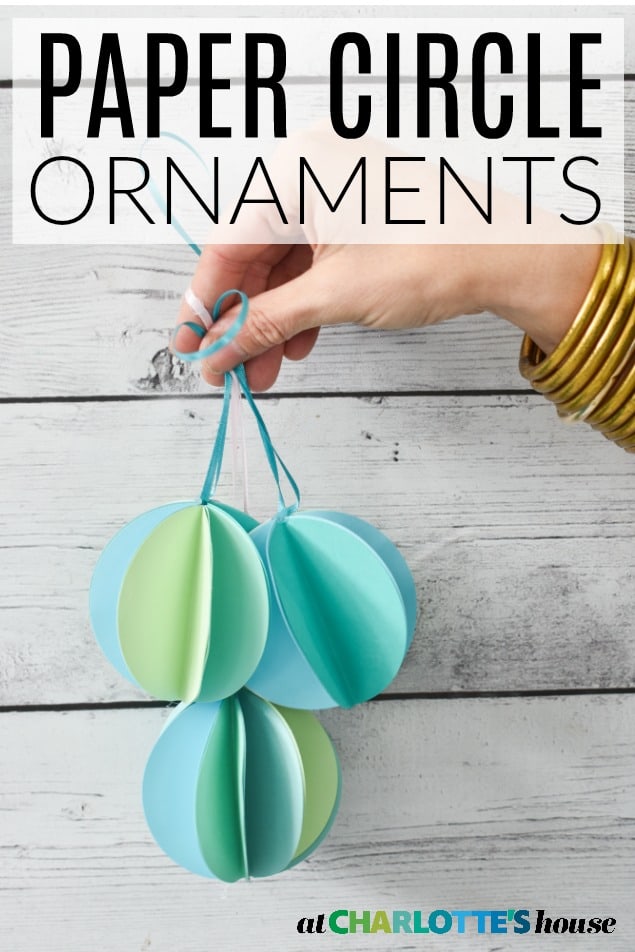
Simple Circle Cut Out Paper Ornament
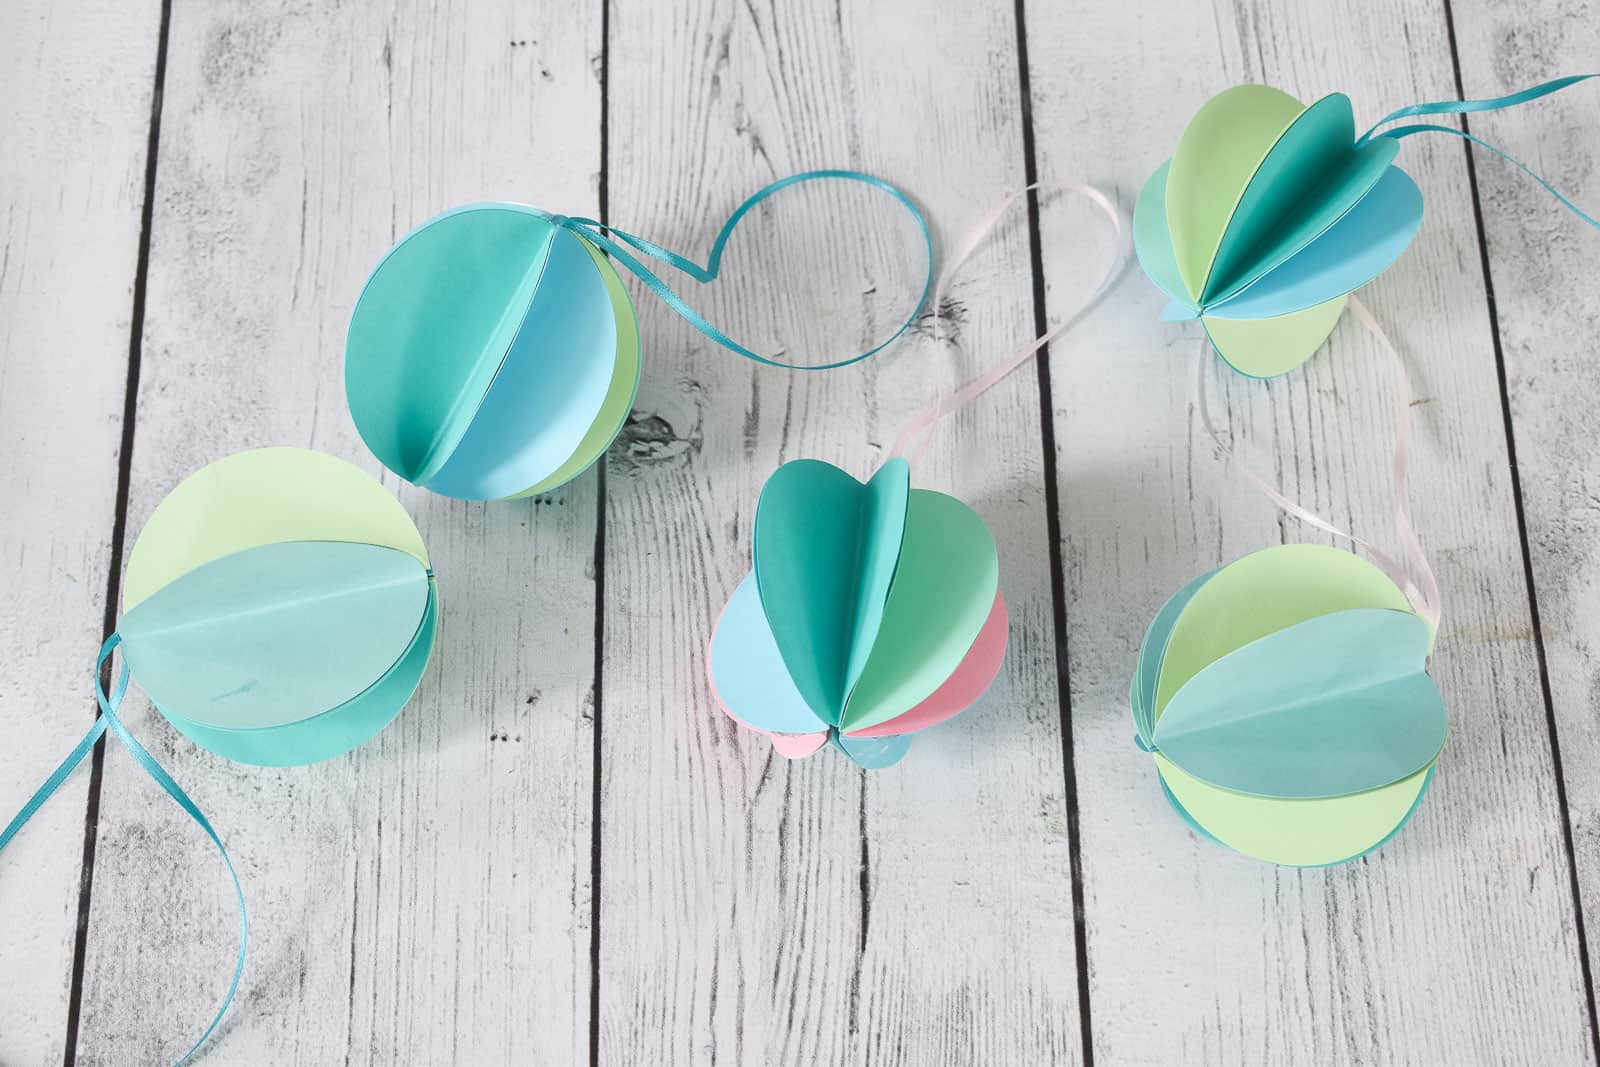
Welcome to Day 9 of 12 Days of Ornaments on the blog and my YouTube channel! You can follow along HERE in case you’ve missed anything!
These paper ornaments are a favorite. I’ve followed the same technique to make this $1 paper garland and it will forever be a favorite craft for holiday decor.
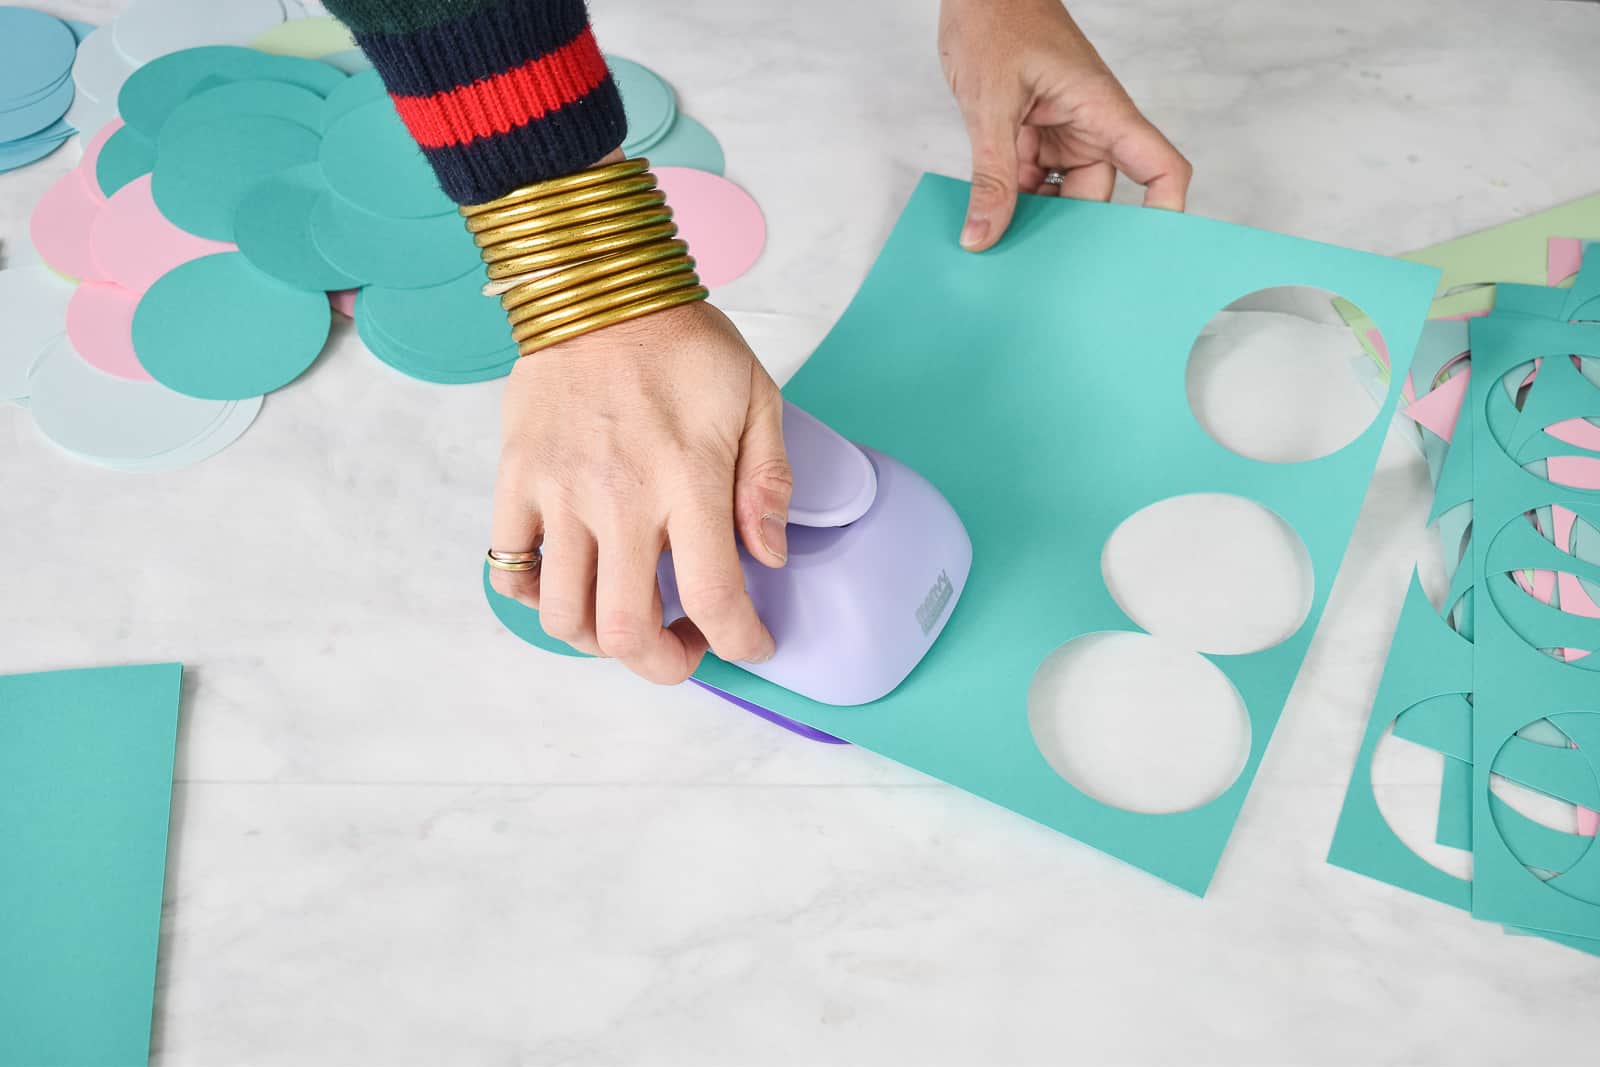
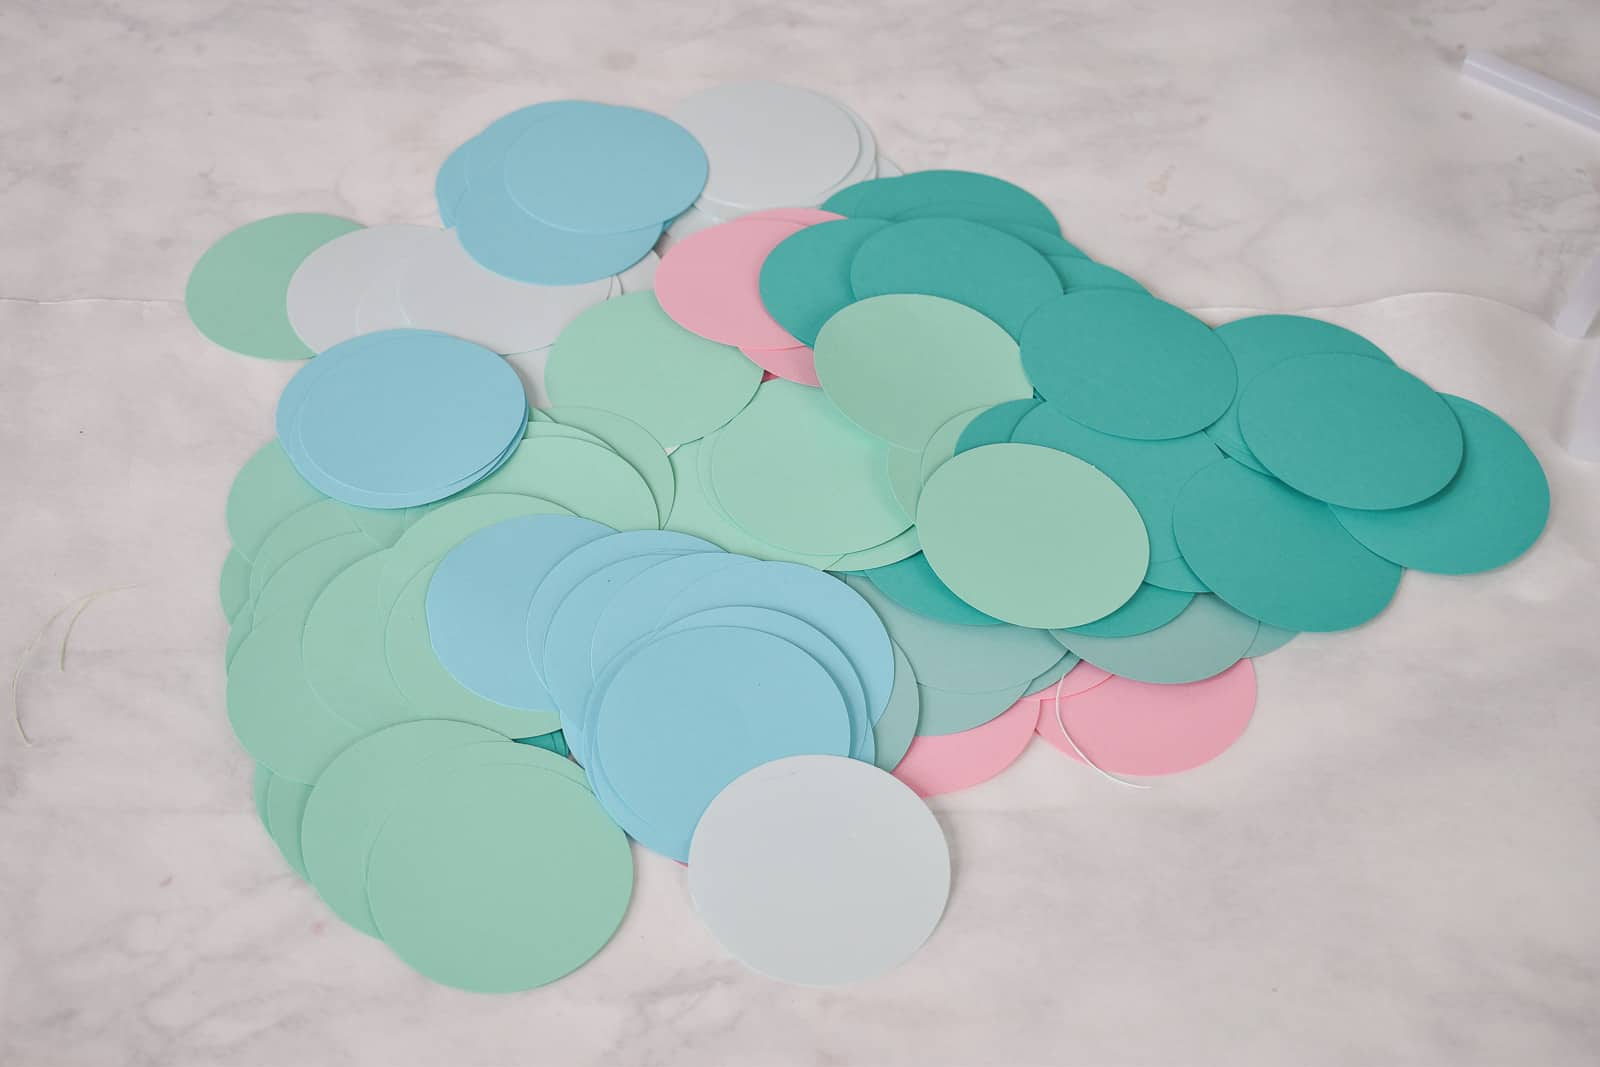
Step 1. Using a paper punch, cut out circles
I’m using this one here with a 2 1/2 inch diameter but any size works depending on how large or small you want the finished ornament.
Shop my favorites!
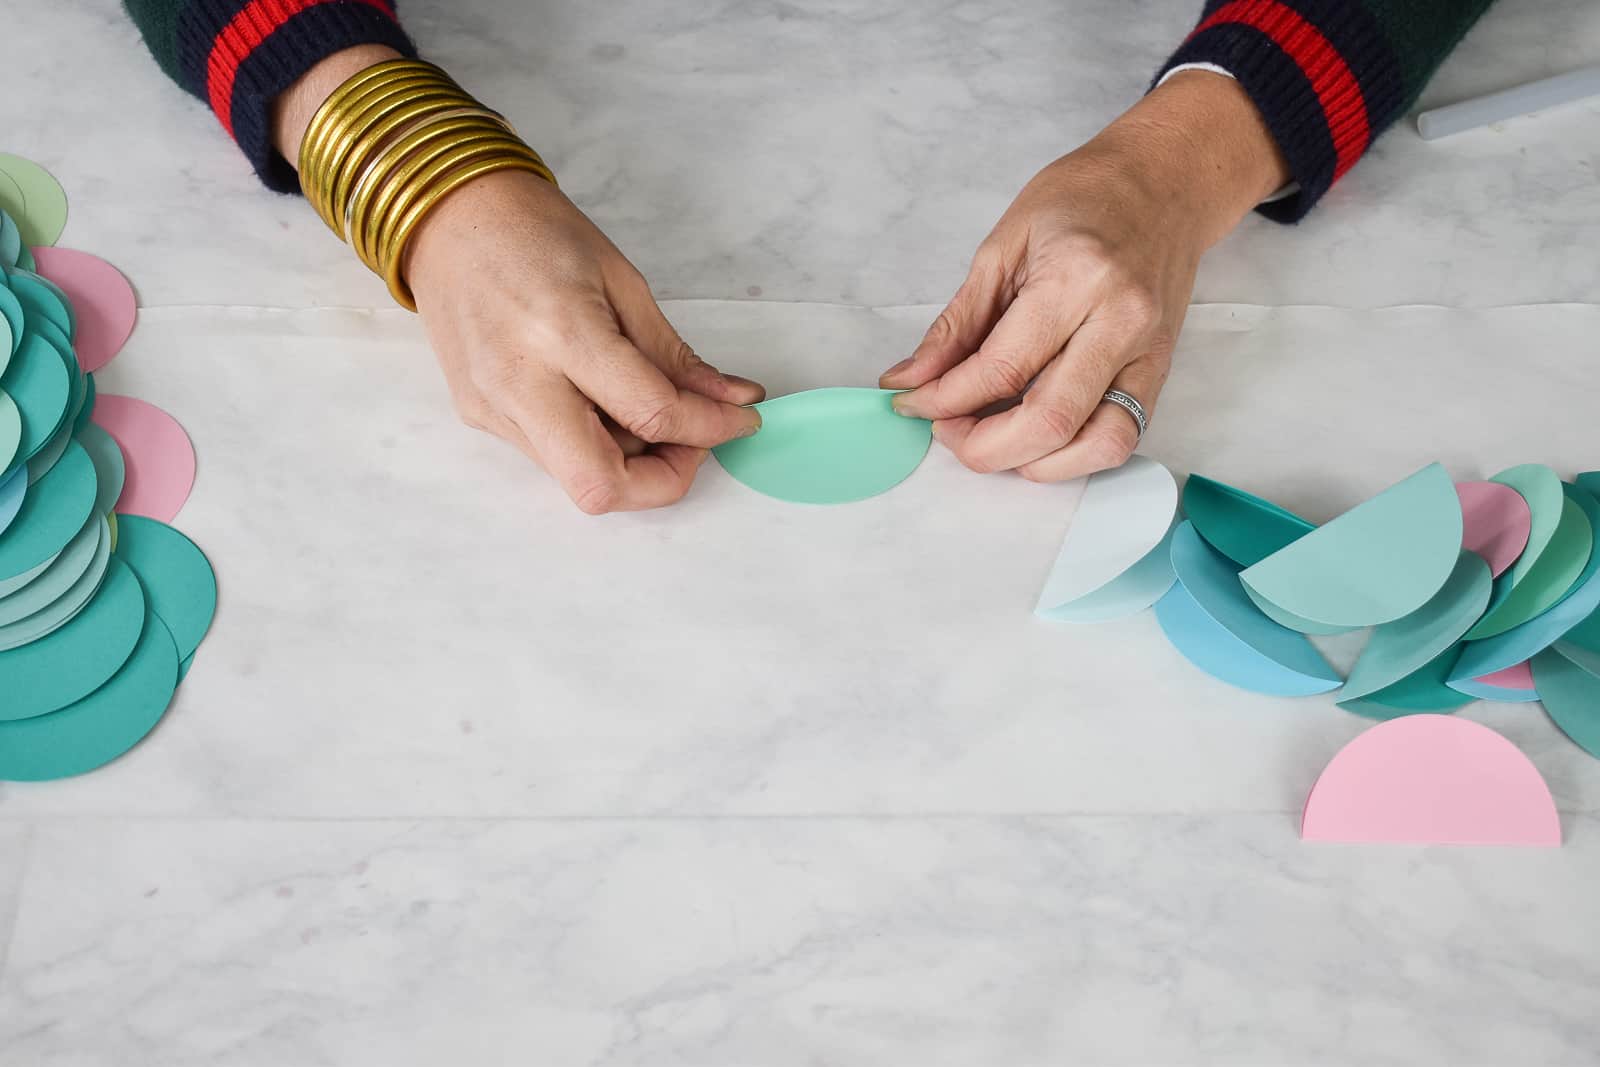
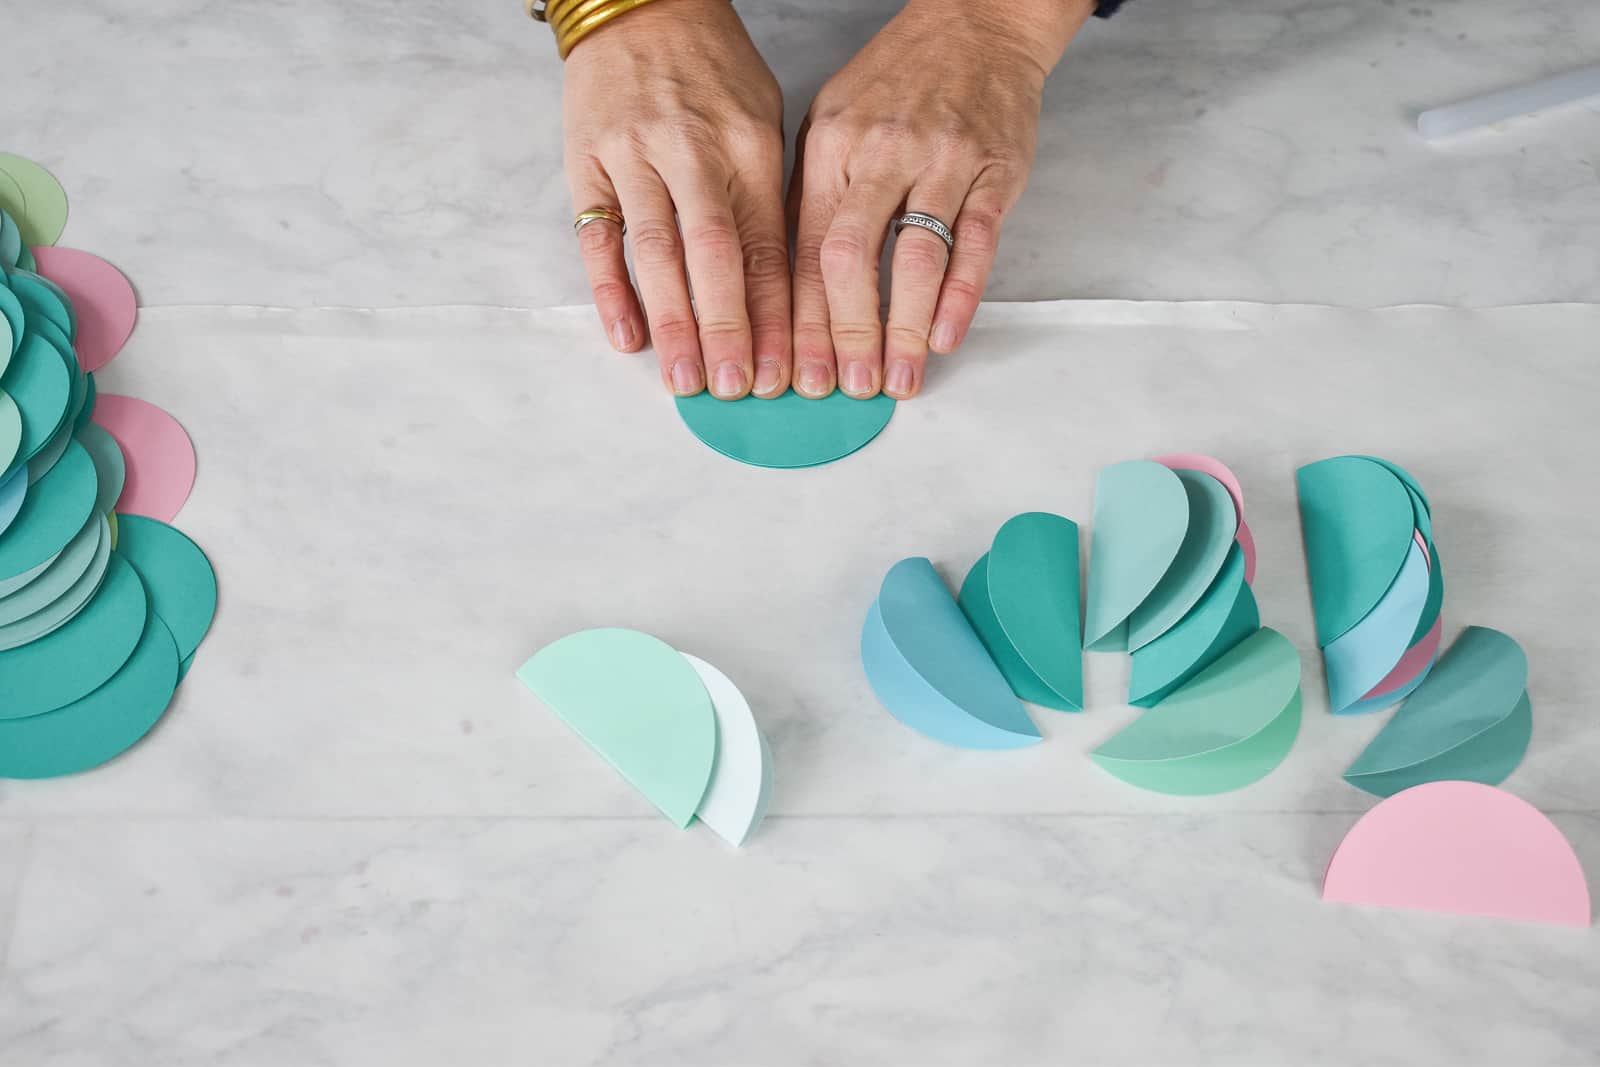
Step 2. Fold circles in half
Fold each circle in half. You need at least 3 circles for each ornament, but I used closer to 7 or 8.
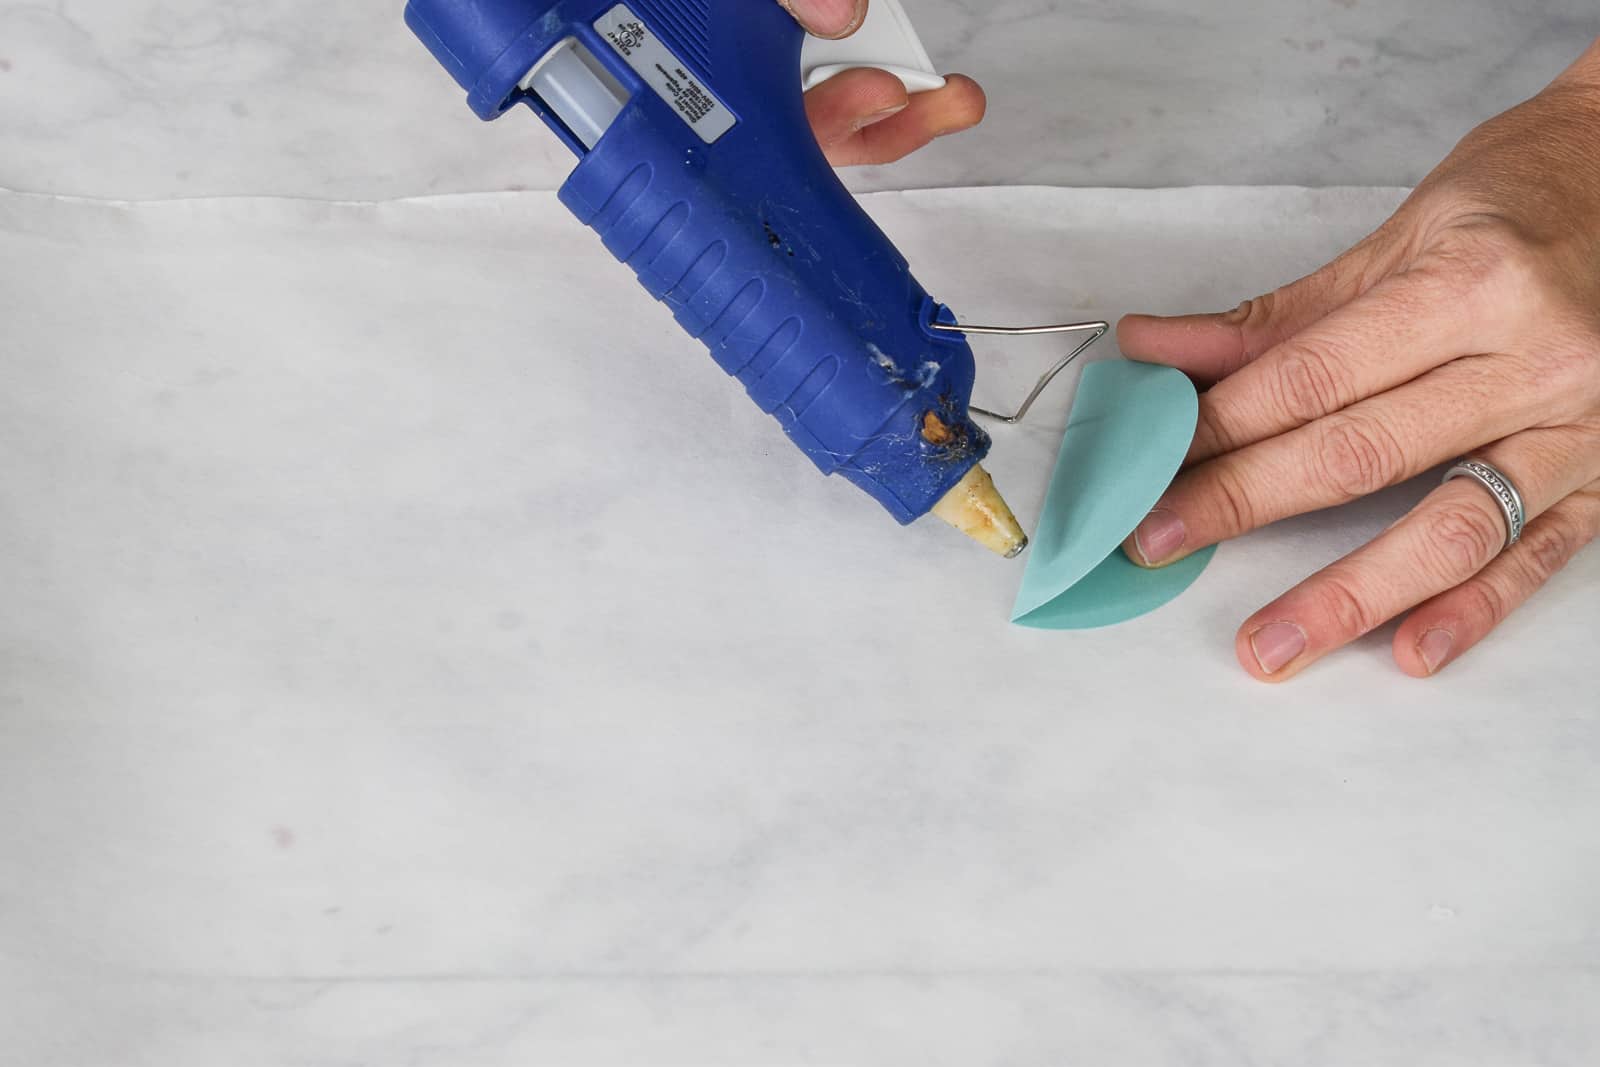
Step 3. Assemble the Ornament
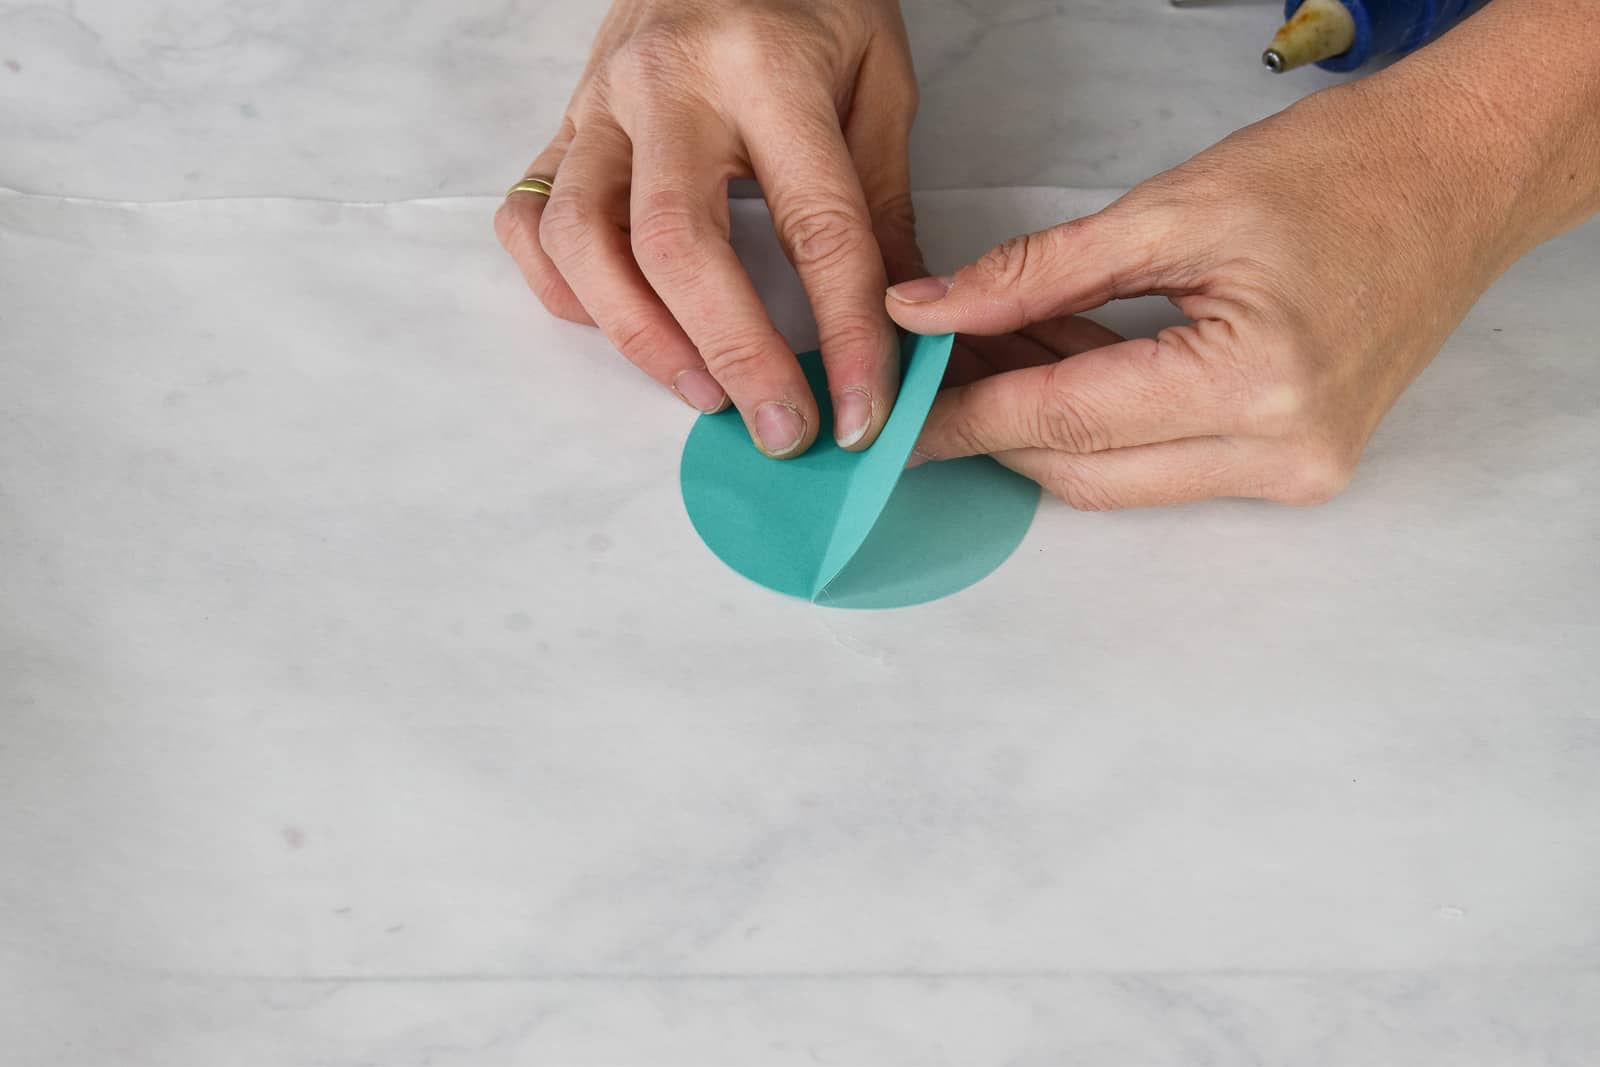
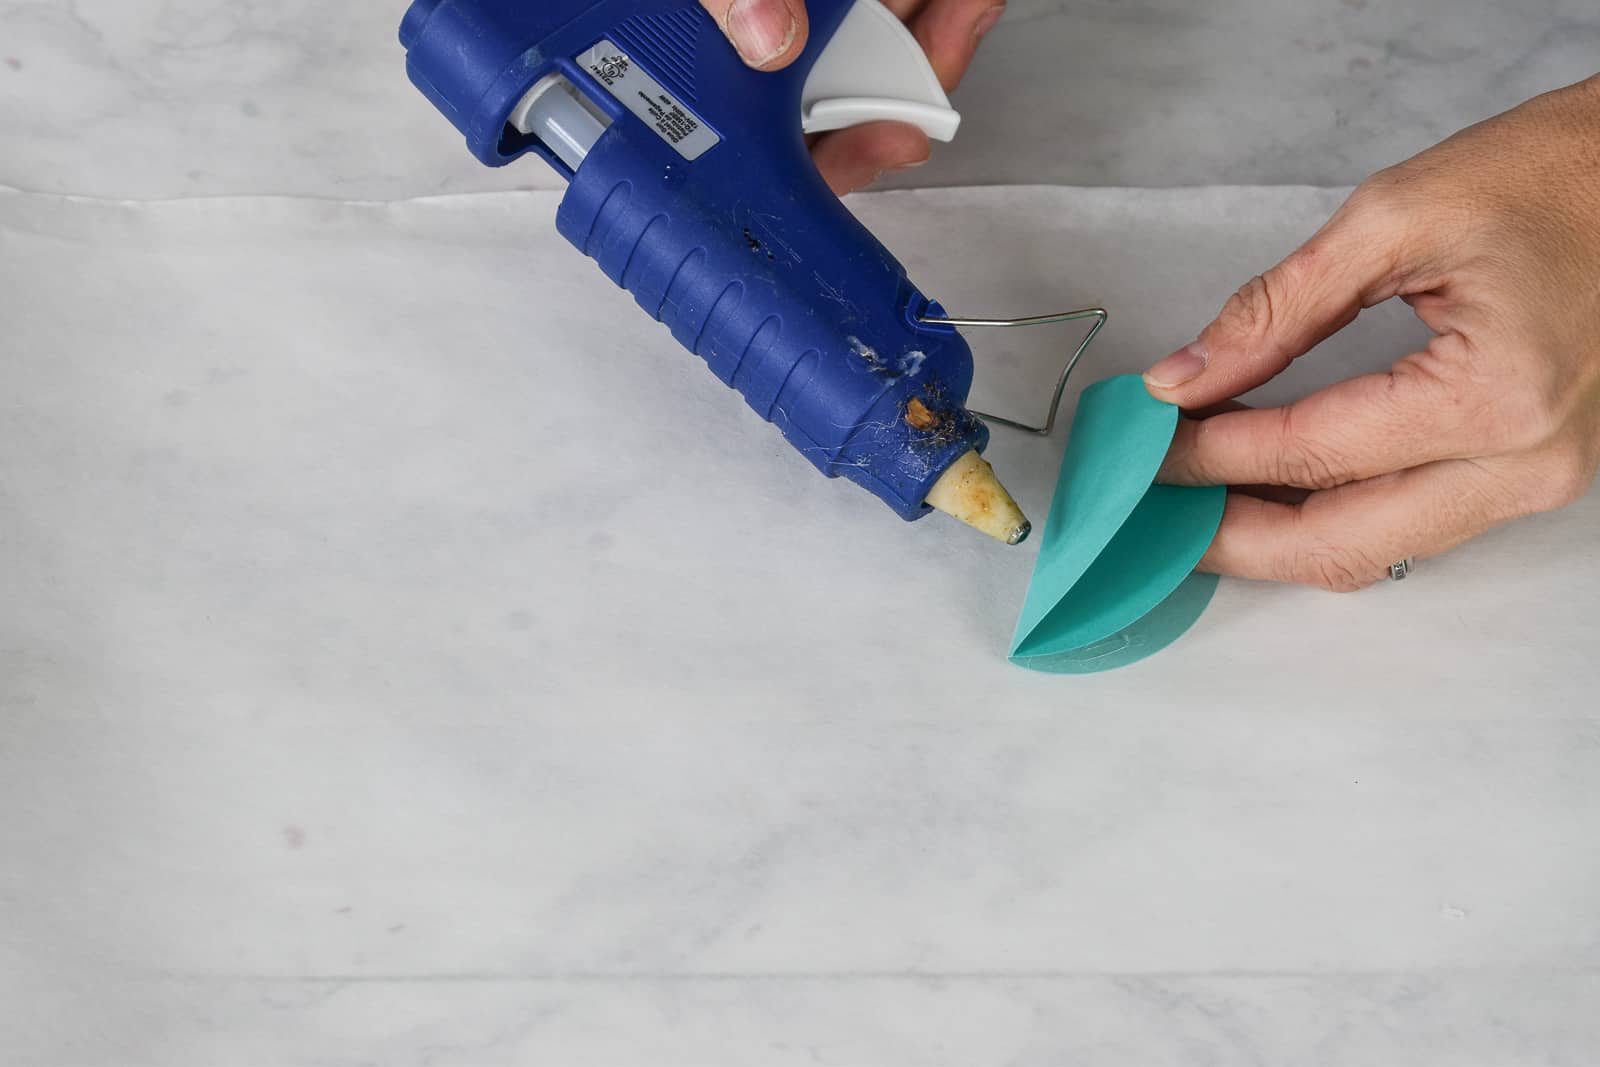
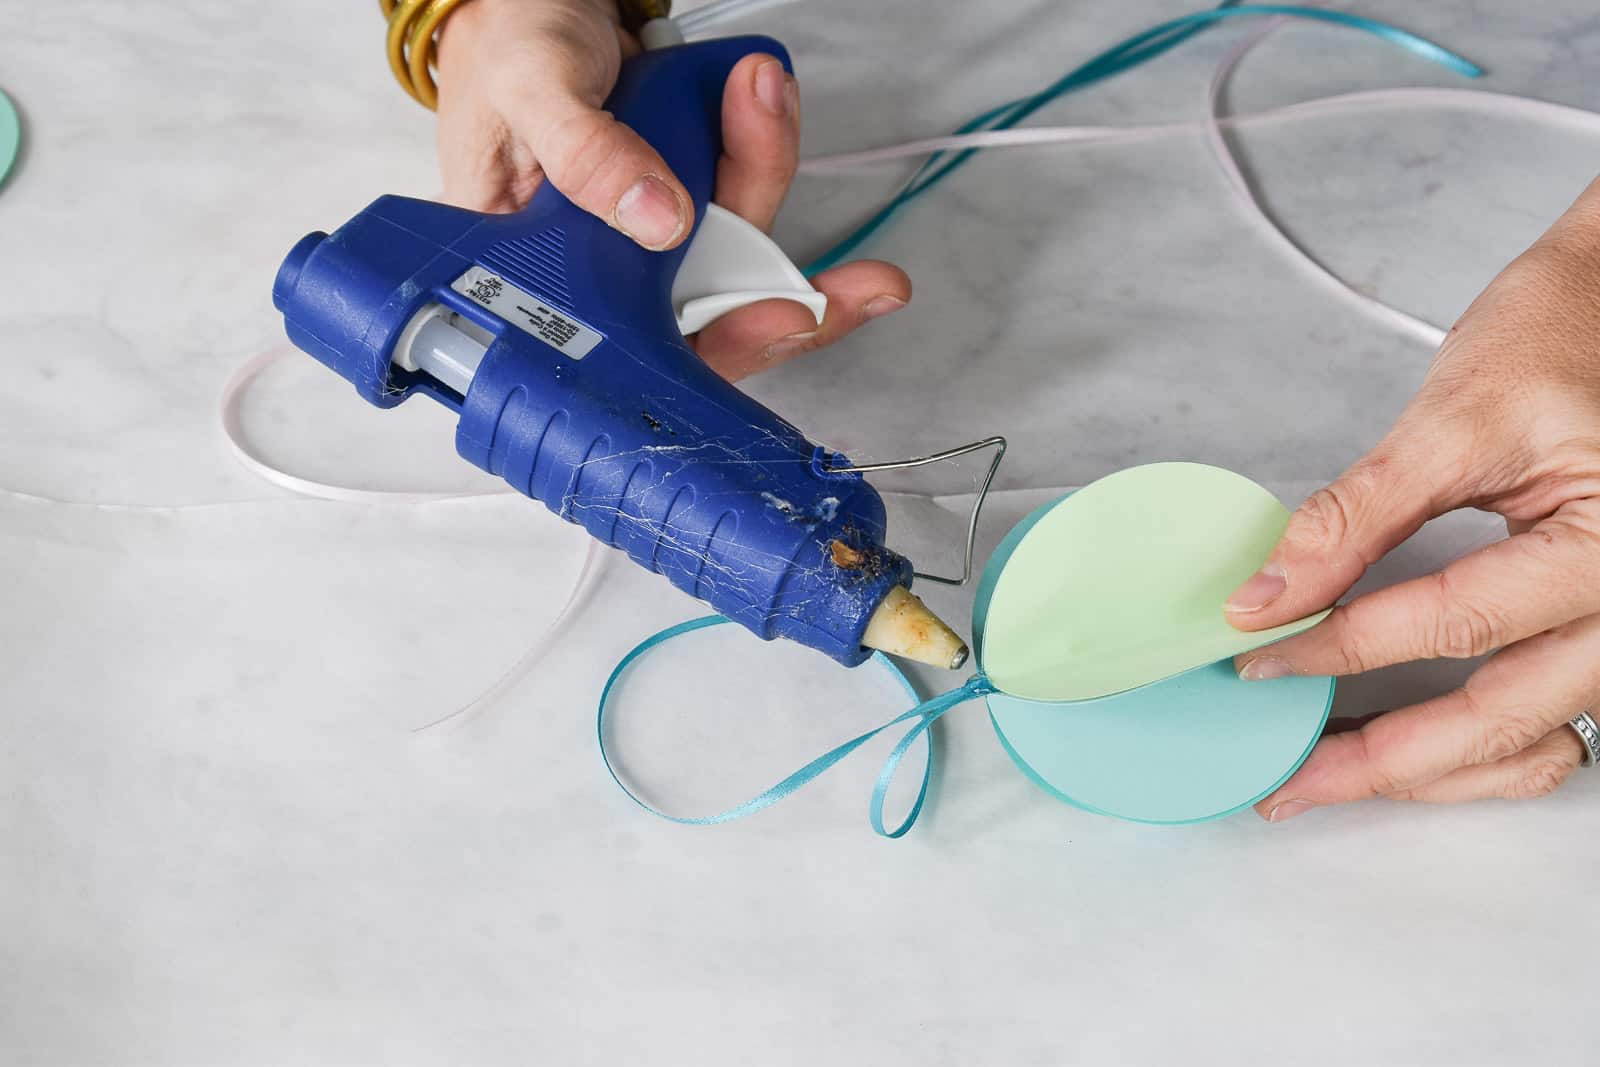
I used a hot glue gun because it sets up faster, but obviously if you’re making these with kids, use a craft glue. You can hold the ornaments in place with paper clips until each one dries. Apply glue to 1/2 of a circle and glue this on top of another 1/2 of a circle.
Reach for a third circle, and glue 1/2 of this one onto the remaining 1/2 circle from above. So on and so forth until you have density to your ornament that you like. Glue the last two 1/2 circles together to complete the circle.
Step 4. Add Ribbon
In hindsight, I might have added the ribbon down the middle as I was assembling each ornament. I didn’t think to do this, so I inserted the ends of two skinny ribbons in the middle of the ornament and then squirted some hot glue behind it to hold it in place.
I know I’ve said this about every ornament so far, but these may be my favorite. I love how easily it is to transform something simple like paper into fun and festive Christmas decor!



Don’t Miss Out
Become An Insider!
Signup for exclusive tips, and tricks from Charlotte’s House!
Let’s chat!
I love comments from you, so feel free to leave your thoughts and ideas below! And don’t forget to follow me on Instagram for even more!