
Take A Powder Room Break
Psssst… this post *might* contain affiliate links: see my disclosure here.
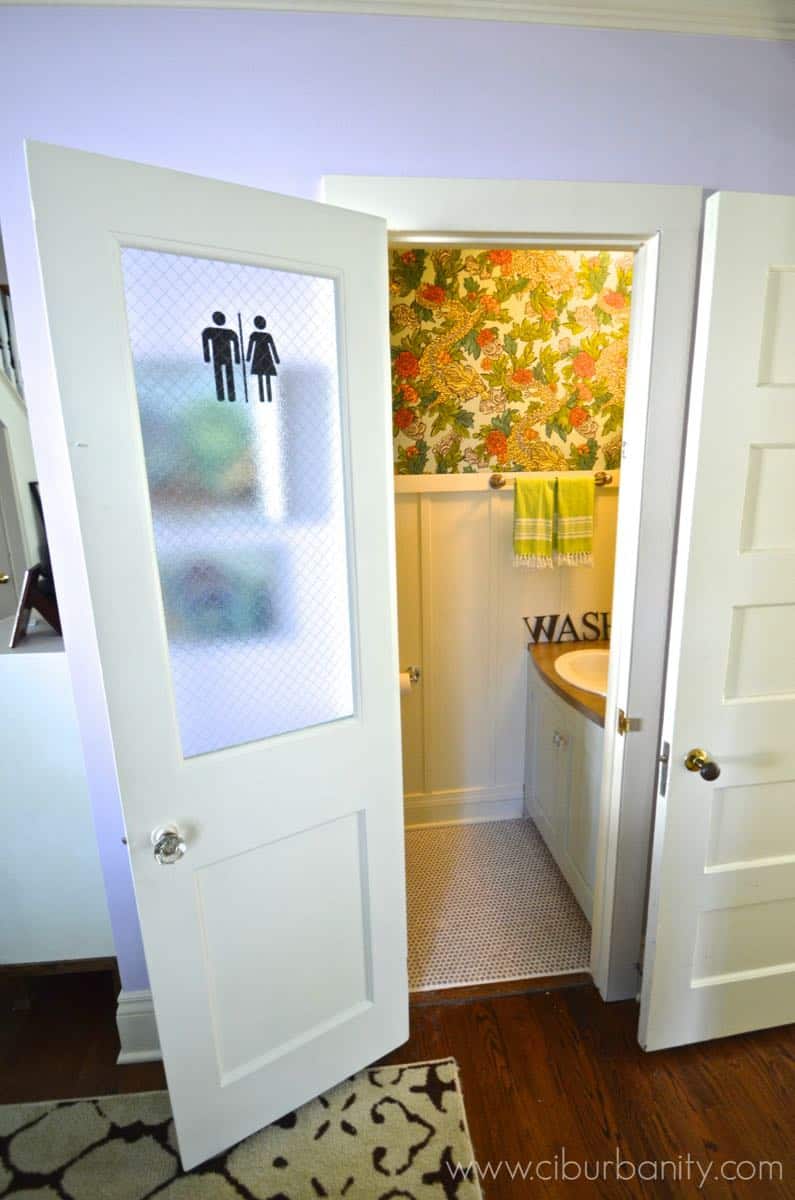
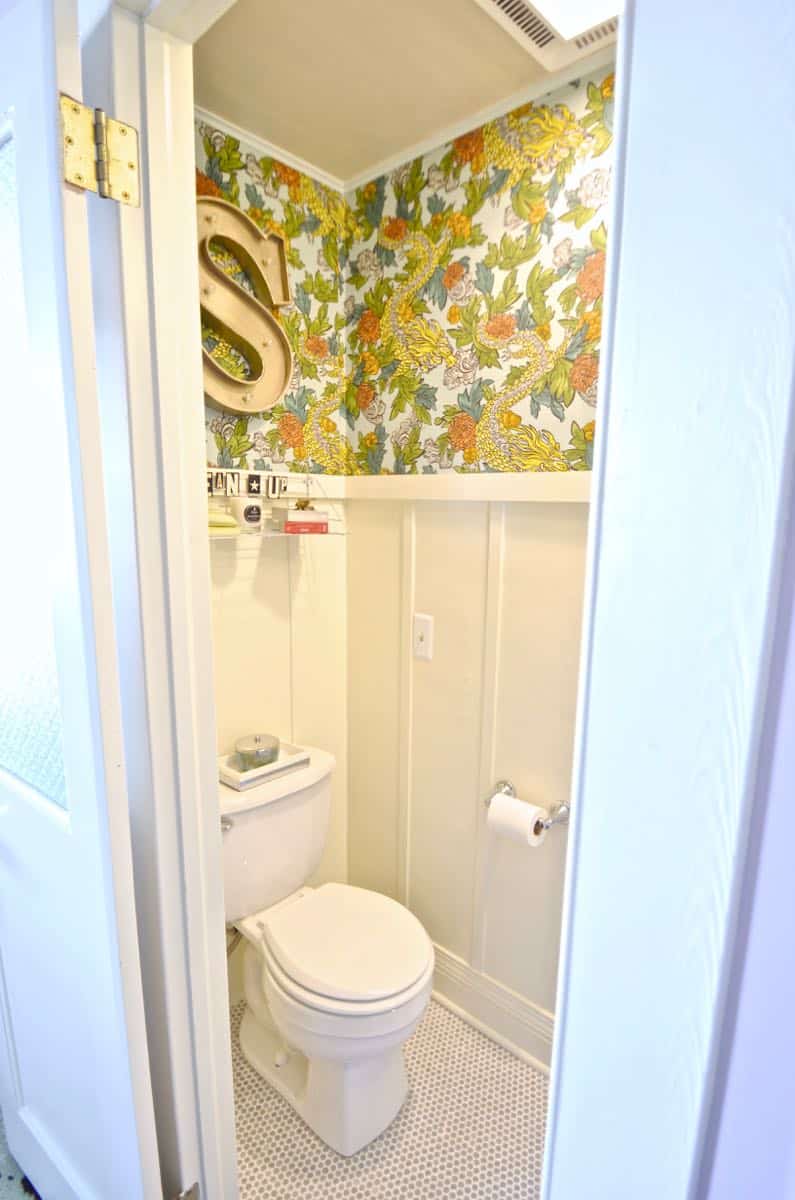
The day has come. Whether #1 or #2, this room is for you. I’ve been taunting you with smaller details like the sink, the vanity, and the door, but today is the big reveal. Picture Ty Pennington with a megaphone screaming “MOVE THAT BUS!” Grab your reading material of choice, and come on in! (Or attempt to… this room is TINY.)
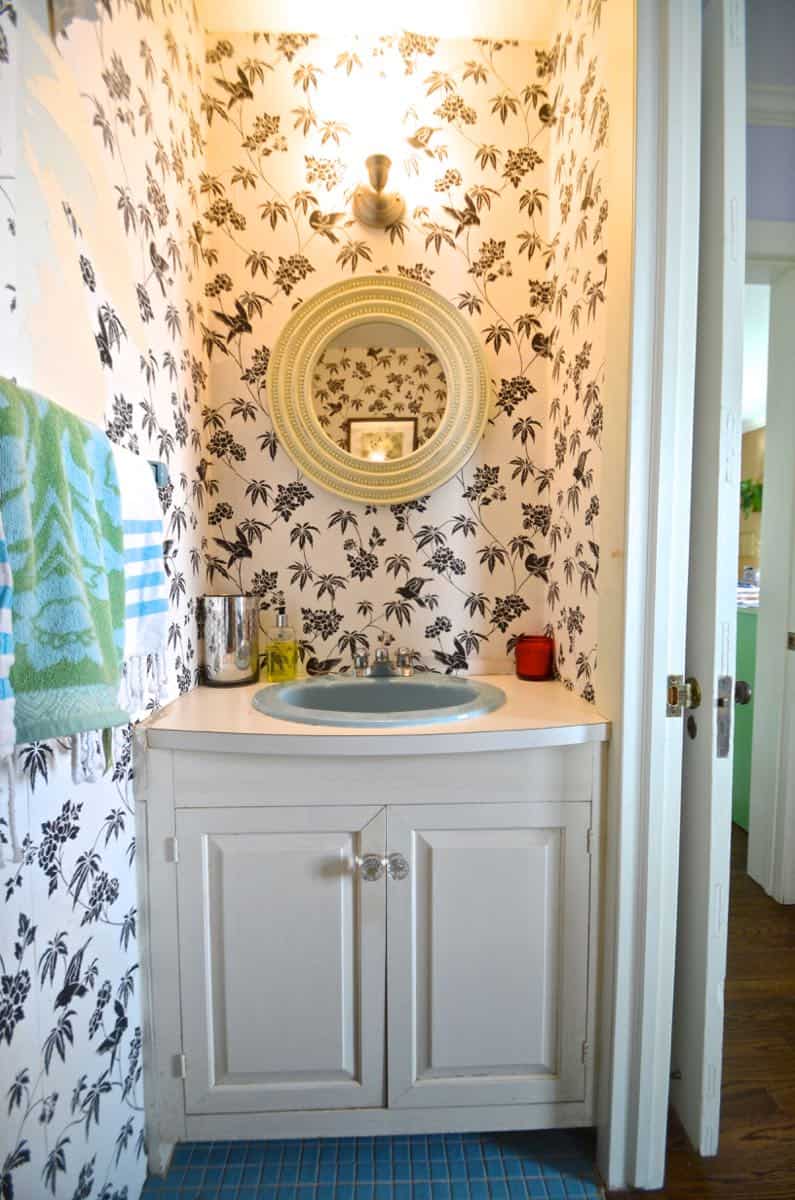
Oooohhhh. Ahhhhhh. Right?! Let’s go back to the glory that was the ‘before’ of this powder room. Blue tiles. Blue sink. Blue toilet. Hollow door. And wallpaper I installed before I’d even started this blog, so it was showing my inexperience and peeling off in all SORTS of places.
Shop my favorites!
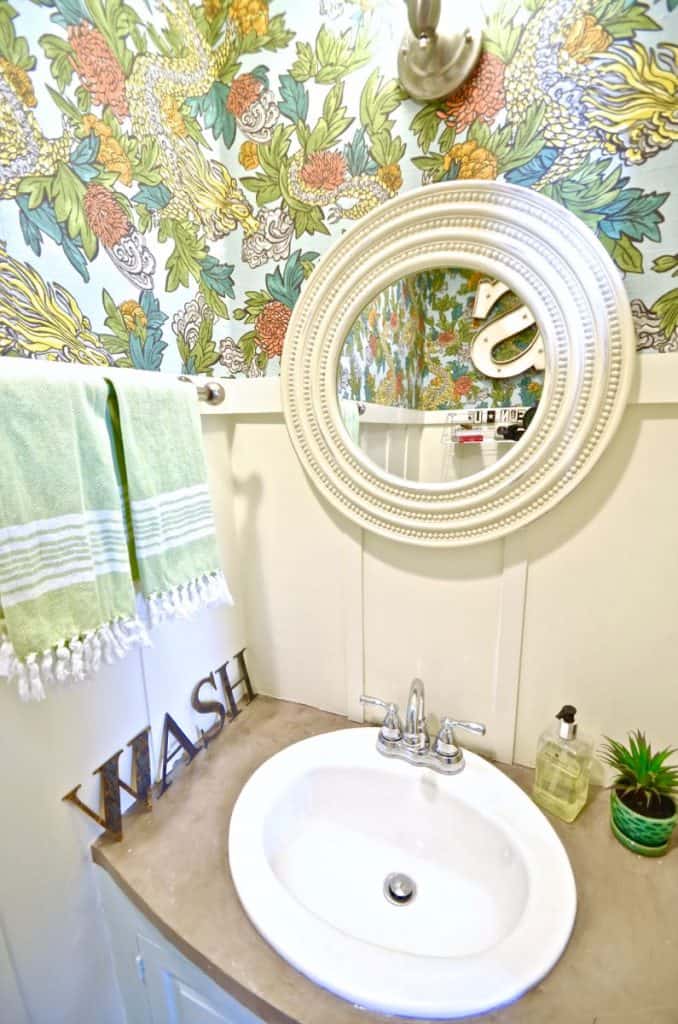
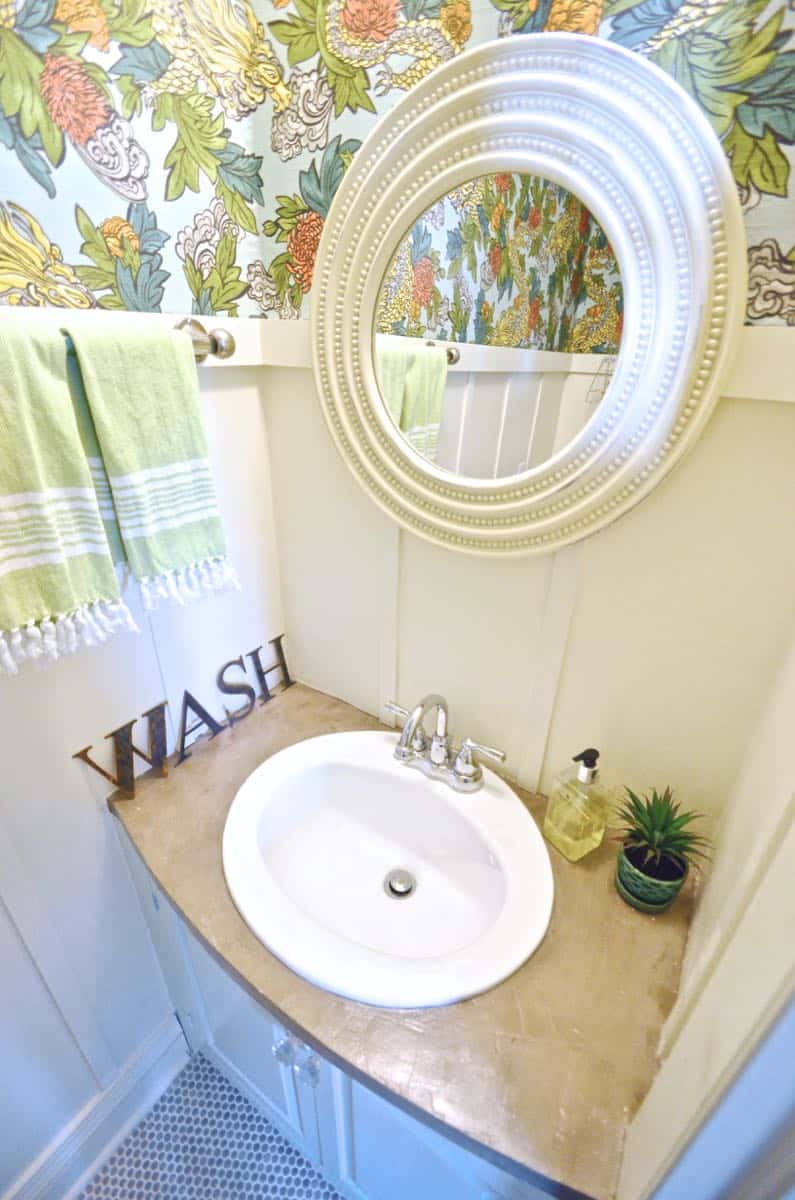
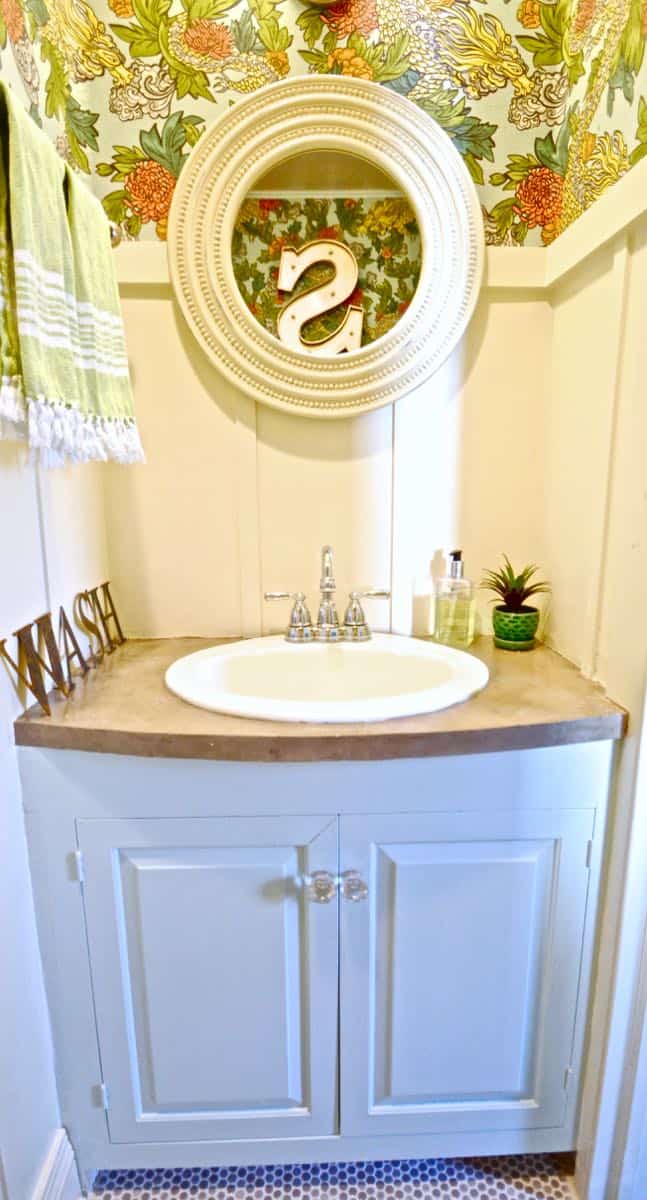
If you’ve been following along, then you know I replaced the tile with this amazing penny tile from Home Depot. I painted the sink and replaced the faucet and gave the counter a concrete facelift. And I painted the vanity.
The door was transformative and one of my FAVORITE parts of this makeover. I love the improved function of adding the glass panel and the whimsy of the sticker/ chicken wire. (Full tutorial here.)
Here’s what you HAVEN’T seen yet. The walls. I may or may not have had lunch in this room just so I could ogle the walls. Kidding… I didn’t… I haven’t sat down for lunch in years.
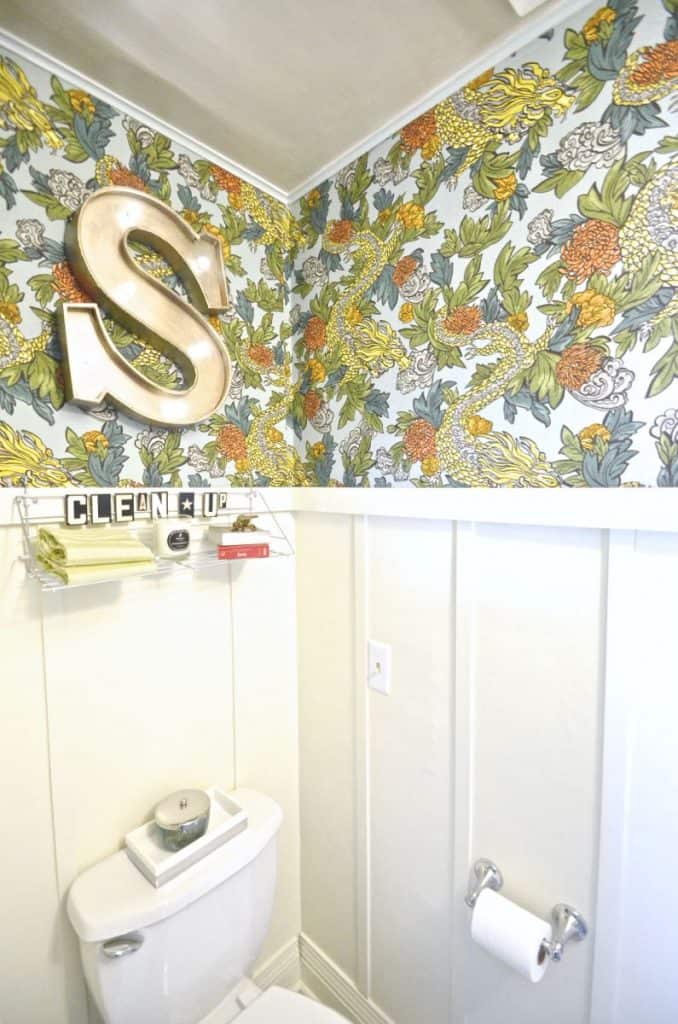
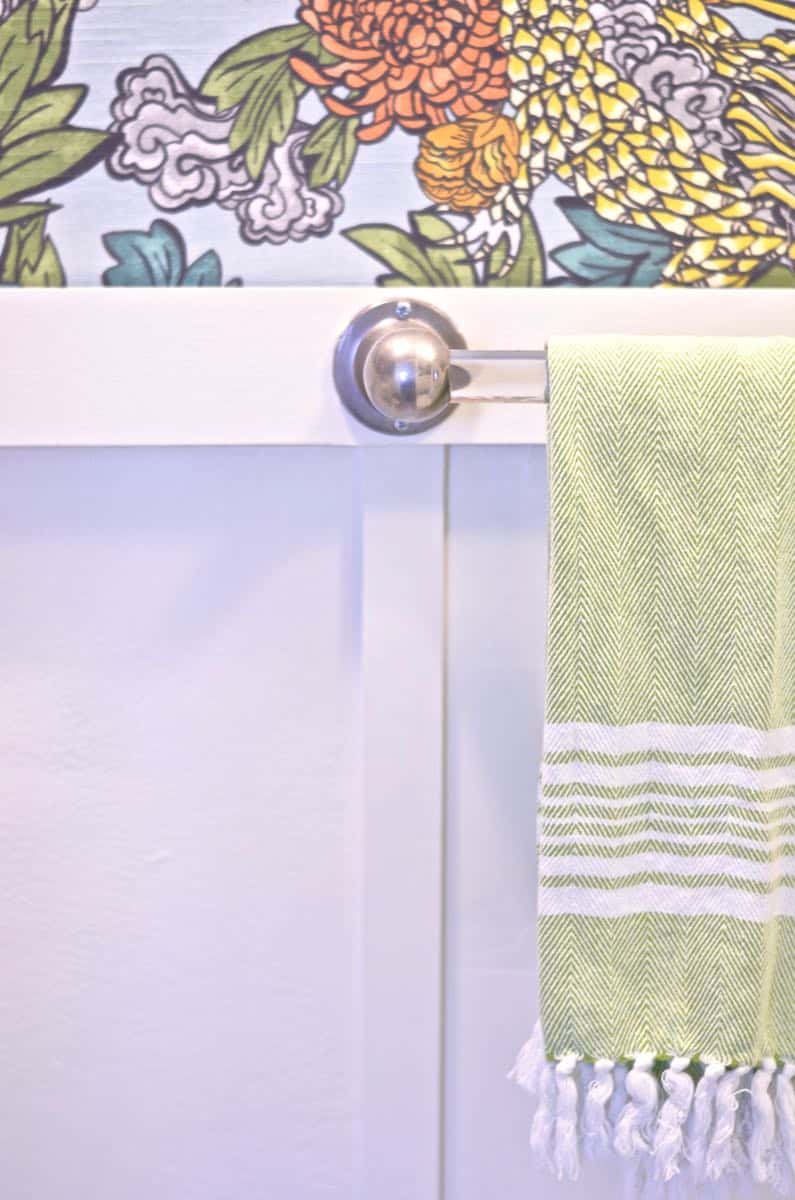
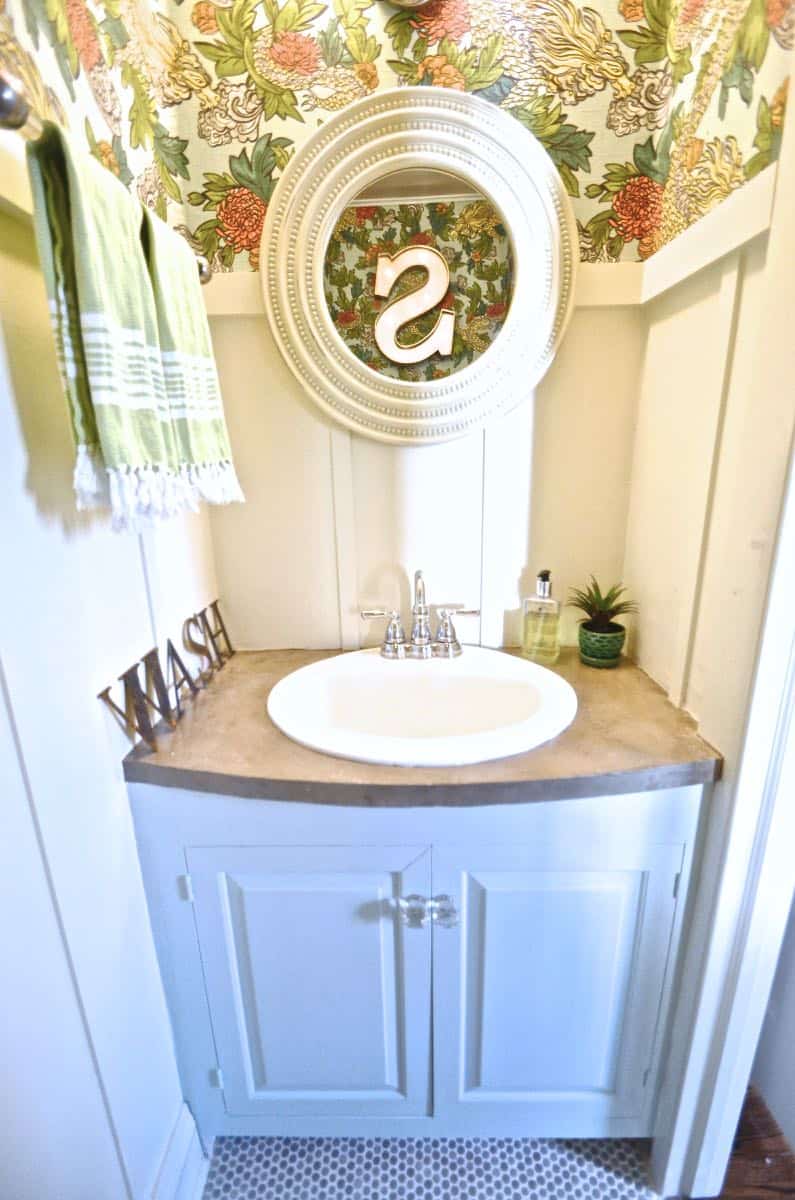
The walls are Robert Allen’s Ming Dragon from the Online Fabric Store. Yep. They’re FABRIC. Did y’all know you could put FABRIC on a wall?! Leave me a comment if you want more intel on the subject, but the quick and dirty is that you use liquid starch and a paint roller. The challenges? Cutting a straight clean line on the fabric, and lining up the pattern. You need to SATURATE your fabric for it to stick (and this is a heavier fabric suitable for upholstery so I suspect a dress or quilt weight cotton would be easier). Bottom line: an amazing substitute for wall paper with NO hassle to remove if you change your mind.
This fabric is busy. (And expensive enough that I didn’t want to do the ENTIRE room…) So I installed this faux board and batten on the lower portion of the walls. I’ve never done a decorate wall treatment like this, but it was crazy easy. The drywall in this room is like Louisa’s belly: not flat. Which was a challenge. But nothing 2 quarts of caulk couldn’t fix… I followed tips from John and Sherry and used 1x3s and lathe with simple baseboards. The trim in the whole house is Benjamin Moore’s Spanish White. It’s not my first choice, but making a change is WAY more extensive than I’ve ever wanted to take on. So that’s what I used in here for the board and batten.
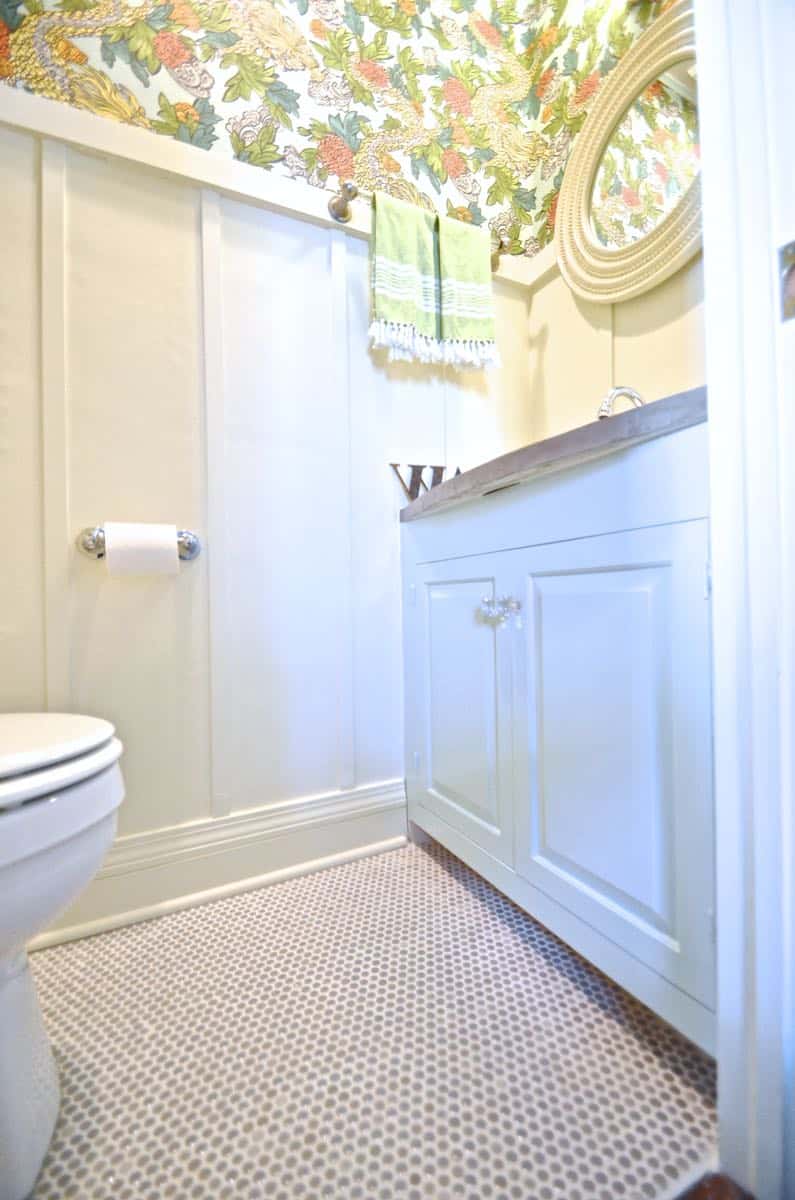

The toilet is new and improved. I had to get the smallest one Home Depot had to offer because of the space, but it works great. Read this post to learn about swapping out a toilet. Don’t be intimidated, because it’s not as impossible as you’d think.
The ceiling got a fresh coat of Modern Master’s metallic paint. (Custom mix of Warm Silver and Snowflake.) I toyed with changing that awful exhaust fan, but this one is old enough that it’s about twice as big as the current ones… patching the ceiling and reworking ductwork was NOT in my wheelhouse, so I gave the cover a coat of white spray paint. Better. (Not great.)
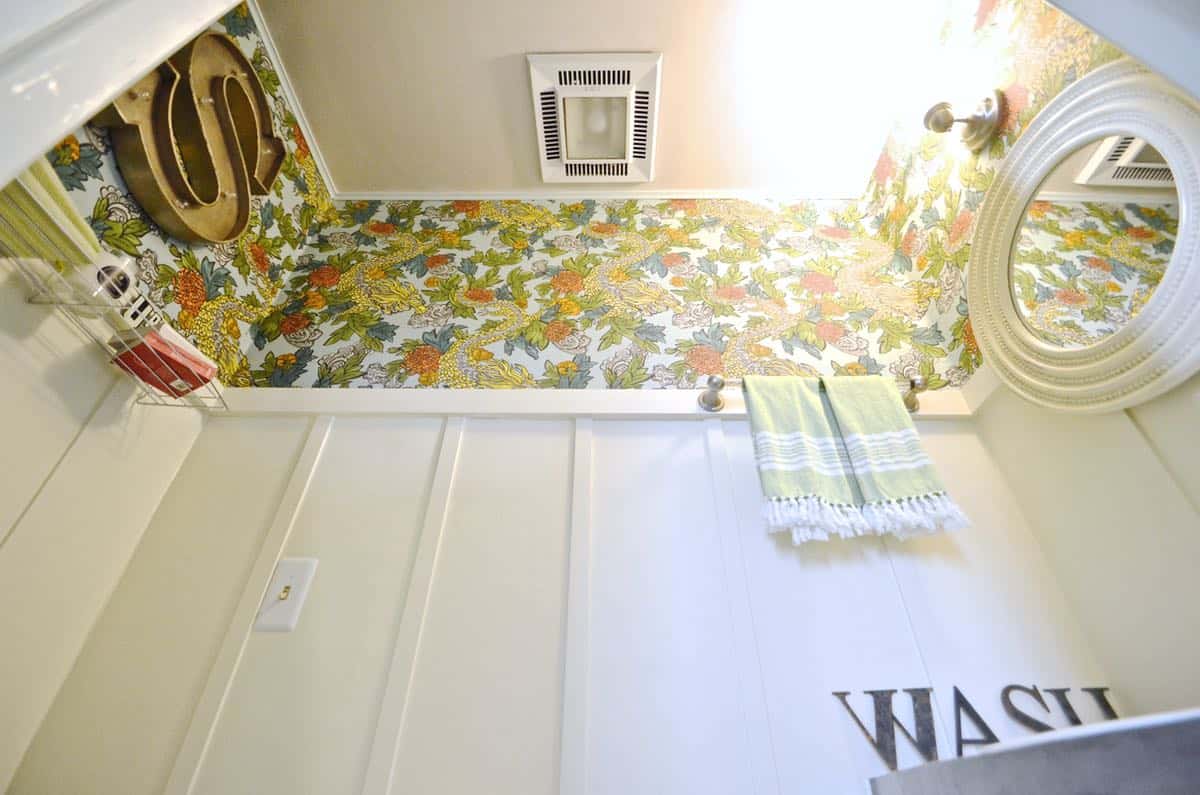
For styling, I reused the old mirror. It matched perfectly. The shelf was grabbed at the flea market and is intended for a peg board. But I loved that it was light an airy but could also hold the stray roll of toilet paper or some extra hand towels. (These pics are with my wide angle so some of them get a little distorted!)
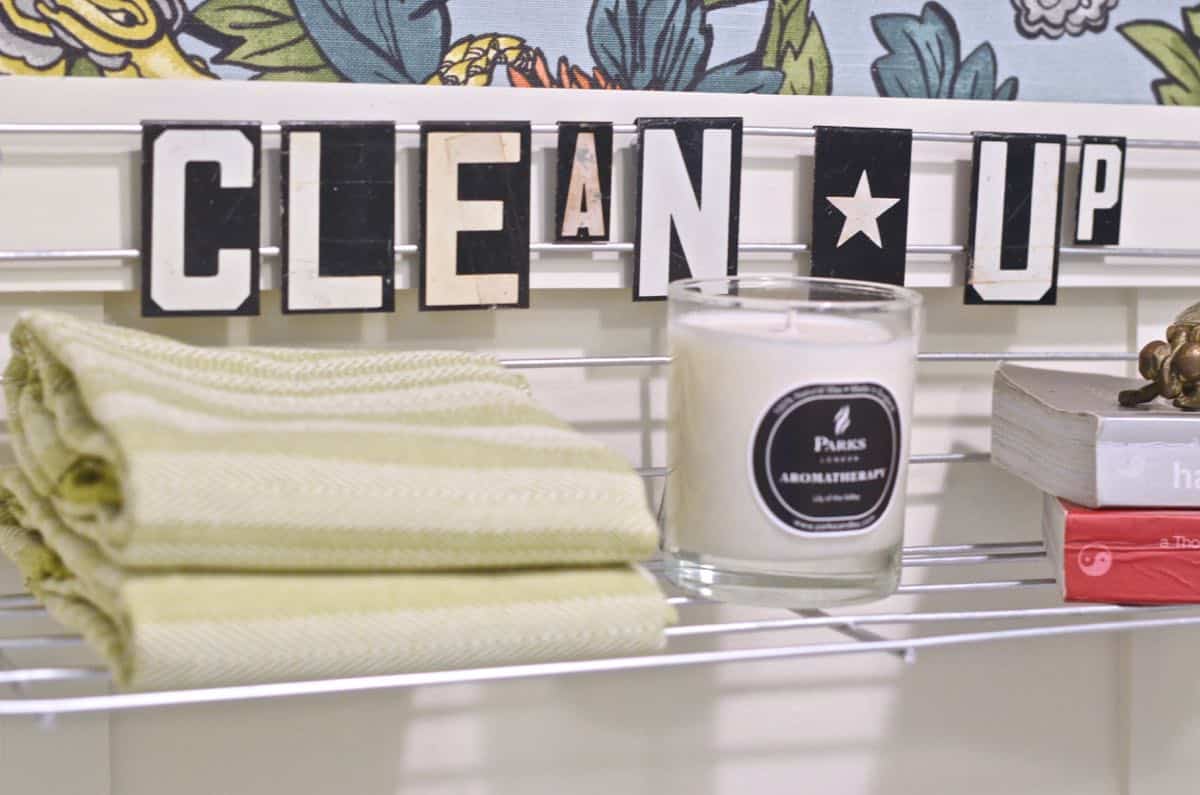
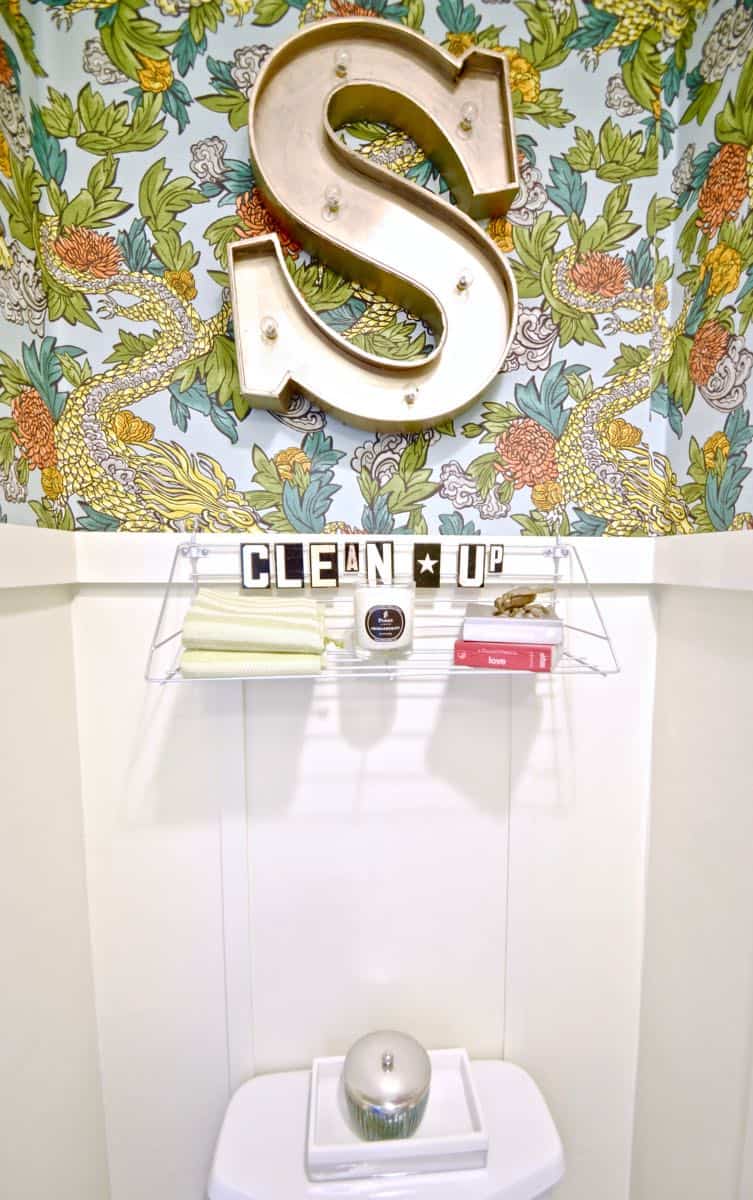
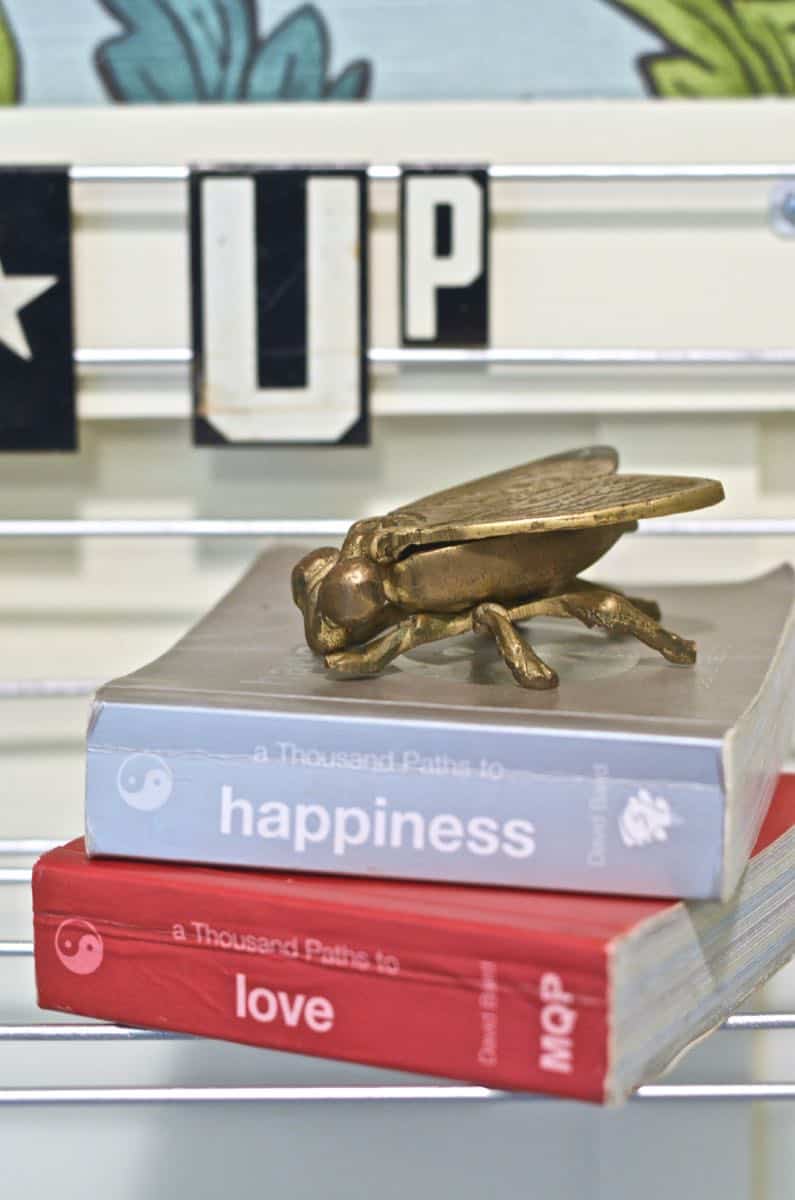
The towel rod is nuts. It’s glass and amazing and another flea market score. Ditto all the letters. I was going to hang the larger metal letters, but I wasn’t sure how and I couldn’t bear to hammer into the fabric after I spent the time to get it all nice and smooth.

The “S”? Oh, that ‘S’ was a gift from the Homegoods Gods. I had been chatting with my blogging besties about what to put up there to no avail. And then I saw it beckoning to me from across the Decorative Art aisle. It was originally an aged blue that wasn’t awful, but wasn’t quite the right color. So I painted it with the leftover MM Warm Silver and I think it works much better. It’s battery powered and perfect.
Did I miss anything? The light fixture. That’s old. We put this in a few years ago when we bought this house, so I didn’t bother with it. That might be something I swap out down the line. Wanna hurt your eyes with the before pictures again?
And after.
Cost? Not as much as you’d think for totally new bathroom. The fabric was the biggest expense at $23 a yard and the tiles were right around $125. The board and batten was maybe $25? Grout/ caulk/ paint/ thinset/ cement backer board… let’s round up to $100 (and I have enough leftover to do 8 more bathrooms). The paint for the sink and the concrete for the vanity was another $40 (I also have a TON leftover). And I chose to replace the faucet with a $50 model. The toilet was $85. Oh, and the door was $75. Rough total= $640.


Nice job, Charlotte! I love your fabric walls.
Question: Do they seem easy enough to clean?
I’m assuming you thought so since you put them up.
I also think that your room looks more open with the white, faux wood paneling on the lower half. Nice all around!
Great job on your budget, too!
Thanks! Re the fabric… no. I don’t think they’d be easy to clean, but… they’re also incredibly malleable. Meaning, I could probably scrub and then restarch to stick back up. I’ve also read about people pulling the fabric down, machine washing it, and THEN putting it back up. 🙂 It would mean pulling the trim down, but I’m hoping that because it’s only the top portion of the wall in this tiny room, it won’t get too dirty. Famous last words…. And the ‘white’ walls make SUCH a difference!!
Love everything about this makeover especially that fabric!
Thanks, Vidya! I do too! I’d love to use it again somewhere, but that may be tricky. 😉 Ming dragon all over the house, maybe?!
FANTABULOUS MAKEOVER CHARLOTTE!!! I’d drive to New England just to use your powder room 😛
Thanks! Mixed up my comments to you… so I wish THESE had more natural light… and yes, I LOVE the door decal. Made me chuckle when I thought of it. (Everyone does that, right?)
Congratulations Charlotte! What a spic & span job! Would you ever have a heyday in our ’70’s bathroom that we put in when we first moved to this house. You’ve inspired me to think about what we could do to make pleasant changes.
Looking forward to finally meeting you and your family in November!
Love,
K
Katharine, I would LOVE that! 🙂 Send pics if you ever want a brainstorm! xx
LOVE IT!!! I enjoyed the real time reveals too. You wrapped up so many projects I want to do in one tiny bathroom! It’s beautiful and do well done.
Thanks, Leslie! I was so pleasantly surprised by how simple so many of these updates were! xx
It looked really aweful and now it looks even worse !!!! Lol
Goodness… how does LOL make an impolite comment any better? Apologies if I’m missing something, but seems to me like you’re simply commenting to say you don’t care for the finished product?
How much paint from the sink did you have left over? We want to paint our tub sink and tile on the walls. They are peach!!
Oh gosh… a bit? But honestly I don’t remember. The Rust-oleum Tub and Tile box says it’s enough for 2 coats on a standard bathtub or 70-110 square feet if that helps. Sounds like you should get two boxes? Good luck!
Well, I think it’s gorgeous and creative–the wash sign by the sink–and I love the wall fabric. I would have never believed that large a pattern in that small a space, but it works, and works well. I’m going to checkout your fabric store, I need drapes and colors and patterns like you have are a favorite. Good luck with future projects, and God Bless!
Thanks, Mary! I was very sad to leave that bathroom behind when we moved, but… we have another equally TINY space to work with in the current house. (What is it with old homes and miniscule powder rooms!) 🙂 So sweet to leave the kind comment. xx
I would totally have eaten lunch in that lovely bathroom, just to “ogle” for a while! I’m amazed at how well everything you did comes together to give a really rich and happy feeling to the space. It surprises me how much I like it! I’m sure you’ve done something equally pleasing in your new place, and I hope you’re enjoying it. Thanks so much for sharing the results of this project!
HAHA! What a wonderful complement! Small rooms are fun to play around in… what’s the worst that could happen?! 😉