Quick and Easy Tie Dye Face Mask
Psssst… this post *might* contain affiliate links: see my disclosure here.
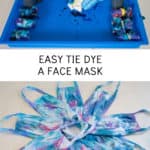
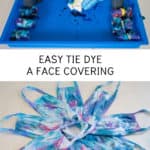
Easy Tie Dye Face Masks
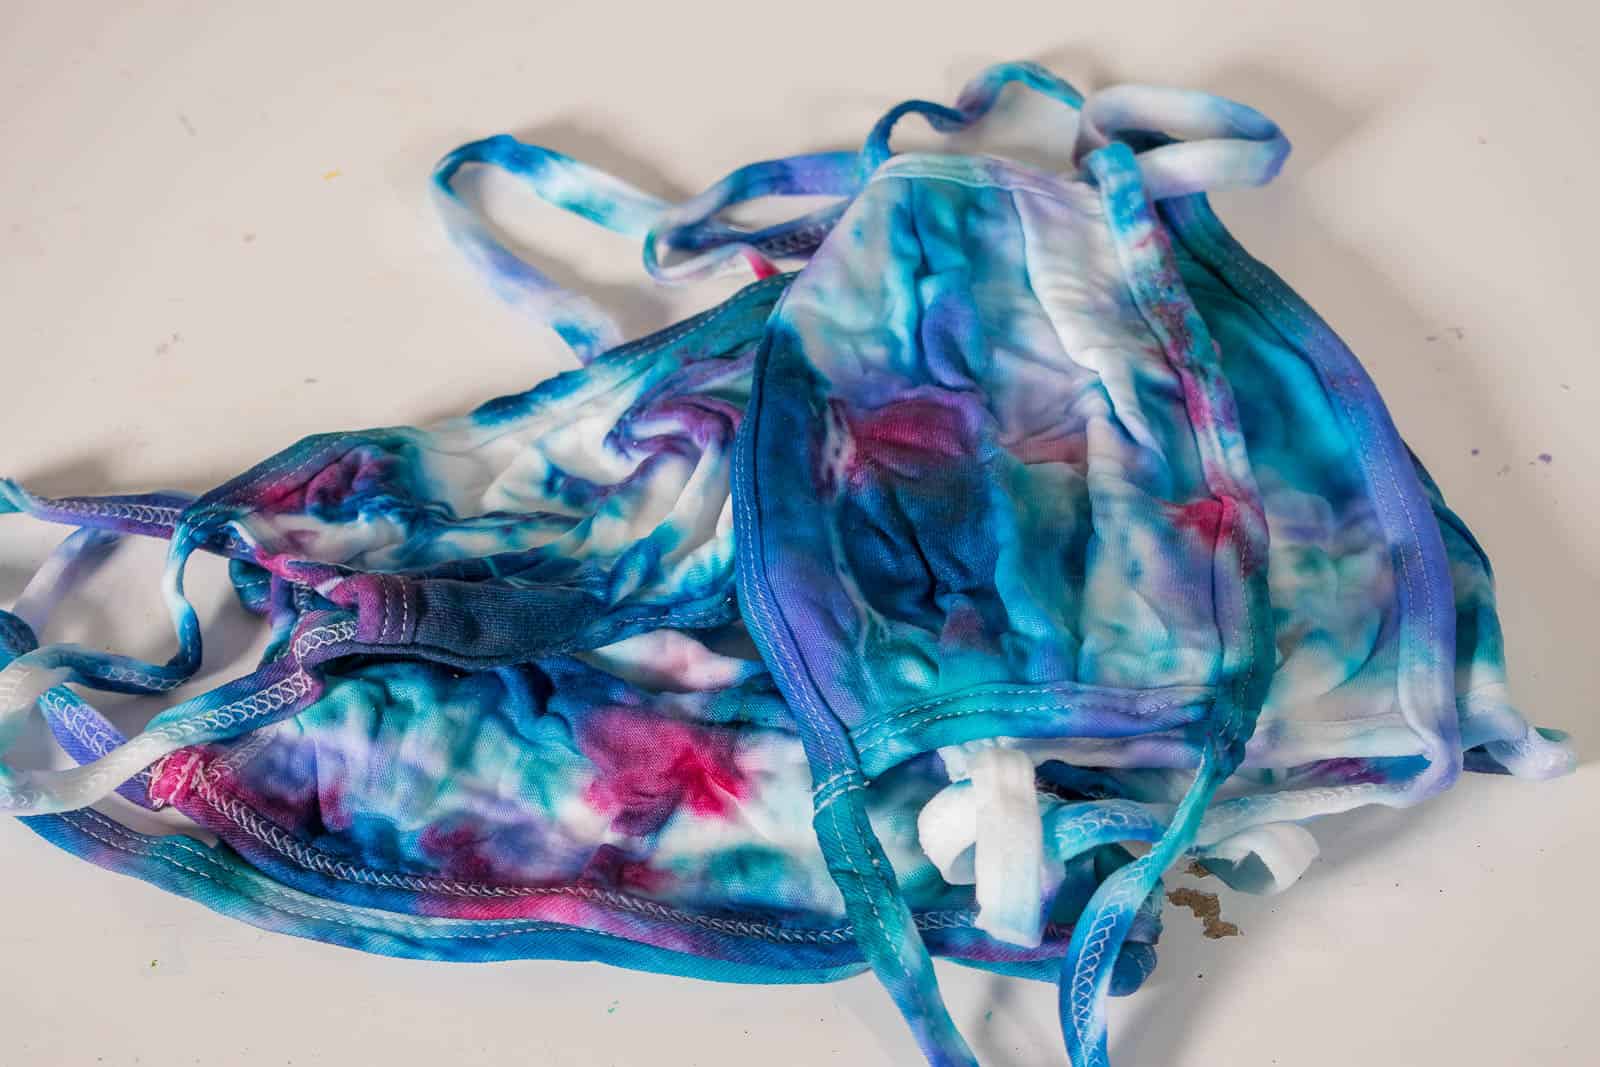
I tie dyed these boring cotton face masks and now they’re colorful and so cute!
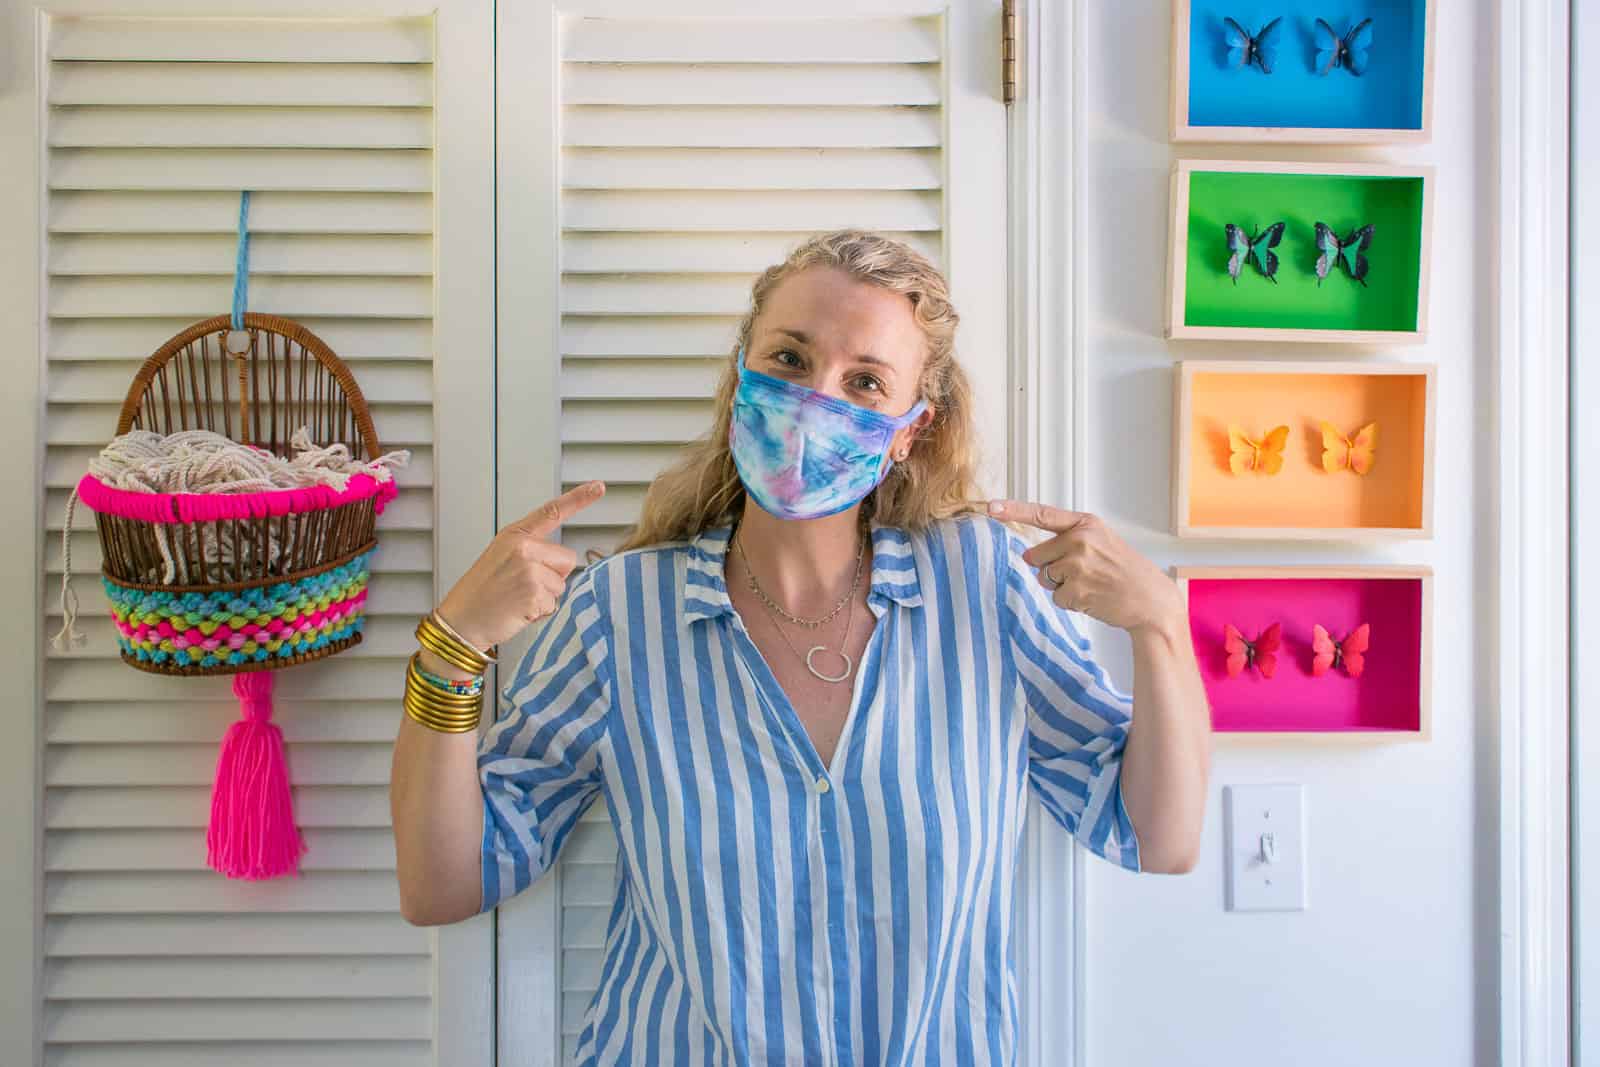
Let’s address the elephant in the room and just say how bad it sucks that I’m writing a tutorial for how to make cute face masks. But since we have to wear these things for the indefinite future, I decided to make these colorful tie dye ones! And in true pandemic form… my manicure is jacked.
Shop my favorites!
Are you sick of hearing me talk about tie dye? Look… I KNOW there is nothing fancy about tie dye… I did it when I was a kid. My kids did it just last month. But every time it gets me. It’s like magic watching the dye soak into the fabric and then that moment when you open it all up and reveal the pattern? Wooooo boy. The best! So why not bring my love of tie dye into 2020 and… rock some tie dyed face masks?!
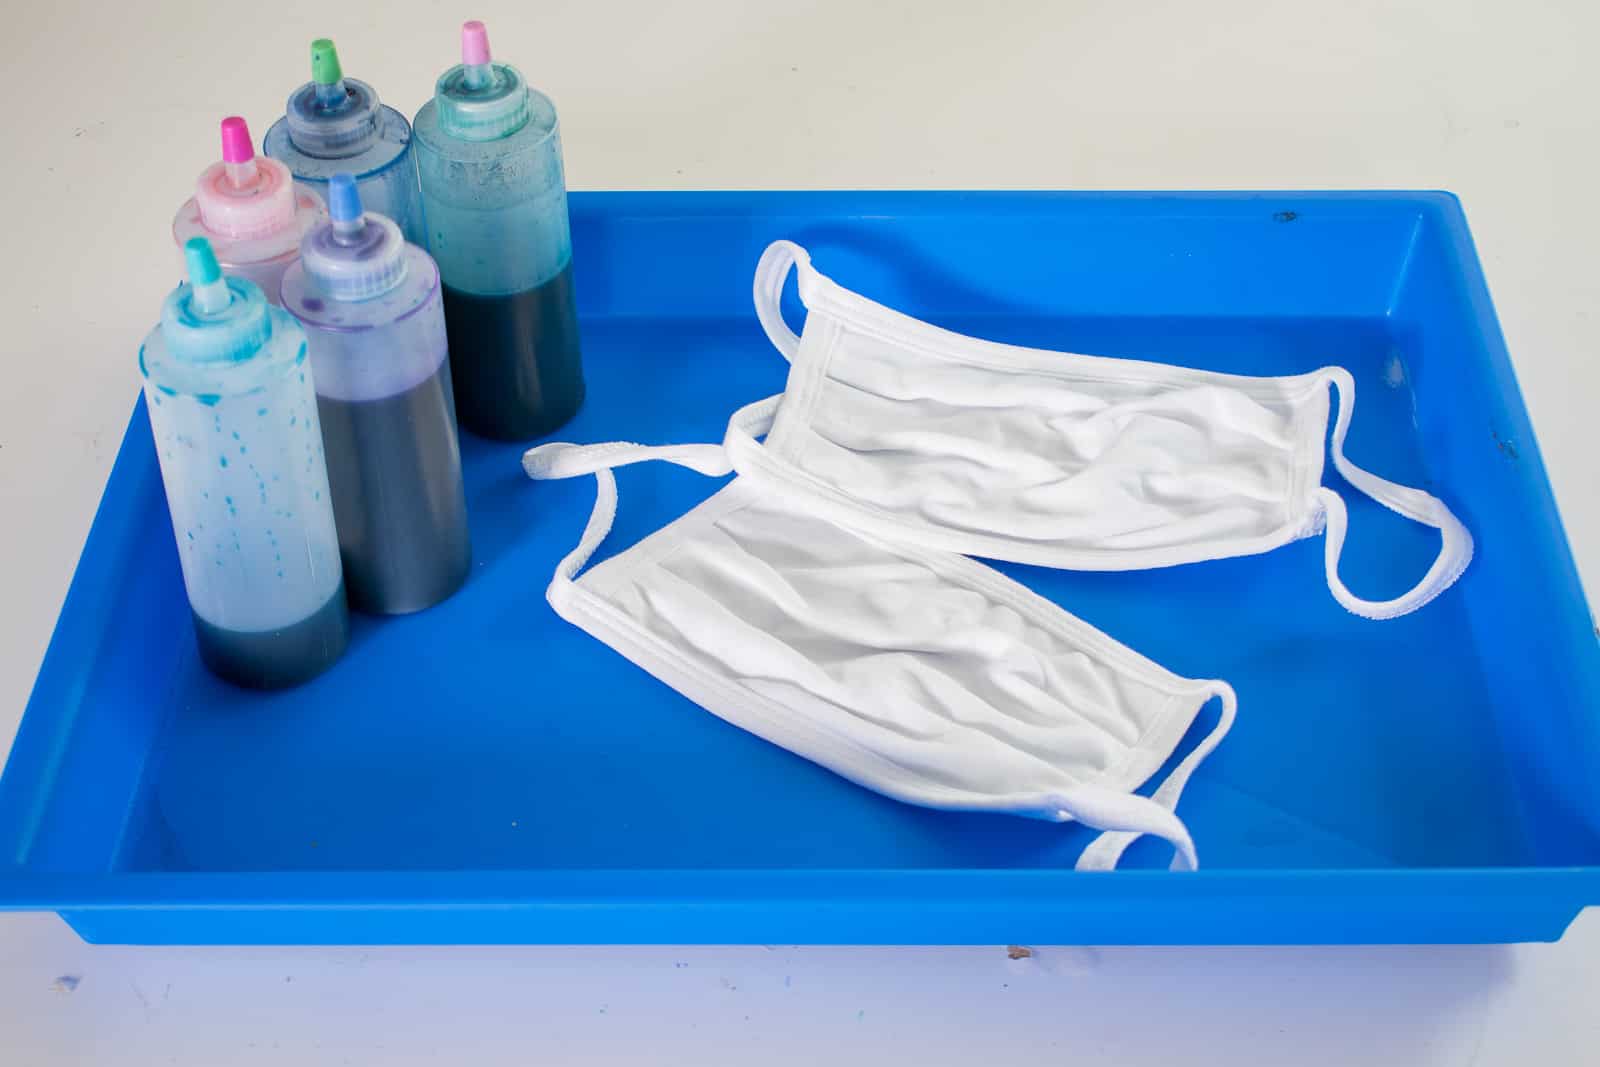
I’m using these jersey cotton masks and I really like them. They were super affordable and we can adjust them for the kids by tying small knots in the ear loops. (Full materials list at the end of the post.)
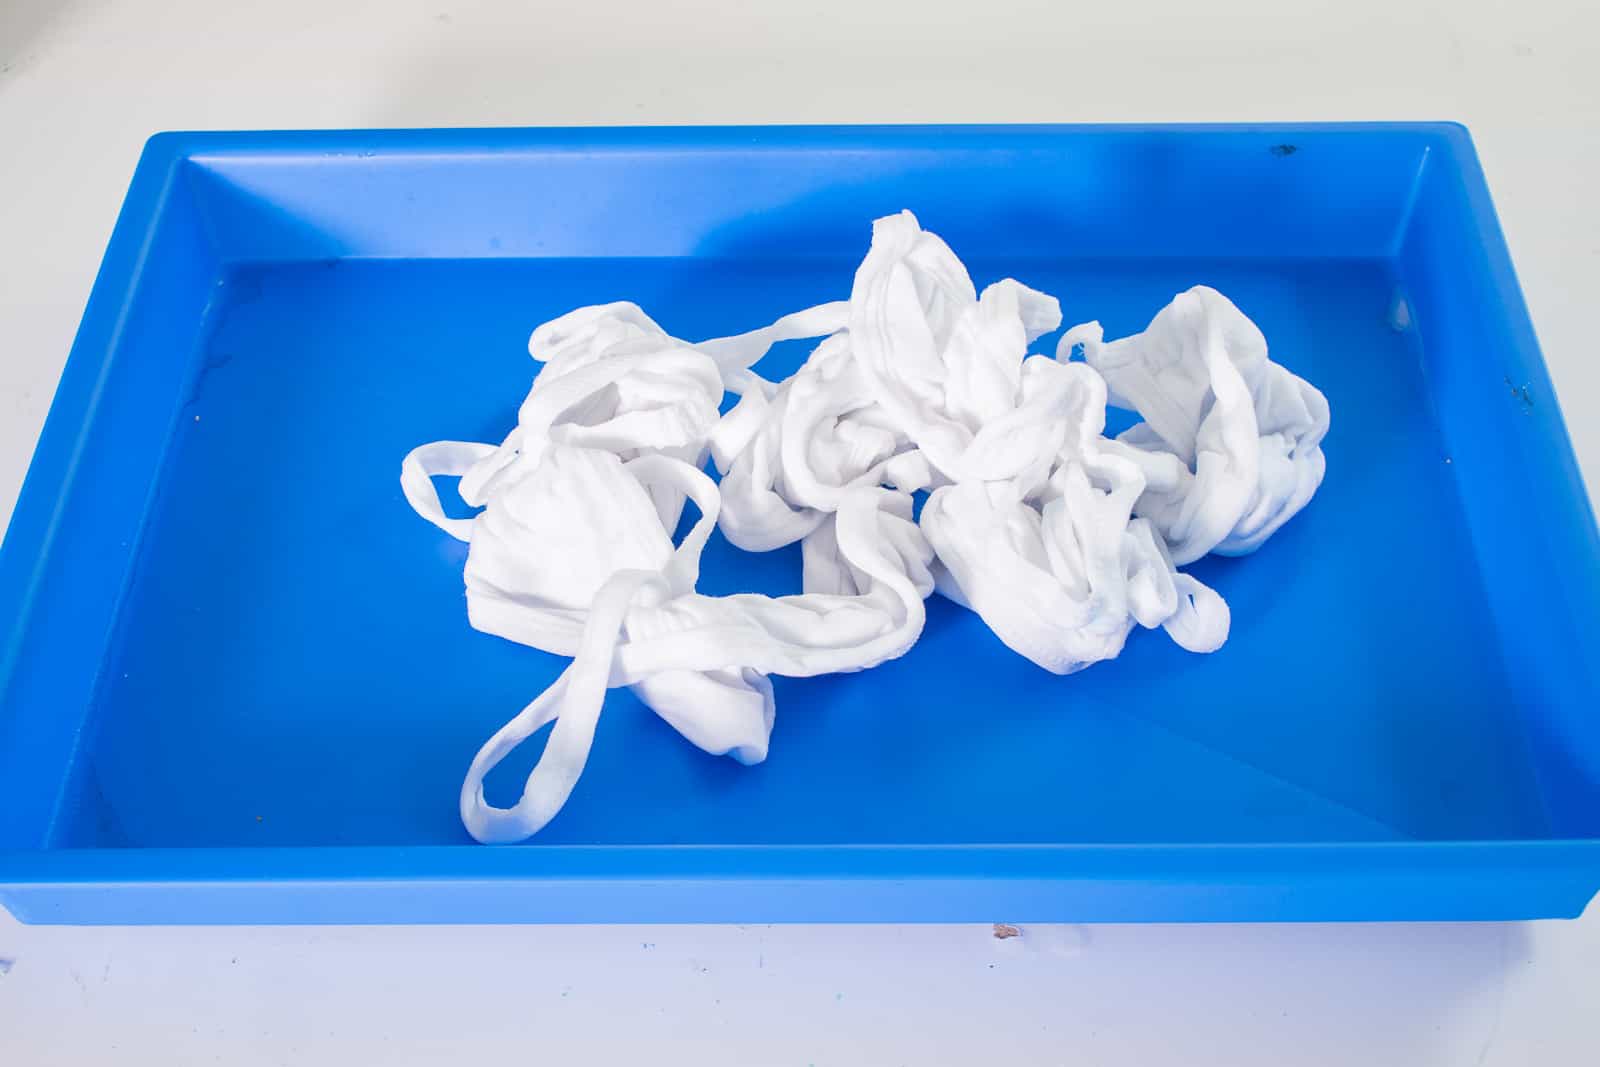
Step 1. Prep the fabric masks
Whenever you tie dye, you want to wash the fabric to remove the sizing first. From what I’ve read, it’s personal preference whether to tie dye damp or dry fabric. I tend to like damp fabric because the color absorbs into the fabric a little easier in my opinion.
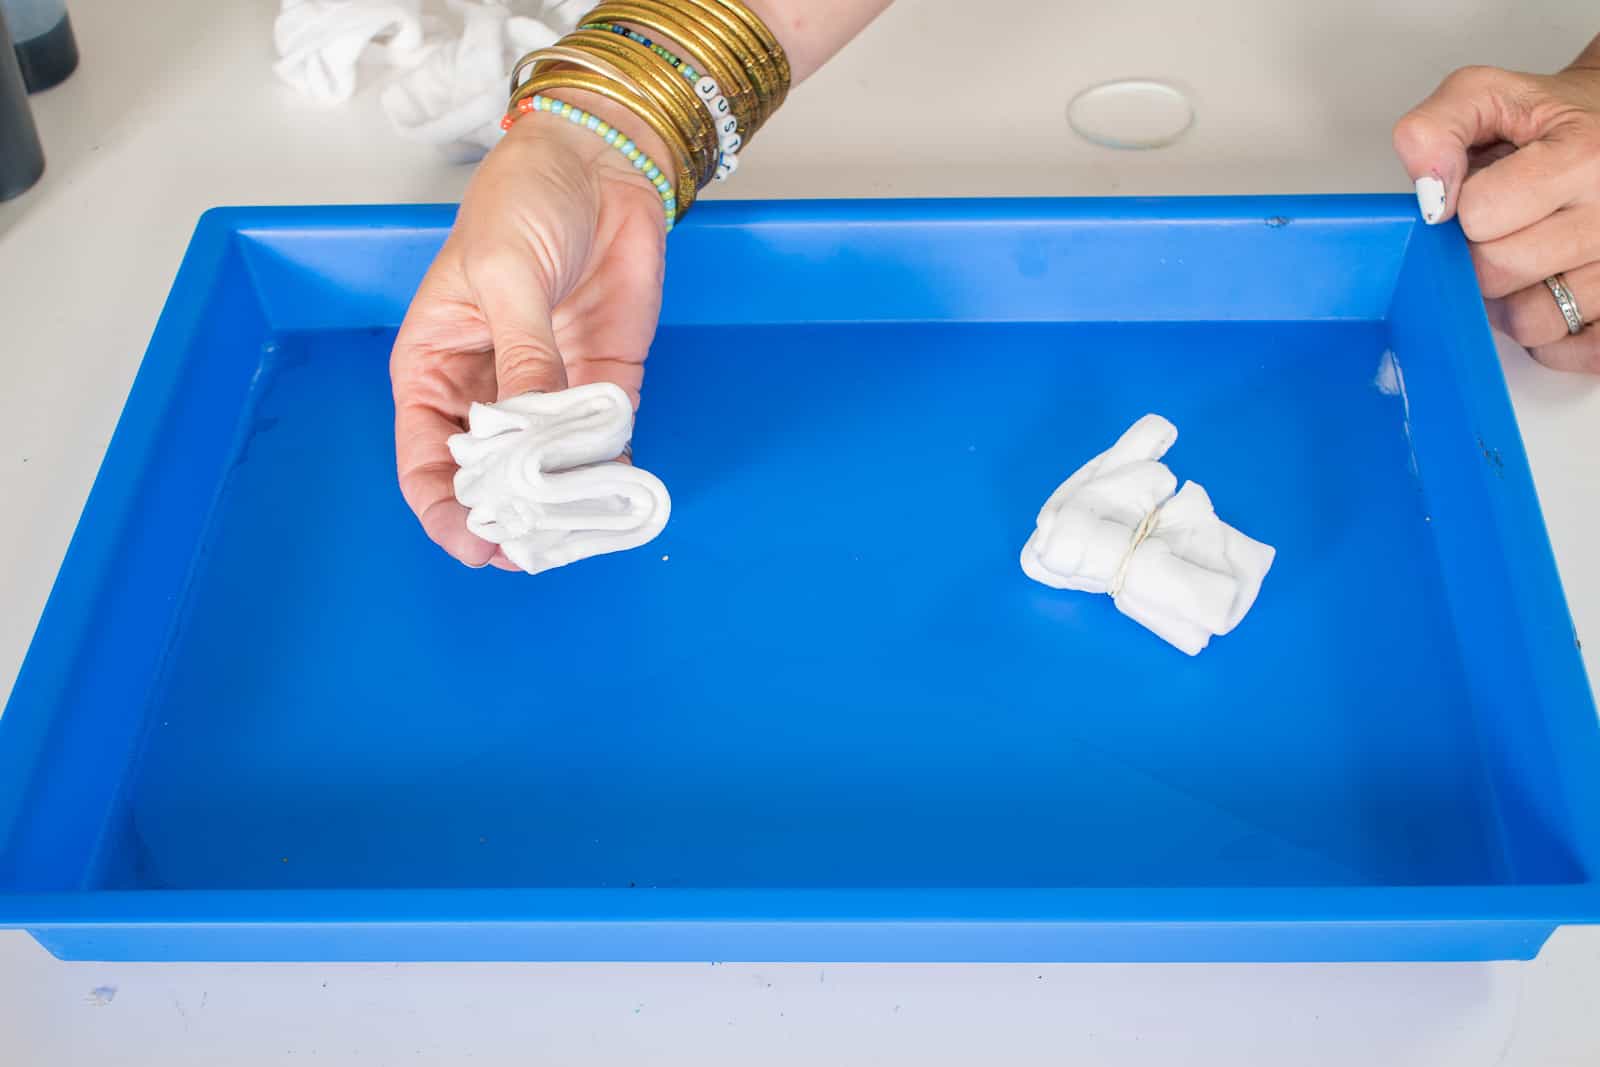
Step 2. Fold the fabric
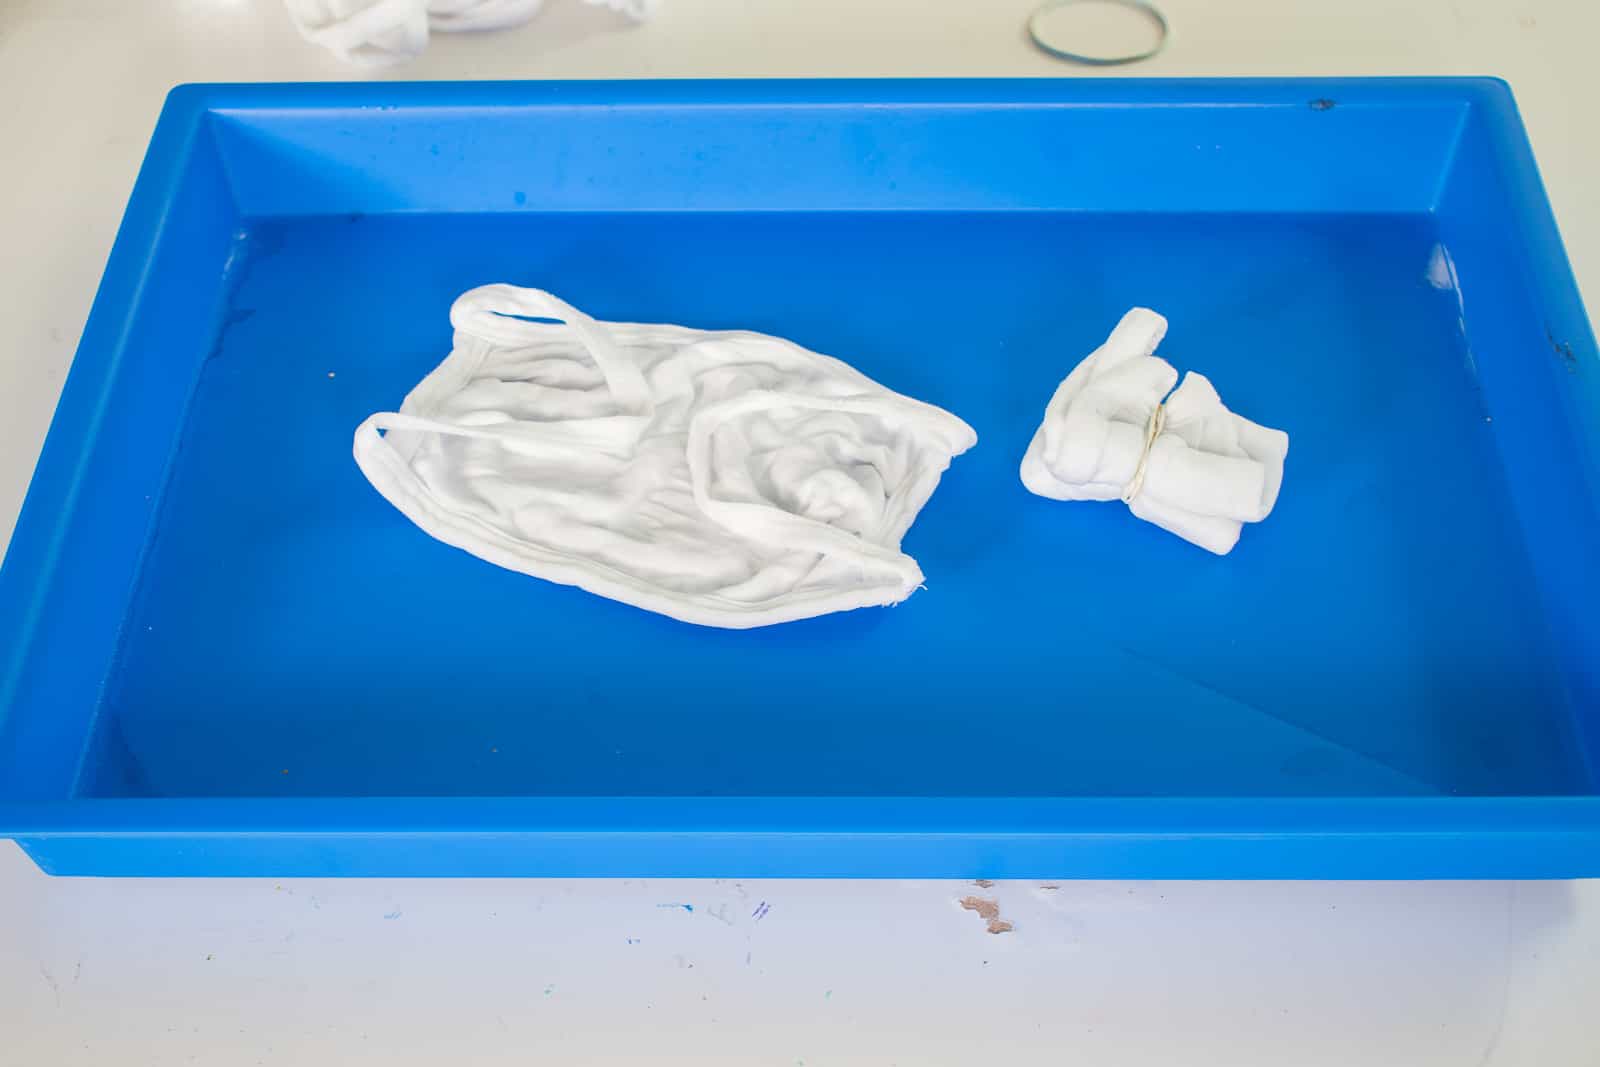
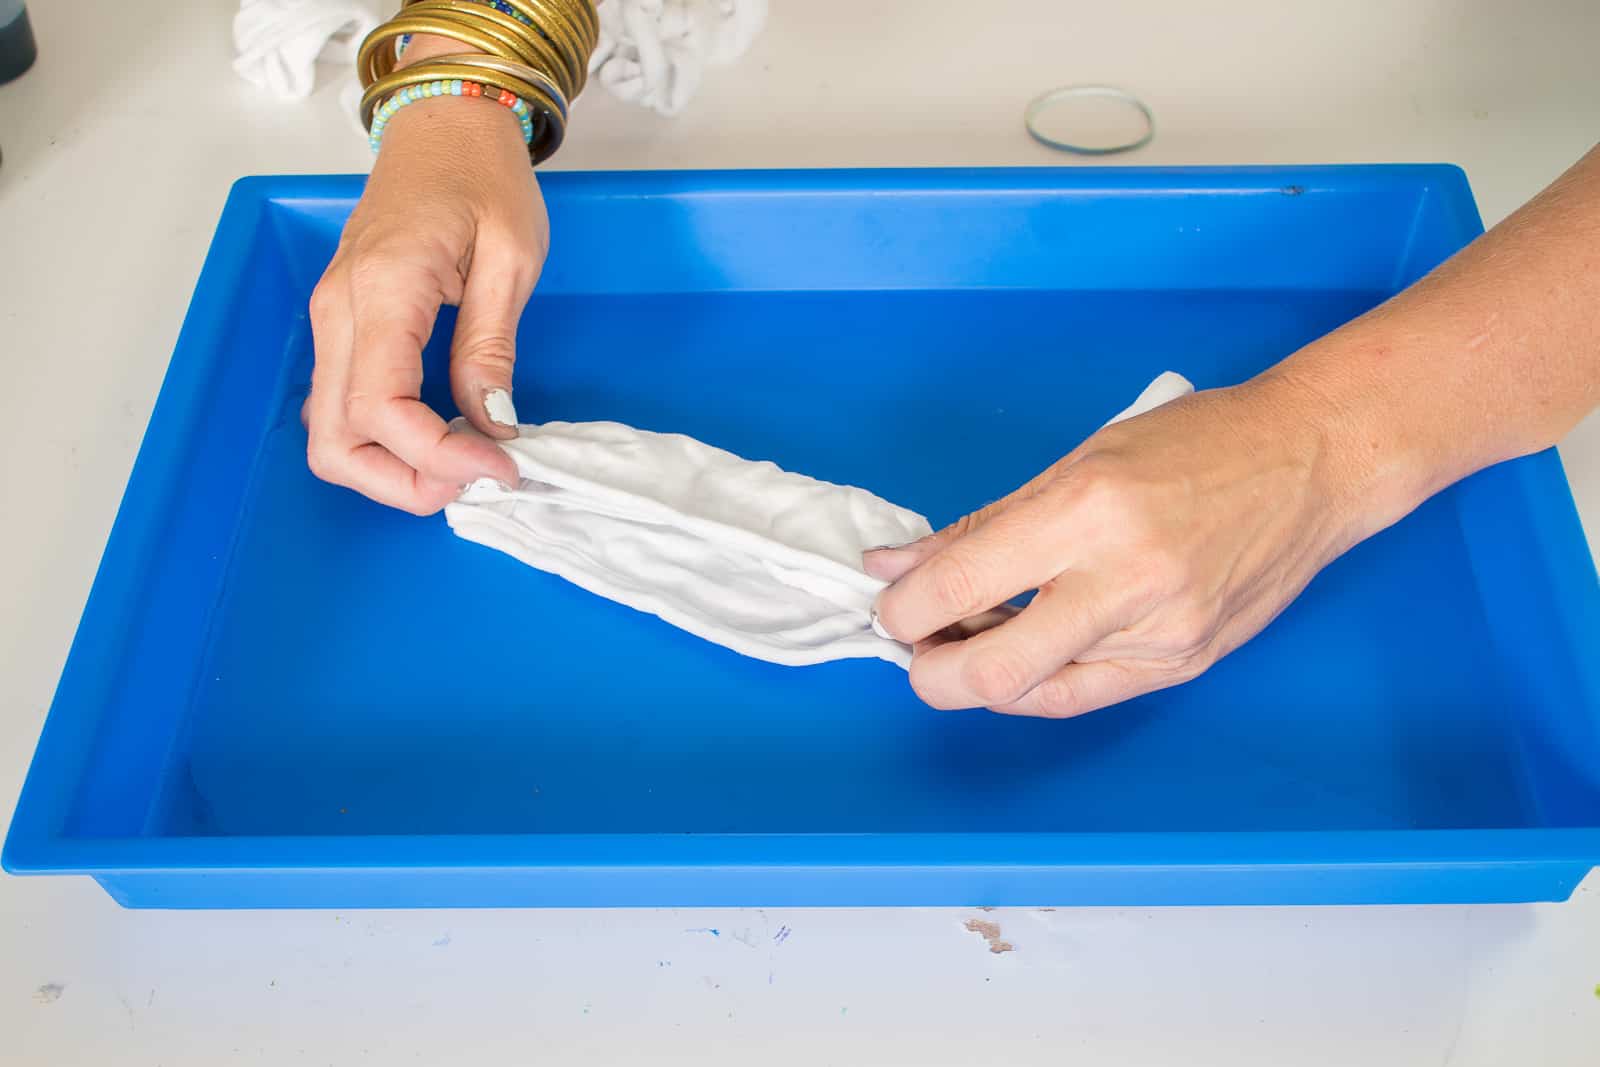
Folding is where you get to add your flare when you’re tie dying. For my masks, the fold I liked the most was to fold the ear loops in and fold the mask in half. Then I folded it into a “W” accordian.
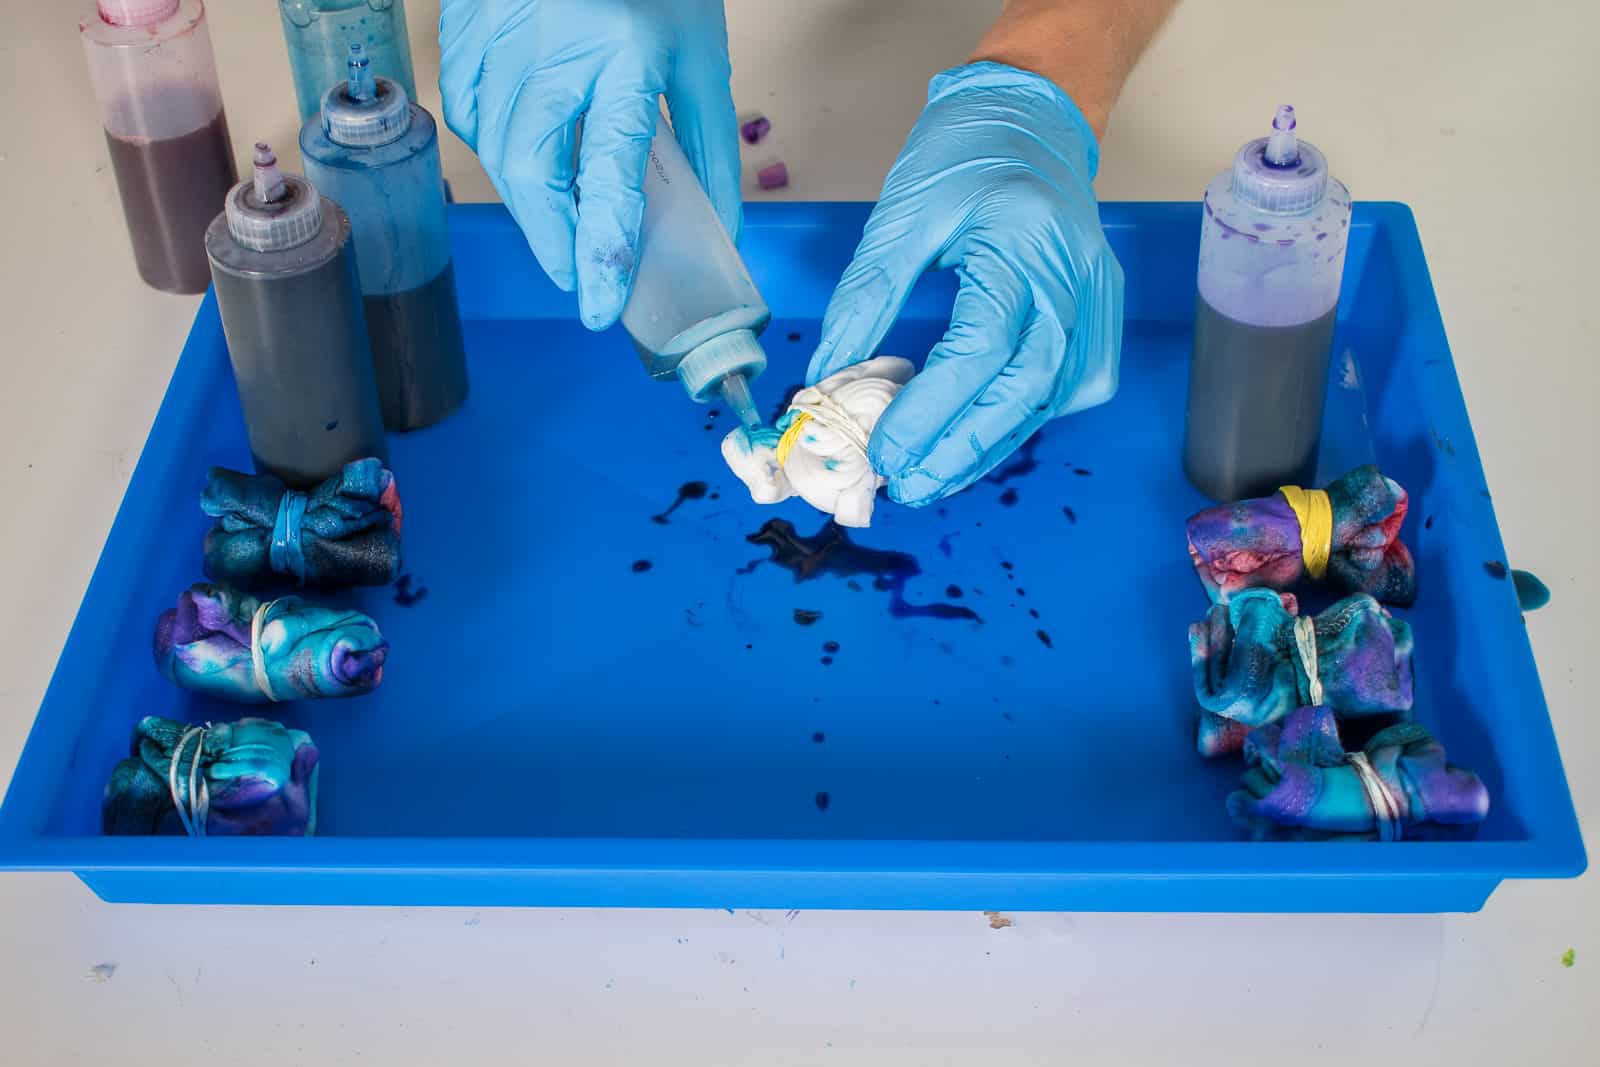
Step 3. Dye the Fabric
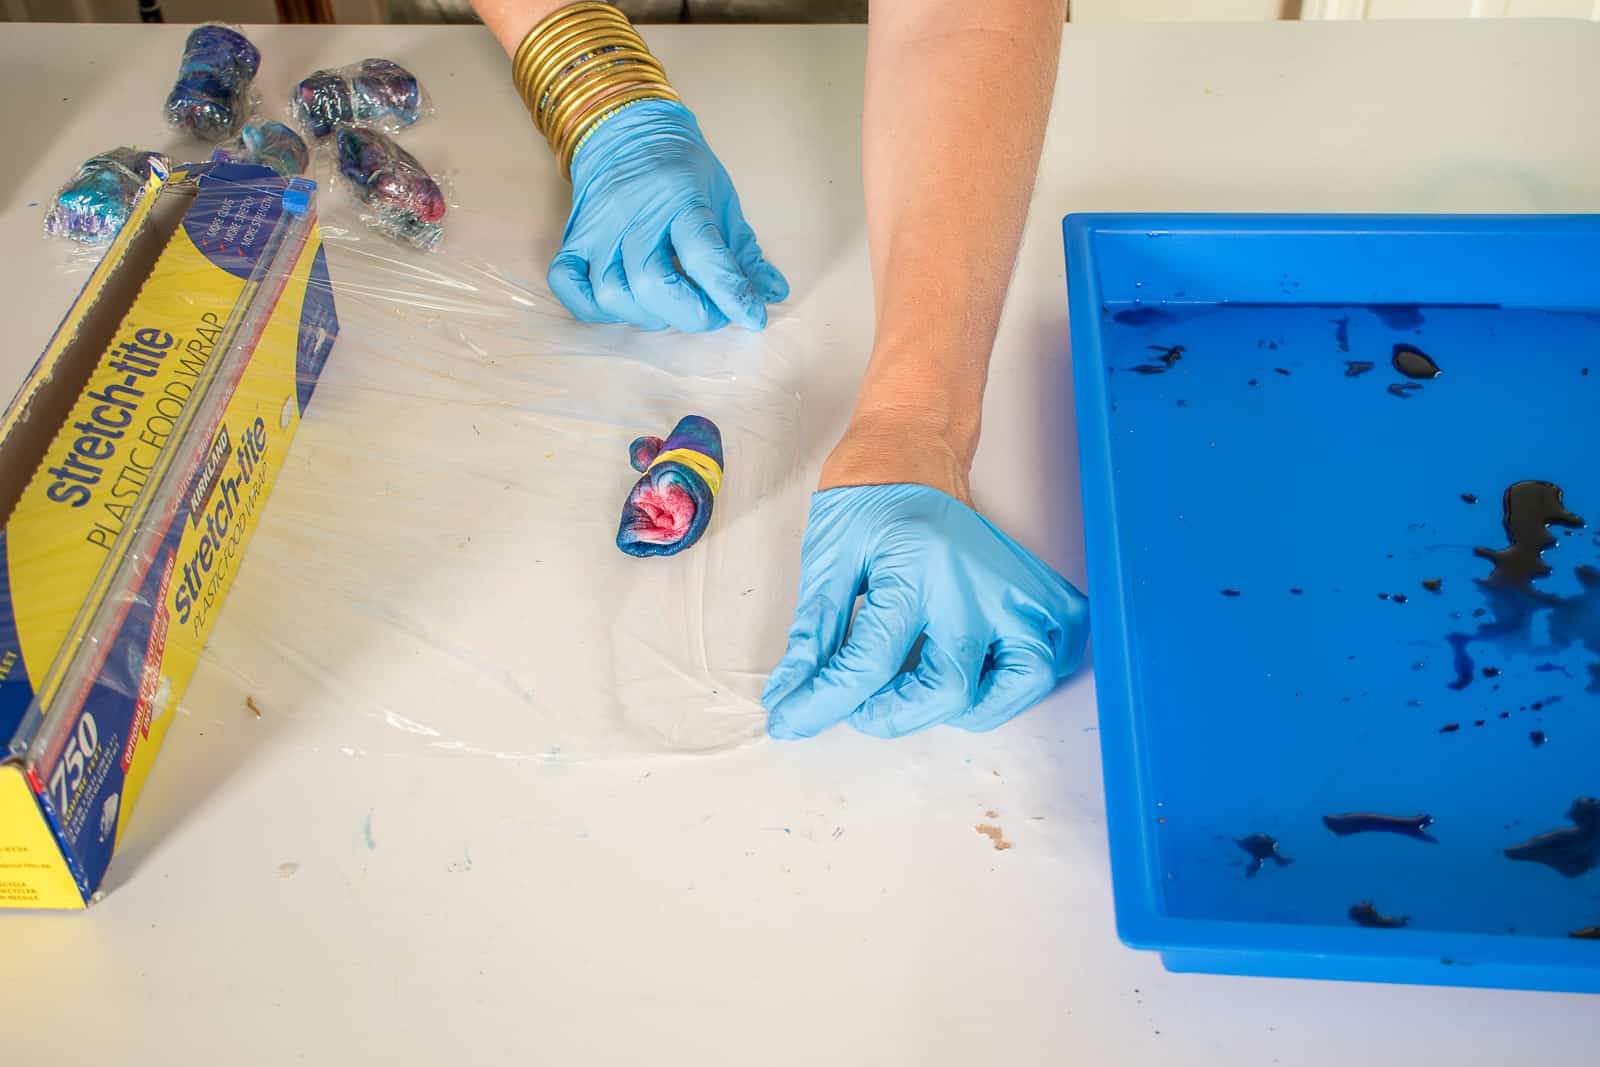
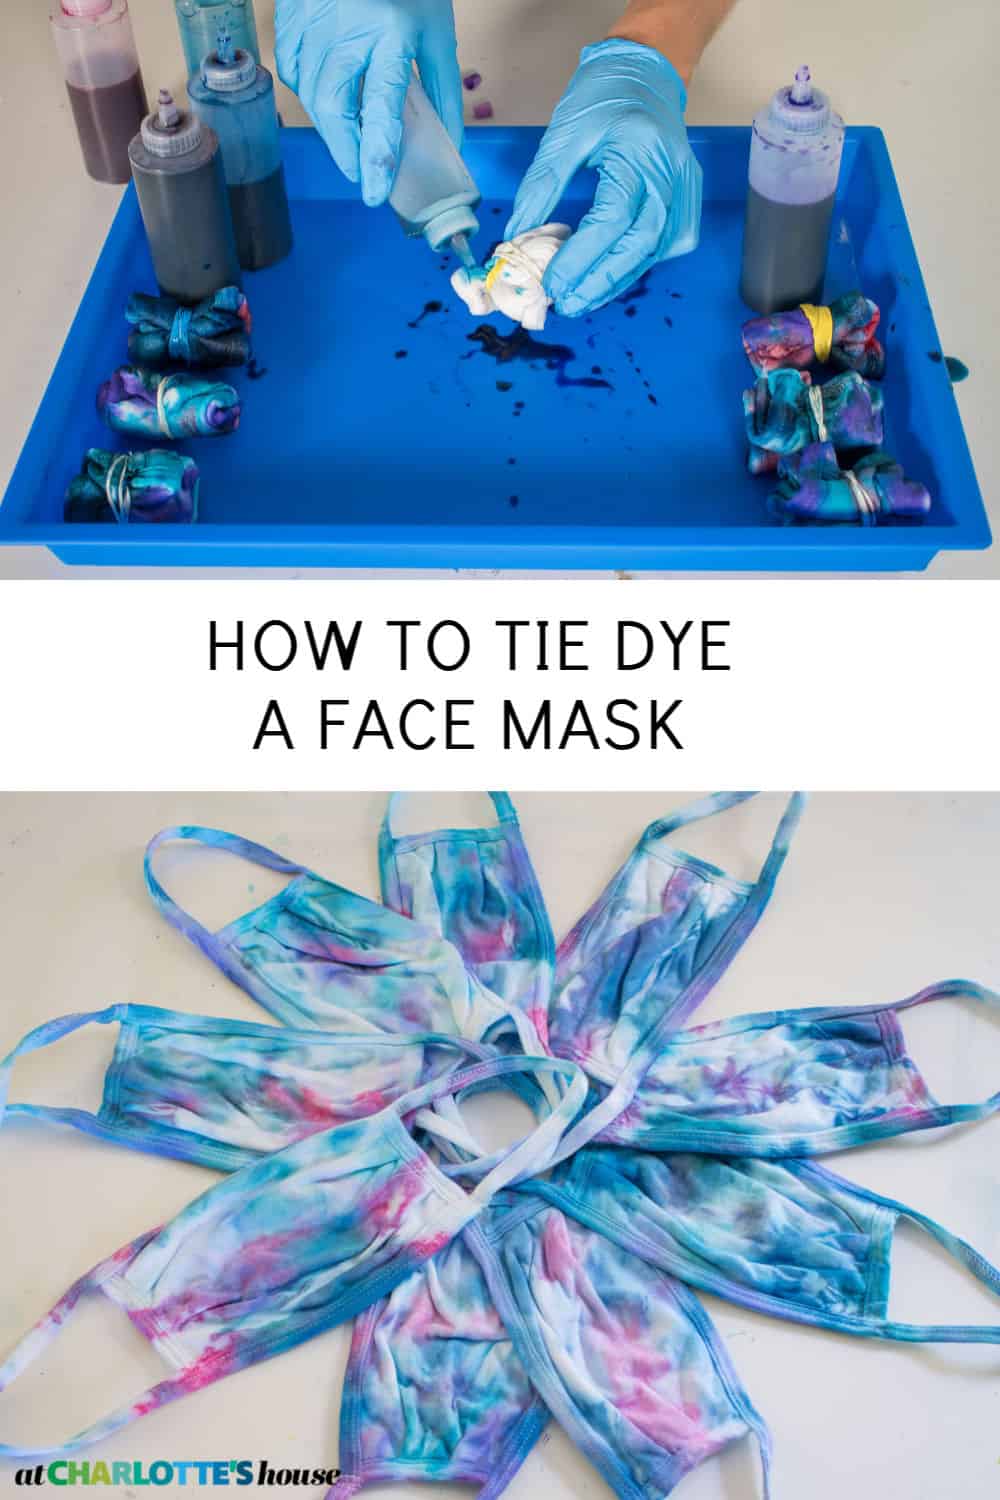
I like to put my dye into small squirt bottles. I find it’s easier to control and neater overall. There wasn’t much rhyme or reason to how I dyed my masks… I just squirted a little bit here and a little bit there. Wrap the fabric bundles in saran wrap or place in a plastic bag to sit.
Step 4. Let the Dye Soak in
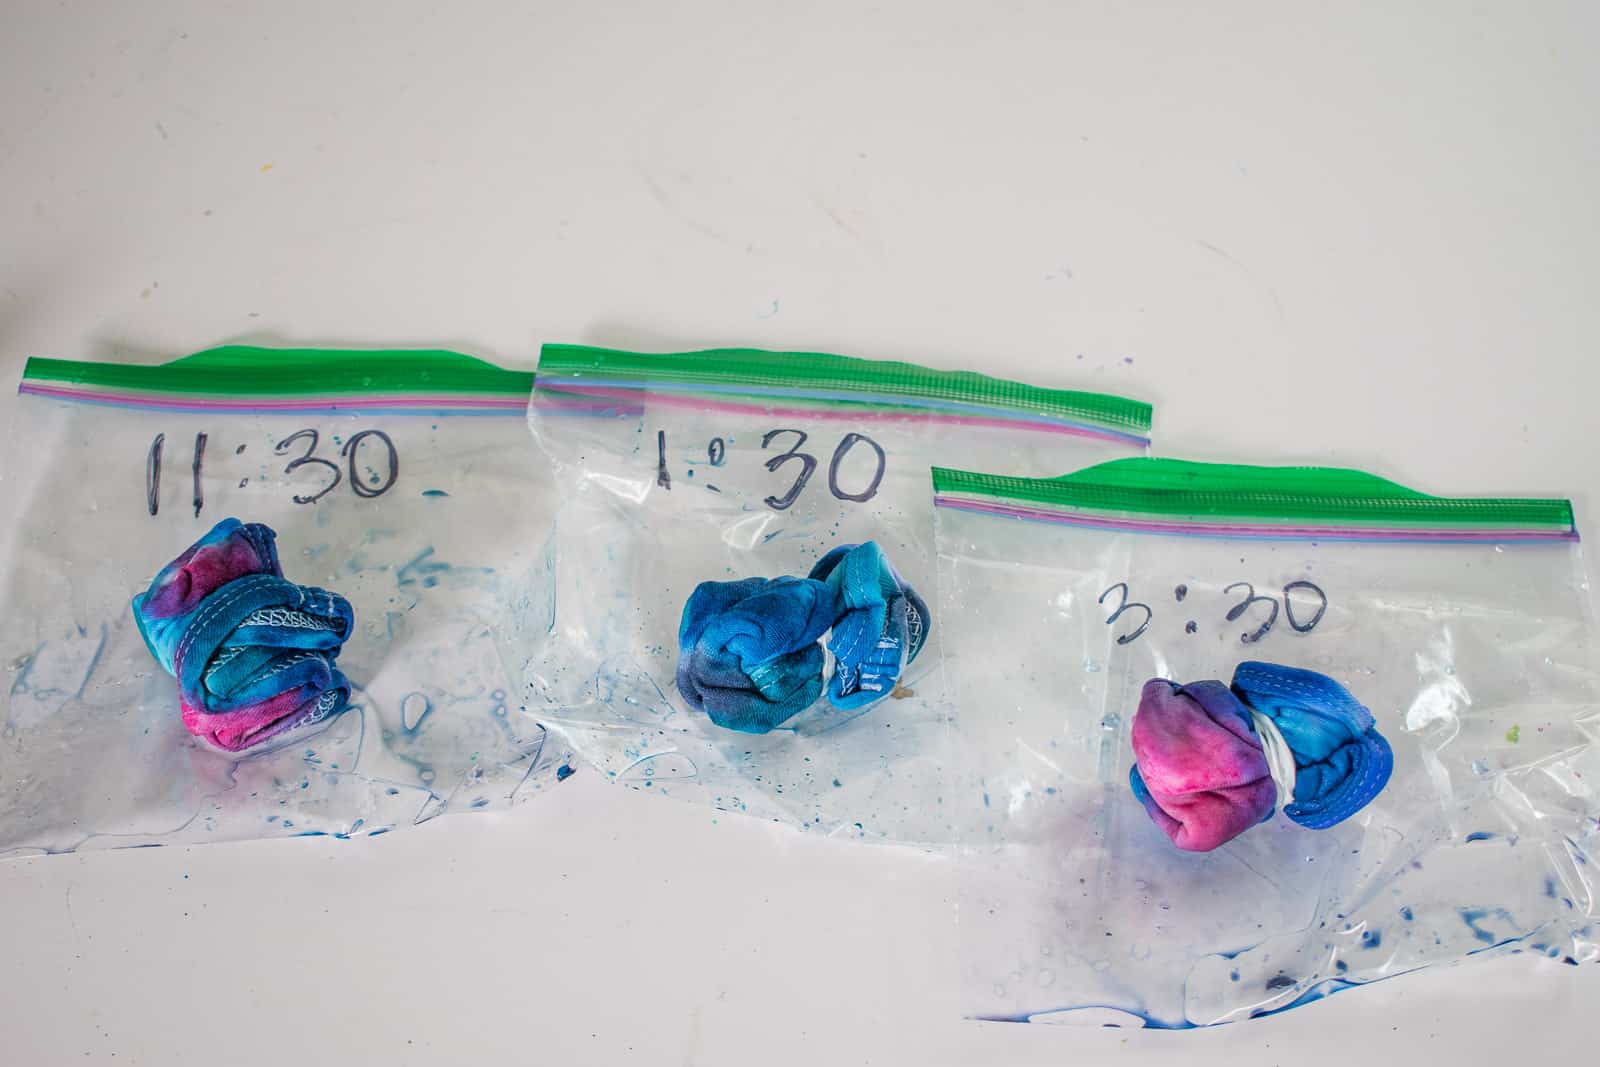
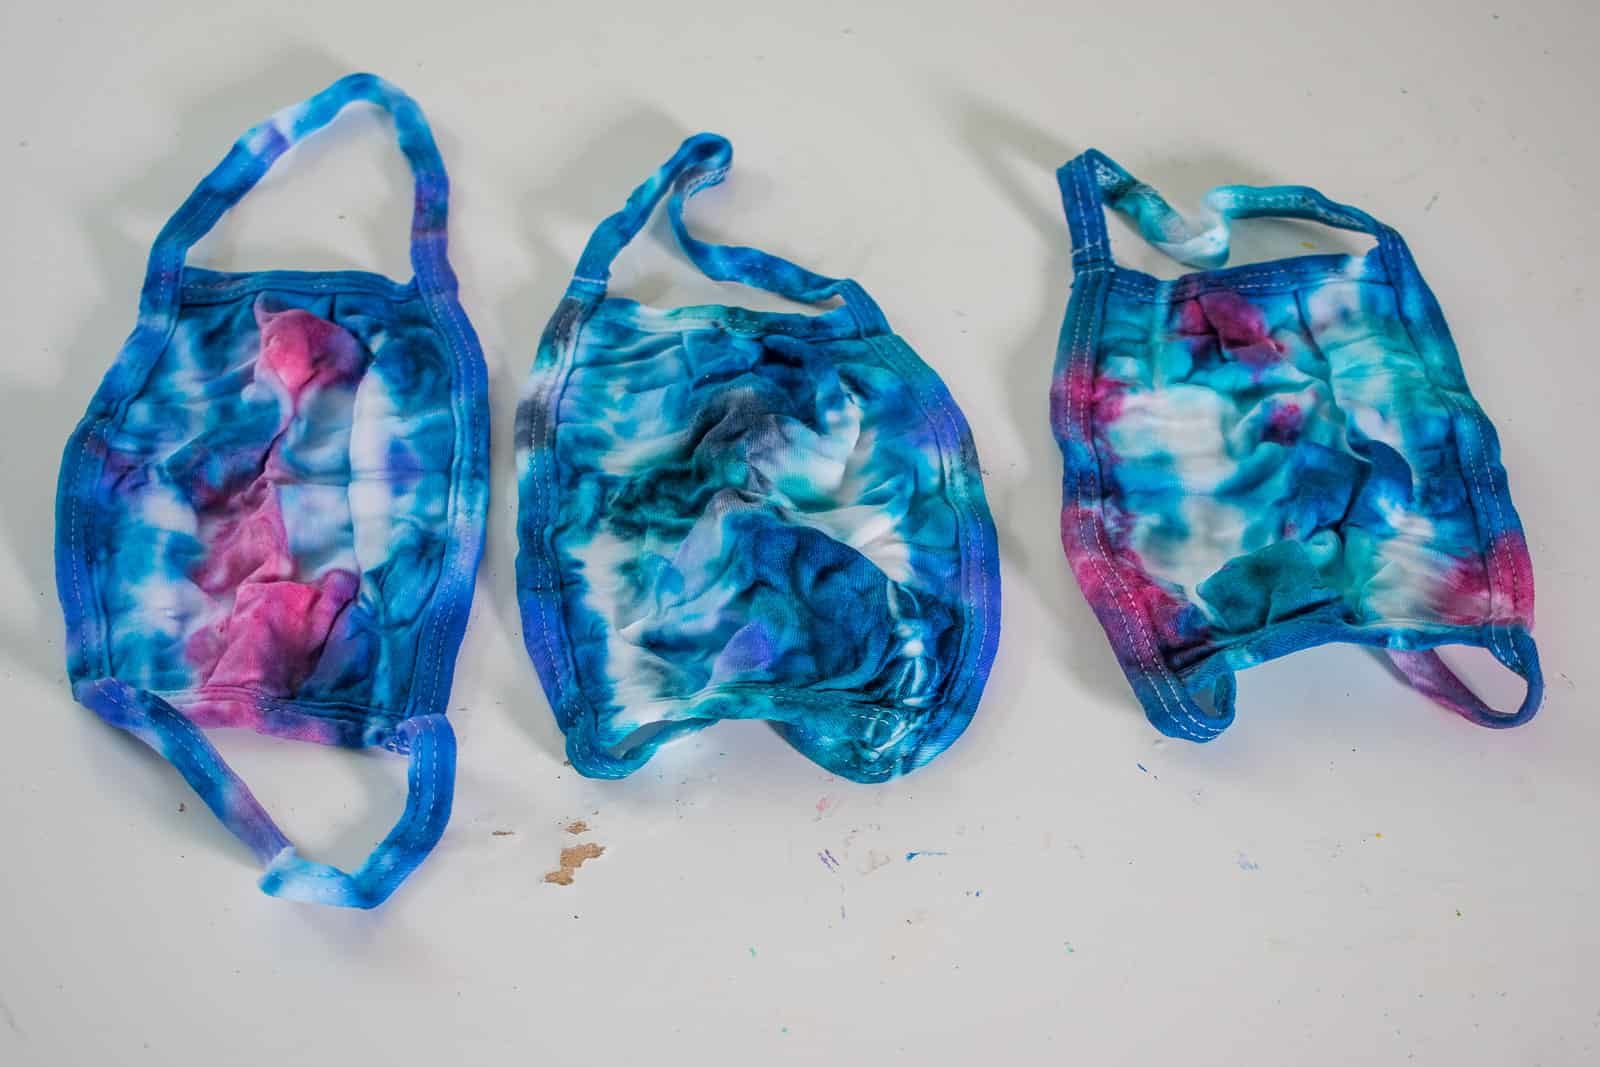
I had a little fun with this step. In the past, I’ve been impatient and rinsed out the dye too soon. What looks like bright vibrant colors, rinses away and leaves behind muted pastel tones. (I find this more with smooth cotton… less with jersey cotton.) I did a little experiment with my first three masks to see if the color saturation was noticeably different with three different ‘soak in’ times.
I dyed three masks and let the first one sit for about 5 hours, the second one for about 3 hours, and the last one for only 1 hour. The one that sat for 1 hour (far left) seems lighter than the 5 hour mask, but both are pretty bright!
Step 5. Rinse
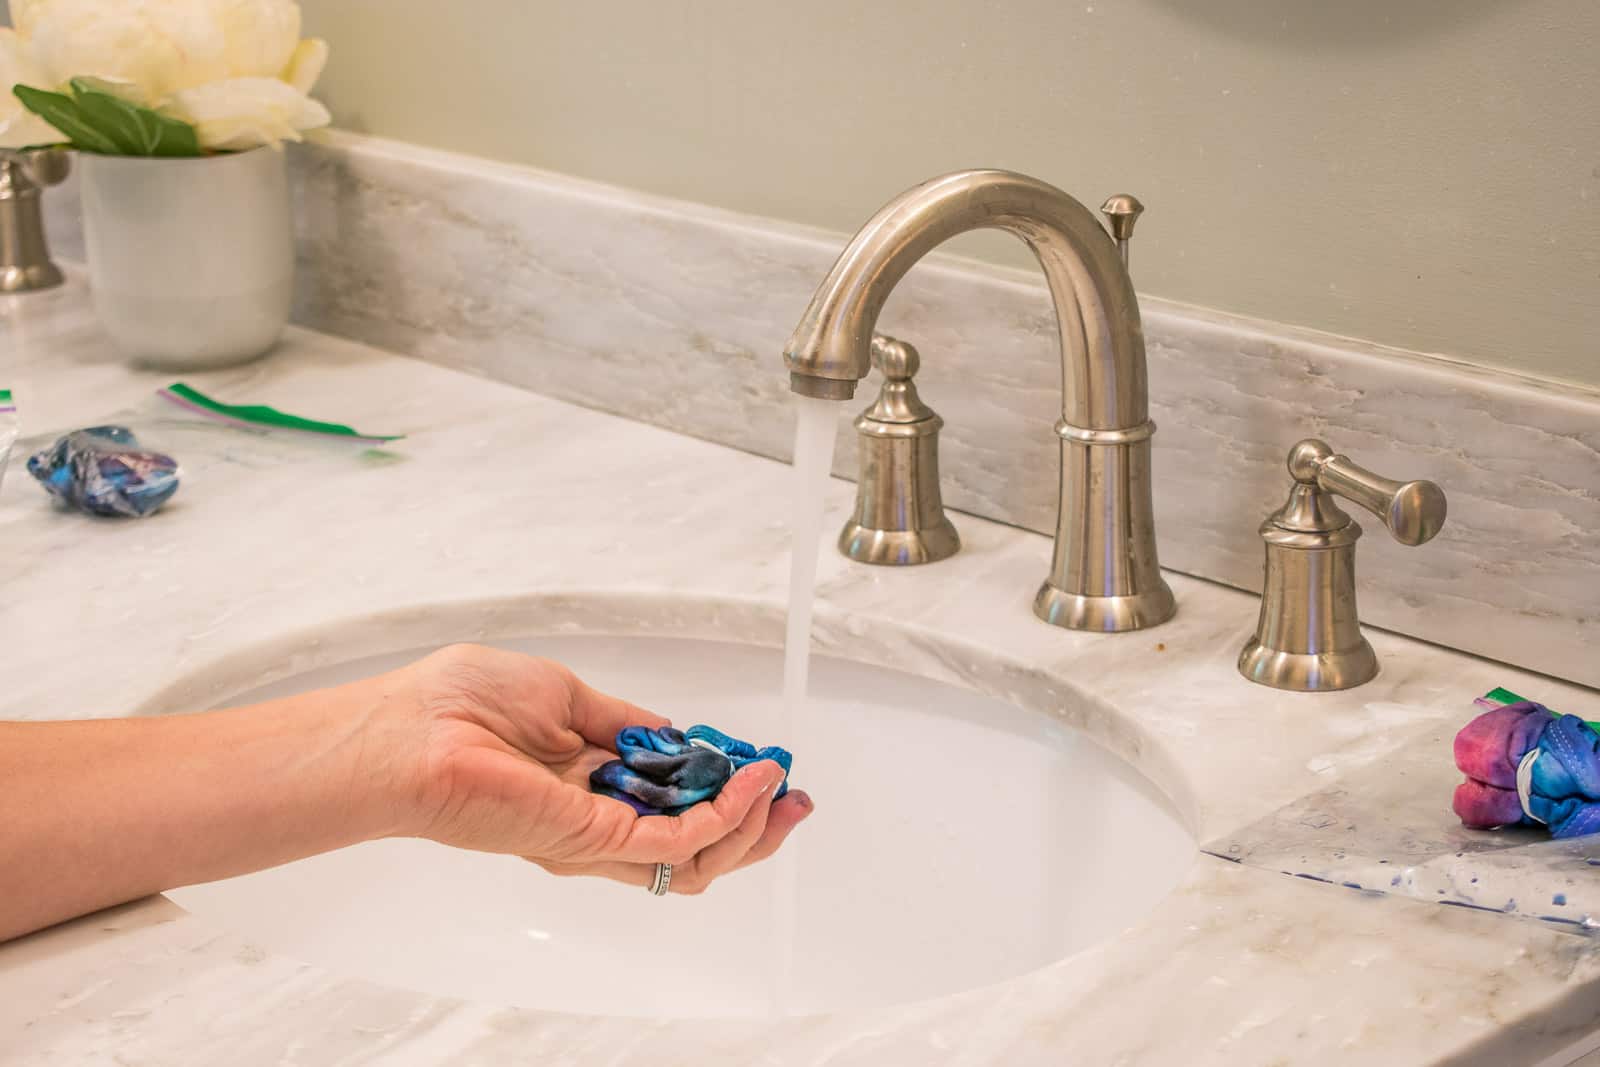
Without removing the rubber bands and unfolding the mask, run it under cold water until the water runs clear.
Step 6. Open ‘Er Up
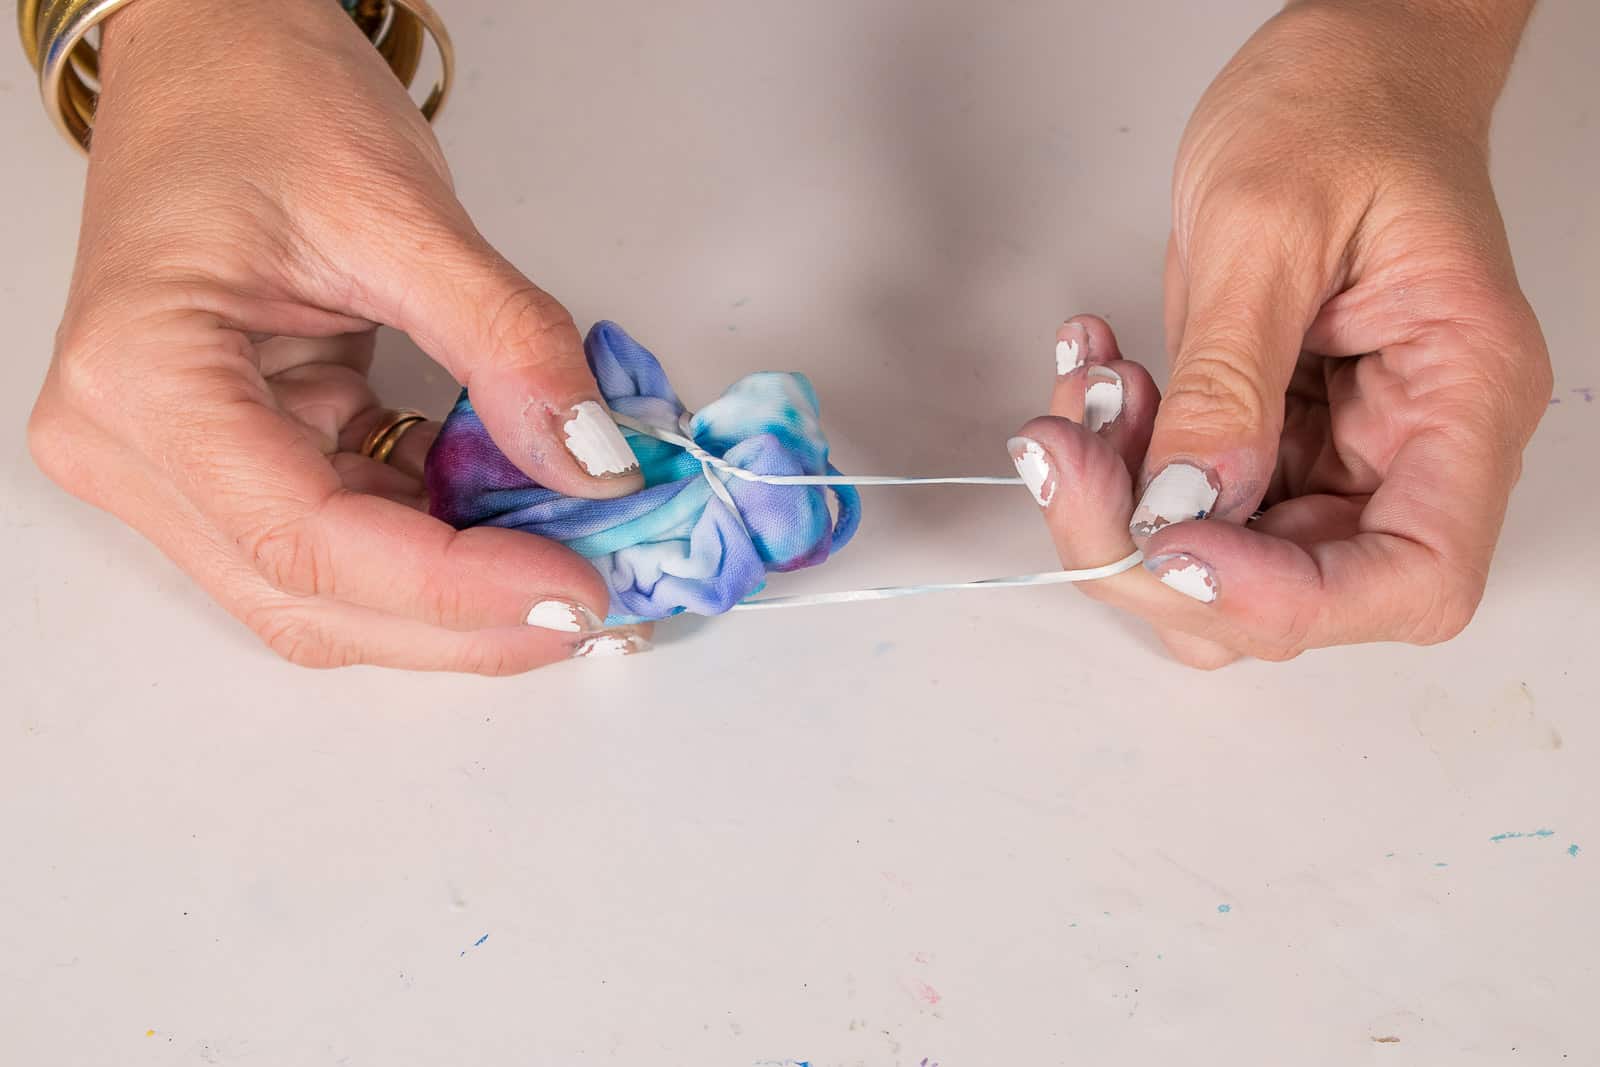
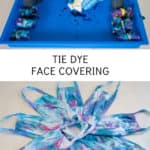
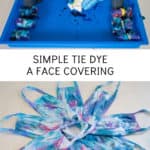
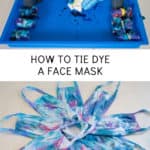
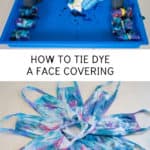
Now’s the fun part: revealing the pretty pretty tie dye pattern!! Remove the rubber bands and unfold the mask! I like to wash my tie dye with the tiniest bit of detergent and then dry. Once the fabric is dry, you really have a sense of the design! (Top notch mani shot here…)
Goodness knows, I hope we won’t need masks for too much longer. But, as long as we need masks, we need a set in every car, in every purse and next to every door to make sure we have one with us when we need it. Ha! And being able to make these budget cotton masks look more colorful… well, it was a fun project!

Materials for Tie Dye Masks
- Cotton masks
- Tie Dye kit
- Alternatively: squirt bottles and individual dye
- Rubber bands
- Craft Tray








Thanks FOR sharing! Just ordered the masks since we have lots of leftover dye from a previous tie dye project.
Can never hace dnough masks! Such fun!
Thanks, Rosemary!
Good luck!!! Thanks!
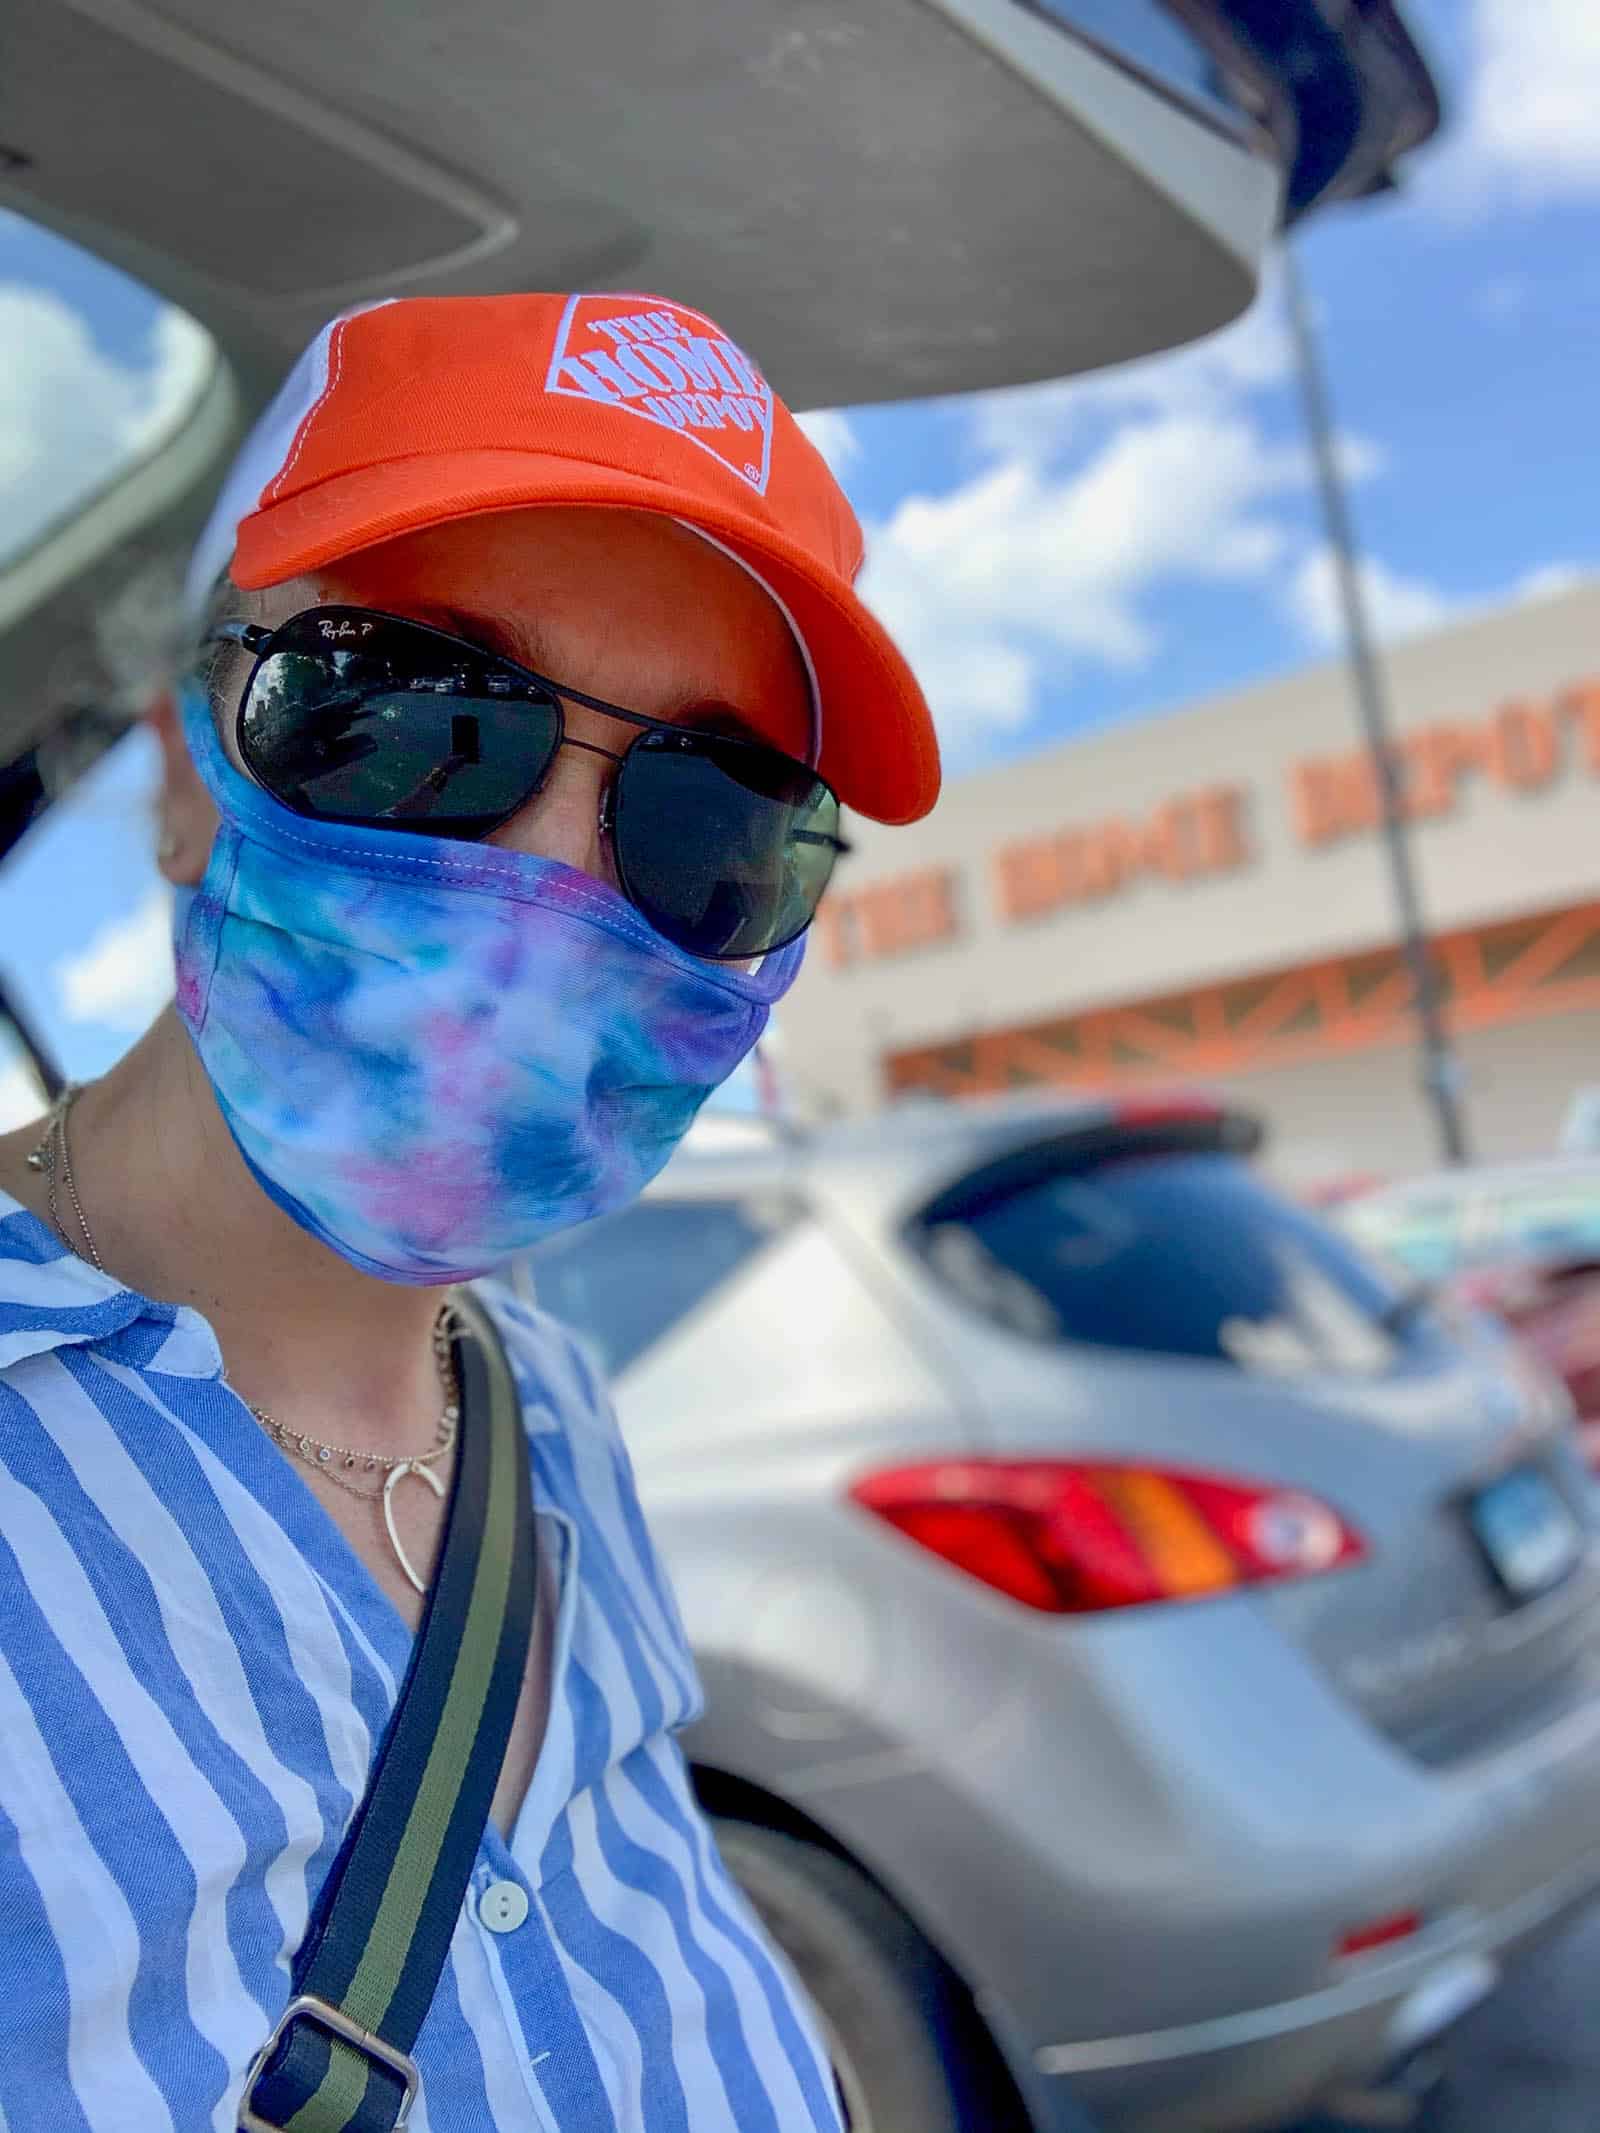
That mask + your home depot hat = awesomeness
Haha!! Thank you! My faves!
Looks great, love the colors
Thanks!! Me too!!
Hi!
Prior to using the dye, Do i need to Run the masks tHru a full CyclE in the washing machine with detergent? Or just rinse them in water?
Thank you-
Kerry
Hi Kerry! I know I answered this in email but wanted to include here too. I rinsed my masks and they seemed to work fine!