
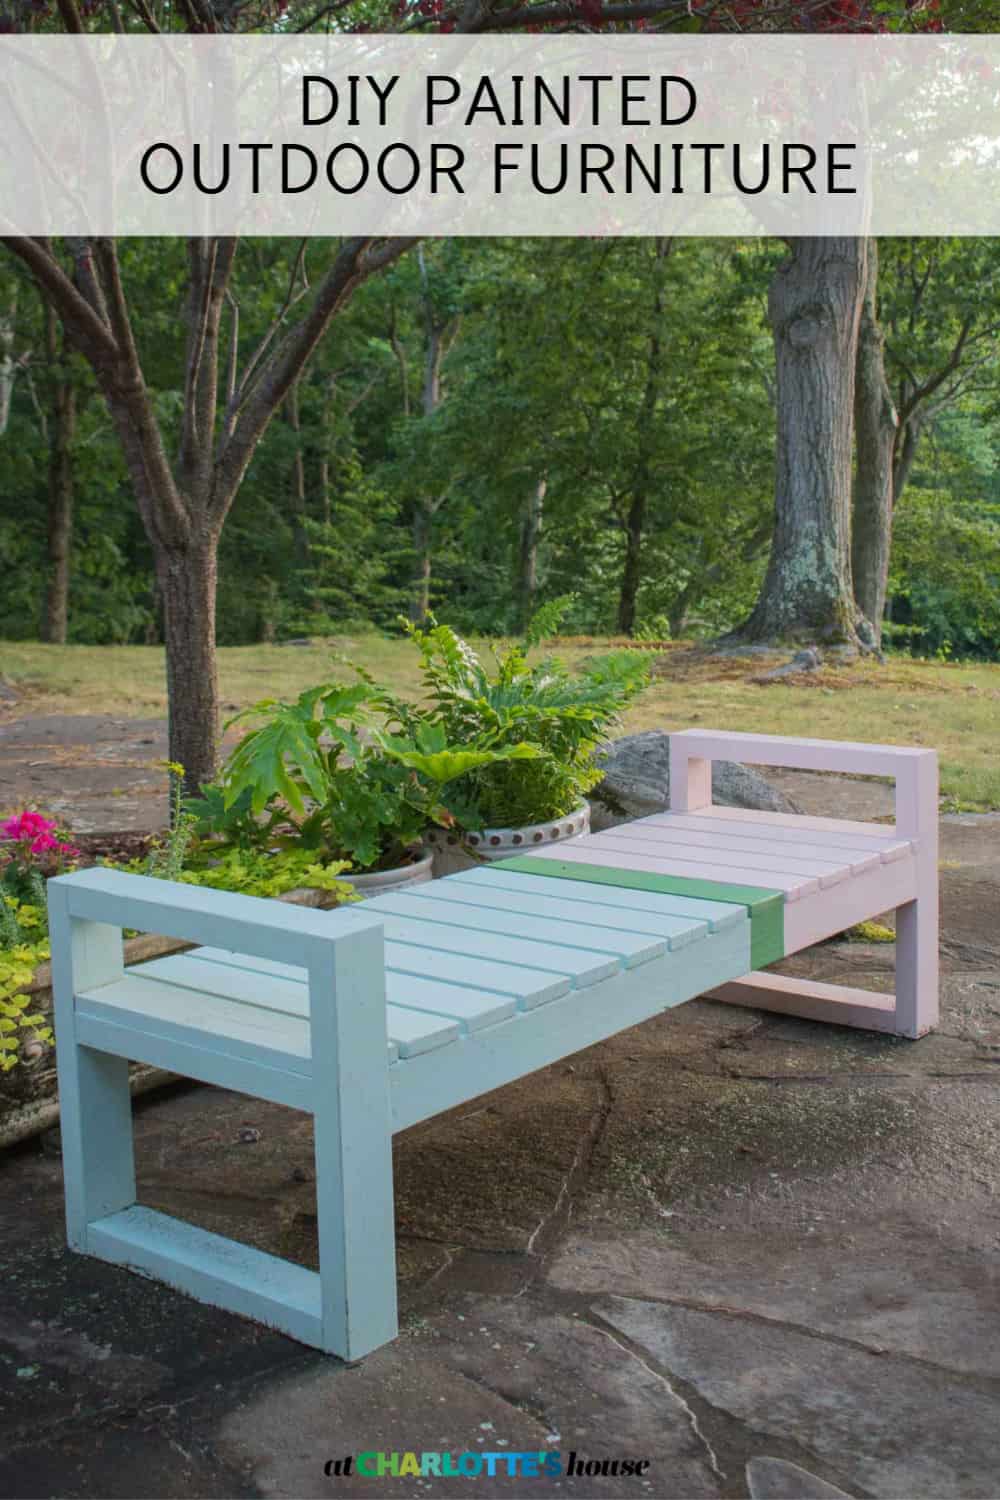
Colorful Painted Outdoor Furniture
Psssst… this post *might* contain affiliate links: see my disclosure here.
Painted Color-Blocked Patio Furniture
I painted our patio furniture in an updated color-blocked design and love the finished result.
Disclosure: I’m partnering with The Home Depot and their new ProjectColor™ app for this project and SO thrilled with the springboard their 2020 Color Pallet provided for my patio!
Shop my favorites!
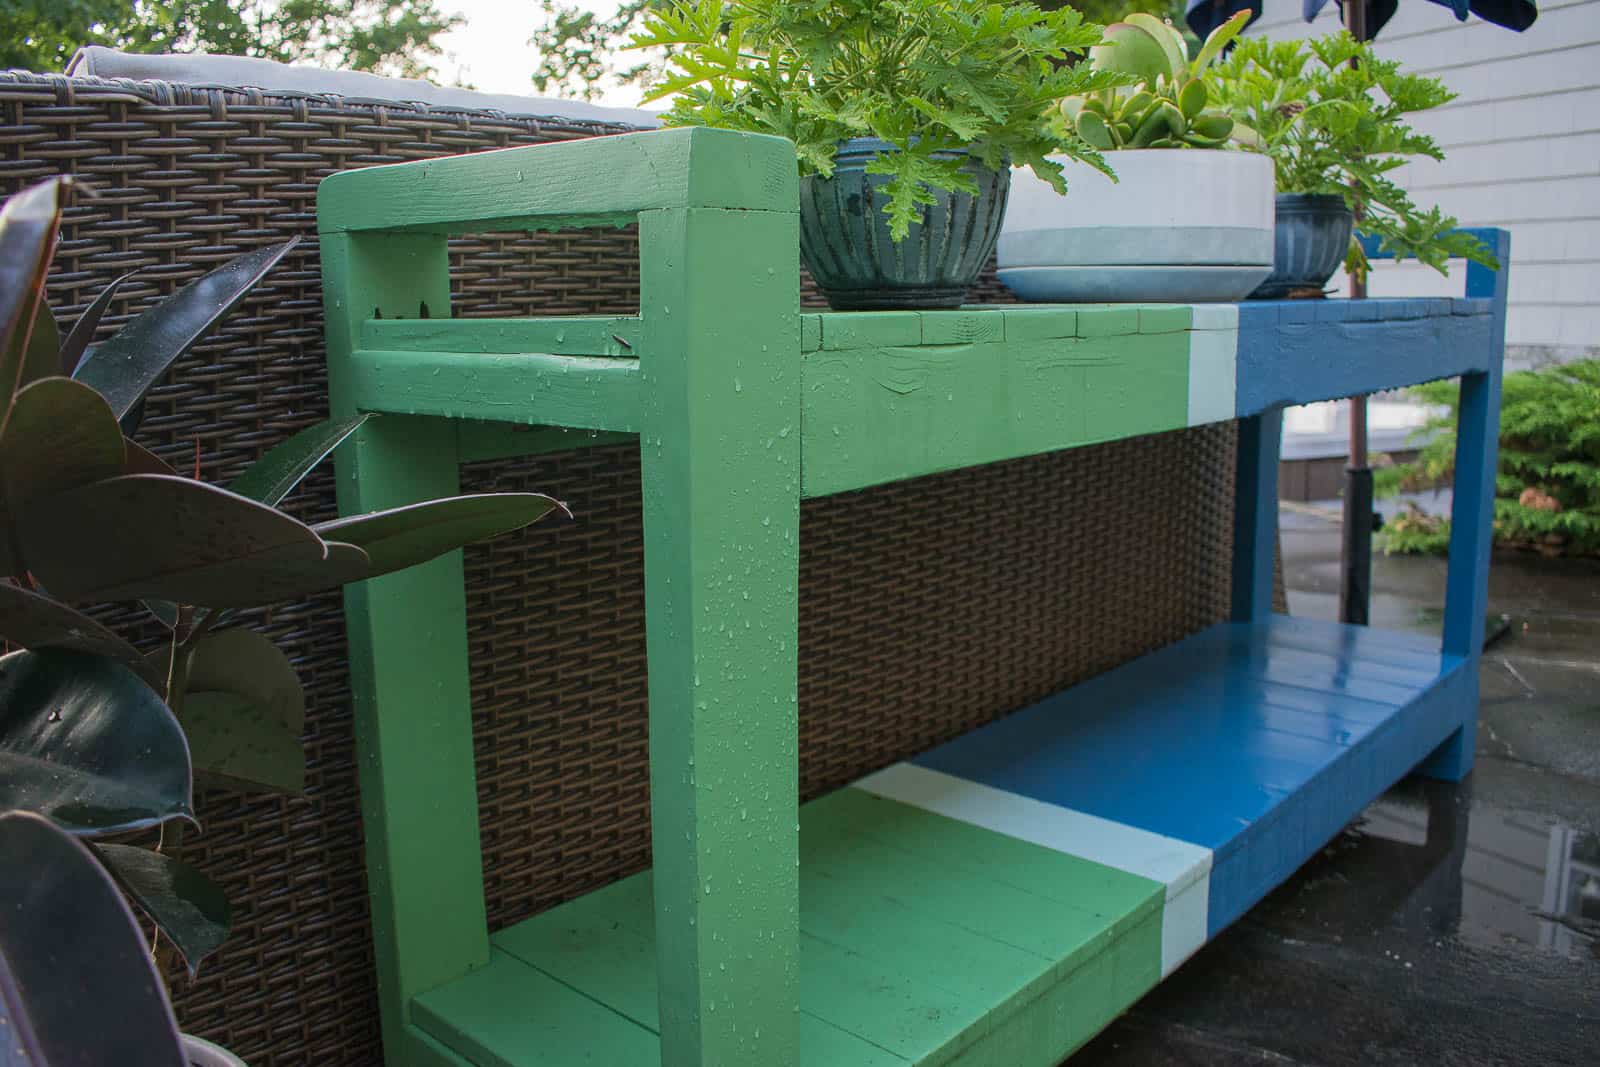
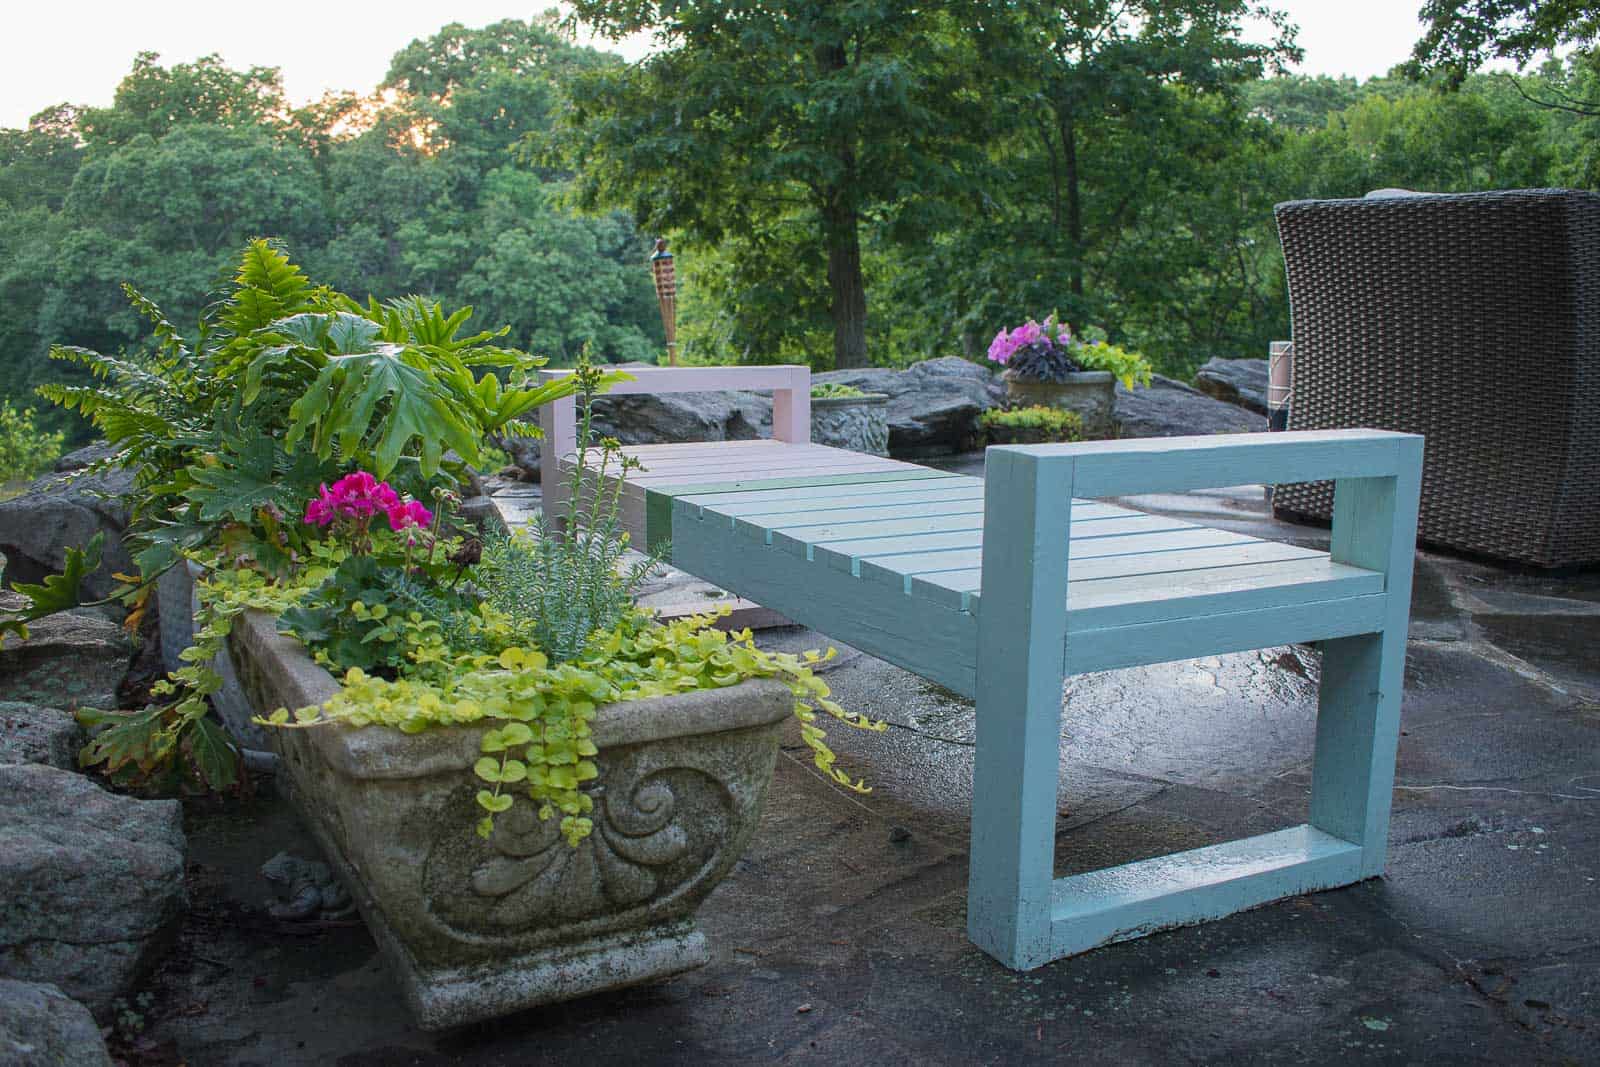
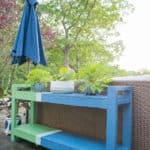
I’m SO excited to share my DIY patio furniture with you today with a new and improved color blocked paint job!!! I made the benches years ago and have always loved the shape so when it came time to make a sofa table/ bar for behind the patio sofa, I figured I would follow the same design! But the best part about this furniture is… the color.
I’m working with The Home Depot on this post and not only am I sharing their amazing colors of the year (I literally could have used any of them… in fact I used like 4 of them), but I also got to use their new ProjectColor™ app which makes it SUPER easy to color match, plan paint colors and test out swatches (virtually) from the comfort of your own home! See how easy it is to color match below!

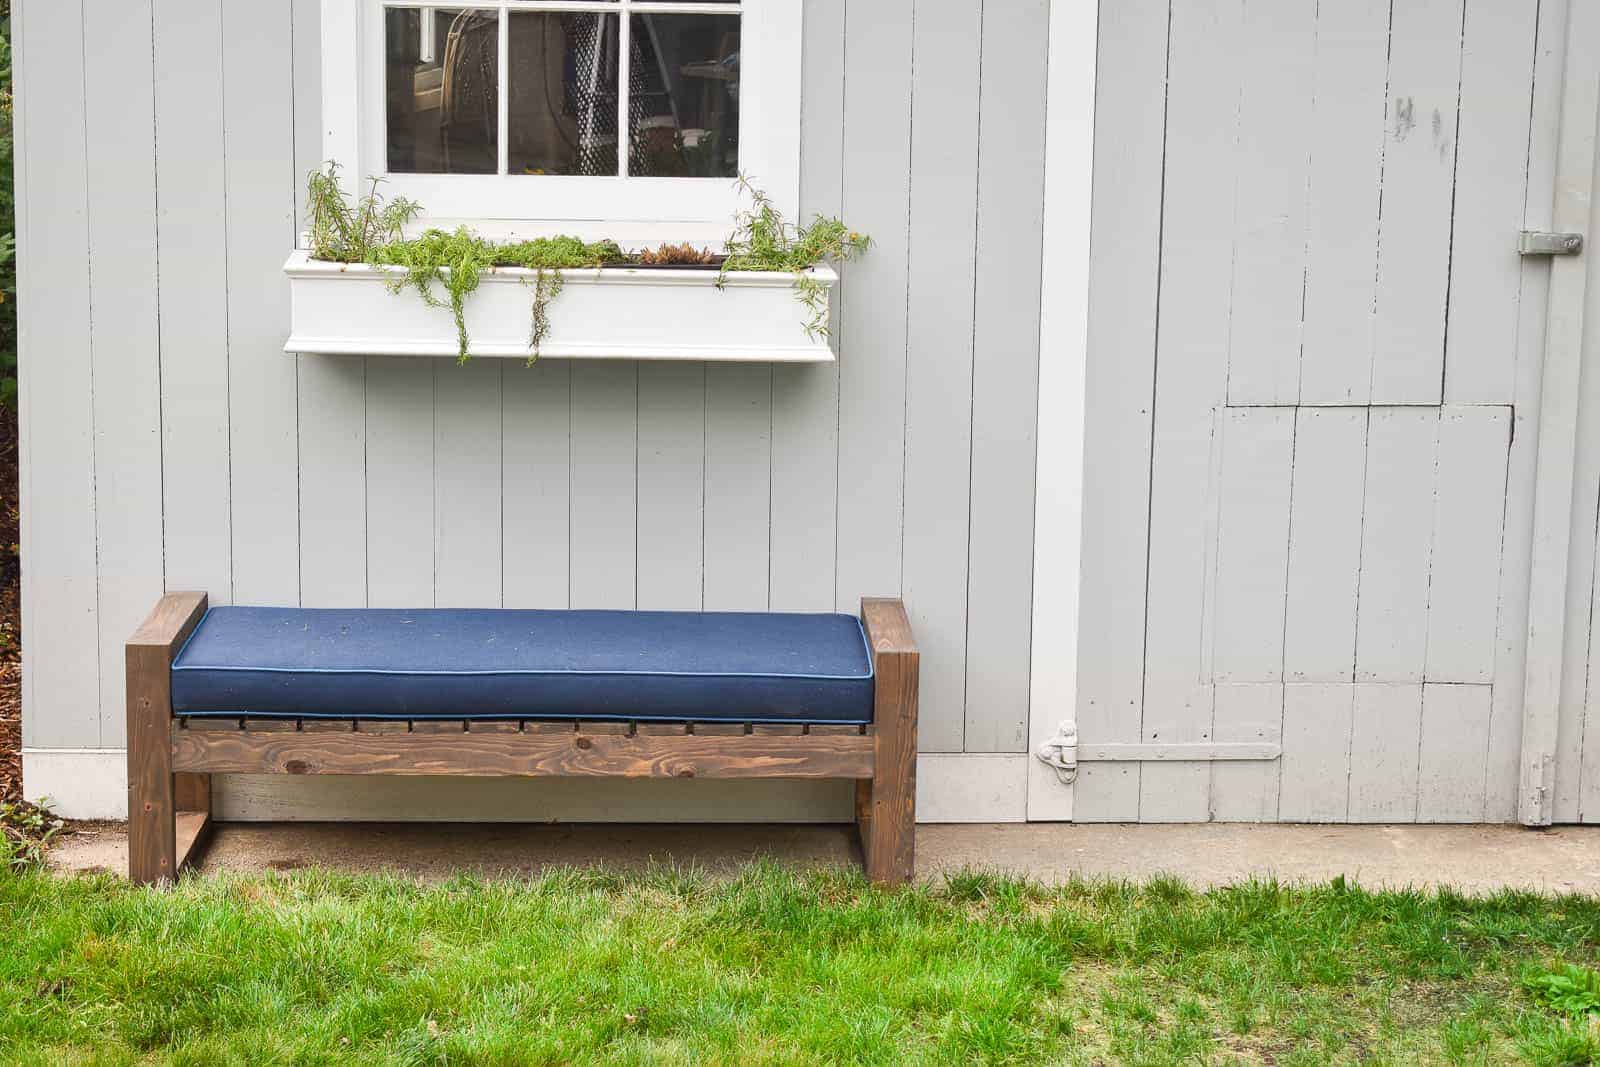
Here’s how the benches looked before. They were totally fine outside my shed at the old house, but on the rental patio… they felt a little dark and somber.
I’m working with Home Depot’s 2020 Color Pallet and this was my color inspo when I picked up my paint (Glidden and Behr). How fun are all those colors together?? From the top and moving clockwise: Chinese Porcelain, Kangaroo Paw, Aquamarine Dream, Dusty Lilac, and Moss Ring.

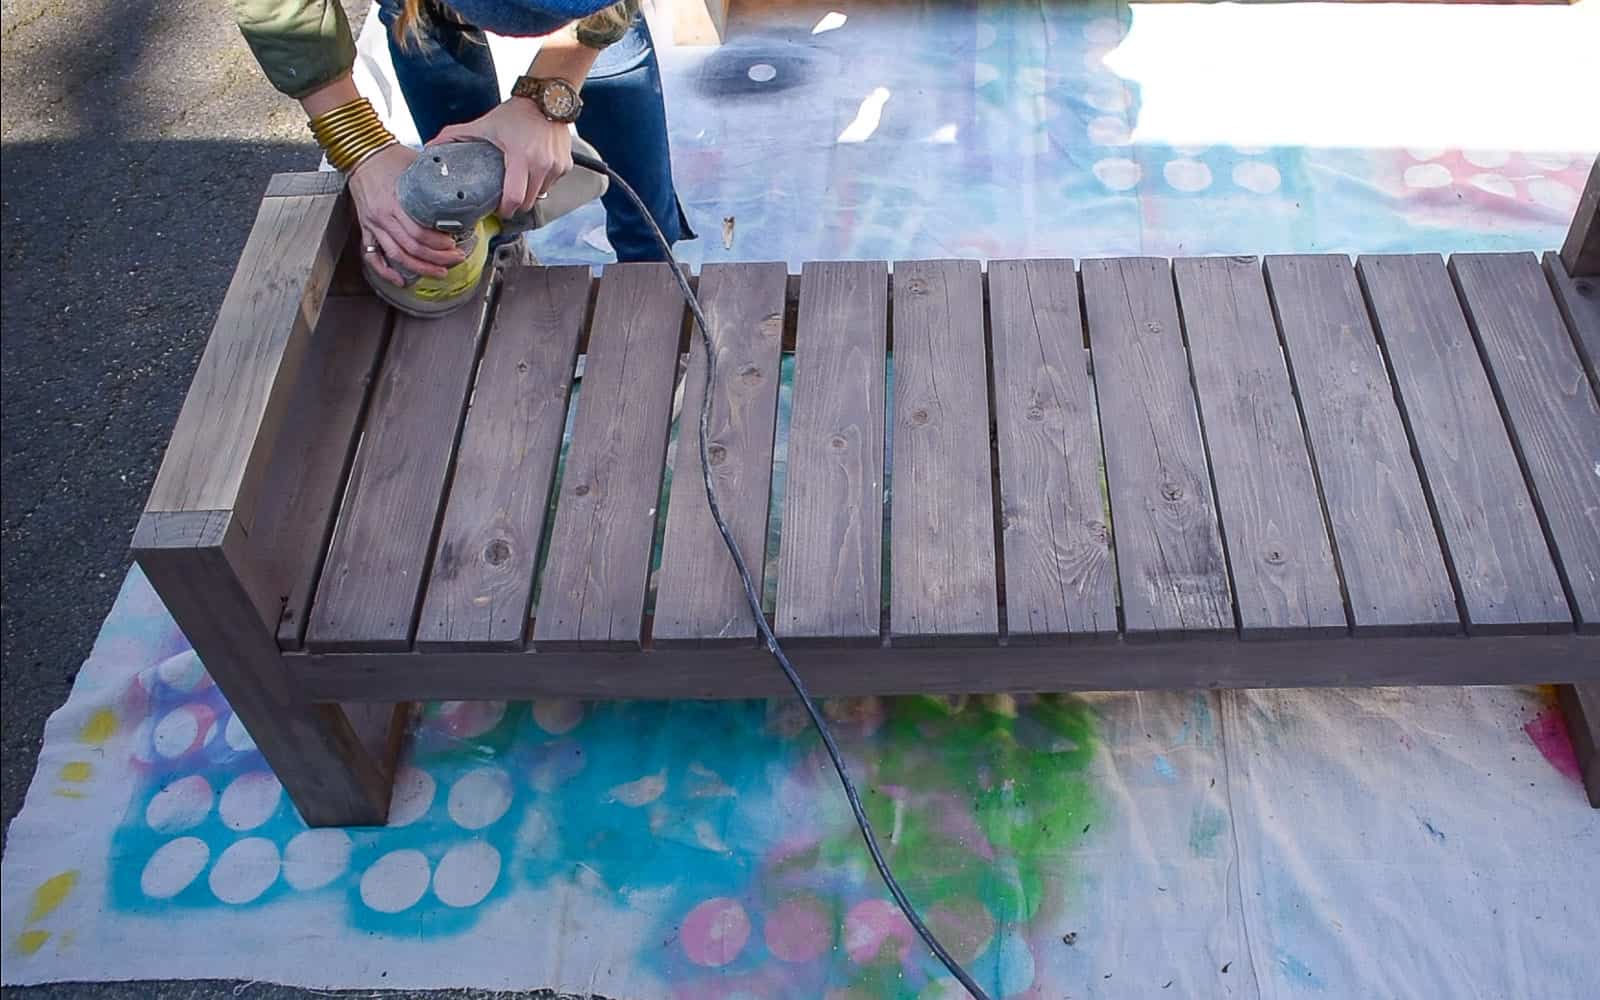
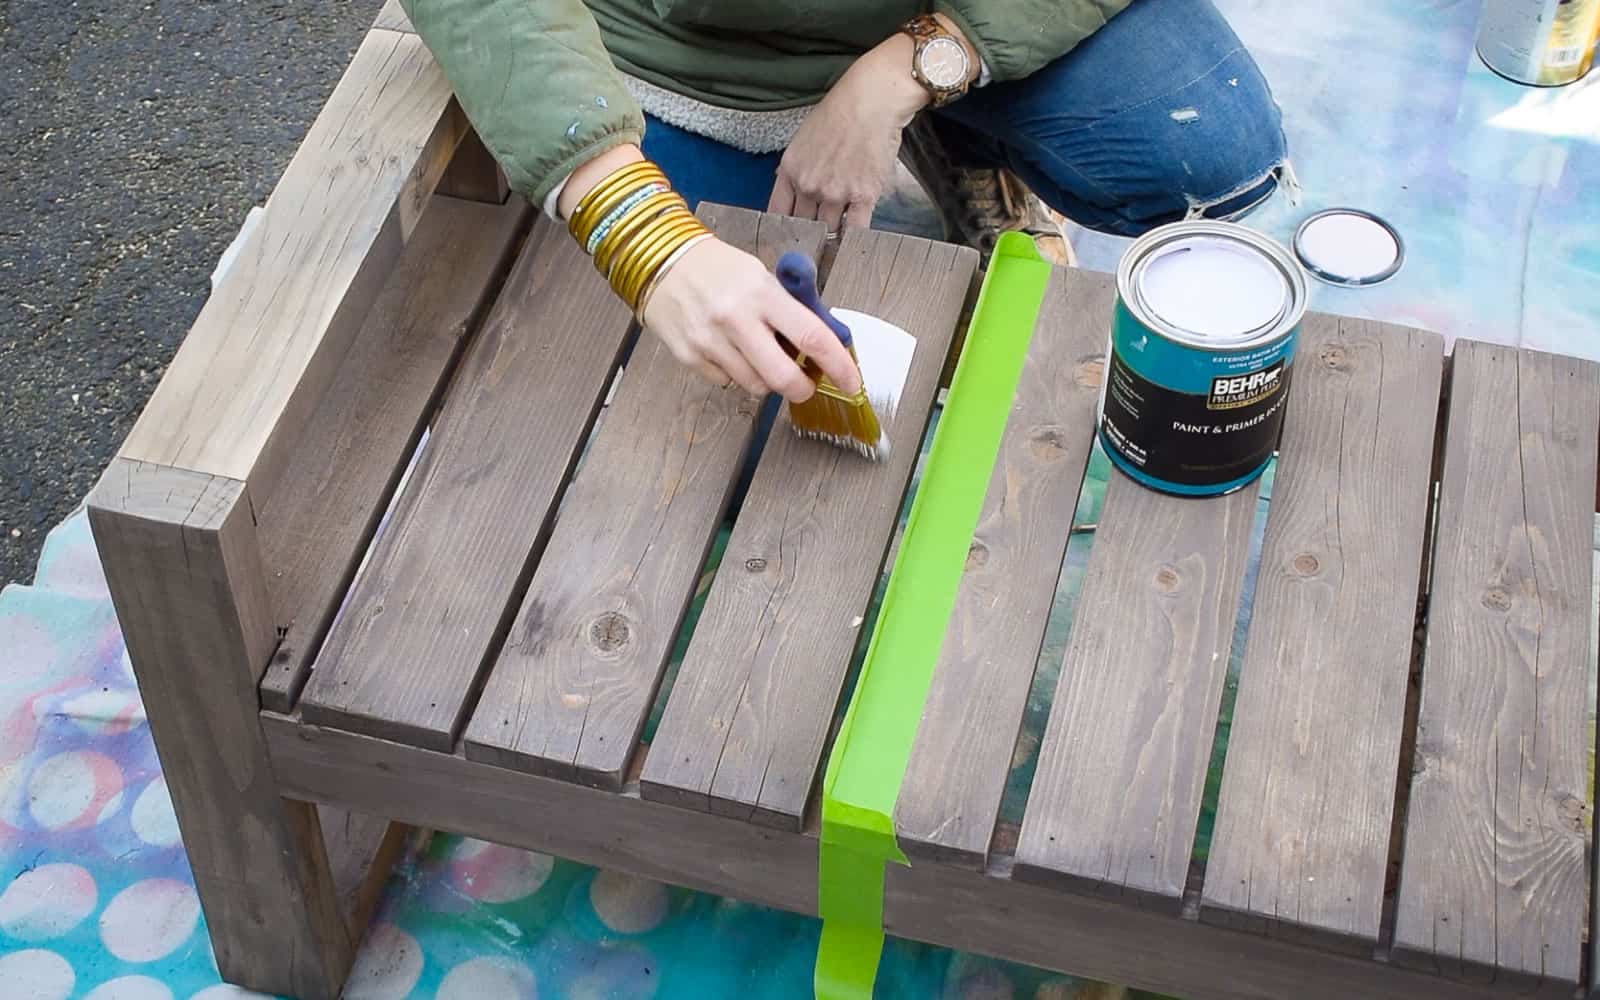
For the benches, I sanded them a little bit and taped off my colors. If you’ve been following me for a hot second then you know that patience for painting is not always my strong suit. I *should* have primed these, but the paint is in perfect shape after sitting outside for months. No bleed through, no peeling or chipping.
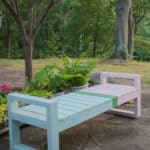
In order to use as much of these fun colors as possible, I wanted to color block these benches. I randomly picked a place to run my tape line. I didn’t want it to be halfway on the bench but I also wanted it to be a little different than the stripe on the other pieces of painted furniture. In other words… I wanted these pieces to go together and relate but not to *match* if that makes sense.
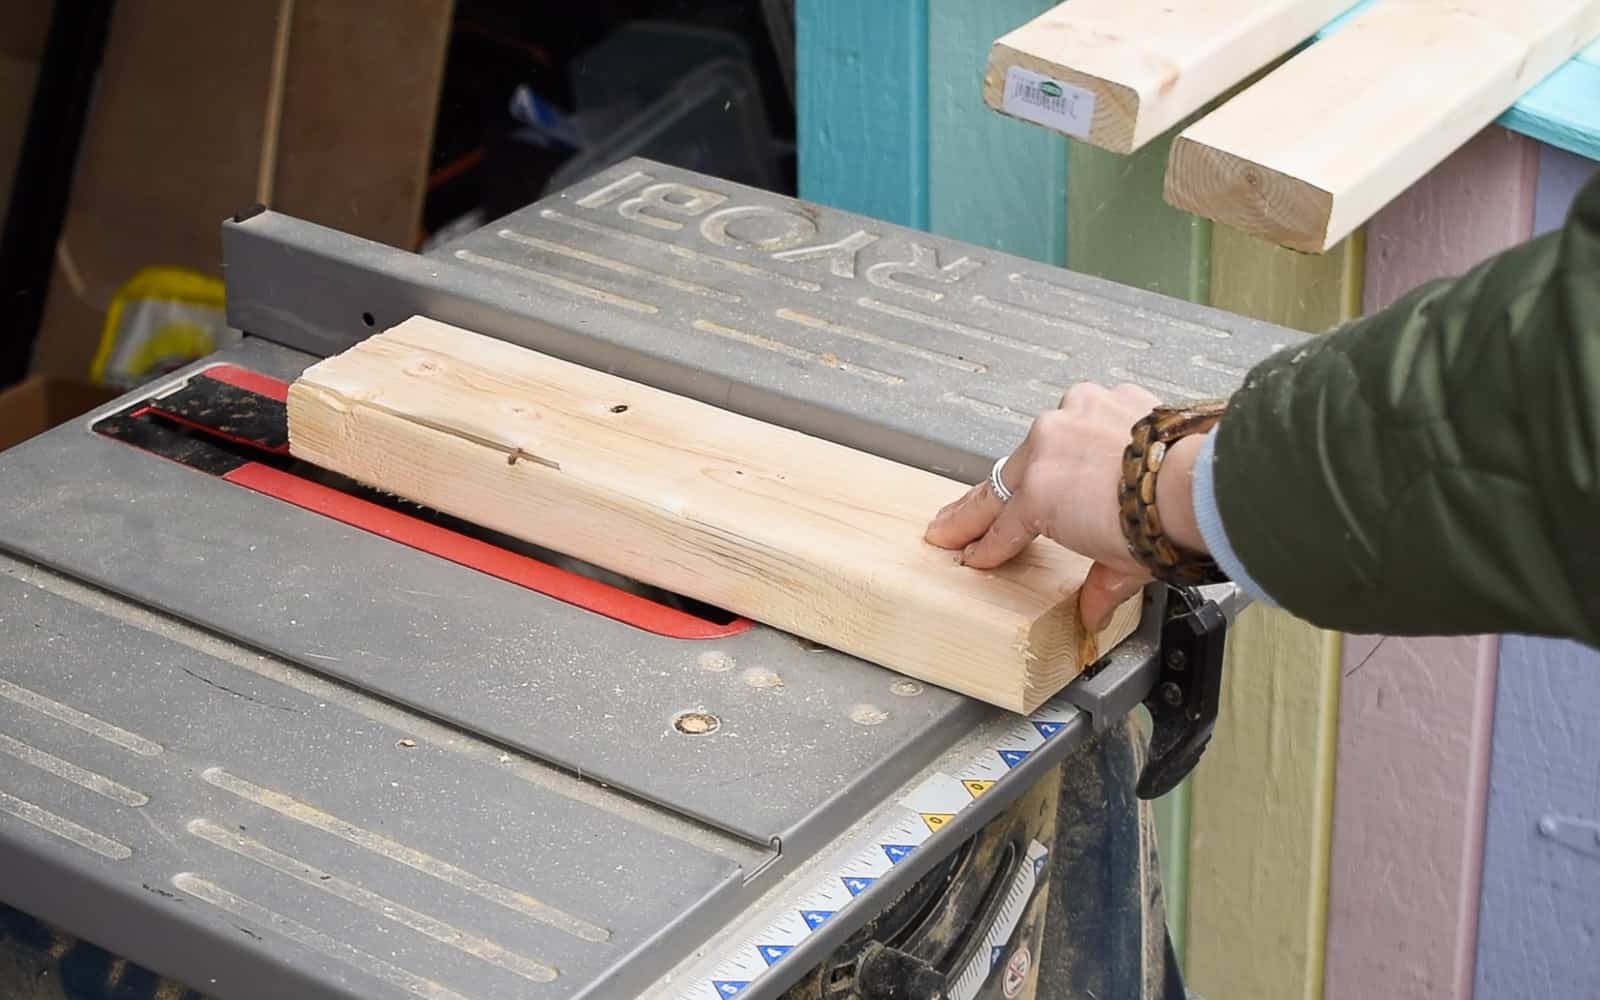
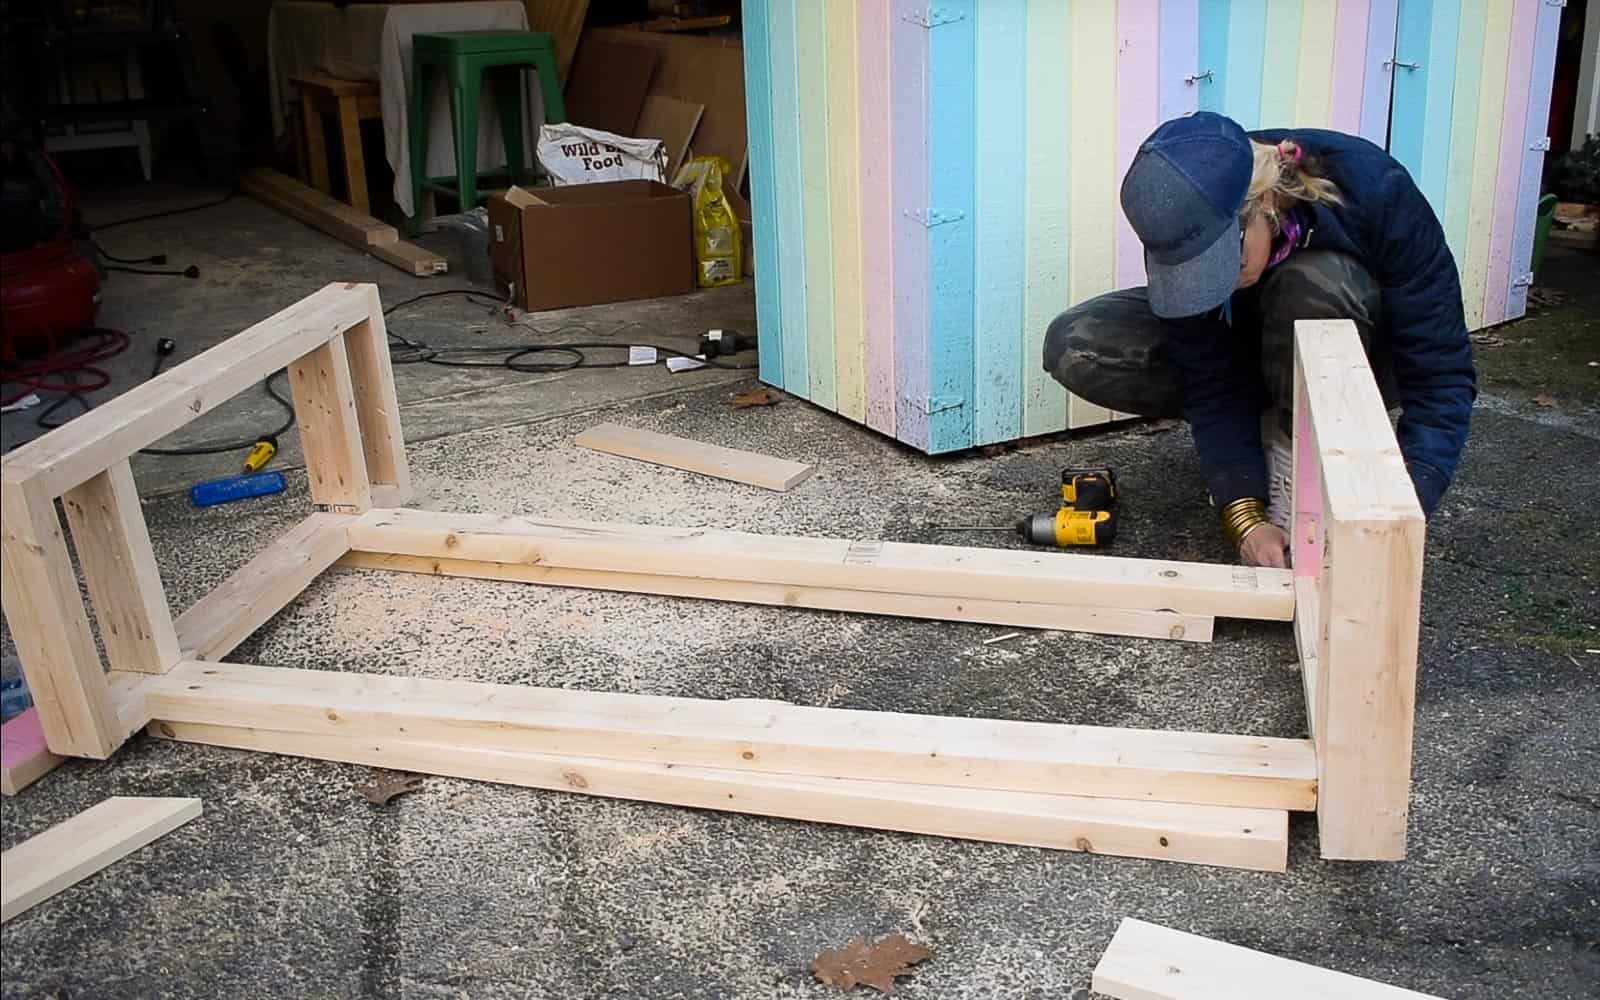
But remember… I mentioned a sofa table. Here’s my confession. My SIM card broke so all I have saved are the videos for the process of this build. I’m sharing some screen grabs below to show you how I built the table, but feel free to check out my post about the benches here to see another tutorial since they’re both the same process. Step one was to shave down the rounded edges on the 2x4s… I find the square edges look much cleaner and high end!
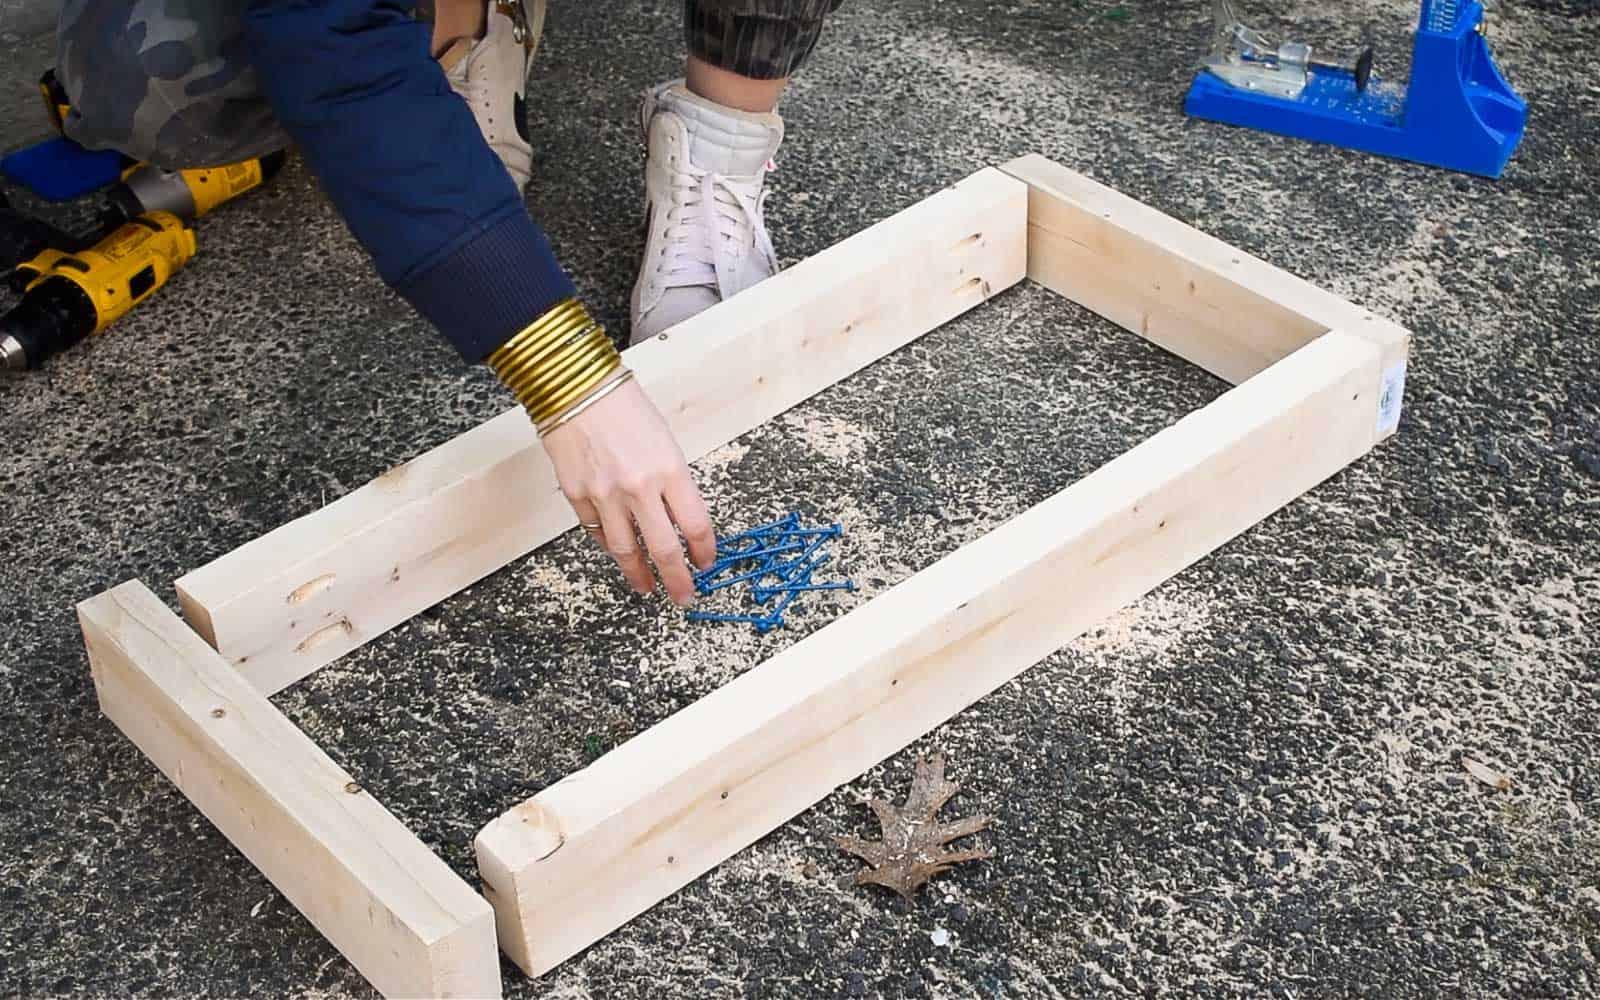
The construction is pretty simple: I used pocked holes and exterior screws to build the frames for either end of the table. I added two inset pieces to support the slats on the able top and lower table shelf.
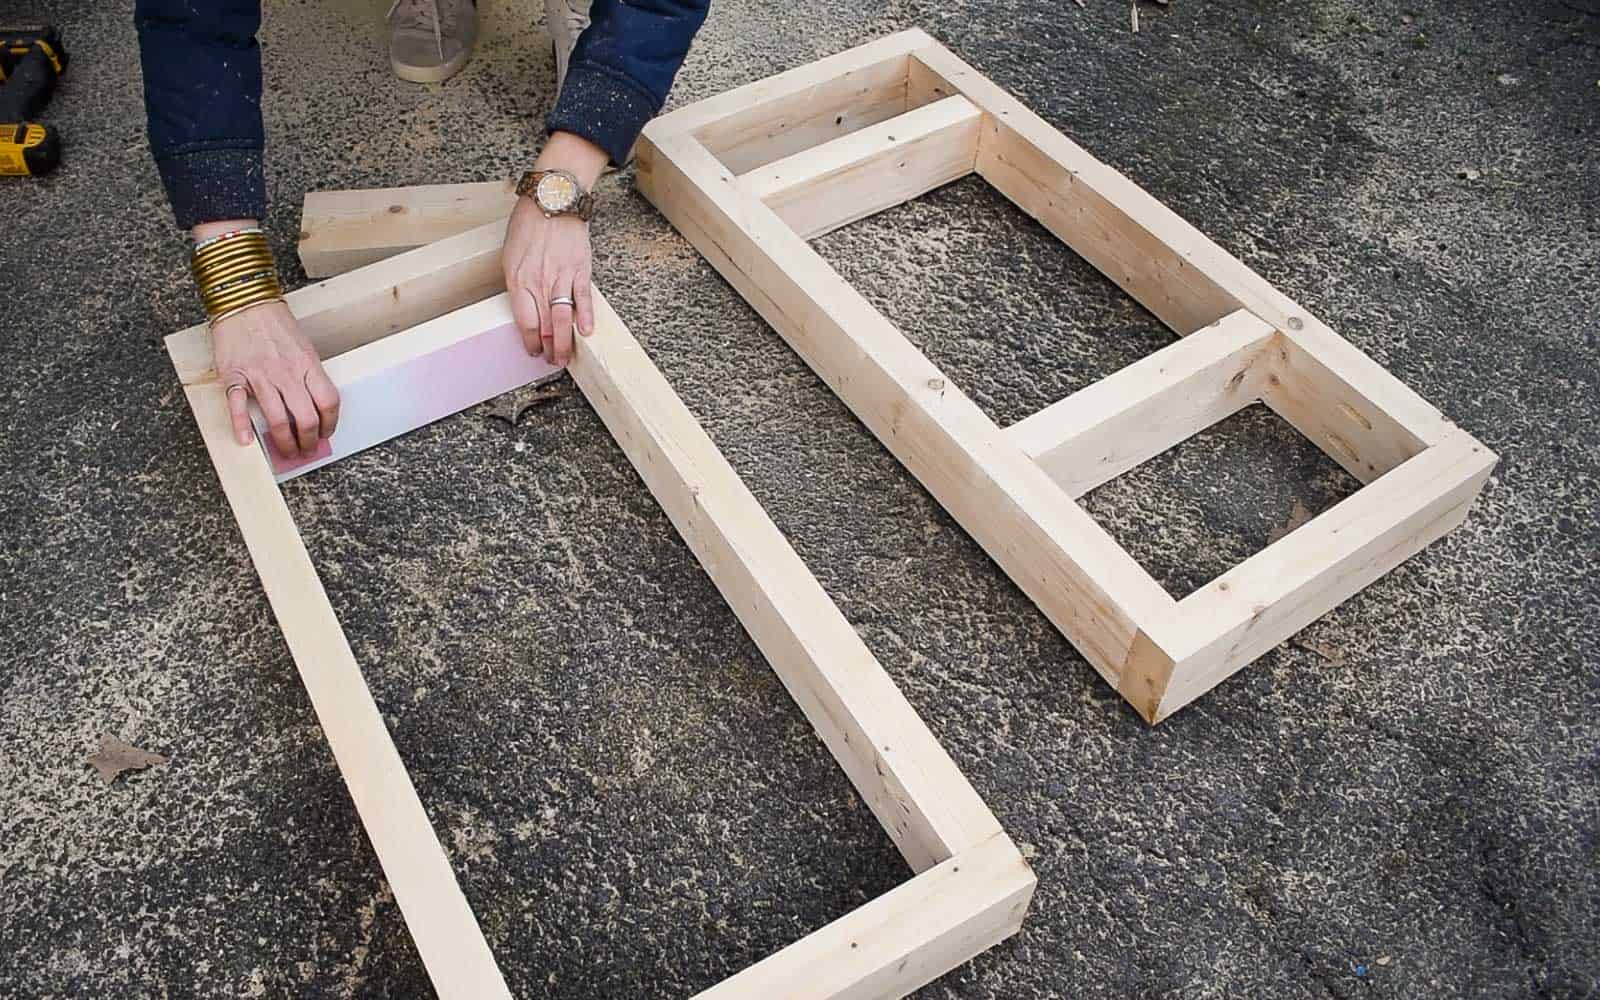
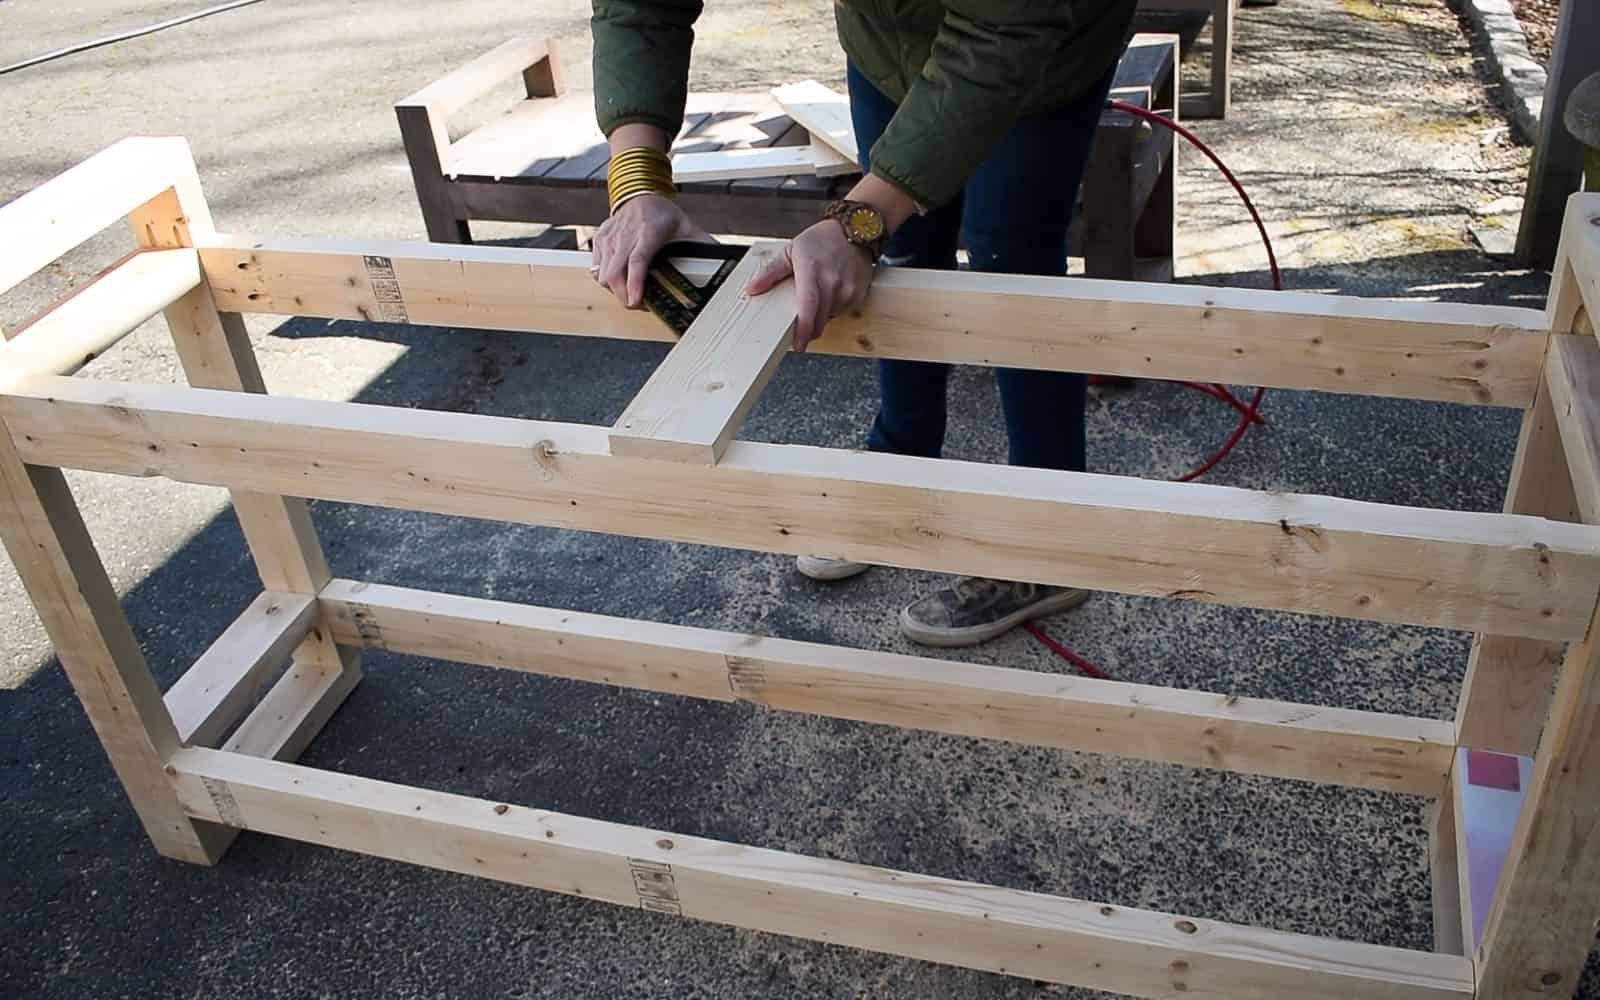
To make these two ends into a table, I added two pairs of cross beams with pocket holes. Notice that I’m lining up the top edge of the cross beams with the top edge of the boards inset on either end.
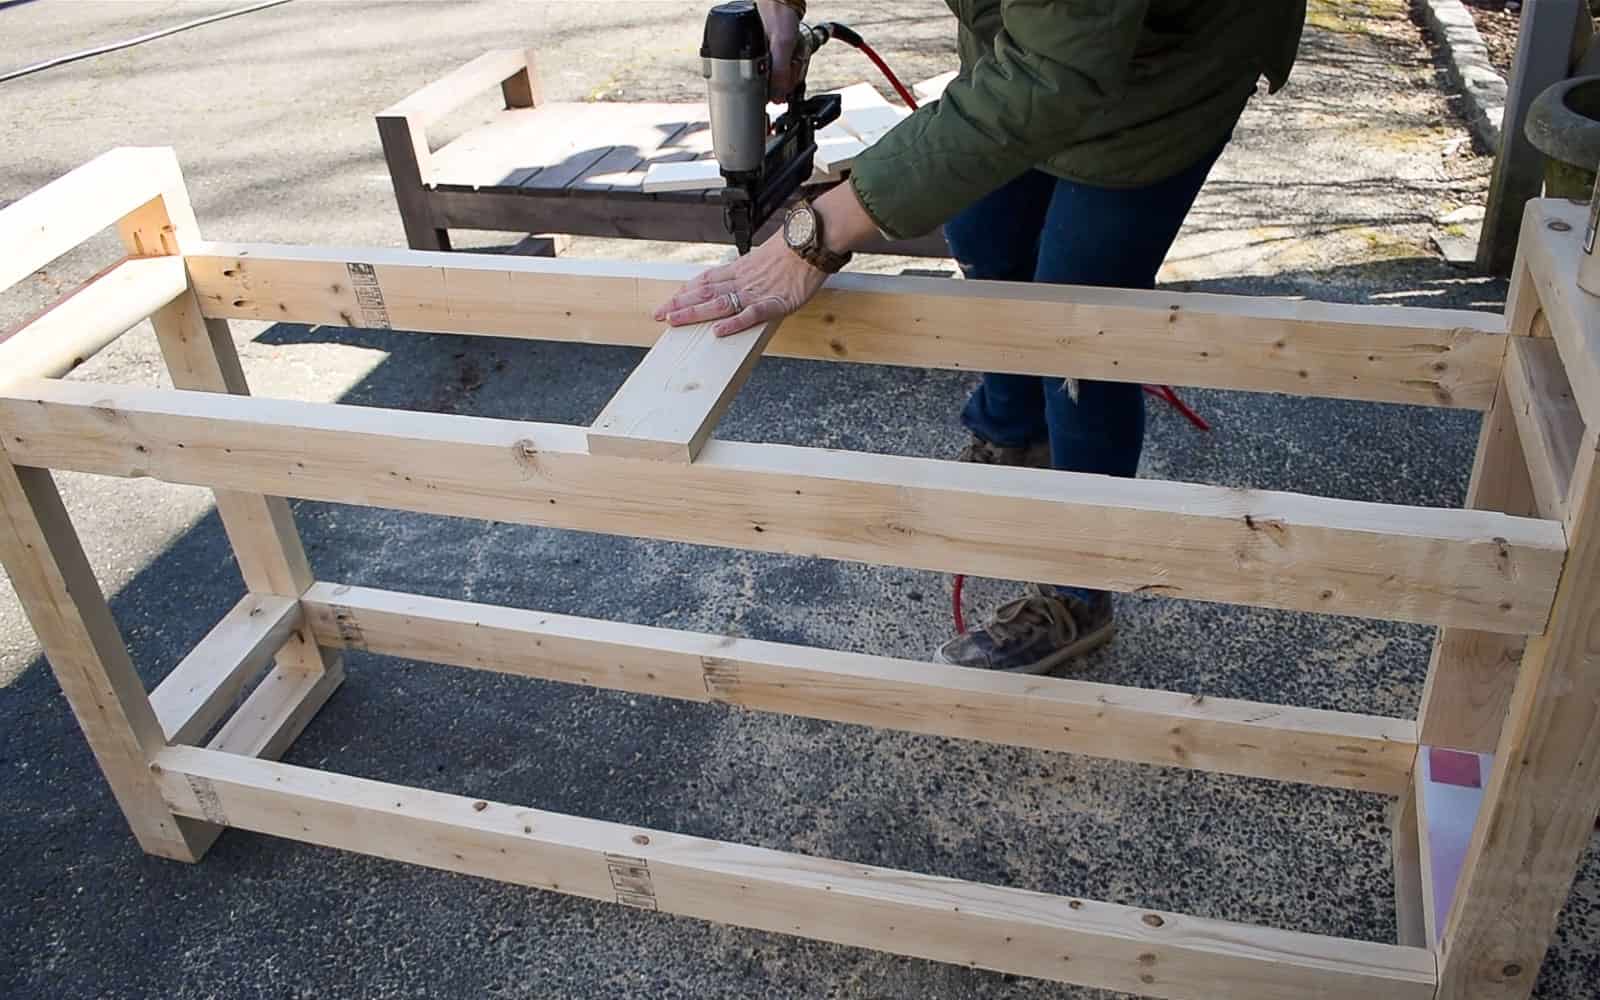
Are you beginning to see how this frame is coming together to make a table? No? OK… let’s add the table top and shelf. I’m working with common pine which is NOT the best option for any outdoor build. That said, it’s the cheapest choice and, when painted or stained, I find it holds up well enough! I cut boards to size for the top and the bottom, checked for square and used wood glue and brad nails to attach. Note… dry fit these cross beams first to figure out what kind of spacing you’ll need between the boards.
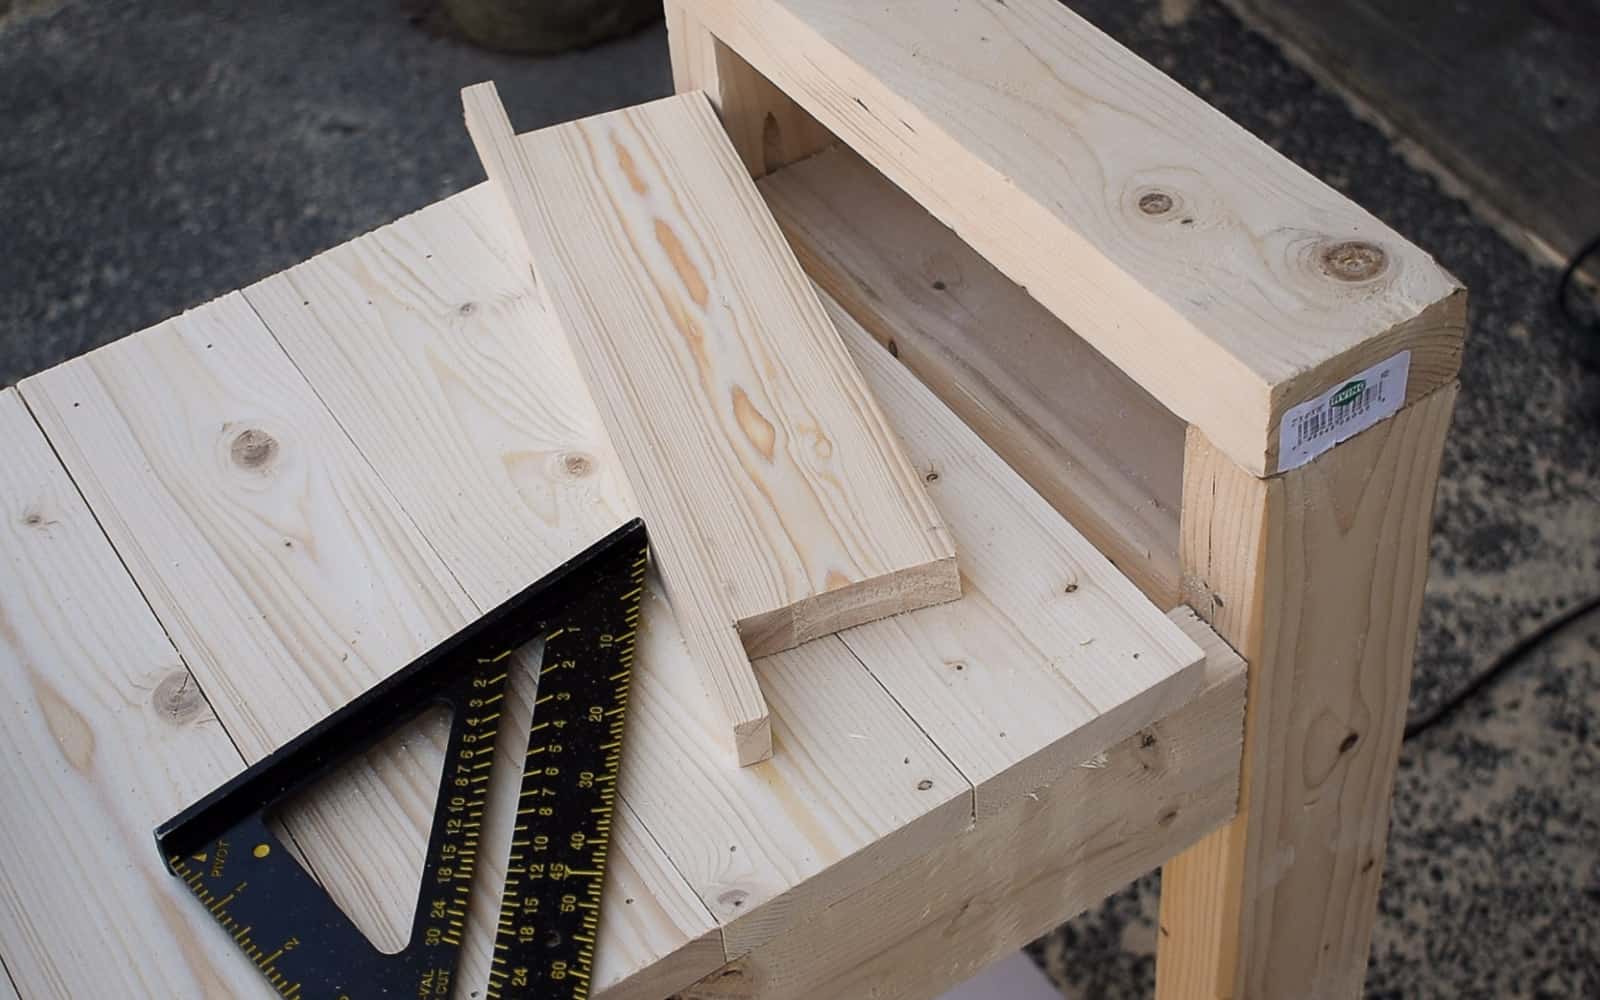
Note: For the four end pieces, I needed to use my jig saw to notch out a little corner to make sure the boards would fit.
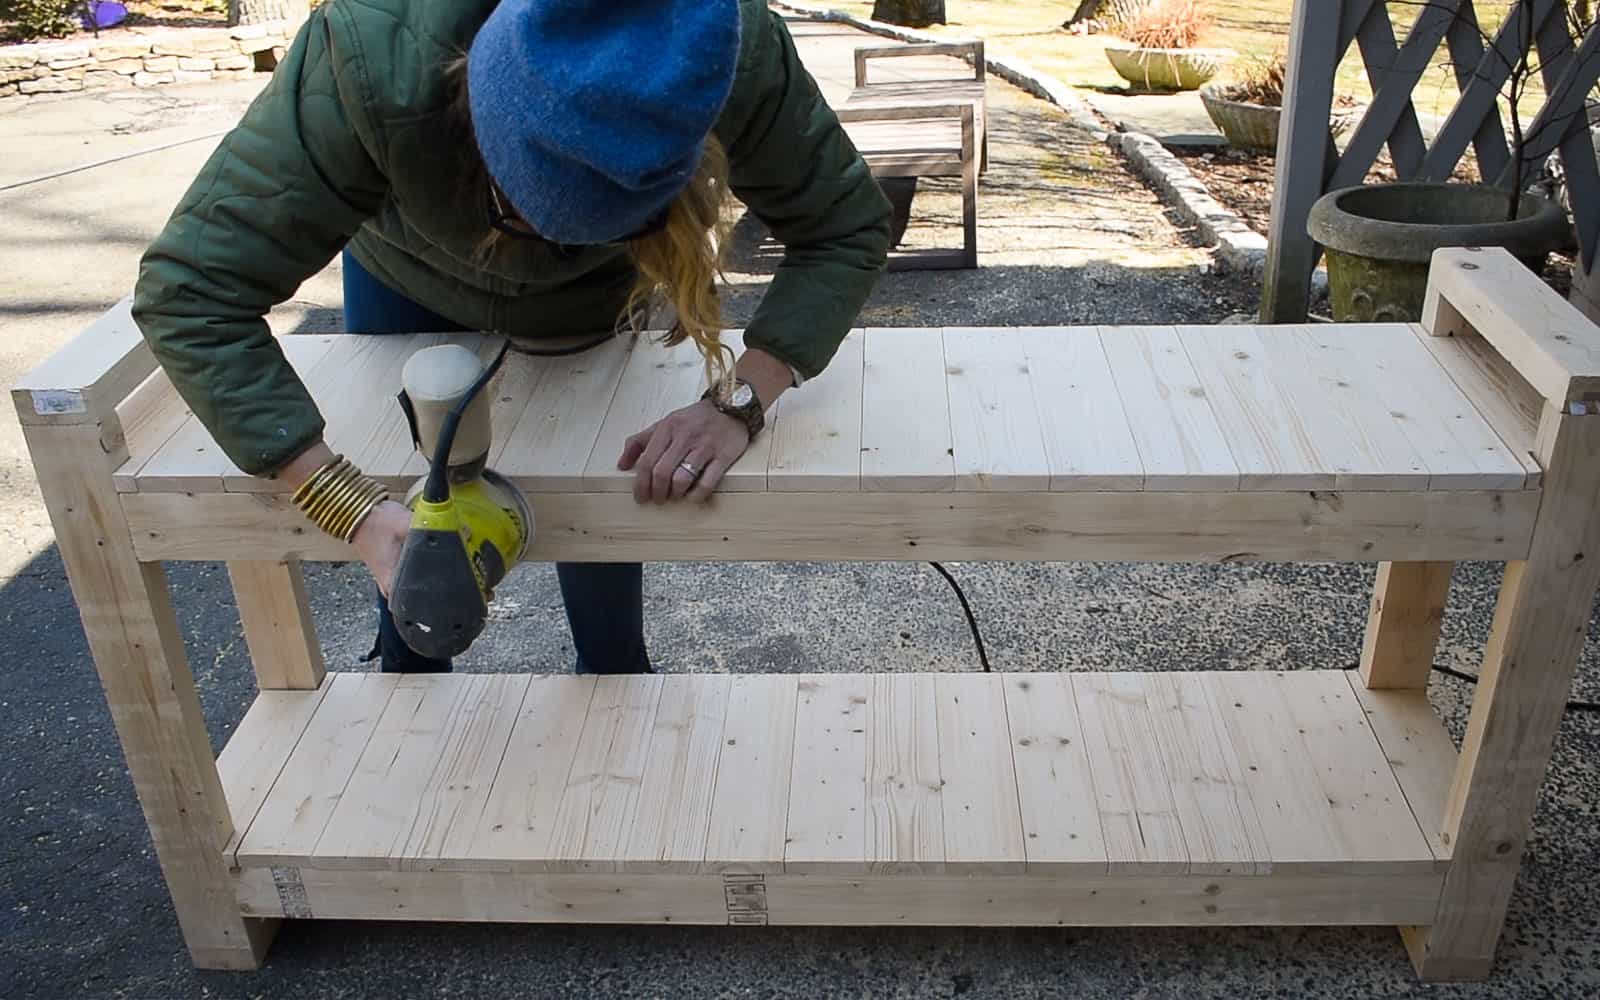
Once table was all assembled, I went over it with my sander to even out a few mismatched joints and to smooth it/ prep it for paint!
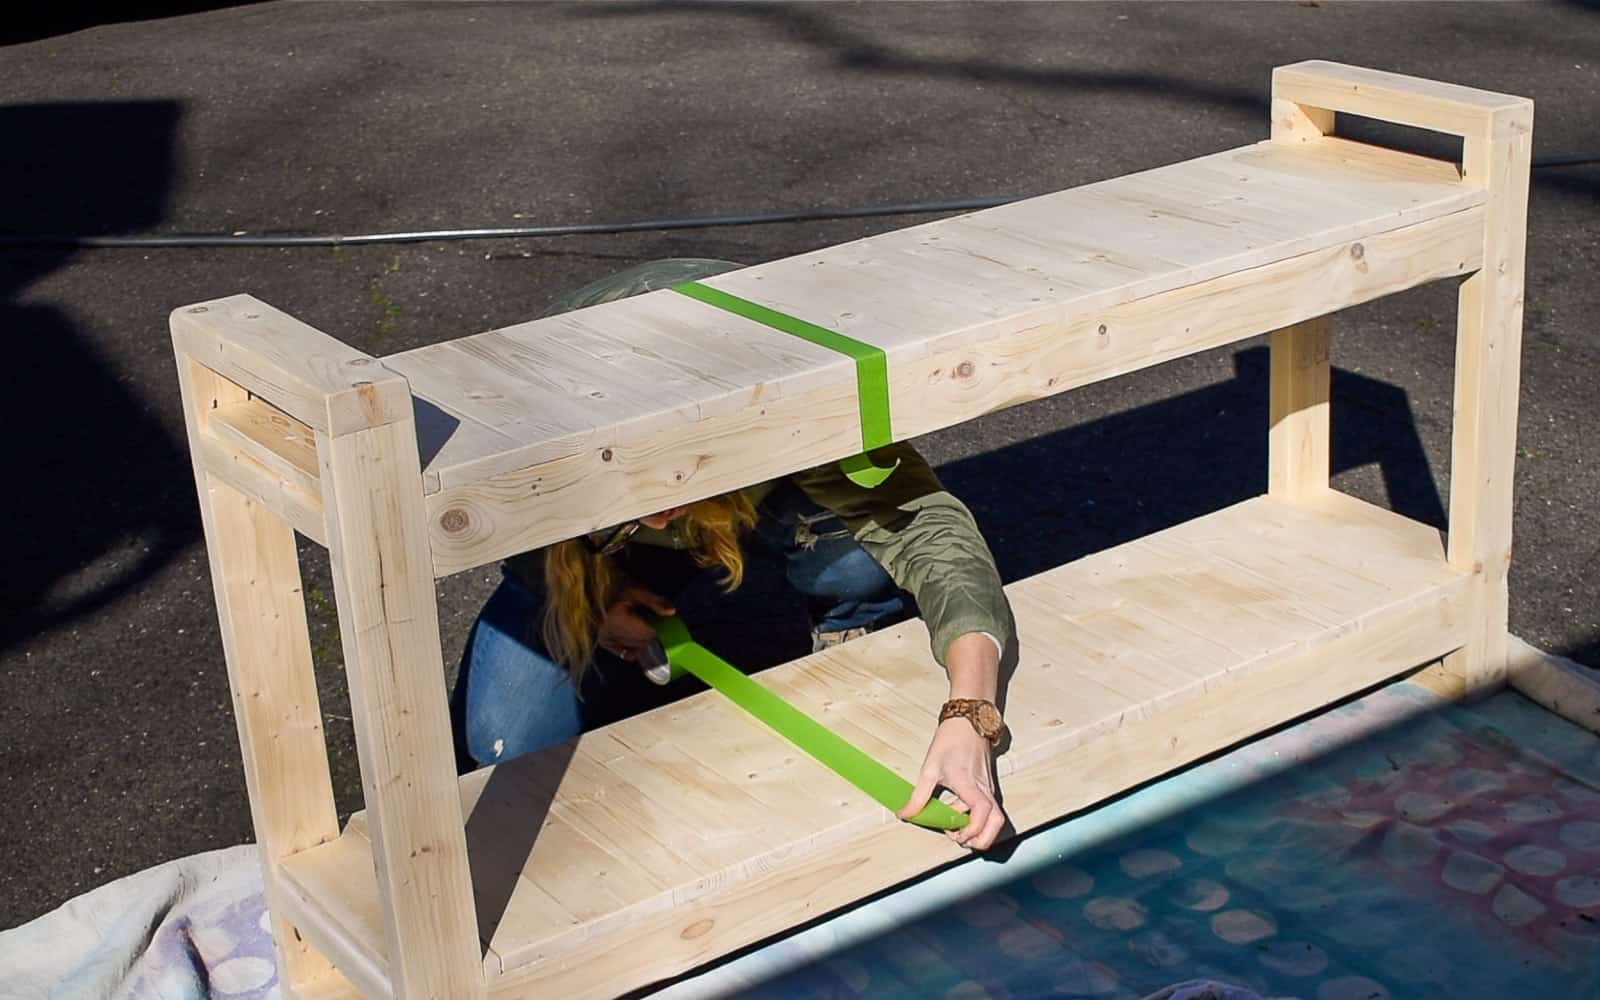
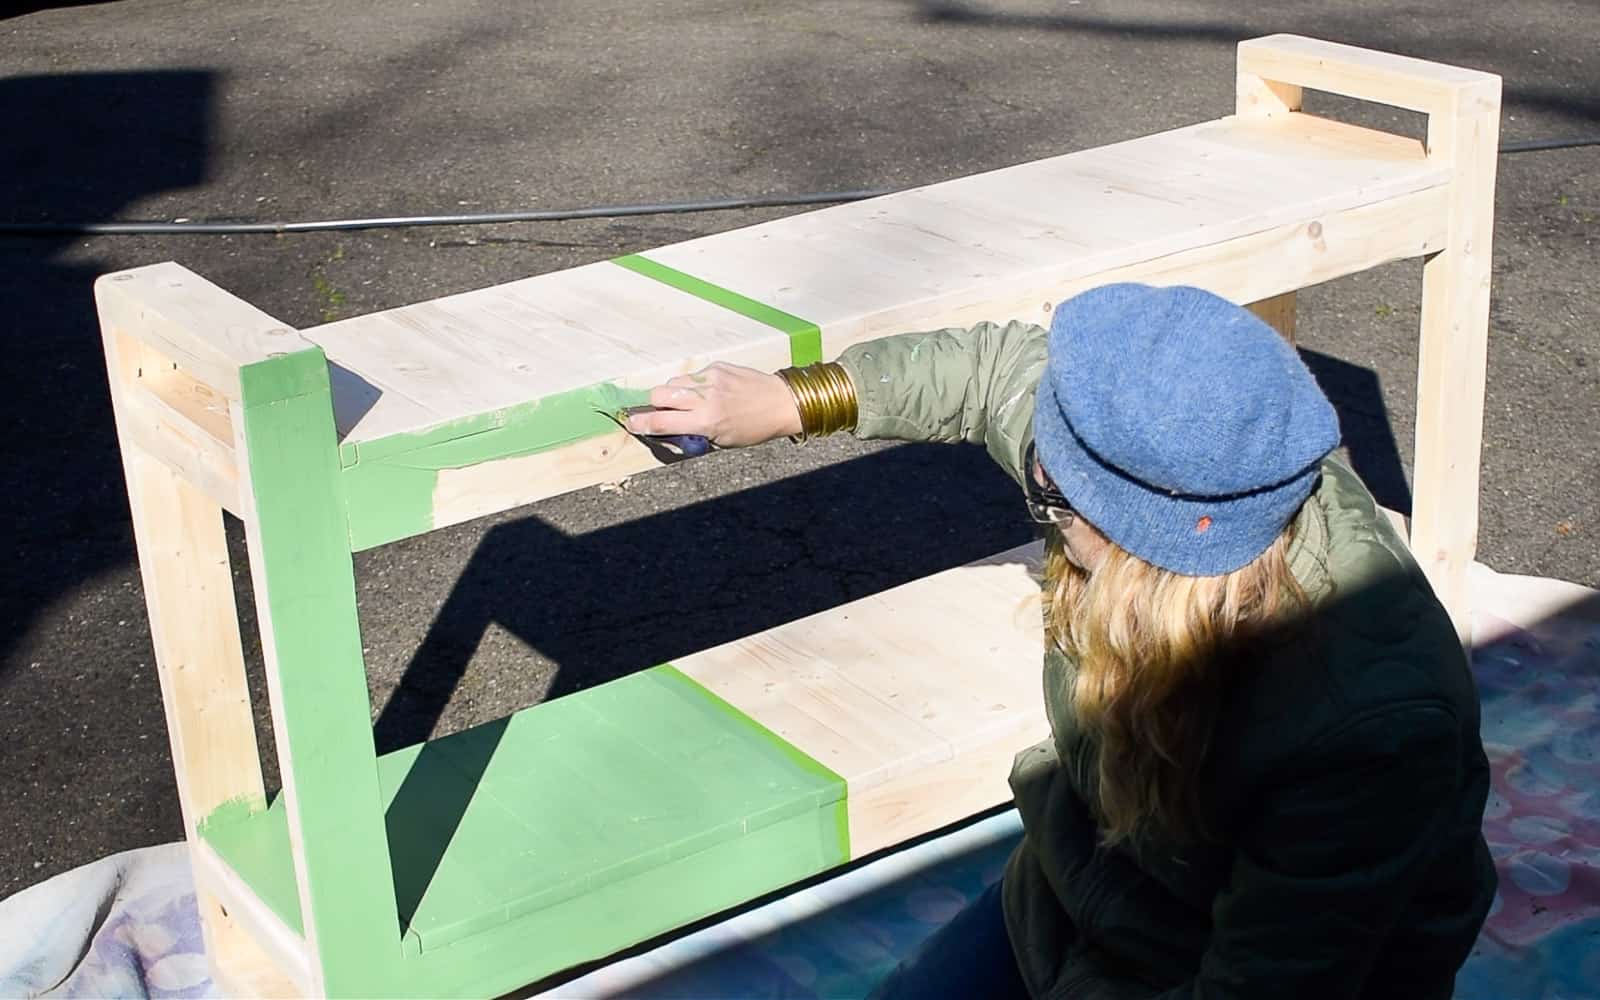
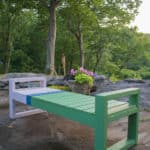
Time. For. Paint!! Just like with the benches, I taped off my line and got to the business of color.
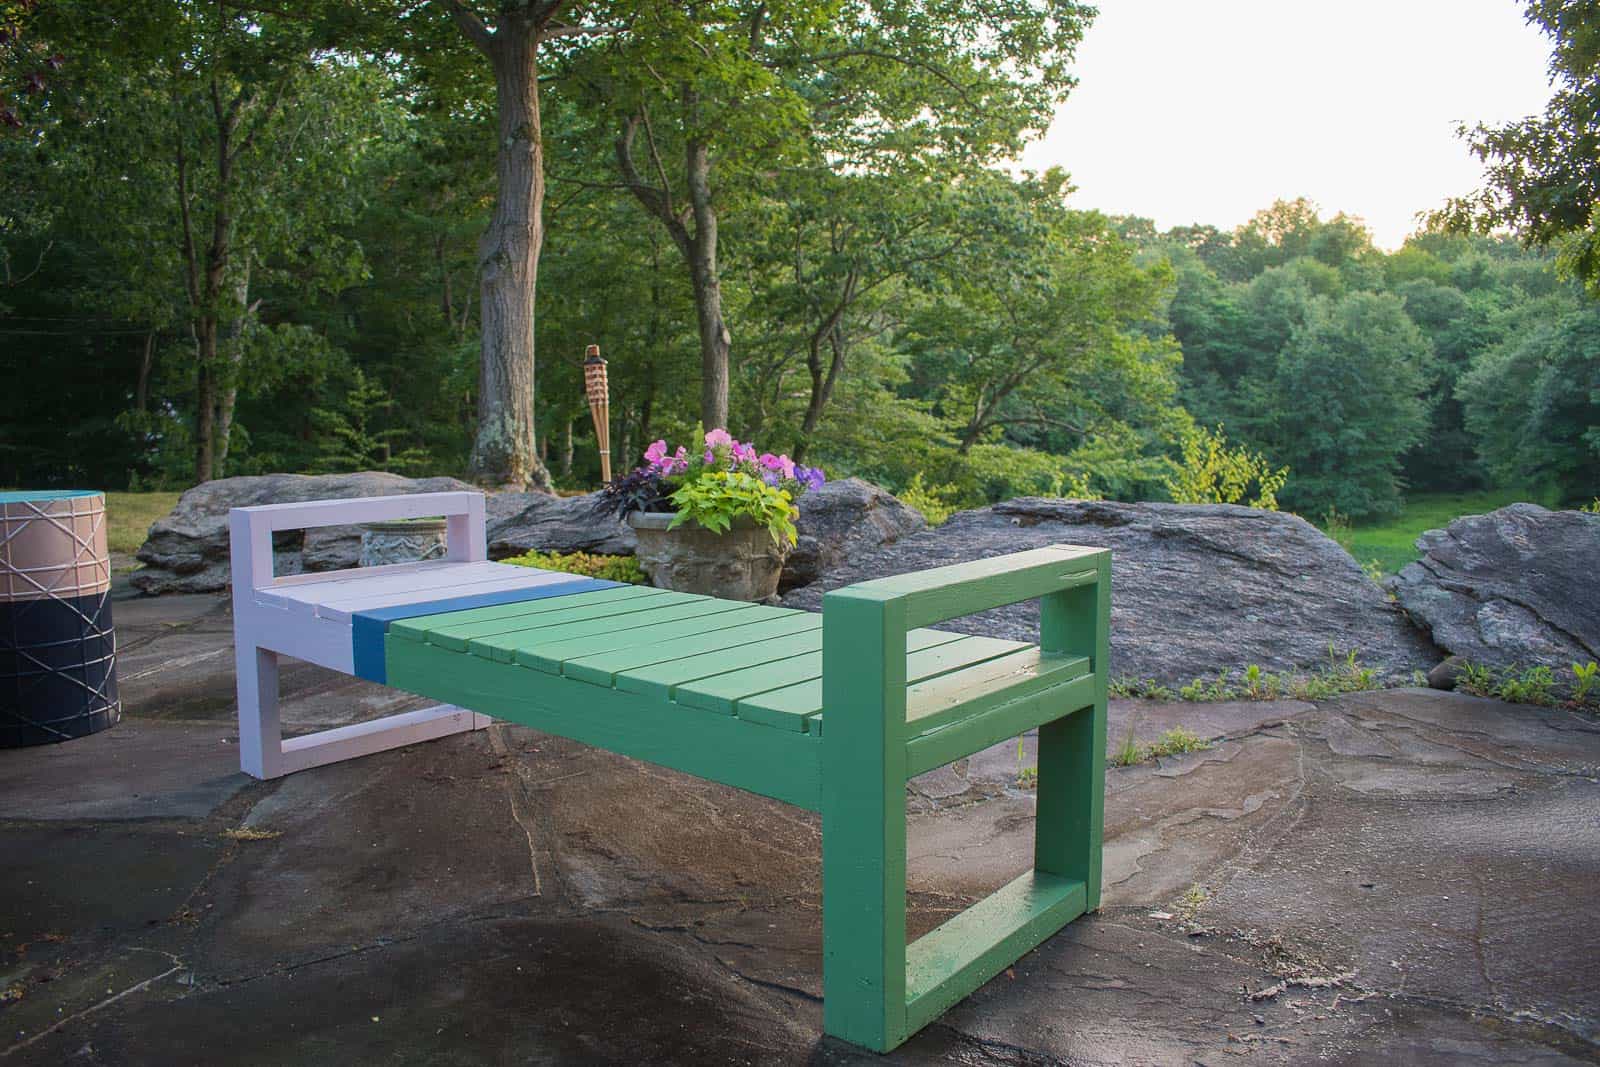
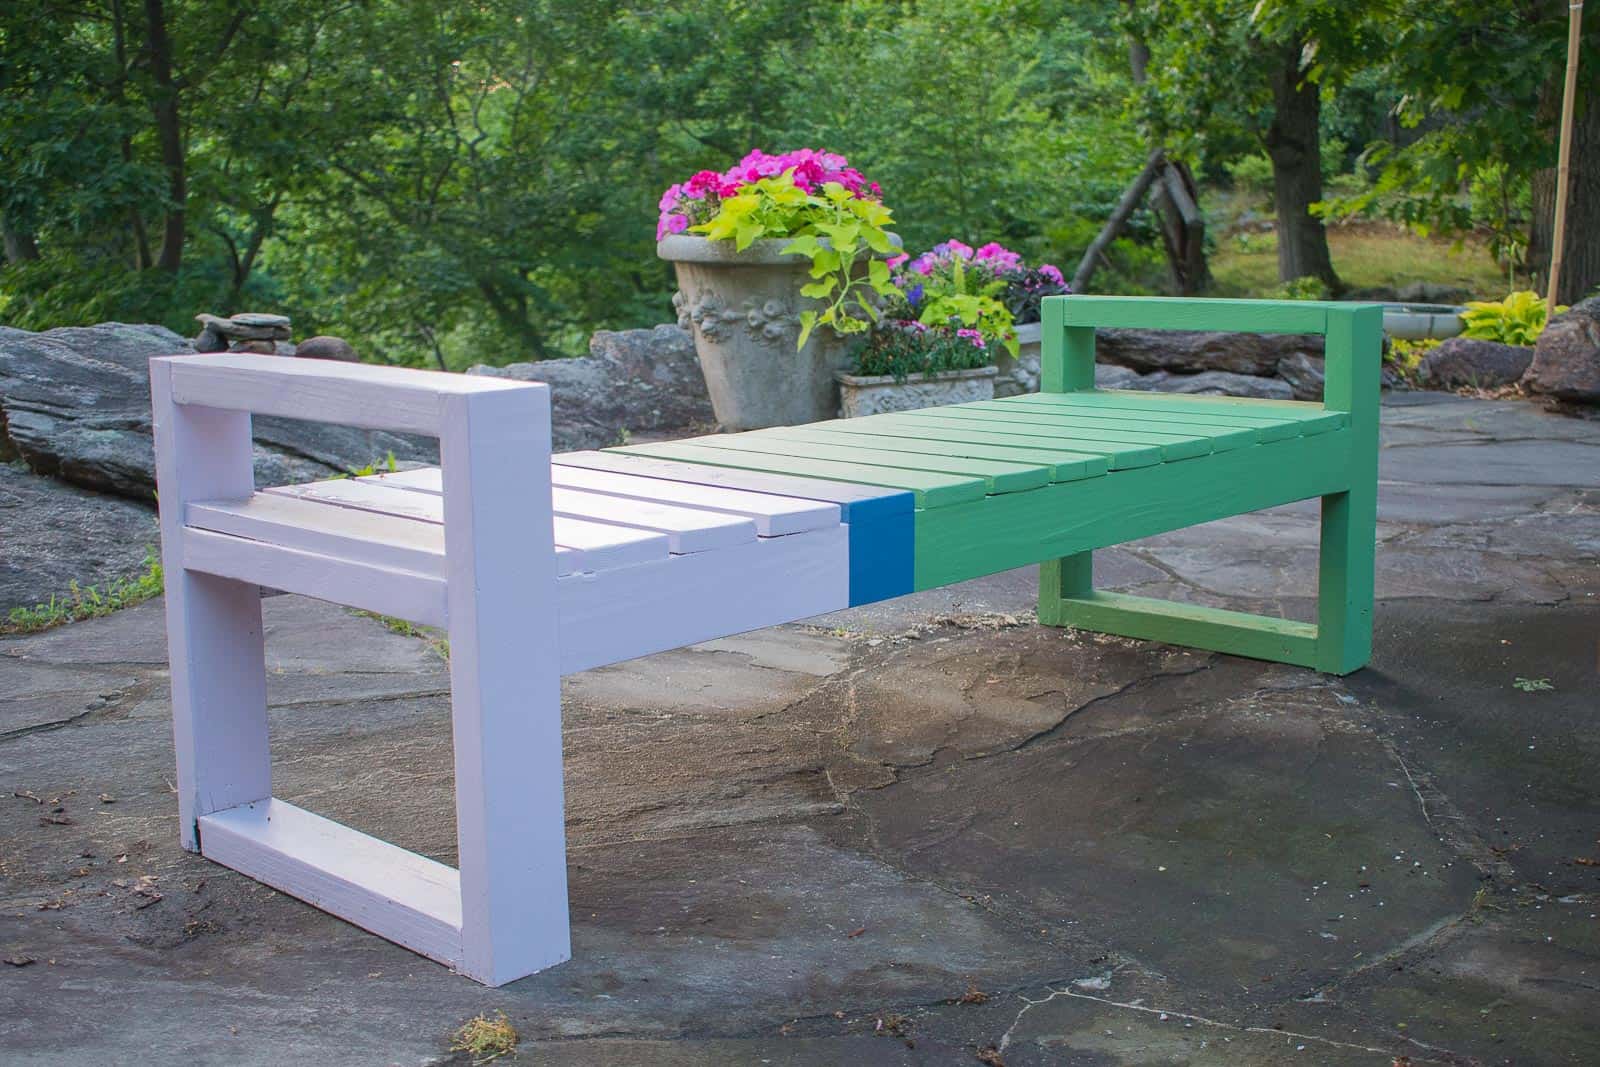
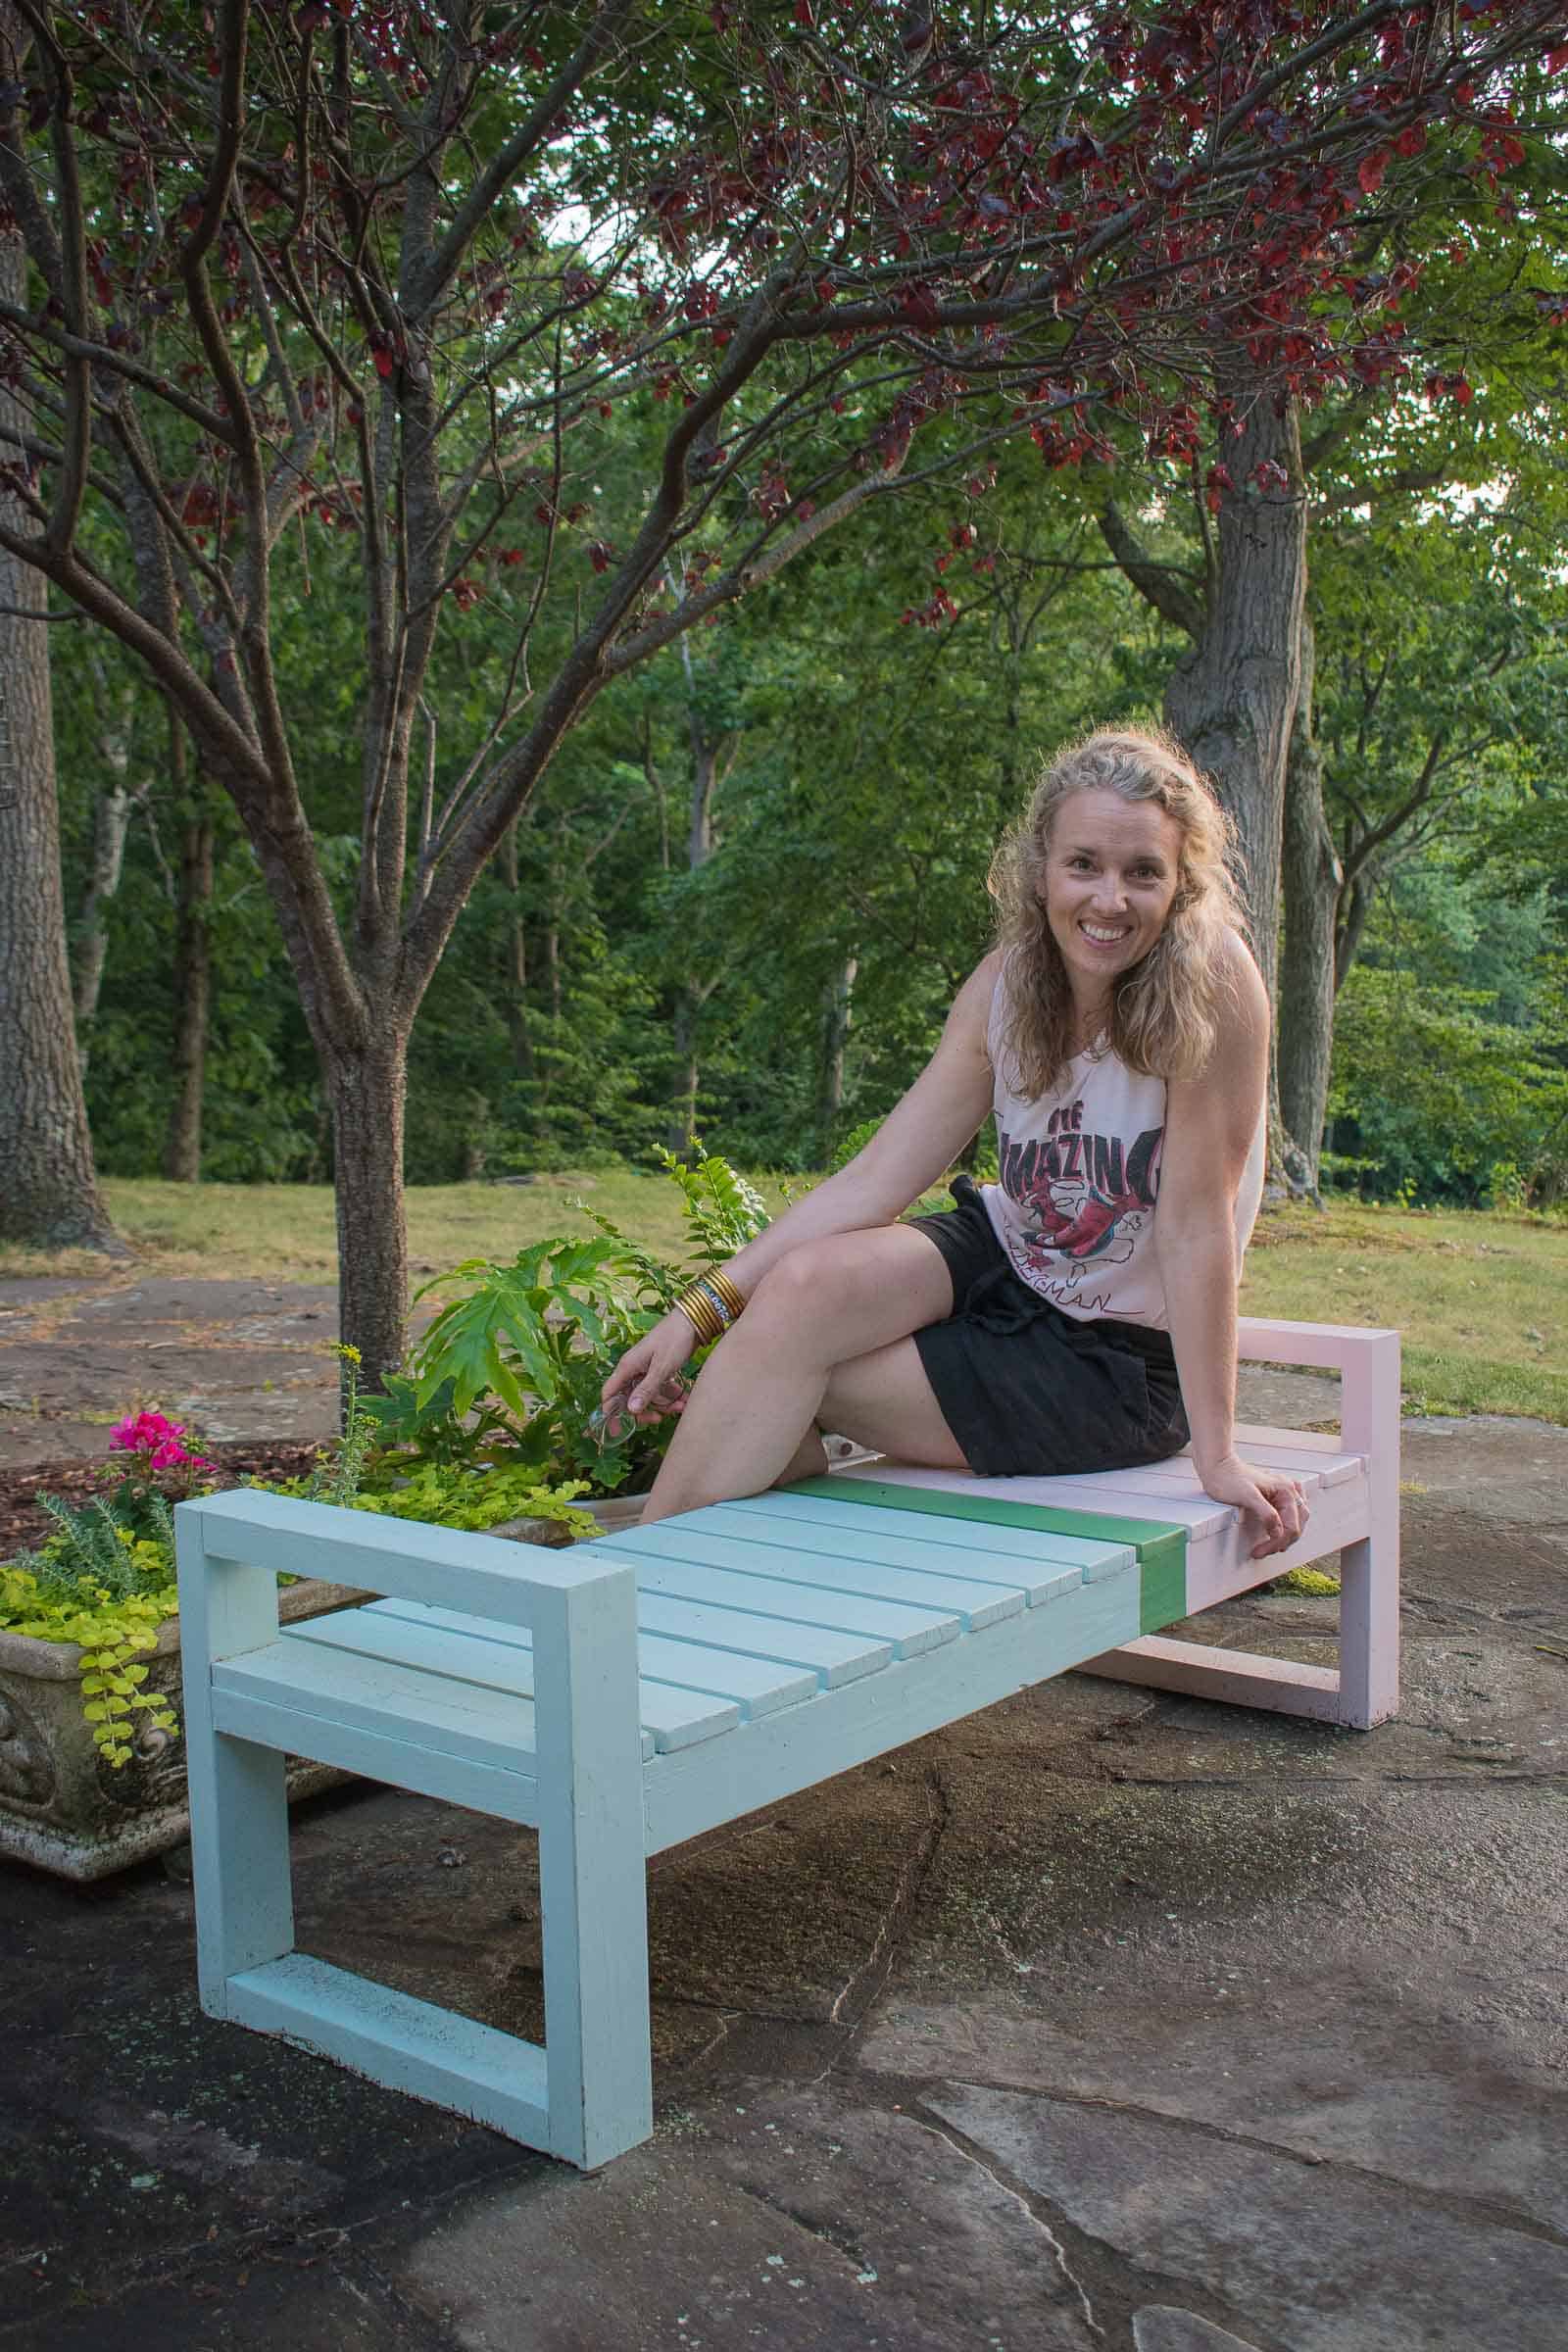
Wanna see how they all look together on our new and improved colorful patio? Wanna see how much better those stained benches look with some color blocking? Feast your eyes…
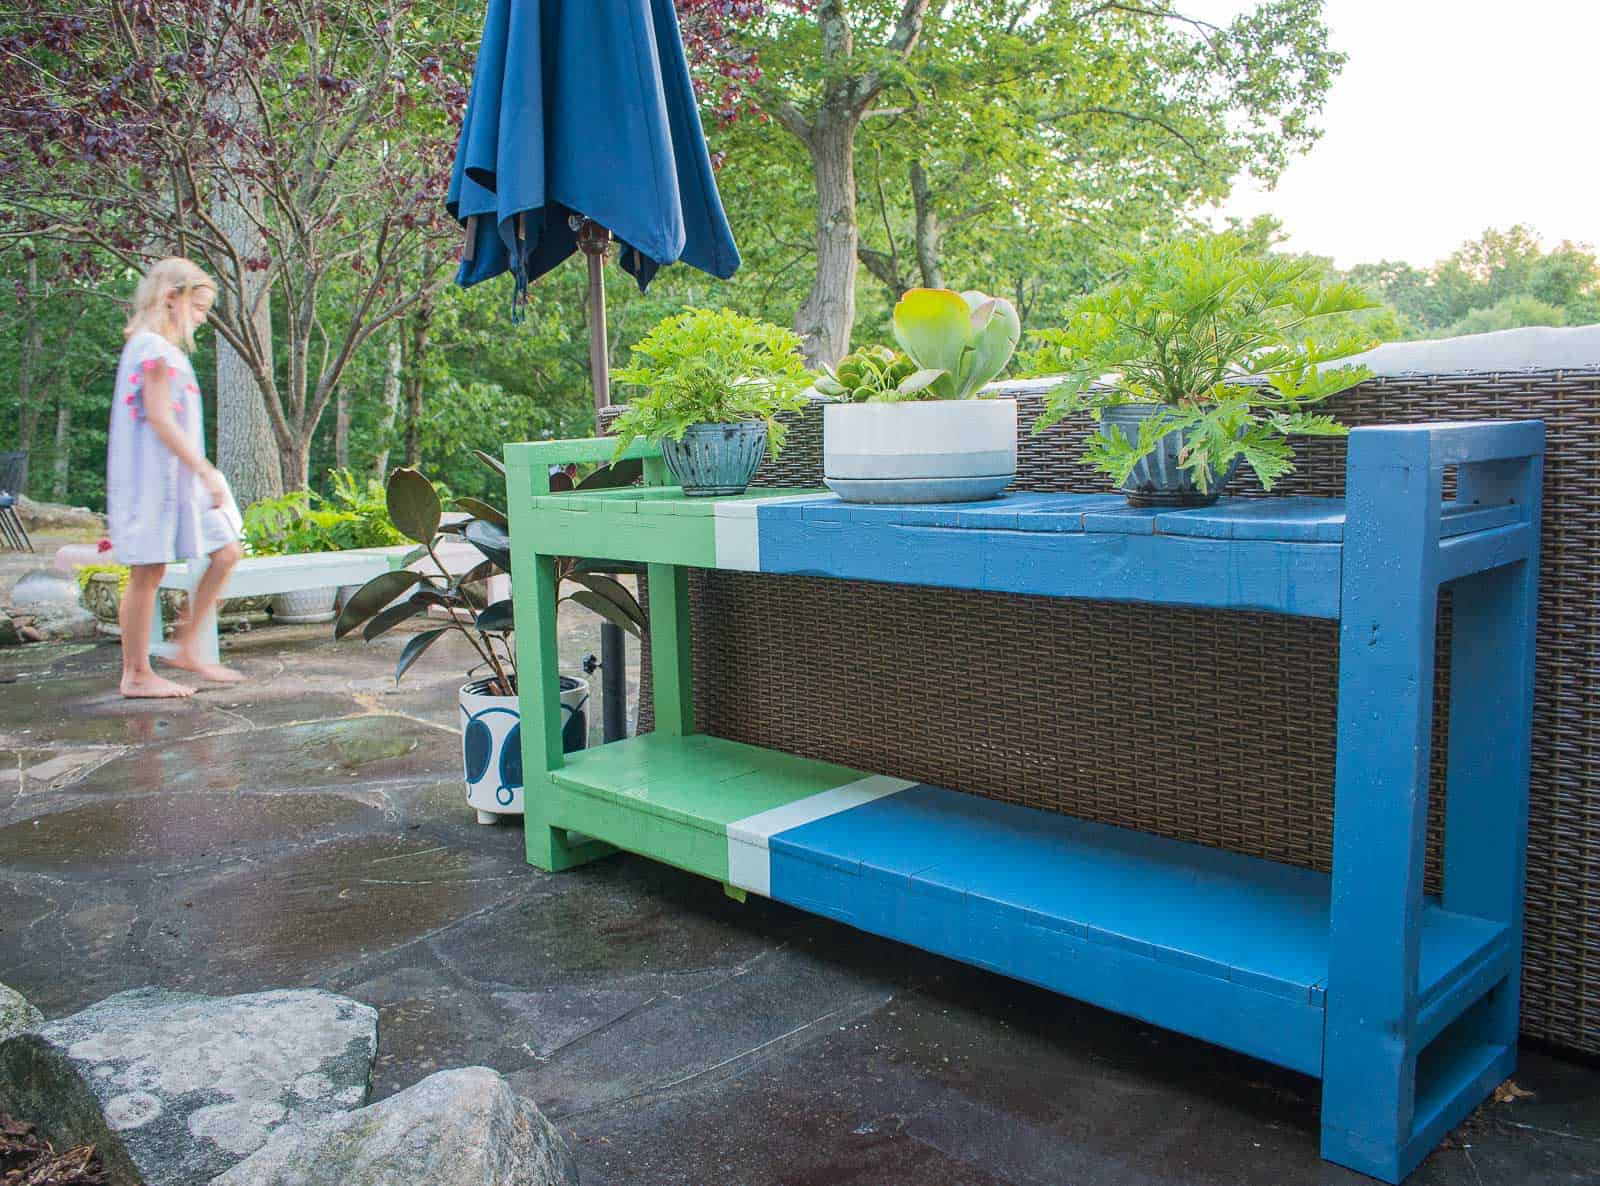
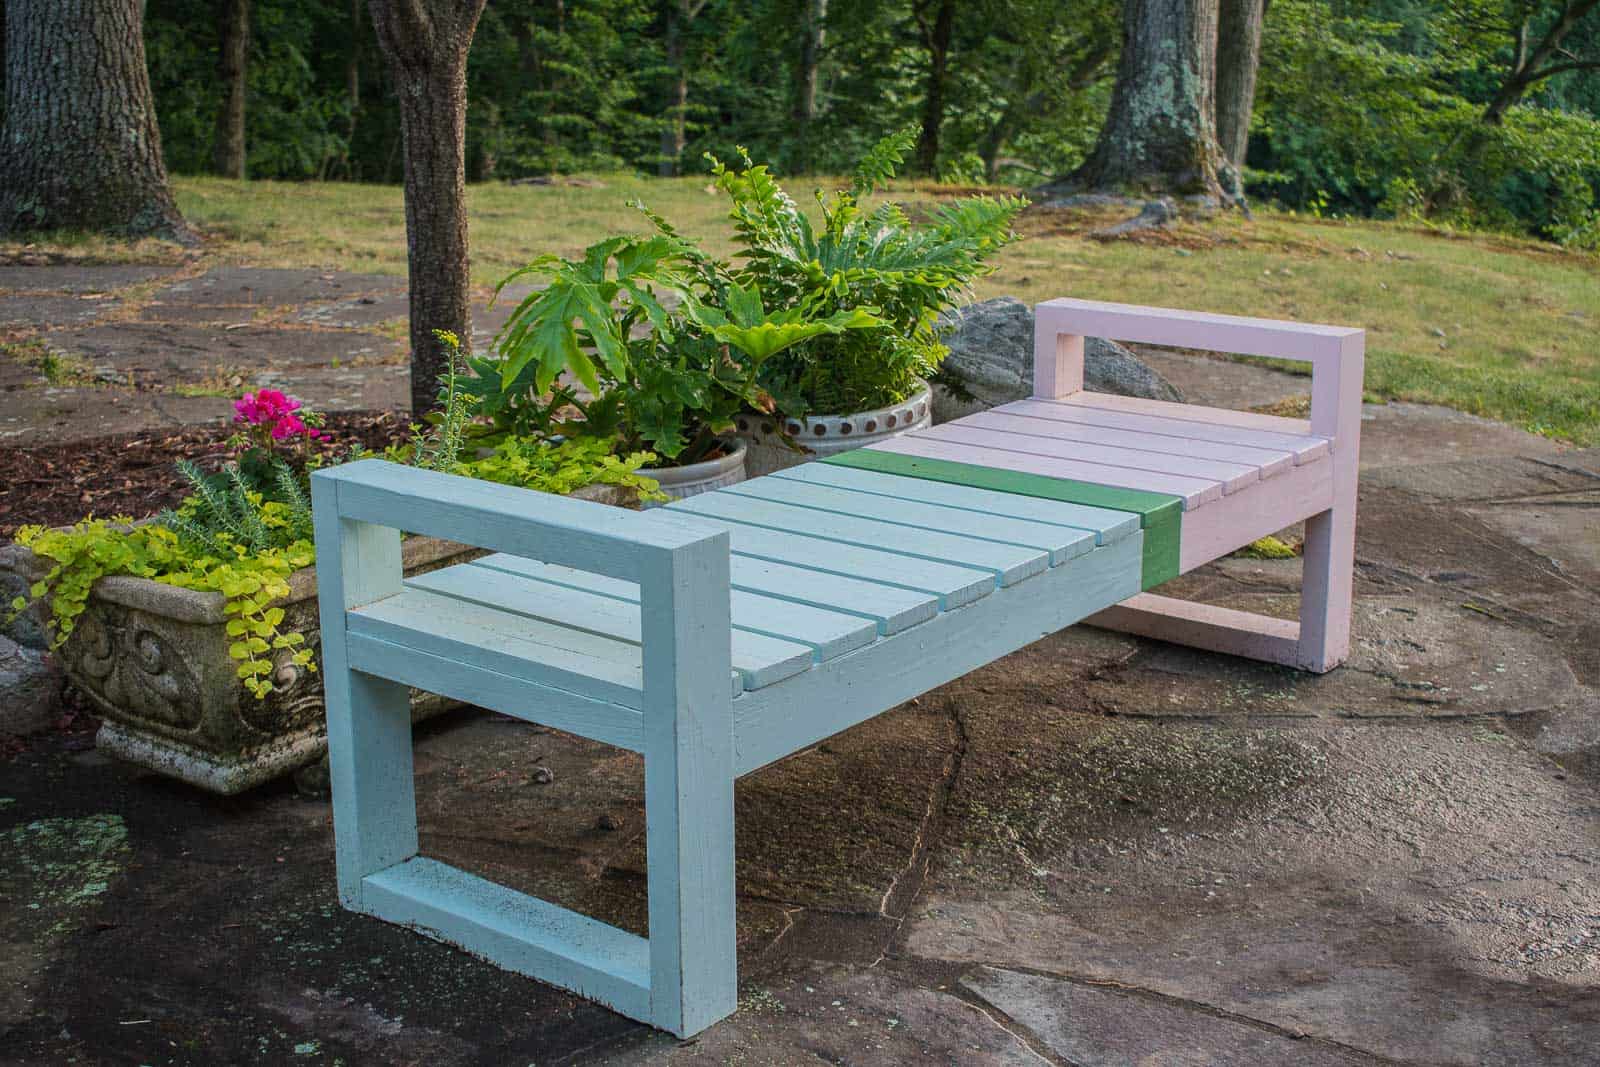
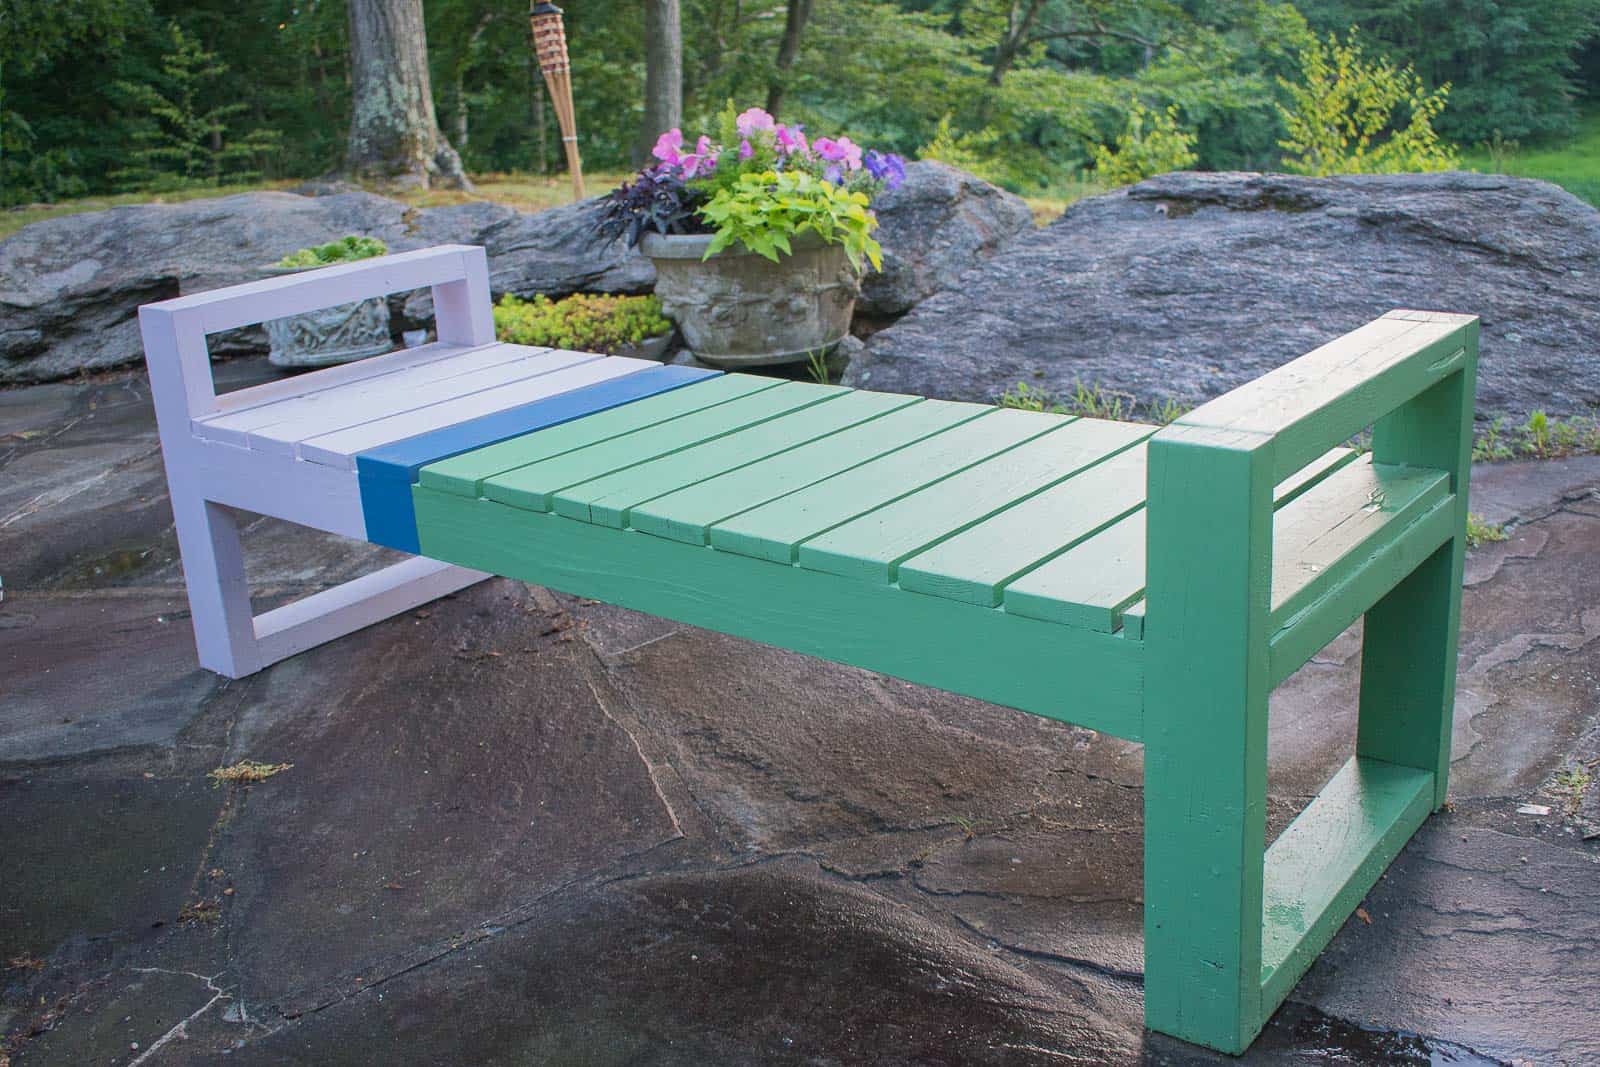
I used this color pallet as a springboard for the whole patio and I couldn’t be happier. Finding a way to bring in color to exterior spaces without it feeling too campy or juvenile is a challenge. And these colors are the perfect mix of chic and fun. In my opinion.

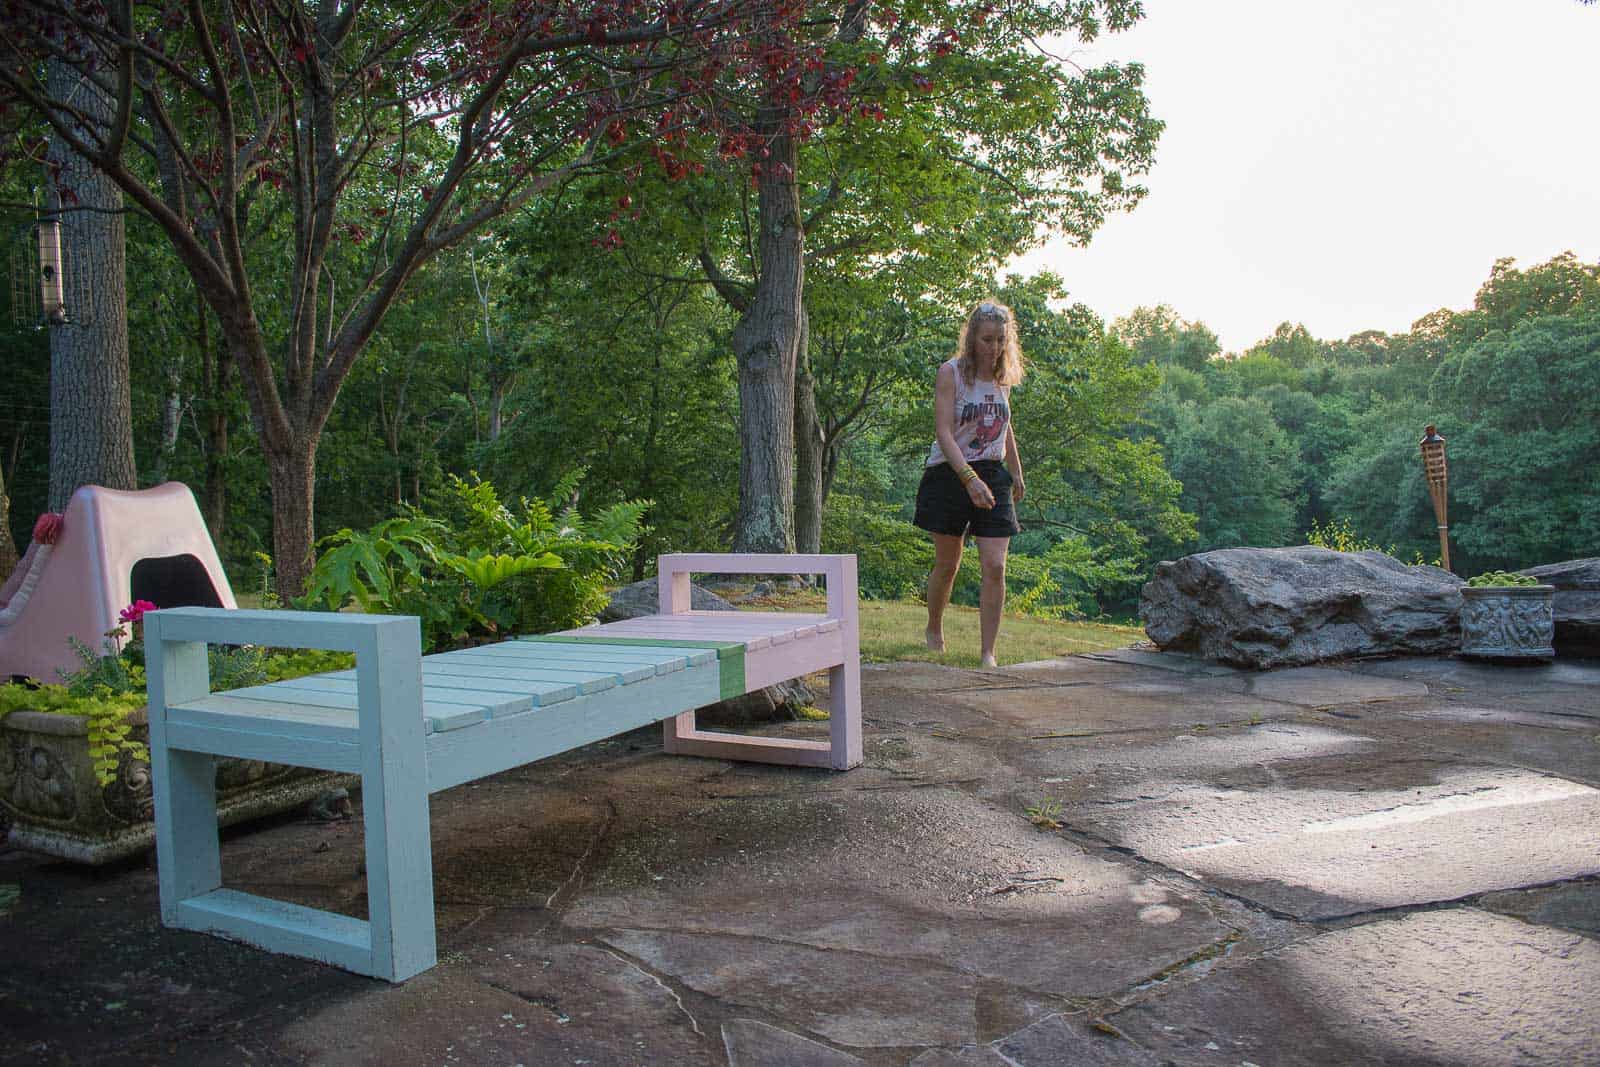
Adding a few simple colors made all the difference to our patio this season. It’s still a challenge to photograph, but having enough color isn’t why! Thanks again to The Home Depot for doing the hard work of finding the best colors… made this project that much easier!
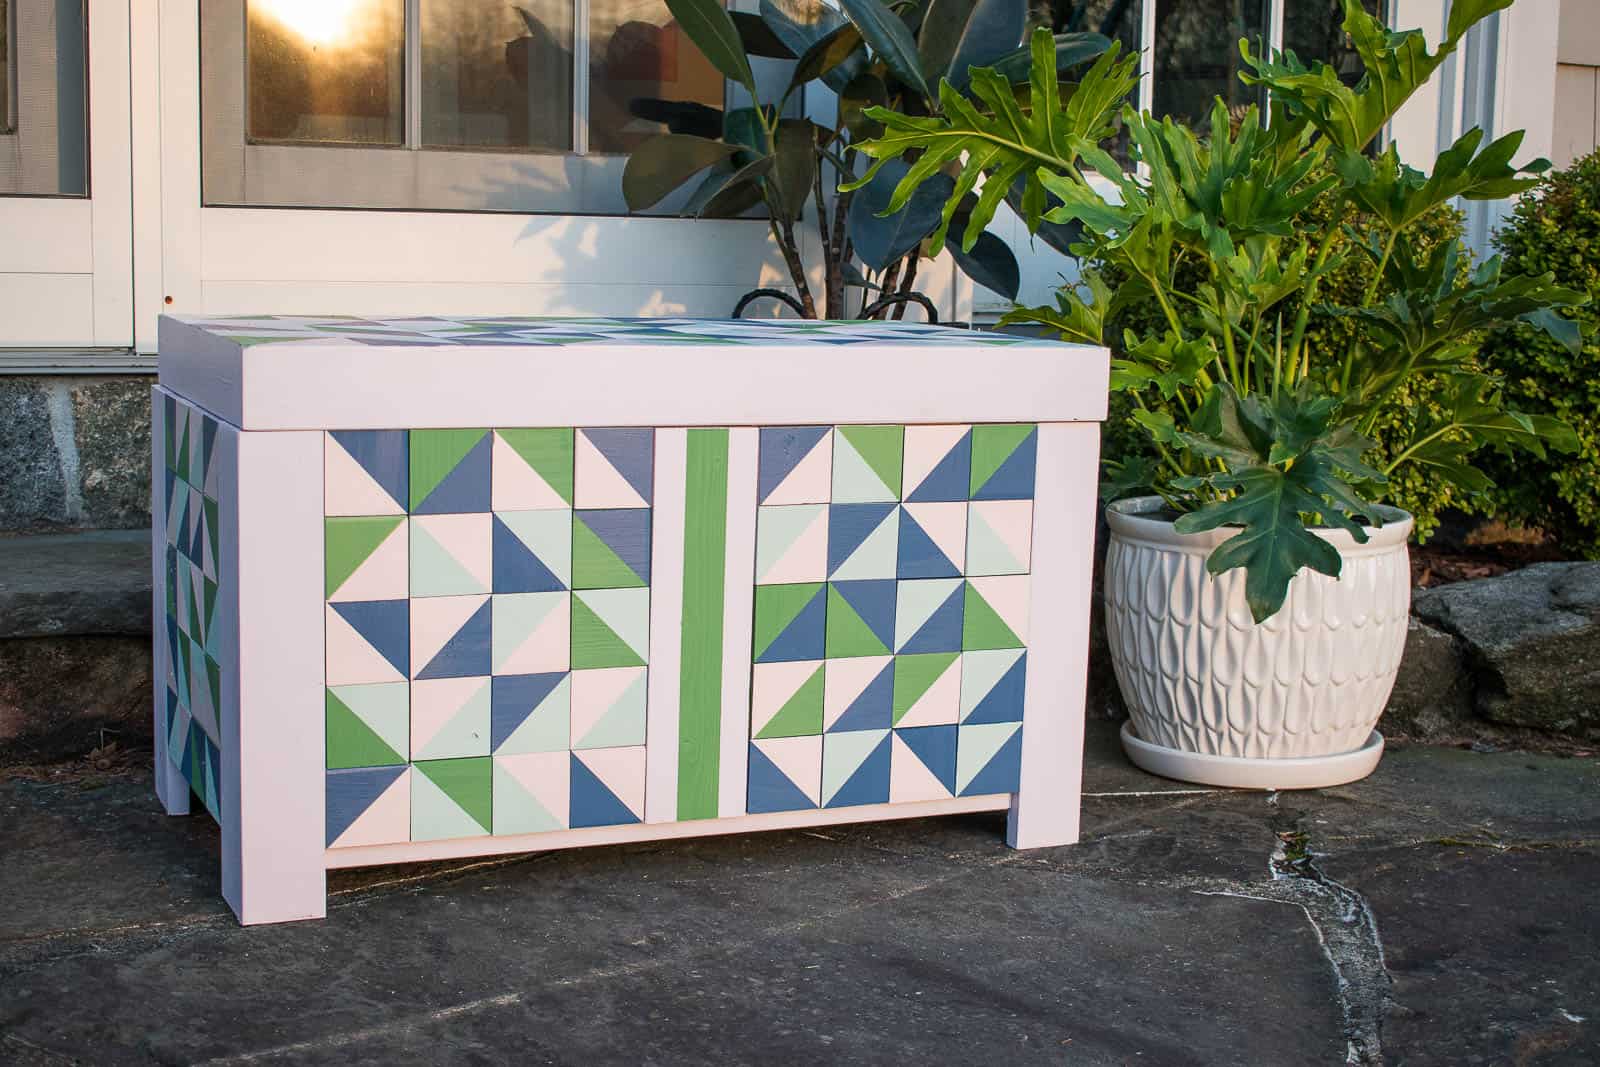
 Just for a bonus… check out this scrap wood cooler color I made using leftover paint.


Don’t Miss Out
Become An Insider!
Signup for exclusive tips, and tricks from Charlotte’s House!
Let’s chat!
I love comments from you, so feel free to leave your thoughts and ideas below! And don’t forget to follow me on Instagram for even more!