
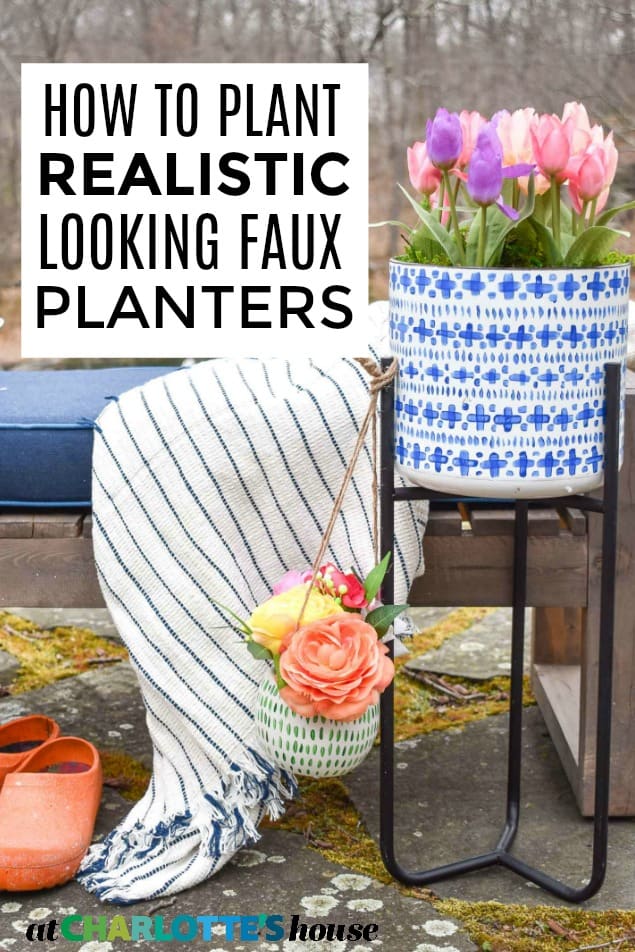
How to Plant Artificial Flowers to Look Like Real Spring Planters
Psssst… this post *might* contain affiliate links: see my disclosure here.
Realistic Looking Artificial Spring Planters
It’s that time of year in Connecticut when spring is SO close, but it’s still too soon to plant flowers. Trees are still bare. Grass is still gray. But I NEED some flowers and spring planters in my life. I’m going to show you how I planter faux flowers to look real and how I customized some of their planters to fit my decor a bit more too!
Disclosure: This post was written in collaboration with JOANN. All the love and affection is entirely mine.
Shop my favorites!
Here’s what you need to grab from JOANN. (No judgement if you go in for these items and end up with supplies for 12 other projects… happens to me all the time.)
- Garden Planter (Small and Large)
- Animal Planters (not available online)
- Hanging Planter
- Tulips
- Dry Floral Foam
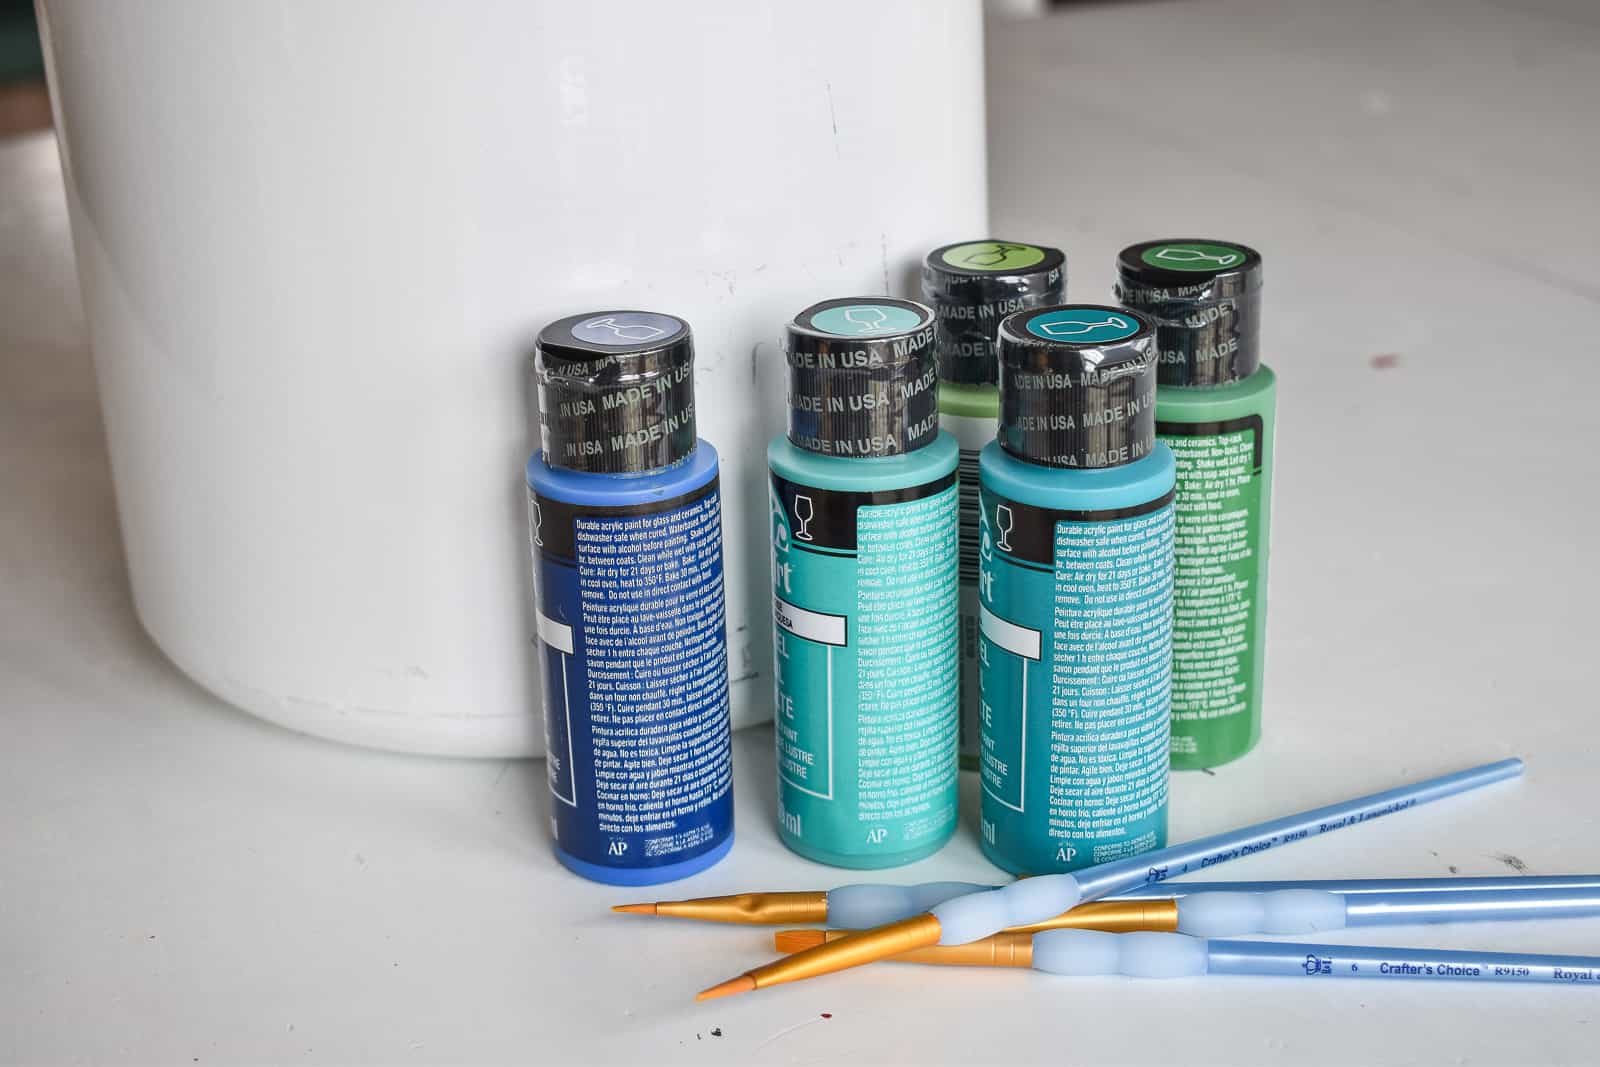
- Ceramic paint
- Brushes
- Moss
- Faux succulents
- Maiden hair fern
- Ranunculus
- Also shown: Blanket, pitcher, candle, tray
- Wire cutter
- Floral Sand
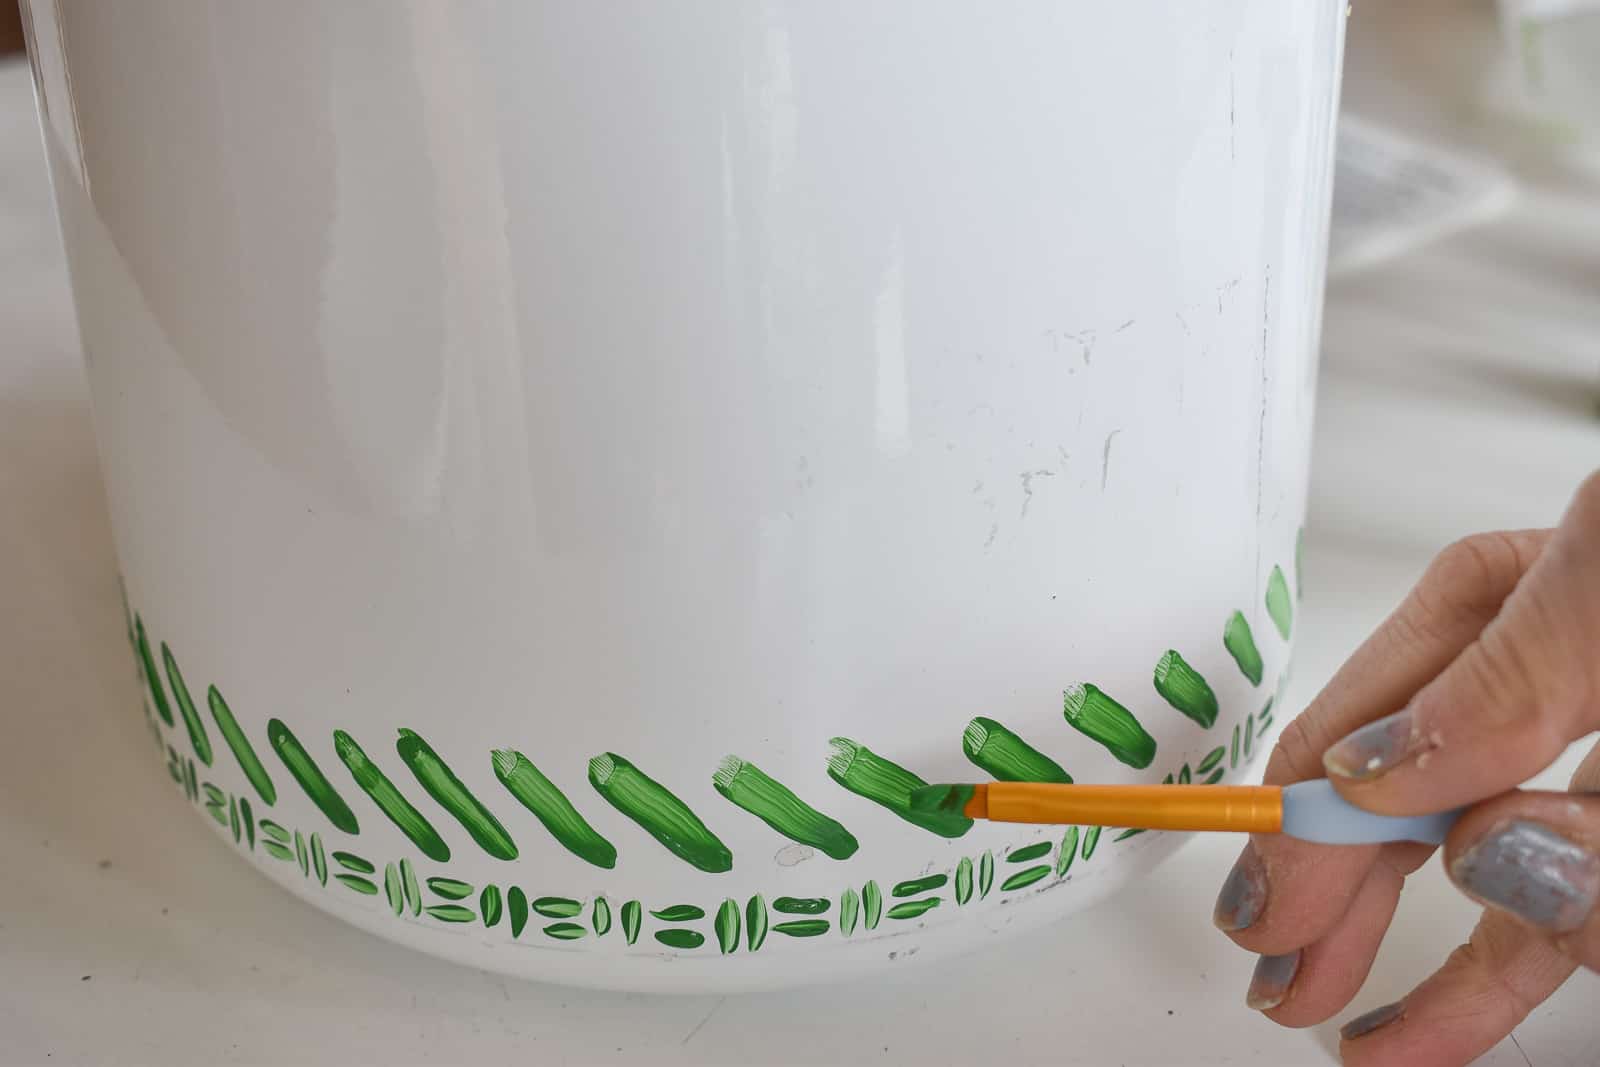
Step 1. Decorate the planters
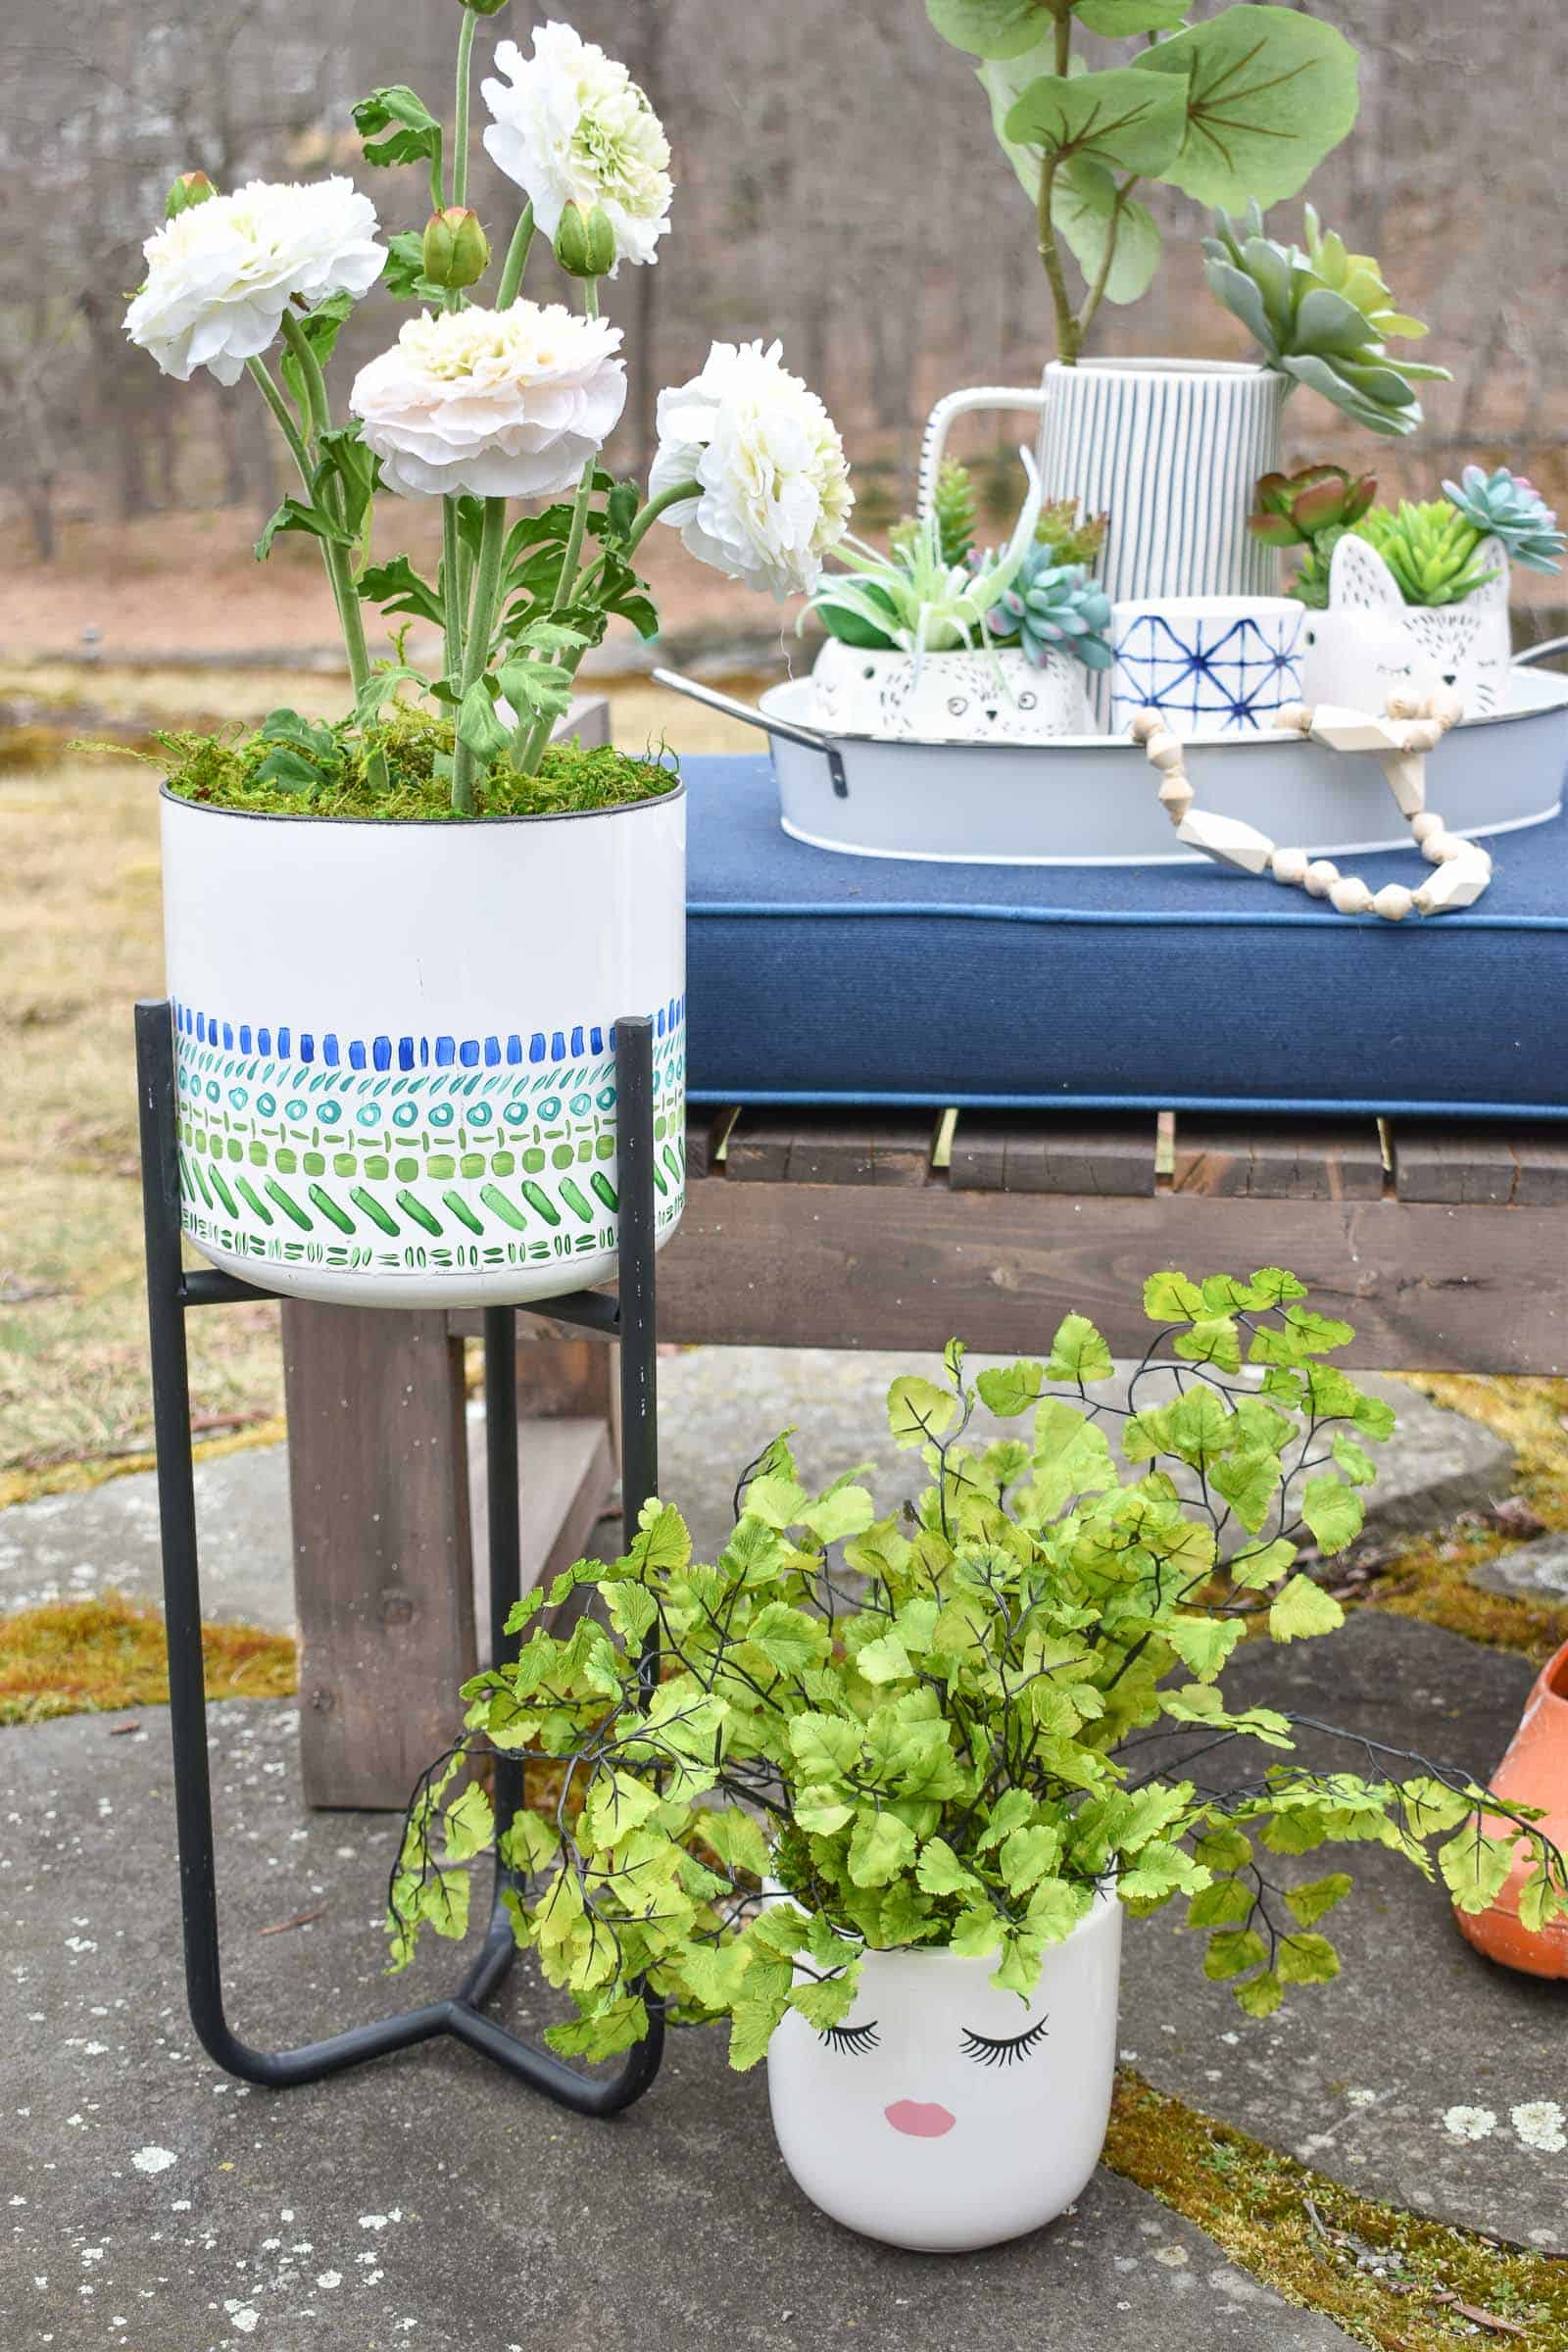
I found craft paint intended for ceramics so I used that to add a little pattern to the white planters I found at JOANN. Obviously you can skip this step, but you know I love me some pattern.
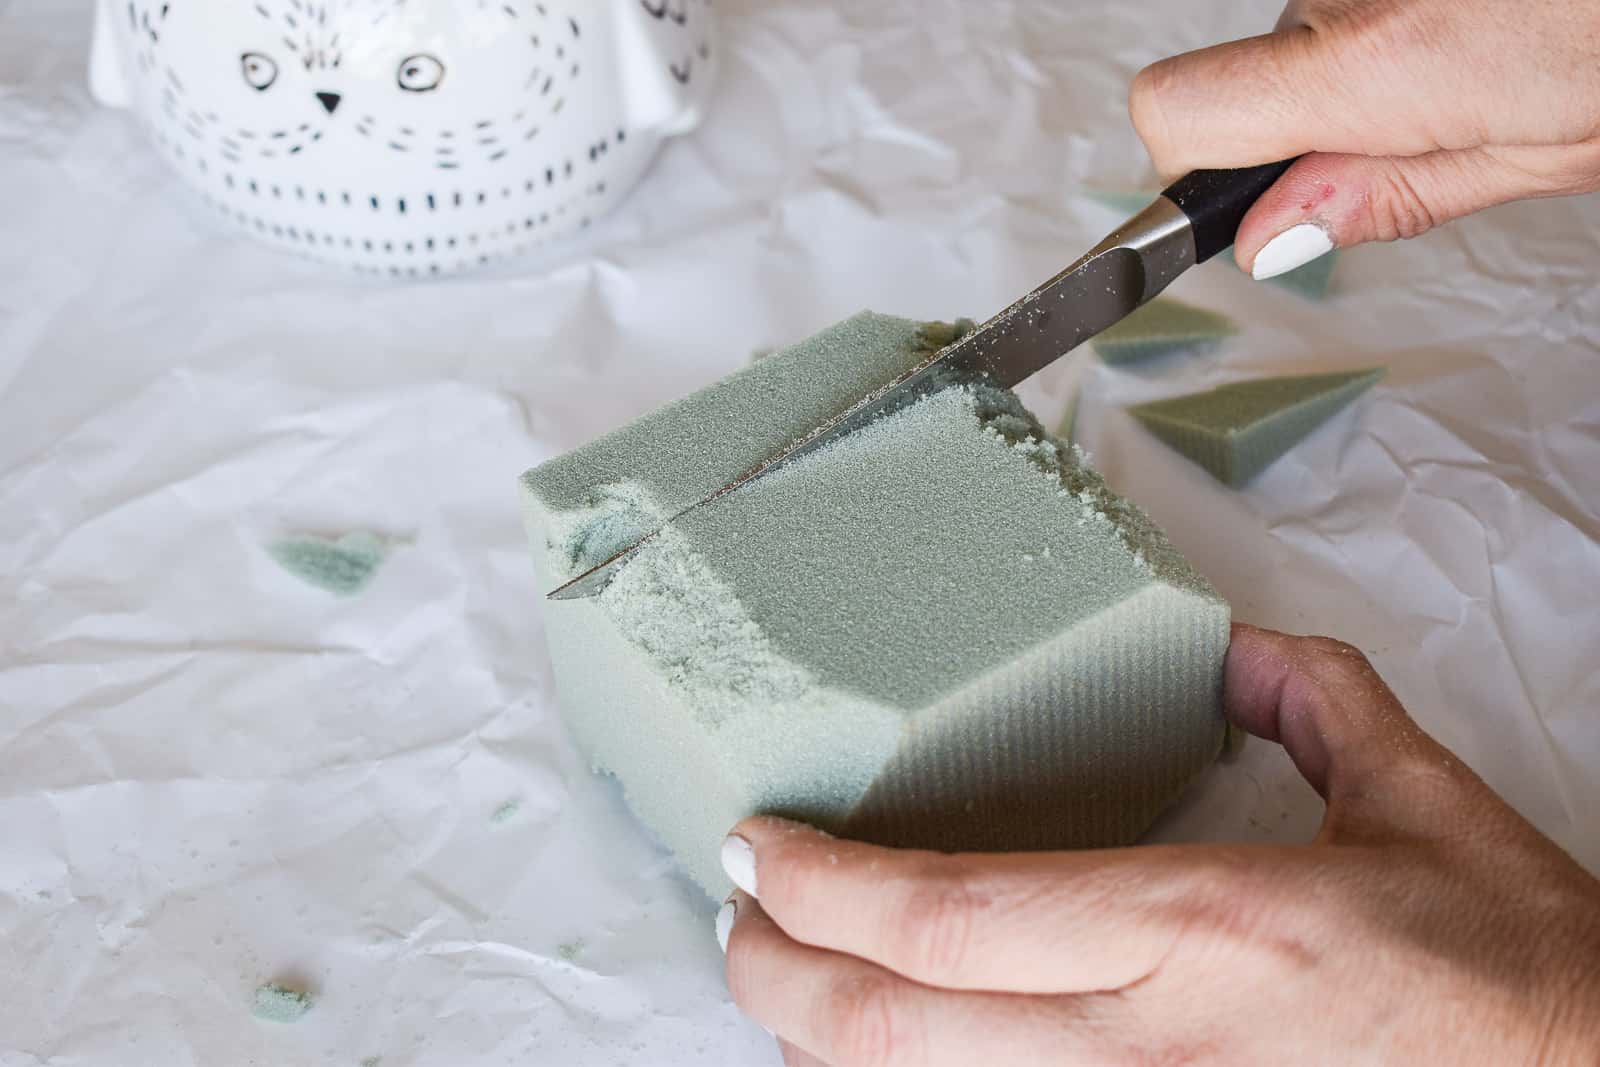
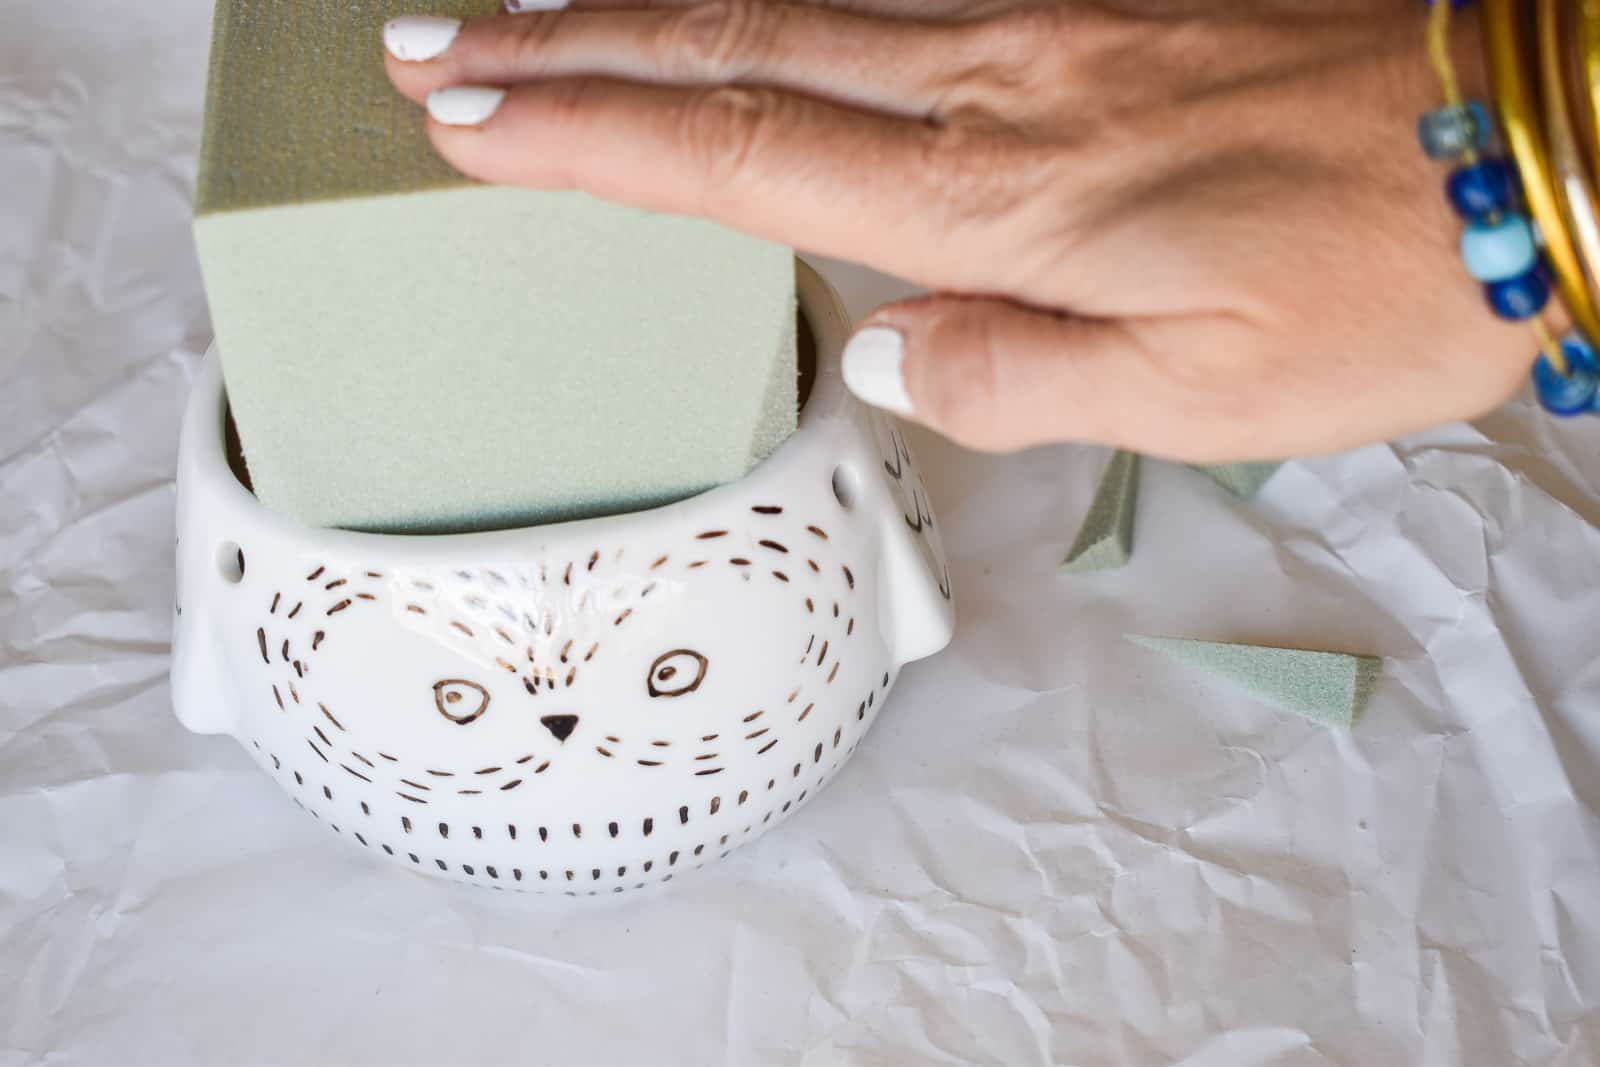
Step 2. Cut Floral Foam
In the floral section of JOANN is a bunch of foam. Some can be used wet and would be perfect for LIVE flowers, but I’m using the foam intended for dry situations… so artificial flowers. It’s really easy to cut and form so grab a kitchen knife and trim the dry foam to fit your container.
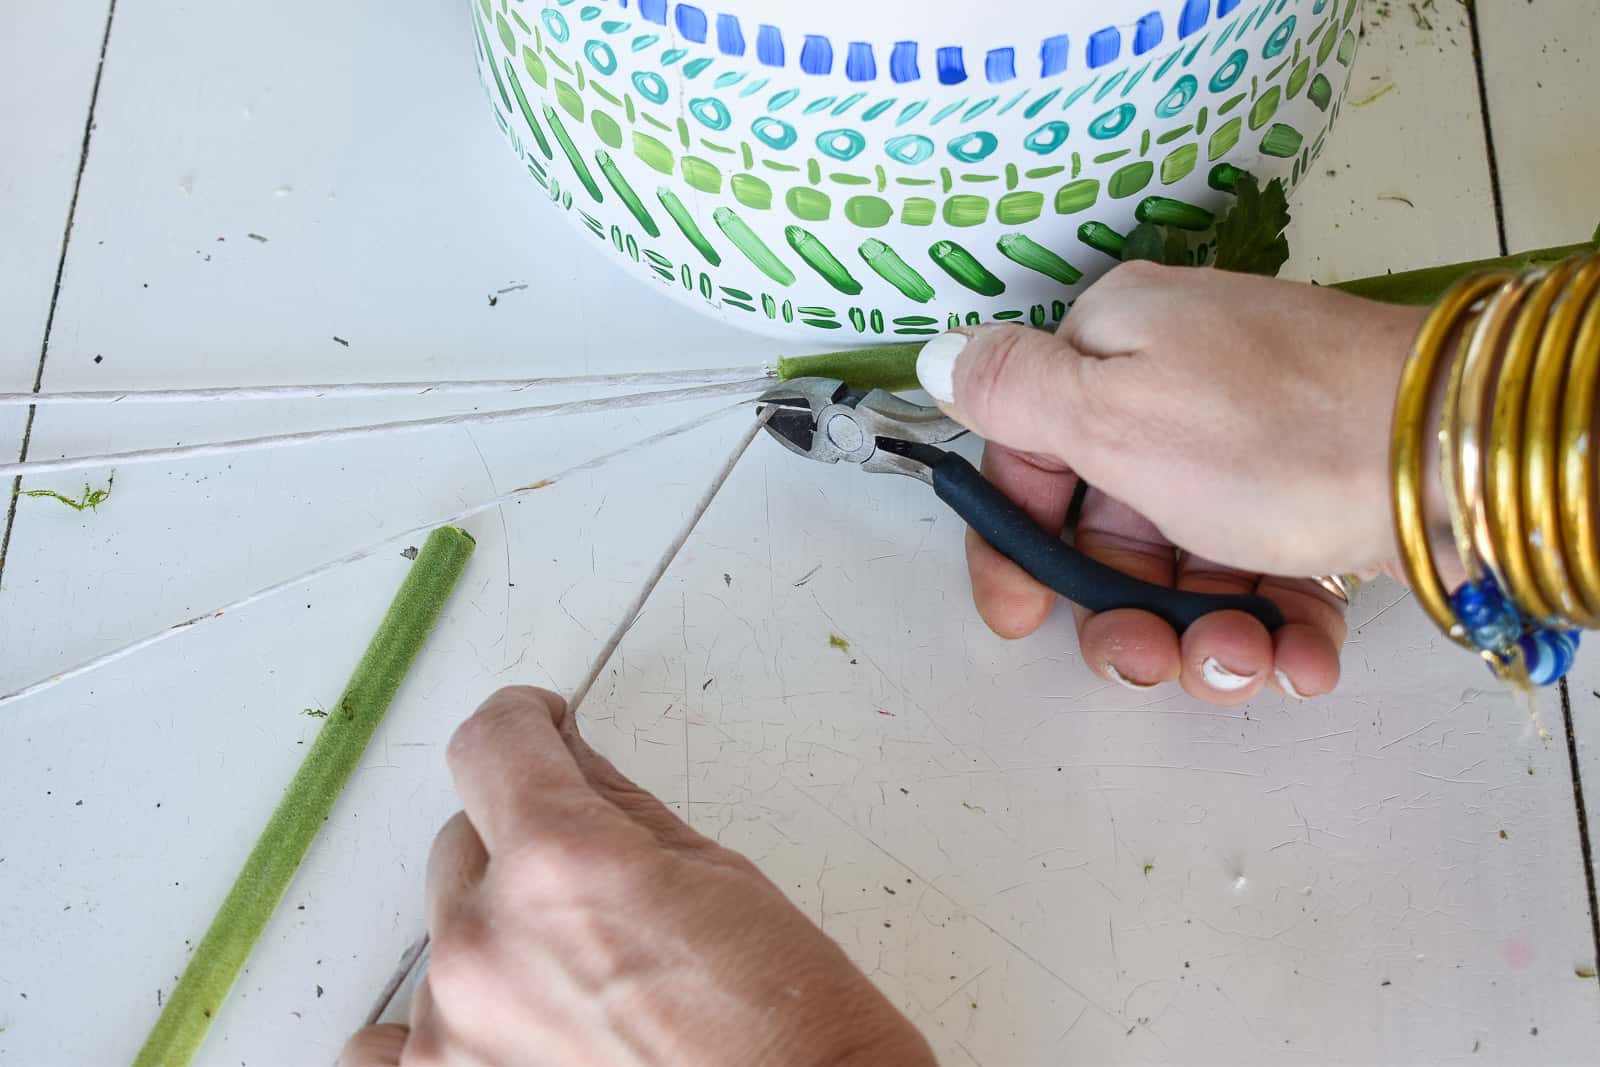
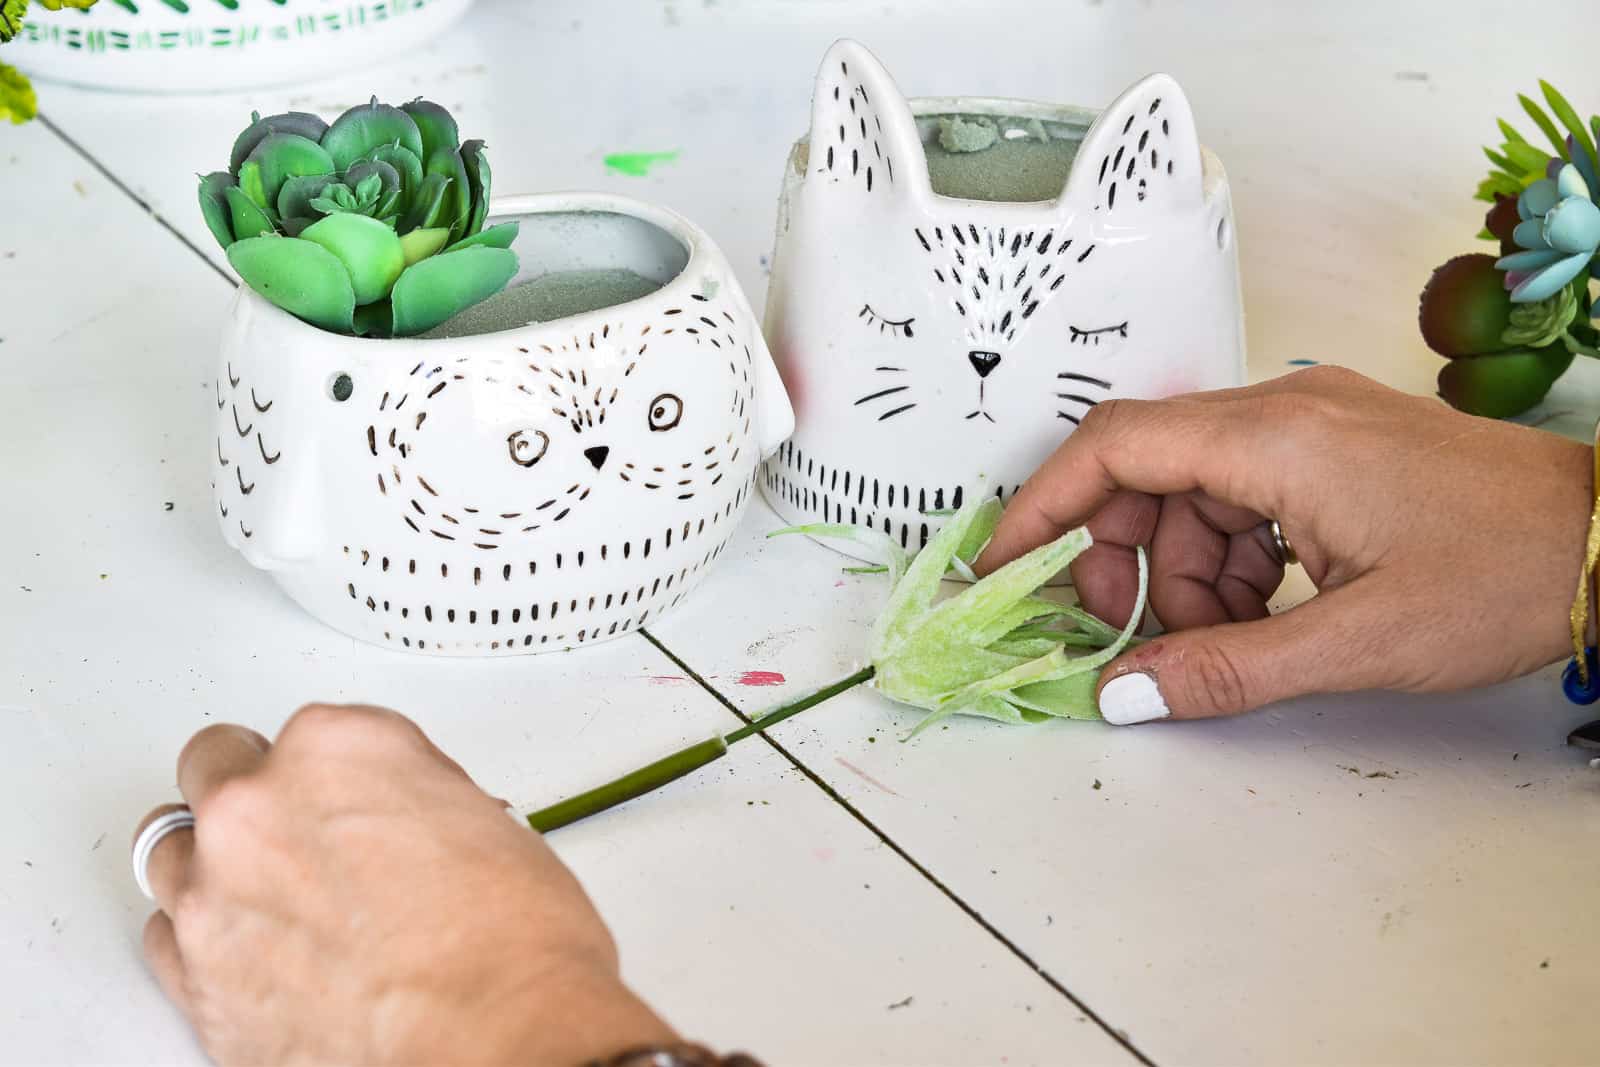
Step 3. Trim the Artificial flower stems
Using a wire cutter, trim the artificial flower stems. With faux flowers, sometimes there are a few different wires in the main stem so it might be too thick to cut with regular wire cutters. You may have to cut away the outside plastic to get to the wires inside.
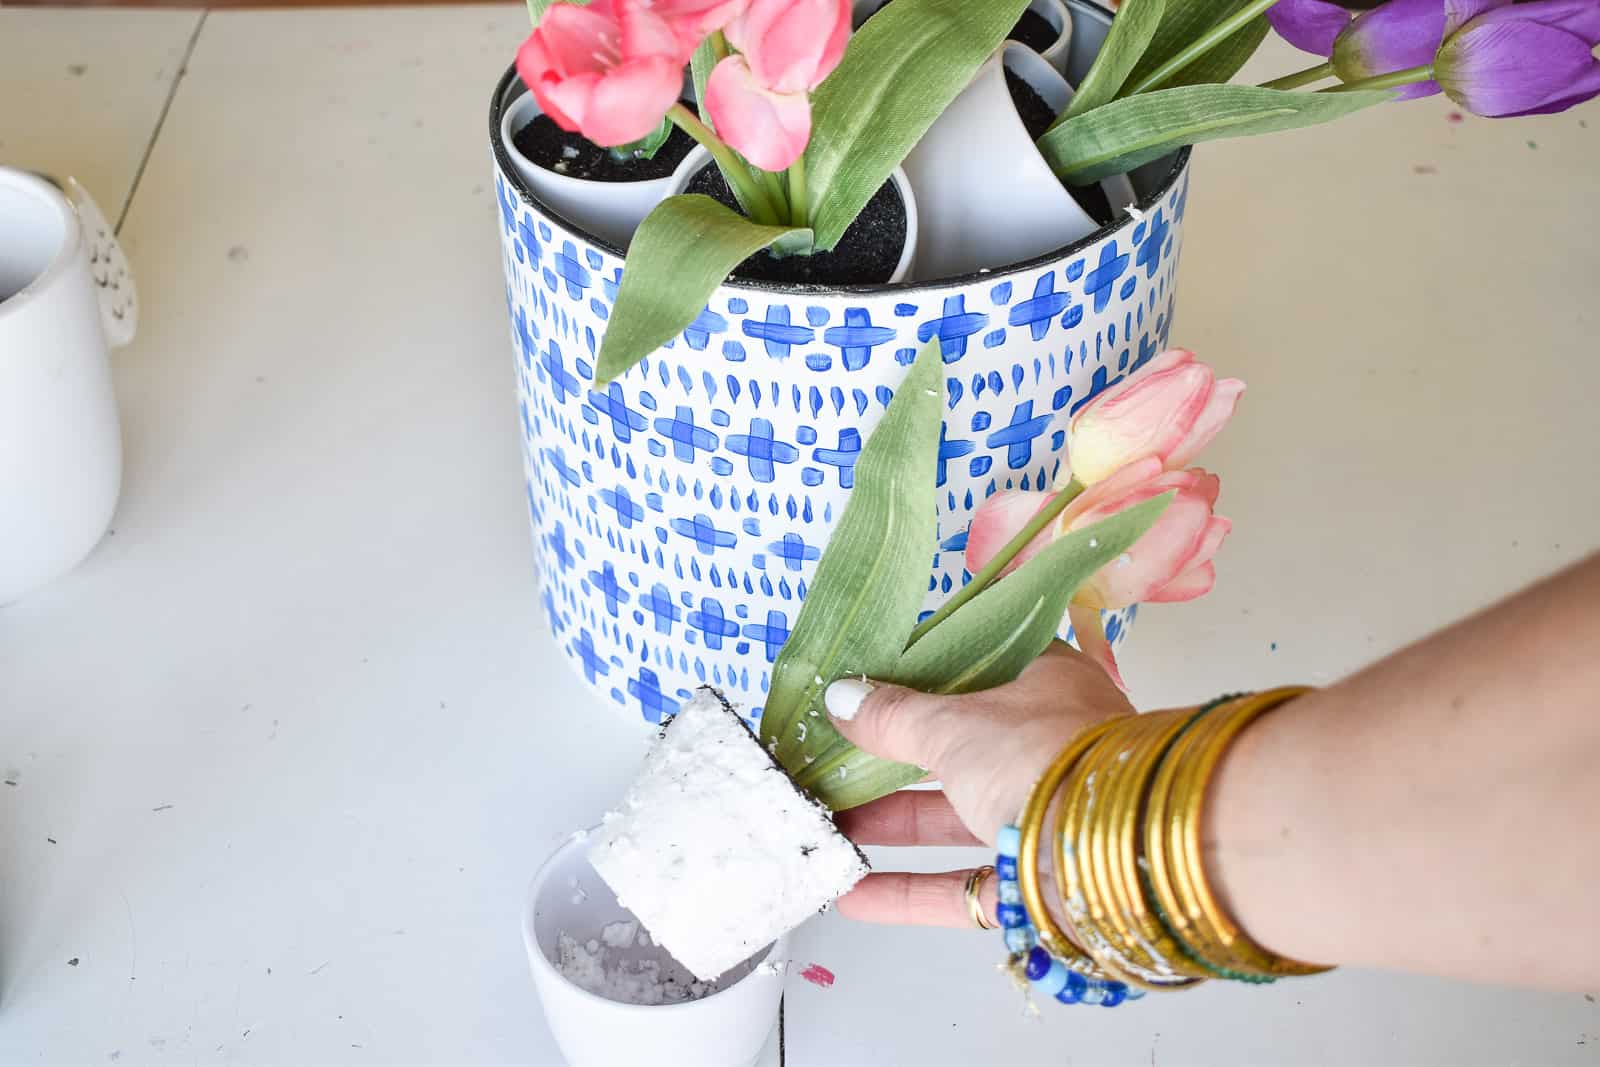
Step 4. Place the Flowers into the foam
Keep in mind how a real flower looks: the stems have different lengths… they don’t all come from the exact same spot in the ground… stagger your stems and vary the height to make them look most realistic. For one of my planters, I was using tulips that were already in little pots. I propped the pots up on some floral foam and all but one of them fit perfectly. I had to pull one tulip out of the pot and tucked it in the middle.
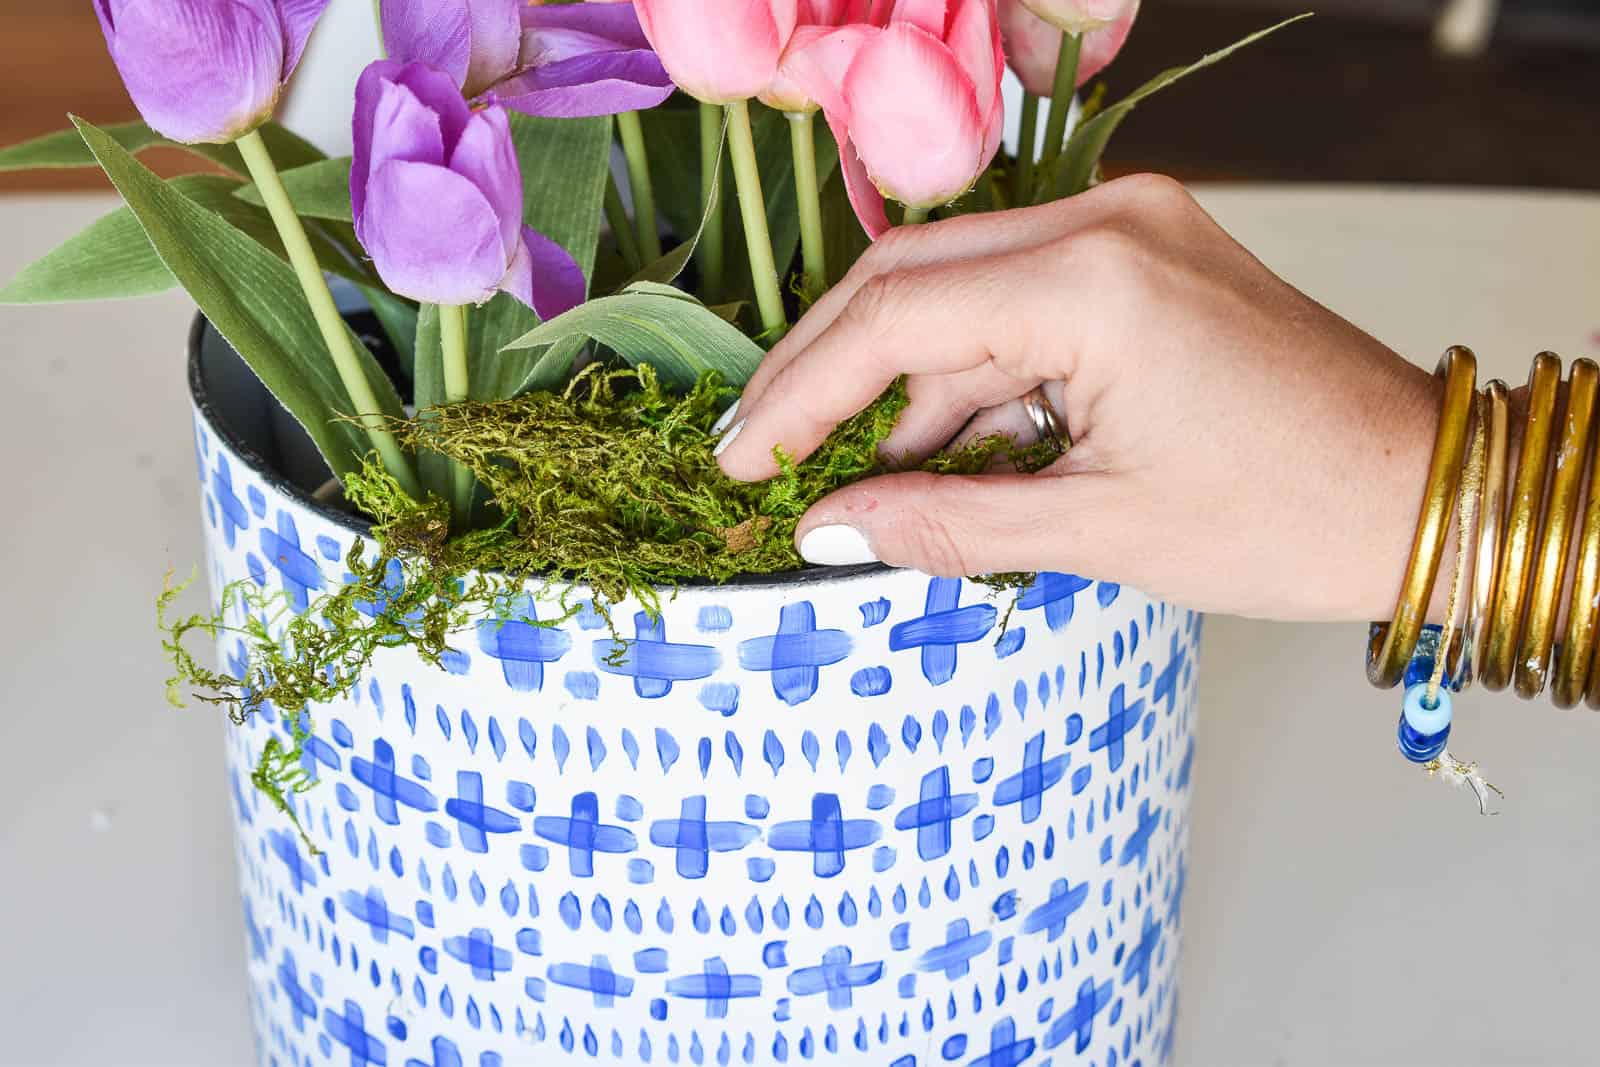
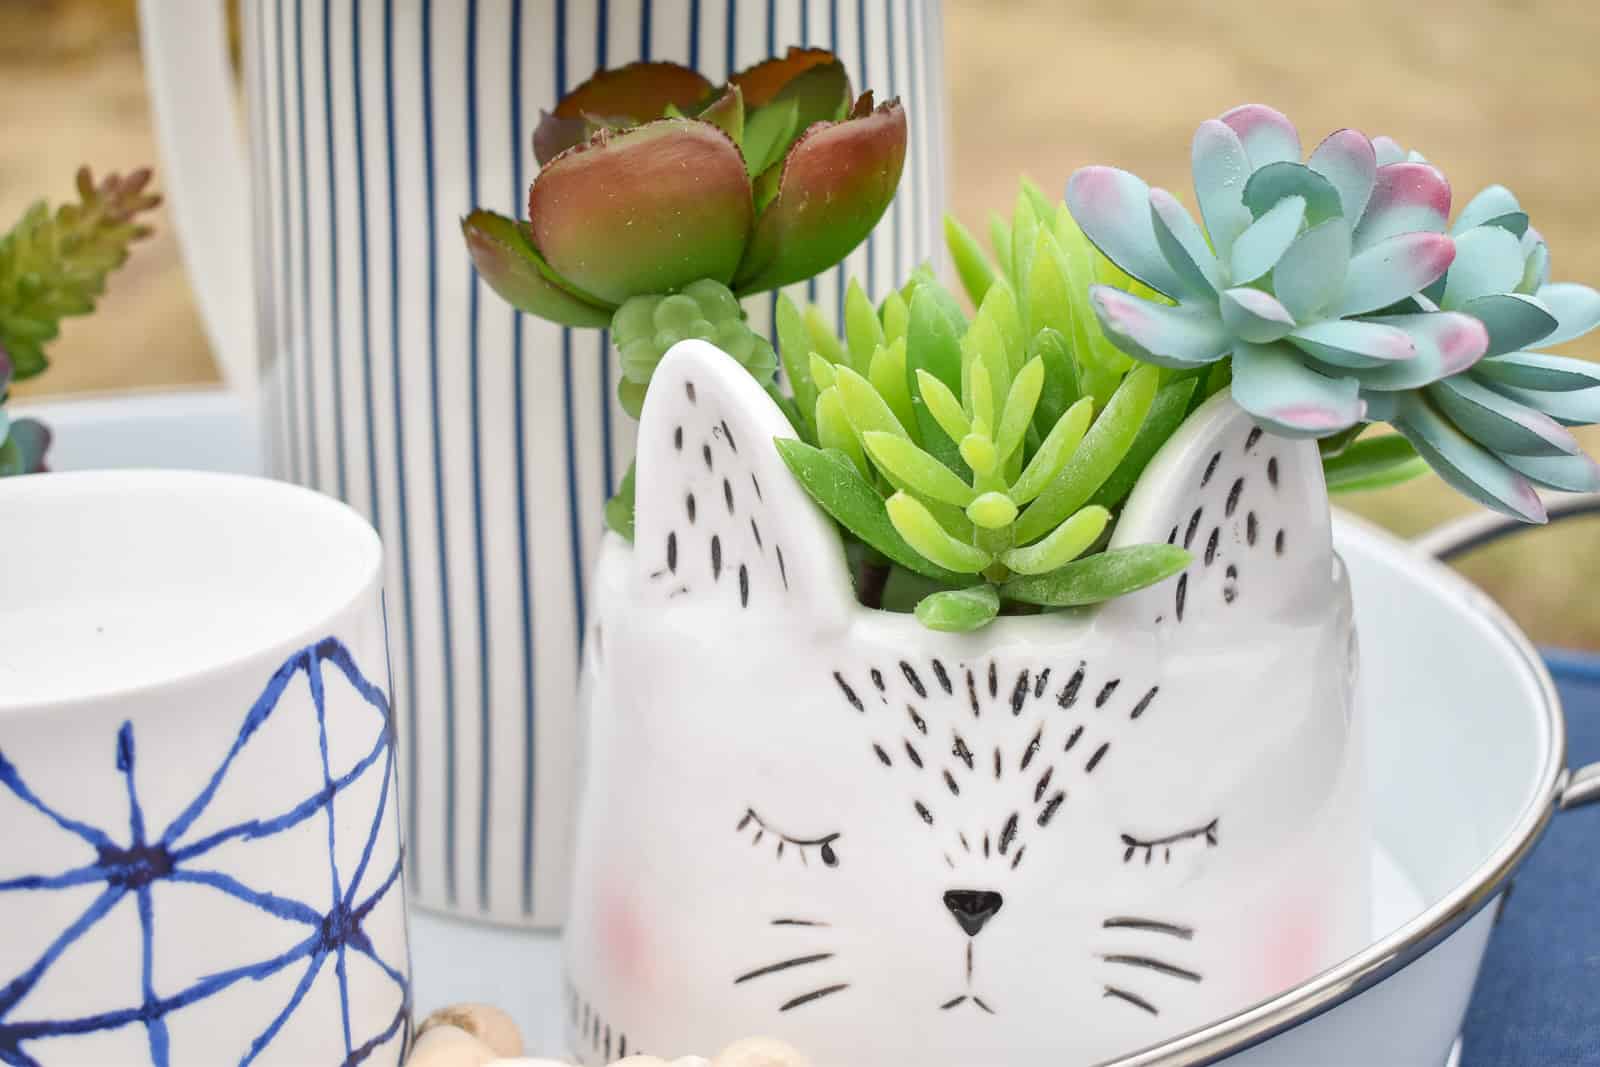
Step 5. Moss is the Icing on the Cake
At this point, your planters look terrible, right? NOTHING like a real plant. Which is where the artificial moss comes in… put some paper down on your work surface (moss is messy), and place small clumps of moss around your flowers to cover the foam. Just like that your artificial flowers have gone from what? to WOW!
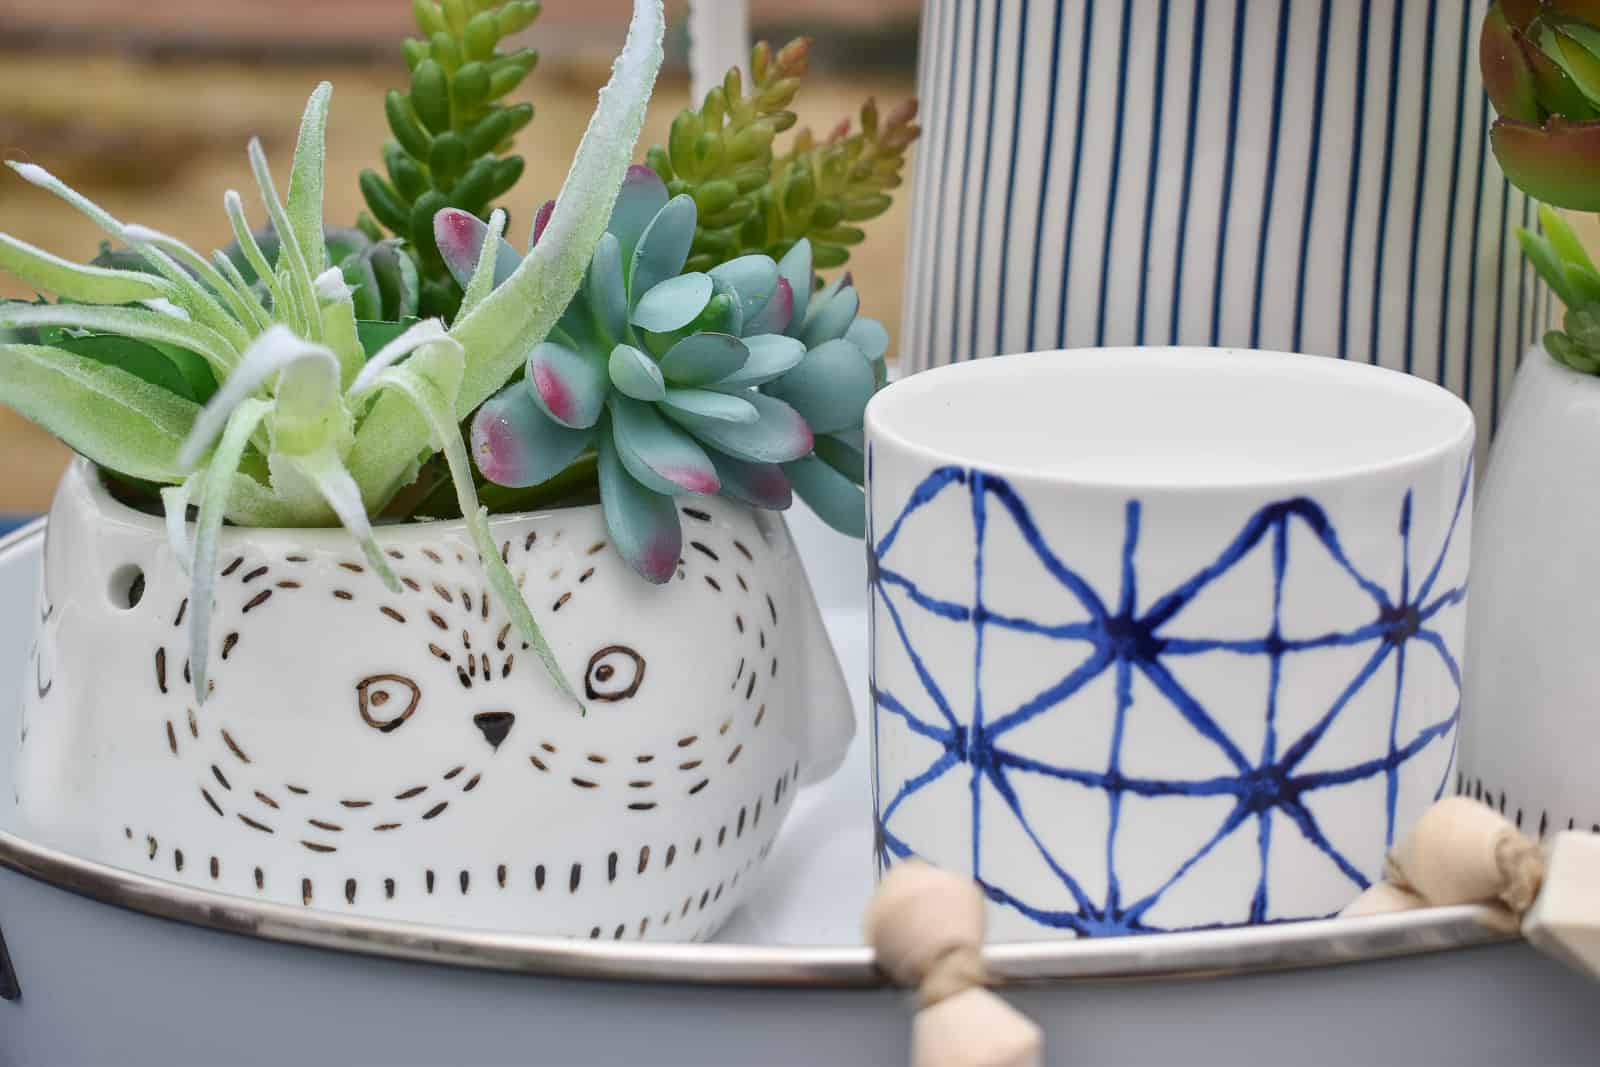
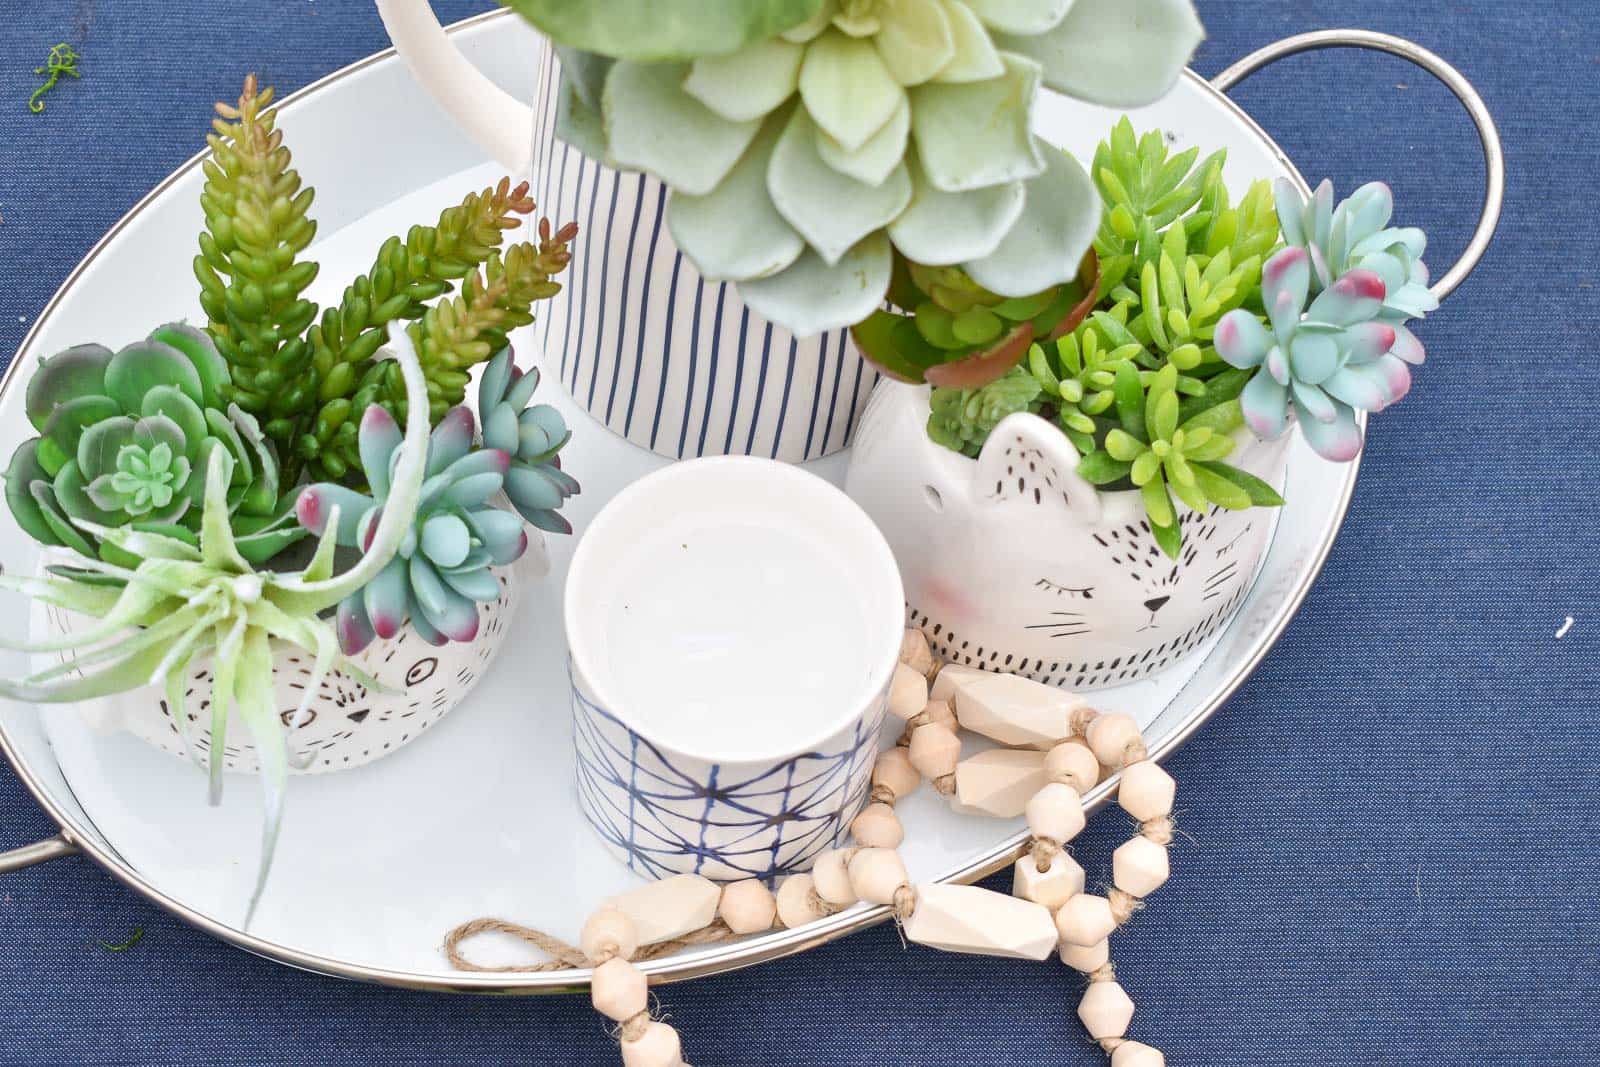
The two succulent planters didn’t need any moss because the succulents sit so low on the foam, you can’t see it. For succulents, I would probably use some of their decorative sand just to replicate how a succulent would be planted in real life.
I styled these outside where I was desperate for greenery. Hopefully by the time you’re reading this… we actually HAVE some greenery, but this is why I LOVE artificial plants this time of year. They look so realistic and they’re the perfect solution to our New England weather!
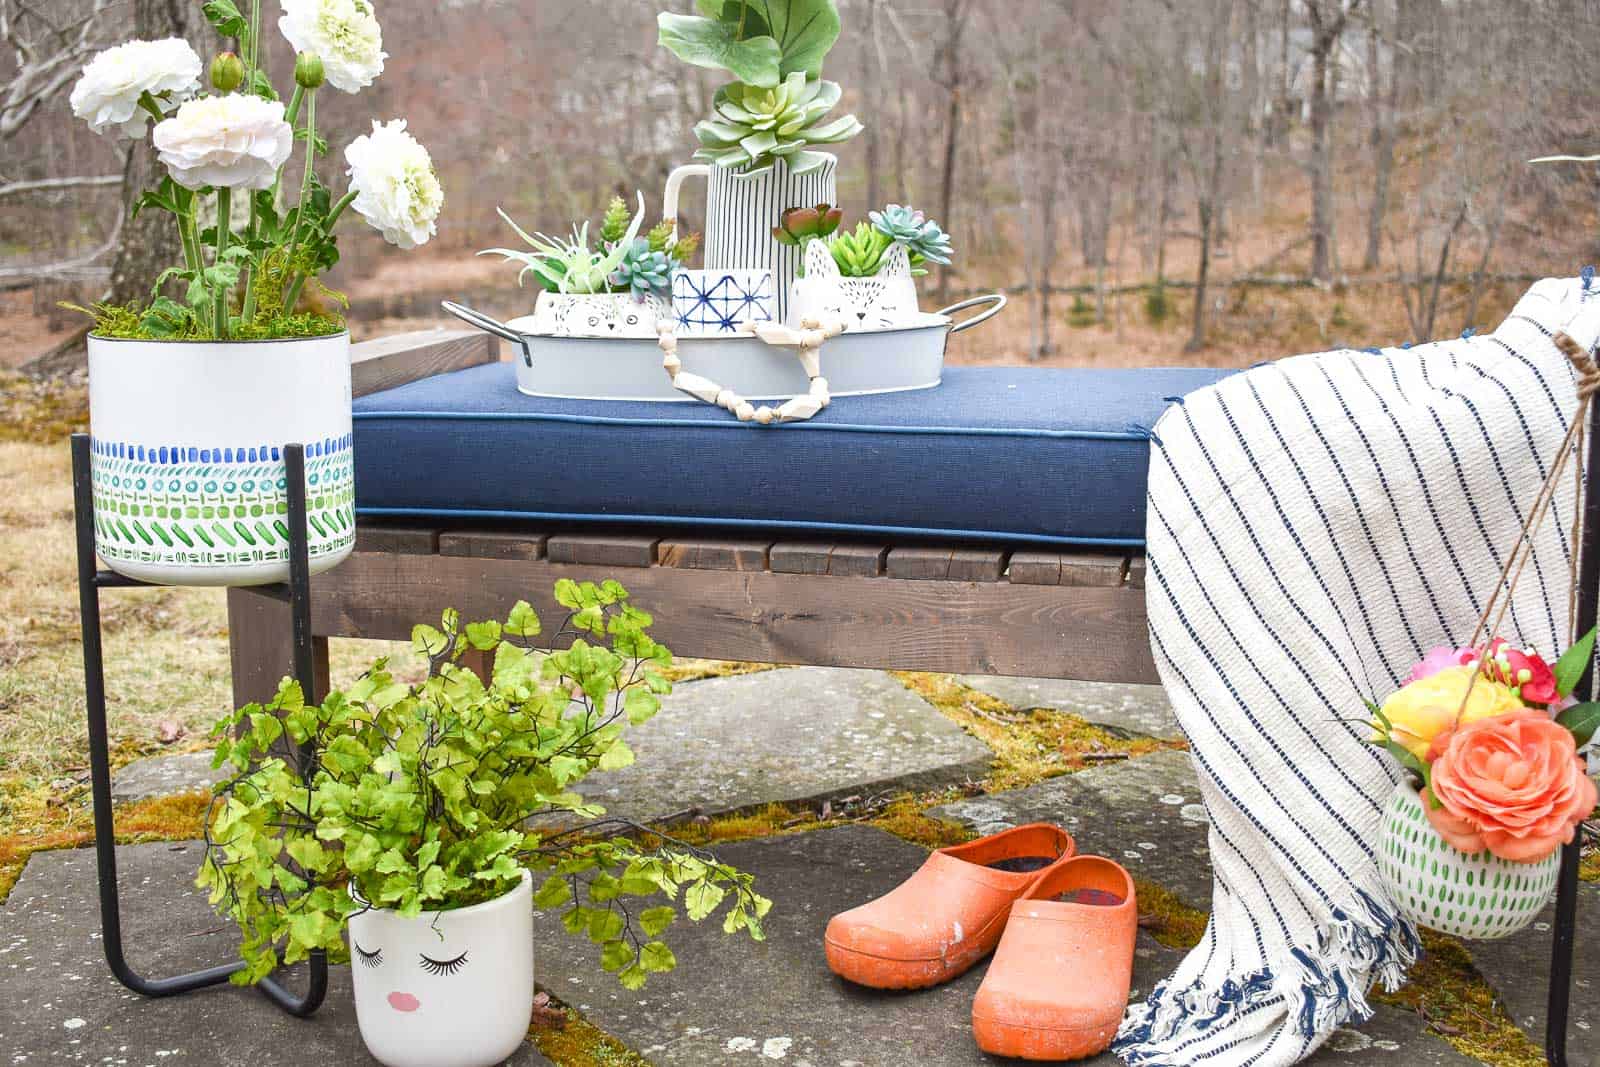

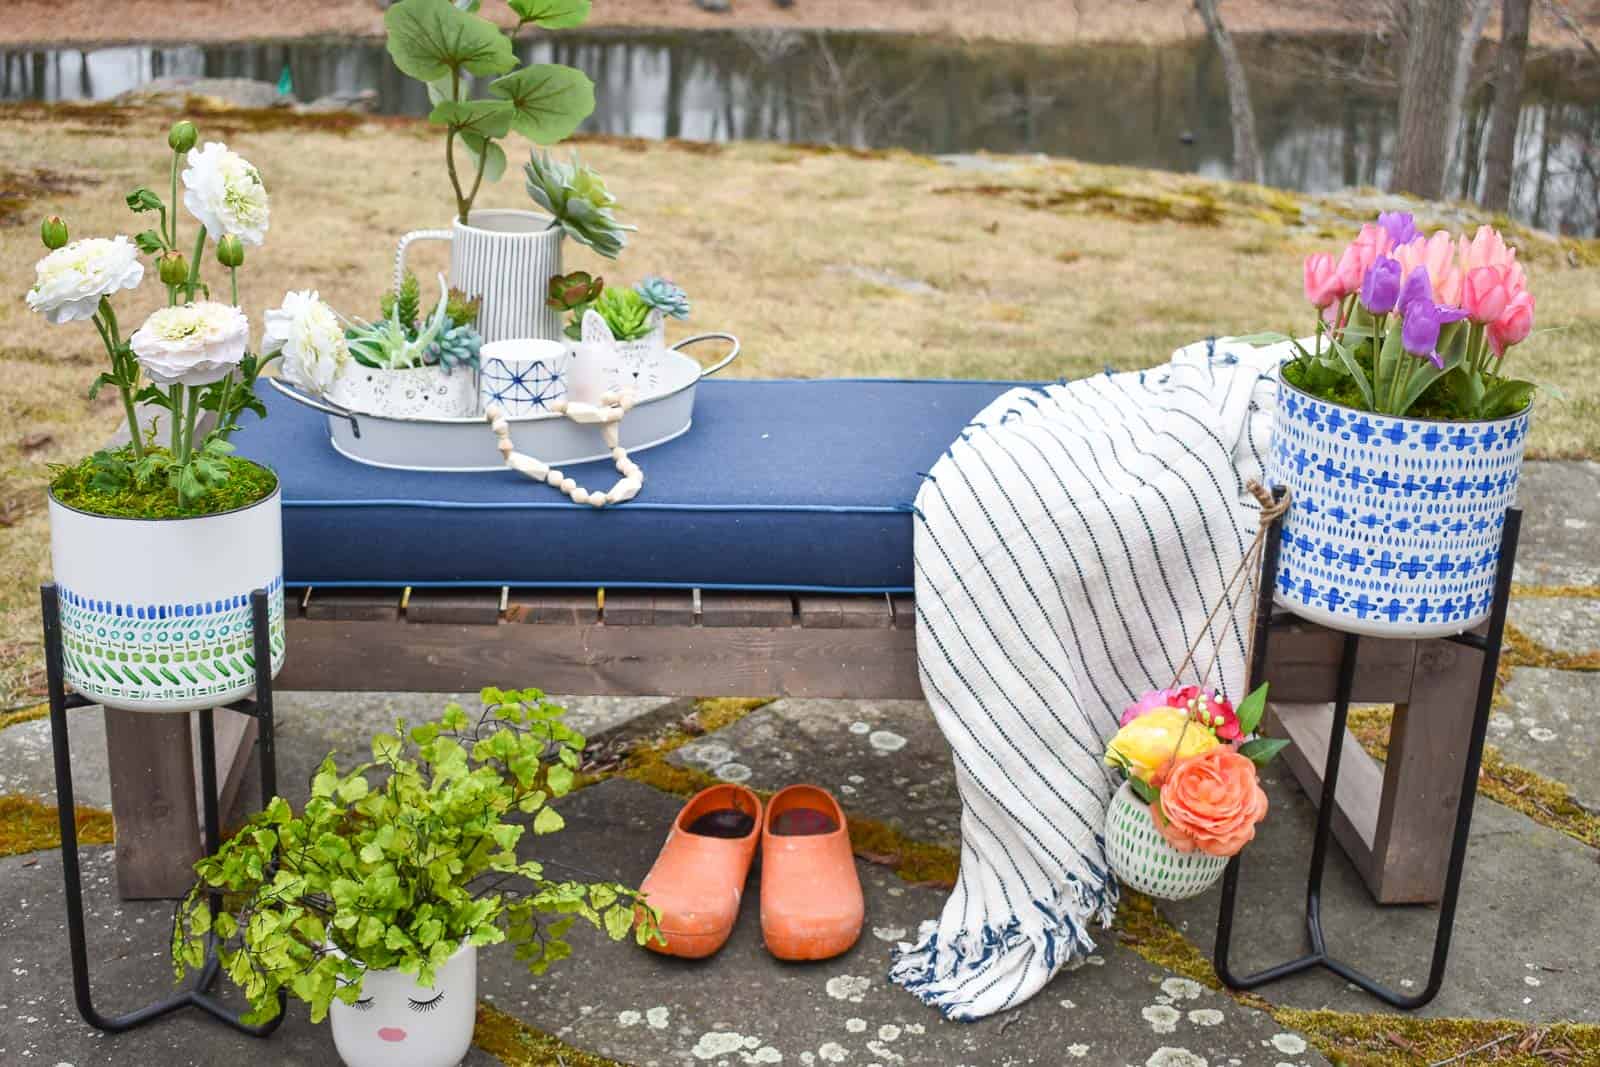

Lots of the cozy items on the bench are from JOANN’s Indigo line which I LOVE… so much blue and white goodness. A cozy throw blanket with tassels (I will never not buy tassels), that striped pitcher I styled with more faux stems, but will also be amazing on our patio once the weather warms up and then a decorative tray/ scented candle.


Don’t Miss Out
Become An Insider!
Signup for exclusive tips, and tricks from Charlotte’s House!
Let’s chat!
I love comments from you, so feel free to leave your thoughts and ideas below! And don’t forget to follow me on Instagram for even more!