
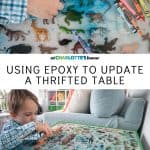
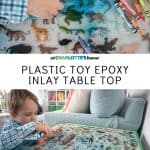
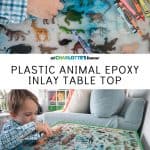
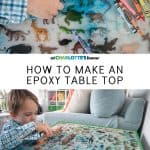
Setting Plastic Toy Animals in a Resin Table Top
Psssst… this post *might* contain affiliate links: see my disclosure here.
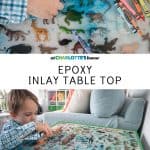
Toy Animal Resin Table Top
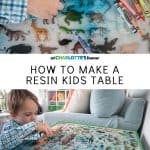
I had this idea for a kids table… It involved mini plastic animals set in an epoxy poured table top.
Disclaimer: I’m working with MAS Epoxy on this post and used their amazing Art Pro Resin
Shop my favorites!
This project was actually super simple, but it will take you a few days to build up the depth of epoxy needed to cover the animals! Fundamentally you’re just added molding to the sides of a basic table to contain the epoxy, you’re gluing plastic Safari Ltd. toys and then you’re pouring epoxy.
Step 1. Find a table
Honestly, any table will work, but I was happy to have a square wooden table. This one was about 21 x 21 and it took a sneaky amount of both epoxy and toy animals so keep that in mind when choosing your table! (I was working with Safari on this project so they sent me quite a few, but I’d estimate this took at least 100.) I got lucky and found an old wooden Ikea table on Facebook marketplace which was perfect.
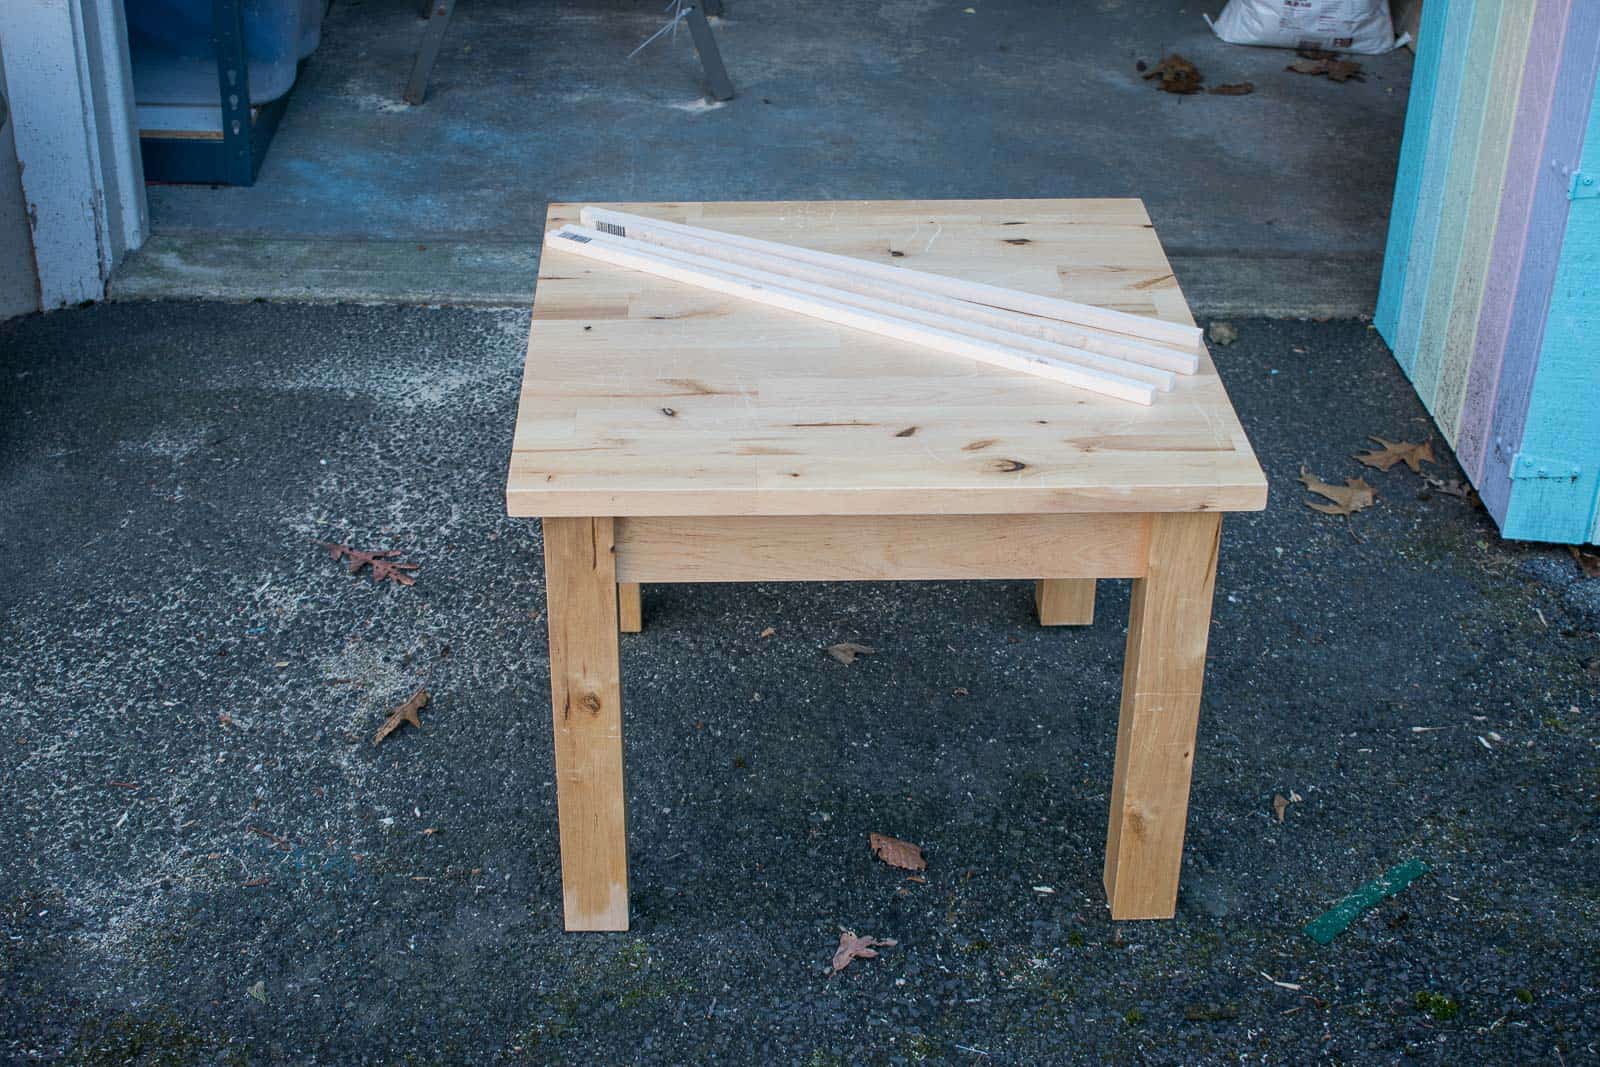
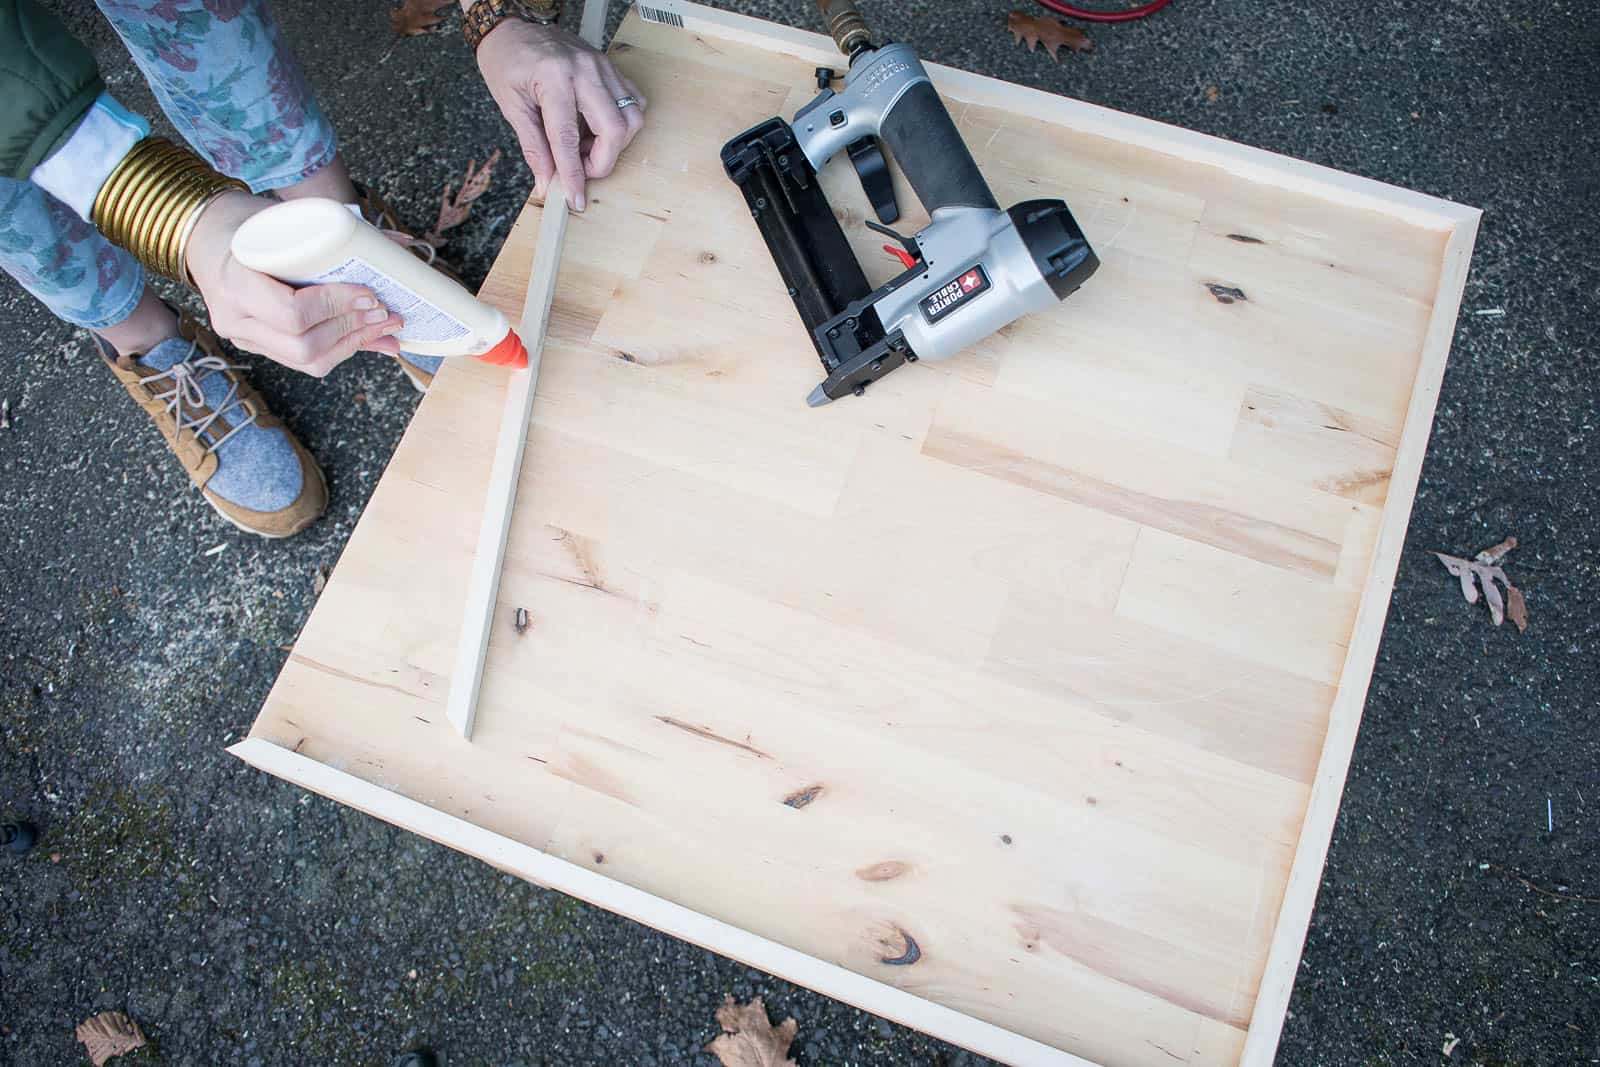
Step 2. Add Trim to edges of table
I had some trim pieces that were about 1/2 square in their profile. I mitered the corners (optional) and used wood glue and my pin nailer to attach them to the edges of my table. When I laid out my safari animals, it turned out that some of the animals were a little taller than the trim so I ended up going back and adding a second layer of trim. I painted the top layer of trim green just because.
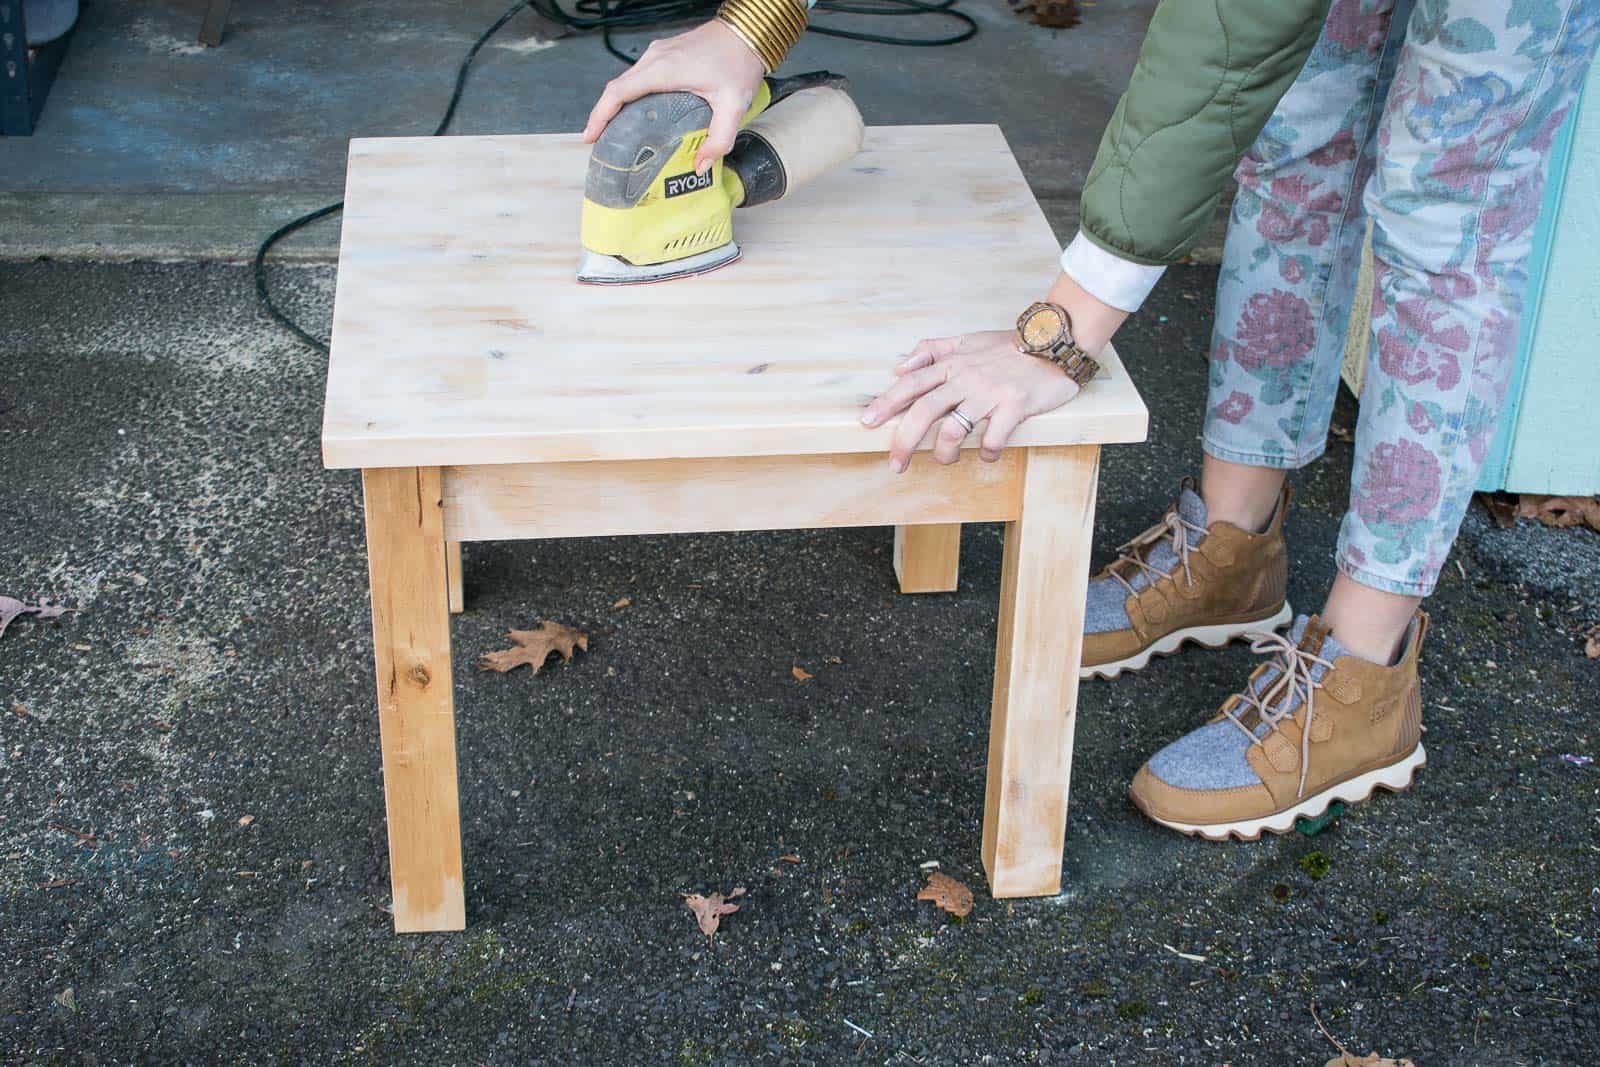
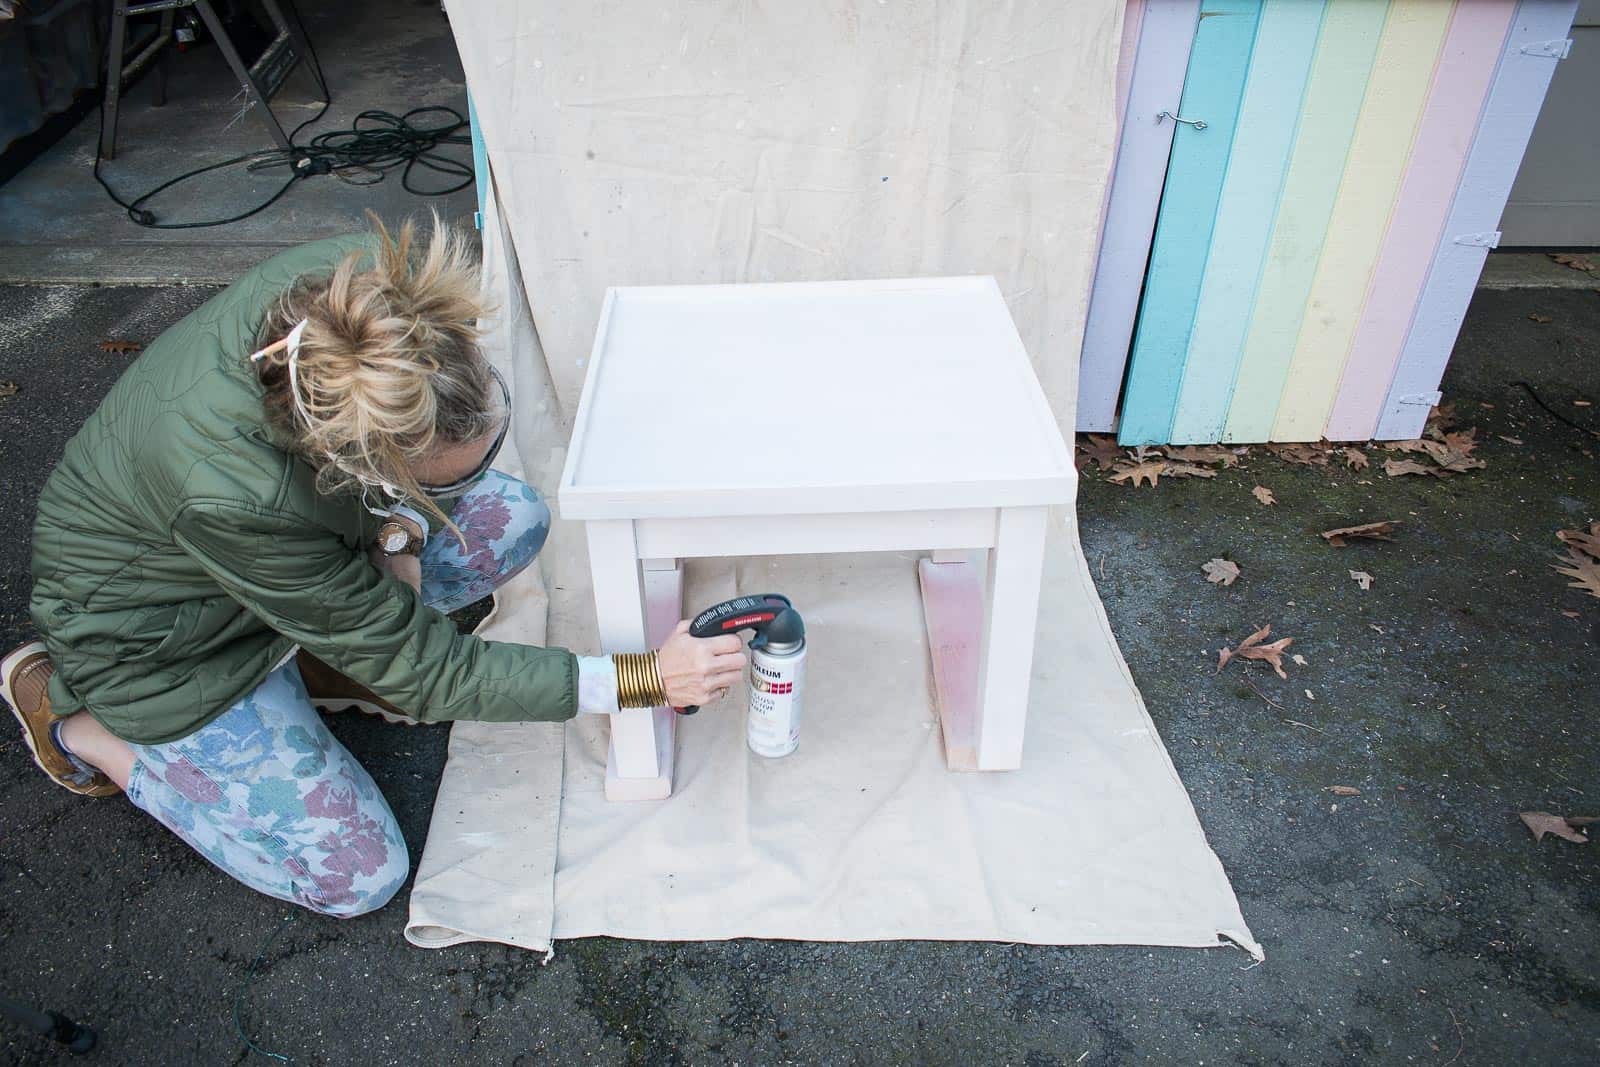
Step 3. Prep and paint table
I sanded the table, wiped it down and spray painted it white.
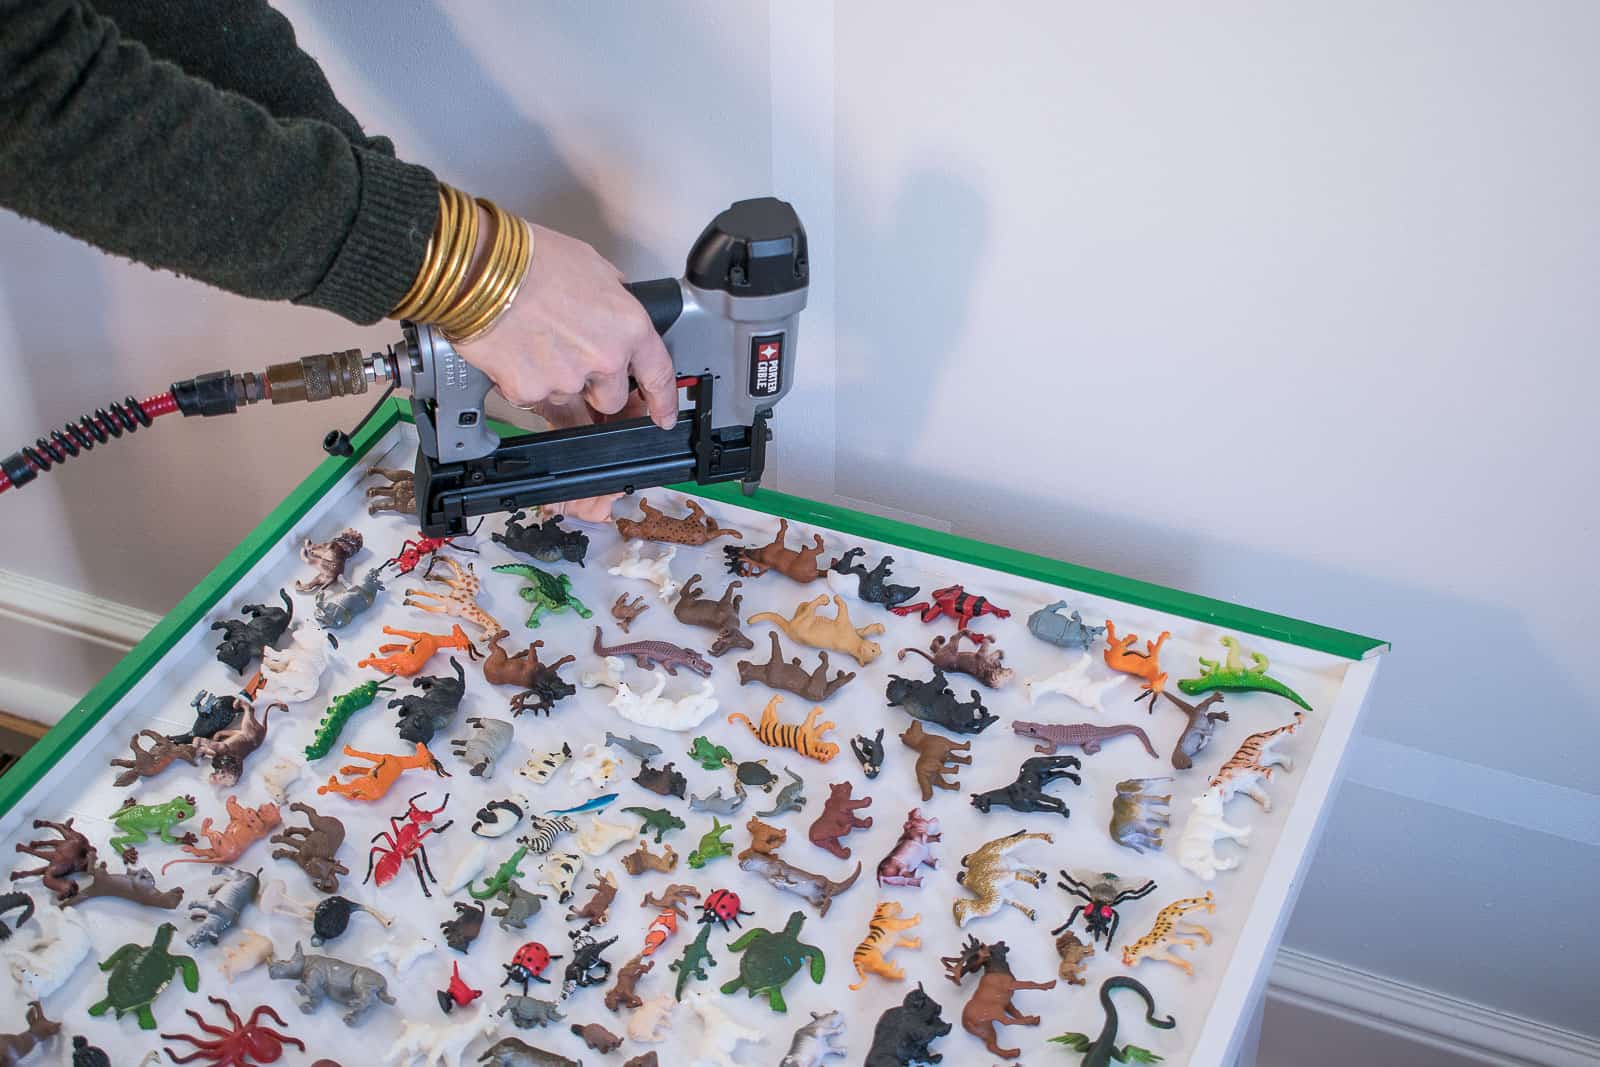
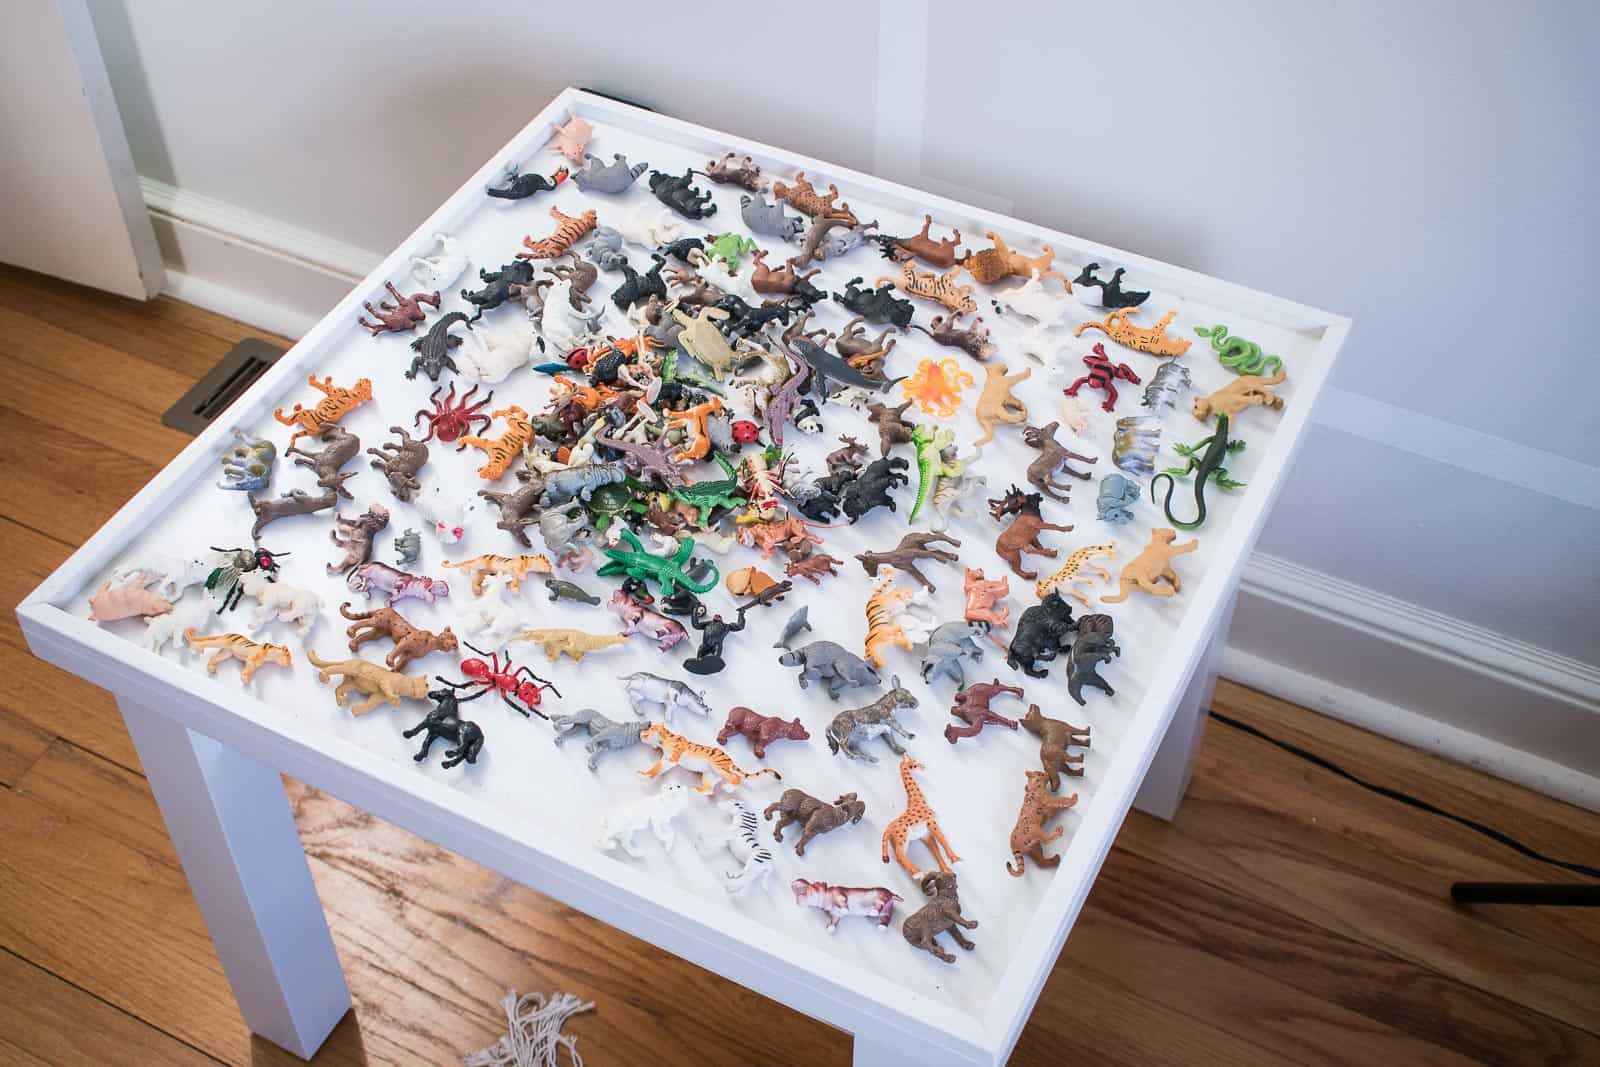
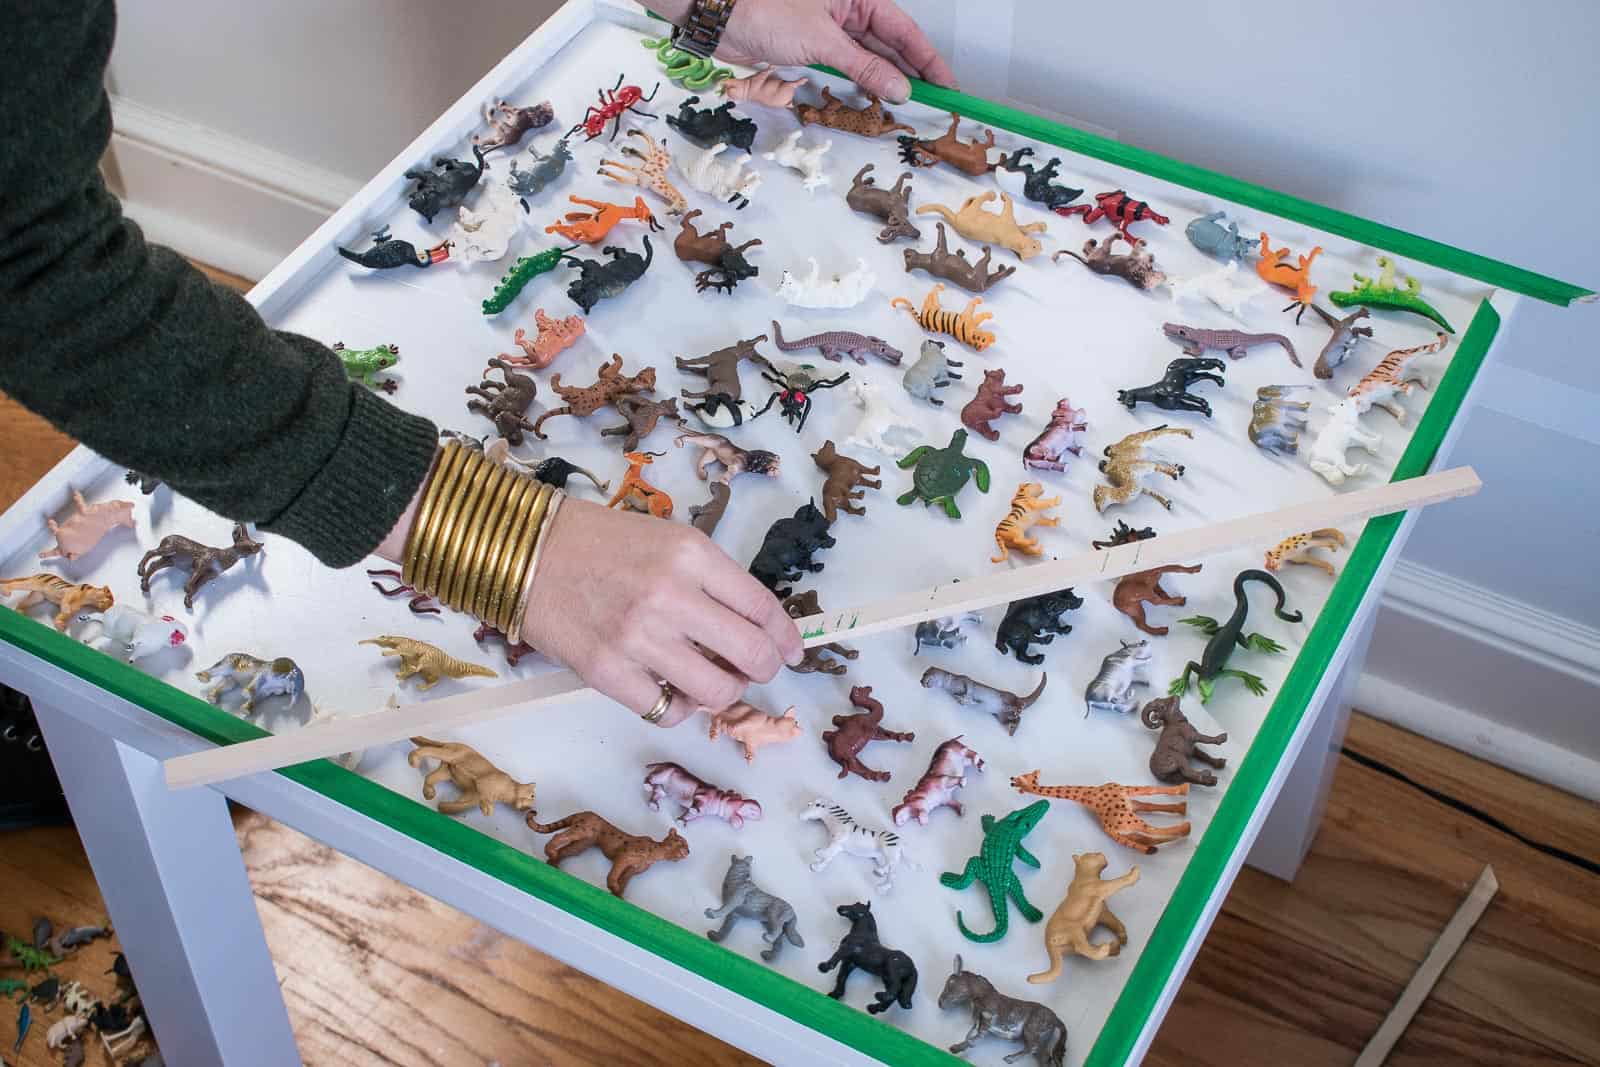
Step 4. Lay out and Glue animals inside table top
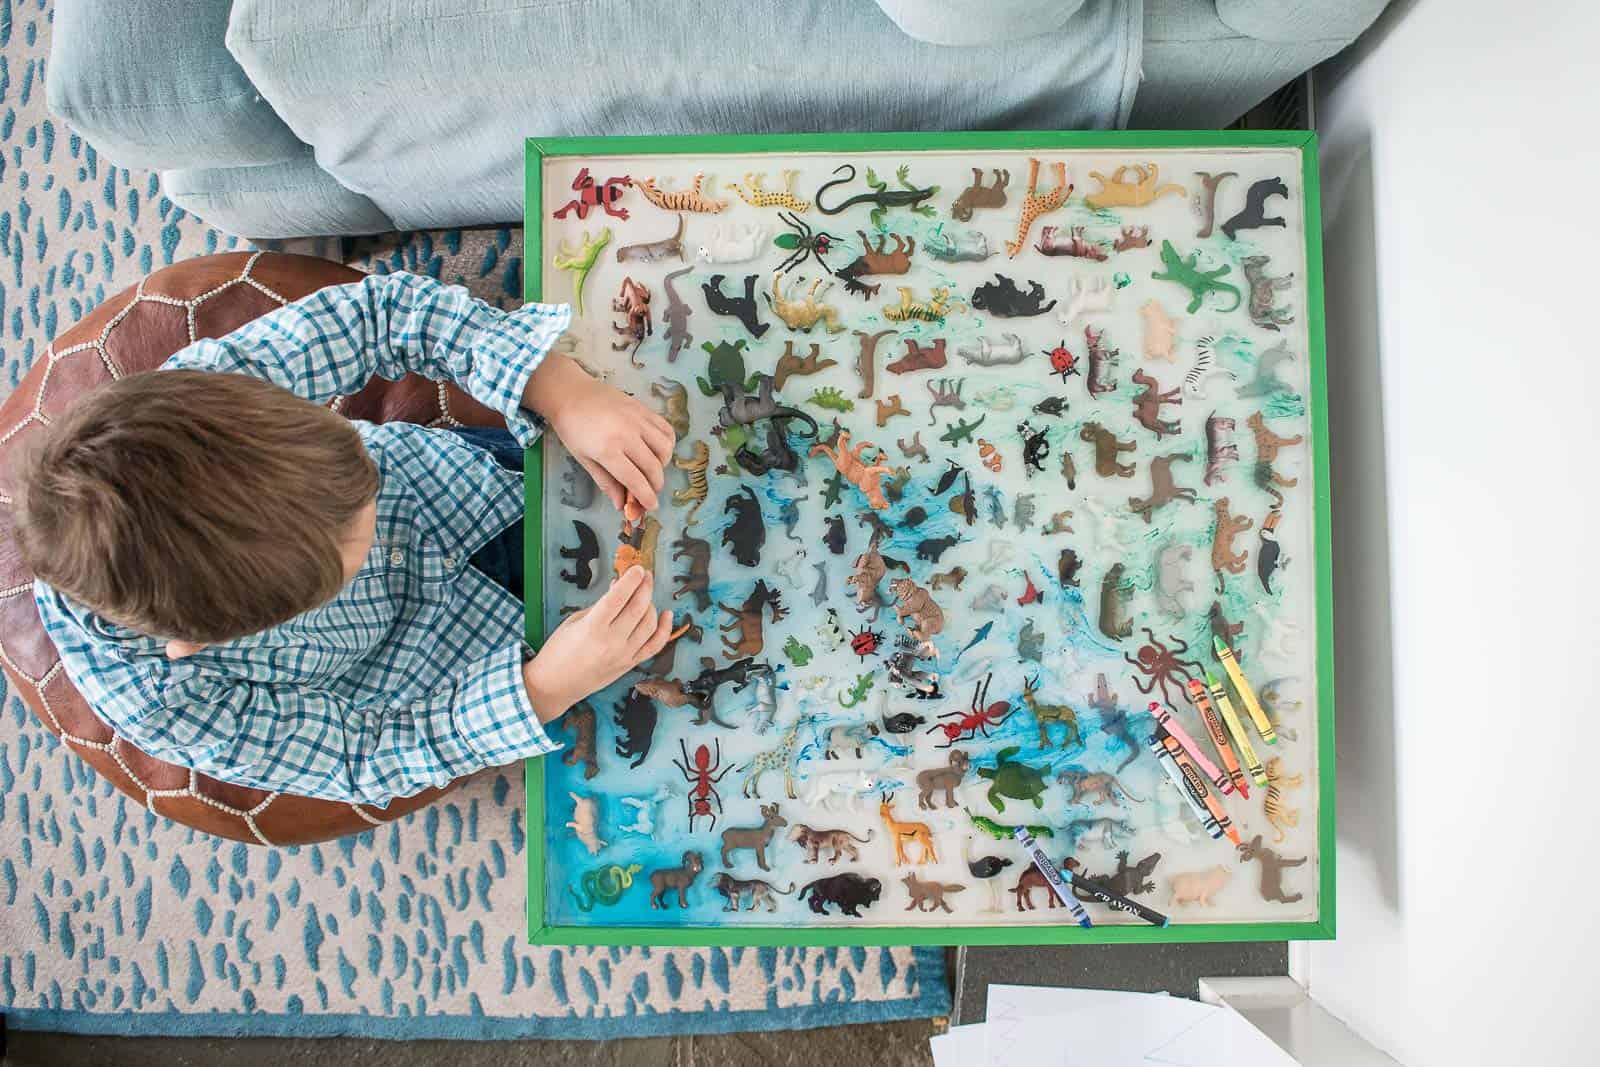
In an ideal world, I would have FILLED the table top with animals, but that would have required 3x the animals I already had on hand. I laid out the animals I had and tried to double check that they were all below the line of my trim. I moved a straight edge across the top of the table to see which animals were too tall.
I used this quick dry super glue to adhere the animals to the table top. You HAVE to glue them in place or else they’ll float to the surface when you pour your epoxy.
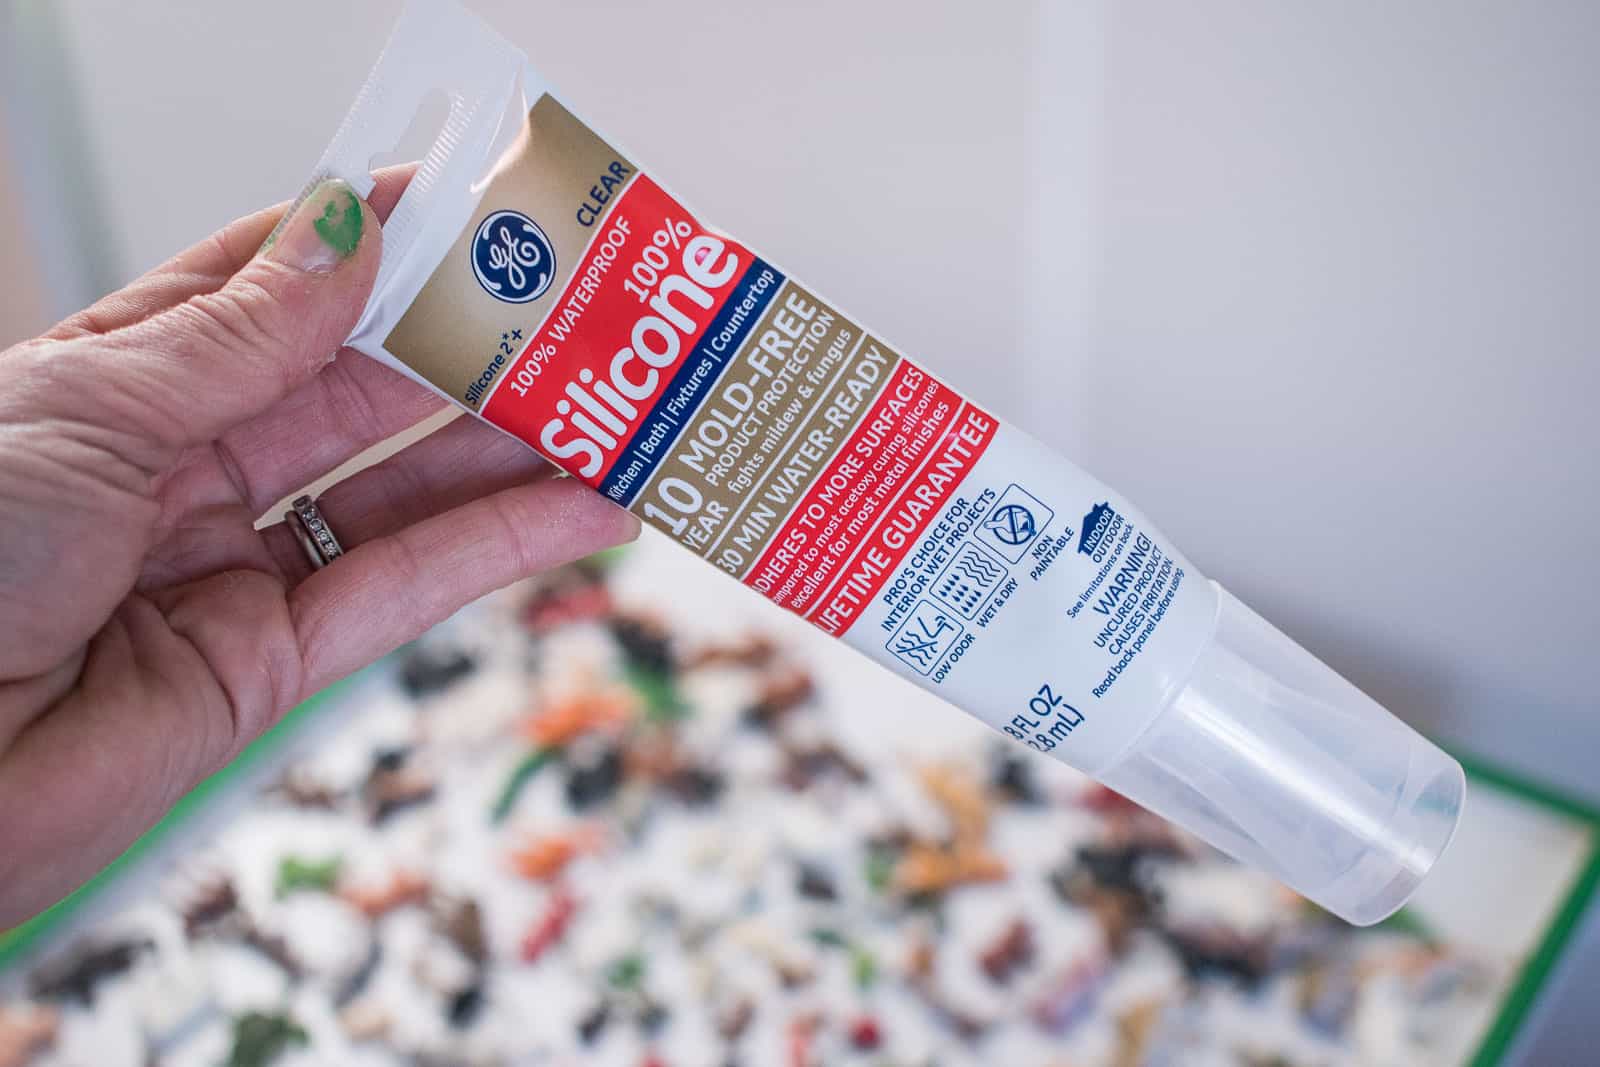
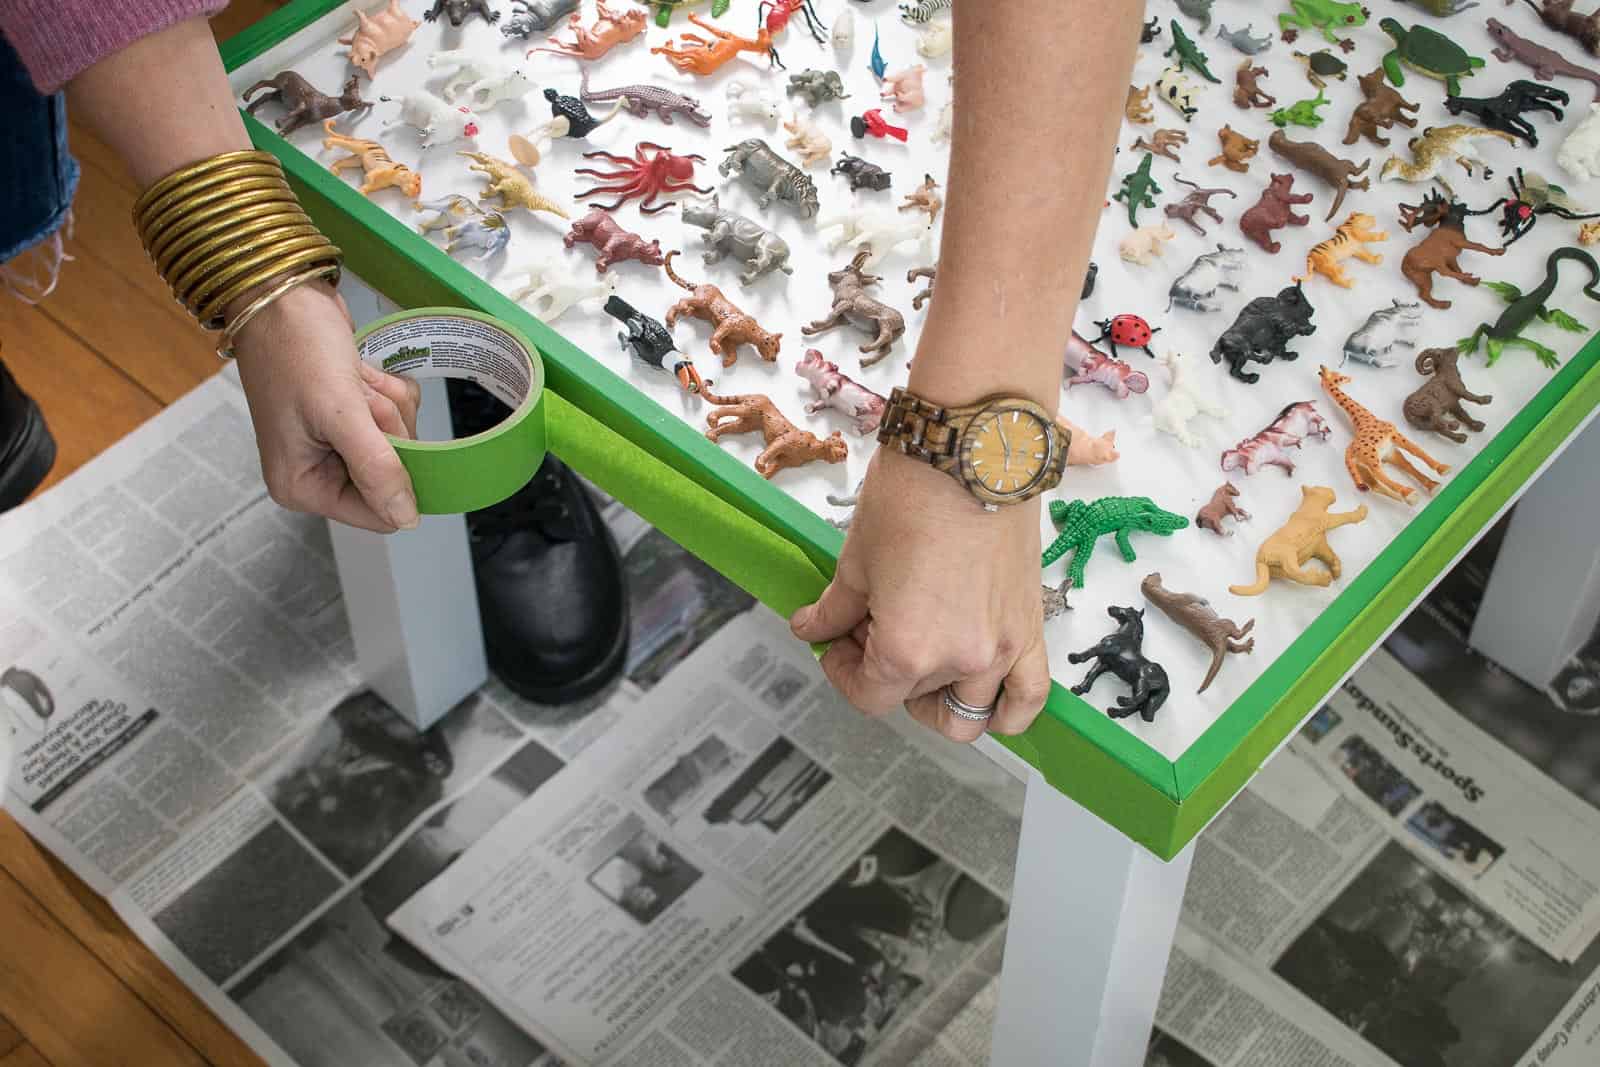
Step 5. Seal the inside edges of the table top
Epoxy WILL find a way out if there are any cracks, so I went back and sealed any cracks with silicon. I ran a bead of silicon around the inside corner and then ran my finger tip over to smooth into the crack. To be extra safe, I used some painters tape around the outside of the table just in case.
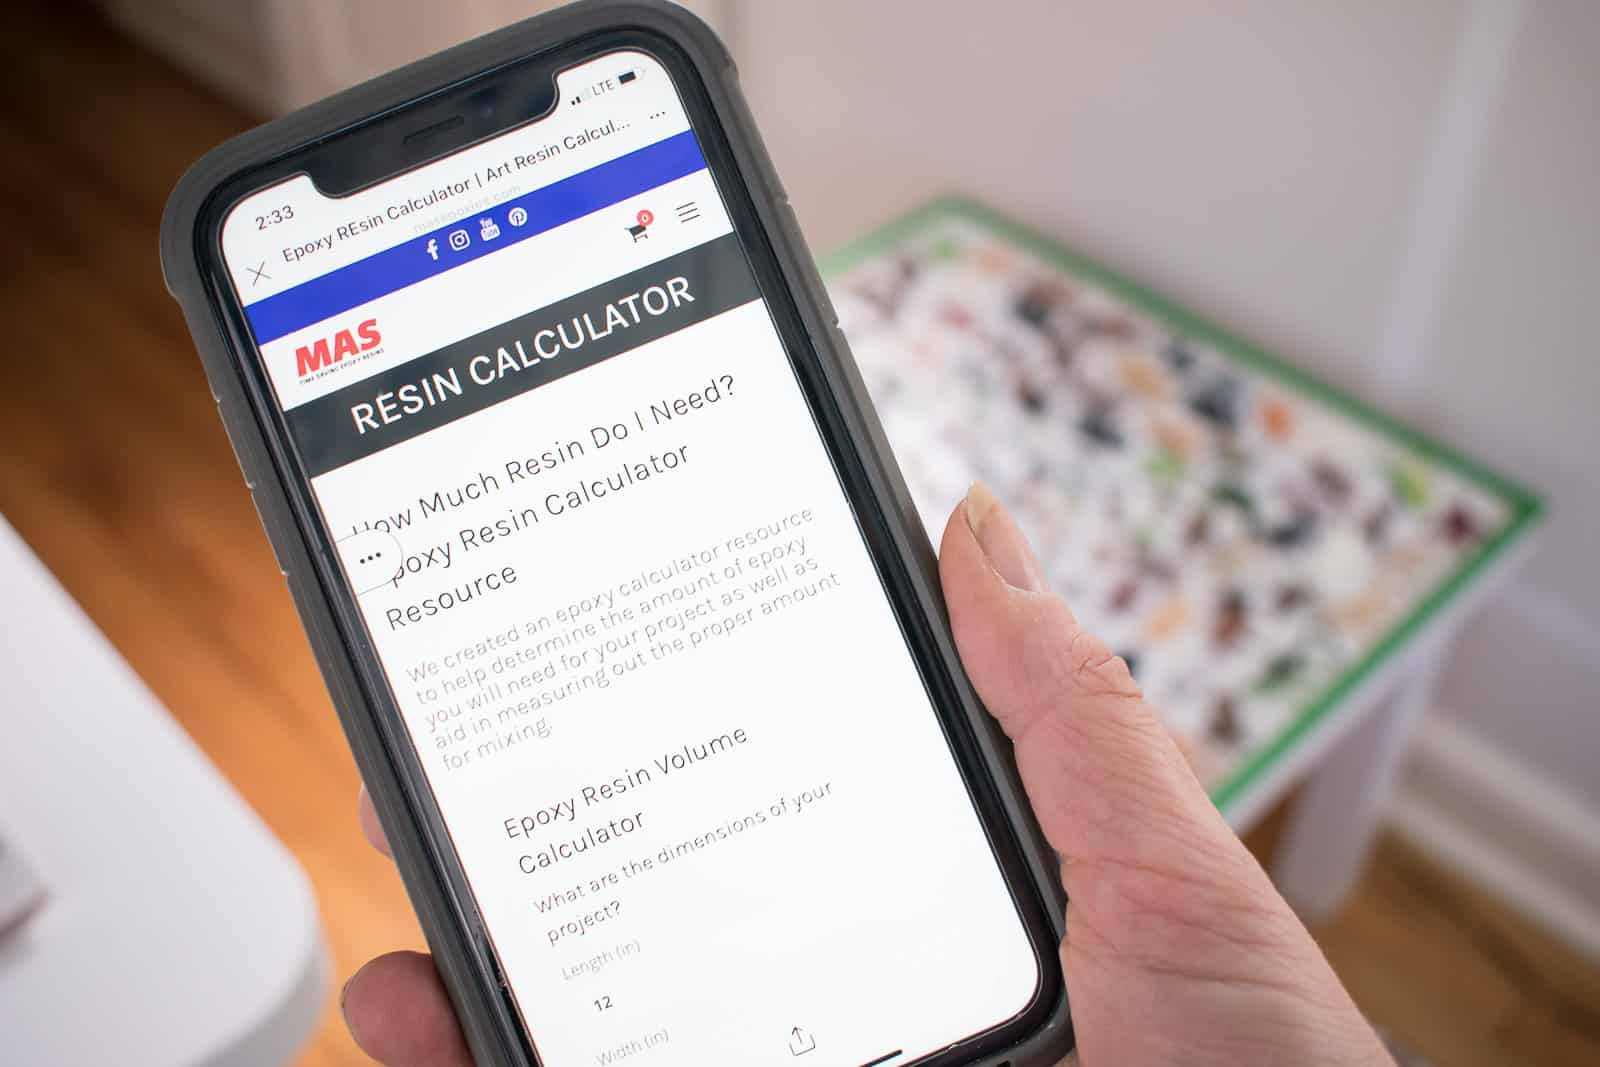
Step 6. Mix and pour Epoxy resin onto table top
I’m working with MAS Epoxy on this post and using their ART PRO resin. I found it to be really reliable and am super pleased with the results! For the Art Pro, you need to mix 1 part hardener to 1 part epoxy and then mix for 2+ minutes. When epoxy hardens it’s having an exothermic reaction (high five to middle school science… this means it’s giving off heat), so you don’t want to pour more than 1/4 of an inch at a time. MAS has an amazing calculator on their website that will help you determine how much epoxy you need for your project; mine required about 1.5 gallons.
To ensure your epoxy is crystal clear, run a heat gun over the surface of the epoxy after you’ve poured it. The heat will pull the air bubbles out. I usually use my heat gun soon after pouring and then come back 30 minutes later just to go over one more time to get last minute bubbles.
Once the epoxy has stopped bubbling, you can add another layer slowly building it up to the height of the trim.
Optional: I used some liquid pigment to add a bit of color. I’m not sure I love the results, but I wanted to add a little bit of color without making it impossible to see the animals. I dropped a few drops of pigment into the fresh epoxy and then used a skewer to swirl the color in the epoxy a bit.

A note about epoxy: it’s messy. Make sure you have plenty of newspaper on hand and wear rubber gloves. I used plastic cups and scrap pieces of trim to mix my epoxy and then just threw everything out when it had hardened.
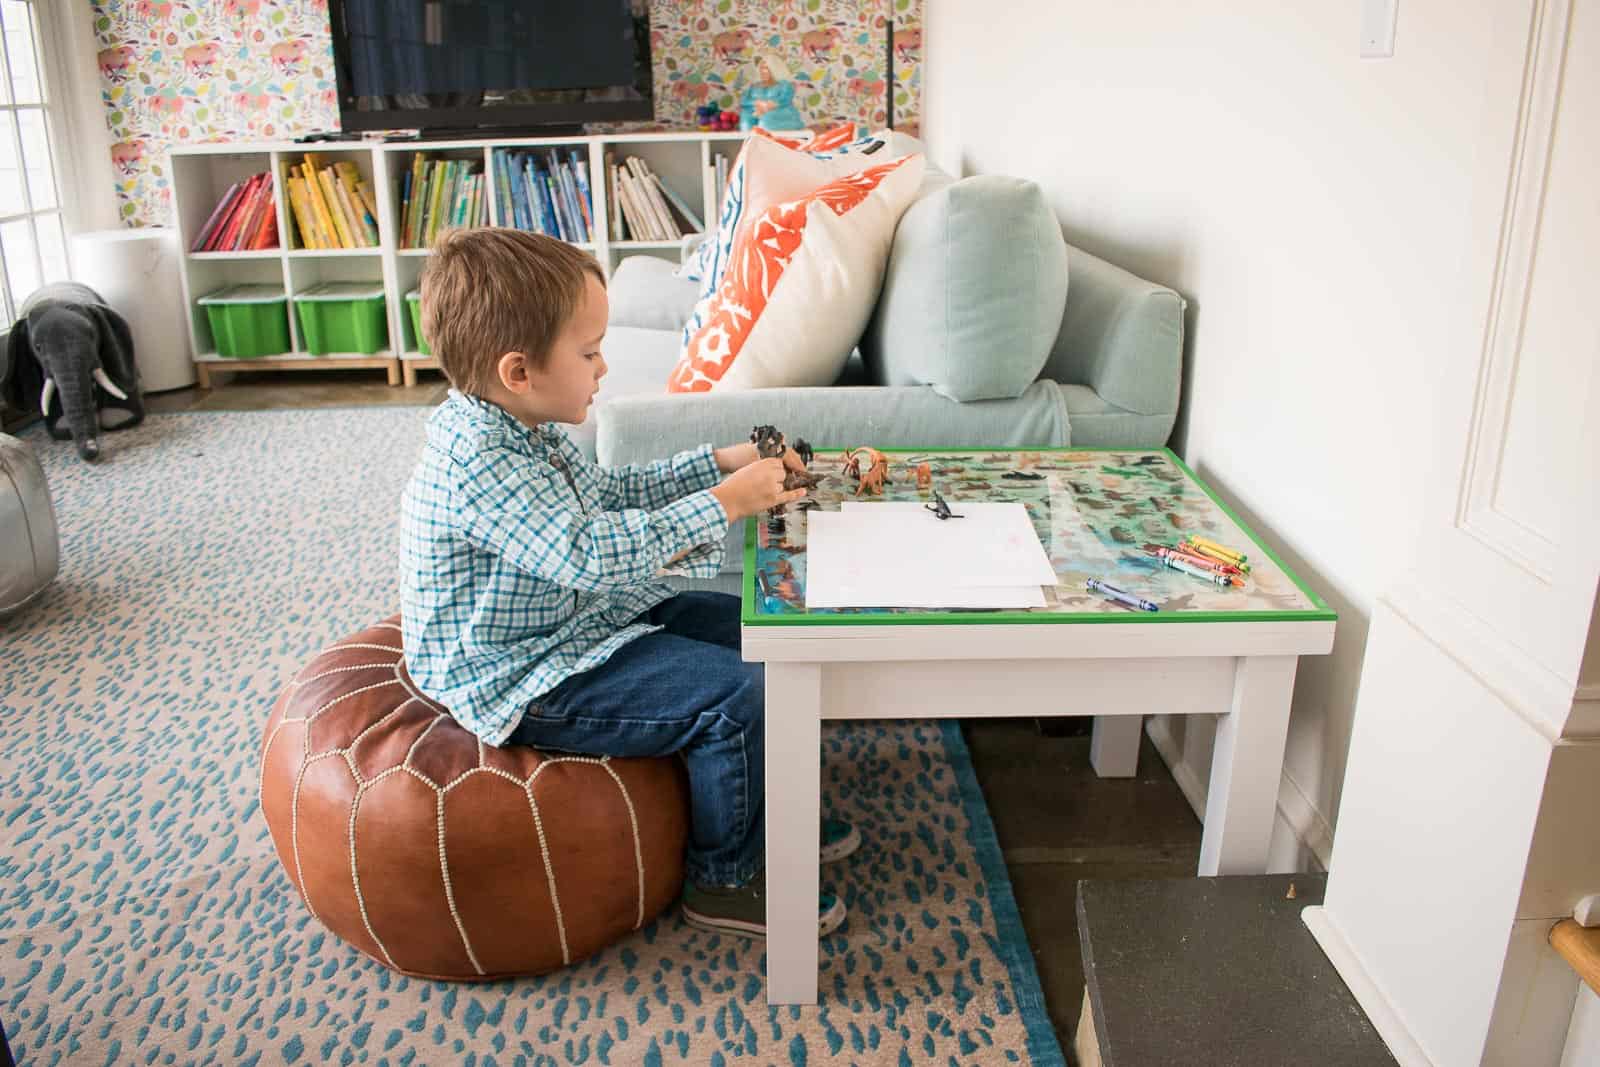
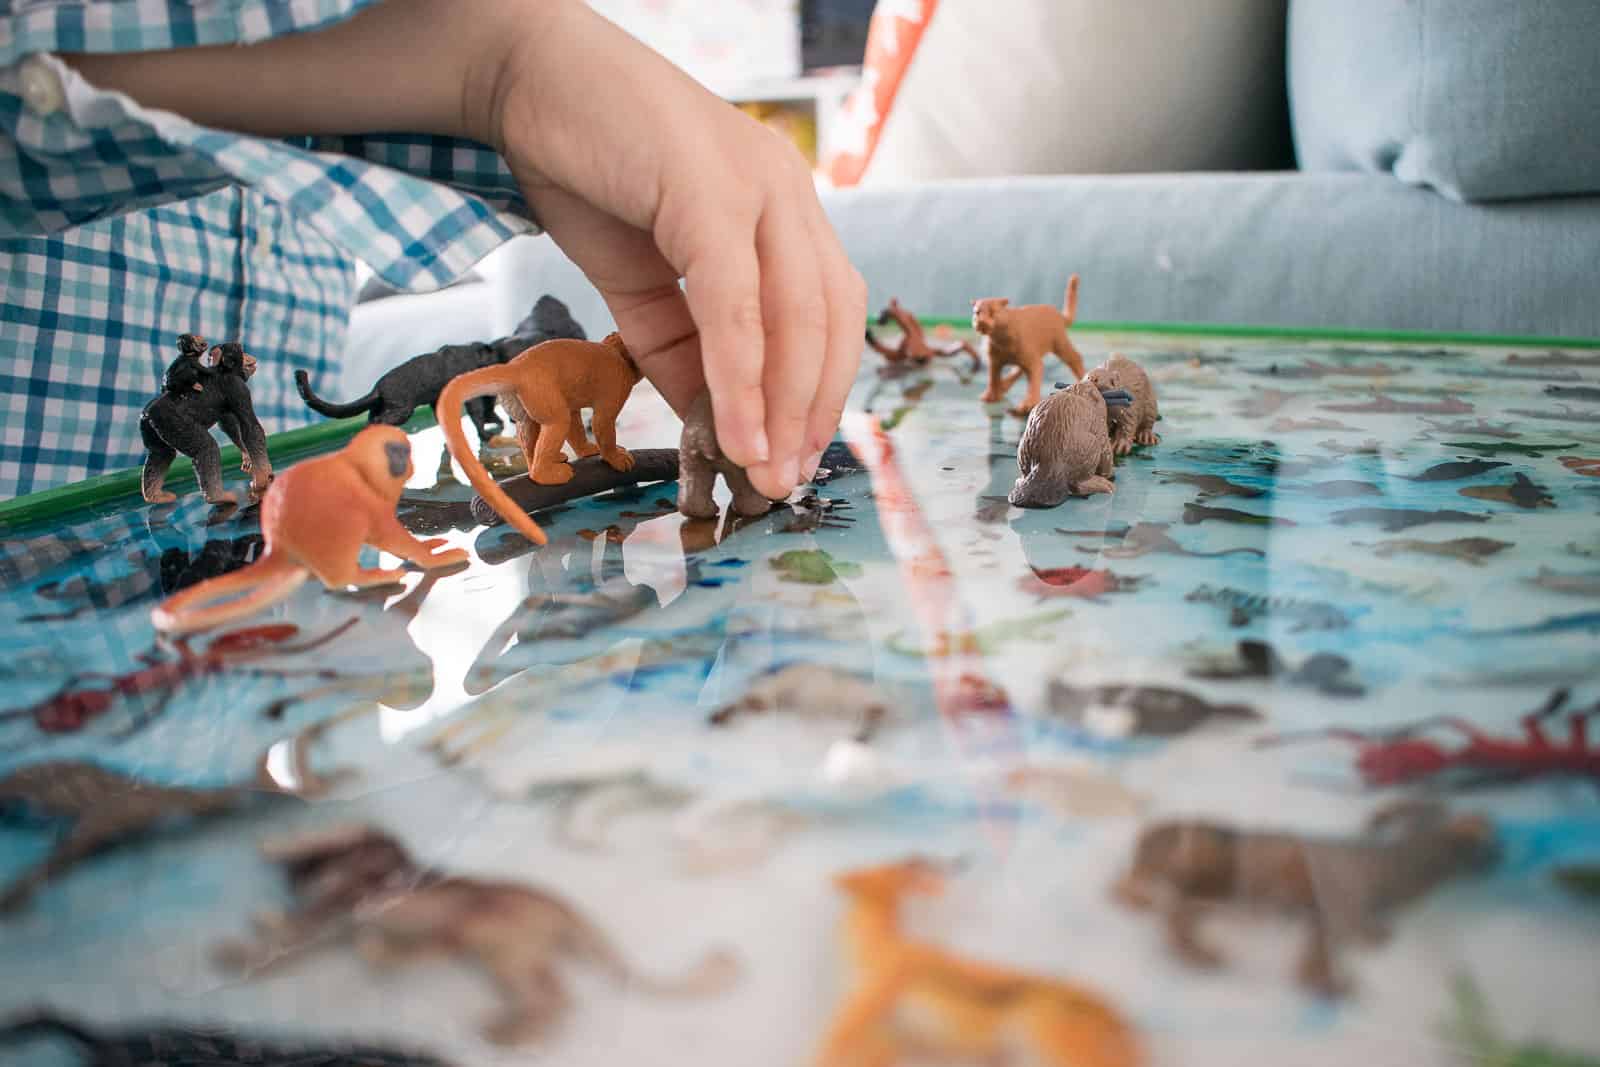
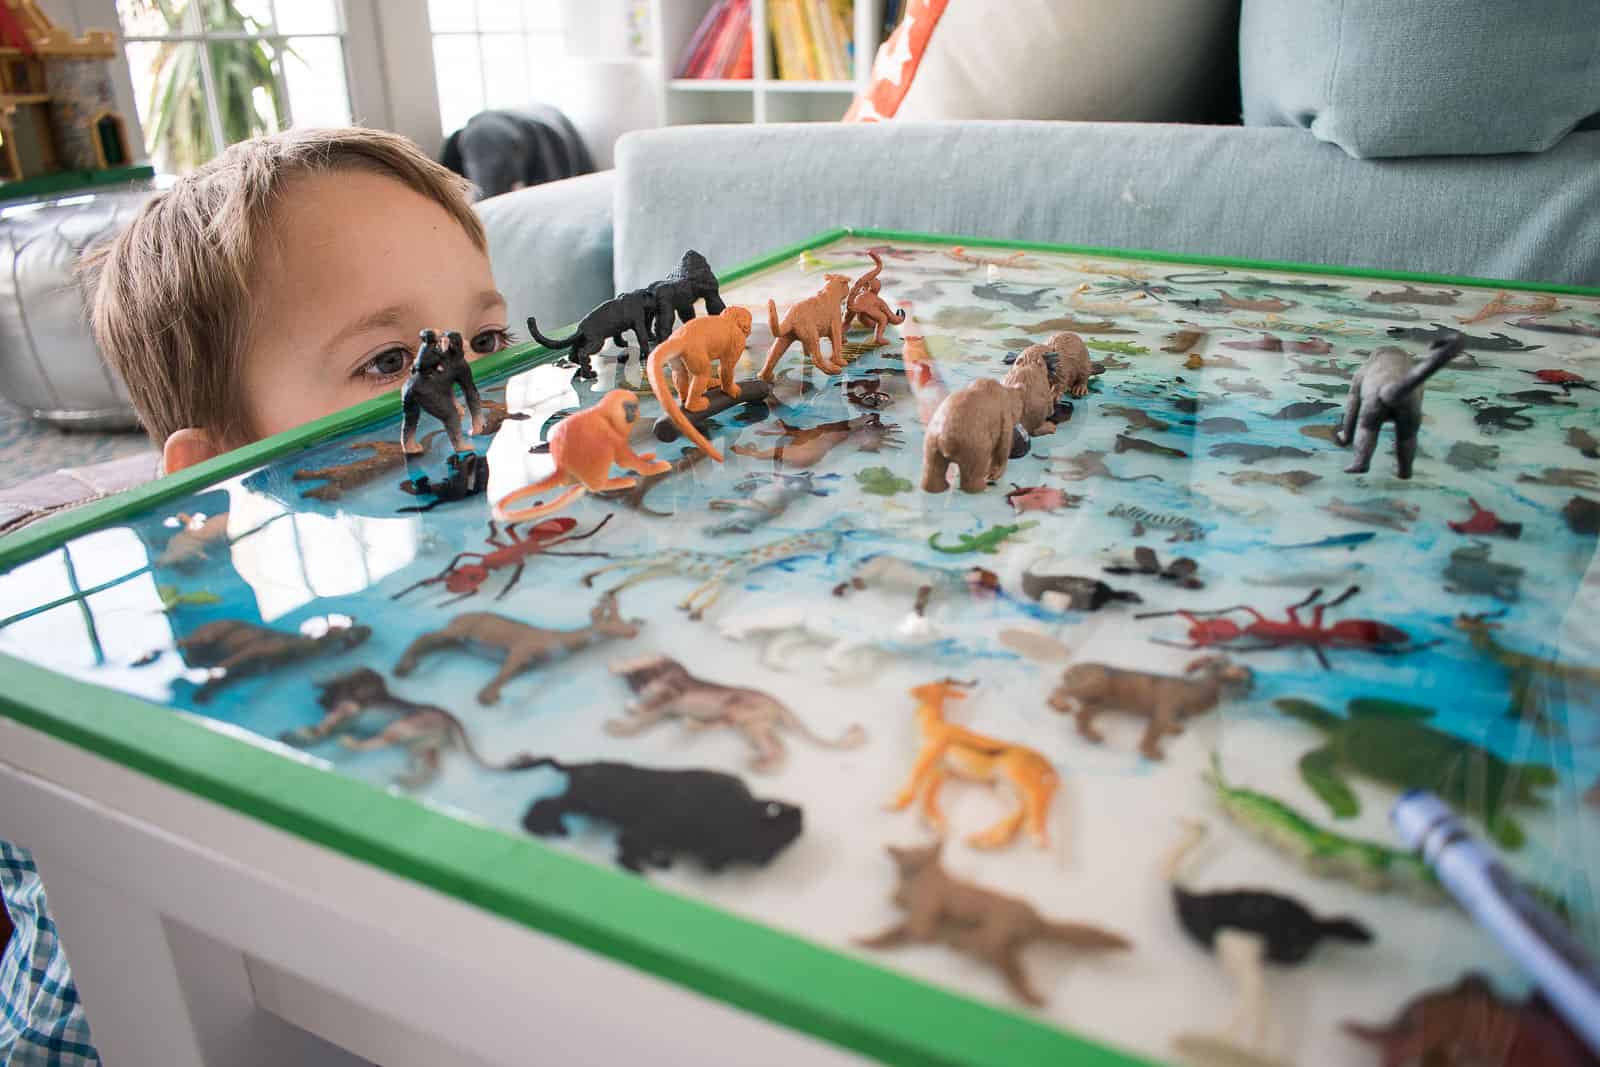
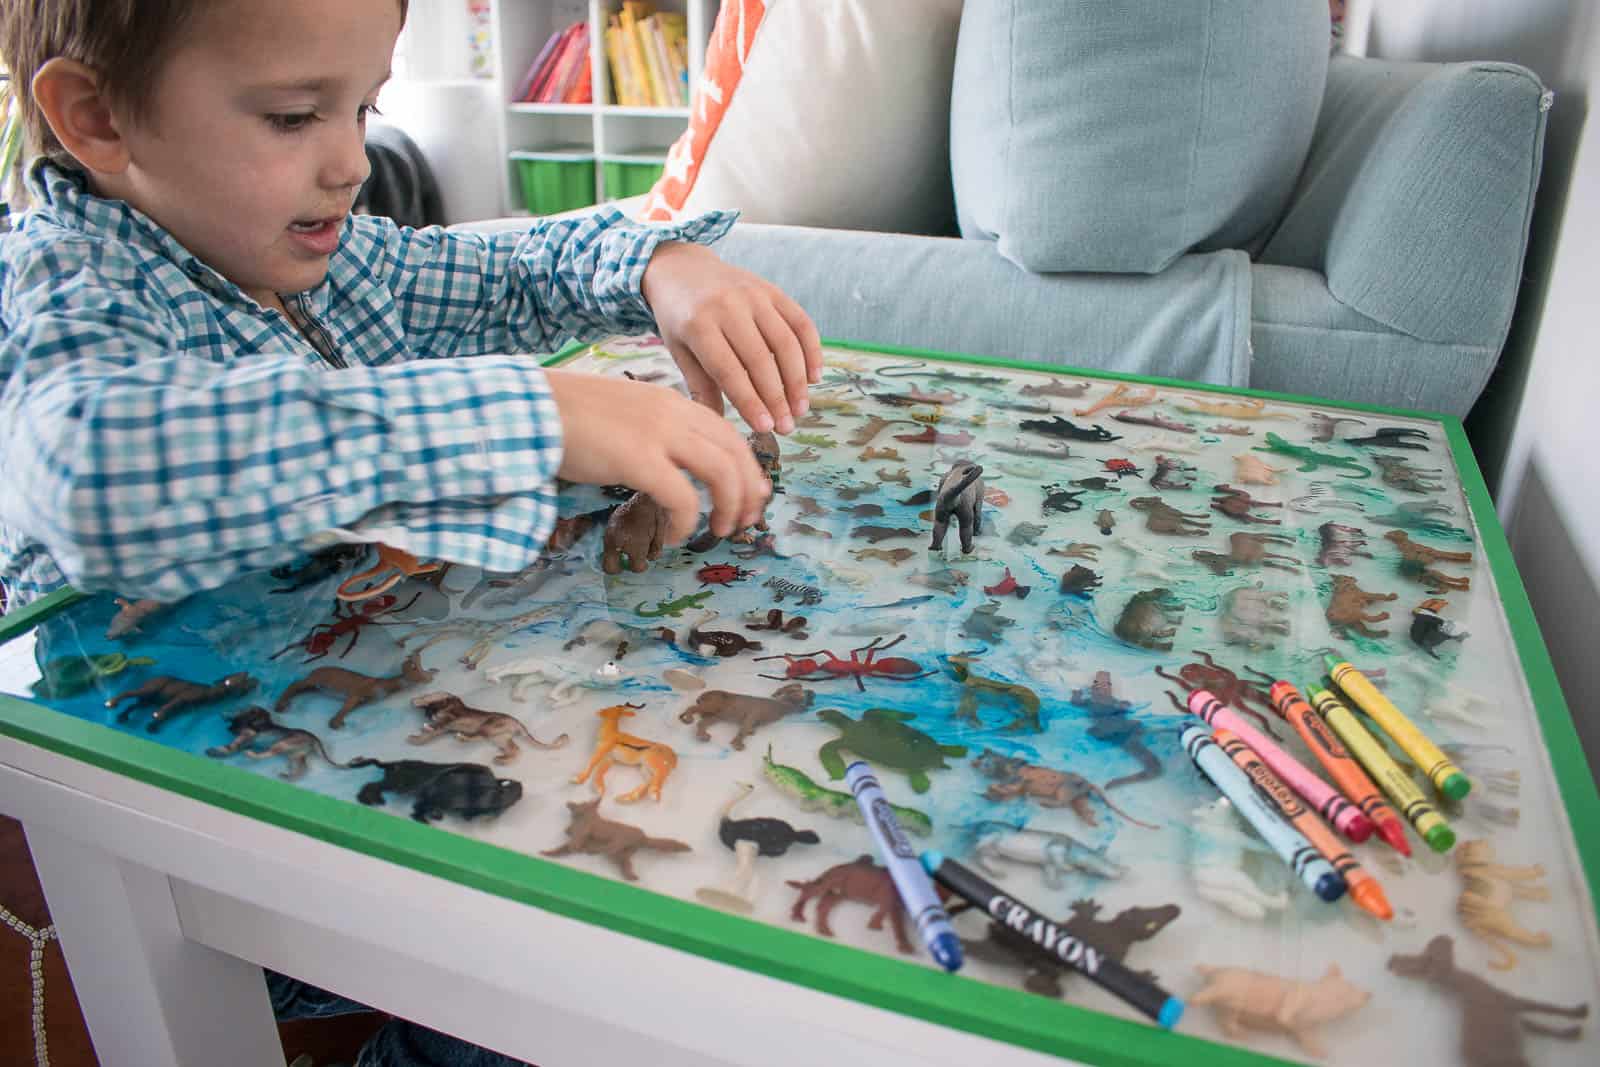
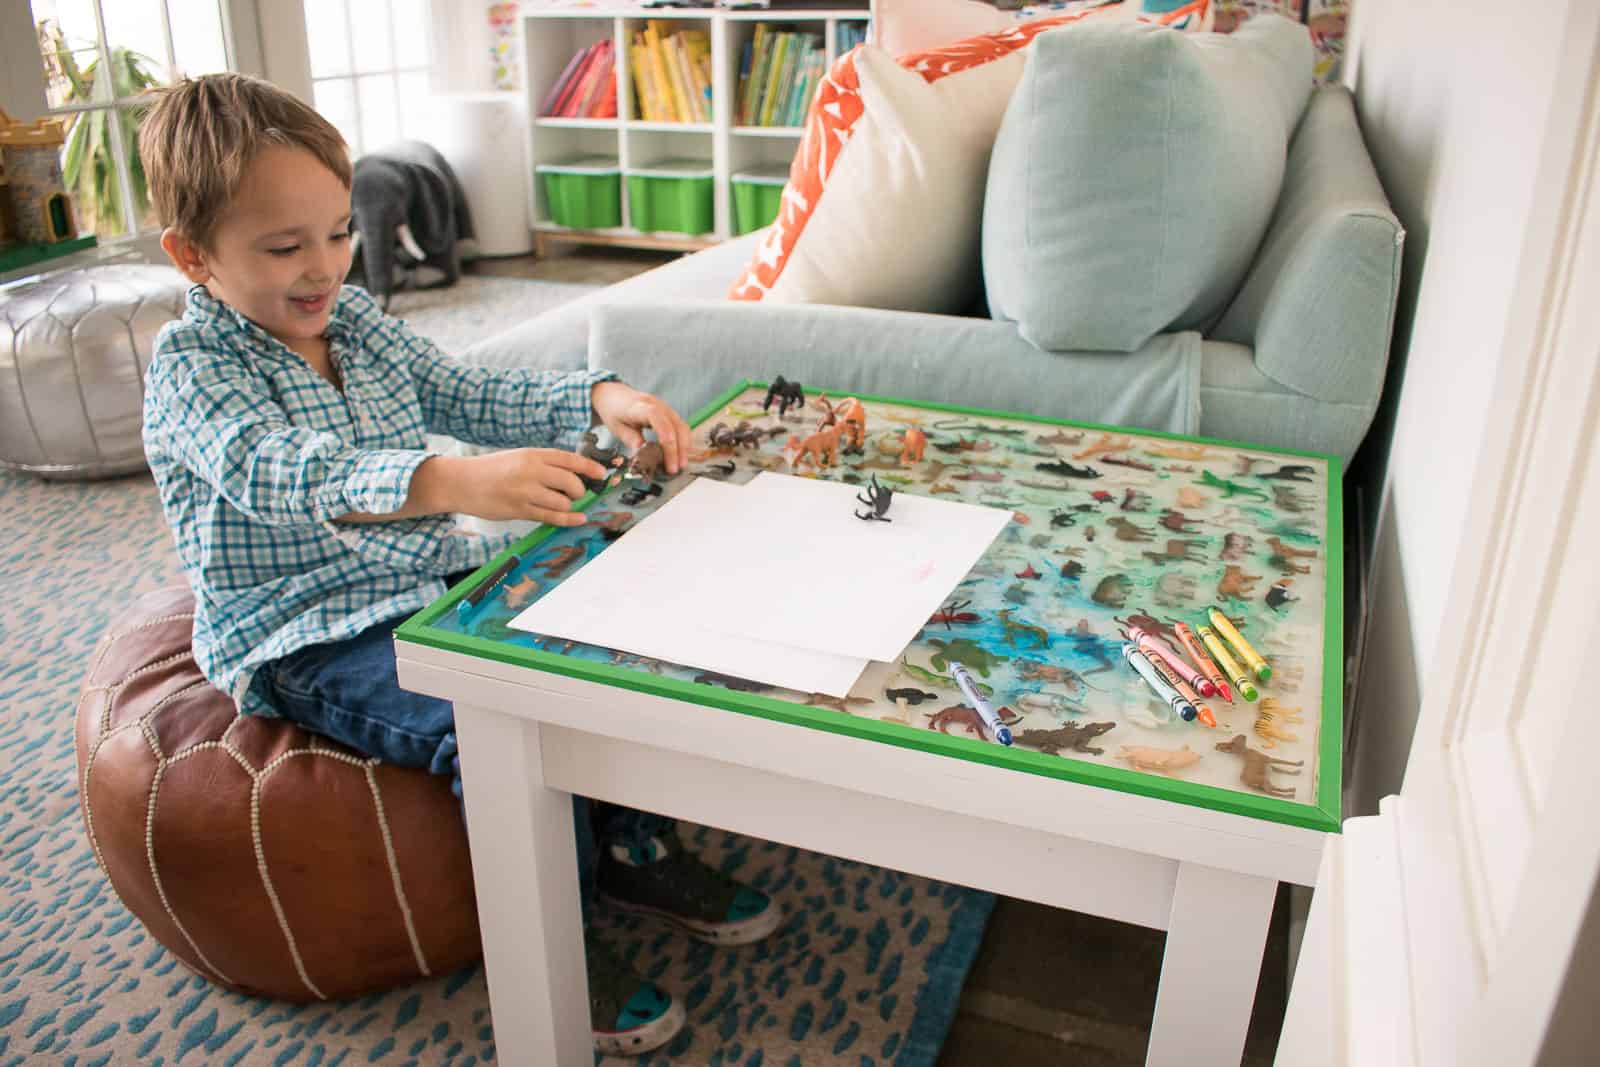
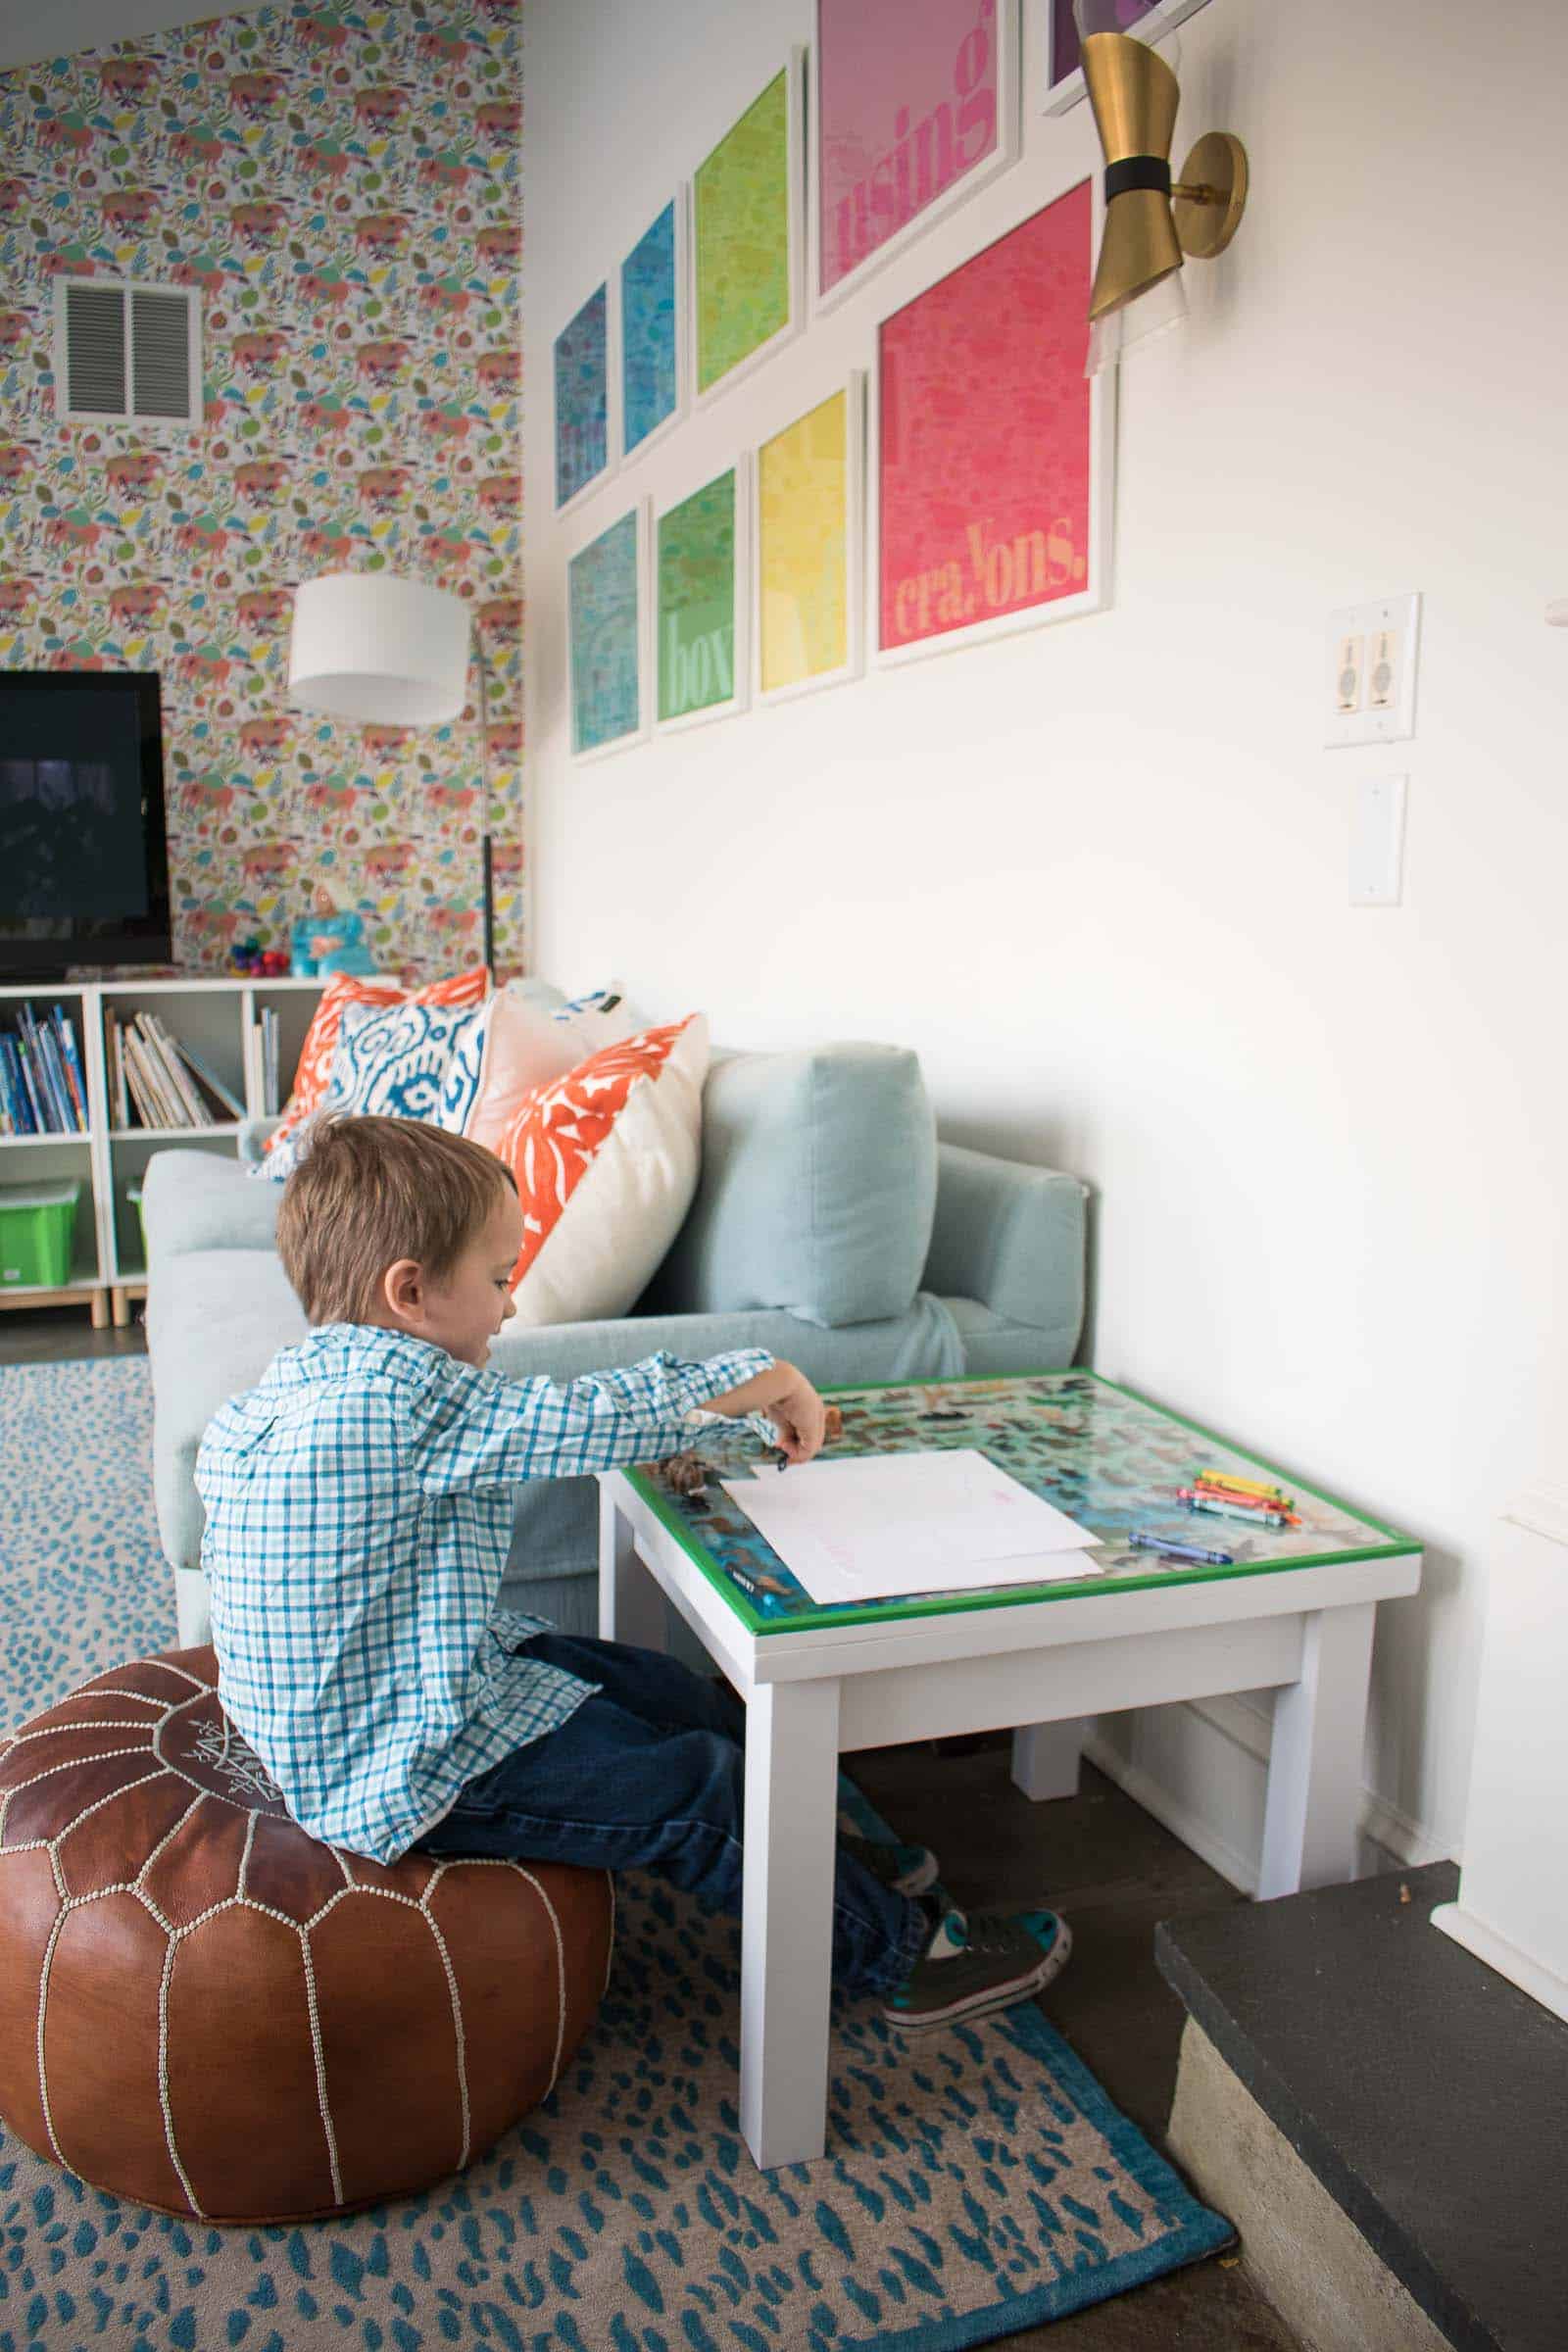
I ran out of epoxy so there are a few animal noses still poking out, but one more pour and I should be in good shape! The kids LOVE it and it’s been so fun to watch how they interact with the animals in the epoxy. Arthur points to them as he’s playing and it’s been like an I Spy book in real life for him!
Thanks again to the folks at MAS Epoxy and Safari, Ltd. I had question about the epoxy and MAS was beyond helpful! If you want to check out the full selection fo Safari, Ltd’s plastic animals, click here and use the code Charlotte for 15% off!


So cute! And Arthur obviously loves it
Yes! It’s so fun to watch him point out all the animals!
Which resin did You use fRom mas
I use the Art Pro!
Wow! Thank you Charlotte. This is very simply informative – no long or tech instructions👌🏻🌟🏁
You’re welcome!