
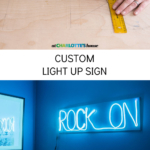
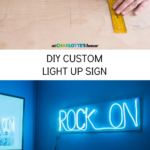
How to DIY a Custom Neon Sign
Psssst… this post *might* contain affiliate links: see my disclosure here.
DIY LED Neon Light
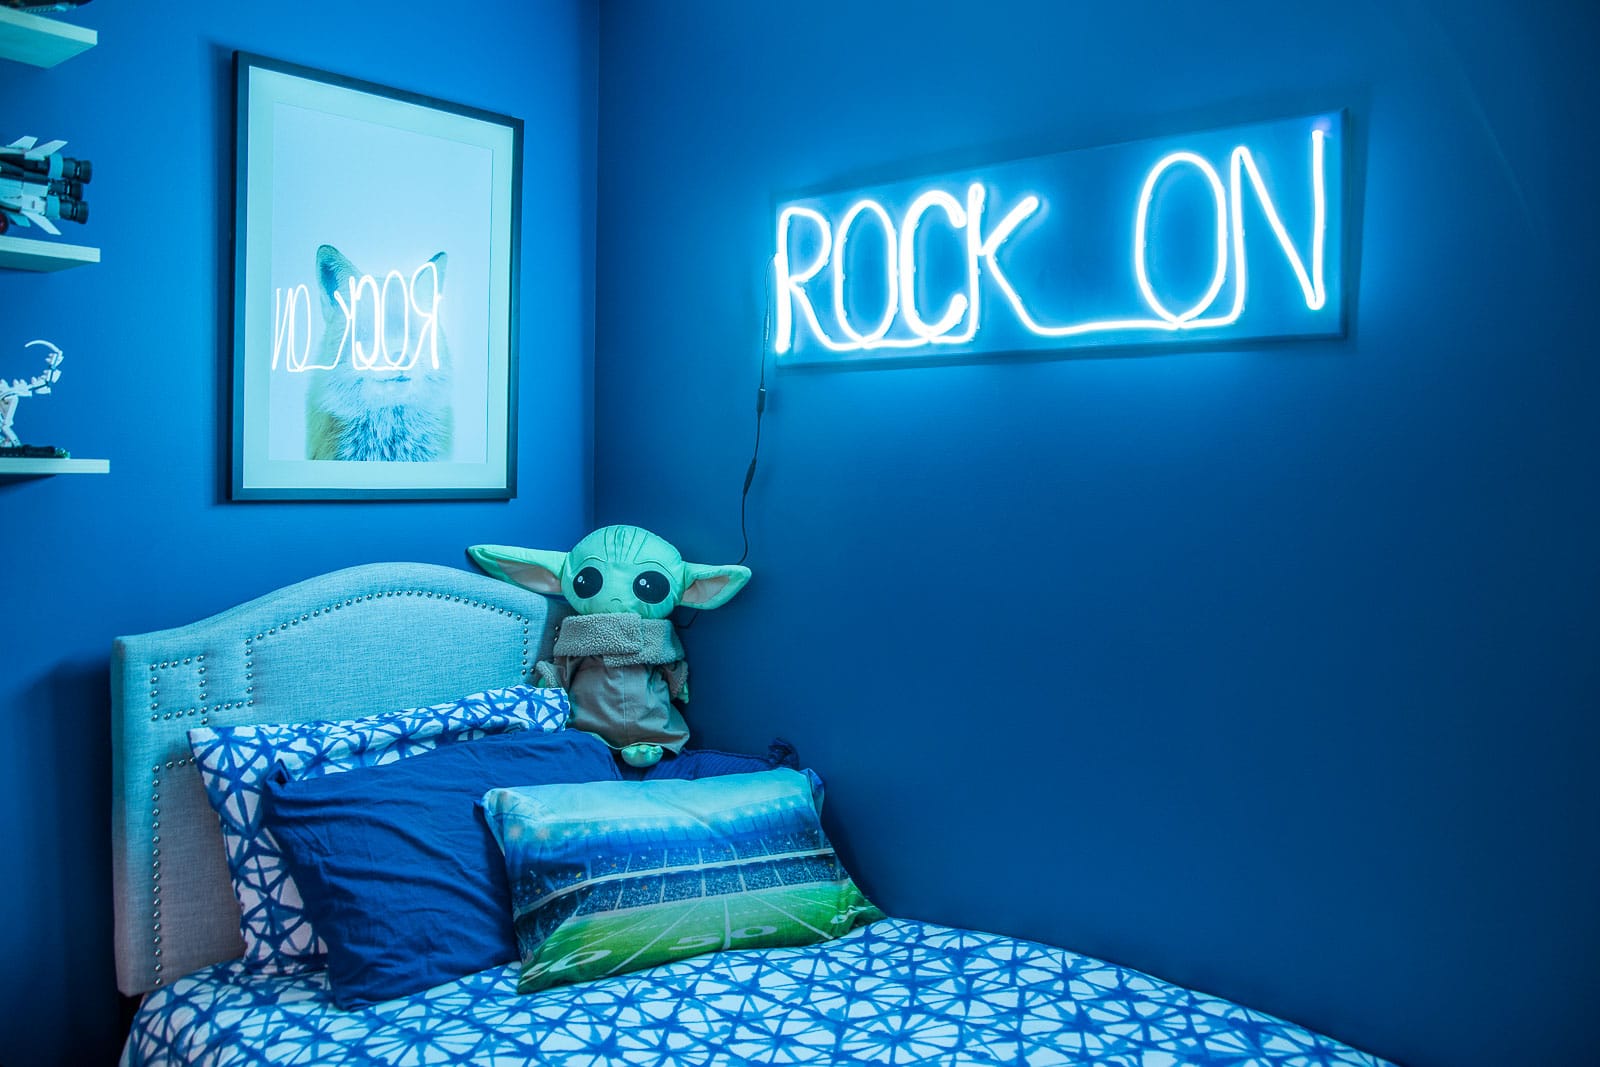
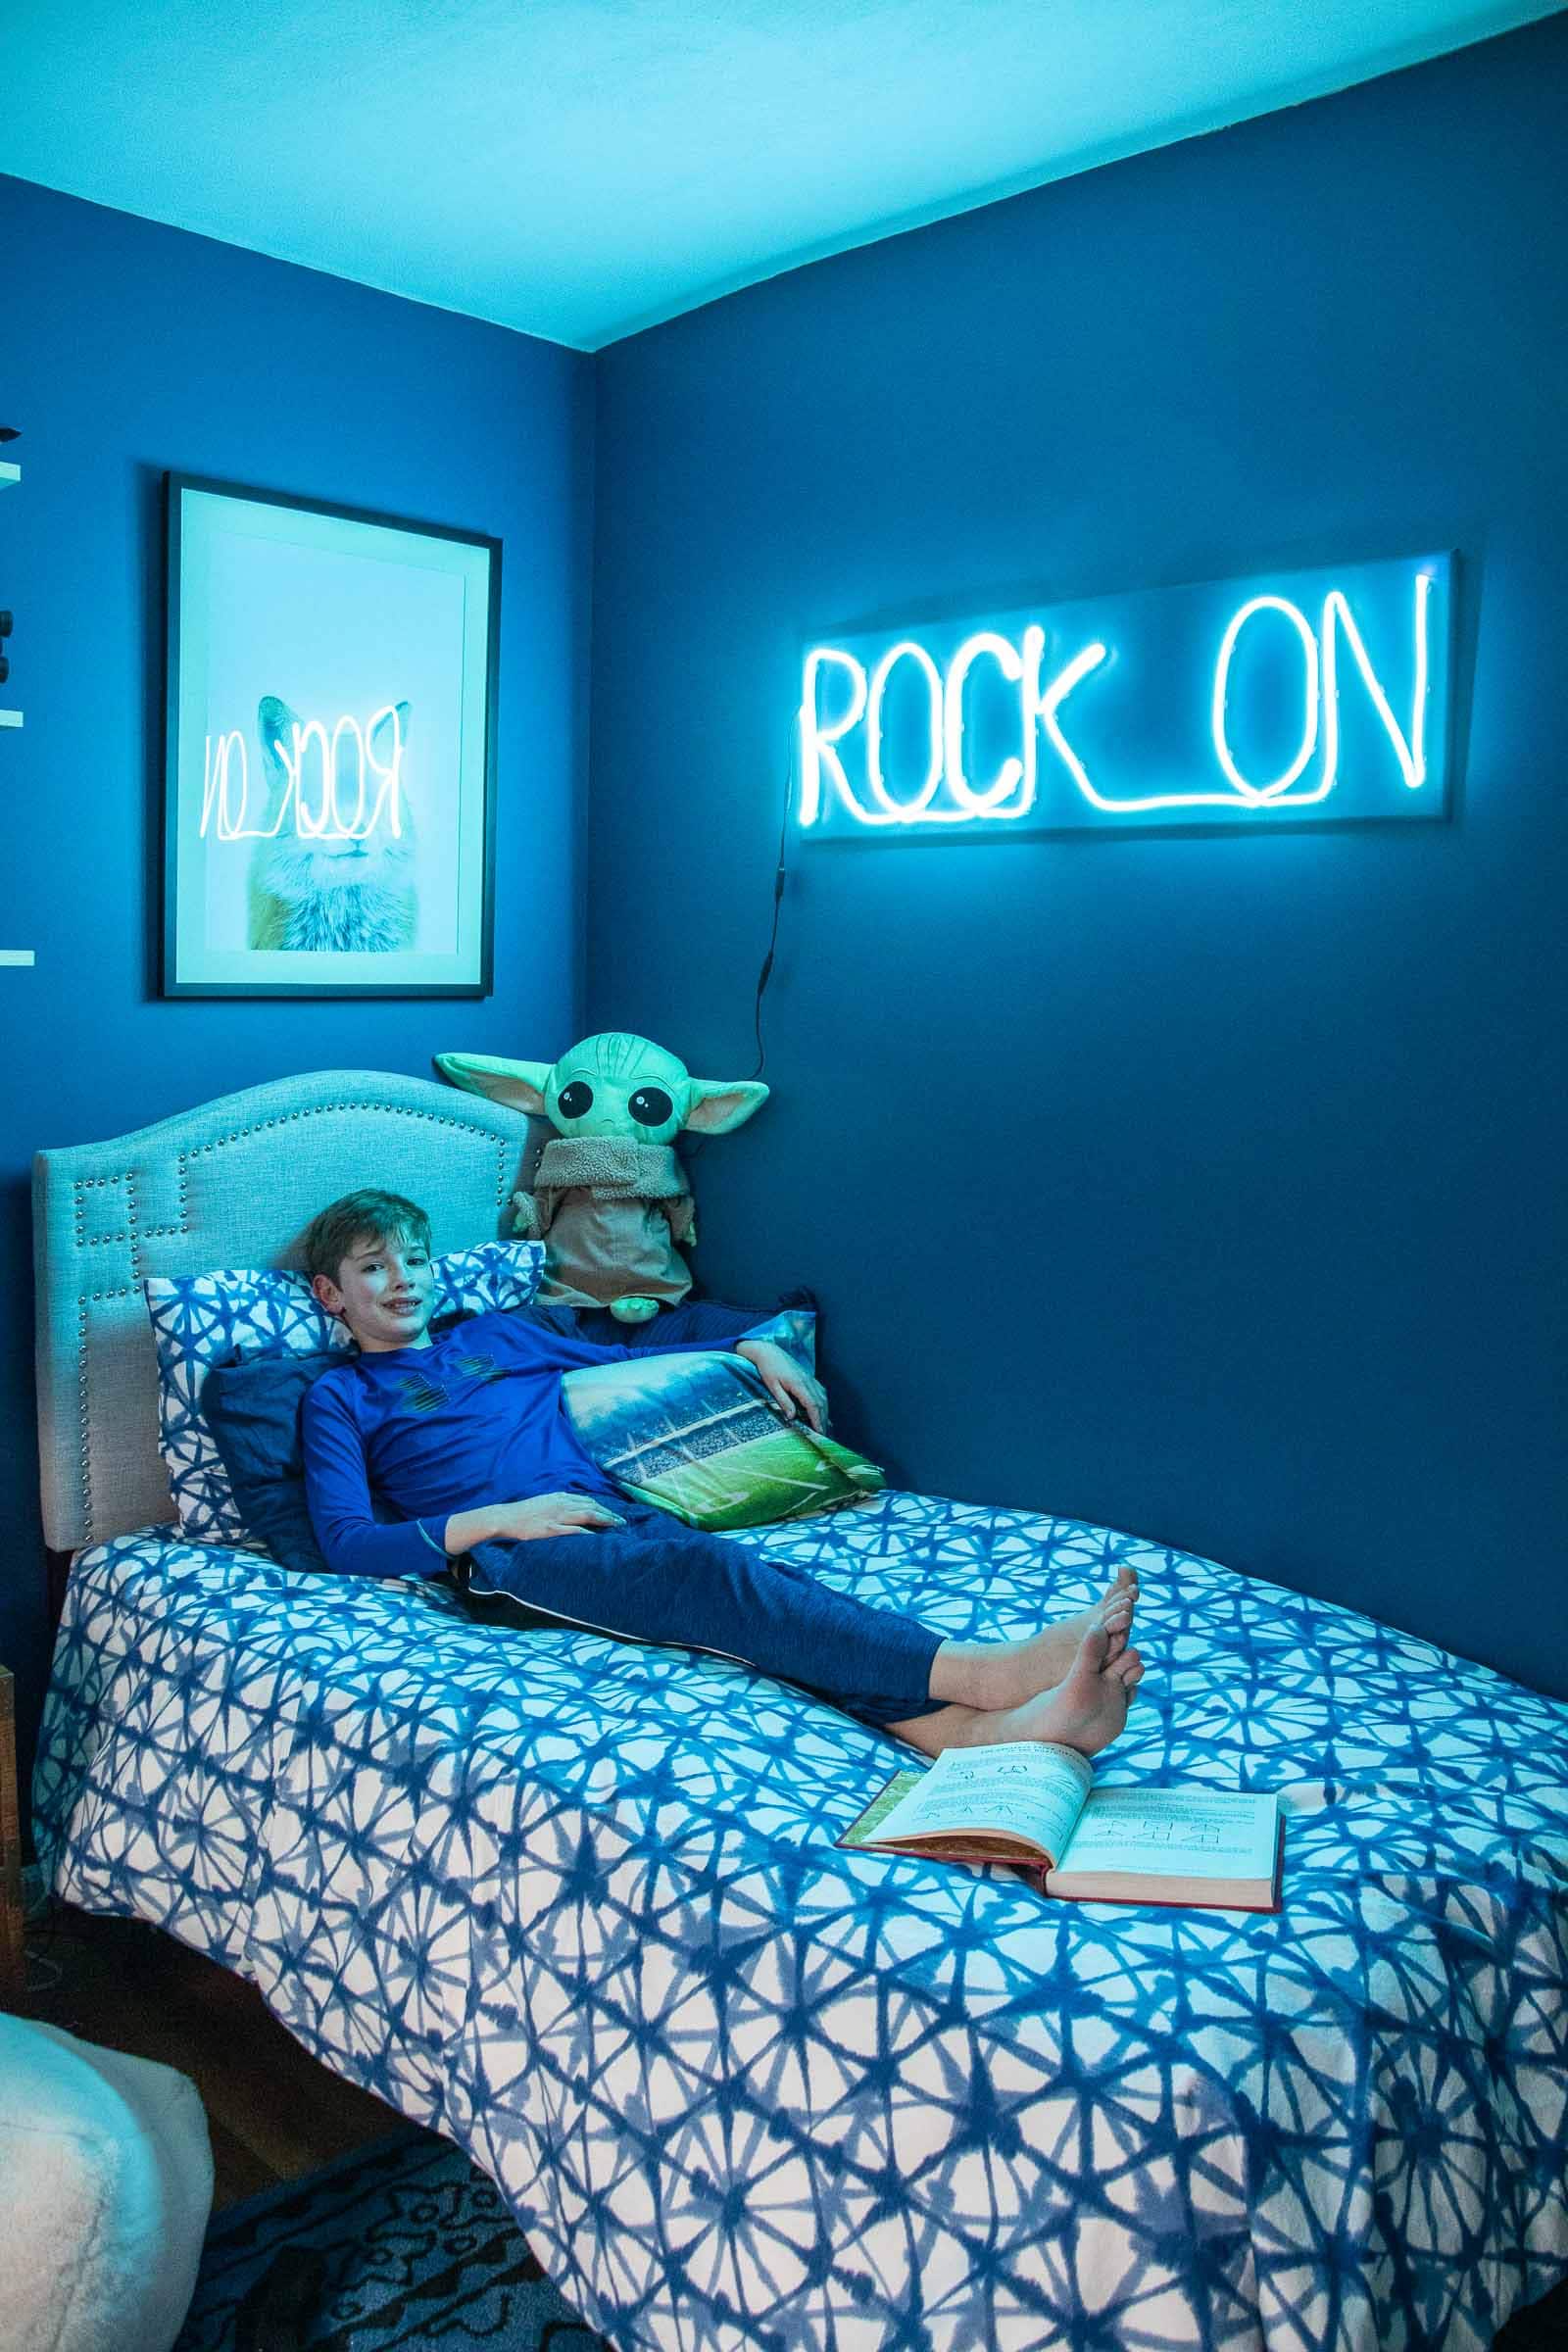
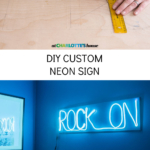
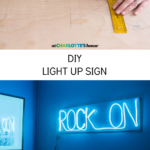
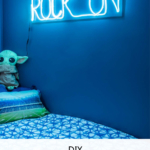
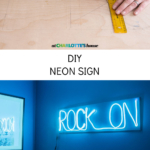
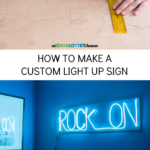
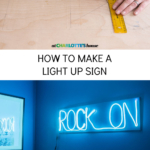
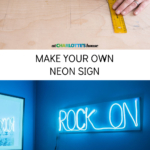
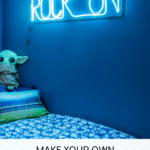
I made this budget friendly neon sign for my son’s room and he loves it.
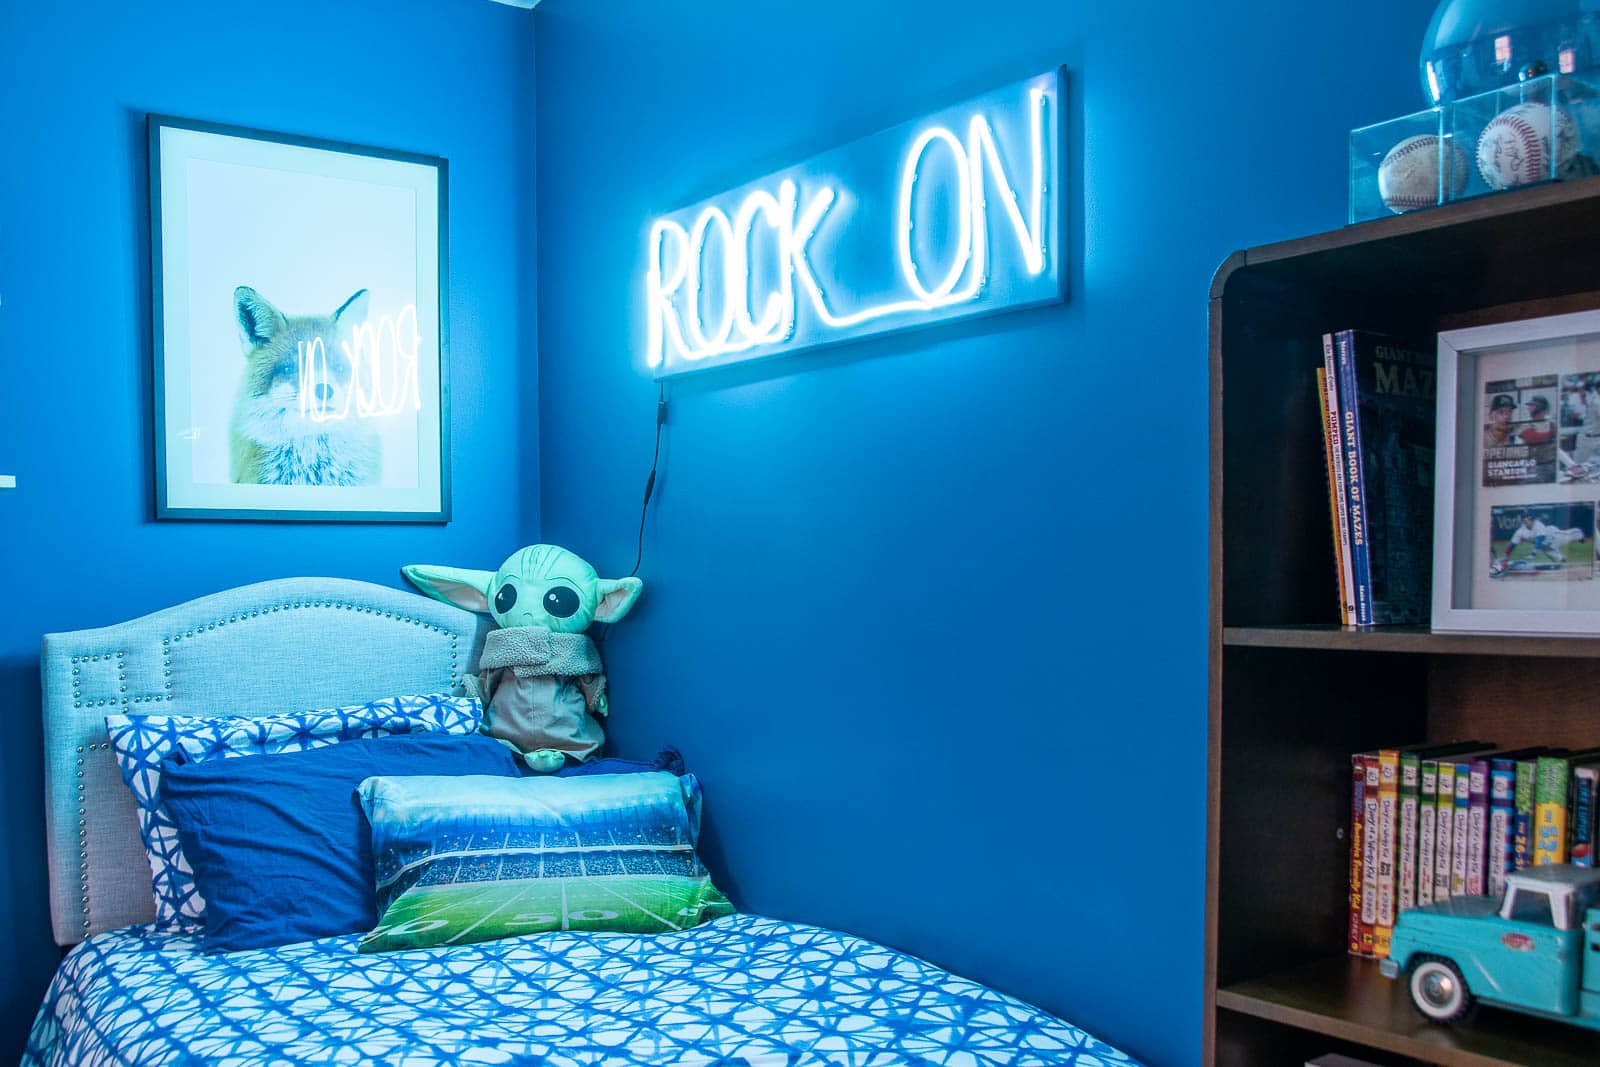
I love a neon light. Truly. But man oh man can they be pricey. ESPECIALLY if you want them to say something custom. Oliver wanted one in his room but the budget didn’t really allow for it and there weren’t any prefab ones that he really liked. So… custom DIY neon light coming up! I used a neon light in our One Room Challenge dining room makeover and took a look at that. It used a flexible LED light strip that looks like neon but is obviously something I can purchase and work with myself. (Unlike real neon…) I’ll share a full materials list at the end of the post, but I’d say this whole thing cost less than $50.
Shop my favorites!
Step 1. Plan out your Design
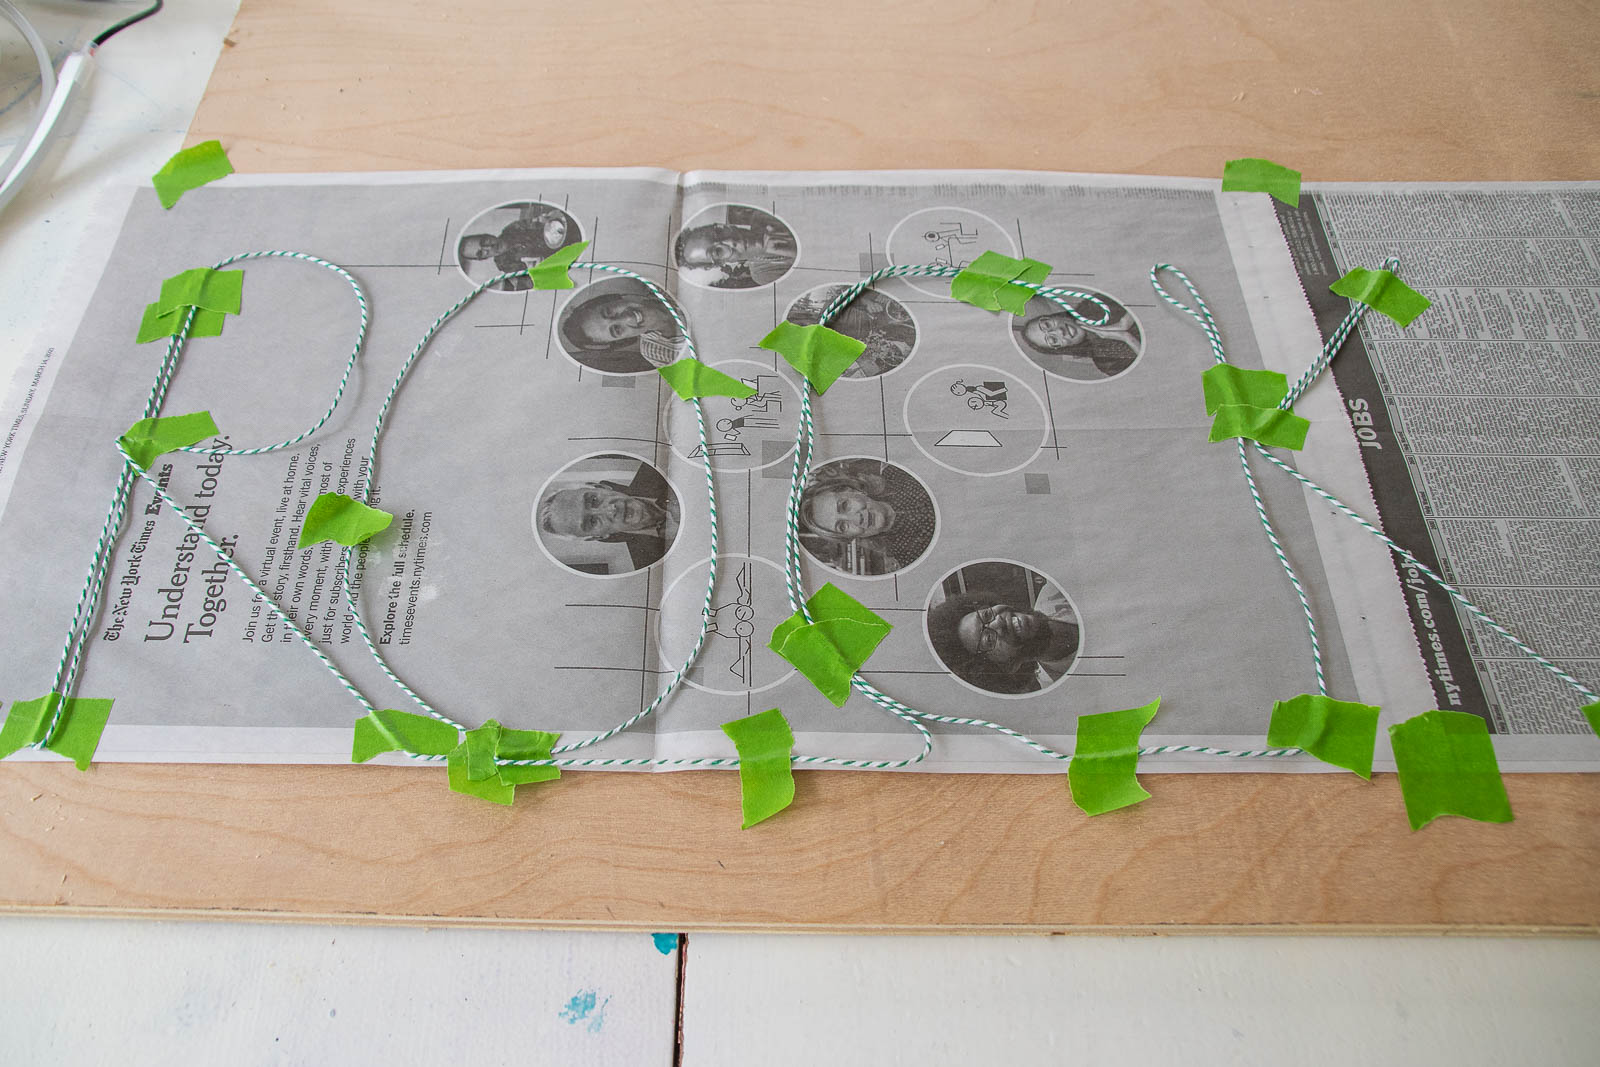
Oliver wanted his sign to say “Rock On”. Why? No idea. Before I started, I sketched out how I wanted the text to look… cursive didn’t feel quite right for “Rock On” so I opted for a more graphic text. I cut a piece of string to the same length as the LED strip and started playing around with layout and sizing. Once I had the layout/ spacing correct, it was time to transfer the letters a bit more deliberately onto the plywood I was planning to use as the backing.
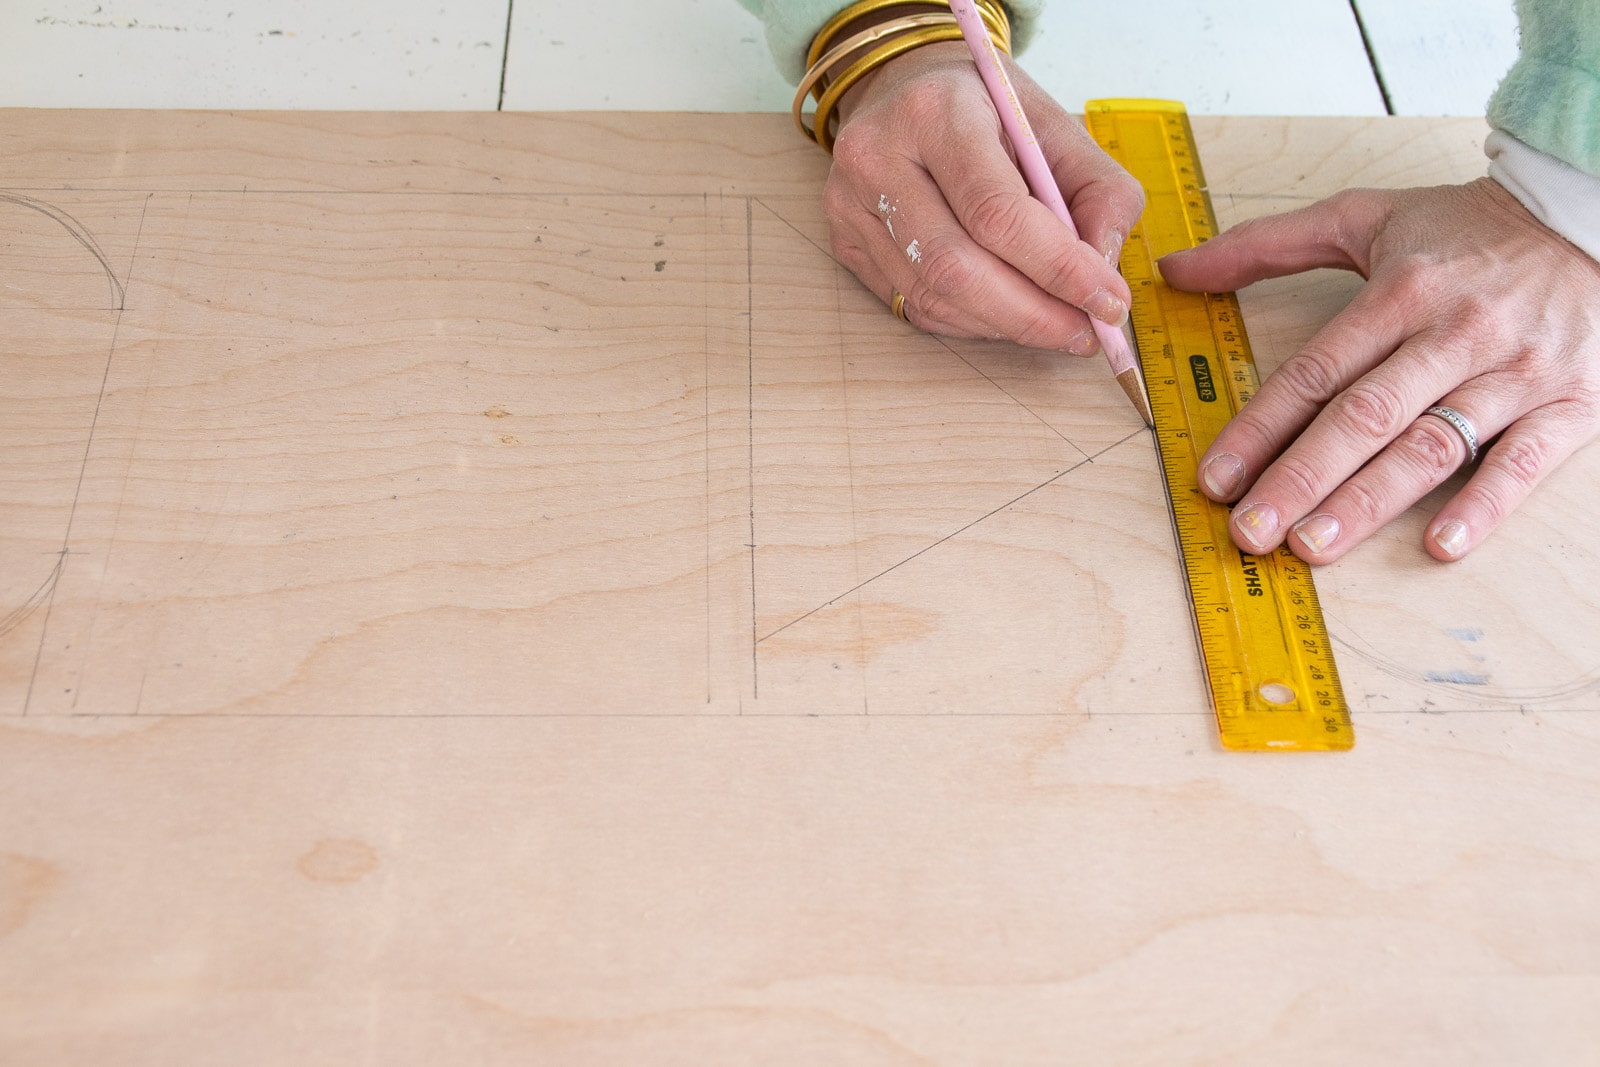
Step 2. Sketch Letters onto Plywood
When I sketched the letters onto the plywood, I was more precise about spacing. I used a ruler to make sure the letters were all the same height, mostly the same width and that they were spaced the same distance apart.
Step 3. Trim the Plywood
I was using a piece of 1/2″ scrap plywood I had in my garage, but you can always buy a 2×4 project board from the lumber aisle at Home Depot. My garage is still an episode from Hoarders so I didn’t take pictures of this step, but I used a straight edge as a guide and cut the board down to size. There’s about 1-inch boarder around the words. I also used a roundover bit in my palm router to finish off the edges of the sign. This is obviously optional but it makes the board feel a bit more finished.
Step 4. Paint and install clips for LED light strip
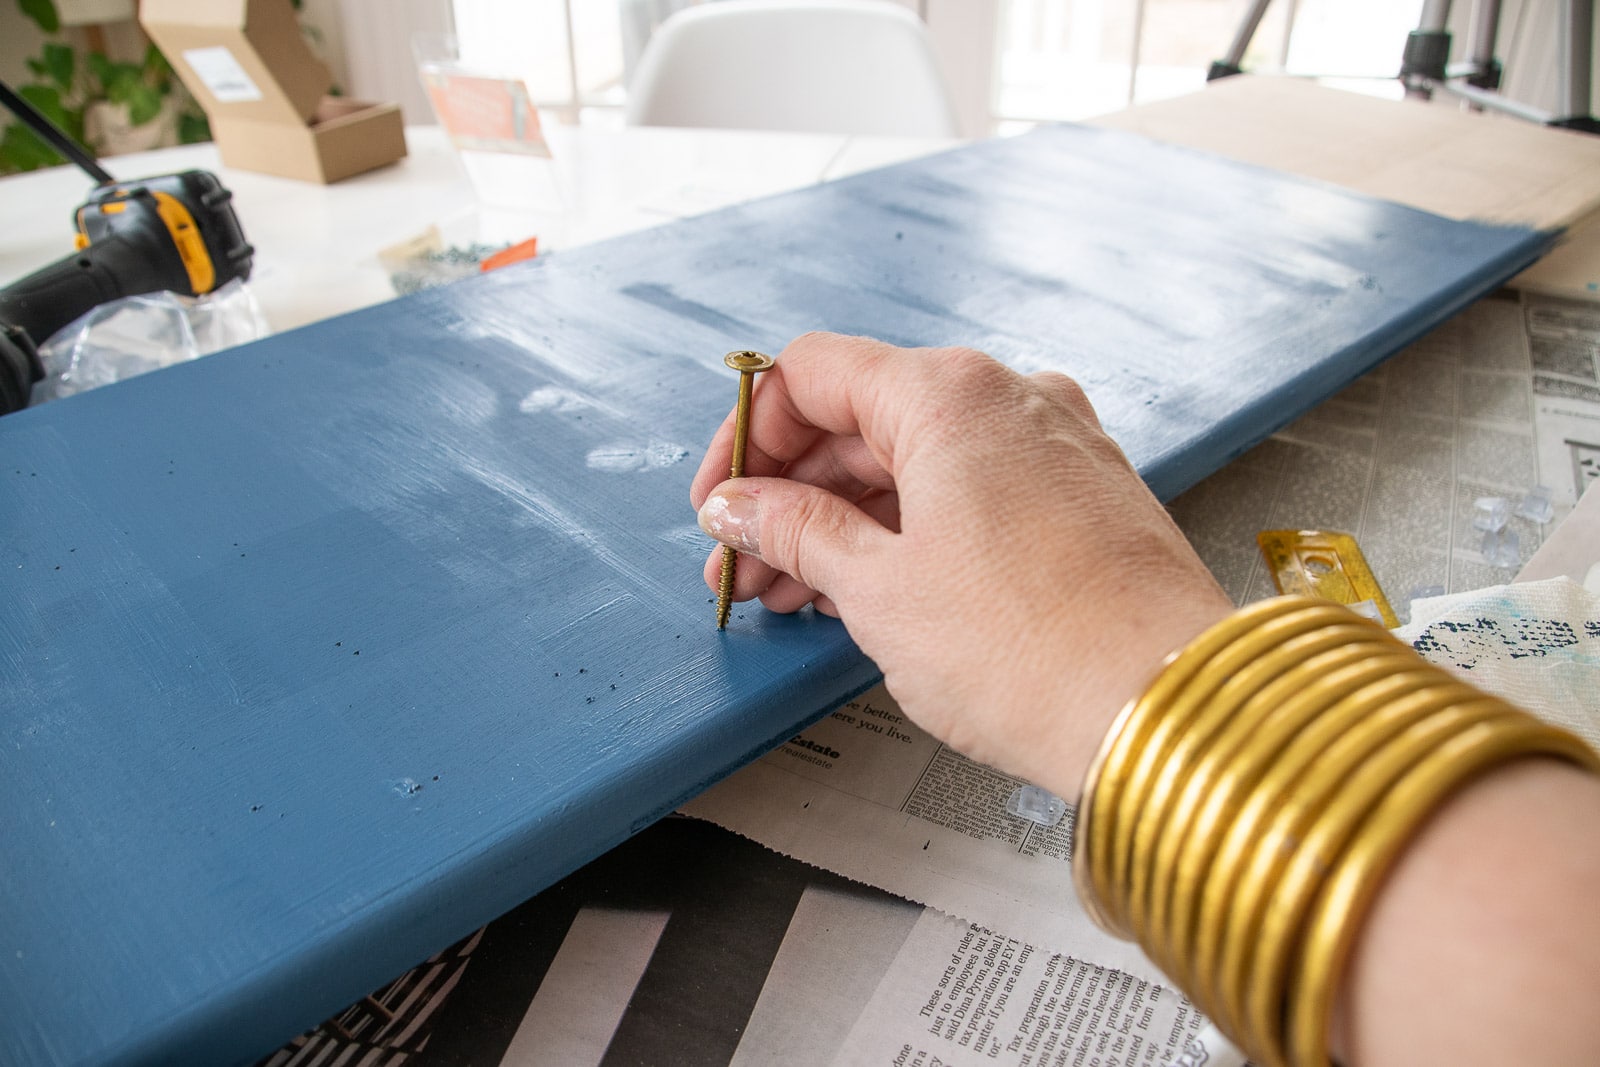
I’m SURE there is a smarter way to do this, but here’s what I did. I started by laying out the clips for the light strip. I wanted to make sure the clips were spaced close enough to keep the LED strips secured, but I also needed to space them so that the light would follow the curves and angles of the letters. Because you can’t trim the light strip without getting into rewiring and soldering, I planned out where the light strip would need to double back on itself to write out each letter. In these places, I just had to plan accordingly and screw in clips to allow for this. The light strip is flexible enough that it will bend back on itself pretty easily, but having clips in place to guide it is essential.
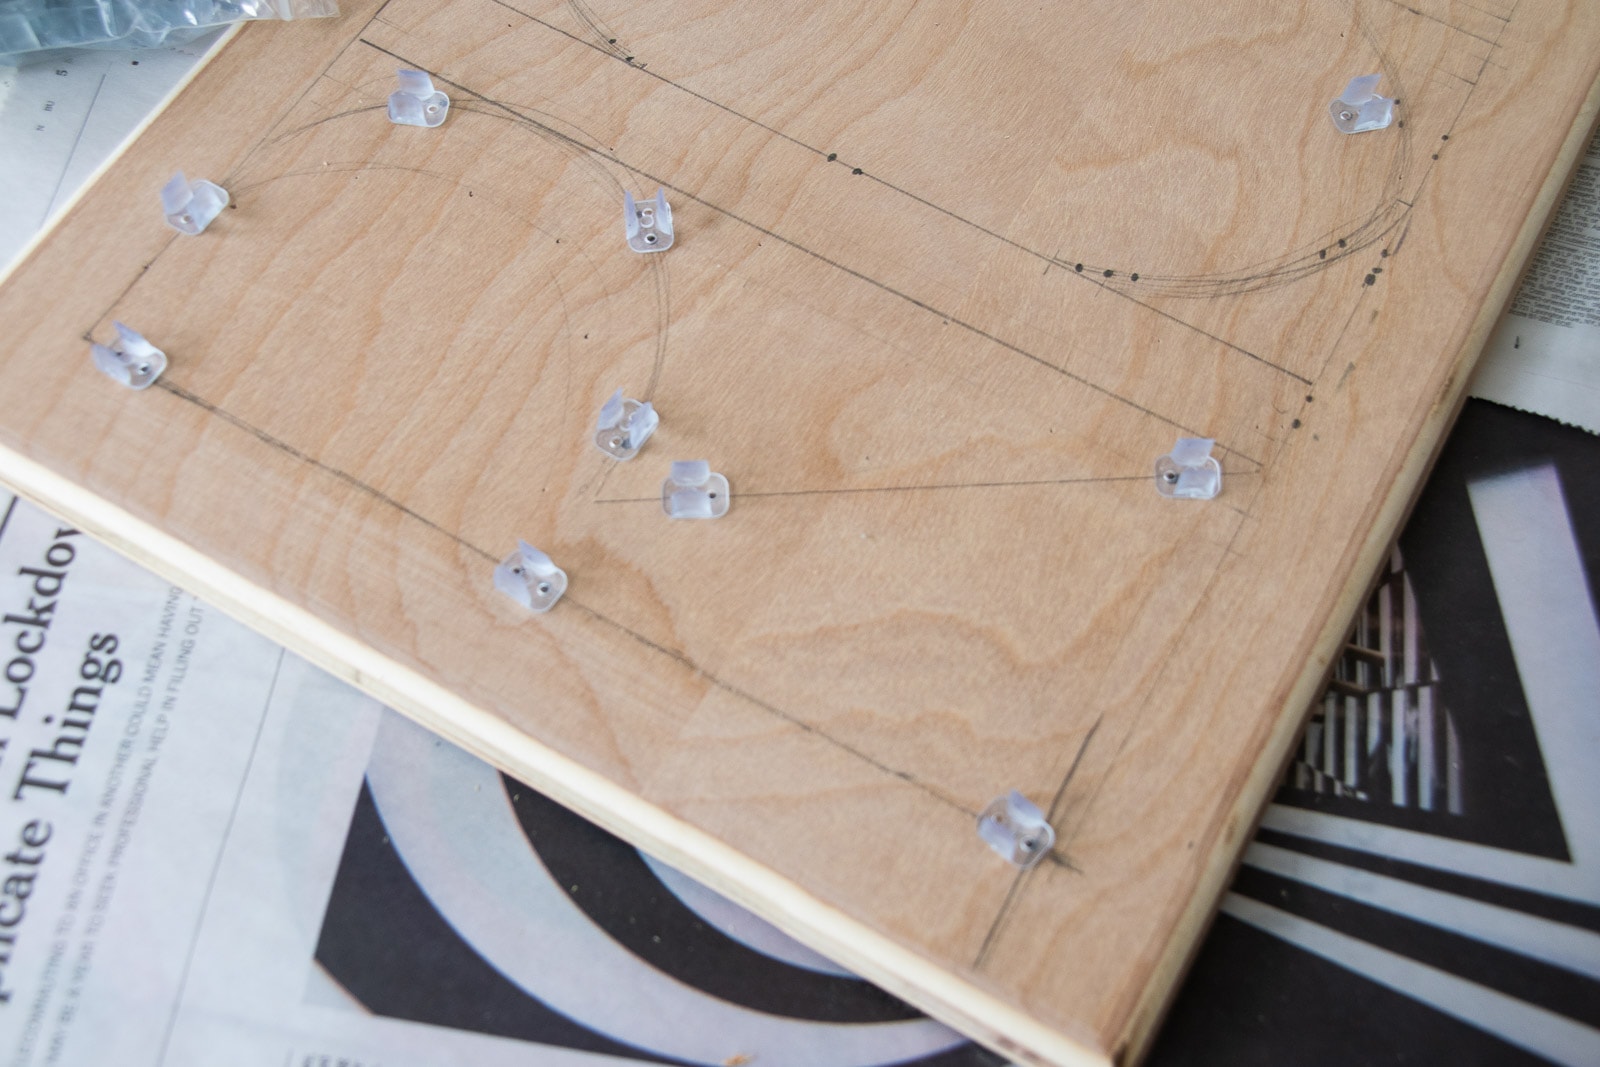
Once the clips were laid out, I used a pencil to mark where the tiny screws would go for each clip. Because I wanted to paint the board first, I used a screw to poke a hole and mark where the clips were going to screw in place. (A drill with a small drill bit might have been faster.) I wanted to poke a hole because when I painted the board, the pencil lines were covered up so the holes showed me where to install my clips.
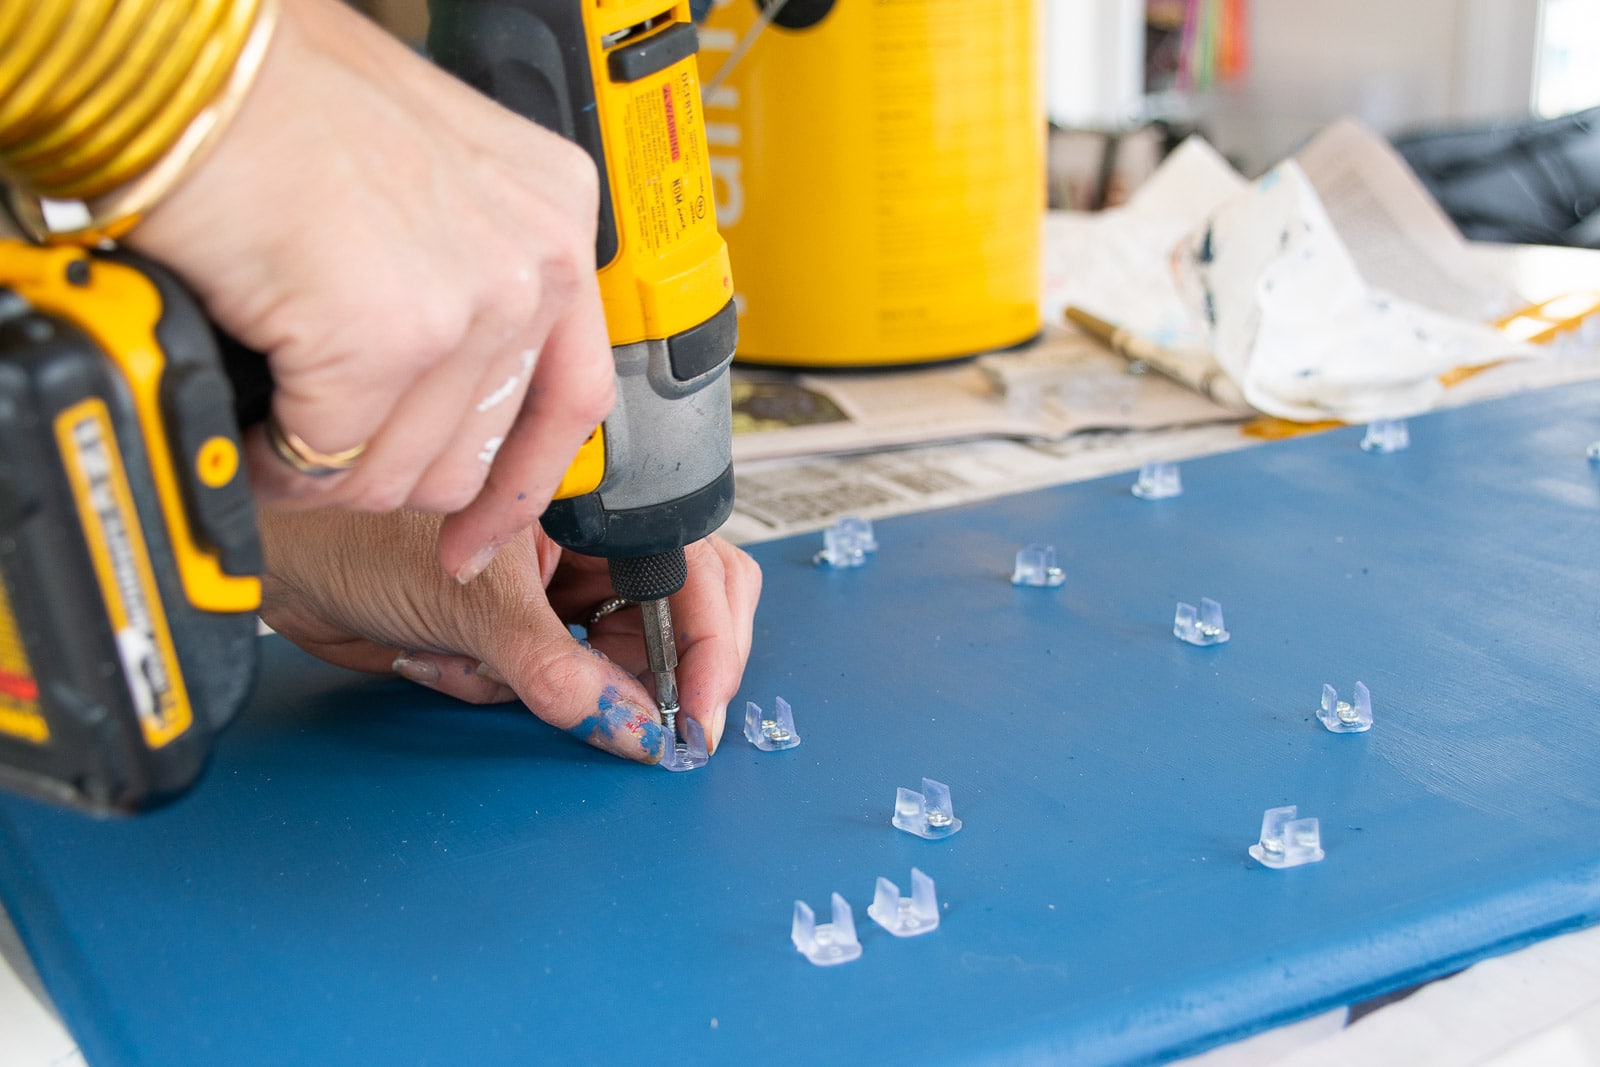
Step 5. Screw clips in place
I had to order extra clips and buy some tiny screws to fit them. I slowly screwed all the clips in place being careful not to screw the clips in too tight and crack them.
Step 6. Install the LED light
Figure out where you want the cord to be. Our cord is at the front of the sign closer to the head of the bed but we might remove the lights and install them with the cord by the “On” eventually. I knew that there would be a few inches of excess LED light so I planned for this as well and knew I wanted the “R” to be where the excess strip would double back on itself. My clips are a *tiny* bit bigger than the LED strip, but they hold it in place perfectly. I didn’t get pictures but it’s pretty evident how the LED light fits into the clip! To hang, I screwed two D-rings into the back of the board and hung the sign on two picture hooks.
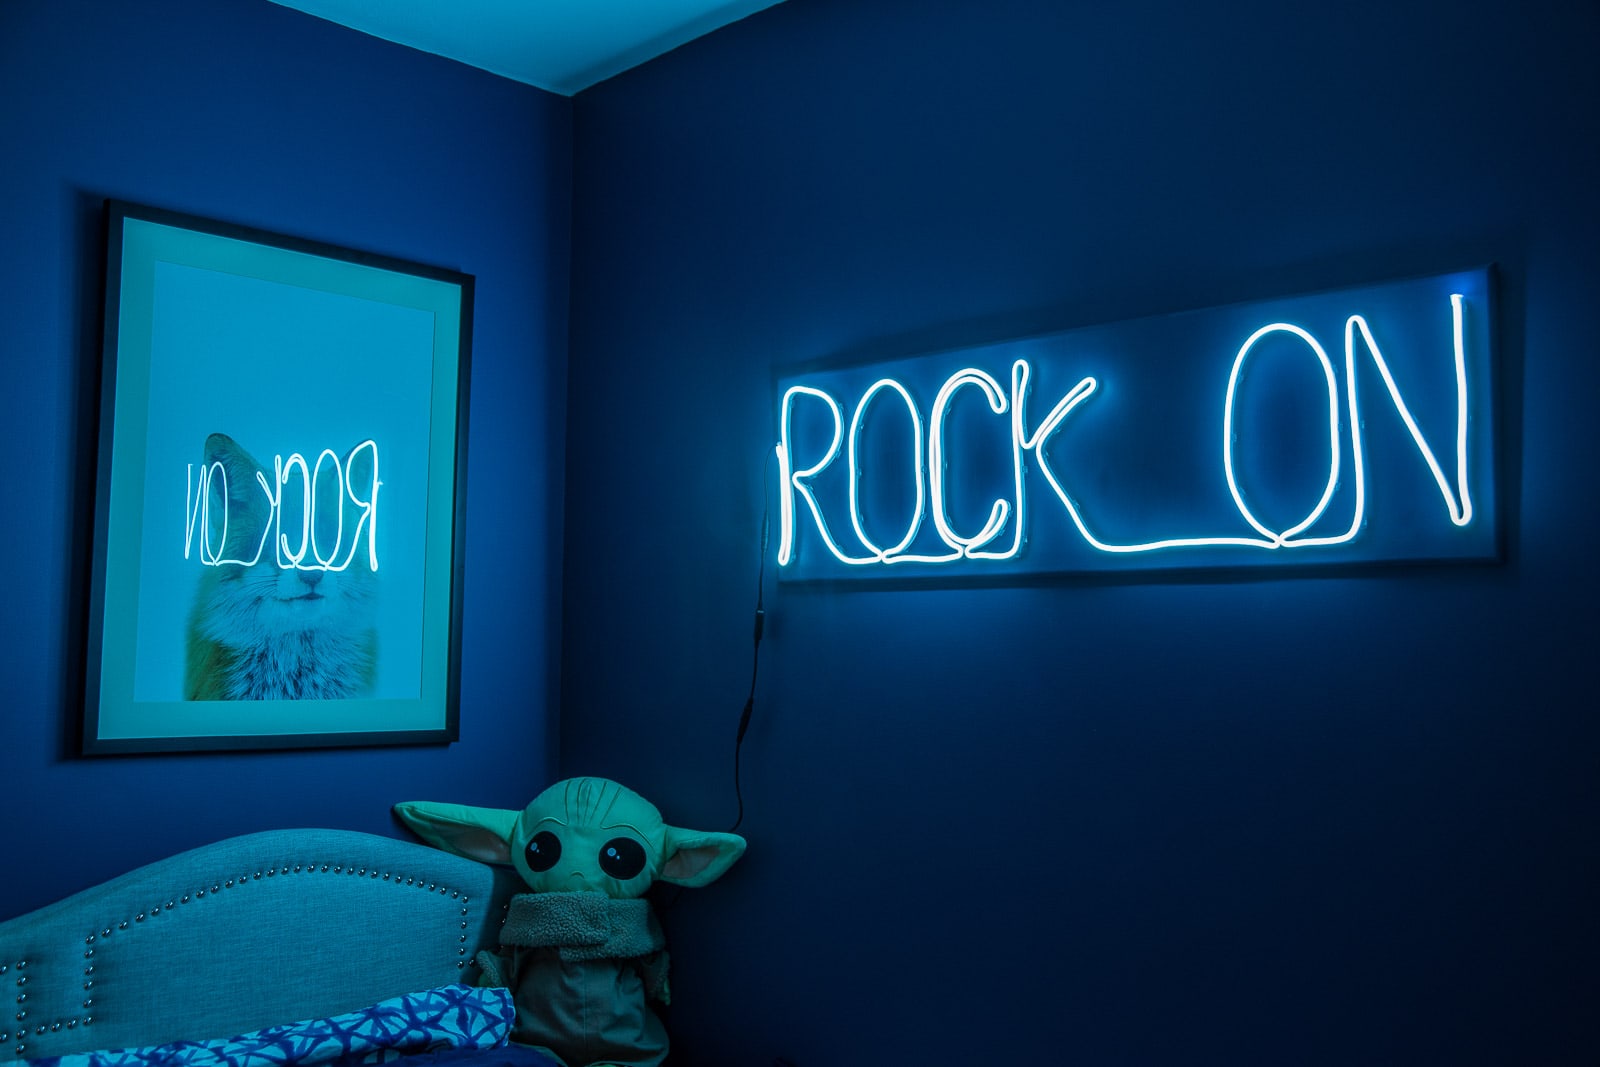
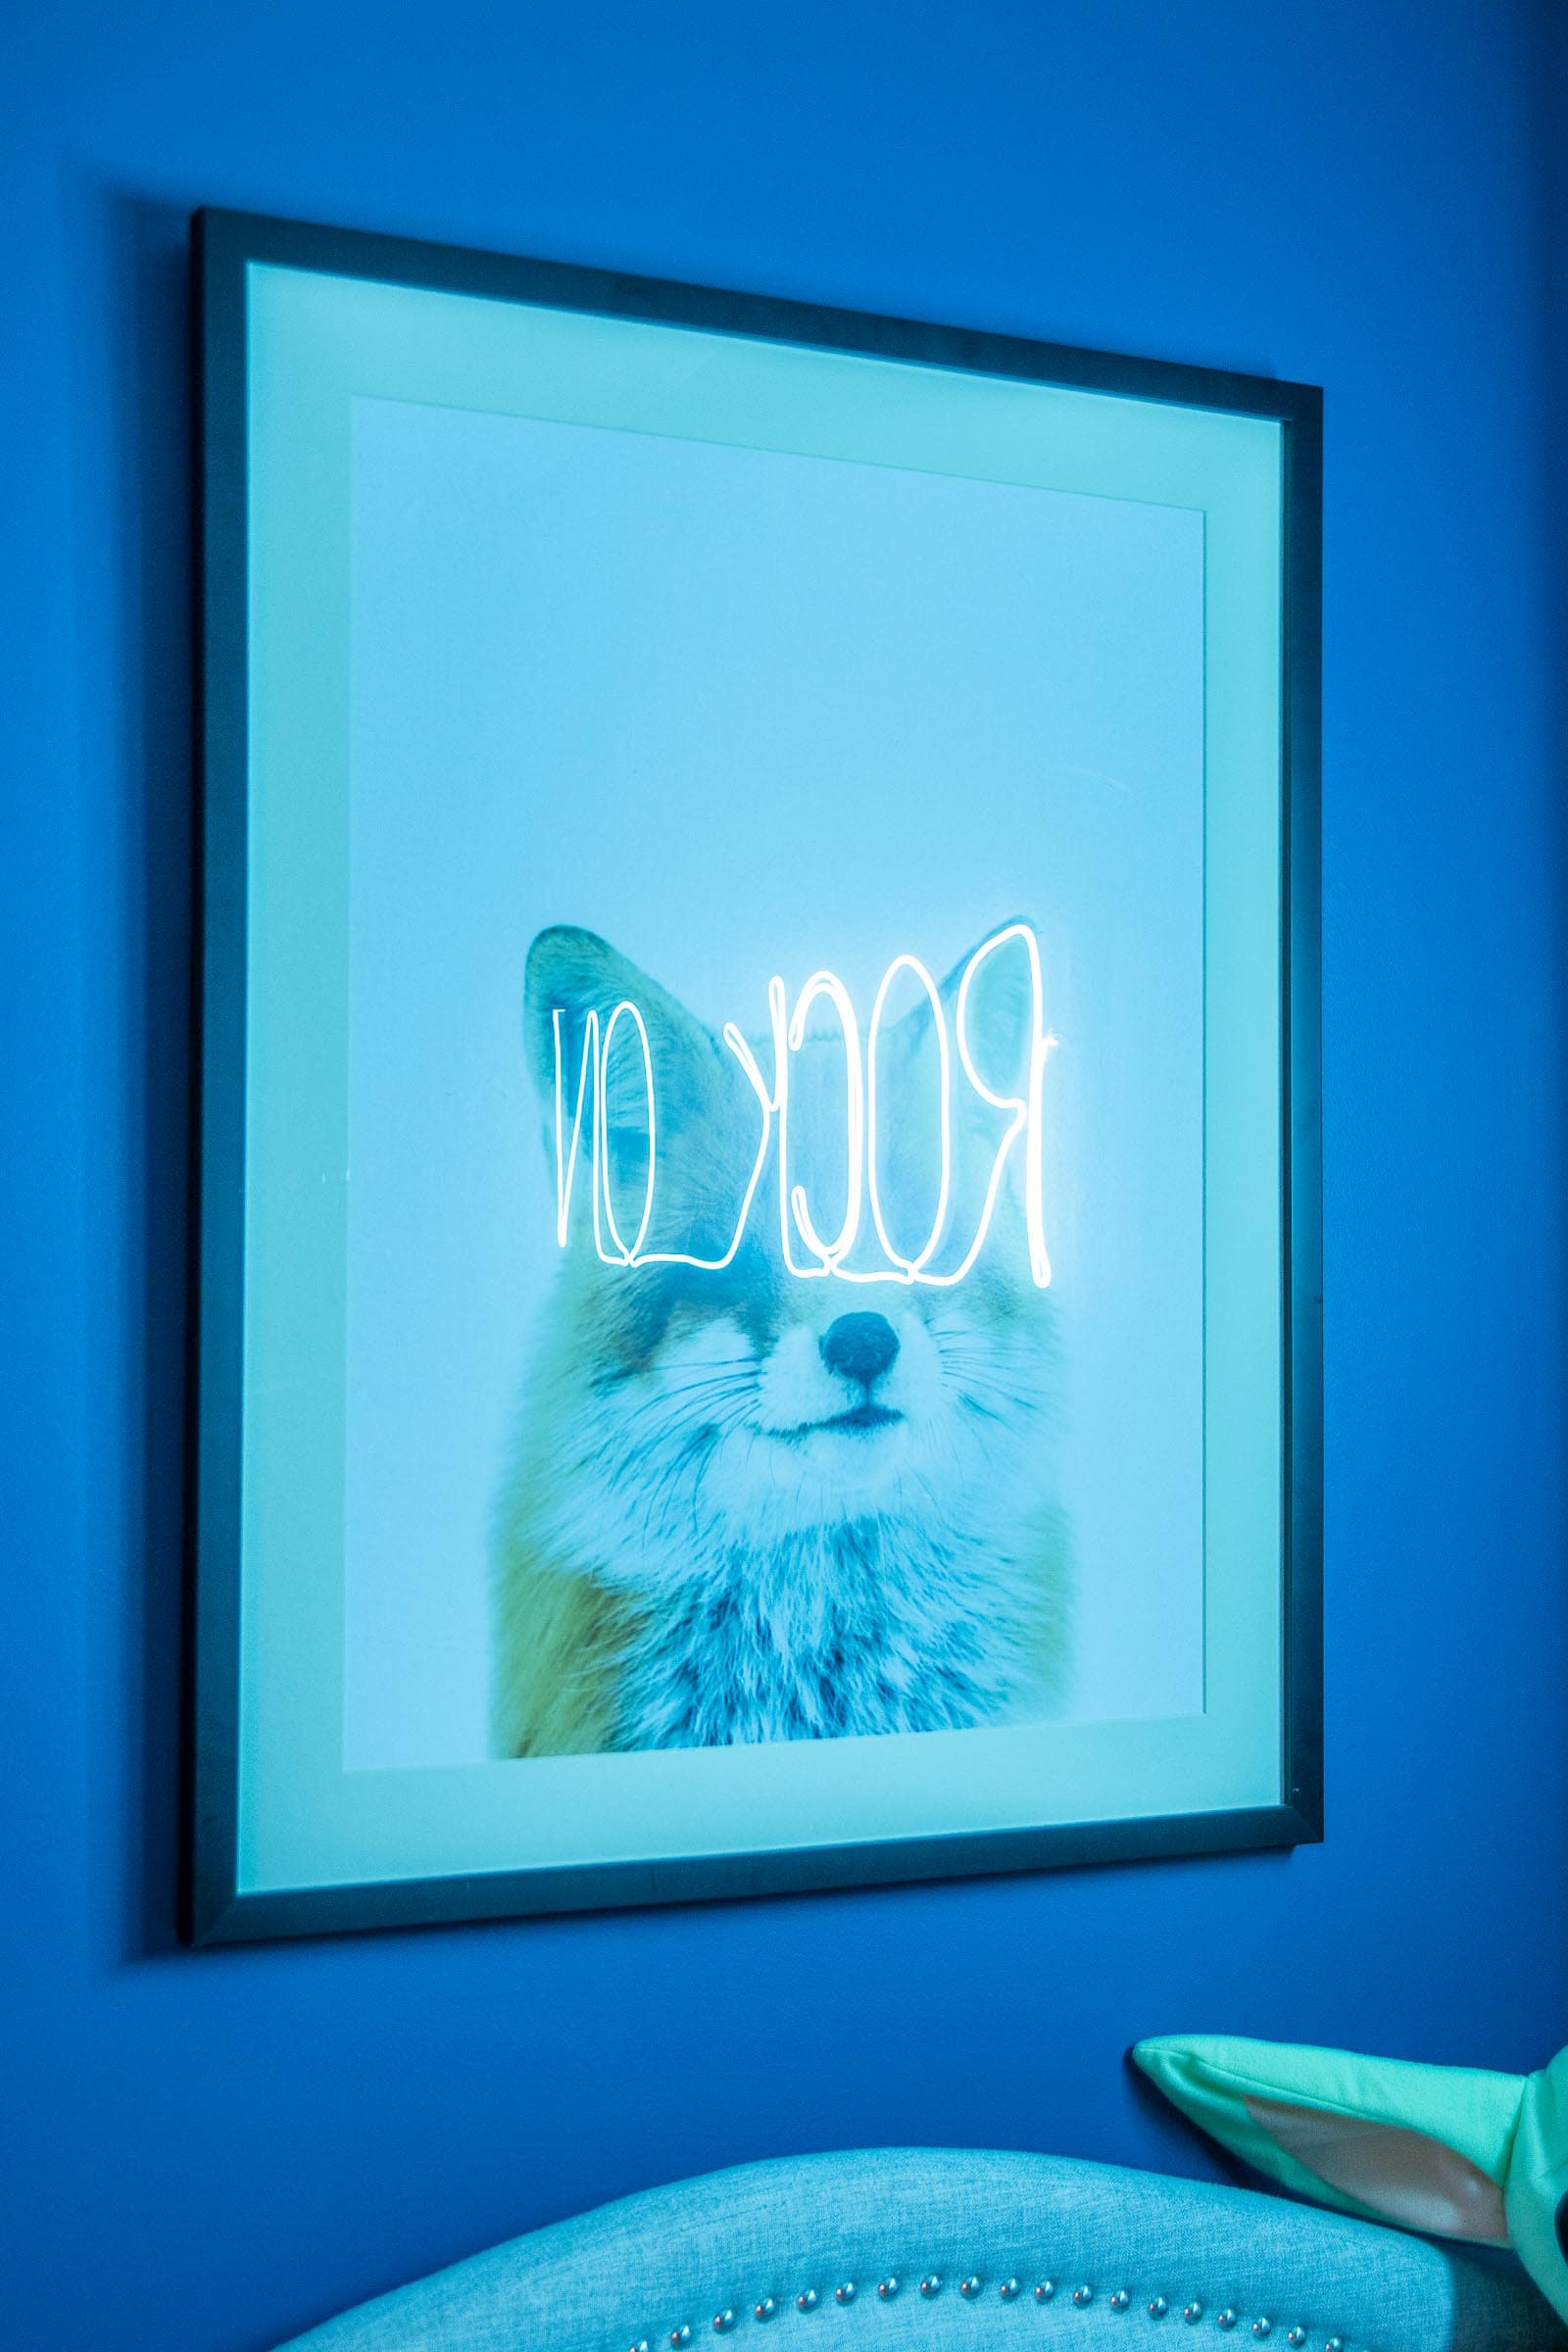
This technique could work for any type of custom sign, really. Because I painted the plywood the same color as the wall, it blends in a bit and lets the light stand out the way a custom “official” neon sign would. Pictures and images could look adorable as well as lots of other words like a child’s name or initials. The LED strip I used comes in lots of different colors and lengths. I kind of guessed what would fit our words, but figured I could always make it big enough to fit the length of the light strip.
Materials for Custom “Neon” Light
- LED flexible light strip
- Extra clips
- Screws for clips
- Paint to match your wall (optional)
- Plywood
- I used this palm router with a roundover bit like this and this 4″ circular saw to trim my plywood.


Looks amazing!!!
Thanks, Courtney! Rock on! 🙂
That came out great! Oliver must be ecstatic! This would be a great project for a dorm room!
I think he really likes it! And it may have talked him out of the tiktok lights! 🙂
What a cool acCent! Pretty amazing for him to know his mama made that for him!
Thanks, Morgan! I’ll have to remind him of this often. 😉
It was soo awesome to see your sonS big smile, awesome pProjeCt. Rock on sisTer🙌
Yes! I love that too! Thank you!!
looks fabulous well done…
Thanks, Karen!! xx
IT’s amazing charlotte!
I love it! WouLd you have another “dougther”? 😂
Haha! Depends on whether she cooks! 😉