
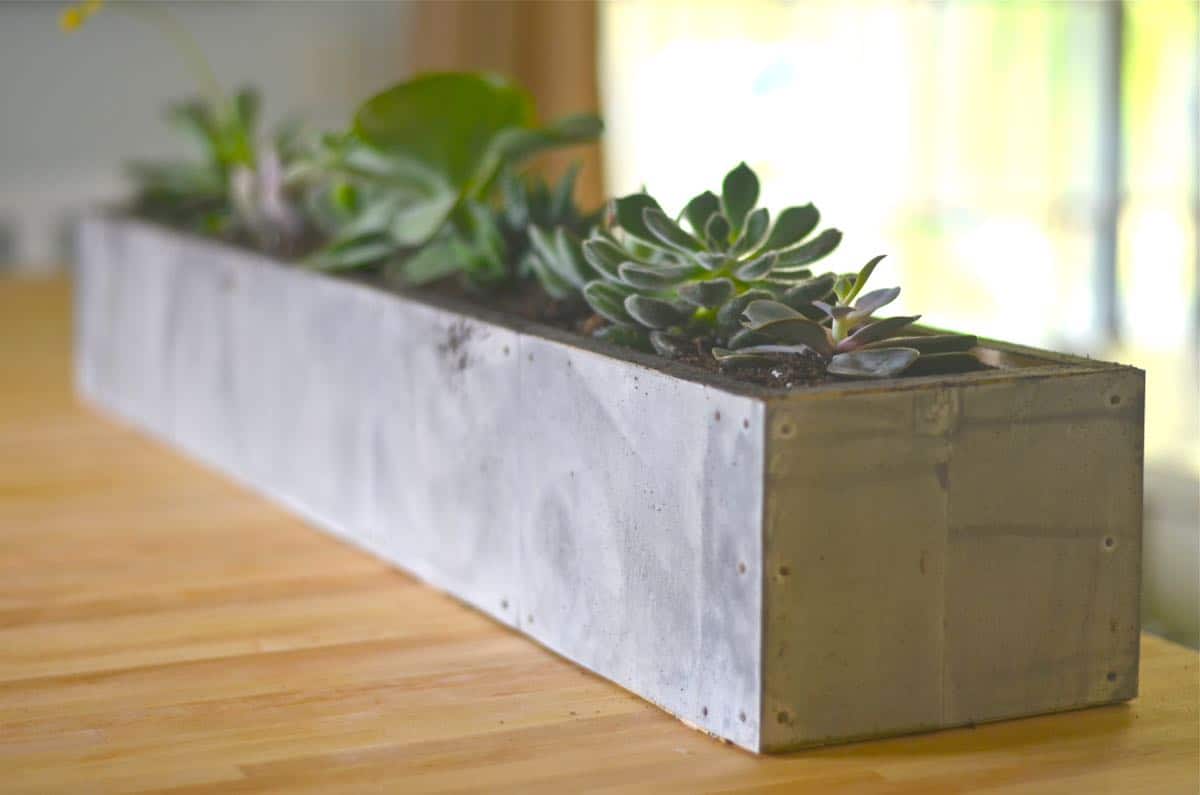
“Zinc” Succulent Planter
Psssst… this post *might* contain affiliate links: see my disclosure here.
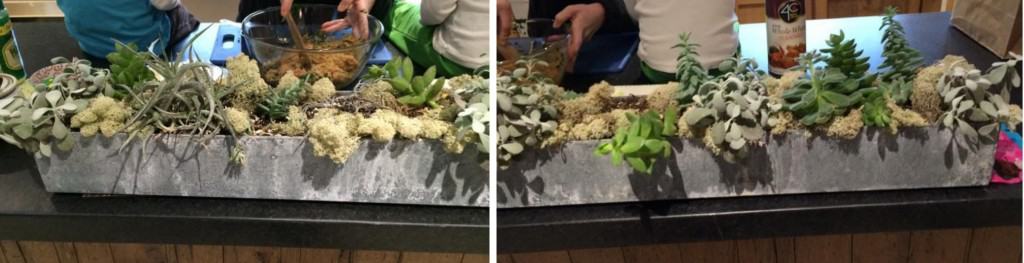
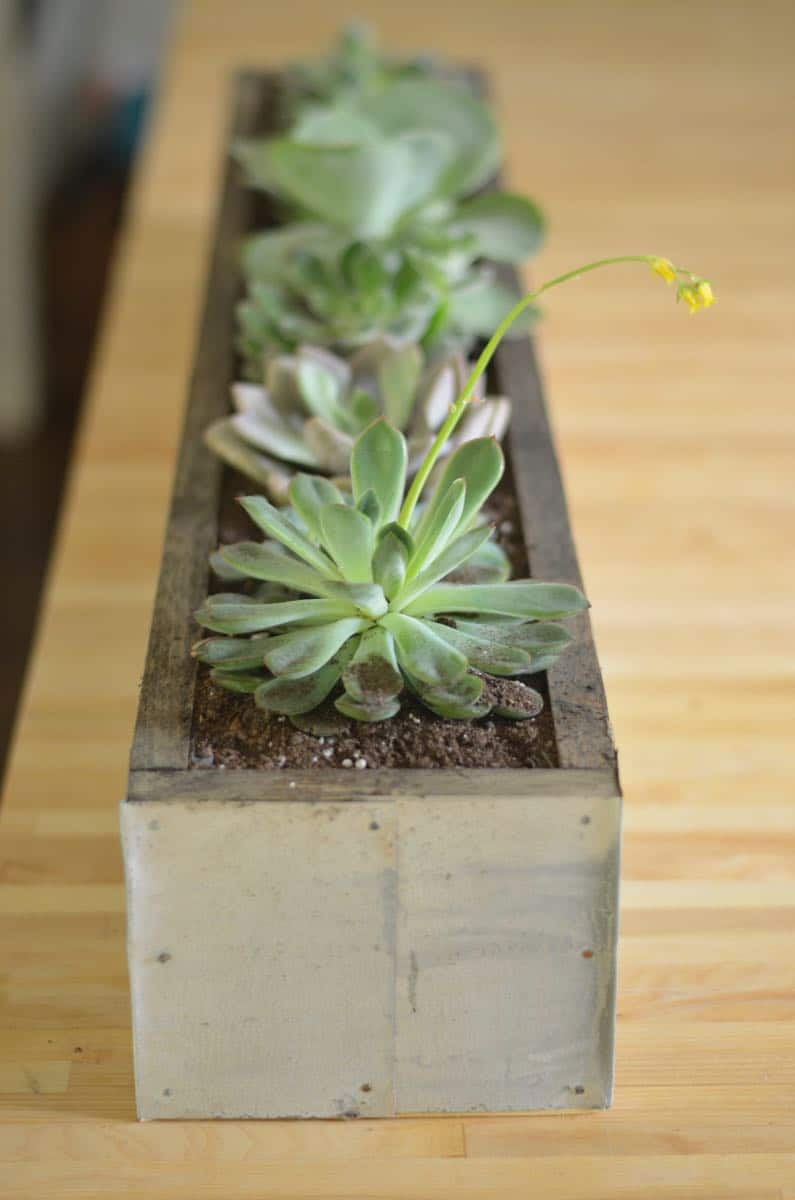
Imitation is the best form of flattery, right? When we were visiting my sister over Easter, she had this incredible zinc planter on her kitchen island overflowing with succulents. You haven’t even seen the picture, and it sounds amazing, right? Well I was ogling and wiping the drool away all at once. And then I started obsessively trying to copy it for cheap.
Welding is one DIY skill that I haven’t taken on quite yet, but I do know my way around a miter saw and a Kreg jig. My idea was to make a simple planter box out of scrap wood and then find some cheap and easy metal to tack/ glue to the outside and then age the metal to look as wonderful as her zinc planter looked. And then rock some succulents. I pretty much did all of these things, but had to make a few little tweeks here and there so bear with me. (Oh… and my flashcard broke so I lost the early pictures from this project…)
Shop my favorites!
Let’s start with the metal. At Home Depot, you can buy strips of sheet metal but it’s not as cheap as I thought (and it’s thick so hard to manipulate). Maybe $15 for one length which would make this whole project $45 before I even started with the wood and the plants. BUT… in the roofing section there are thin sheets of flat aluminum flashing similar to this affiliate link.
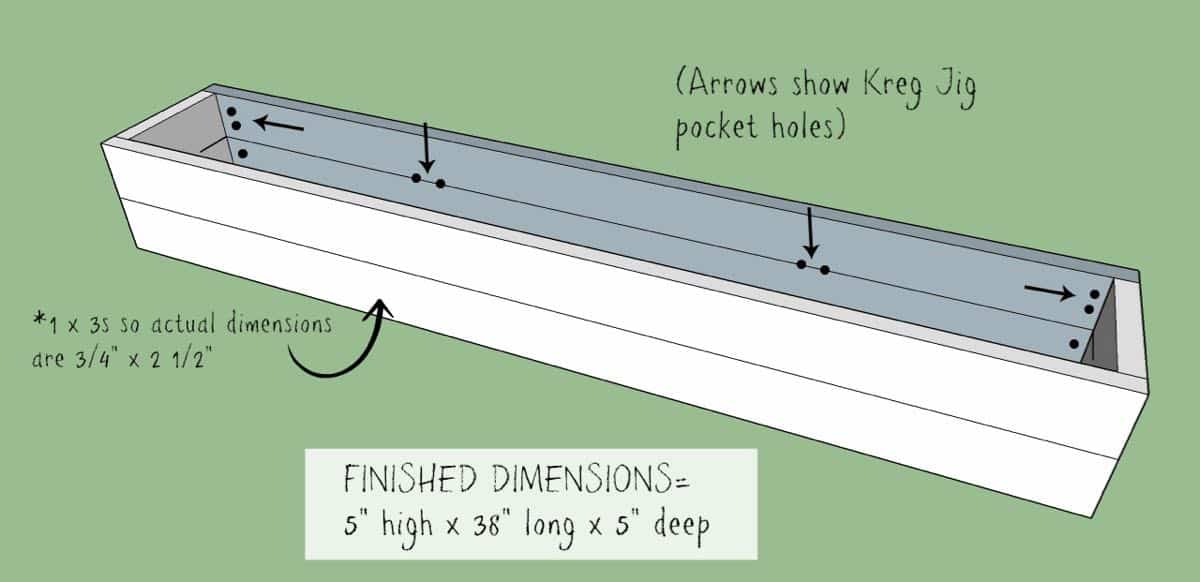
The only problem with the flashing was that I needed to find wood that was 5″ wide because Home Depot won’t rip down boards this skinny and I don’t have a table saw. But… a 1 x 3 is actually more like 3/4″ x 2 1/2″ (don’t ask… the measurements on the label are NOT the actual measurements of the board… I won’t bore you with the explanation). So, my 4th grade math class tells me that using two of these boards will get me to the 5″ that I need to match the 5″ of my aluminum flashing. Three lengths of 1x3s cost $12.
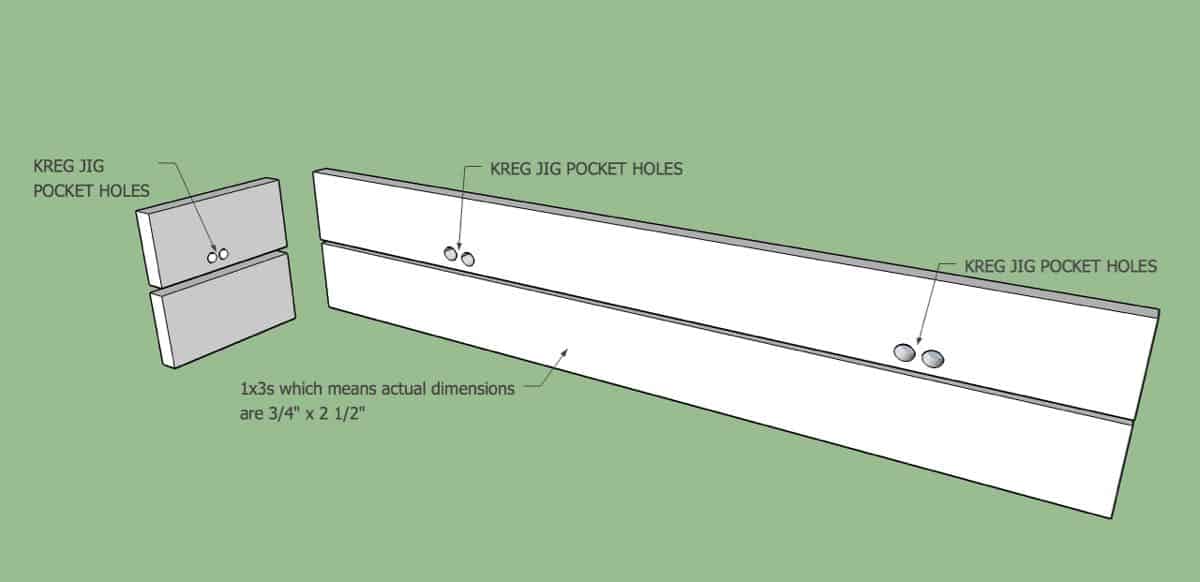
If you don’t know the Kreg Jig, you should. It’s easy. And a life saver for screwing together boards like this with pocket holes. I used the Kreg for this entire planter. First, I used two sets of Kreg screws to attach the two 1 x 3s together for the sides. Then, I used the Kreg to attach the 4 sides into a box. For the base of the planter, I cut a board to next inside the 4 walls of the planter and just screwed this in with regular screws. Sounds complicated. Definitely wasn’t. (p.s. this isn’t sponsored by Kreg in the slightest… I just love them.)
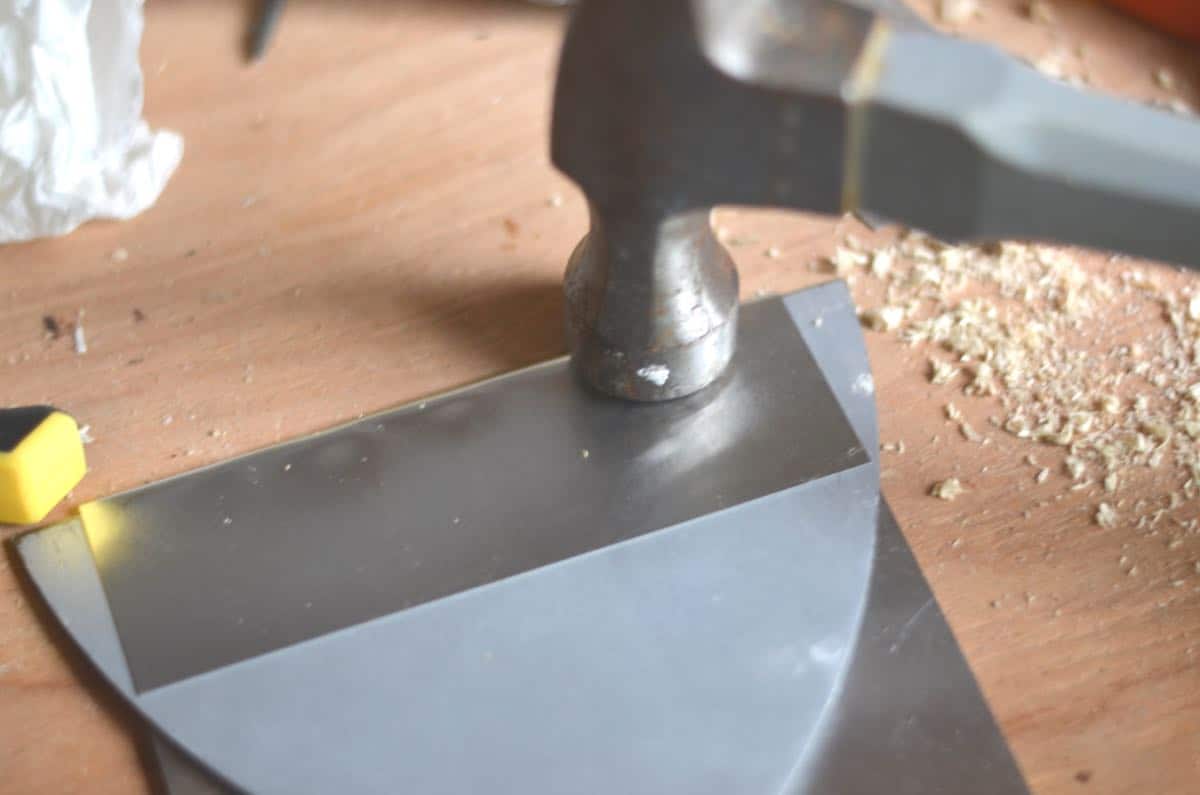
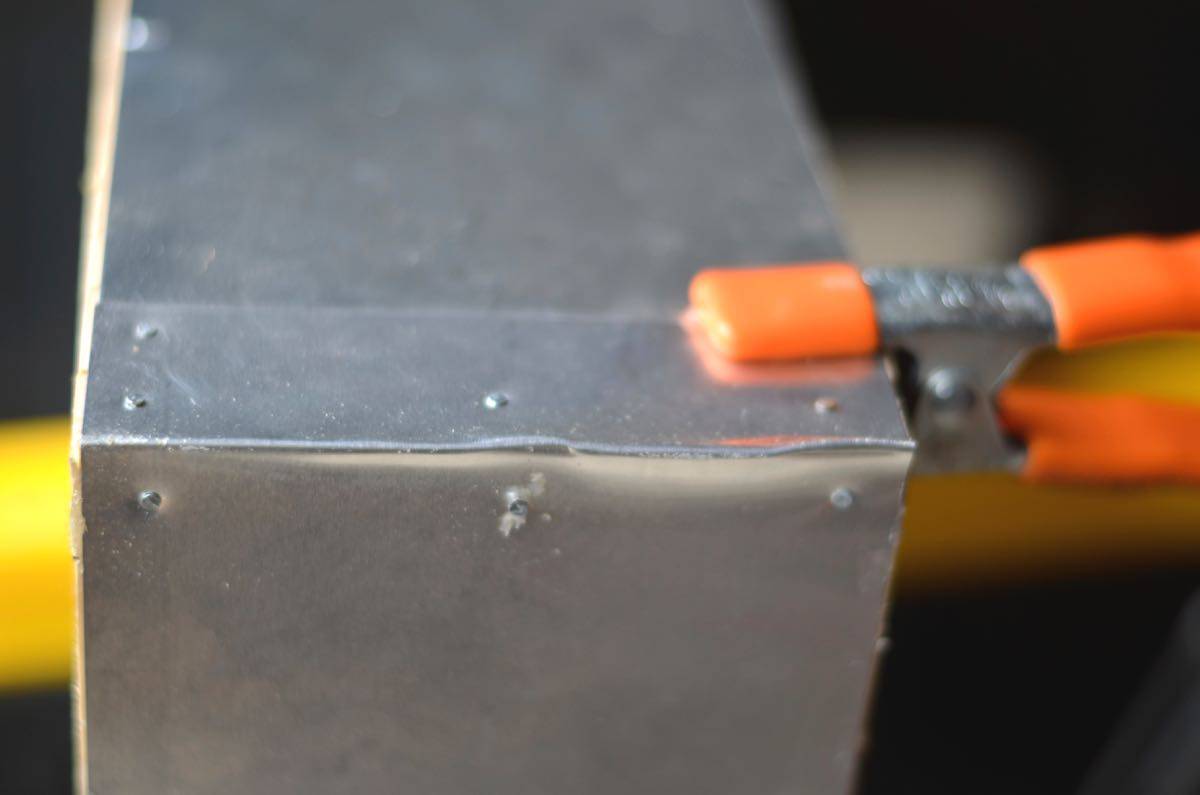
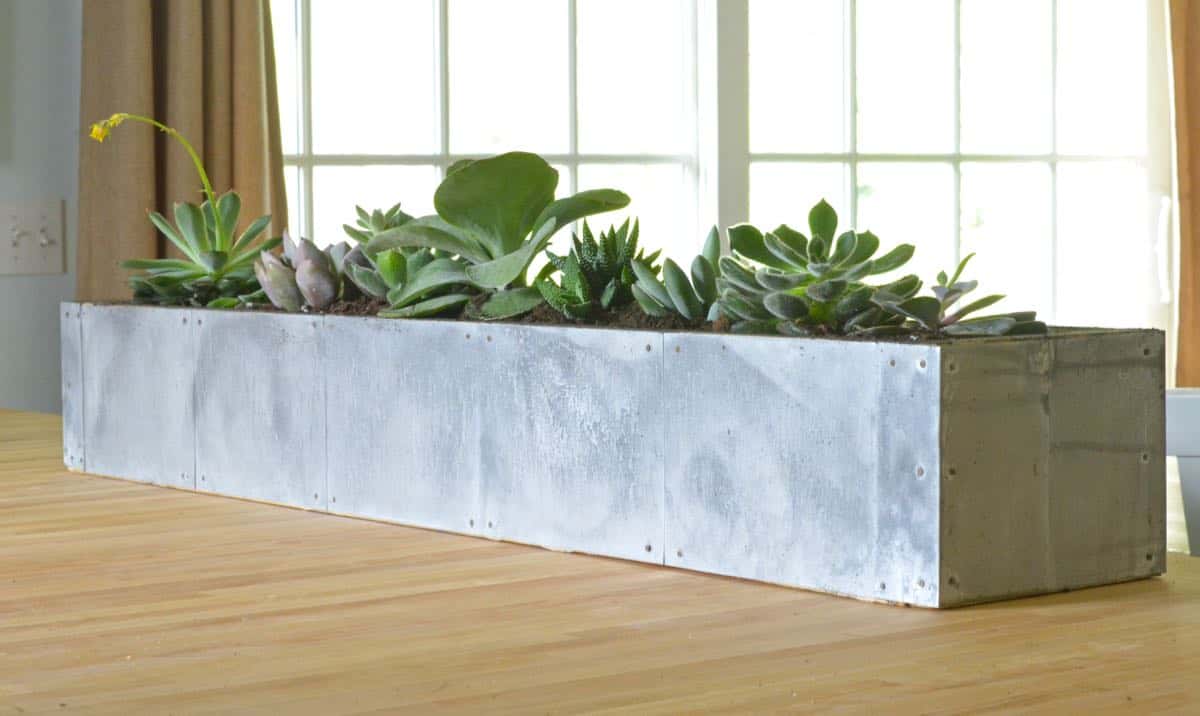
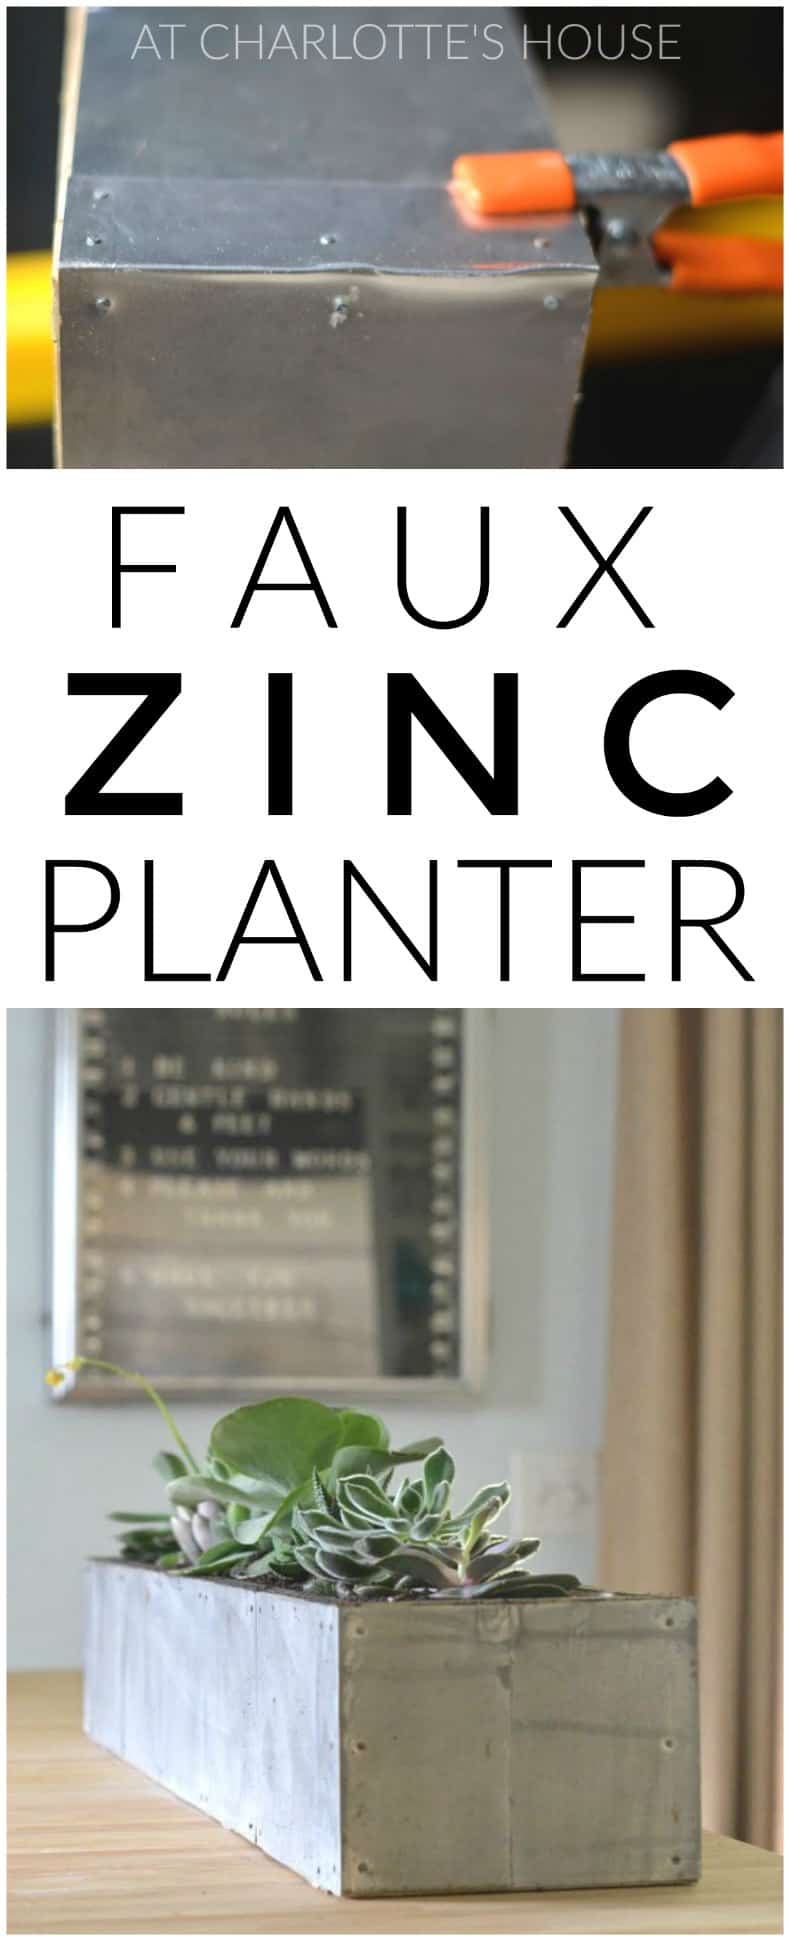
For the siding, I first clamped it onto the box with industrial grade epoxy. The stuff that has cancer warnings all over it. Then I went back and use a few simple tacks just to secure the edges and add a little bit of ‘rustic charm.’ For the corners, I was able to use a straight edge and a hammer to bend the flashing super easily. And a set of tin snips cut through the few pieces I needed to trim like buttah.

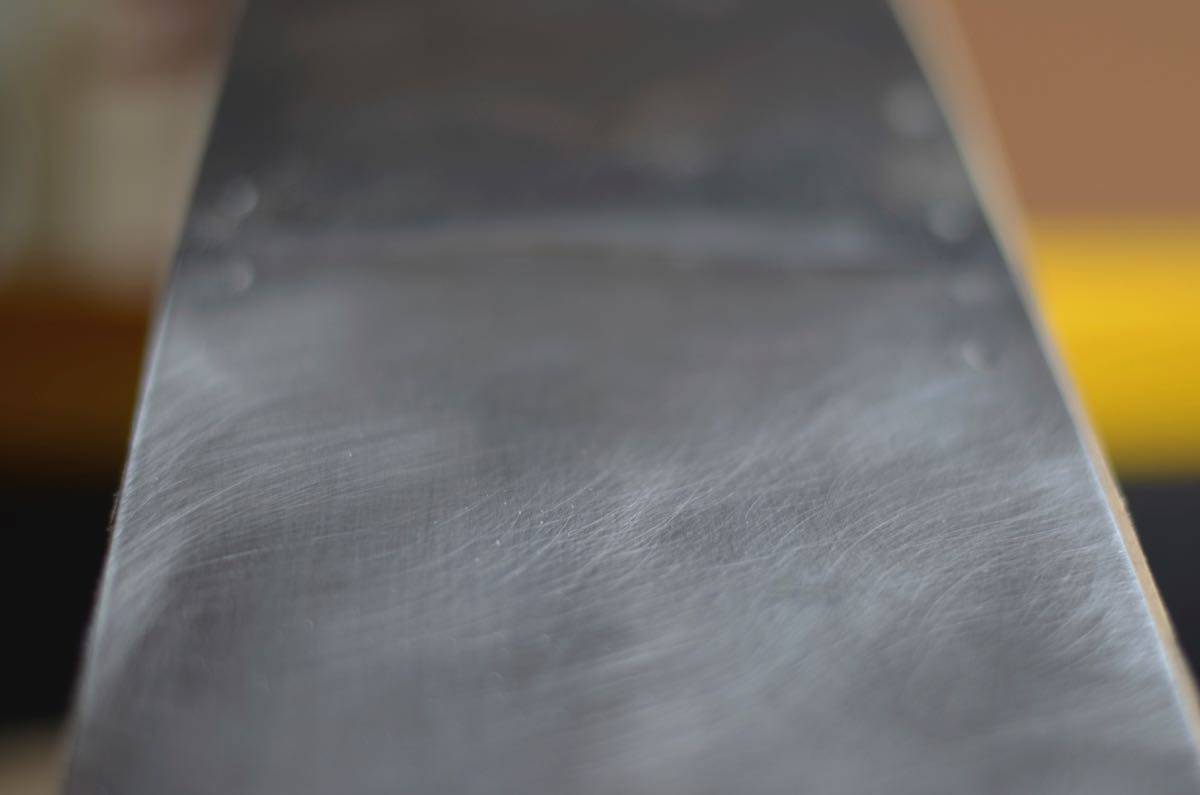
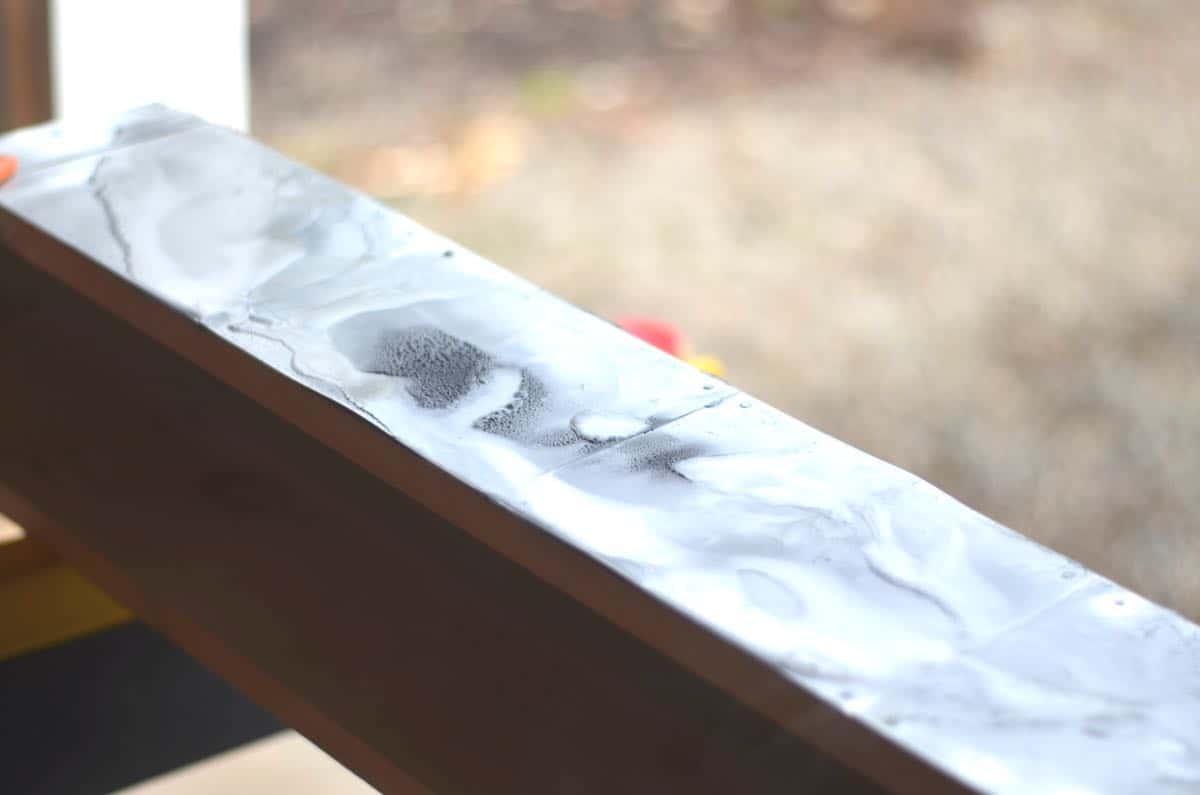
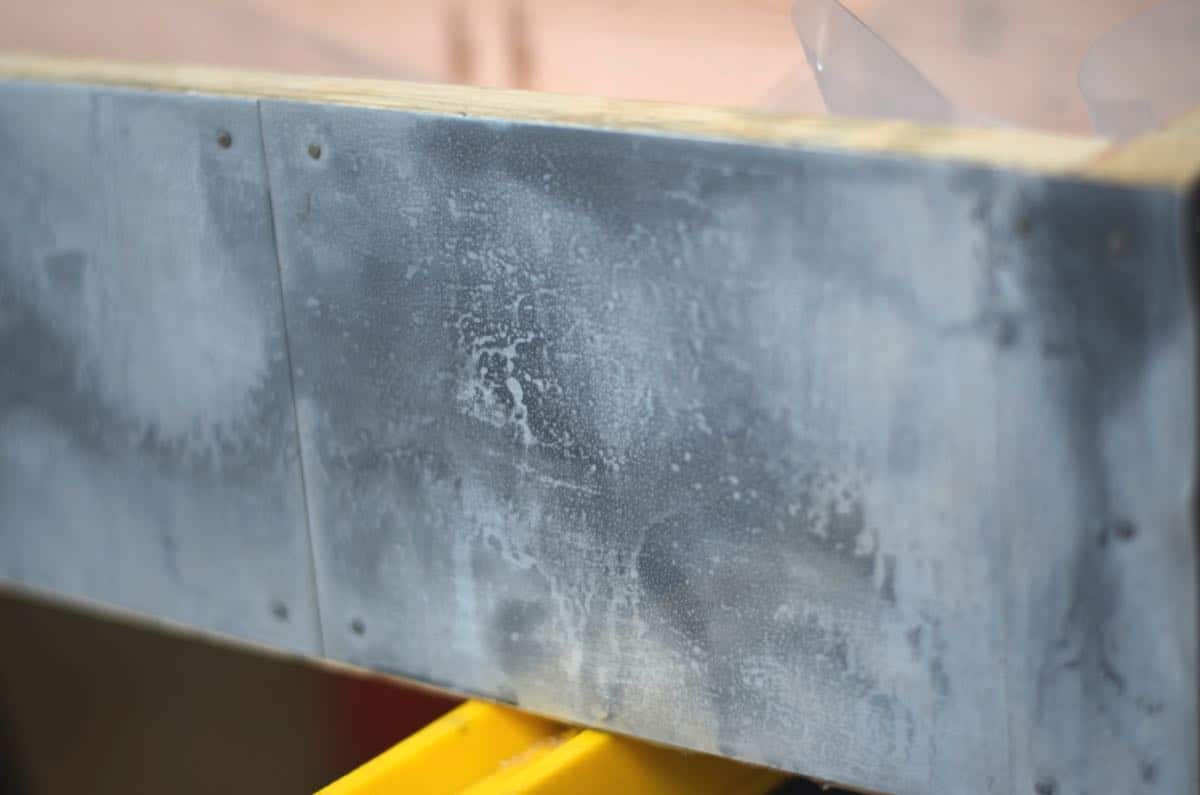
To ‘age’ the metal, I went a little Bill Nye the Science Guy. First I roughed up the aluminum with medium grit sandpaper. Then I donned my HAZMAT suit (aka goggles and rubber gloves) and poured some muriatic acid onto the surface. A few words about muriatic acid… it’s available at Home Depot so I figured how serious could this stuff be. AND apparently it’s in certain toilet bowl cleaners because that was a recommended substitute if you couldn’t find the straight stuff. Anyways, when I poured this stuff onto the metal? It started smoking. SMOKING. I mean, I’m sure this won’t burn through a bathtub like in Breaking Bad… but I took it pretty seriously. I rubbed the muriatic acid into the metal with some steel wool and let it sit for bit before wiping it off with a rag.
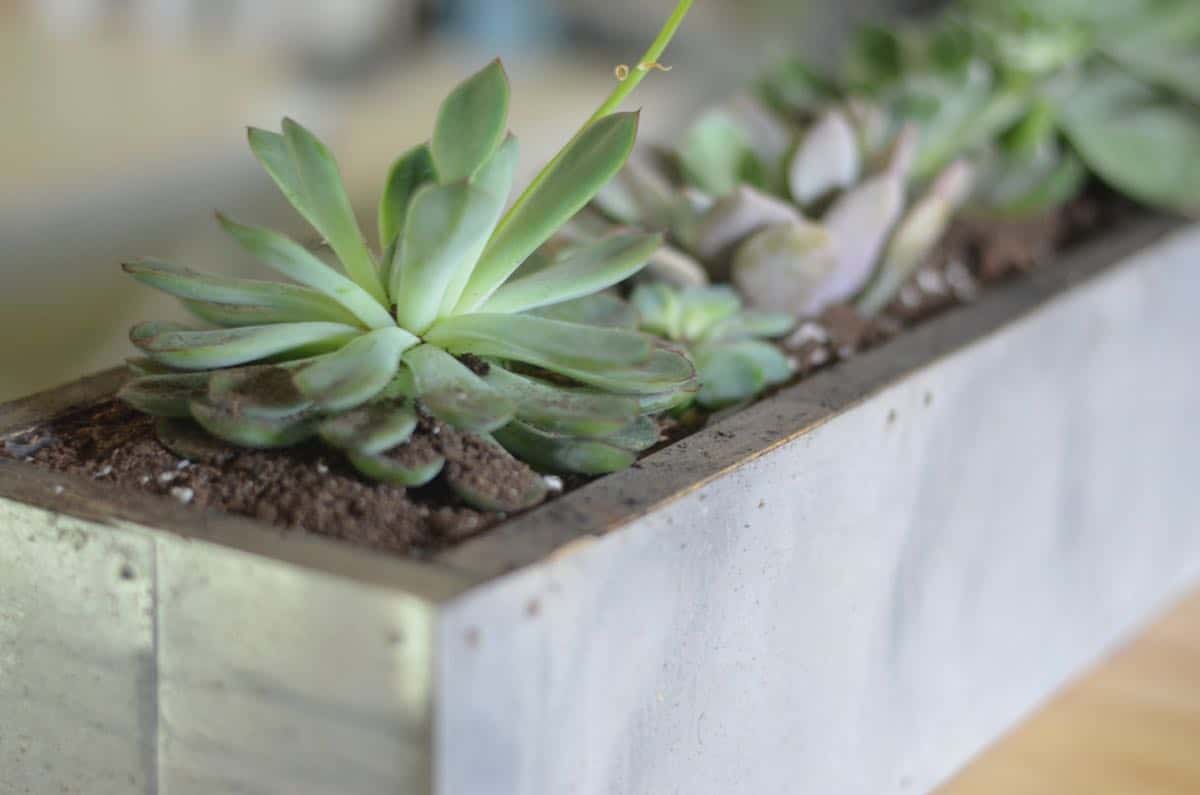
For planting, I used a sheet of heavy plastic and tacked this around the inside of the box to protect the wood from the moisture. I filled it with a succulent specific soil and popped in my succulents. Home Depot has carried a lot of these lately for $3 a pot, but I also grabbed some at Ikea on the cheap. Succulents need to be watered about never. Maybe a spray once a week, but if you forget, they’ll be happier. Seriously. Neglect is the most important tip I have for them.

All in, this planter cost maybe $25 in materials and then another $25 for the plants. Which I consider a DIY victory! And it is the perfect complement to our new and life changing kitchen island remodel.
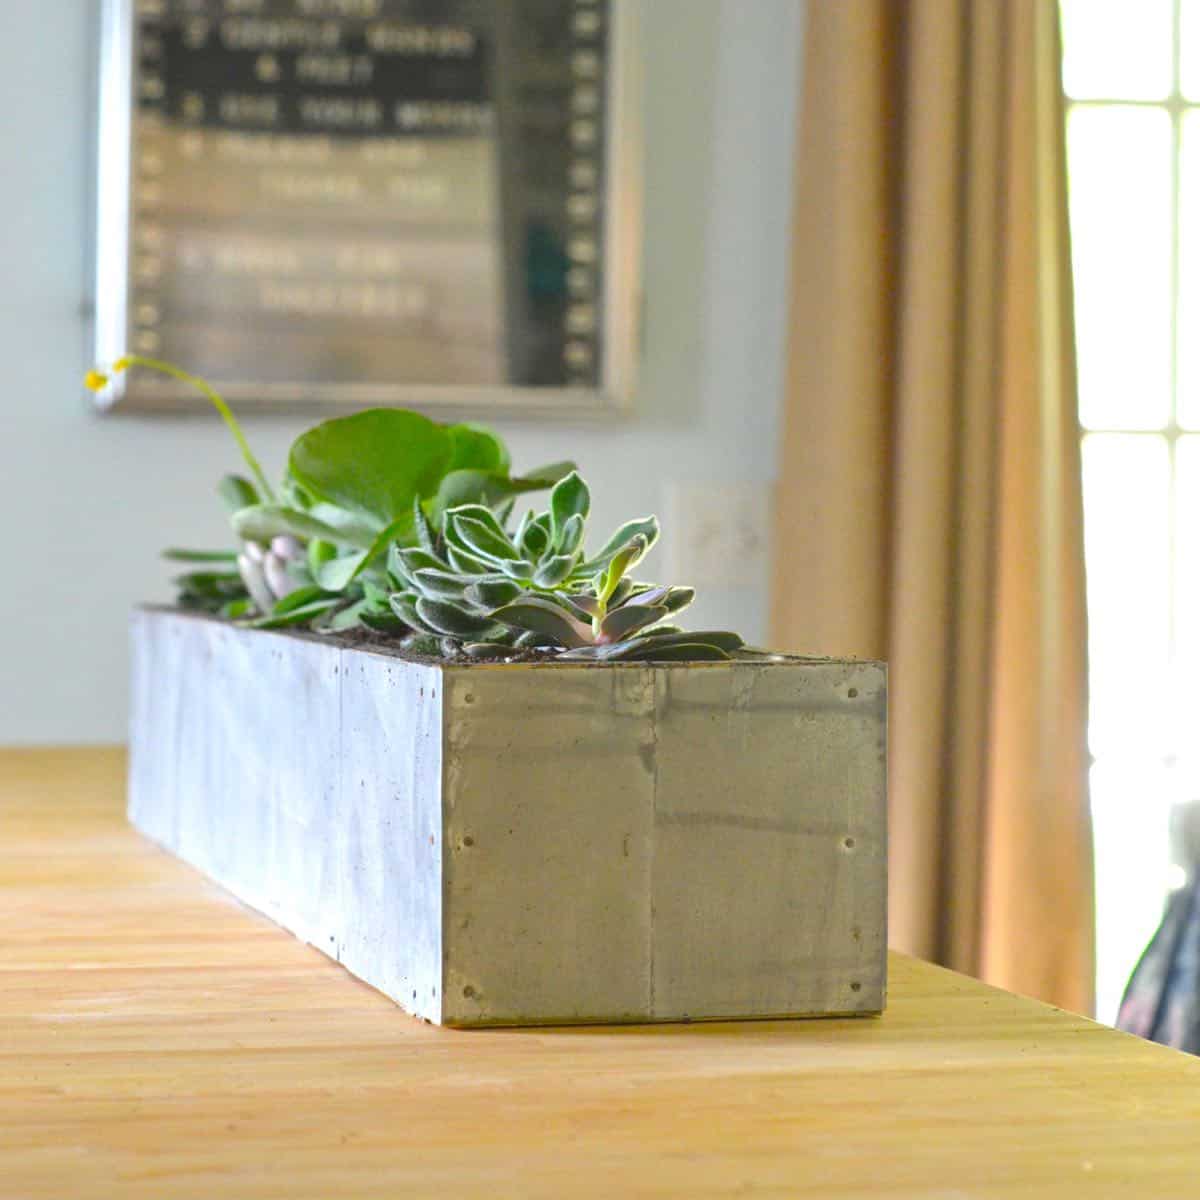

Update: two years later and this planter is STILL going strong. Now… I don’t even bother with the potting soil, but I just stick 3″ pots right into the planter.


WOW, I’m so impressed! I am in love with your succulent planter box. You did a fabulous job on this and the tutorial.
Thanks, Mel!! Appreciate the love-a-dub!
Hubs and I just had a conversation this past weekend about how he needs to make me two window boxes… and now they are going to be zinc window boxes. Thank you!!
Sorry, hubs…. 🙂
This is so my style! Absolutely love this you did a fantastic job 🙂
Thanks!! Mine too… 😉