15 Minute Fall Wreath
Psssst… this post *might* contain affiliate links: see my disclosure here.
DIY Autumn Wreath
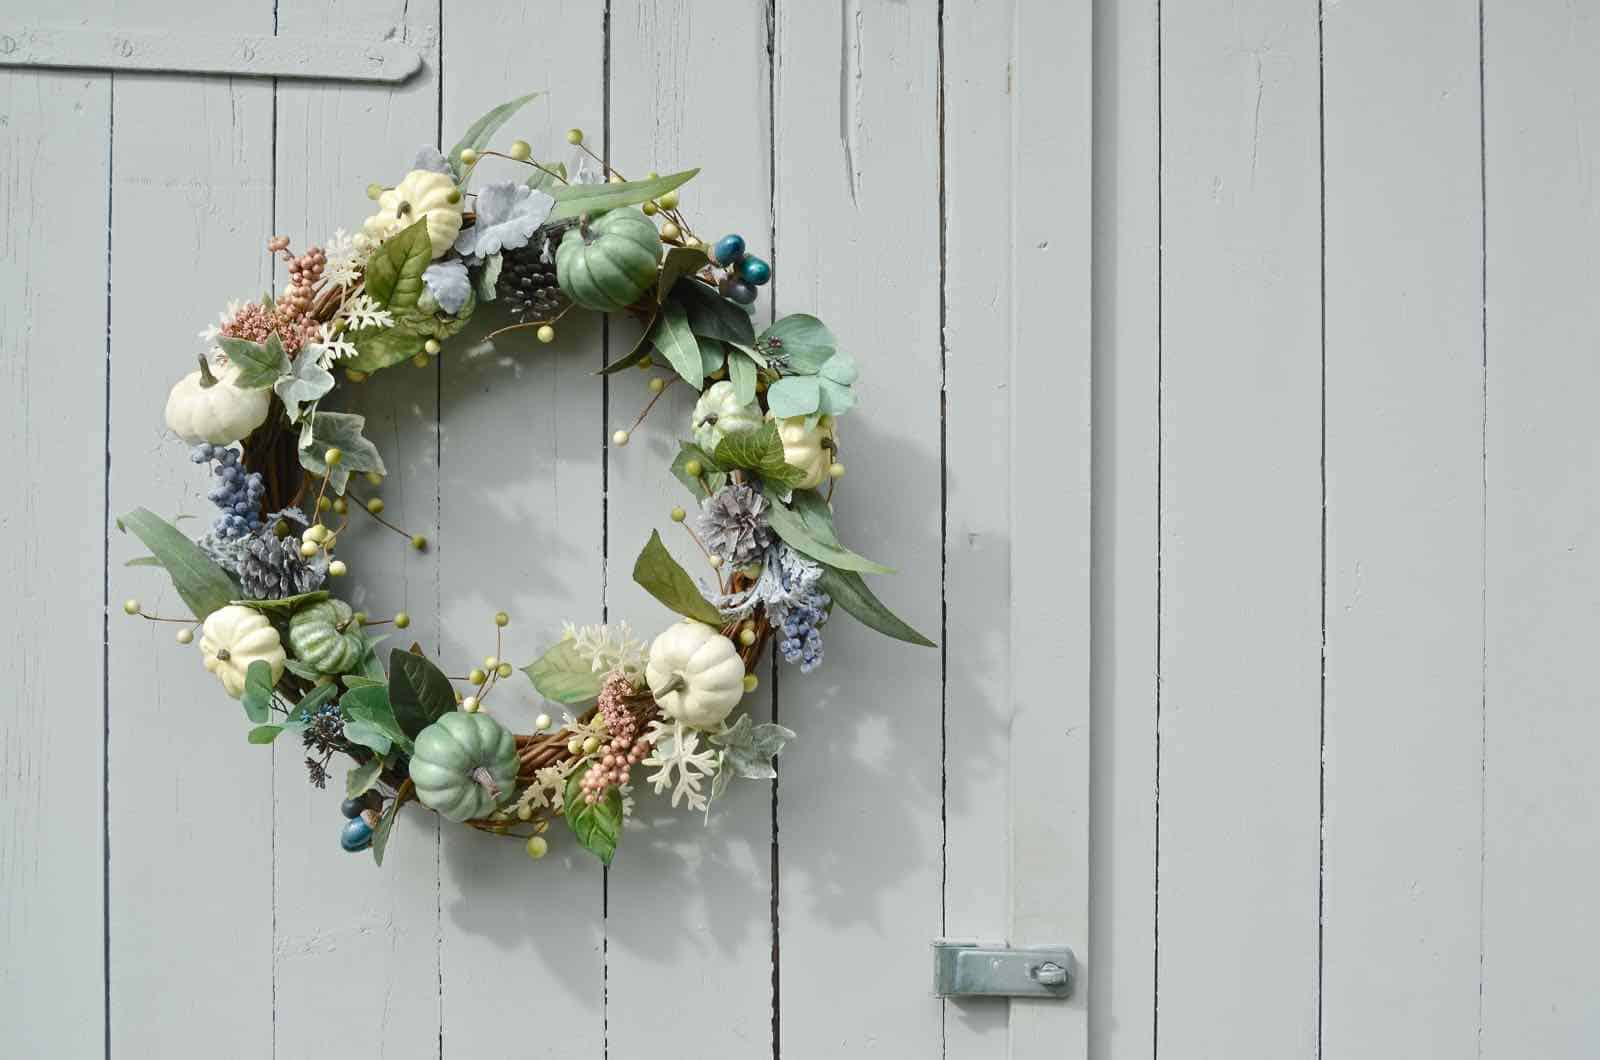
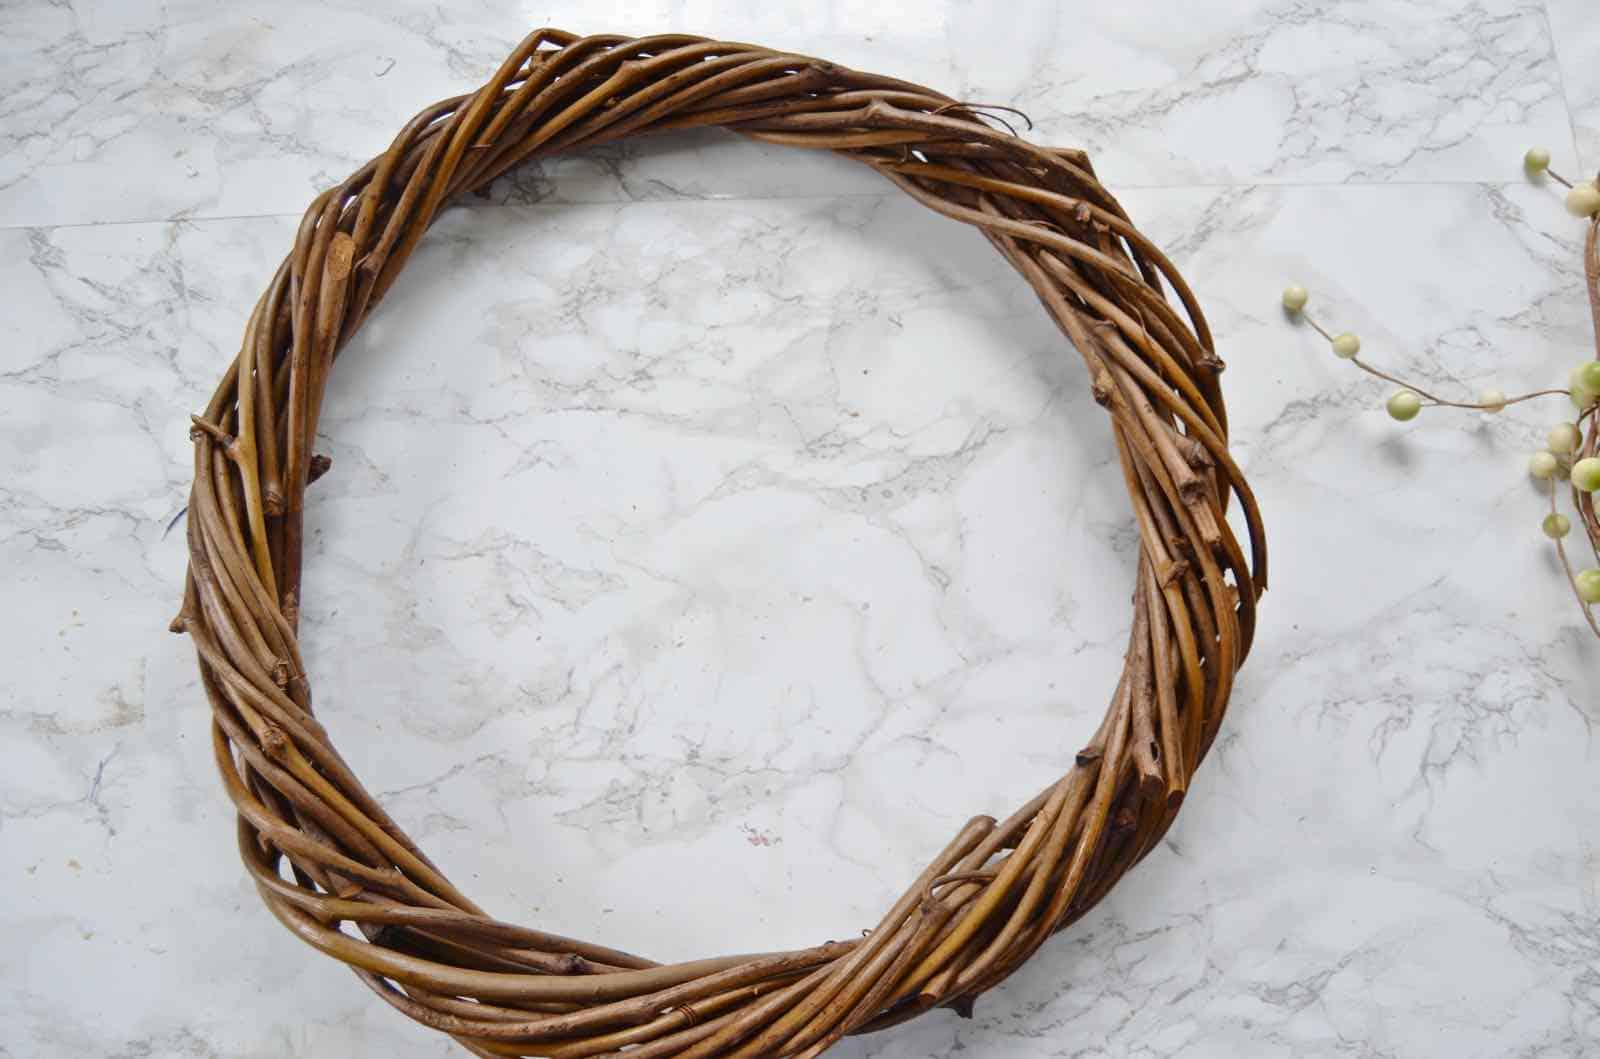
I went dark on you for a few days! SOOO sorry! I’m having a ‘just like that, fall arrived’ moment here, but… I’m not quite ready to jump in with both feet. As I’ve been looking around for fall decor, I’ve seen SO many gorgeous wreaths at places like Homegoods and Michaels. Care to guess the price point of said wreaths? Some of them are $60+ dollars! So when Michaels had a 50% off sale on their fall florals, you better believe I pounced! To cap it all off… I found this wreath form at Goodwill for $3. With the discount, each clusters was $3…. I bought 7 of them so… this whole wreath cost less than $30. Twice as nice for half the price!

Shop my favorites!
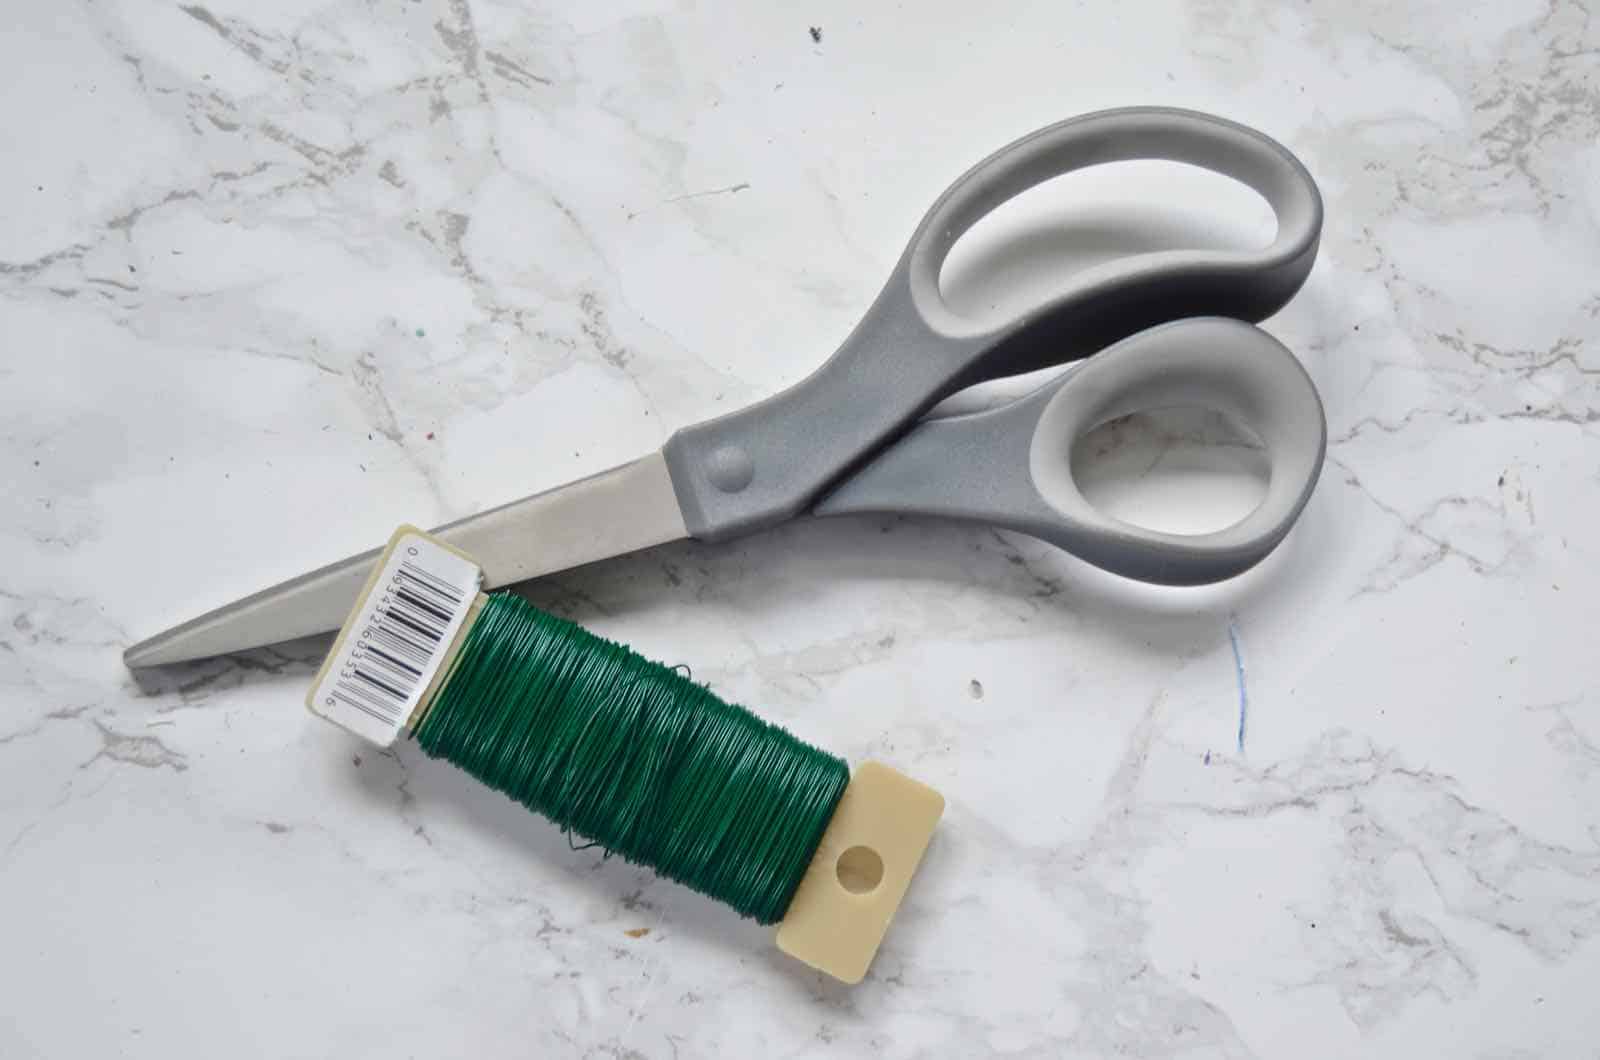
Aside from your floral sprigs, you’re going to need super thin floral wire and a way to cut it!
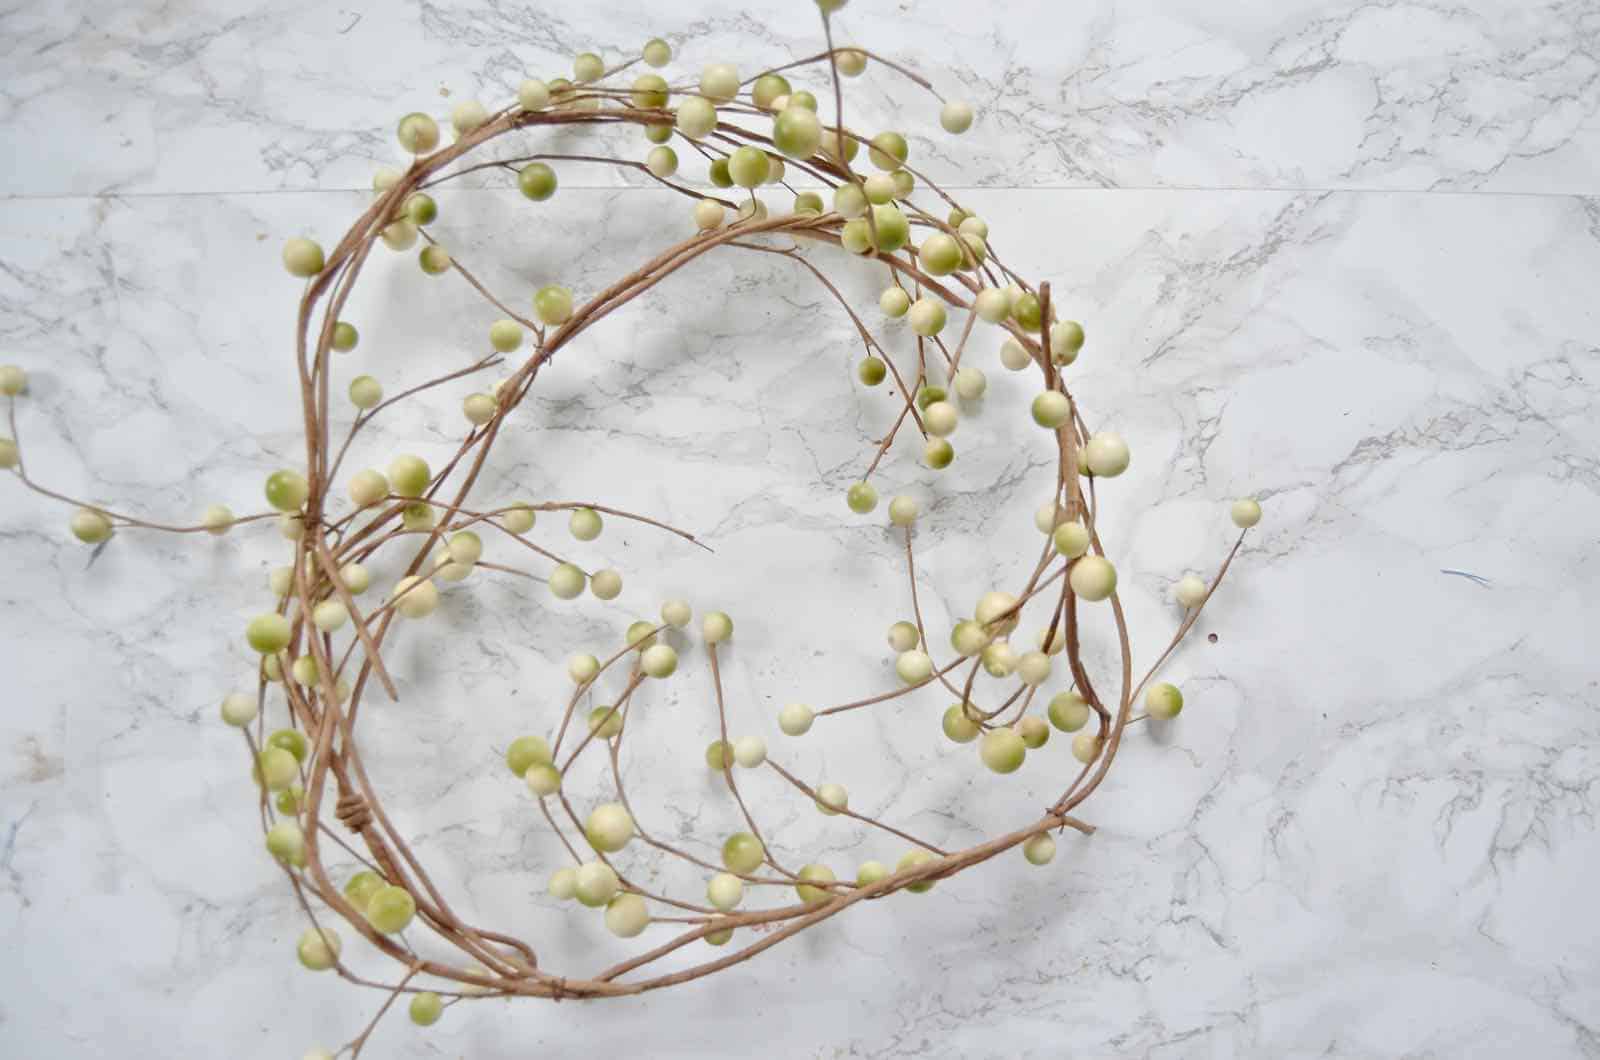
Step 1. Wrap the garland
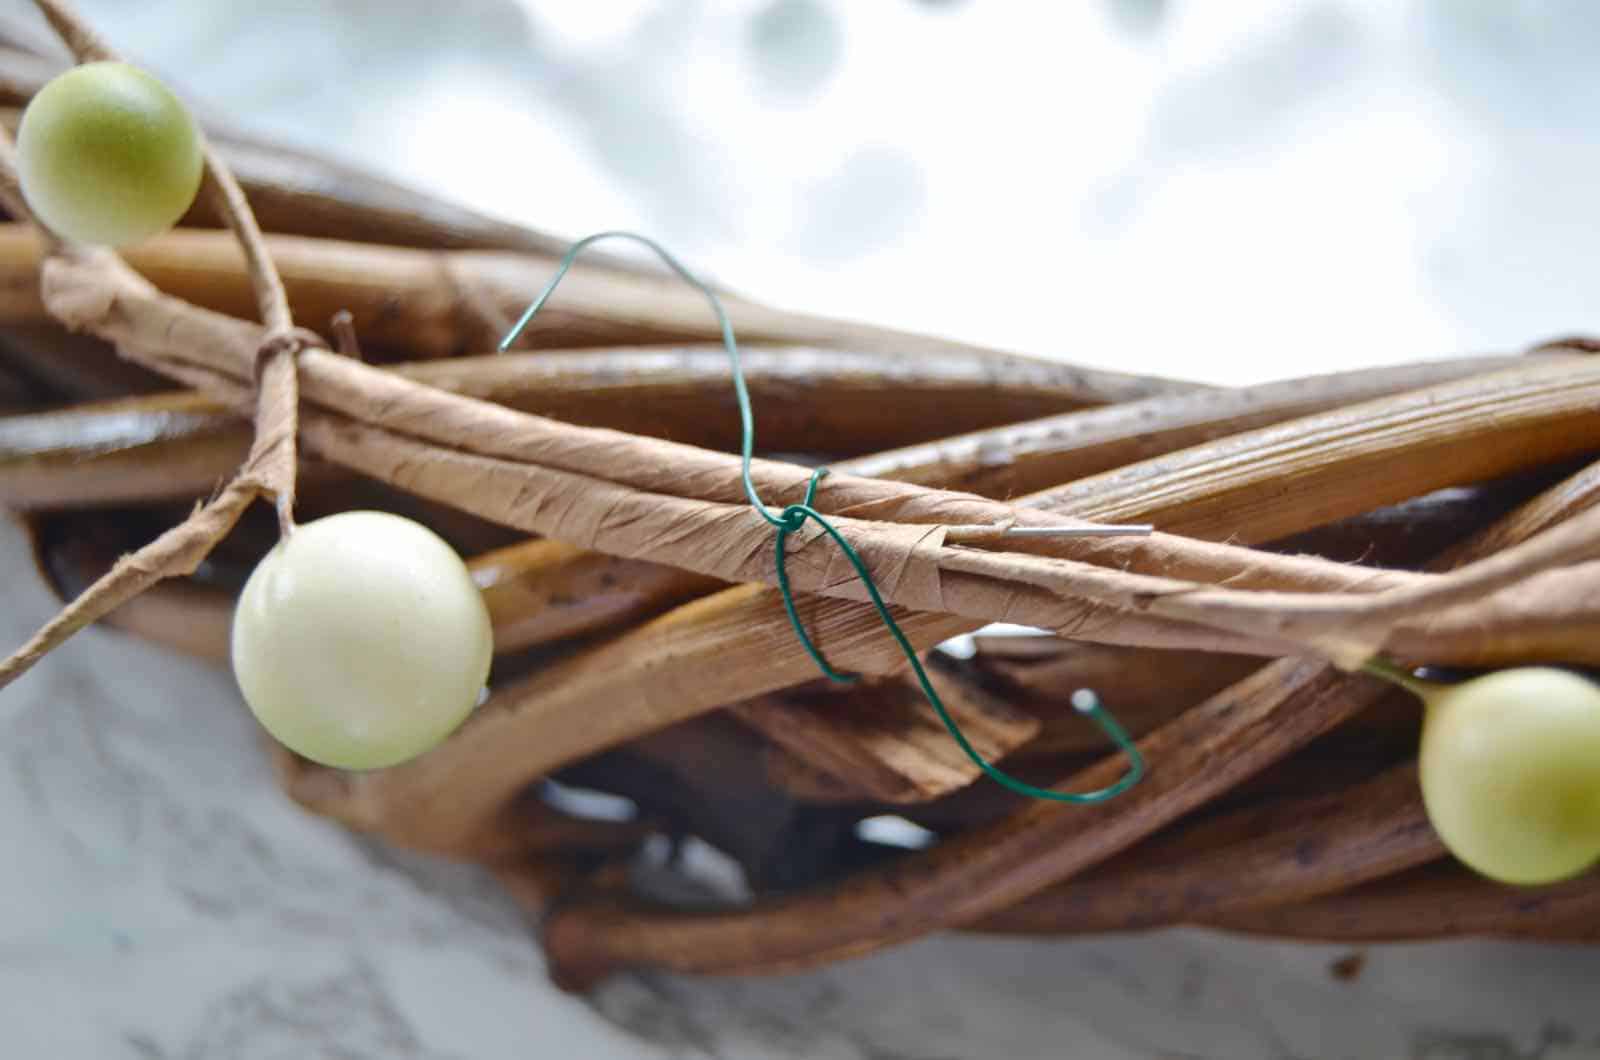
Using thin floral wire, attach the garland to your wreath form every few inches.
Step 2. Dry fit floral clusters
Decide how you want your clusters to fit together. I just laid one on top of the other, so the flowers of one would cover the stem of the one after it! If necessary… consider using wire clippers to separate individual ‘twigs’ from each floral cluster.
Step 3. Attach florals
Pre cut floral wire into 5-inch lengths, and one at a time, wrap each cluster towards the bottom and towards the top.








Don’t Miss Out
Become An Insider!
Signup for exclusive tips, and tricks from Charlotte’s House!
Let’s chat!
I love comments from you, so feel free to leave your thoughts and ideas below! And don’t forget to follow me on Instagram for even more!