Bedroom Pendants Using the Magic Light Trick
Psssst… this post *might* contain affiliate links: see my disclosure here.
Spray Painted Hanging Lights for My Son’s Room
Today I’m sharing SUCH a fun rental-friendly project for adding easy colorful bedroom pendant lights.

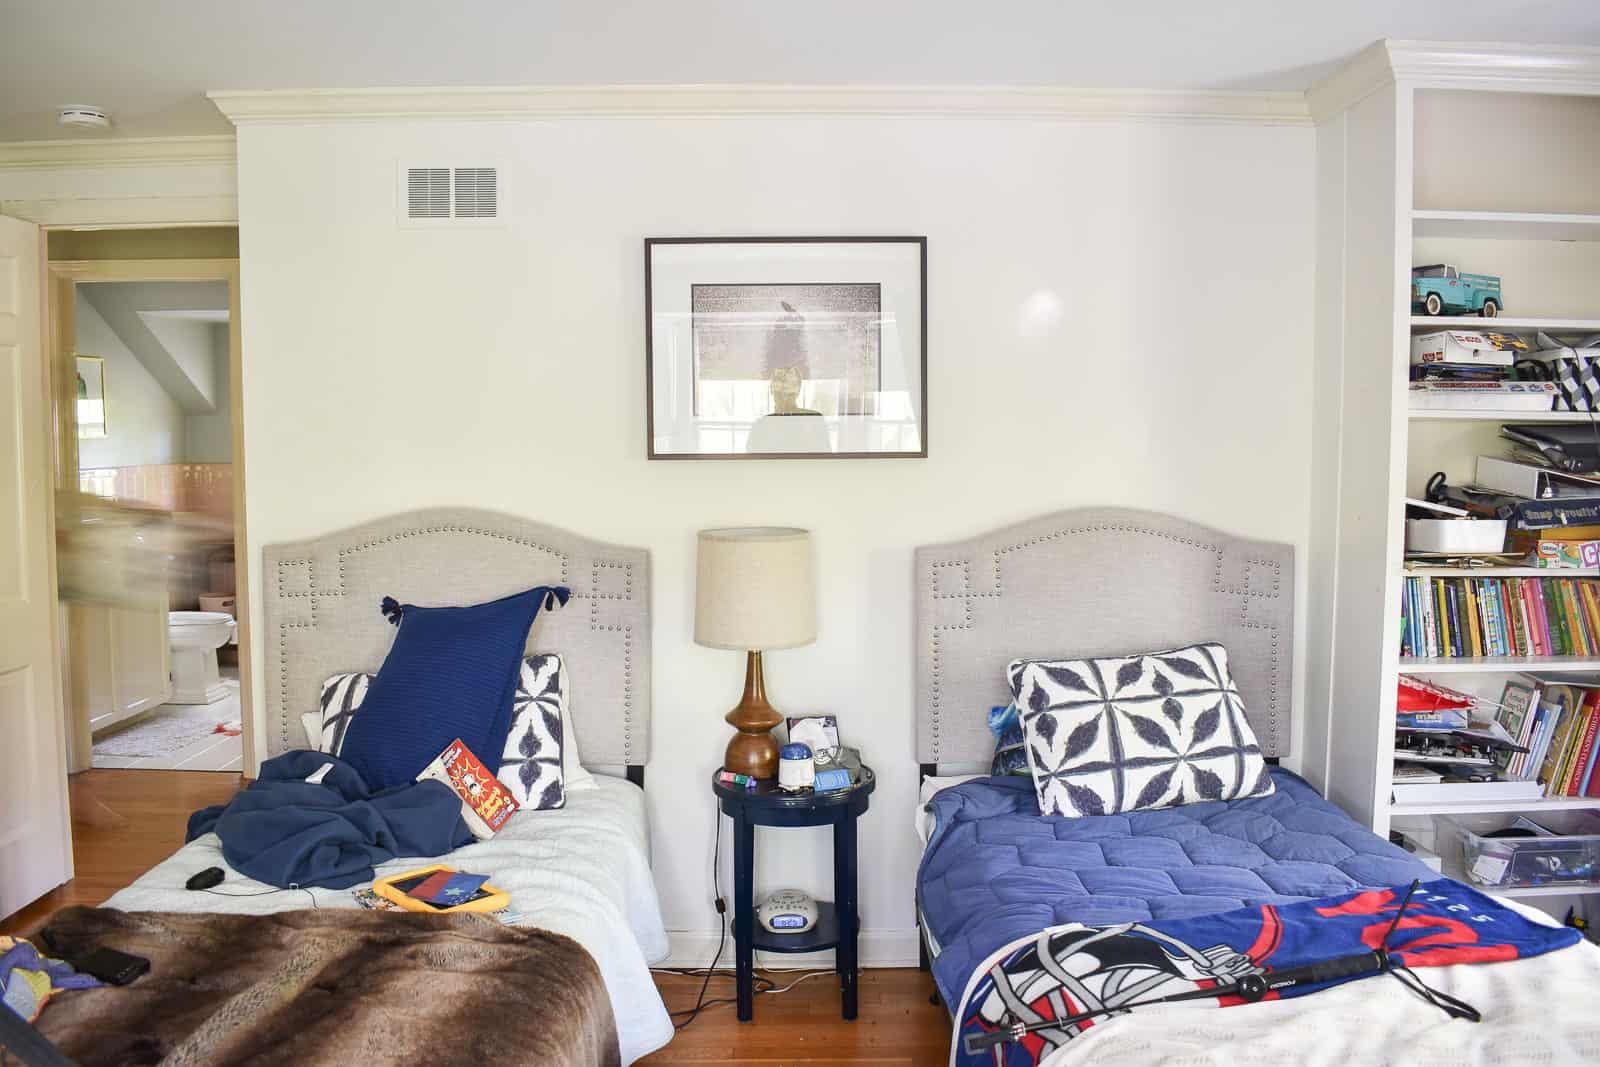
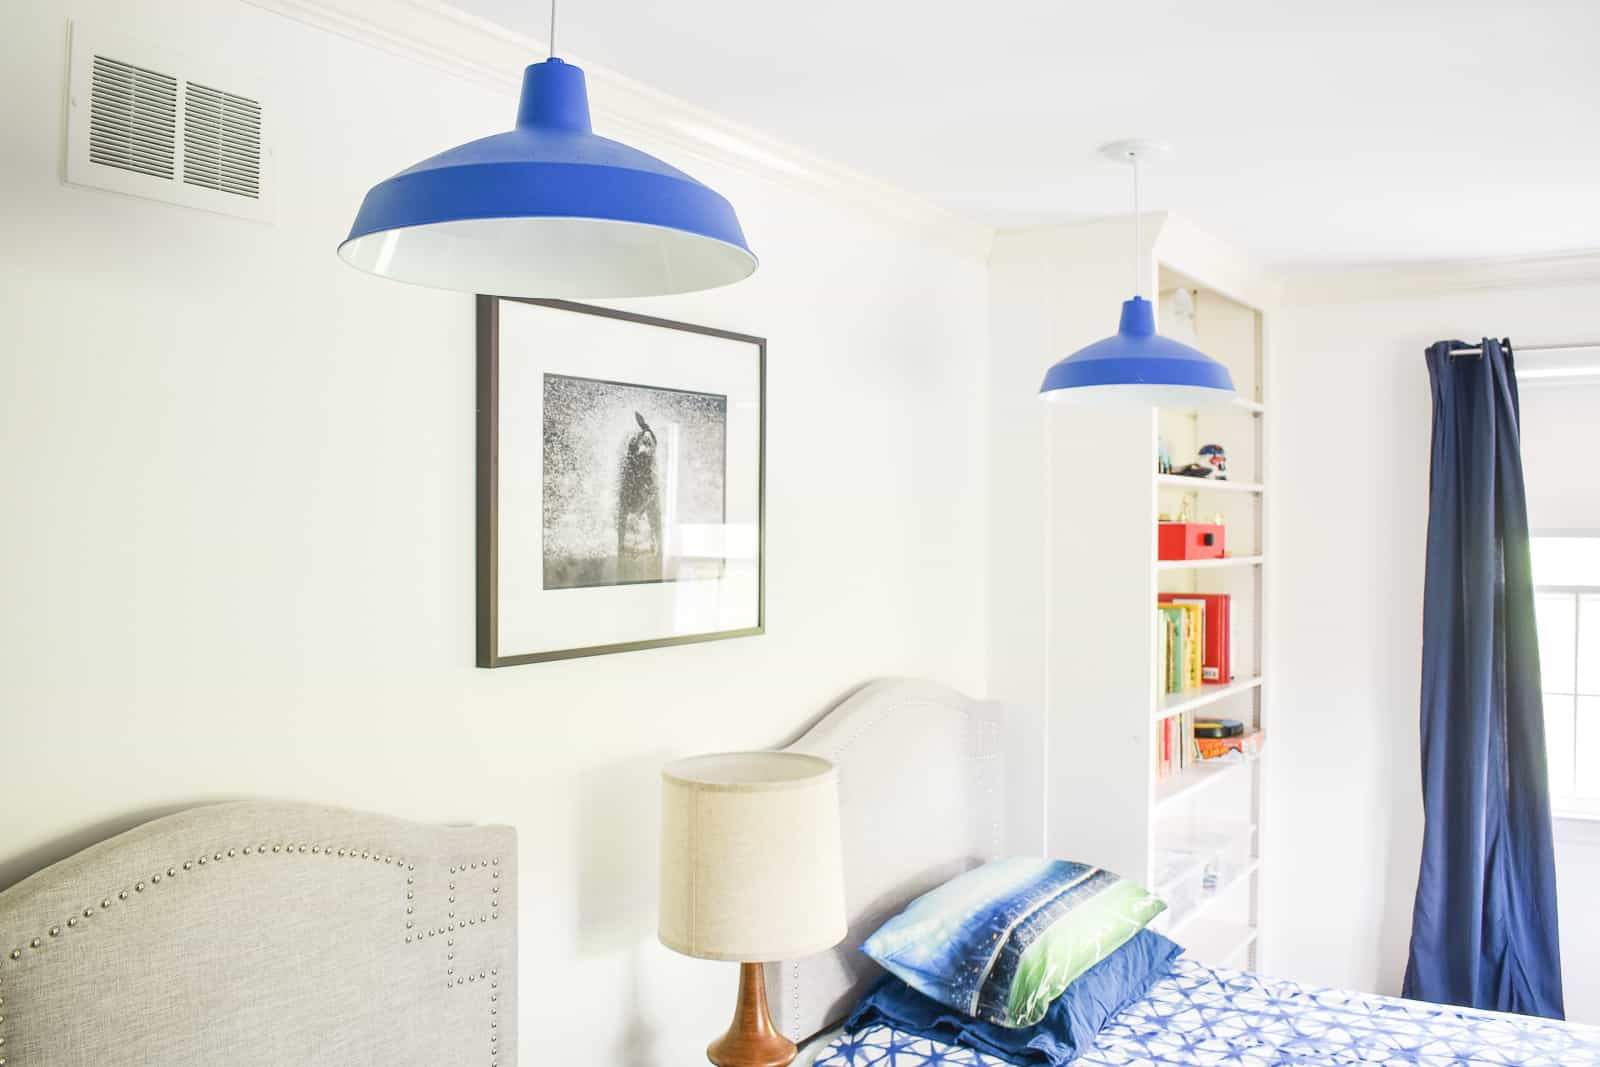
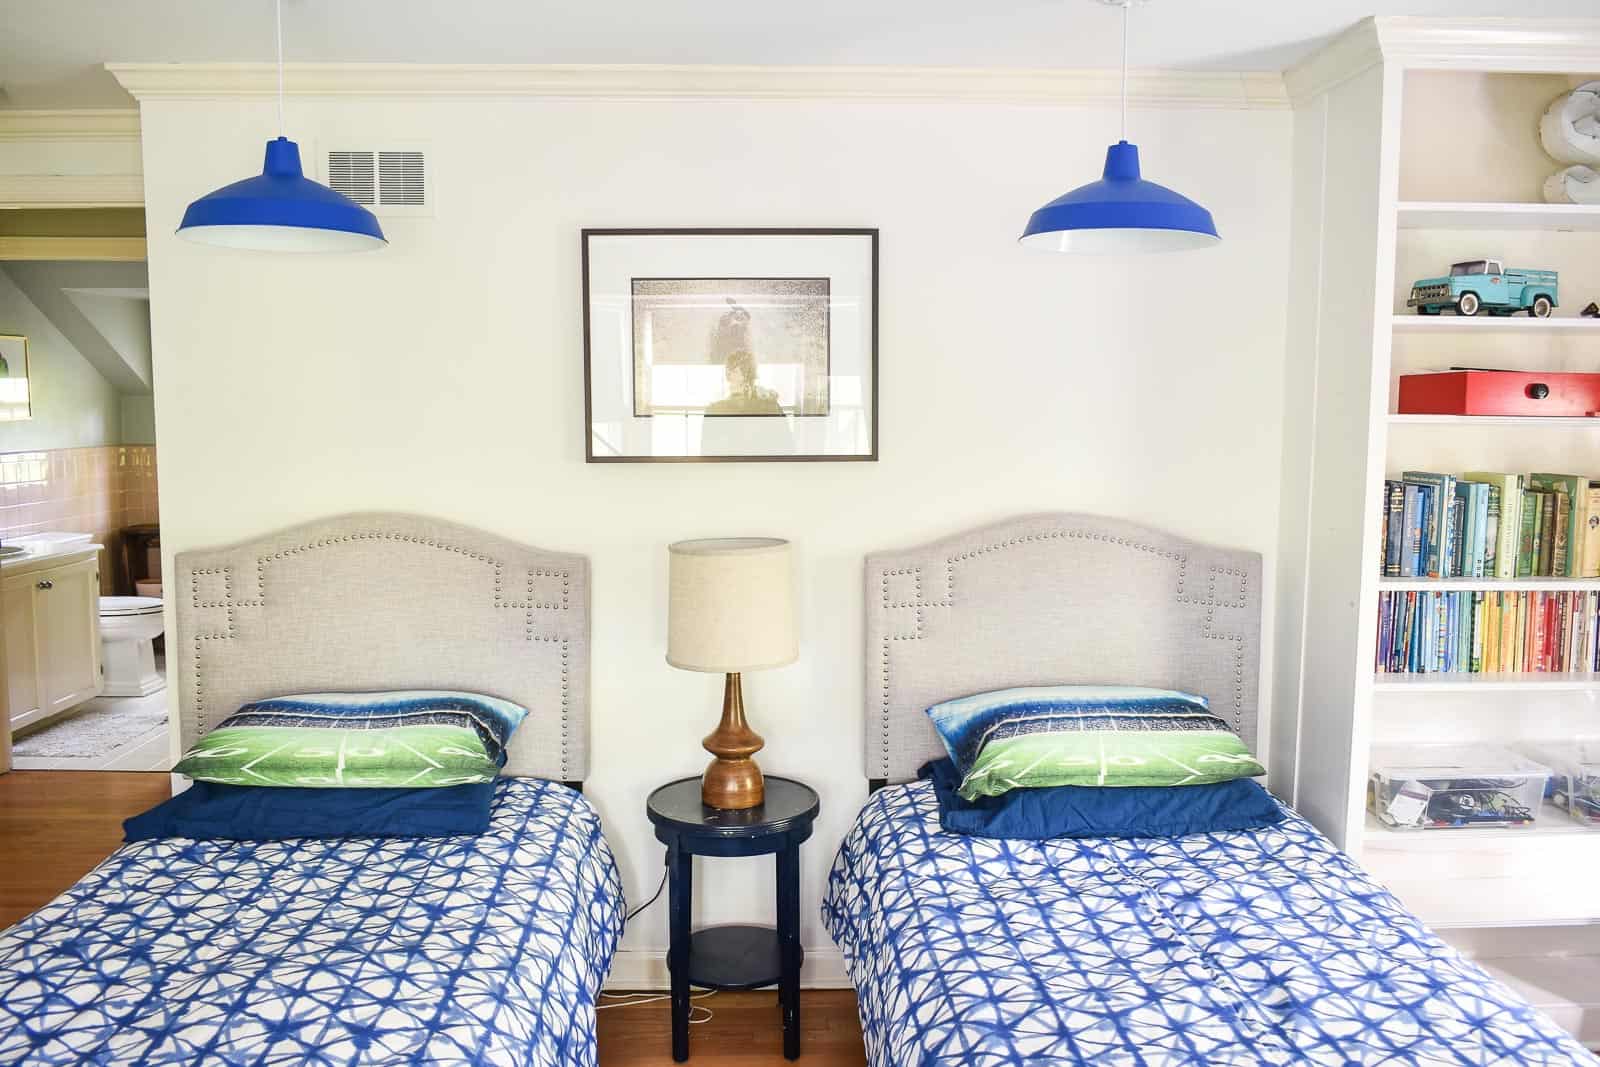
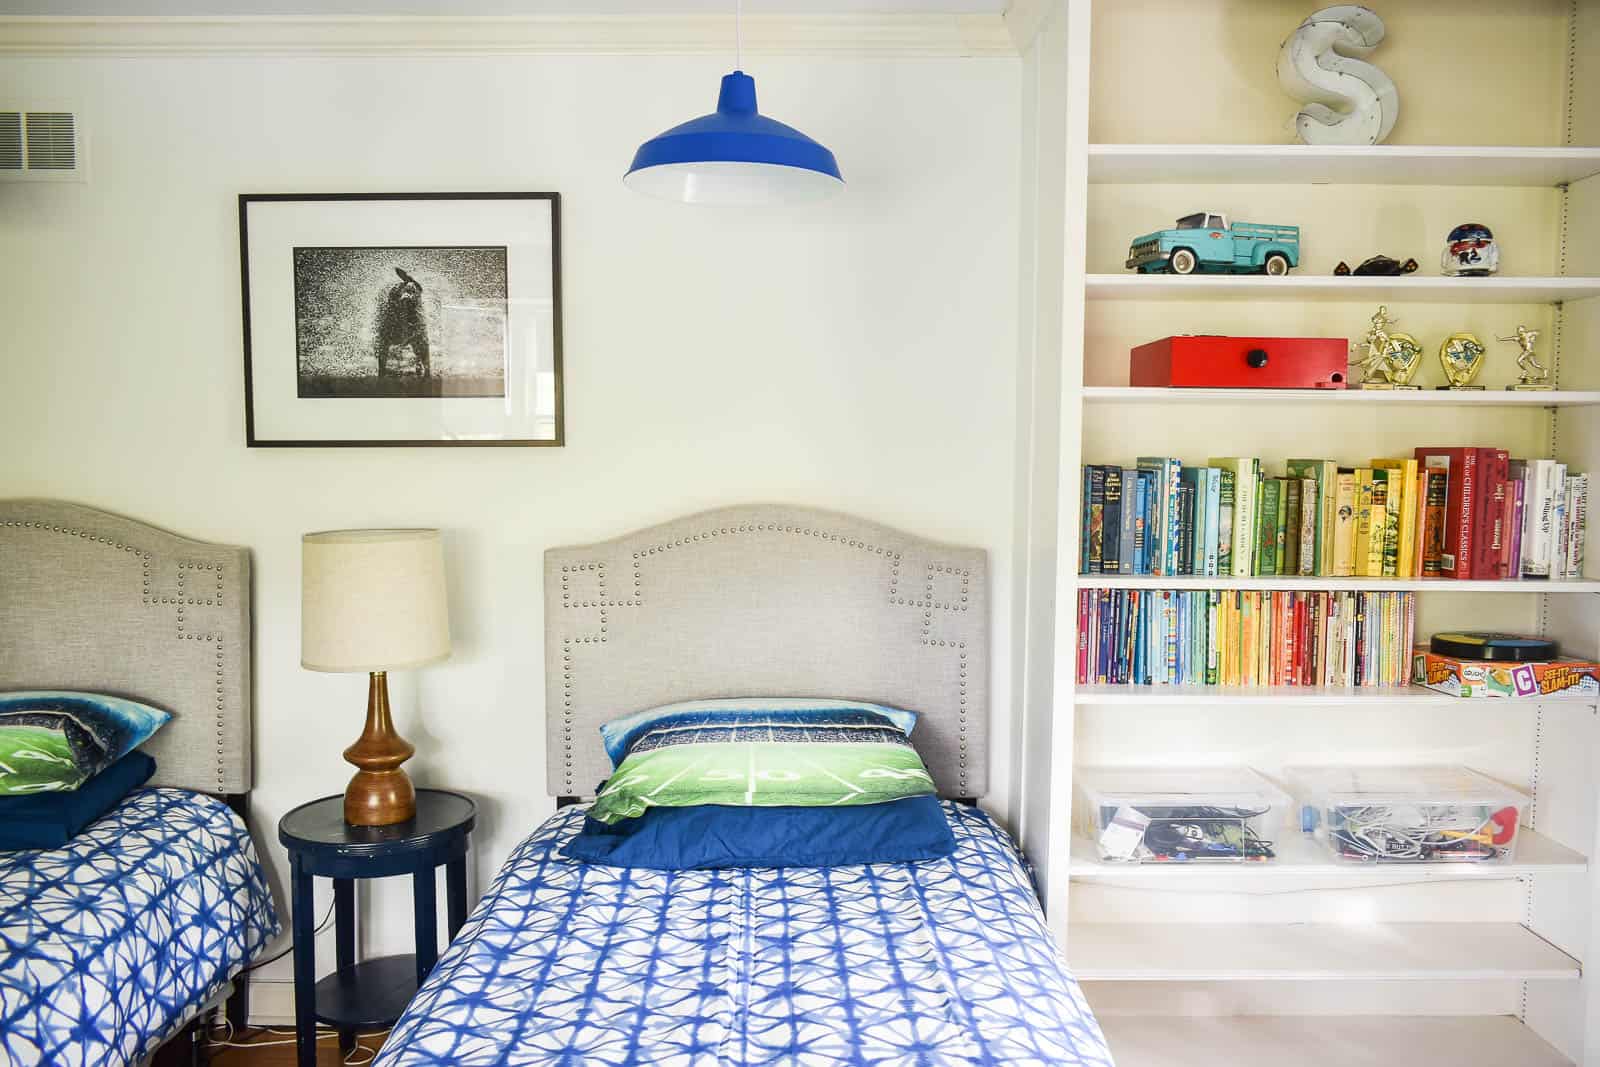
I’m slowly trying to update the kids rooms with small one-off projects and today was Oliver’s turn. His bedroom in the rental has our twin beds and the rug from the guest room at the old house. It also has the pop-a-shot from the barn and the desk from my old office. In other words, a little bit of everything! I wanted to bring in a bit more color and had the idea for these easy peasy hanging pendant lights! Best part? NO ELECTRICIAN NEEDED! See how I made them.
Shop my favorites!
I’m using my friend Brooke’s magic light trick which she writes about here, but let me back up to the first step (links to materials are at the end of the post). I ordered these basic metal farmhouse pendant lights from Amazon. Because they’re hard wired, they’re cheaper than the plug-in version.
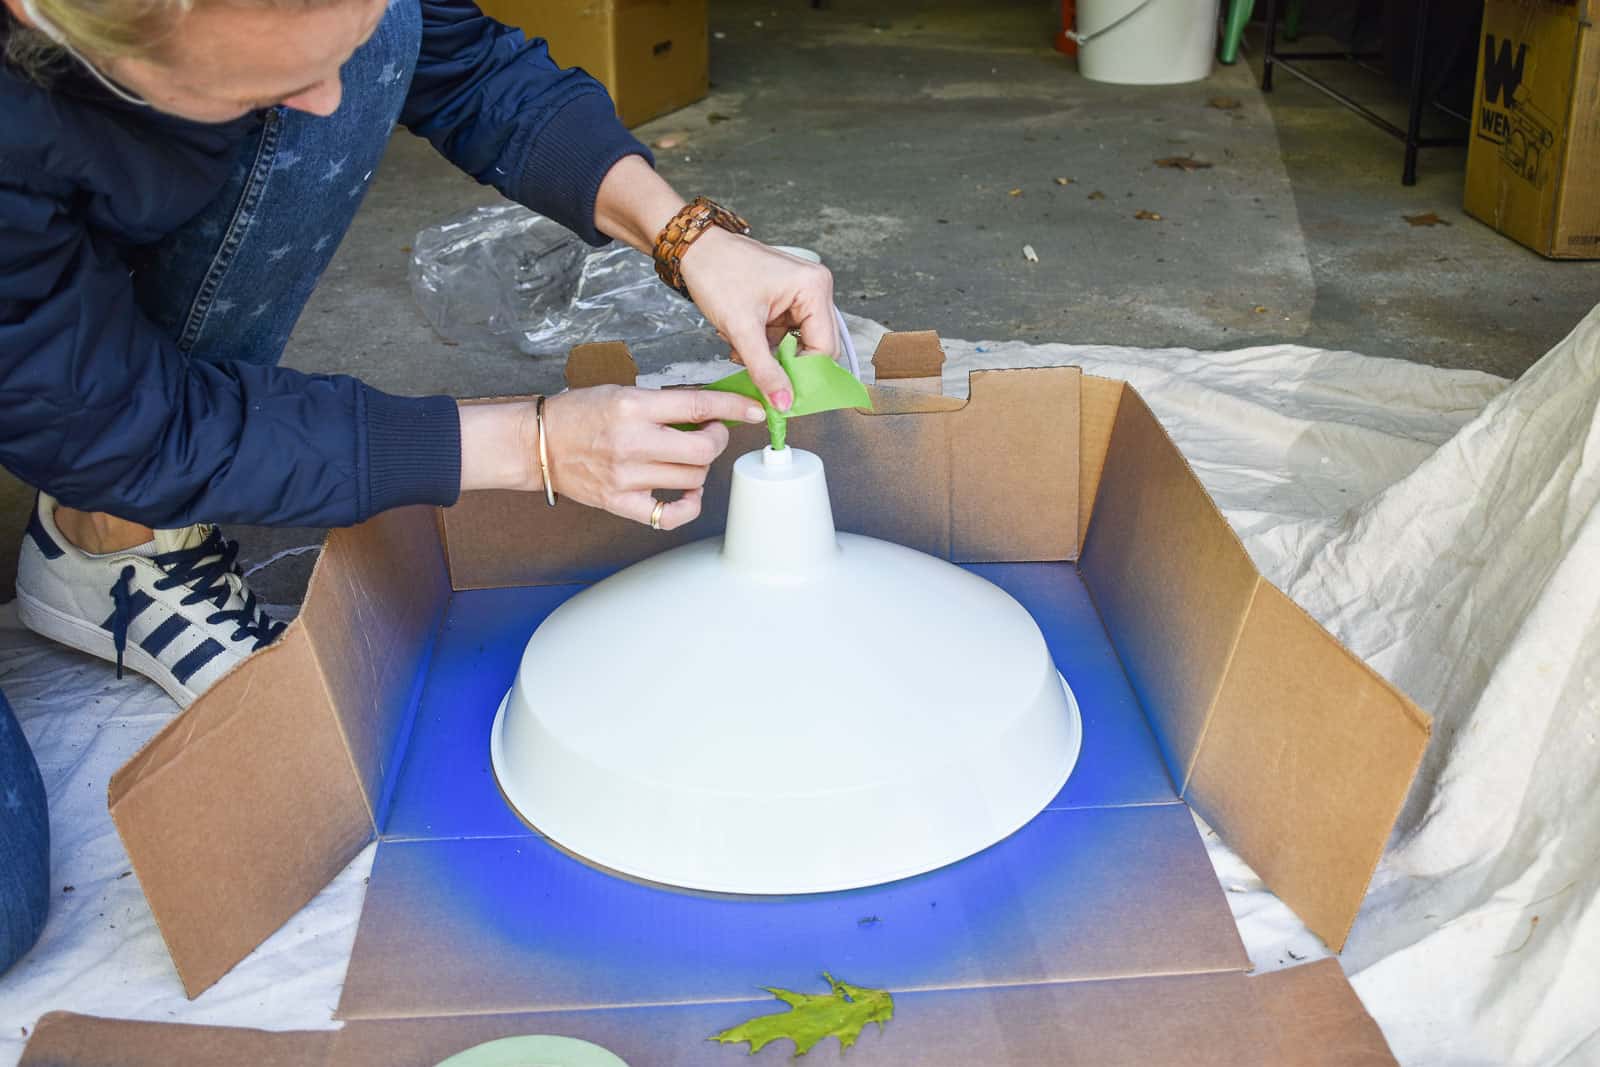
Step 1. Tape off the cord
I’m using Frogtape® to protect the cord. I probably should have taped off the inside rim as well, but I was being lazy.
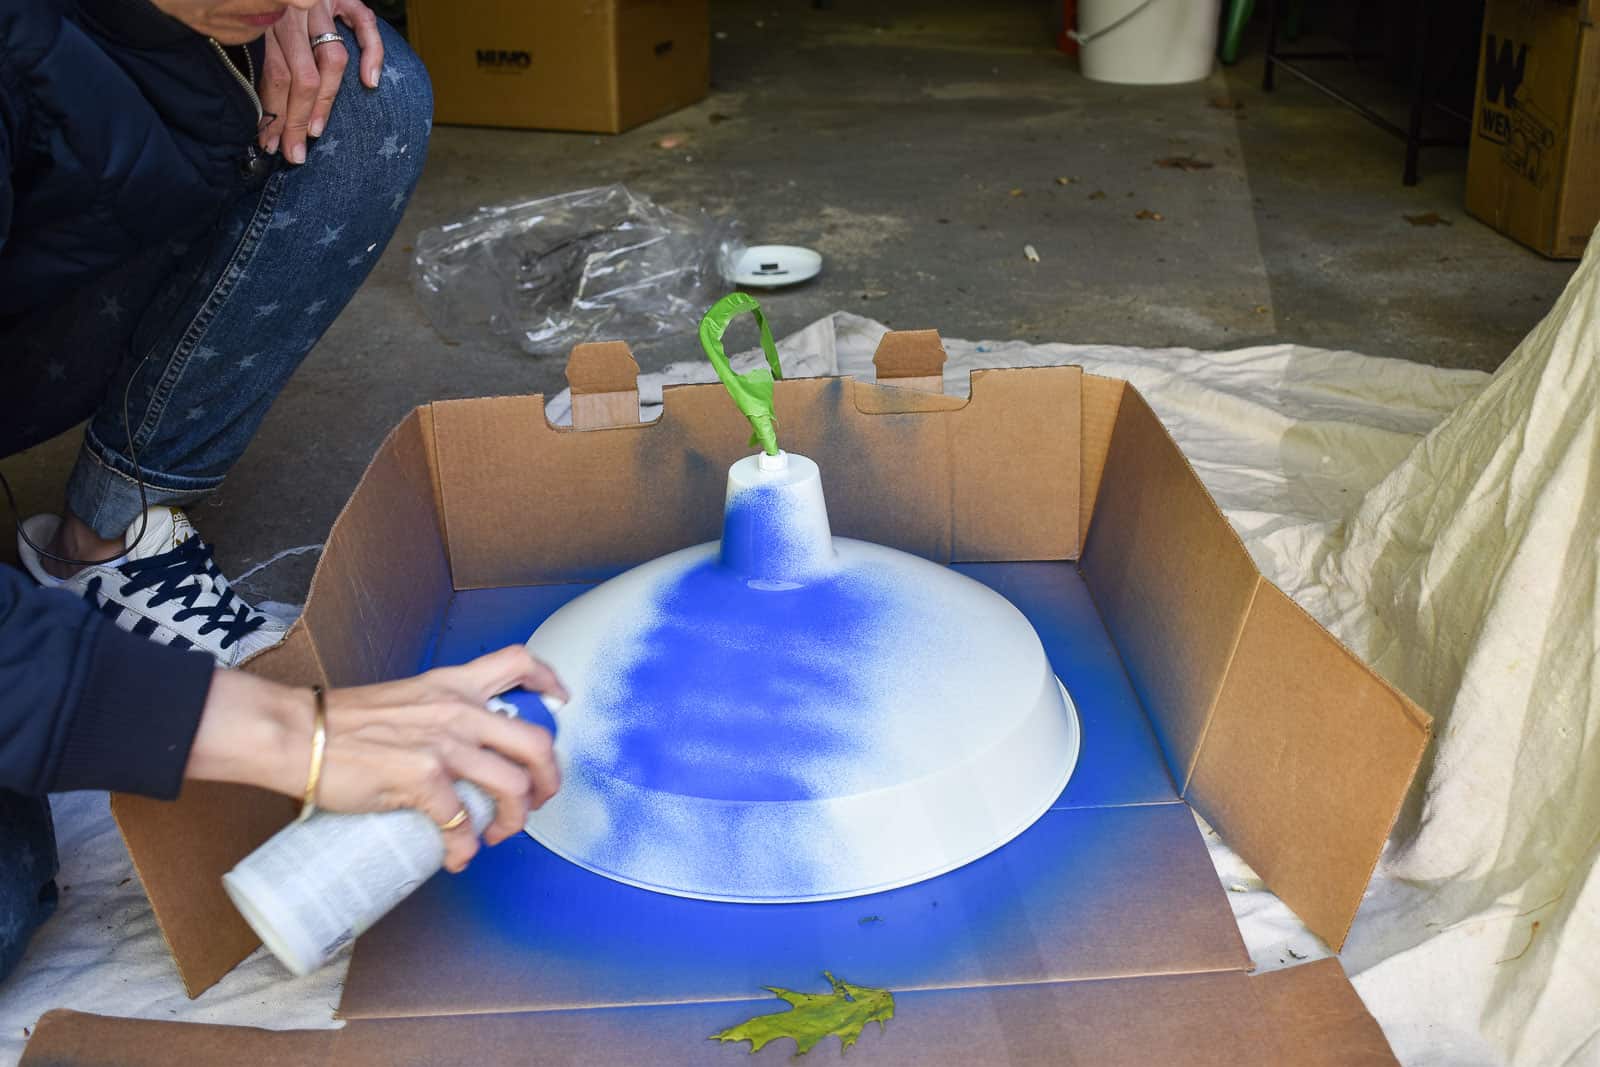
Step 2. Spray the top of the light
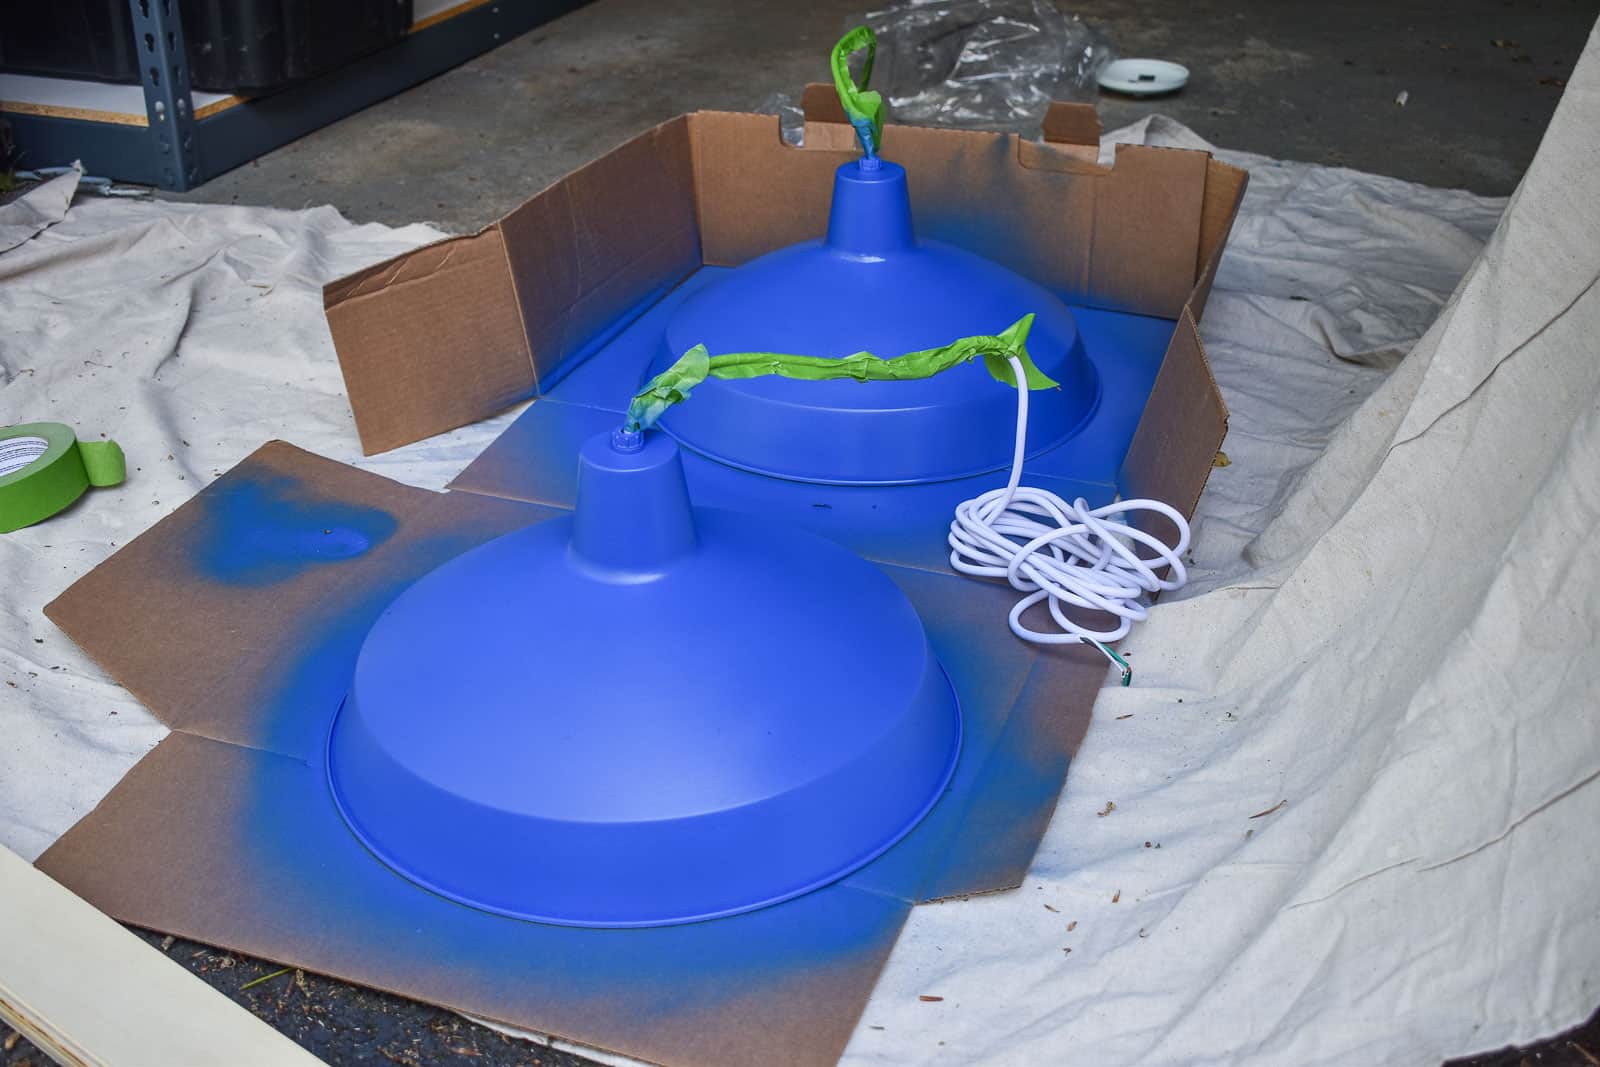
I’m using my favorite Plutonium Spray Paint for this (full disclosure… I love their product so much I asked to be on of their paint ambassadors). The blue is PERFECT for the space and, as I’ve said many times before, I find the coverage and durability to be unmatched. No drips, dries fast… perfect for metal pendant lights like these. Because the spray is such a find mist with Plutonium, you can get a bit closer to the work surface. I kept the light lying on top of cardboard, but there were a few little bits of paint that got on the lower rim from when I moved the light so I scraped those off with a flat edge. (Use code CHARLOTTESHOUSE for 40% off at Plutonium Paint… so many color to choose from!)
Step 3. Set the cord length
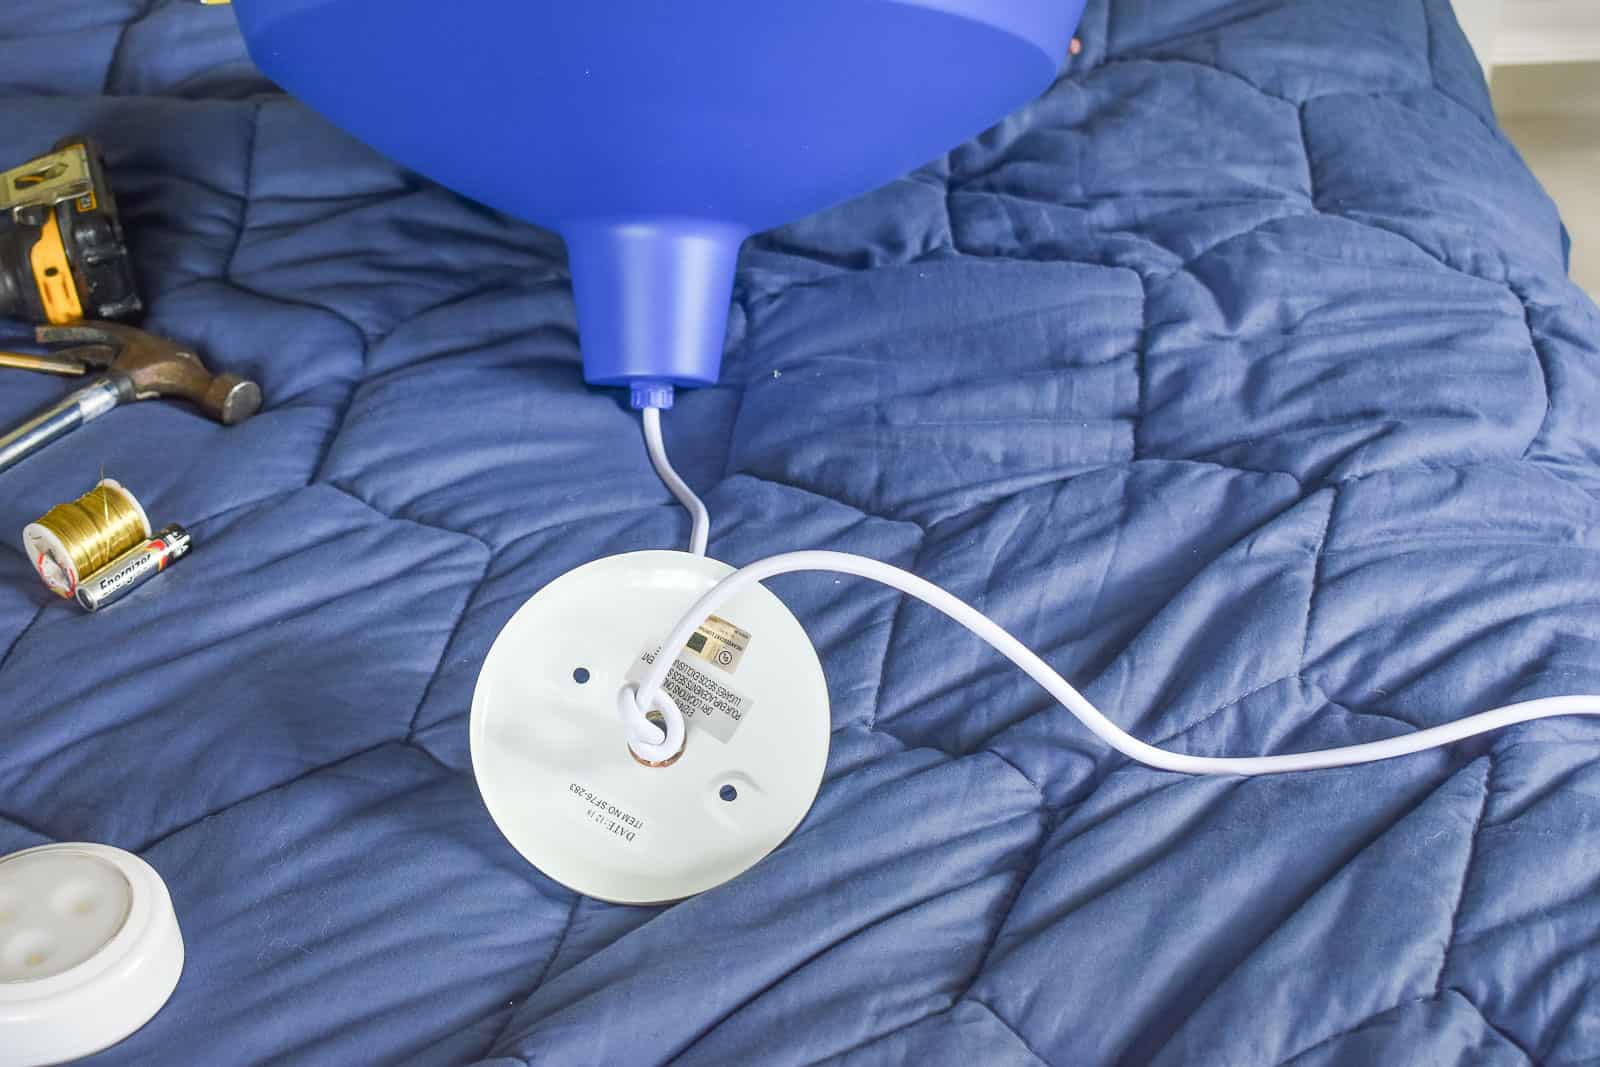
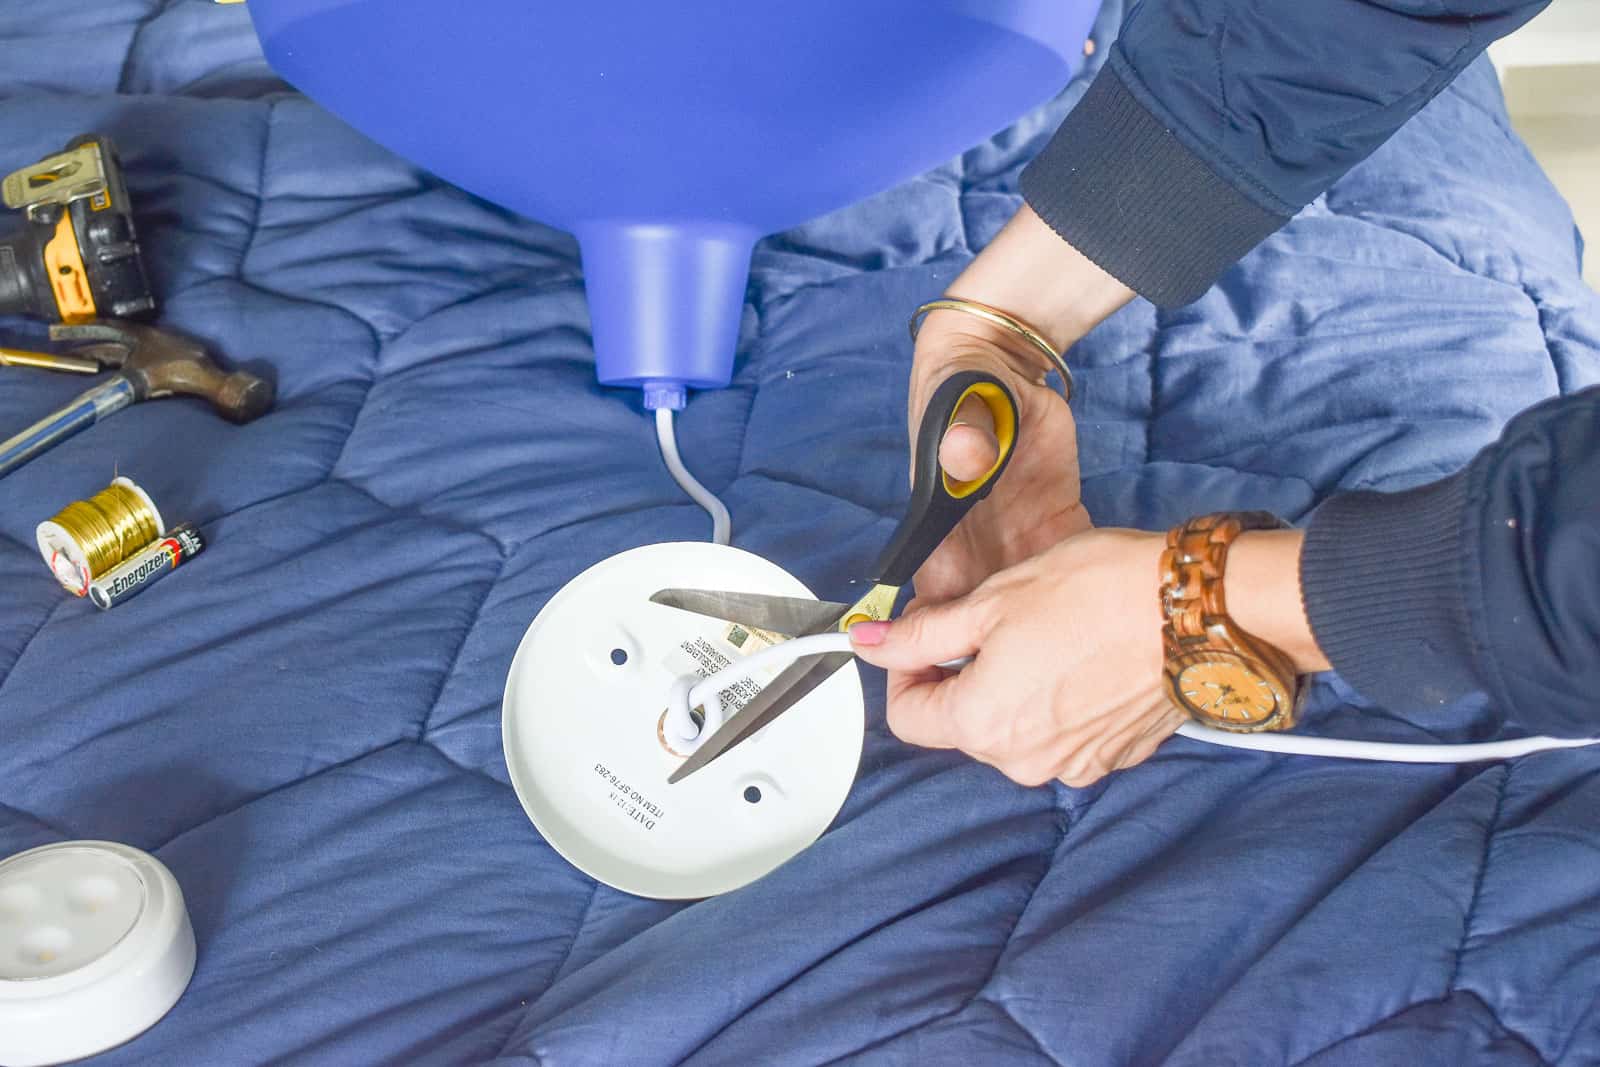
Decide how far below the ceiling you want your lights to hang and make a mark on the cord with a pencil. Thread the end of the cord through the ceiling plate and tie a knot in the cord just above the pencil line. Trim the excess cord.
Step 4. Assemble the “magic light”
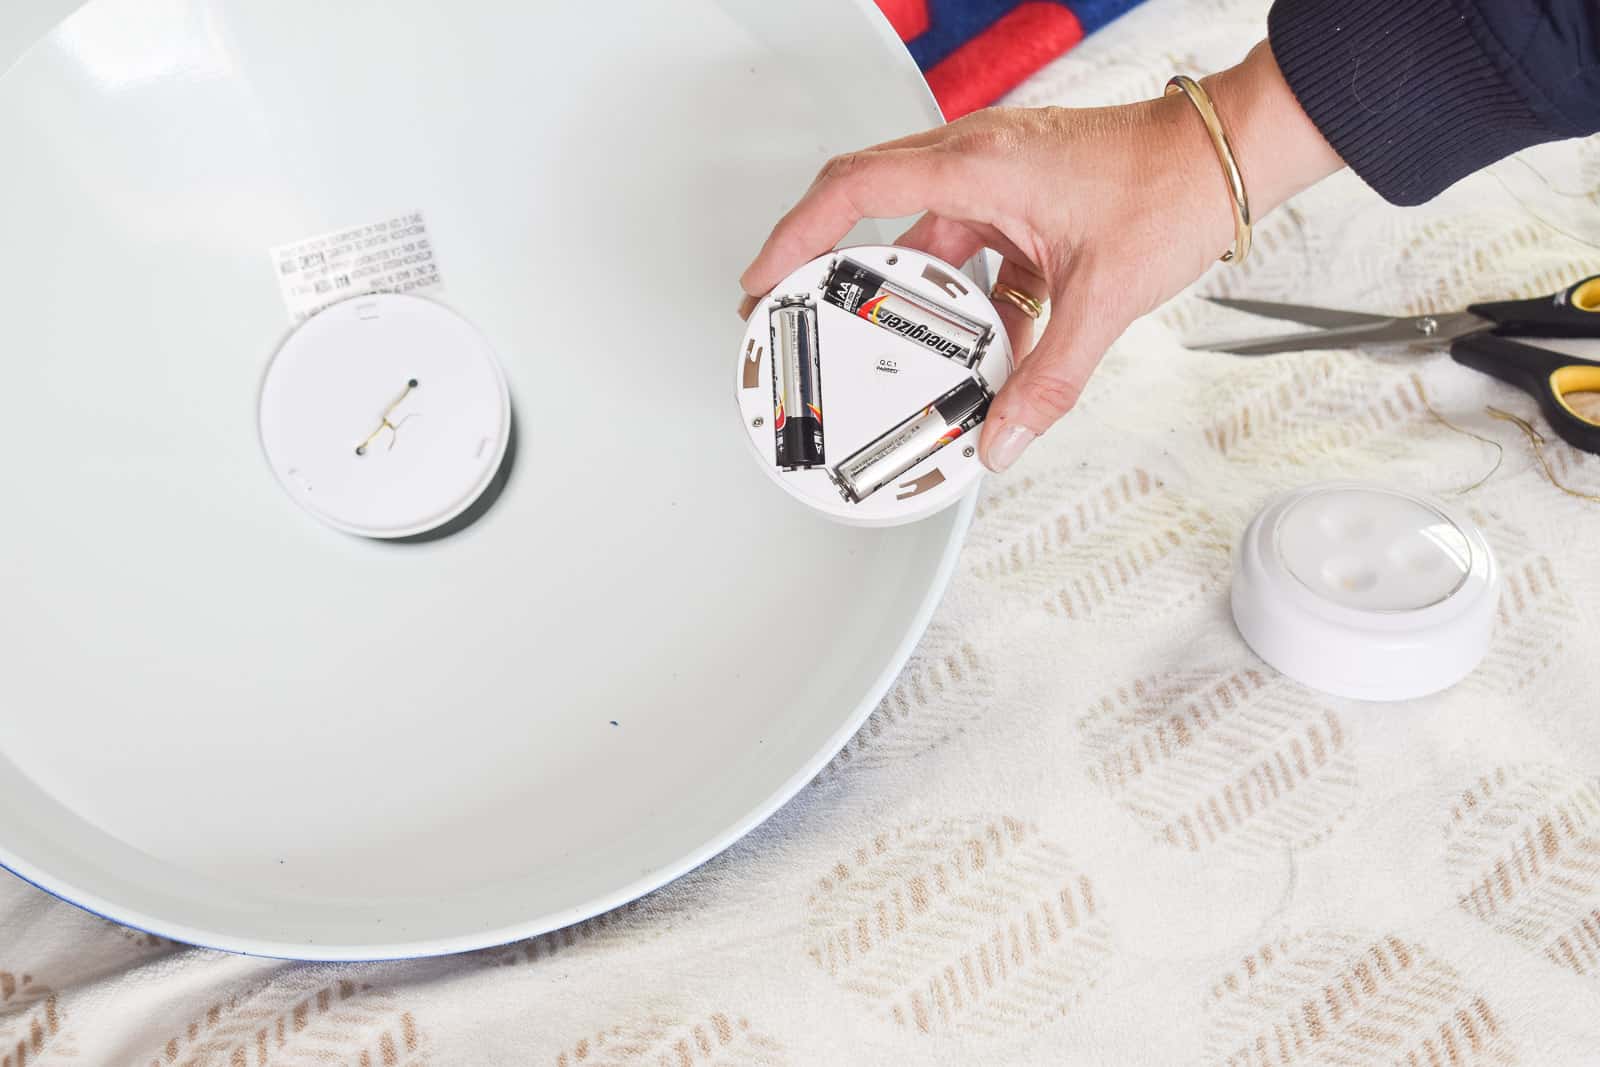
This is where Brooke’s hack comes into play. Notice I haven’t mentioned an electrician or wiring at ANY point during this post. It’s because you’re not going to use one. Grab a set of these remote control LED puck lights. She has a bunch on her site, but I’ve linked to the lights and remote I used here. The back plate of the LED light comes apart from the light; secure this plate in place but wrapping the wire around the light socket in the pendant light and then running it through the screw holes on the plate. Once the plate is is wired to the pendant light, all you need to do is add batteries to the puck light and screw it in place!
Step 5. Hanging the pendant lights
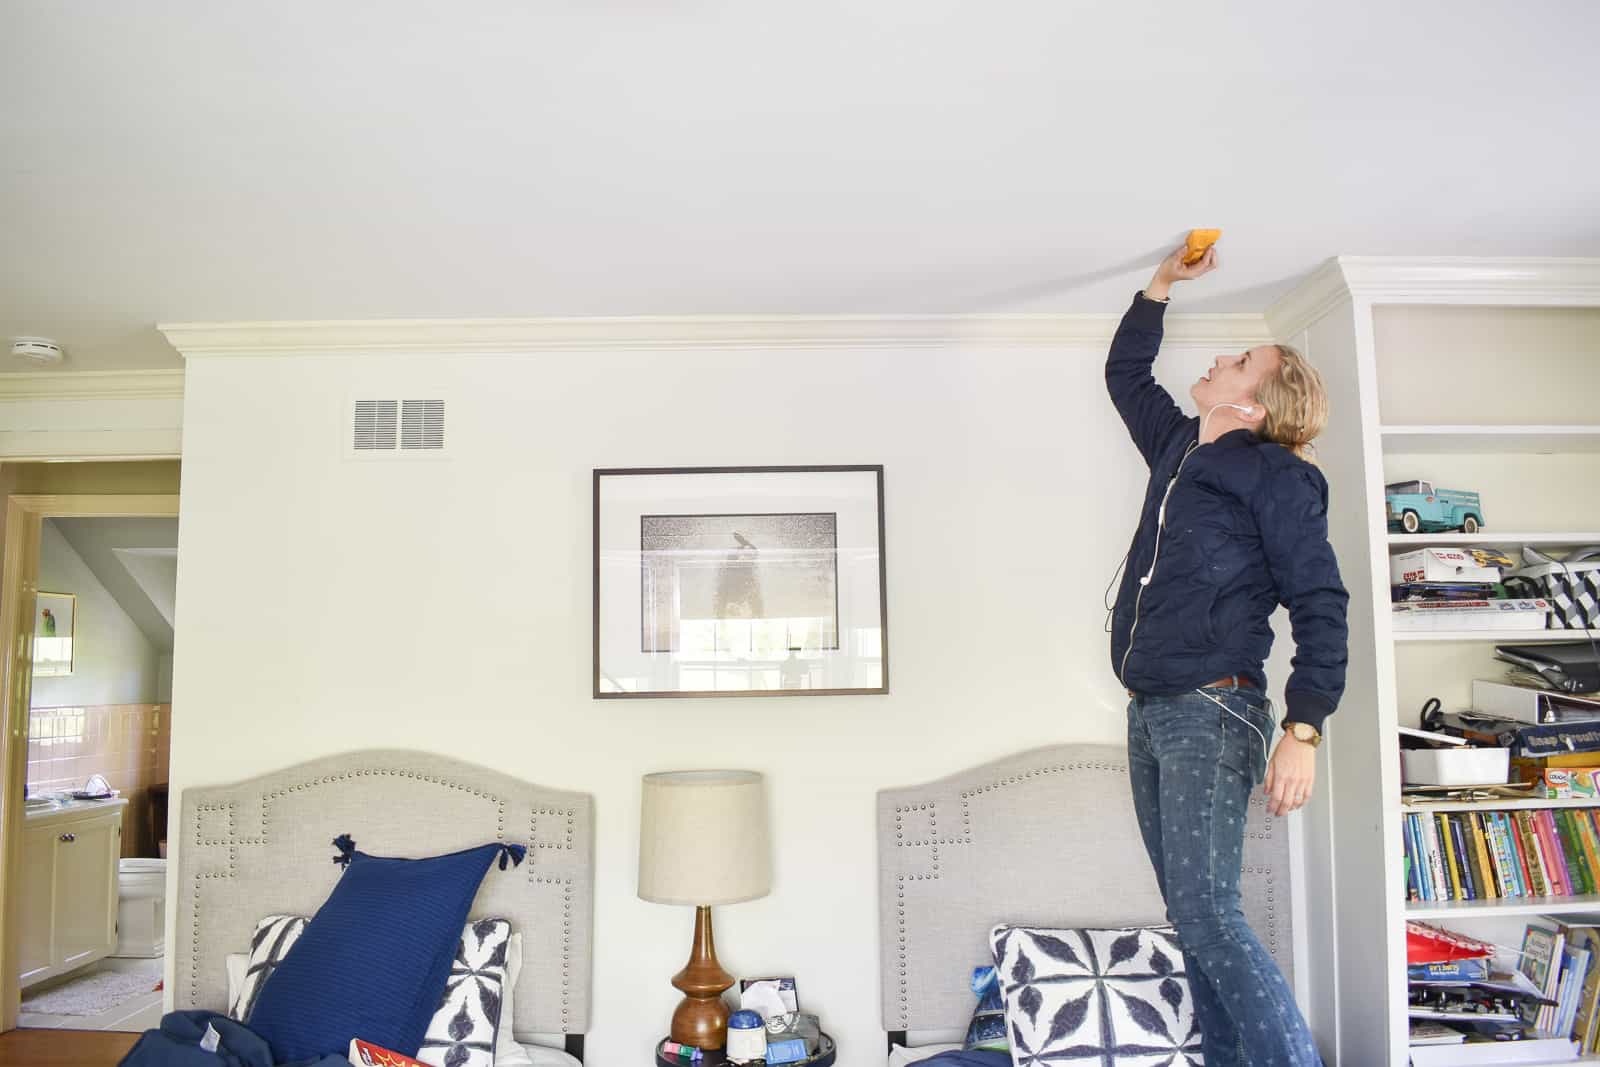
Check your ceiling for studs using a stud finder. If you find studs, simply use 3-inch screws to screw the ceiling plate into the ceiling where you want it. If you don’t have studs, then choose an appropriate dry wall anchor to use. Drill your holes, lightly tap the anchor in place, then screw your ceiling plate in place and you’re done!
Here’s why I love these simple no-fuss blue pendant lights: they add a nice bit of color to that neutral wall above his headboards, they WORK so Oliver has a bit more overhead light when he’s reading, they’re totally renter friendly. When we leave, all I need to do is unscrew them, push the anchors into the ceiling and easily patch. You’ll never know they were there!
Materials
- Hanging Pendant Lights
- Spray Paint (Use code CHARLOTTESHOUSE for 40% off!)
- LED Puck Lights with separate remote
- To install, I recommend using a stud finder



Don’t Miss Out
Become An Insider!
Signup for exclusive tips, and tricks from Charlotte’s House!
Let’s chat!
I love comments from you, so feel free to leave your thoughts and ideas below! And don’t forget to follow me on Instagram for even more!