Oliver’s Bedroom: Simple Boys Decor
Psssst… this post *might* contain affiliate links: see my disclosure here.
Are you ever paralyzed from doing anything around your house because either you haven’t got a clue what you want to do OR you have a whole design scheme planned out and you never have the time to tackle the whole thing in one fell swoop? Well, today I’m sharing Oliver’s room. It’s kinda sorta a room reveal, but.. I definitely have a few other ideas for the space but I just can’t take them on right now!
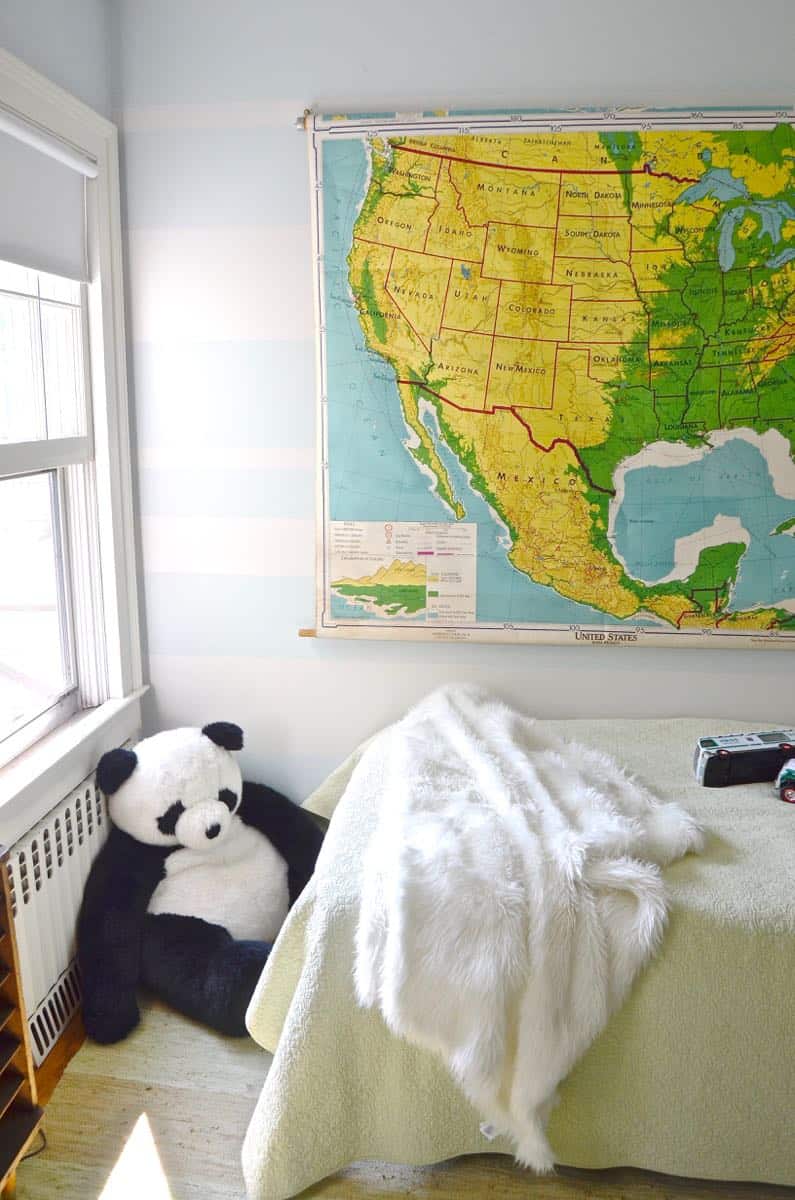
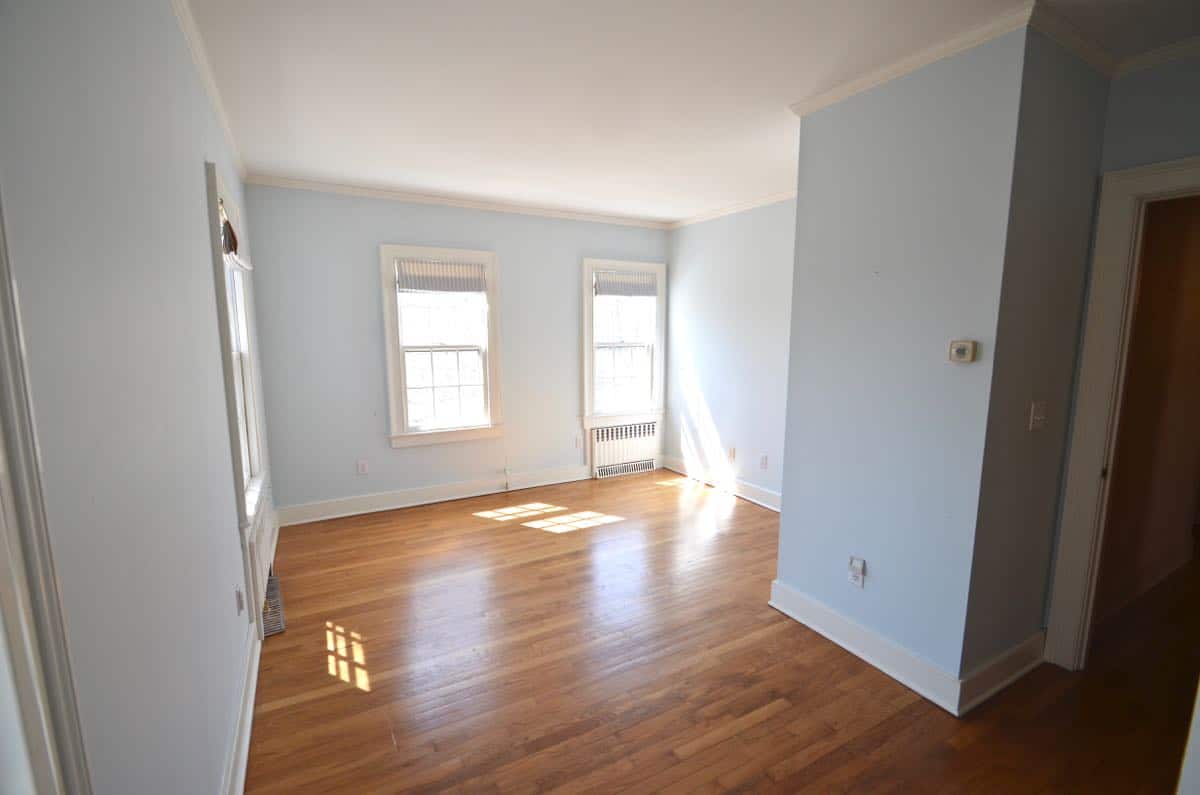
This one is a room reveal lite. It’s not the top to bottom makeover that I gave Eleanor’s room. No sewing, barely any painting… no real shopping for accessories or furniture. But it’s “done” enough for now. (Afterall, there are plenty of other rooms to address- foyer, master bedroom, dining room, etc.) Reminder that this is how the room looked before:
Shop my favorites!
And with some simple redecorating!
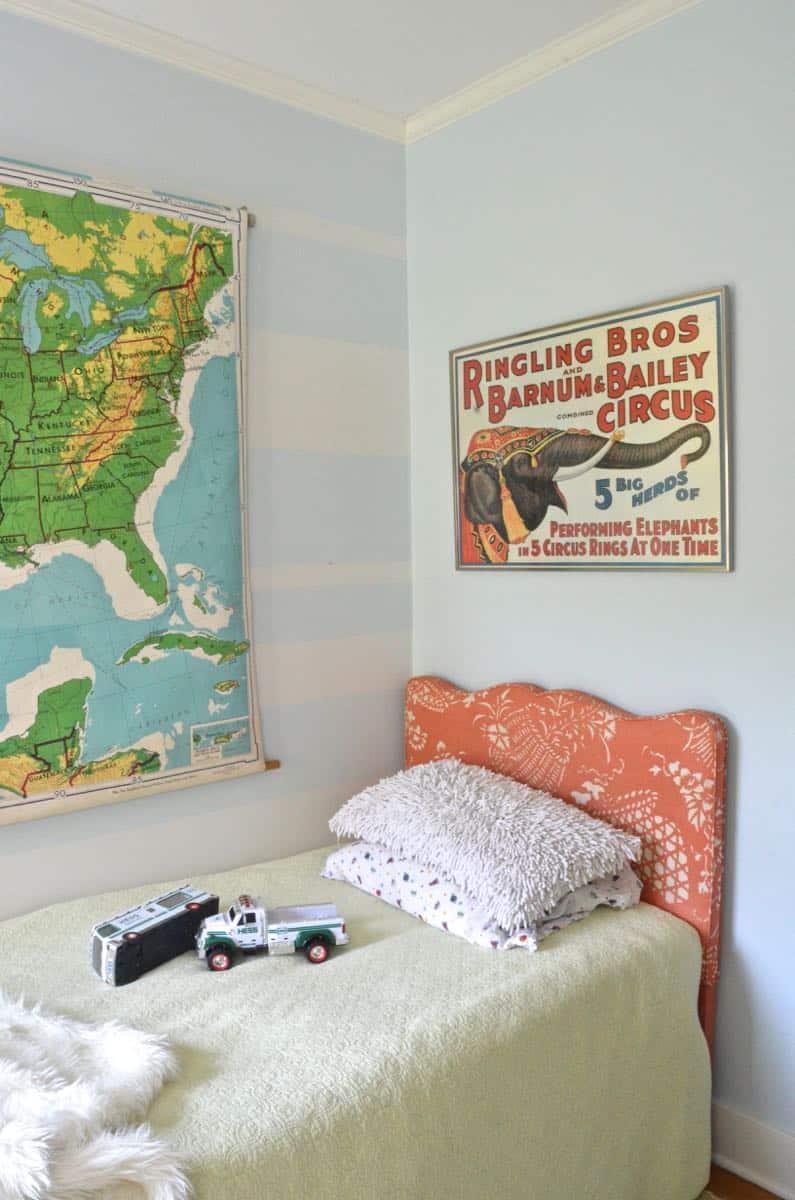
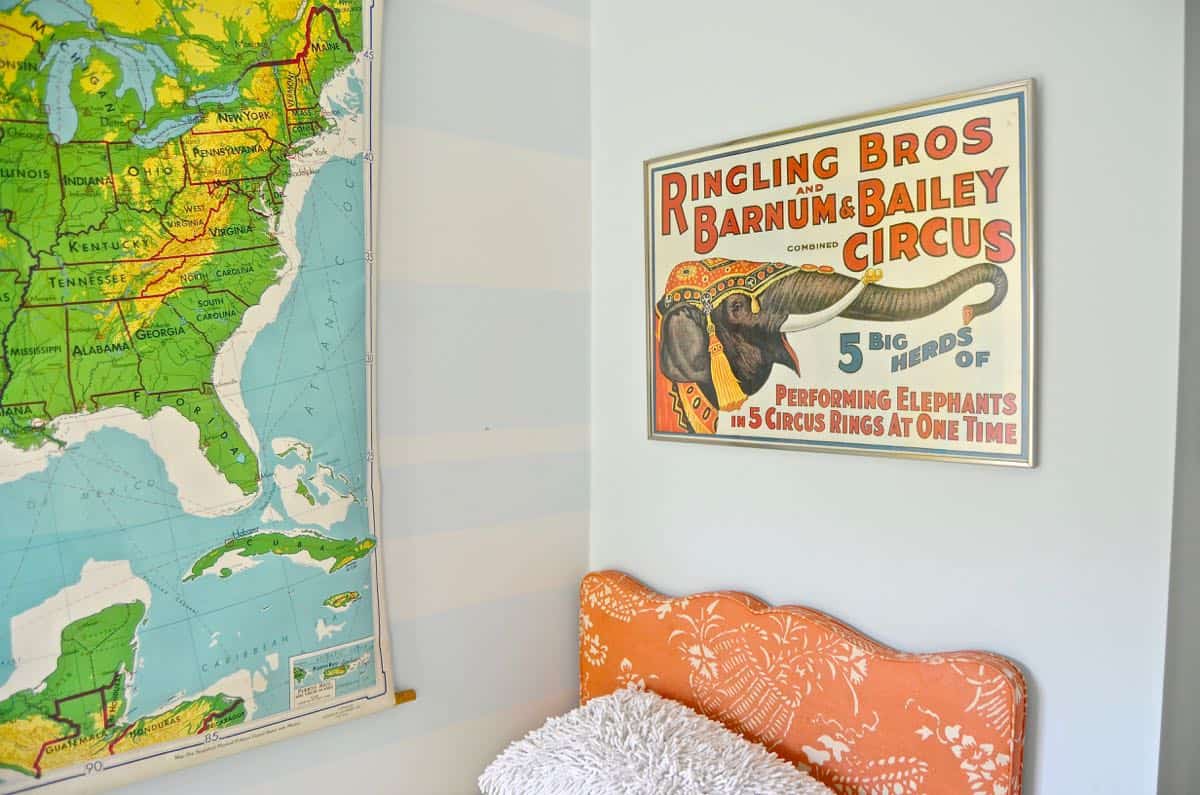
Oliver’s room may not make it into a Land of Nod catalog but it’s an adorable and fun space. Don’t let a larger plan stop you from spending a little bit of time making your room personal and loved. Shop your house for items that might suit the space or the ‘theme.’ This room came together in a day once I addressed the large anchors that the previous owners had left behind in that one big wall… I had no idea what this wall color was, so… stripes was my solution for patching and covering the holes.
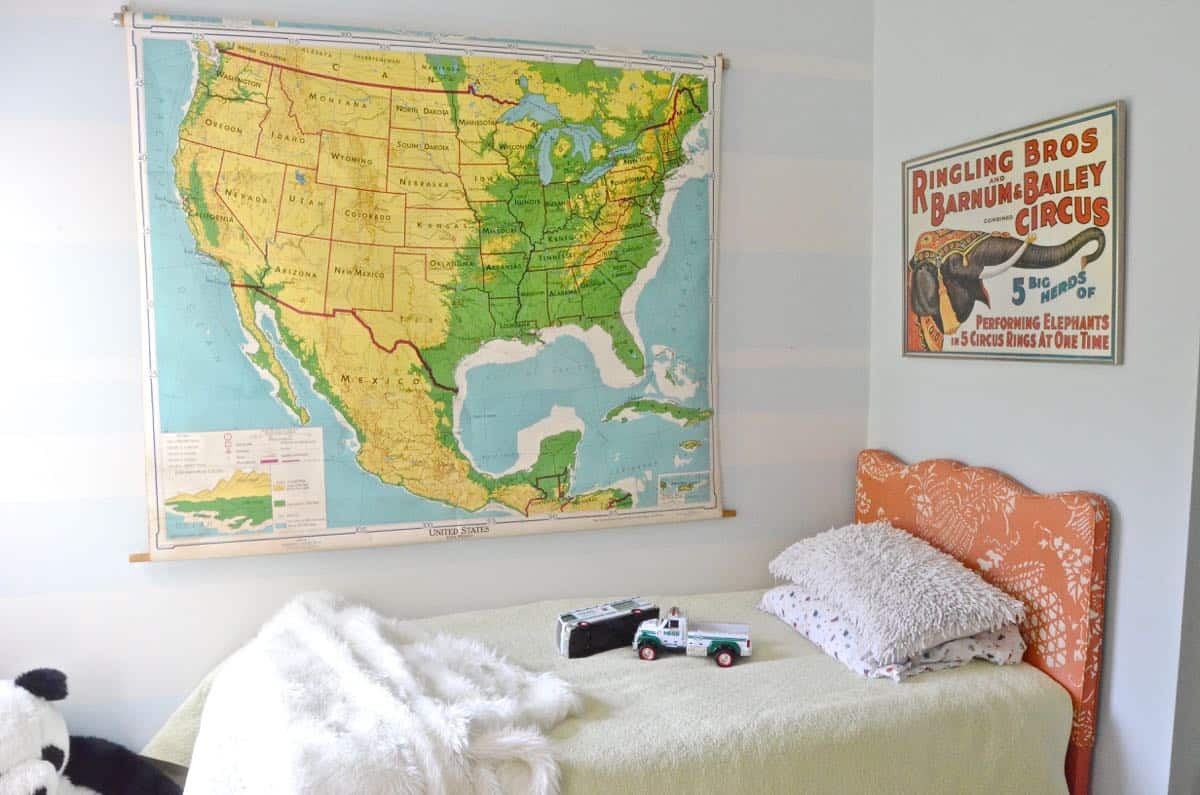
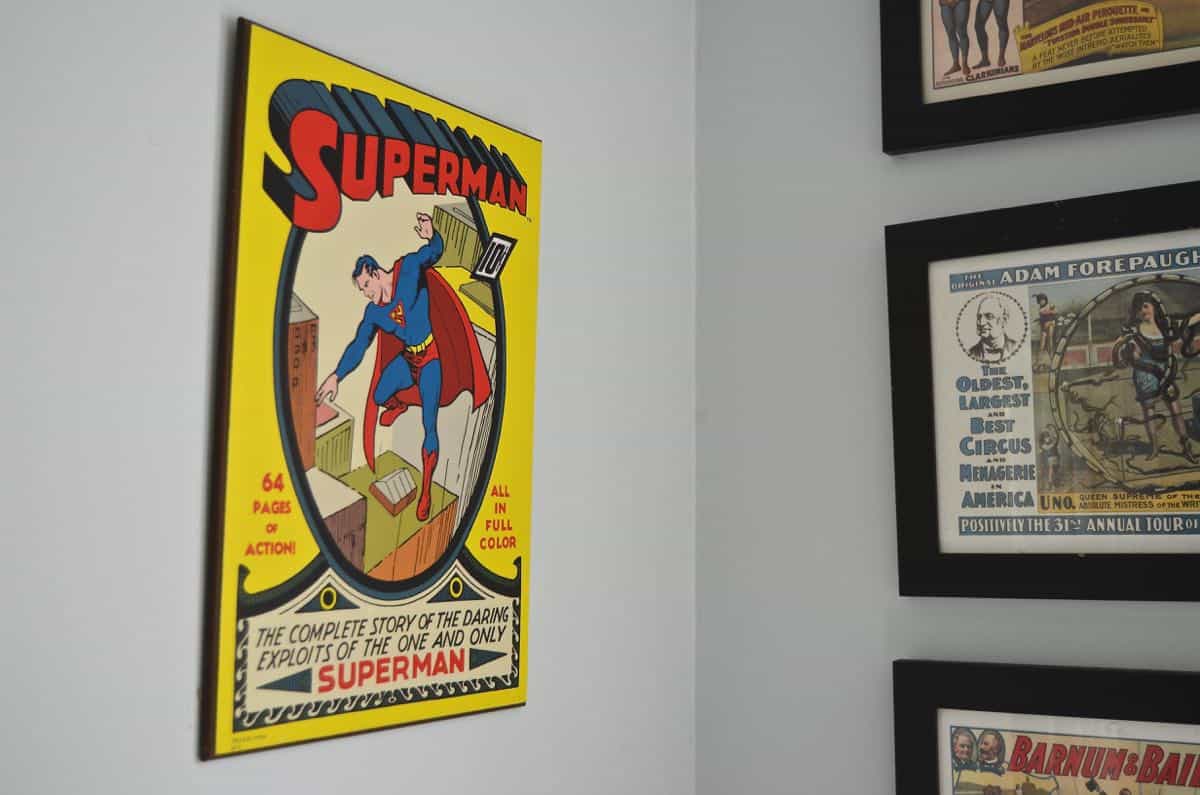
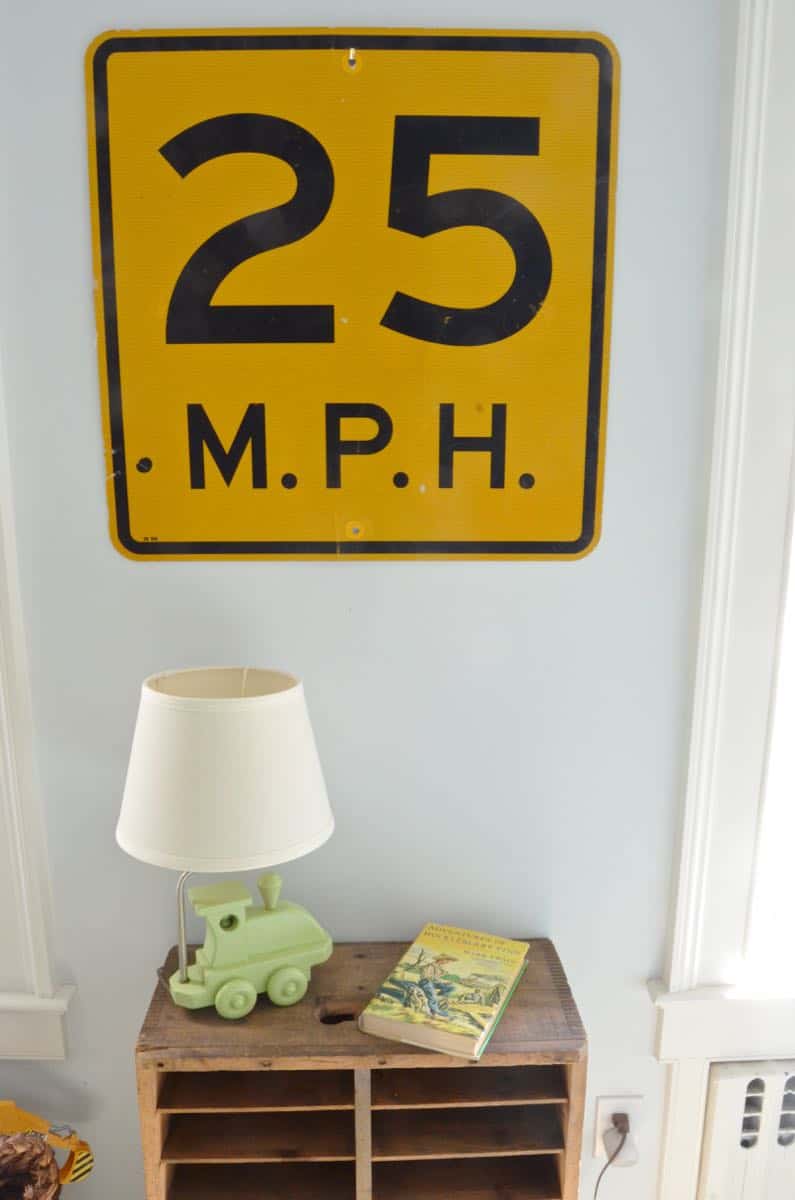
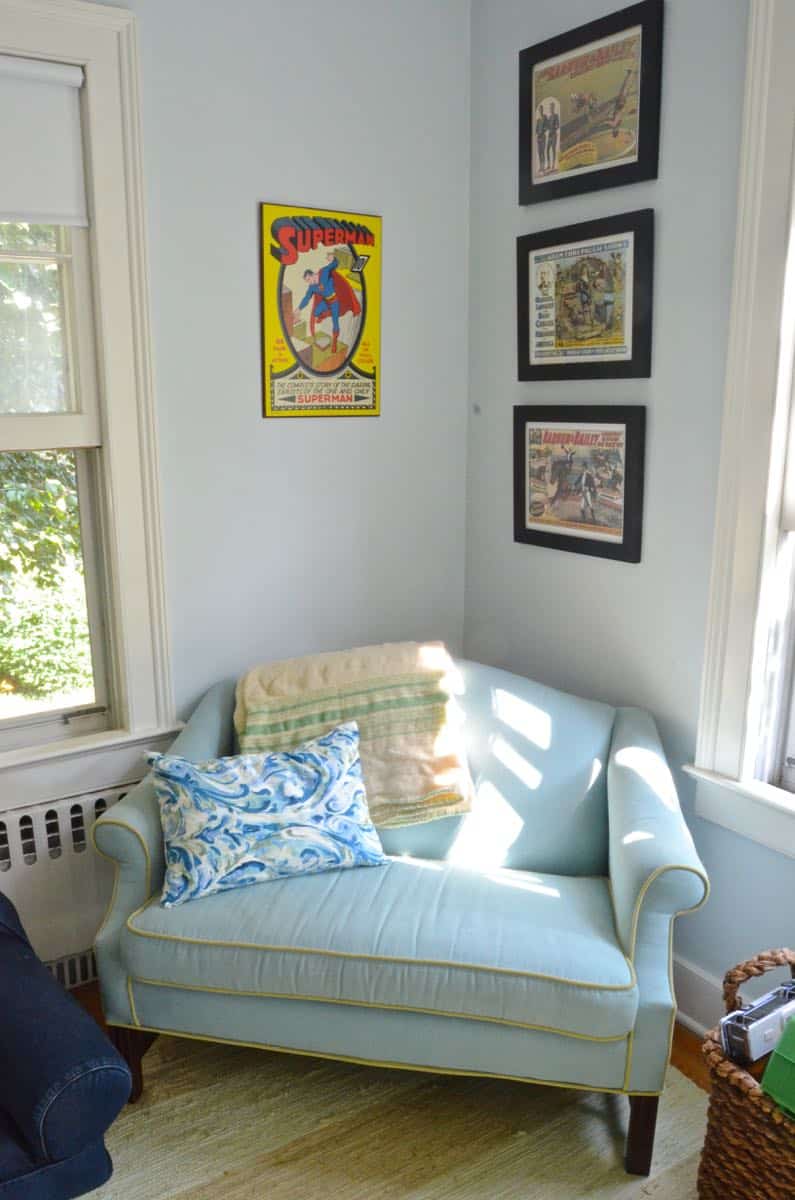
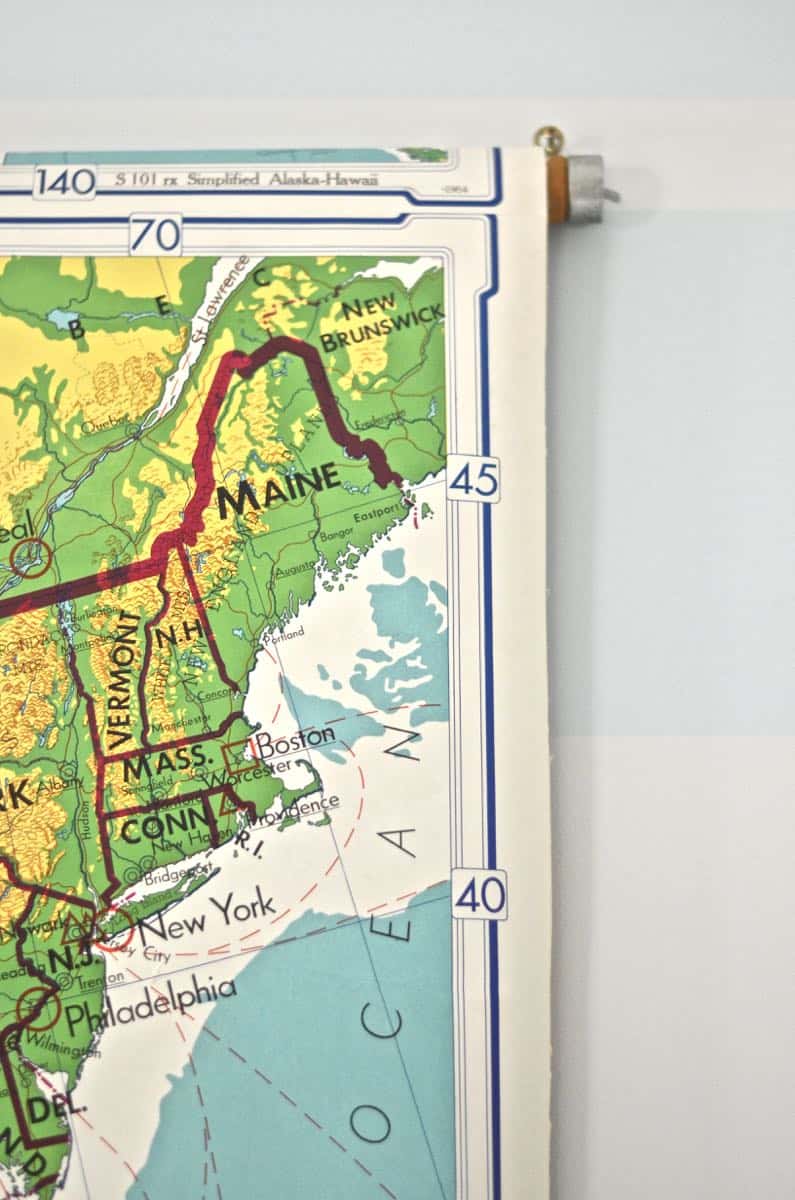
Putting artwork on the walls is hands down my #1 way to make ANY space feel decorated. Empty walls seem so cold to me and this room was no exception. I hung that amazing map on the large wall and brought in some flea market art, that superman from Hobby Lobby, and of course the industrial O’s that were hanging in the kids’ shared room in the old house.
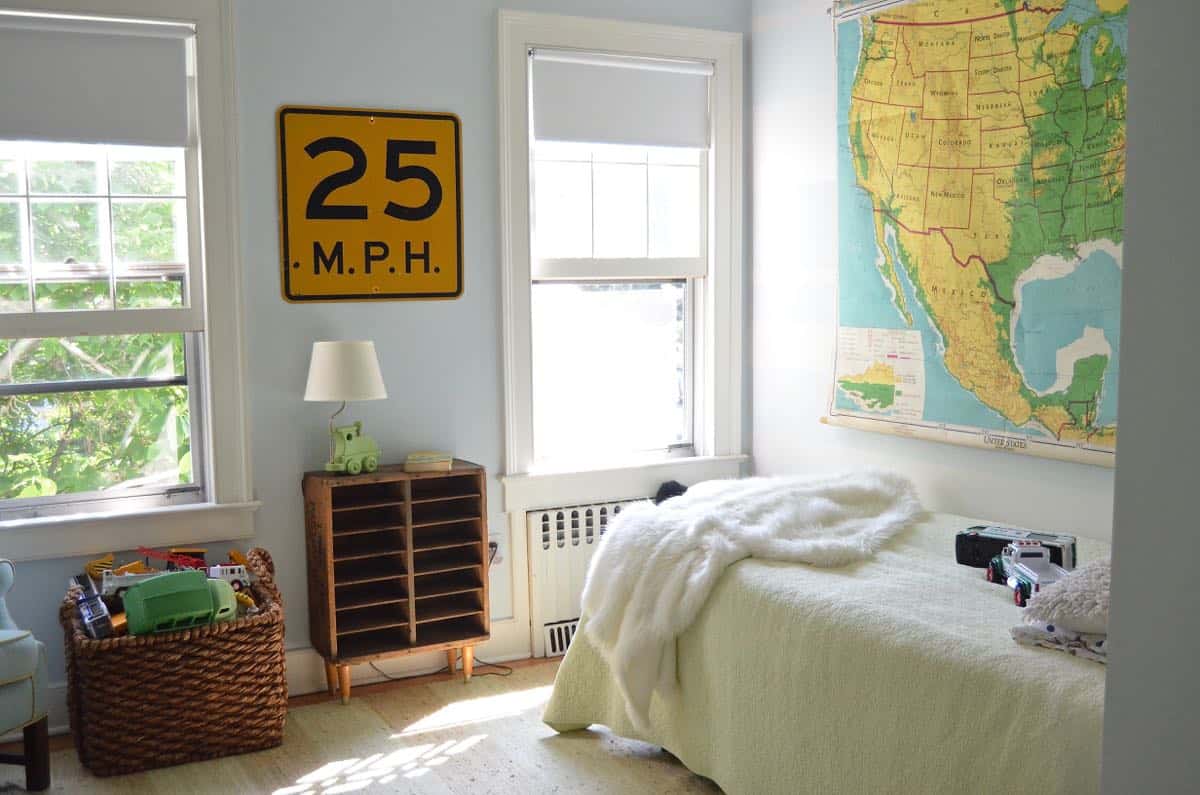
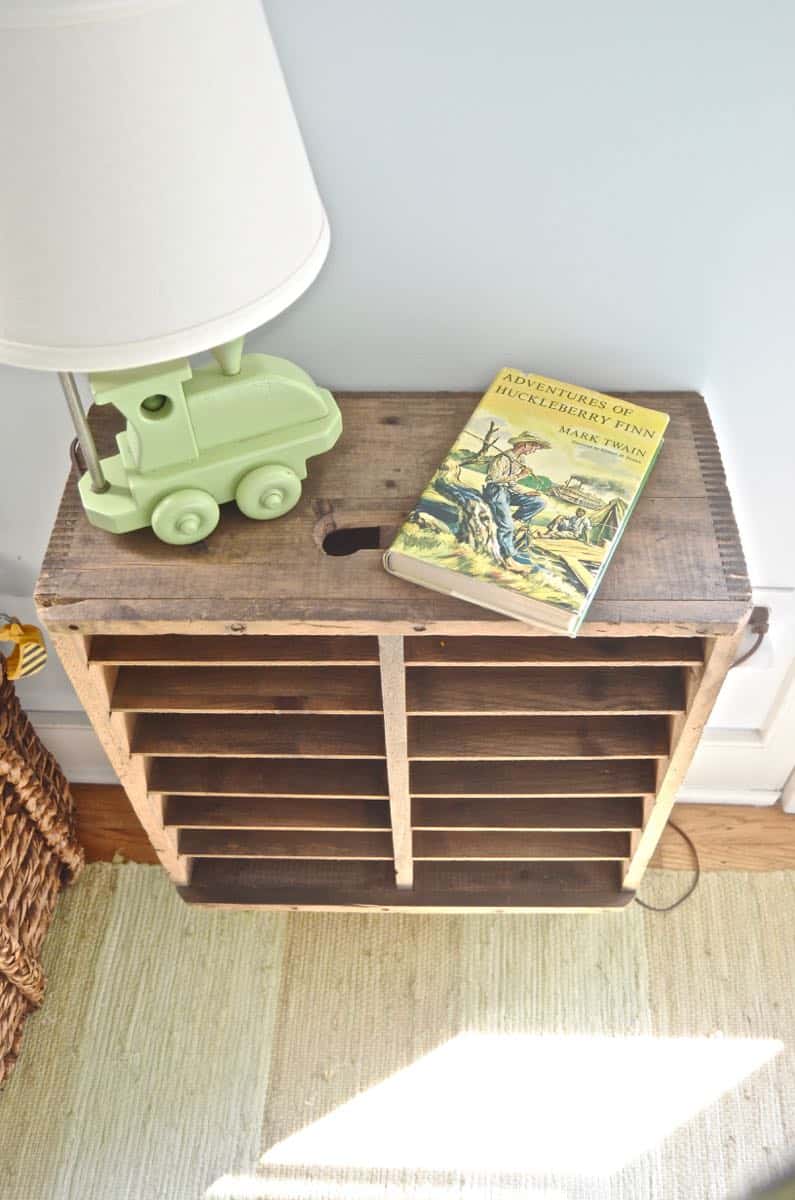
That little shelf was the one piece I did make for this room… the crate was used to transport pies. I cleaned it up with Restore A Finish and added these amazing legs that I found on Etsy.
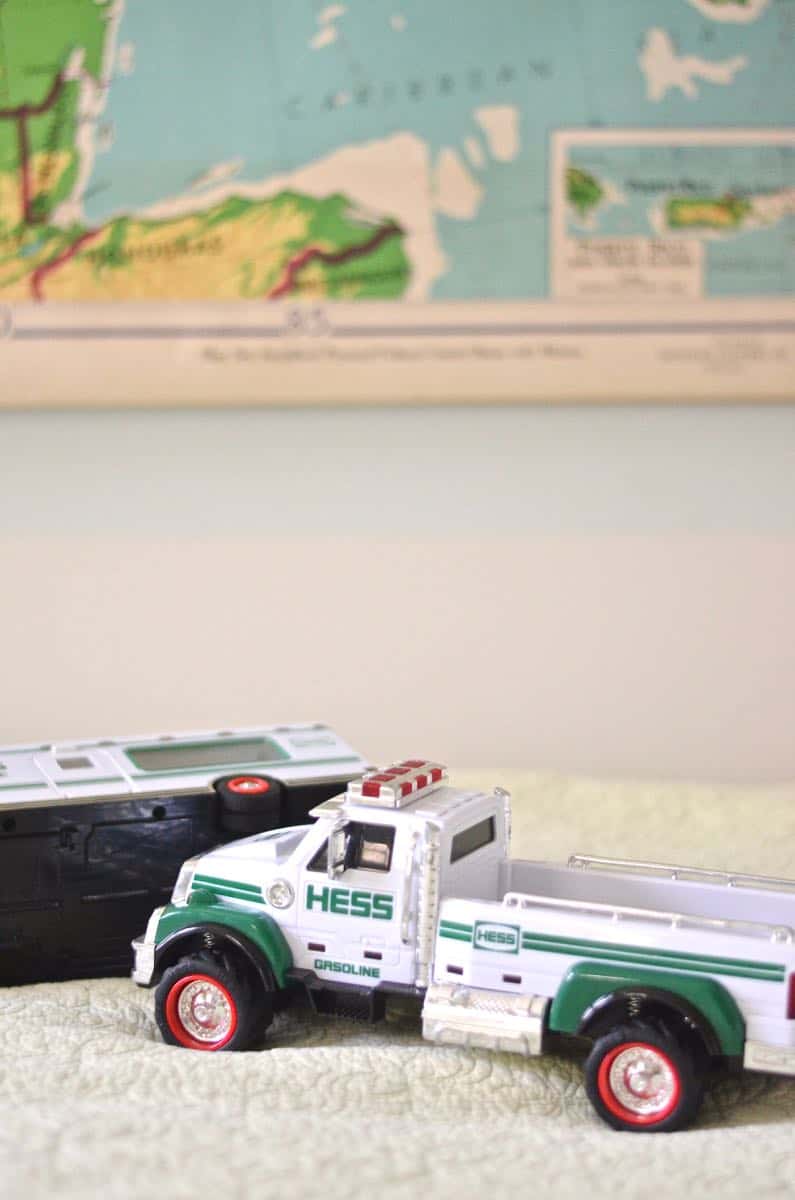
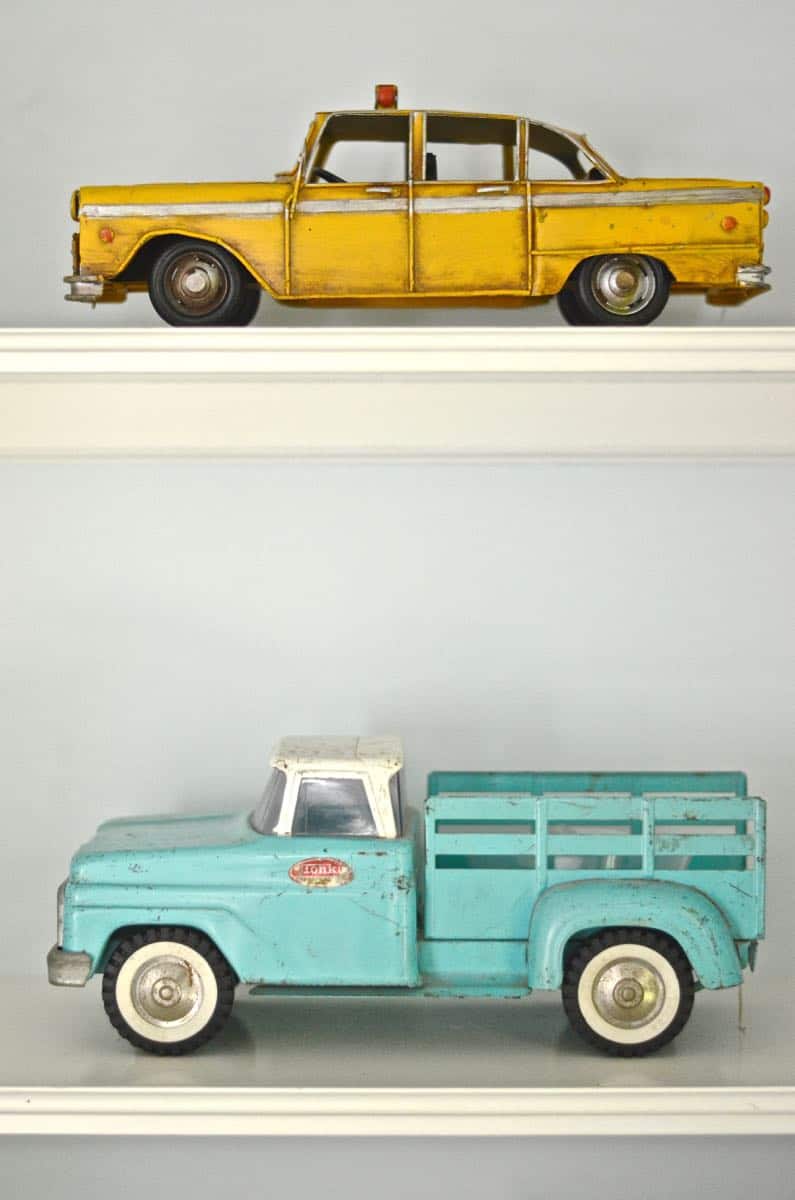
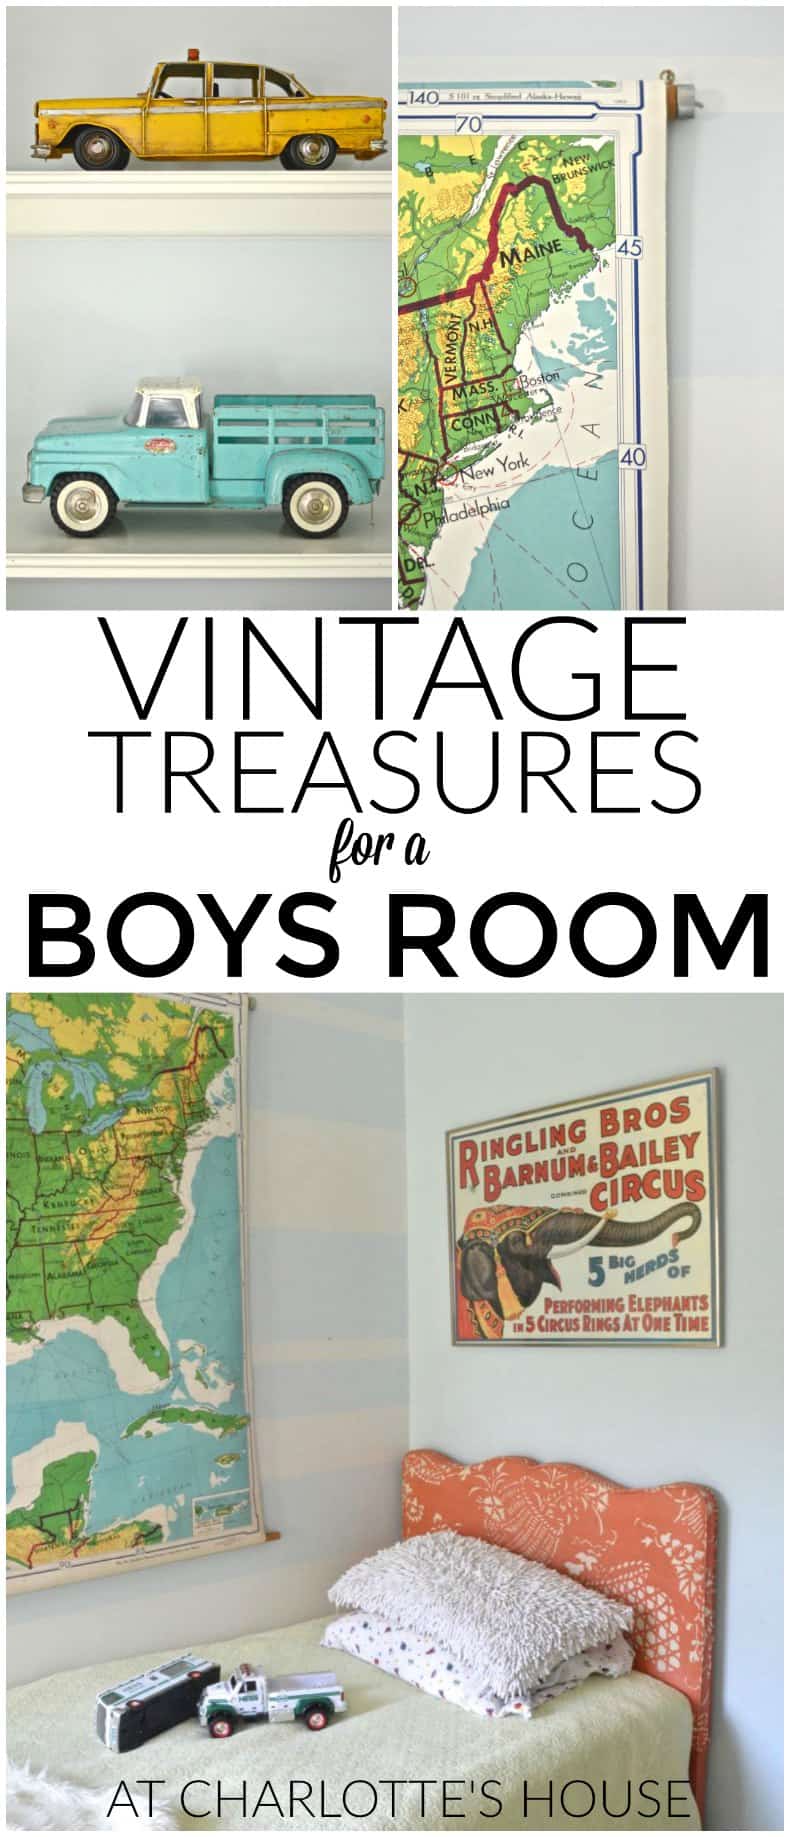
Oliver is only four, so we’re long on trucks in his room. I love these Hess trucks and pick them up at the flea market when I go!
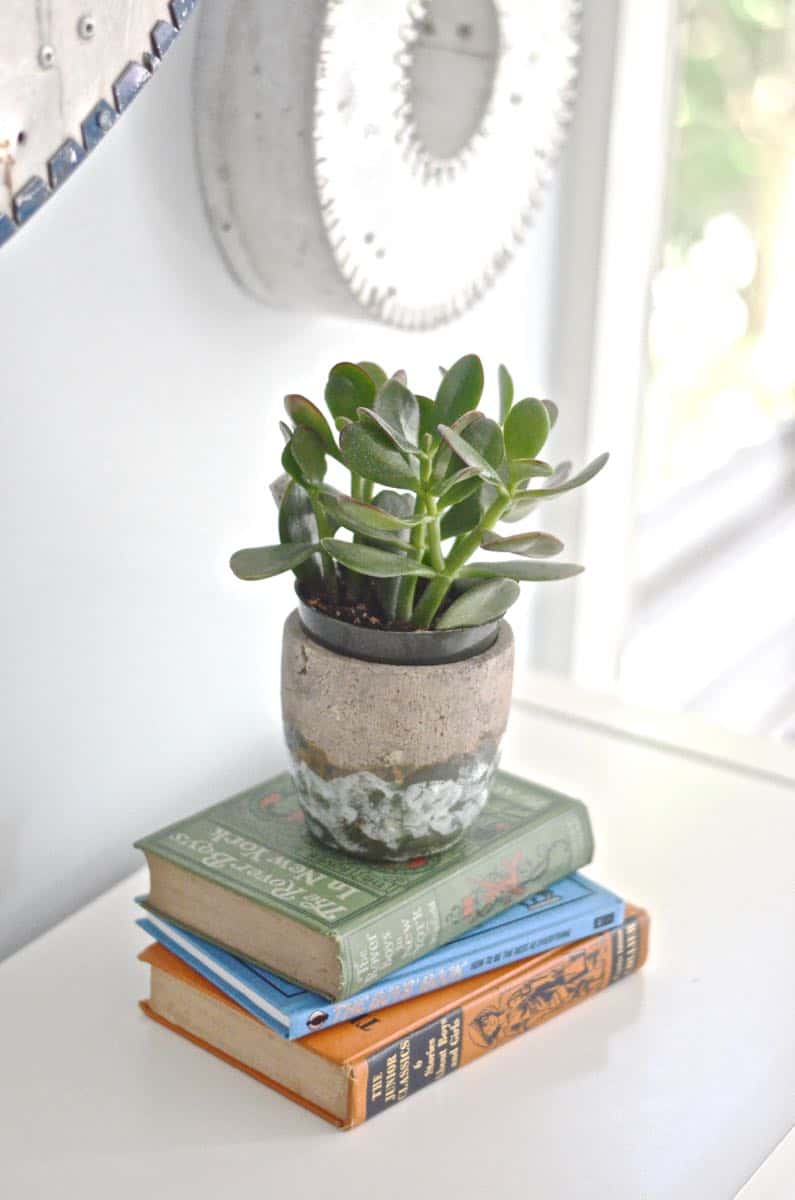
I love reading with the kids and have way more children’s books than I care to admit. The more interesting ones often make their way into my photos.
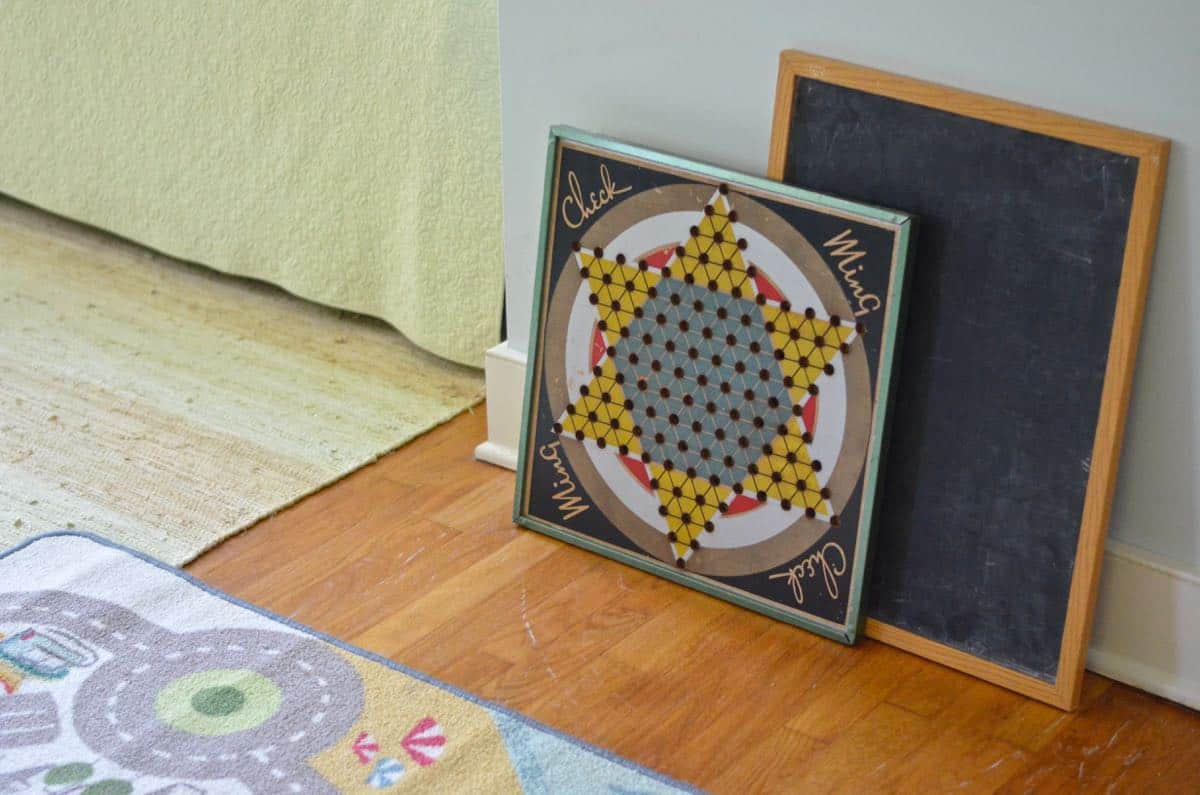
This is an old Chinese checker board and the patina on that vintage chalkboard can’t be beat. I ran out of space to hang them in here but these two look just as interesting leaning up against the wall… Even without a hammer and nails you can decorate!
The loveseat was a Craigslist purchase way back when we first moved out to the suburbs and I had it recovered in a neutral blue/ green combo. That killer pillow is from Homegoods, and the wool blanket came home with me from an estate sale.
So all together, not a lot of major work went into this room, but it’s 100% better than the before picture, right?



Such a great space! I think once you hang that map up, everything else is just a bonus :). Love the vintage trucks and the little pie cabinet, too!
Totally agree!! I love that map! The pie shelf is so fun… one day maybe he’ll store precious papers! xx
Pie cabinet- GENIUS! Map -GENIUS! great boy room.
Thanks, Bridget! The legs really pull it together! Etsy for the win!! And a map is ALWAYS the right call. 🙂 xx
It is amazing what you put together! Love the map idea. Will have to help my grandson find a map. So enjoy your postings.
Thanks so much, Joyce! Your grandson’s a very lucky little boy! 🙂 I love hearing from my great readers so thanks for the comment! xx
Love!!! This space is awesome!!
I think the map is my favorite thing. It has such a fabulous old school room look. The whole room looks great!
Donna, I’m with you! Love a map. I’m afraid it’s one of my go-to’s and I have to stop myself from sticking on in every space! 🙂
I LOVE it. Not too overdone, as many kids rooms are…It’s simple and perfect.
Thanks, Heather! I’d rather get all the rooms in this place taken care of and then I can go back and upholster the ceiling or something! 🙂 xx
How did you hang the map? My son was given one last year and I haven’t put it up yet.
I screwed to eye hooks into the wooden ‘pole’ that the map was wrapped around, and then screwed two screws into the wall (anchored). I left the screws sticking out by and inch or 2 so the eye hooks could hook right on! If this doesn’t make sense, I can send you a pictures so let me know!
I got it! Thanks! Ours still has the big mounting part on it. I was thinking about taking it off so it won’t be so heavy. Thanks for the info. I think I will try your technique.
I have a couple like that also… Pretty sure I anchored some big ol’ screws and rested the mount right on top! But yeah… it’s heavy. 🙂 Good luck!
Just found your blog 5 minutes ago! . Looooove the map. Where oh where did you get it?!
Hi Lori! Welcome!! Love meeting new folks! The map in Oliver’s room is from the Elephant’s Trunk flea market in New Milford, CT. But I’ve seen lots of similar ones on esty… maybe try searching there? Good luck!!