
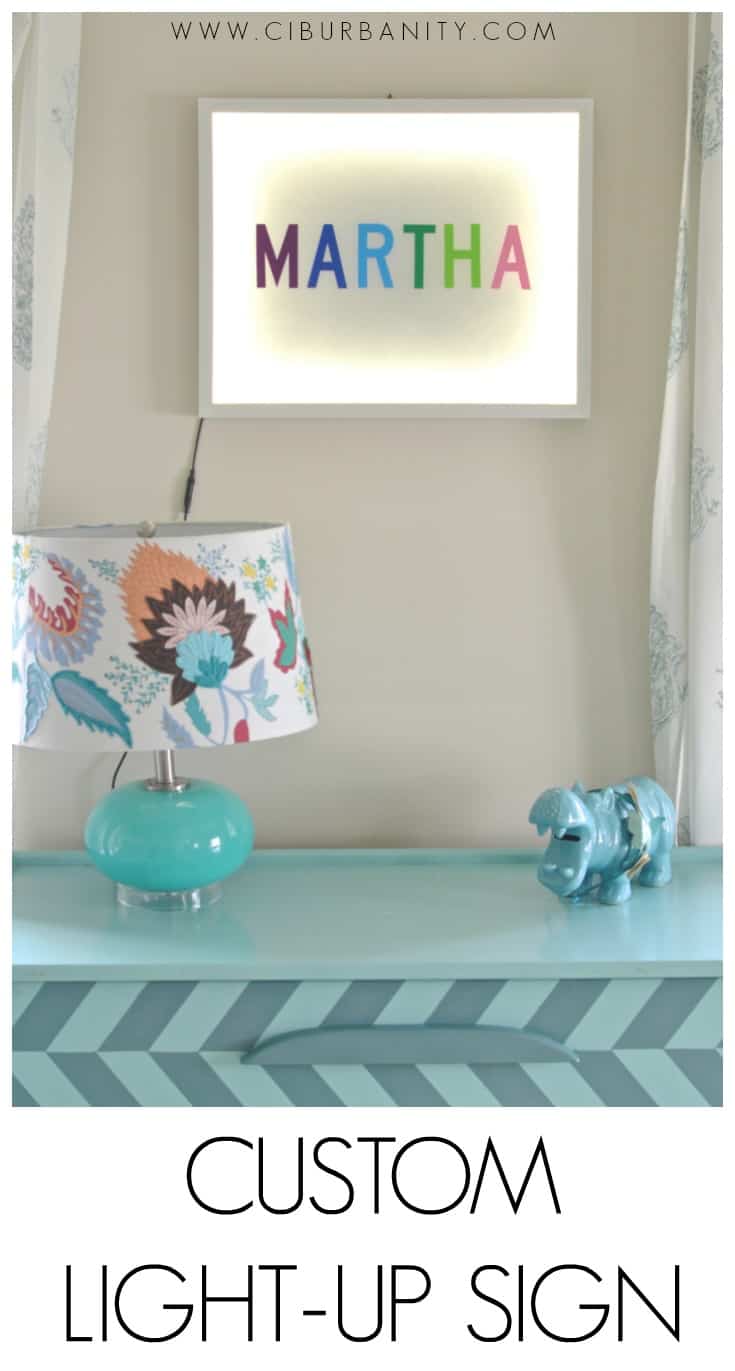
Custom Light-Up Sign
Psssst… this post *might* contain affiliate links: see my disclosure here.
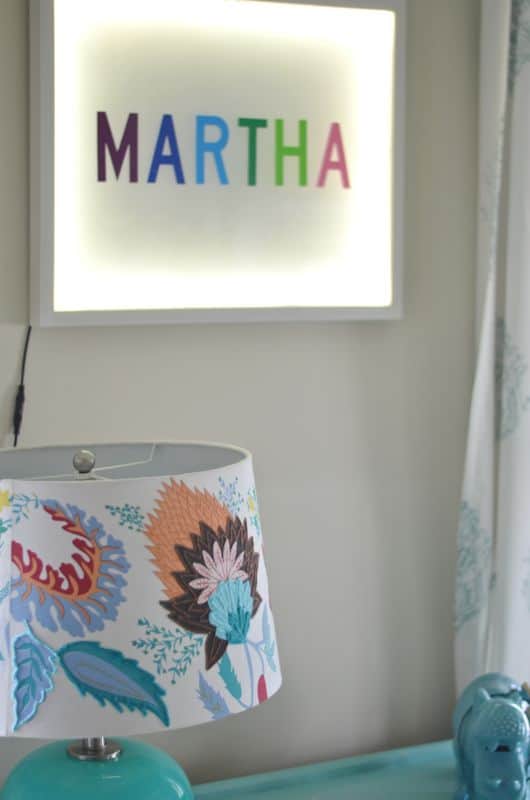
I’ve been blogging for almost four years which means there is LOOOOOTS of content that I’d love to fuhgetabawt. The first year was an ignorant haze, and the second year was moderately more clued in, but still not noteworthy. All to say, there are lots of projects that I LOVE but… whether because of crappy photography or bad lighting or a combination of the above, just aren’t anything I really share a lot. One of those projects is a custom light-up sign that actually *does* get shared a lot on Pinterest, but I’m SUPER excited to be sharing a new fresh and shiny clean tutorial for the one I made the same way and hung in Martha’s room recently.
How to Make a Custom Light-Up Sign
Materials You’ll Need
(Affiliate links included for your convenience)
Shop my favorites!
- Shadow Box
- Adhesive Vinyl
- Frosted Glass Spray Paint
- Cricut (or X-acto knife and a steady hand)
- LED light strips
- Plug
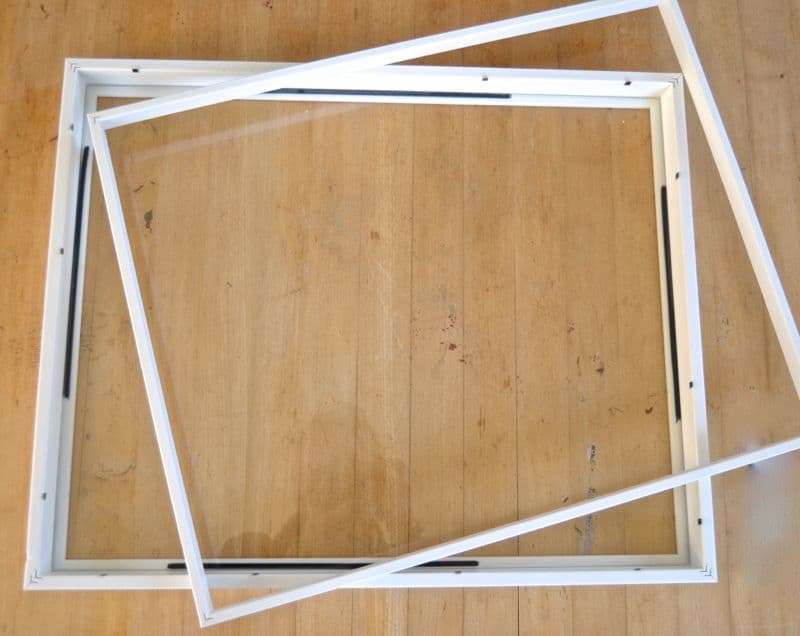
Step 1
Take your frame apart and spray the inside of the glass with the frosted glass spray paint. It will require many very light coats to build up the opacity that you’ll want.
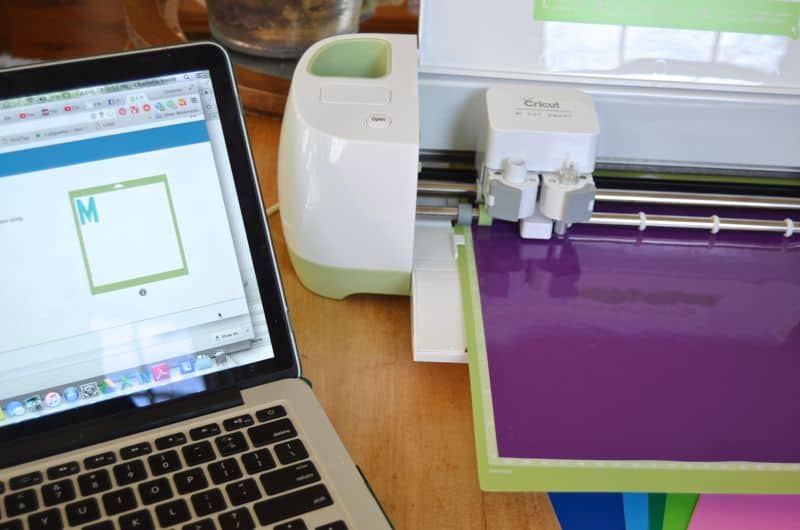
Step 2
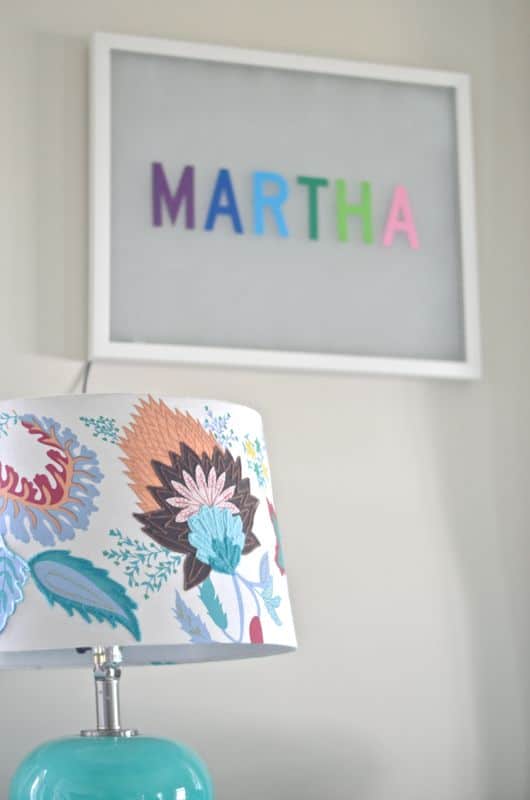
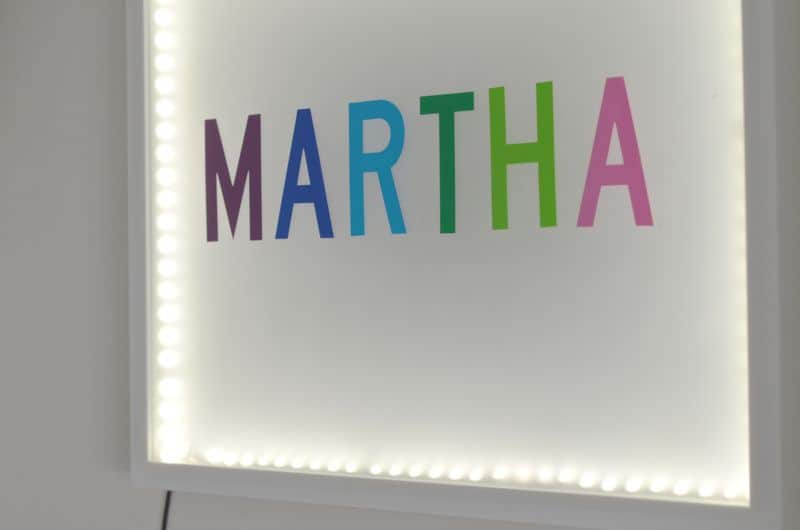
Decide what name or word you’d like to print and set up your Cricut to cut accordingly. For Martha’s name, I used the Highway Gothic font and love it. I cut out each letter from a different color vinyl, but obviously this is personal preference!
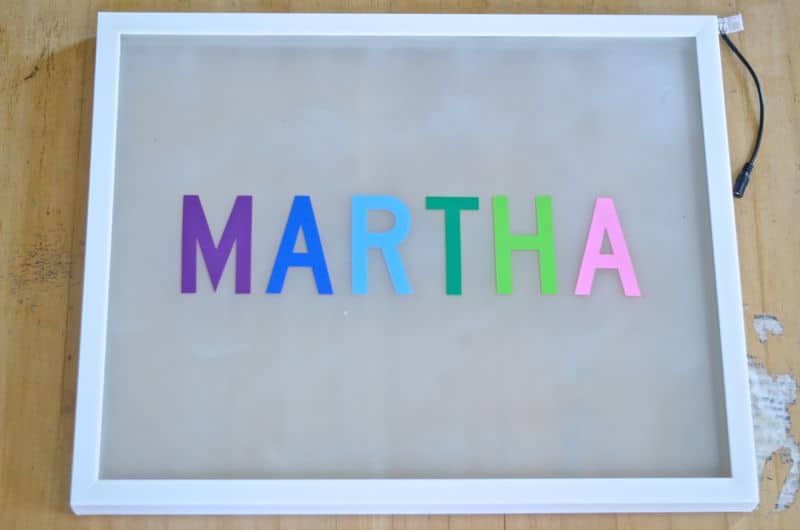
Step 3
Transfer the vinyl to the front of the shadow box frame being careful to center. Check and double check your letter spacing as it’s not going to be as simple as dividing the space you have by the number of letters… plan it out first to be safe. When transferring vinyl, have a credit card handy to help you press out any bubbles.
Step 4
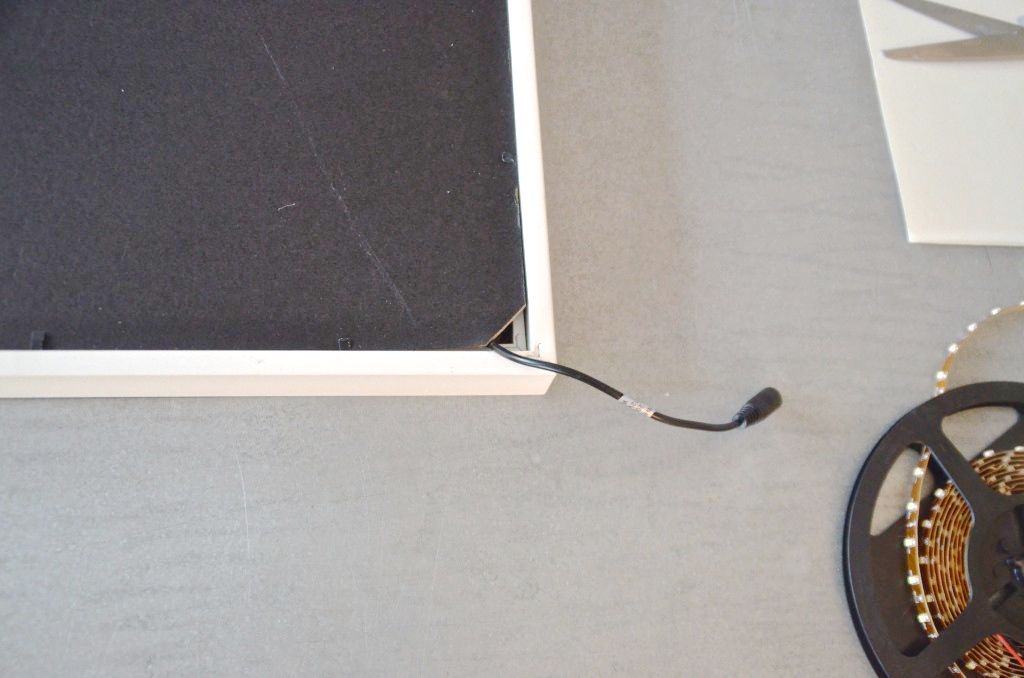
Decide where you will plug in your light box as this will determine which corner to run your cord out of. (There are cord-free chargers (affiliate) that you can buy, but they don’t last so long and seem like possibly more trouble than they’re worth.) Cut off the corner of the back piece of cardboard on the frame so the cord can run out.
Step 5
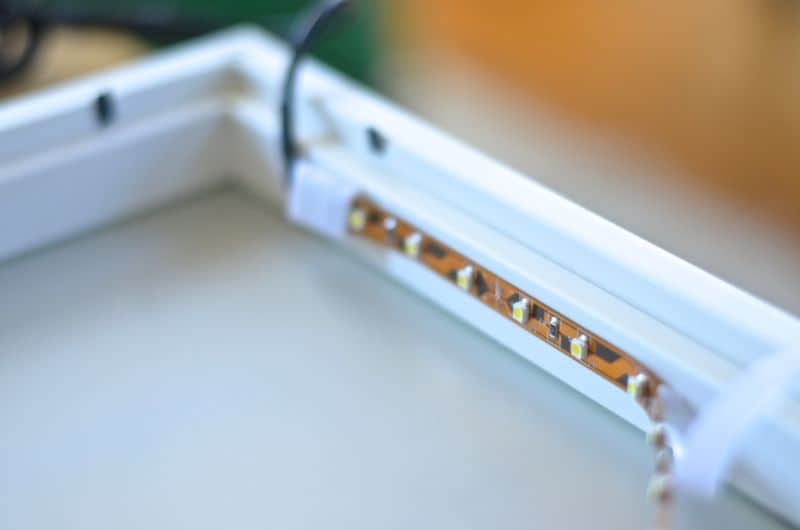
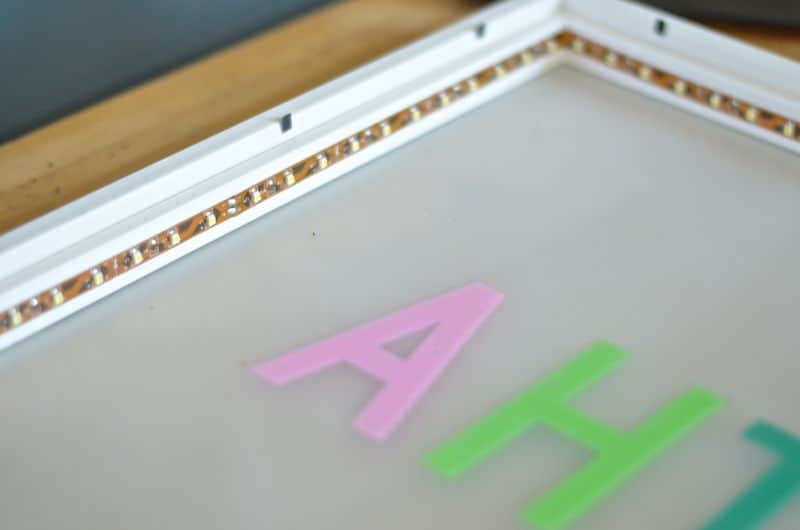
Working backwards, slowly remove the protective paper and stick the LED light strip along the inside edge of the frame. Once you’ve wound all the way around the inside of the frame, look carefully at the strip for the cut-line (indicated by a pair of scissors) and trim the leftover LED.
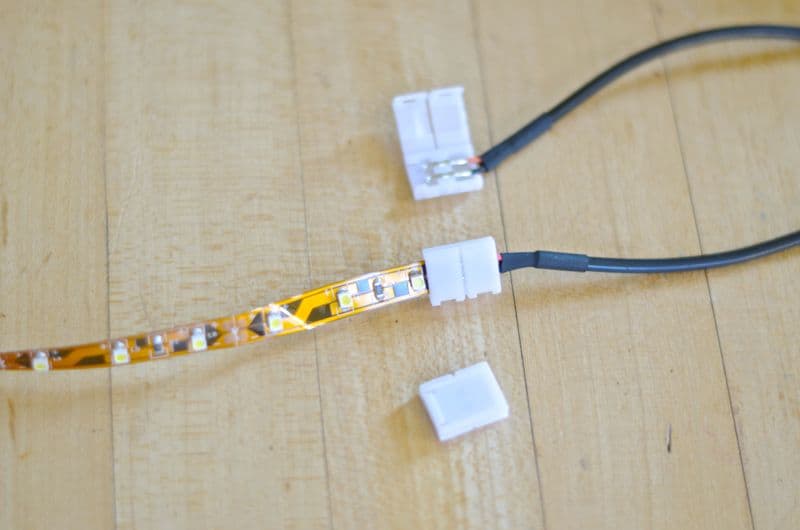
NOTE: I actually had leftover LED strips from another project, so I purchased one of these plugs (affiliate). The white end flaps open up and you can place the cut end of the LED strip in therefore giving it a plug so it can be used!
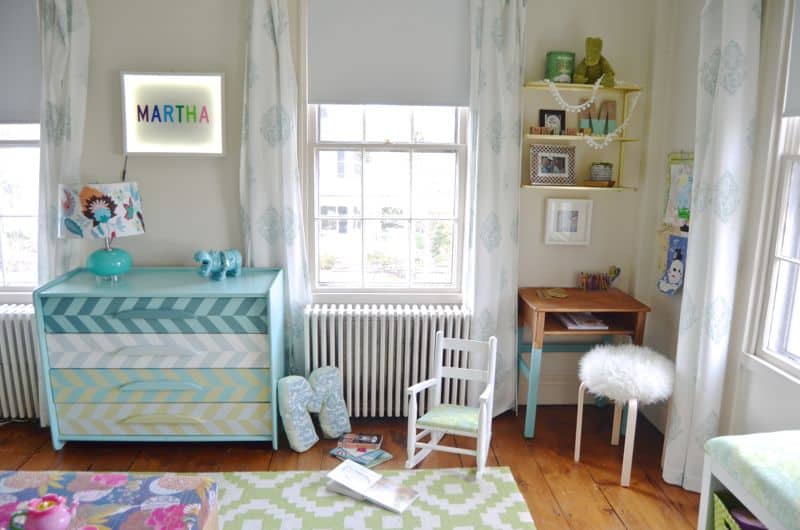
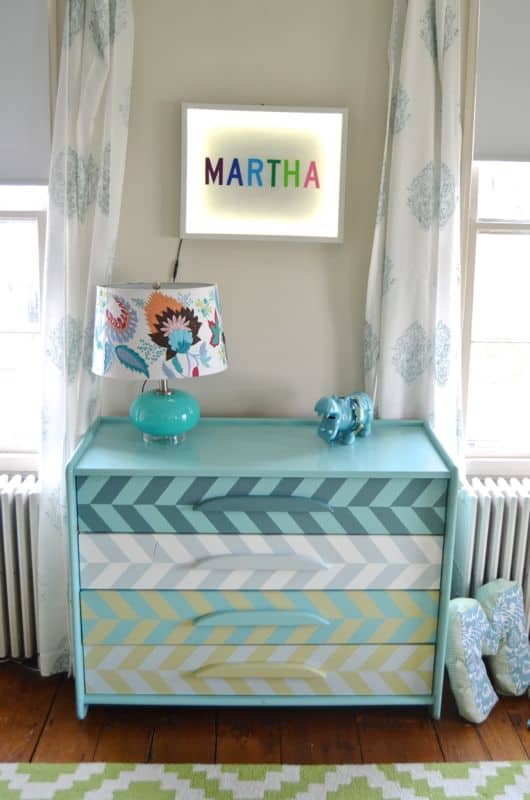
This hangs in Martha’s room above her dresser, but if you want to hang yours in a more central location, you could spray paint the cord to blend in a little more (or even have your electrician put in an outlet).
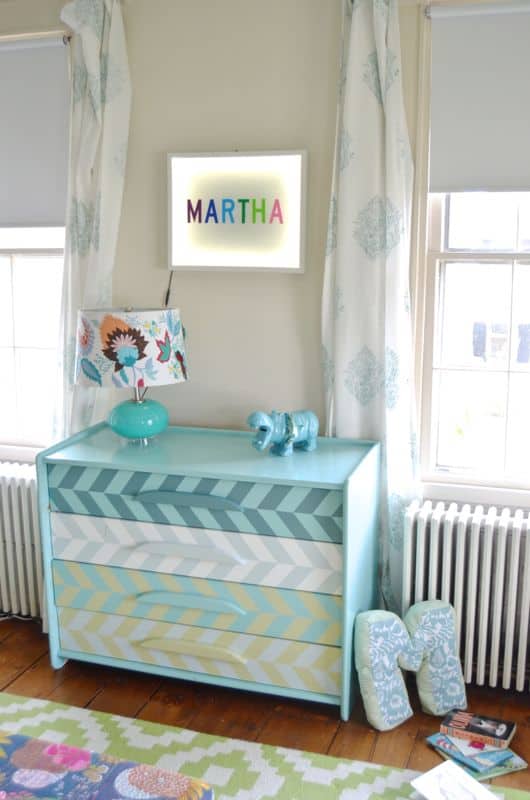
She LOVES her new light-up sign, and the bright colors are the perfect complement to the new desk area I shared last week!
If you liked this… I’d love you to PIN IT here –>

This is so cute! Love this idea.
Thanks! SO easy!!!
OH MY! This is so neat! Love this project. I’d love to do one for my office heehee. 🙂 Pinned and sharing.
Yes! That could be so cute!! Thanks, Stephanie!
Loveeee this! Turned out beautiful, you done an amazing job! I pinned this on my Pinterest!! 🙂
Thanks so much!!! It’s such a fun little bit of color up on the wall!
Thanks so much, Ashley! It also makes for a great night light for her so win-win! 🙂
i always wanted to see my name i lights! now i can make it! 🙂 love this, charlotte- so creative!
You’d put such a fun spin on this! I’d love to see if your amazing playspace, Cassie!
This is so cute! You make it look so easy and what kid does not want their name associated with the bright lights? My girls would love this.
It *IS* so easy. I’m telling you, this is my favorite project! 🙂