
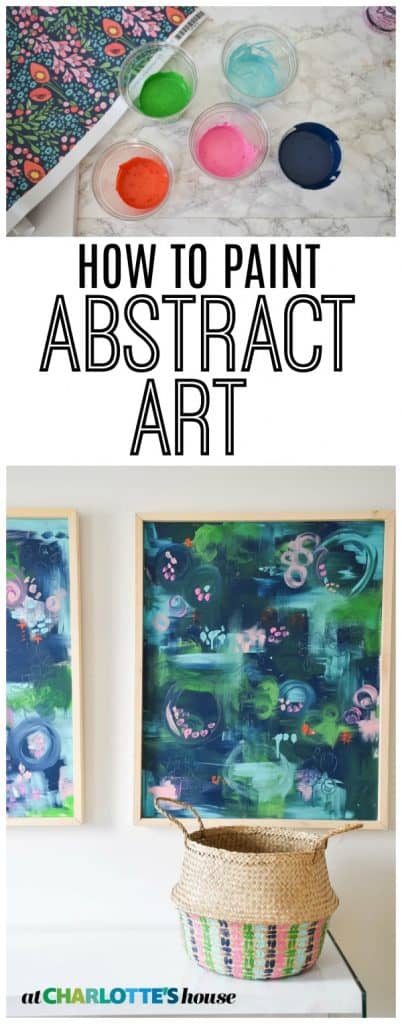
DIY Abstract Art
Psssst… this post *might* contain affiliate links: see my disclosure here.
Make Your Own Graphic Large Scale Art
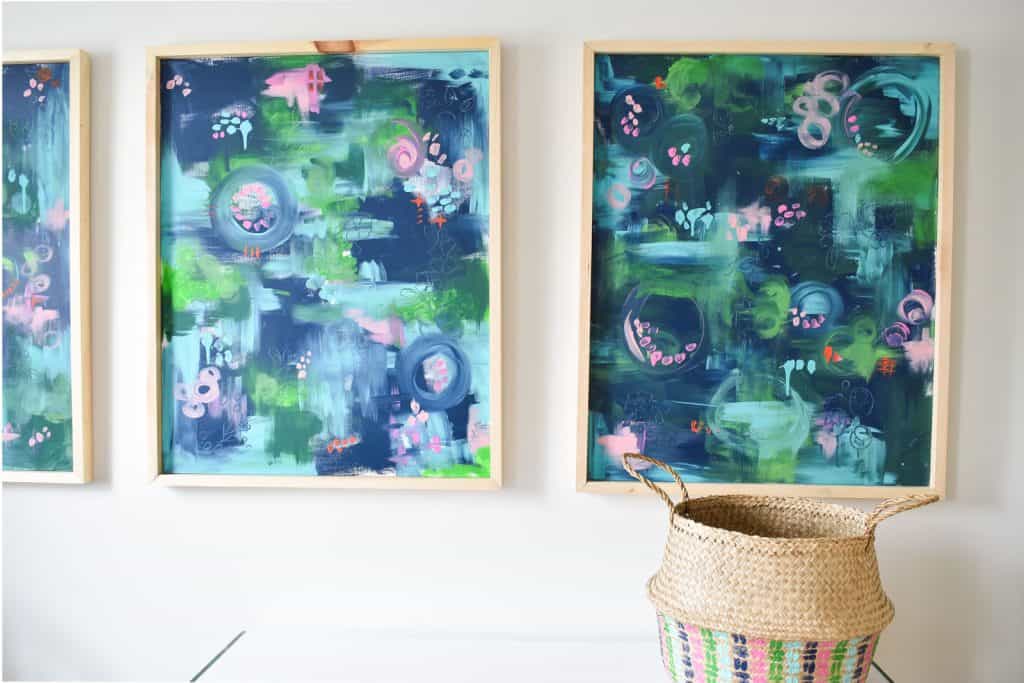
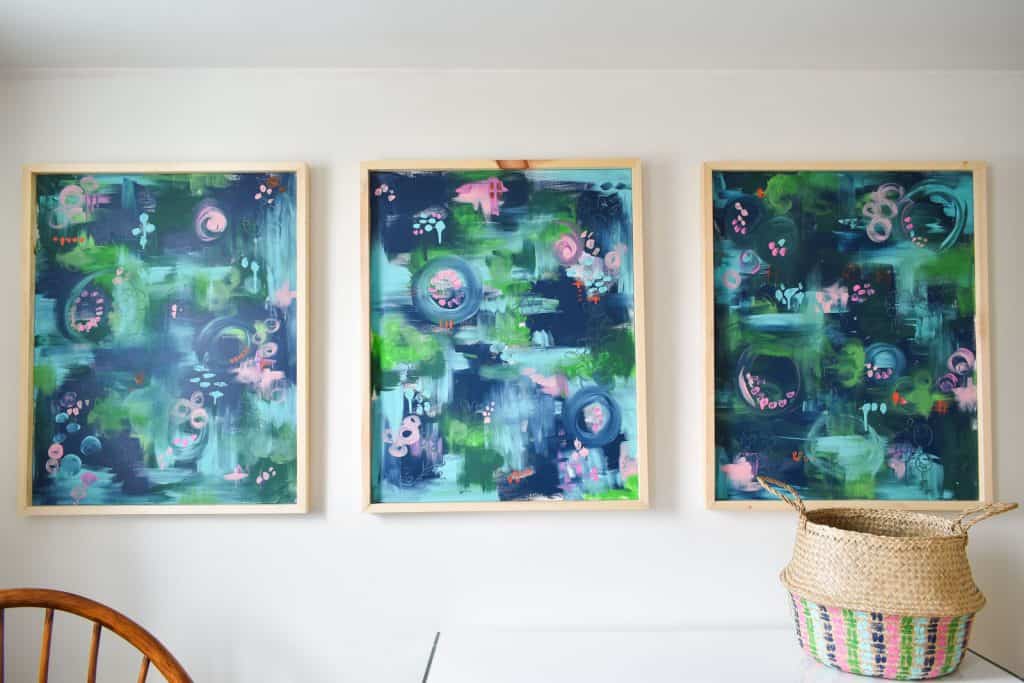
Technically it’s not a #duelingdiy day, but I wanted to share one last project from the guest room gauntlet before we share the full reveal next week! You saw one side of the room with the big glorious pattern on pattern wallpaper and daybed! To balance the impact of that wall, I wanted something on the opposite wall with lots of color and weight to it. I looked and I looked, but everything was either too small or too expensive or just not quite right. So… what’s a DIY blogger to do, but do it herself! I decided to make my own abstract art and figured I could create a gallery wall of sorts to best fill the space!
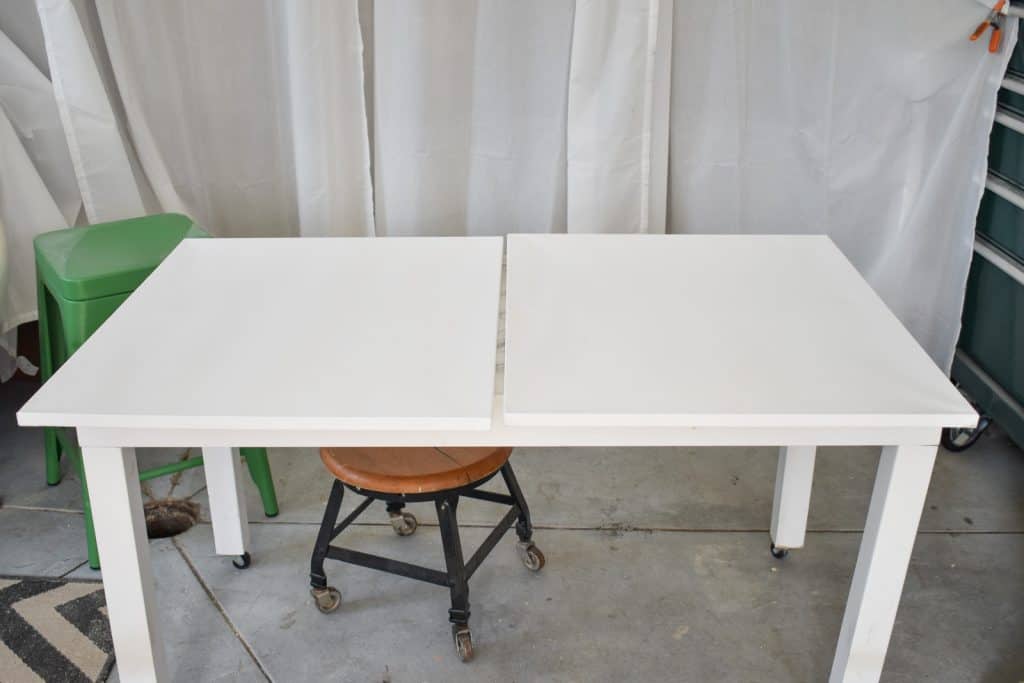
Step 1. Find a canvas
The Michaels gods were shining down on me, since I walked into the store when canvases were the door buster of the day so I got THREE for the price of ONE! These things can be as much as $40 a piece, so a coupon is a must. If you can’t find a coupon, another great resource is your local thrift store or a flea market. You won’t find a plain canvas at these places, but you WILL find a big ol’ ugly painting for cheap. The big ol’ ugly paintings can be painted white and… blank canvas ready for artwork!
Shop my favorites!
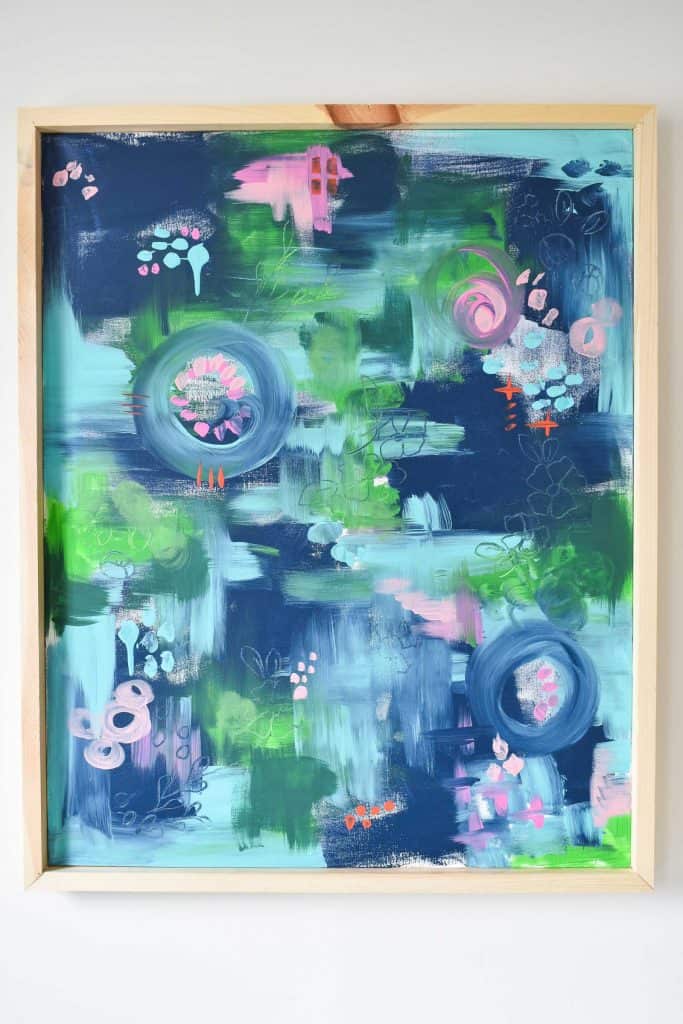
Step 2. Choose your colors
I had a piece of the wallpaper from the space so I copied the colors from this. I’m using this acrylic craft paint, but any acrylic or oil paint should work! (Oil paint is typically a bit thicker and will take much longer to dry and brushes will need to be cleaned with paint thinner!)

Step 3. Begin to layer
I started with the darkest color and left quite a bit of exposed canvas. I slowly layered on the other colors working from dark to light. I love the way the paint mixes as I brushed it onto the canvas, but acrylic paint dries fairly fast if you want to wait between coats for more contrast between the colors.
Step 4. Composition
I had zero plan for composition, but I was thinking about a couple of things… balance and depth. Balance of color mostly. If I squinted my eyes and looked at each canvas, I wanted the colors to be evenly spaced. I also wanted to add some depth so I finished each painting with some smaller designs with the brightest colors as well as a pencil sketch of a few of the flowers from the wallpaper.
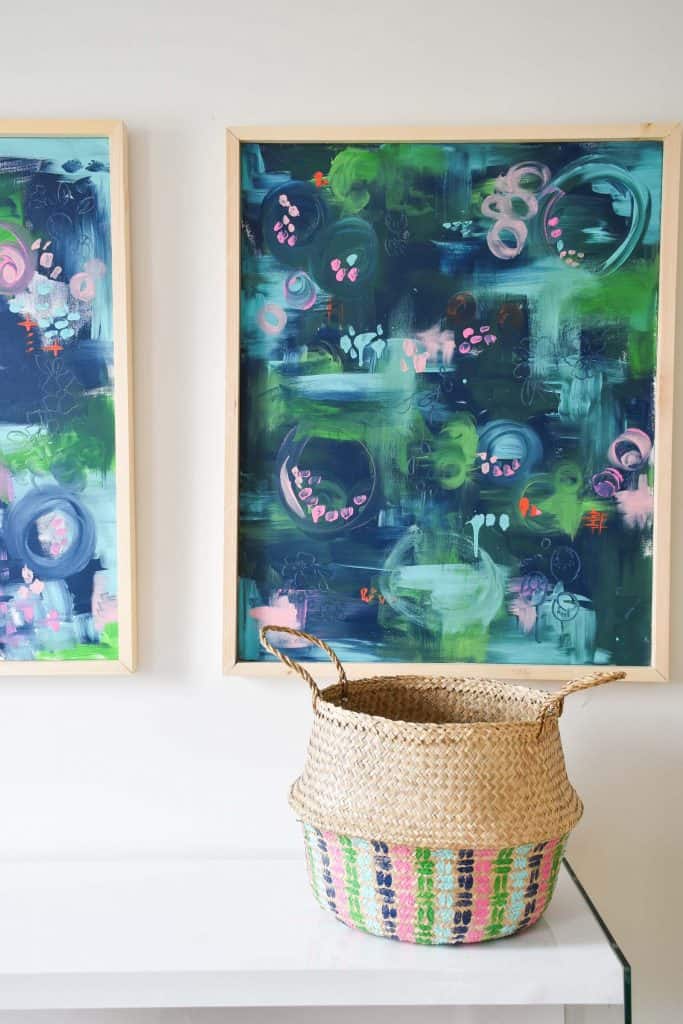
Step 5. Frame
This is the second time I’ve framed a canvas like this and I am always SO eager to finish the project that I have yet to share a specific tutorial for you. Essentially, I miter the ends of a 1×2 and use my brad nailer to nail the board into the canvas frame. Easy peasy. I screw D-rings into either side of the canvas frame, and use a picture wire to hang!

I made a video for this one so you can actually watch me painting… it might help the process make a bit more sense!
I LOVE how these three canvases look in the space and they fill the wall exactly as I’d envisioned. The wallpaper wall will always be the showstopper in here, but at least these abstract paintings provide some nice rich focus for the opposite wall.
Make sure you come back next week for the full reveal as well as my last video update for the space!


Don’t Miss Out
Become An Insider!
Signup for exclusive tips, and tricks from Charlotte’s House!
Let’s chat!
I love comments from you, so feel free to leave your thoughts and ideas below! And don’t forget to follow me on Instagram for even more!