
Easy DIY Wooden Slice Holiday Garland
Psssst… this post *might* contain affiliate links: see my disclosure here.
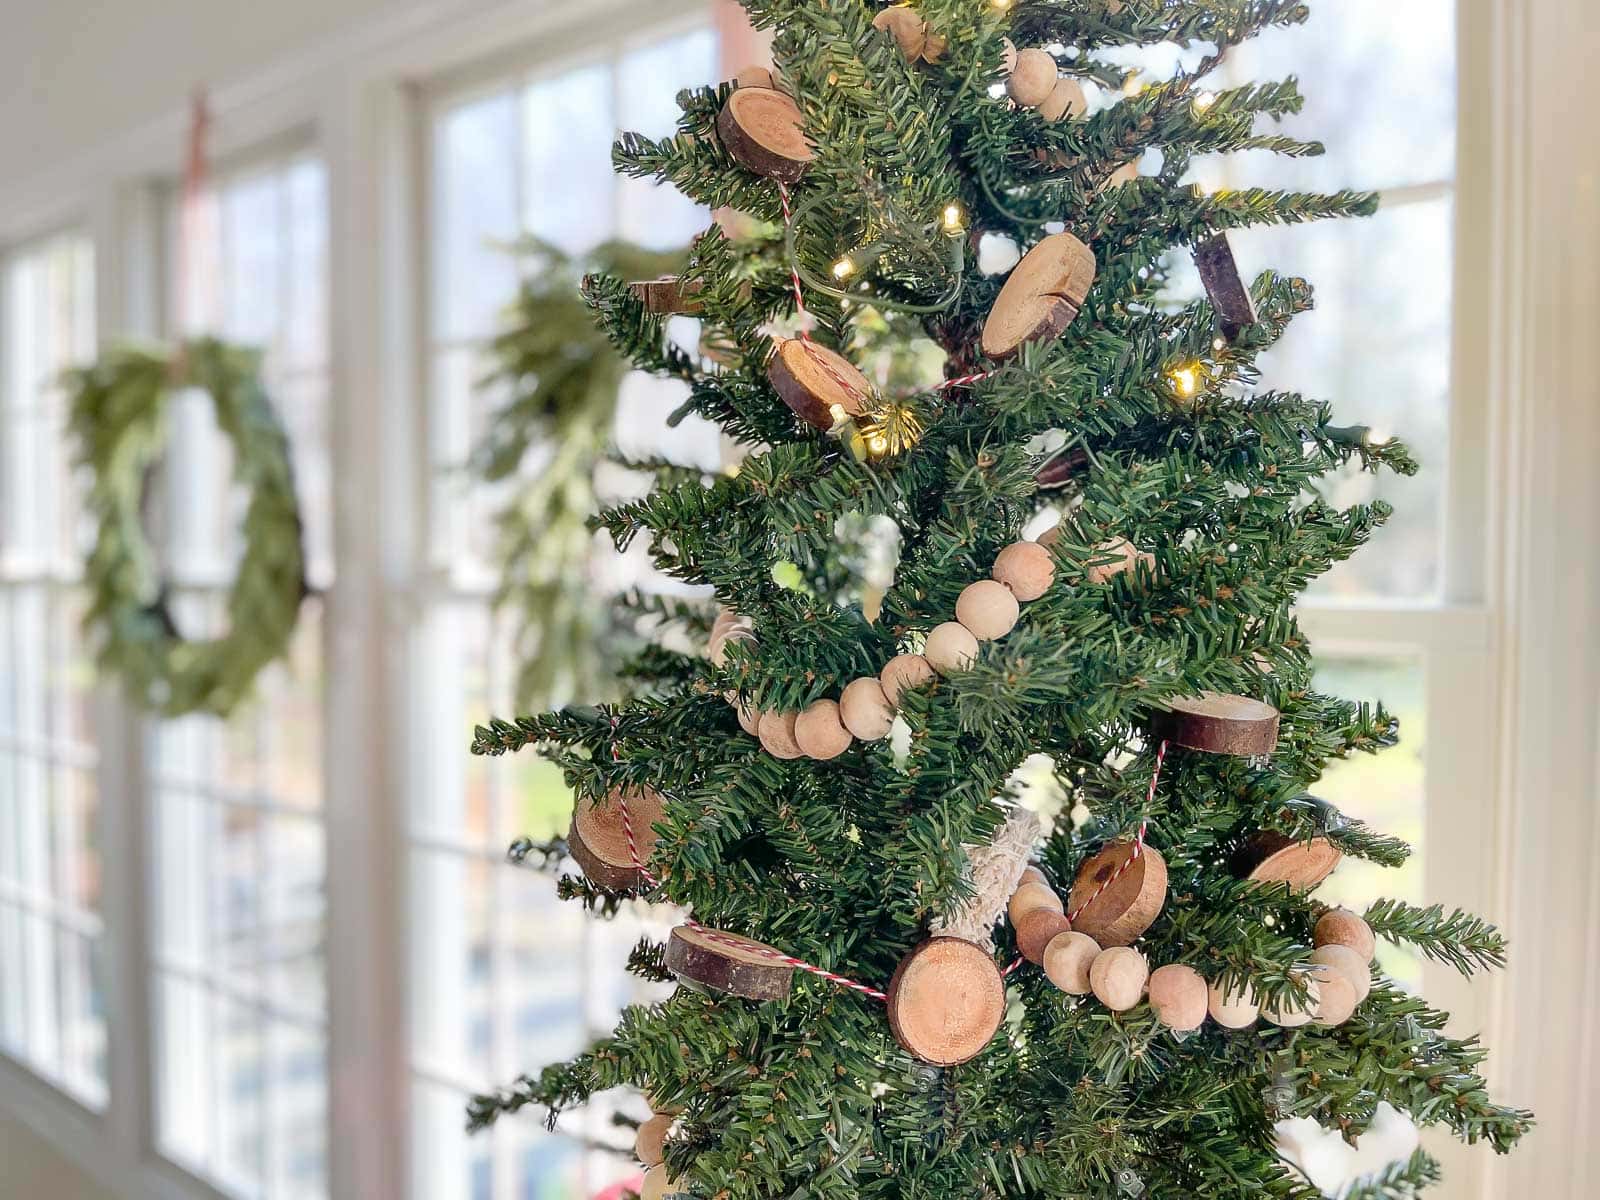
How to Make a Sliced Wooden Garland
I found some dead wood in our backyard to chop down to size and used it to make a sweet simple wooden garland.
Disclosure: This post is sponsored by STIHL but all holiday cheer and decorations are my own.
Shop my favorites!
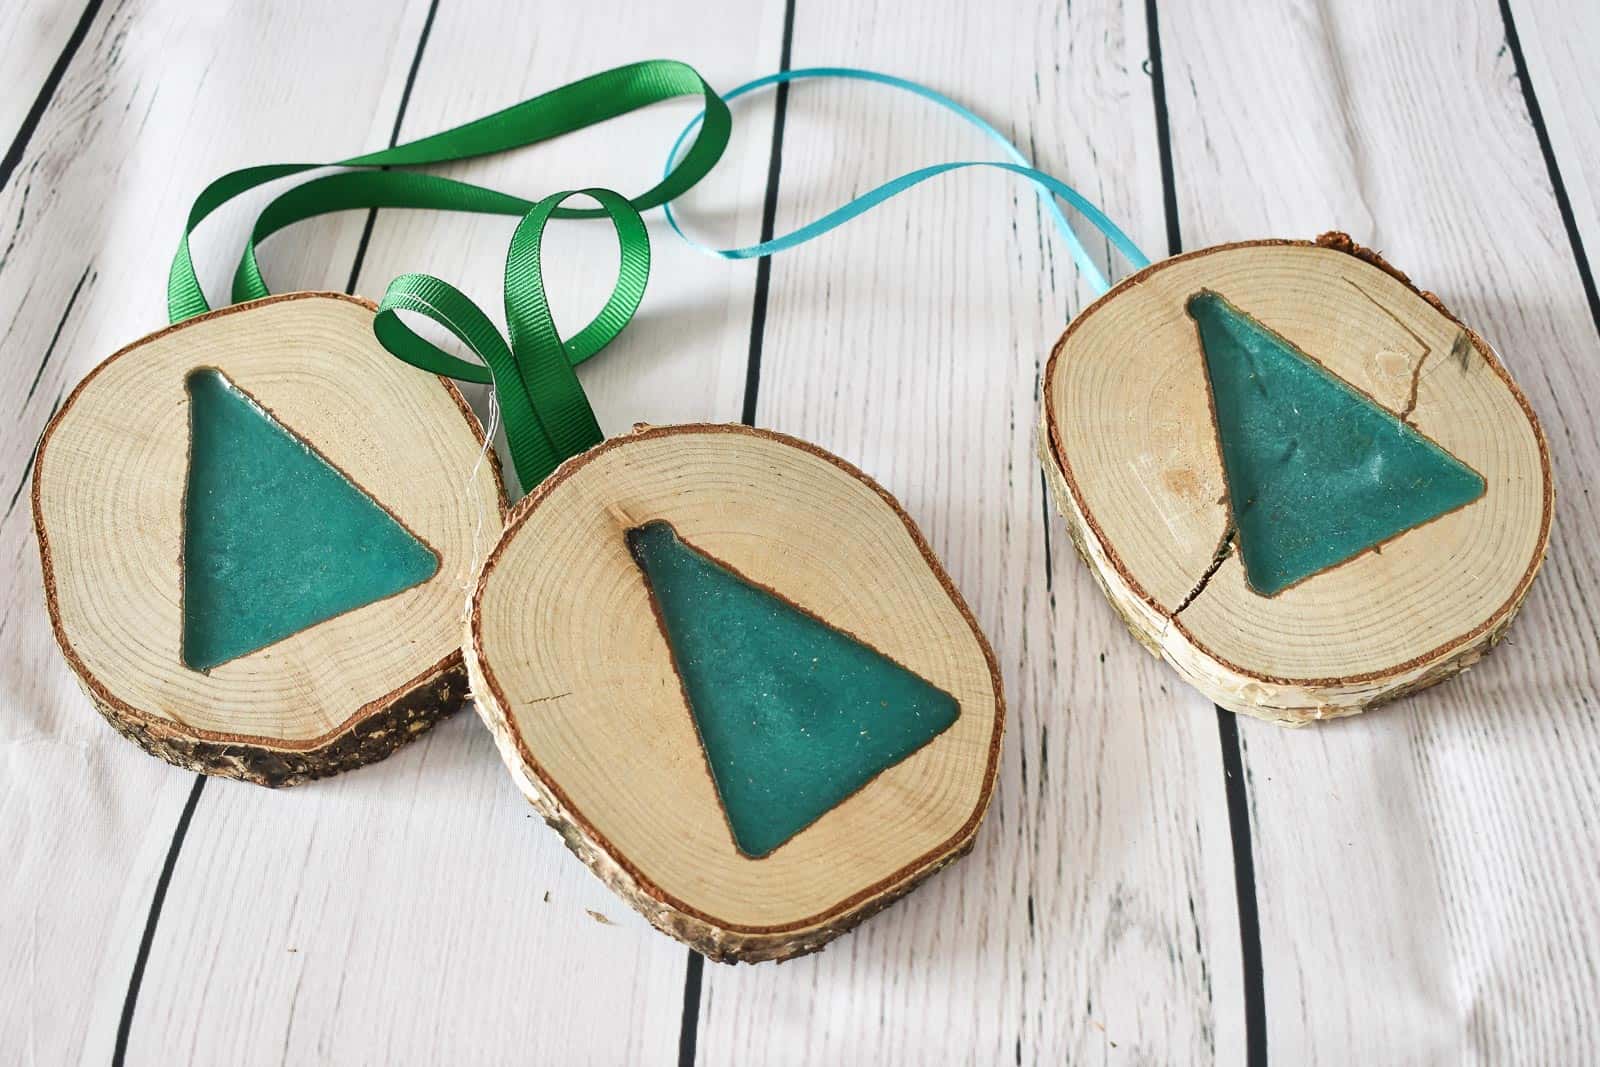
Story time: Many moons ago, I decided to share 12 Ornaments of Christmas on my YouTube channel and blog. It seemed like a great idea at the time and even though I stand behind the concept… it ends up being so much work than I’m ready for anytime around the holidays. I wised up the next time I did it and tried to finish everything in September, but even that was hard. Anyways… one of the ornaments I made was a resin filled Christmas tree on slices of birch tree. I loved how easy it was to make my own wooden slices and I’ve been thinking about today’s holiday DIY ever since!
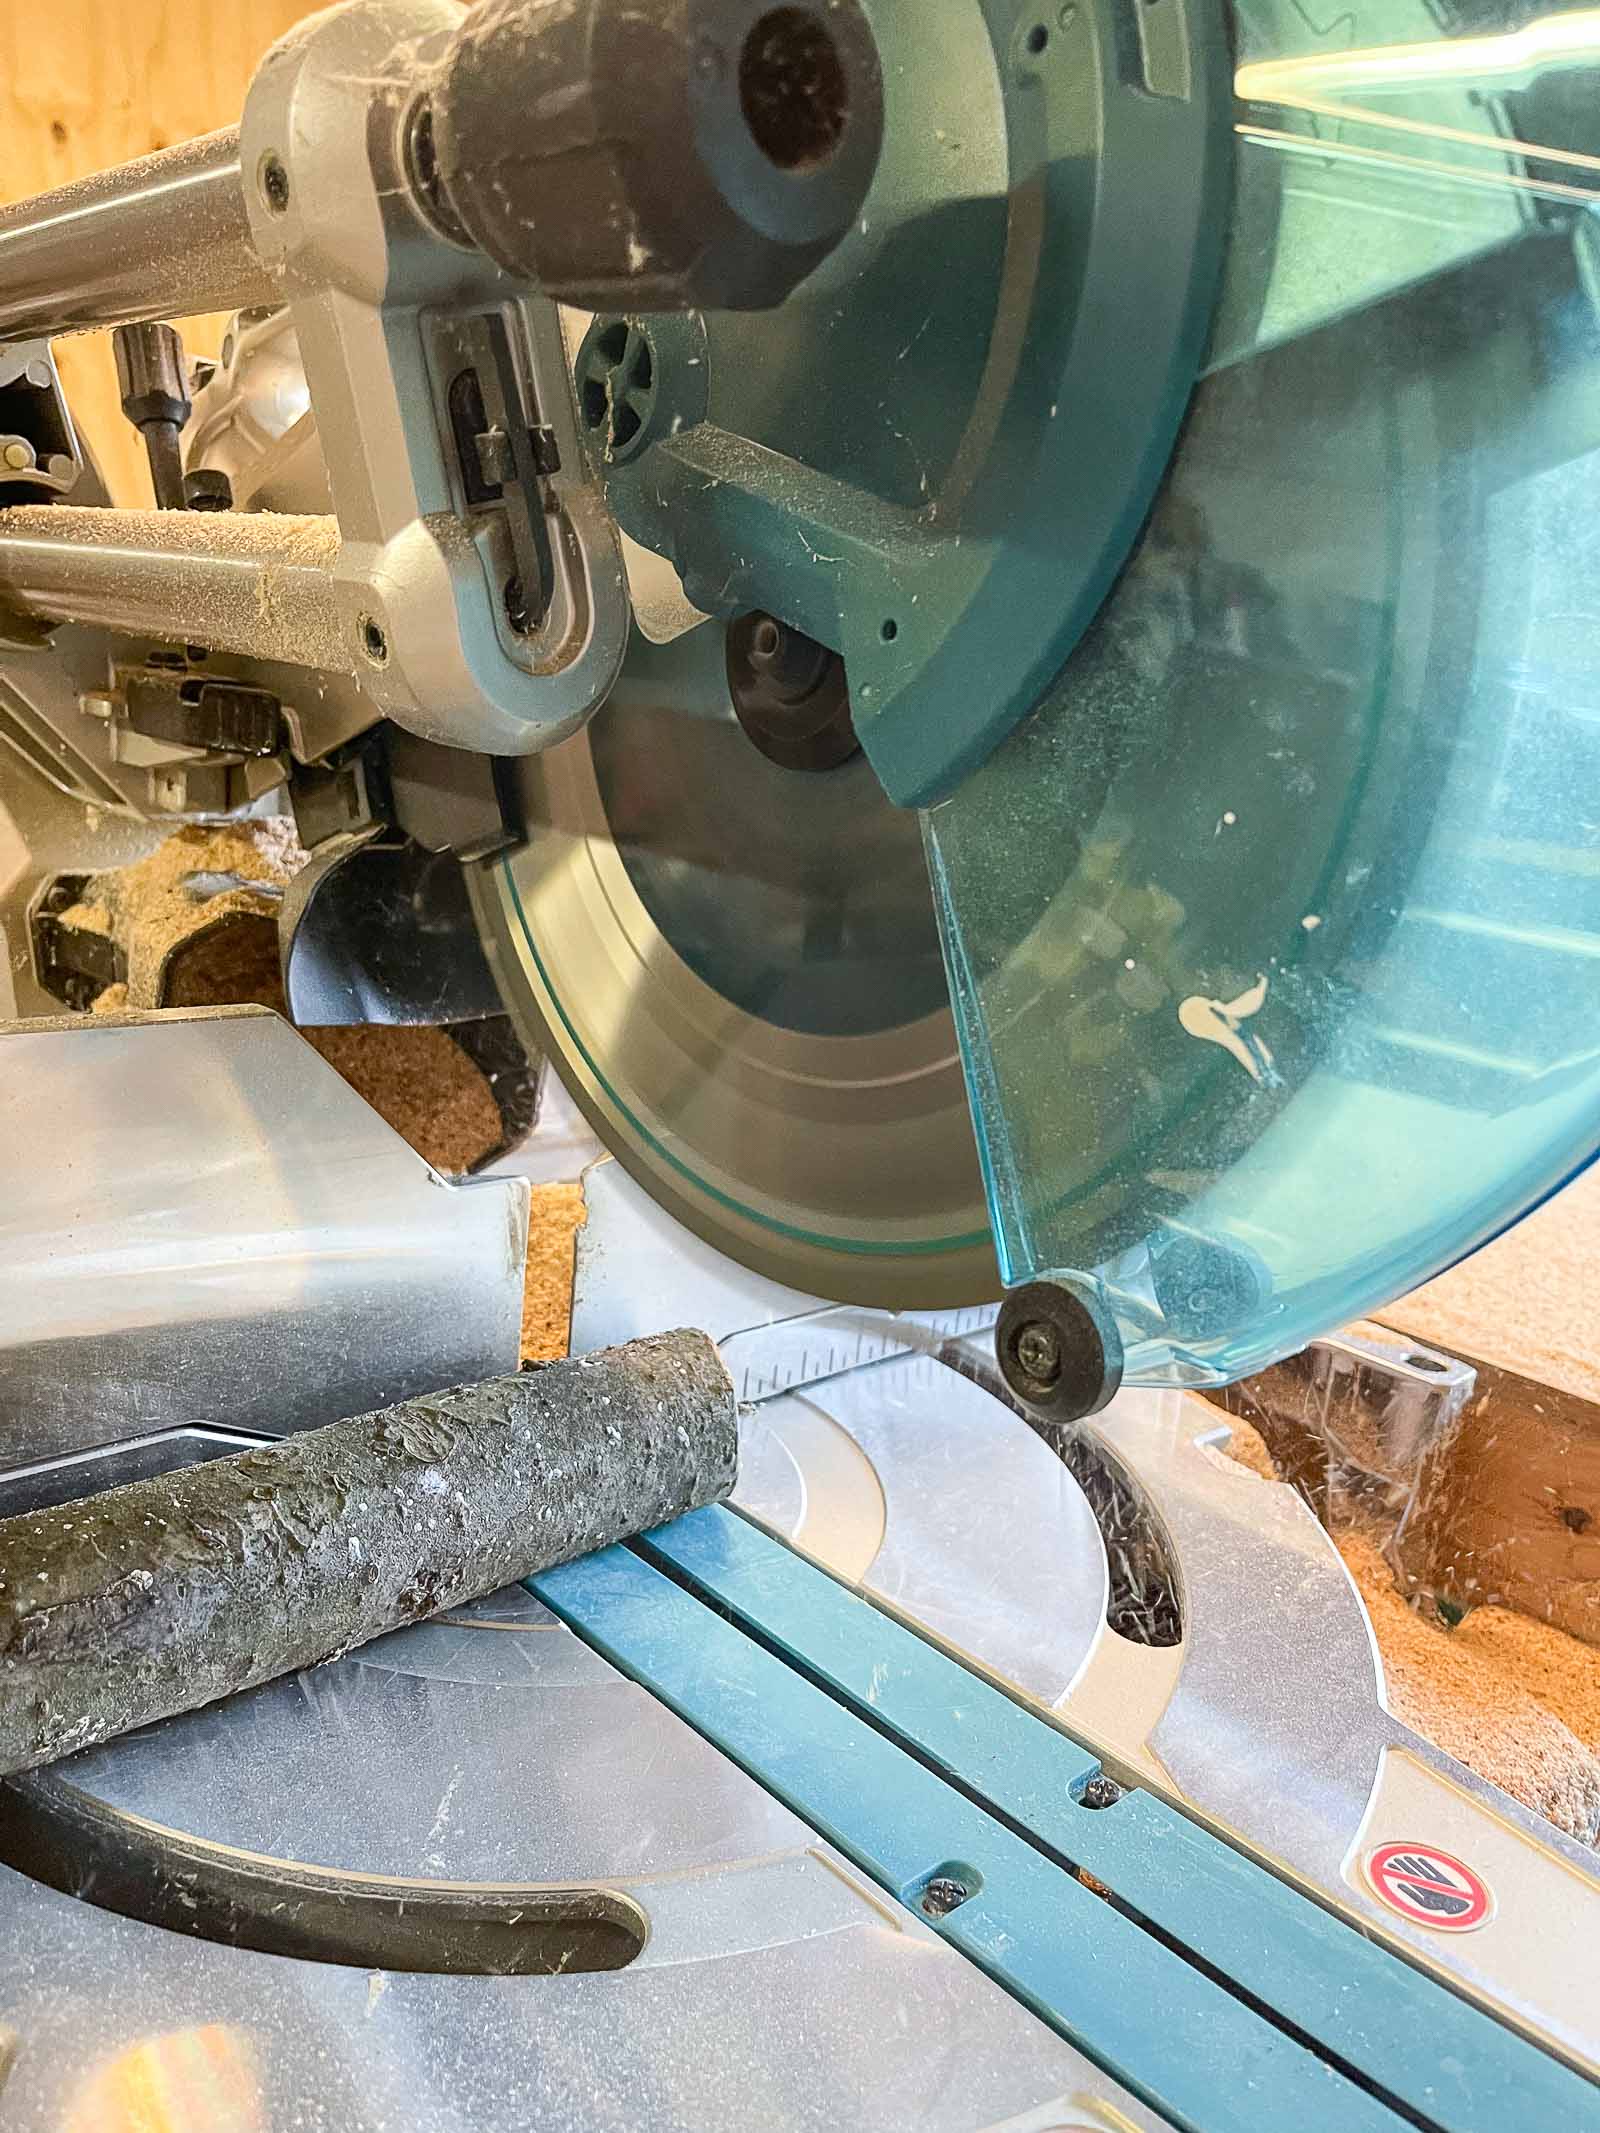
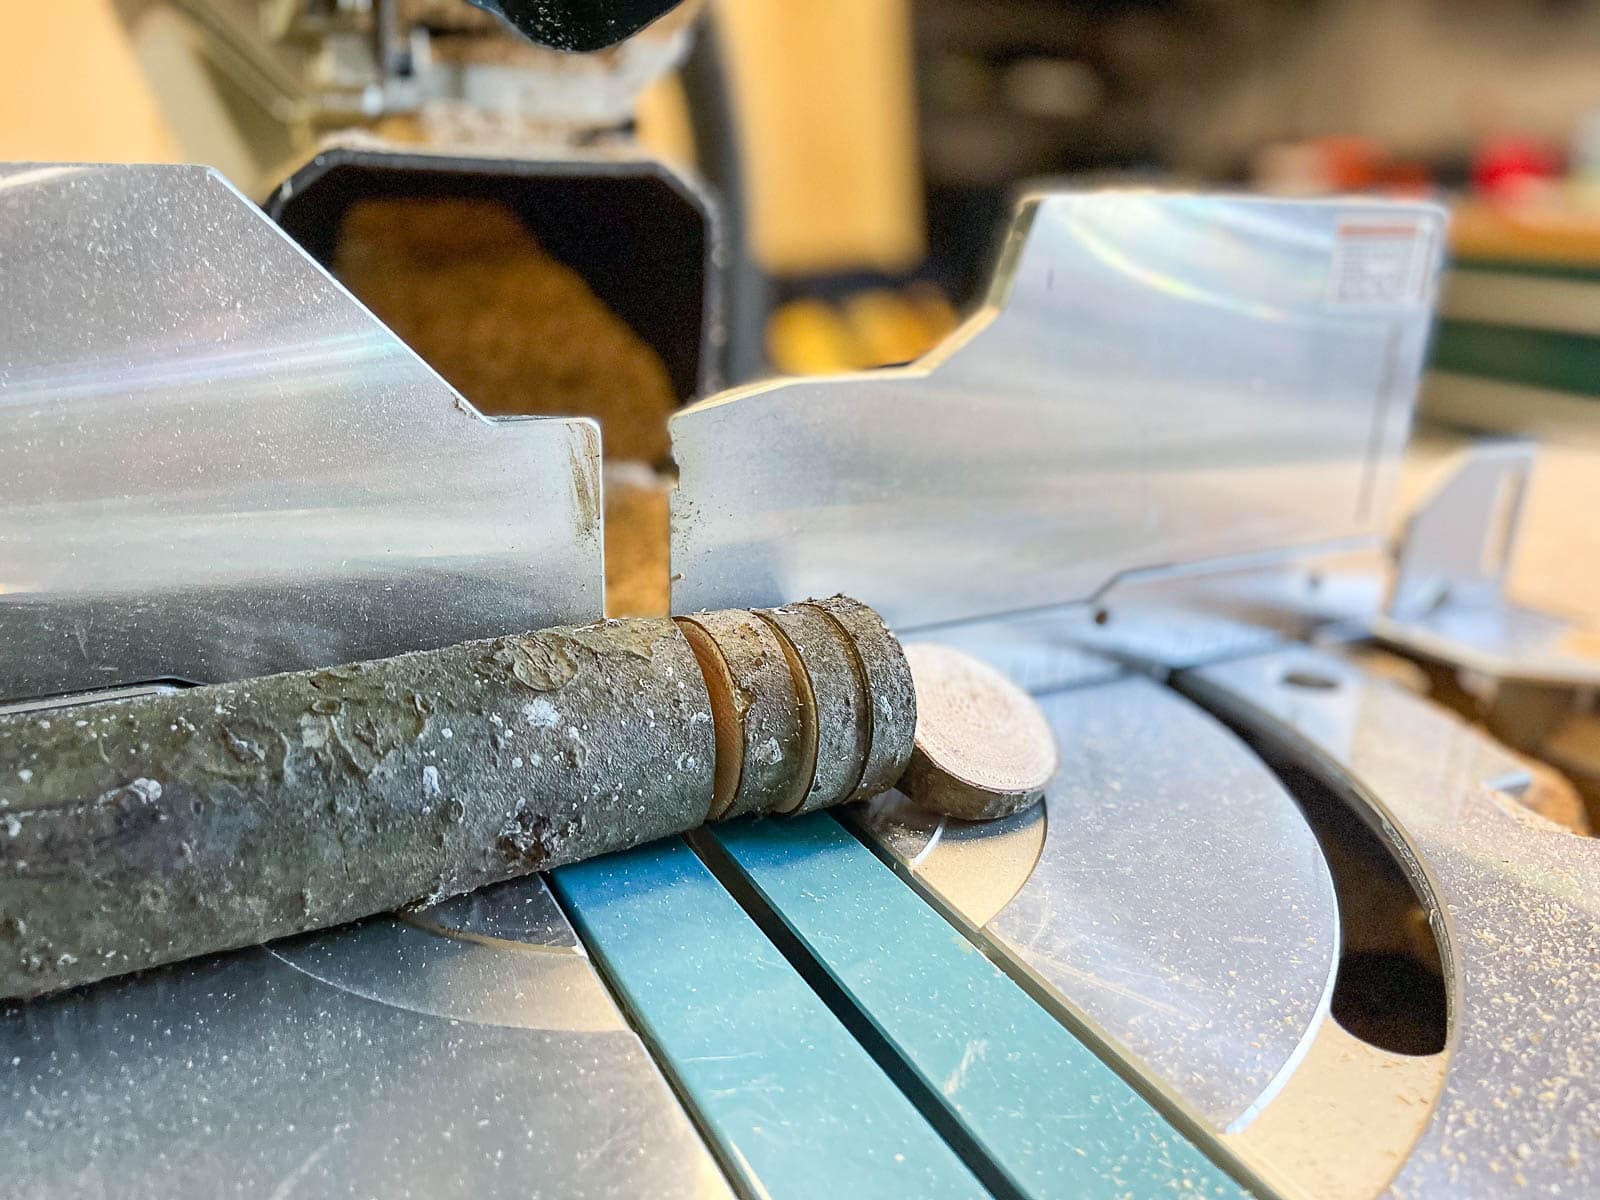
For this project I could definitely have used my Pole Pruner (as shown in this post here), but I also have this small battery powered chain saw that was even easier to use for this. Spoiler: I am not actually cutting the wood in these photos because I wasn’t coordinated enough to press the self timer, quickly put on my gloves AND safely operate the chain saw… but I could manage to pretend for photos which is what you see here. Make no mistake, I LOVE my mini chain saw and how easy it is to start, handle and control. 10/10 would recommend.

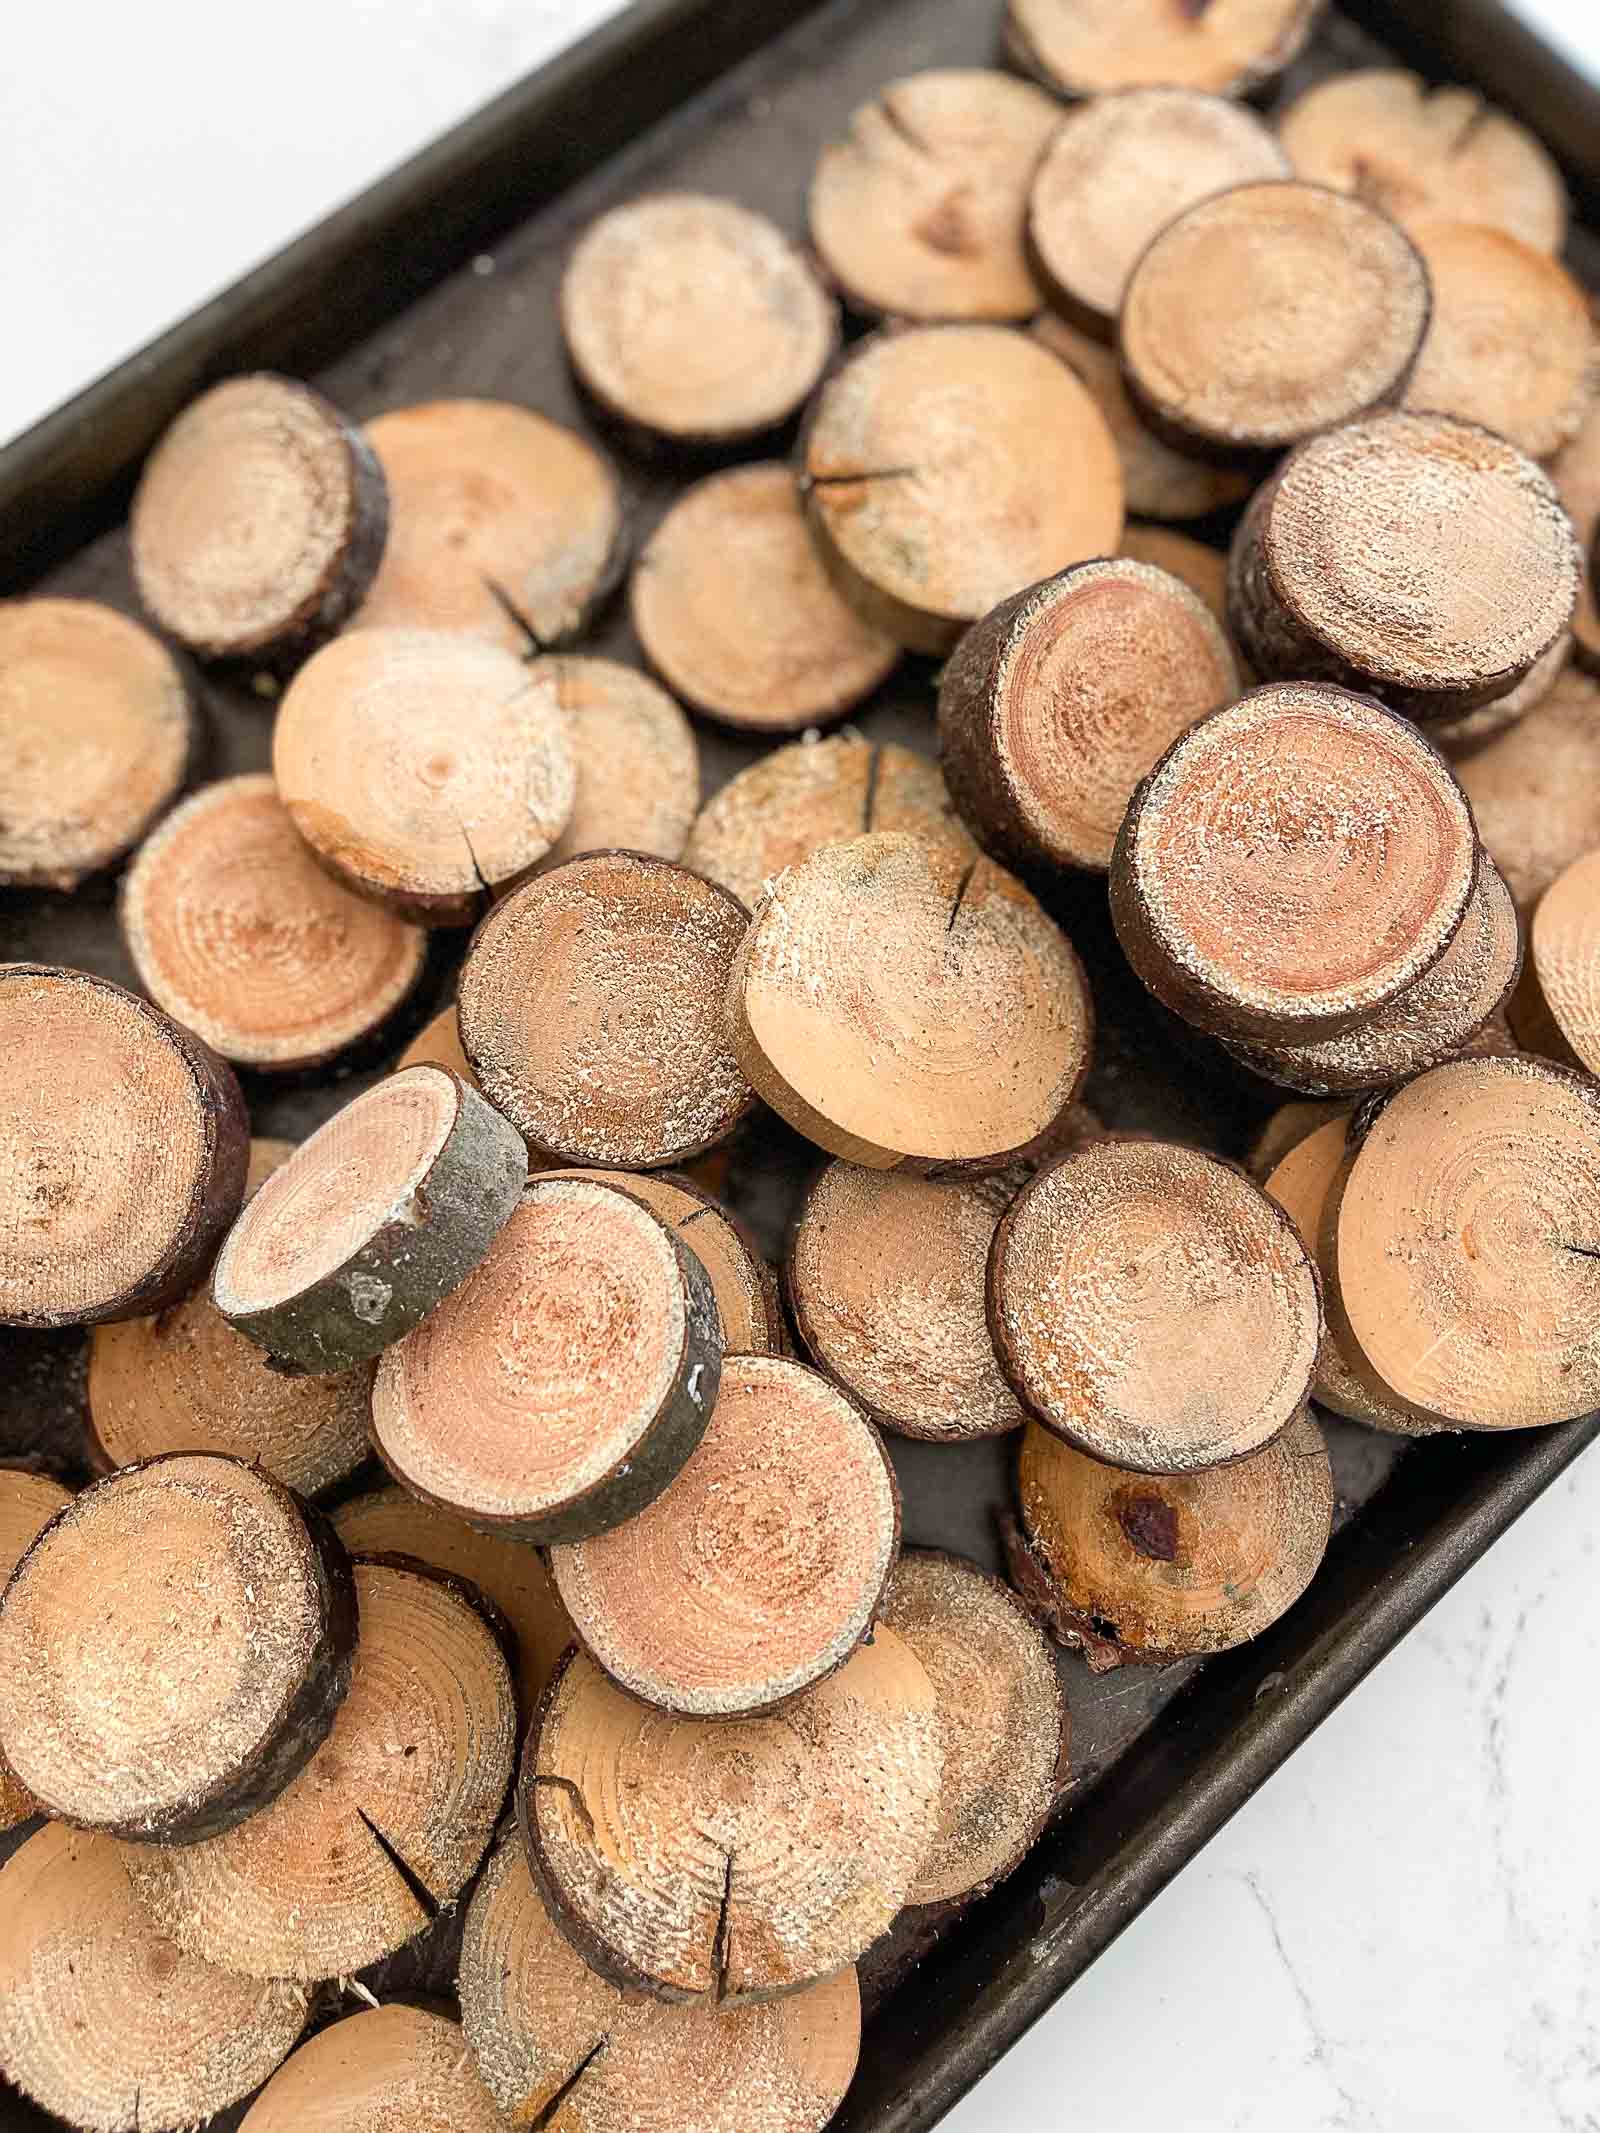
I walked around our property to look for down or dead limbs that were about 3″ in diameter and someone smooth. I gathered a few and brought these back to the house and let them sit for a day or two to dry out a bit since they’d been sitting out in the rain. For speed and precision, it was much easier for me to bring the logs into my workshop and cut them into slices with my miter saw as shown below. The chain saw would certainly accomplish the same thing, but this felt easier in the long run.
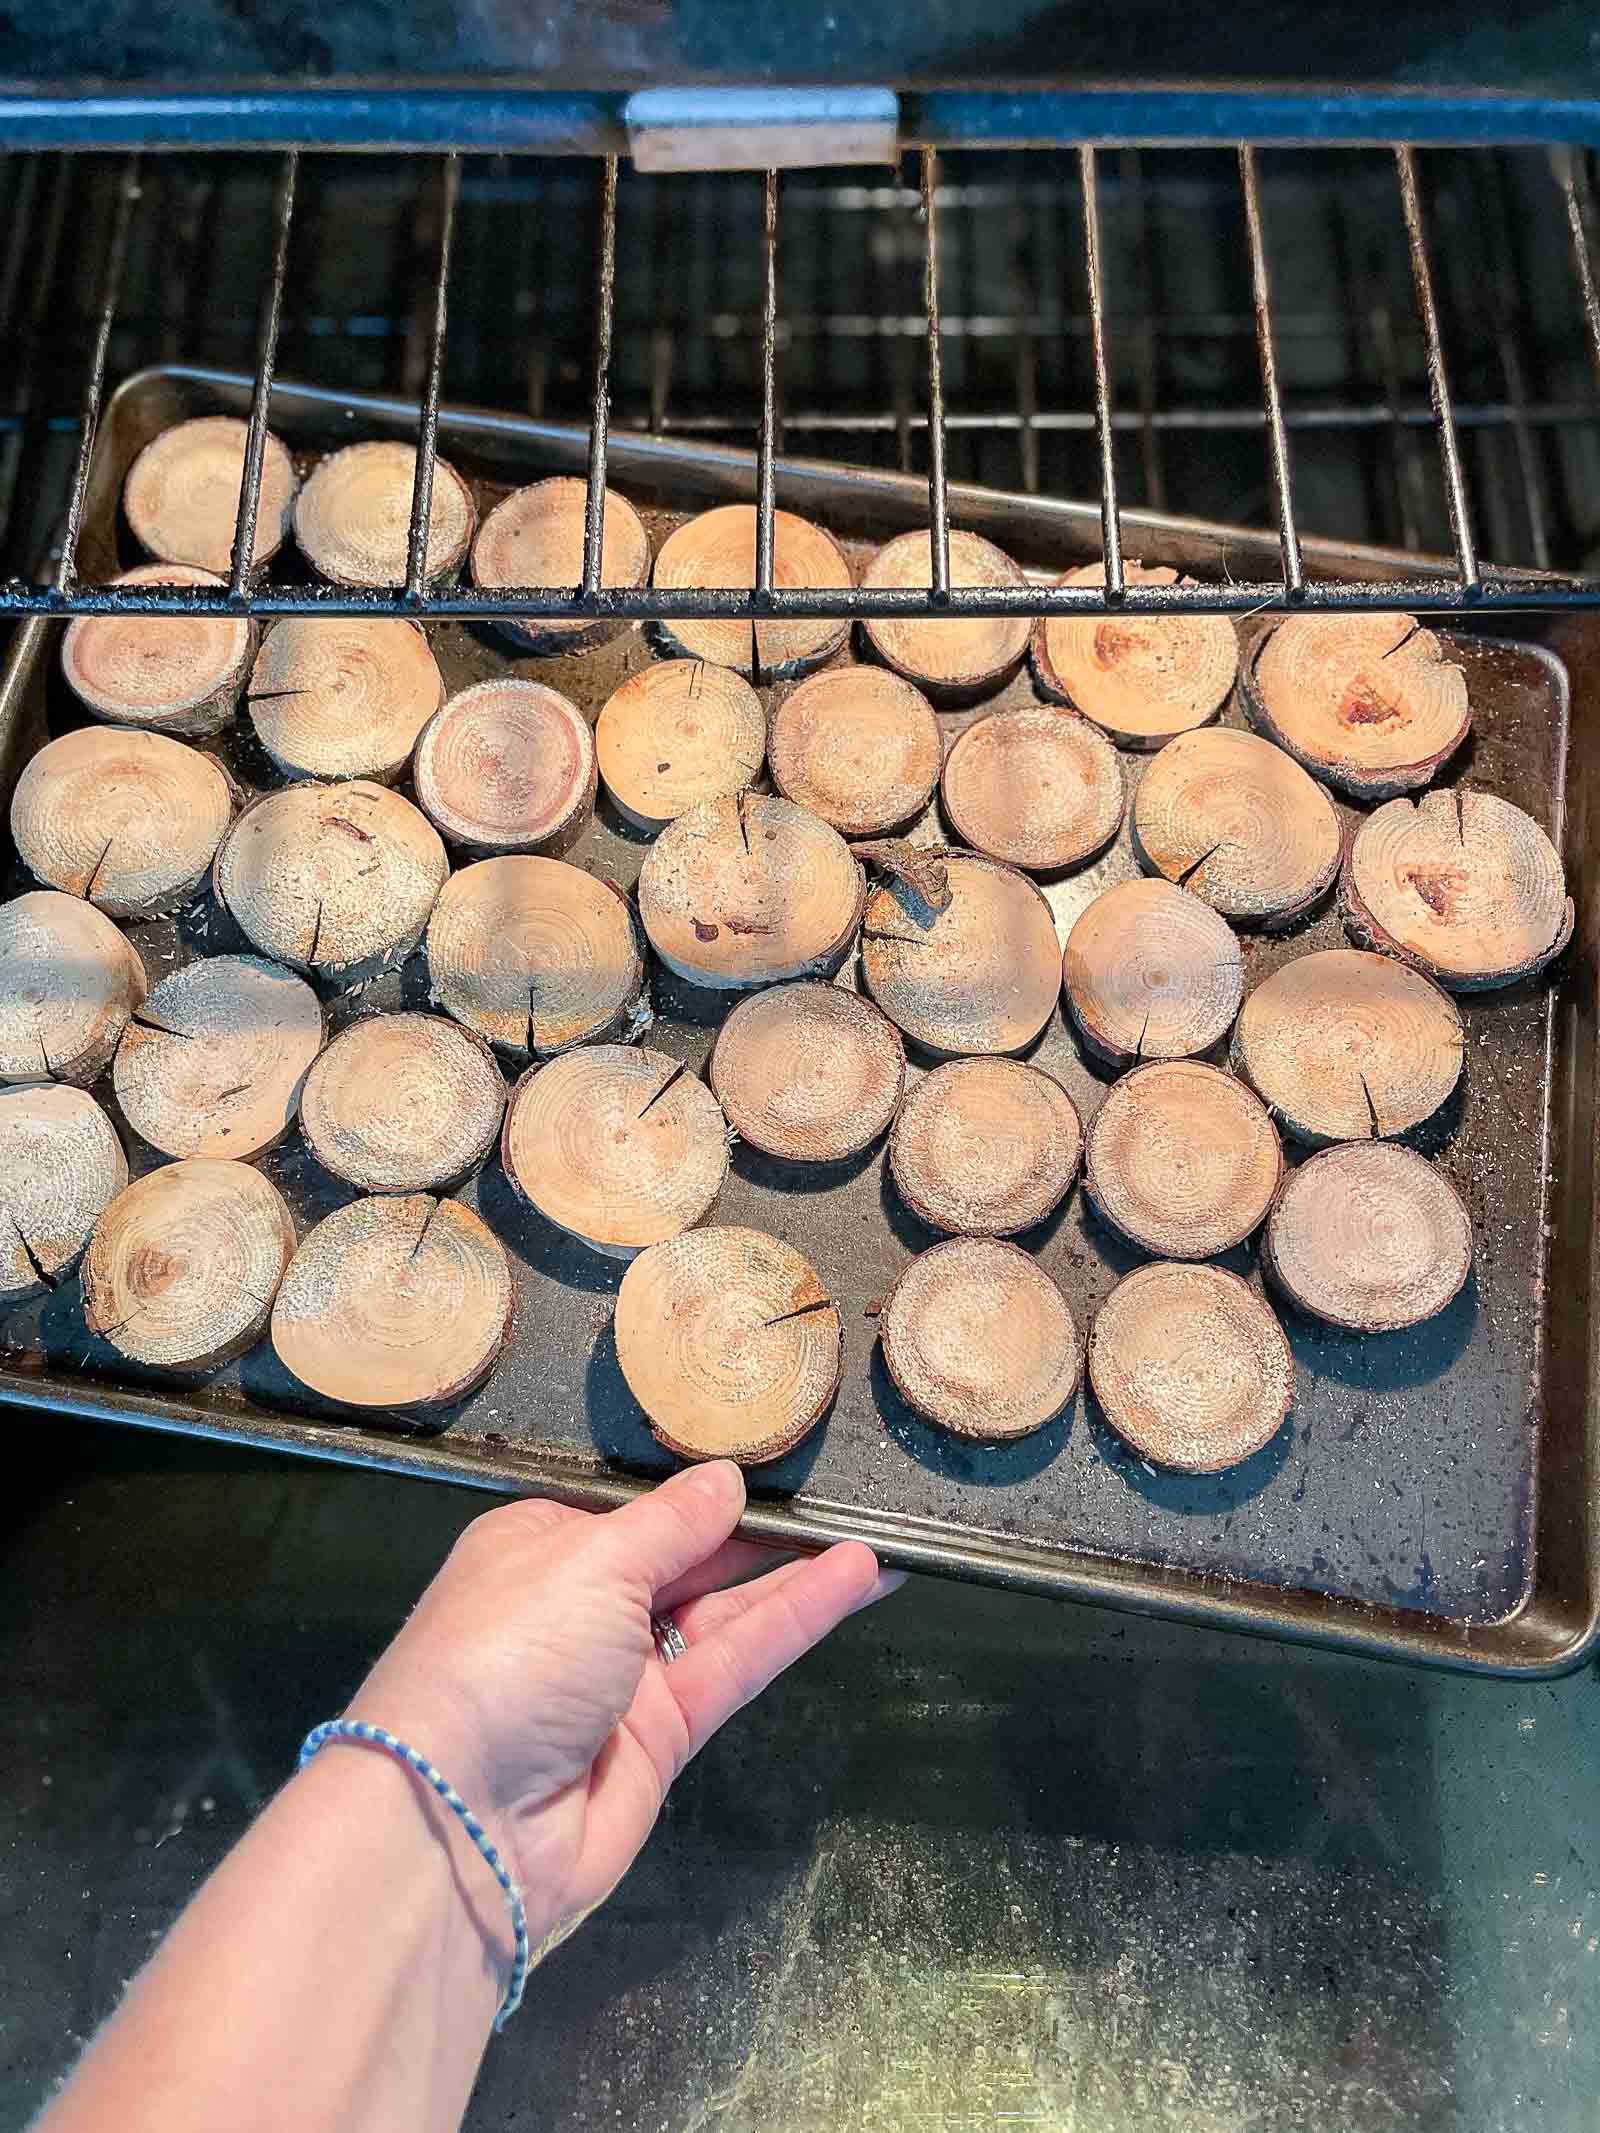
I’m not sure if the next step is necessary, but I placed my slices into the oven set to 200 degrees on the convection setting to dry them out a bit. I knew I was going to be using the glue gun so I didn’t want to risk any moisture getting in the way of that adhesion. I also suppose it’s a helpful step if you’re worried about bugs or critters that might be in the wood. I didn’t bother to sand or remove the bark or anything.
Once my slices were dried out, I simple used a hot glue gun to stick a piece of red and white twine onto the back of each slice. For a hot second I contemplated drilling holes in either side so there wouldn’t be a piece of twine running along the back of each slice, but that felt like A LOT of work and, now that the project is done, I don’t mind seeing the twine anyways.
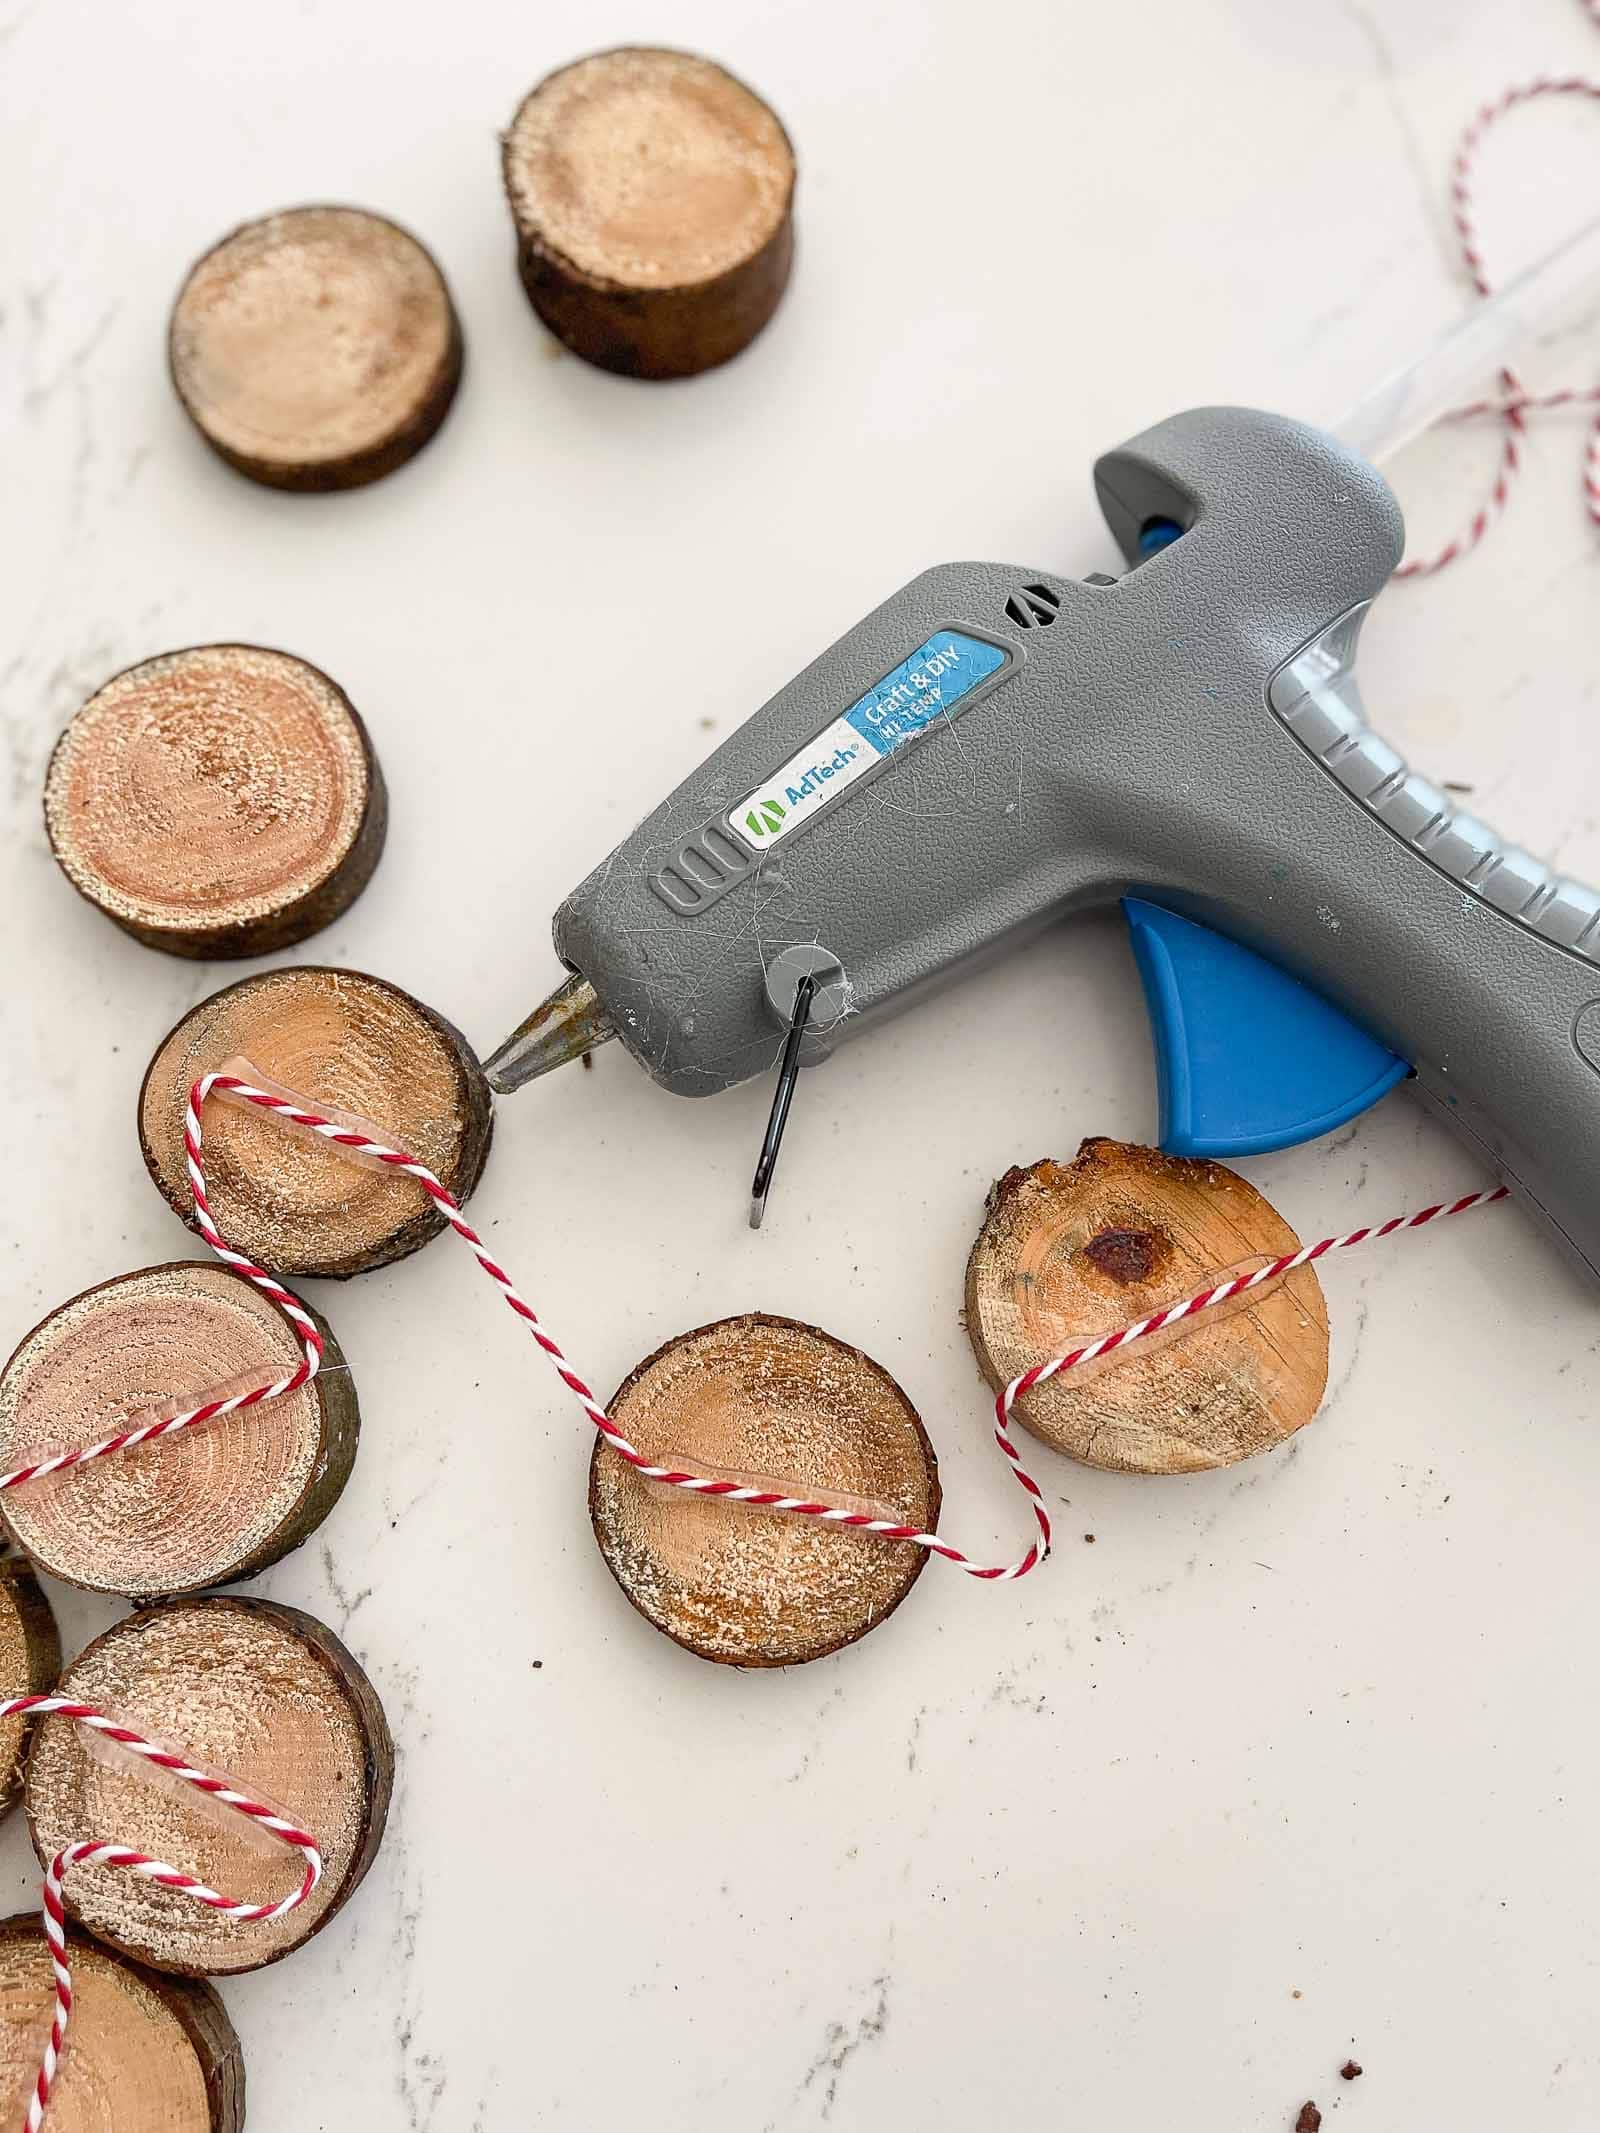
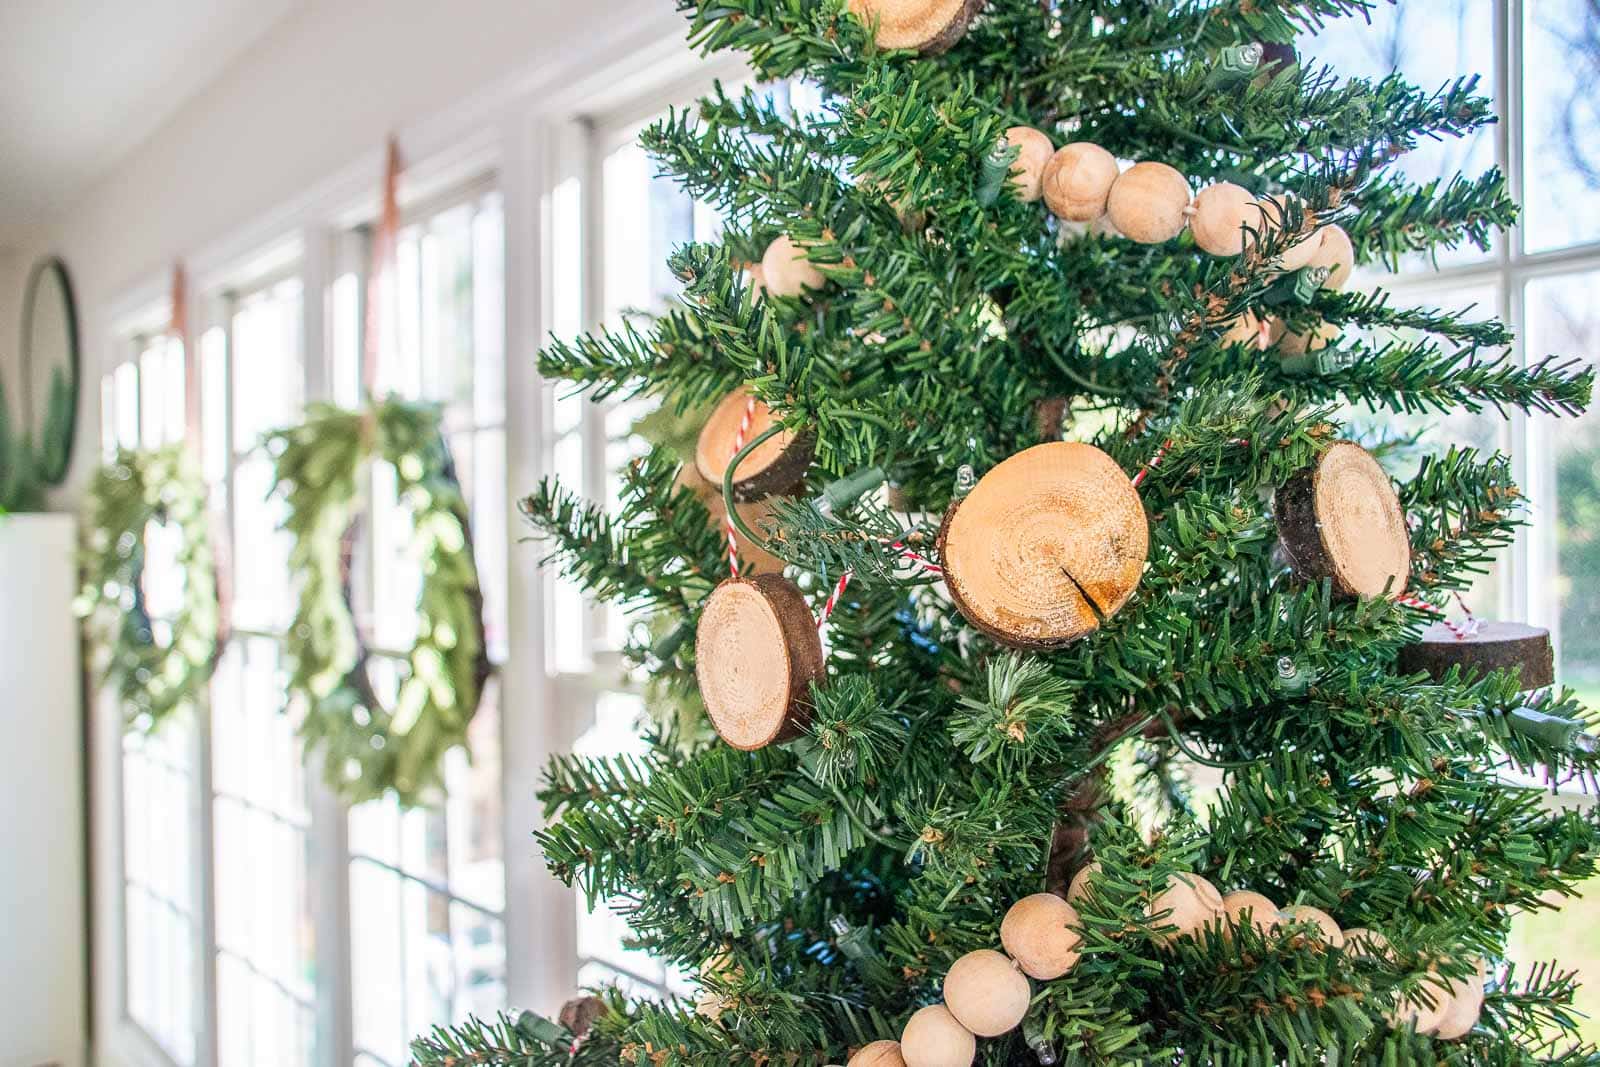
I made TWO baking sheets of slices and left a small space between each slice when gluing. I’d guess this made 10-12 feet of garland which was more than enough for the small 6-foot tree in our sunroom. If you’re looking to make a longer amount, maybe cut a second set of slices! All in, I’d estimate this took 2 hours and I love the end result. Best part? Freebie jeebie. When the holidays are over I can save this garland for next year, or just throw it into our fire pit as kindling for s’mores. Full circle holiday experience amiright?


Thanks again to STIHL for sponsoring this post… I love having a handful of their easy to use battery powered tools for projects like this as it gives me an excuse to get outside and make stuff!


Don’t Miss Out
Become An Insider!
Signup for exclusive tips, and tricks from Charlotte’s House!
Let’s chat!
I love comments from you, so feel free to leave your thoughts and ideas below! And don’t forget to follow me on Instagram for even more!