
Girls Bedroom Makeover with DIY Bunkbeds and More
Psssst… this post *might* contain affiliate links: see my disclosure here.
Cheerful Girls Bunkbed Makeover
I built bunk beds and redecorated the girls shared room to make it a colorful fun space for them.

Story time
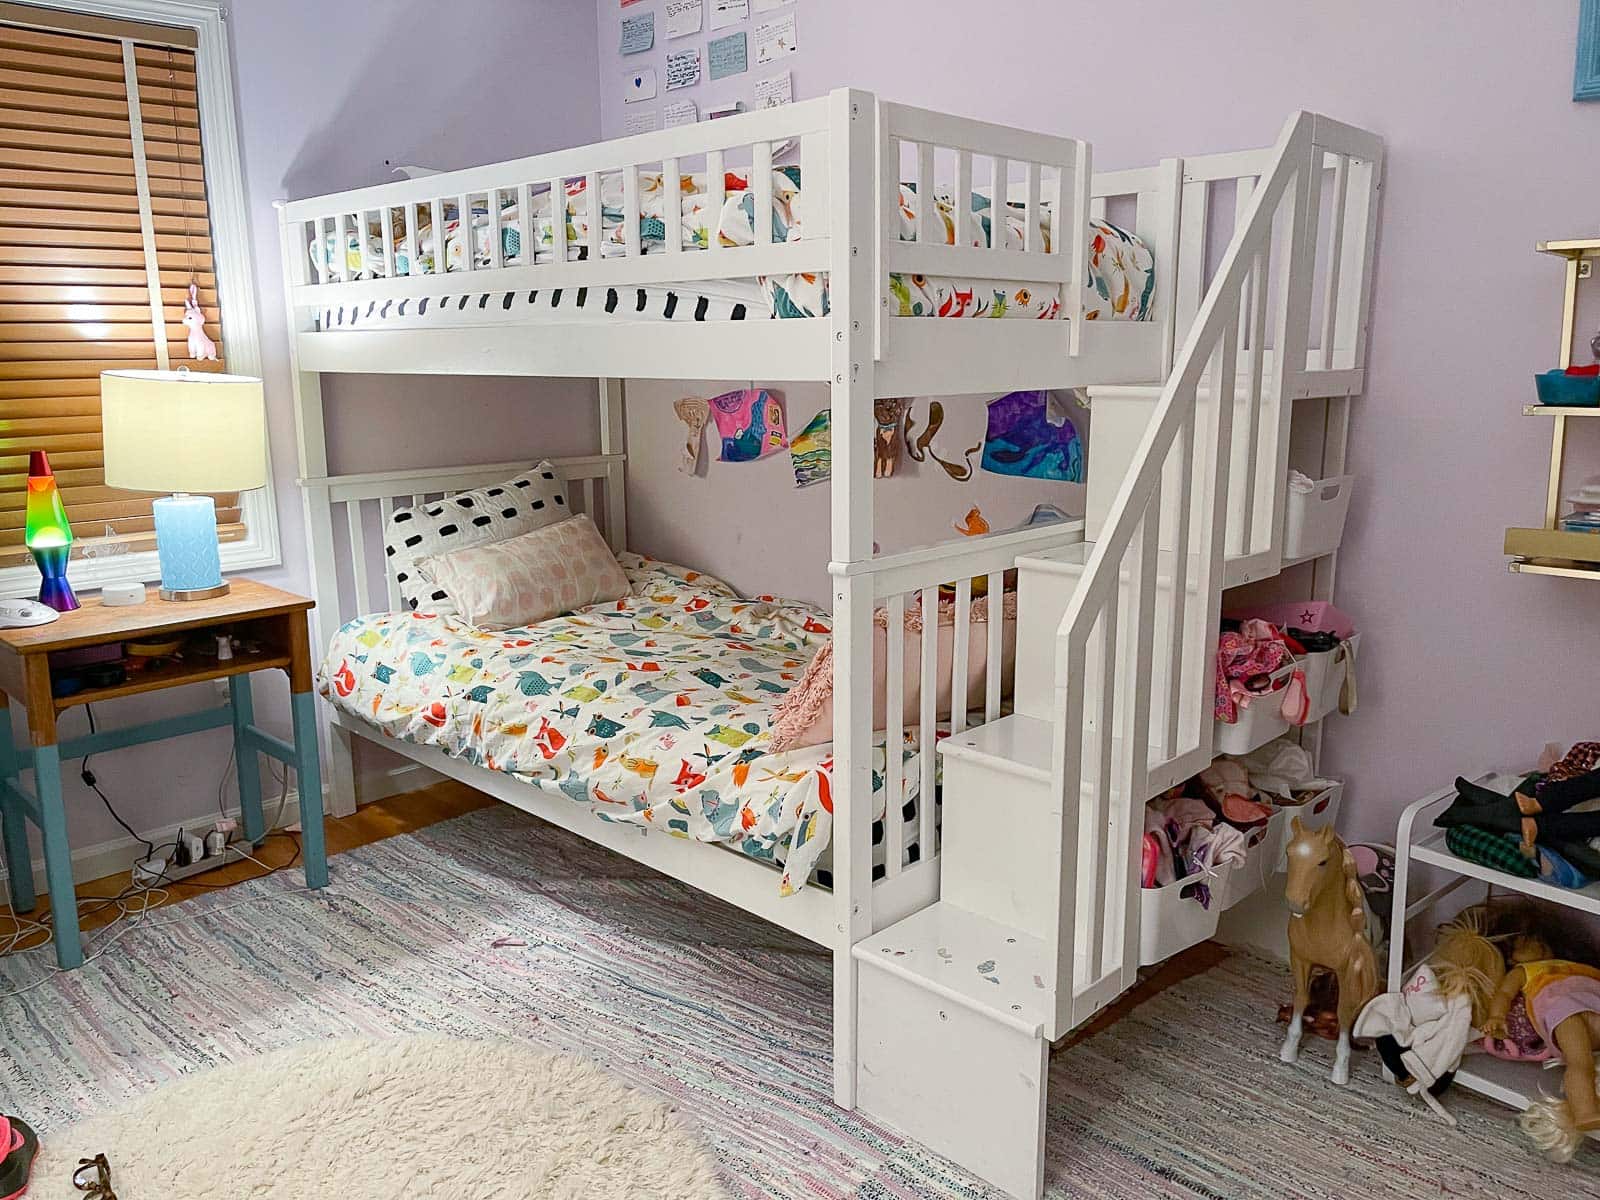
When we moved into this new house, we also told the girls they would be sharing a room. Martha and Louisa are closest in age so it makes sense for them to share, but whooo, chile. Martha, in particular, was NOT into it. She liked having her own room and needed some coaxing to get on board with a shared room after a couple years on her own at the old house. I let the girls dream up their room wishlist and it included things like a swing, a stage, and clouds lights on the wall. I was actually on board to do allll of these, but then they lived in their room a bit and decided a stage might get in the way. And a swing felt like it might take up a lot of room also. But wallpaper and cozier bunkbeds? That piqued their interest. Here’s where we started…
Shop my favorites!
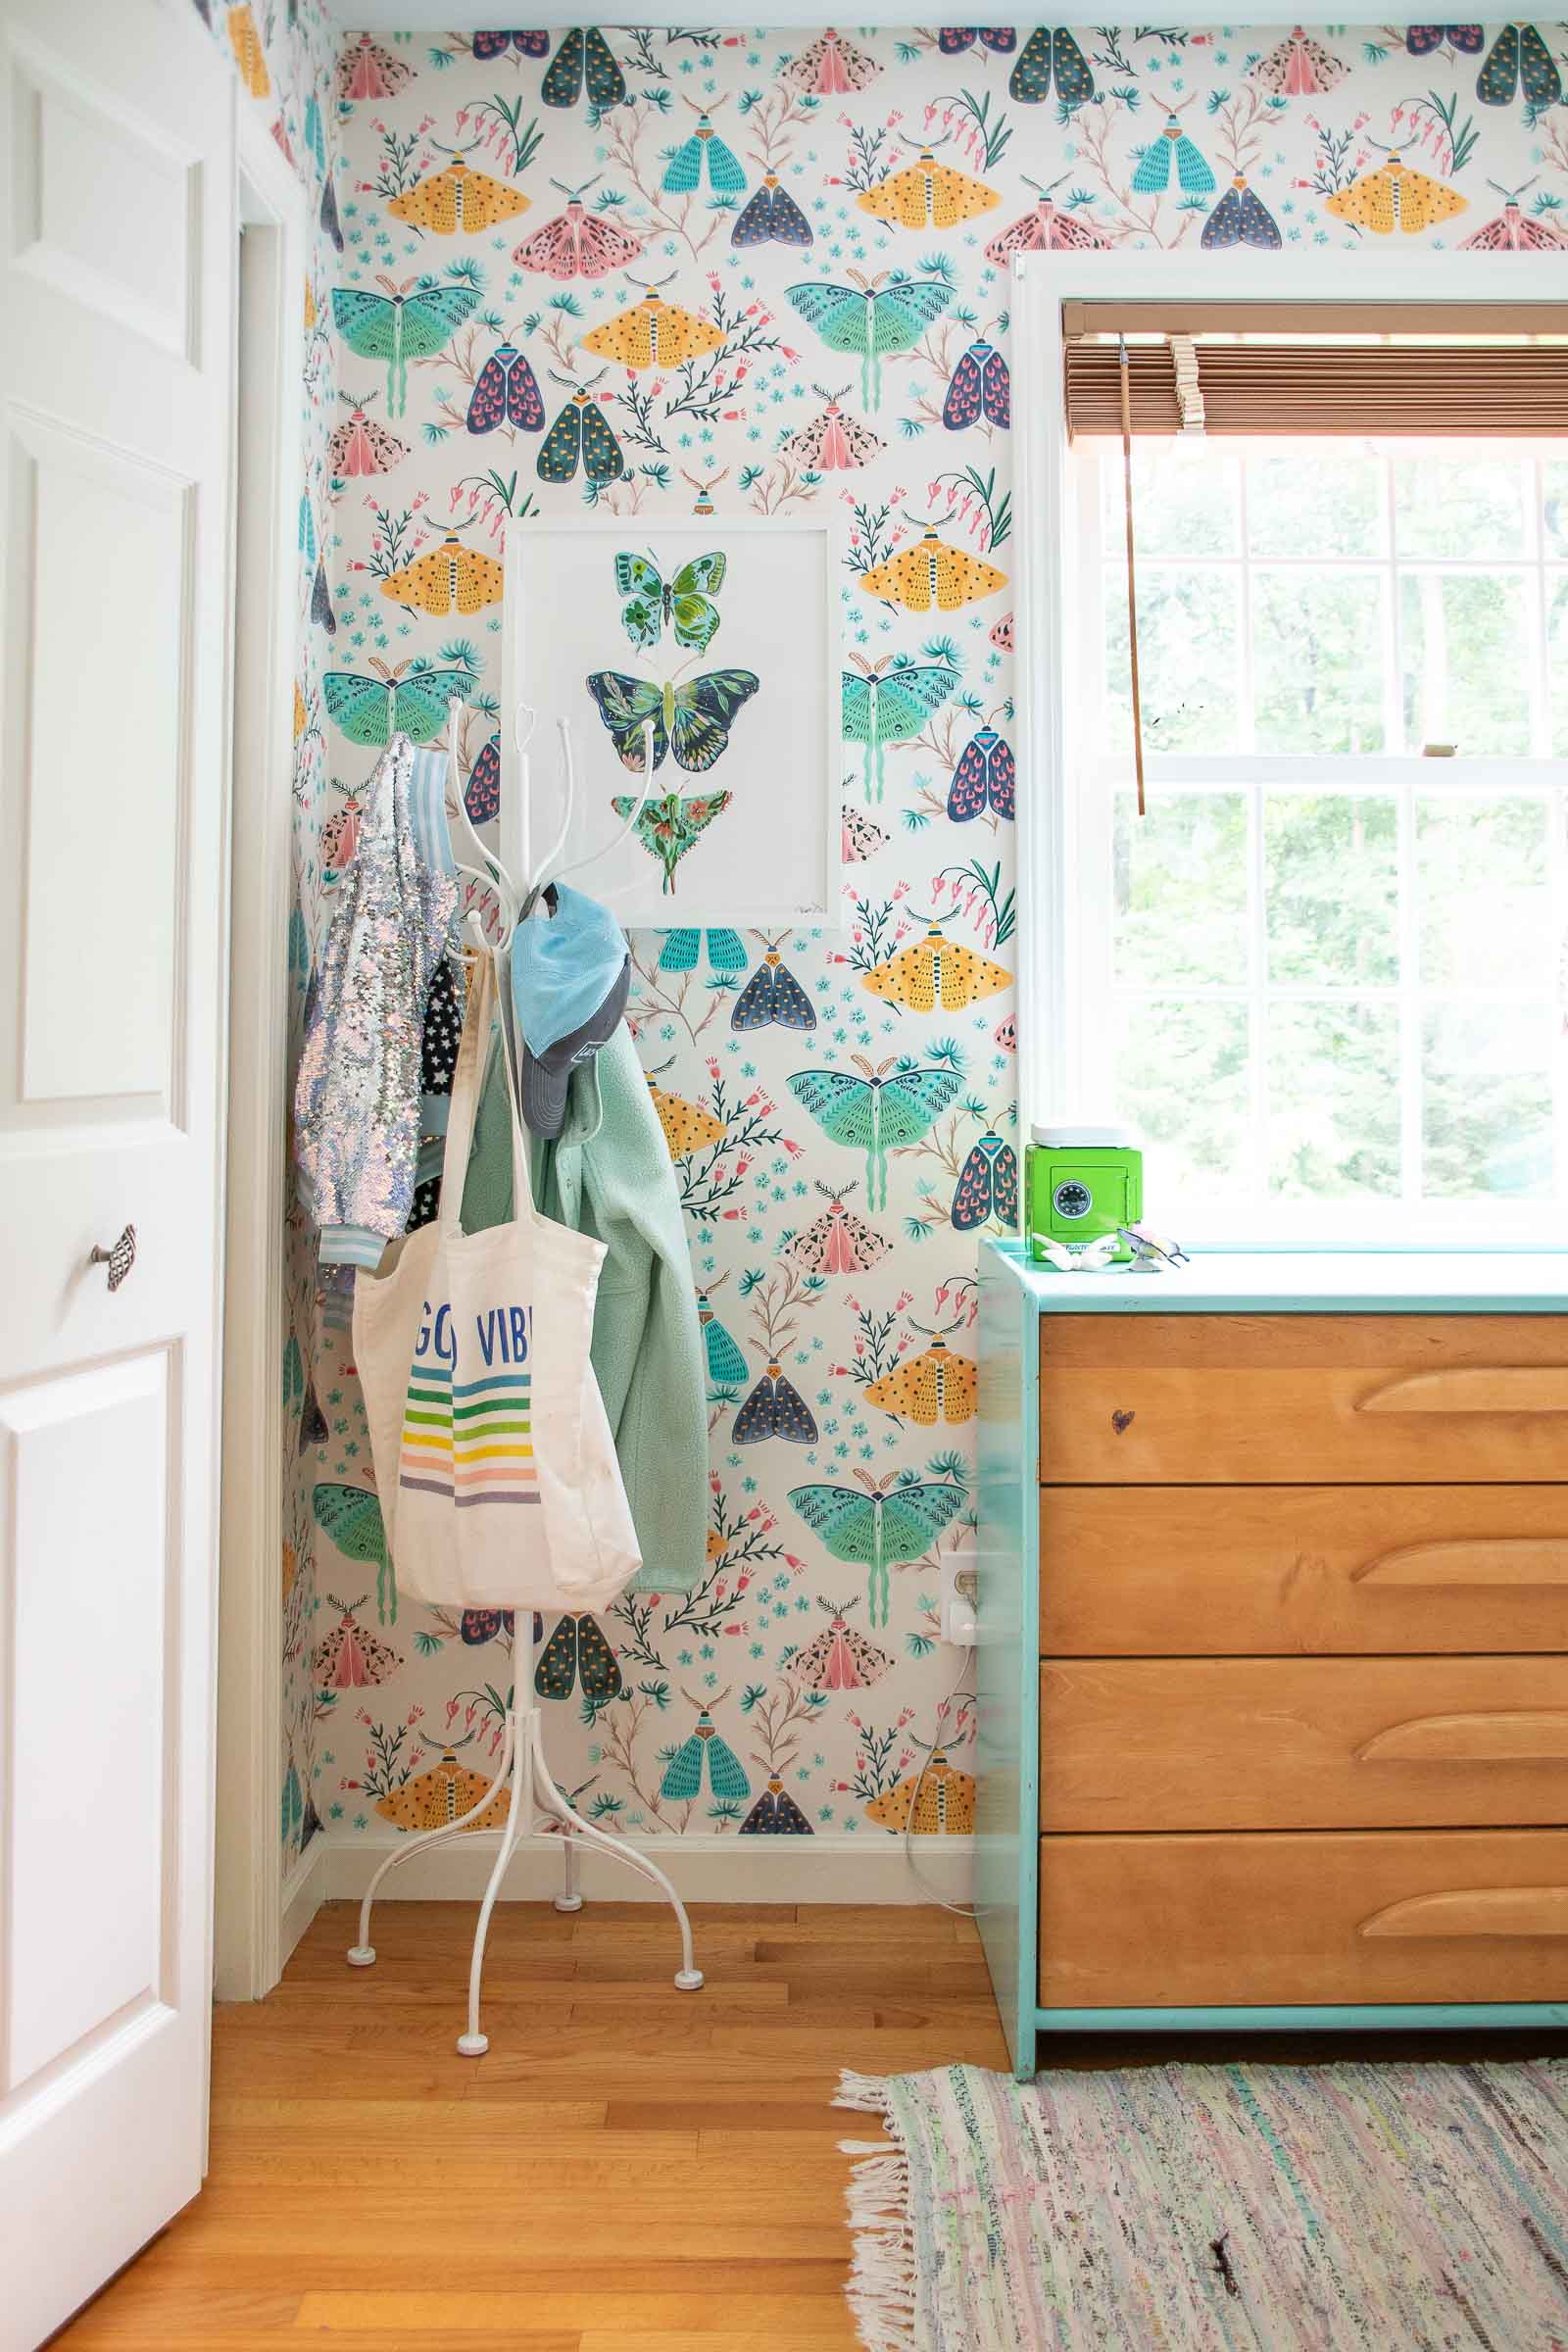
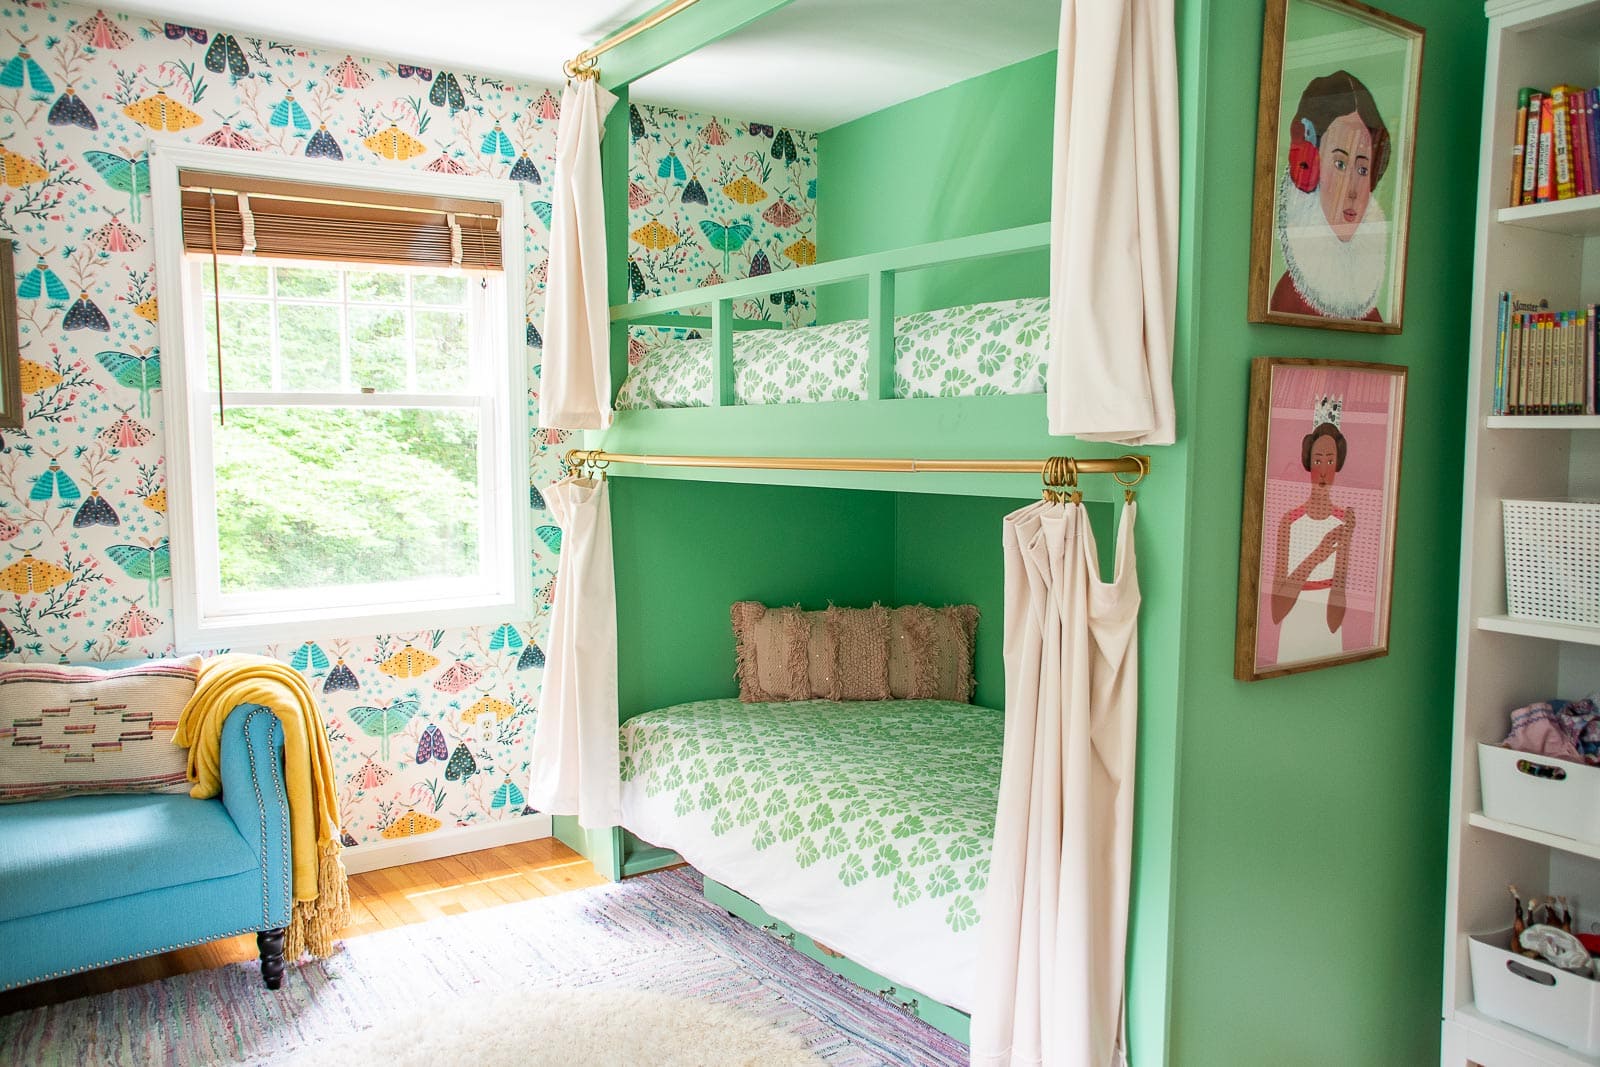
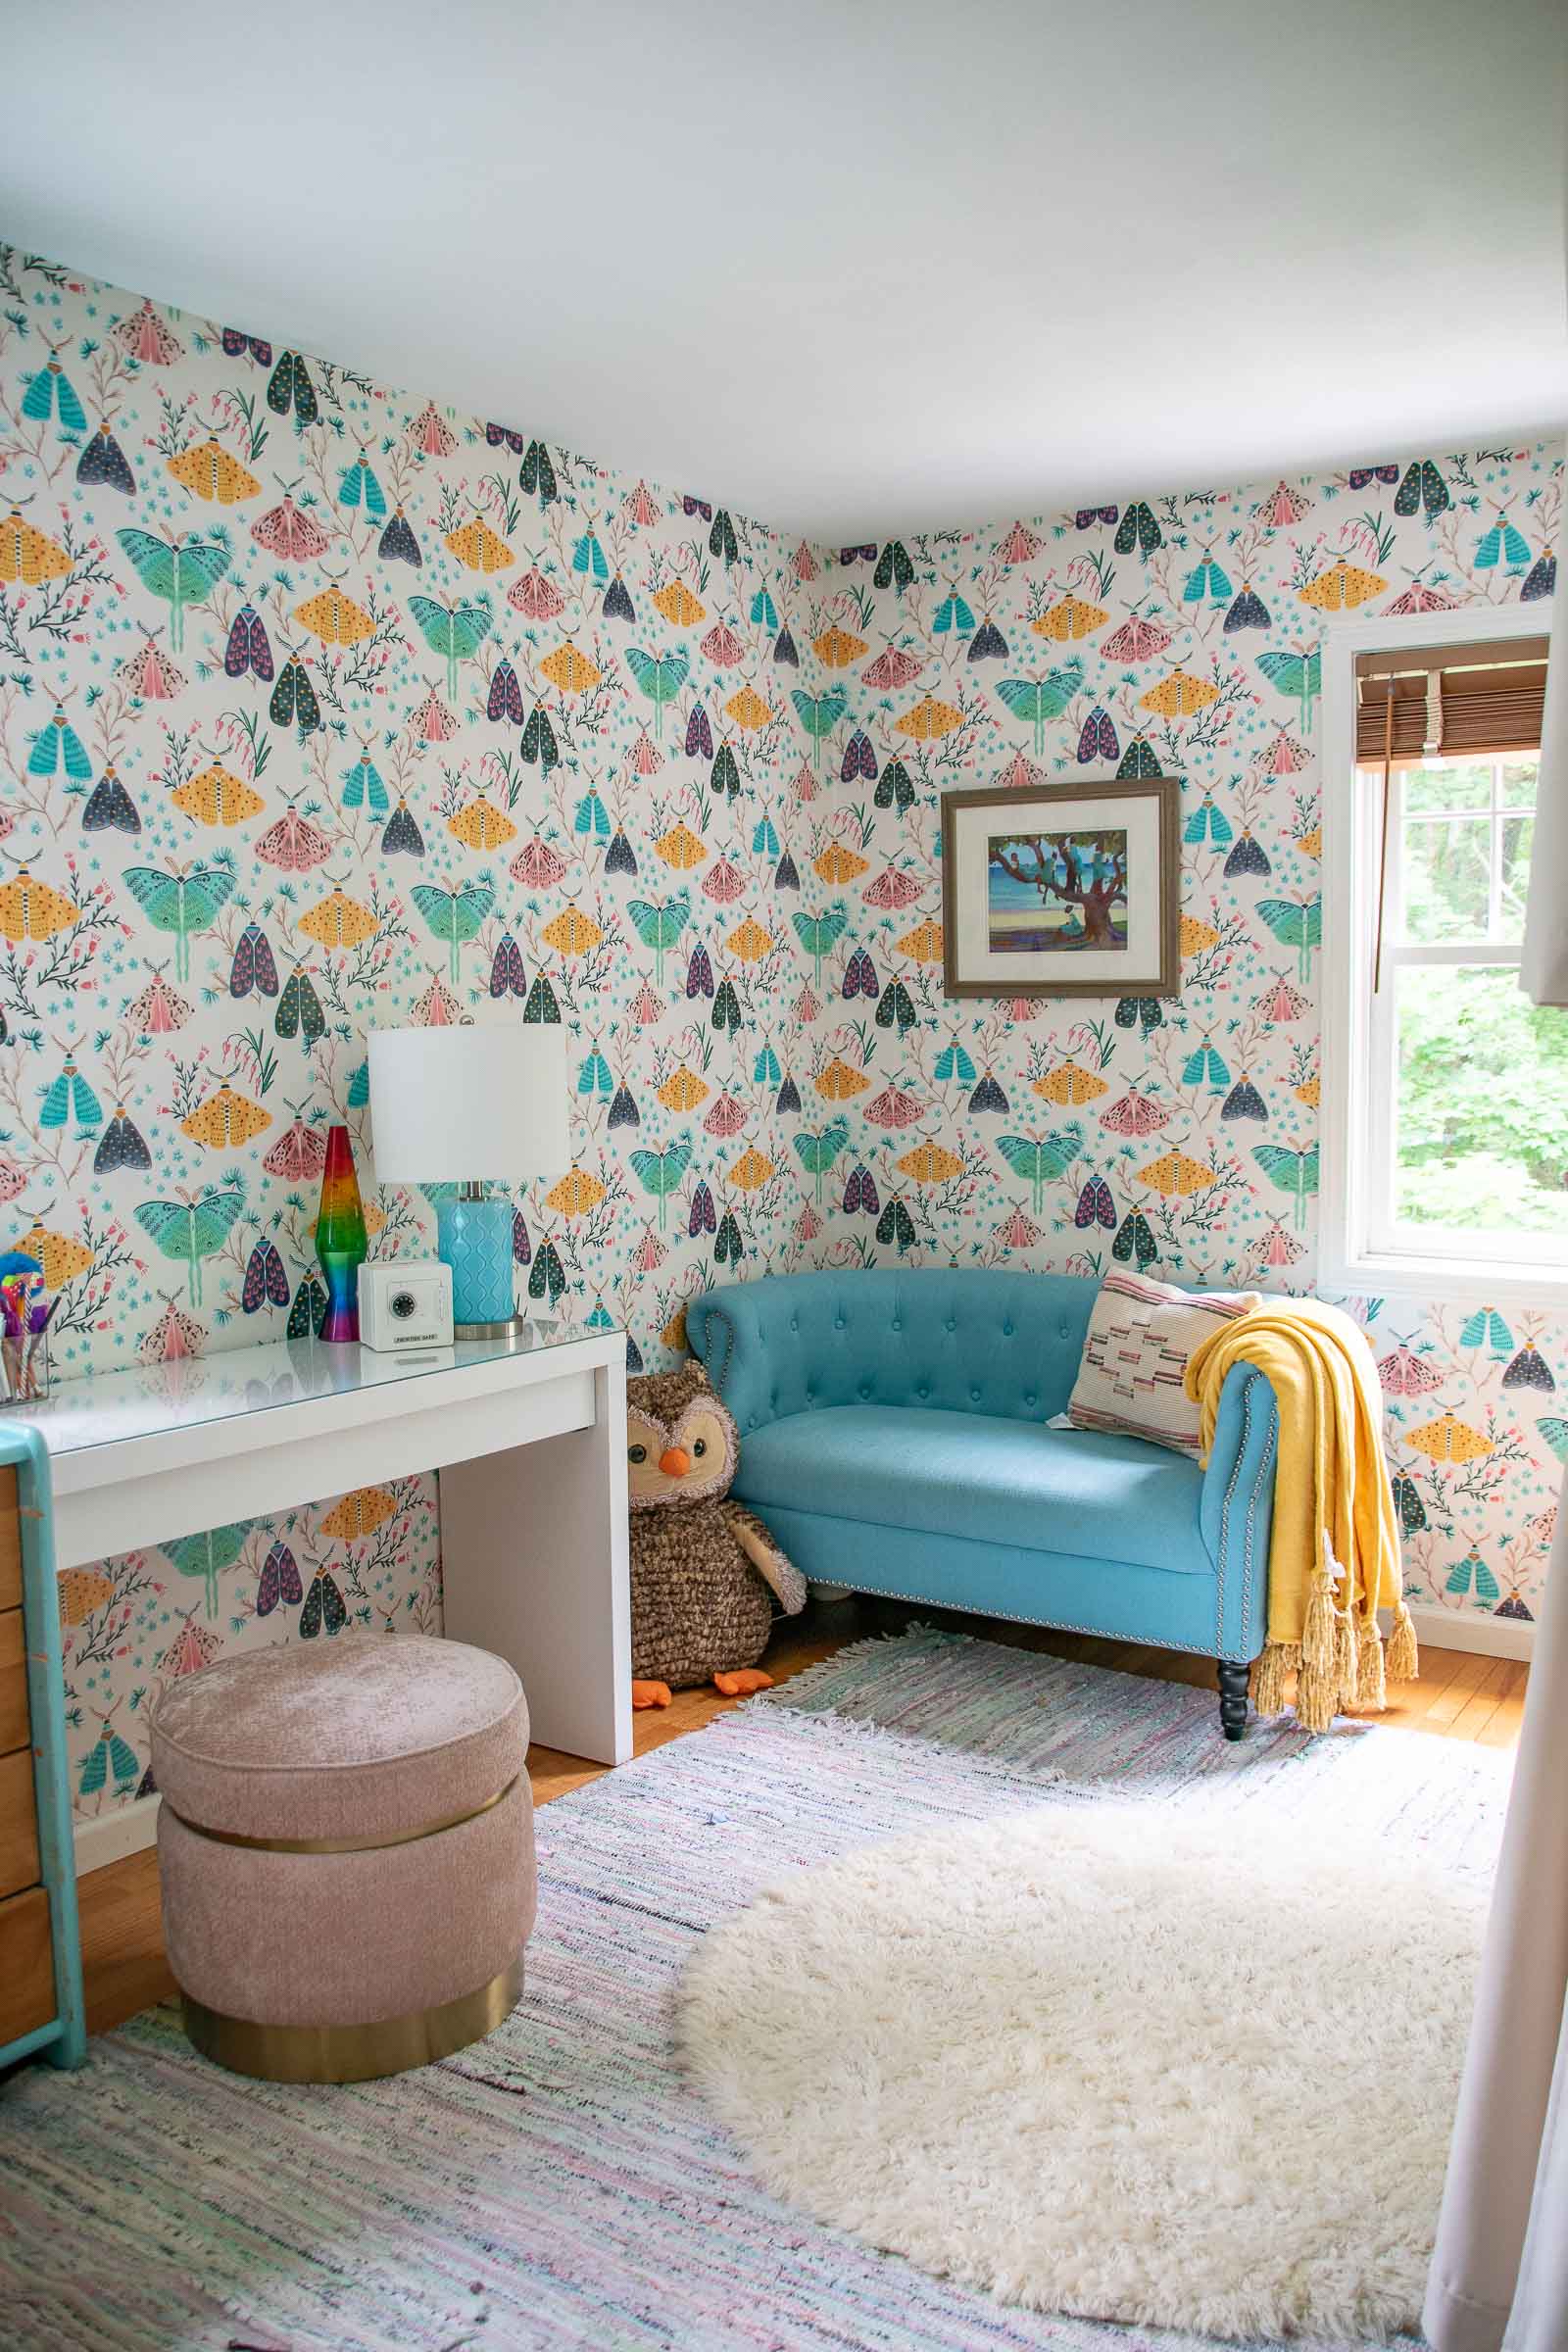
The springboard for the whole space was this moth wallpaper from Spoonflower. This is their pre-pasted removable paper and I find it really easy to work with. I just lay out towels and spray it with a water bottle and it goes up no problem. I loved that the moths were colorful and fun but still something that the girls might grow with a bit. Also, they both agreed on them which was kind of a minor miracle.
DIY Bunkbeds
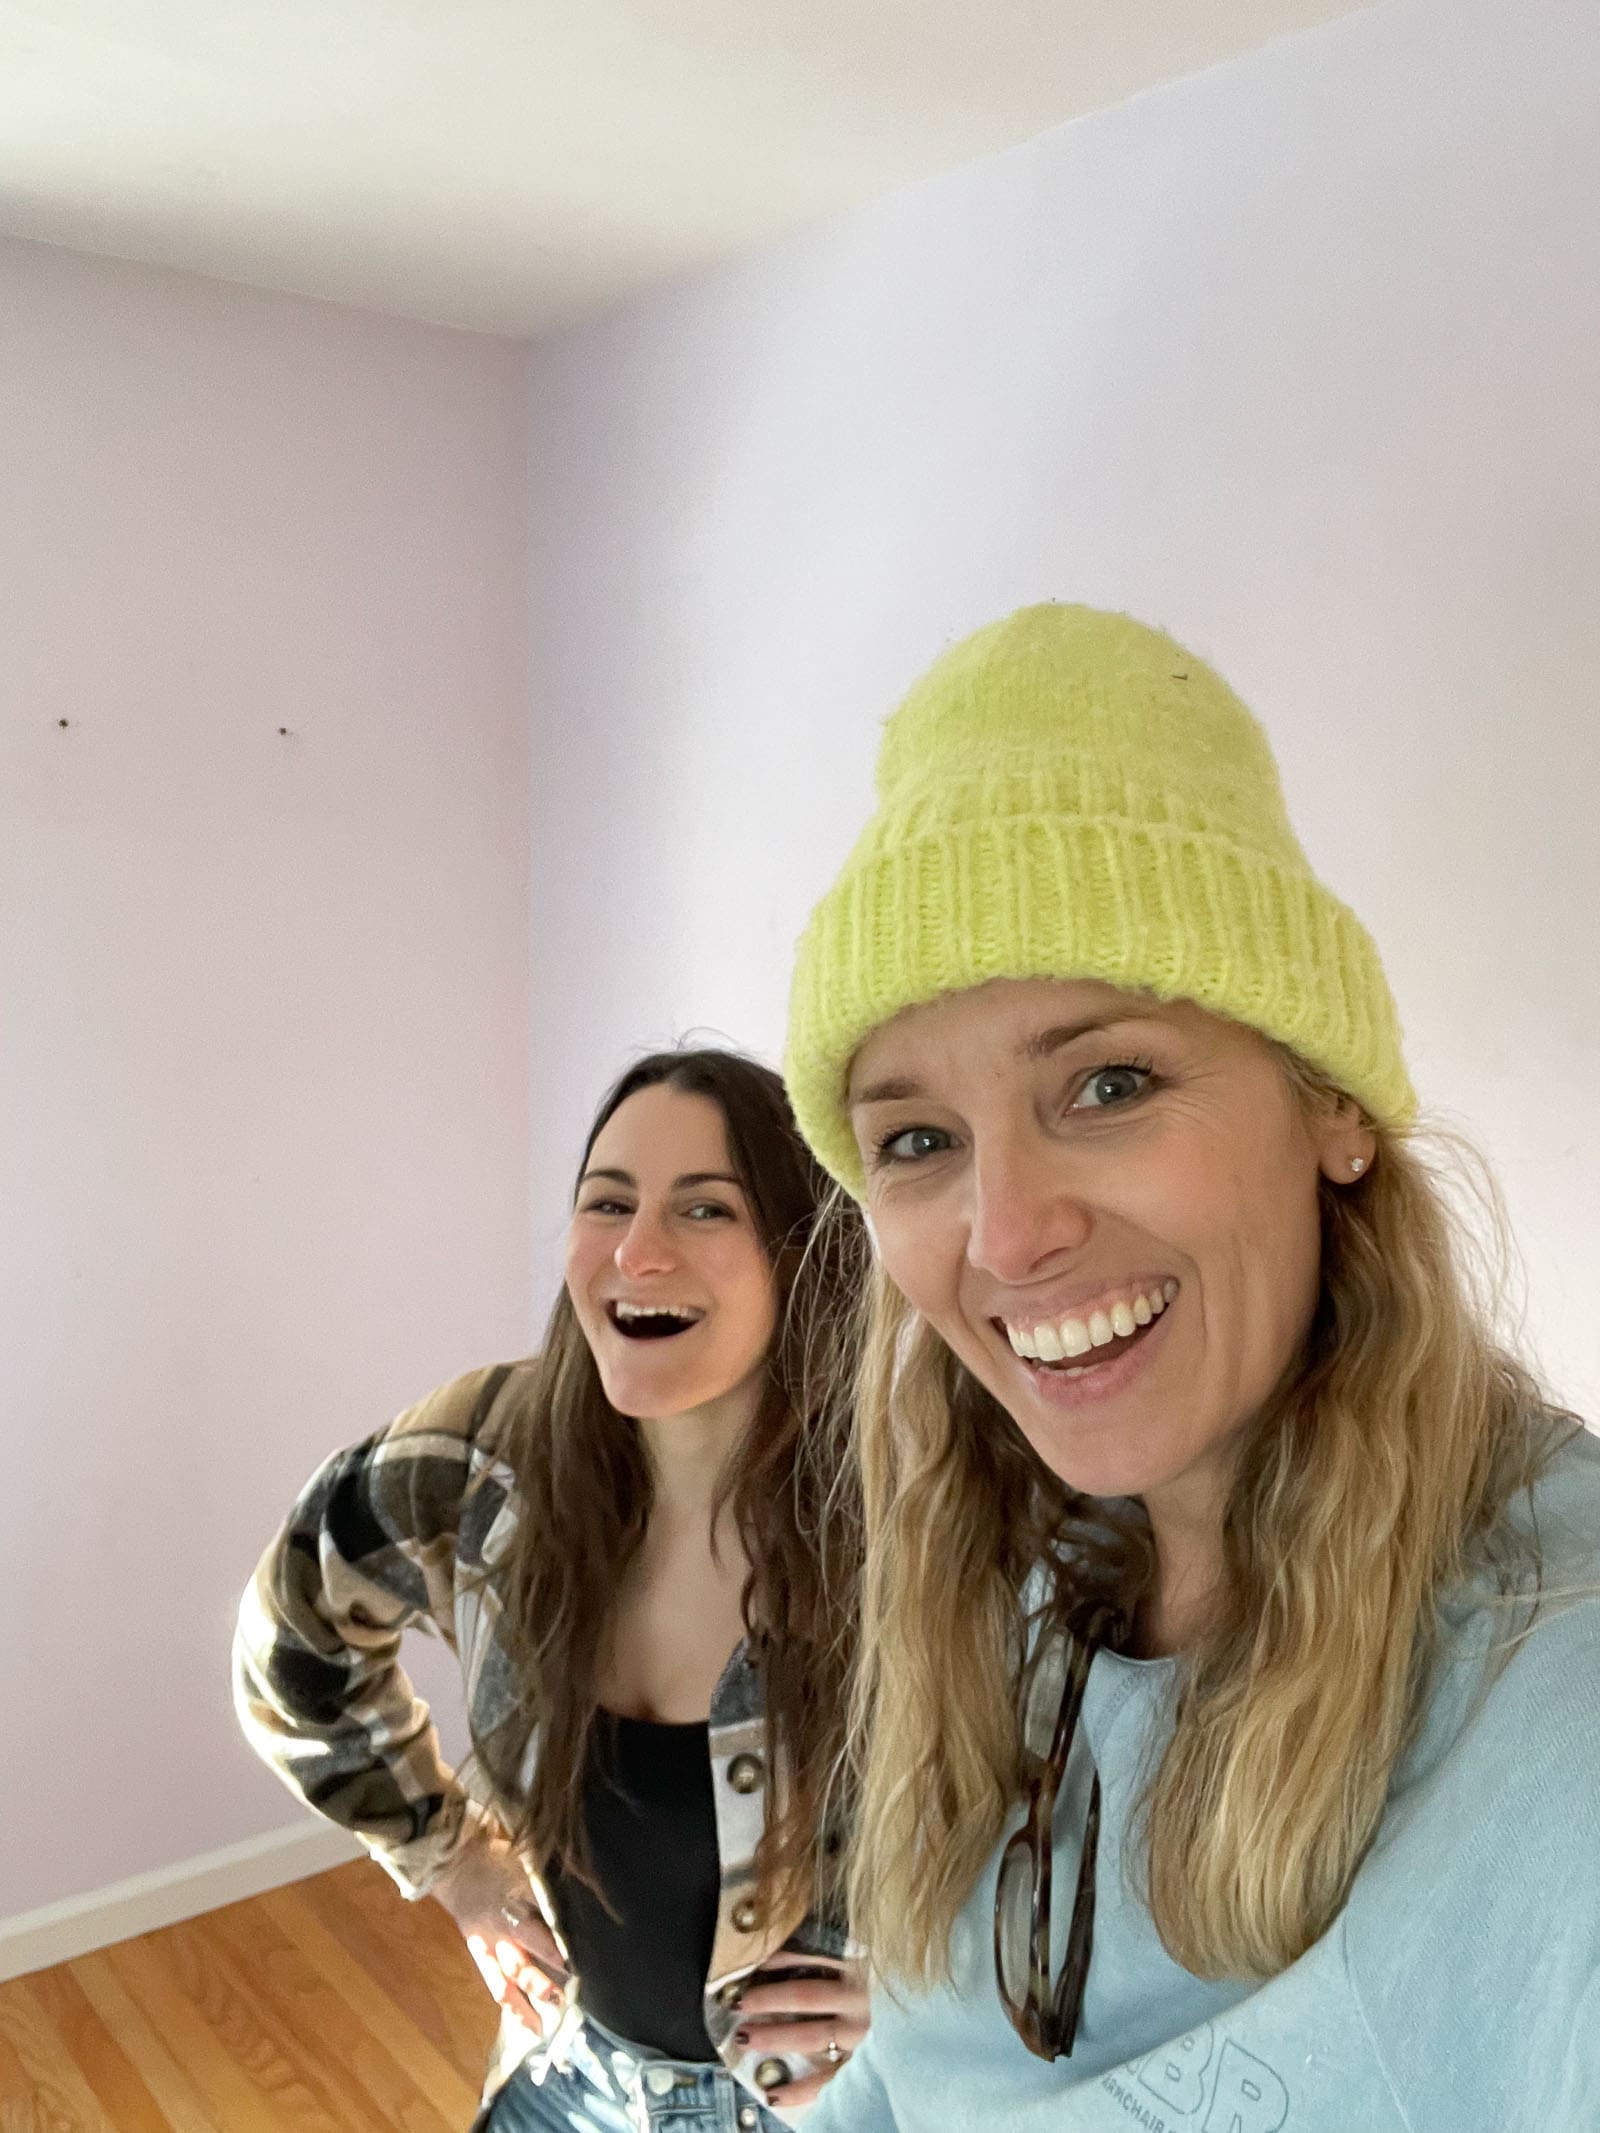
Do you want to hear a bit more about the bunkbeds? The girls already had bunkbeds, but something about built ins felt a bit cozier and more substantial for them. I liked the idea of bringing the bunk beds to the ceiling to really give them each their own space. I called in reinforcements for this one and my incredibly talented friend Sam, from DIY Huntress, came to help. (If you follow me on social then you might recognize Sam as my partner for HGTV’s Crafters Gone Wild!)
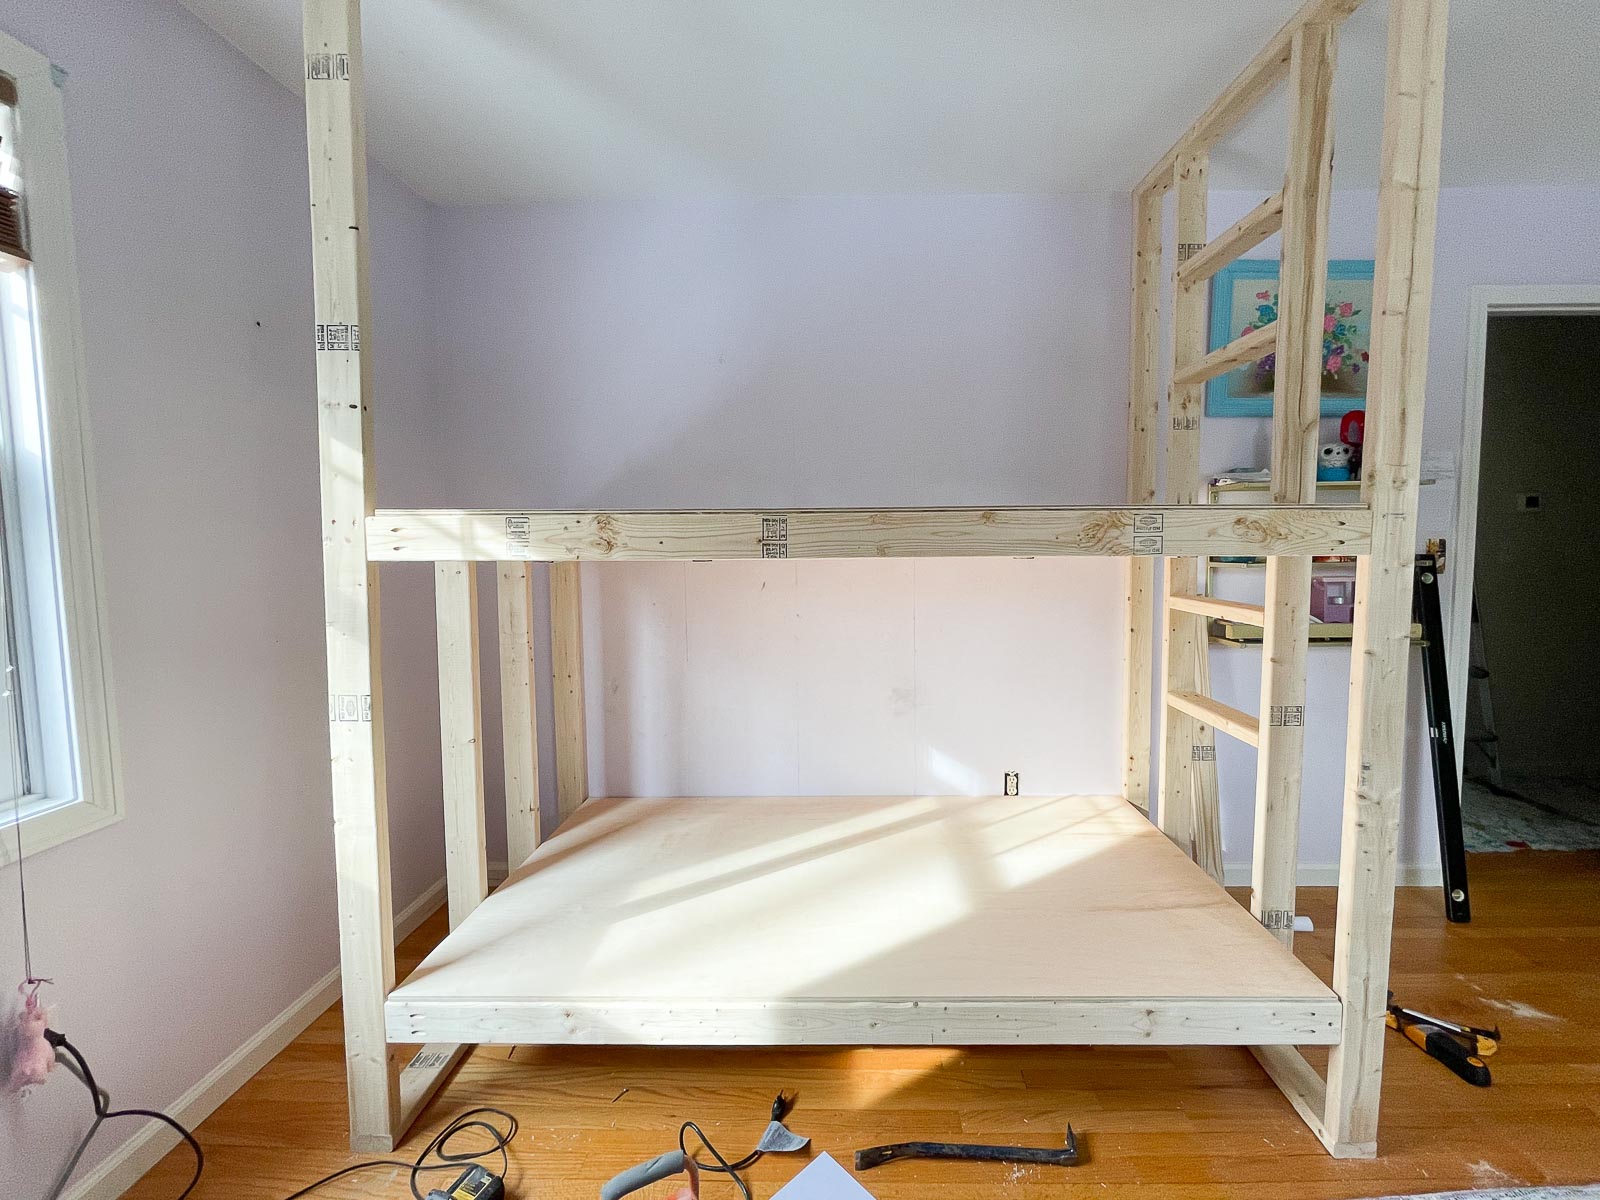
Frame the Bunk Beds
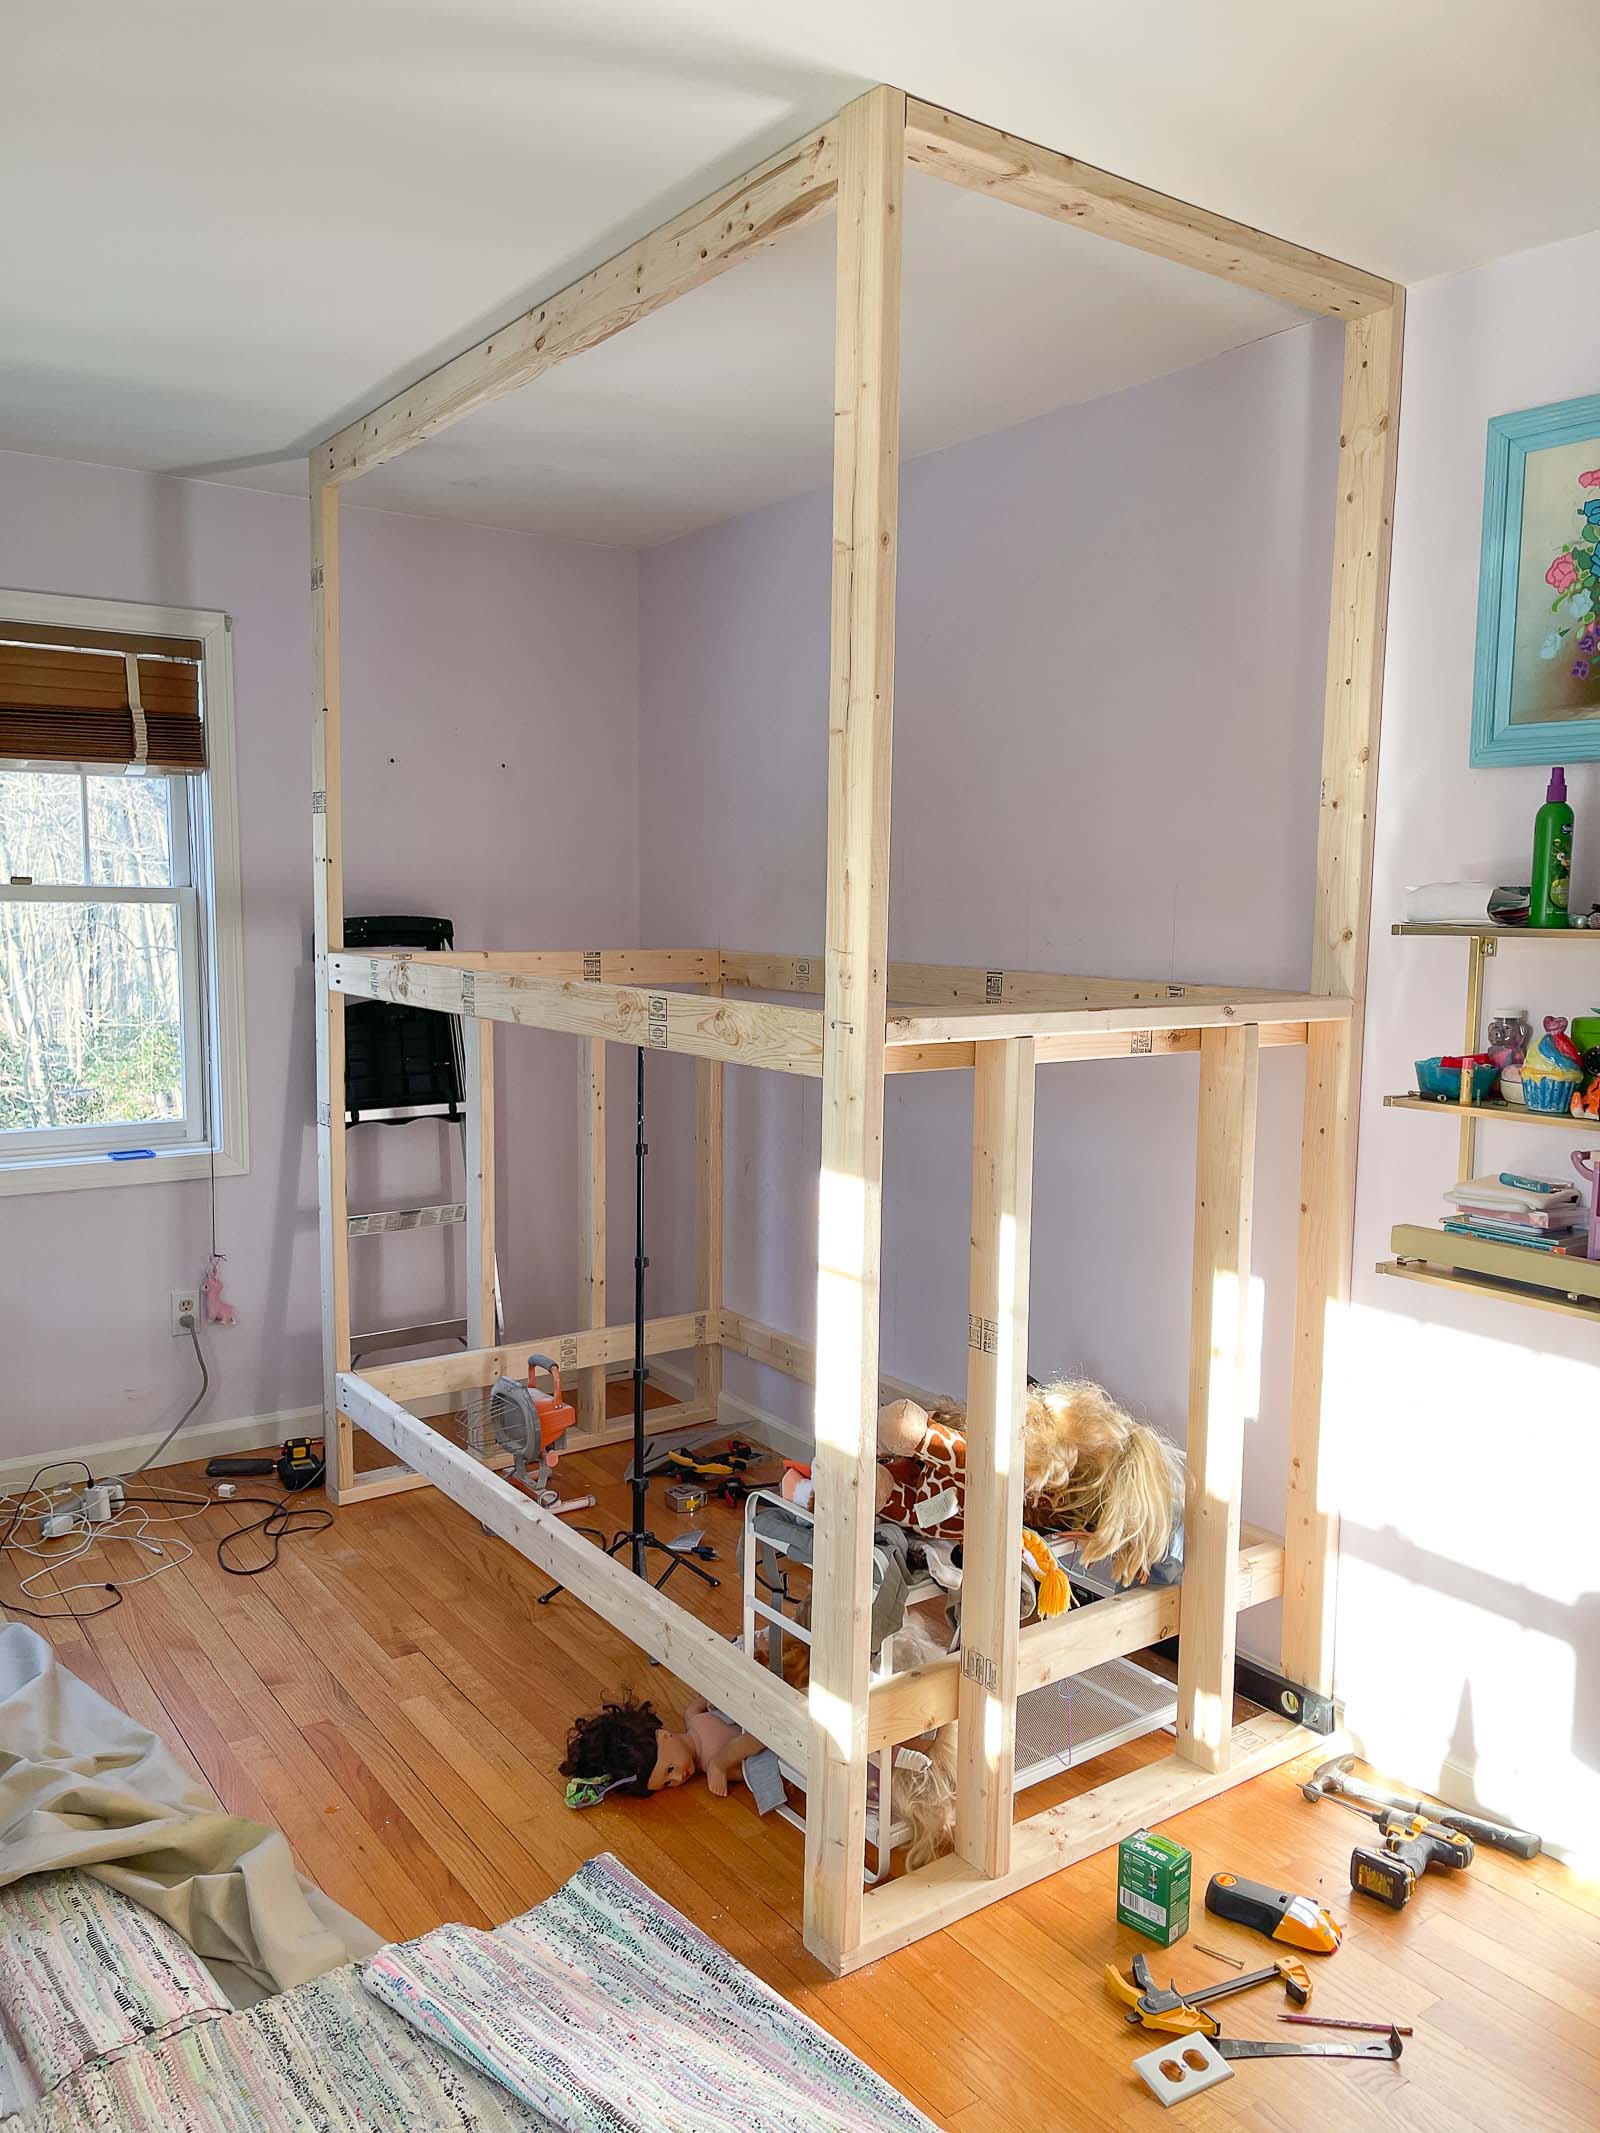
We spent a lot of time pulling inspiration from various bunk beds builds on the world wide web. I knew I wanted something fairly clean and simple with stairs on one end and room for curtains along the front. Sam may post plans for this build one day so if she does, I’ll link them here. We started by framing out the basic shape of the bunk bed… the floor to ceiling wall on one end, the half wall on the other end, and the cross beams that would support the mattresses. The sides of the bunk bed are anchored into studs in the wall so this thing isn’t going anywhere.
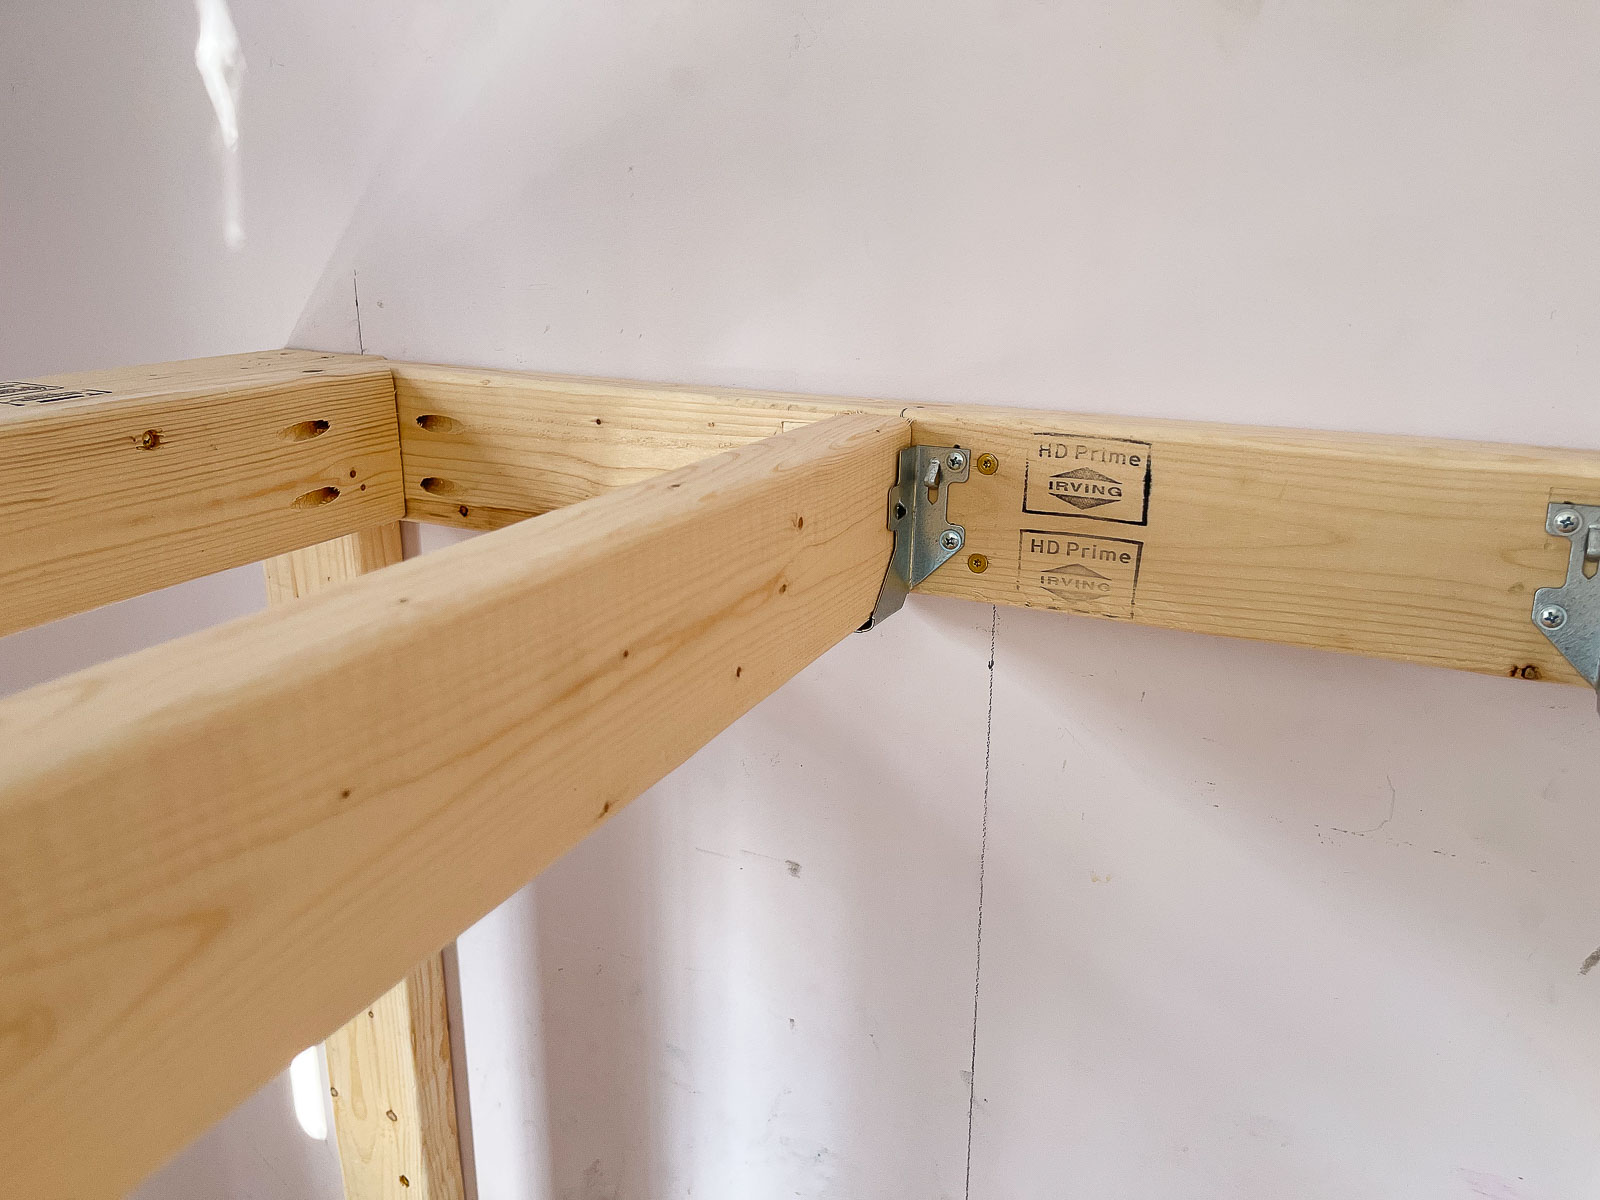
Joist hangers for mattress platform
We used joist hangers and 2x4s for the mattress platform. We could have used pocket holes for these cross beams to save some money, but the joist hangers were so much easier so worth the $3 a piece or so.

Headboard Niche on Bunk Beds
We framed out headboards with two little niches for the girls’ water bottles and other little tchotchkes. I screwed 1/2″ plywood onto the bed with finish screws and then cut out the niche and framed it with 1″ lattice trim.


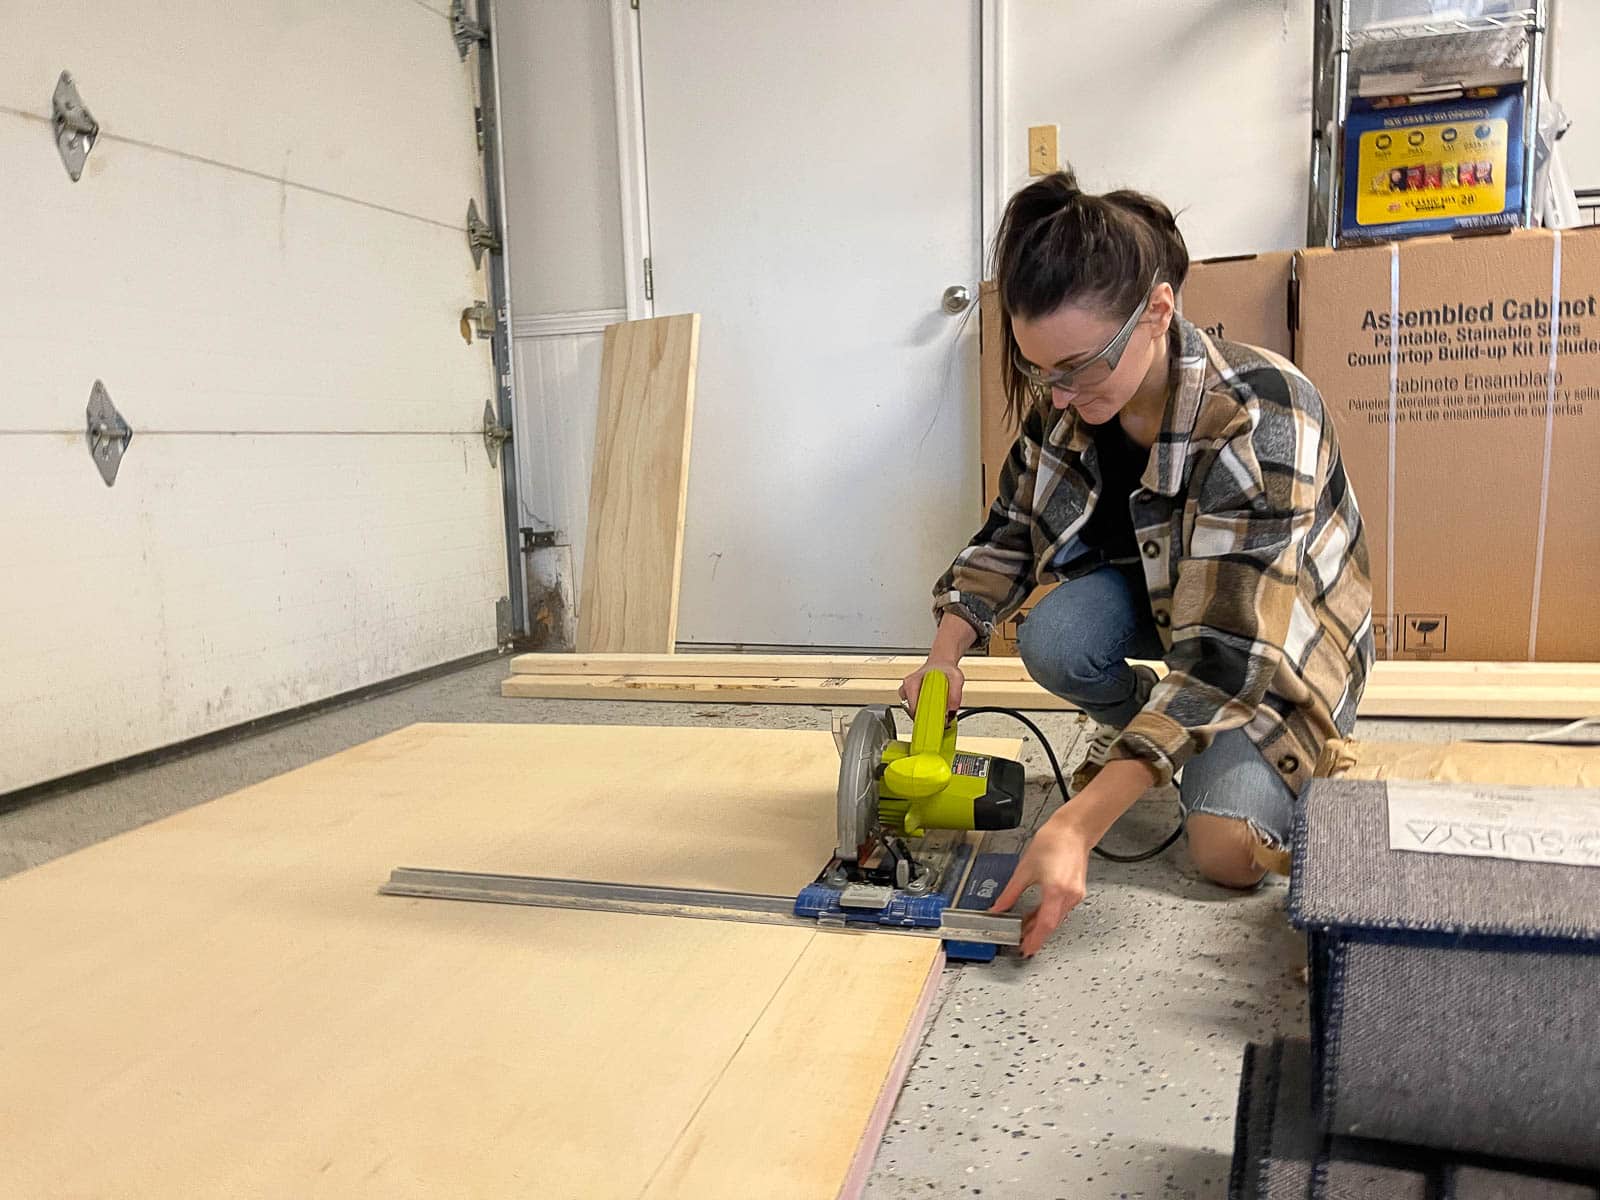
Bunk Bed Stairs
Sam and I had a couple different ideas for the stairs but ultimately ended up cutting the sides of the stairs out of 3/4 plywood and then screwing this into the wall studs and the bed. We cut down stair treads to fit and attached with wood glue/ finish nails. Because the stairs are so narrow, this option was much easier and plenty sturdy enough. I added a safety rail to the top bunk using pocket holes and then did my best to add trim to finish everything off.

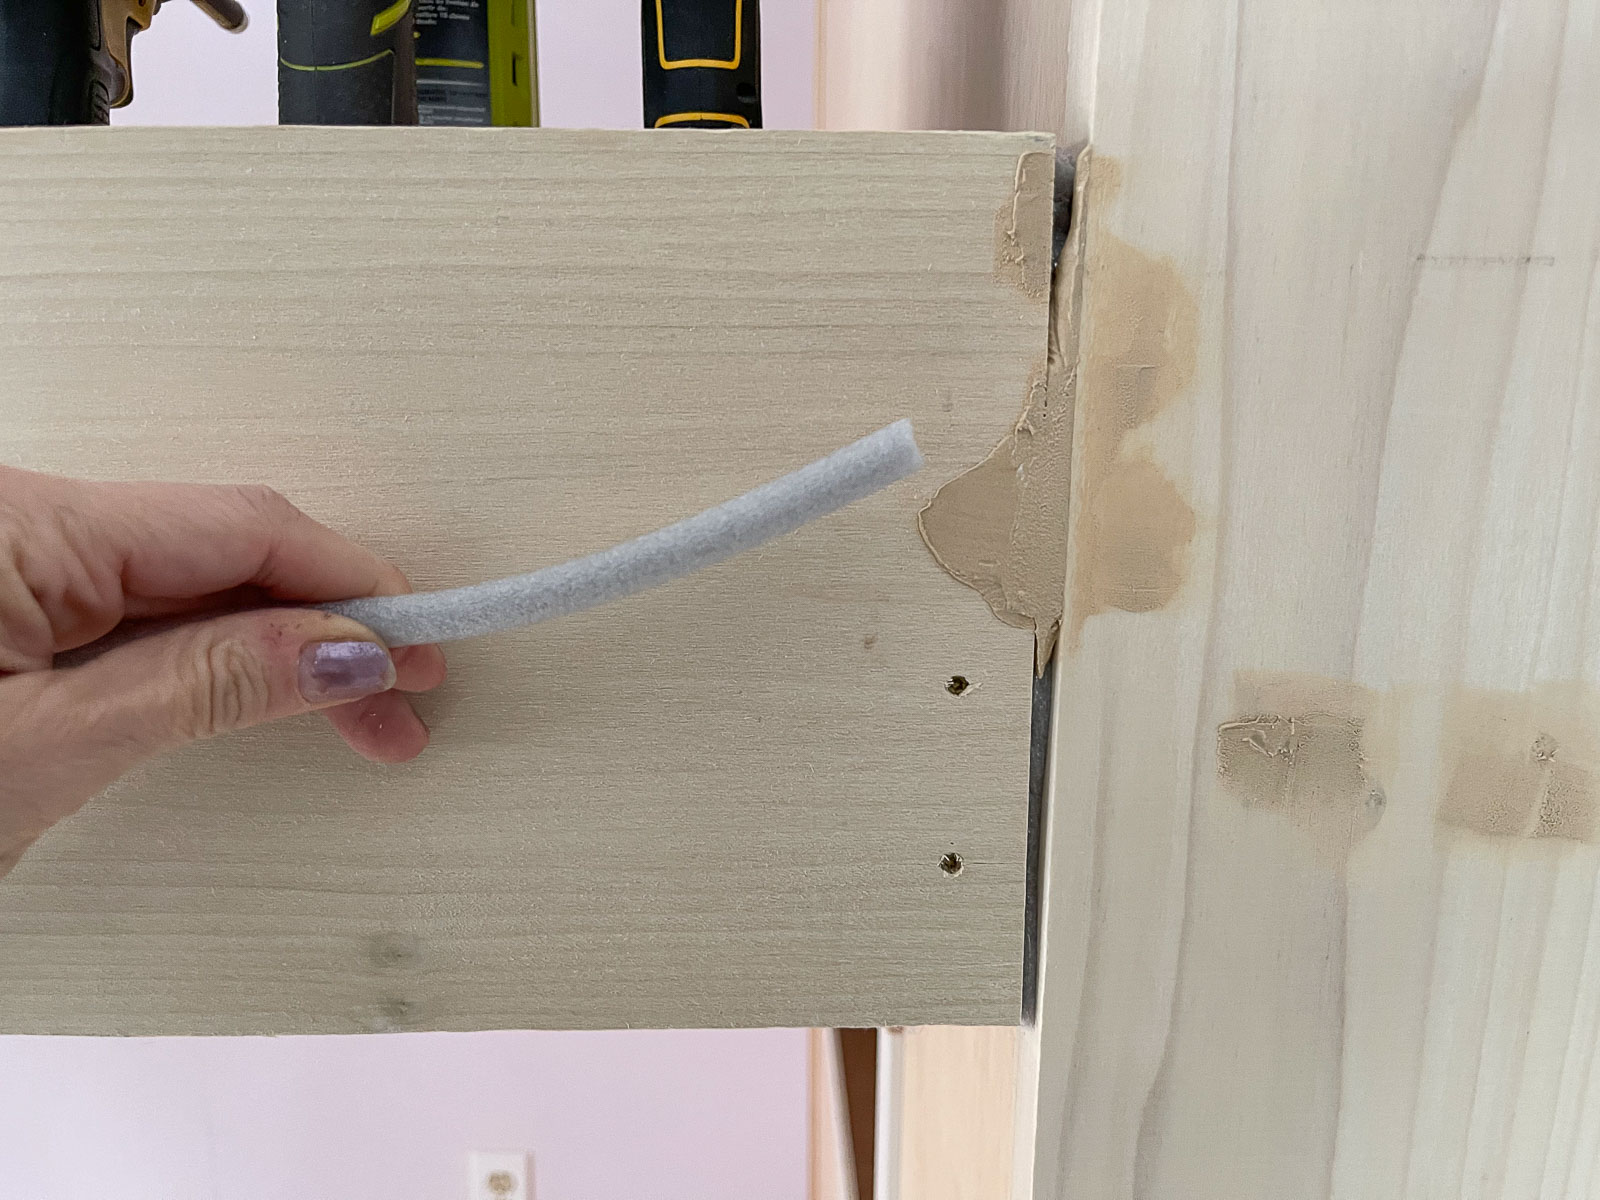
Finishing and Painting the Bunk Bed
Filling all the nail holes and sanding the bed was a grind but well worth it. (I cut one piece of trim too short and used that foam caulk saver (linked here) to help fill the gap. I also tried to tape off the room as best I could so I could spray both primer and the finish paint color for a smooth finish. This green is Behr Garden Swing and it’s SO pretty! It matches the wallpaper perfectly and looks so sweet in the space.

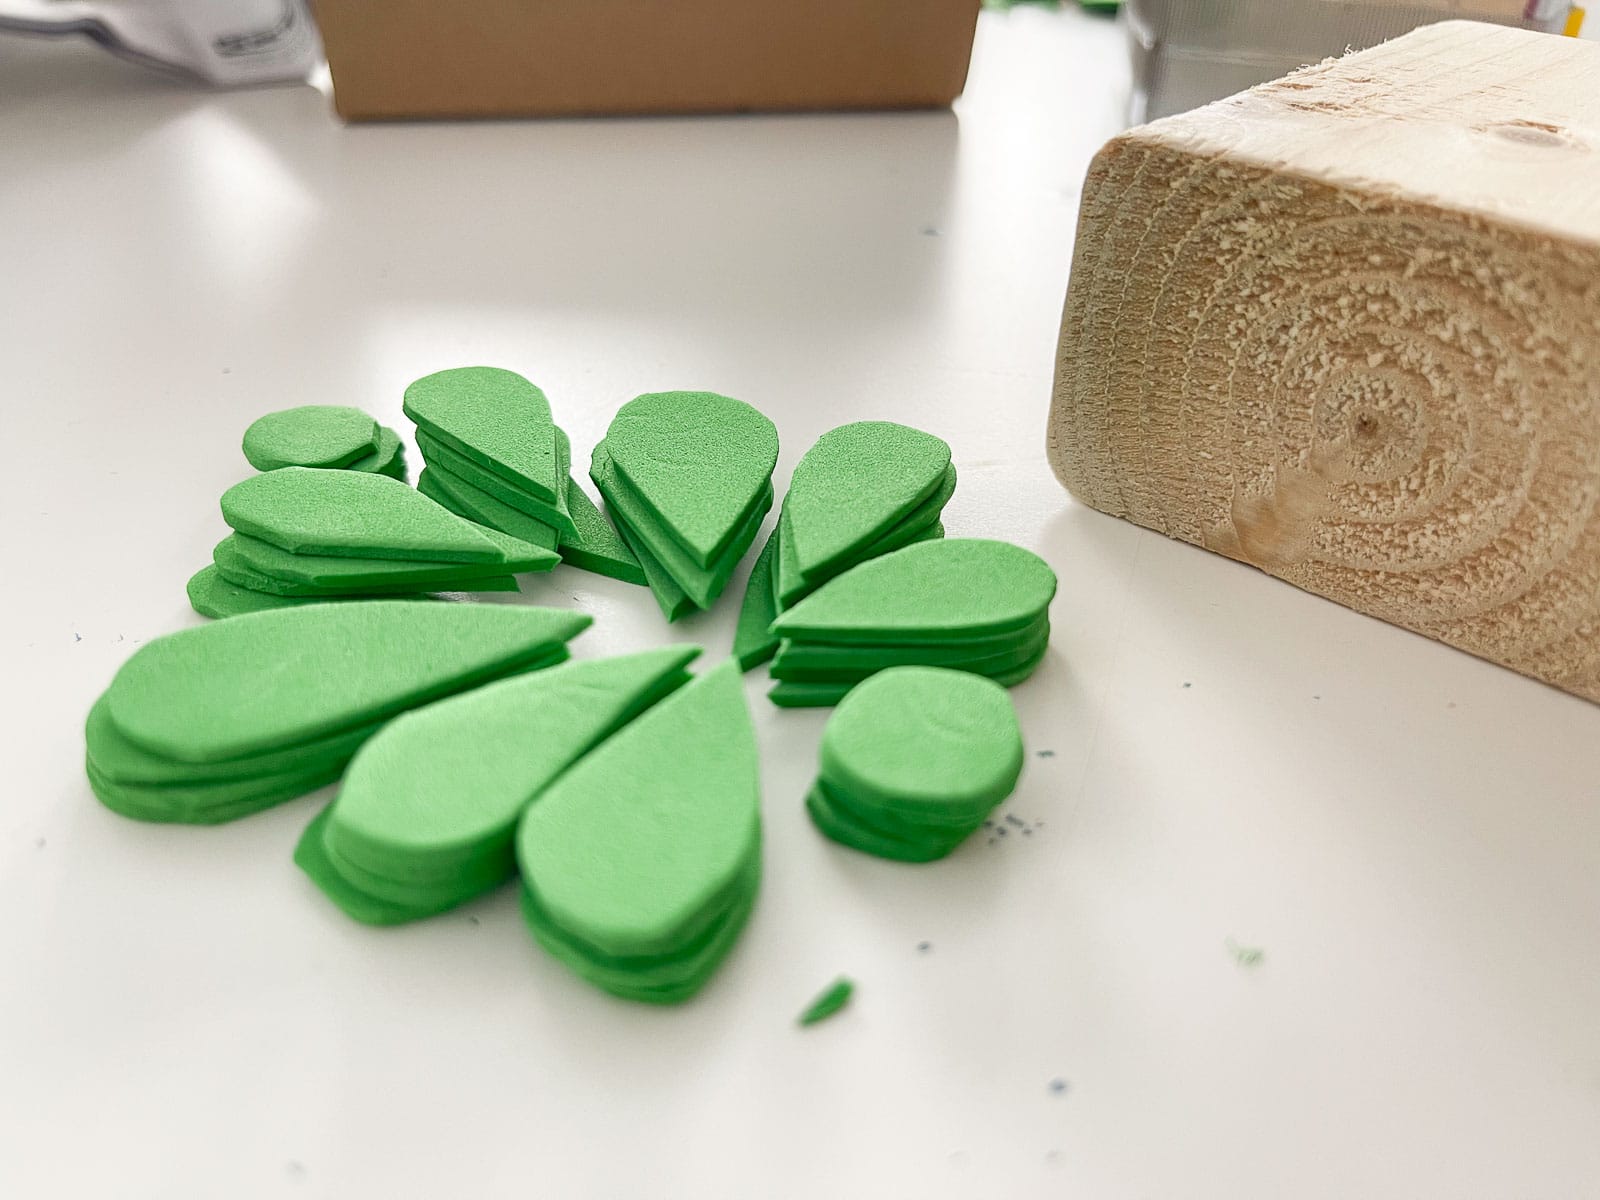
We love our Beddy’s comforter set but I loved the idea of having bedding that would bring in the green of the bunkbed (use code CHARLOTTES at Beddys). I picked up these cotton duvets from Amazon and… made my own! I followed this same process as I did here and made my own fabric stamp. I mixed the actual paint I had leftover from the bed with some fabric medium and stamped my own block print design onto the duvet cover and pillow shams. No question this project was a little fussy, but I love the finished result so it was definitely worth it!
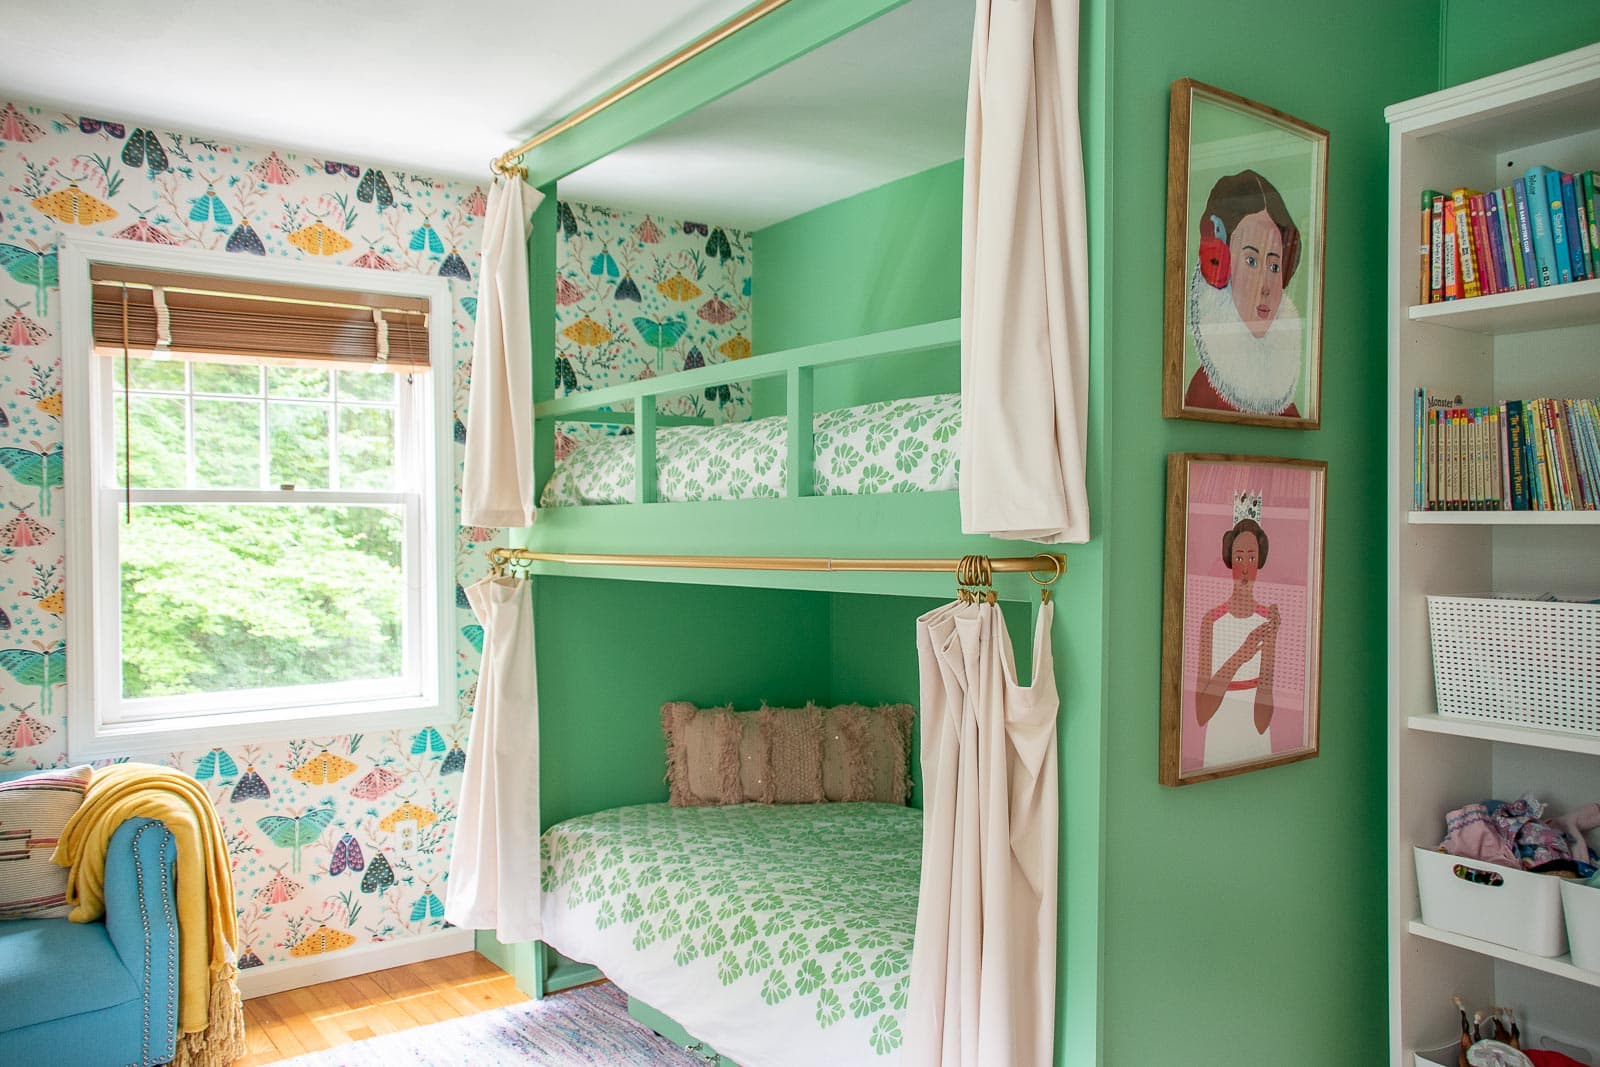
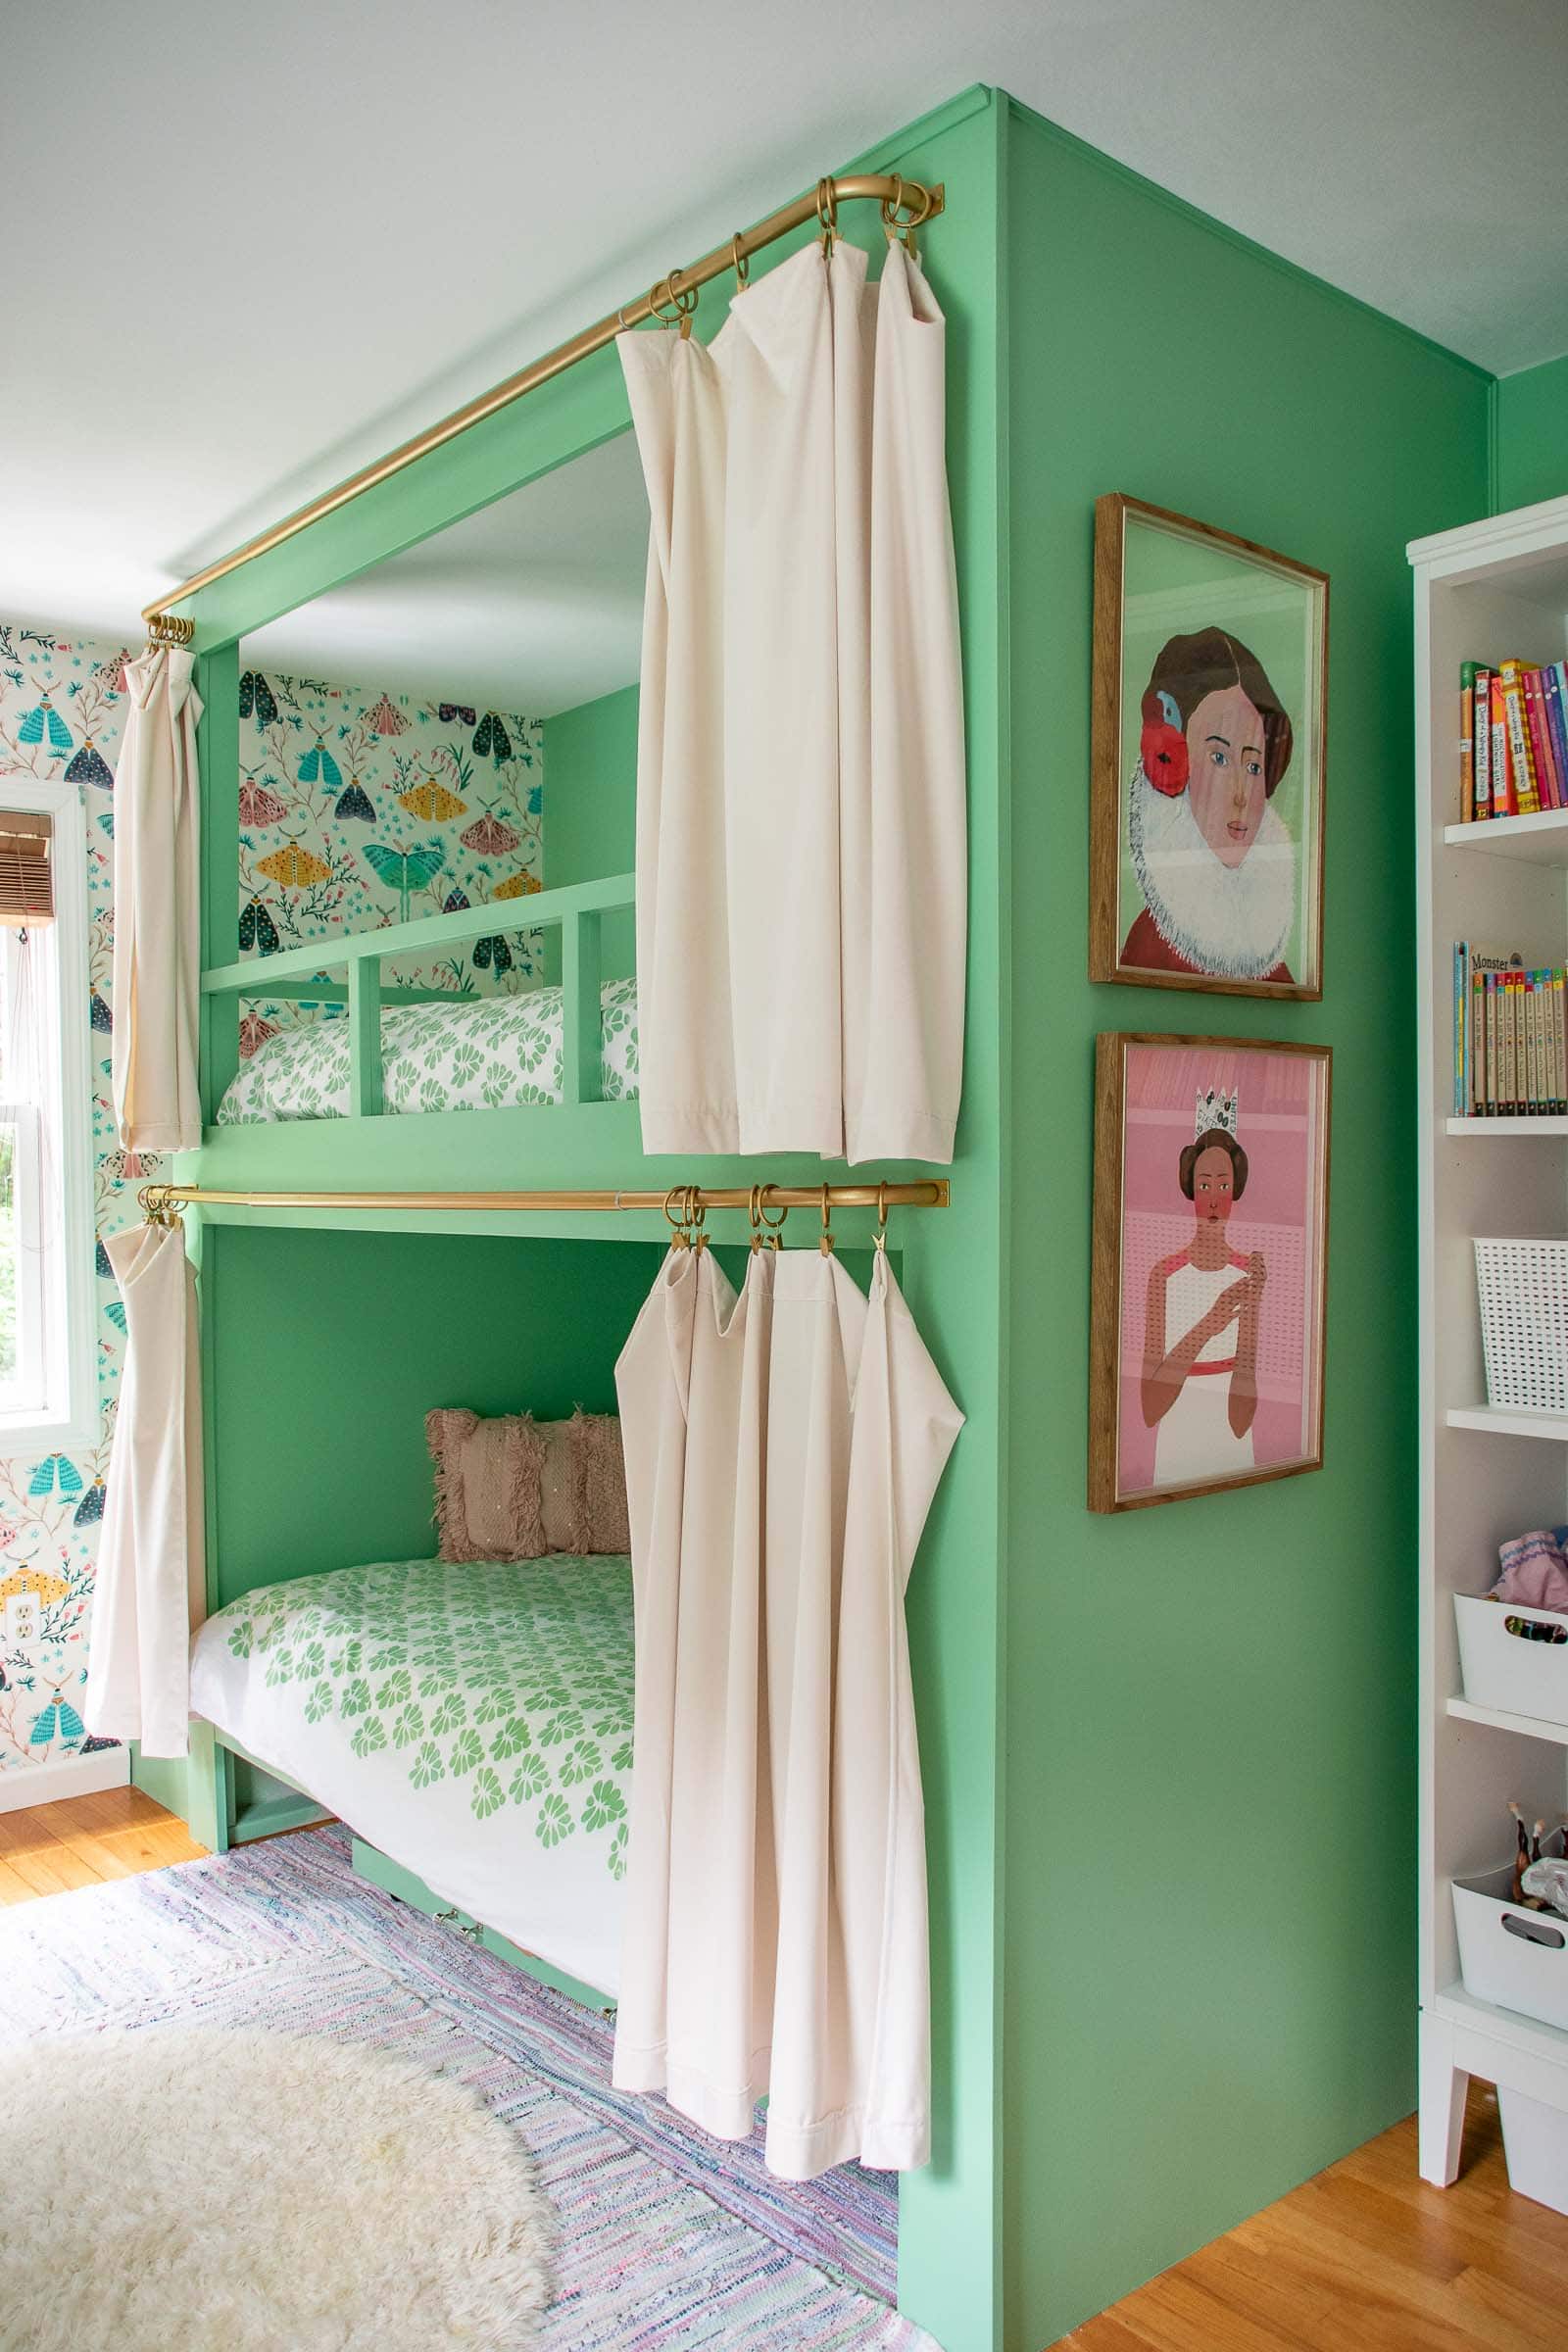
Originally I was planning to hang curtains for the girls inside their bunk beds, but once we finished them off, there wasn’t really enough room to tuck a curtain rod so I decided to hang the curtains on the front of the bunk bed. I’m calling this a happy accident because not only did lots of you say curtains on the inside of the bed get snagged and pulled off the rings, but I also loved that the curtains on the front make the beds feel a tiny bit bigger also. These are the curtains I cut, hemmed and hung. And these are the curtain rods!
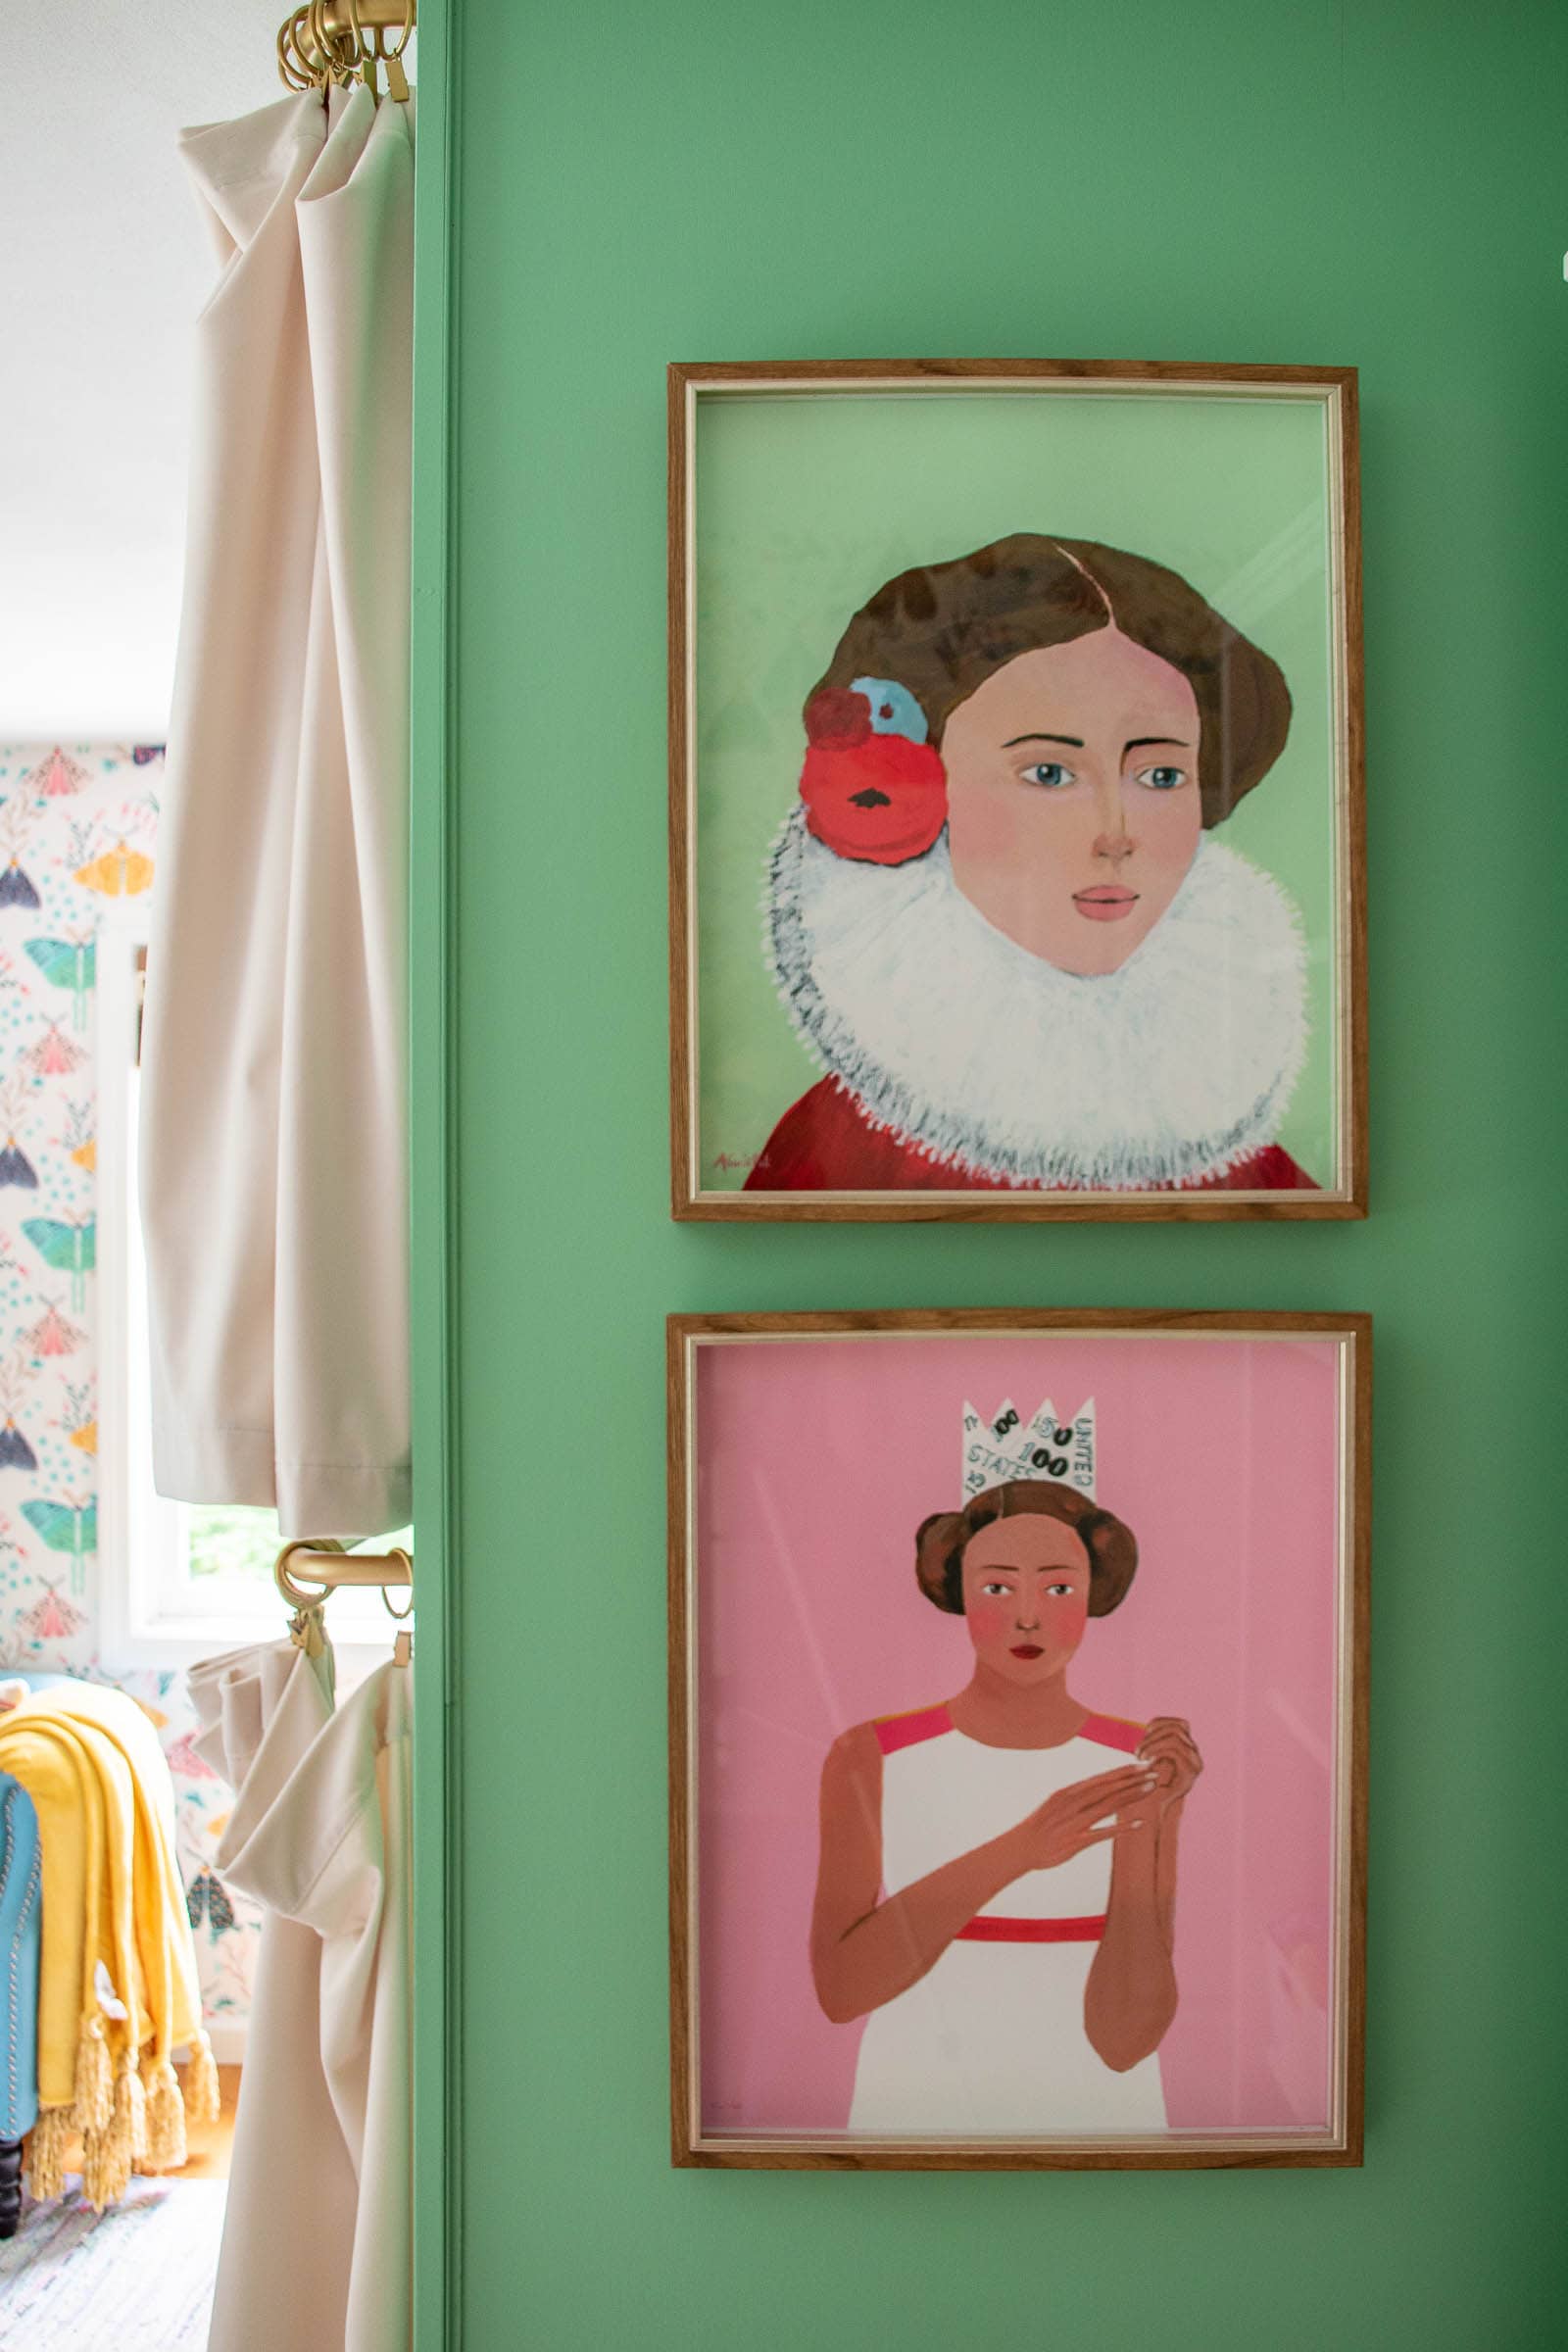
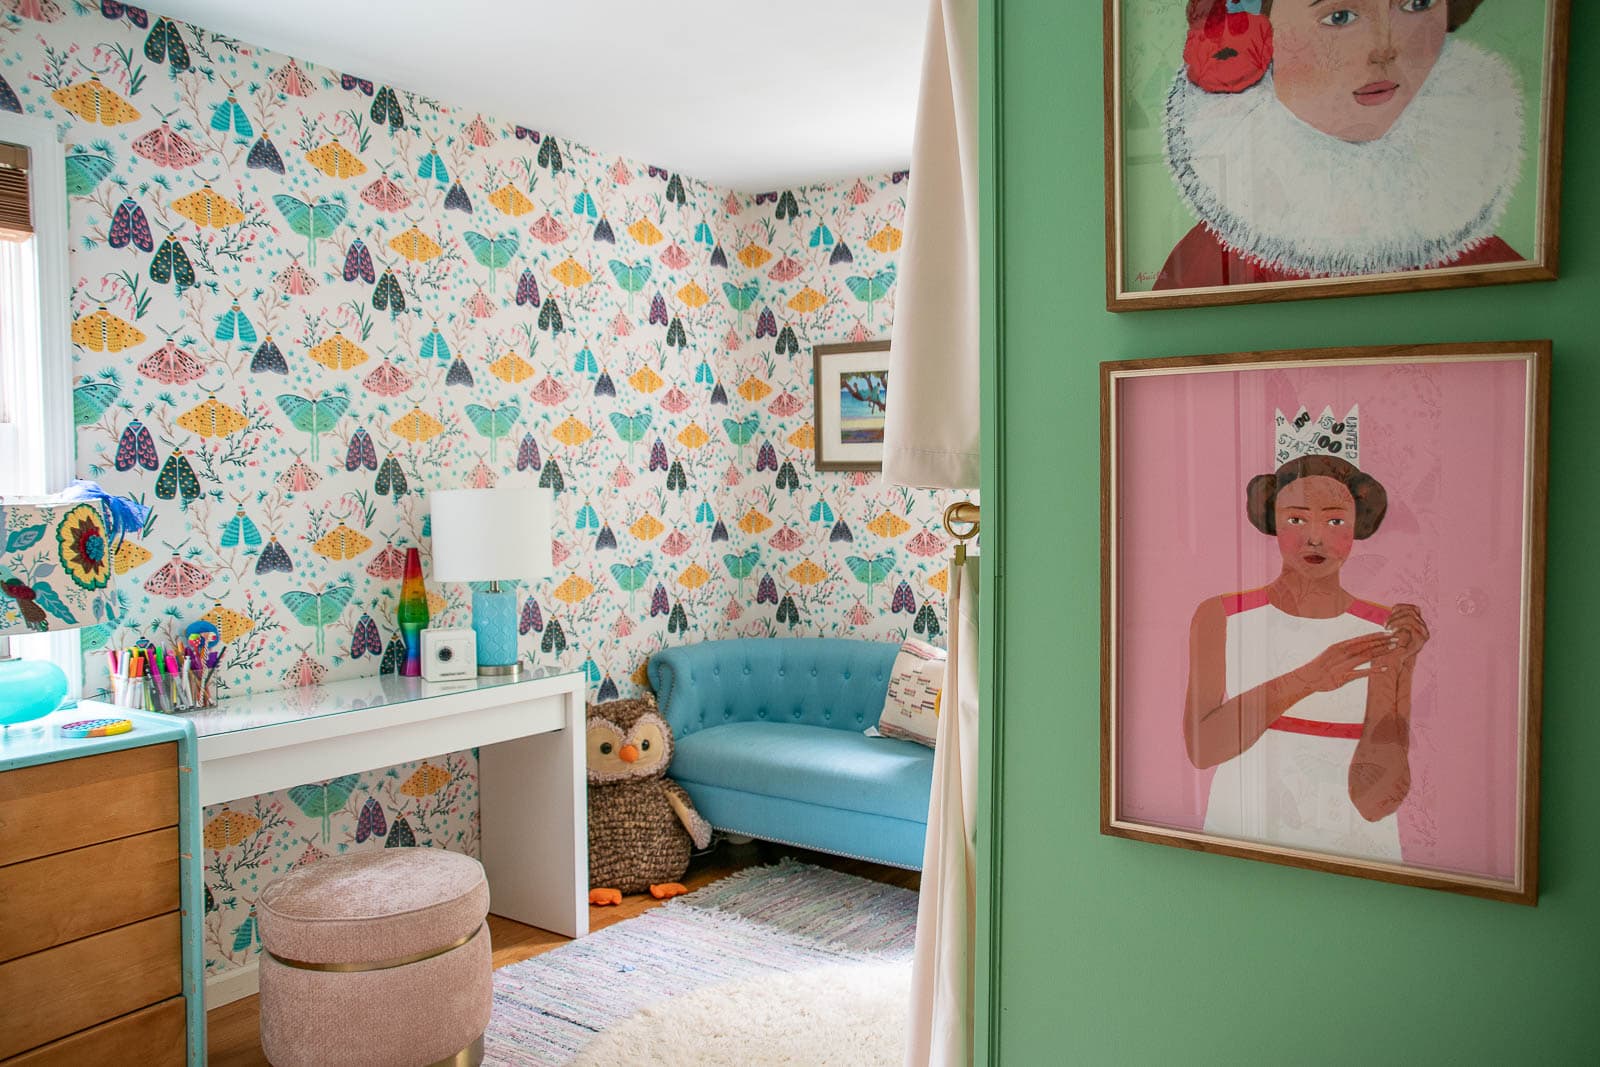
 To give the girls a reading light, I added these sconces along with a puck light glued onto one of these PVC pipe threads. I opted for rechargeable batteries but the girls have been pretty good about remembering to turn their lights off so far! The final finishing touch for this space are these two breathtaking prints by Alexandra Swistak. She paints the most colorful whimsical portraits and I let Martha and Louisa pick which girls from Alexandra’s collection they wanted! I love the ones they chose and am crazy about how well they match the colors in the room!

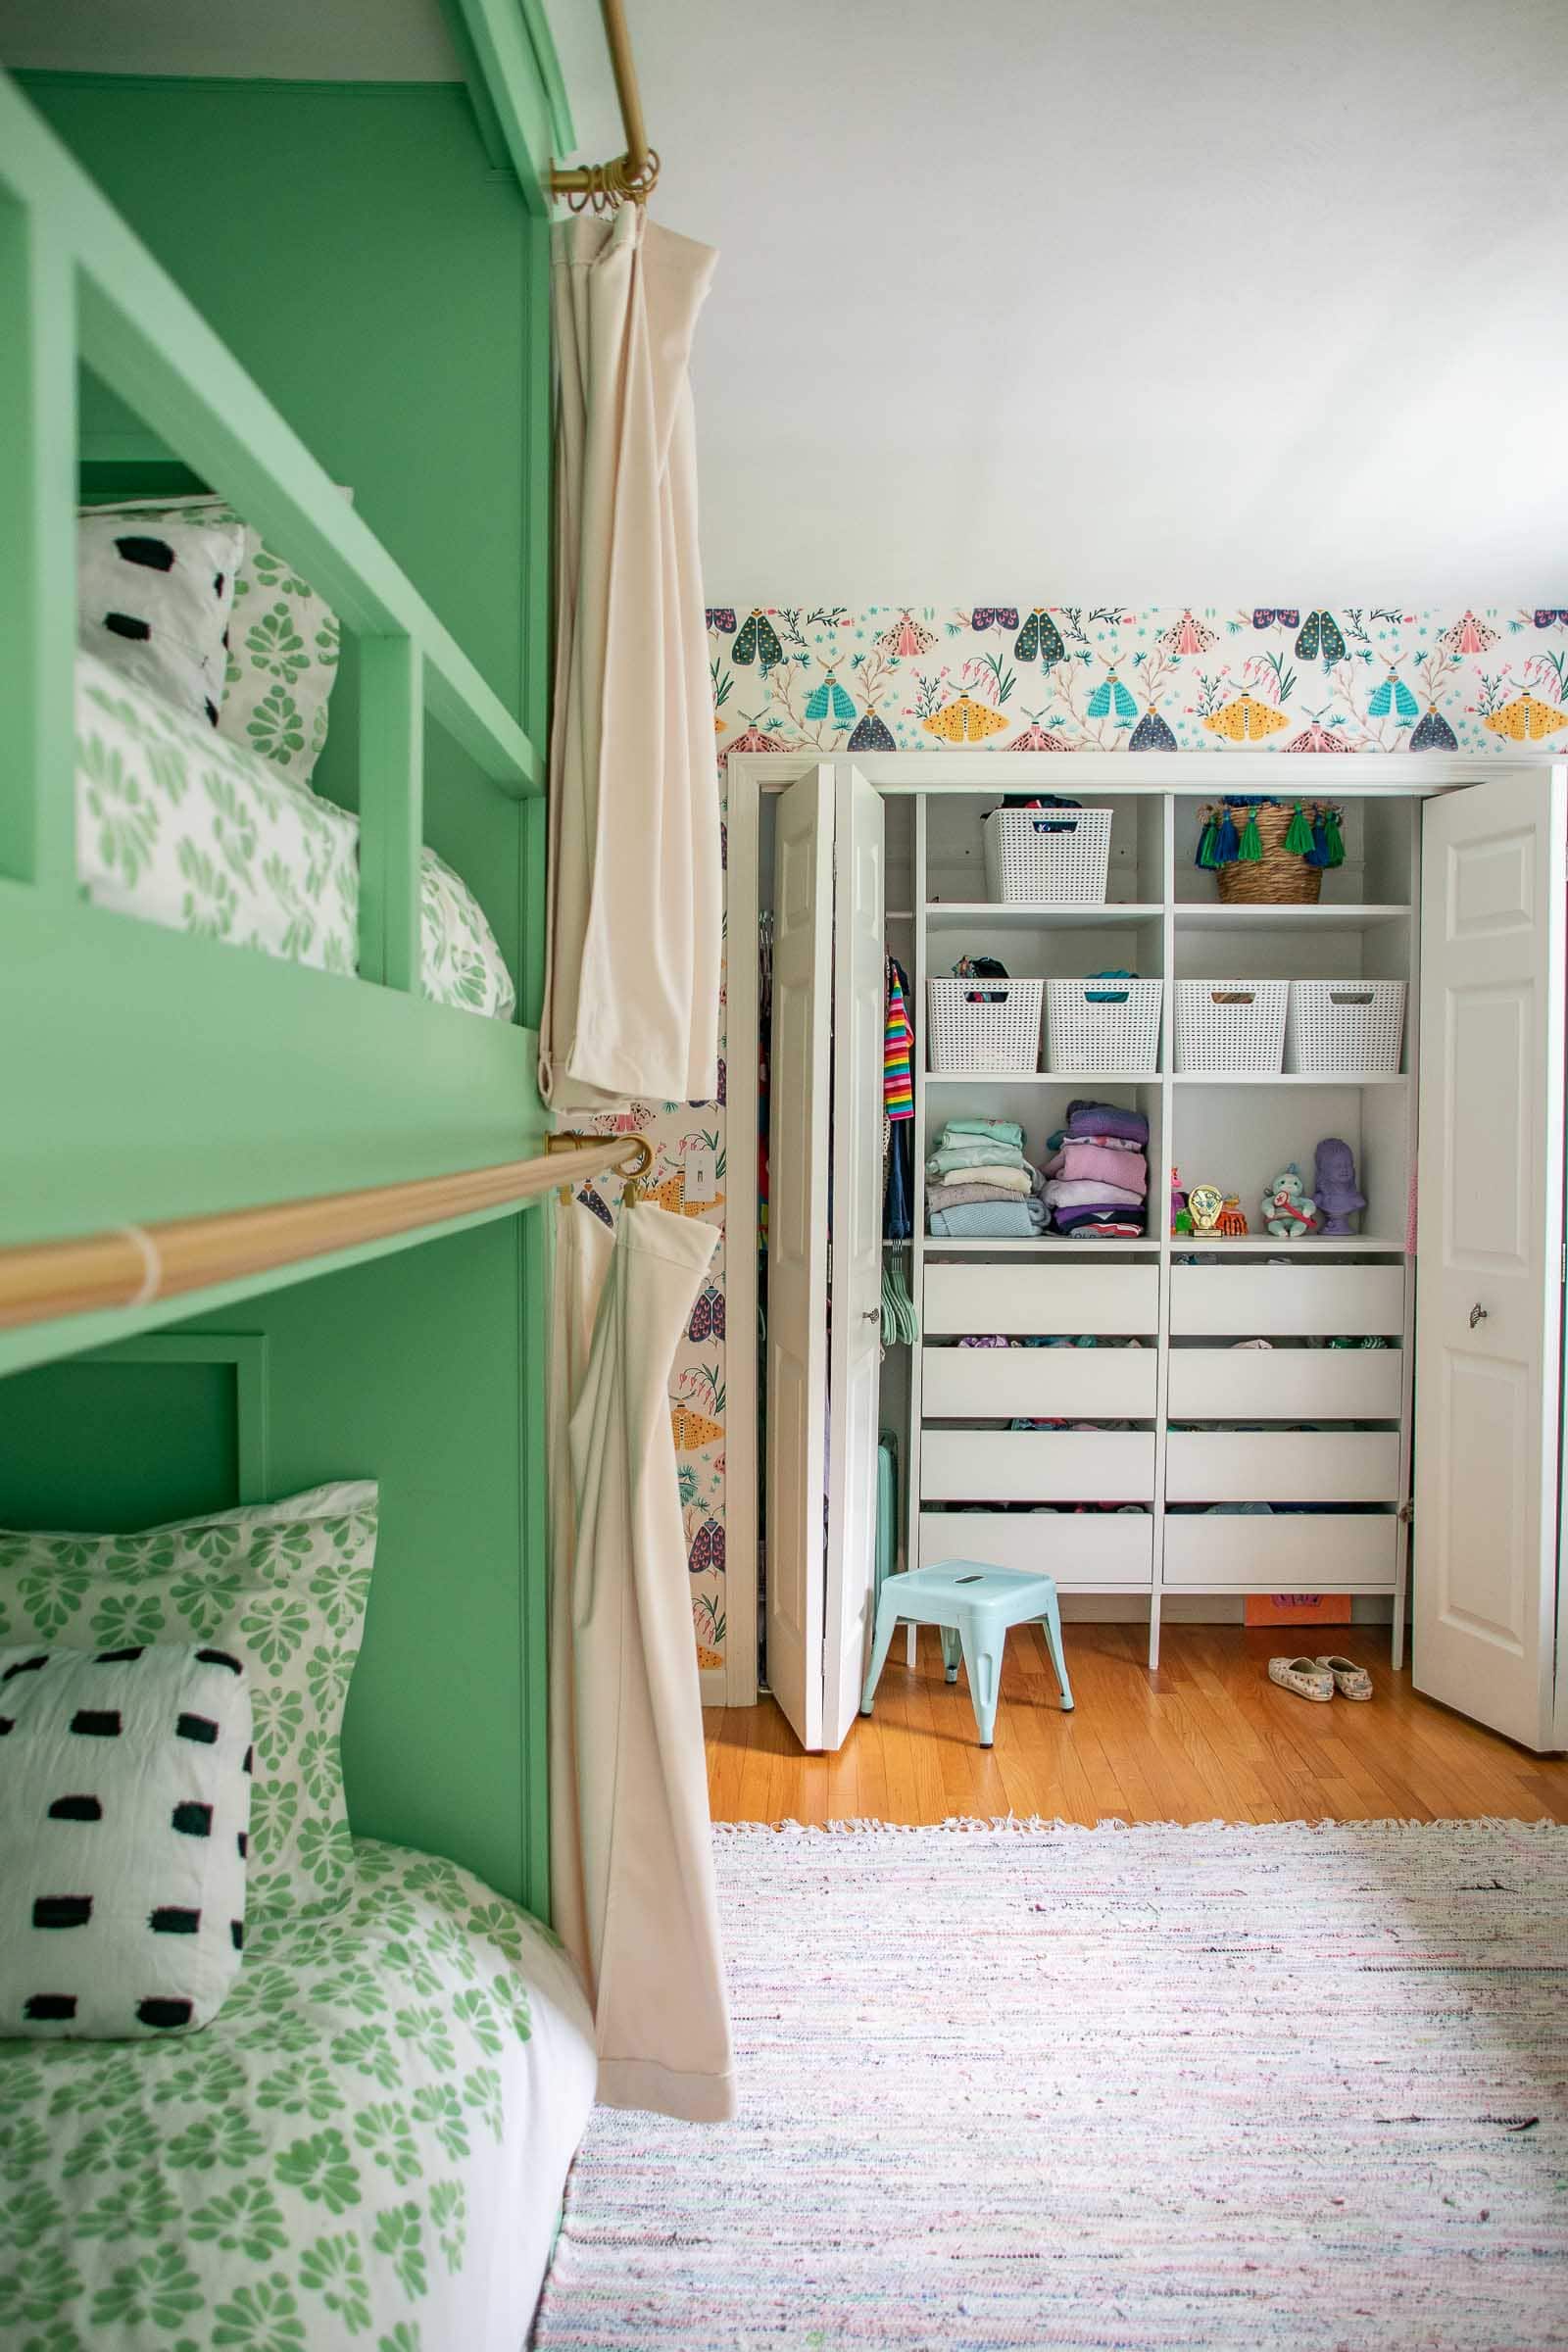
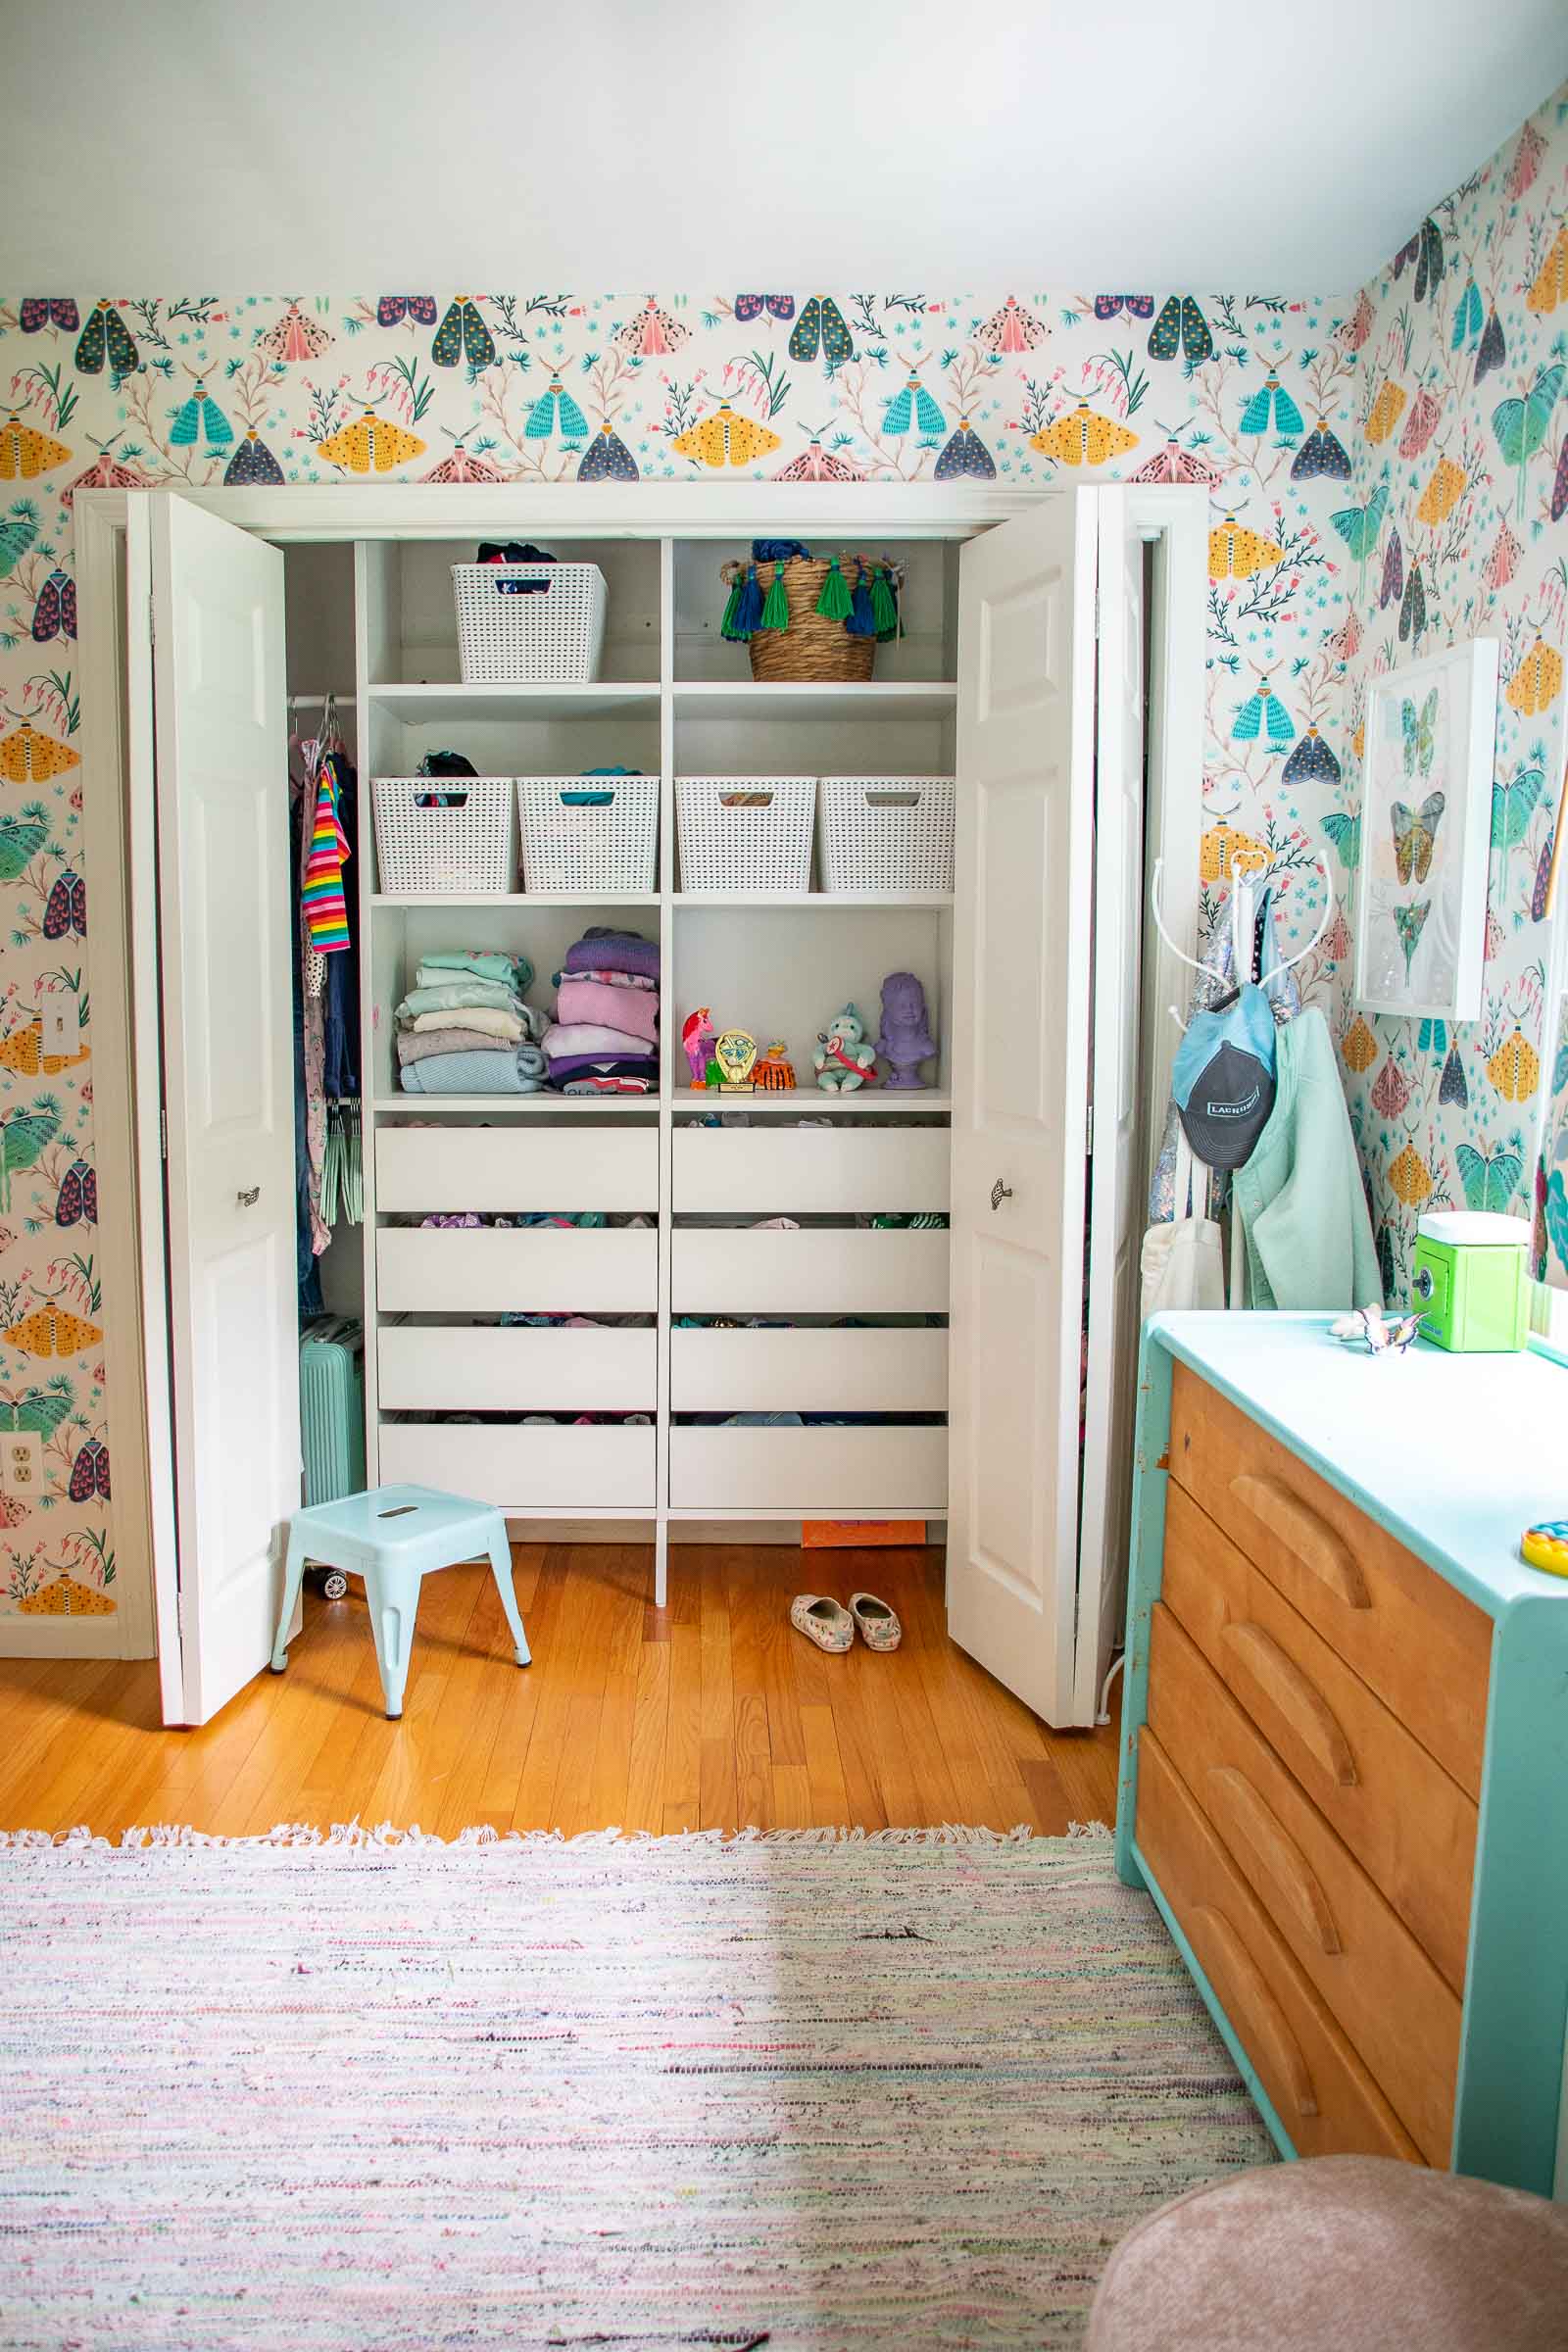
It’s not the most exciting aspect of this makeover, but I installed the Ikea Aurdal closet system to help the girls wrangle all their stuff. It was easy to install and works great for us. 10/10 would recommend. Martha uses this dresser I made over years ago to look a little different and then ultimately stripped the paint back off. (Do you enjoy the neon painting that fell behind the closet system and now we can’t get it out?)
Most of the time the girls are great roommates, but there are definite moments when they butt heads or someone gets frustrated by the mess or annoyed about being woken up in the morning. Giving them a room makeover with these bunk beds where they can escape has been helpful. I’m hoping to talk them into getting rid of the little white desk since they never use it for anything but collecting clutter, but baby steps.


It is such a great room. I would have LOVED to have Bunk beds as a child.
Thank you Tanja! You and me both! 🙂
What rods did you use for the curtains on the beds?
Hi! Thanks for asking… I just updated the blog post, but they’re these ones here: https://amzn.to/43r7Tmf.
I love this so much! I have looked and looked for months and months, but can’t find a cuter option than these bunks for my girls.
Anyway you have the plans for them yet?
Or…could you send a link or two of plans that you looked at when creating these?
First time builder here and I’m just so overwhelmed with all the options online!
Hi! I need to pay someone to make plans for me… sadly I don’t have them yet! I looked at a variety of bunks online, but the ones we pulled from the most were the ones my friend Lauren from Handmade Home made (they’re one of her IG highlights I believe) and then another set by Chris Loves Julia that I saw on their page as well!