
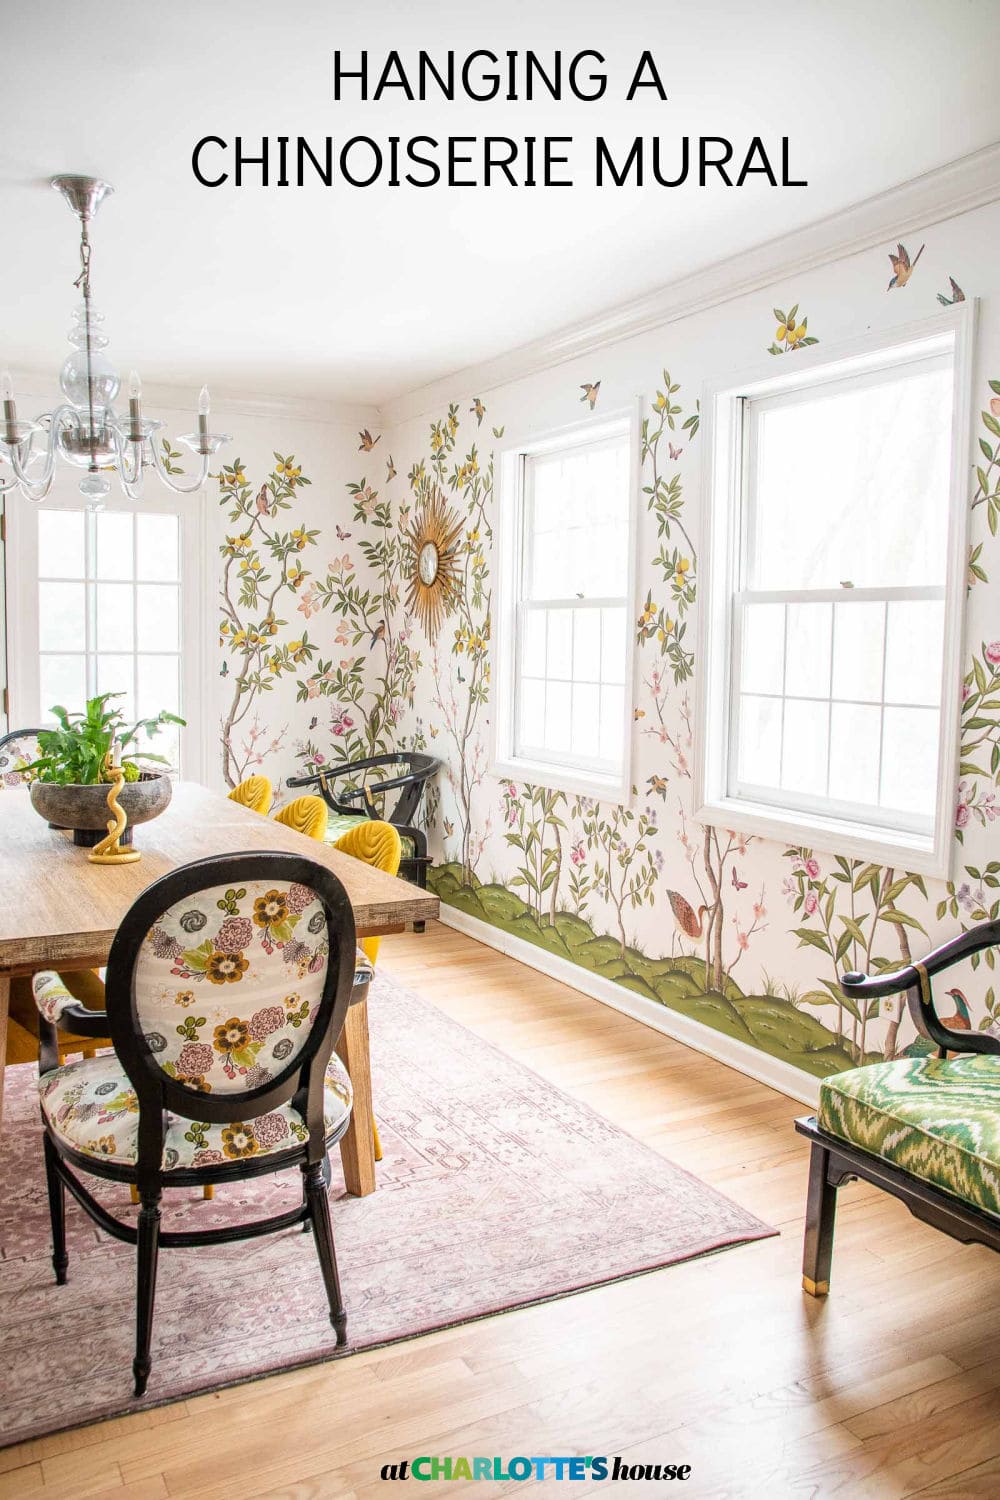
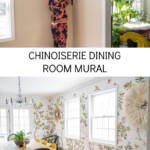
Hanging Chinoiserie Wallpaper in Our Dining Room
Psssst… this post *might* contain affiliate links: see my disclosure here.
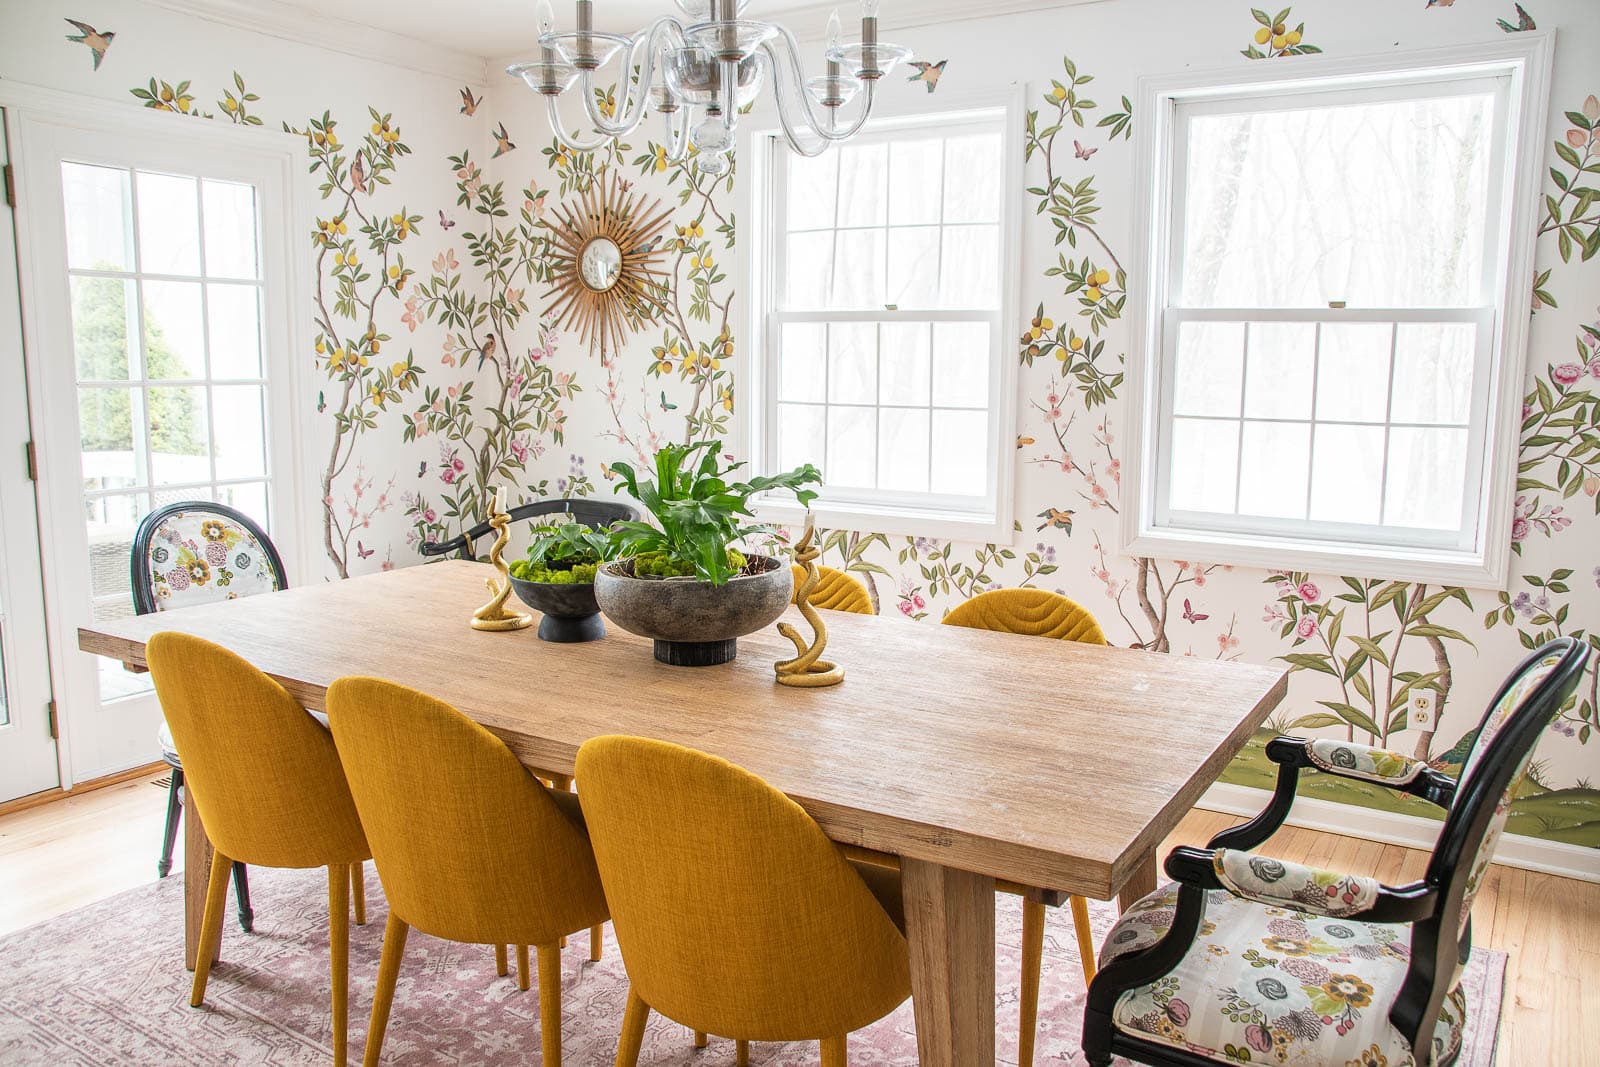
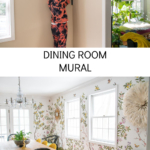
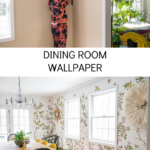
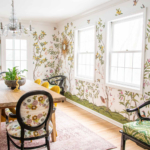
Chinoiserie Wallpaper in our Dining Room
Disclosure: I’m so thankful to Rebel Walls for providing me with this amazing wallpaper. It’s even prettier in person!!
When we moved into the new house, I started brainstorming what to do with each room. Dining rooms are fun spaces for me because you don’t have to be quite as practical and can have fun! Our last dining room had an incredible accent wall, but this current space doesn’t quite lend itself to a singular accent wall. I knew I wanted a pattern or a ‘moment’ in the room. Sometimes I bring in pattern with curtains but this room is bright and cheerful and honestly I don’t know that it needs the weight of curtains. So…. I opted for wallpaper on all four walls.
Shop my favorites!

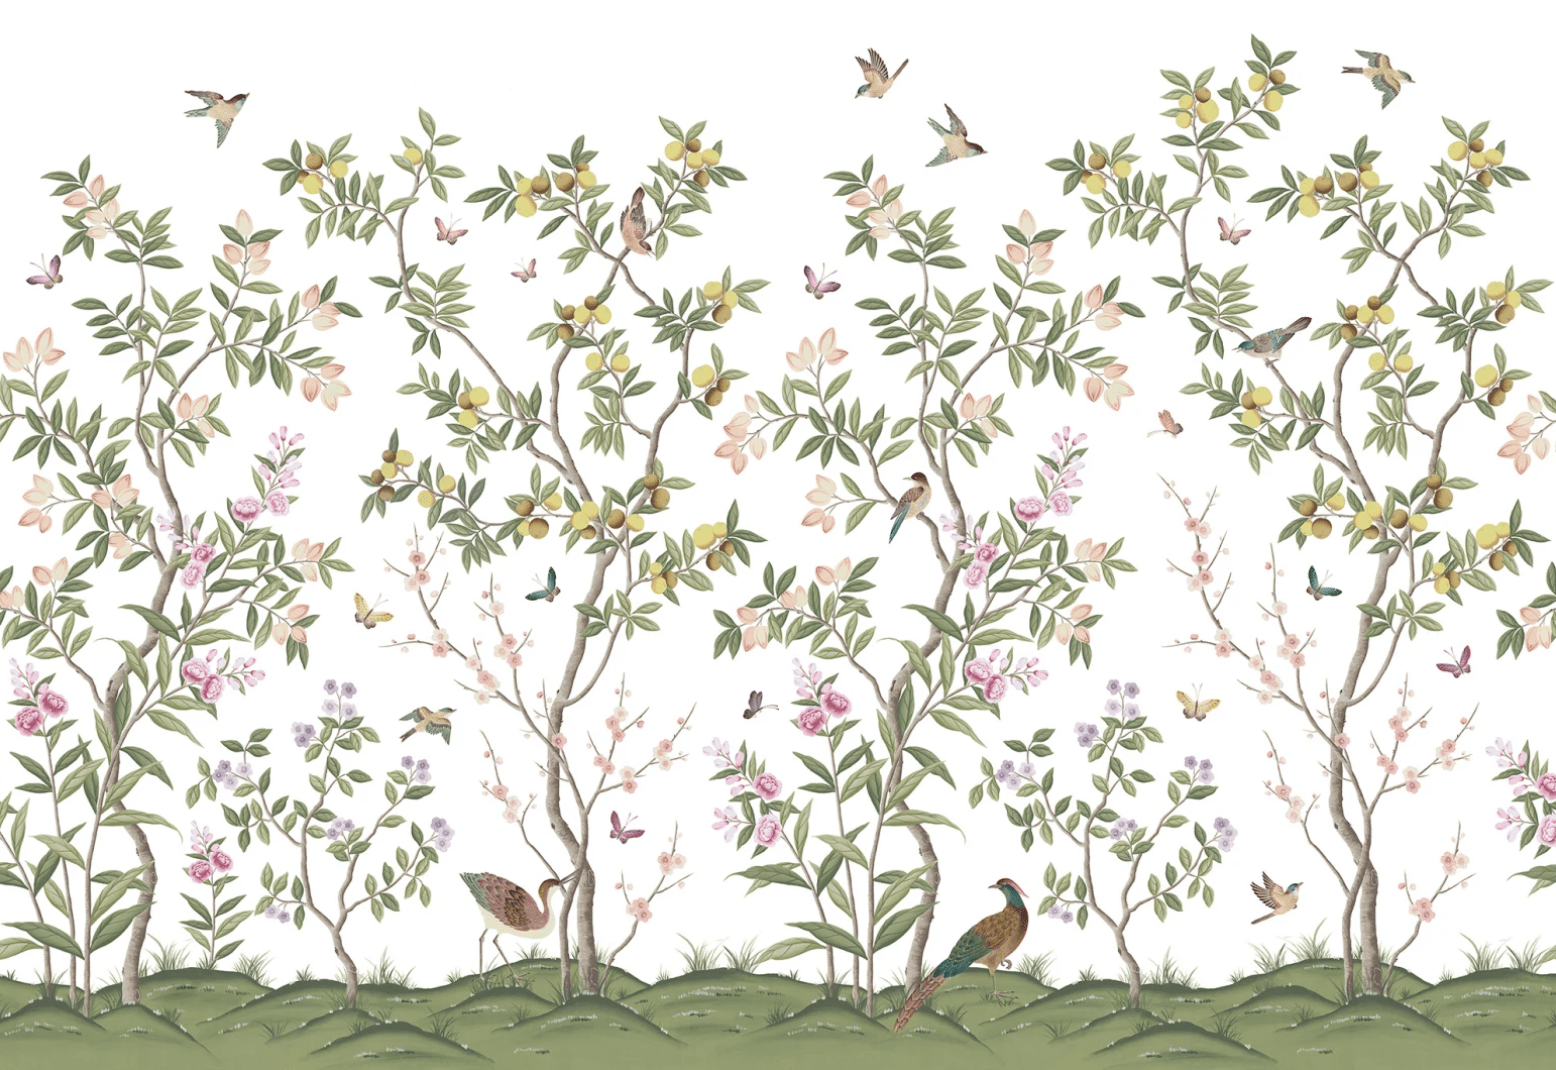
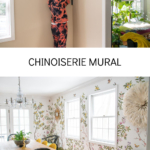
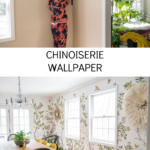
I worked with Rebel Walls at the old house and love their product. I also fell in love with their chinoiserie line designed by Diane Hall. It’s the perfect bright and whimsical design for the space and, luckily, the colors are PERFECT for the existing decor: yellow, green, pink. This wallpaper is not pasted, but it comes with a powder that you mix with water to make the paste.
Prep the Space for Wallpaper
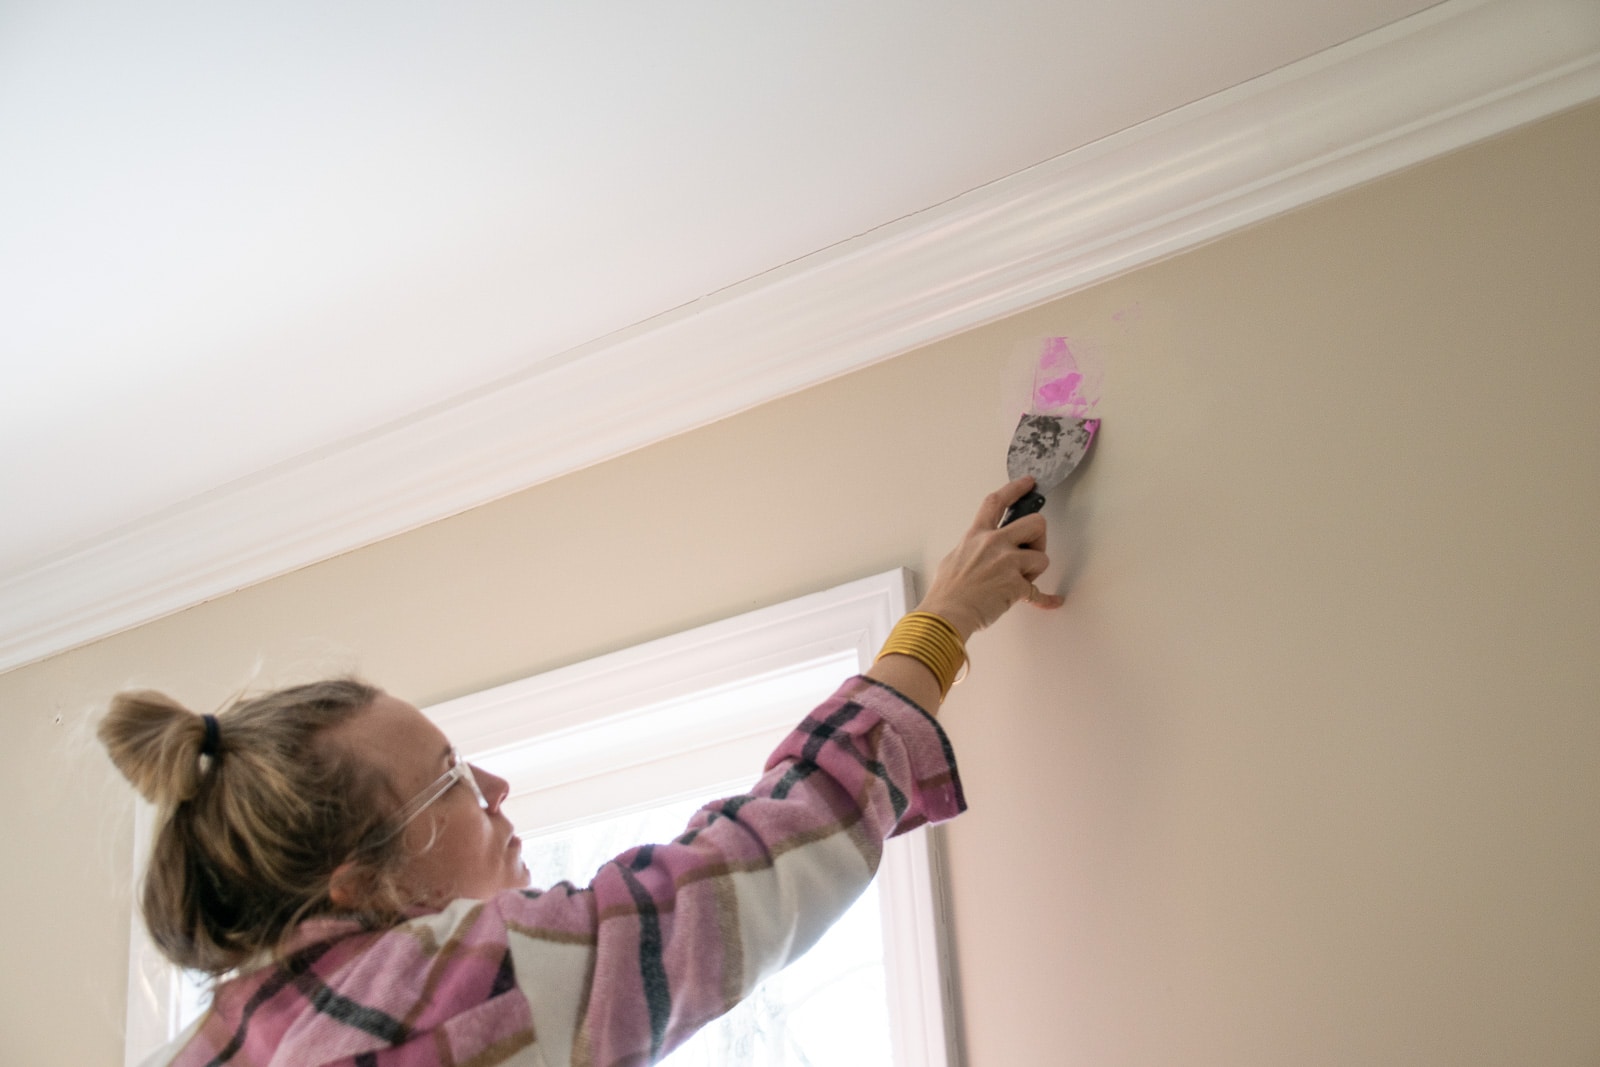
In an ideal world I would have painted the walls white before wallpapering. There are a few places where the wall paint is on the trim or you can see the slightest sliver peeking out from between two strips of wallpaper and having white underlying the paper would have concealed this a bit. Since I didn’t paint, the only prep I did was to fill, sand and wipe down the walls.
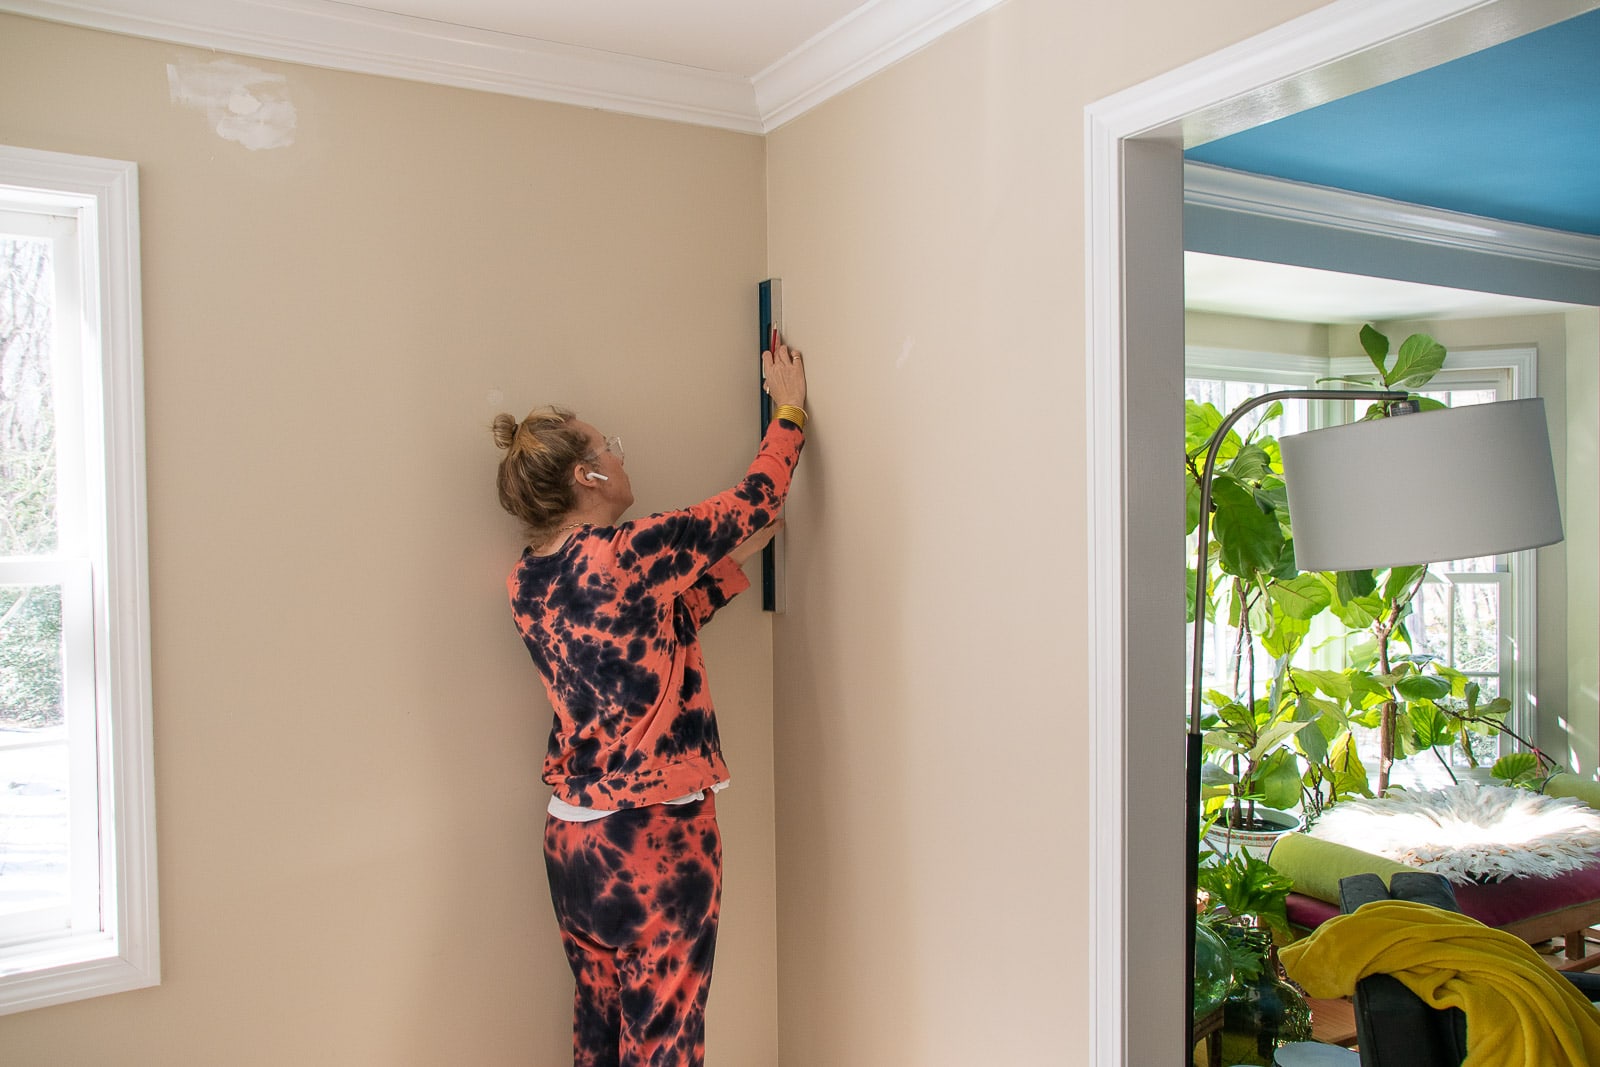
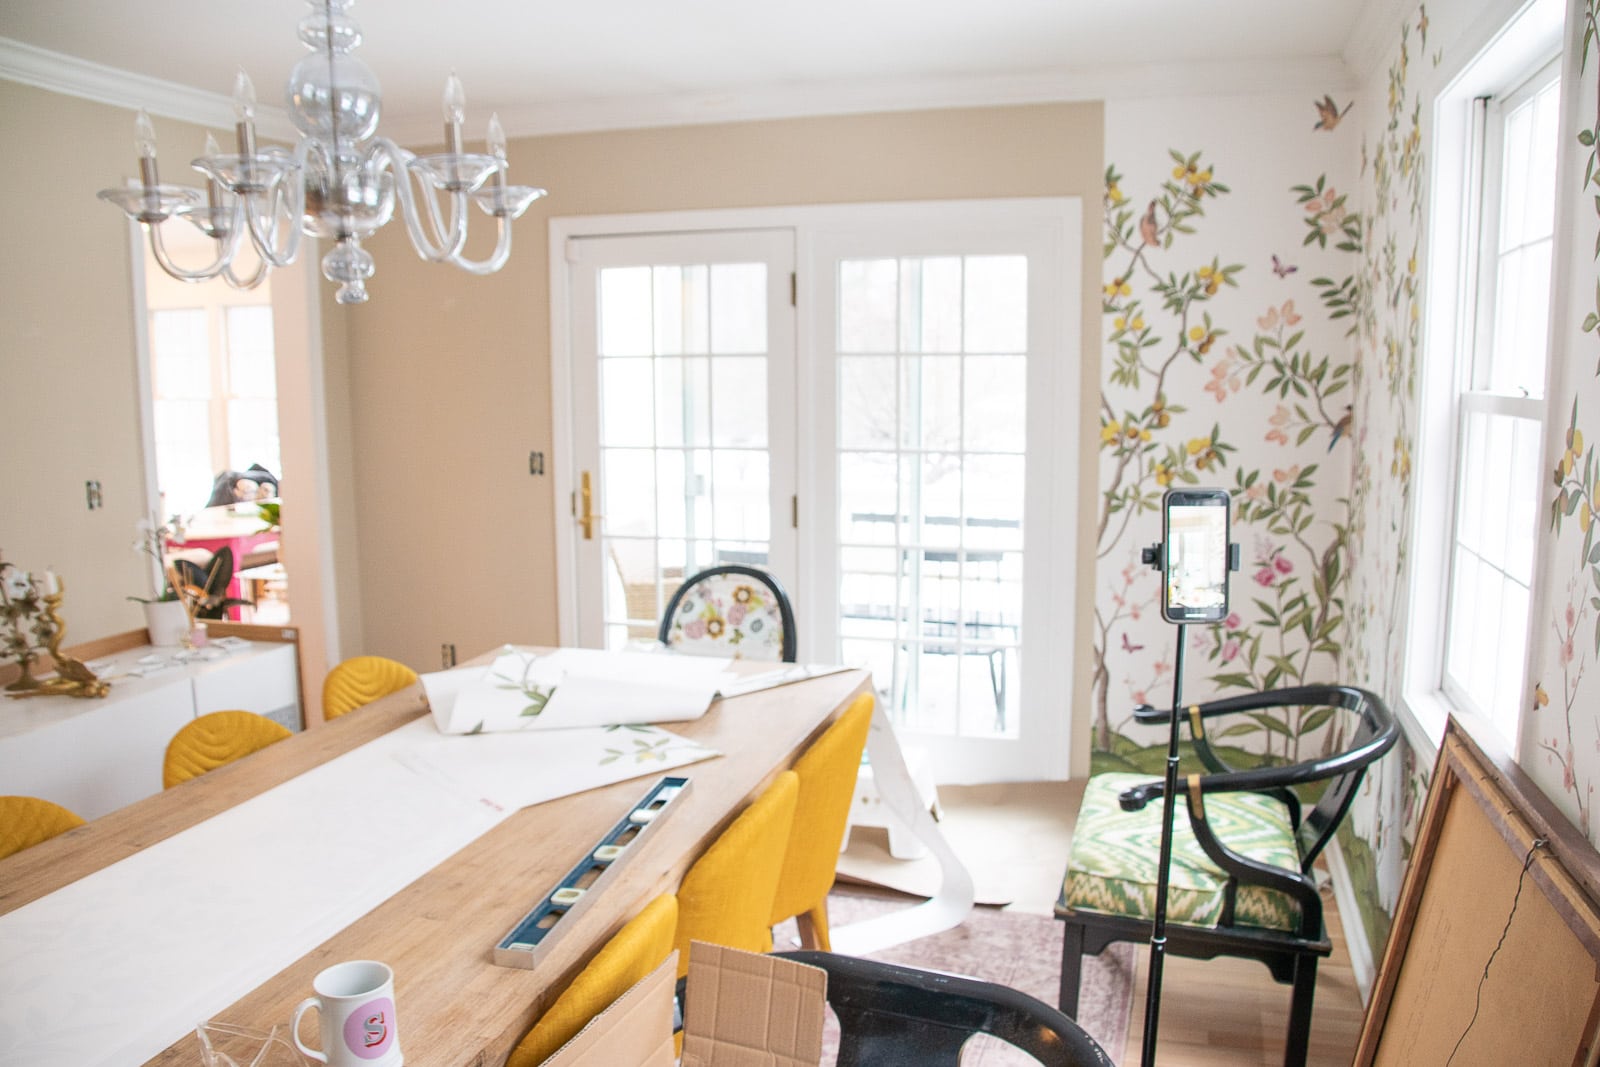
First step for any wallpaper project is to draw a level vertical line as a guide for the first strip of wallpaper. Do no, I repeat do NOT, trust your walls to be straight up and down. I started my first length of paper about 8-inches in from the corner.
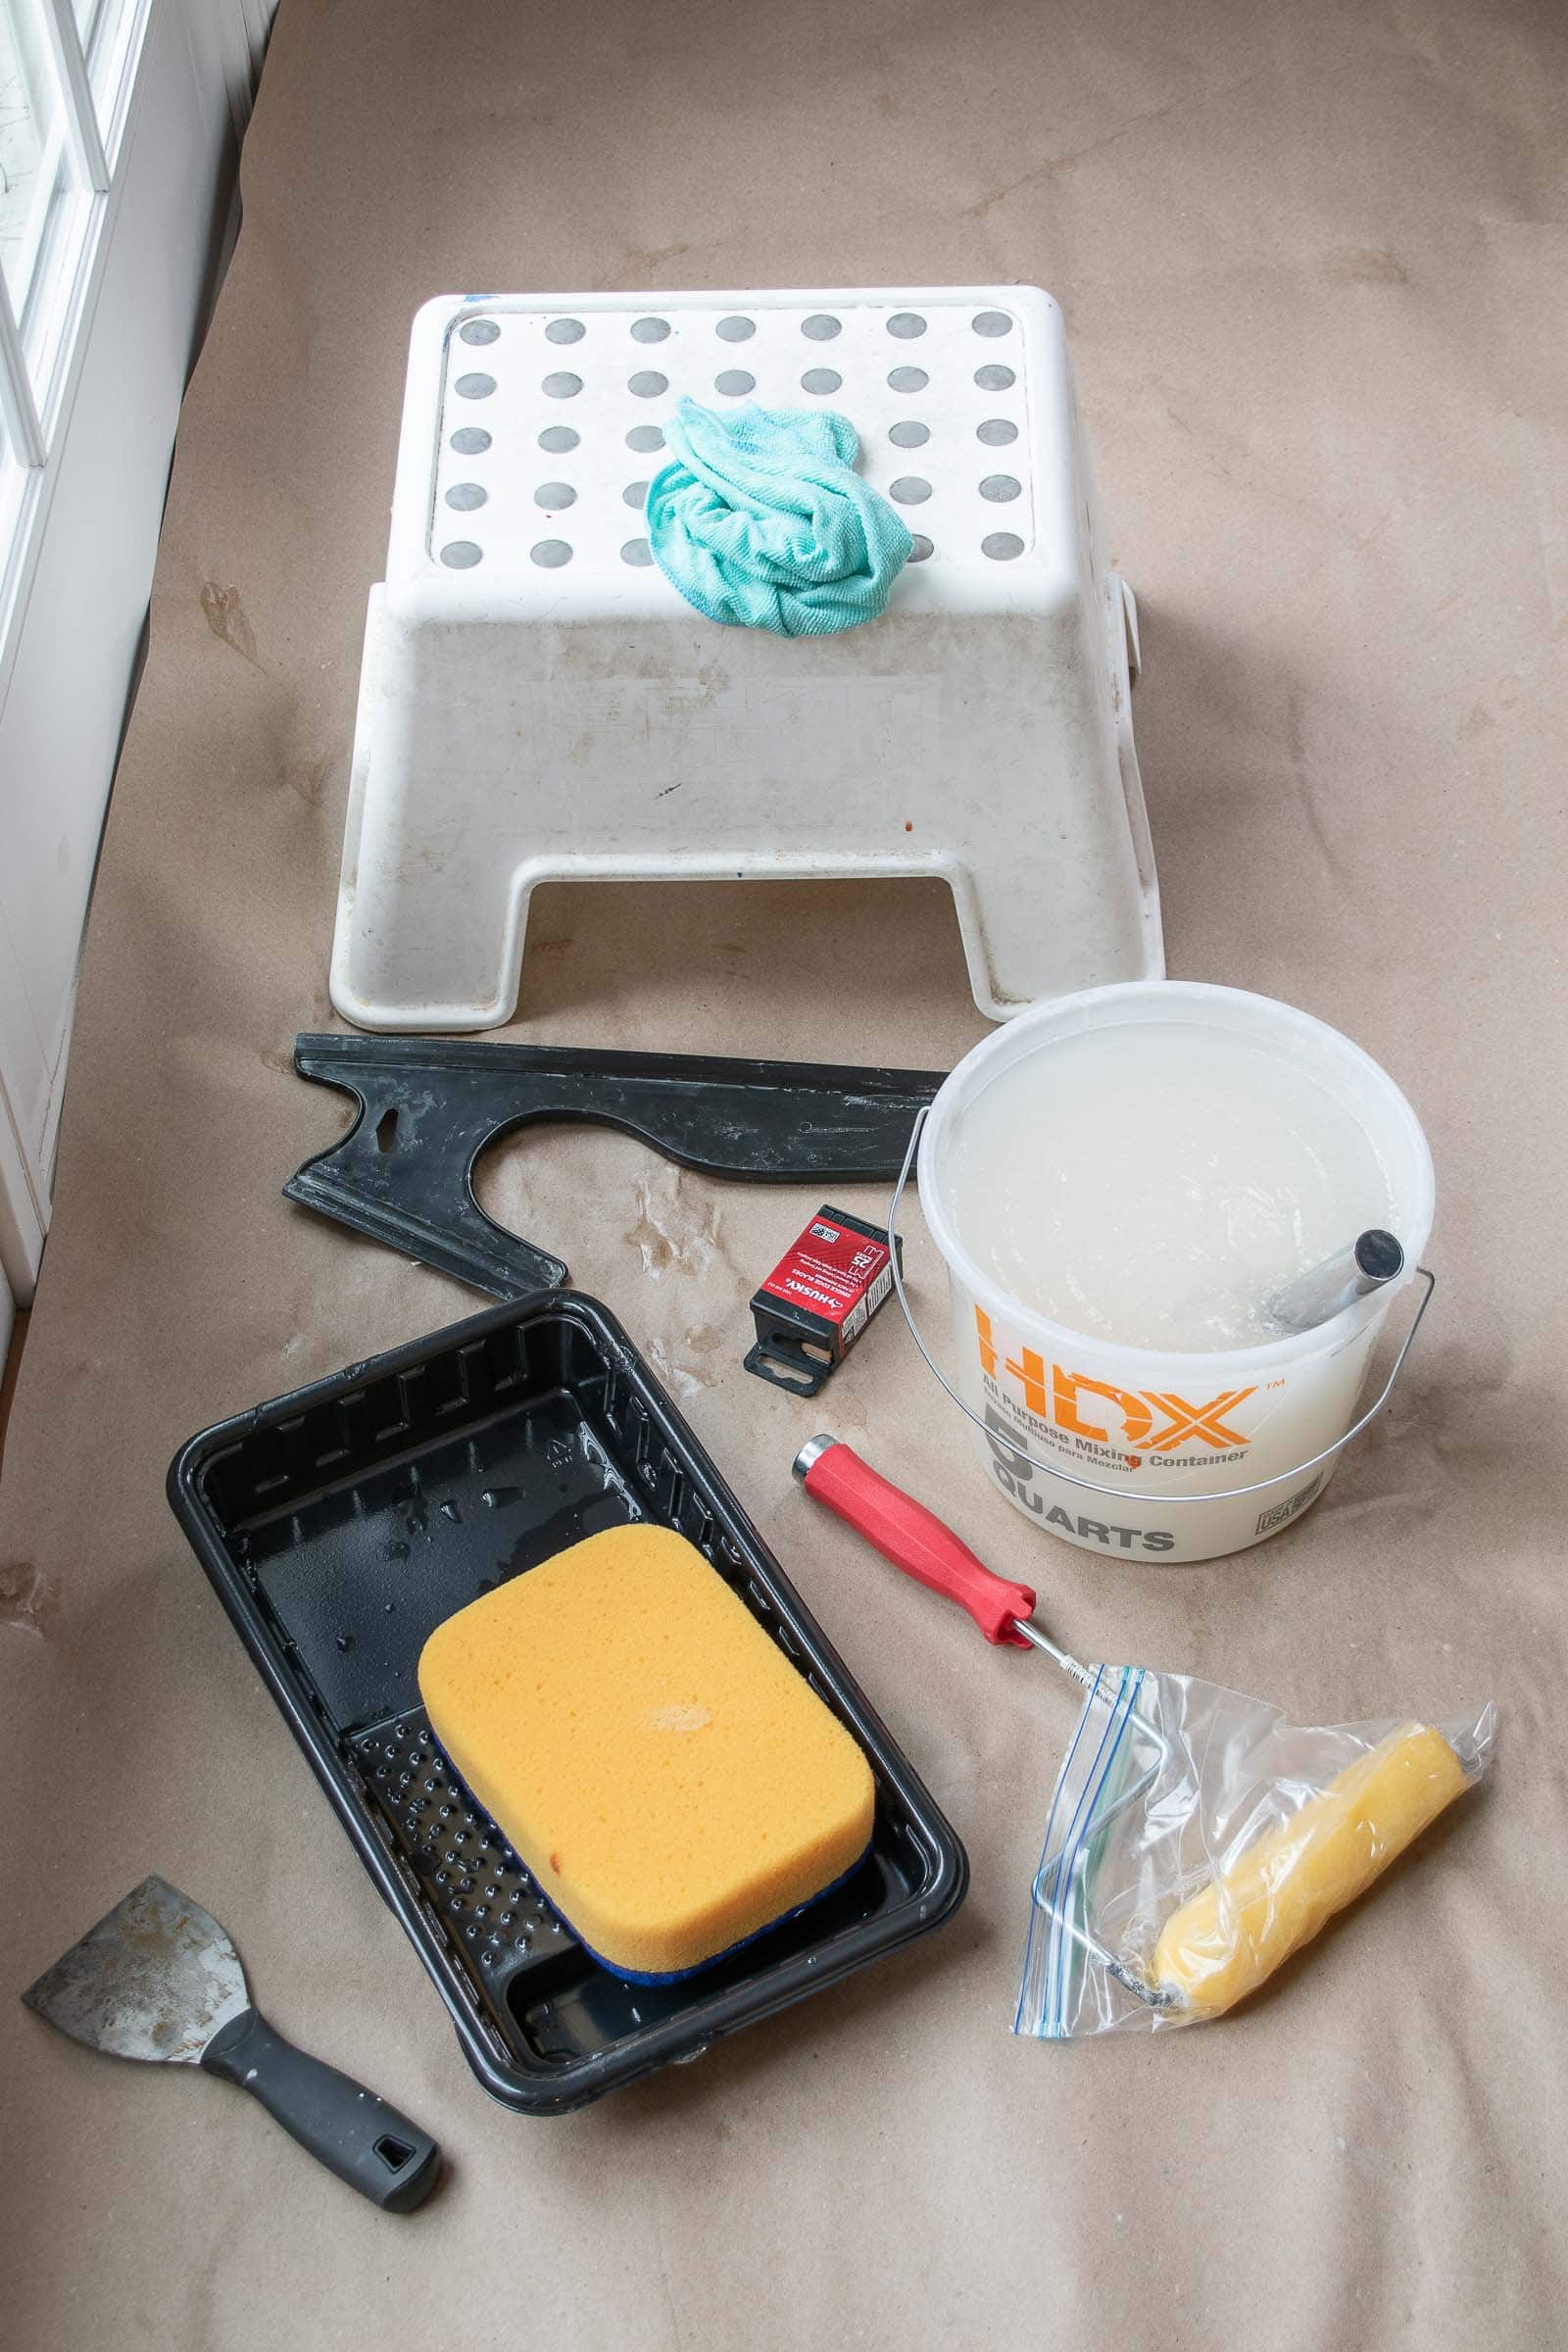
Materials for Hanging Wallpaper
Here are the materials I’m using: glue, a roller with a small tray, a scraper to smooth the paper, a spackle knife to use as a straight edge for cutting, a box of razor blades (swap these out OFTEN… I grab a new blade every other strip), and rags for cleaning the excess paste.
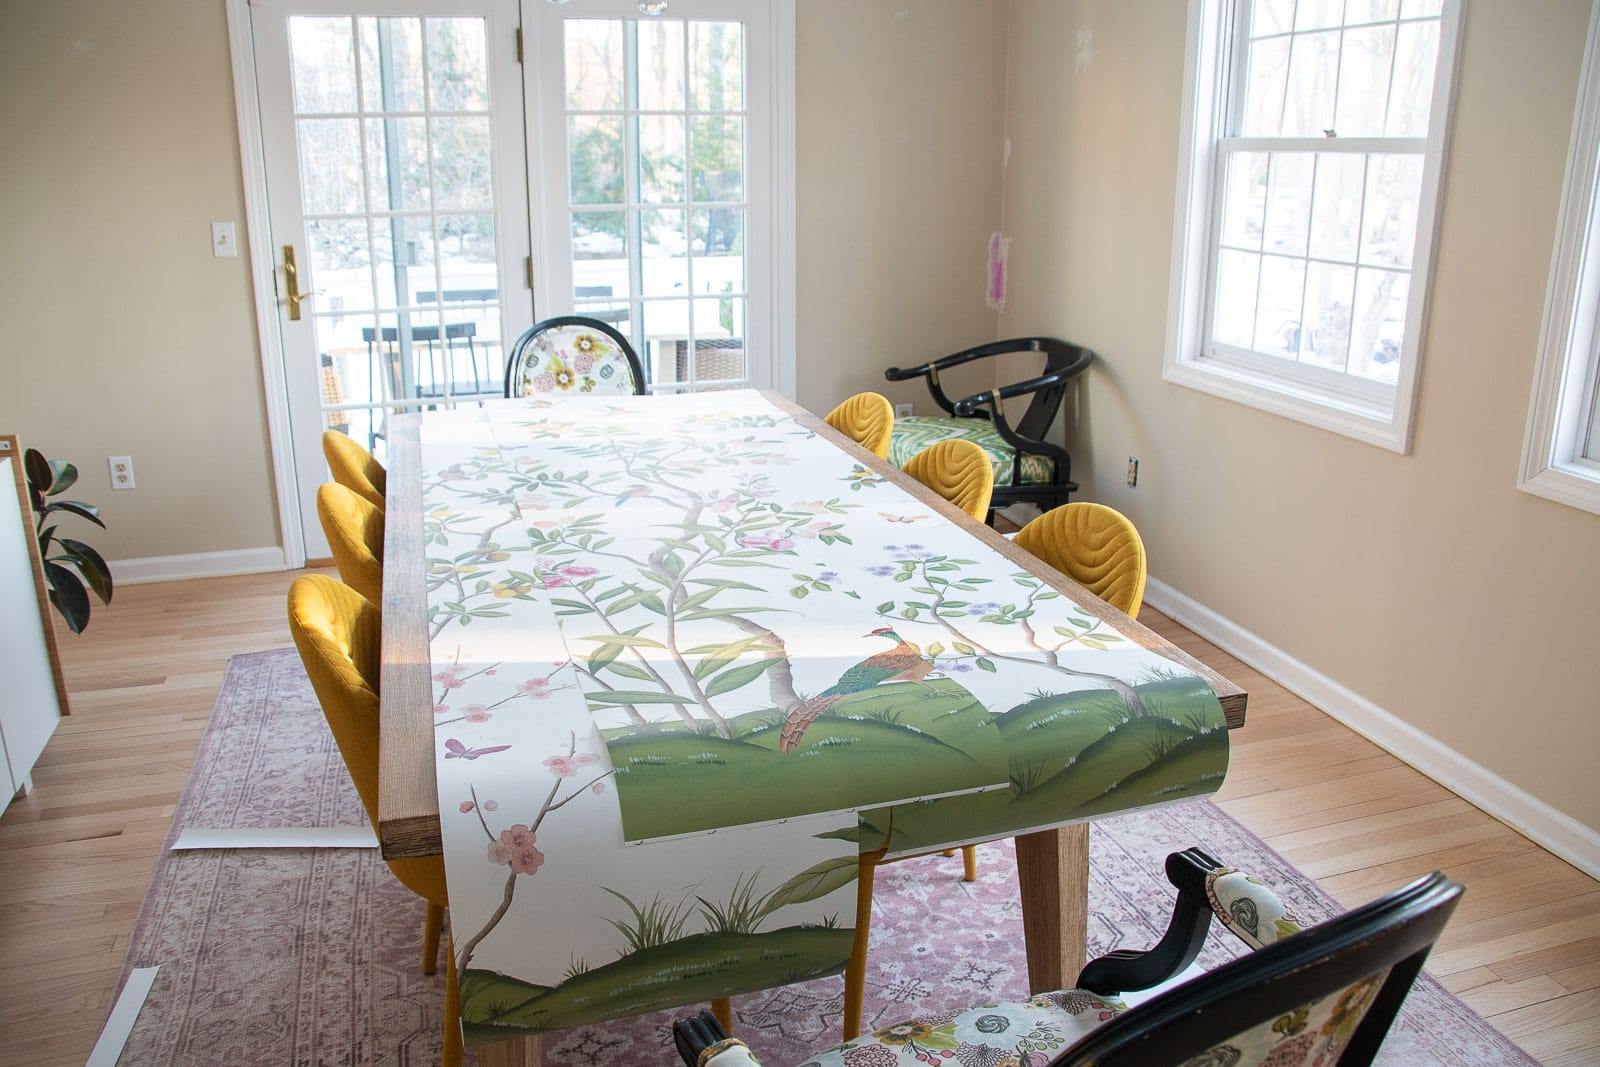
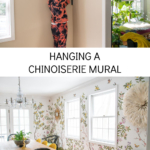
The the guideline drawn, I was able to roll the paste onto the wall and place my first strip of paper. I’ve never worked with non pasted wallpaper, but found this paste/ paper to be really easy to work with. This paste was intended to go on the wall which made the installation very easy, actually. I used a roller to roll the paste onto the wall and then slid my paper into place. This chinoiserie pattern was designed by Diane Hall and it was very easy to match up and hang. The entire mural comes on one continuous roll so you roll it out and cut between each length.
For the corners and windows, I cut away any excess before hanging and used a diagonal release cut to adhere the paper around the trim.
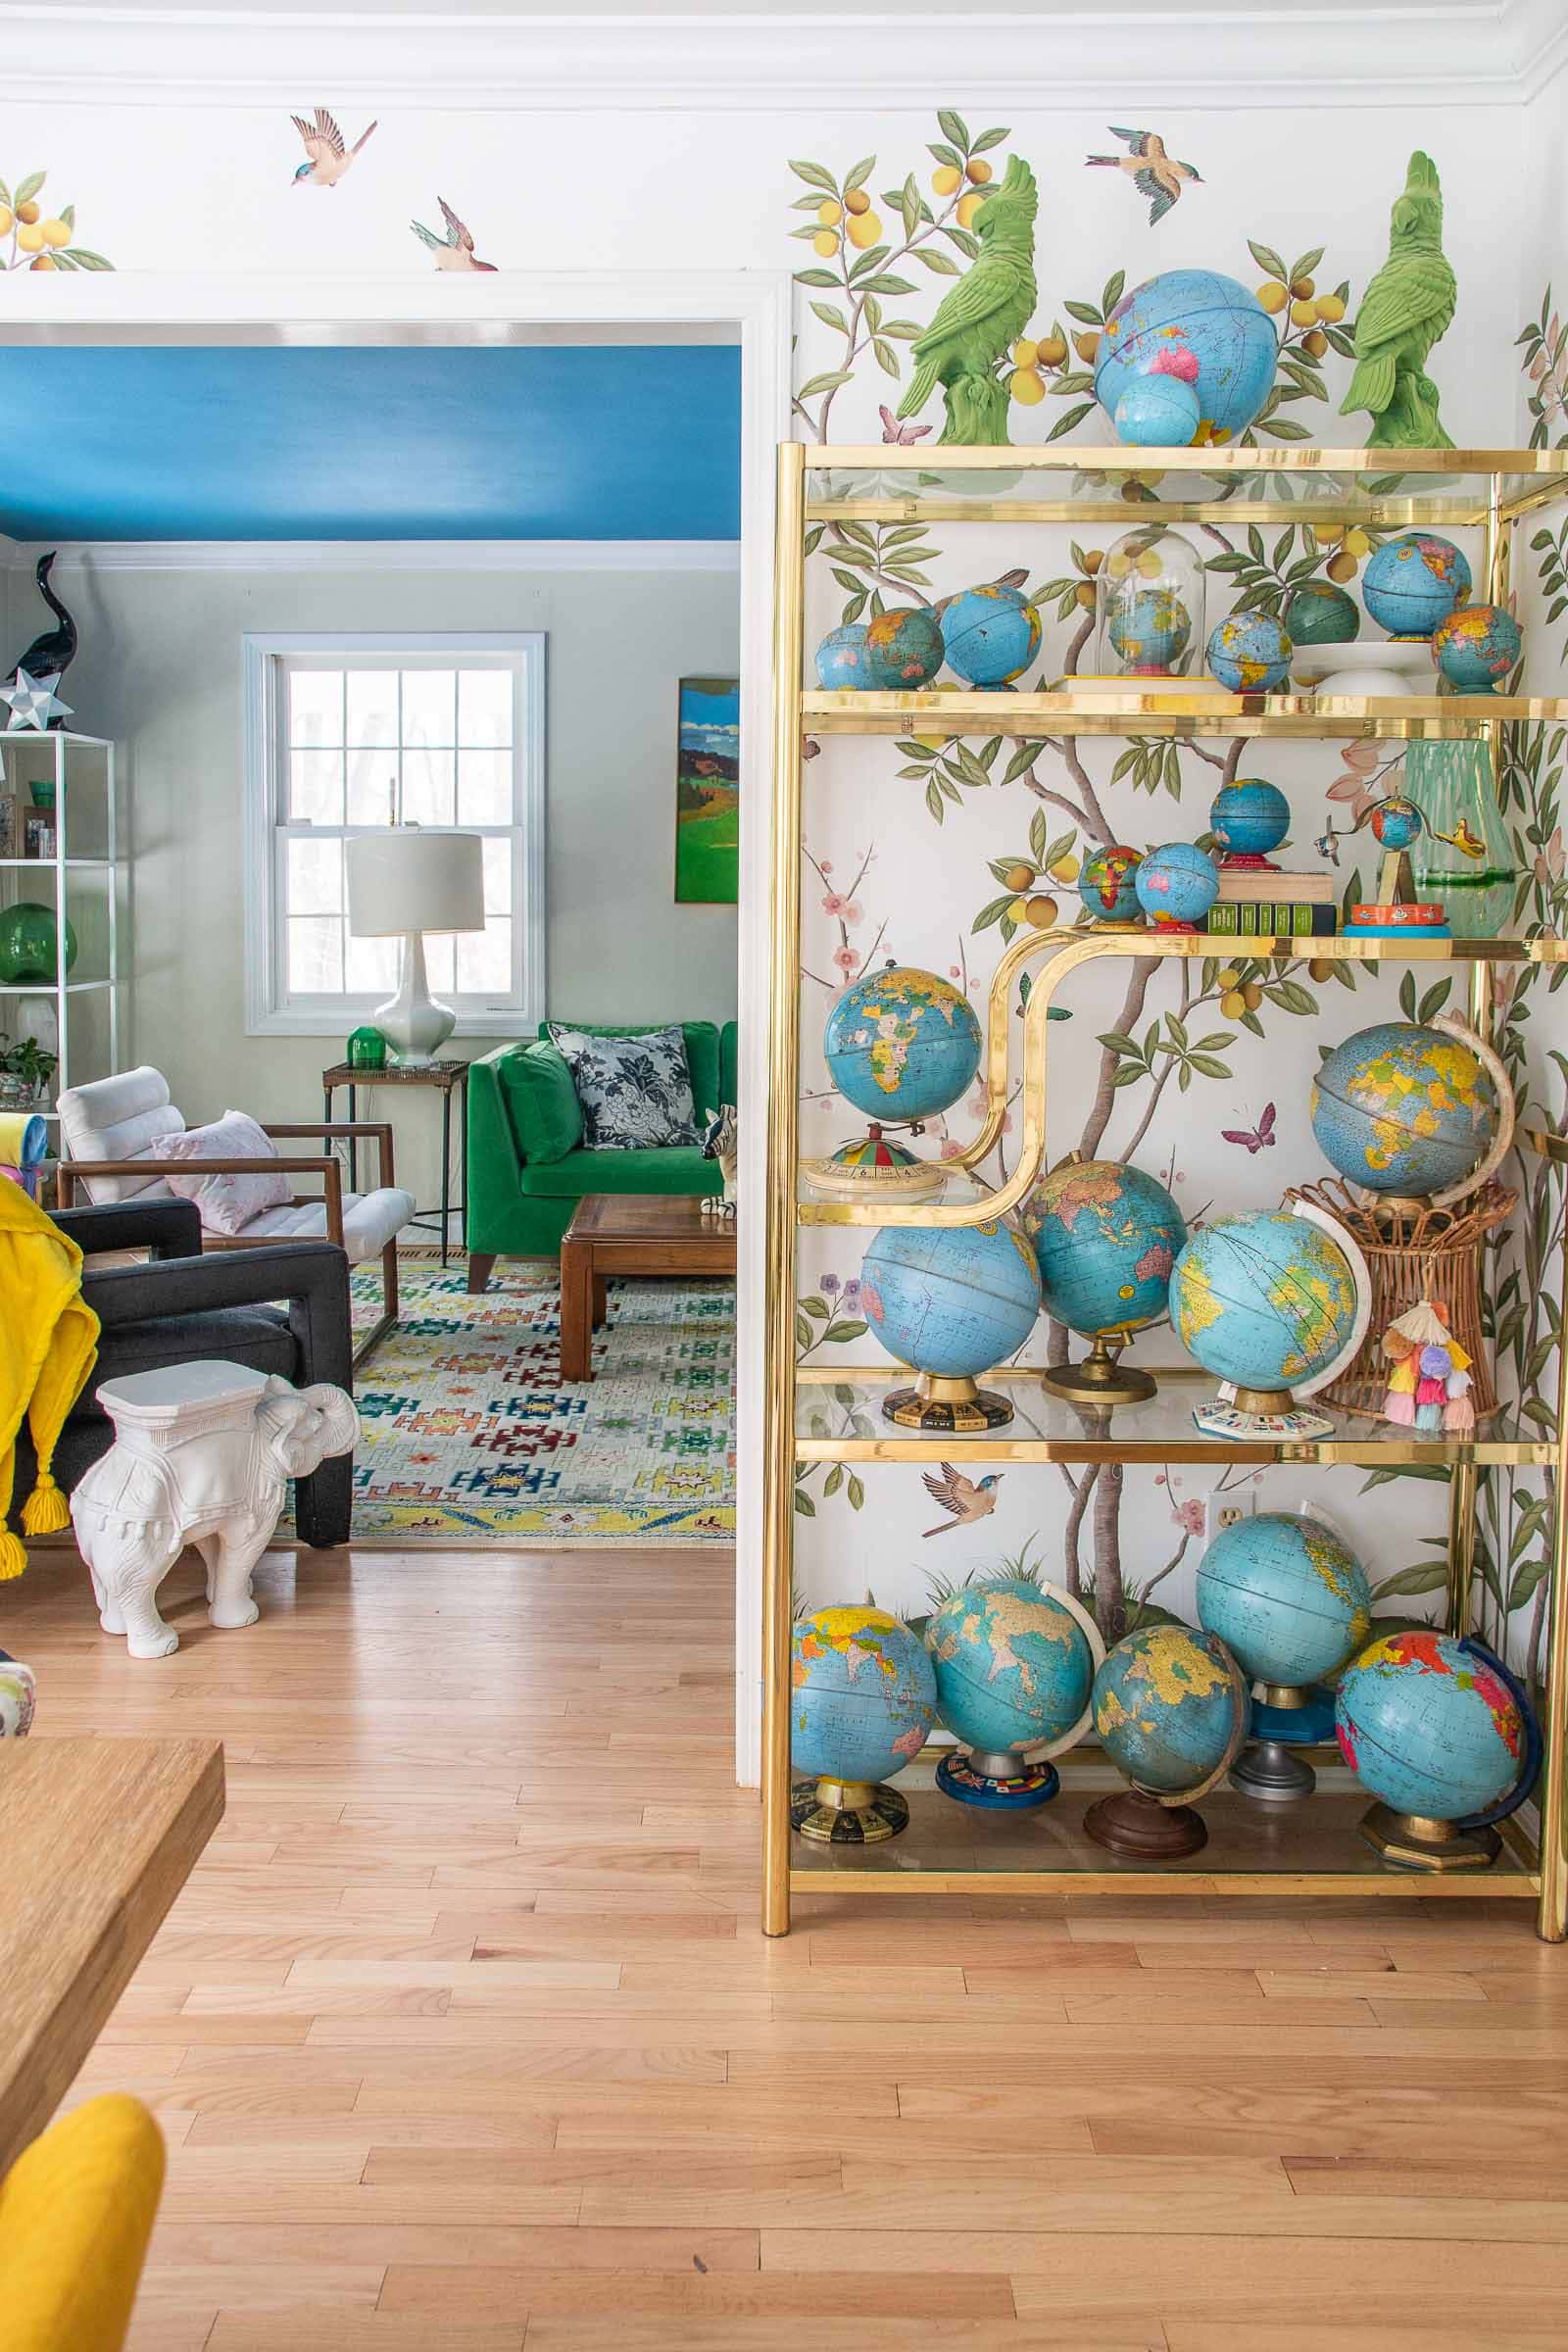
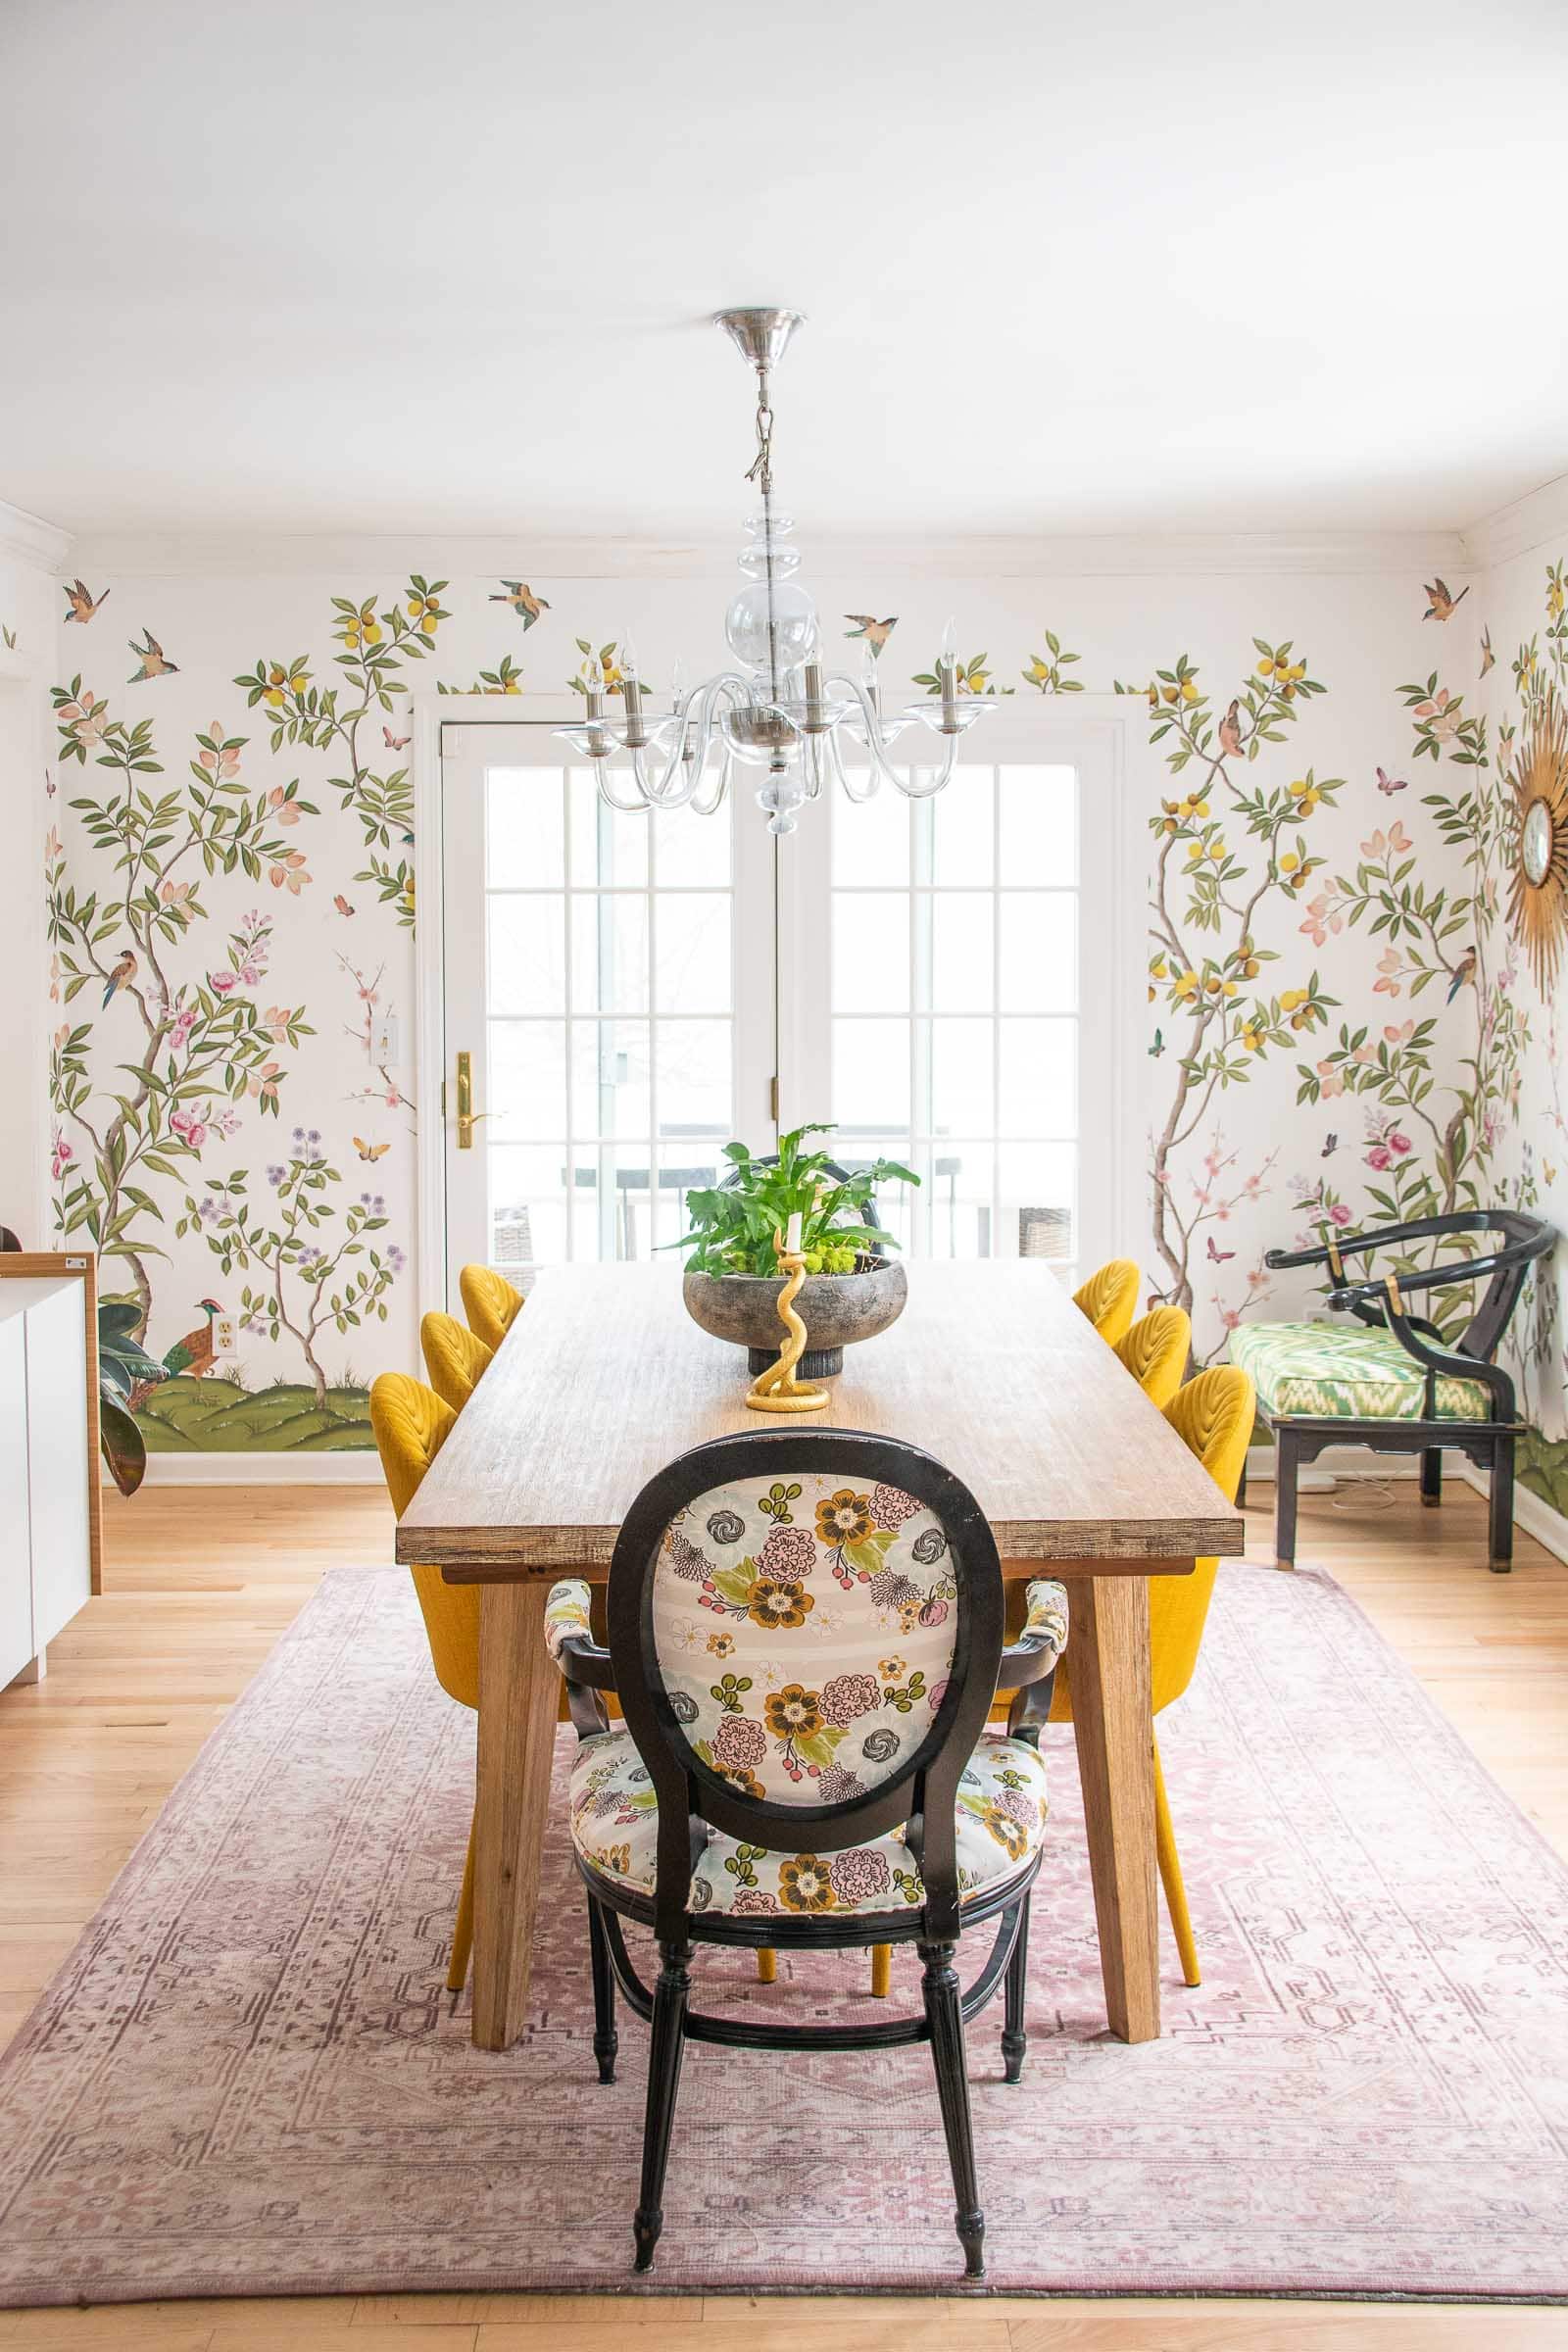
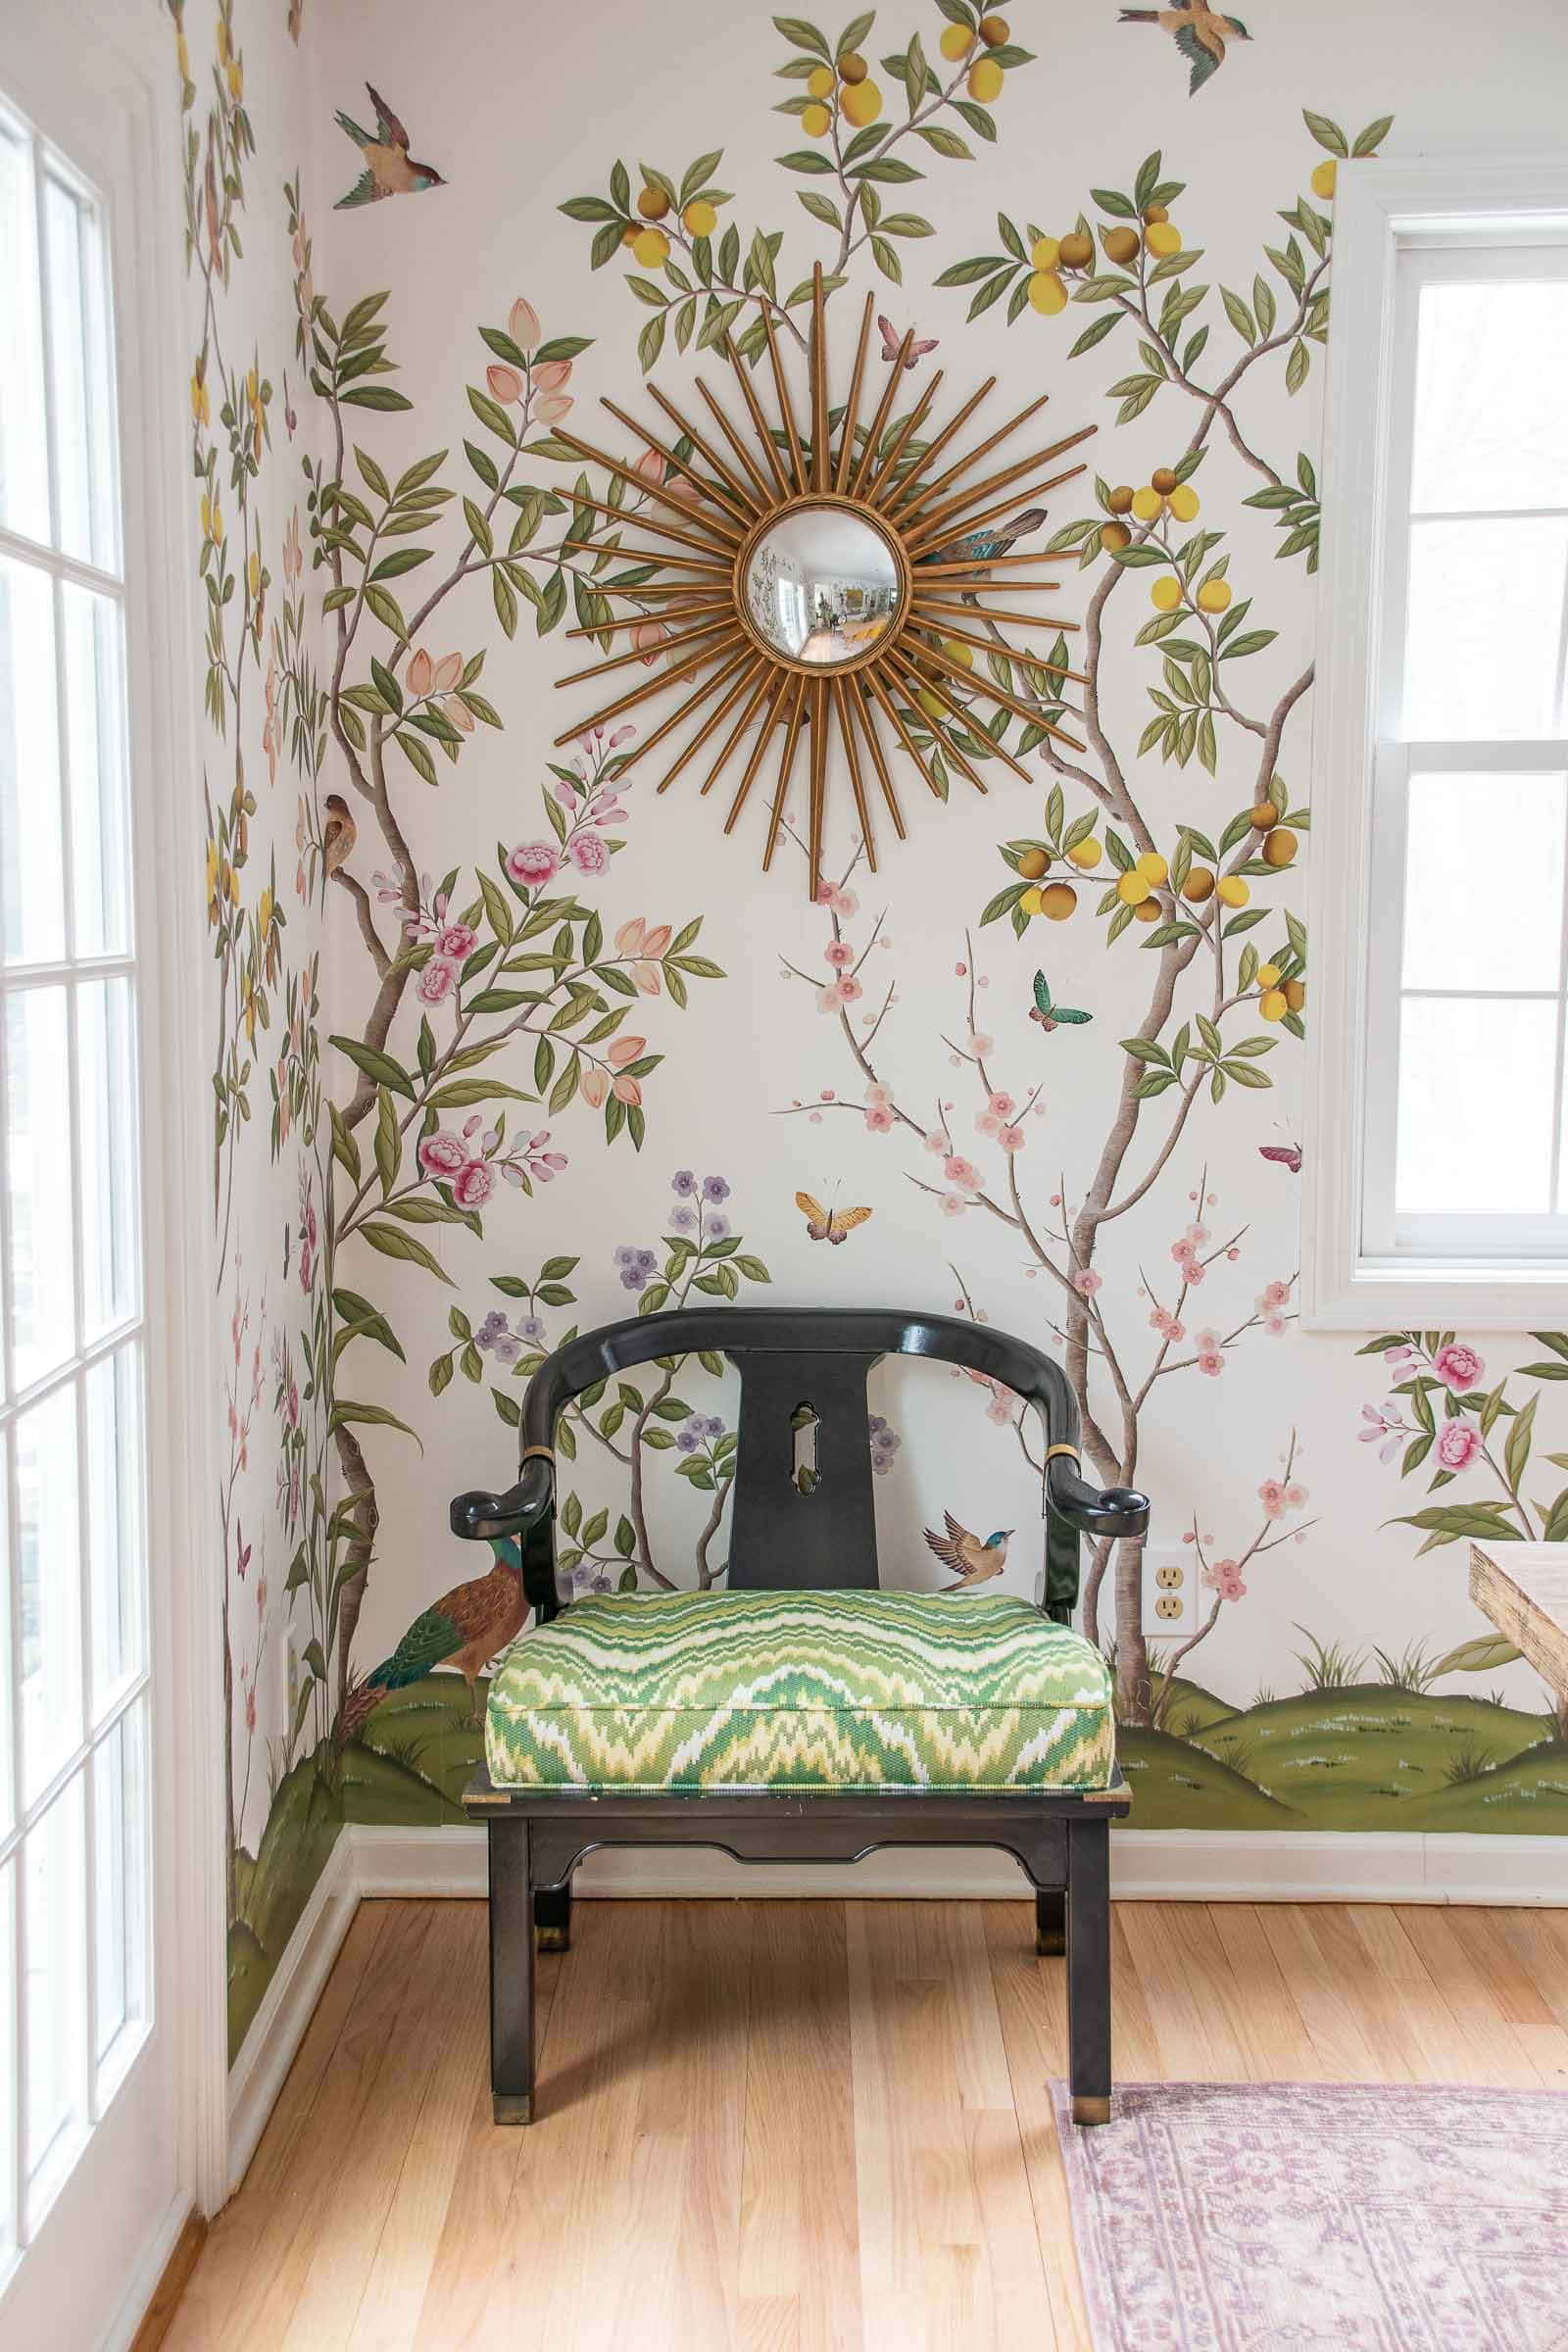
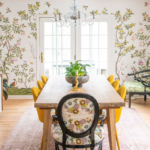
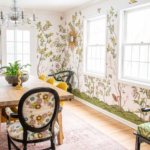
I. Love. This. Paper. It’s fun. It’s happy. It’s sweet. It’s colorful. I couldn’t bring myself to hang all the paintings back up because I didn’t want to cover that gorgeous pattern. Another happy accident with this paper is that the colors tie in nicely with the adjacent rooms too! I love peeking in through the kitchen door to see the birds and flowers. I have some new chairs coming for the head chairs, but until they arrive the old fabric actually works alright also!
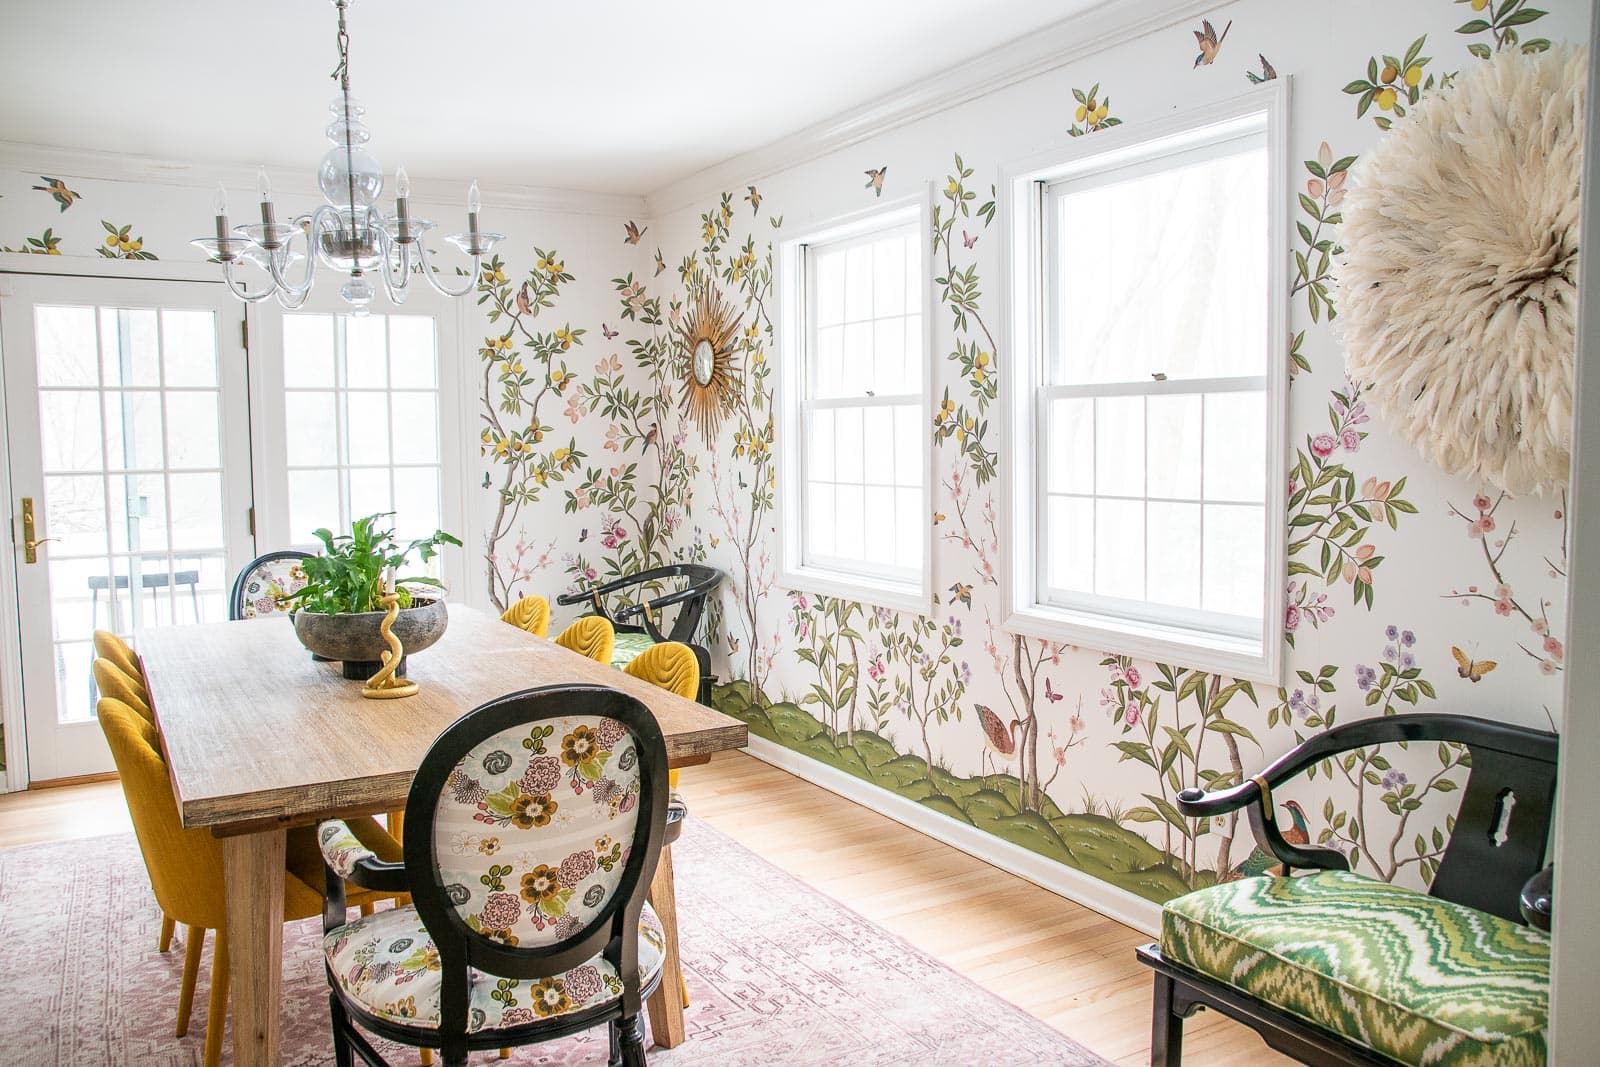
Wallpaper is such an easy way to bring in a big impact for a space. I love that this paper is a bit more illustrative versus a straight pattern. I was able to hang all of it in one weekend and, boom… just like that the room feels so different. It has a bit more depth. Certainly more interest. And it just feels more… done, right?
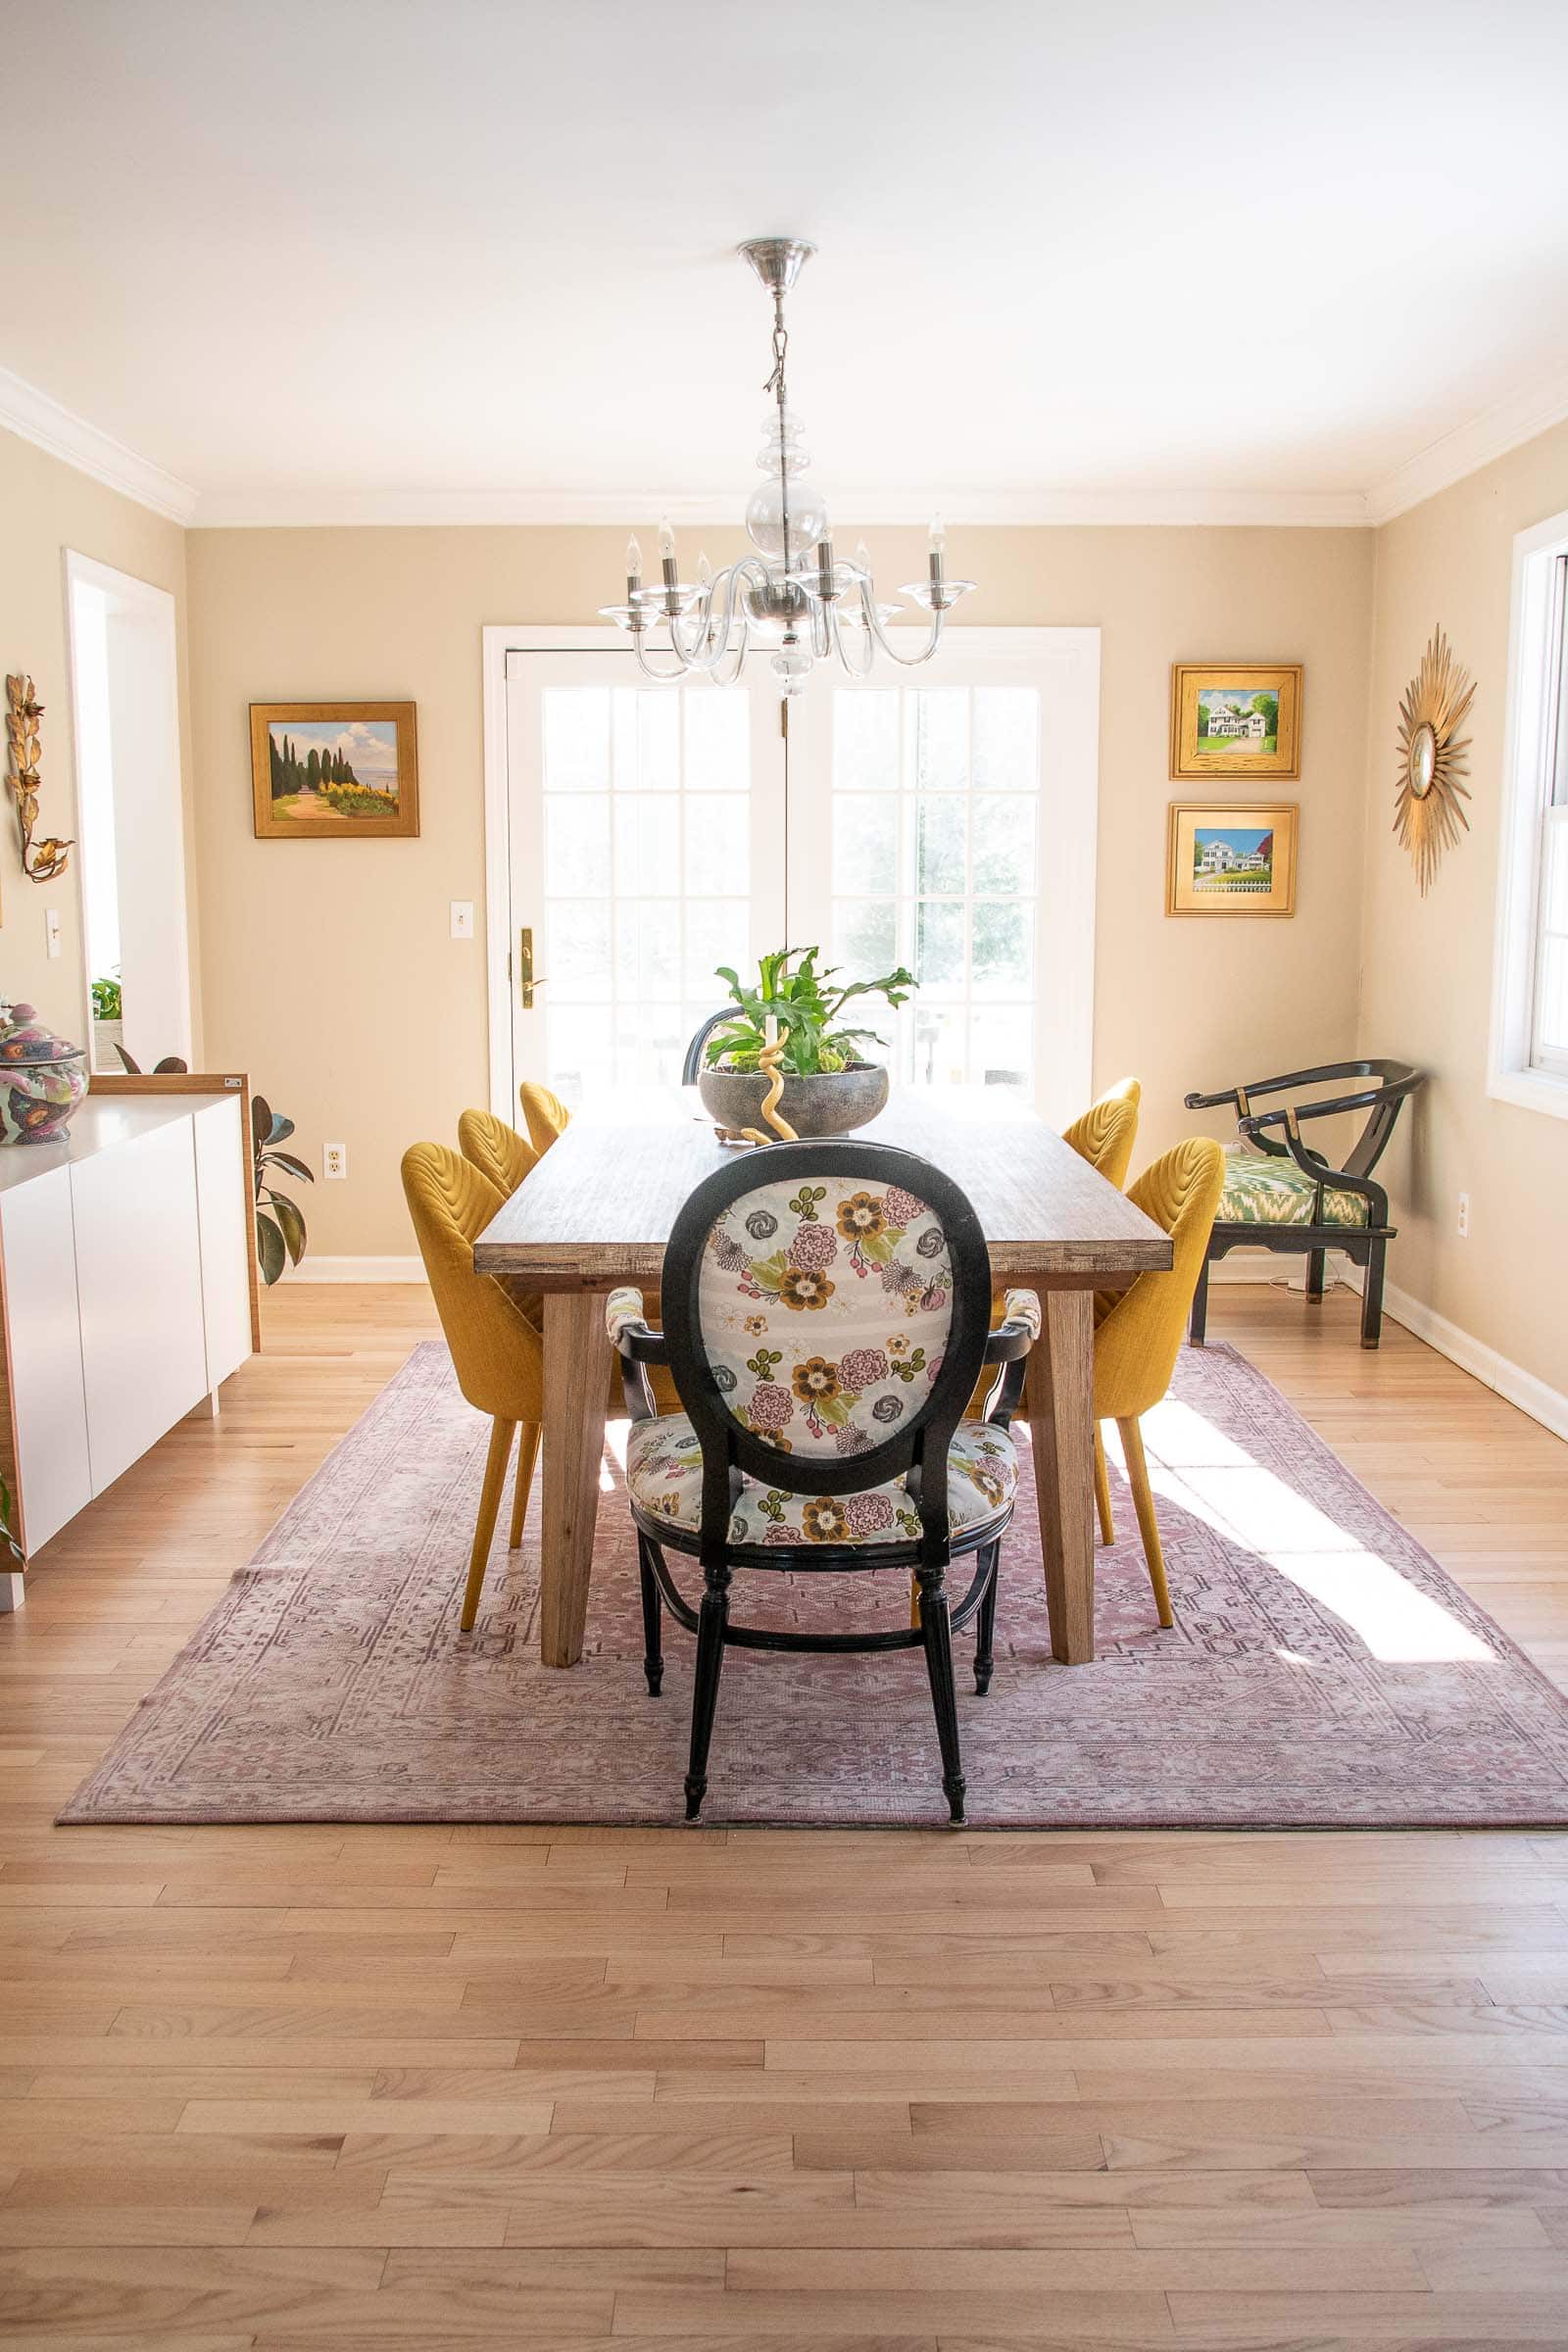
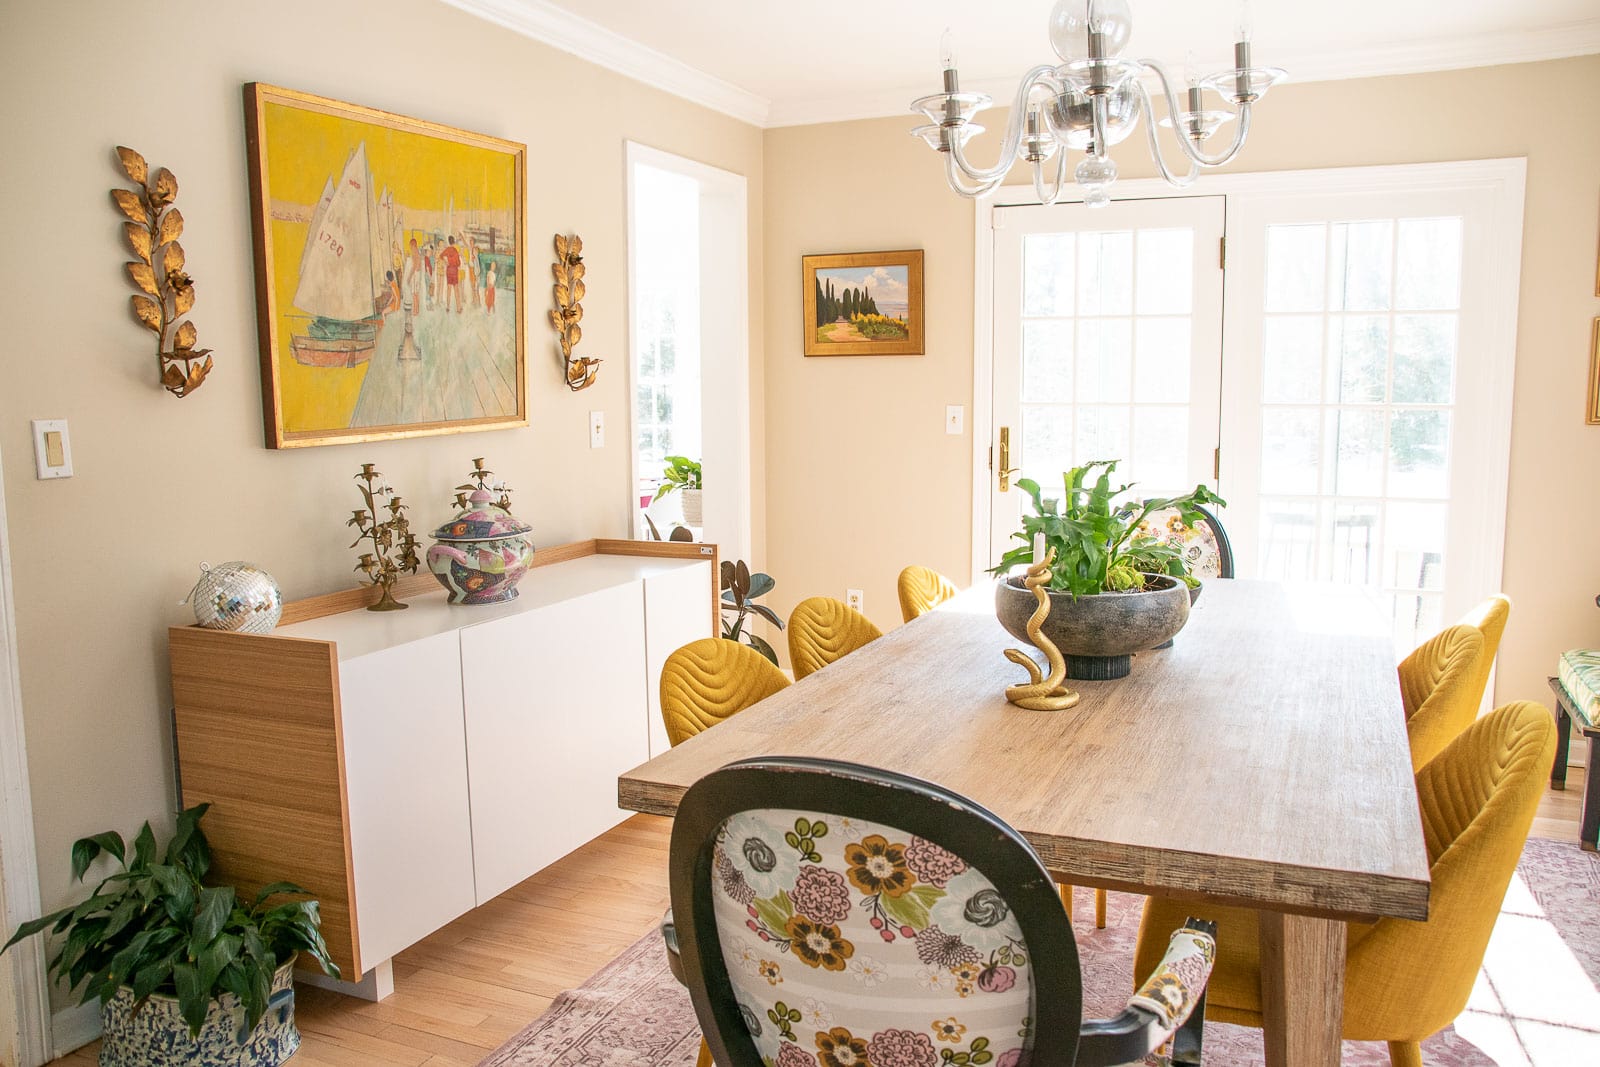
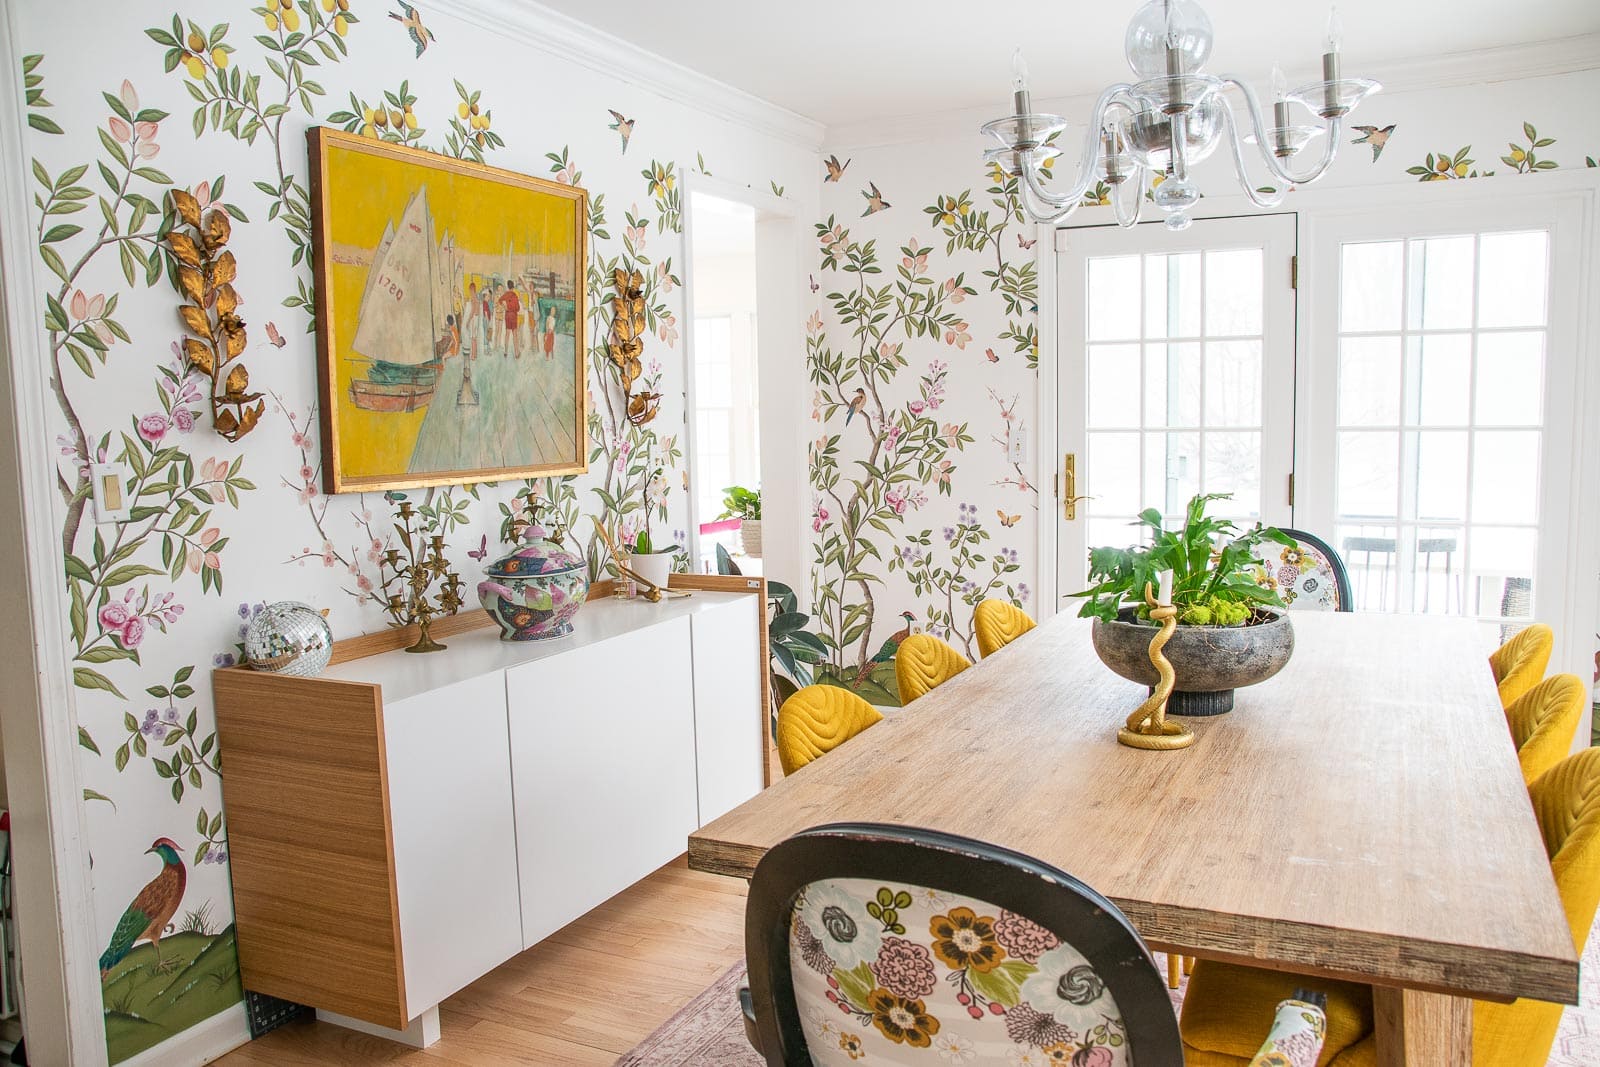
Wallpaper Before and After
Here are some fun before and afters so you can see what a difference it makes!
Here’s another!
Last one.


Charlottte, it is absolutely Stunning!!!!! I am furiously looking around our house where we could do this!!! x
Haha! I know the feeling! 🙂
You got your moment! This wallpaper is stunning!
Isn’t it fabulous!! Such a pretty room now!
This is a DREAM!!!!!!! It just looks incredible.
Thanks, Meredith! It’s even prettier in person!!
Is amazing how good it looks with your existing furniture 😃My test is all capital letters and I can’t change it🤦
Now I am nervous about posting 😂
I know! The colors are all perfect! Don’t worry about the caps… is just how my site does it! All good!
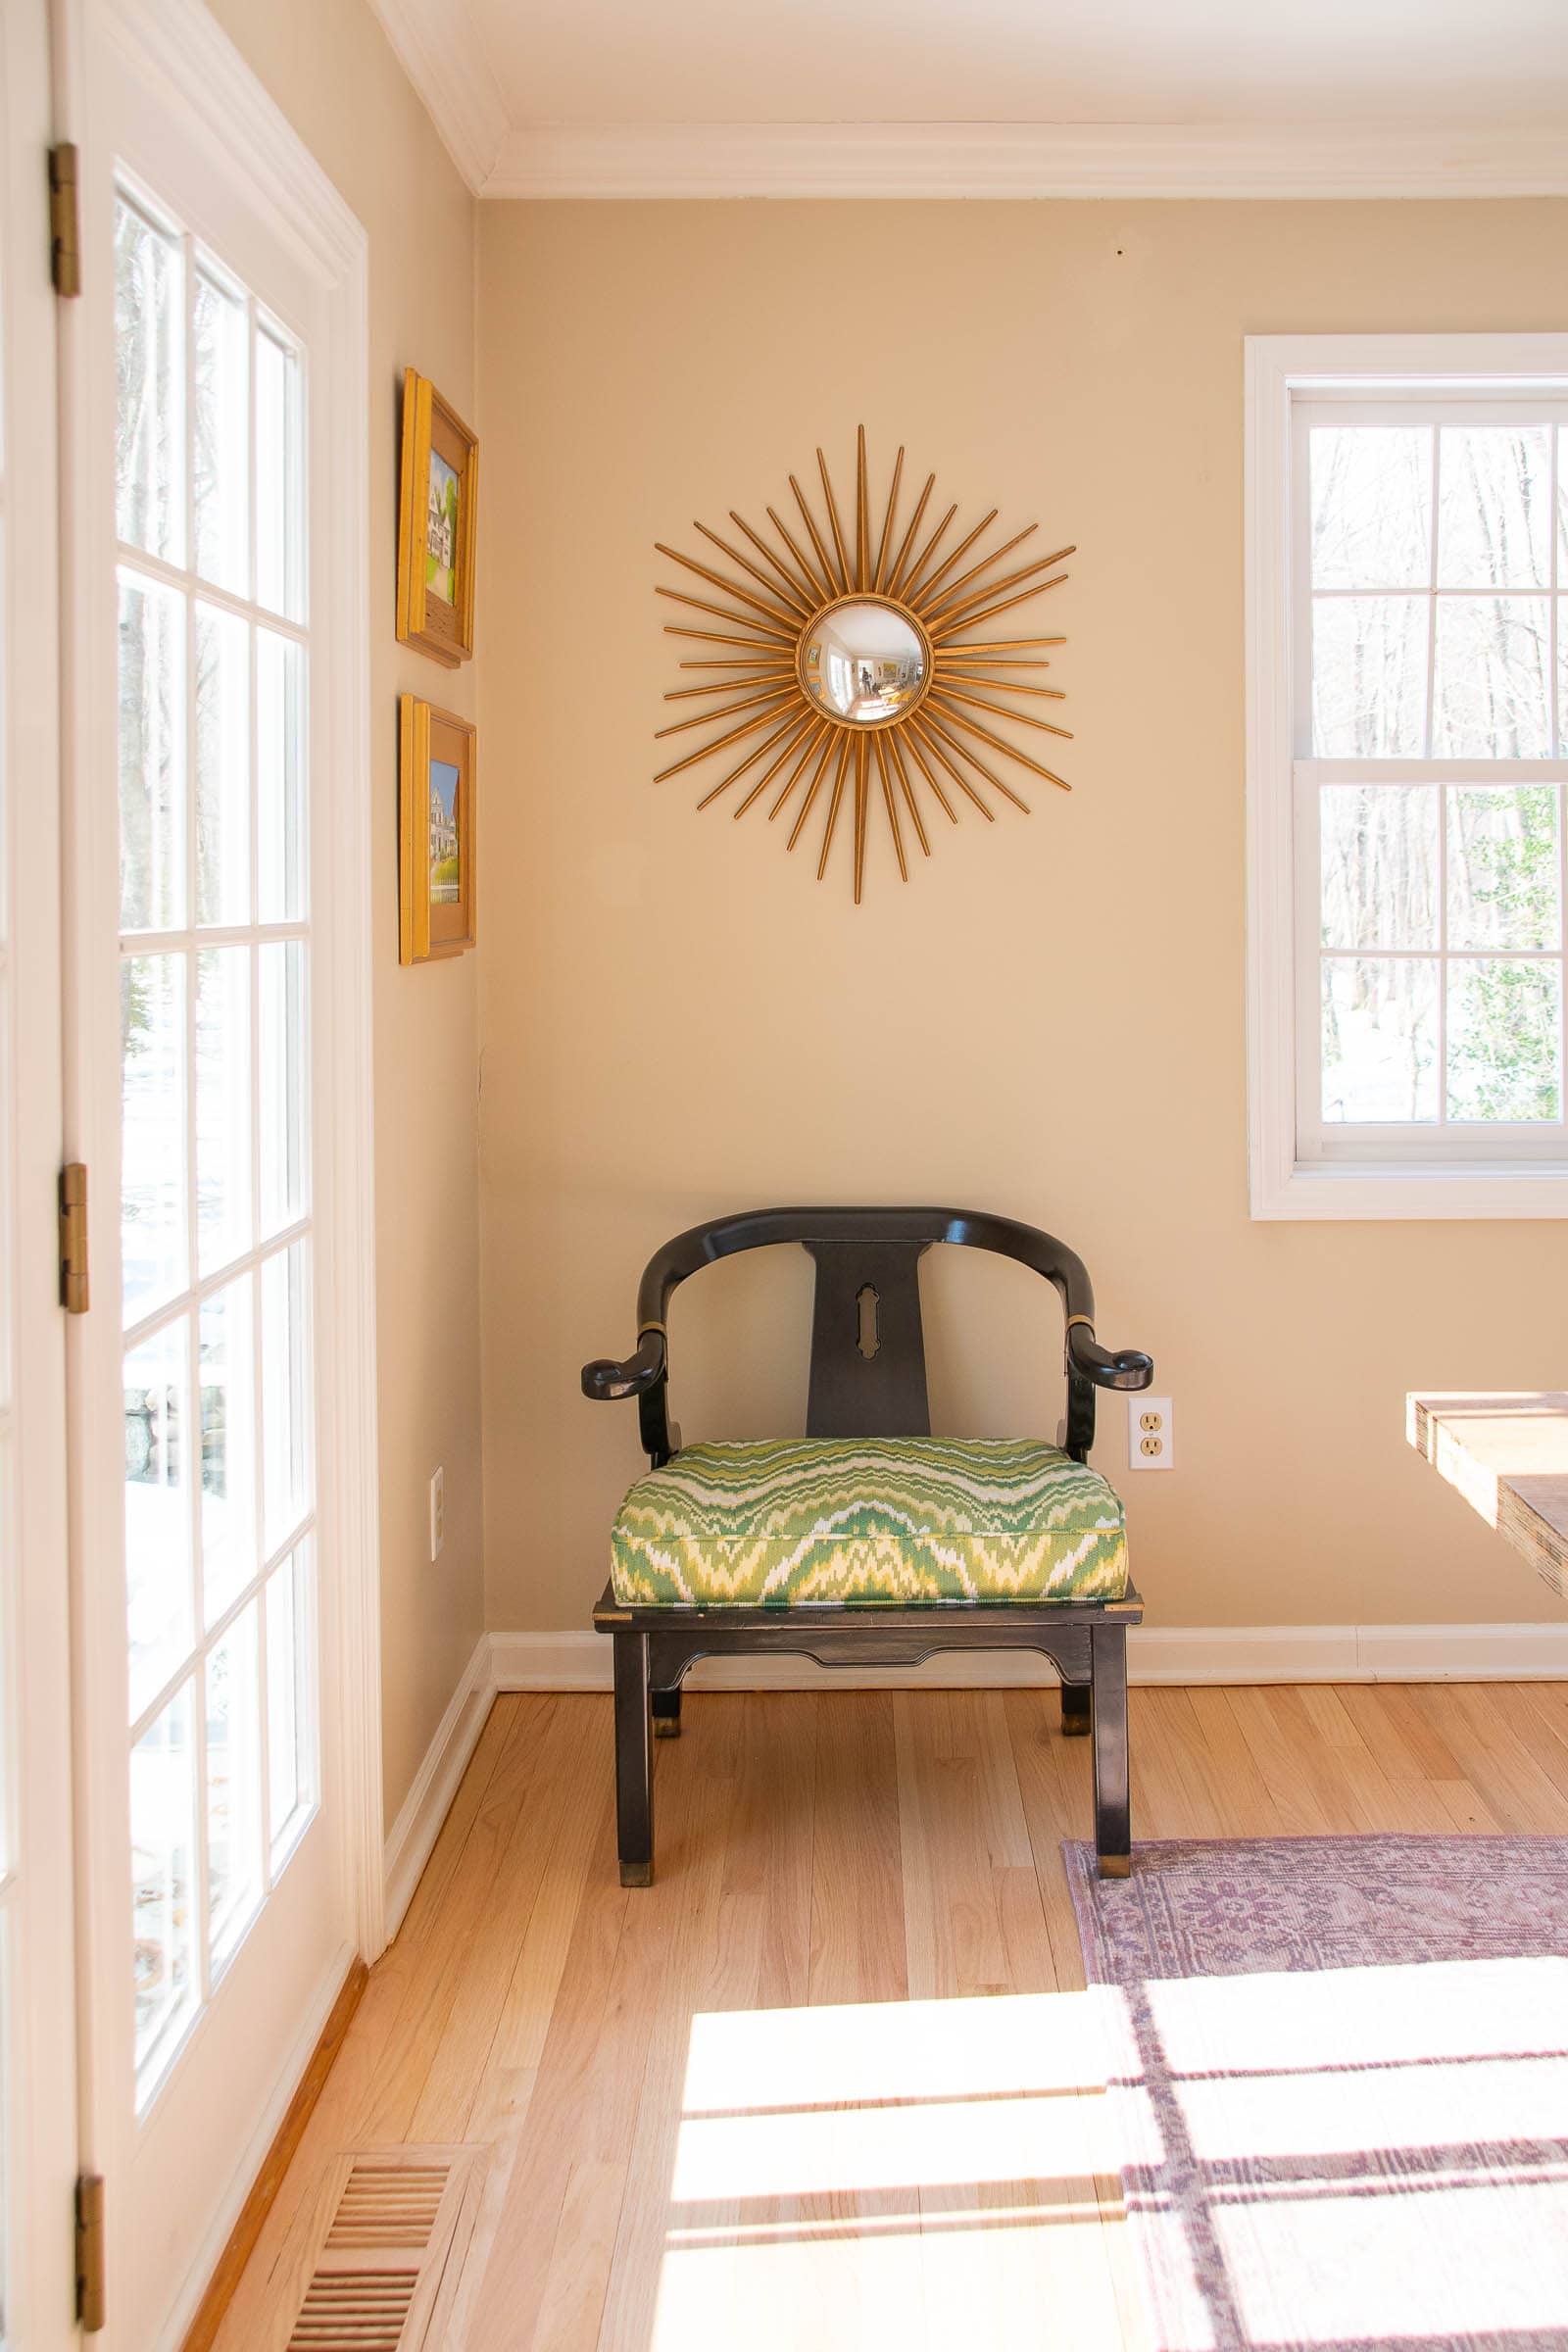
The Wallpaper is amazing! I Love it with THE fabric on The END CHAIRS– actually commented to myself how well it all Went TOGETHER– so I’m anxious to see what actually ends up THere!
I know! The colors are all actually perfect! Unfortunately the end chairs are a little shabby in person. The foam of the seats has kind of deteriorated so it’s pretty lumpy and one chair still needs trim… but I’ve lost the leftover fabric. 🙂 New ones are quite simple!
It is so Beautiful!! Literally pulls everything together so perfectly! It’s a dream!
Yes! I love how it all works together now! Thanks!!
The wallpaper is great! Works great with curRent chairs. As well.
Yes! It has all the right colors!
Gorgeous!!!!
Thanks, Wendy! Can’t wait to have you over to see!
Charlotte
It is beautiful!! It is Perfect in yhat spaCe. I need to havE it in my house!
Home run again – thank you for sharing!
Thanks, Maureen! It’s so cheerful in here!
I just love this. The room looks so complete. Any chance yOu could let me know
Where Your nice big table is from?
ThanKs!
Hi there! Thank you!! It’s from Raymour and Flanigan! I link to the exact one in my One Room Challenge dining room reveal if you want to see if it’s still available?
Looks so beautiful! Could you possibly tell me where the green zIg zag fabric on the side chair seat pads is from? X
Hi there! Sadly… that amazing fabric came from the flea market!
This looks gorgeous. What did you do about windows and such? Wasn’t there a lot of wastage of wallpaper over window areas? And with wastage I mean just swaths of wallpaper being thrown away because of the windows? I would hate to throw away all this gorgeous paper, especially given what an expensive piece this is. Any advice is appreciated.
Unfortunately that’s just part of the deal with wallpaper! Whenever you measure for a space you take windows/ doors into account and yes… definitely wastage is involved.