
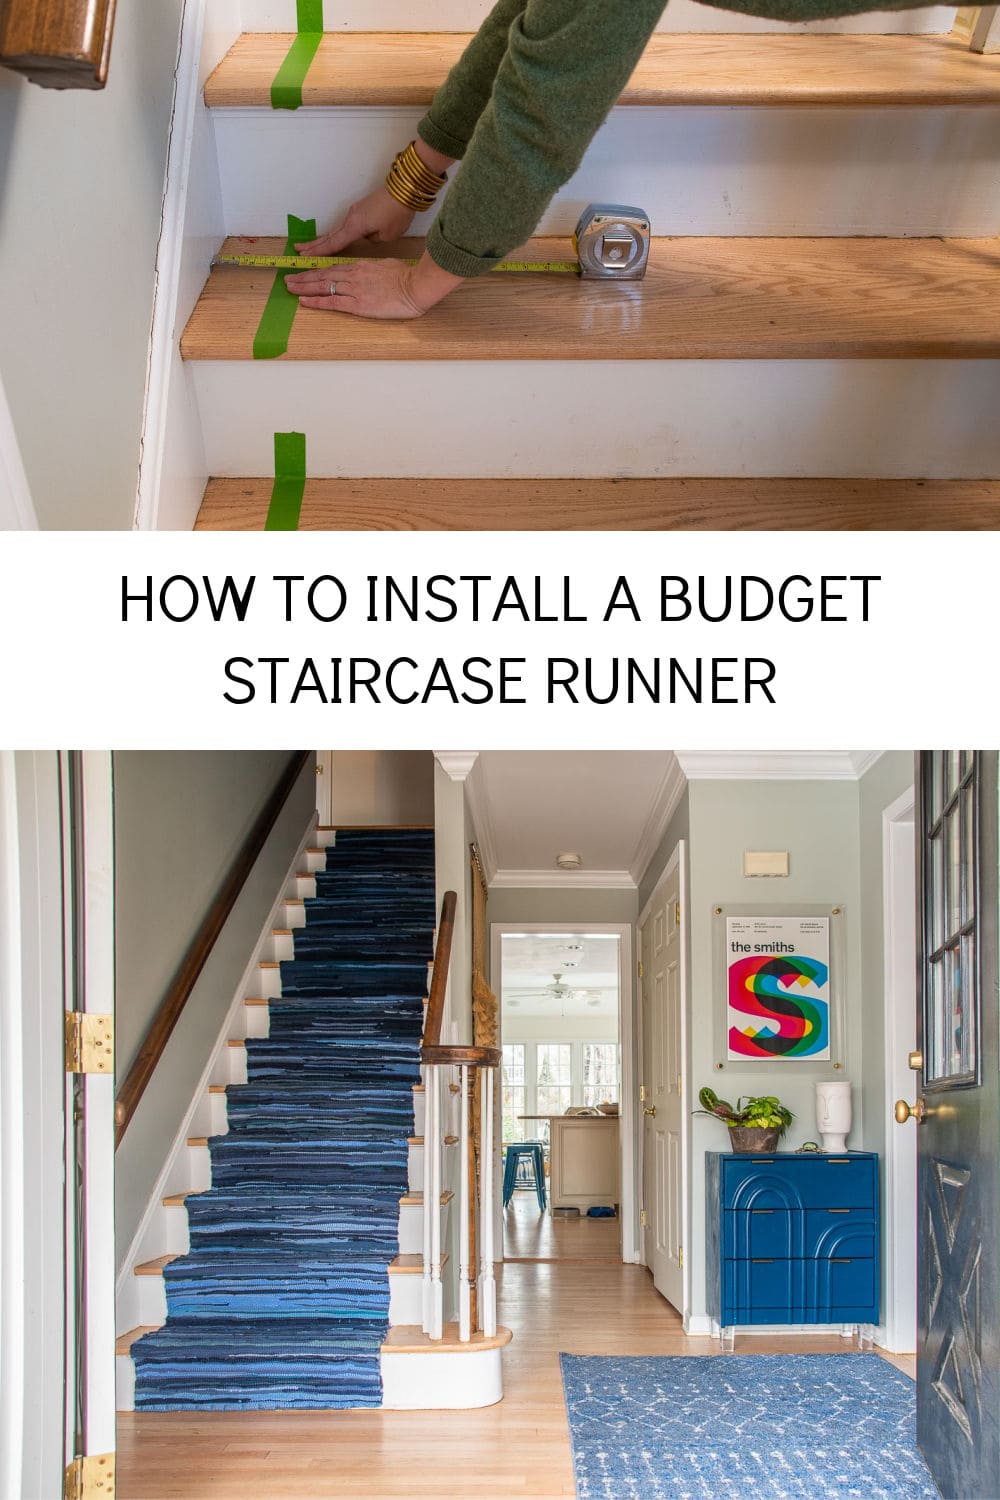
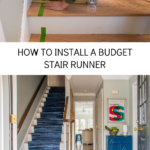
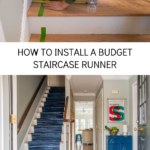
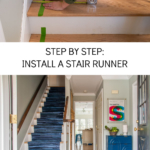
How to Install a Stair Runner for Cheap
Psssst… this post *might* contain affiliate links: see my disclosure here.
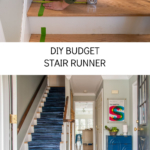
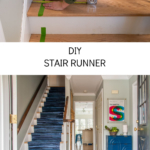
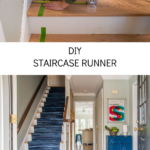
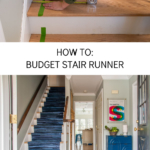
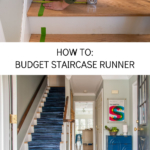
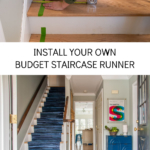
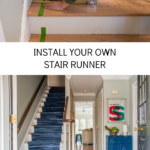
Budget Friendly Staircase Runner
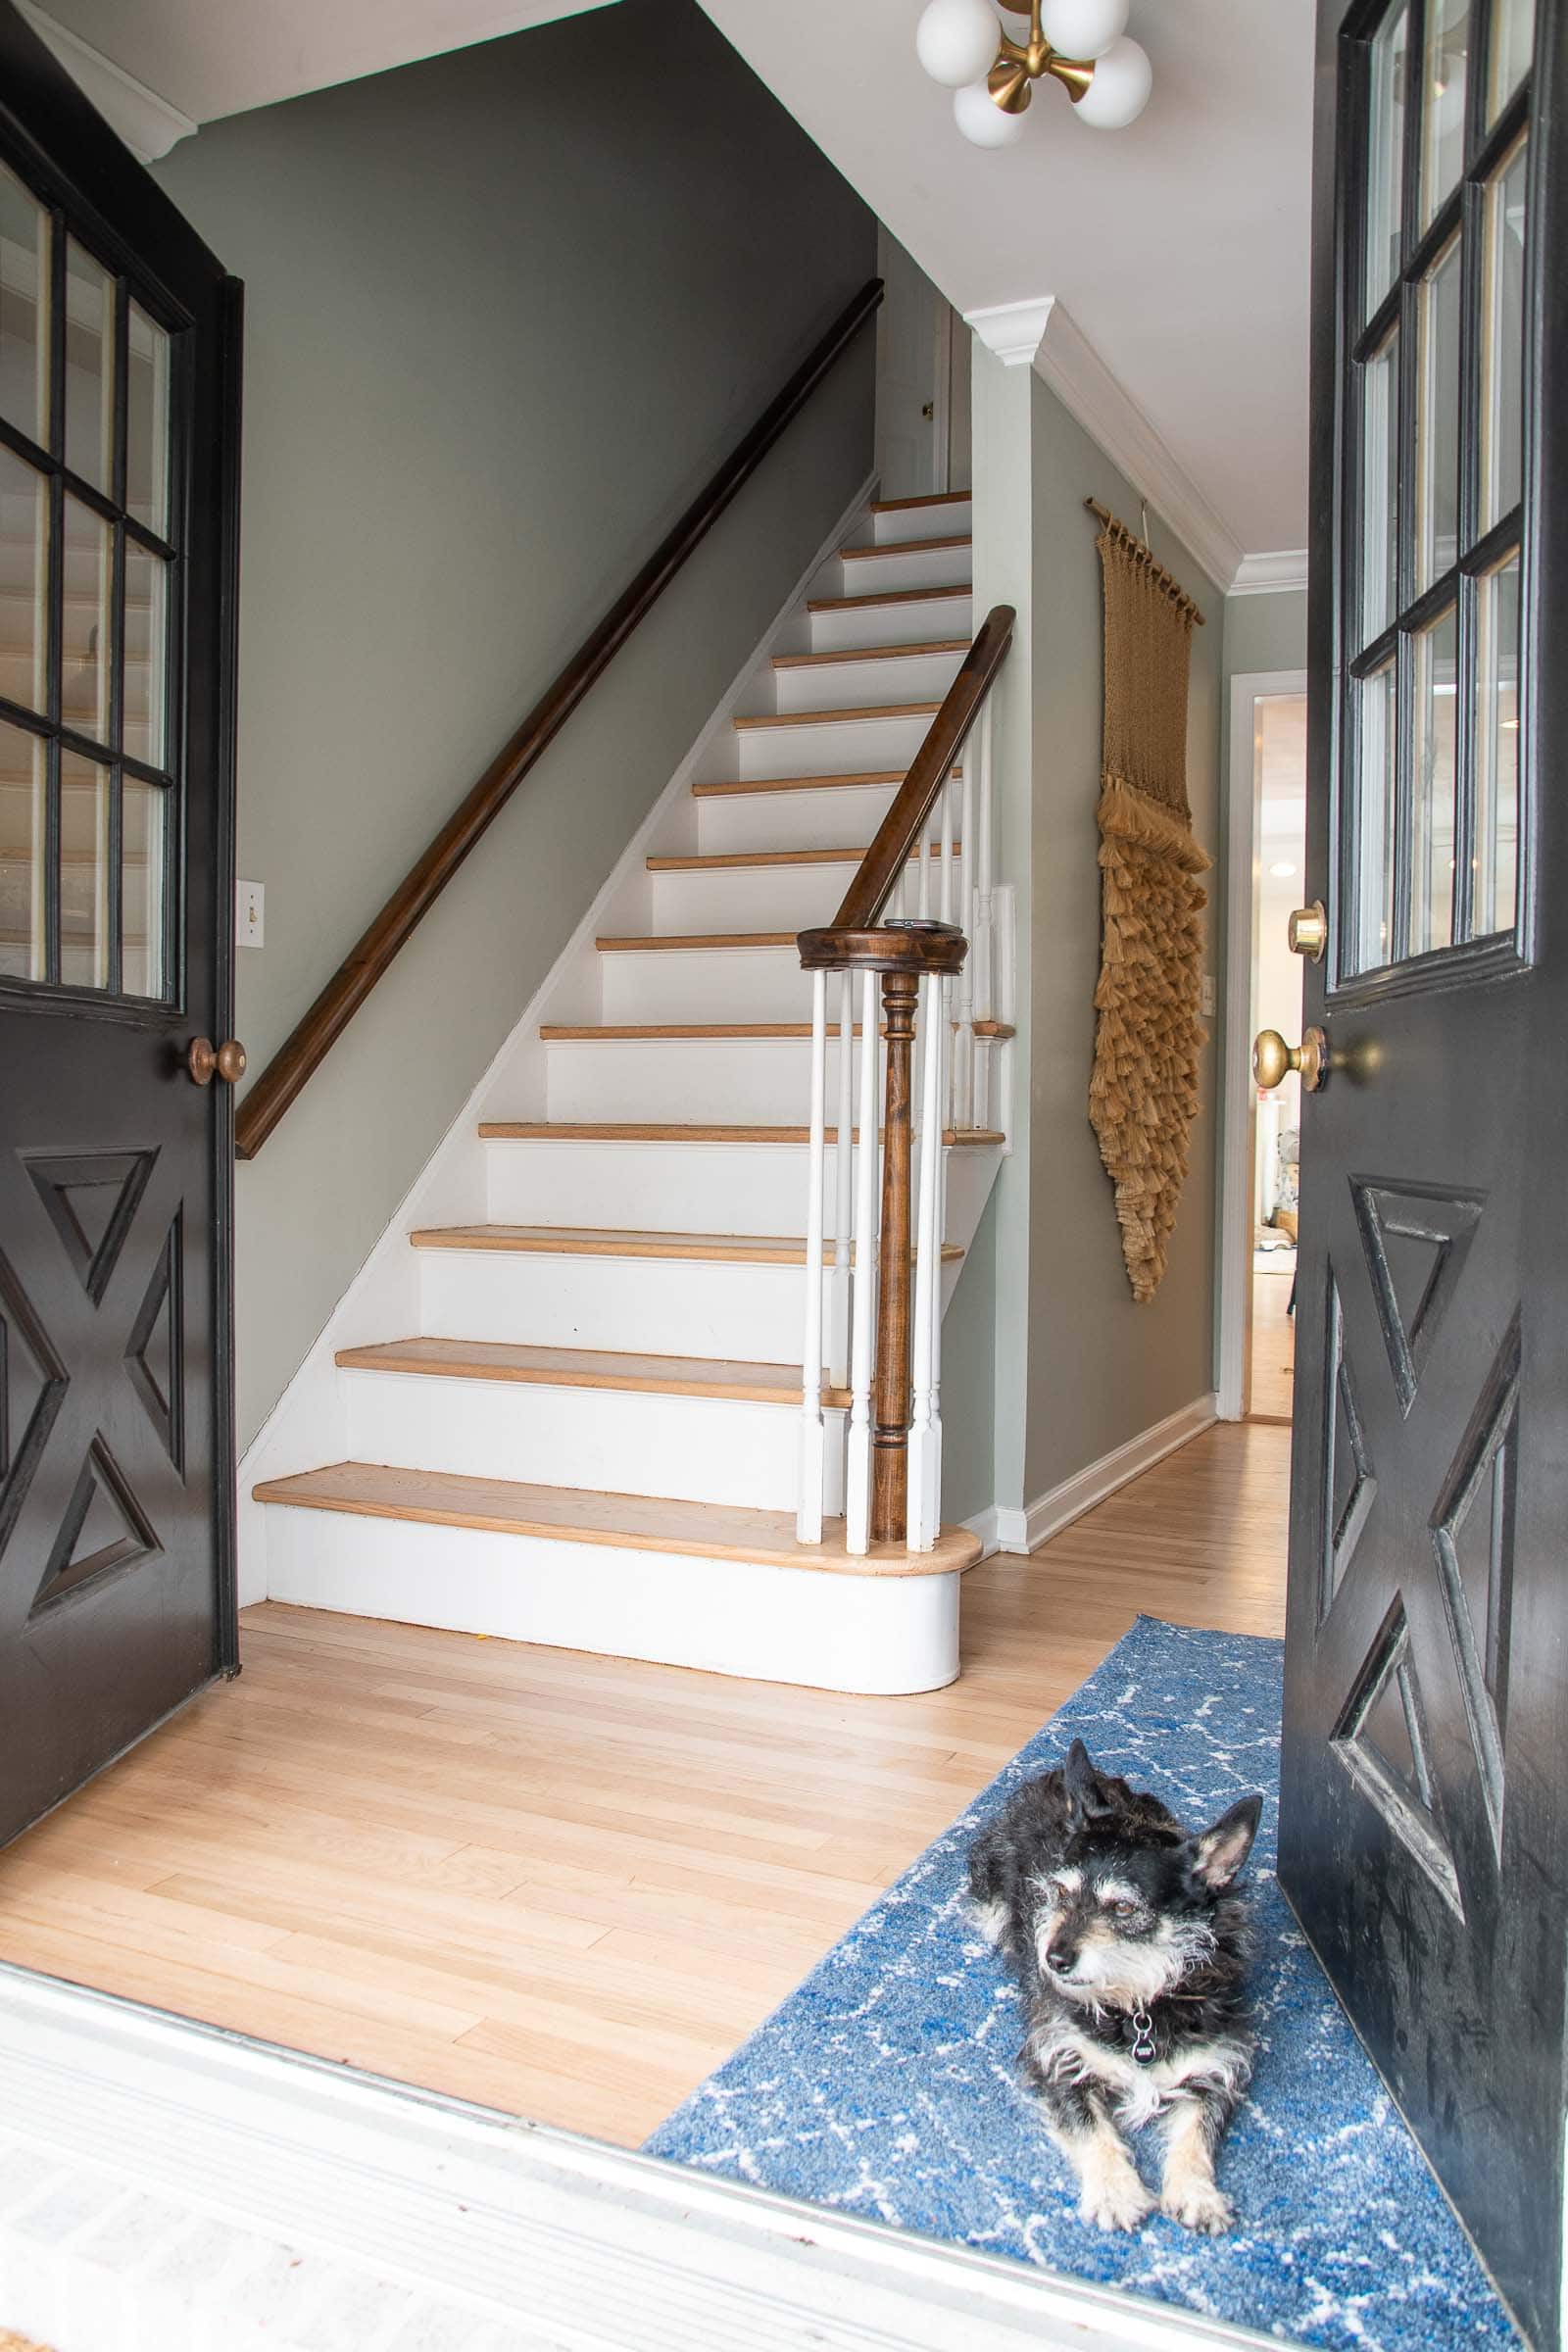
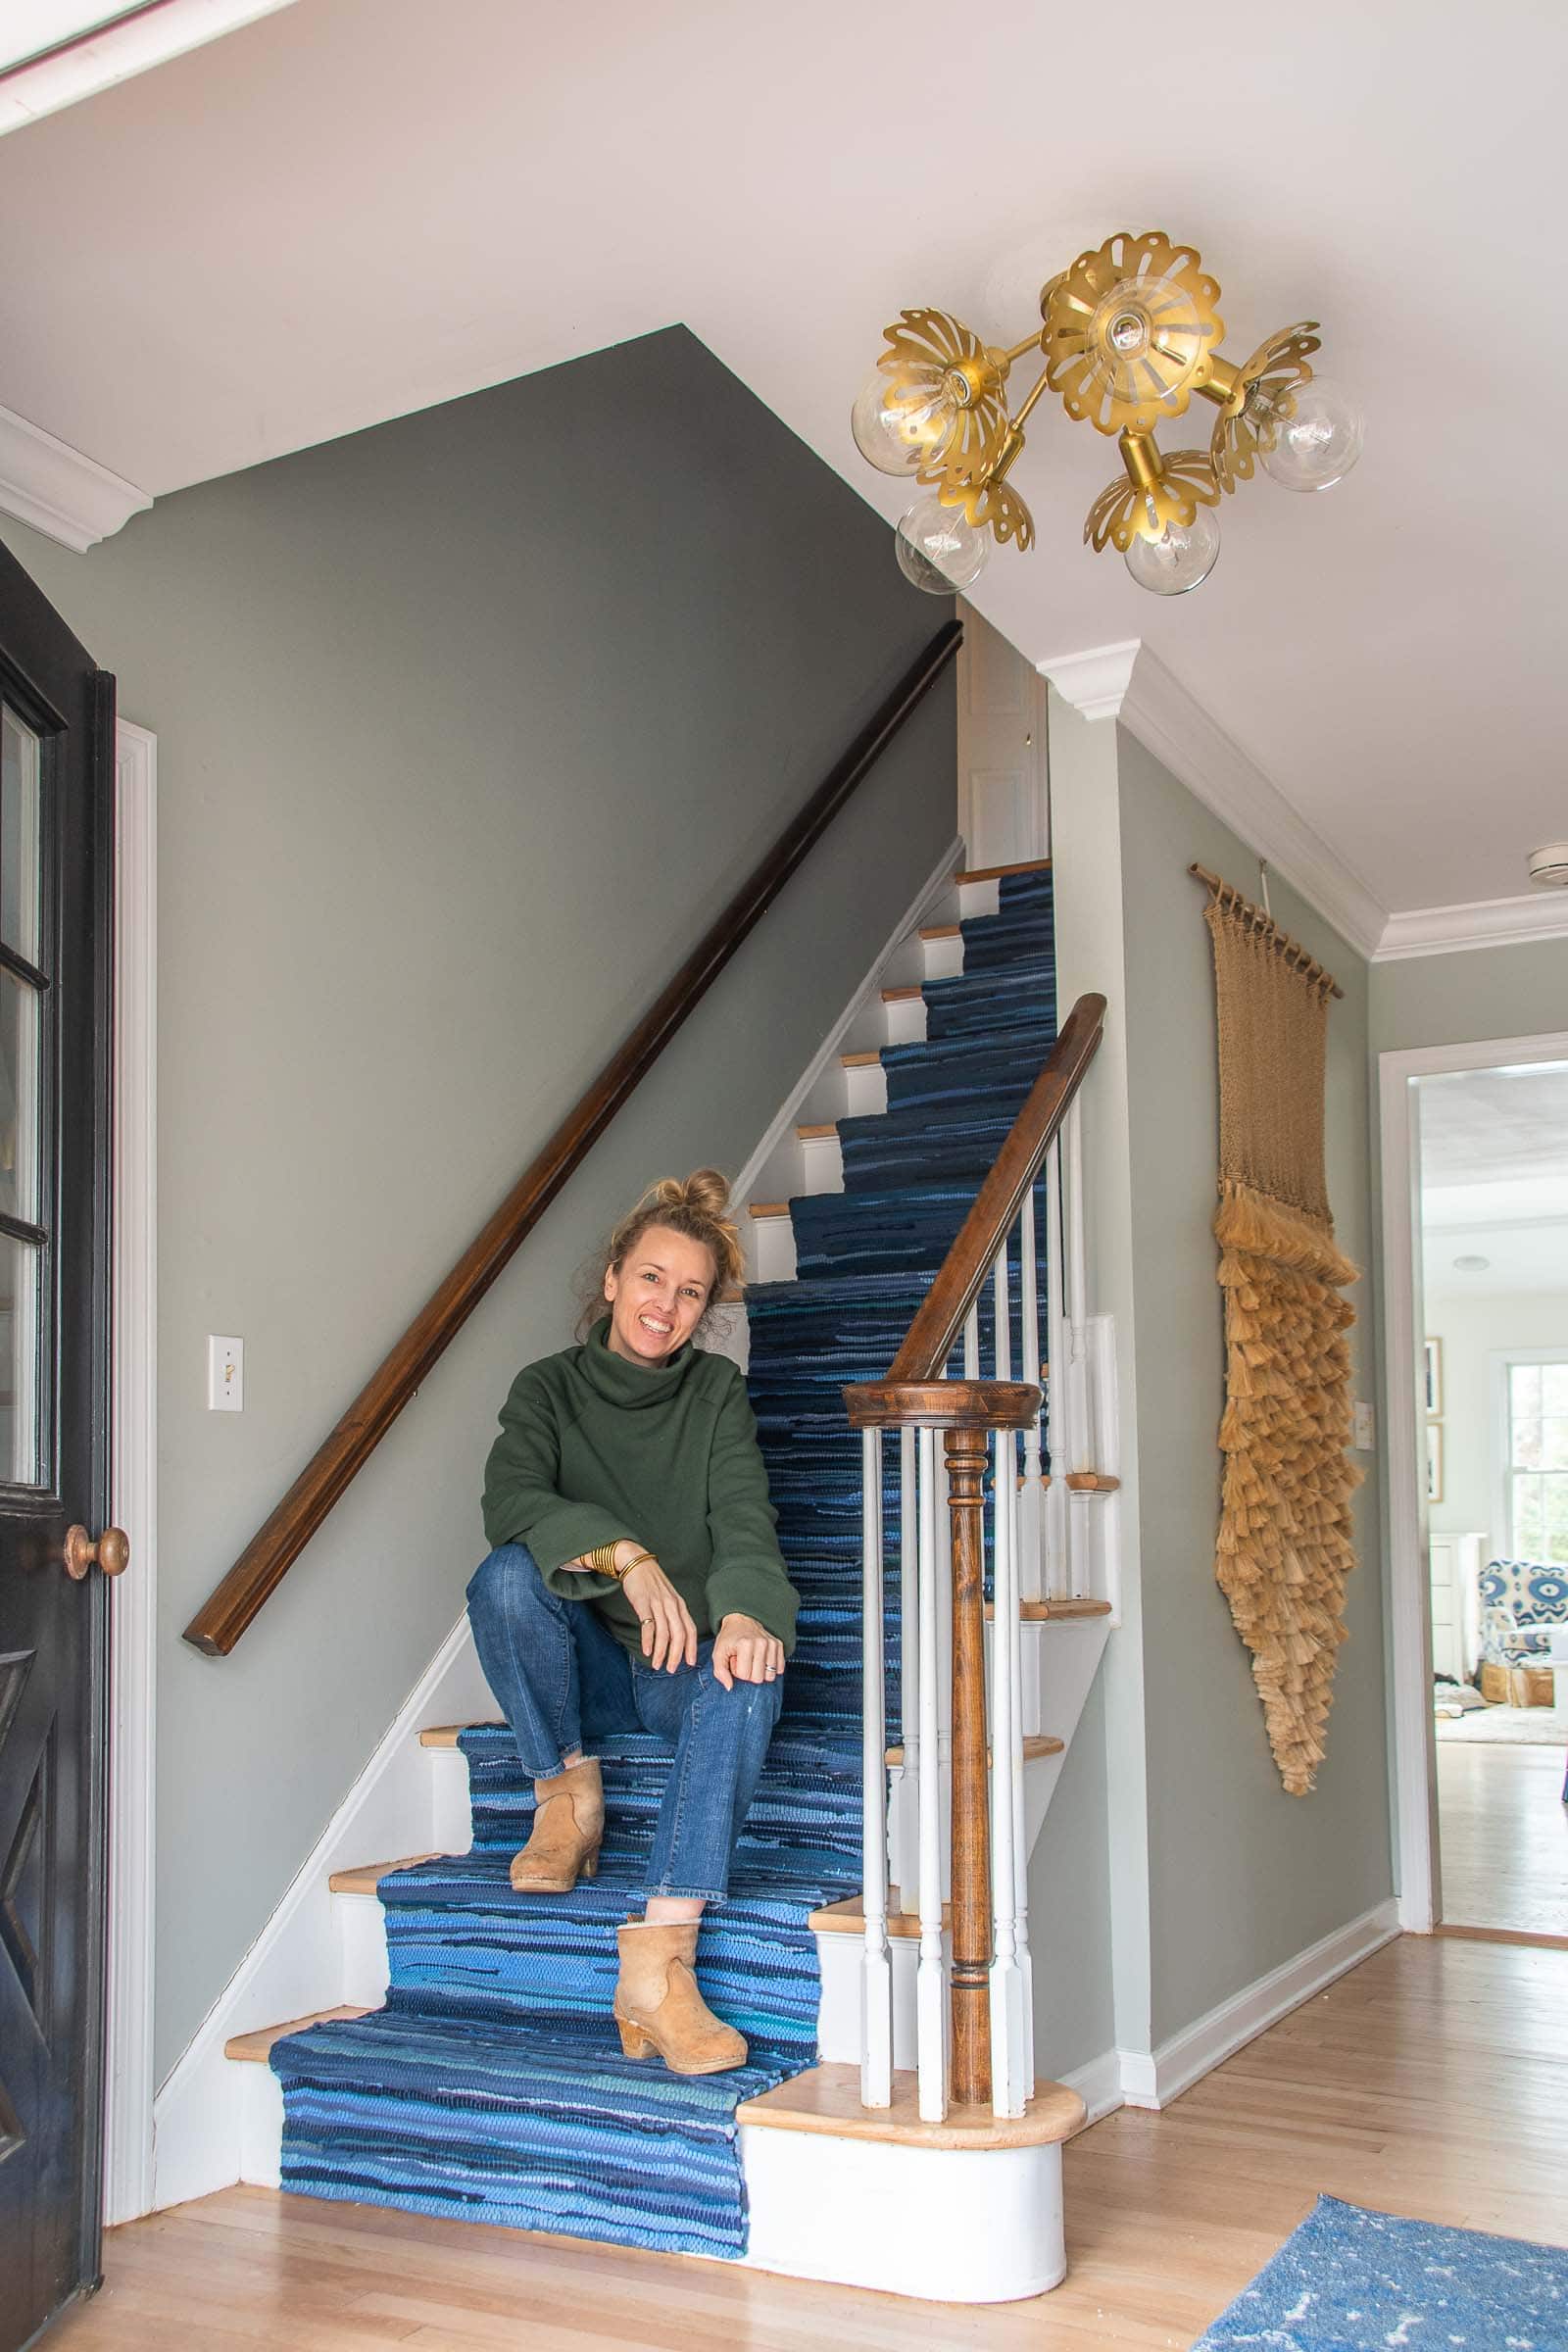
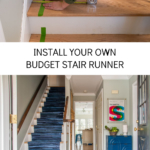
I installed this fun stair case runner for under $80 and it makes such a difference!

All of the bedrooms are upstairs in our new house so the staircase is a RUNWAY. The kids tear up and down and not only does it sound like a herd of elephants, but the youngest sock wearing member of the family has slipped down the bottom few stairs more times than I can count. It was time for a stair runner.
Shop my favorites!
Step 1. Choosing the Right Rug for a Runner
I’ve installed staircase runners in the last two homes (here and here) we’ve owned and I’d say the biggest thing to consider is what type of rug to get. I measured our stairs and two 9-foot runners were the perfect length to cover the staircase without a ton of extra. You want to look for runners that aren’t too thick. Something like a kilim is the perfect weight. You want something with essentially no pile… woven is ideal. I’m using this chindi rug because I love the colorful design of all the various cotton strips woven together. Chindi rugs can stretch quite a bit so it’s a gamble, but I’m hopeful that I secured it enough to prevent any major issues.
The other thing you need to consider is the pattern. A solid graphic pattern is perfect. Stripes can be a bit harder to install because the linear design can get wonky real easy. Finally any irregular pattern *could* look a bit awkward when installing two or three in a row down the staircase. Ditto any rug with a border.
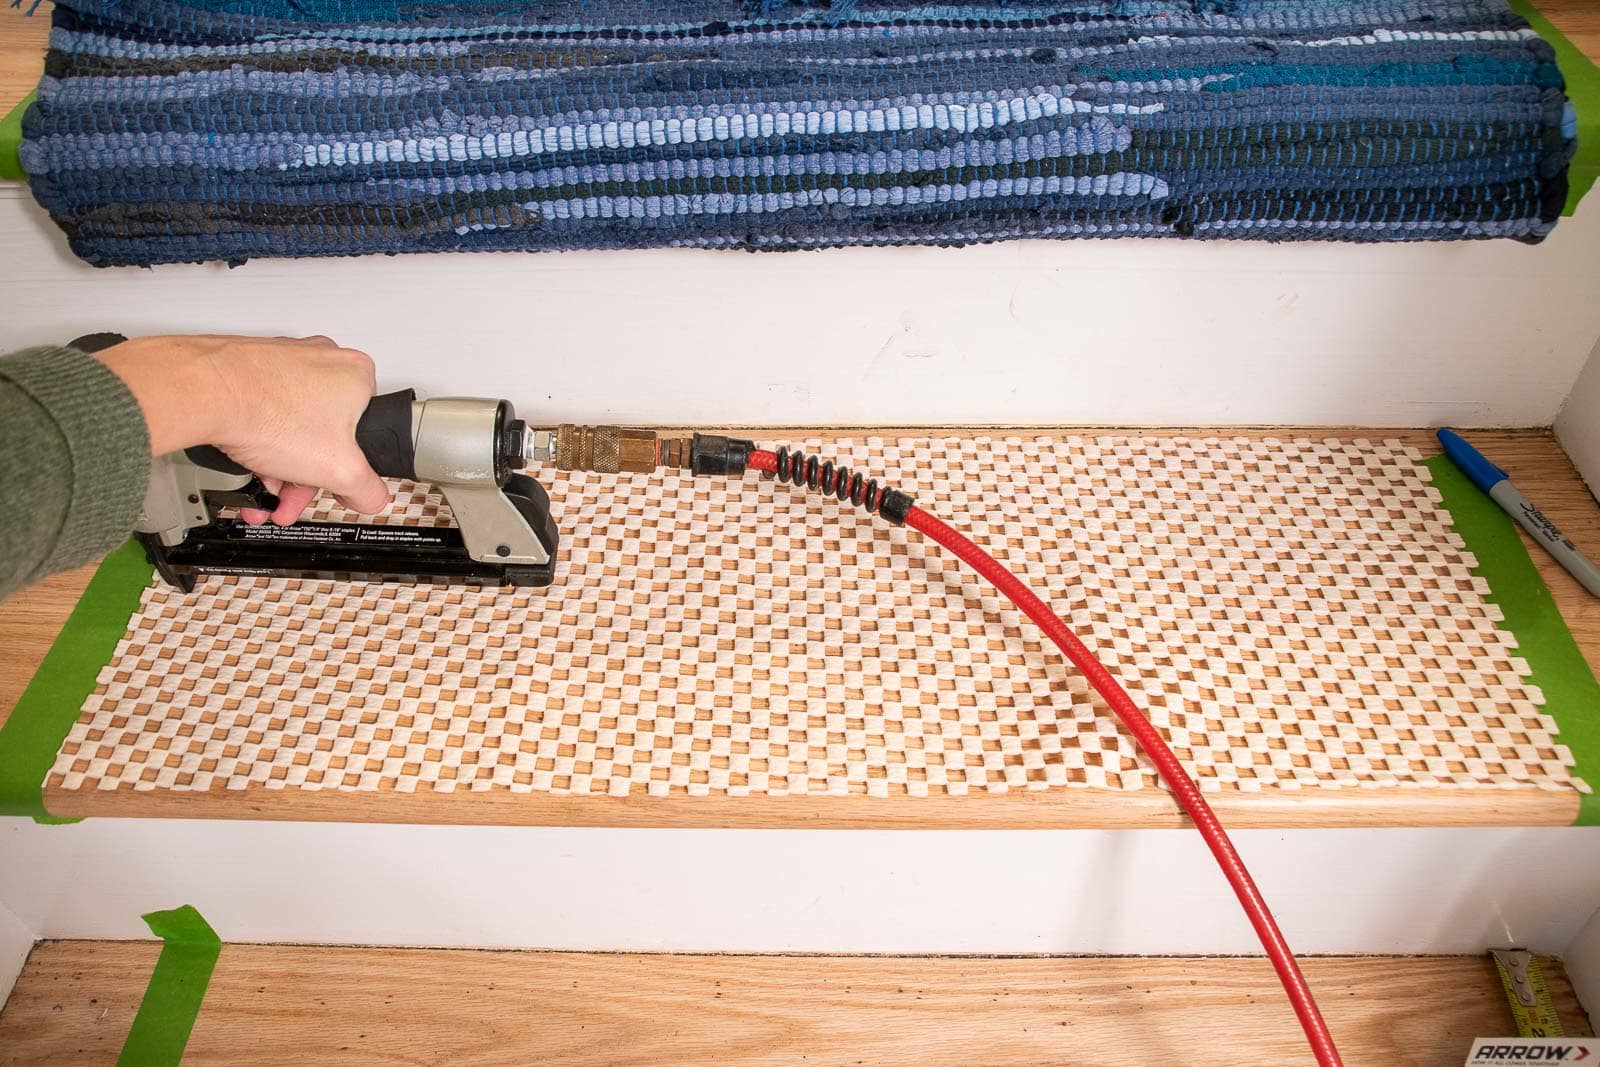
There are a handful of materials/ supplies that you need to install a staircase runner. Most important, in my opinion, is a good strong stapler. I used my pneumatic stapler with 3/8″ staples and it worked great. I’ve done this before with a handheld stapler and it worked, but was a bit more cumbersome because the staples didn’t go in quite as easily. You’re also going to need a tape measure, painter’s tape, and a rug pad.
Step 2. Cut the Rug Pad
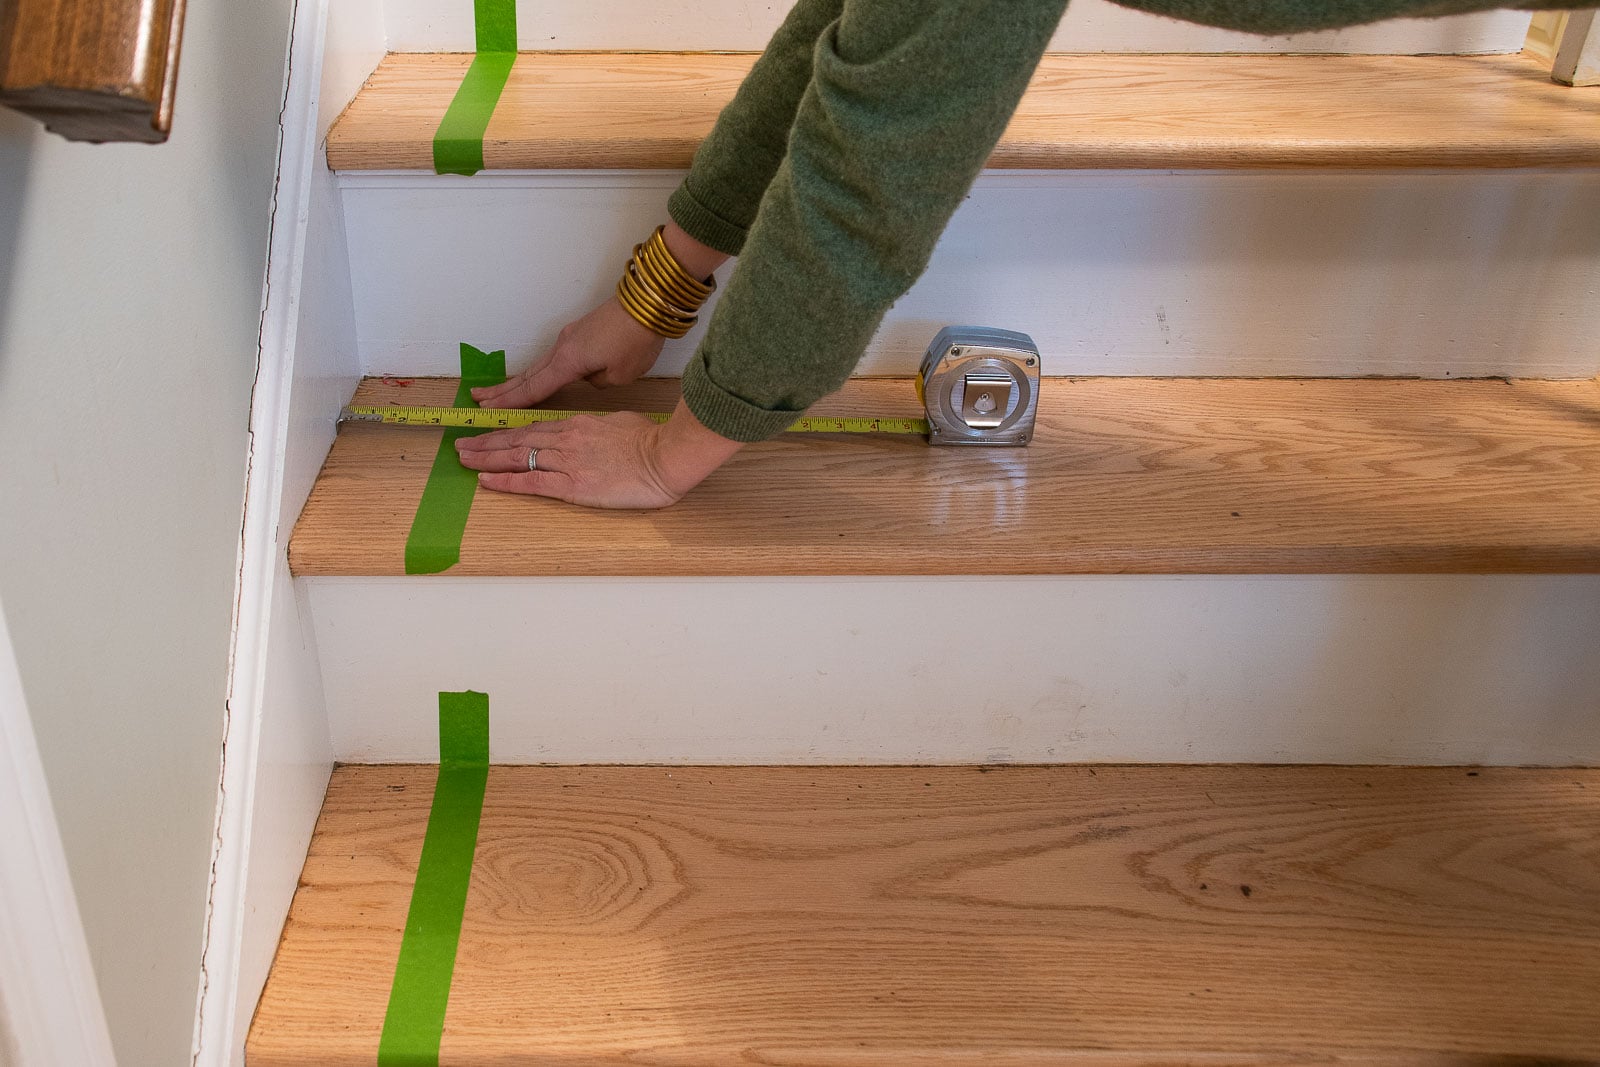
Each stair tread needs a rug pad. Not only will this hold your runner in place, but it also softens the steps and provides a bit more cushion. (I.e. it makes it quieter). My treads were 10 inches deep and my runner was about 26 inches wide. (Note about stair parts: the tread is the part you step on, the riser is the vertical part, and the bullnose is the front lip of each tread.)

Step 3. Mark Where the Rug will Go
Our staircase widens by a few inches at the bottom so I had to decide whether to center the rug on the top portion of the stairs or the lower portion. Ultimately I decided to *mostly* center it on the top, but I cheated it over 1/2-inch or so so it was a bit closer to the center point of the bottom. I measured each stair tread and taped off where the edge of the rug needed to line up. (Note: my two chindi rugs were NOT an identical width. The bottom half is slightly wider, but I don’t think you can notice once it’s all installed.)
Step 4. Prep the Staples
I strongly suggest coloring your staples first. Depending on your rug, the staples might reflect a bit so the way to correct for this is to paint them *before* you load them into the stapler. You can see me do this on my Instagram stories, but I forgot to take a picture for you. I used a sharpie and literally colored the top of the strip of staples and then put them into my staple gun.
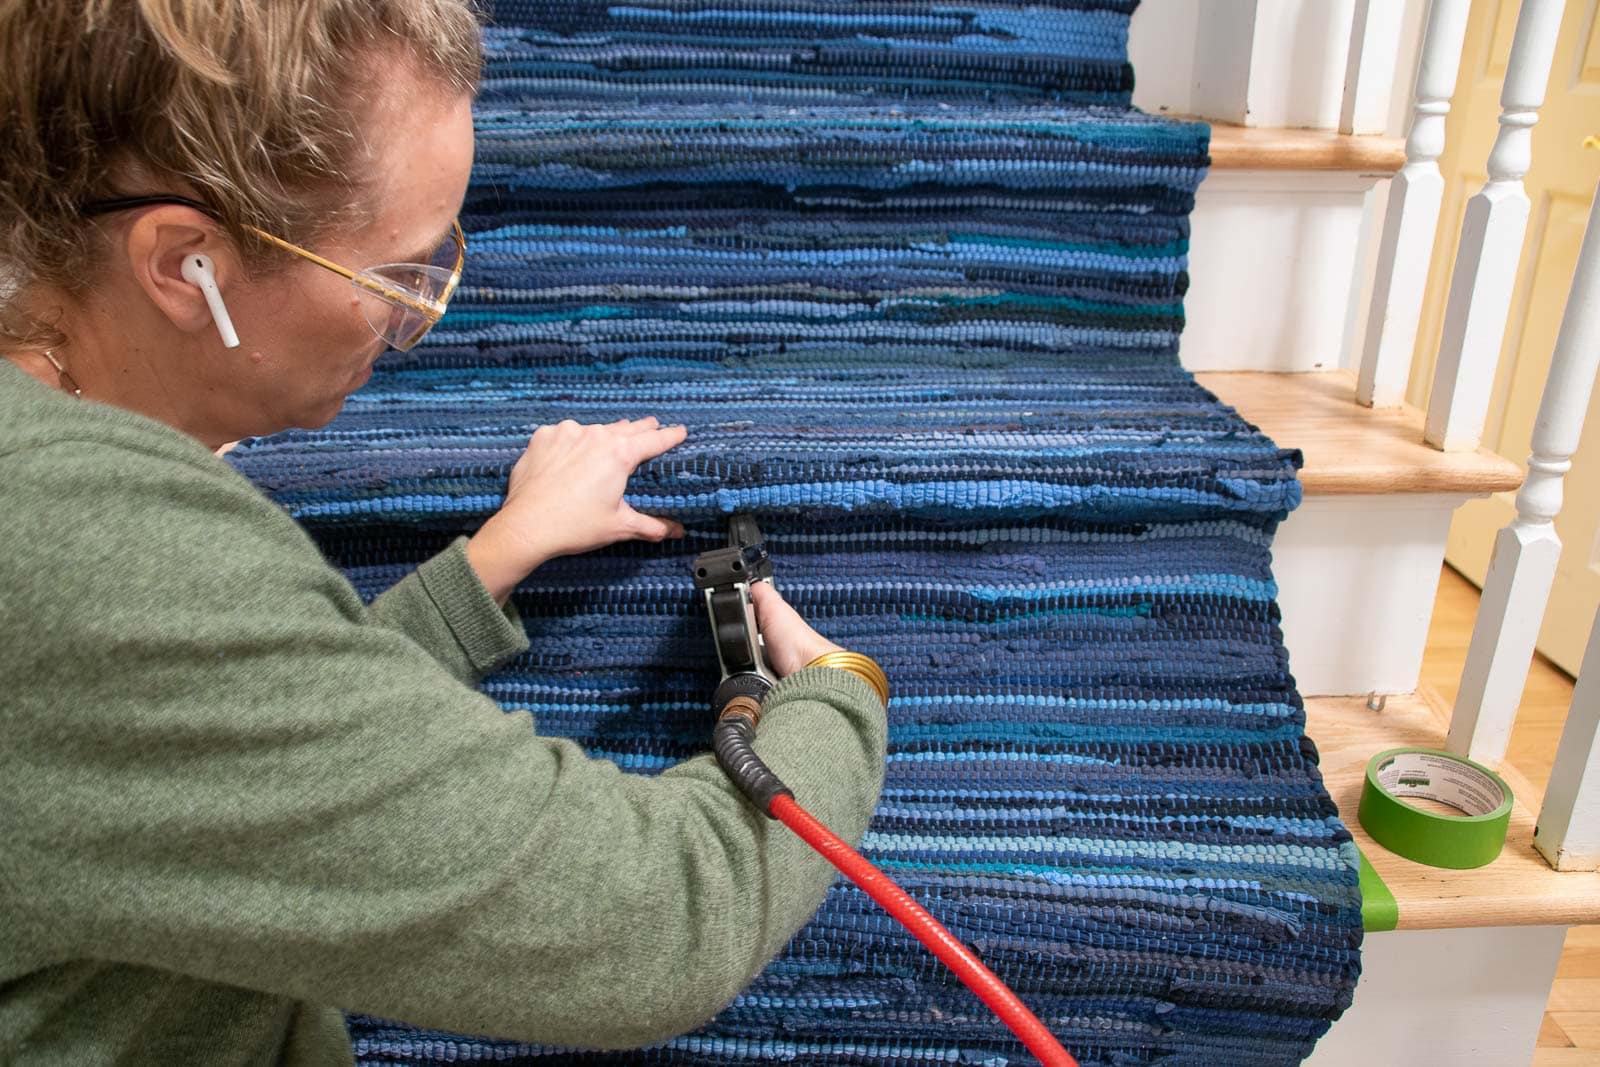
Step 5. Install the Runner
Start at the top and staple the end of the runner just underneath the bullnose of the top riser. I stapled each corner, then the middle, then I filled in on either side. Next I held the rug taught and stapled it right in the corner where the tread meets the riser. I tried to be consistent with which direction I stapled… but ultimately I tried to tuck the nose of the staple fun as close to each corner as I could. The staples ended up running parallel to the bullnose but were perpendicular to the inside corner because of how my staple gun fit the tightest.
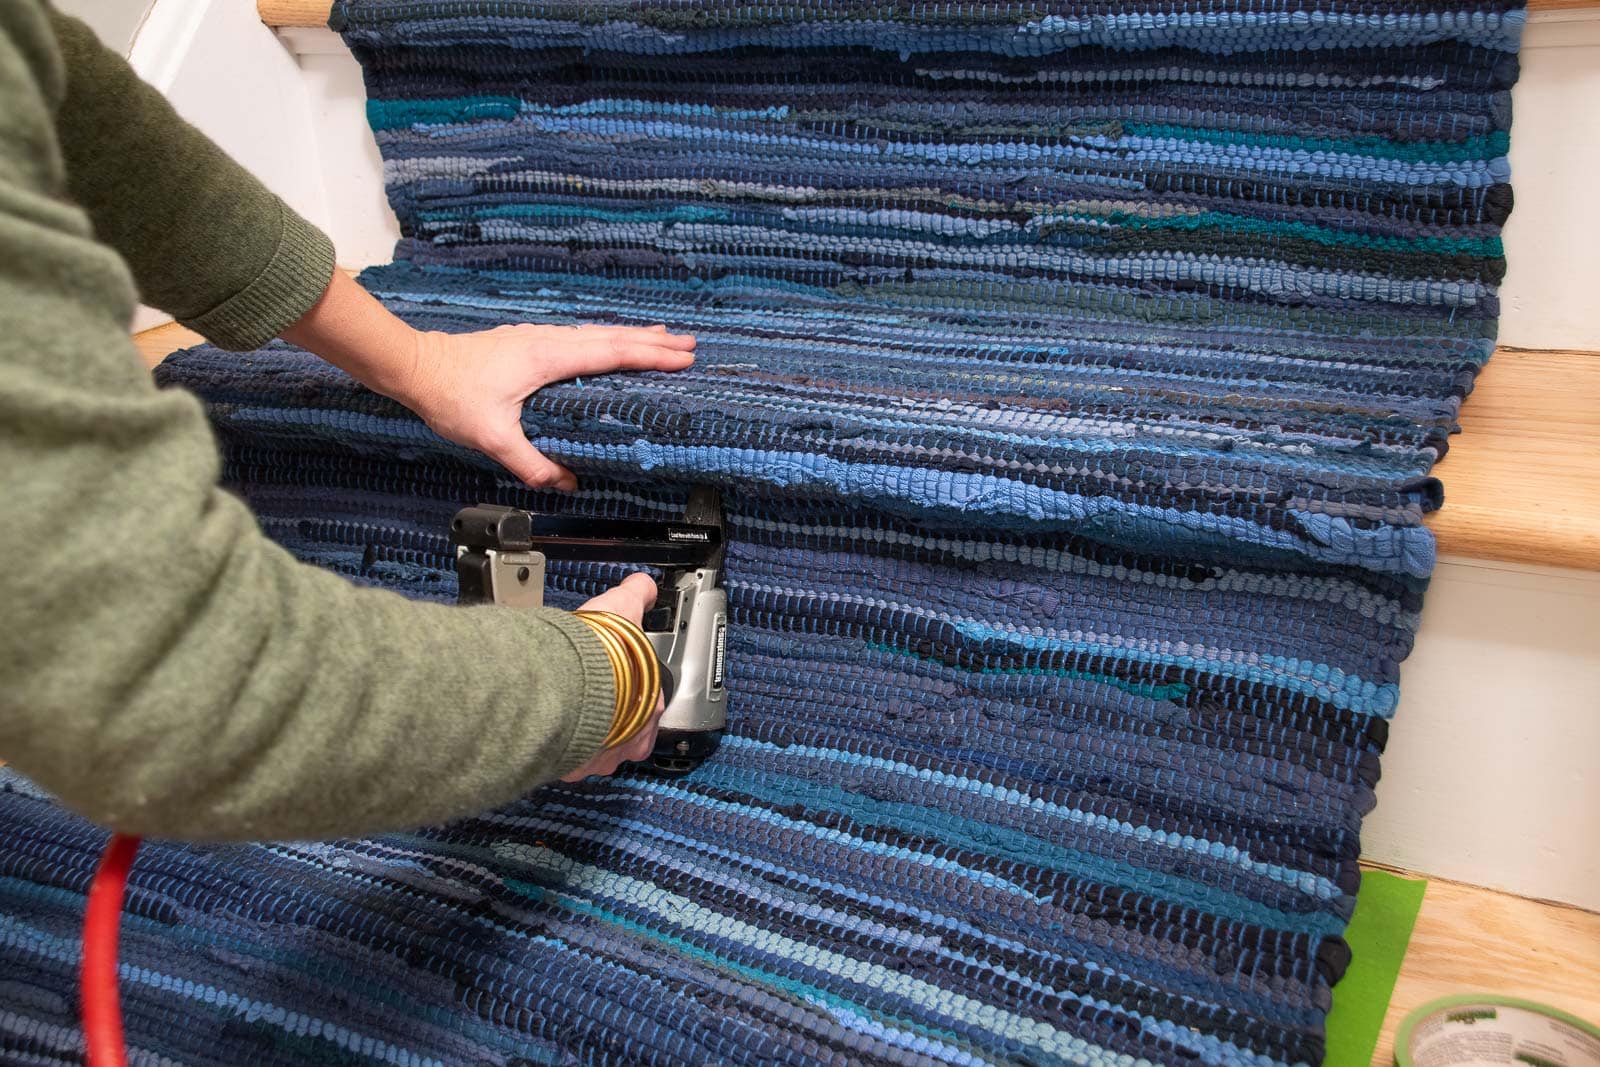
Next I placed the rug pad between my tape guidelines and secured it with one staple on each side. I pulled the runner over the pad and stapled it under the bullnose of the tread. And… repeat.
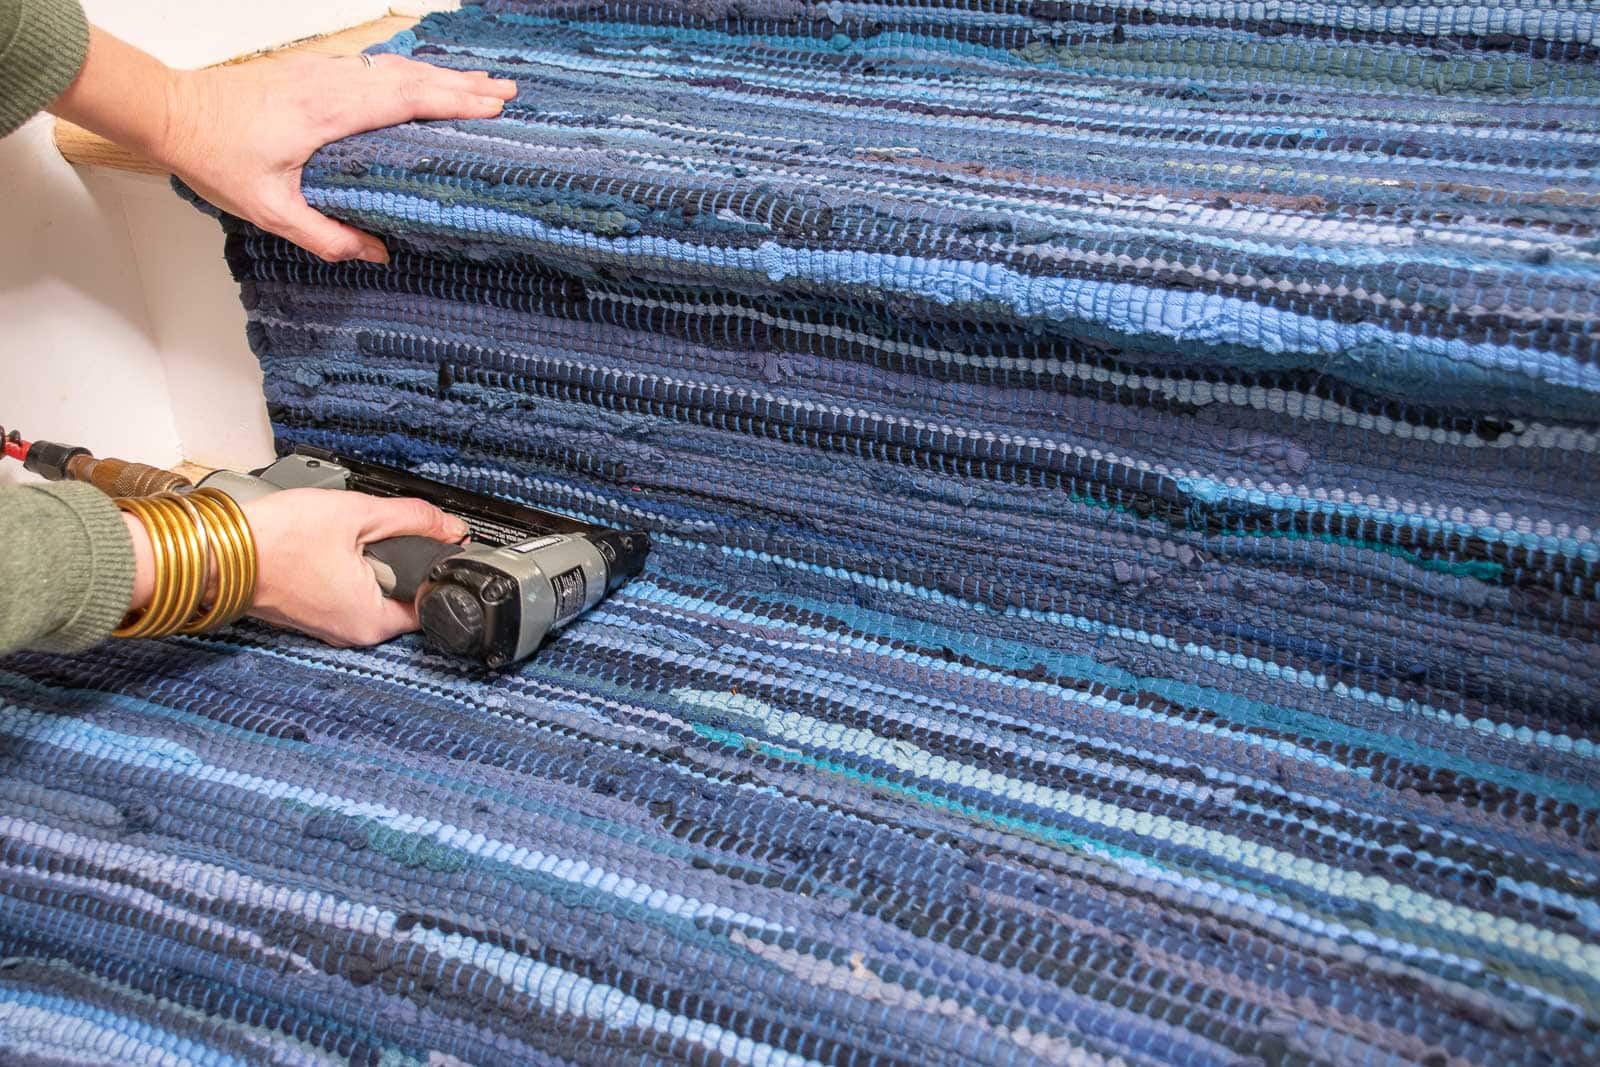
Step 6. Connecting the Second Runner
My first runner ended up at the bottom of one stair so I was able to pretty easily keep going with the second runner. There was about 4 inches of overlap, but the rugs are thin enough that you don’t really notice. For the bottom stair, I had to fold under the last few inches of the runner and staple it against the riser. Note that I switched to 1/2 inch staples when I needed to staple through two layers of the runner.
Step 7. Finishing touches
Once the runner was installed, I went back with my staple gun and added one staple along the edge in the middle of all the treads and the risers. I also went back and added a few more staples under the bullnose just to make sure the rug doesn’t pull loose.
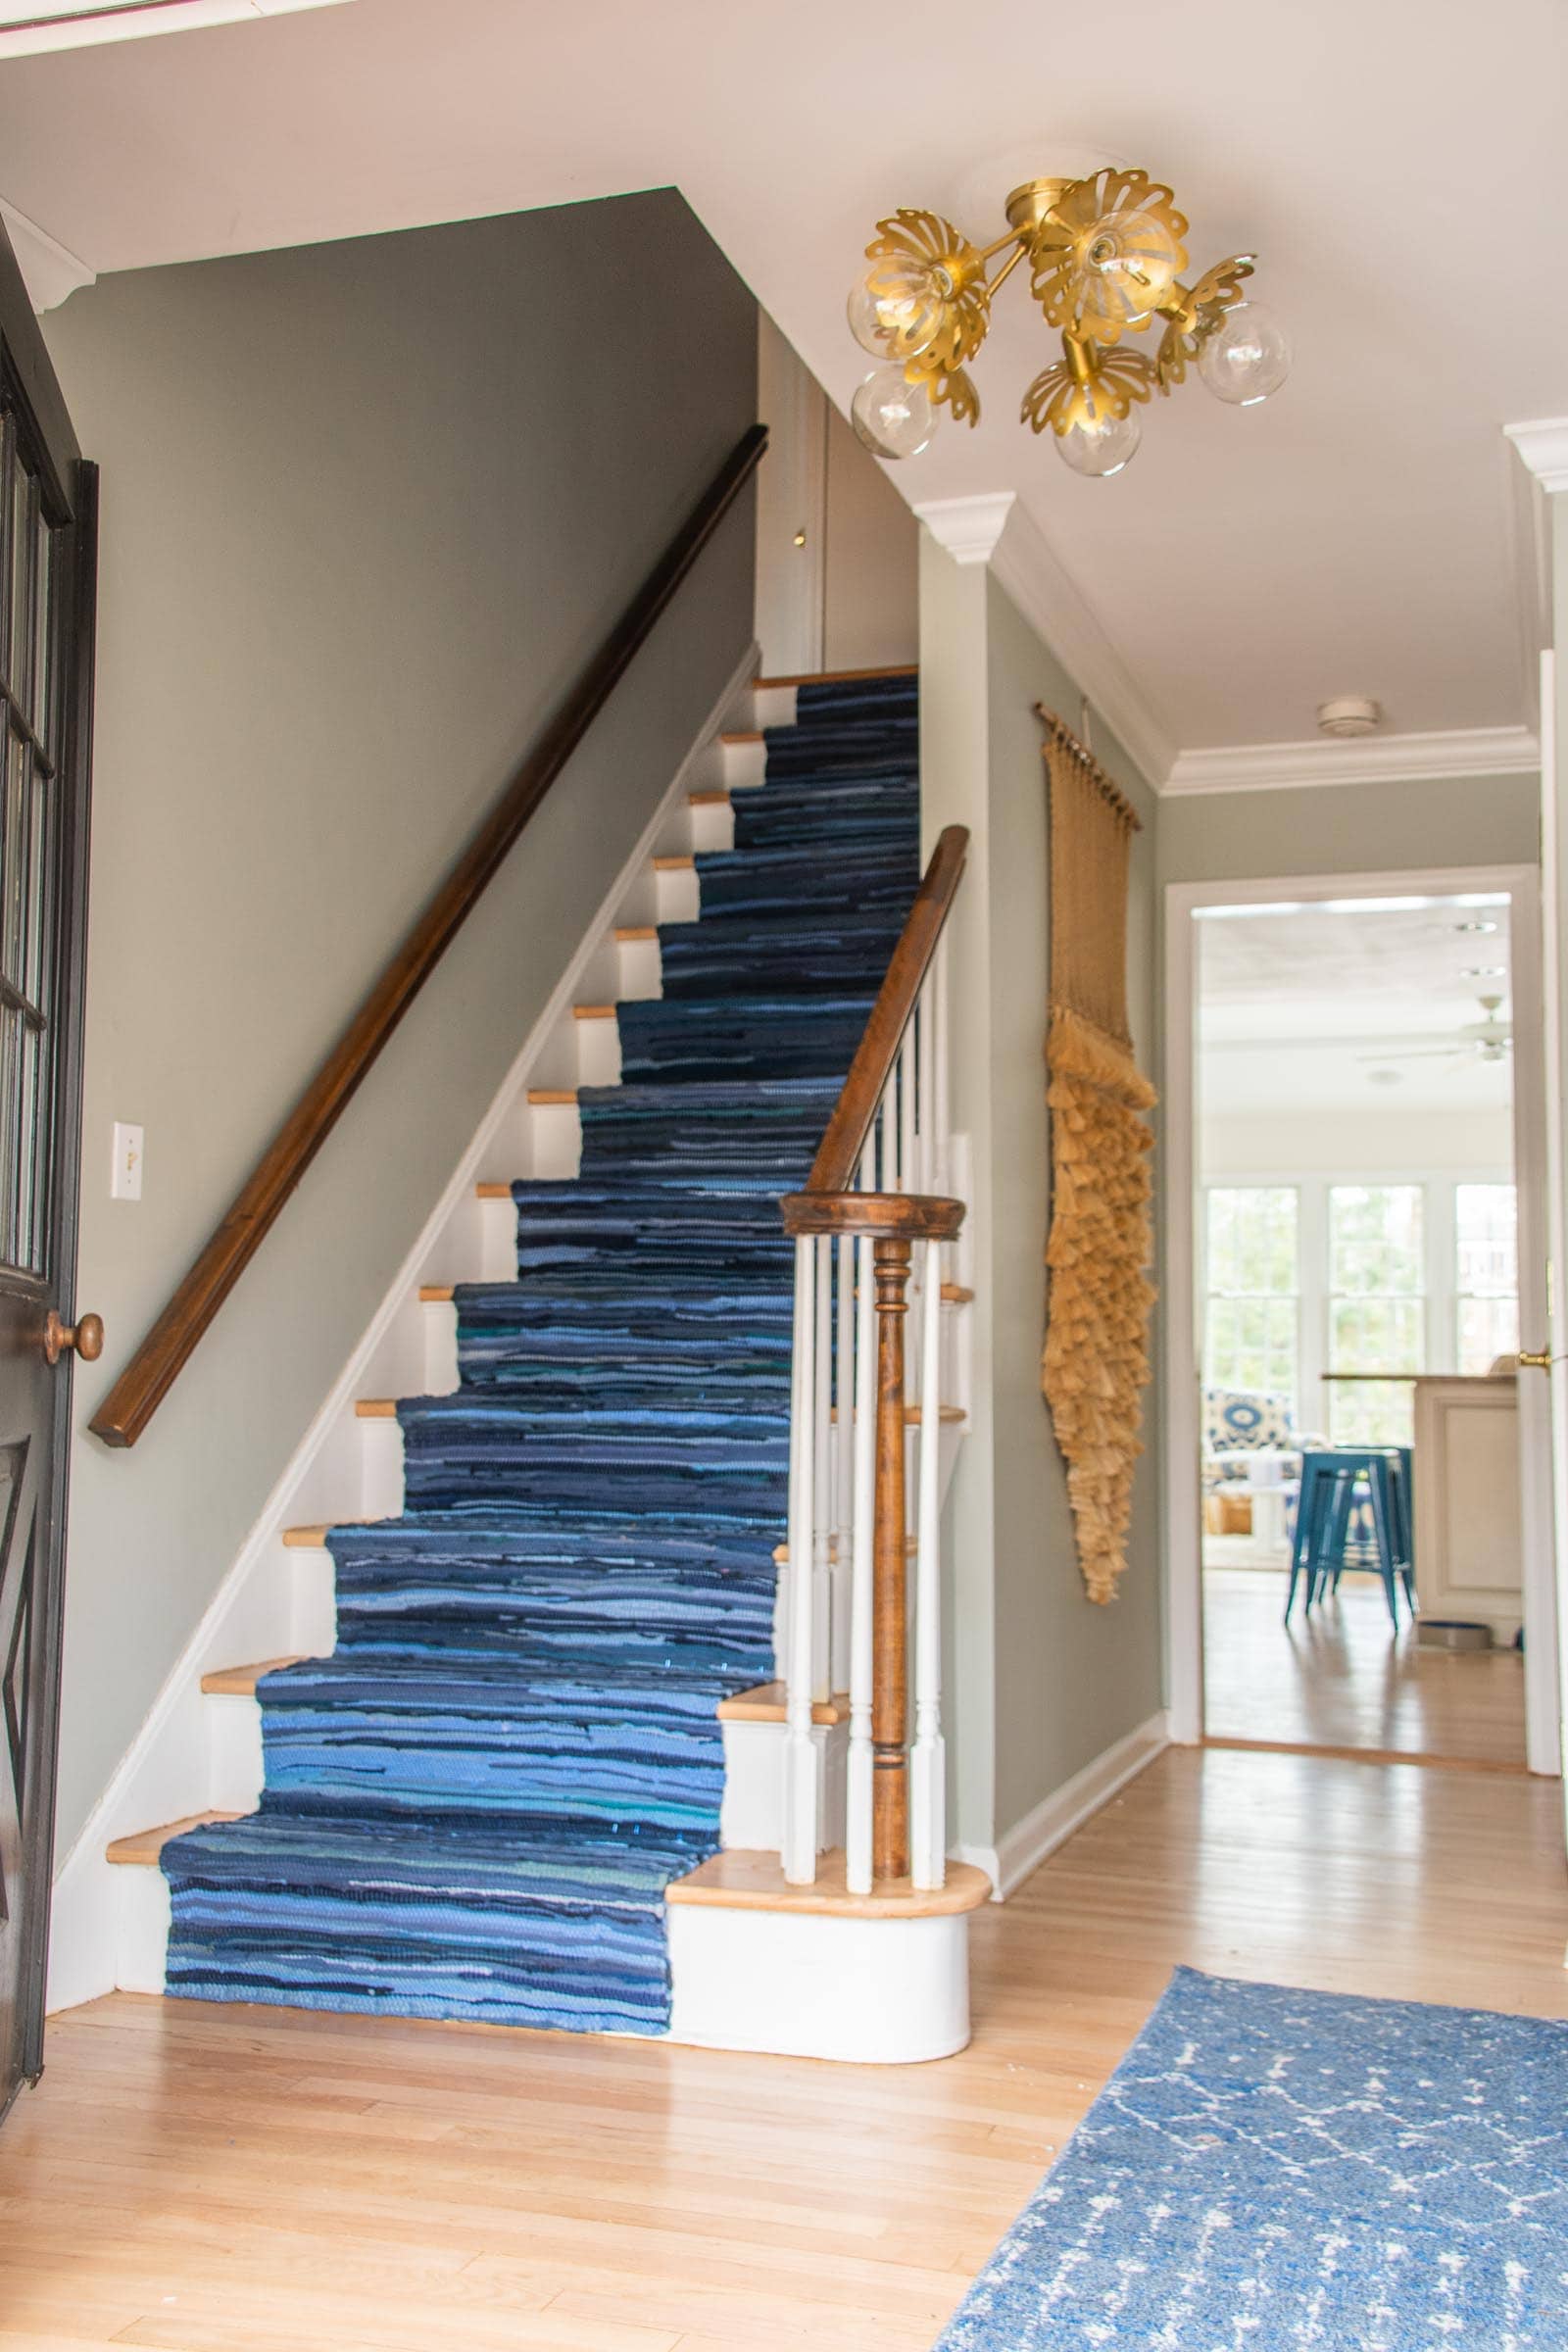
I love that this Chindi rug brings in some rich colors without an overbearing pattern. I’m hoping to add wallpaper to the space so I’m gambling that this blue will match anything I install! Fingers crossed…
Each of these runners cost my $34 and the rug pads were about $5 each! I had the rest of the supplies in my workshop. Fingers crossed the chindi holds up, but if it doesn’t… I can easily remove and replace with a different one! Nothing here is permanent!
Materials:
- Runners
- Rug Pads similar to these (I grabbed mine at Marshalls)
- Stapler (mine requires a compressor… I have this one)
- Painters tape
- Measuring tape
- Scissors
- Sharpie
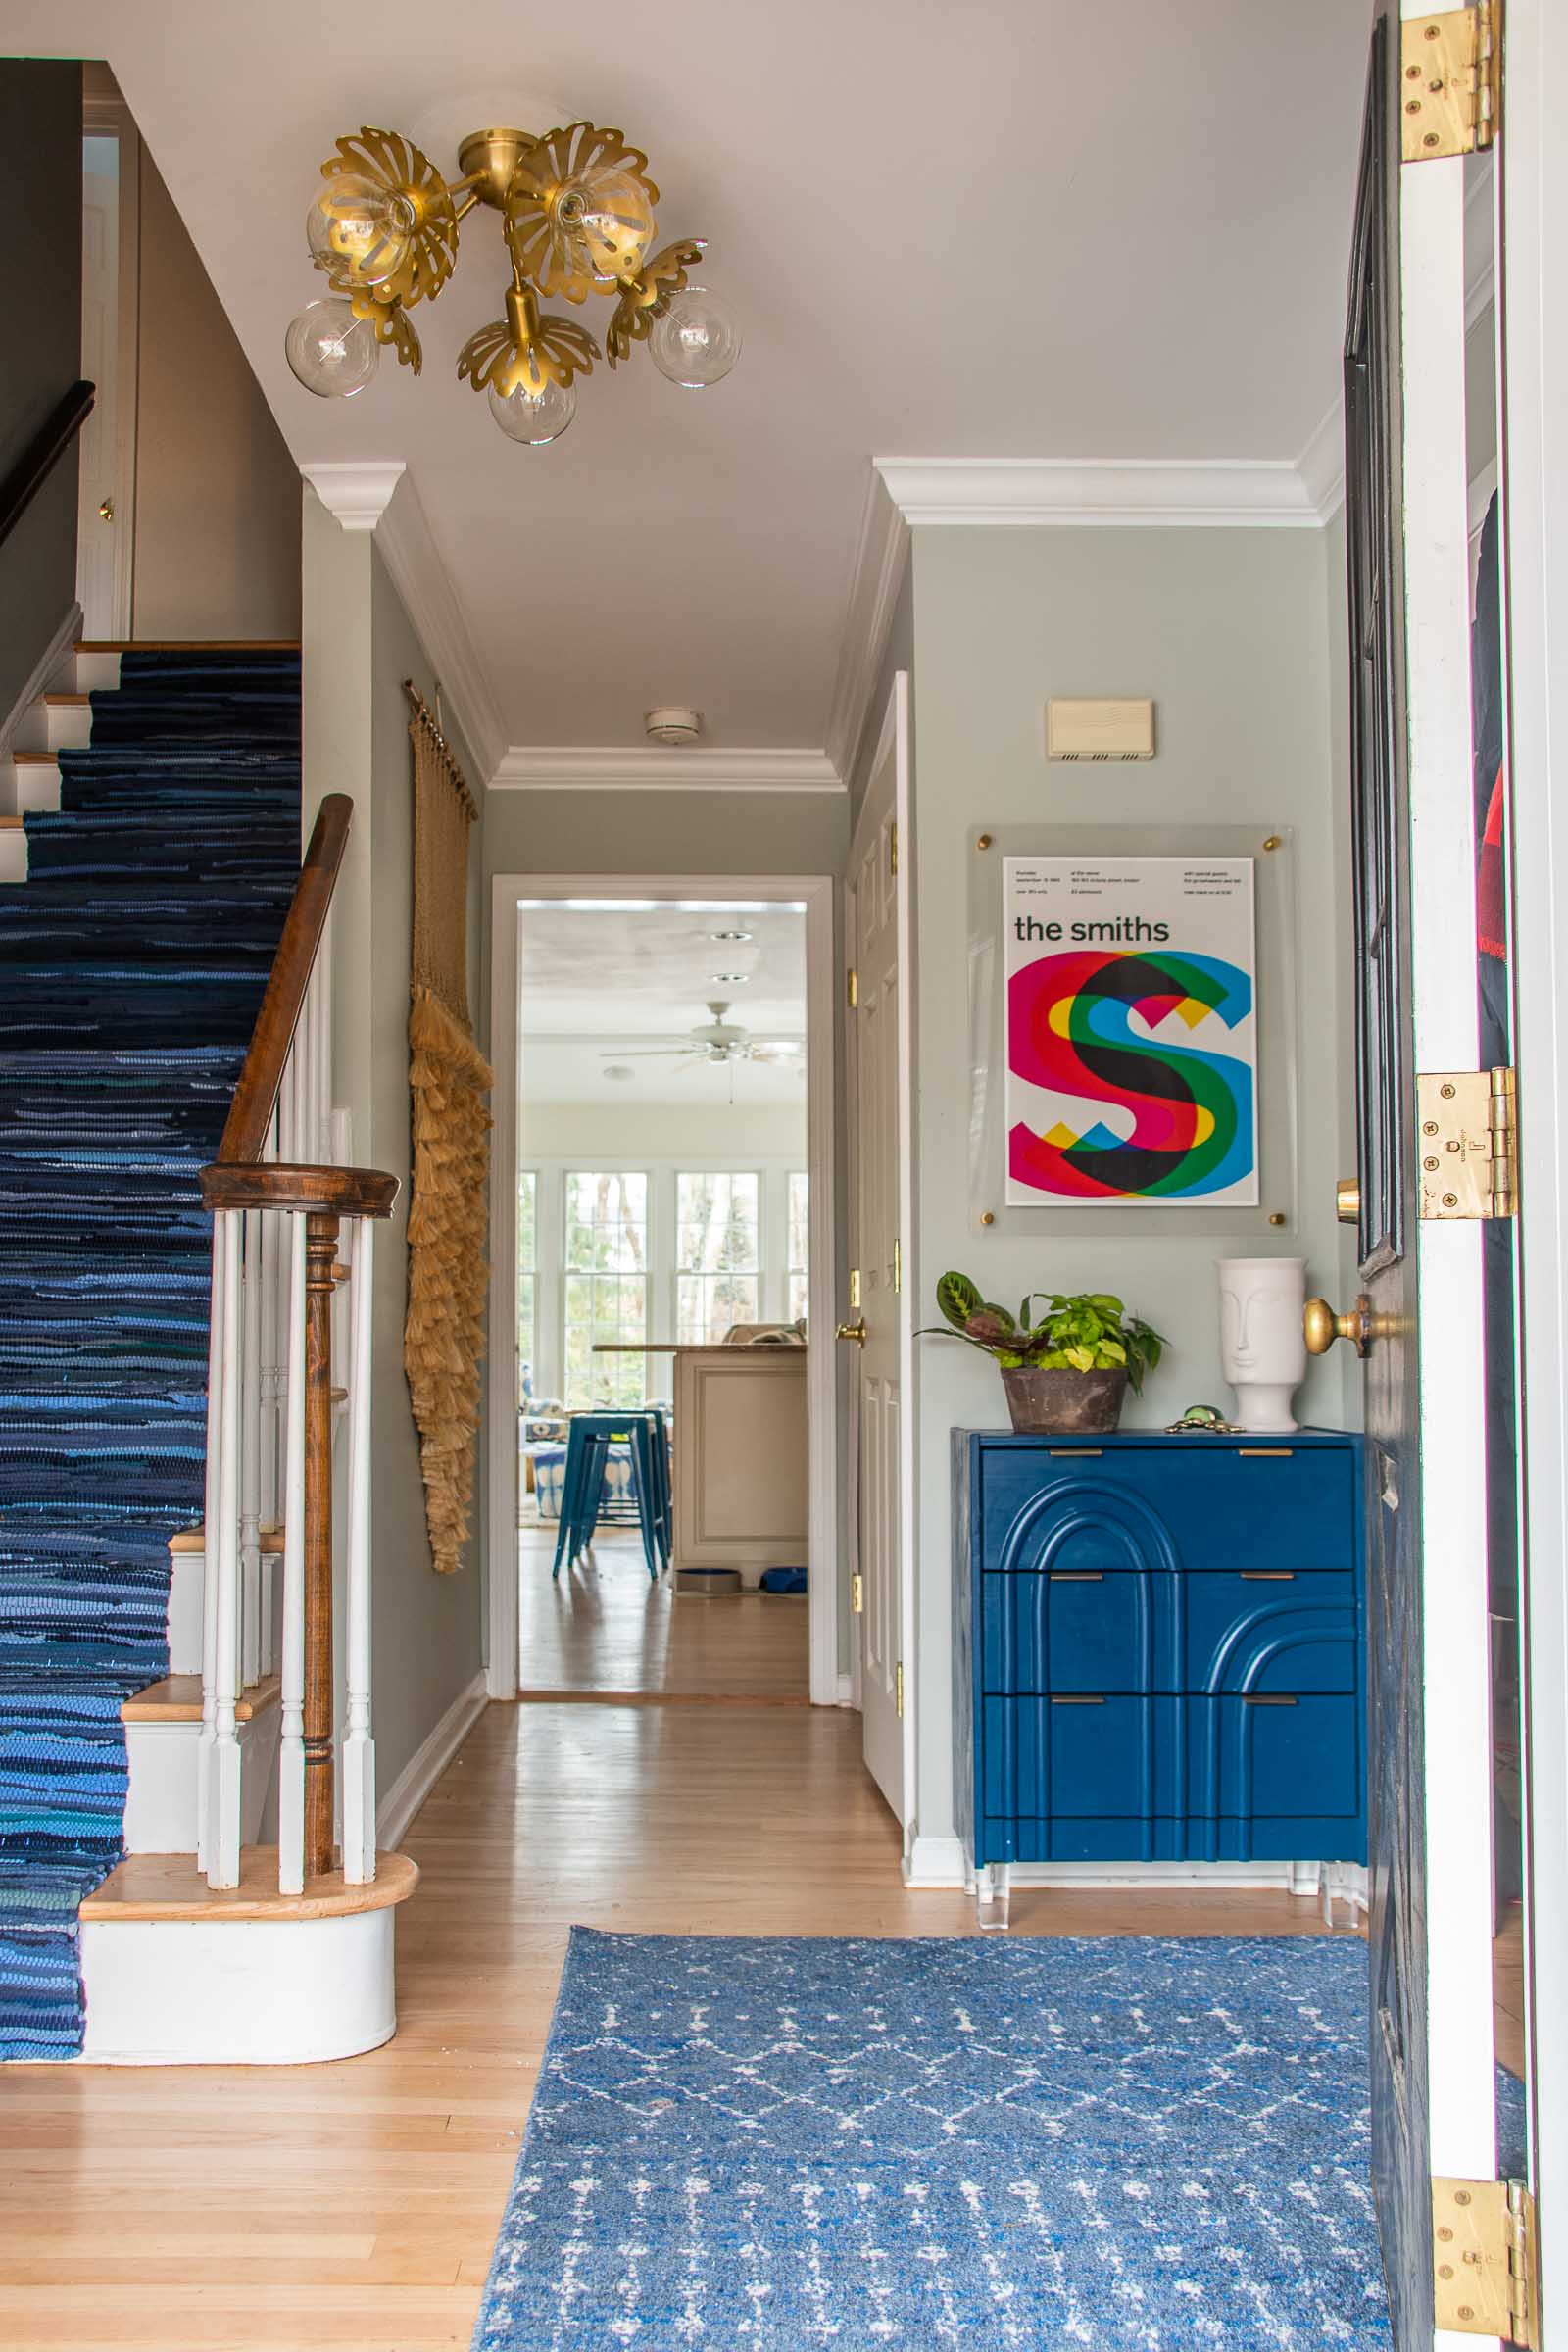
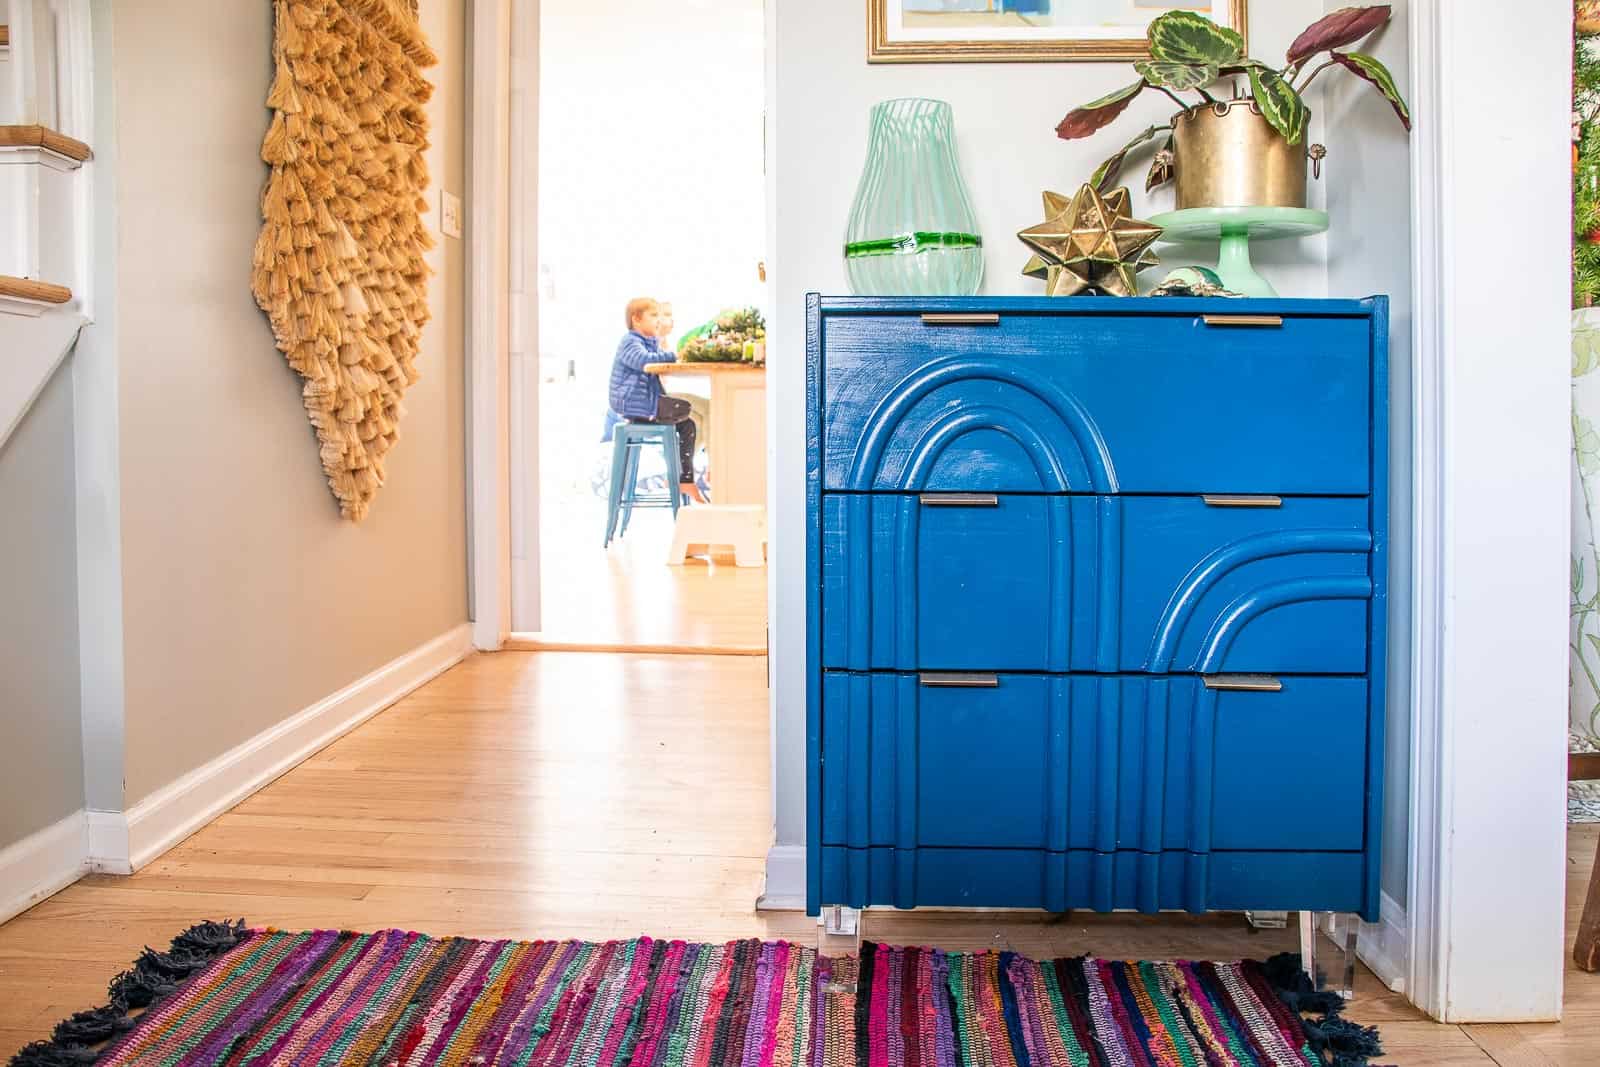
It’s much quieter around here!!! Foyer is coming together. See how I made that IKEA Rast Dresser Hack here.


Wow your hall looks fantastic! Thank you so much for the lesson on installing a runner!!!
Thanks and you’re most welcome!