
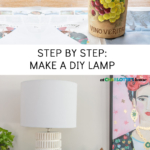
How to Make a Lamp
Psssst… this post *might* contain affiliate links: see my disclosure here.
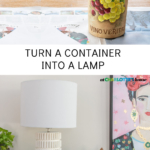
DIY Lamp from Thrift Store Canister
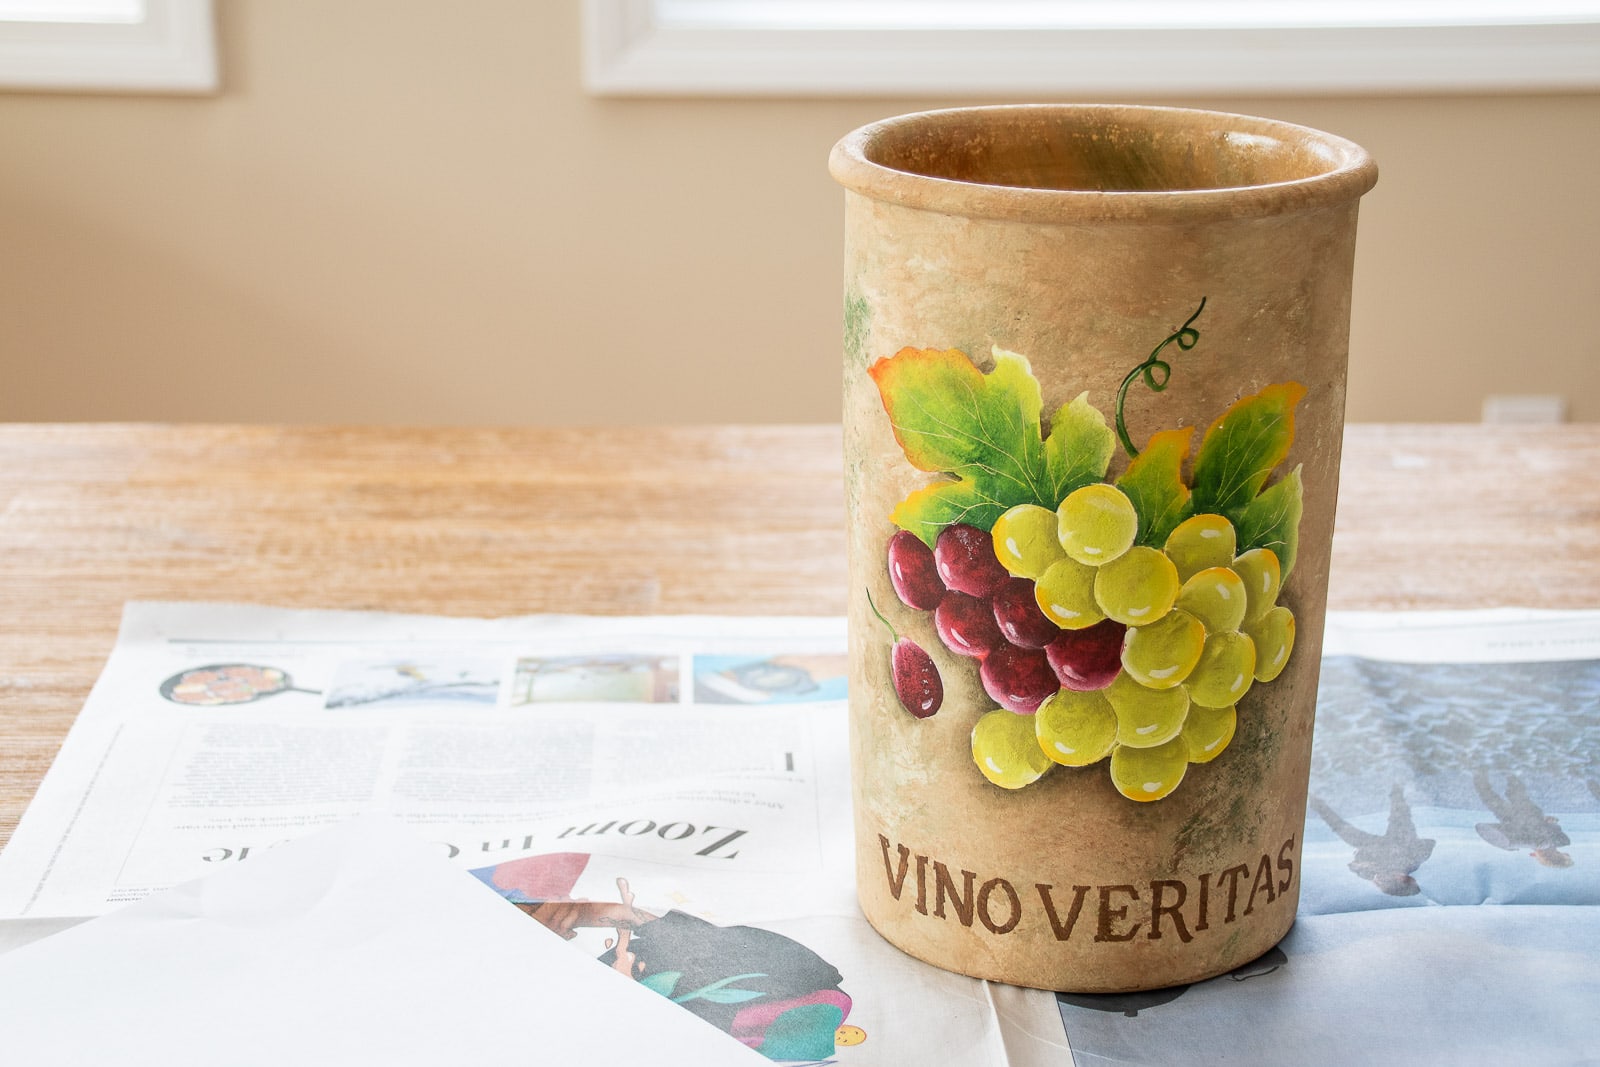
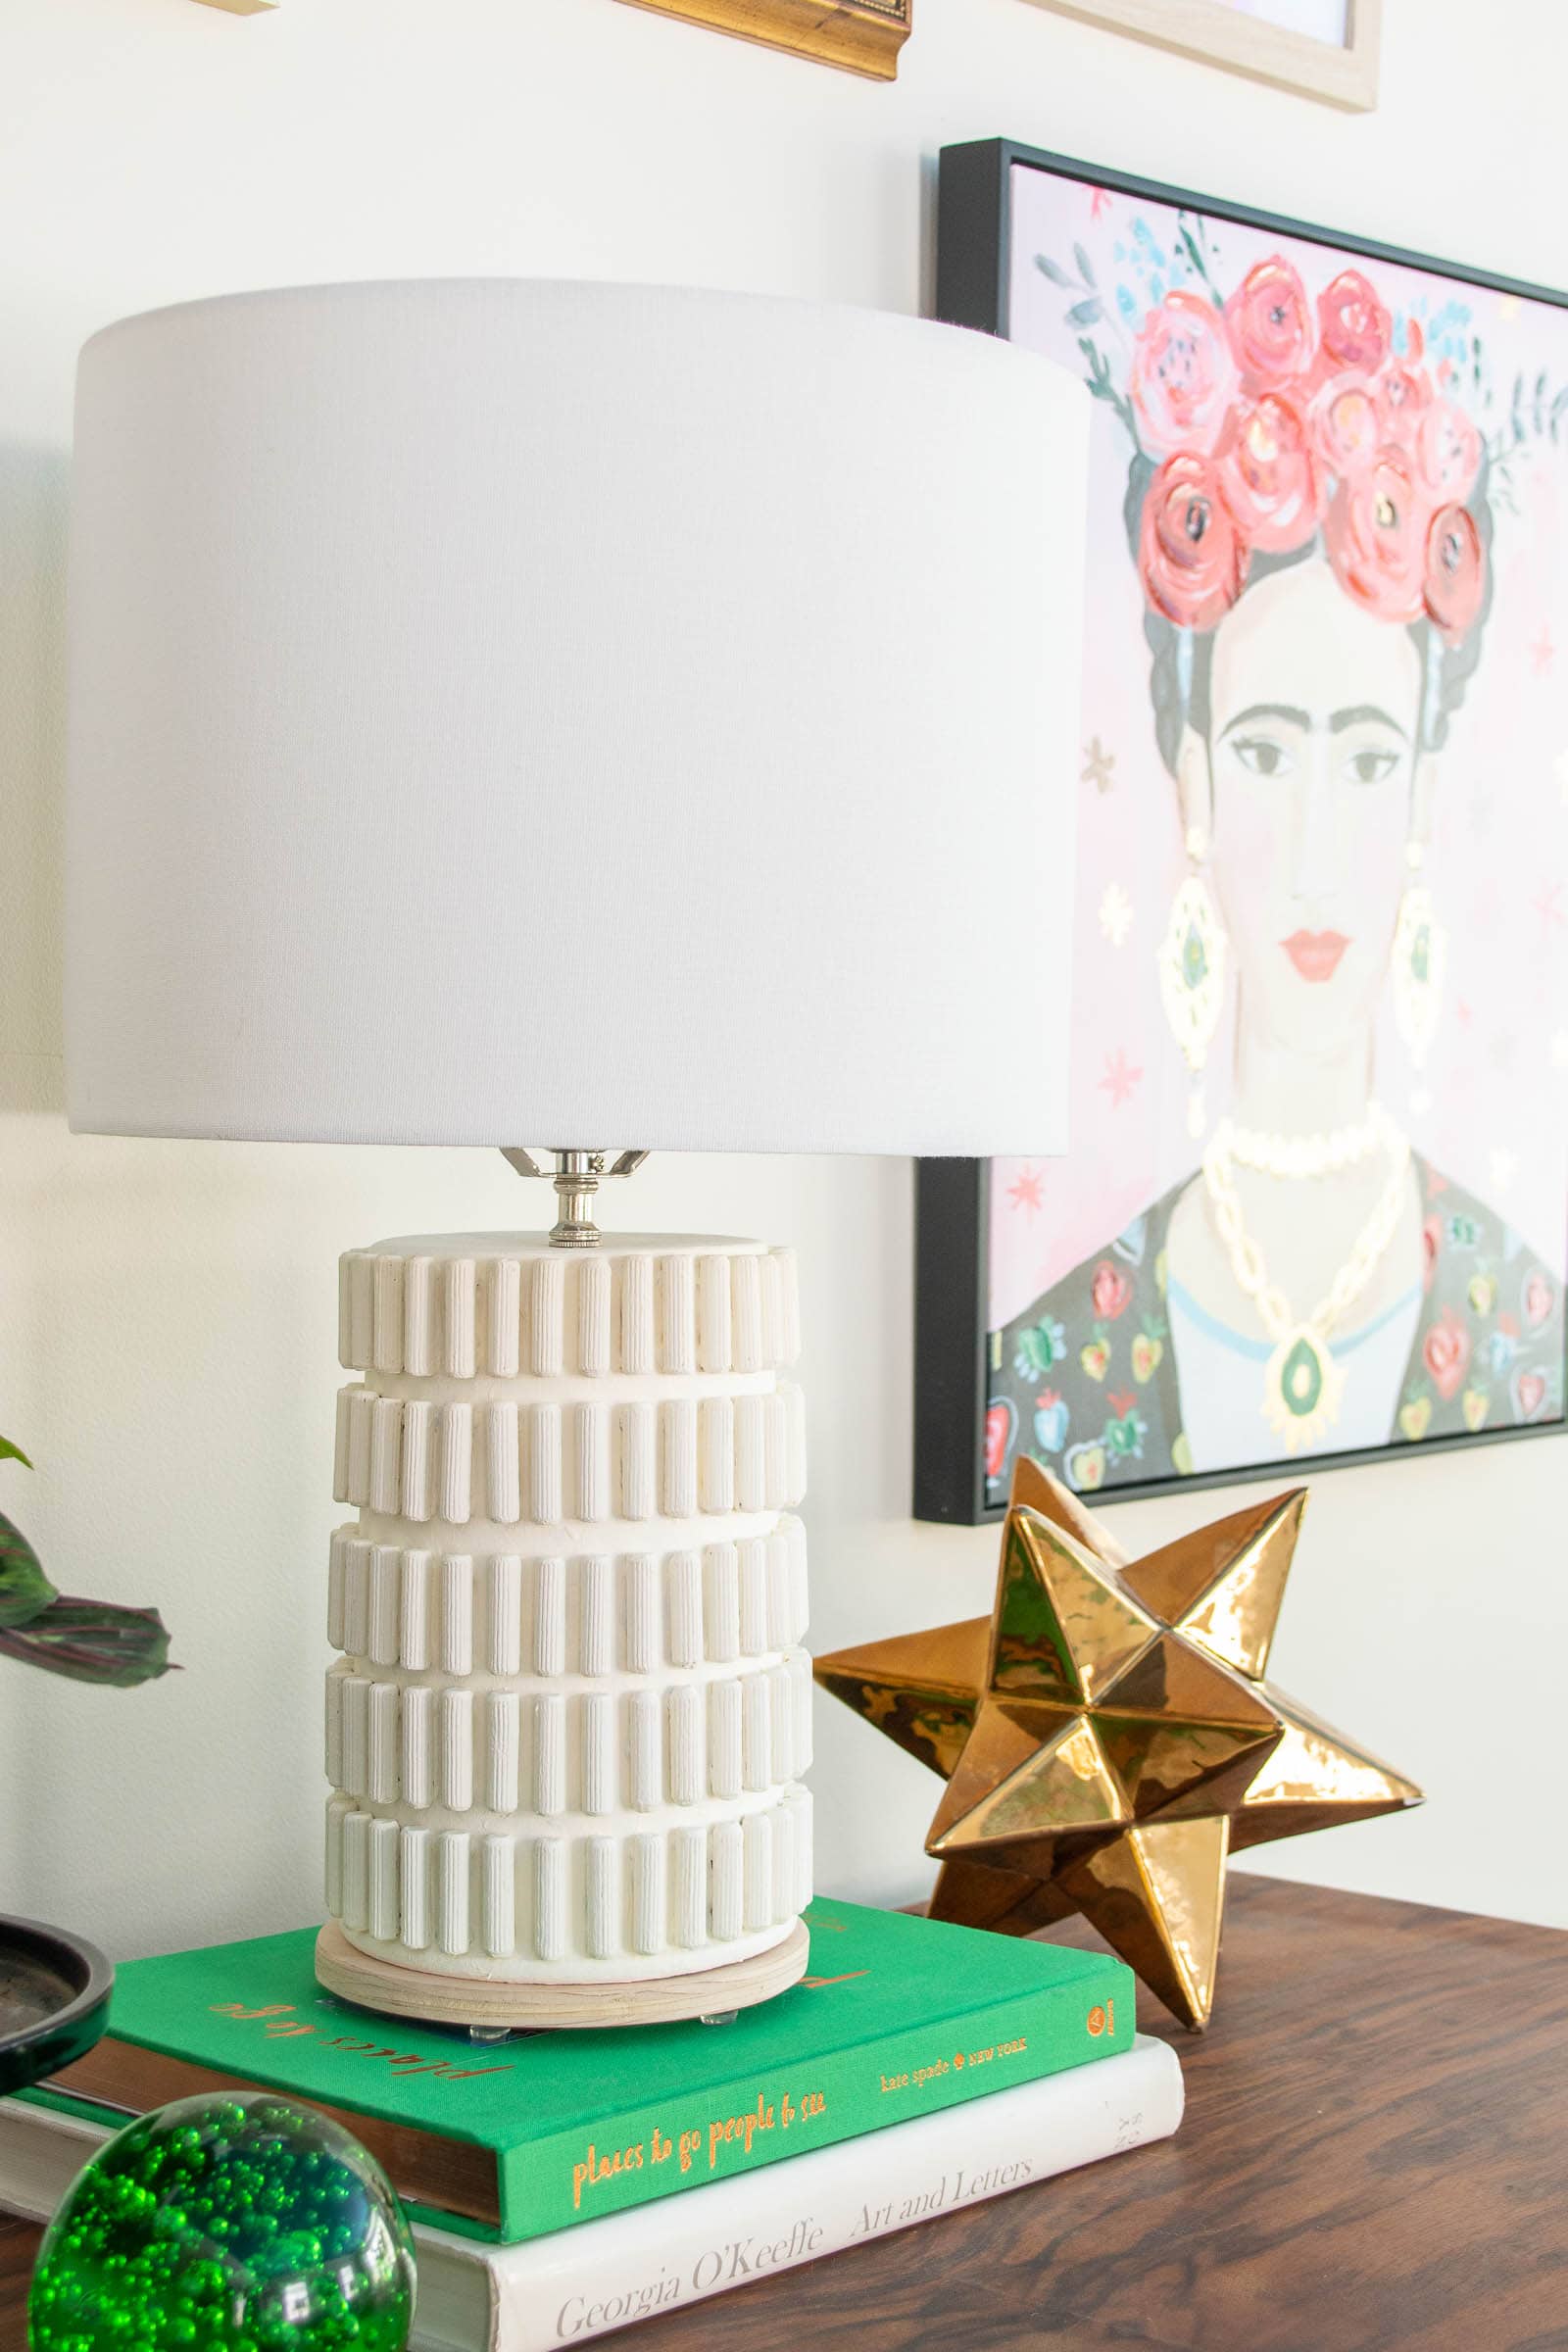
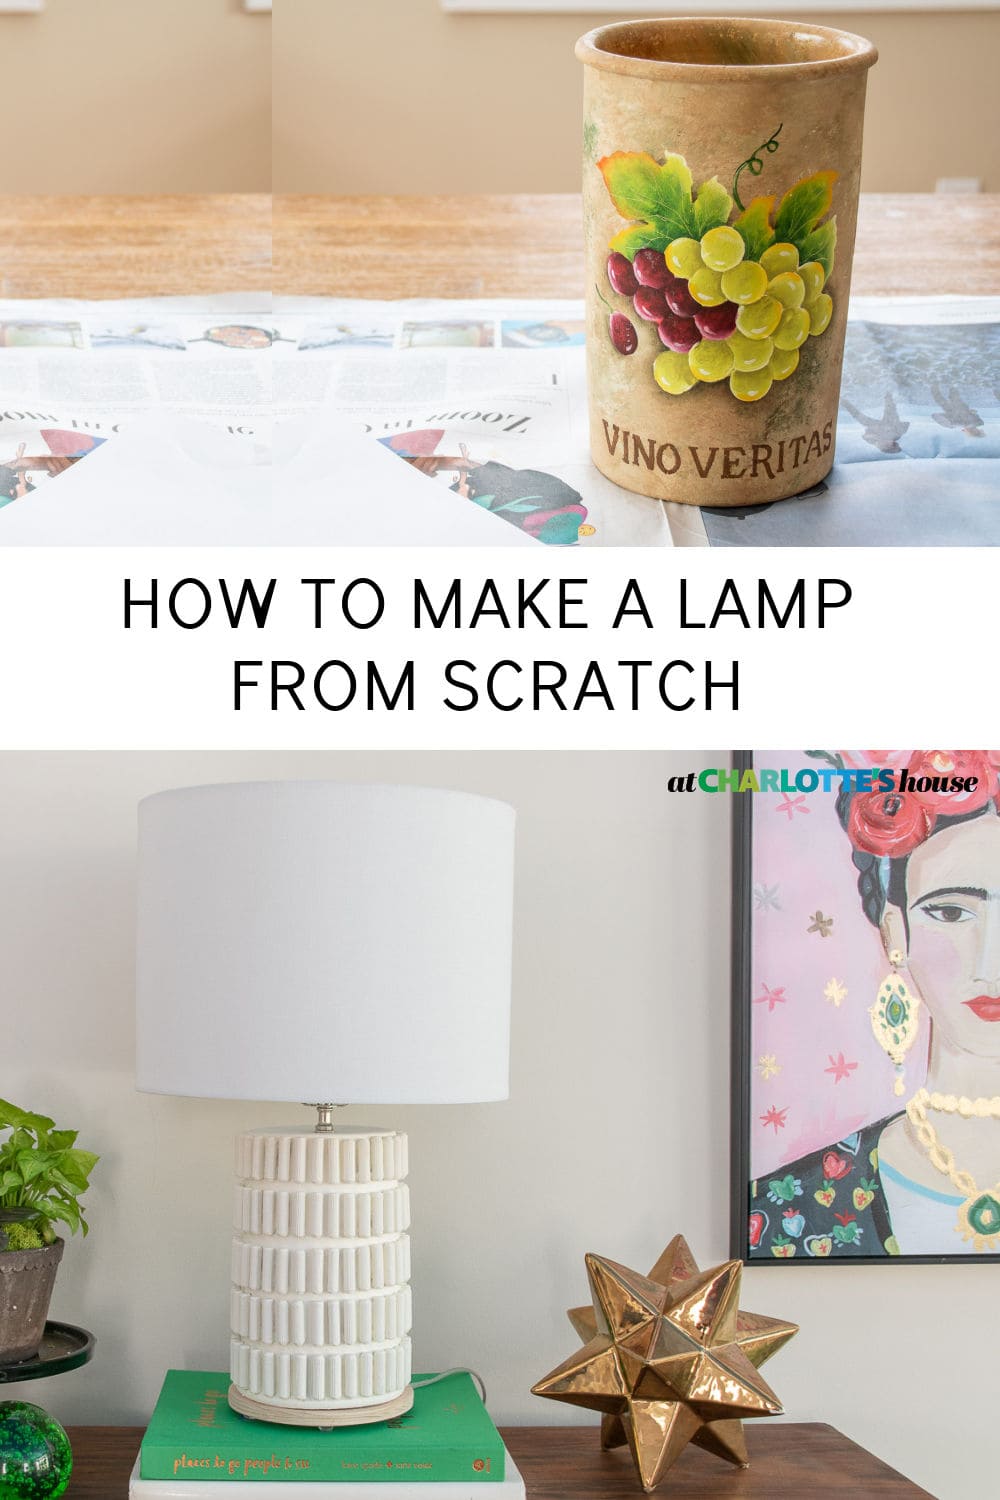
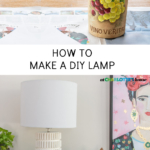
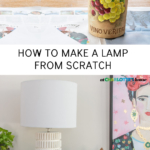
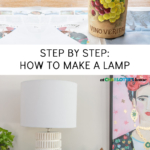
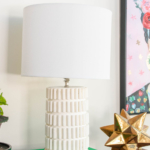
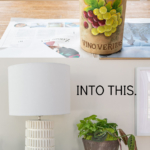
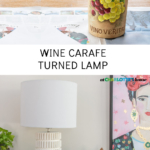
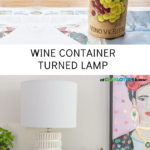
I turned this clay wine carafe into a textural DIY lamp.
I’m still waiting on materials for a few big projects around the house so these thrift store inspiration projects have been a really fun way to stay creative! I never really know what I’m going to make until I wander the aisles and see something that sparks an idea. This last trip, it was this painted clay wine carafe. (Spoiler: You won’t believe how it looks now.)
Shop my favorites!
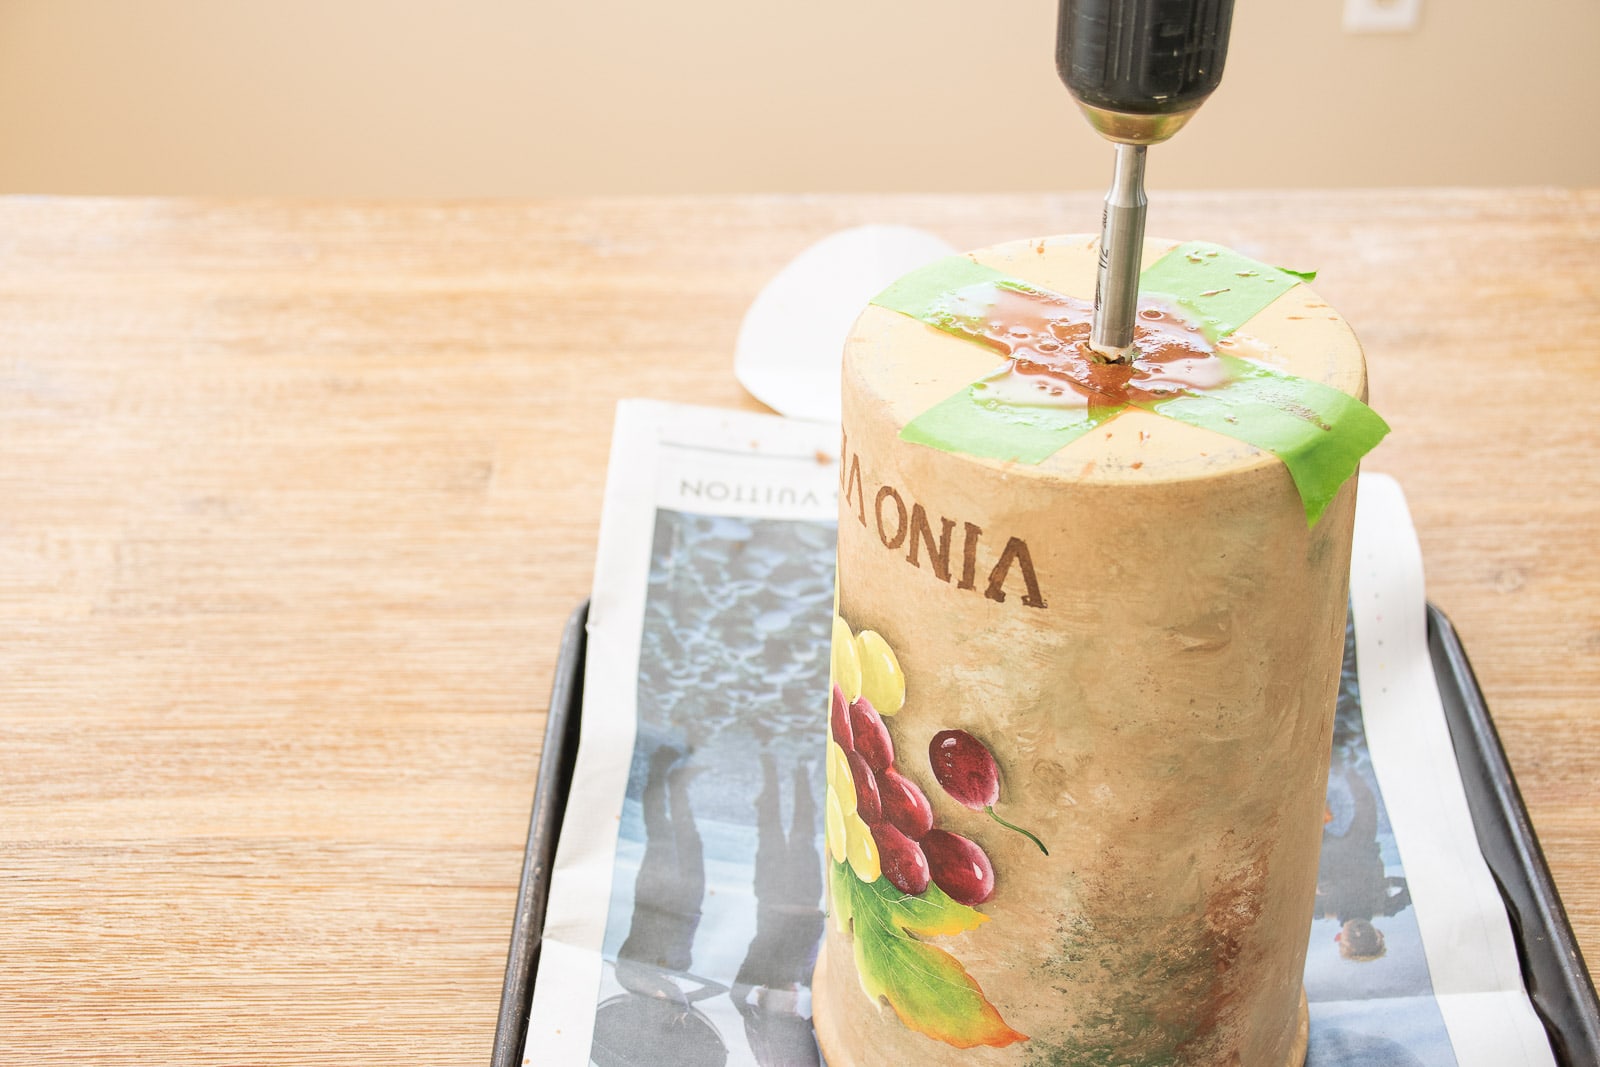
Step 1. Drill a hole for the lamp rod
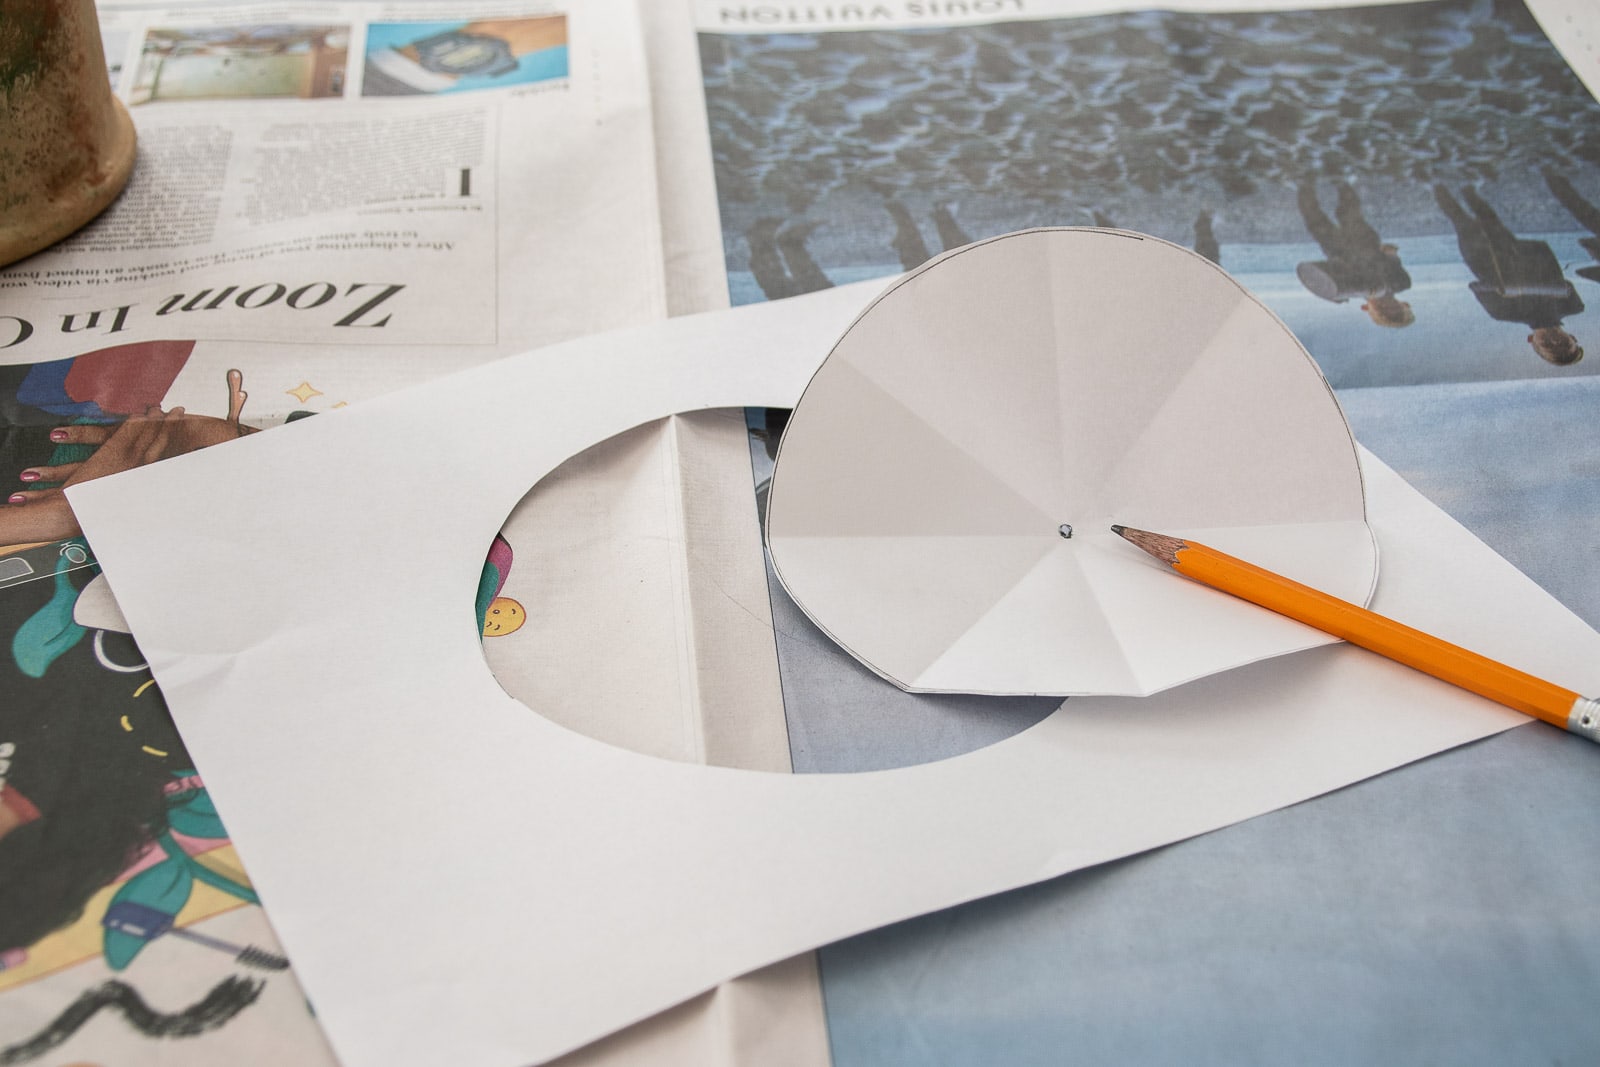
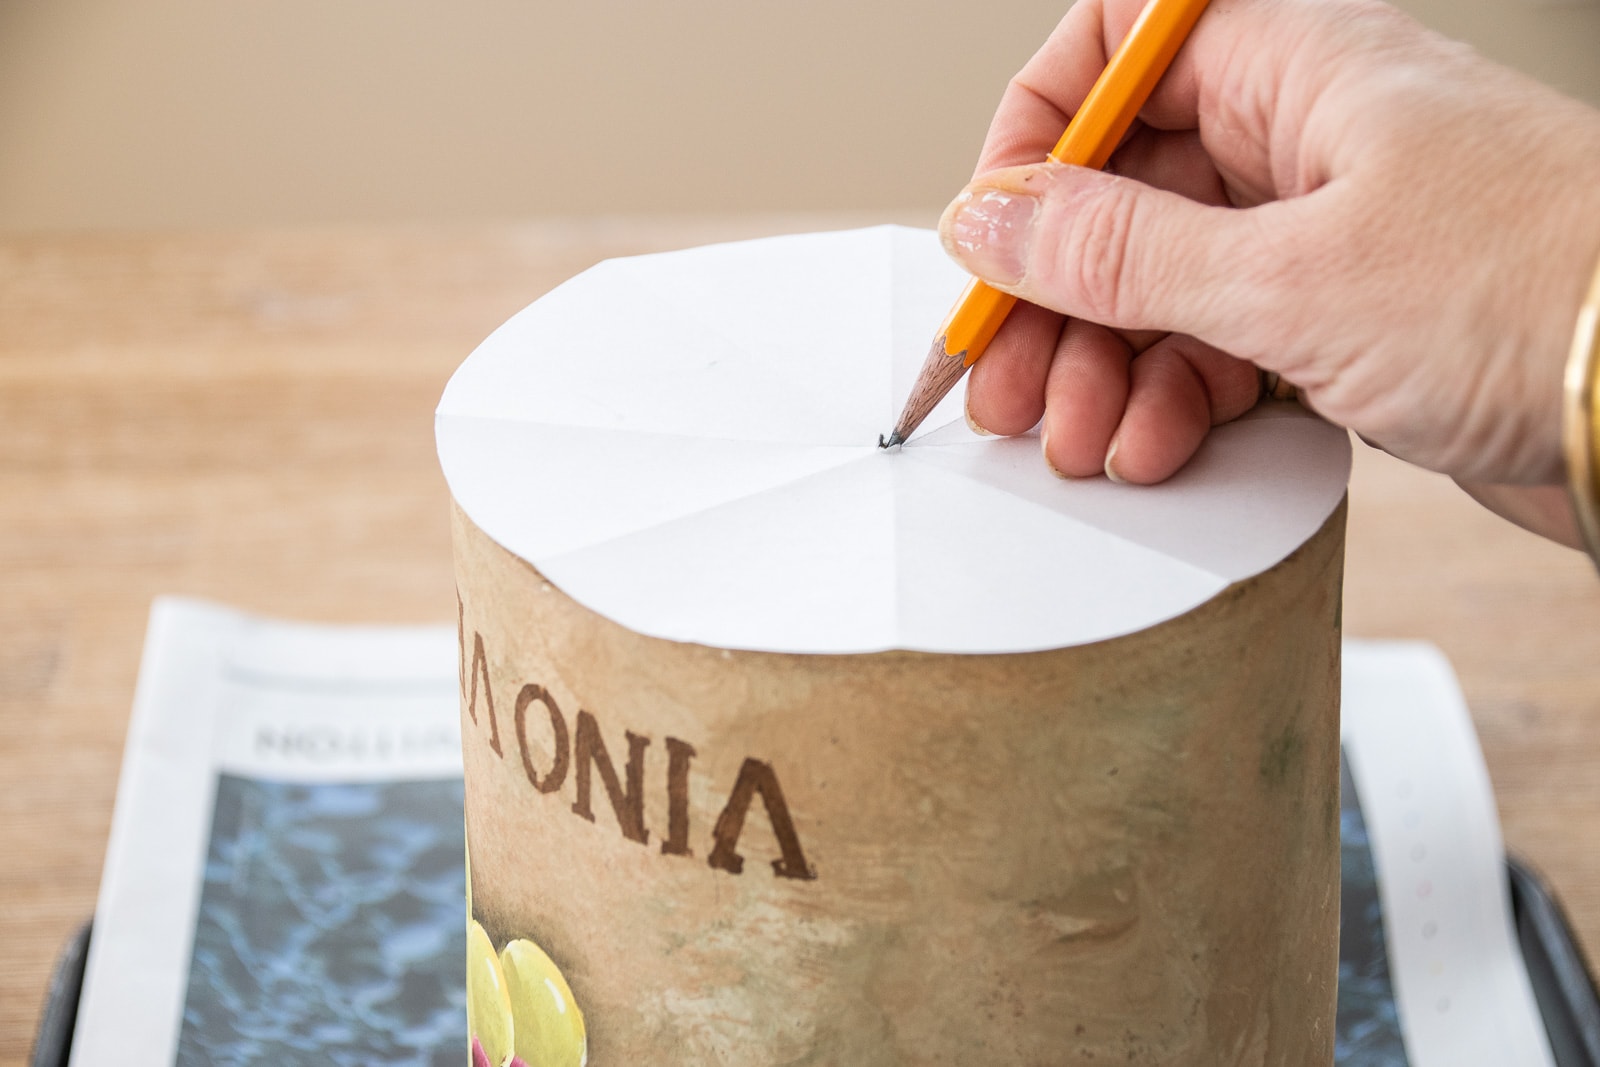
In order to turn this canister into a lamp, we need to find a way to run a lamp rod up through it. The lamp rod is a hollow threaded rod that is essentially a conduit for the lamp wire but also helps to secure the lamp using nuts above and below the lamp base. I traced the canister and then cut out and folded the circle to find the center point. I taped the center point to prevent chips and then drilled a hole with a special masonry bit. I added a little bit of water when I was drilling just to be safe, but this canister was pretty soft so not sure I needed it!
Sand and wipe clean.
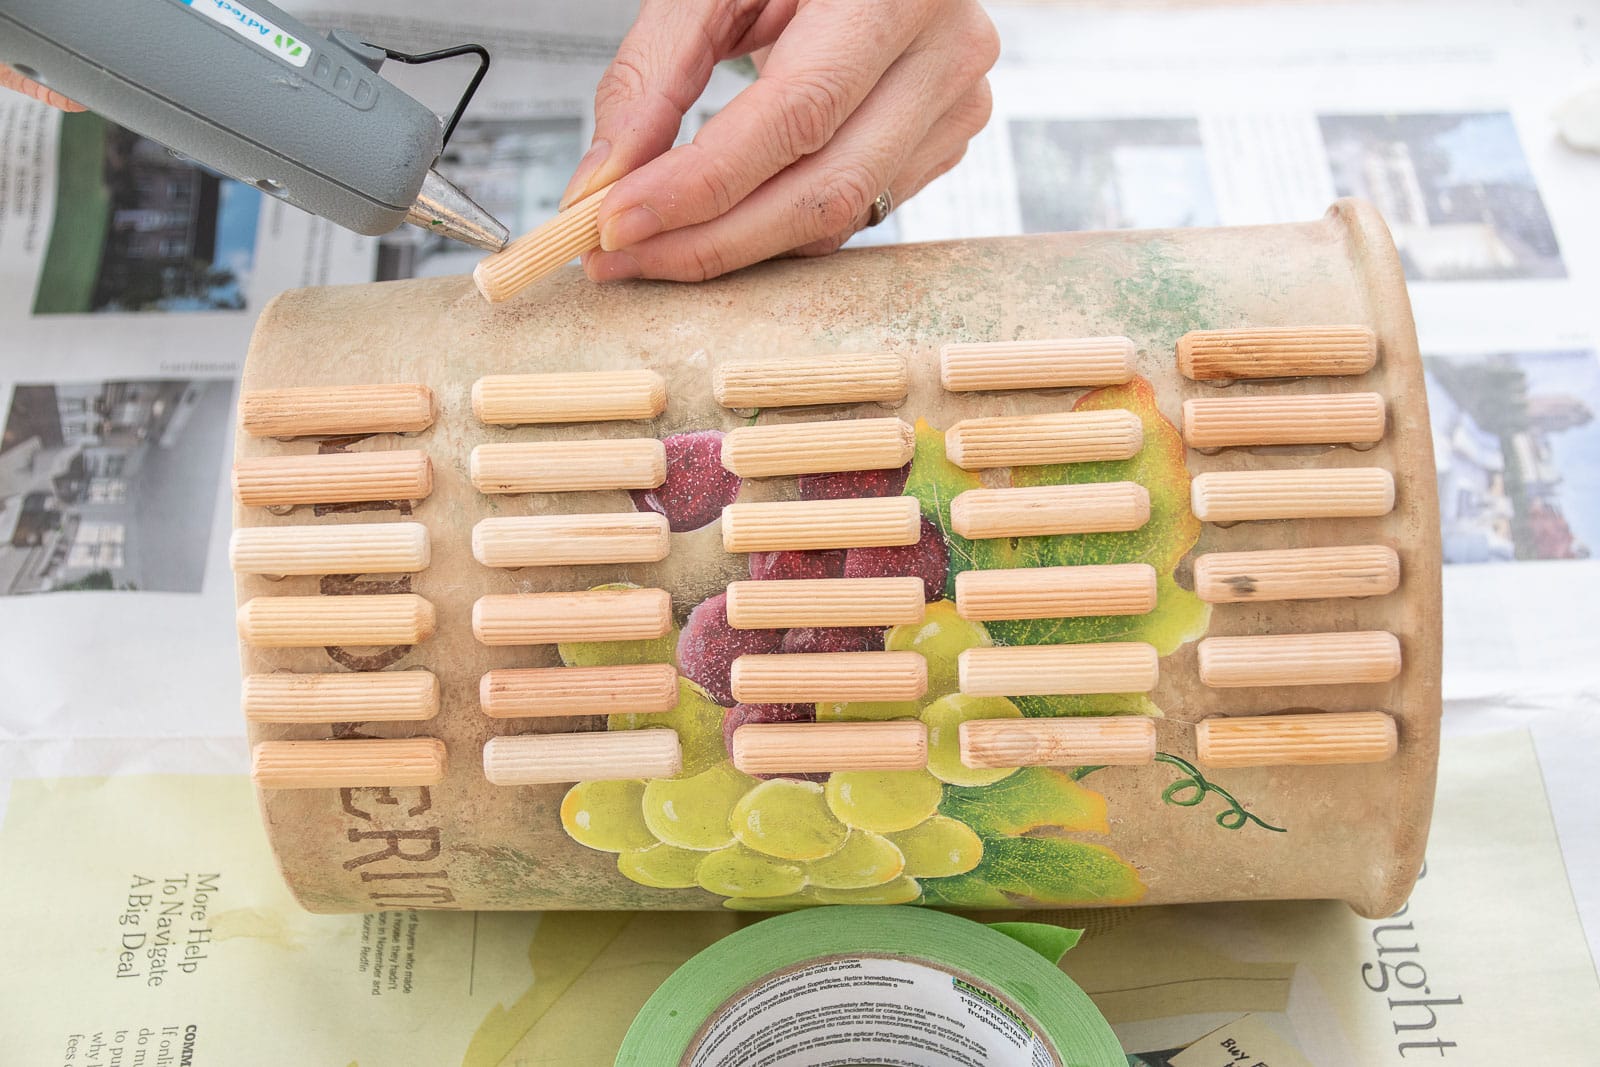
Step 2. Glue Dowel Pins
To glue the dowel pins, I used a bead of gorilla glue in the middle for strongest adhesion, but then added two dots of hot glue on either end to hold the dowel in place immediately until the gorilla glue dried. I didn’t mark the canister before gluing, but that would certainly be a safe way to do this; any mark will be painted over so a faint pencil line might help!
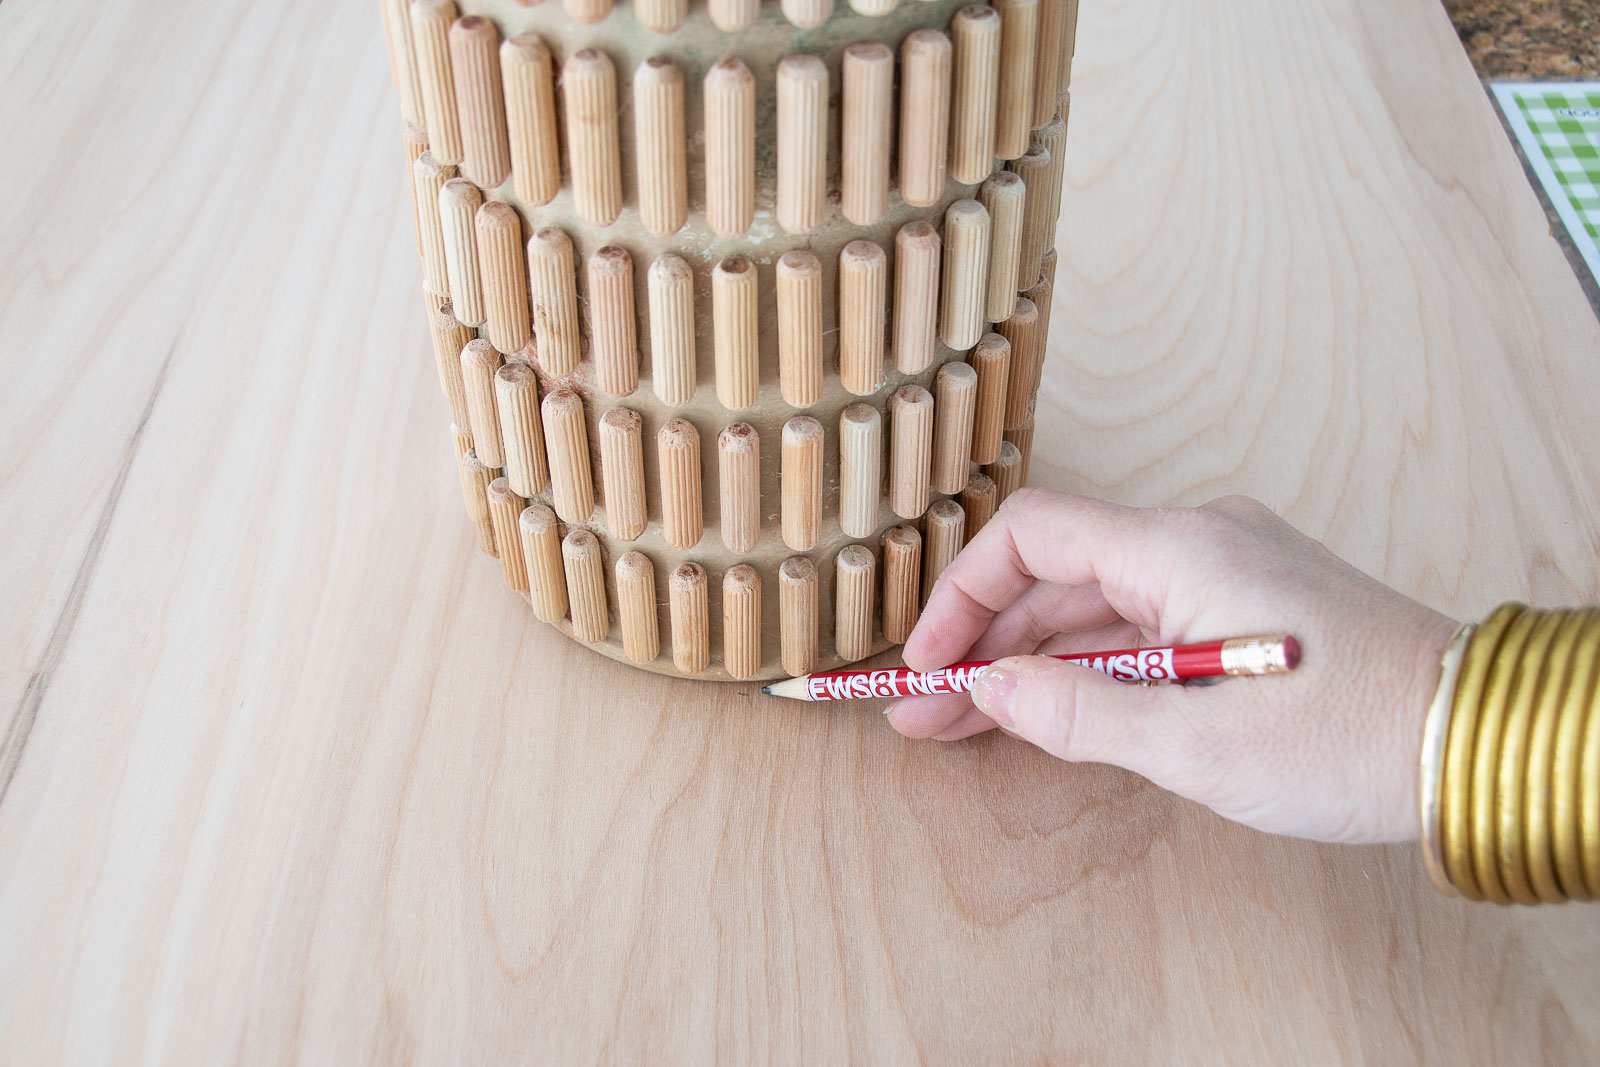
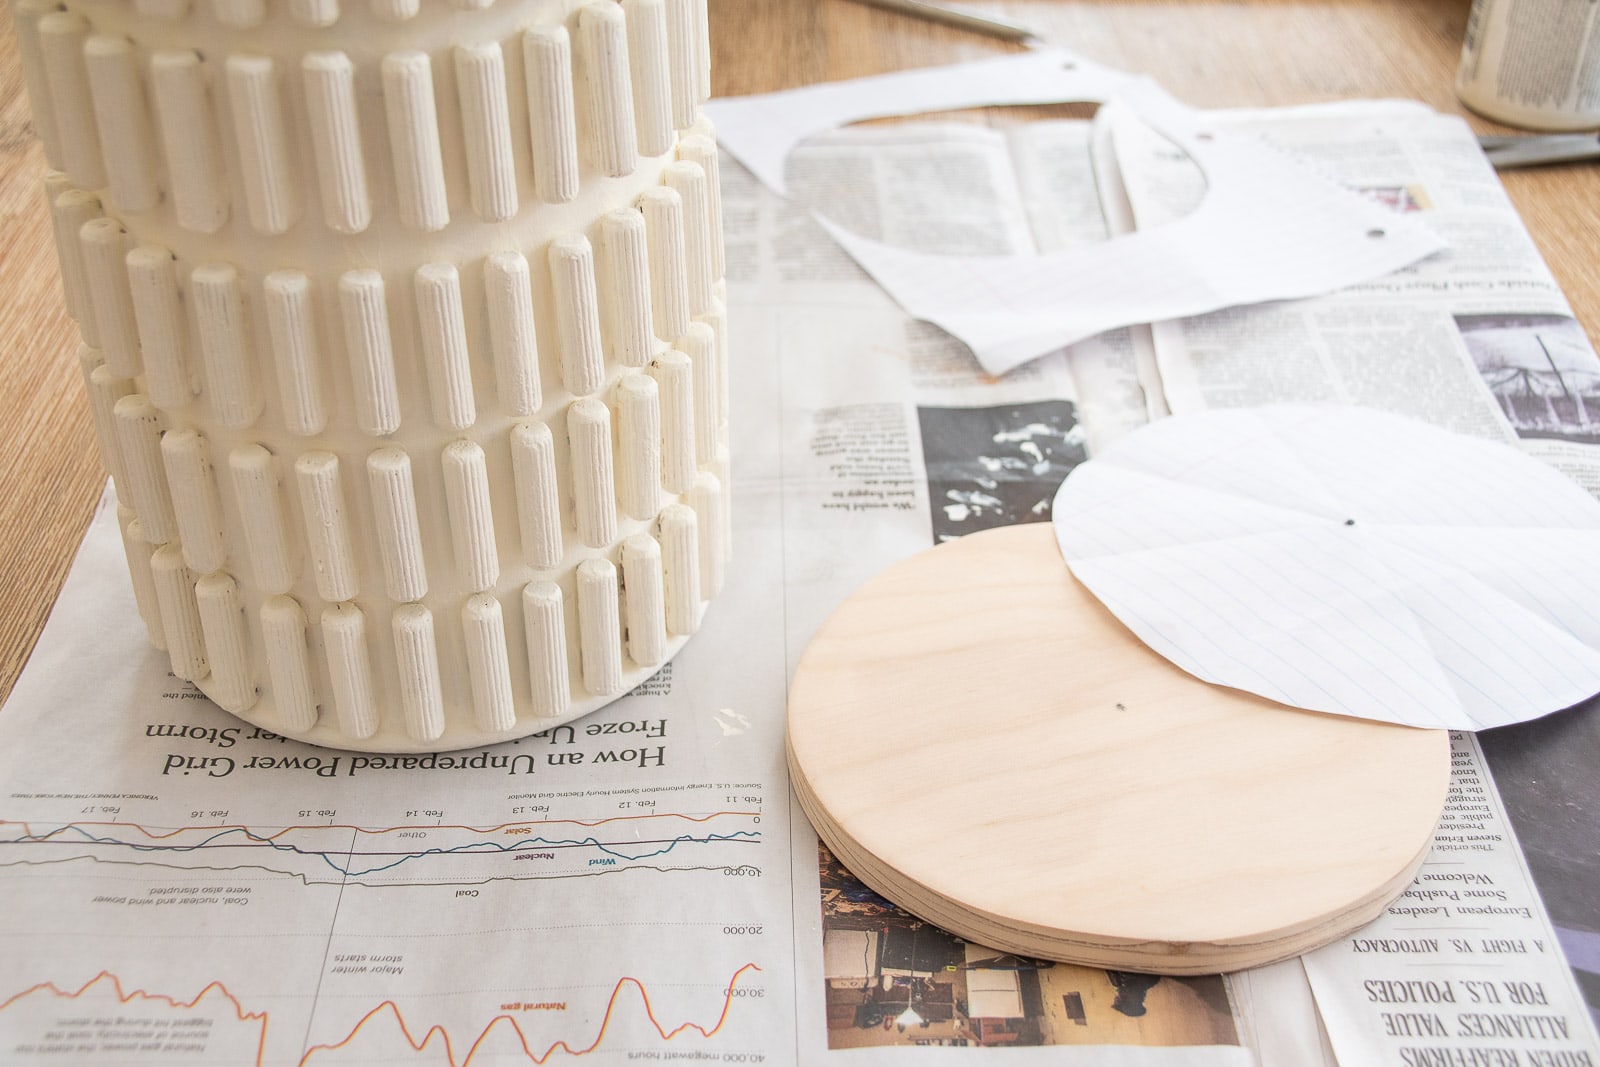
Step 3. Trace the bottom of the canister
The lamp needs a base. I traced the bottom of the canister onto a piece of scrap plywood I had on hand and cut it out with a jigsaw. I’m sure you can buy precut circles to fit the diameter of your lamp if you don’t have a jigsaw for this step.
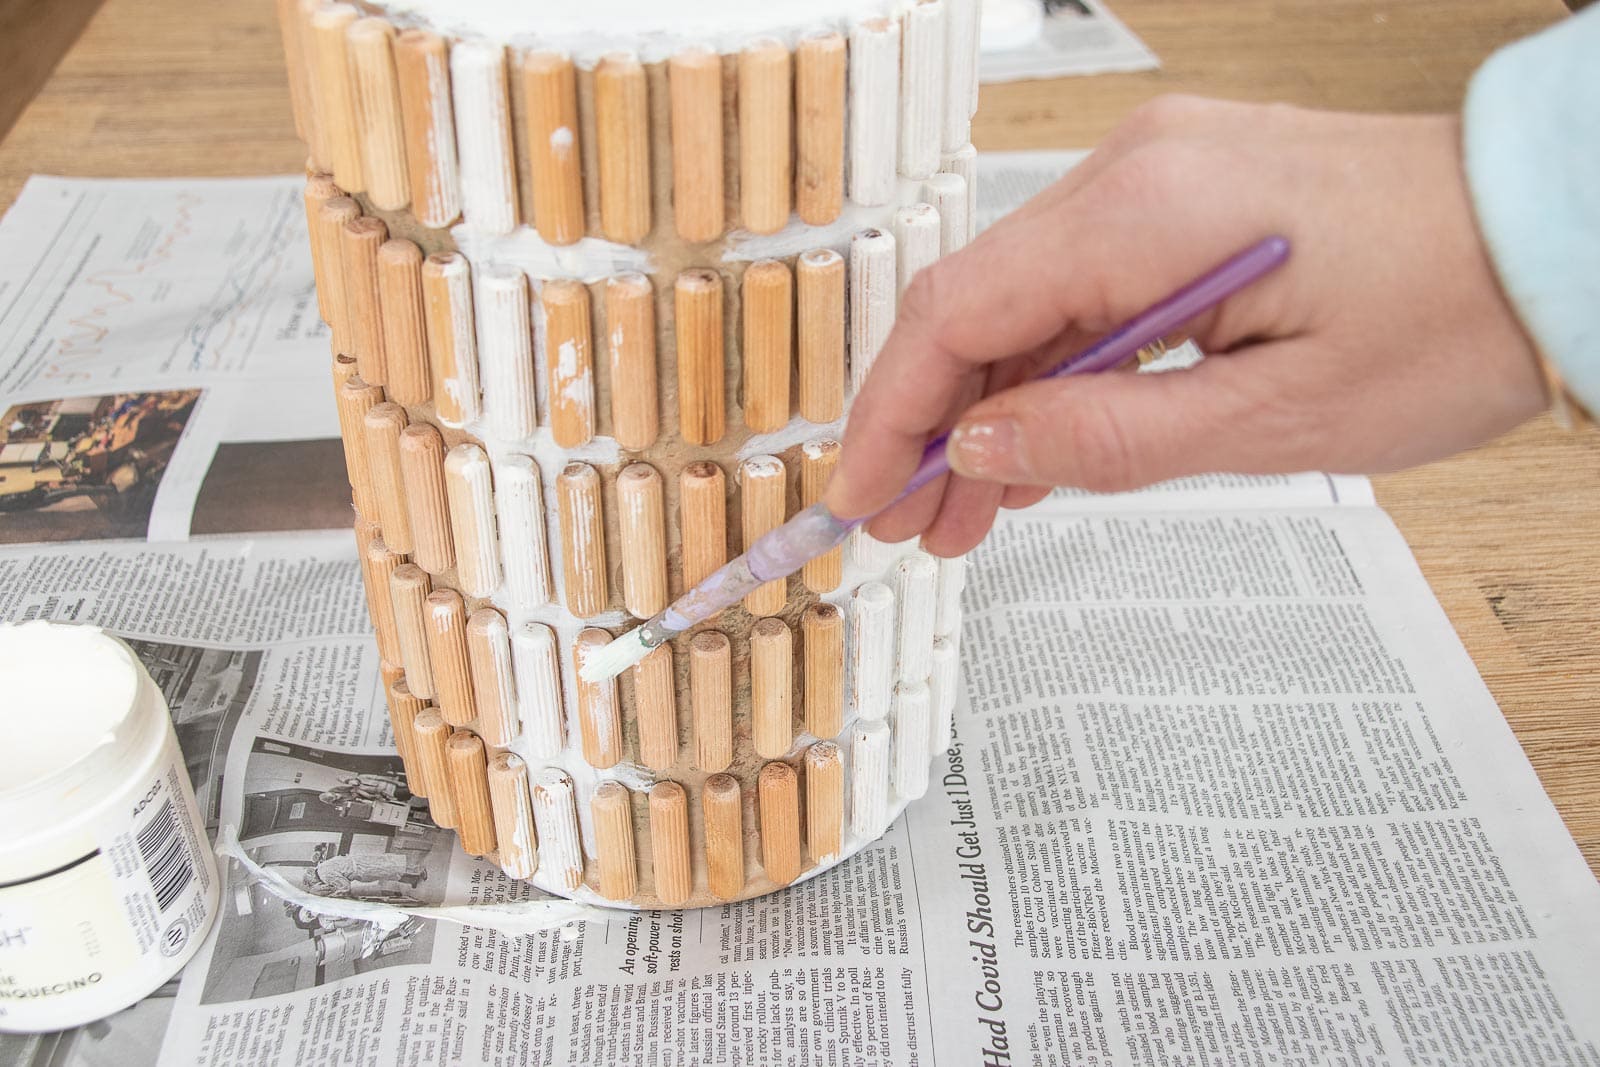
Step 4. Paint the lamp
It’s still winter here in Connecticut so I can’t spray paint. But I also recognize that the dowels on the lamp have a bit of texture as does the wine carafe so rather than fight the texture, I decided to lean in a bit and used a thicker chalk paint. The brush strokes and texture of the paint compliments the materials of the lamp and, in my opinion, it adds to the ‘hand made’ aspect of this. I was picturing a handmade clay lamp.
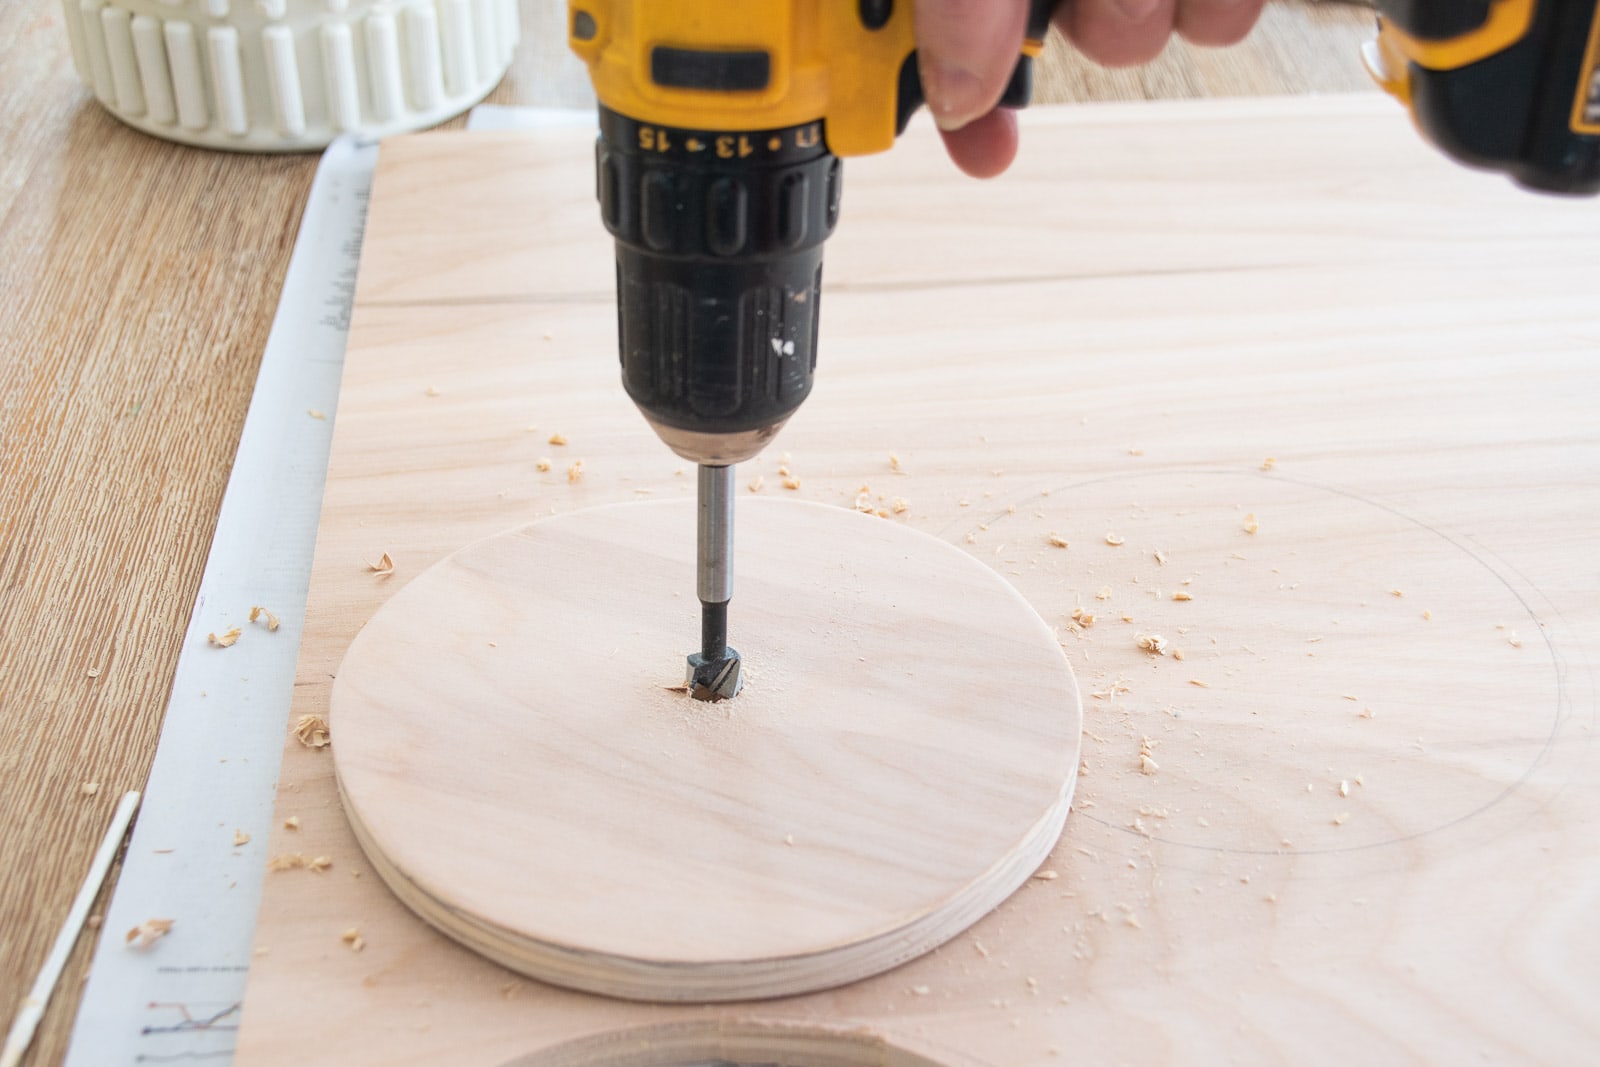
Step 5. Prep the base
While the lamp dries, let’s prep the base. Essentially you just need to drill a hole through the middle just like you did on the wine carafe. I knew that there was going to be a small nut on the bottom to secure the lamp rod so I opted to add a slight recess to the hole so the nut could be hidden in the hole. I made a mistake the first time so here’s what you need to know: START with the larger drill bit that will accommodate the nut. I used a 3/4″ forstner bit and drilled down 1/8th of an inch or so. THEN I went back in with the 1/2″ forstner bit to drill the rest of the way through. Sand the whole base smooth.
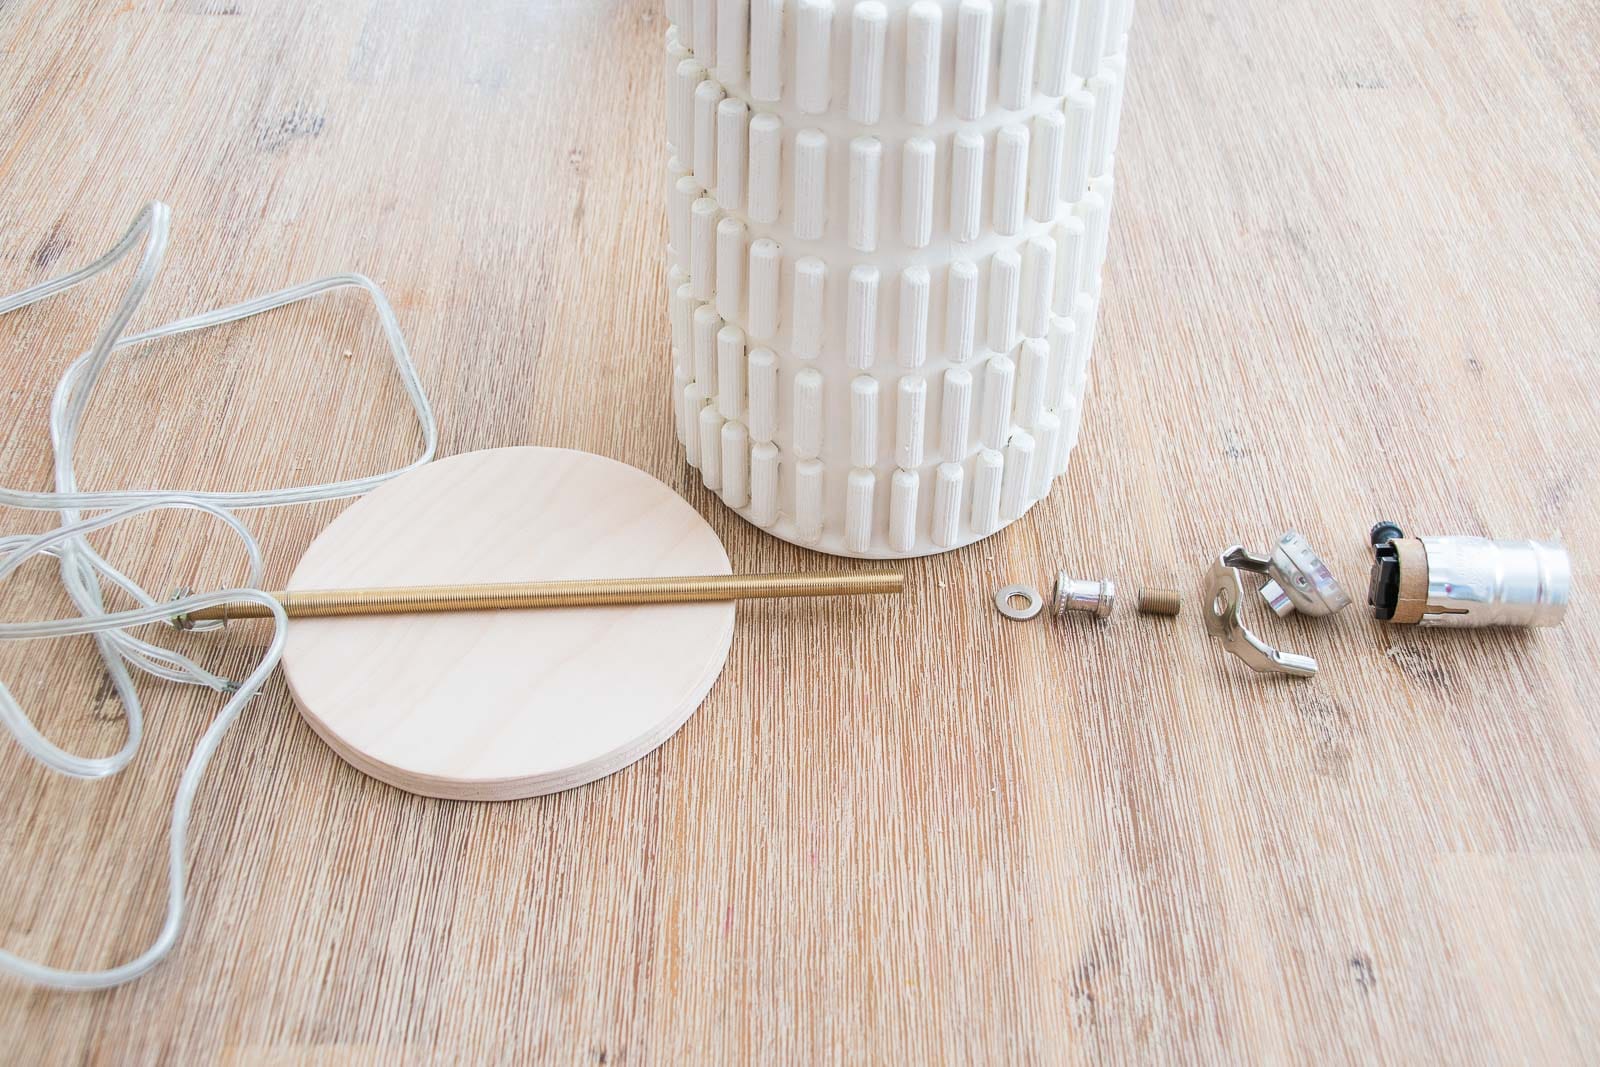
Step 6. Assemble the lamp
Thread a nut onto the end of the lamp rod. Put the rod through the base and then through the canister. To secure everything, thread another nut and the lamp neck onto the lamp rod and tighten around the lamp (the wine carafe). Now you can run the lamp wire up through the lamp rod and pull it out the top of the lamp. Make sure the bottom of the harp is in place and then thread the wire up through the bottom half of the socket.
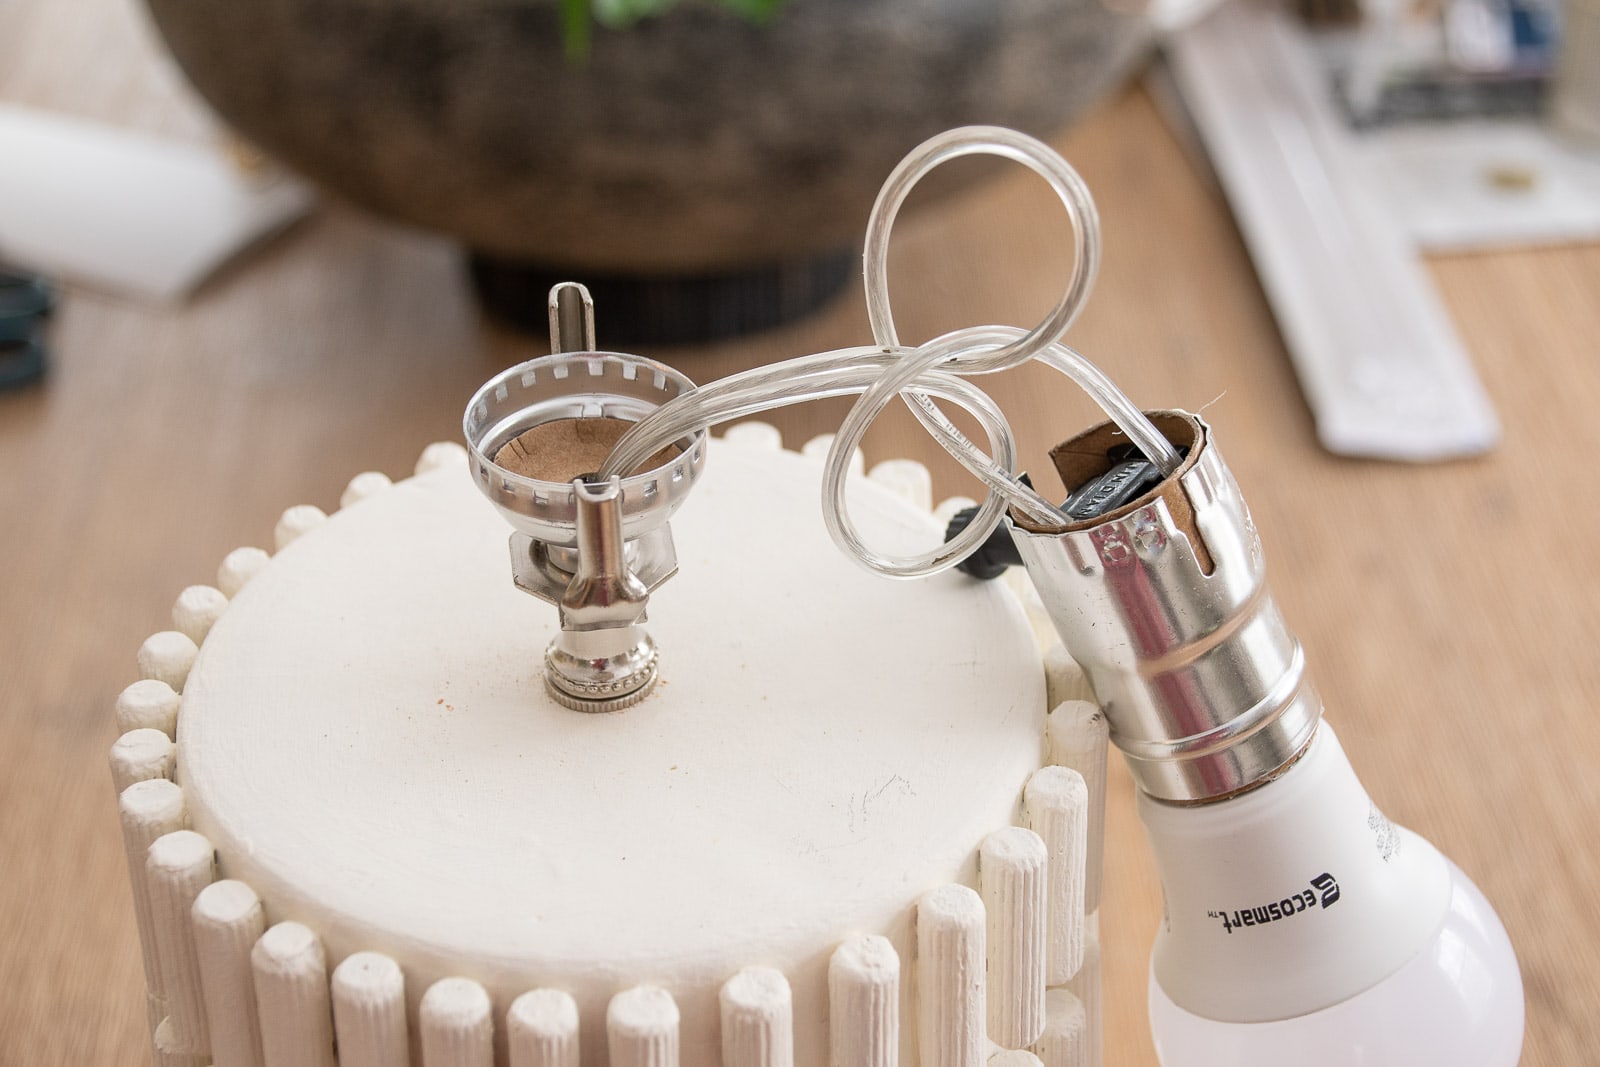
Step 7. Wire the lamp
Wiring a lamp socket is DEFinitely something you can do at home. A lamp wire has two sides: neutral and hot. Typically the neutral wire has ribbing on it so feel for one side with bumps. Remove the collar on the top half of the socket to reveal the switch and the two screws. Make a hook with the neutral lamp wire and hook it onto the silver screw so the hook is facing to the right. That way when you tighten the silver screw and twist it clockwise, it will pull the hook around the screw as you tighten. Repeat with the second wire and the brass screw. Replace the collar. To connect the top half of the socket to the bottom half, snap the two pieces together. The grooves should click in place.
Step 8. Add ‘feet’
To give the cord space, I added little rubber pads to the base of the lamp. (Felt pads would work too… just something that lifts the lamp base up enough for the cord is the goal.)
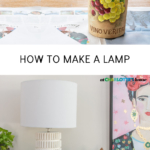
Step 8. Add the shade
Finding the right shade is always hard for me. I tend to just go with what looks right, but I found this helpful article that outlines the ratio and proportions that are ideal. I played around with a couple different harps (the curved thing that holds the lamp shade) and a couple different shades and landed on the combo you see here.
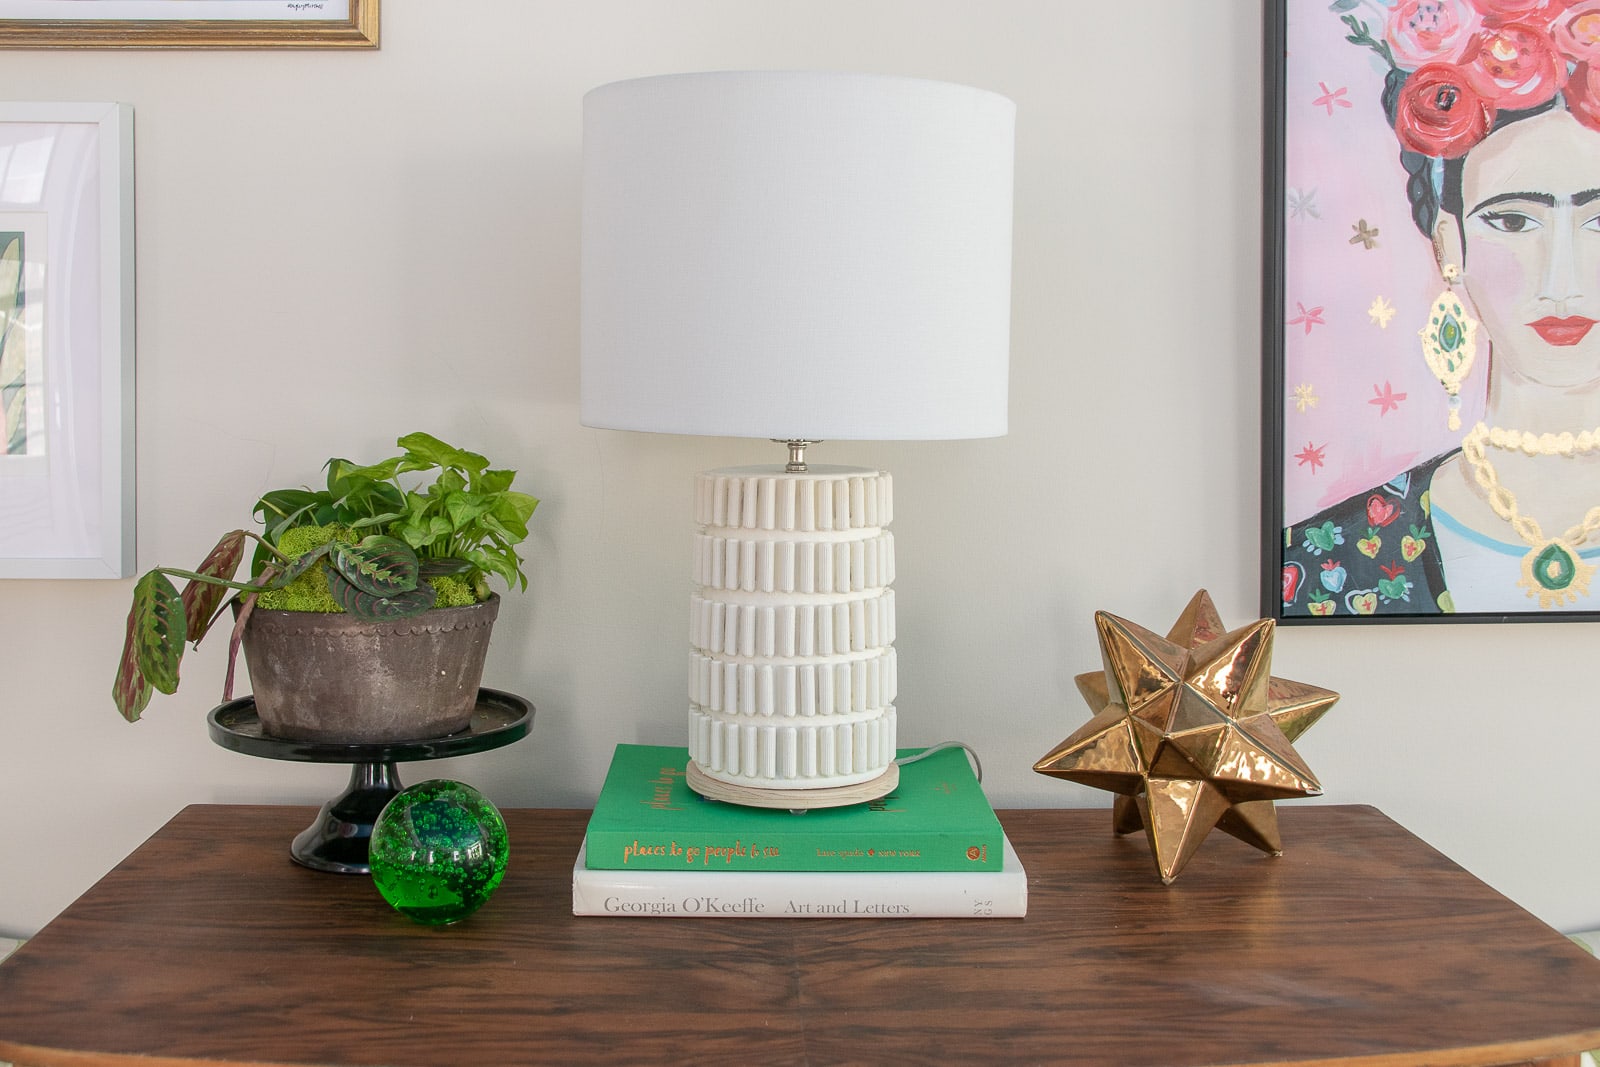
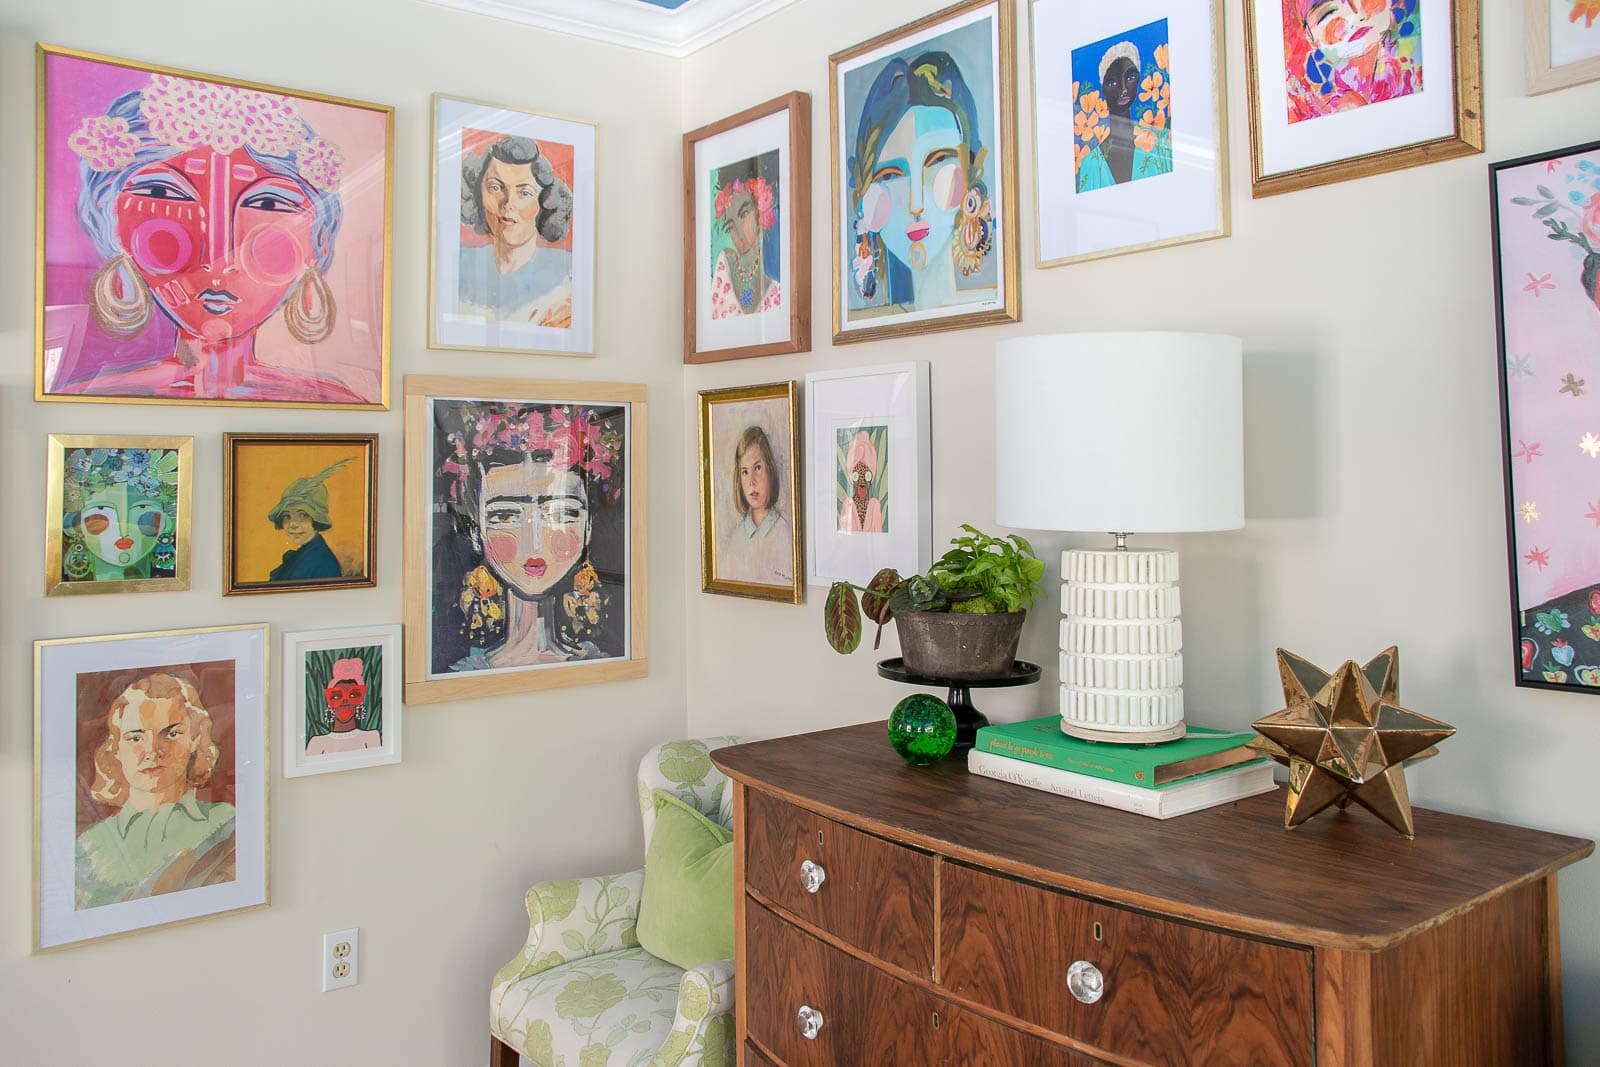
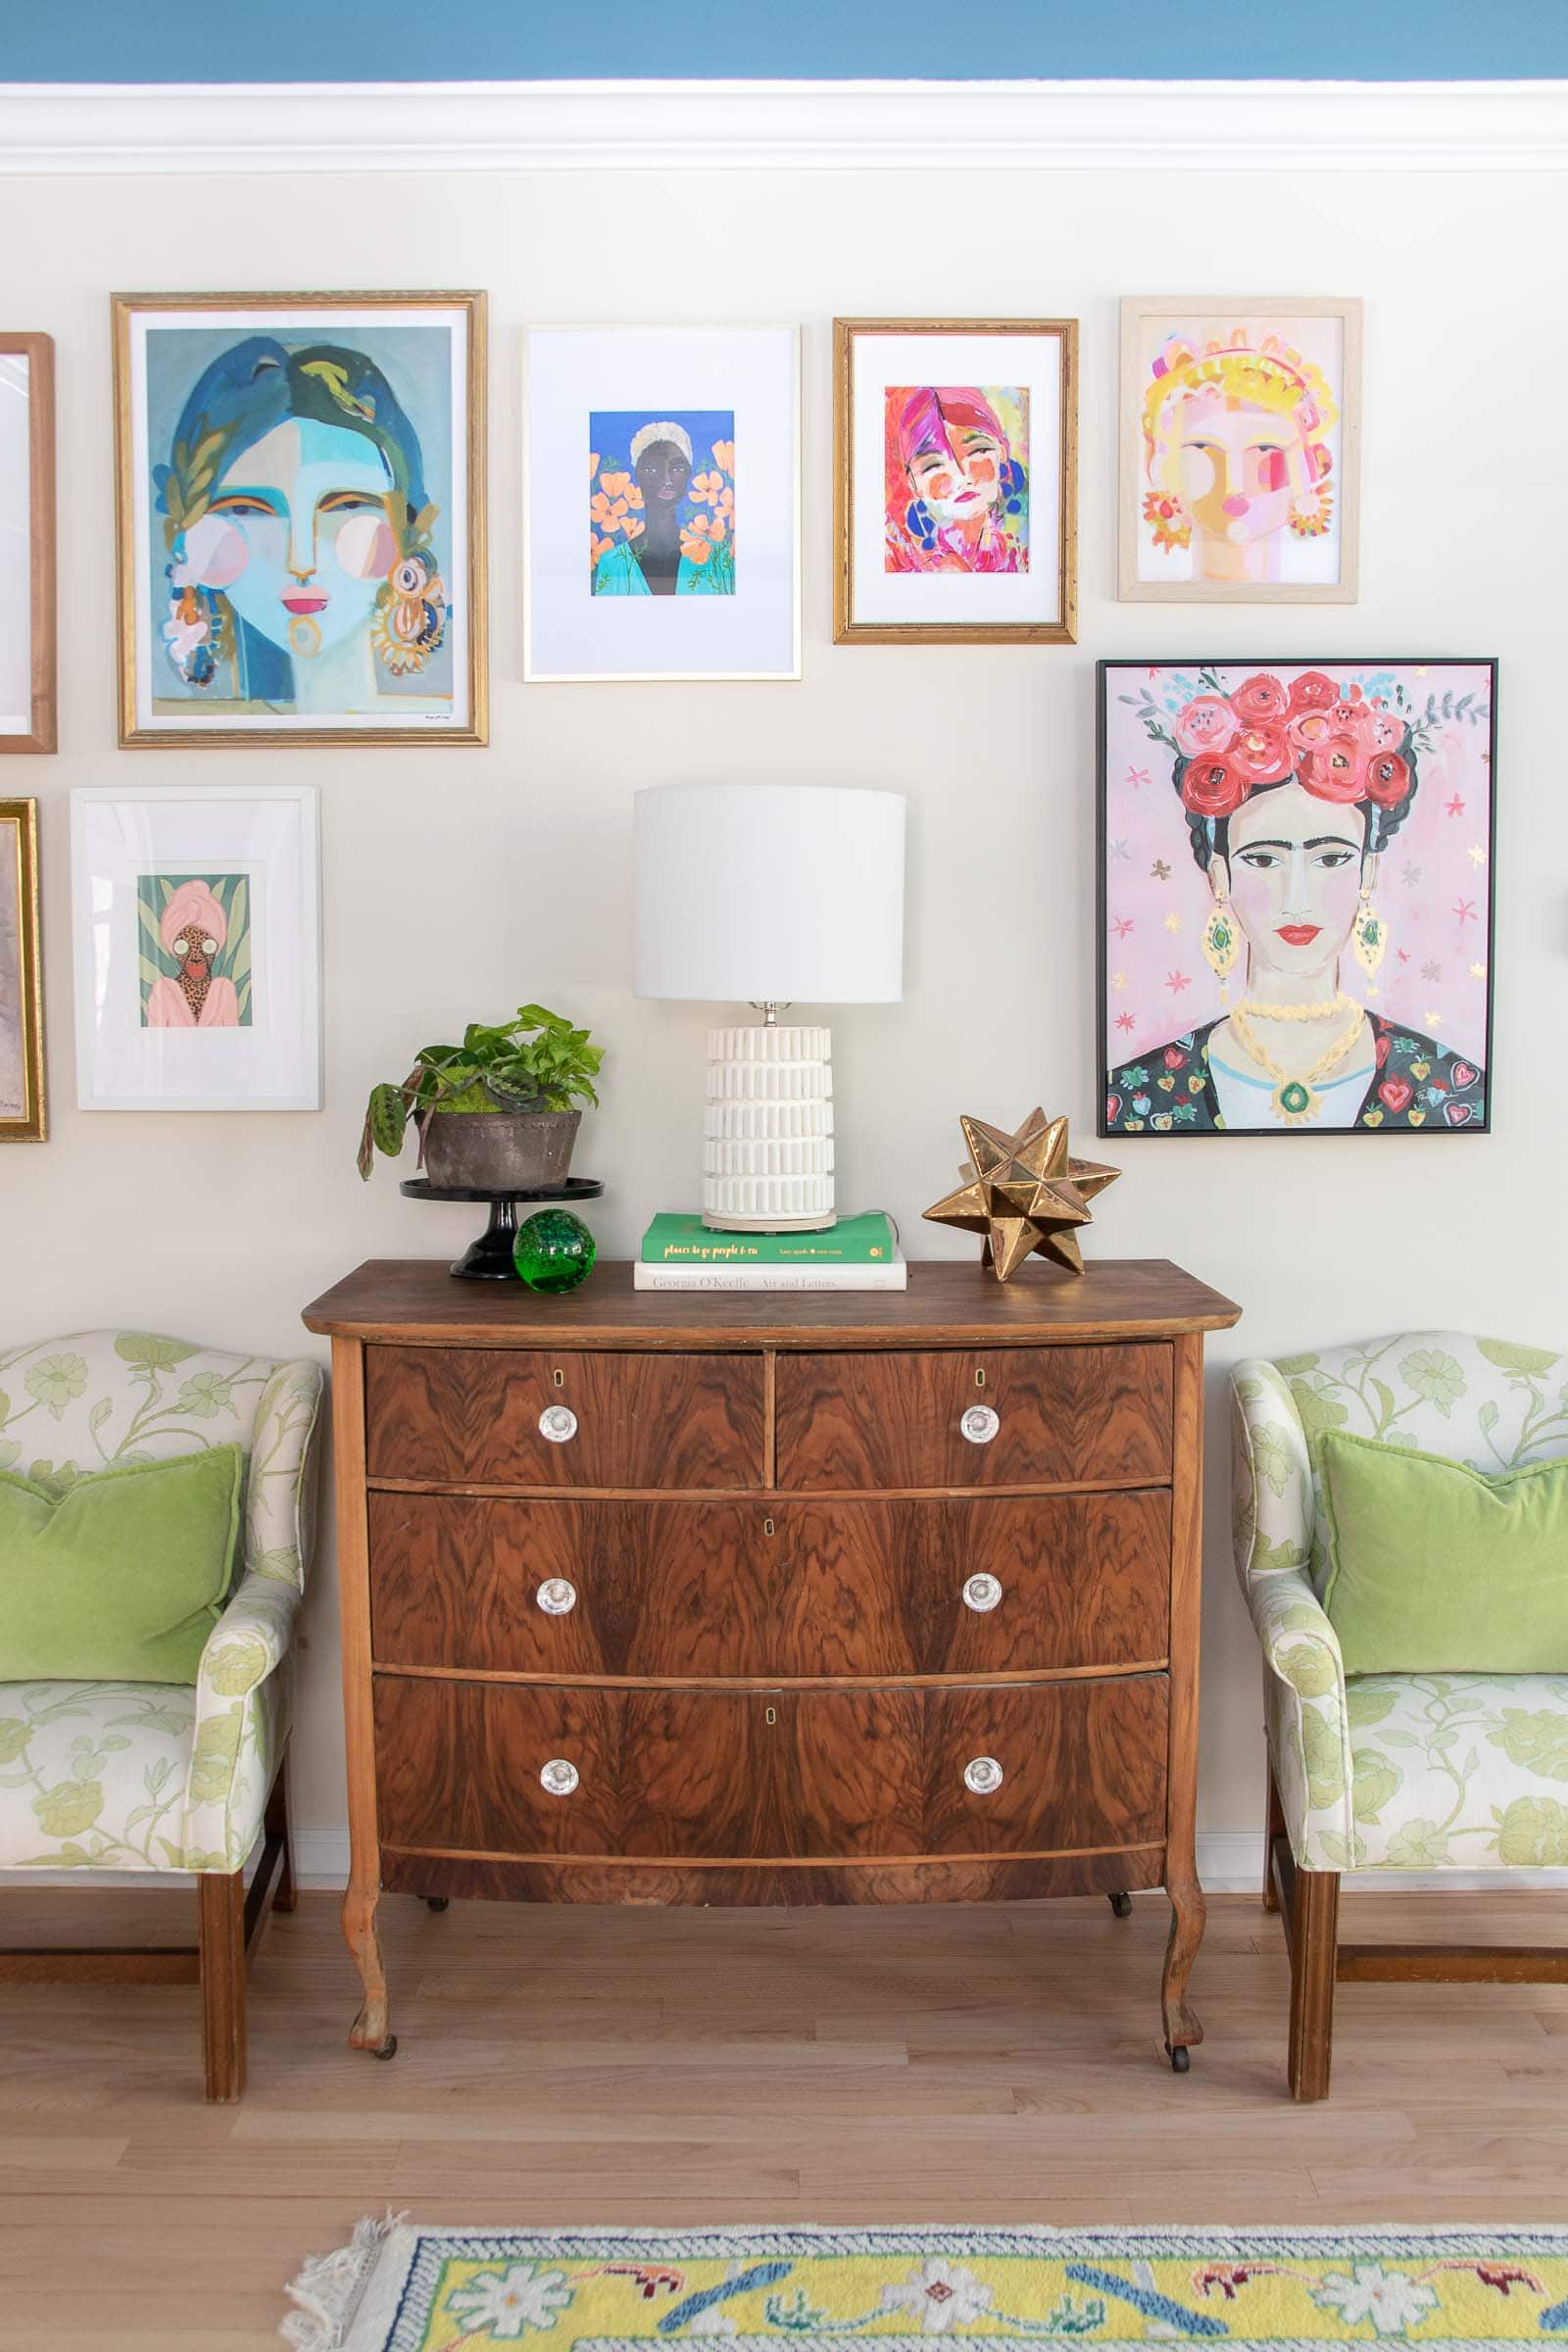
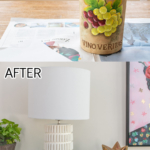
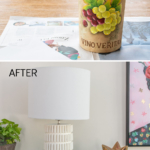
I love that this lamp started as a painted wine carafe. I love that it has a crafted handmade look without looking too crafty or handmade (if that makes any sense). I love that it cost me about $30 ($6 for the carafe, $12 for the lamp kit, $3 for the lamp rod, and $10 for the dowel pins). And I love that I was able to make something totally functional and useful out of… nothing!
Materials I used to make a lamp
- Threaded lamp rod
- 3/8″ Dowel pins (I used about 175… less than five boxes with 35 in each)
- chalky finish paint
- Lamp kit
- Dremel Multi Max (may not be needed)
- Jig saw
Wanna see other ‘unconventional material’ projects I’ve made? Check out my posts below:
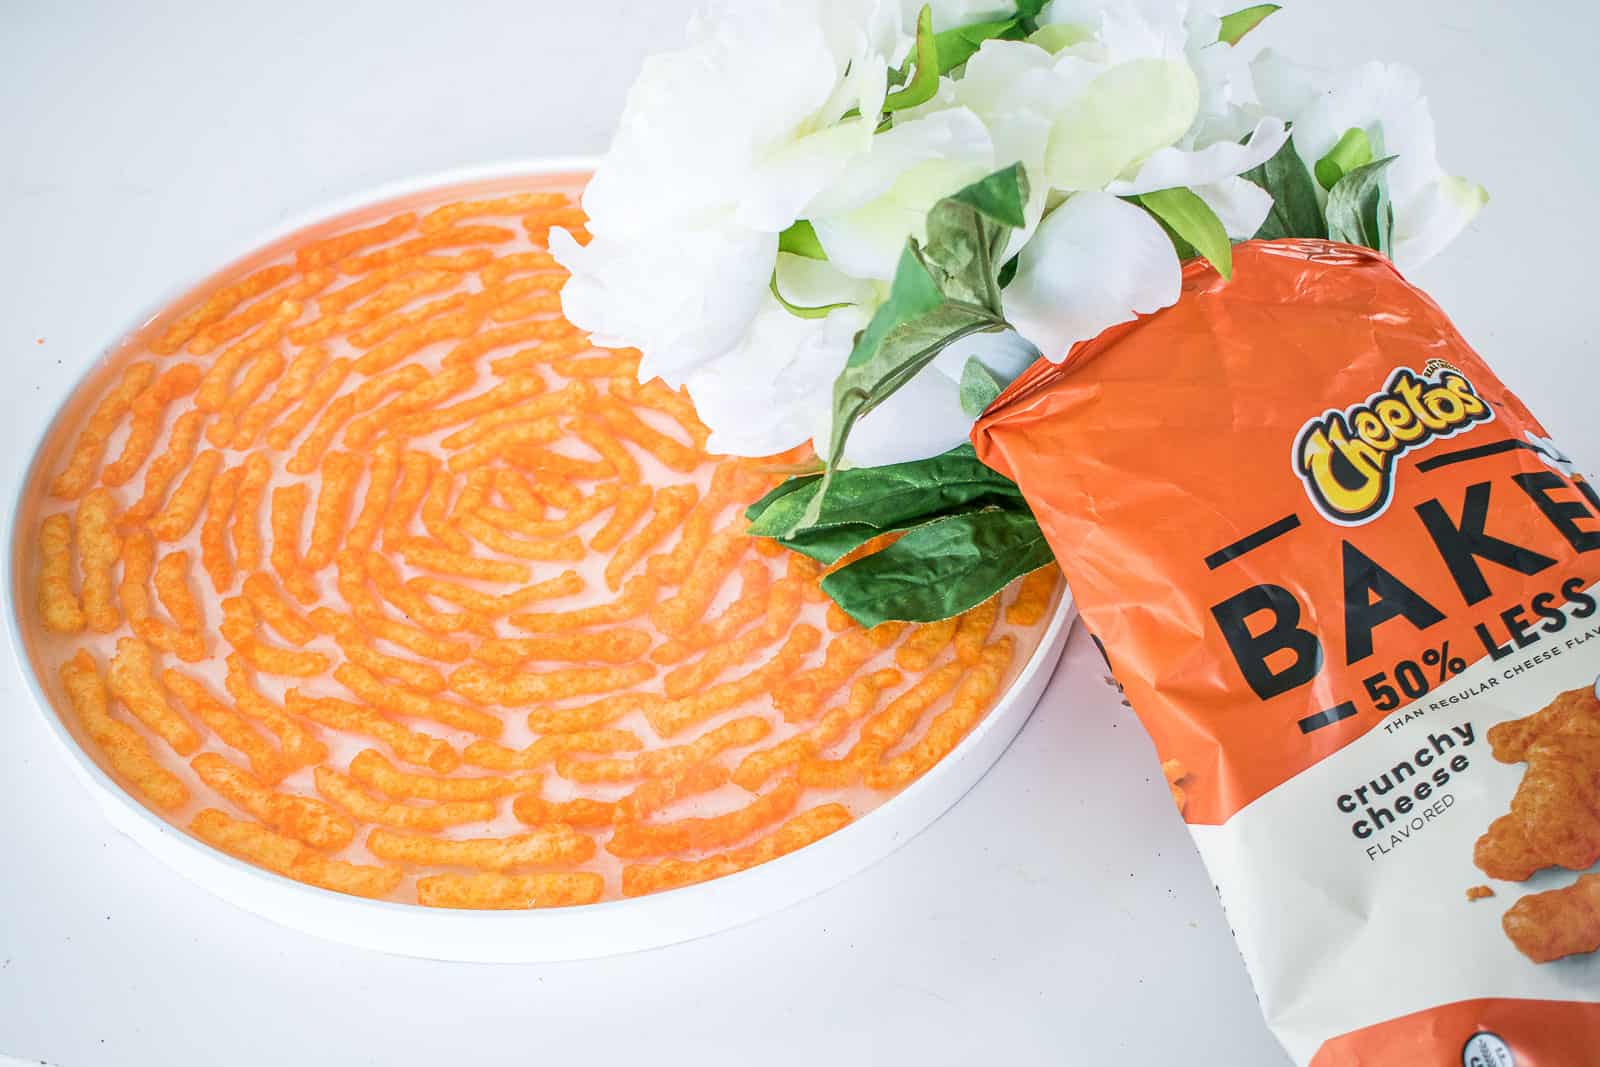
Epoxy Cheetos Tray
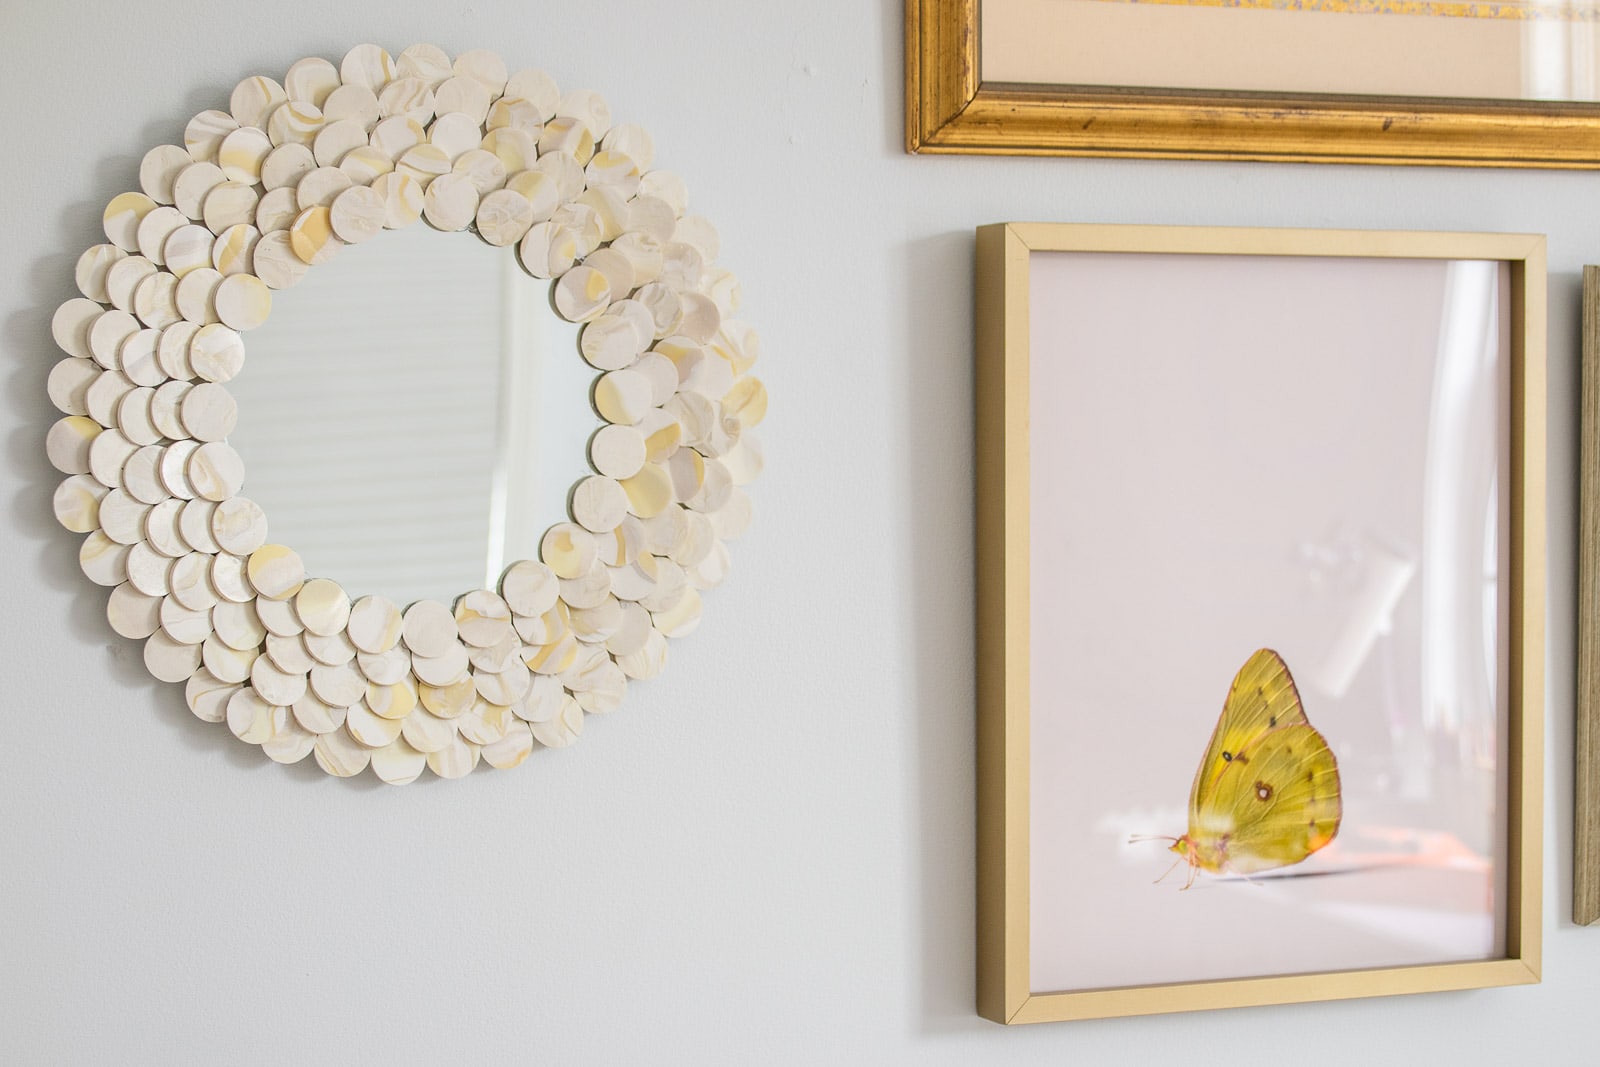
Sculpey Capiz Shell Mirror
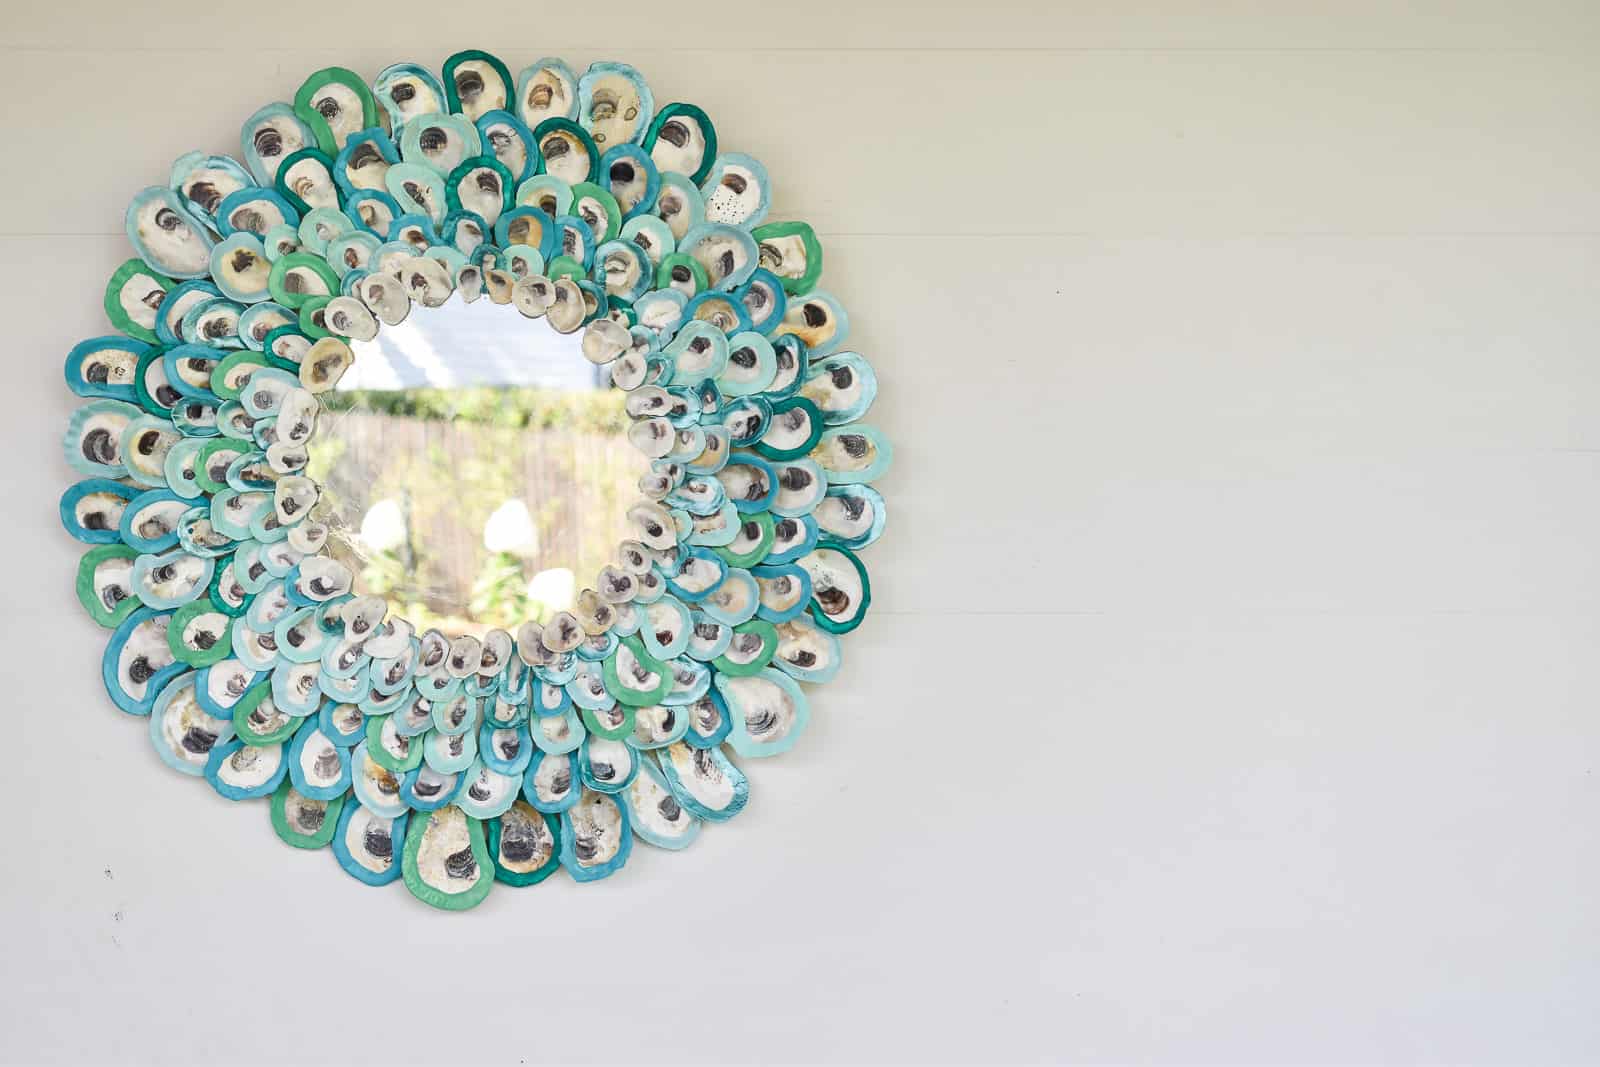
Oyster Shell Mirror
Thrifted Dishware Planter


Don’t Miss Out
Become An Insider!
Signup for exclusive tips, and tricks from Charlotte’s House!
Let’s chat!
I love comments from you, so feel free to leave your thoughts and ideas below! And don’t forget to follow me on Instagram for even more!