
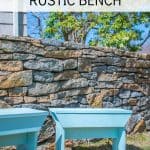
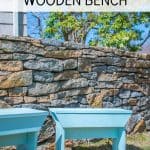
How to Build a Rustic Wooden Bench
Psssst… this post *might* contain affiliate links: see my disclosure here.
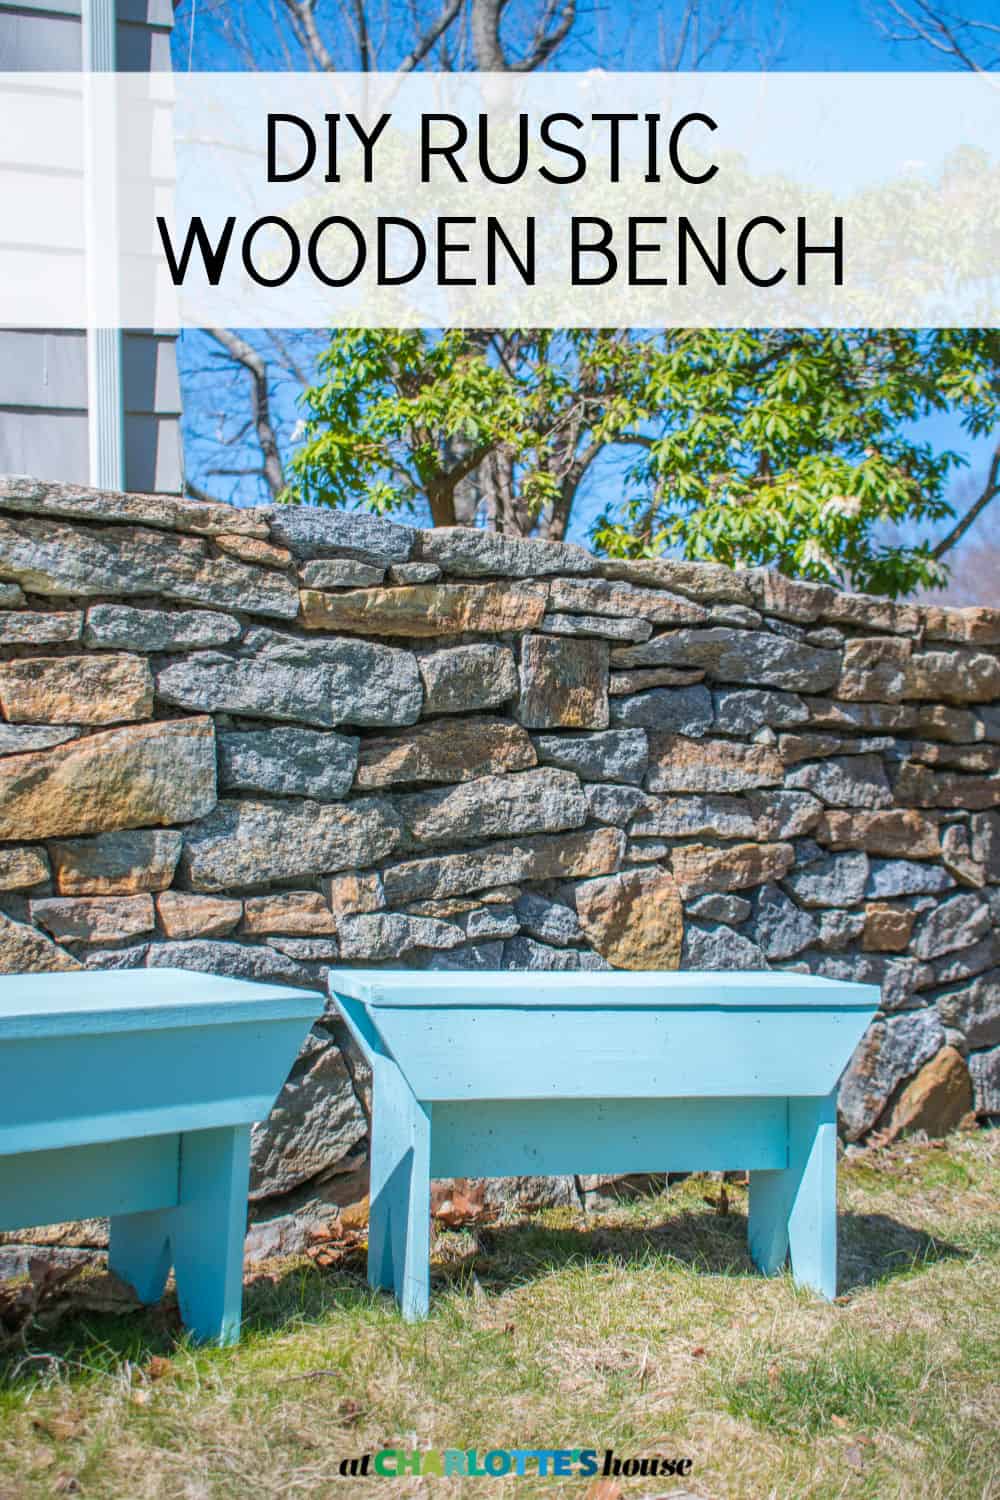
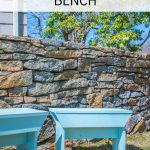
DIY Rustic Wooden Bench
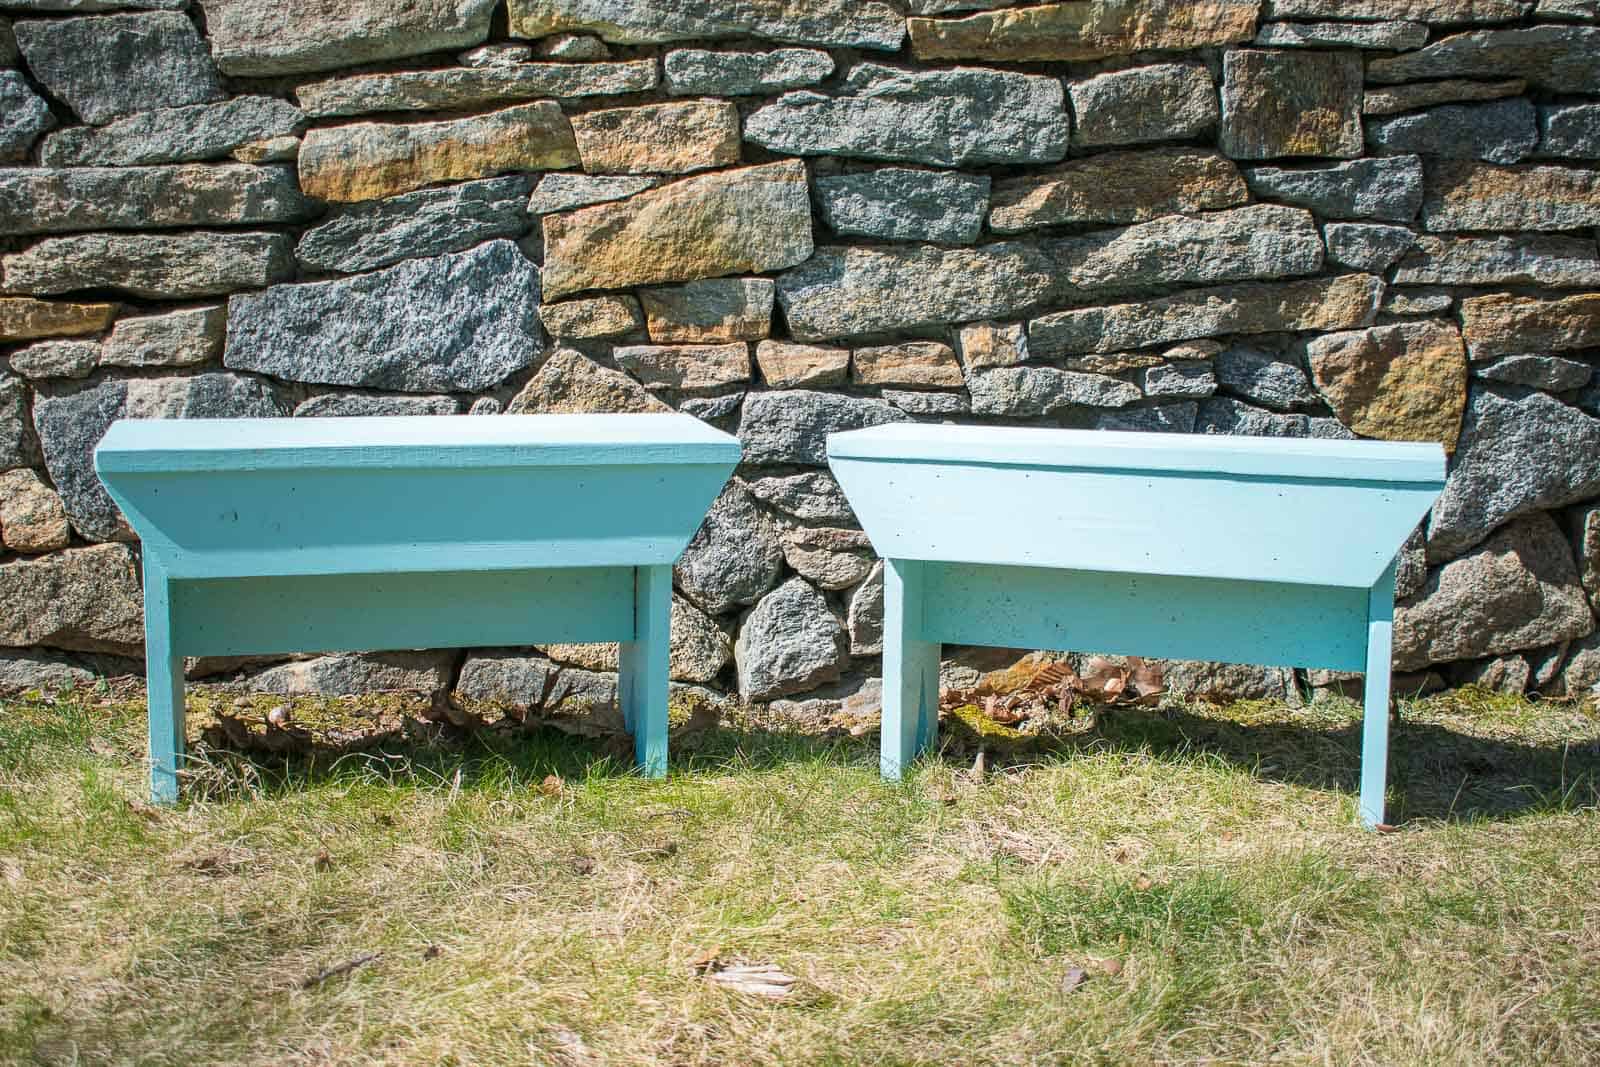
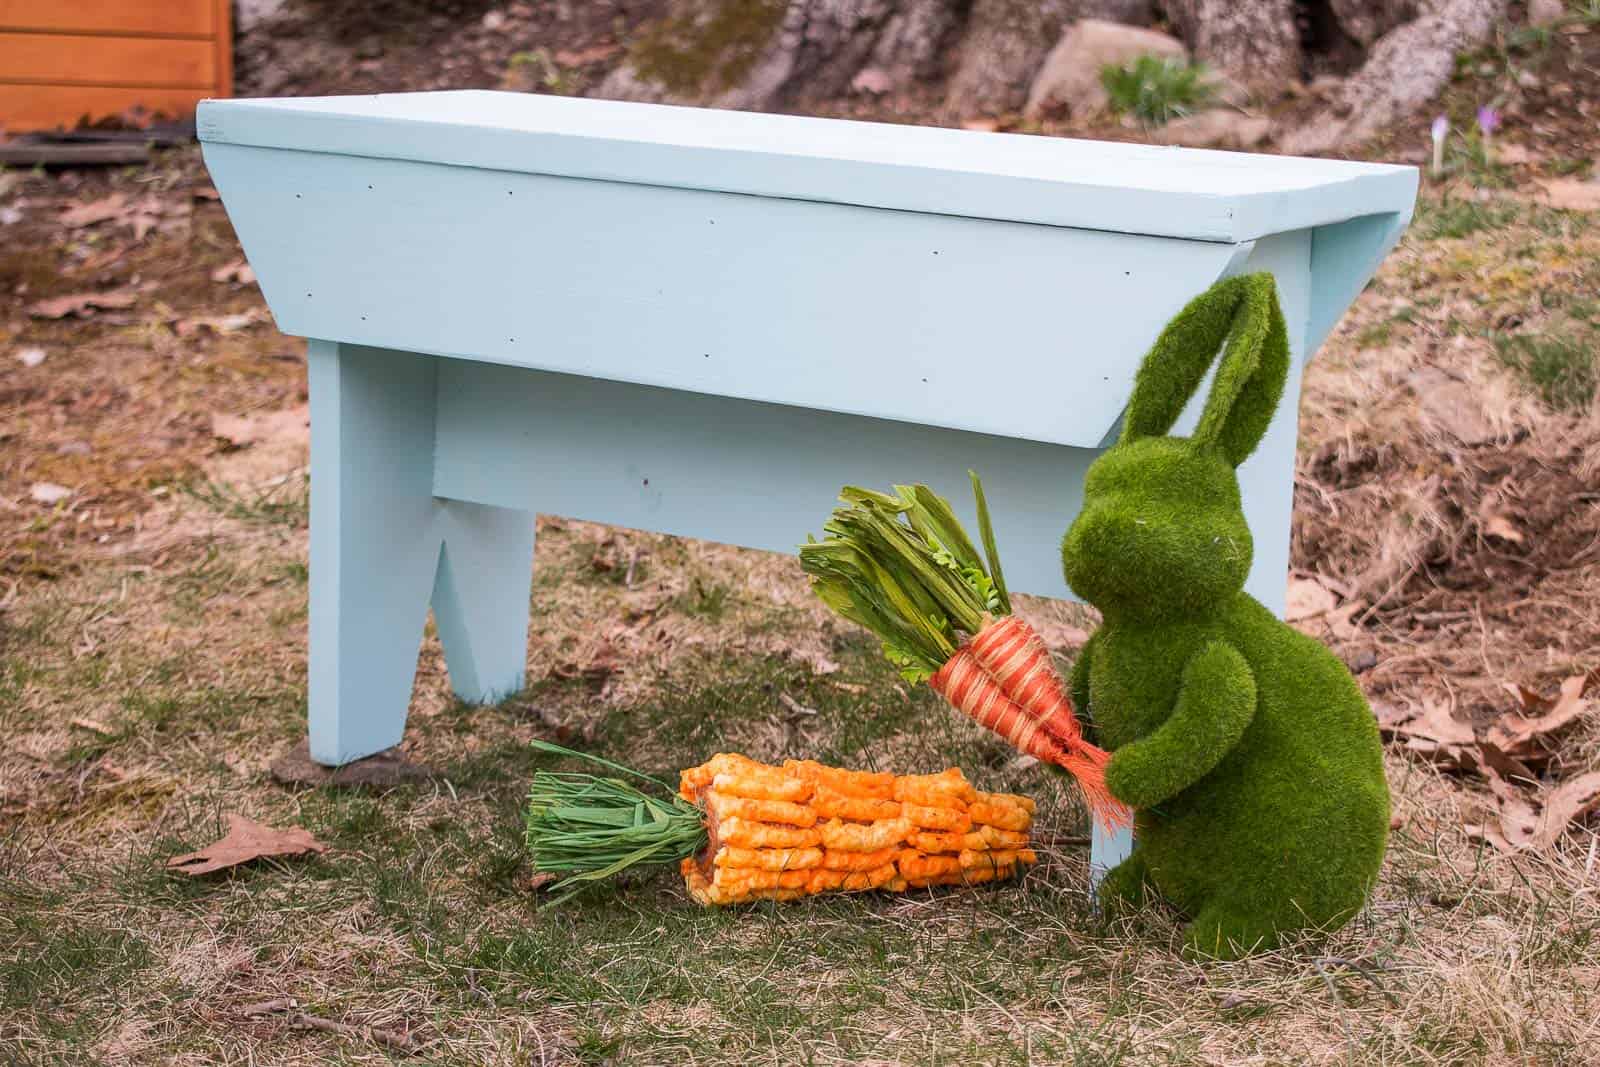
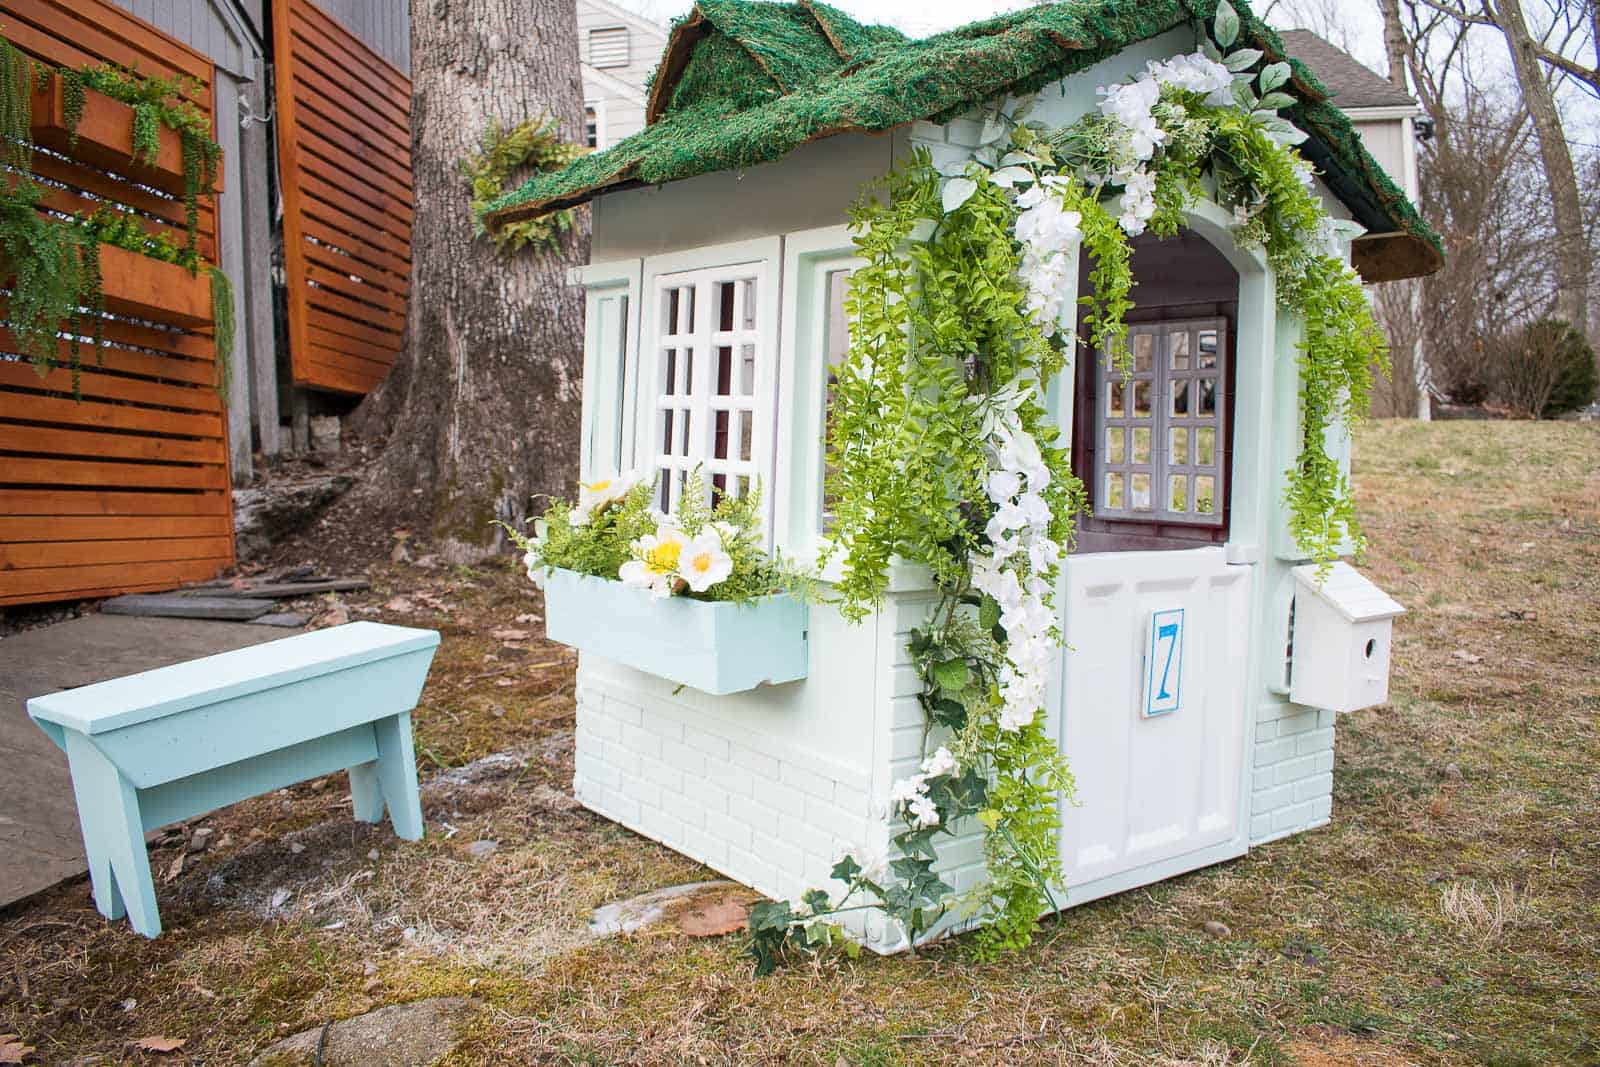
This month for our DIY Challenge, we’ve all made projects using basic power tools. With a few simple tools, you can make just about any type of DIY and all of these projects are a testament to that! I’m working on another Little Tikes makeover with Homes.com and my spring house needed a little something. I thought it would be cute to make a few mini benches to have outside the house for seating or even as plant stands one day. I saw this cute post by my friend Jeannie at Create and Babble and adjusted her plans to fit my needs a bit more. It’s a simple build and you won’t need anything more than a saw and a Kreg Jig. (Full cut list at the end of the post.)
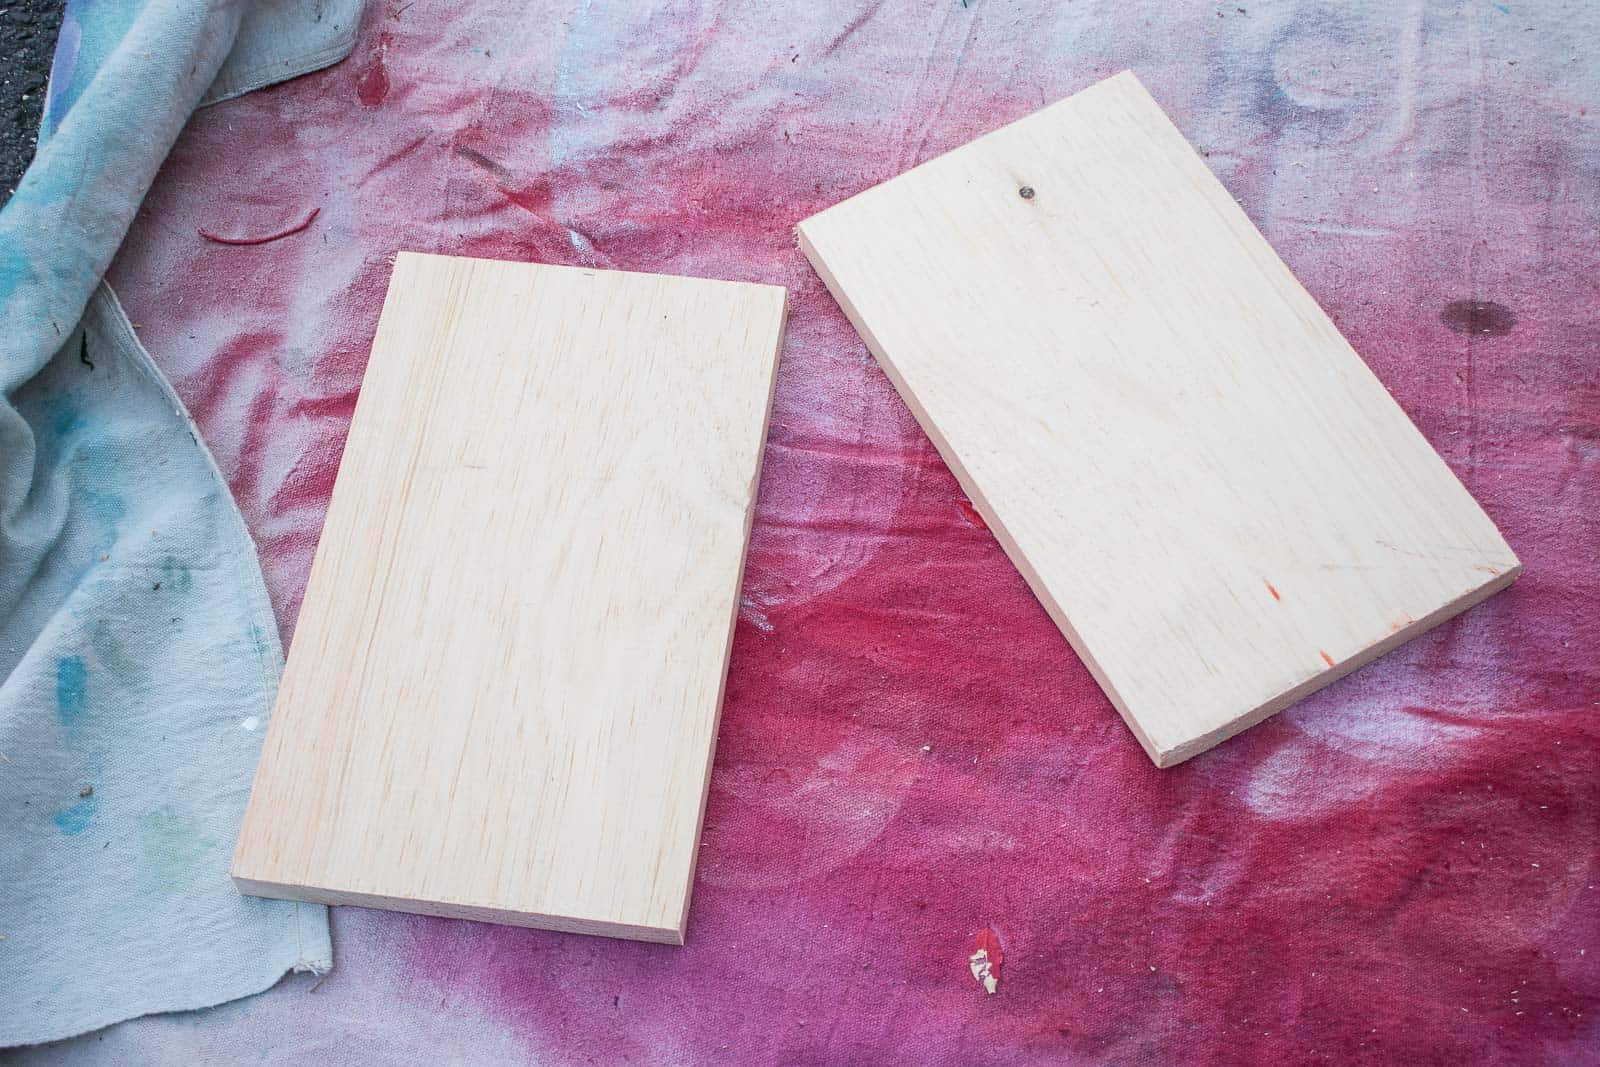
Step 1. Lumber
A note about lumber. I’m using common pine because it’s the cheapest. I’ve painted it which makes it a bit more weather resistant, but for the most durable bench, I’d go with cedar or a pressure treated wood. Common pine will rot the fastest and get eaten by bugs. For these mini benches… it was more about the form than it was the function so I saved my money and kept it cheap.
Shop my favorites!
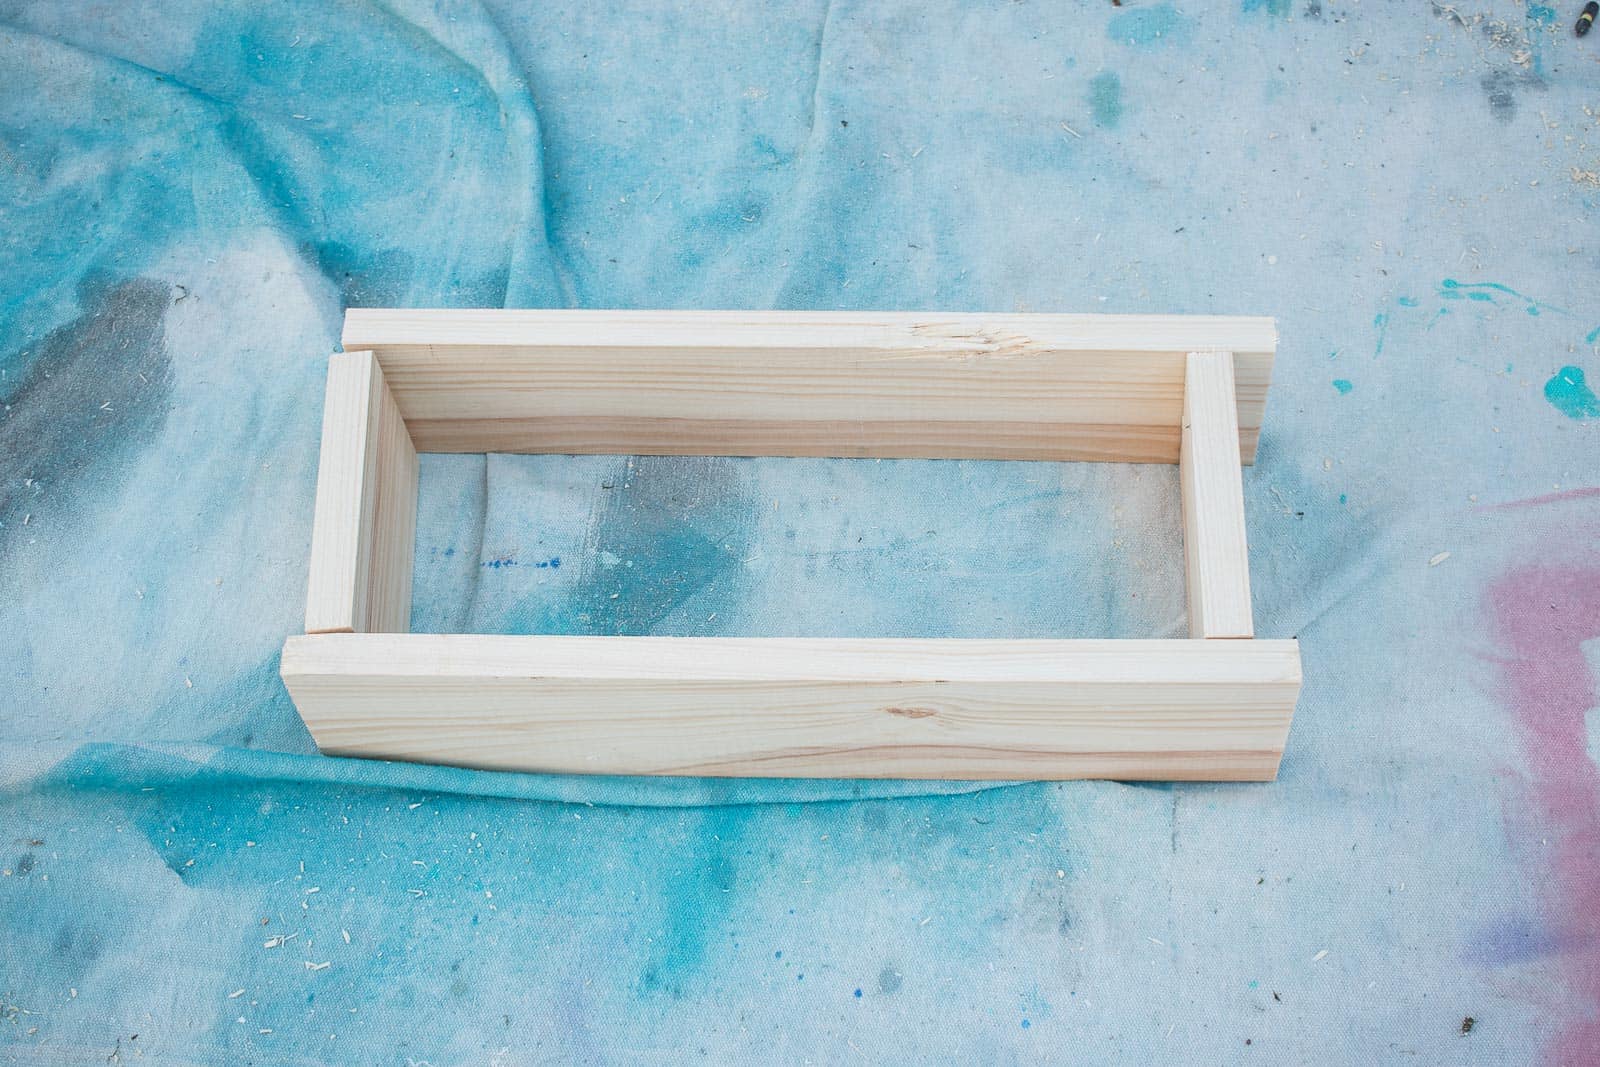
Step 2. Build the frame
This bench starts with a simple box. Use pocket holes to connect the two lengths to the shorter widths as shown. Note: I had to use a right angle bit to get into some of these tighter corners.
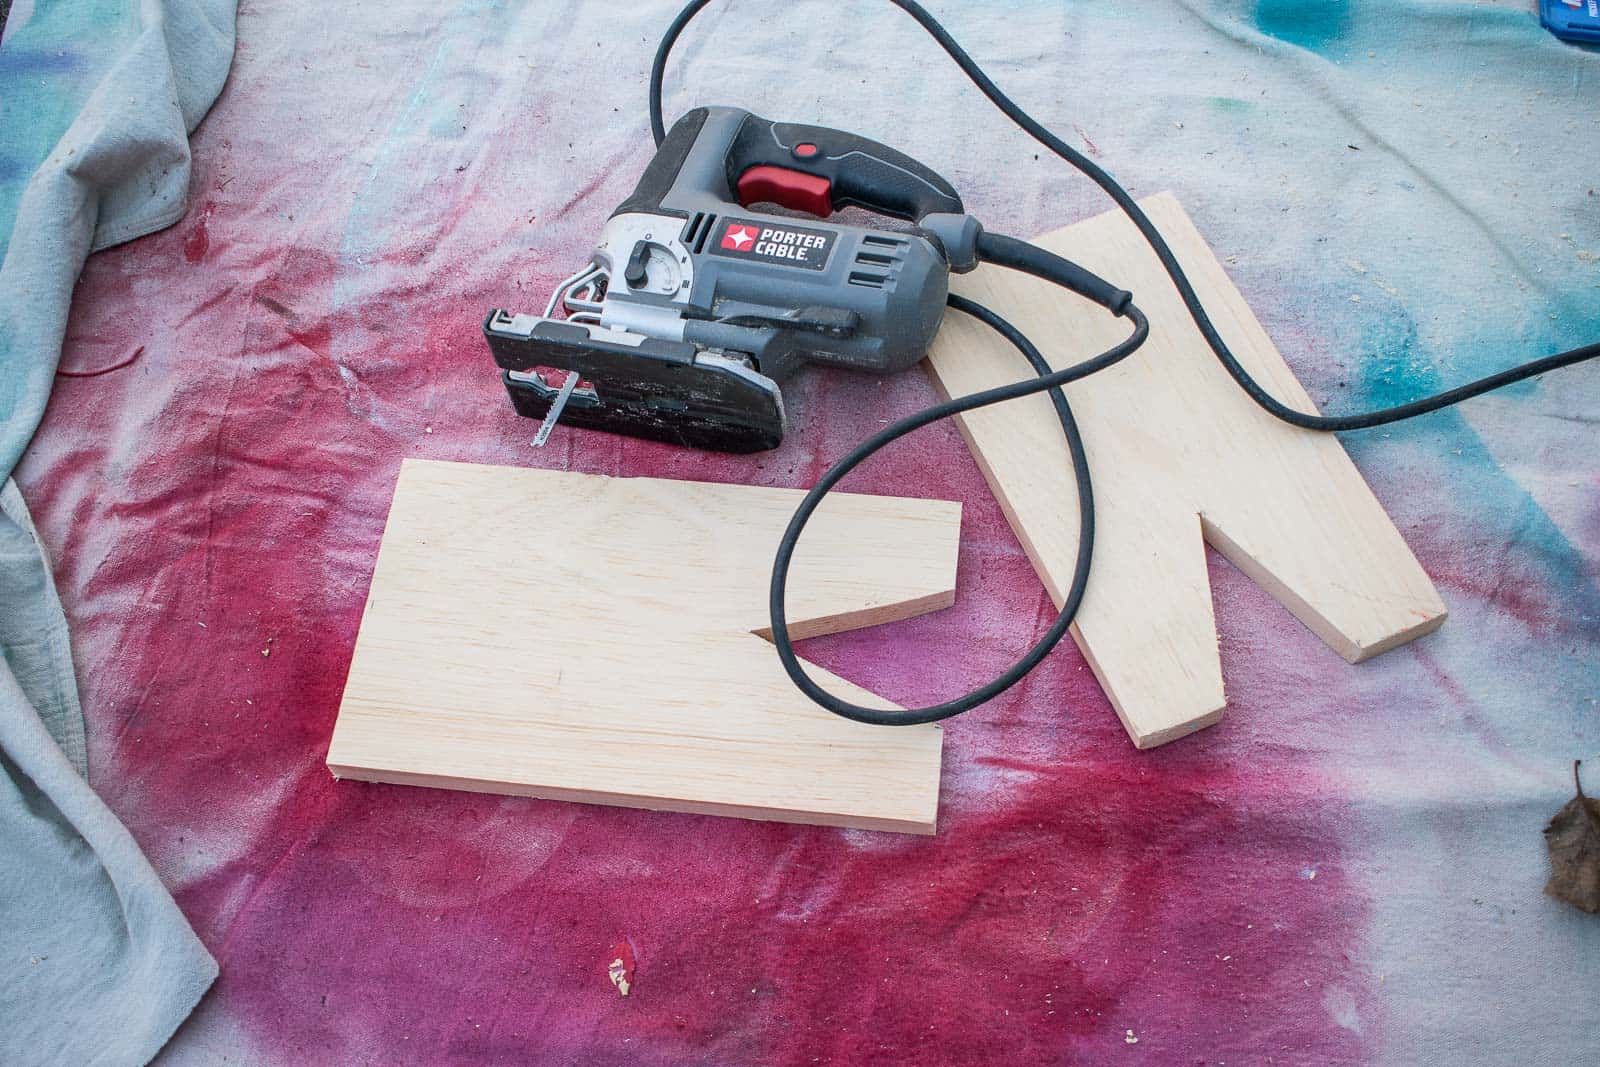
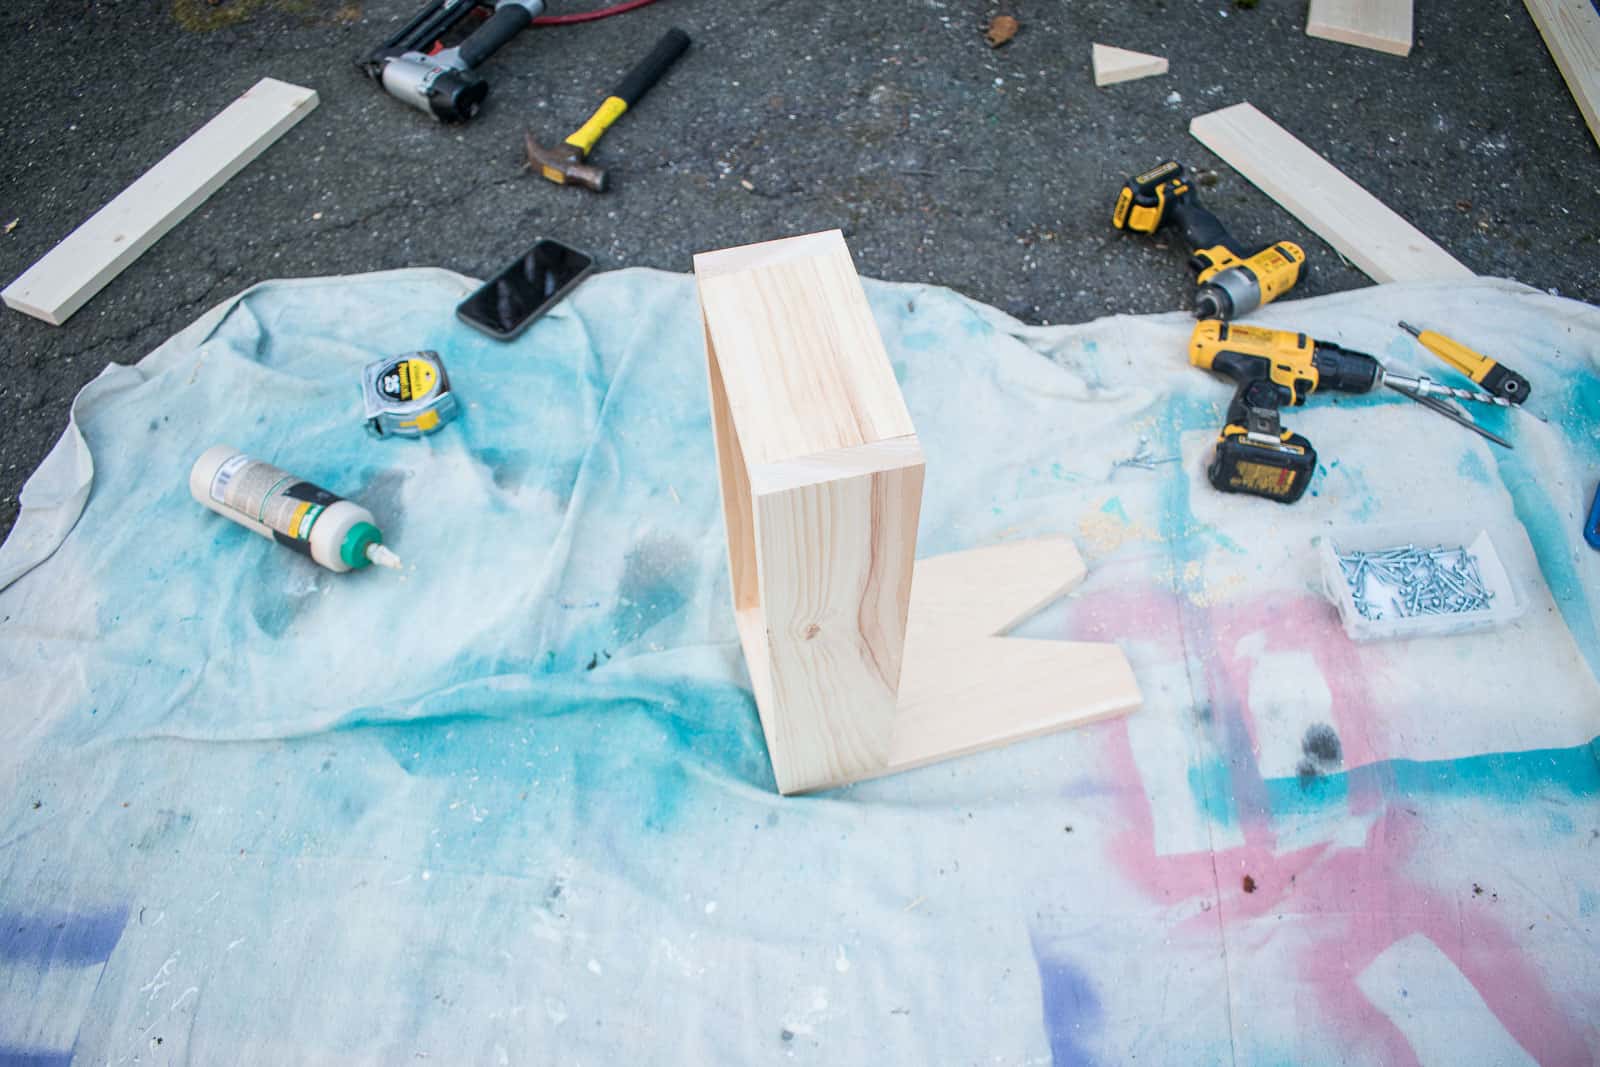
Step 3. Cut the legs
Cut your wider lumber to 1/2″ shorter than your bench height. Using a jigsaw, cut the notches out of the bottom to define the “legs”.
Step 4. Attach the legs to the frame.
With wood glue and screws, attach the two legs to either end of the frame.
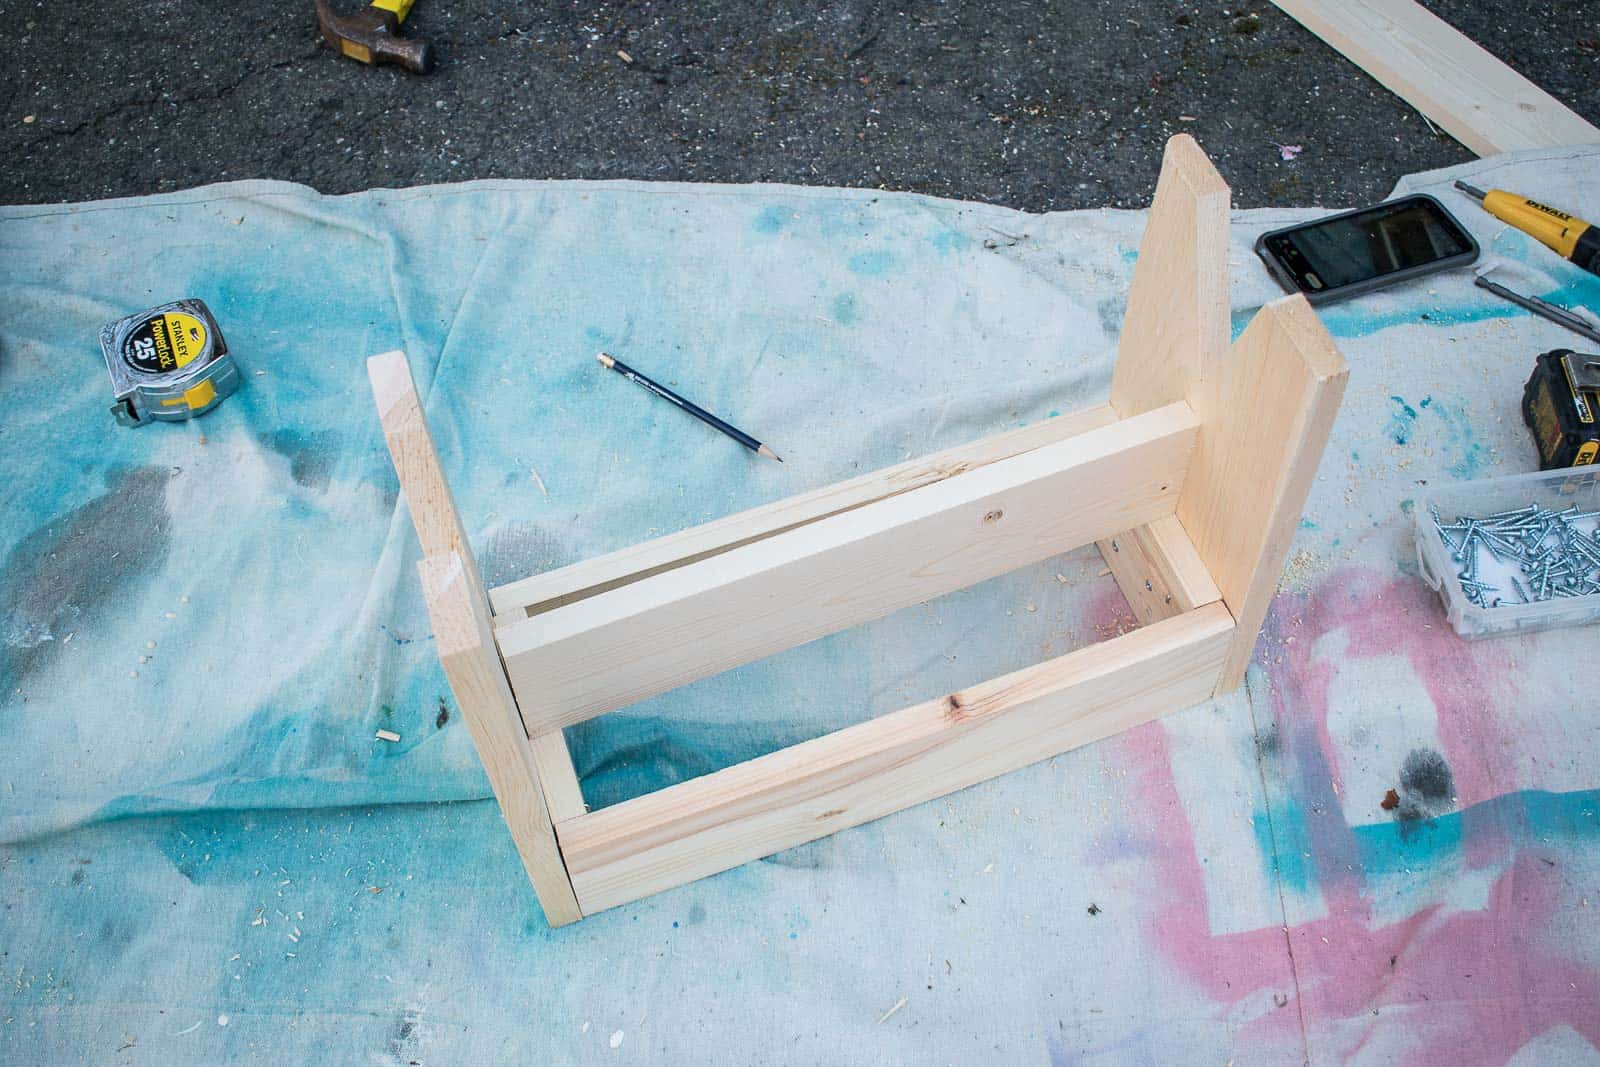
Step 4. Add Cross Beam
To provide extra support, you need a cross beam. Use pocket holes to attach the cross beam to either leg and resting below the seat frame.
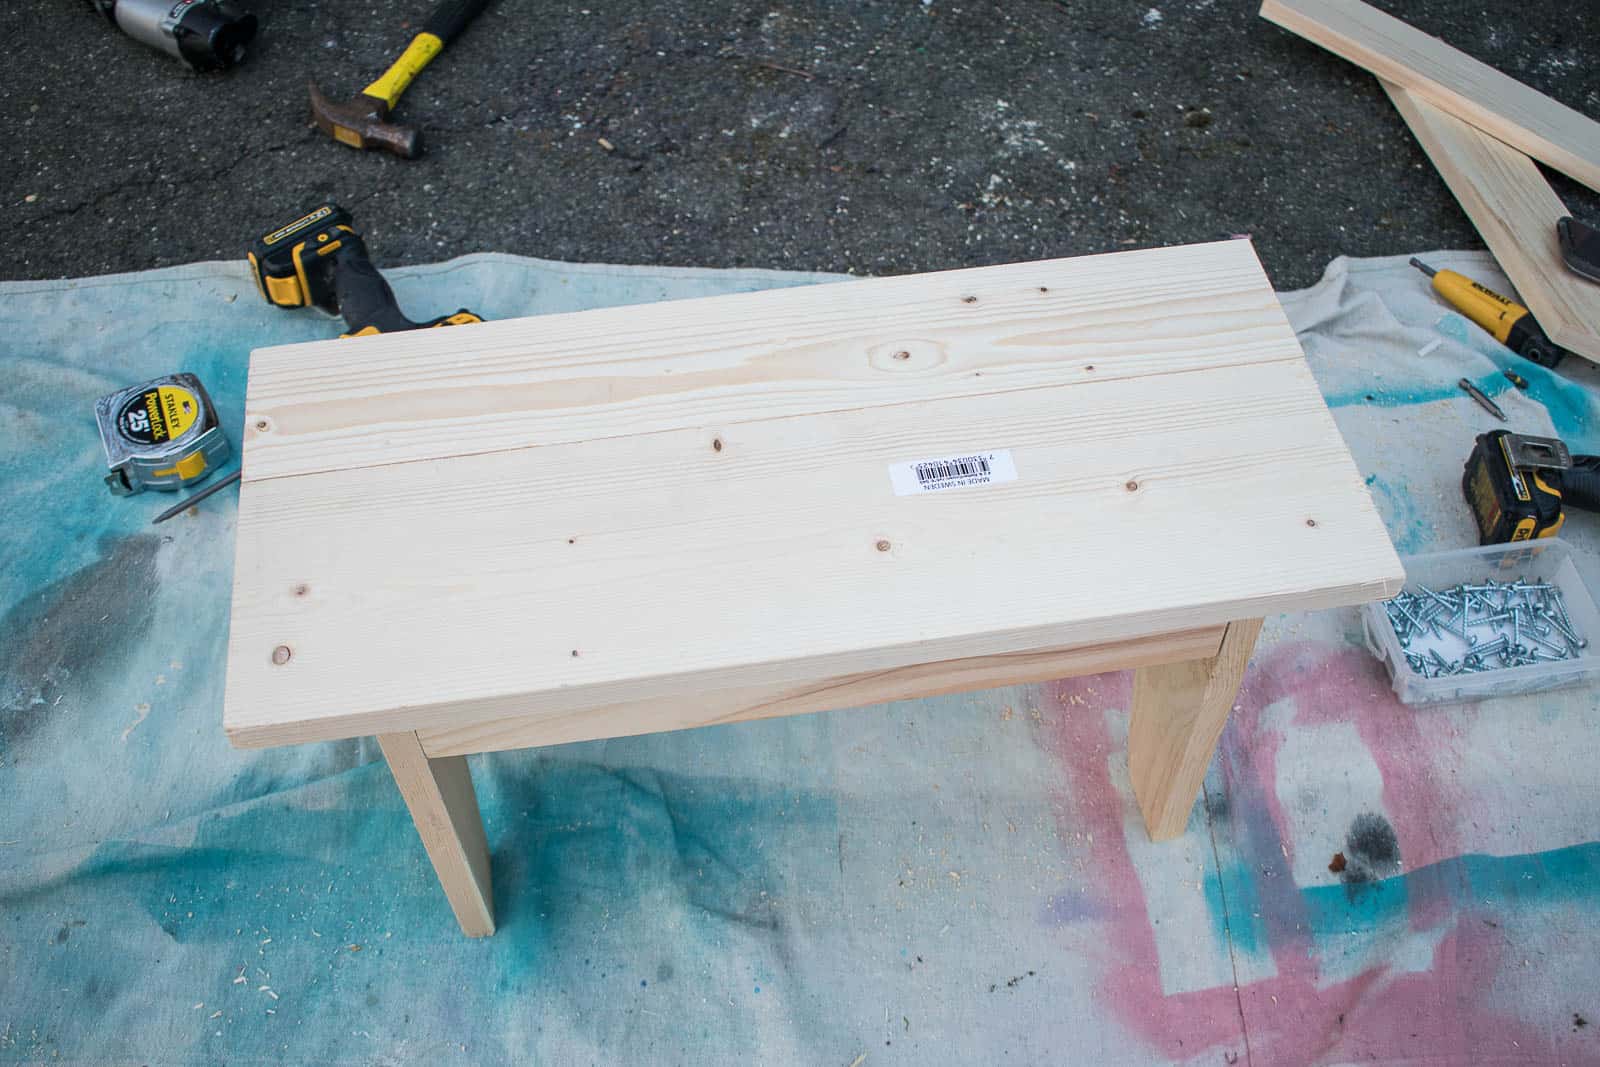
Step 5. Add the Seat
You want your seat to overhang the frame on both the ends and by 3/4″ on either side so that the ‘skirt’ will be flush. I was able to use two varying pieces of wood to make up the proper width, but you may have to rip down a wider piece of wood if you’re using different measurements for your bench. Using wood glue and a nailer (hammer and brad nails will work too!) to attach the boards of the seat to the frame.
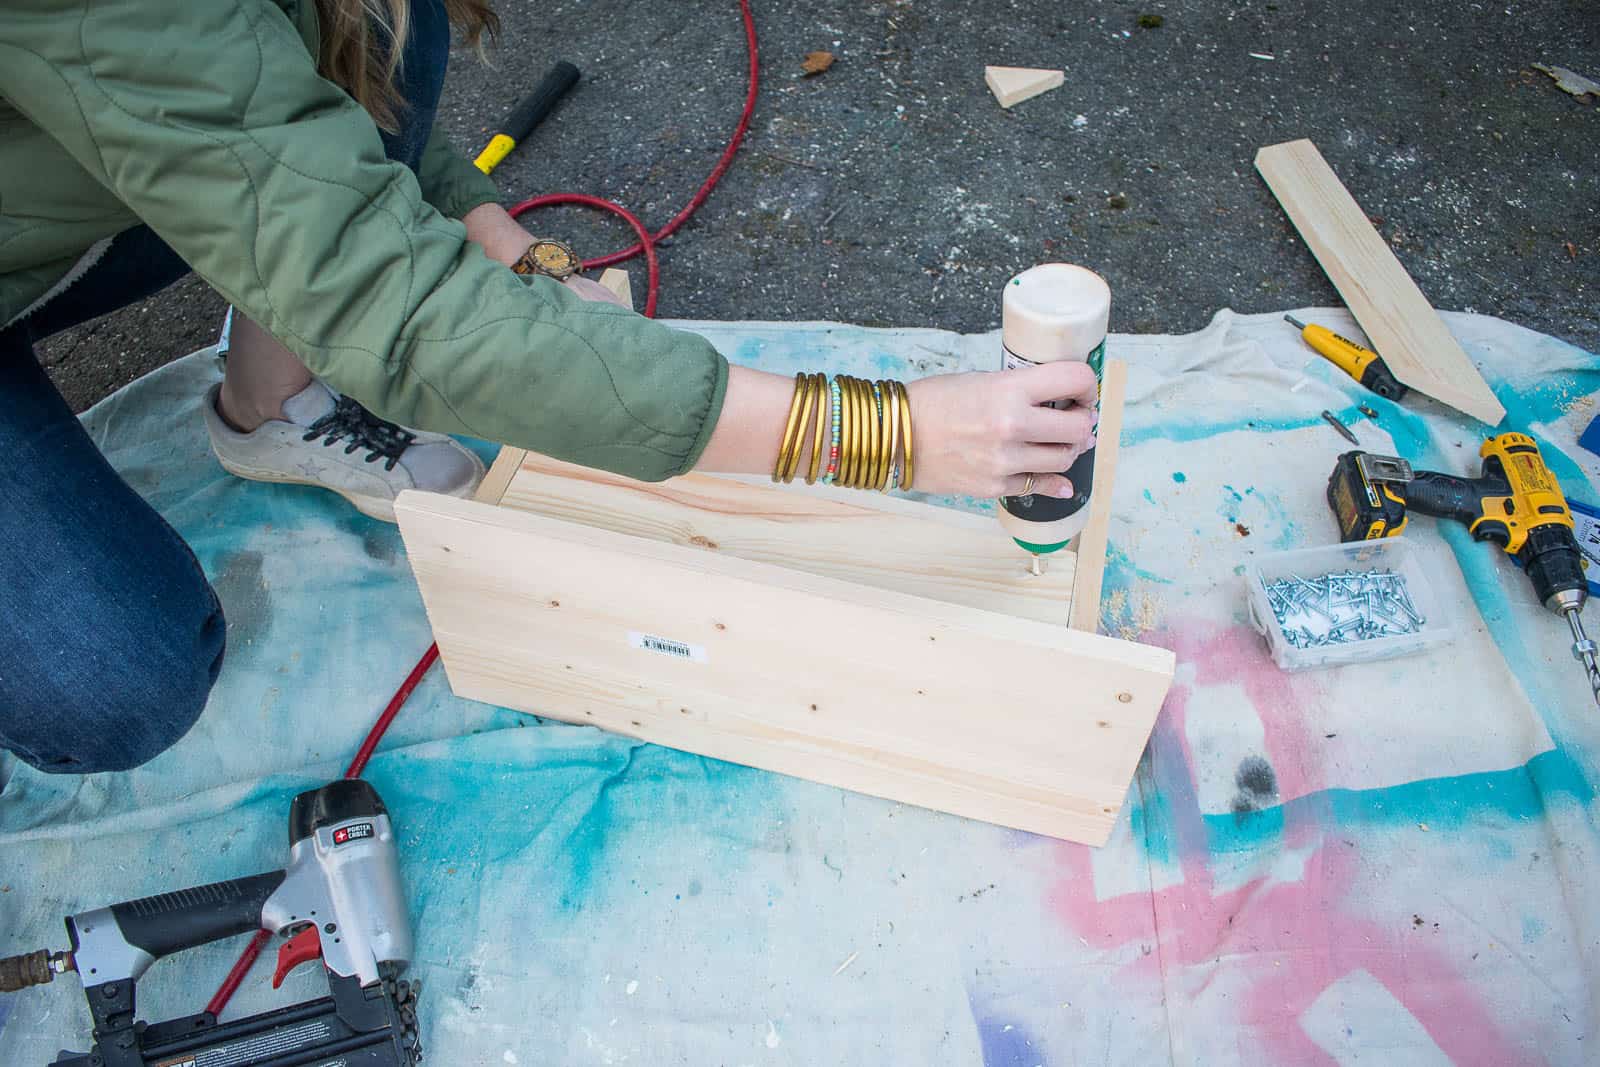
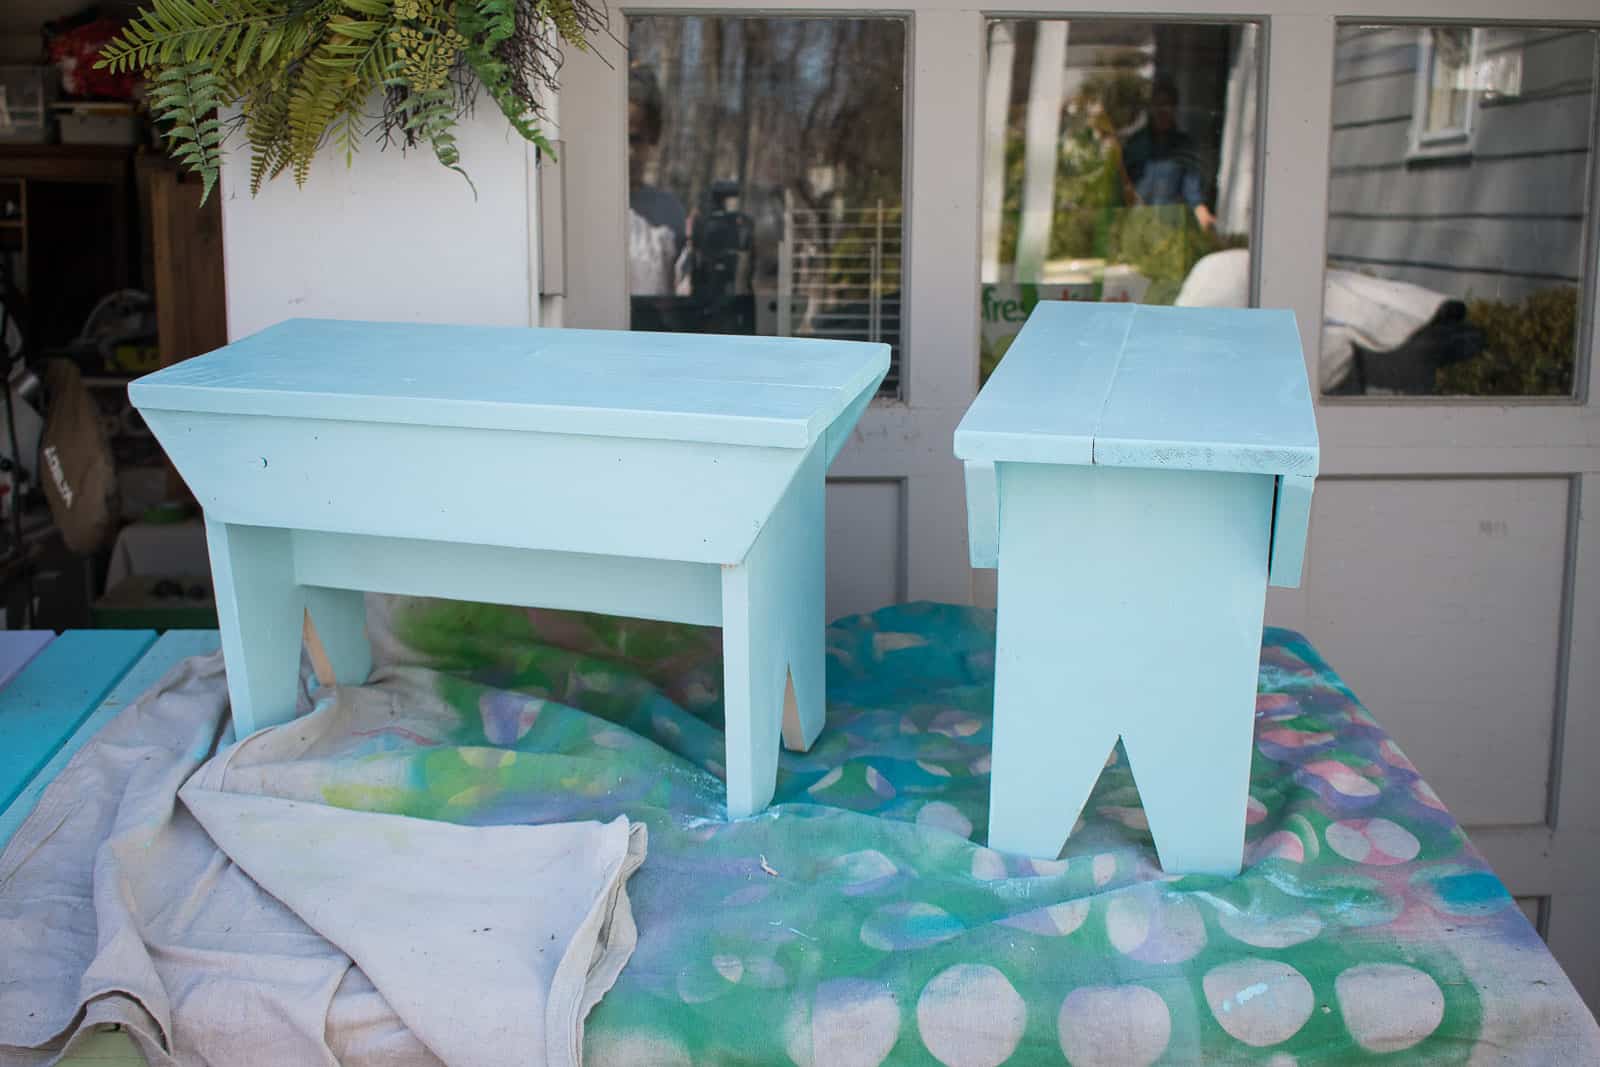
Step 6. Add angled skirt pieces
To achieve this rustic look, add two angled pieces of wood on either side of your bench as a ‘skirt. Cut two boards the same length as your bench and then angle either end. It totally doesn’t matter what the angle is… I think mine might be 22.5 degrees. Using wood glue and your nailer, attach the skirt to the frame on either side of the bench.
Step 7. Finish
I simply sanded and painted, but in a super thorough world, you’ll want to fill in the nail holes with wood putty before painting. As always: do as I say, not as I do. #lazypainter
Cut List
2- 1×8 @ 12 inches (remember… the actual measurements of these will be 7.5-inches wide…)
2- 1×4 @ 5.5 inches
2- 1×4 @ 16 inches
1- 1×4 @ 16 inches (note: this will be the cross brace, so double check this measurement once you’ve built the bench
2- 1×4 @ 21 inches
lumber for the seat: I used 2 pieces of scrap wood for a total dimension of 9-inches wide and 21-inches long
Head over to Homes.com to see the full playhouse reveal and VOTE for my English Cottage! The winning playhouse gets to donate to charity and I”m hoping to help out the Amos House Women and Family shelter in Providence, RI. (Hoping third time’s a charm… I lost the Frogtape Paintover Challenge and last fall’s playhouse makeover, but clearly I’m a sucker for punishment.)
You should also take the time to check out my maker friends who I’m confident have made something much more complicated and much cooler! Check them out below:
Addicted 2 DIY * My Repurposed Life * Anika’s DIY Life * The Awesome Orange * Jaime Costiglio


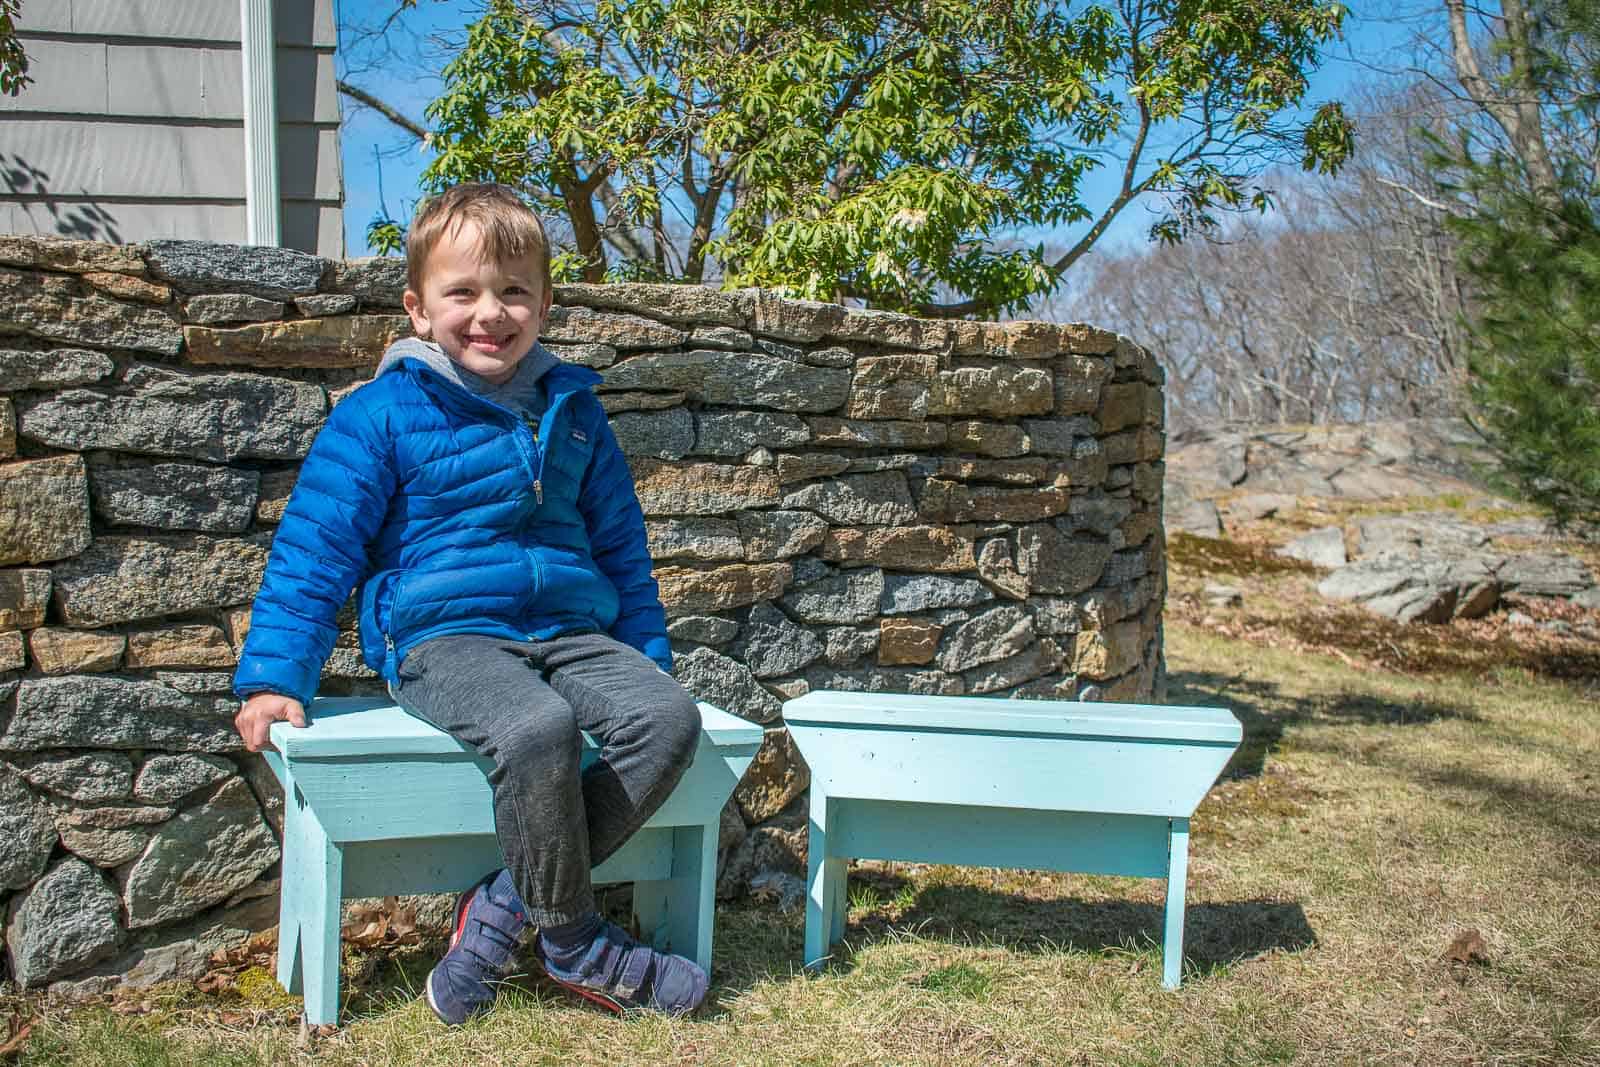
Oh my gosh, your benches are adorable, as is your cutie patootie sitting on it!
I’ve never made this kind of bench. Hard to believe! I think It’s on my to do list after seeing how cute yours are.
Hopping over to vote for your playhouse, pinned this project!
gail
Super cute and Functional. Love how you make it approachable for everyone. (And I did vote for your playhouse ;))
Thanks, Jaime! Turns out I like “rustic” because it forgives all sorts of my woodworking sins. 🙂