
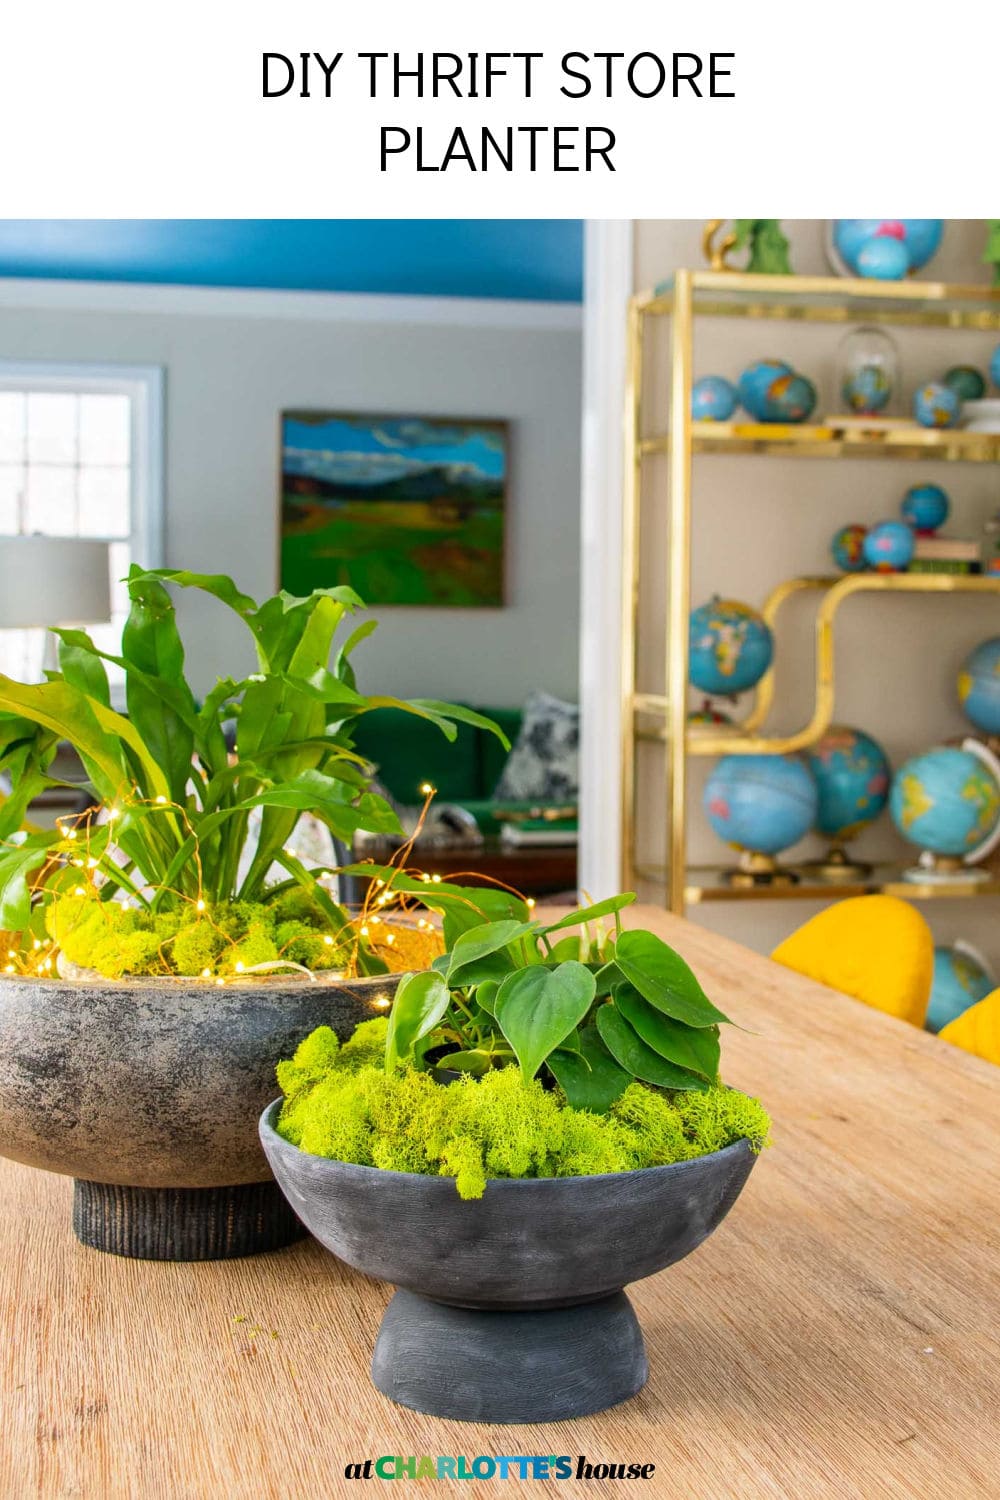
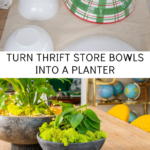
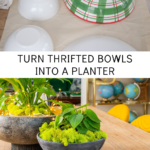
How to Make a Thrift Store Planter
Psssst… this post *might* contain affiliate links: see my disclosure here.
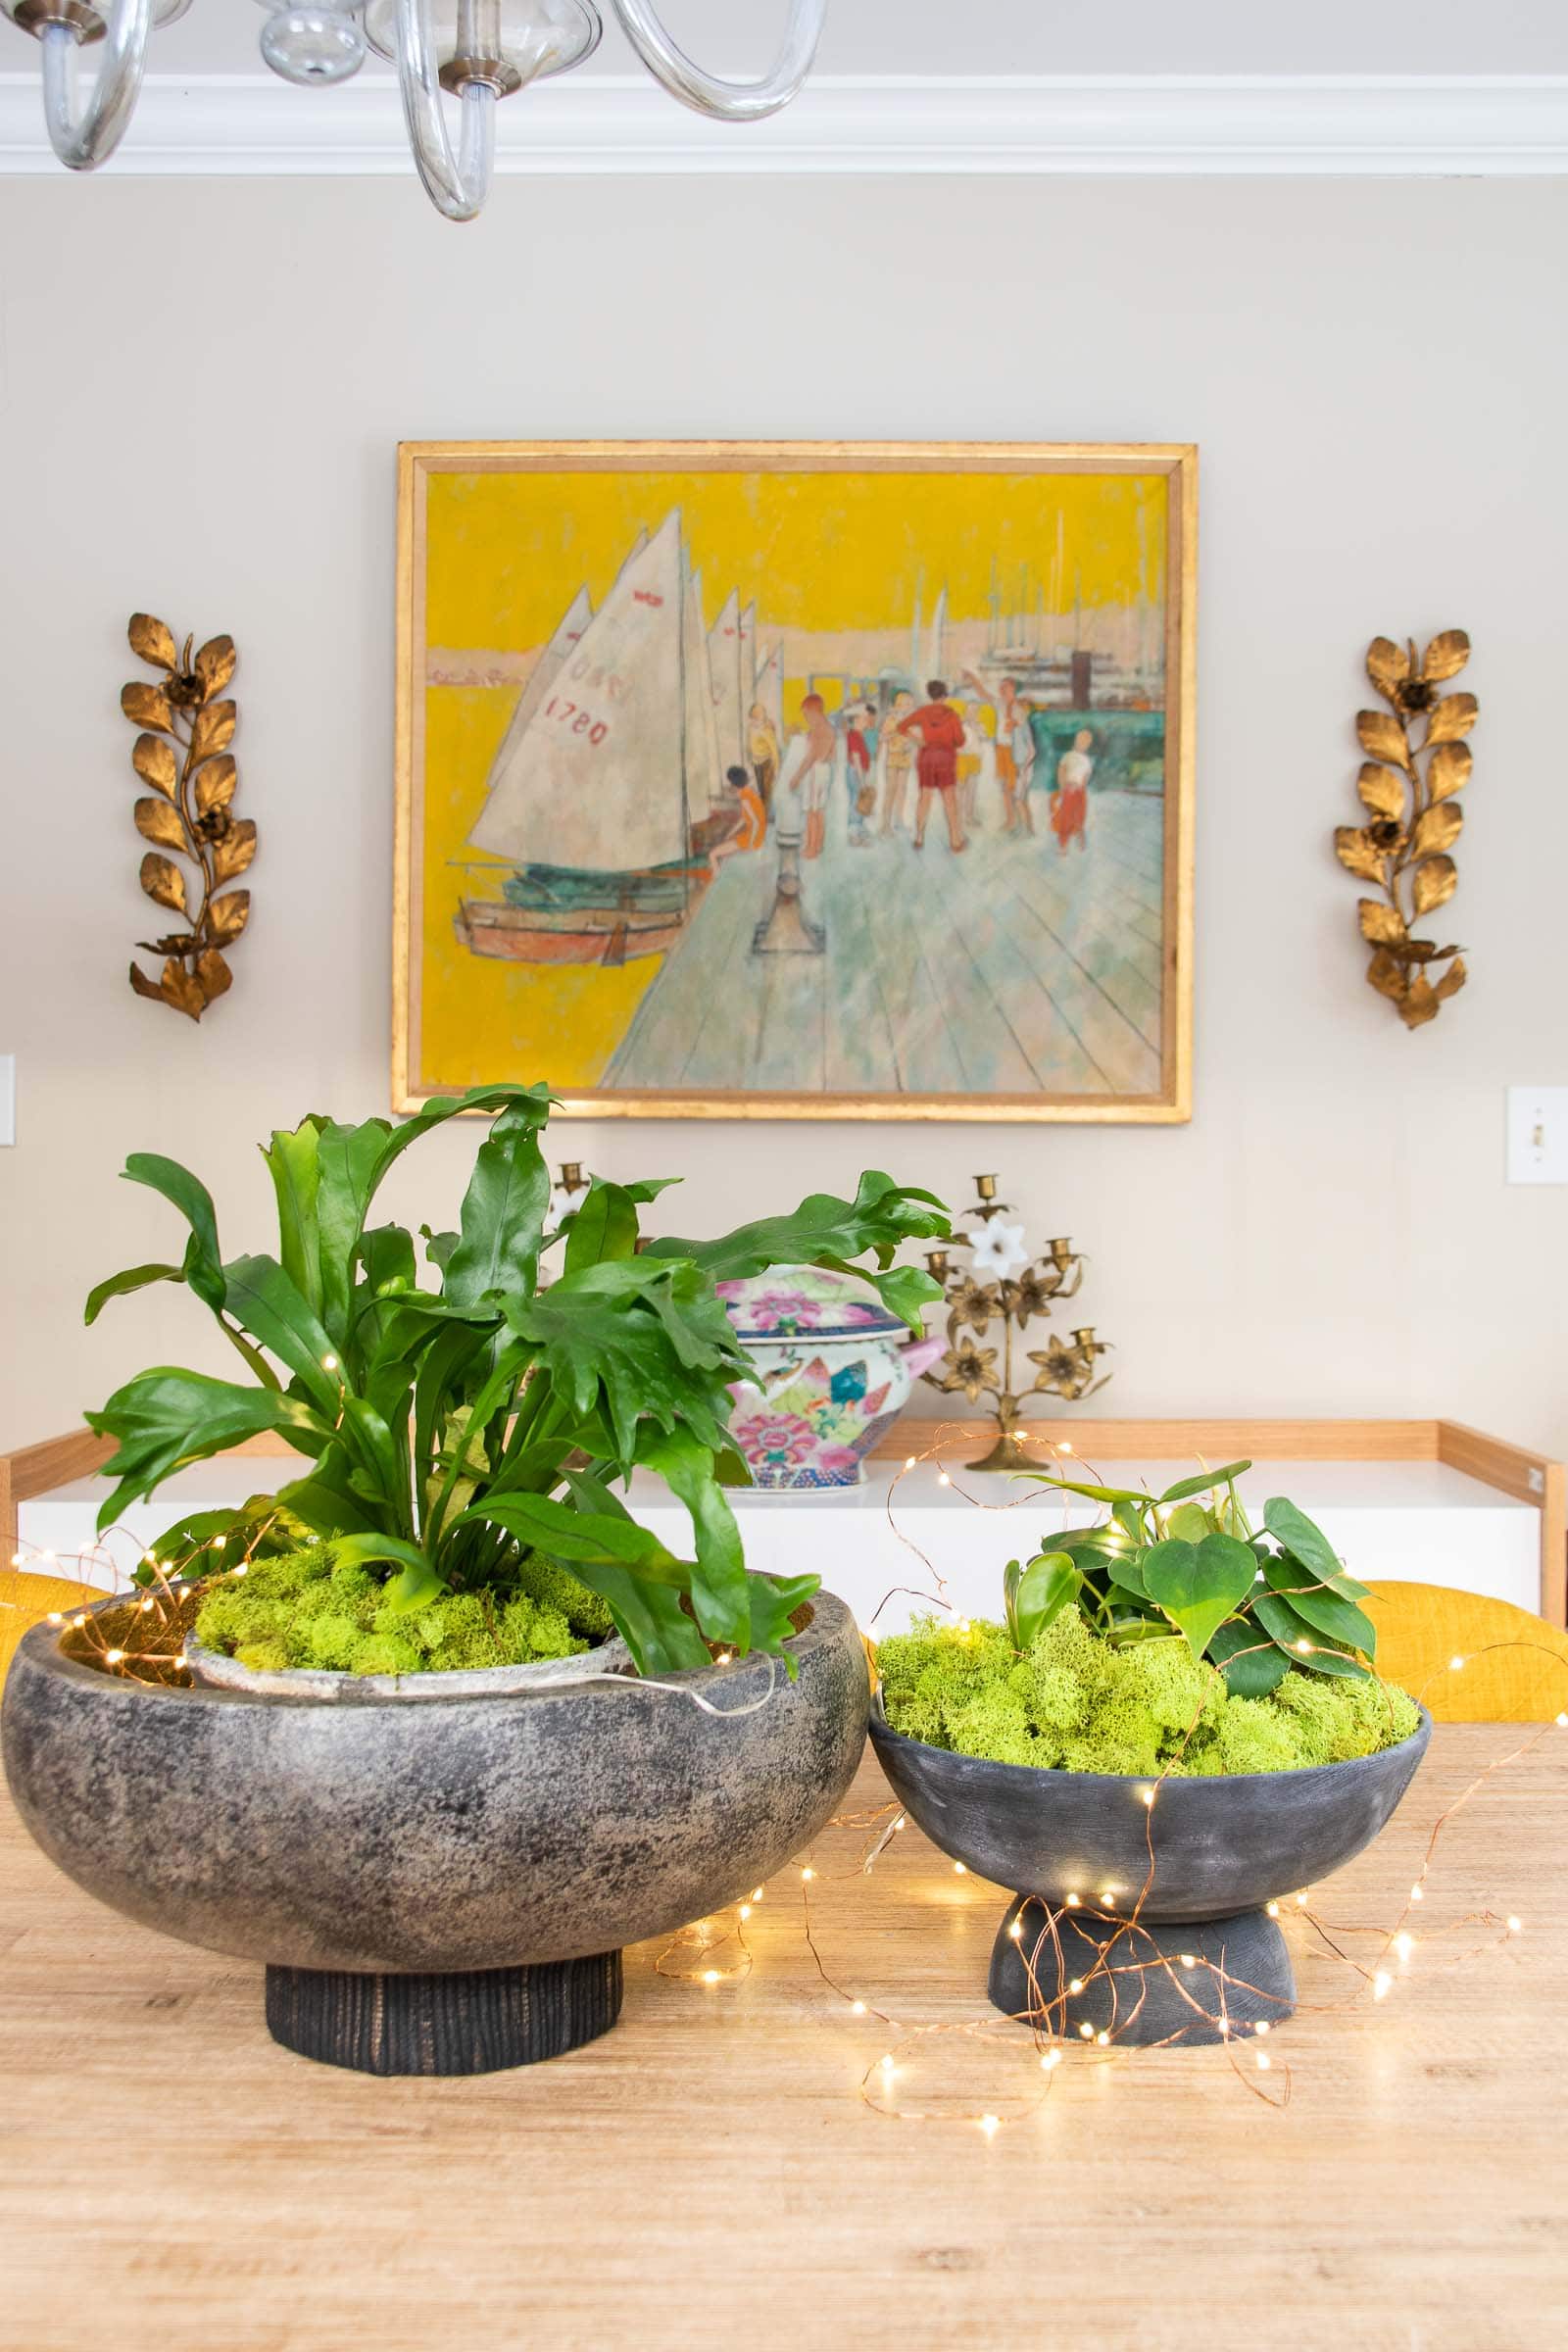
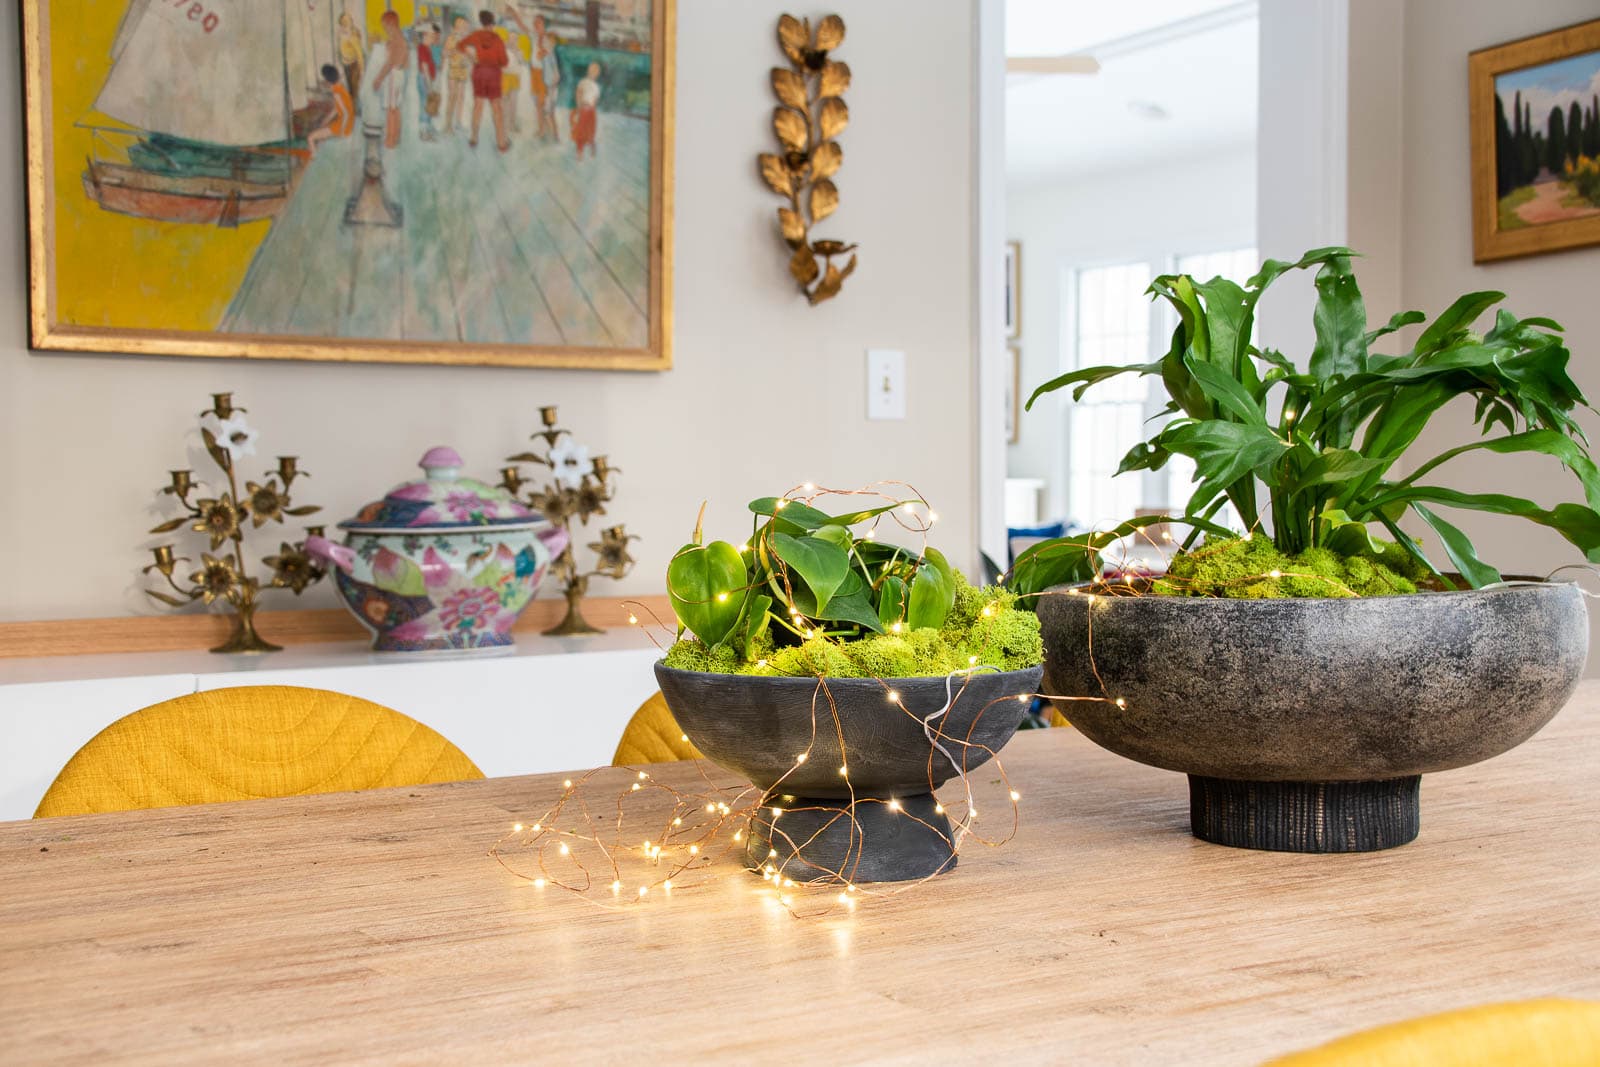
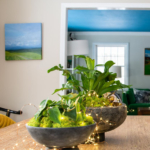
Thrifted Dishes turned into Chic Modern Planter and Cake Stand
I used these thrift store bowls and plates to make a useful planter and a cake stand.
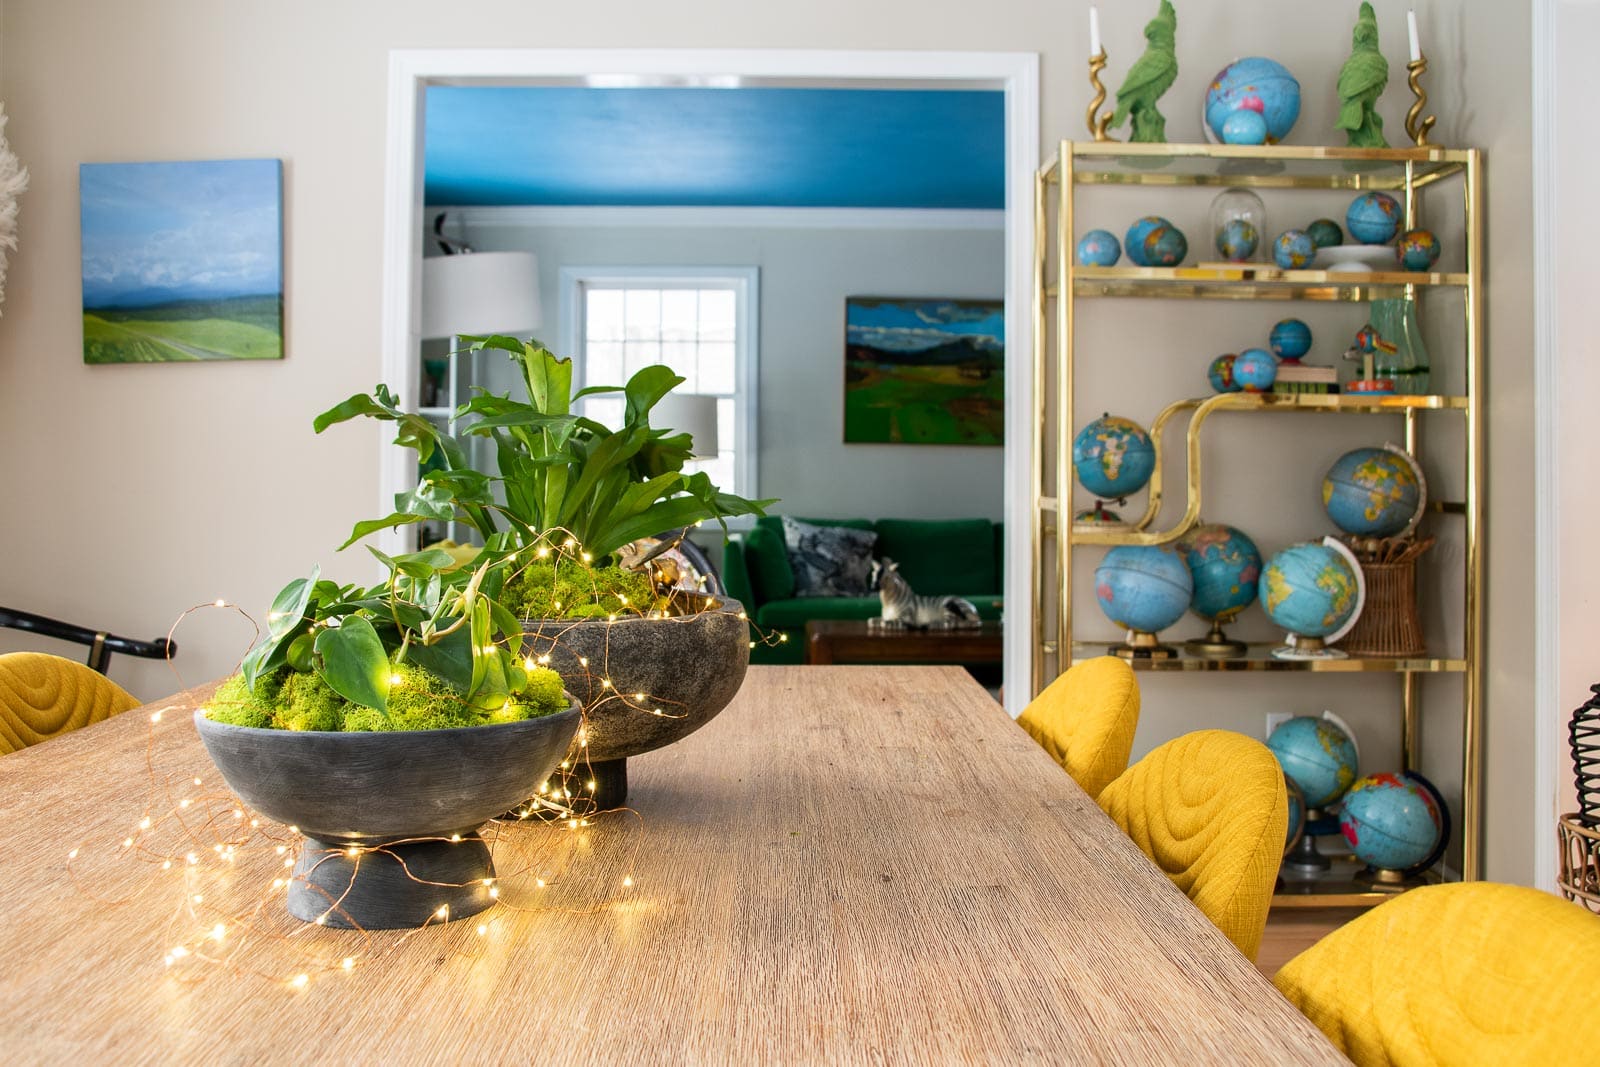
One of the accessories I grabbed when I was a featured designer or the One Room Challenge was this modern black planter from Lamps Plus. It’s a great size and brings a bit of chic my sometimes boppy color scheme! I went into the thrift store the other day and picked up some dishes that I thought I could use to make similar version of this planter… for $9. Spoiler: I LOVE the way this turned out!!
Shop my favorites!
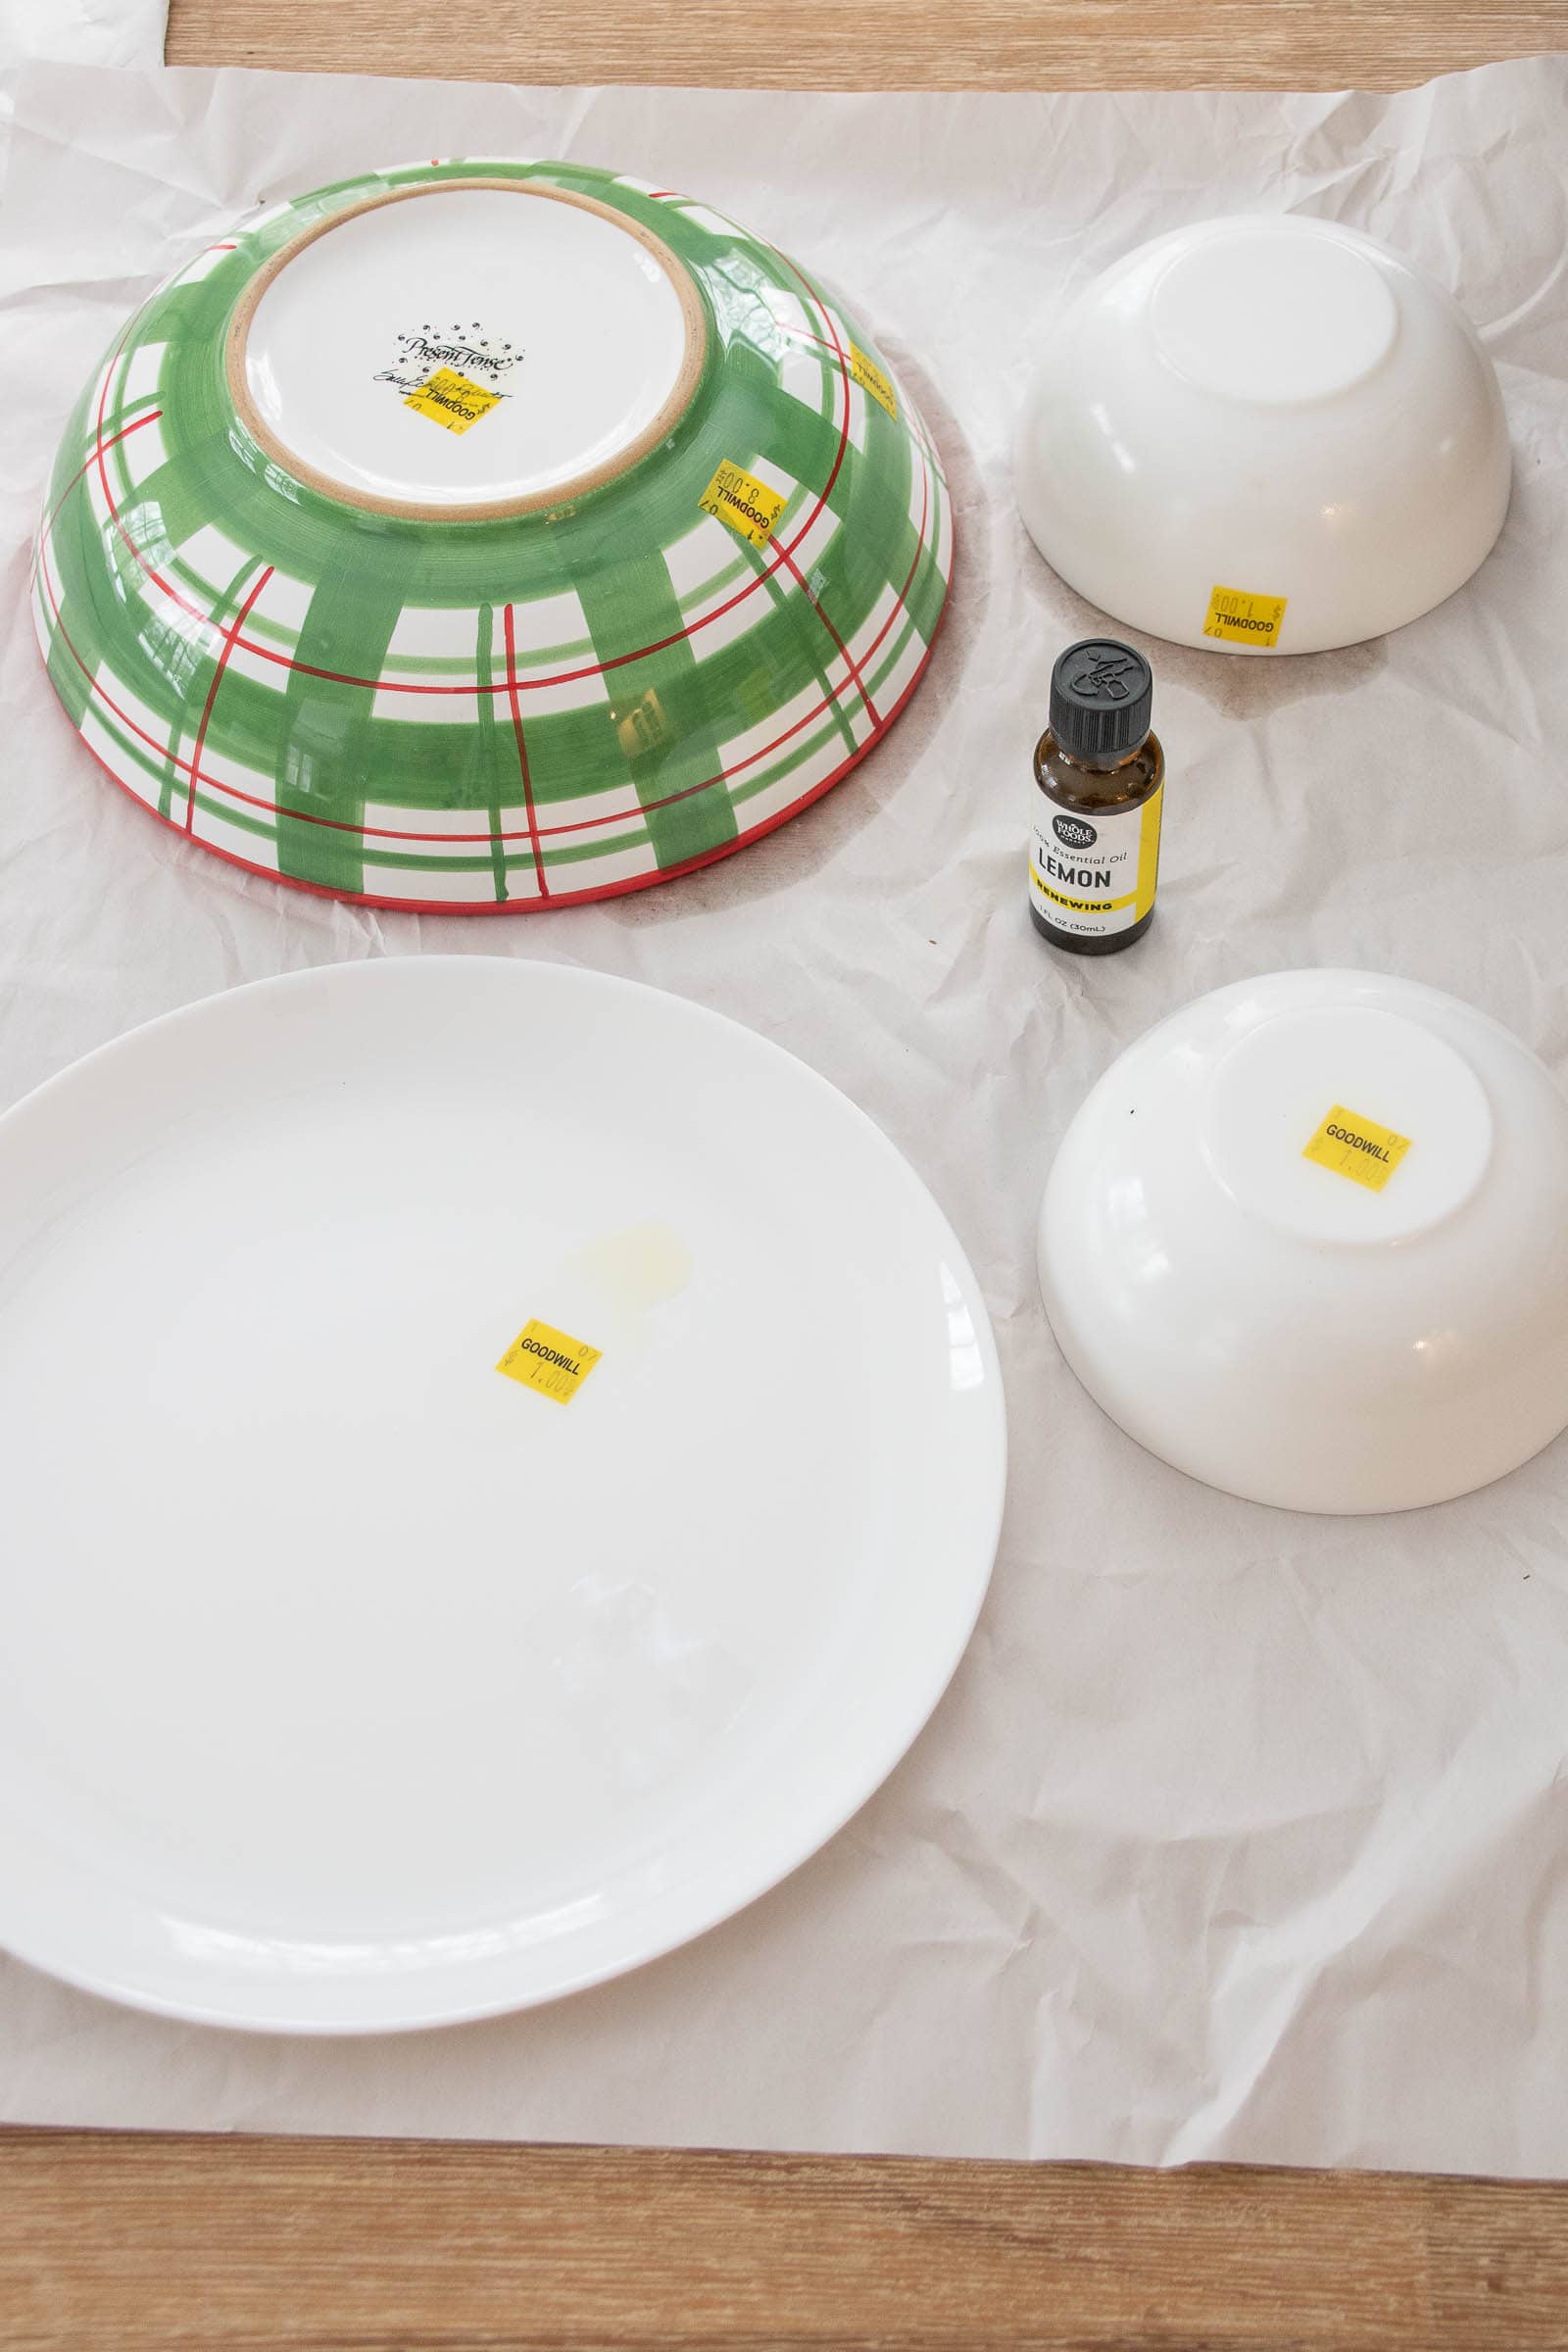
Step 1. Remove stickers and clean your dishes
My dishes are from Goodwill so that meant I needed to remove approximately 45 price tag stickers. I grabbed 2 small bowls, a larger bowl and a plate. I chose these four items because they all had flat (not concave) bottoms. My go-to hack is lemon essential oil. Apply a few drops of oil to each sticker and let it sit for a few minutes. The sticker will come right up! Make sure you clean the dishes well after so there’s no oily residue left behind.
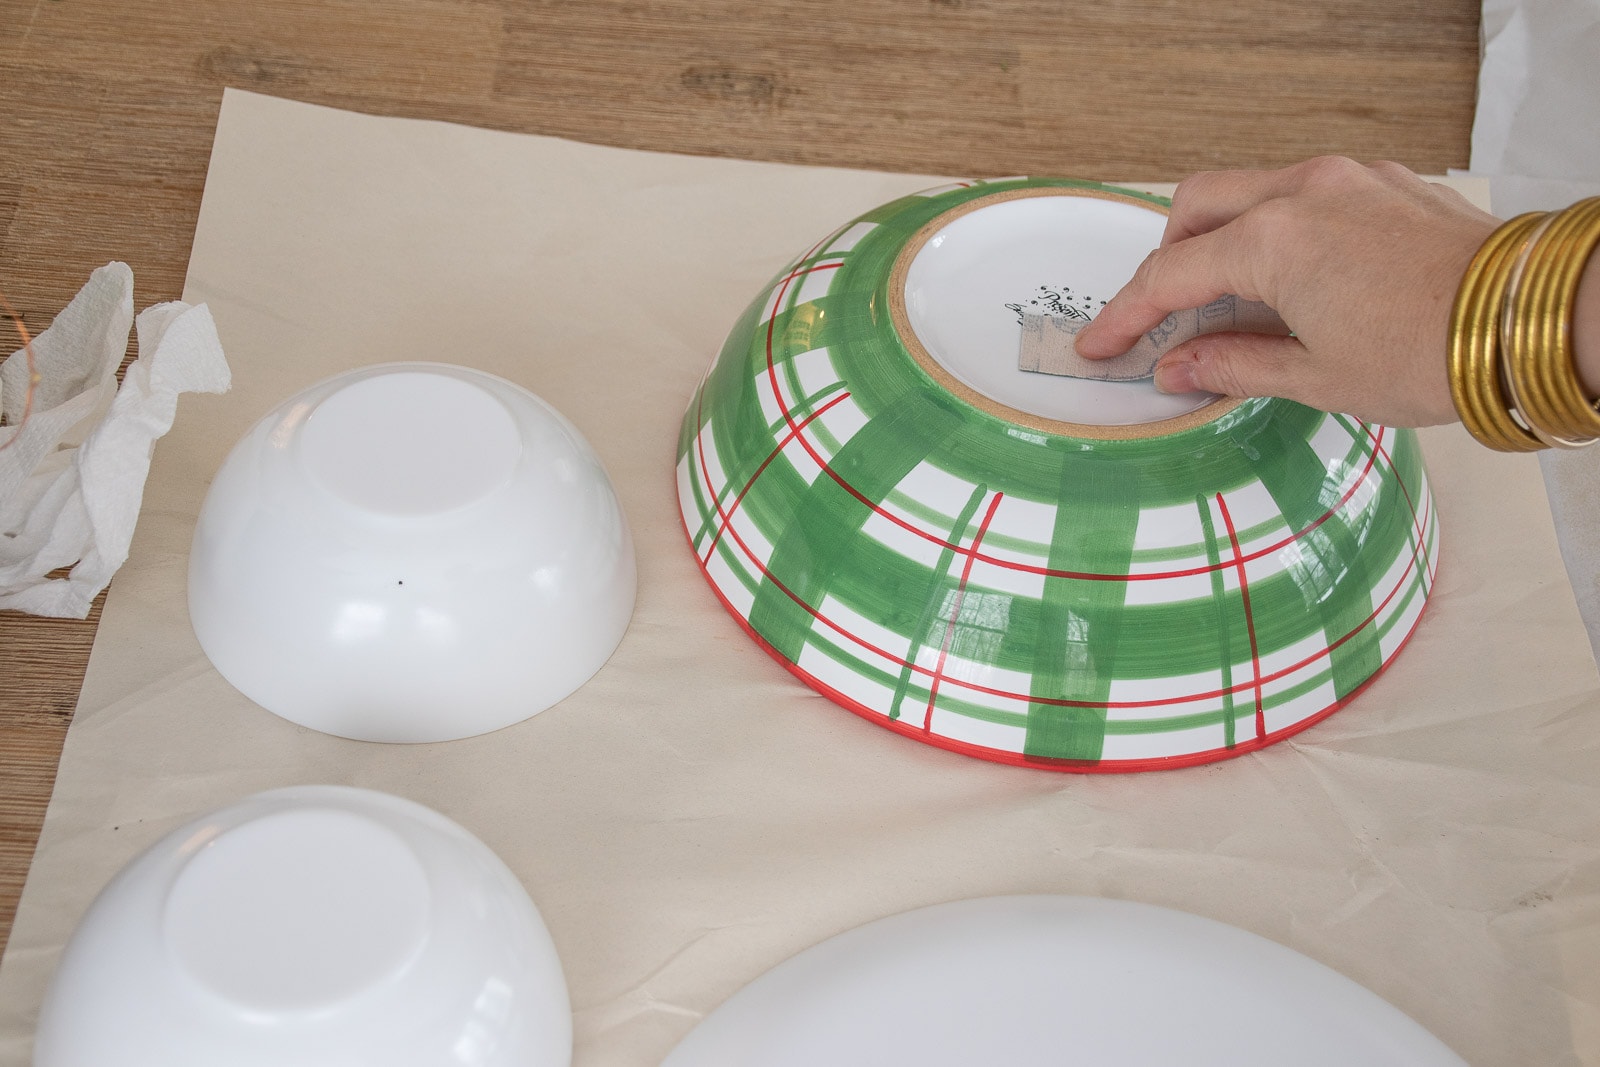
Step 2. Sand
It’s not going to do much, but grab some low grit sandpaper and try to rough up your dishware where they’re going to be glued together.
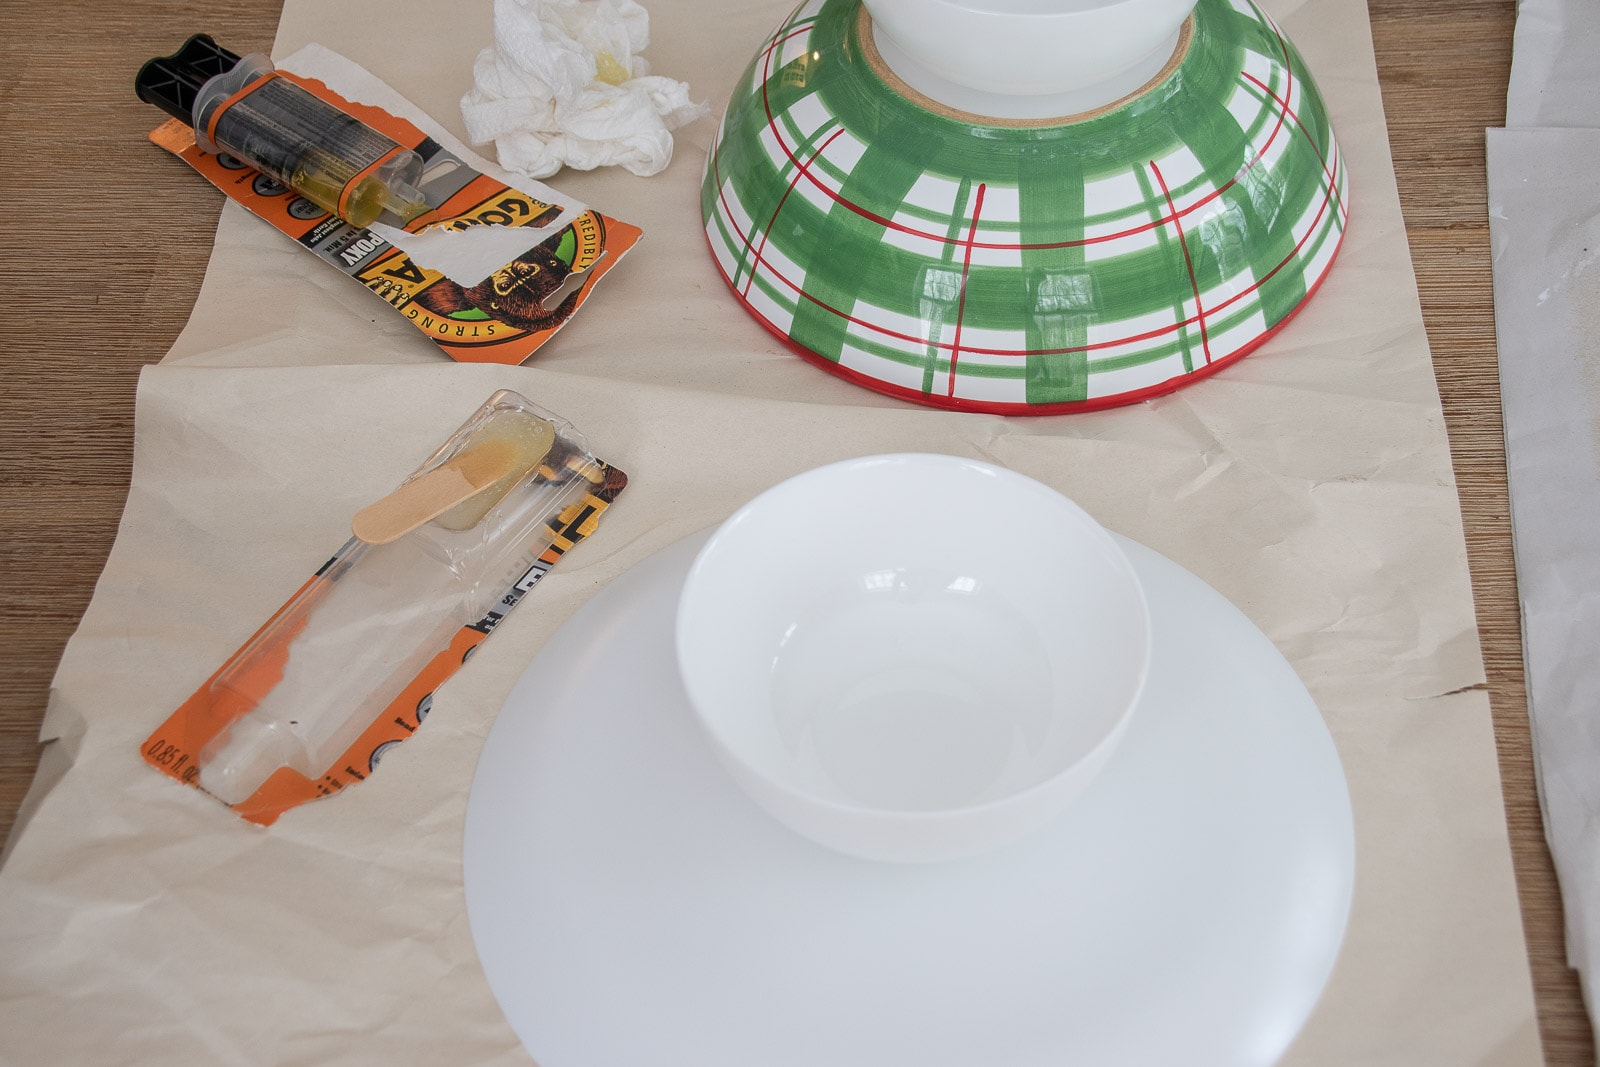
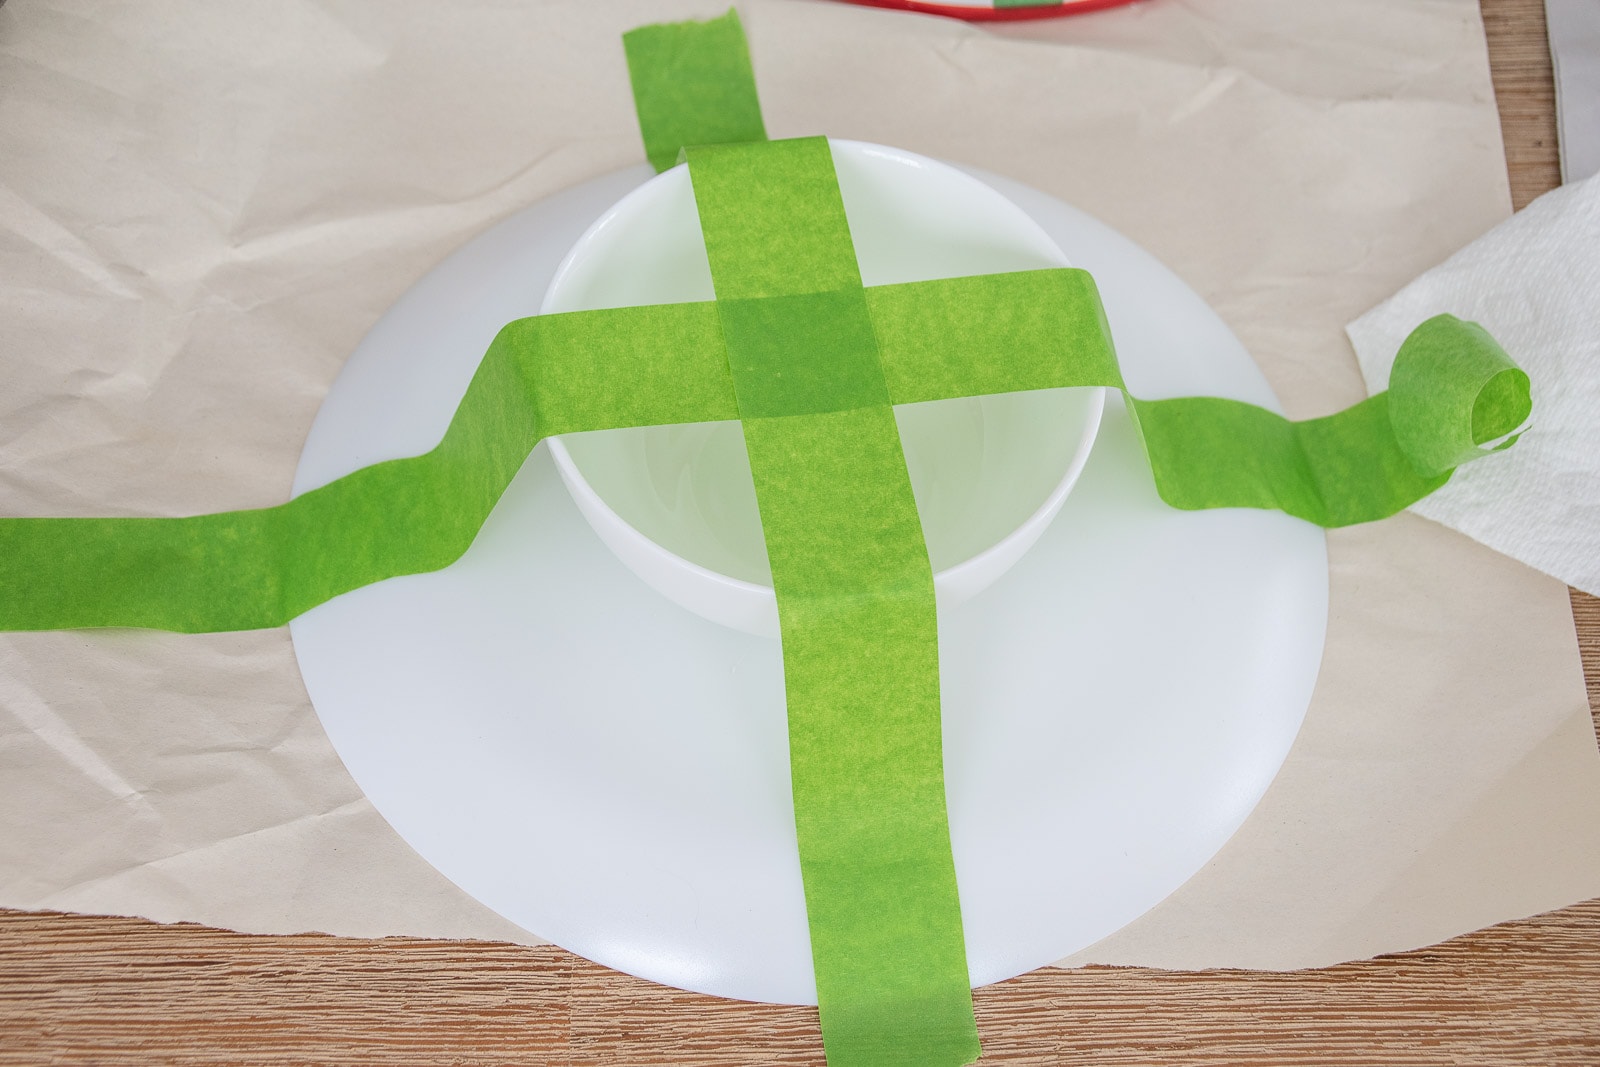
Step 3. Glue
I’m using Gorilla Glue two part epoxy so I had to mix it first and then apply to the surface of the dishes. It sets up pretty fast, but I taped the one bowl in place just to make sure it didn’t slide off center. Follow directions on the package to determine how long until your glue sets up. I left mine for a day or two.
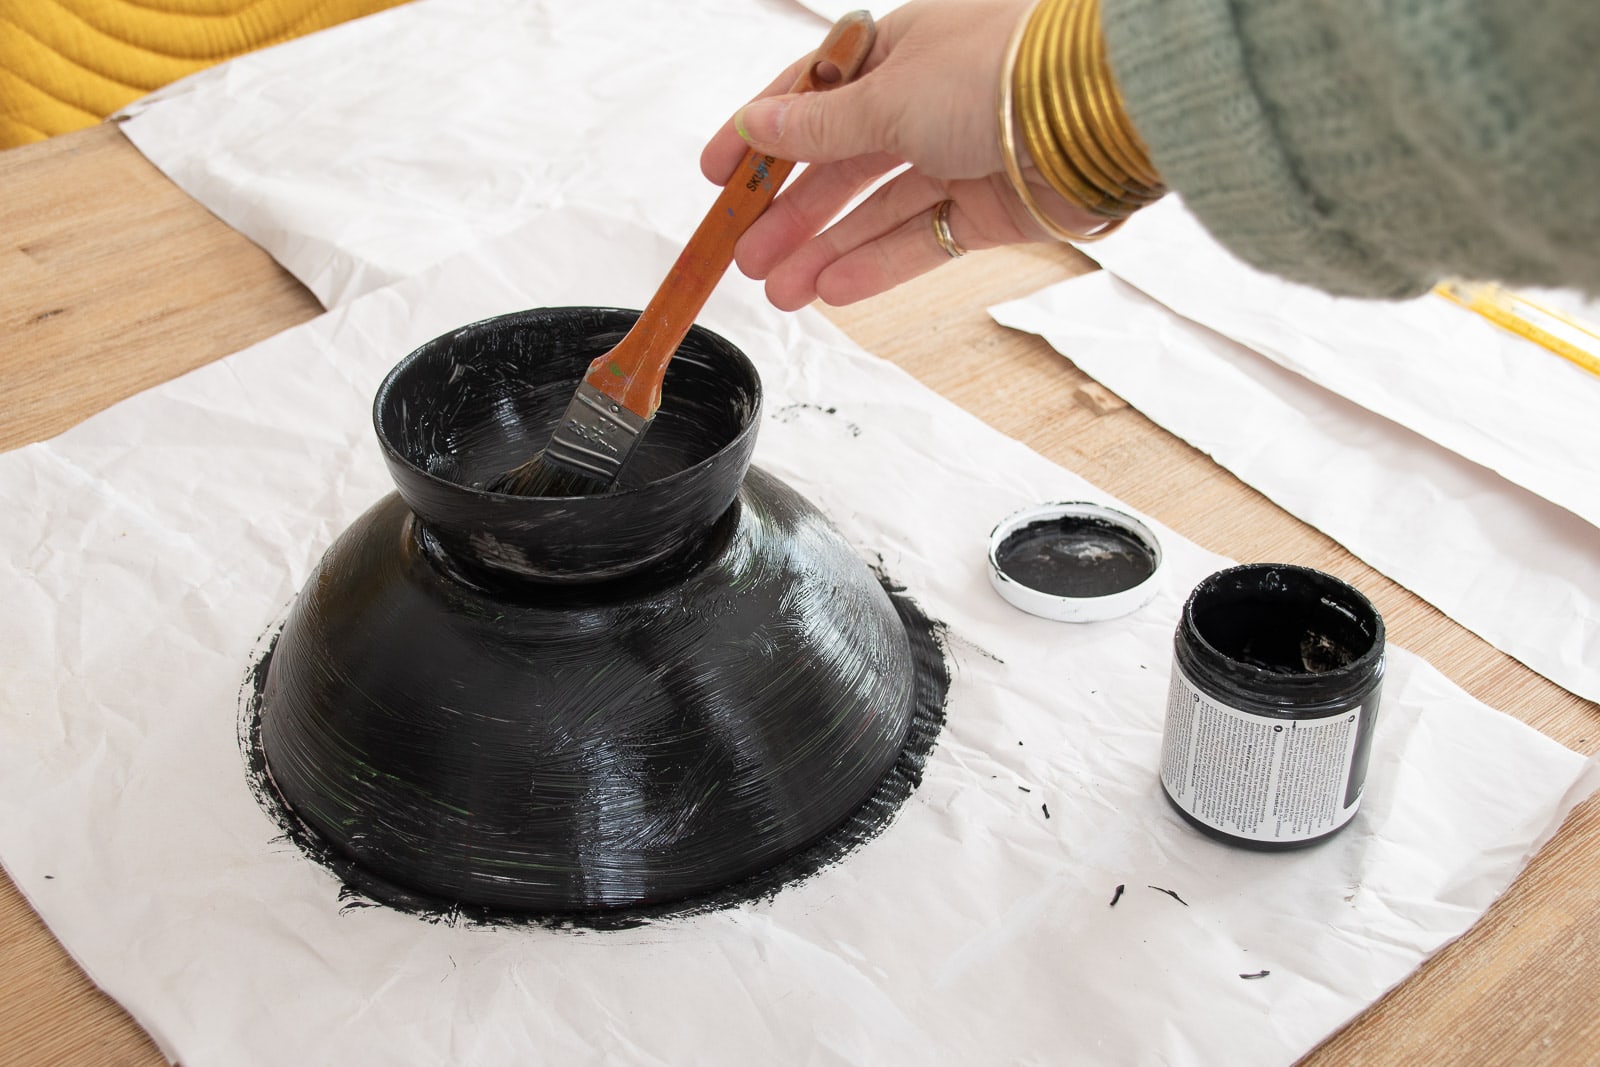
Step 4. Paint
I wanted to recreate the finish of my original planter so I started by painting my thrifted version with this black chalky finish paint. I used a brush with fairly course bristles so there’s a great texture from the brush strokes. I gave my planter a couple coats.
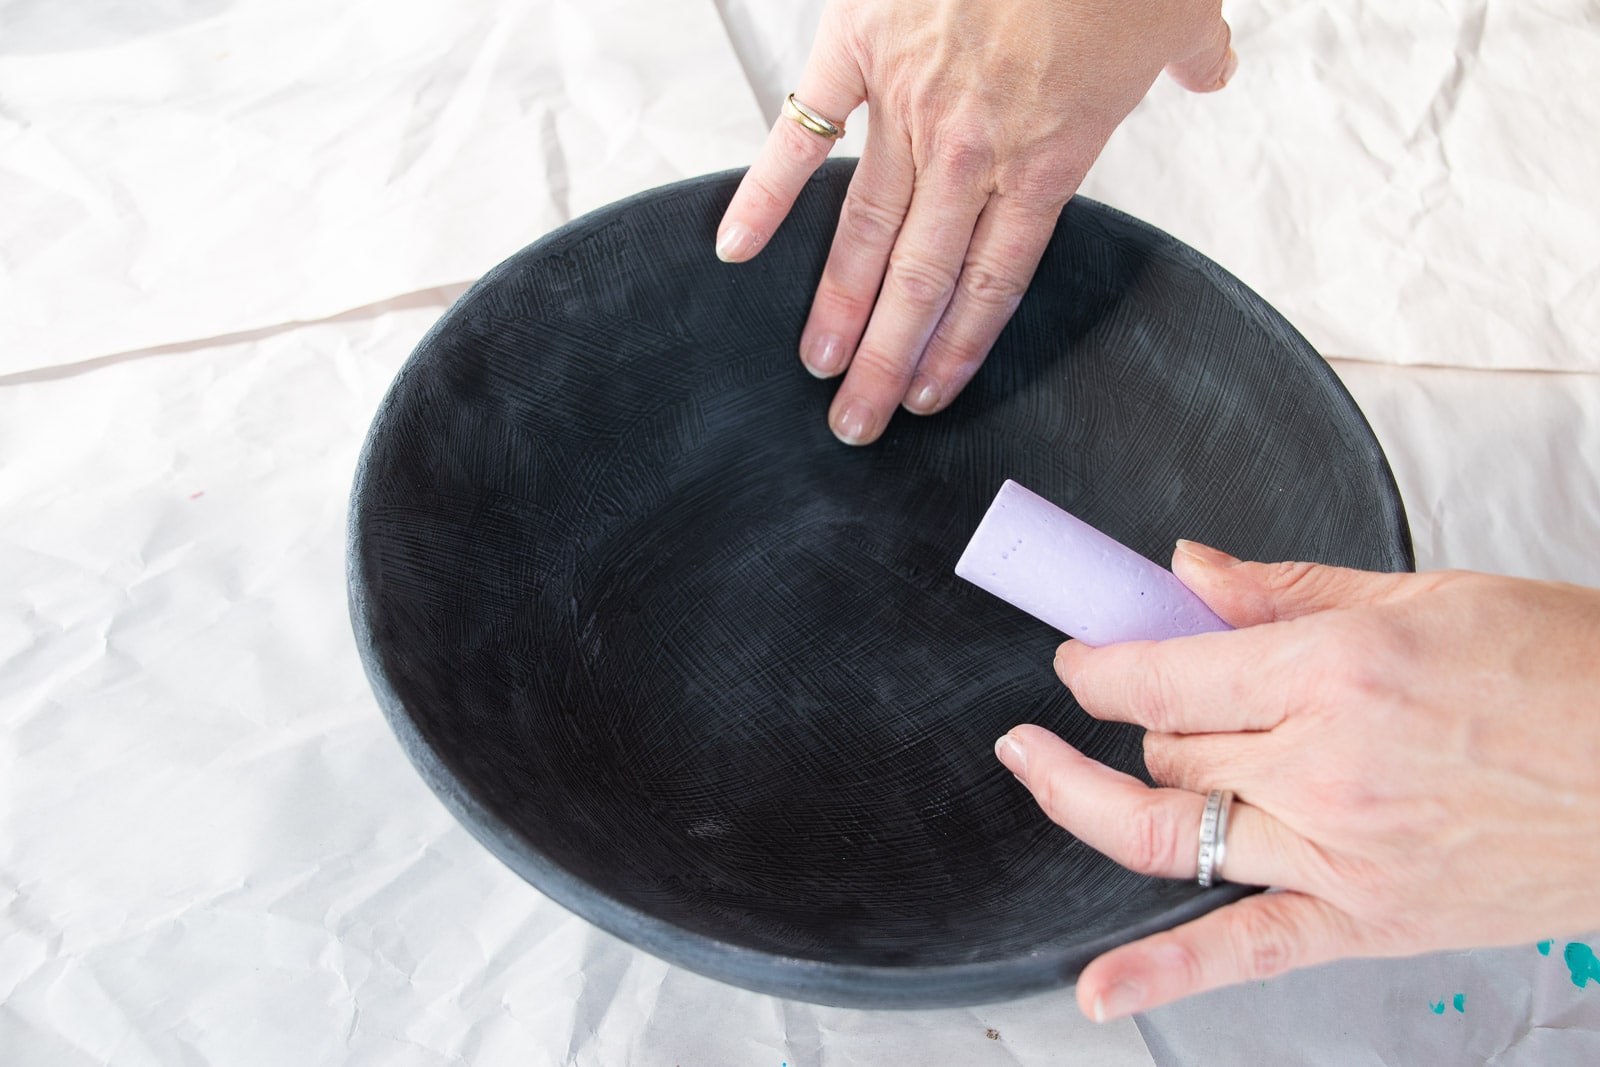
Step 5. Add finish
To give my planter that ‘aged’ look, i found a piece of playground chalk from my kids’ art stash. It’s purple, yeah… but it didn’t seem to matter. Essentially I’m planning to give my planter a chalk board vibe. To avoid any dark chalky lines, I rubbed the chalk on my hands first and then lightly rubbed the chalk onto the chalky finish of the painted planter. I did *not* seal the chalk because I couldn’t find my polycrylic, but ideally I’d give the planter a top coat with MATTE polycrylic just to seal the chalk dust in place.
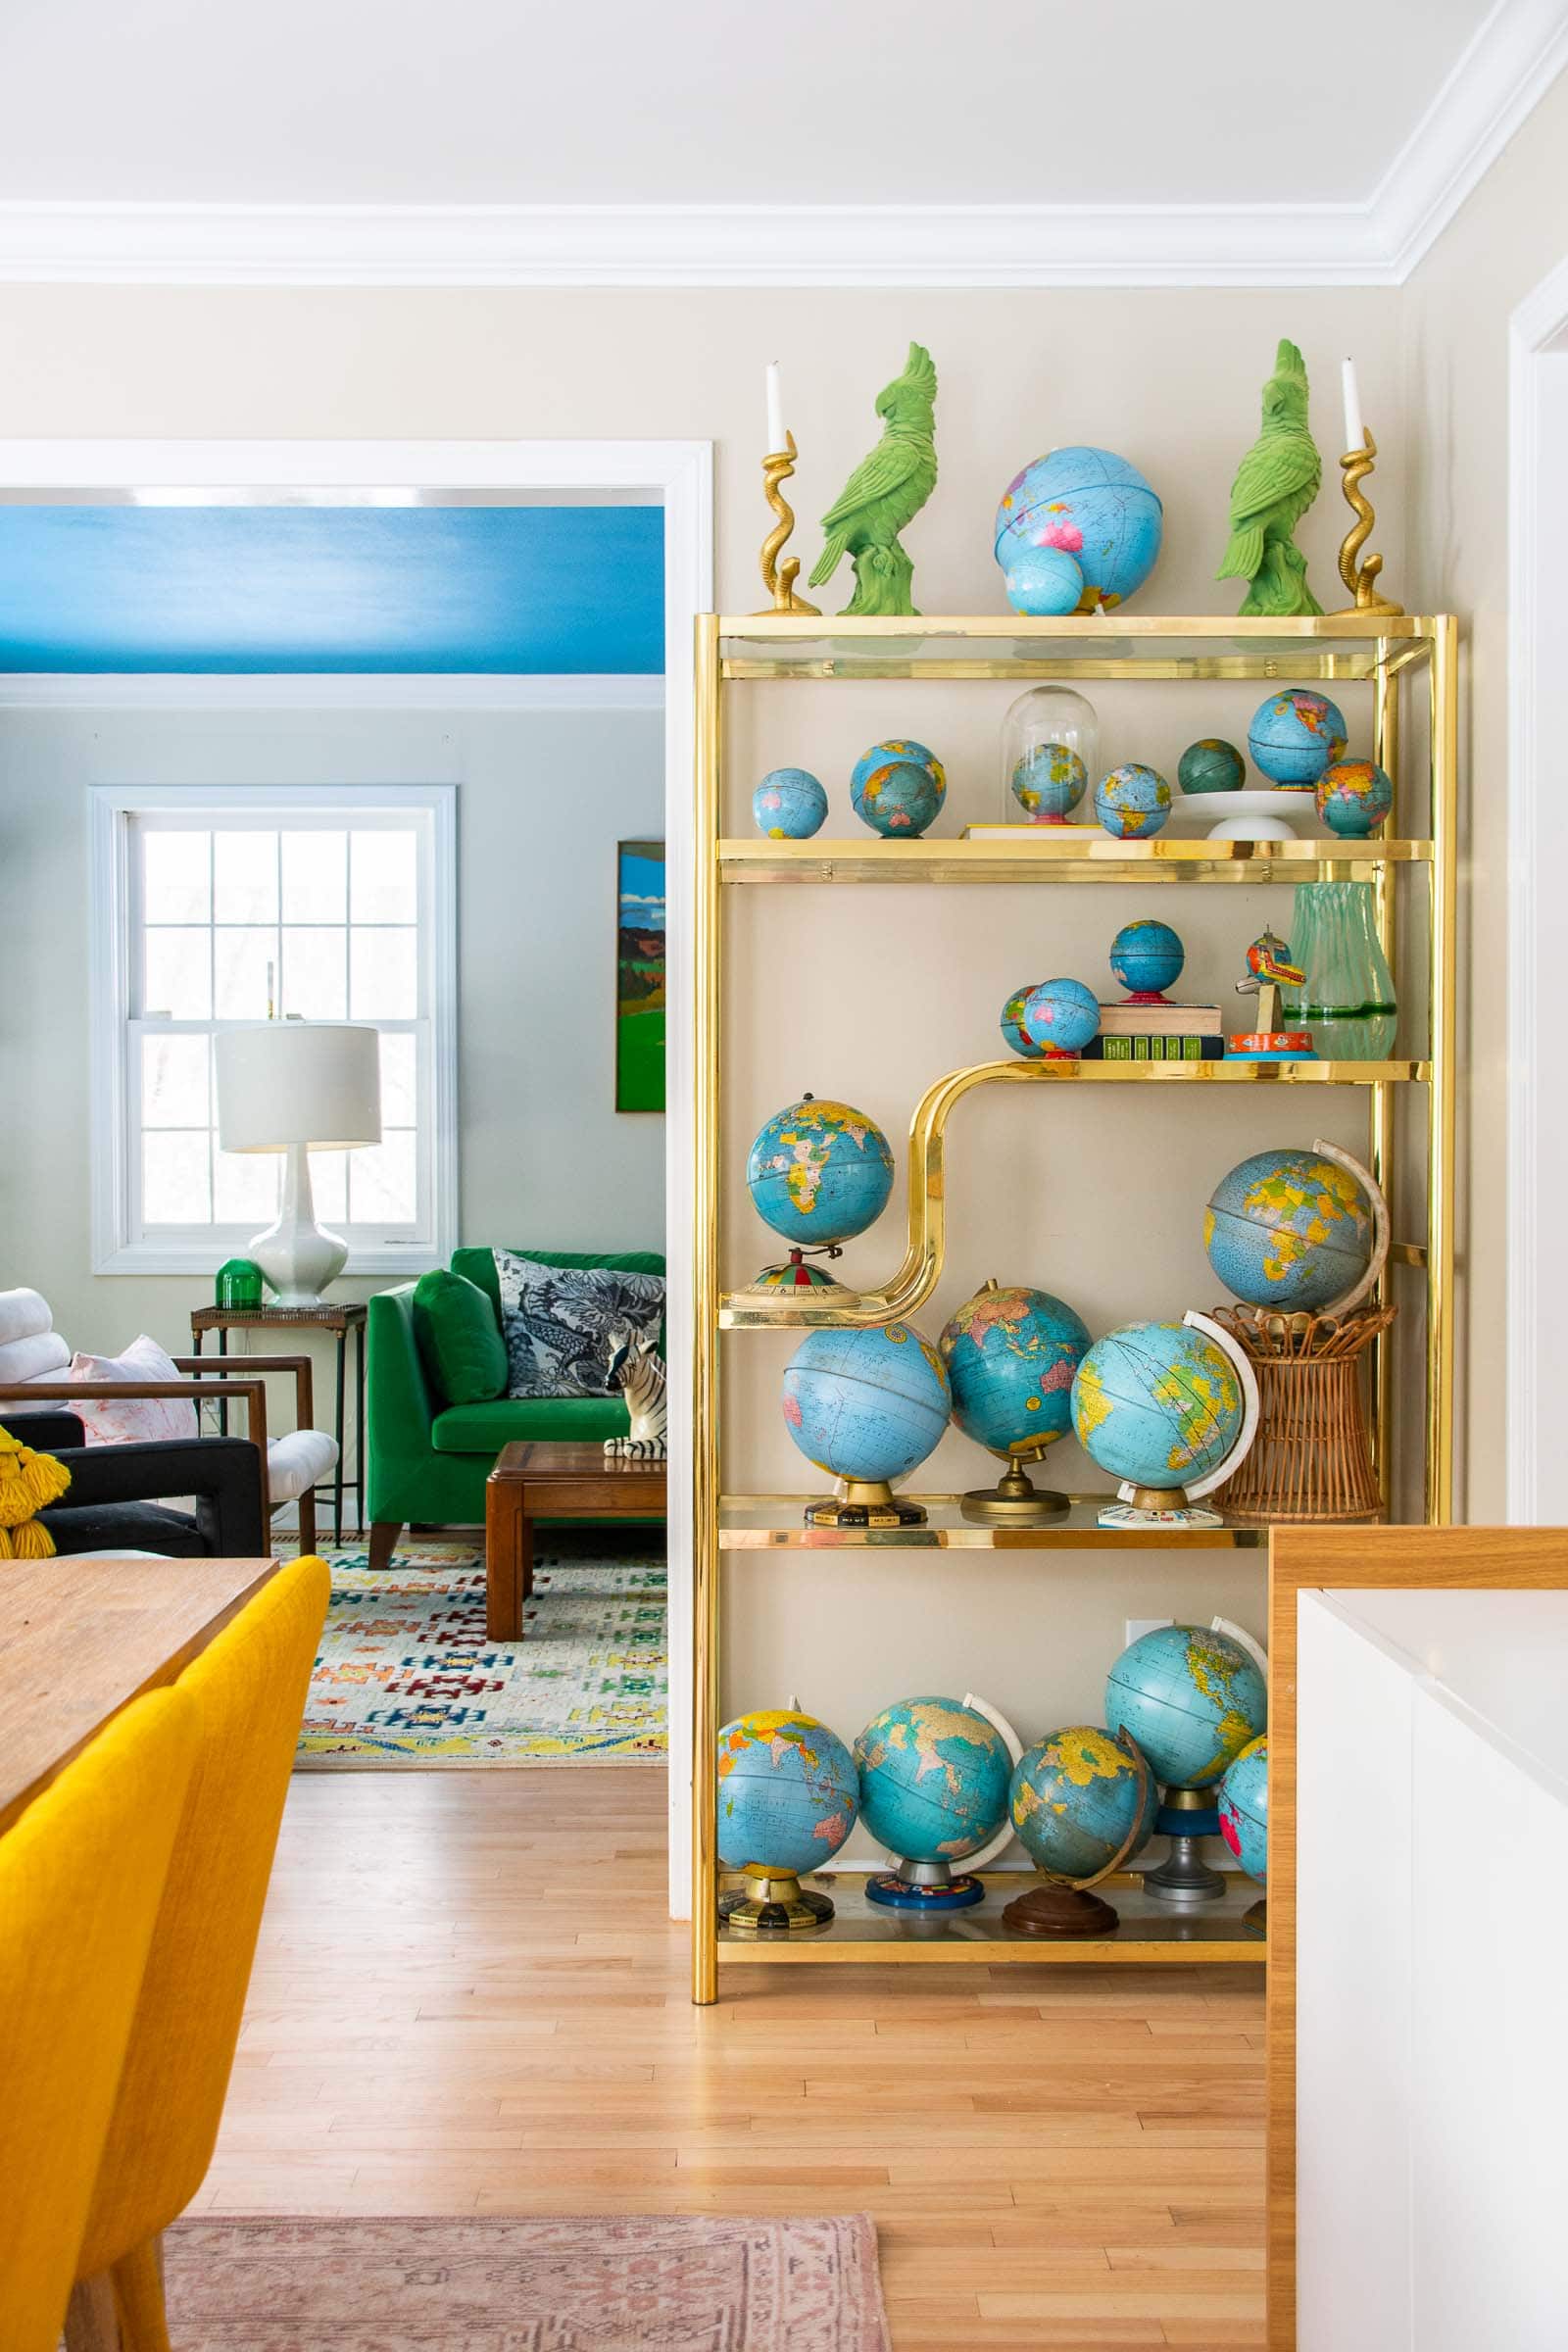
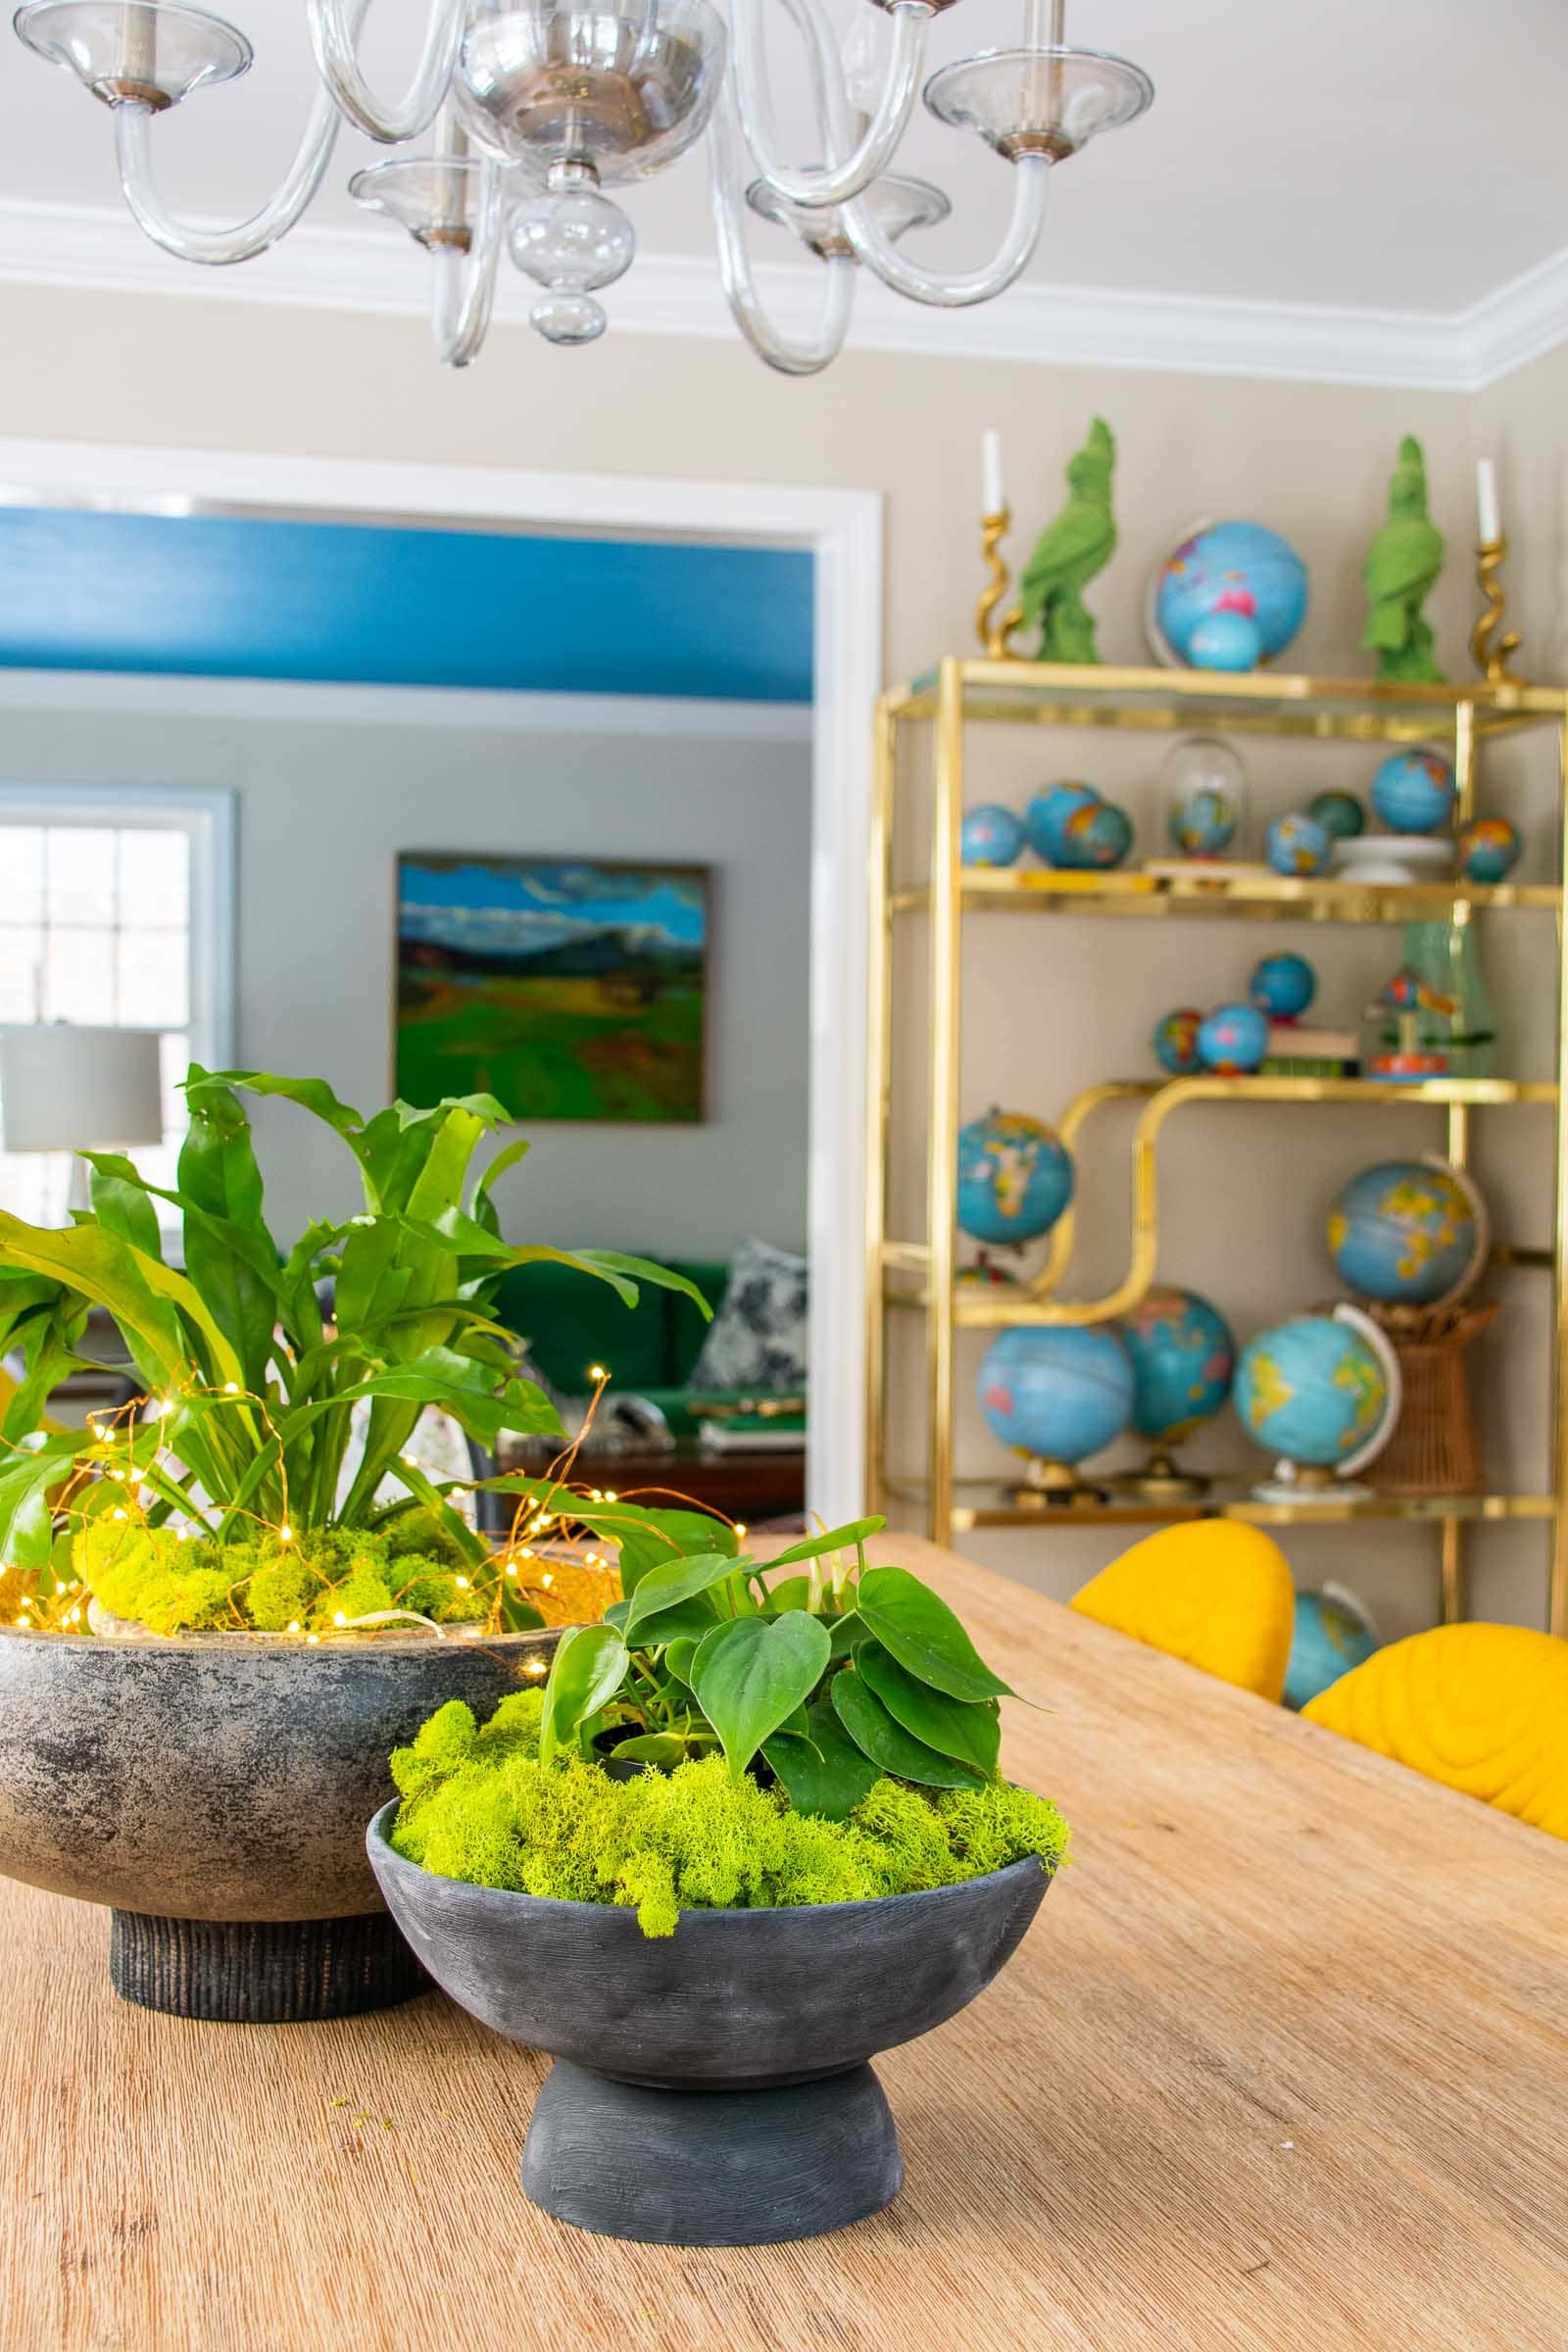
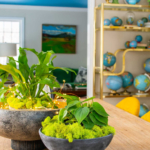
(I didn’t do anything to the ‘cake stand’ and you can see it peeking out from under some of my globes!)
Cost/ Materials breakdown:
- Thrifted Bowls: $1 each
- Thrifted plate for the ‘cake stand’: $1
- Thrifted Christmas bowl: $8 (yes… you read that right. Our Goodwill is unbelievably overpriced.)
- Gorilla Glue epoxy
- Chalky Finish Paint
- Matte Polycryclic
- lemon essential oil
SHOP PLANTER FAVORITES


I like your version better than inspiration!
Haha! I like the pricetag a lot more, that’s for sure. 🙂 Thanks!
Gorgeous
Thank you! xx
I love the shape of the one you created. SUch a simple look and i think i may even be able to do it myseLf!
You absolutely could! Would be fun to play around with various pairings!
I also like your version better. Chalk is a nice touch.
Thank you! I agree- I like how the chalk softened the finish a bit!
Really love these! Im gOing to make some!
This was soooo much fun. We recently finished a cabinet door refacing project and we wanted to get some nice spring decor in. These were just the trick and saved us so much money. Thanks so much for sharing.
You’re most welcome!
Where is a hole for drainage?
No hole since this lives on our table. I kept the plant in it’s plastic grow pot so can remove it accordingly if need be.
I missed it, will have to go back and read again,,,,,,what did the lemon oil do?
It’s an amazing way to remove adhesive stickers!
I like your planters. They are very interesting, but i really love your globe collection! It is also very interesting.
Thank you!
This looks wonderful. But don’t you need drainage holes?
Not for this… otherwise I’d have water all over my table! I just place the plants in their grow pots inside the planter.