
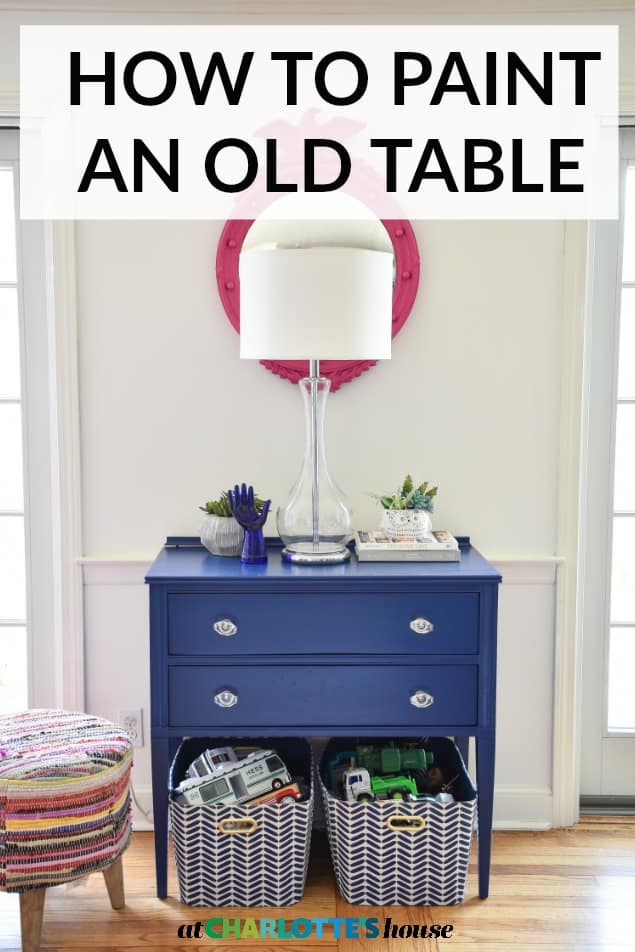
How to Update an Old Table with Paint
Psssst… this post *might* contain affiliate links: see my disclosure here.
Painting an Old Craigslist Table
I owe you an apology. I mentioned this old piece weeks after we moved in. I shared the paint choices. I painted the table. And it’s been sitting here all pretty ever since and yet… not blog post. Sorry!!
Disclosure: DecoArt provided me with their amazing Curb Appeal paint to try out on this makeover.
Shop my favorites!
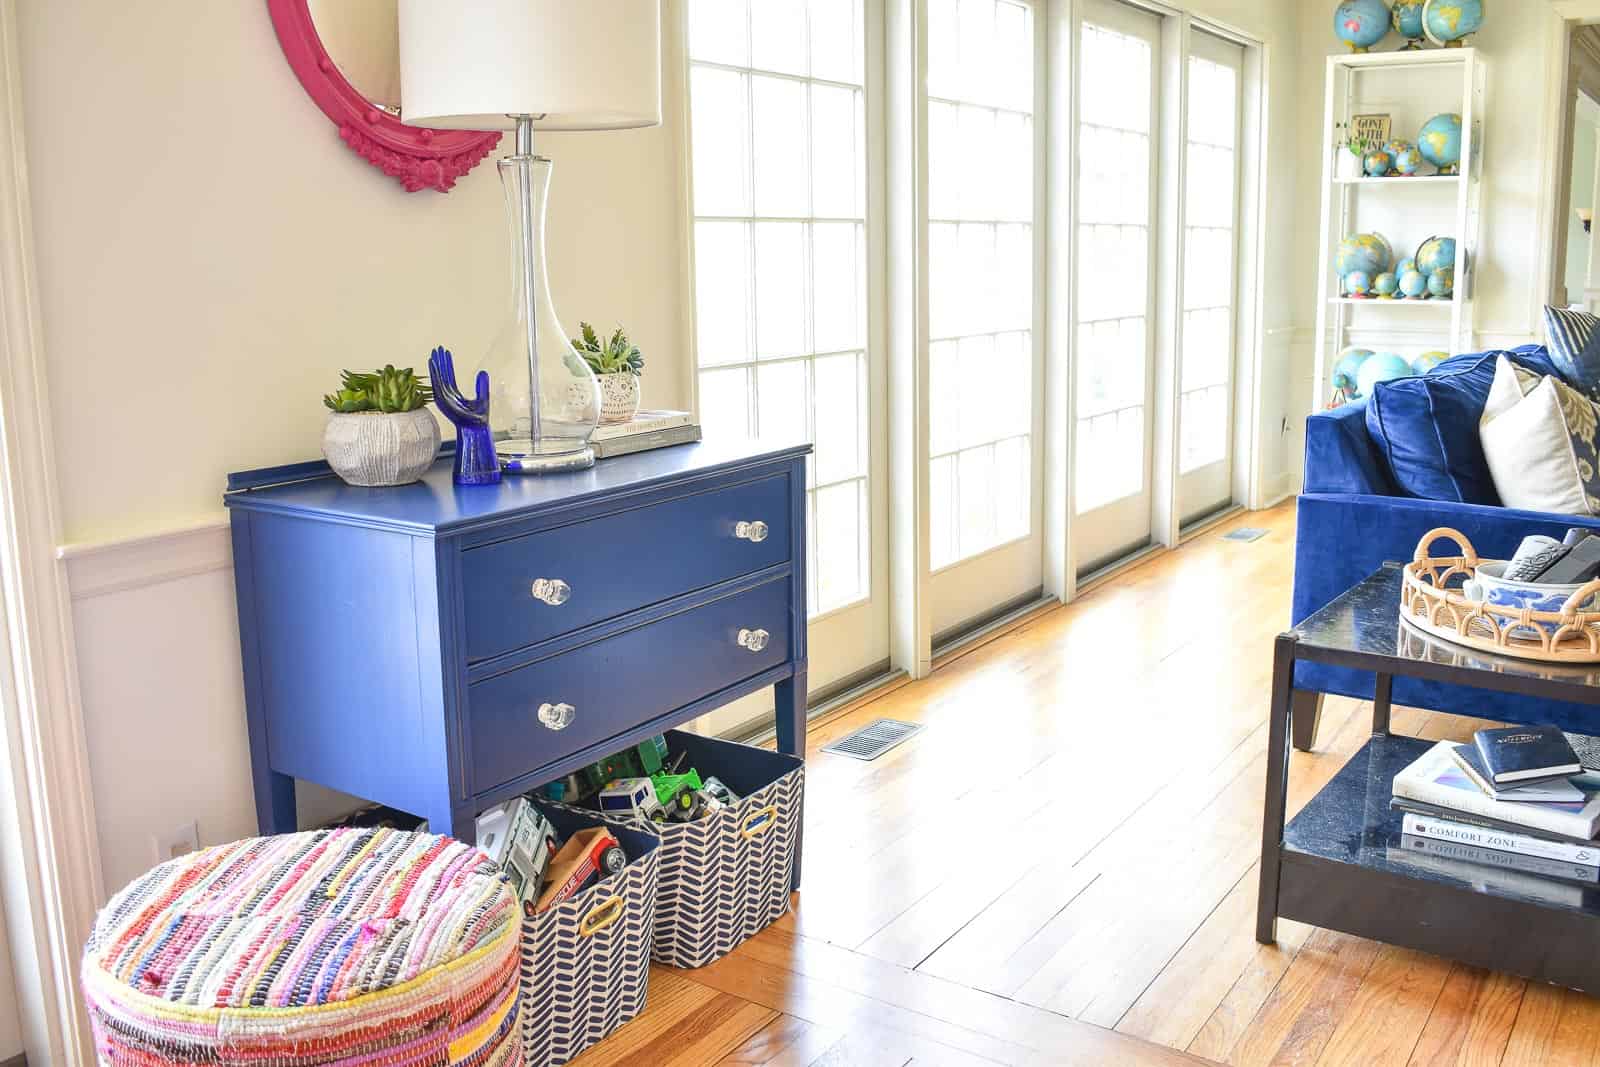
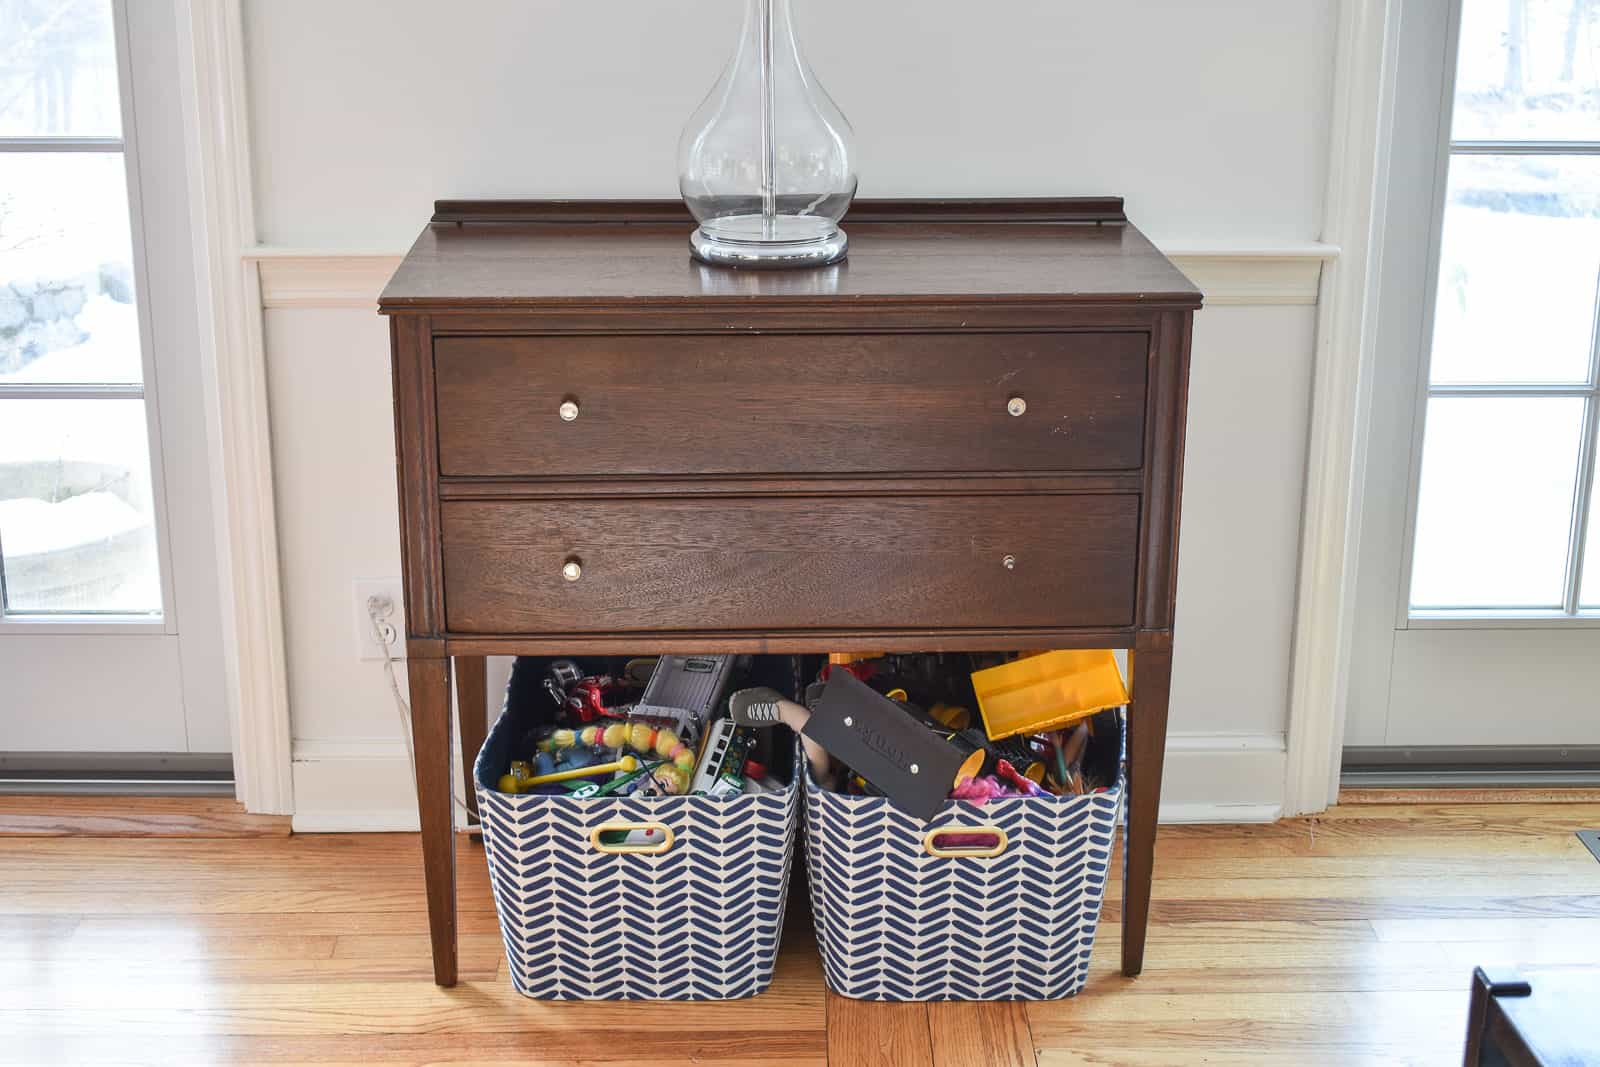
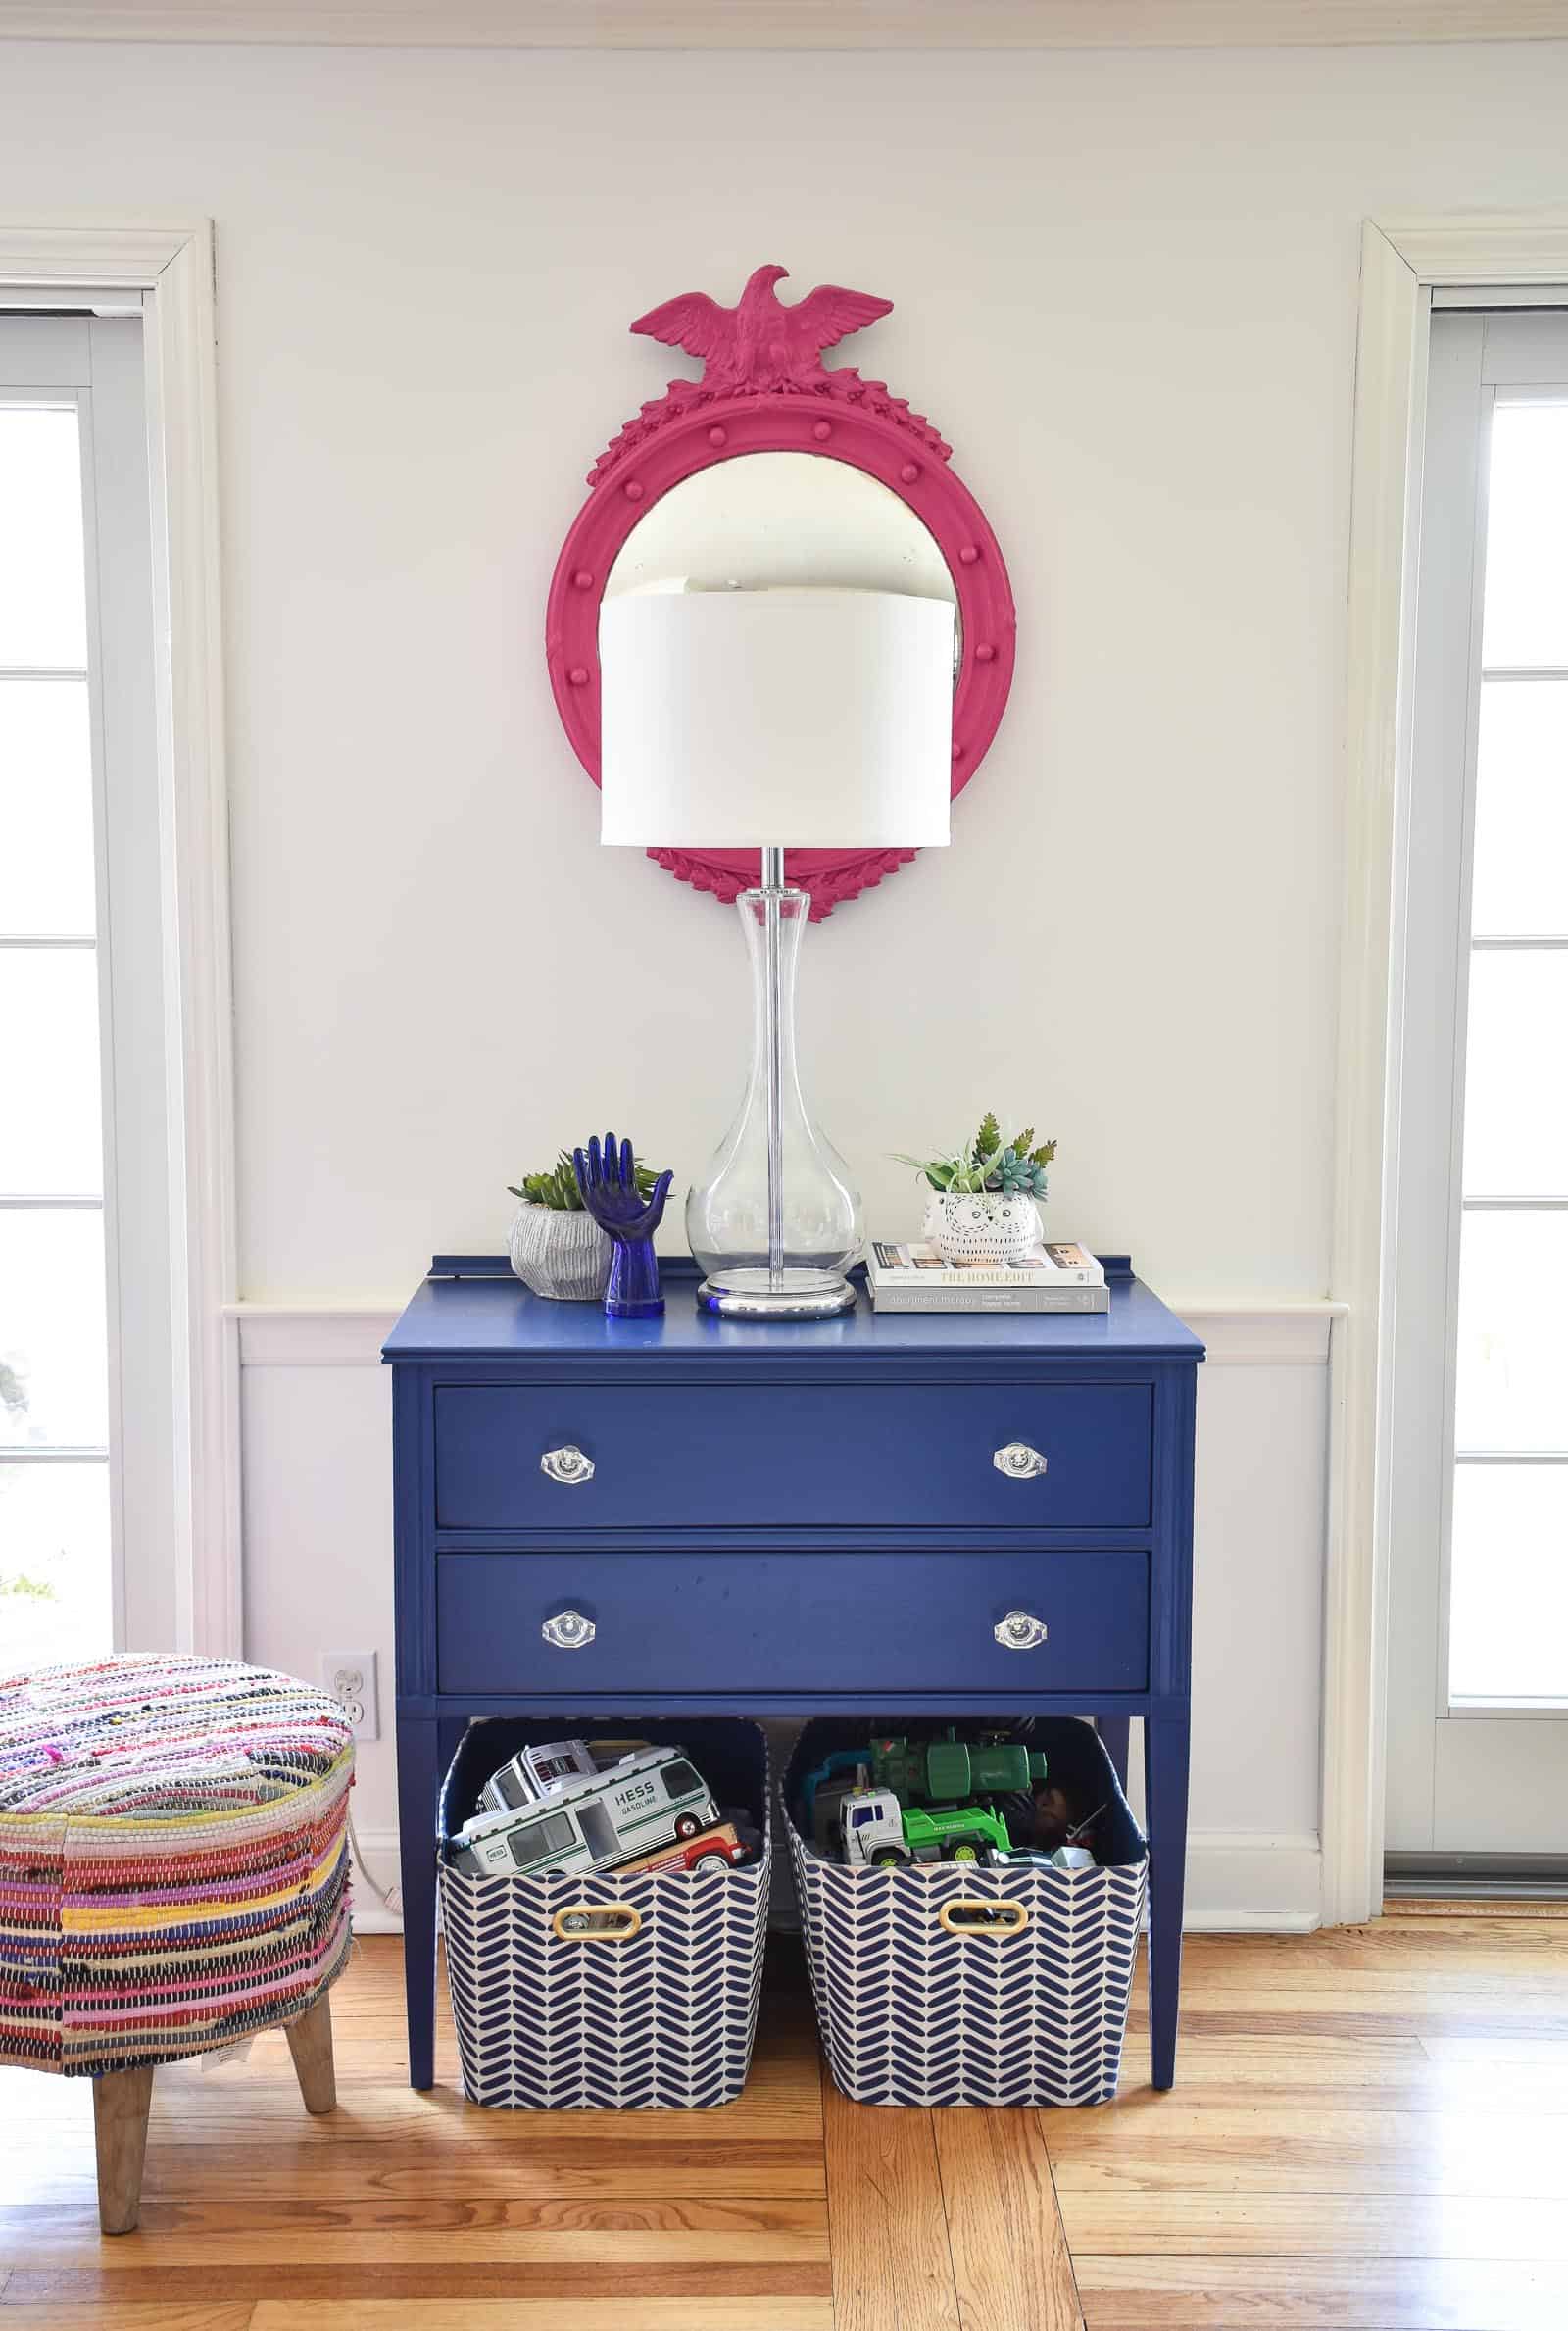
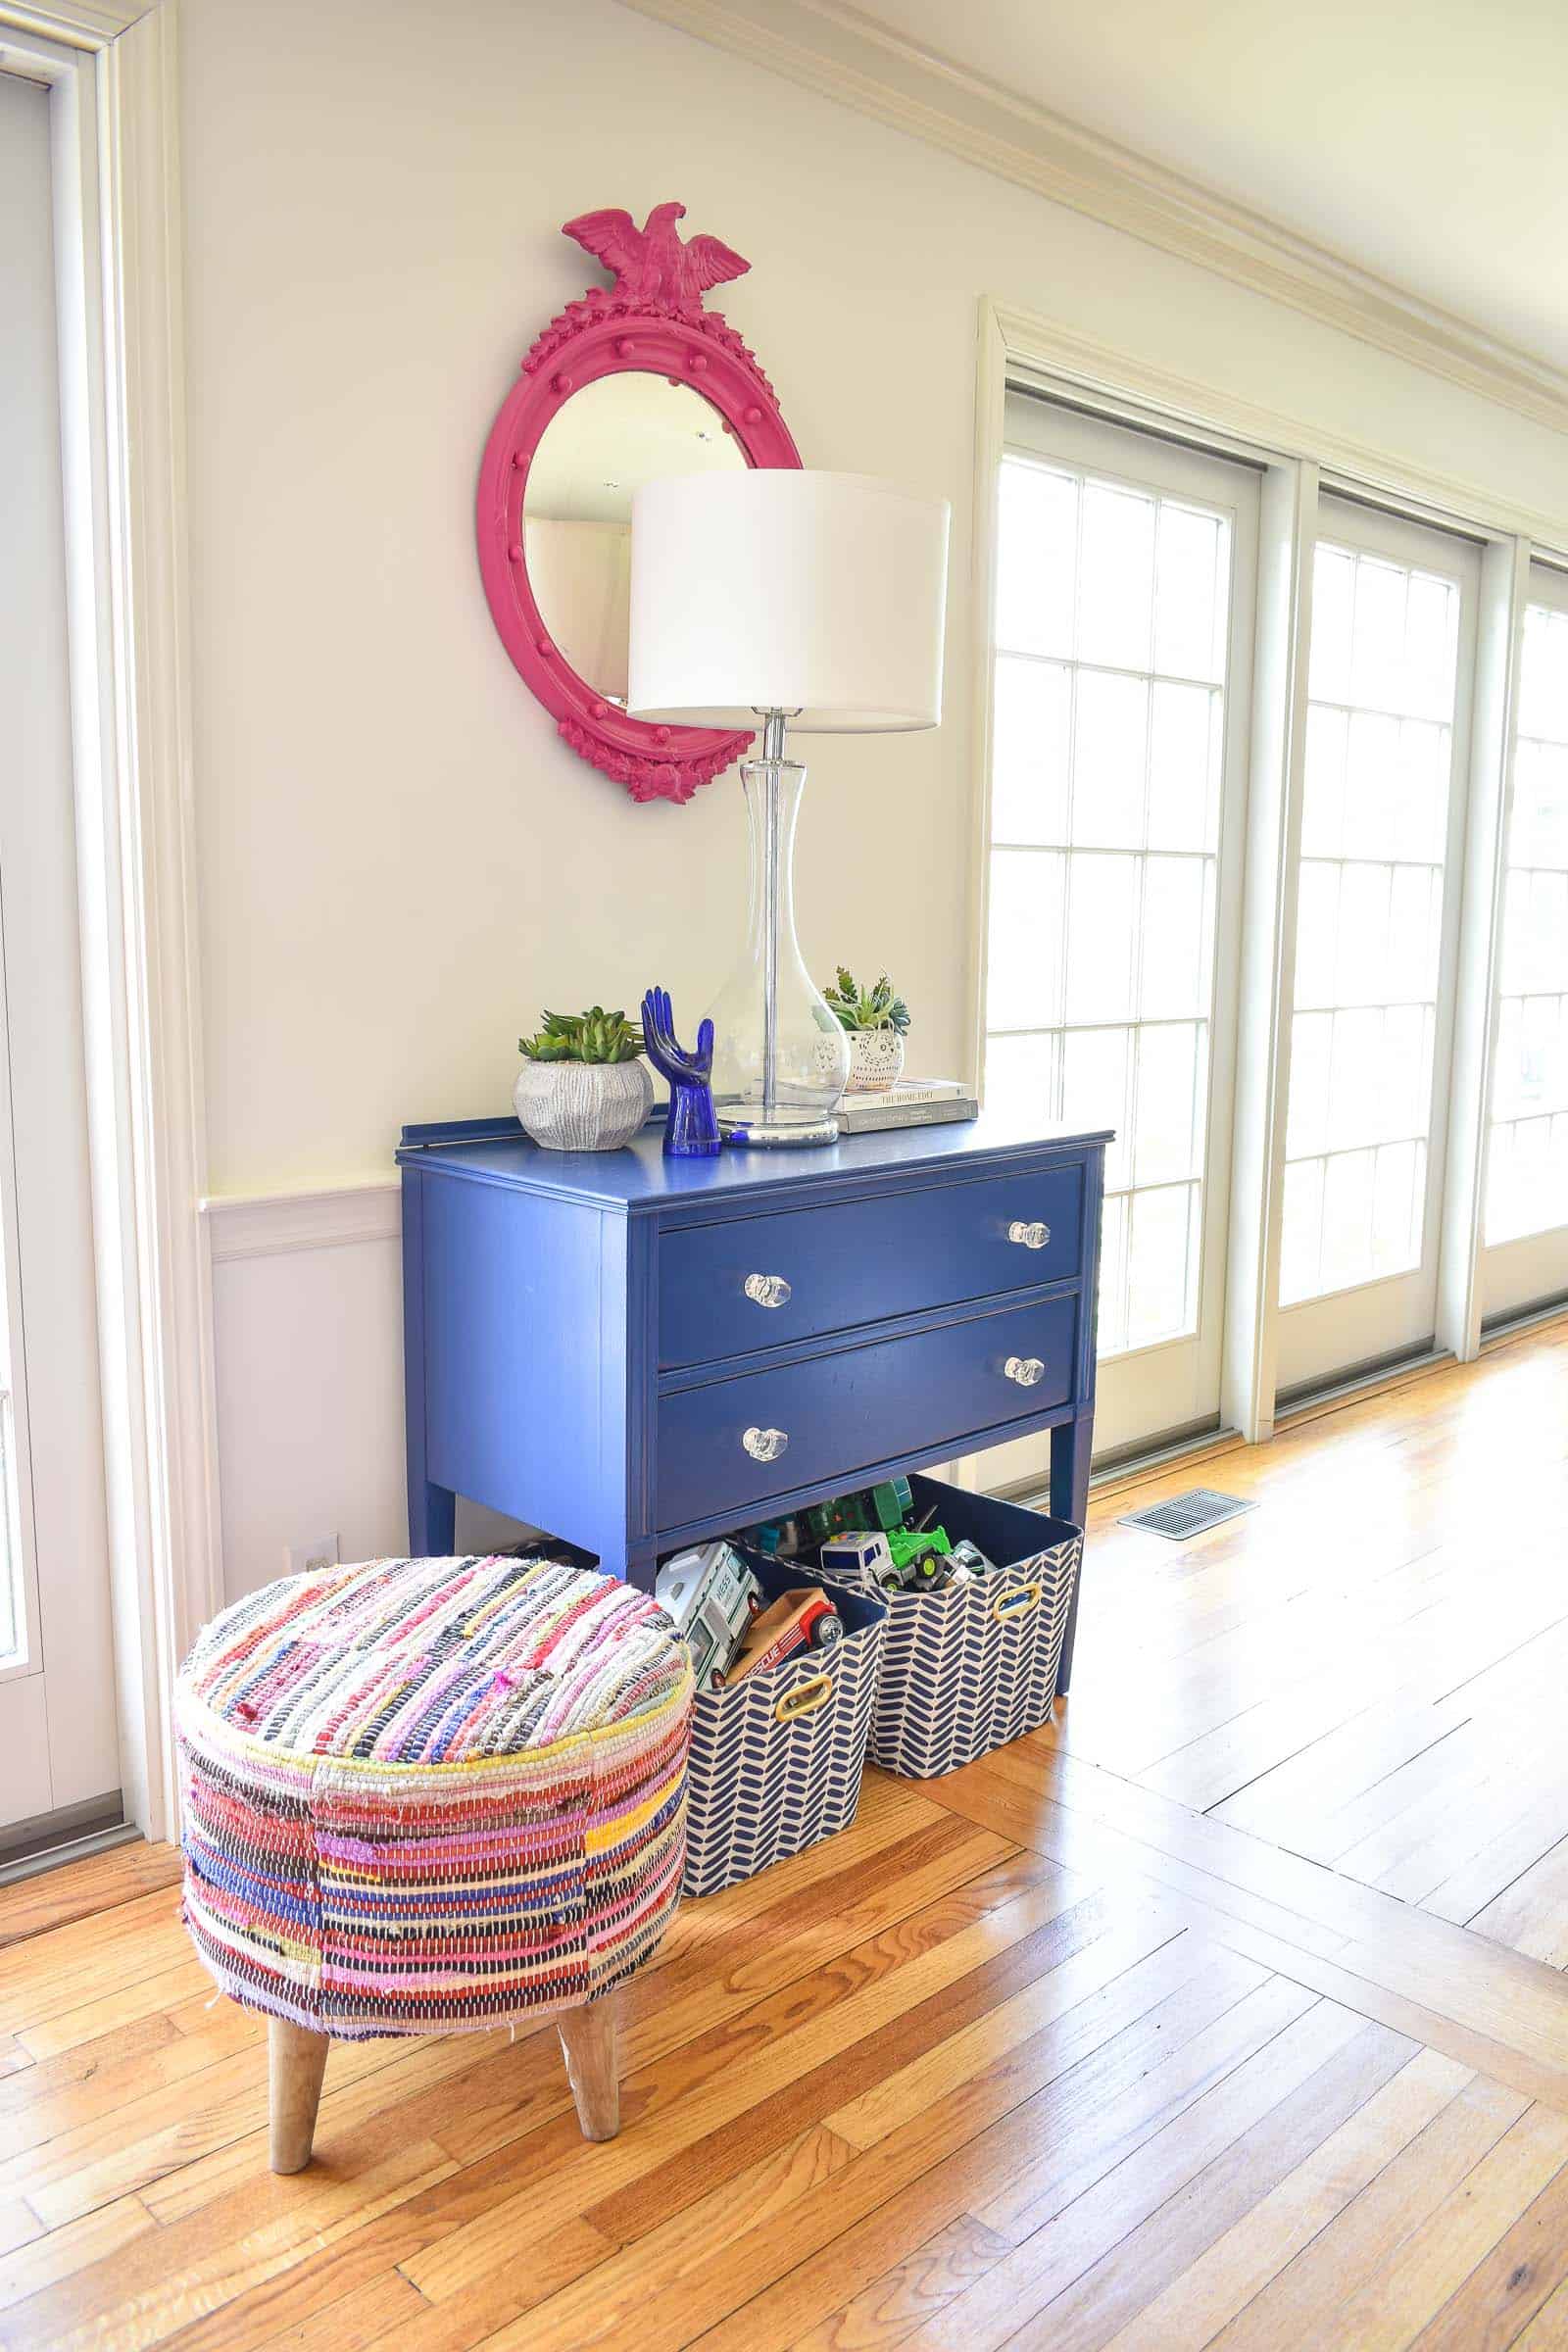
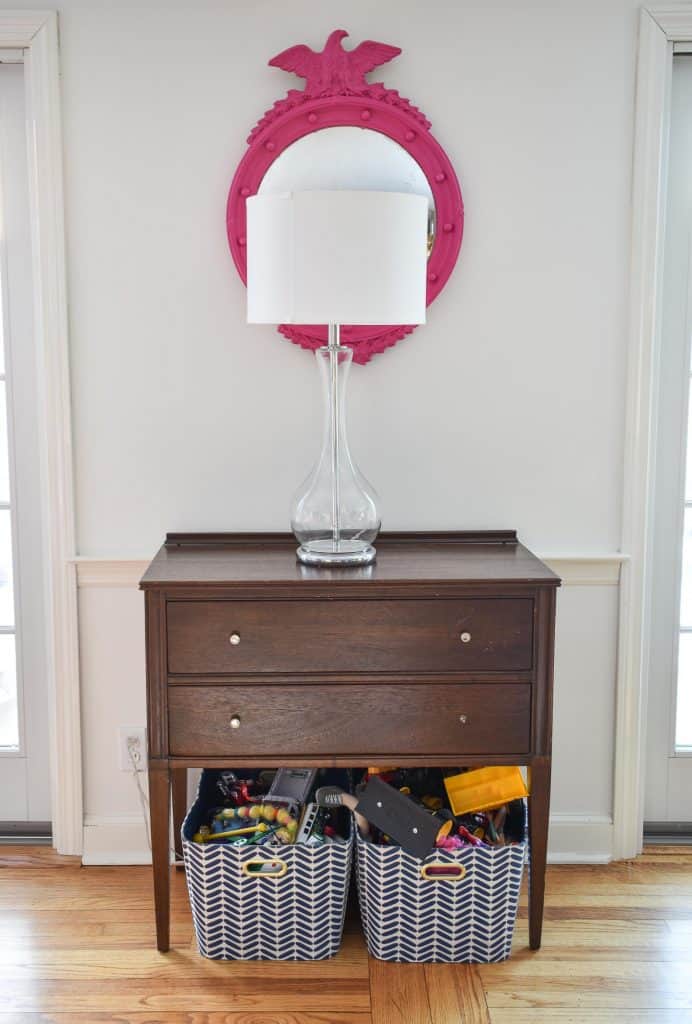
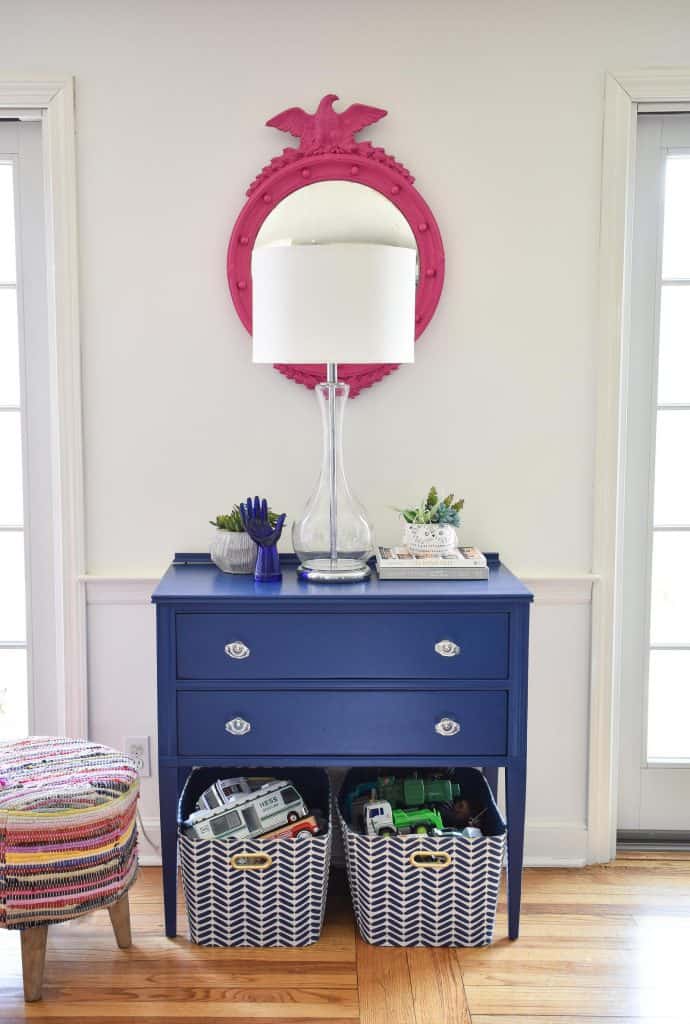
This old wooden table was upstairs in our third floor guest room at the old house and was a Craigslist purchase years ago. I’ve always loved the shape and the fact that it is a smaller table but it also has a couple of drawers for storage. In our new house, we have one wall that needed a little something, but I didn’t want anything too big or bulky. This lil’ guy was the perfect size but not the perfect color. #painttime
Step 1. Choose your Paint
I reached out to my friends at DecoArt for a couple of bottles of their exterior Curb Appeal paint. I’ve never used this specific paint because we’ve never repainted our front door, but I know LOTS of friends who have an it always gets great reviews. It’s still water based but because it’s an exterior paint, that usually means it’s a little tougher against things like chips and peeling, etc. (i.e. great for a piece of furniture that’s in the hot zone of 5 kids.) I ultimately chose a custom mixture of Hampton Blue and New England Navy.
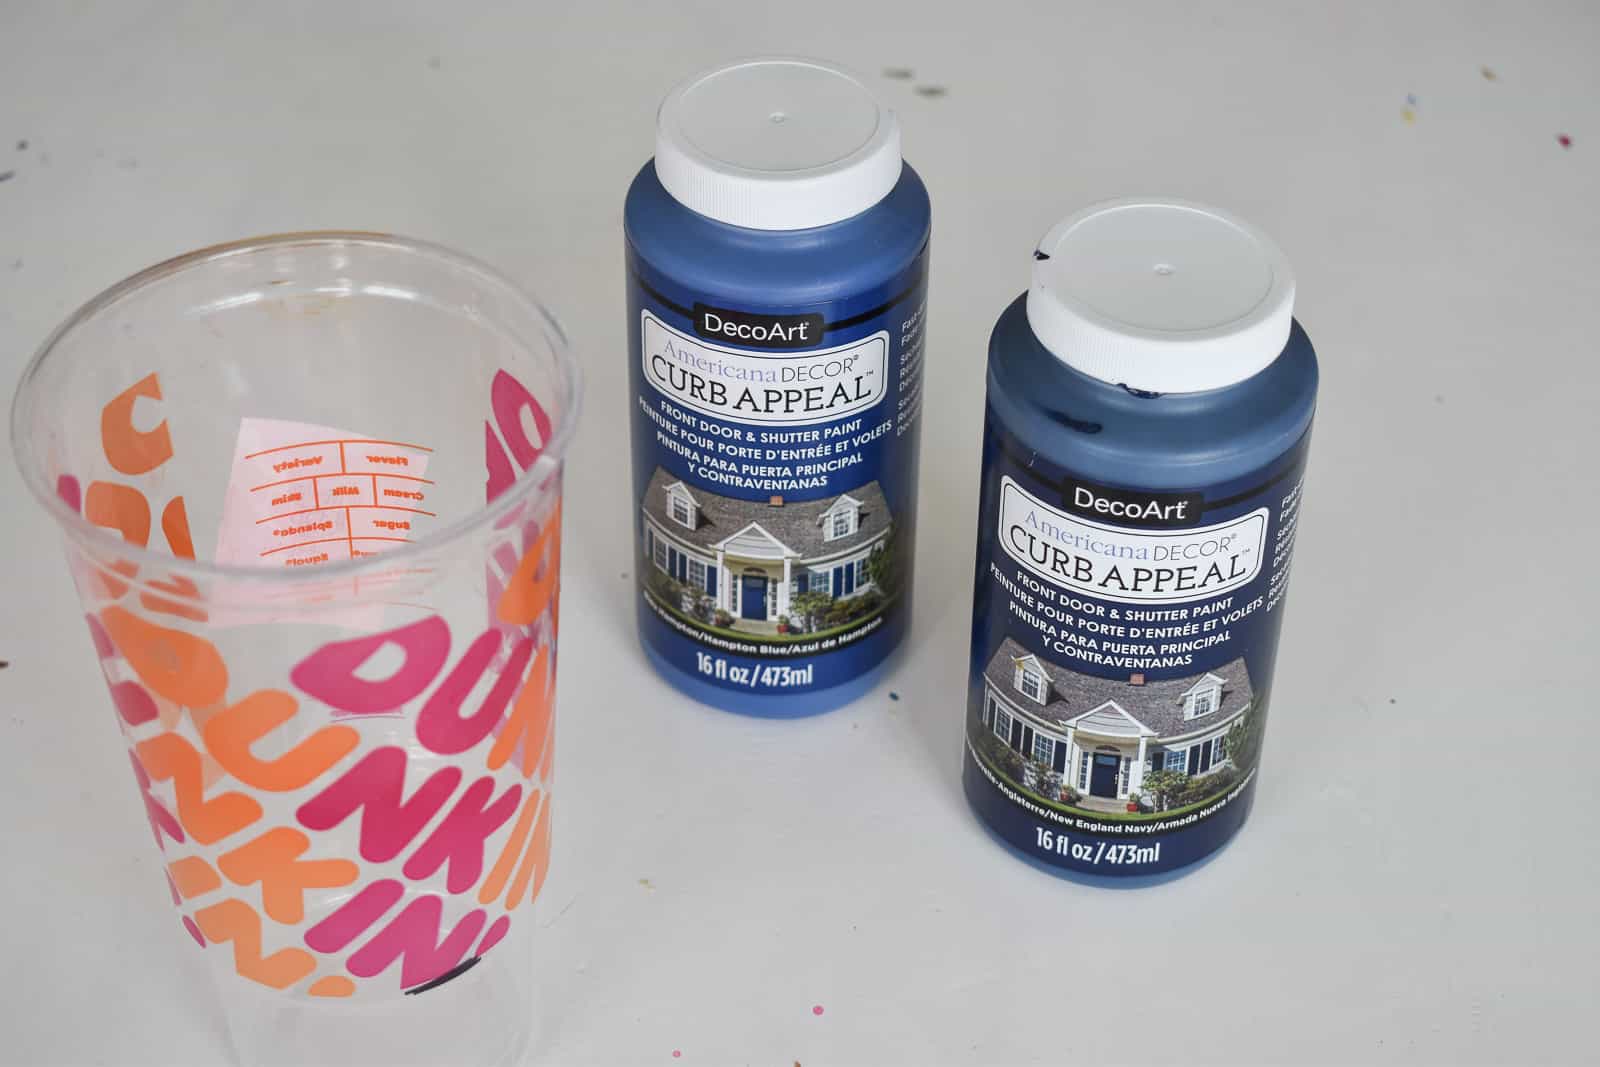
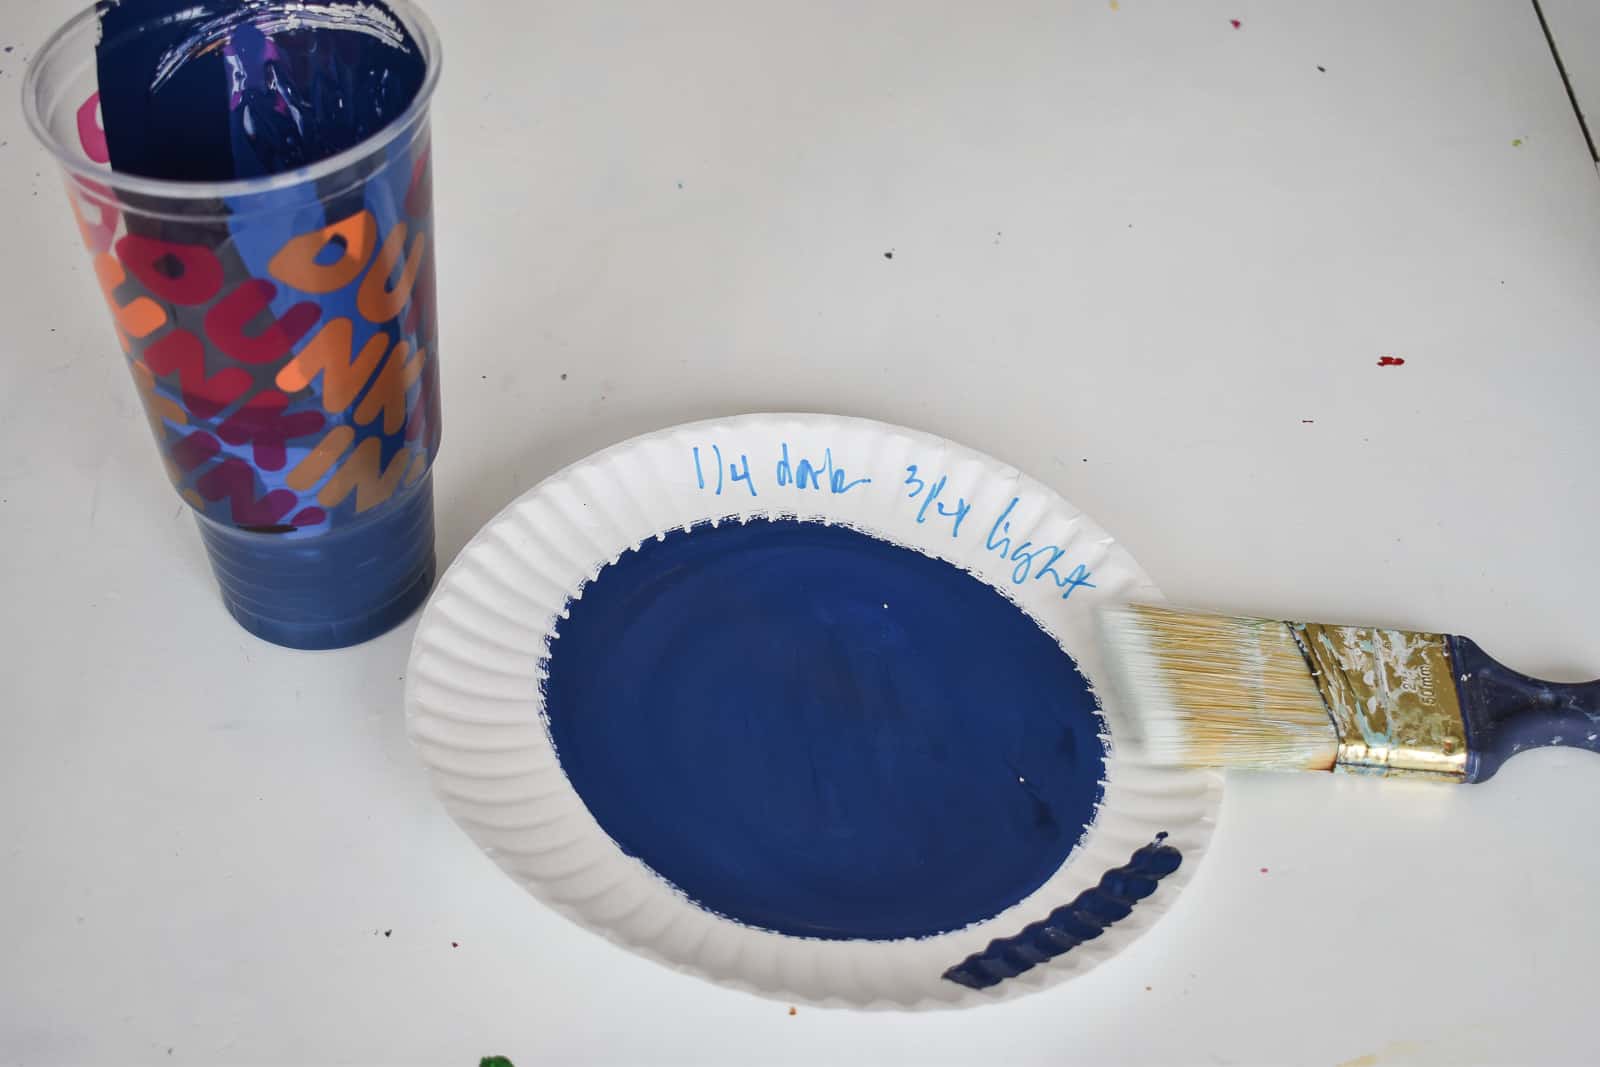
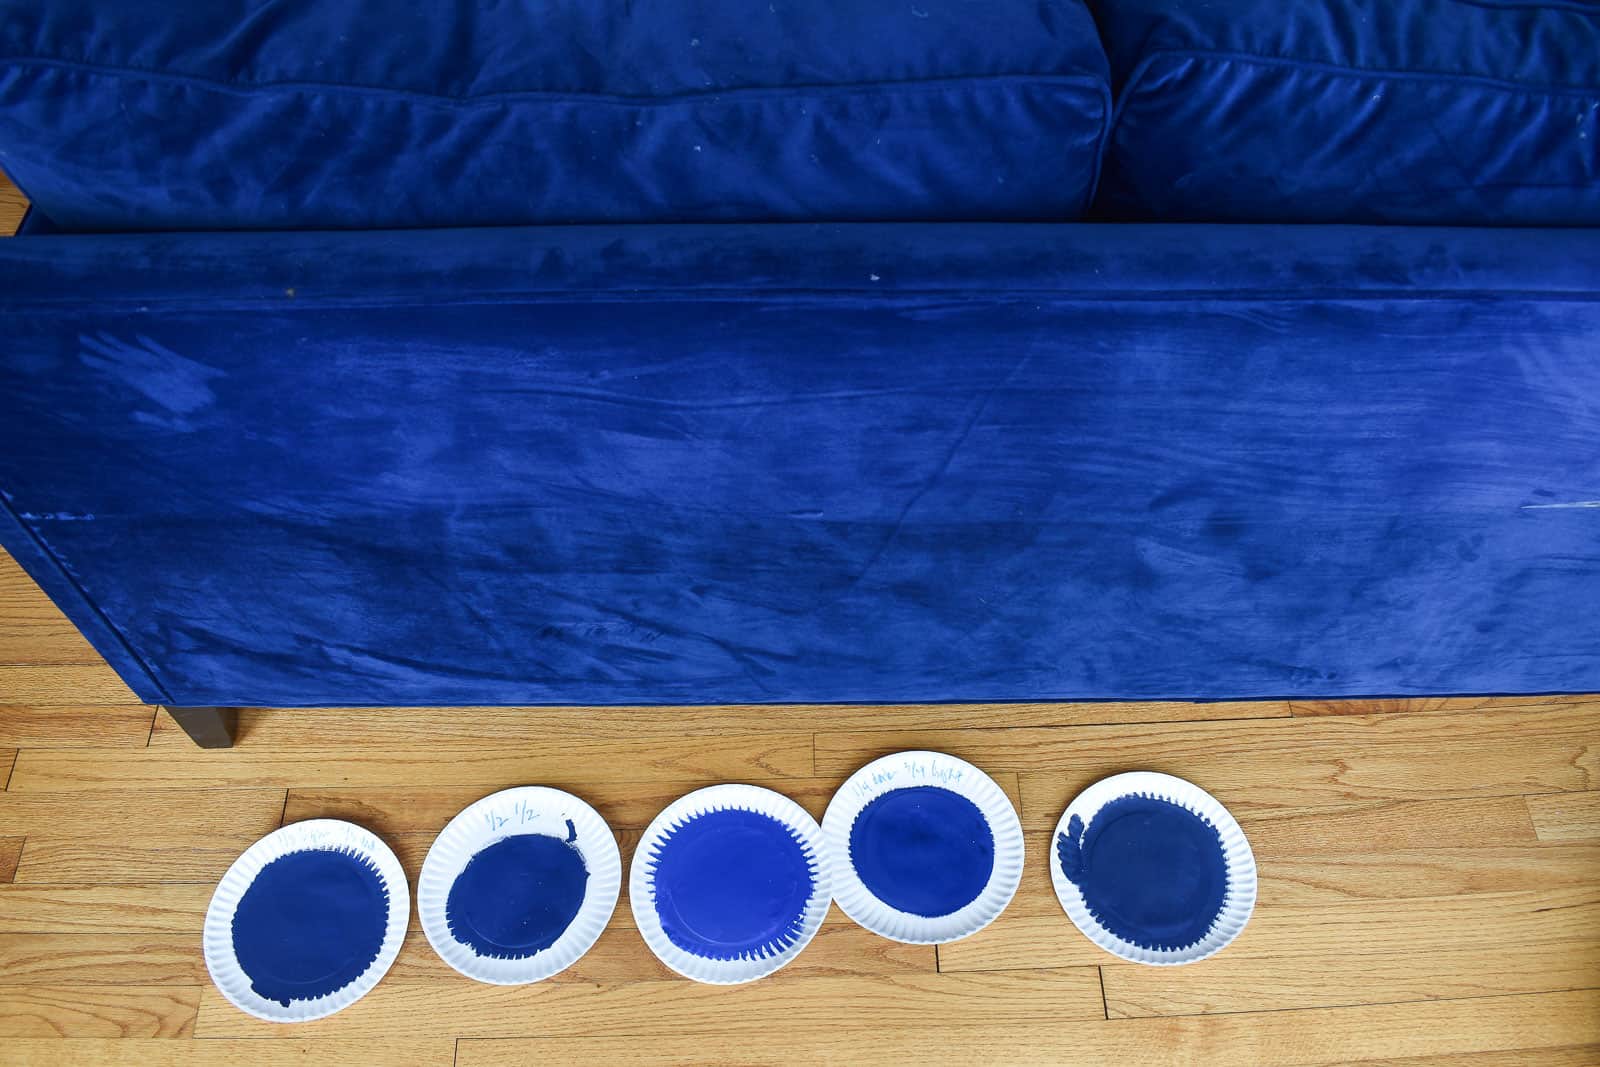
I asked for a few different colors to see which would suit the space the best. Had there been a fuchsia option, I might have gone that route to match the pink legs of the kitchen table… but I think the universe was stepping in because navy blue quickly seemed like the best option. Neither of the blues were quite right out of the container so I mixed a few swatches, let them dry and put them near the two blue couches to find the best match. When mixing custom paint it’s important to either mix a large enough batch that you KNOW you’ll have enough for multiple coats, OR make a note of your paint ratios so you can replicate the same color. If I were smart, I would have written a note about this and taped it onto the back of the piece. I am not… so I did not.
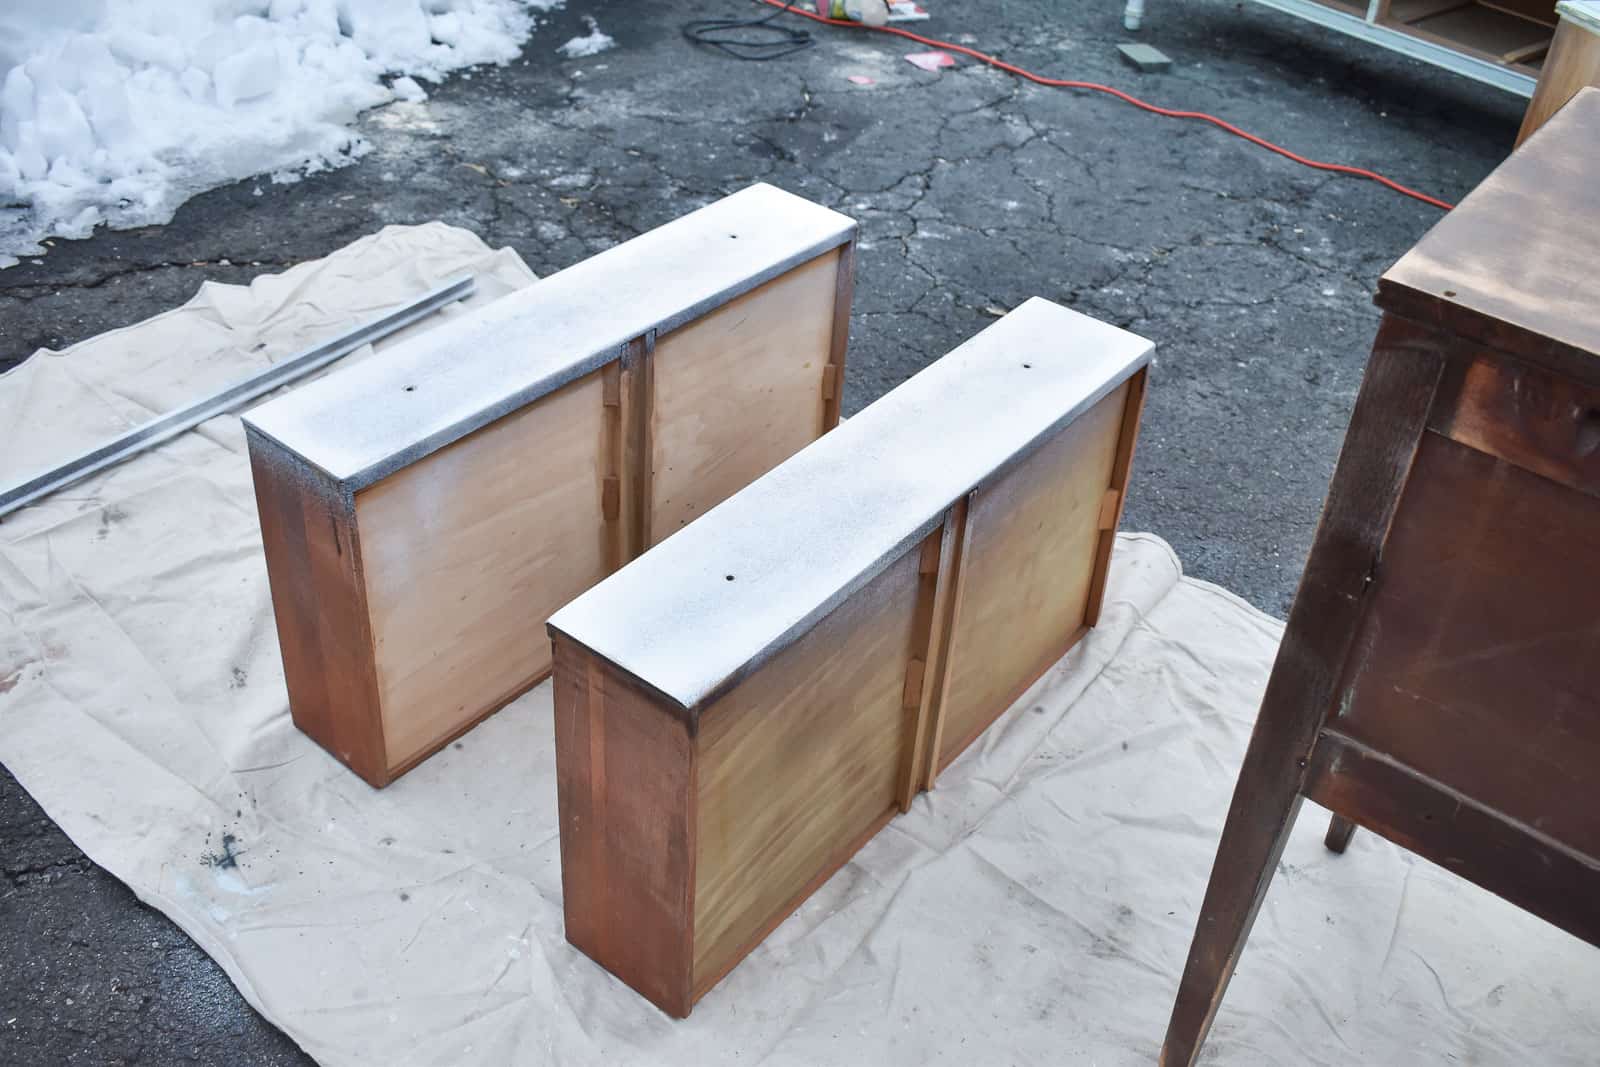
Step 2: Prepping the Table for Painting
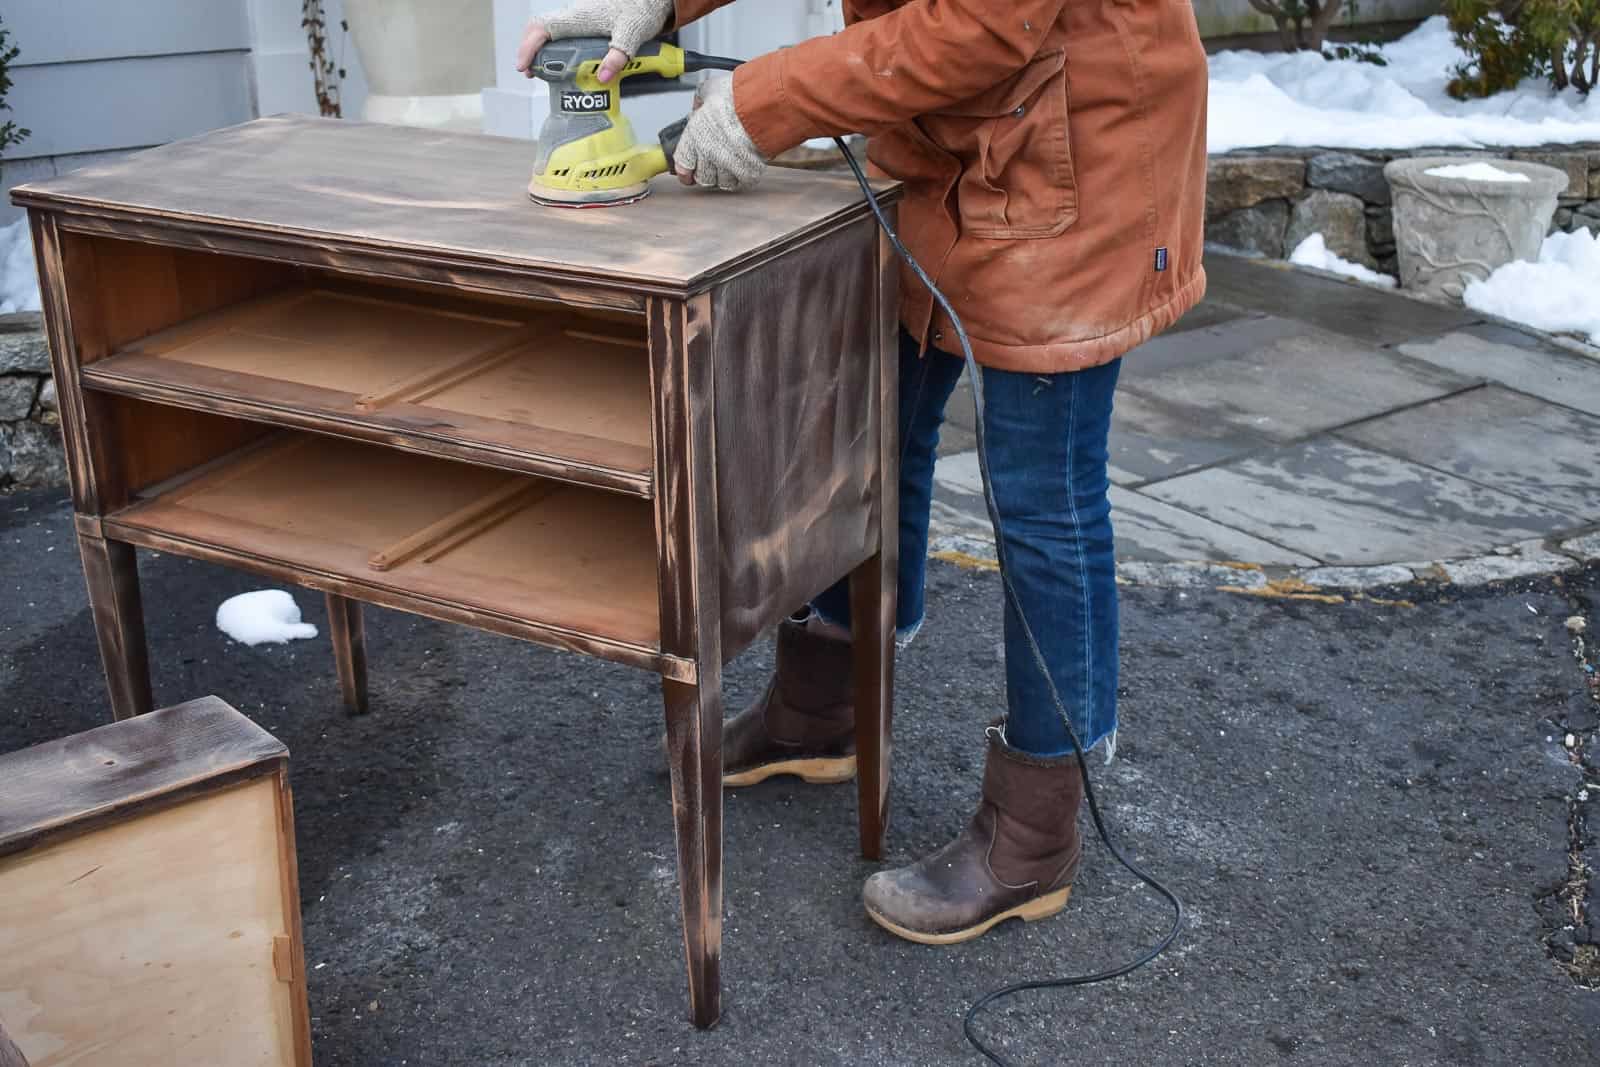
SAND. Whenever I paint a piece of furniture, the first thing I tell people is that prep is KEY. This table was stained wood so I started by sanding it down a bit. You can certainly sand down a piece of furniture entirely so you’re left with the raw wood, but I opted just to sand enough to scuff up the entire piece and to remove the ‘shiny’ top coat. (The reason to sand down entirely is to avoid any ‘bleed through’ from the stain… because I was going over with a dark paint color, I was confident that with a good primer, I should have adequate coverage.) Note: With previously painted furniture, grab a lead testing kit to make sure you’re not sanding down lead based paint. Wear a mask and take proper safety precautions.
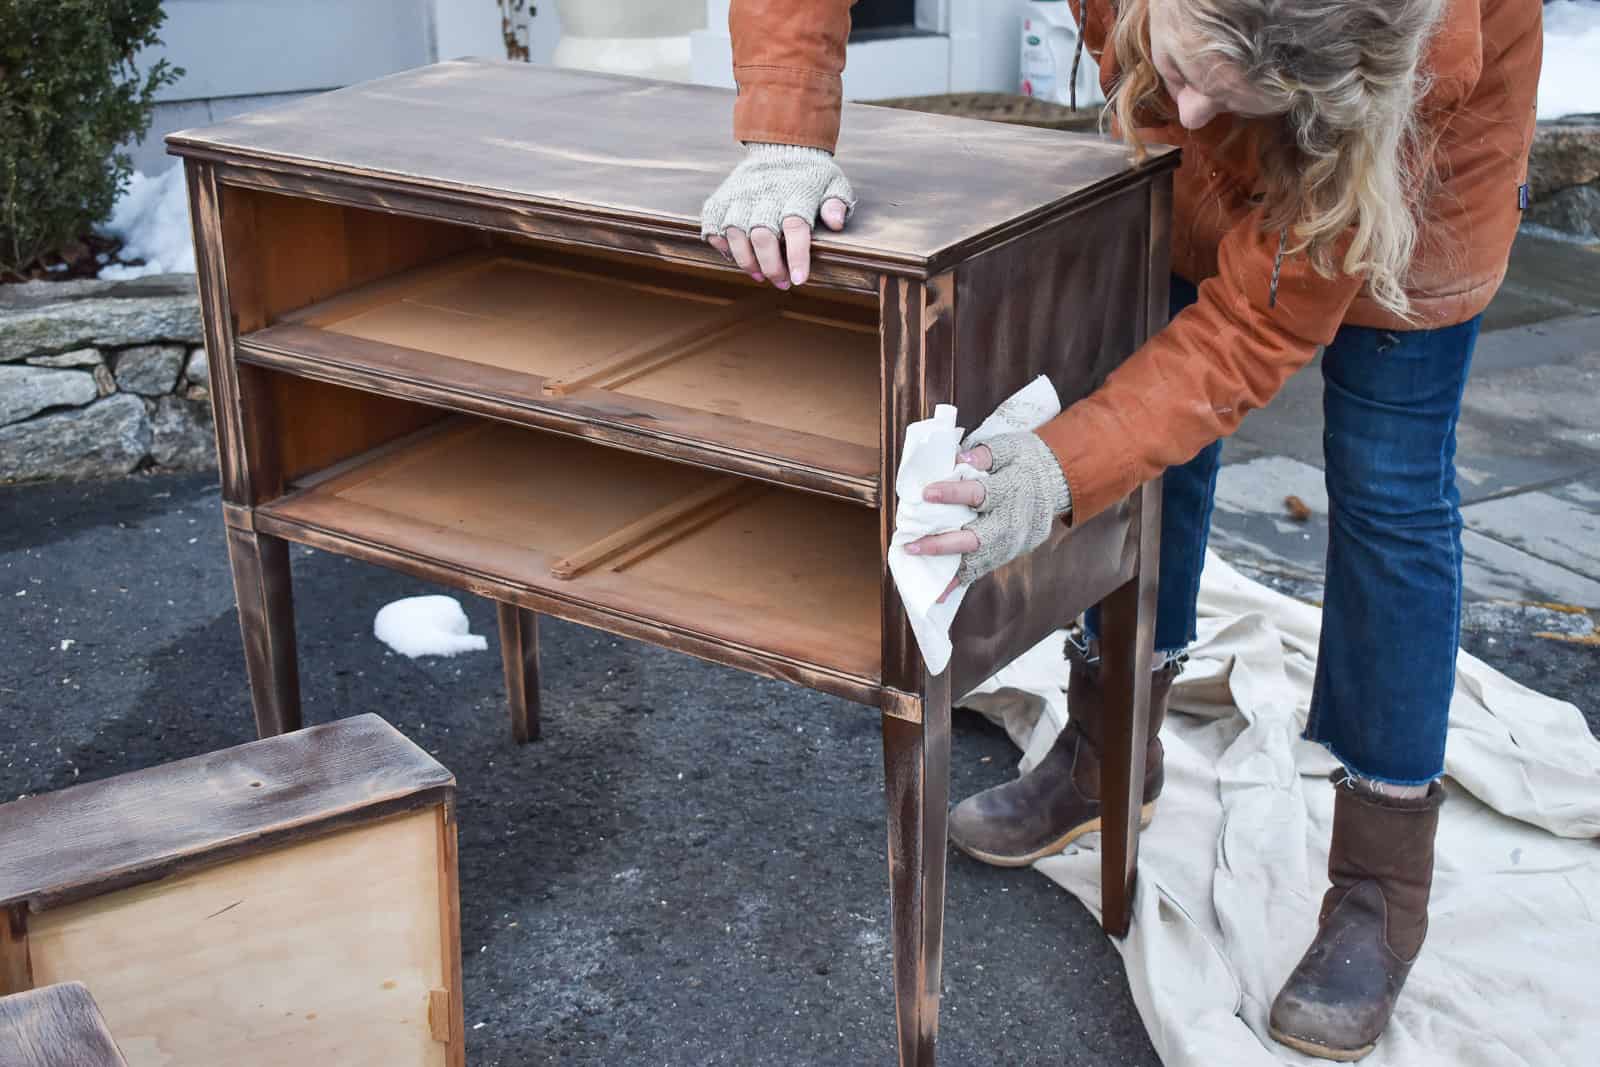
Make sure you go back after sanding and thoroughly wipe down the table to remove any sanding dust.
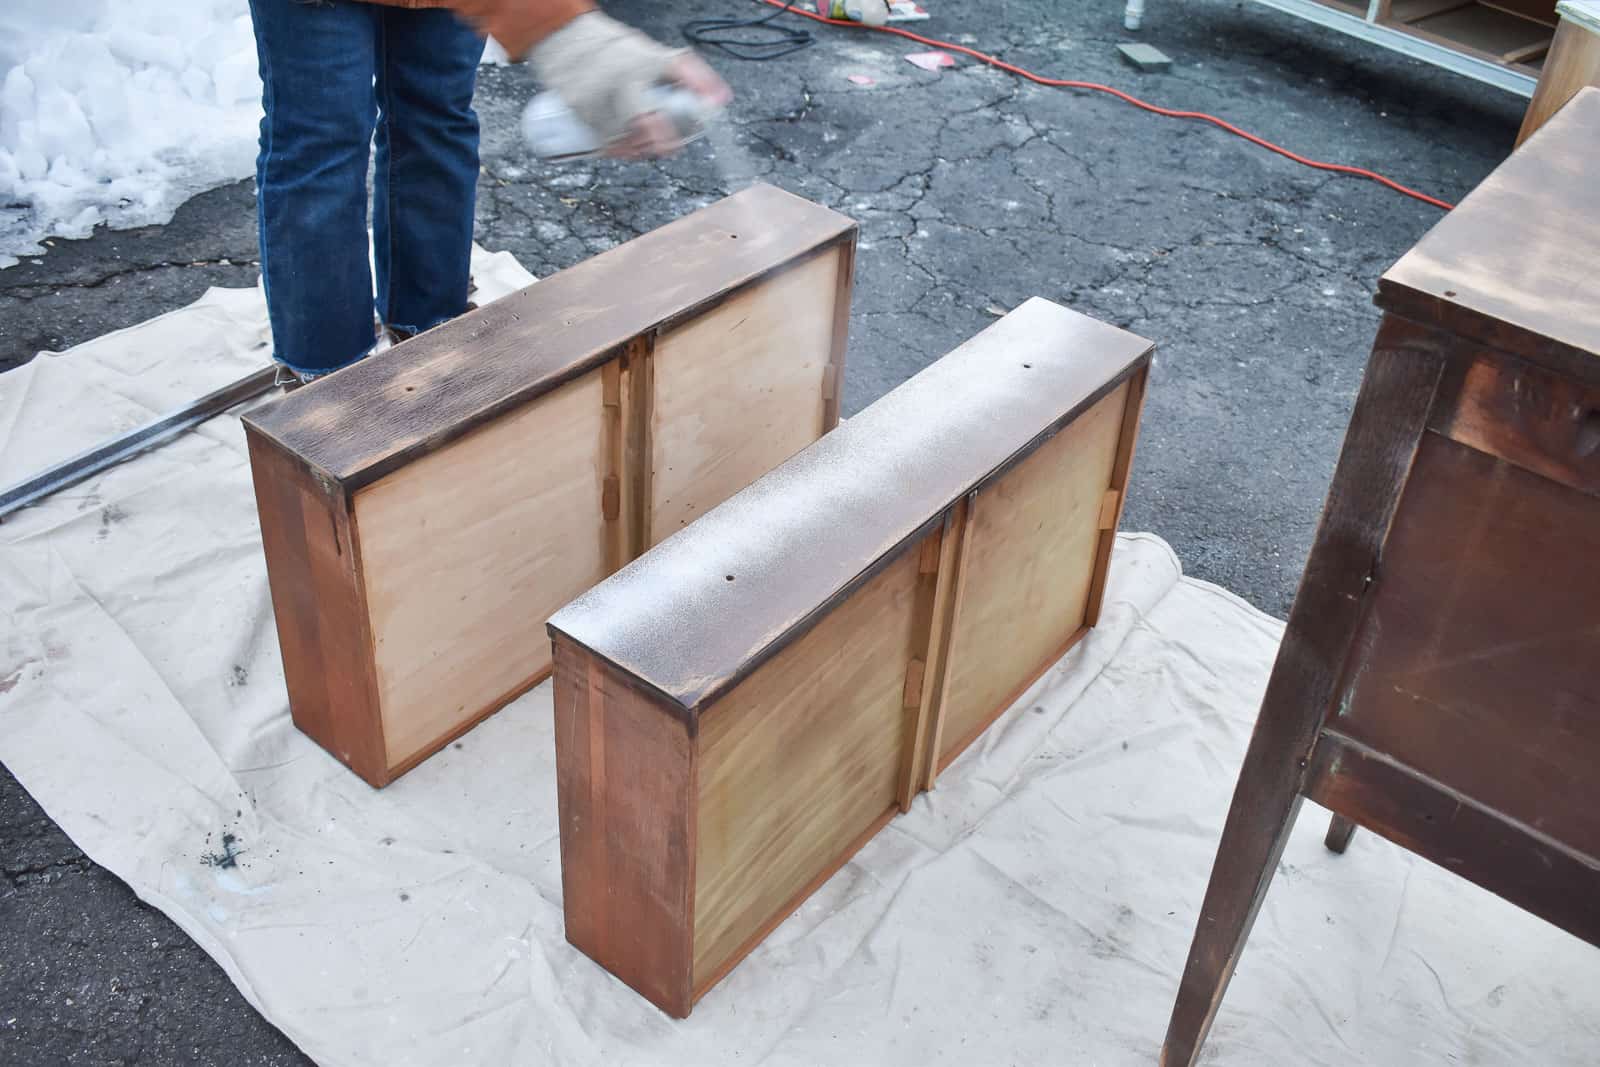
Step 3. PRIME the TABLE
Lots of paint comes with primer nowadays, but whenever I’m working with stained furniture or raw wood, I use a separate primer. The primer acts as a base coat and it seals in the original surface… whether to keep the top coat from absorbing into raw wood or to prevent things like stain or knots from bleeding through. For a dark stain like this table, I always reach for a “shellac” based primer. I’m using this one. It’s a bit more expensive but seals in stain really well.
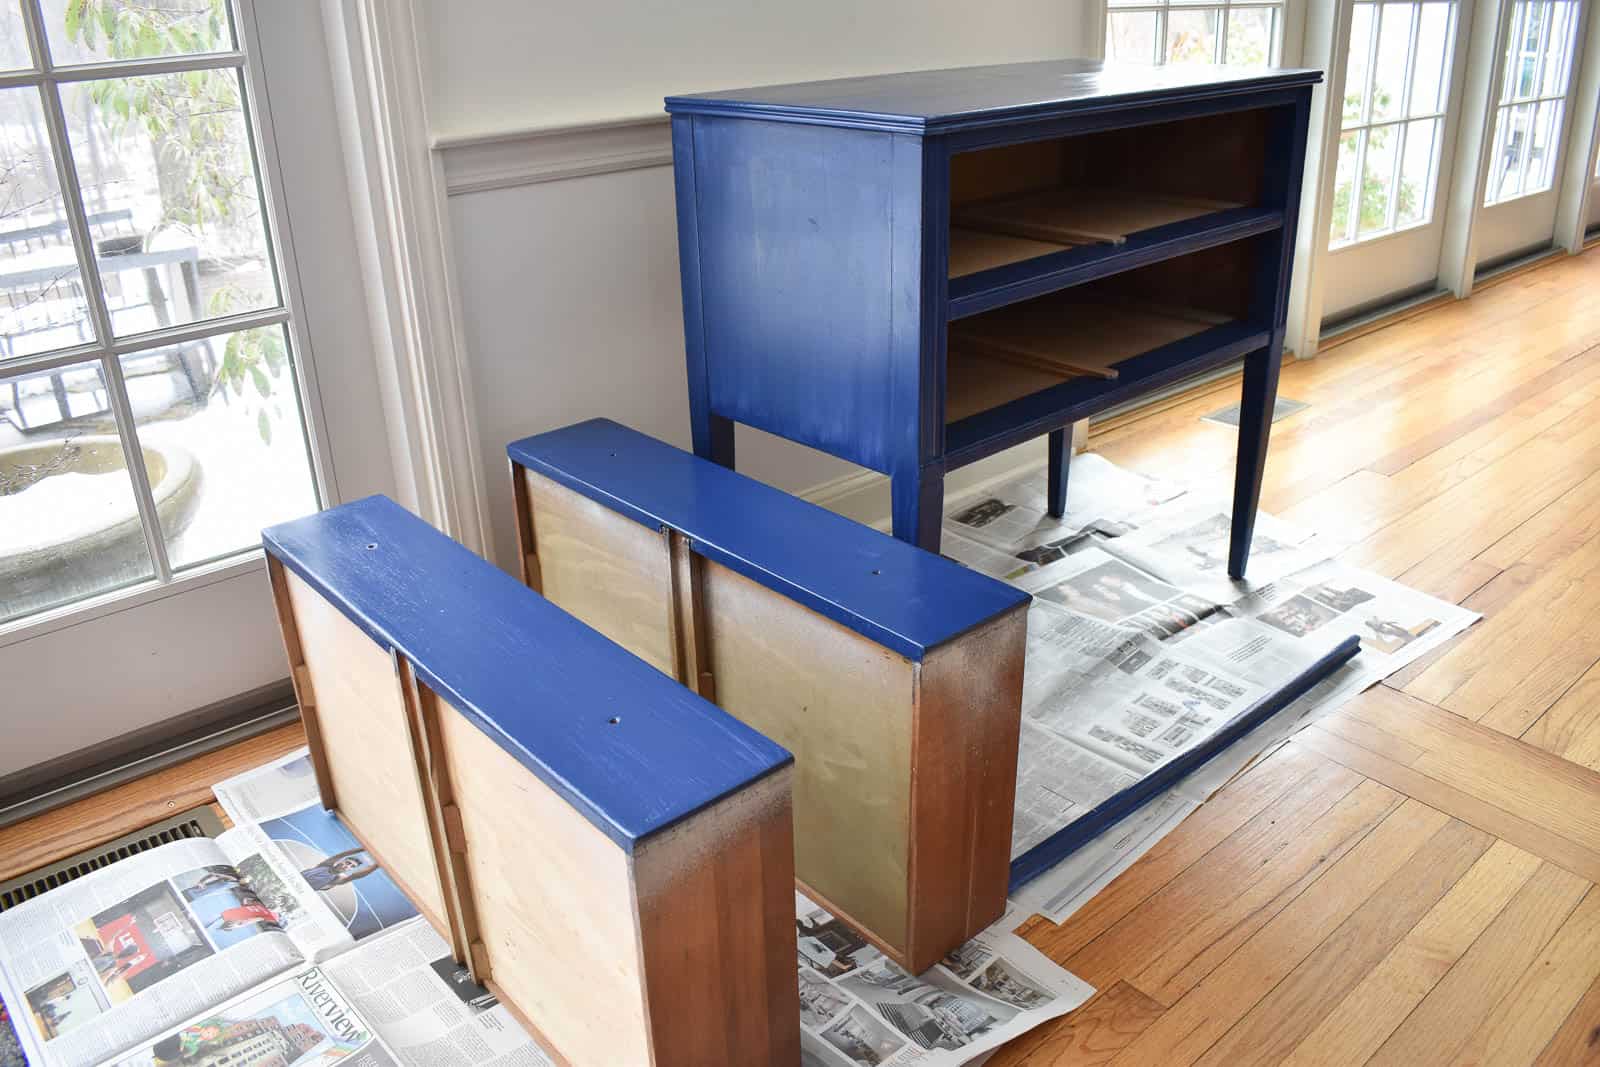
Step 4. Painting the Table
This is a fairly small table so I just used a brush because it’s so much easier to clean up. I was really impressed with how well the DecoArt Curb Appeal self leveled (smoothed out) so there aren’t really any visible brush strokes. If you want to ensure the smoothest finish possible when painting furniture, a foam roller is the best option, but again… that requires a bit more clean up and I was being impatient.
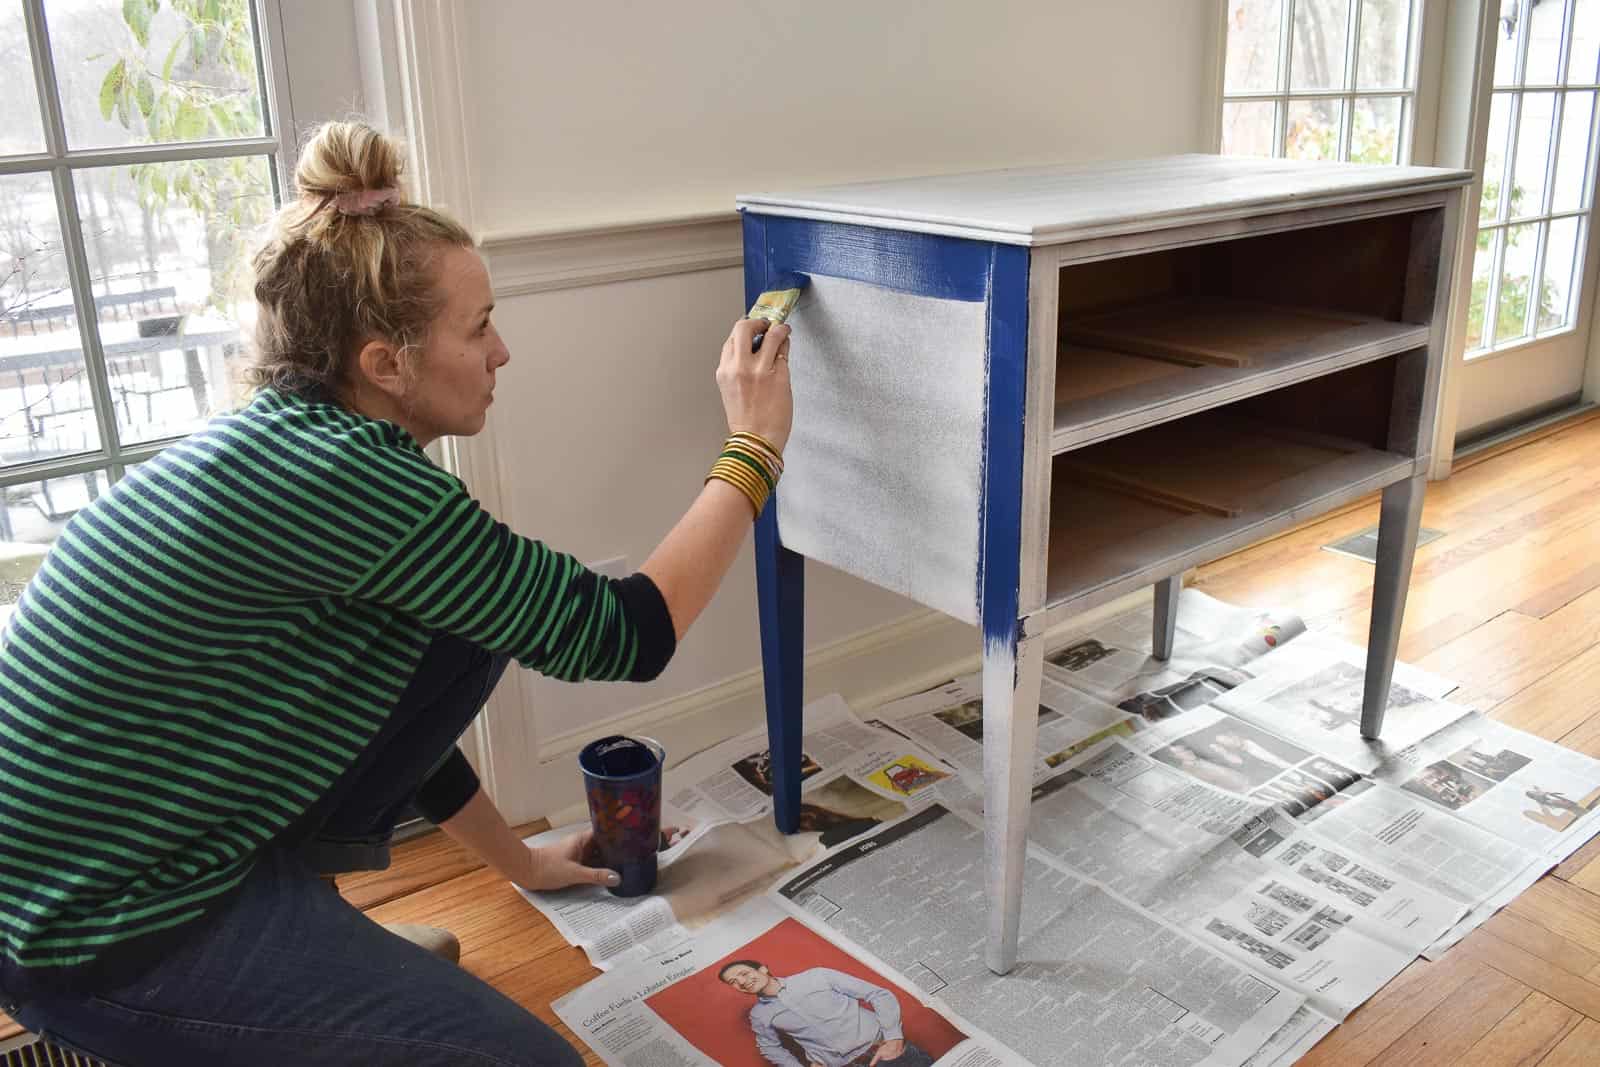
This table took 3 coats to get a perfectly smooth finish. With darker colors, this is pretty typical. This paint will dry to the touch in under an hour, but it’s a good idea with any paint project to let it sit and ‘harden’ for much longer… sometimes it take up to 2 weeks for paint to ‘really’ cure so feel free to put things on the surface, but go easy on newly painted pieces.
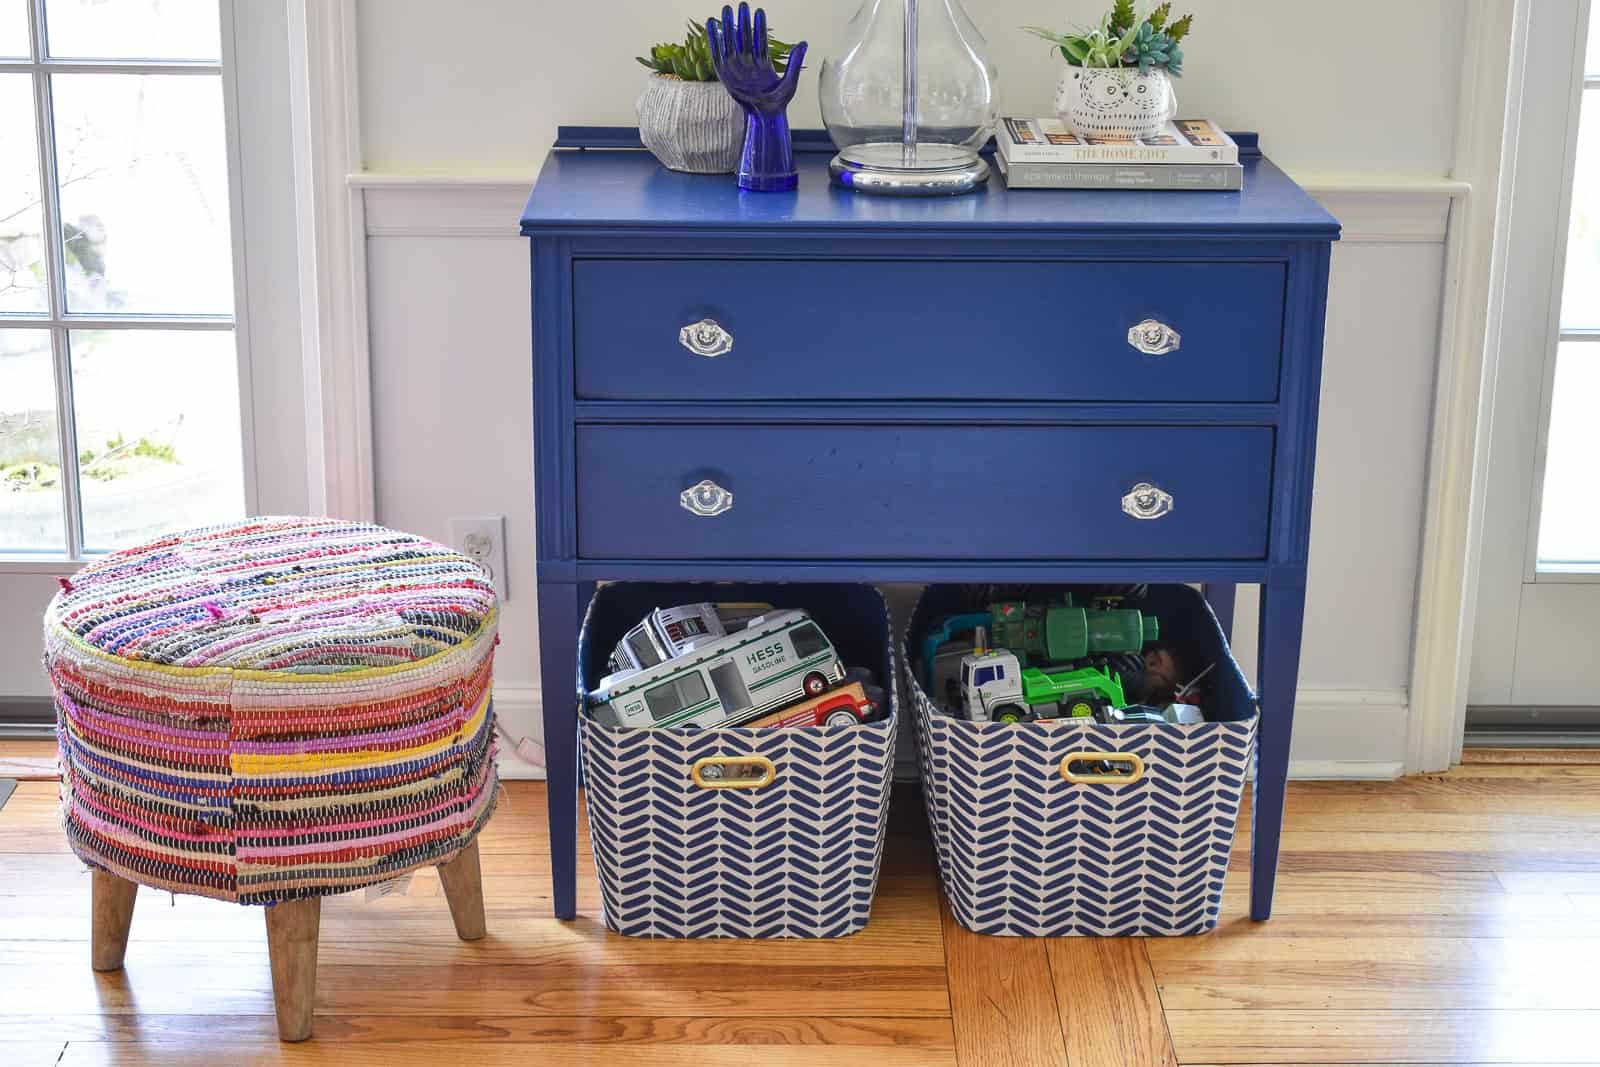
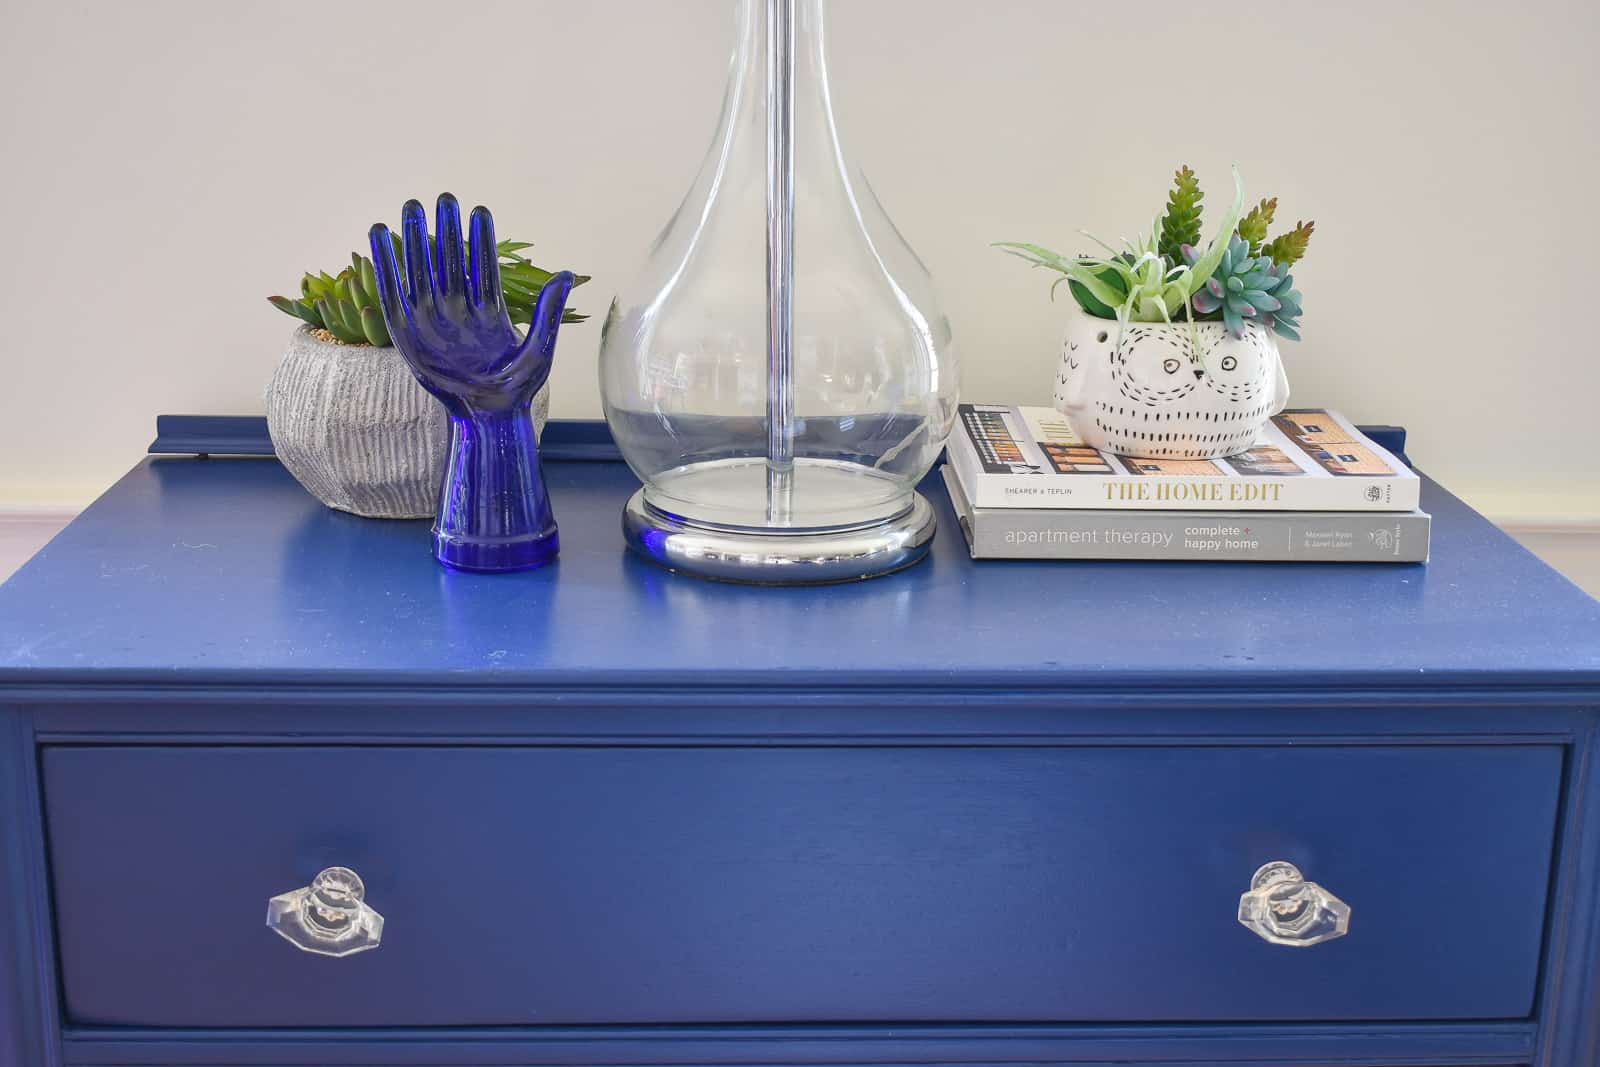
Step 5. New Hardware
A not-so-secret decorating hack is to swap out the hardware on a piece of furniture because it can make SUCH a difference. These clear knobs are the perfect icing on the cake for our new and improved blue table.
That pink mirror used to be green and hung in our old playroom. I LOVED the green… but the pink ties in the family room and the new eating area in the rental so much better!
I was SO impressed with the Curb Appeal paint for this project. It went on smooth and so far, not a chip or ding in site.


Don’t Miss Out
Become An Insider!
Signup for exclusive tips, and tricks from Charlotte’s House!
Let’s chat!
I love comments from you, so feel free to leave your thoughts and ideas below! And don’t forget to follow me on Instagram for even more!