
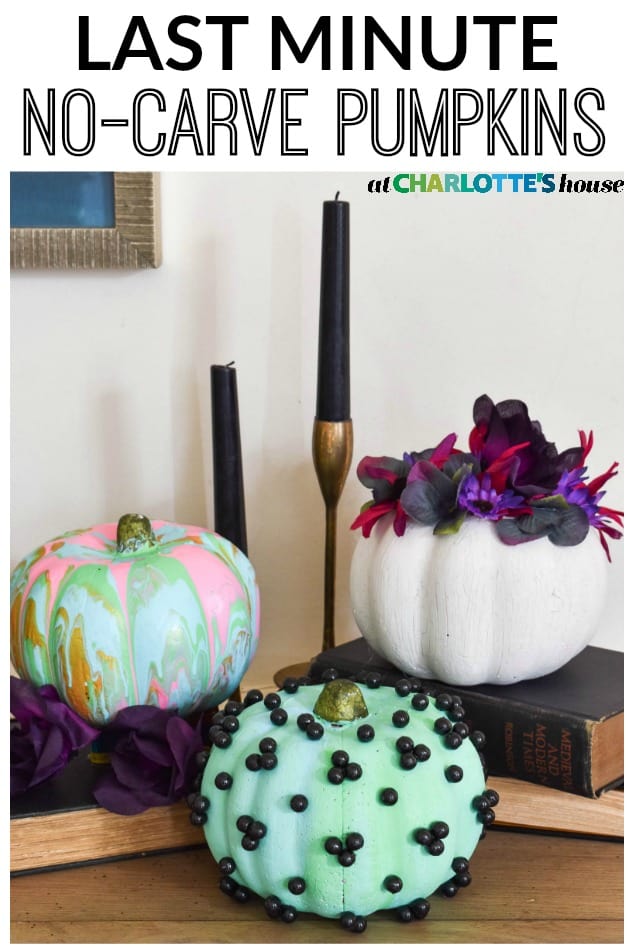
Last Minute No Carve Pumpkins
Psssst… this post *might* contain affiliate links: see my disclosure here.
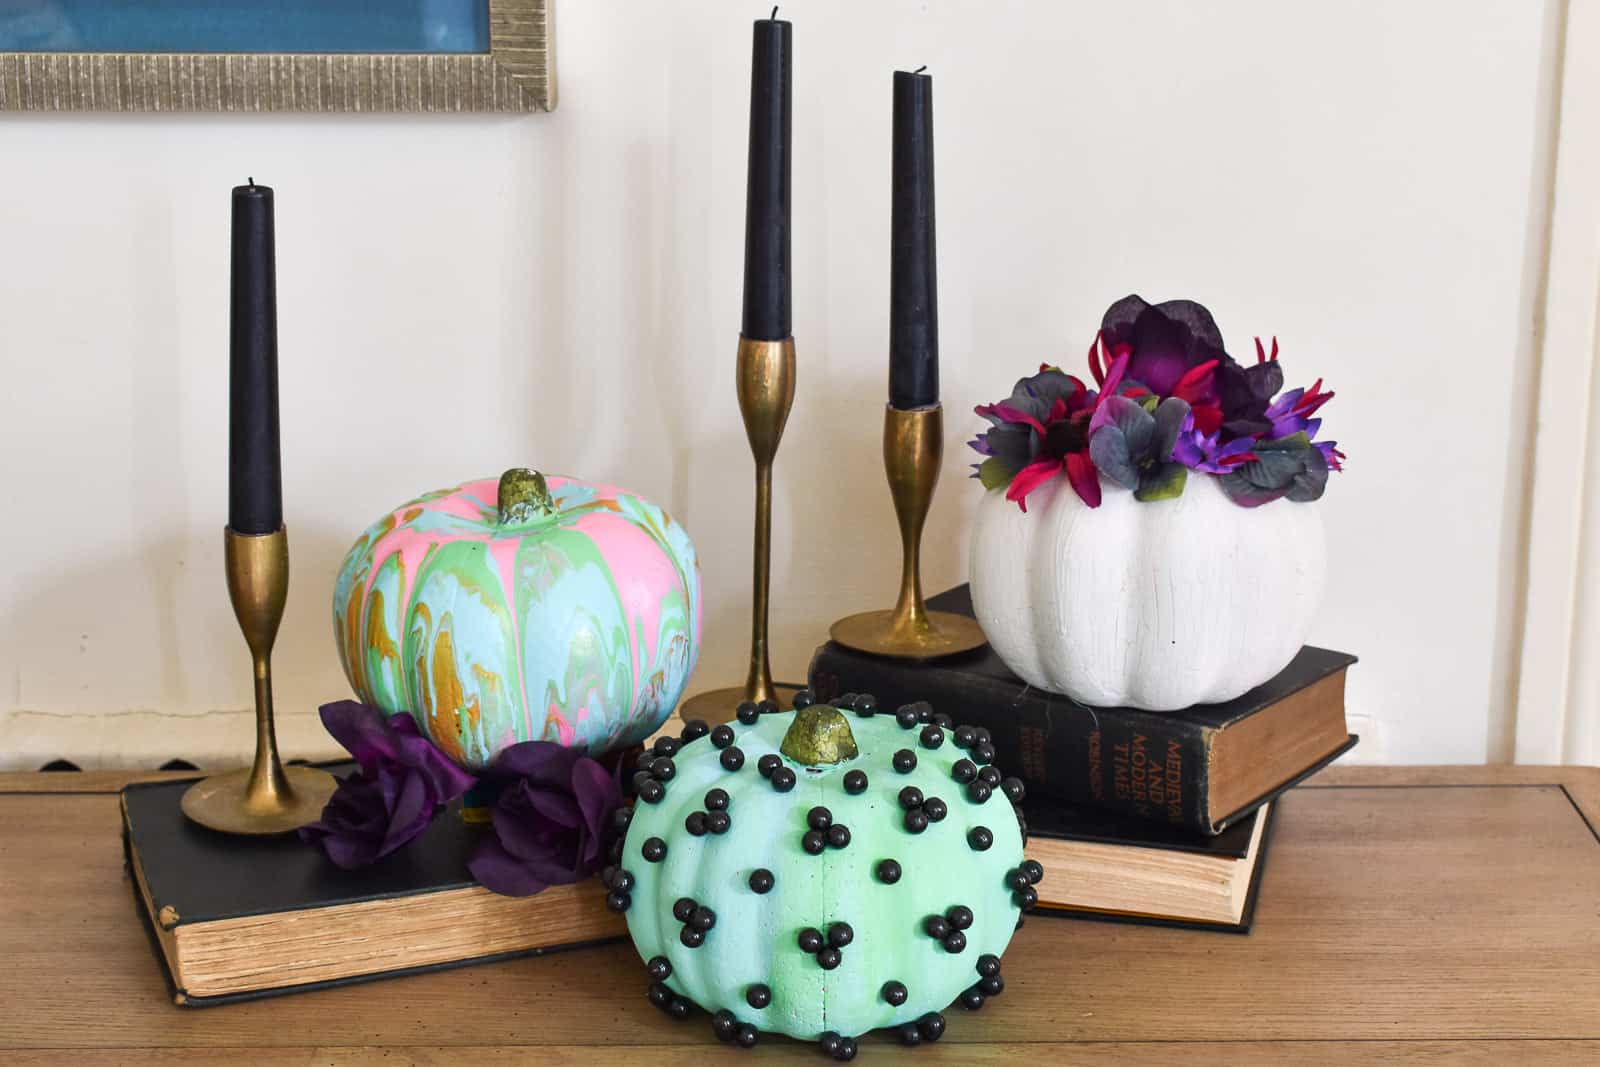
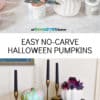
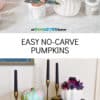
Quick and Easy No-Carve Pumpkin Ideas
These pumpkins are an easy and colorful fall craft… no carving required!
Look. I know Halloween is around the corner and all the other bloggers posted their Halloween content weeks ago, but I got one more for you: these easy peasy no carve pumpkins! Before you read any further, note that I already posted one no-carve pumpkin tutorial earlier in the fall. These would all look GREAT together! And even though I’m using foam pumpkin, all of these designs will work on real pumpkins because who *really* wants to get their hands filthy digging into pumpkin guts?
Shop my favorites!
(I got my pumpkins at the Dollar Tree along with the faux flowers and black thumb tacks, so these are all super budget friendly!)
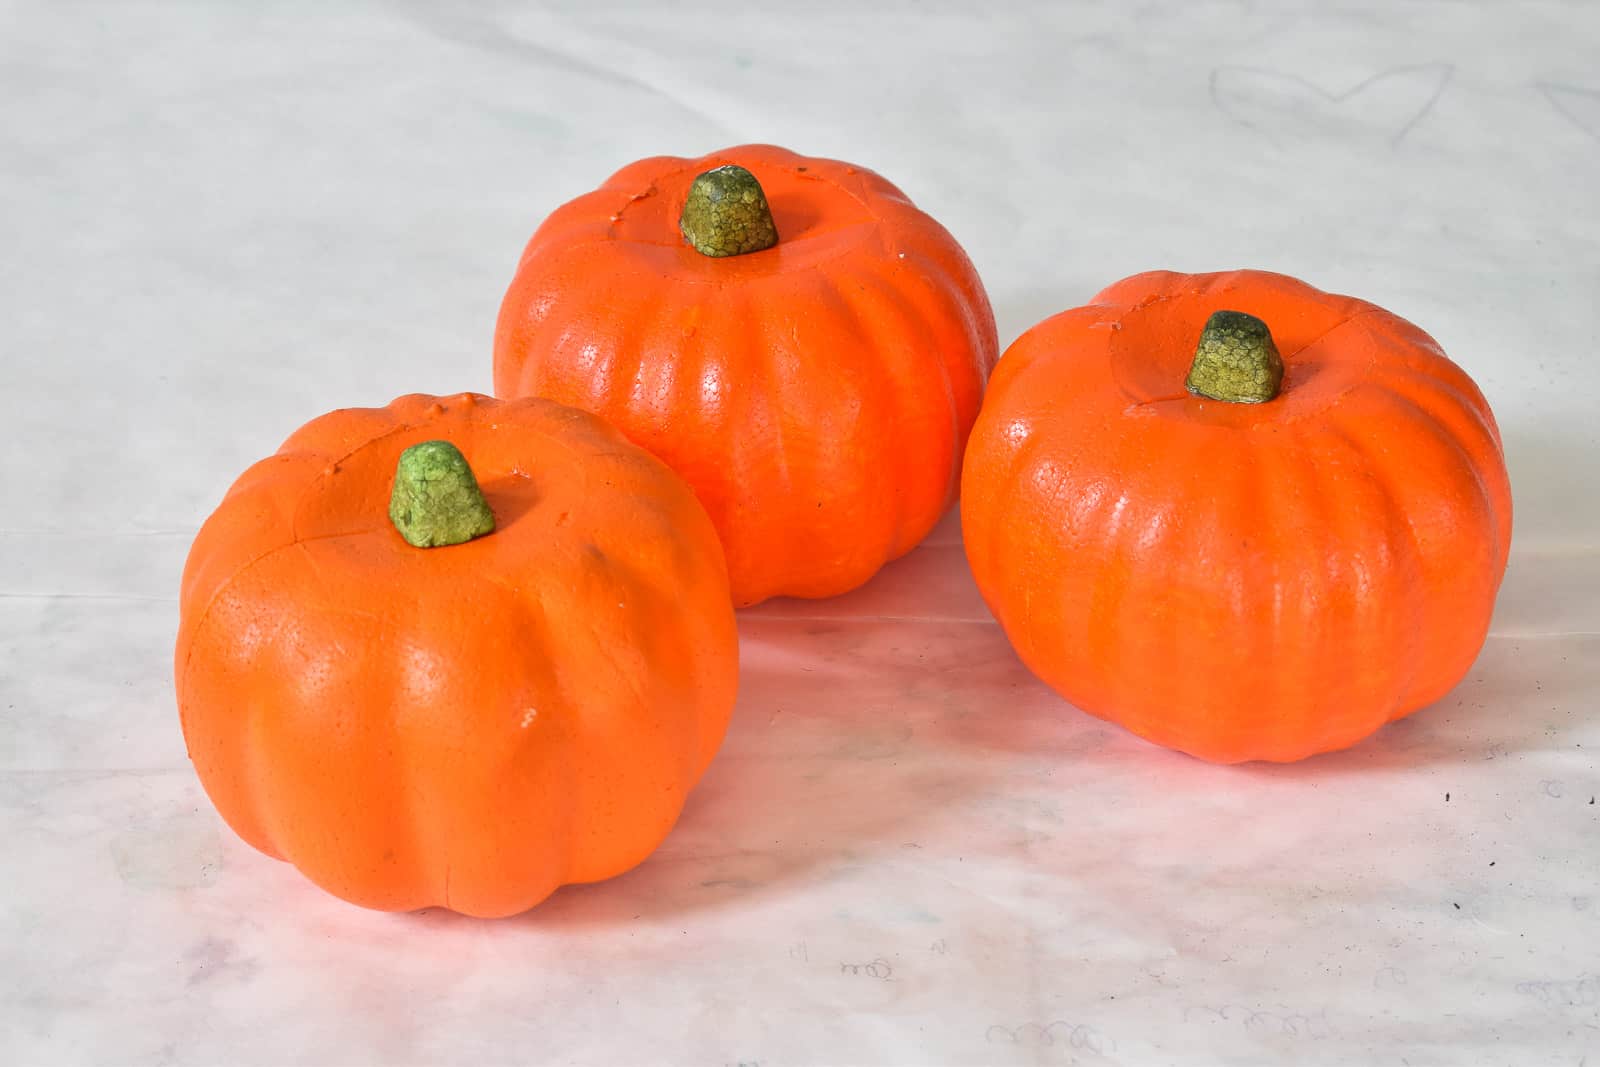
Step 1. Prep pumpkins
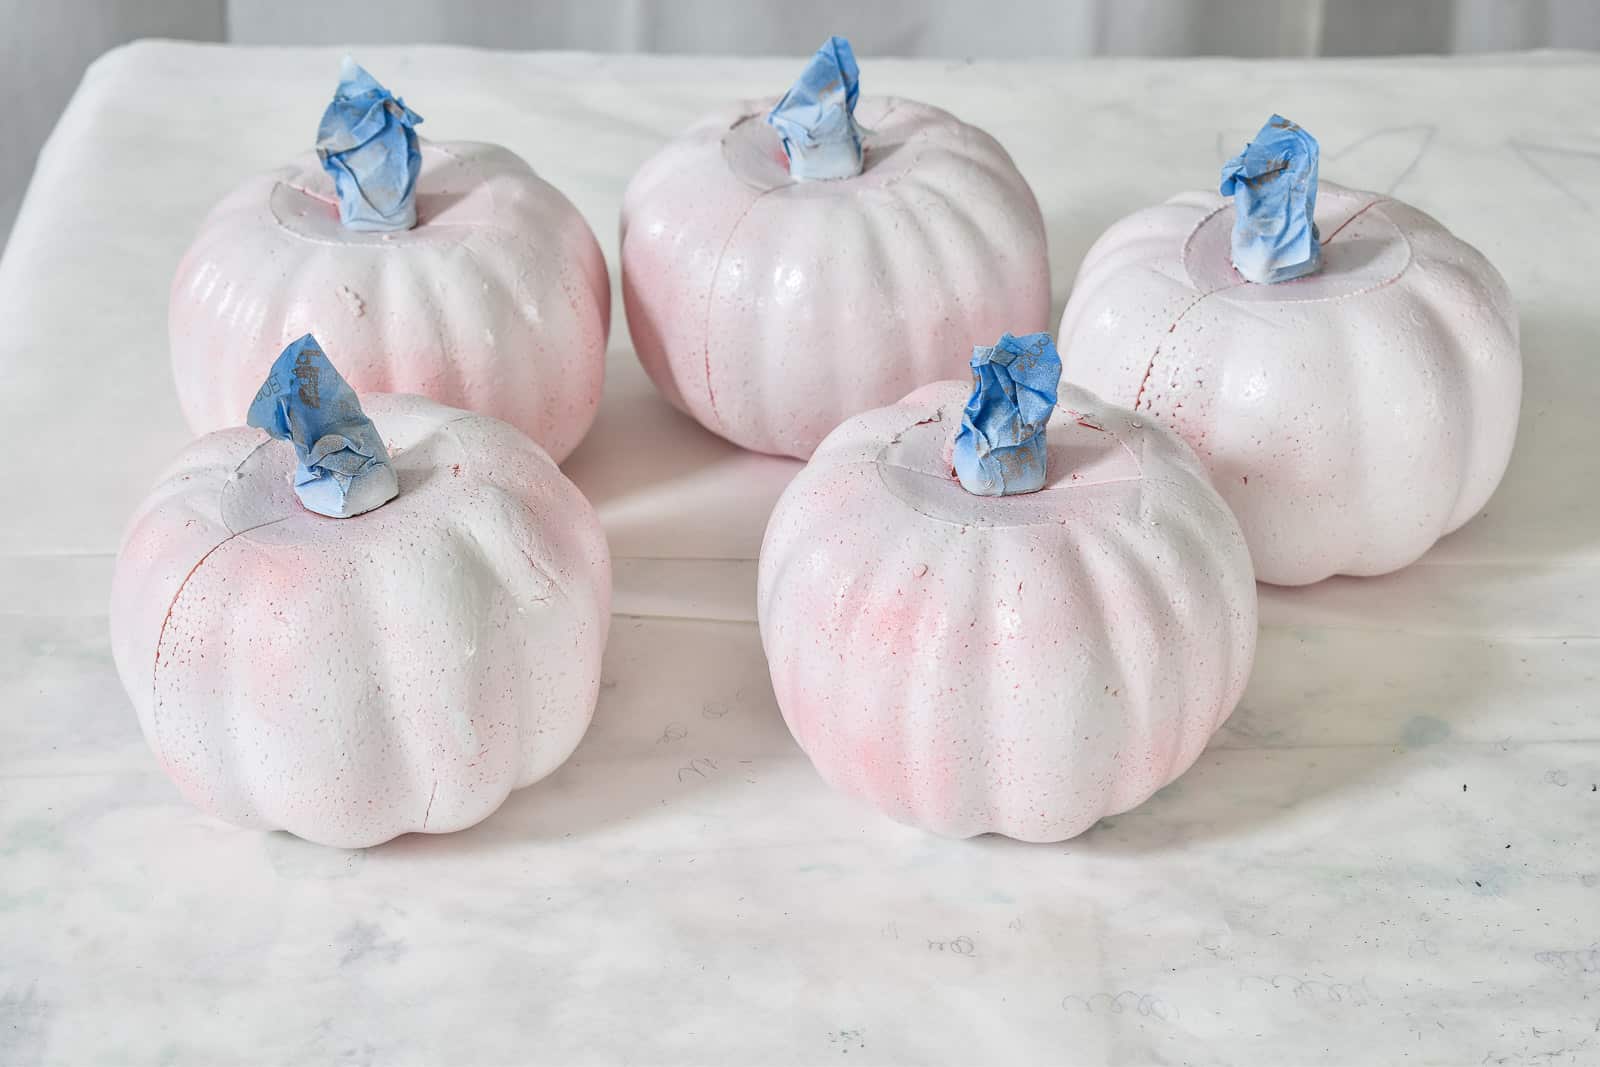
My pumpkins were an awful bright bright orange… not my jam. I taped the stems and quickly gave them a coat of spray primer.

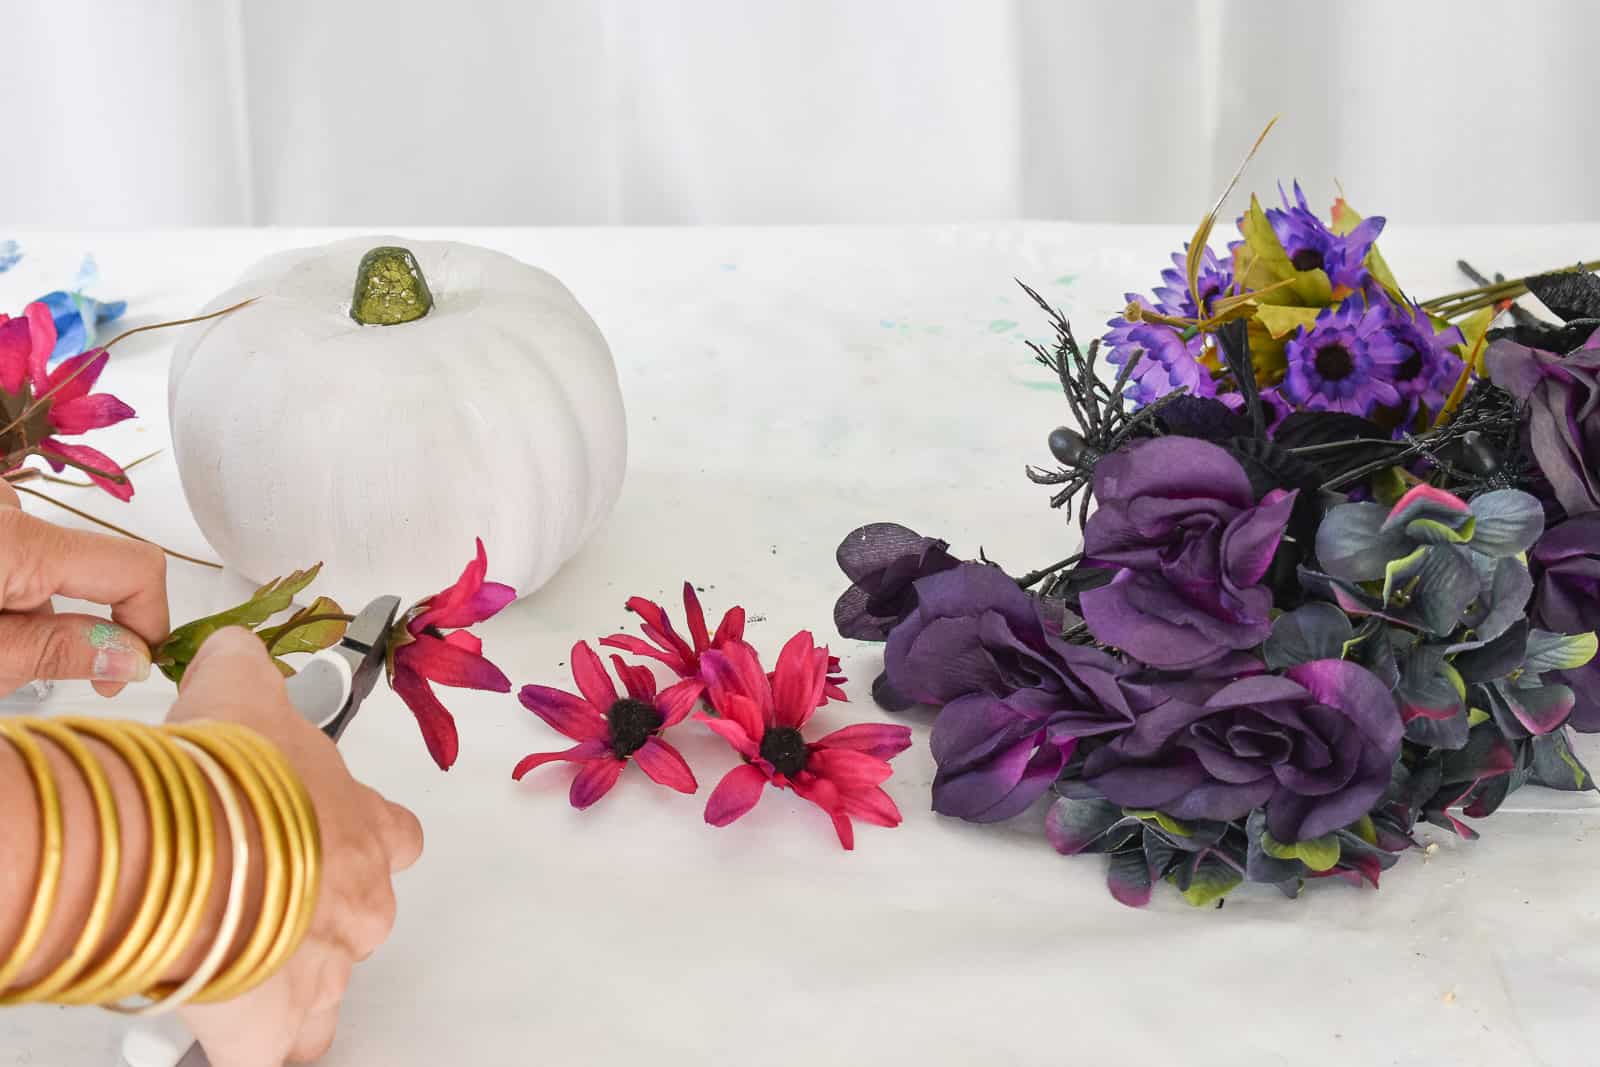
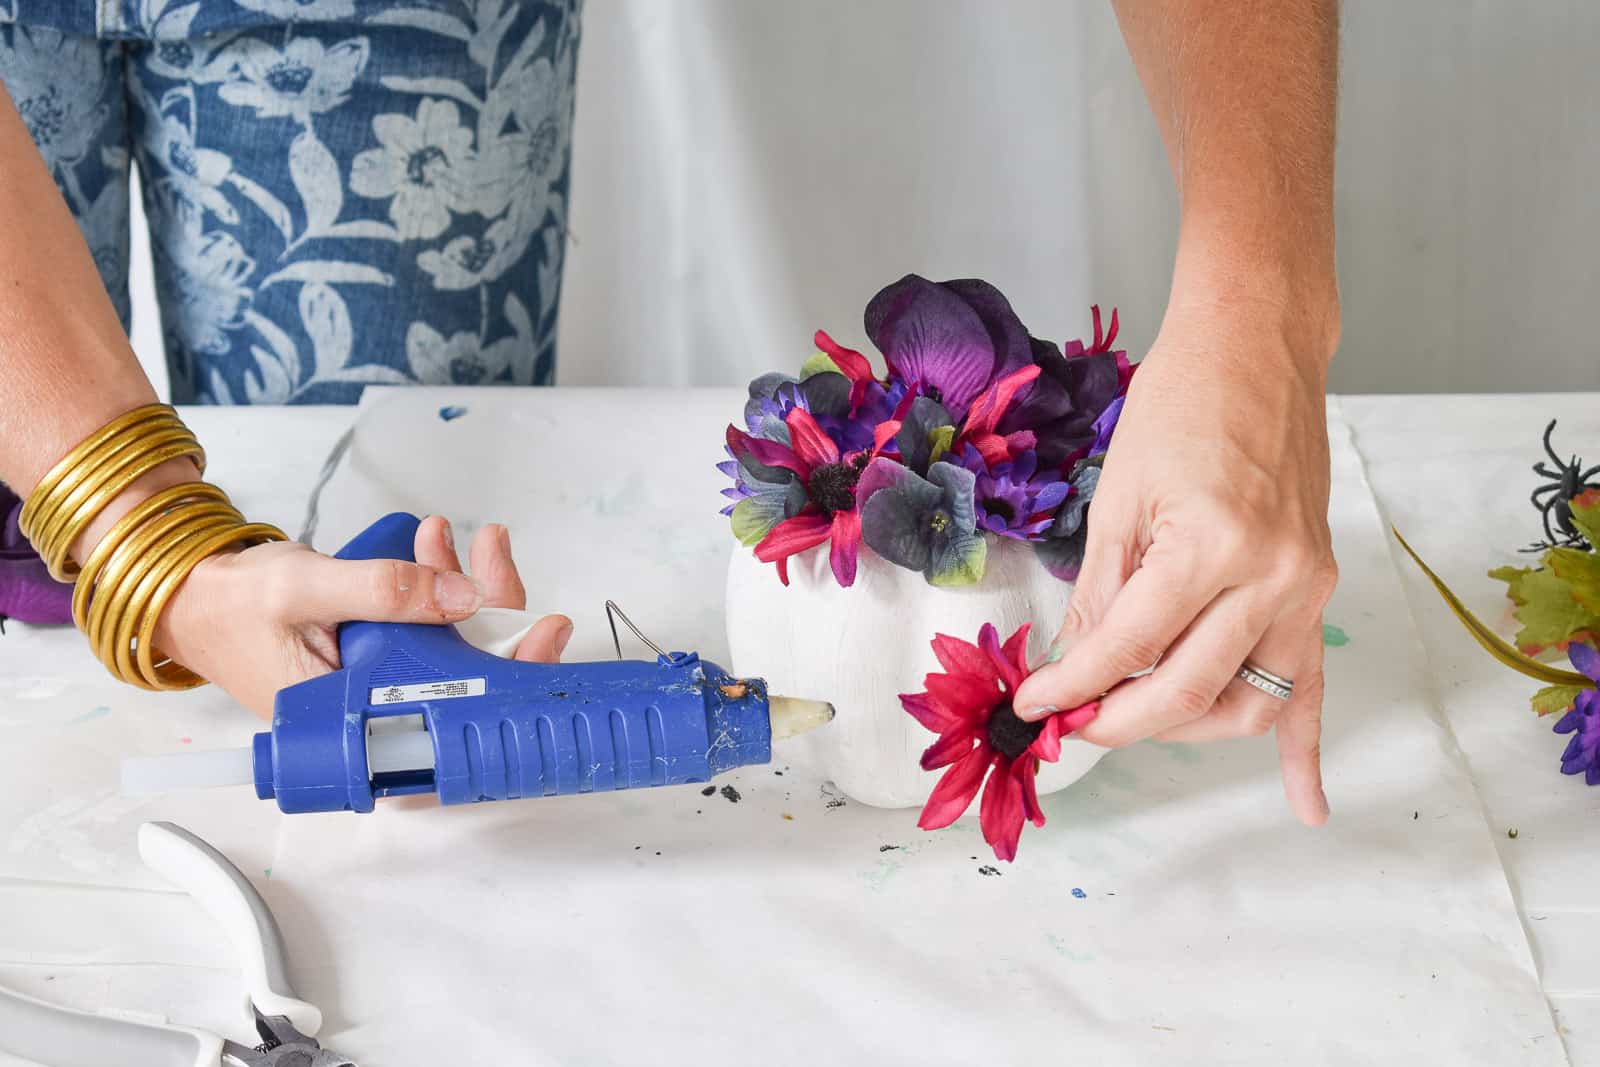
Step 2. Floral Pumpkin
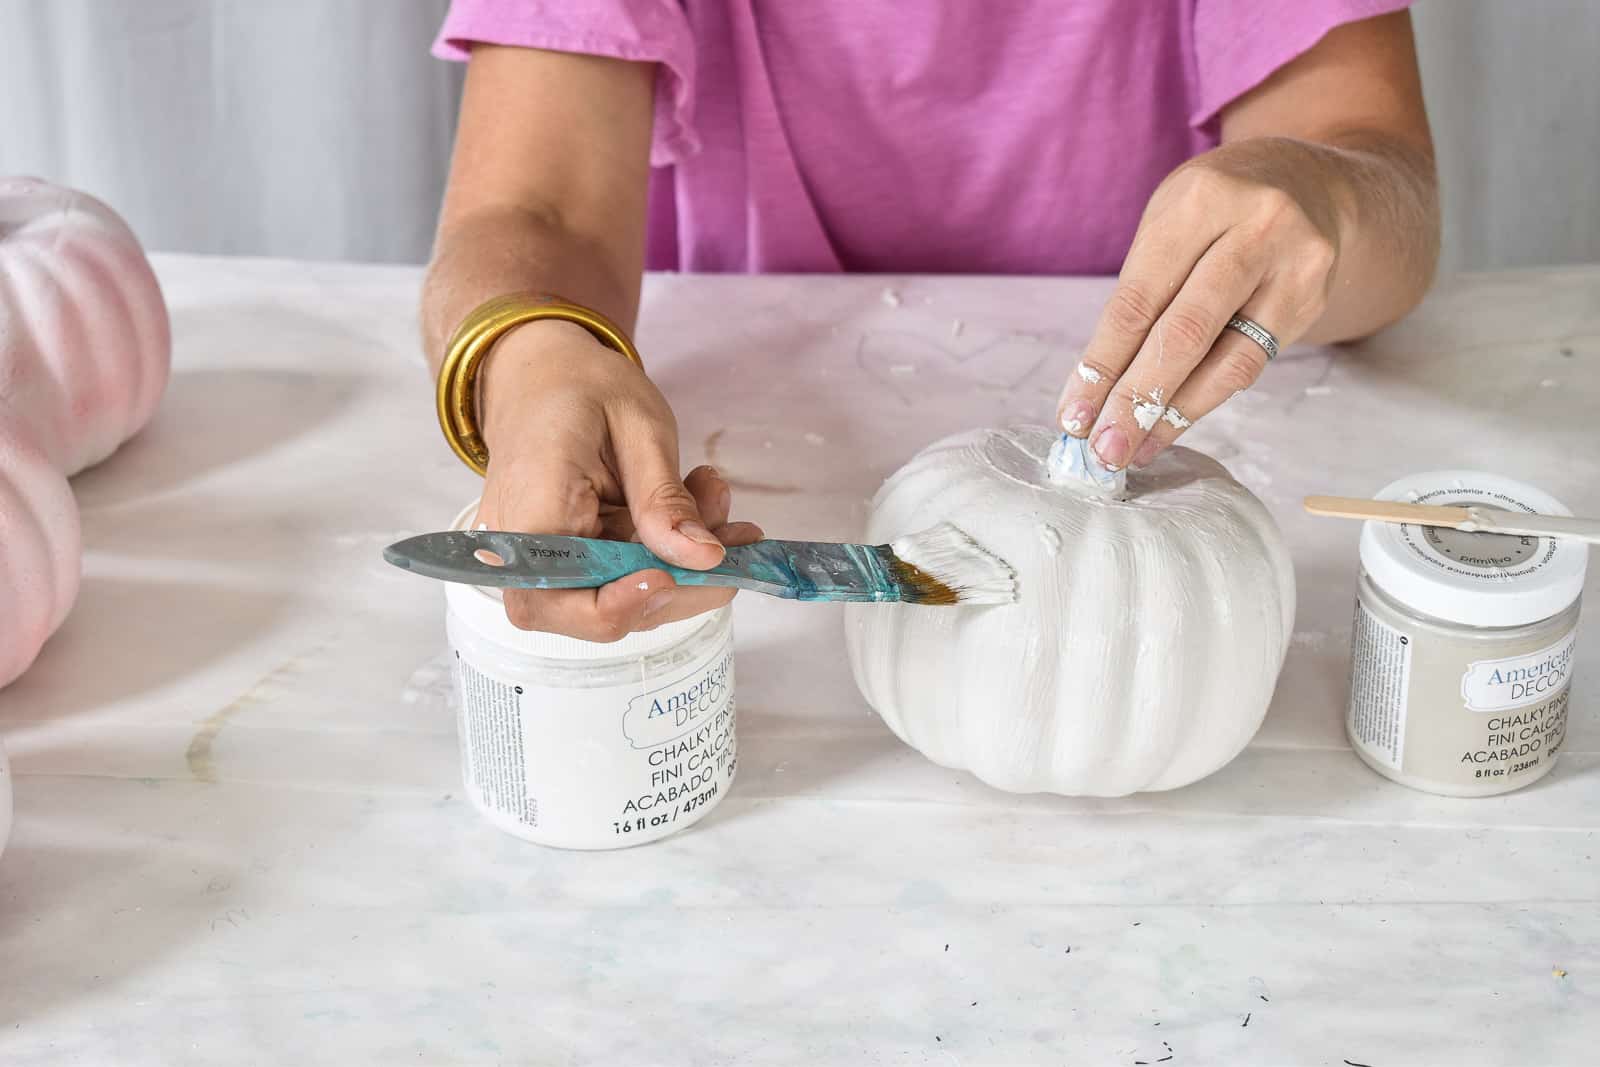
I started by painting the pumpkin with an off-white chalk paint and let it dry completely.
Using wire cutters (I just got these and LOVE them), clip of the flower buds from the stems.
Use a hot glue gun to place them along the top of the pumpkin. Tip: The hot glue might melt the paint away from the pumpkin a bit so be careful not to reposition your flower too much while the hot glue is setting.
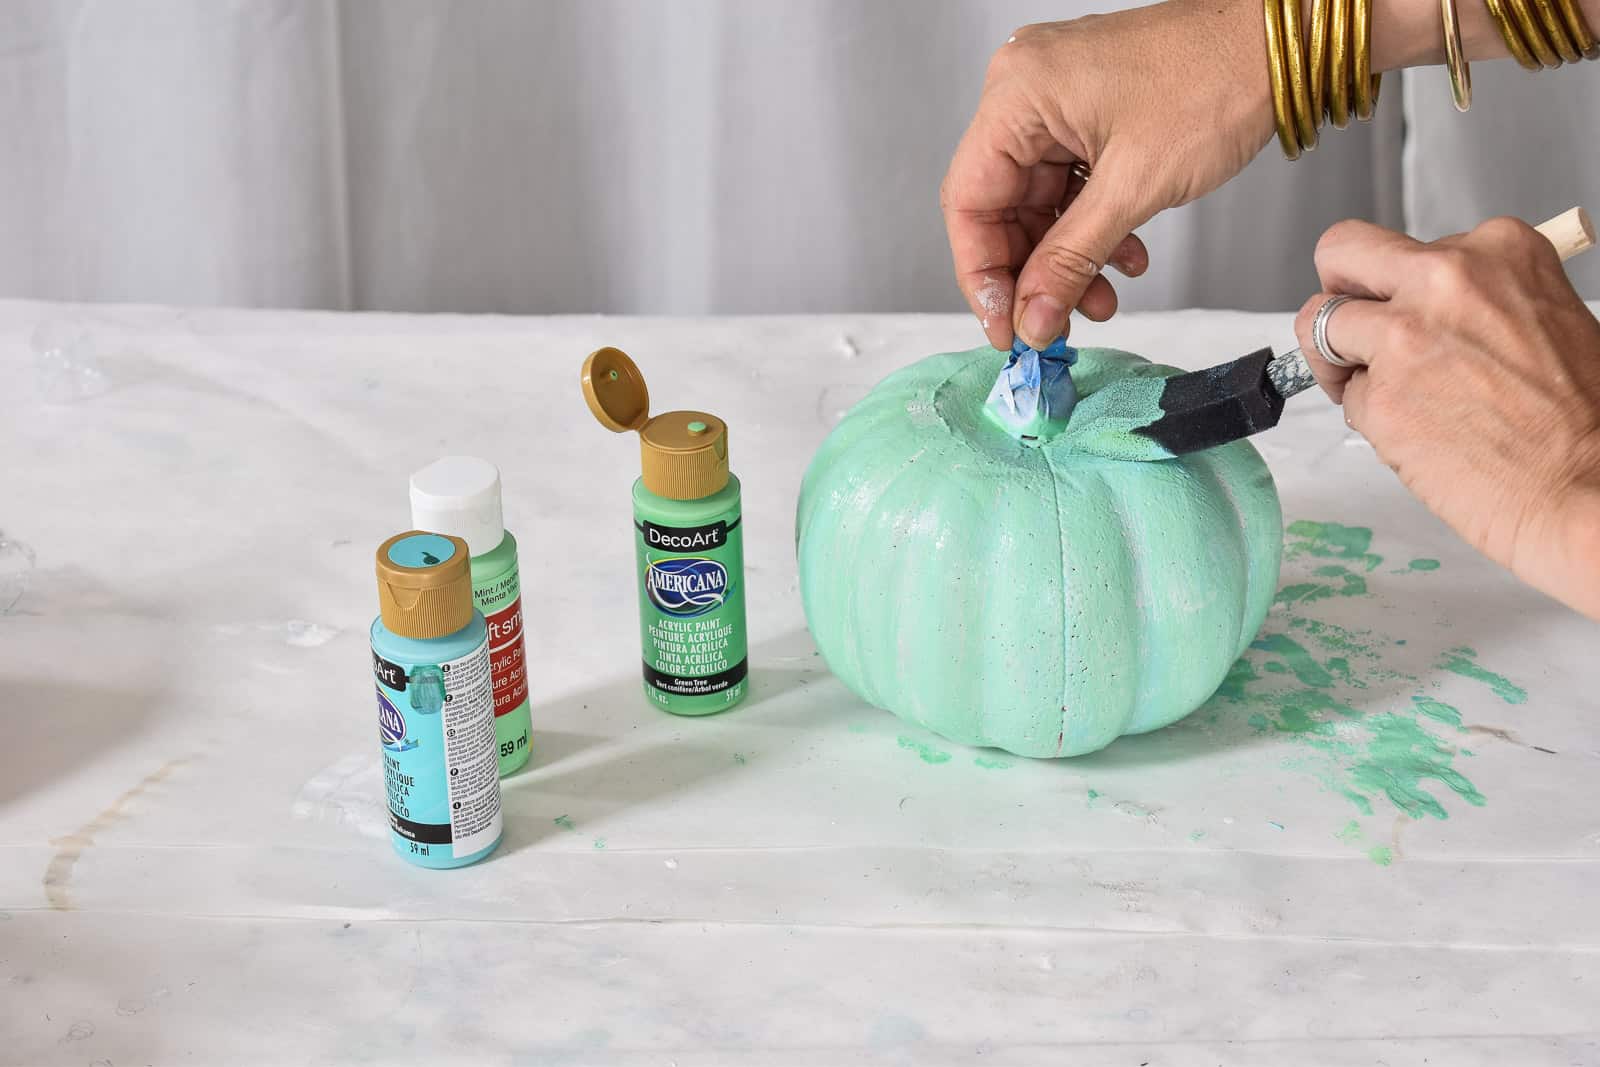
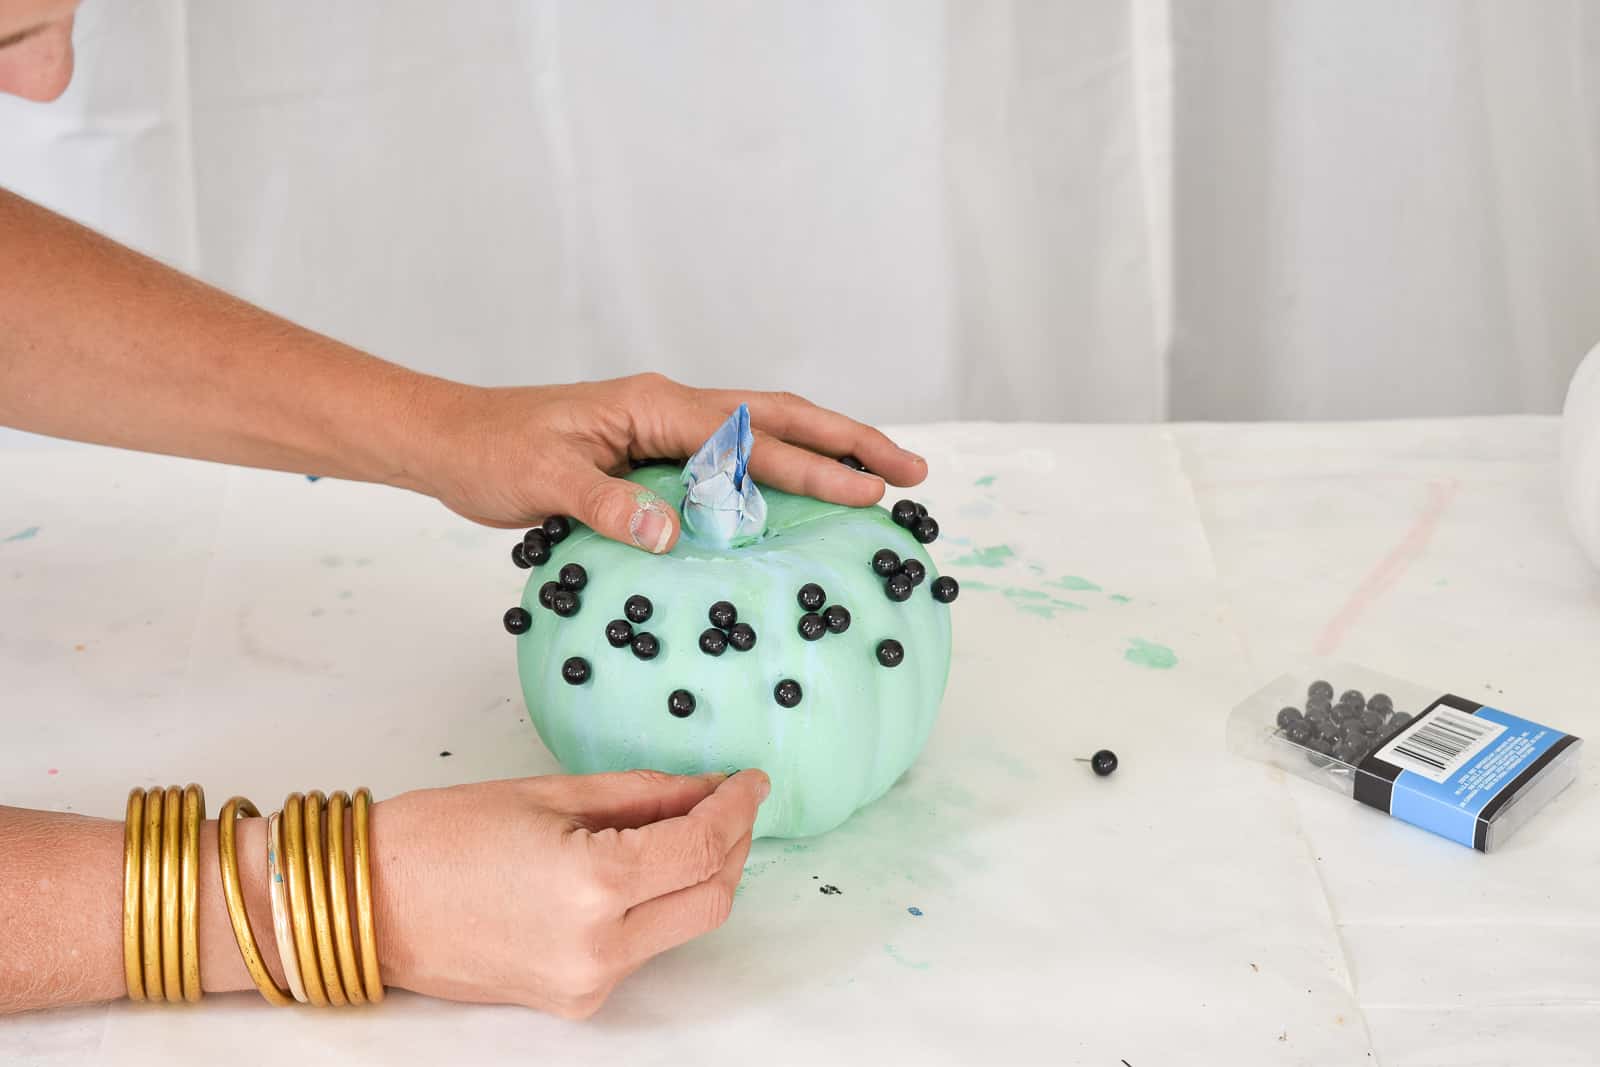
Step 3. Thumb Tack Pumpkin
I gave this pumpkin a coat of acrylic paint in a fun color first. Just something that would make the black thumb tacks really stand out!
These black thumbtacks made the perfect little decorative accents on this colorful pumpkin. They could NOT be easier to insert into the foam pumpkin and I love the graphic detail! If you can’t find these exact ones at your Dollar Tree, any thumbtack would work really.
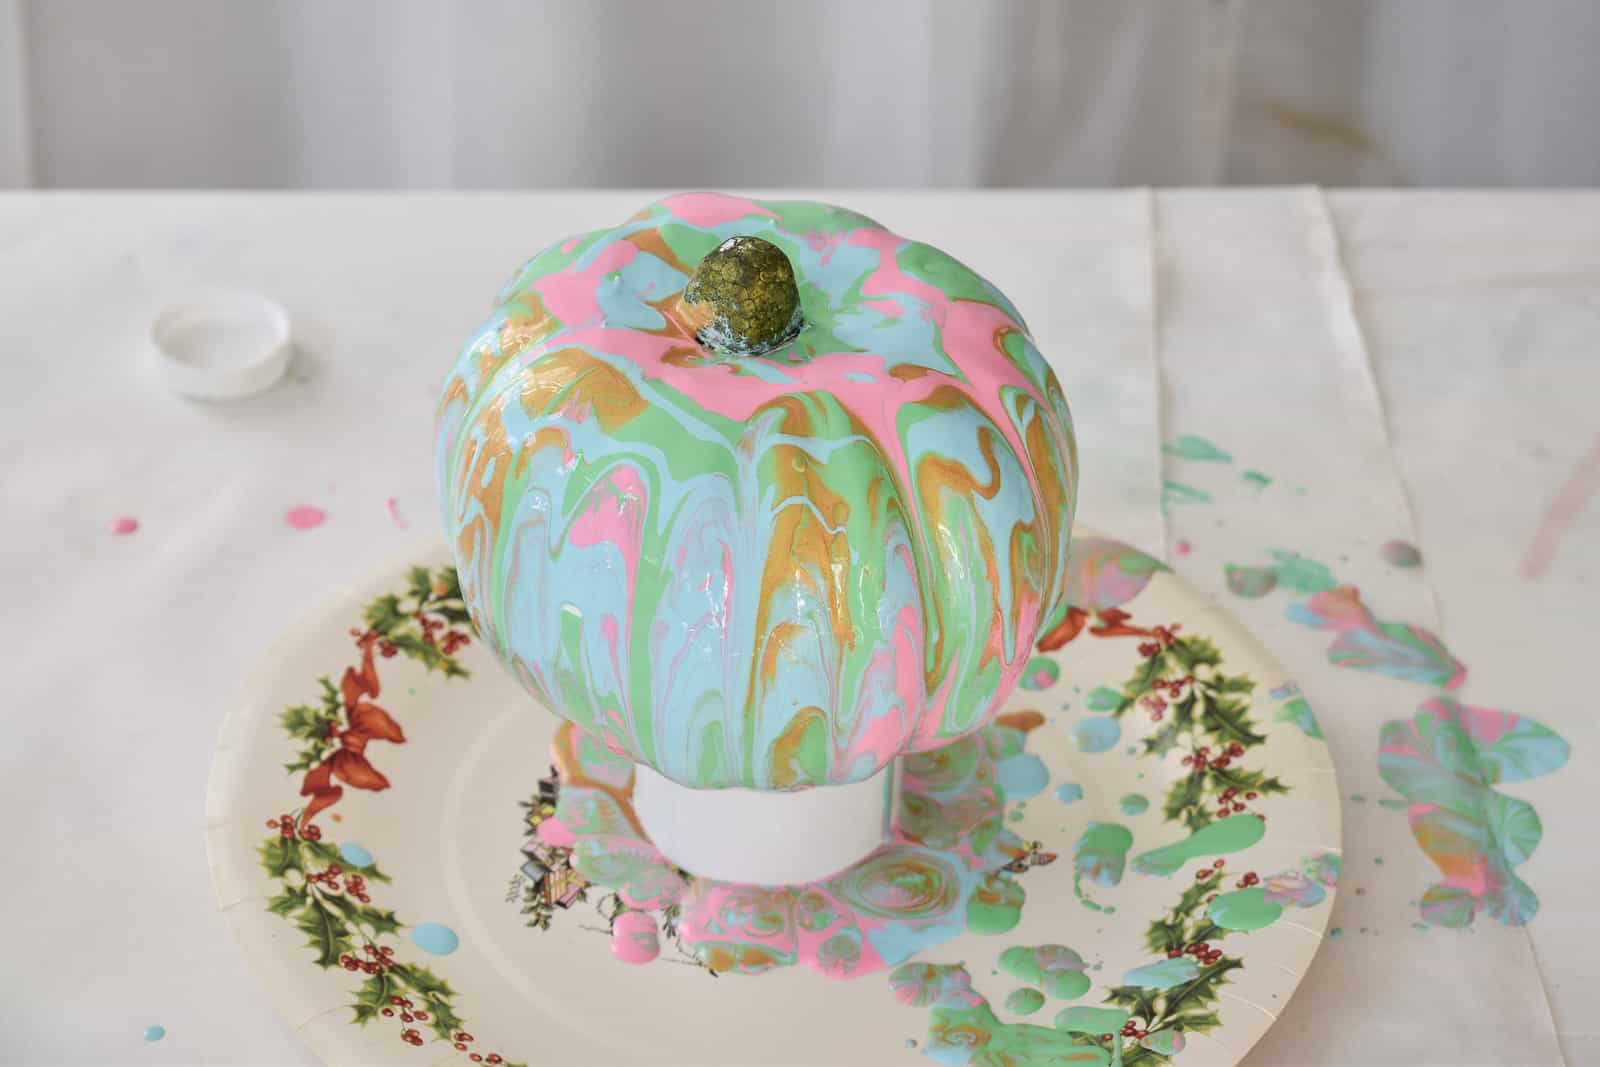
Step 4. Paint Pour Pumpkin
You all know I love to paint pour. (I’ve already shared my paint pour mirror and my paint pour gallery wall.) I had one false start on this one because my acrylic paint didn’t like the spray primer, but once I gave the pumpkin a coat of chalk paint, we were in business! Mix your paint with the pouring medium like normal, then drizzle over the pumpkin as you slowly twirl and manipulate the pumpkin to move the paint around.
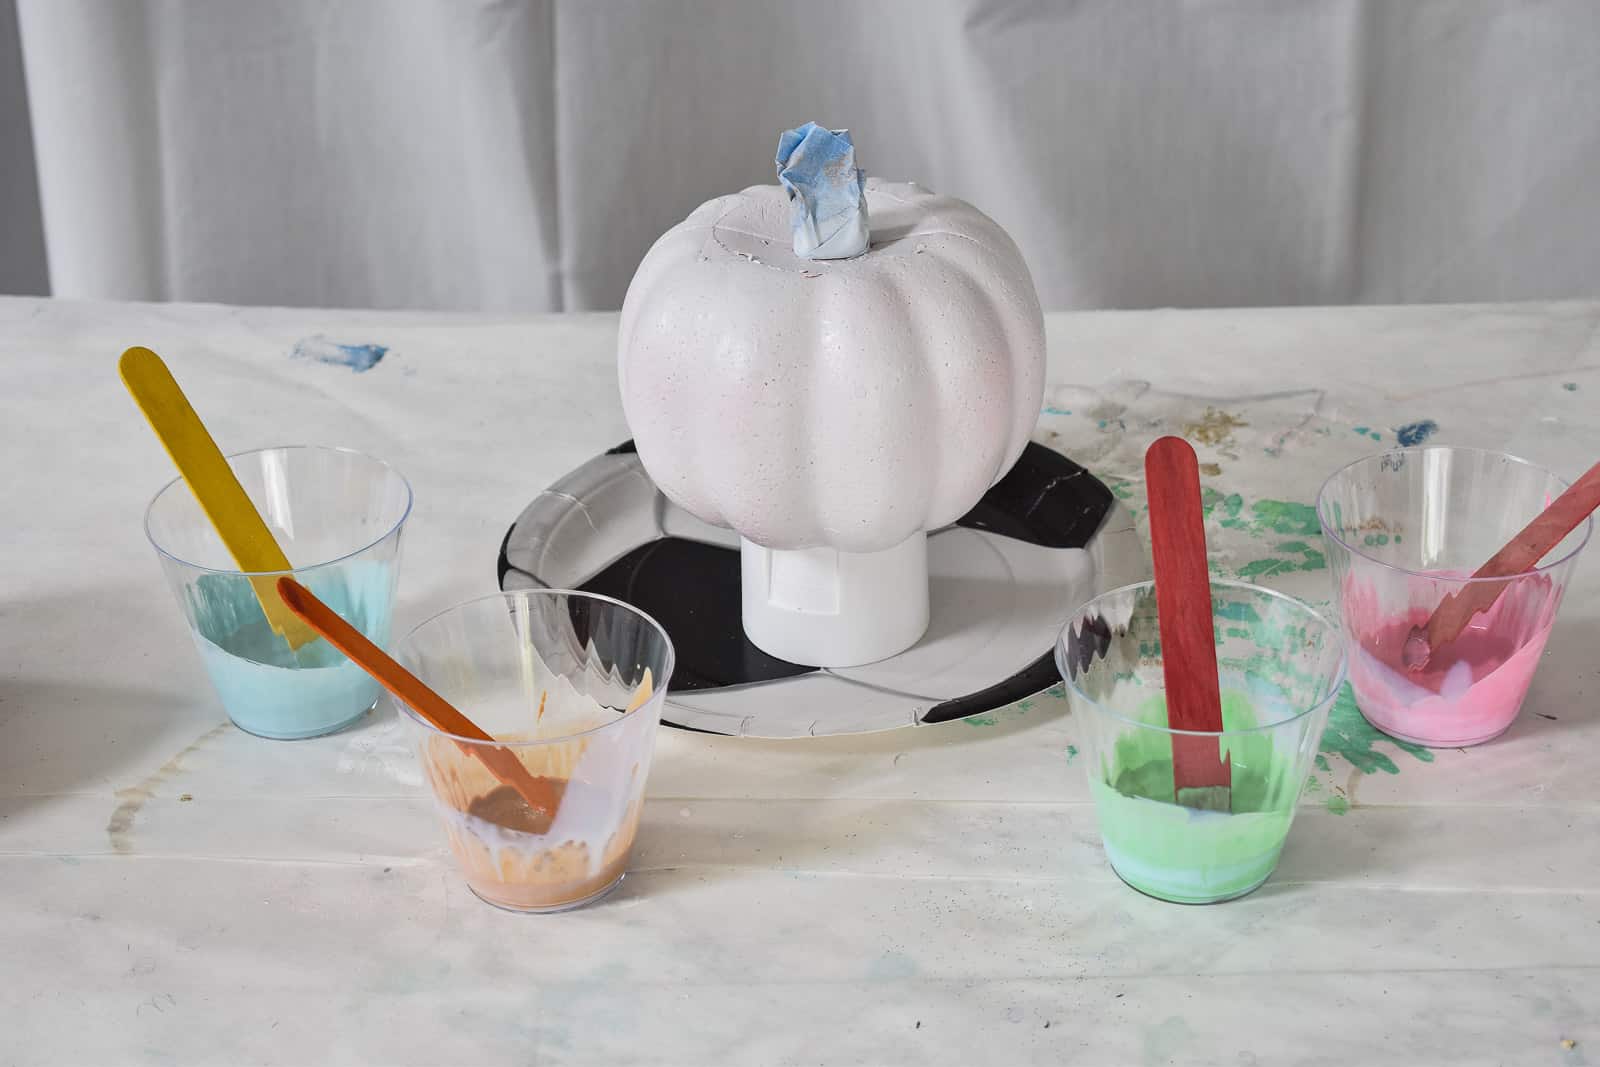
Make sure you leave it try elevated with a plate or something underneath… lots of paint will drip right off.
I shared these ideas on the news last week, so head over to see how the segment went. If you want to see how I made them over on YouTube, here ya go!


Don’t Miss Out
Become An Insider!
Signup for exclusive tips, and tricks from Charlotte’s House!
Let’s chat!
I love comments from you, so feel free to leave your thoughts and ideas below! And don’t forget to follow me on Instagram for even more!