
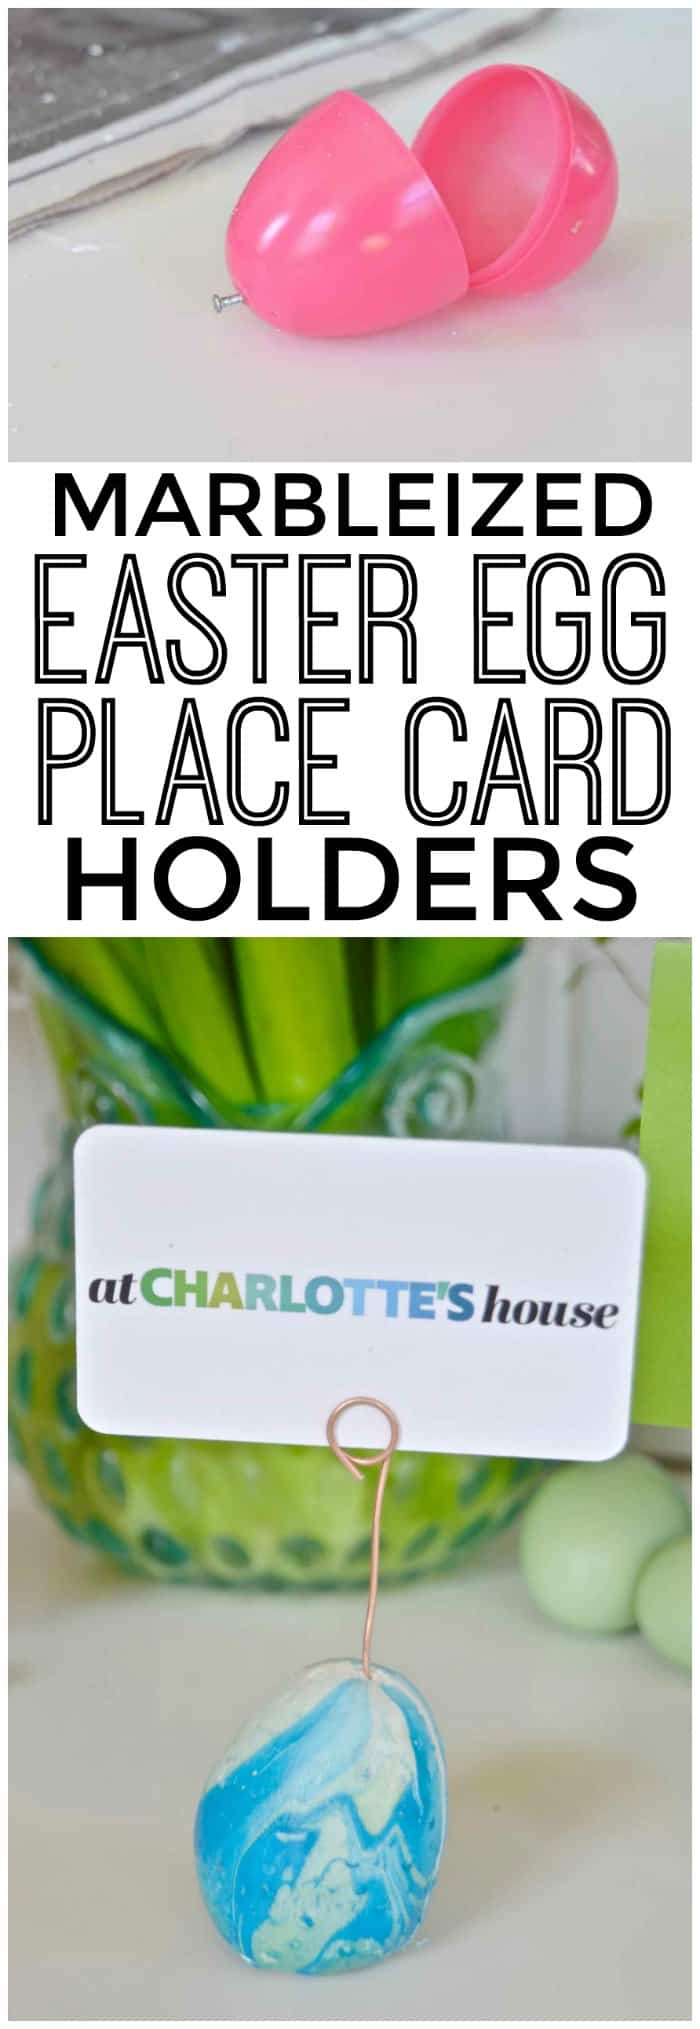
Easter Egg Place Card Holders
Psssst… this post *might* contain affiliate links: see my disclosure here.
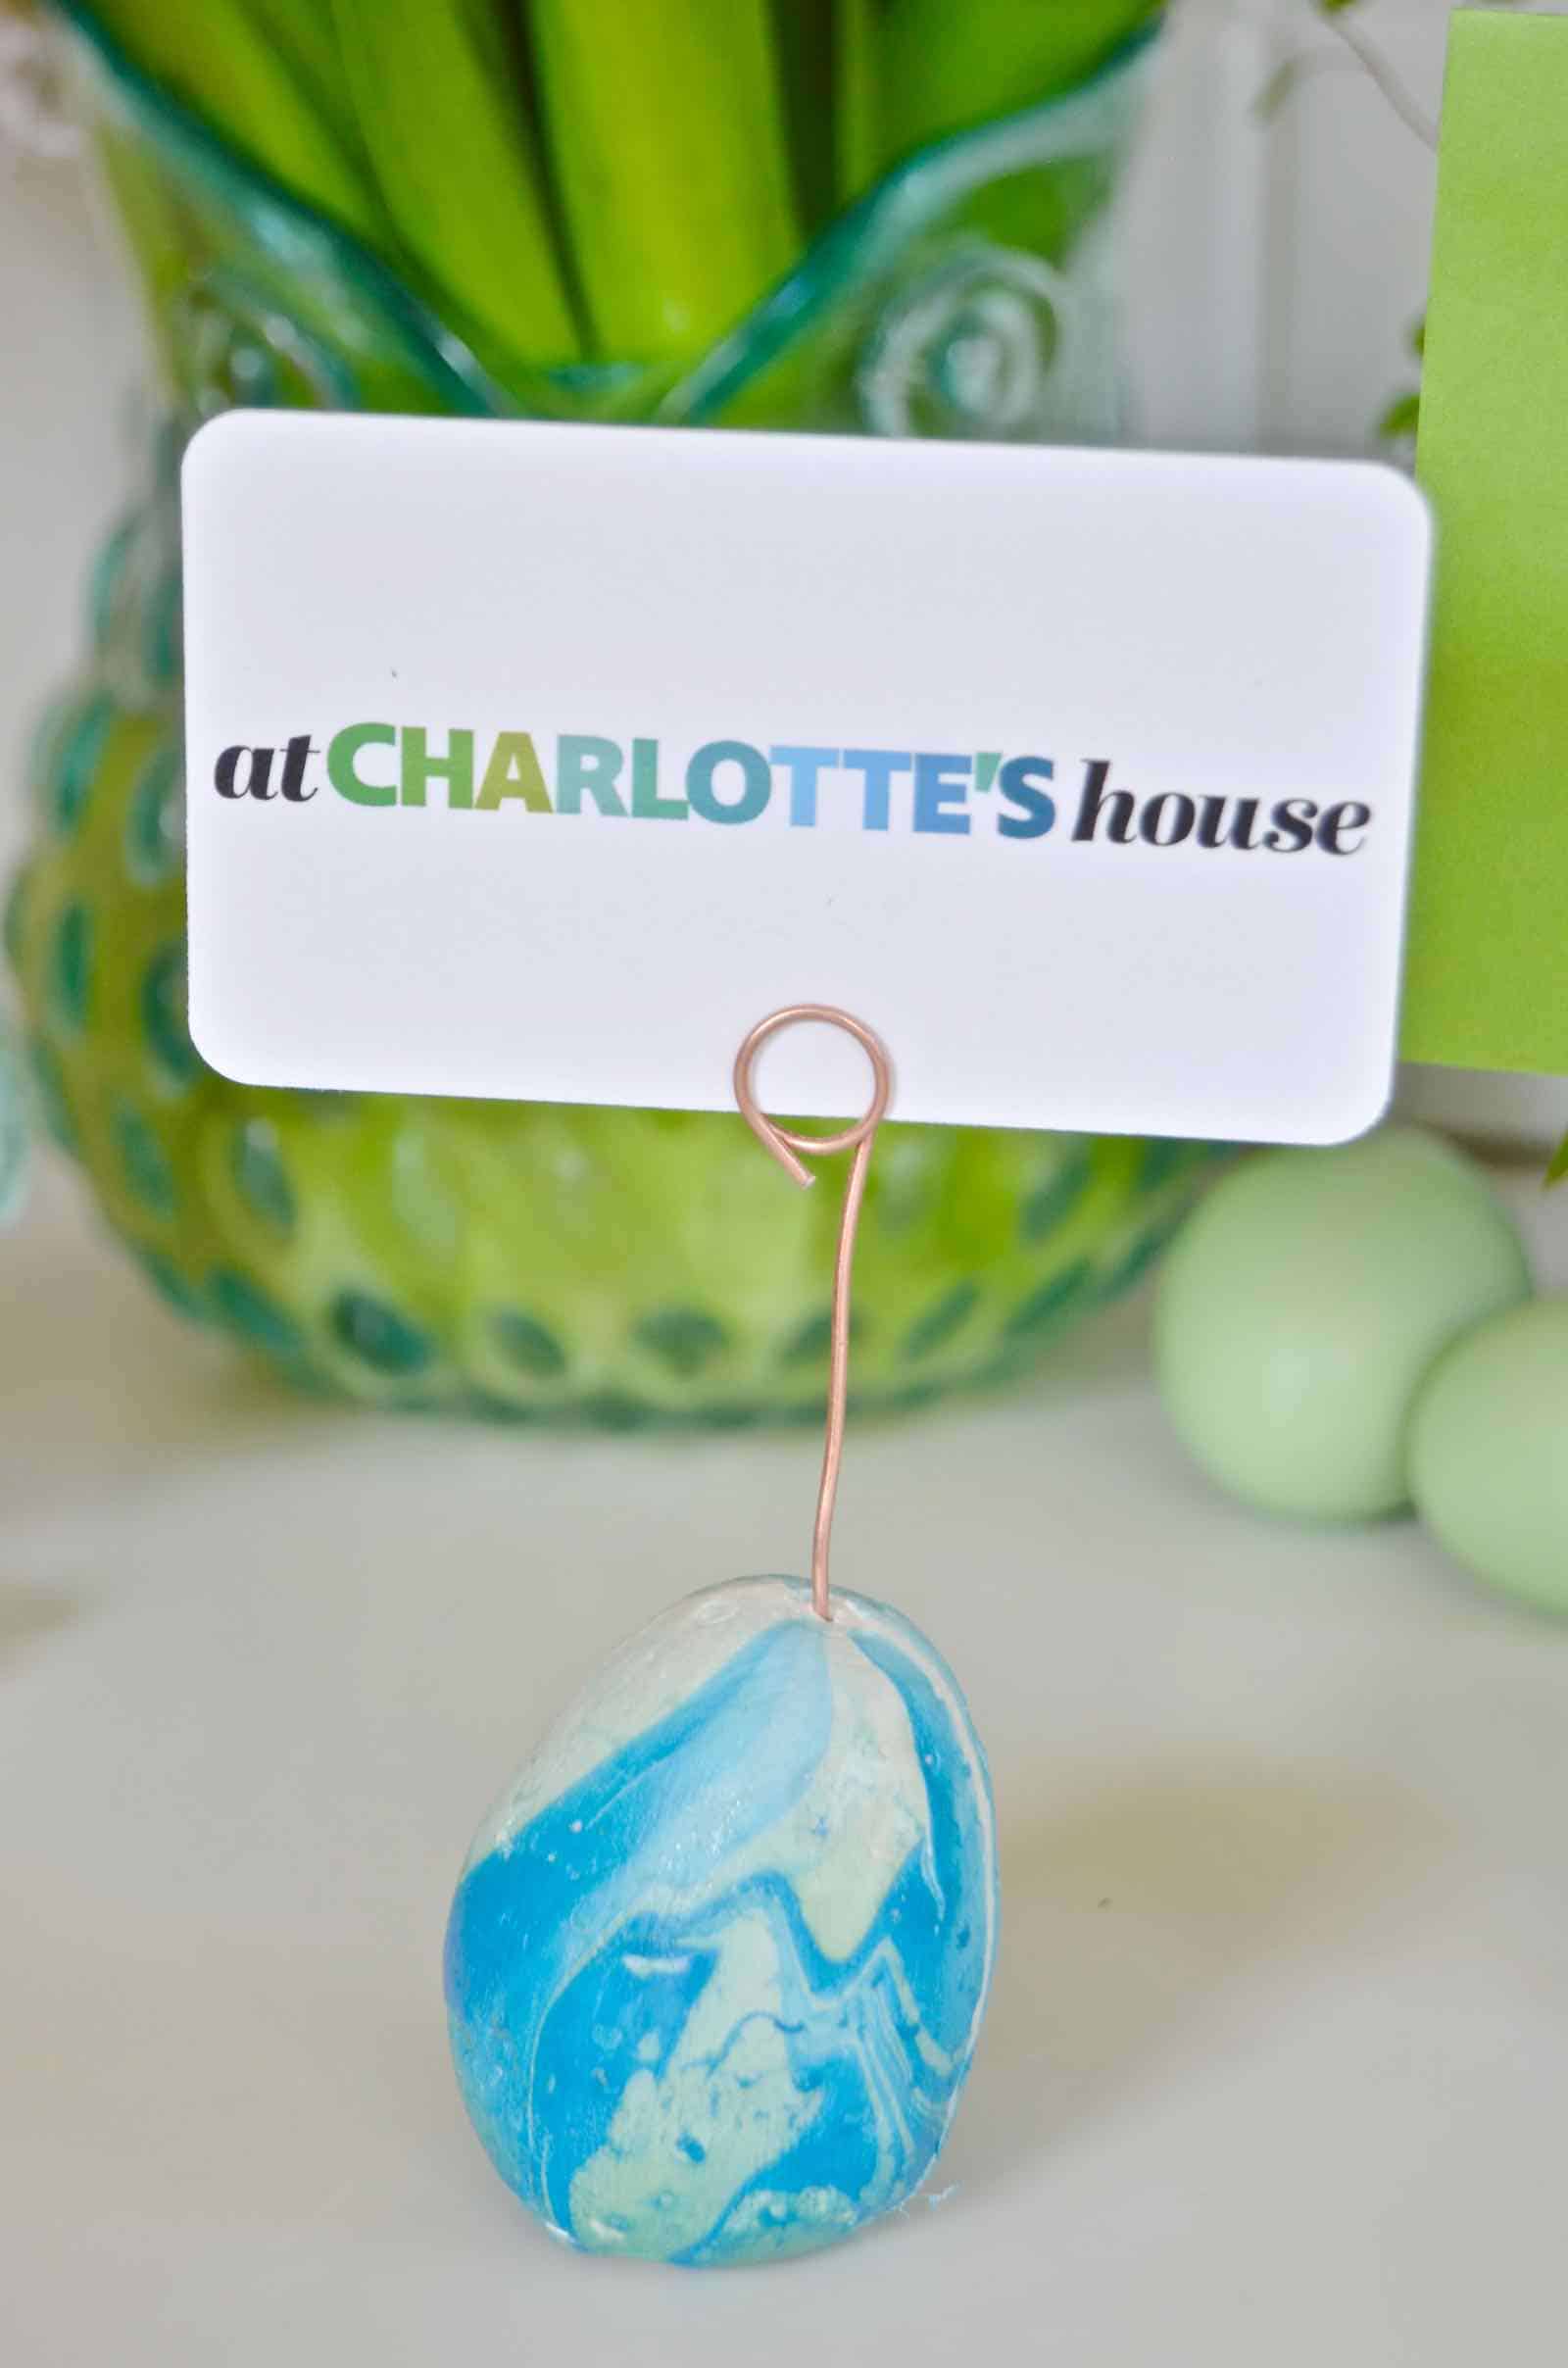
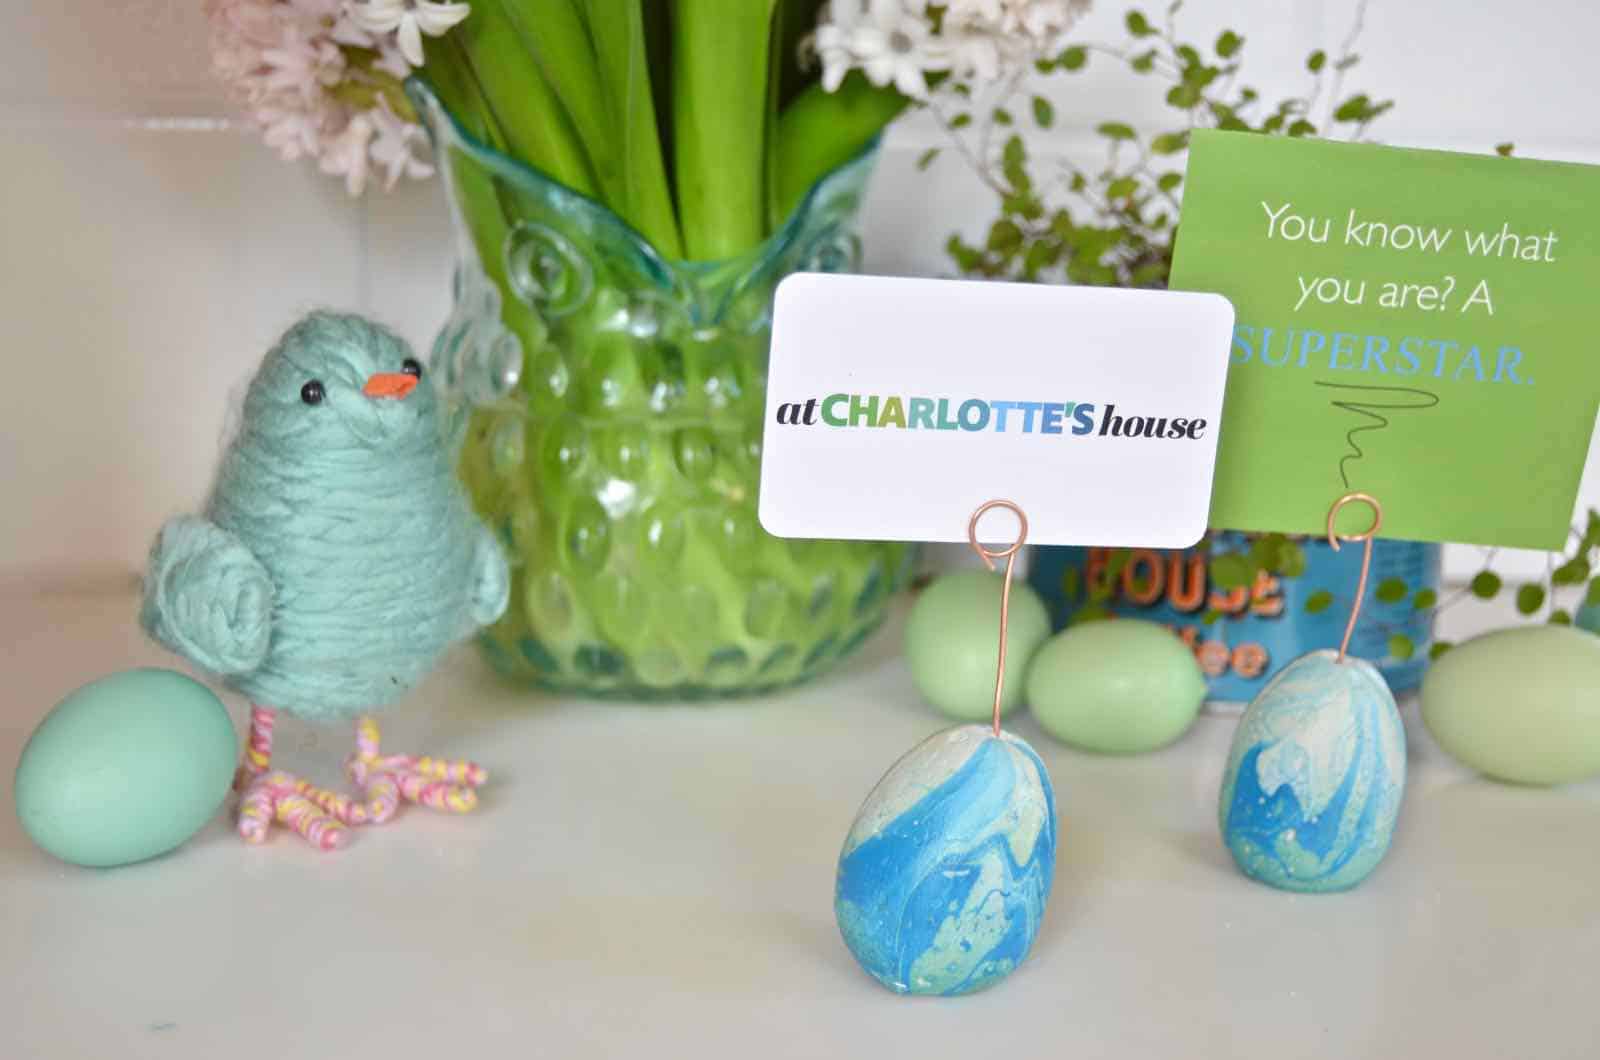
Spring may not be outside here in Connecticut, but it has sprung in the Smith house! I’m putting finishing touches on my spring table scape and resisting the urge to spend every waking minute in our fresh and dreamy new playroom. One of my favorite little DIYs from the spring table is these marbled Easter egg place card holders (say that 10 times fast!).
Marbled Plaster Easter Eggs
I got the idea from my friend Kim’s concrete Easter eggs from last season and after some tests… opted to go with plaster of paris and not concrete. (Material list at the end of the post.) Here’s the video tutorial for you. But, as always, step by step instructions are below also!
Shop my favorites!
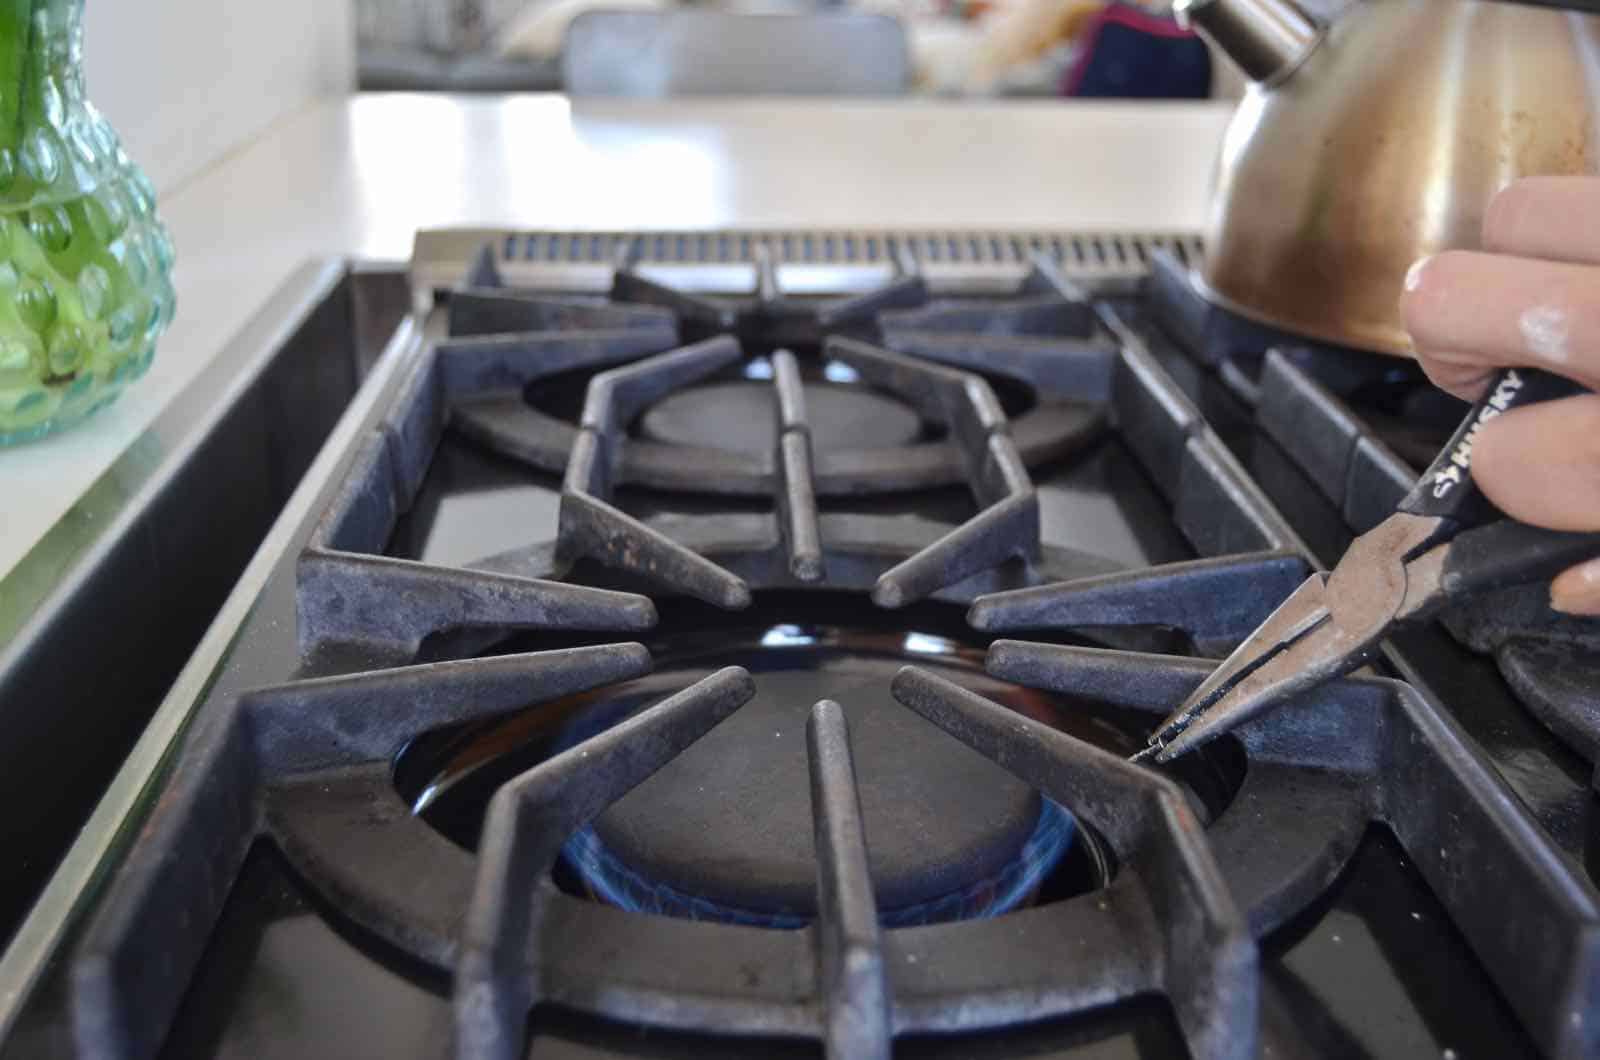
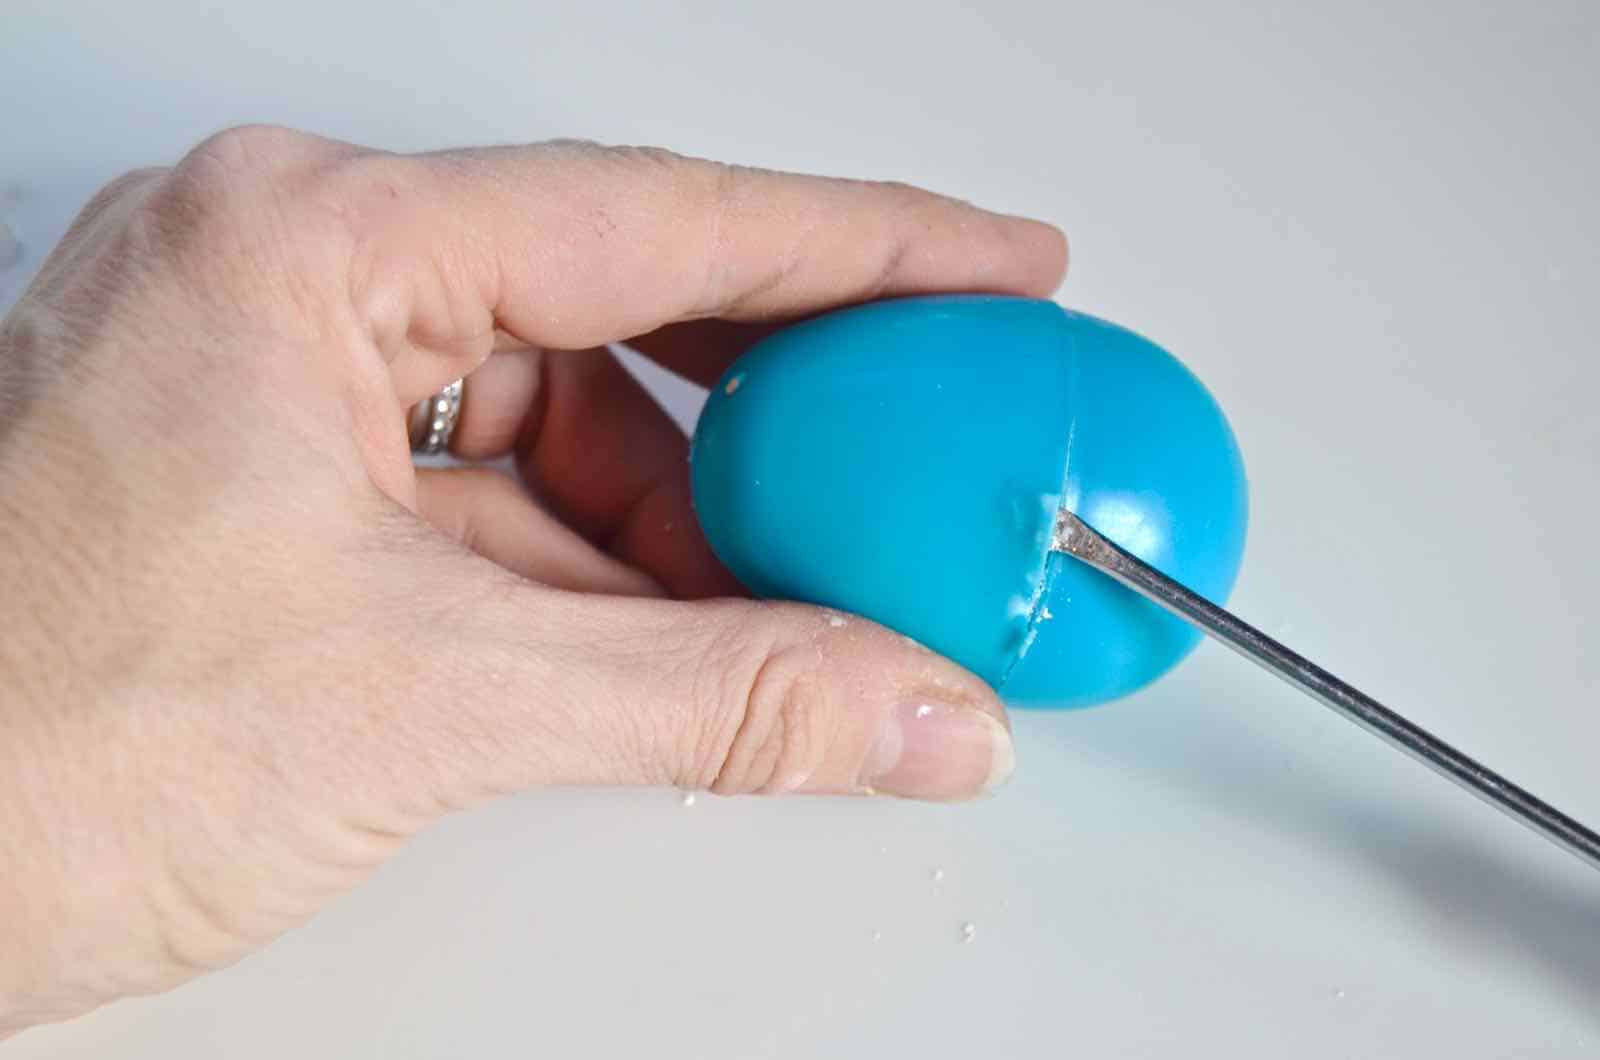
Step 1. Poke Brad Nail Through the Egg
Hold your brad nail over a flame for a few seconds and then stick it through the top of the plastic egg.
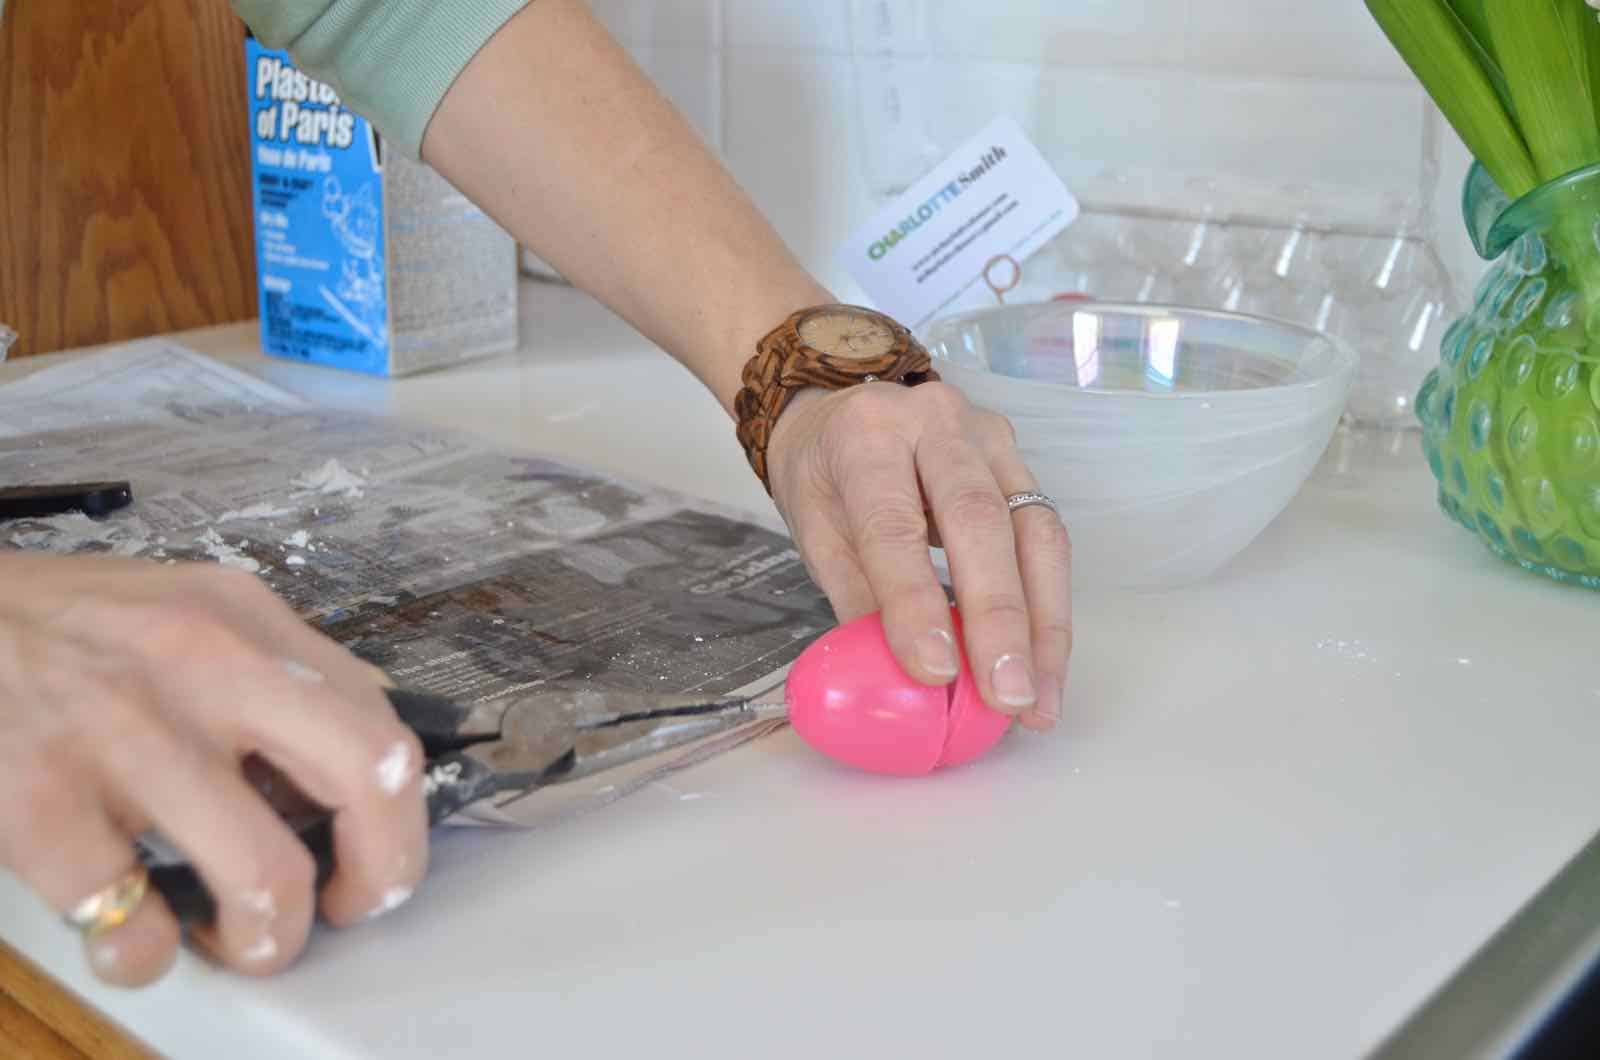
Step 2. Mix Plaster and Fill the Egg
Mix the plaster of paris. I just eyeball it, but you’re basically looking to add 2 parts plaster to 1 part water. Mix until you get the consistency of a thick milkshake!
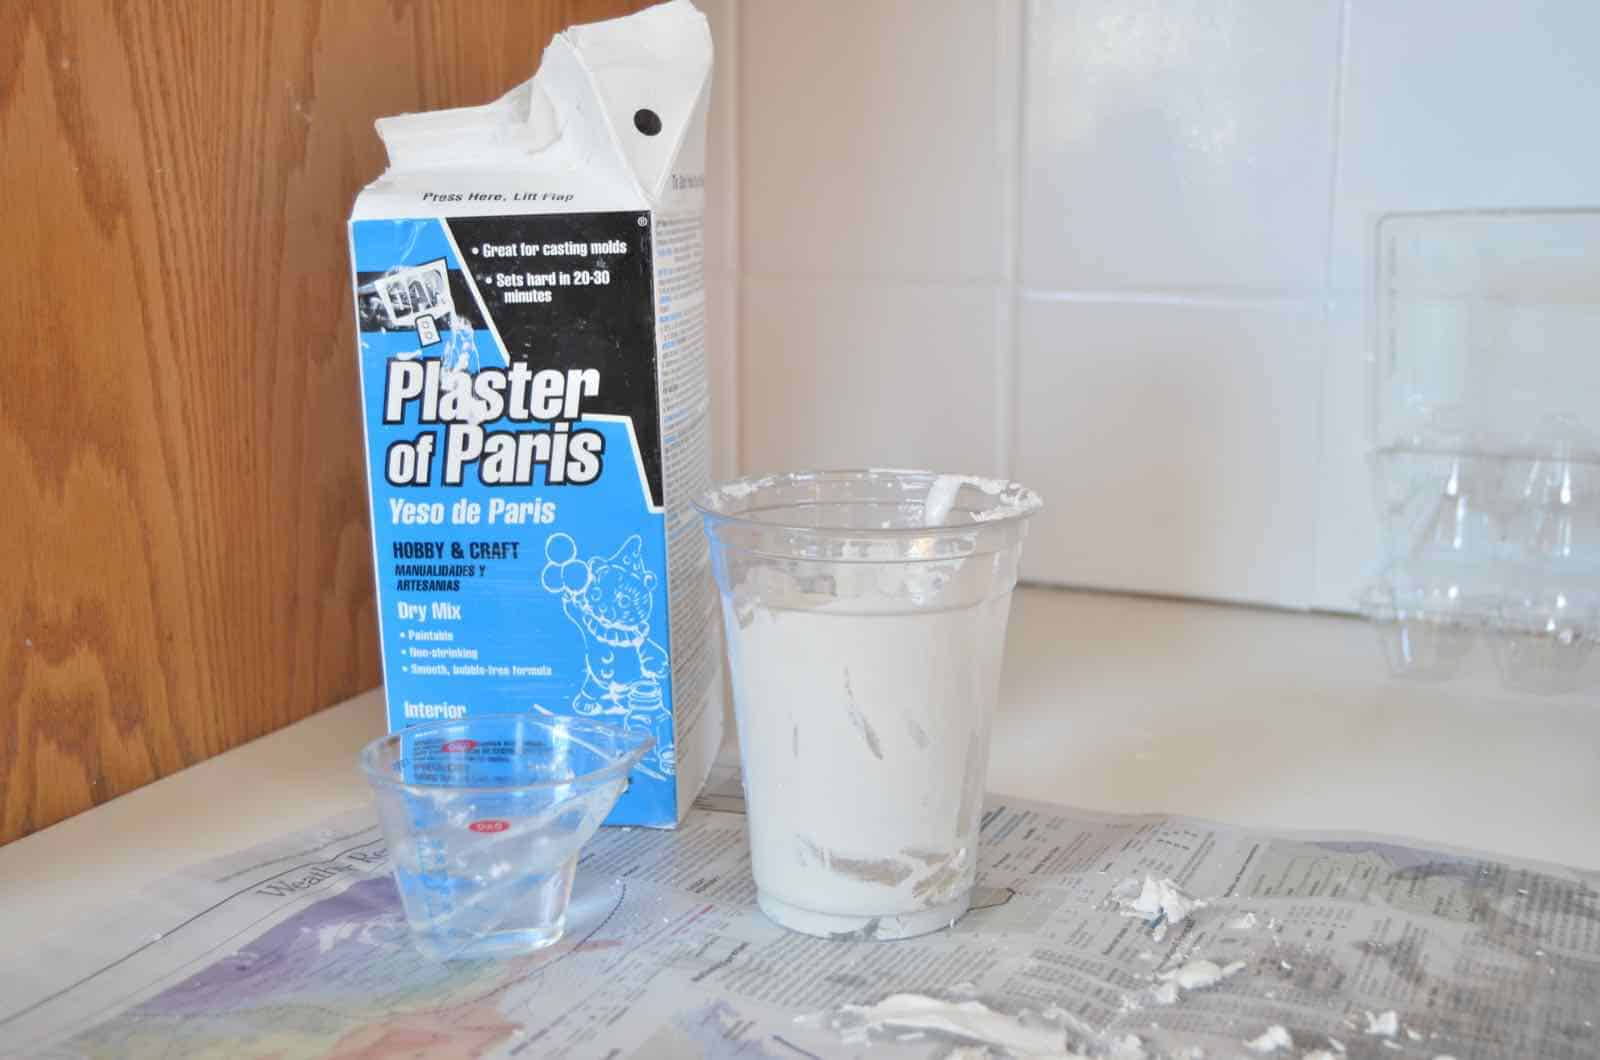
Spray the cooking oil into the plastic eggs, and fill each side with plaster. Snap the eggs back together and tap the top of the egg against a solid surface to force any air bubbles to work themselves up to the bottom. Pull the brad nail out a few millimeters and allow the plaster to set upside down for 30-60 minutes.
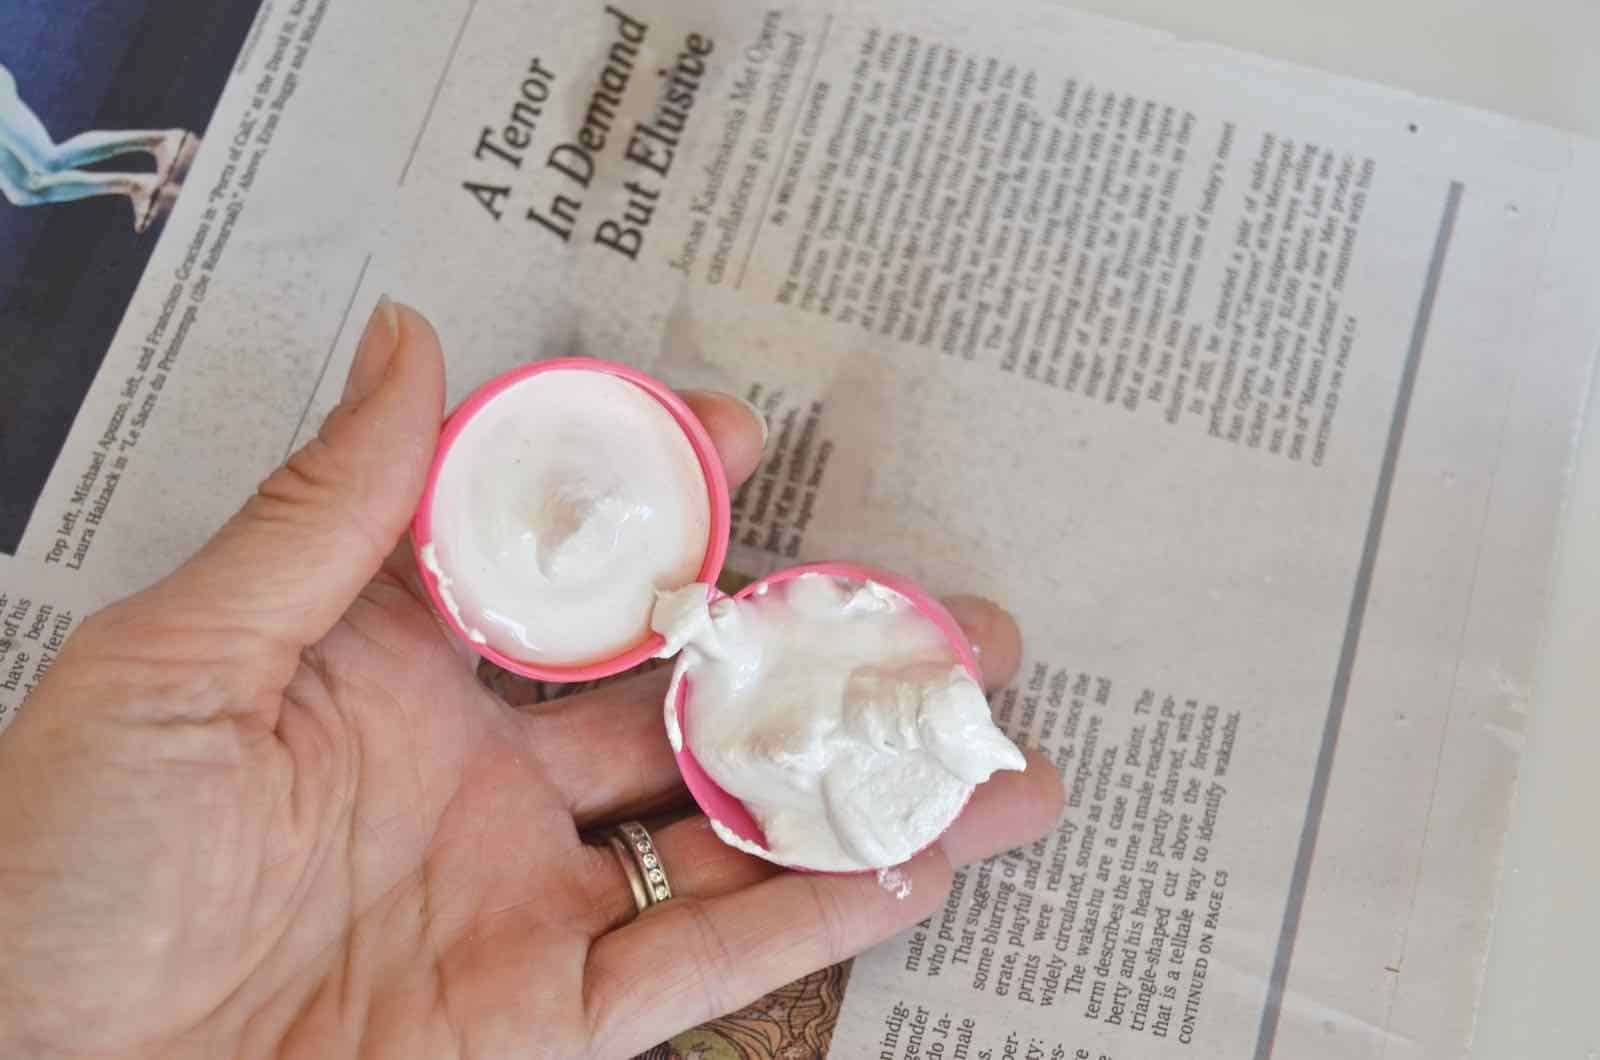
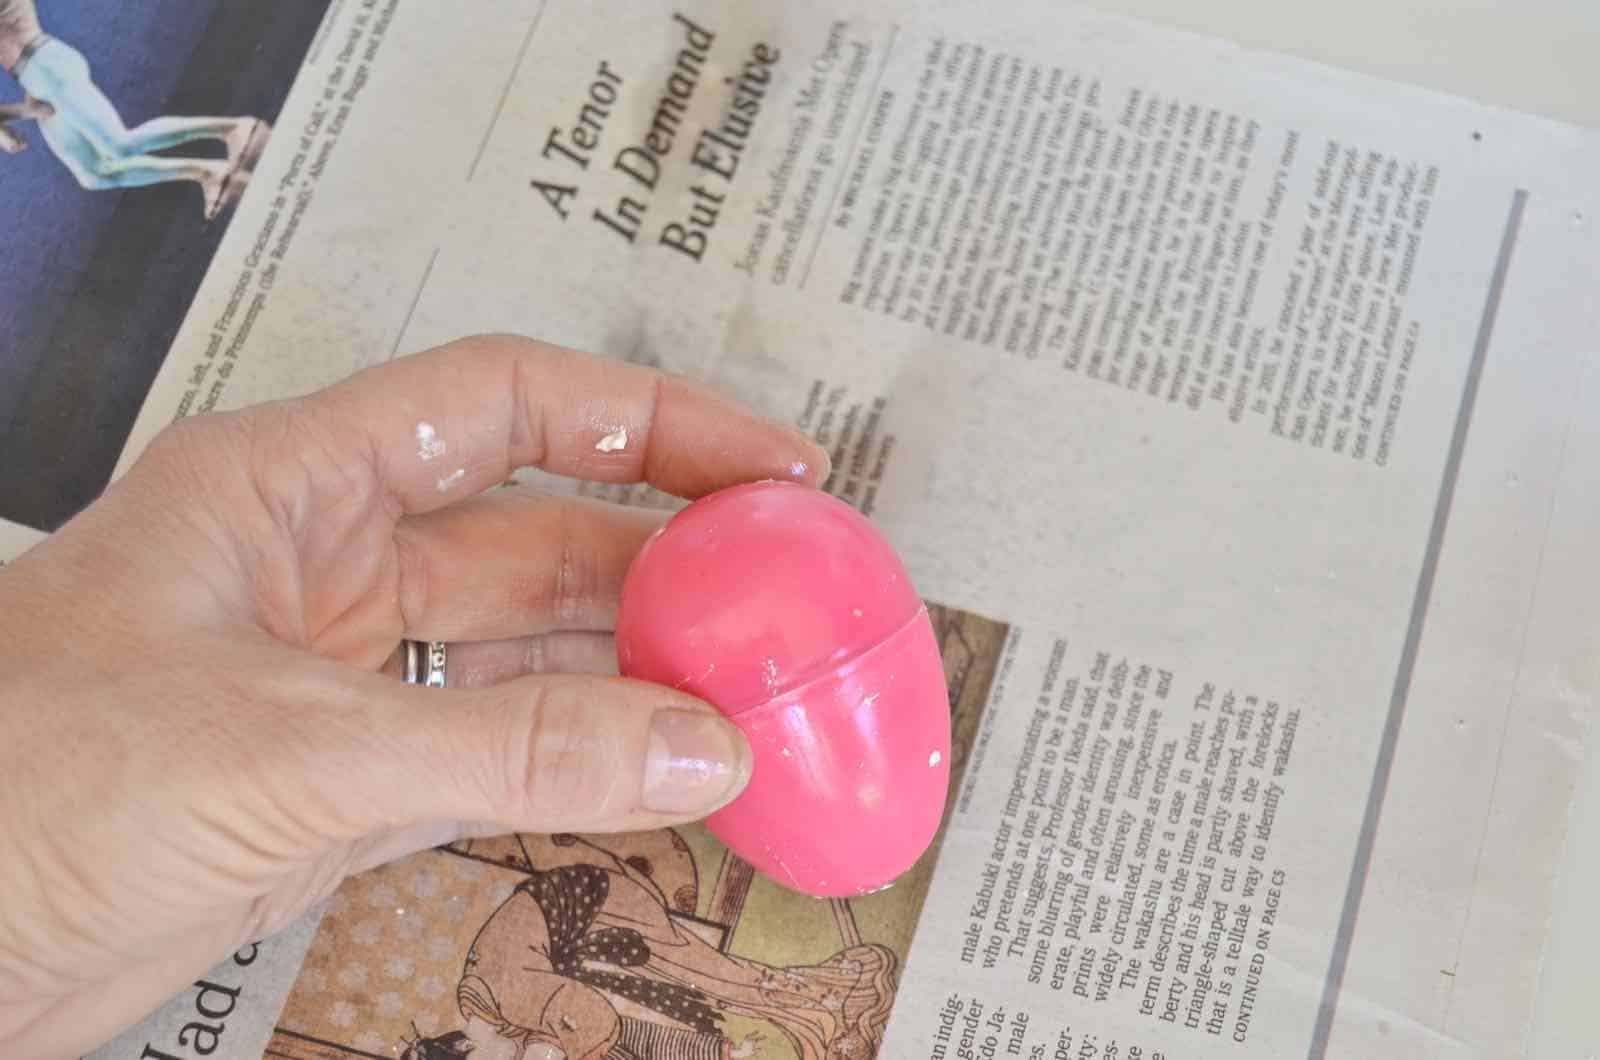
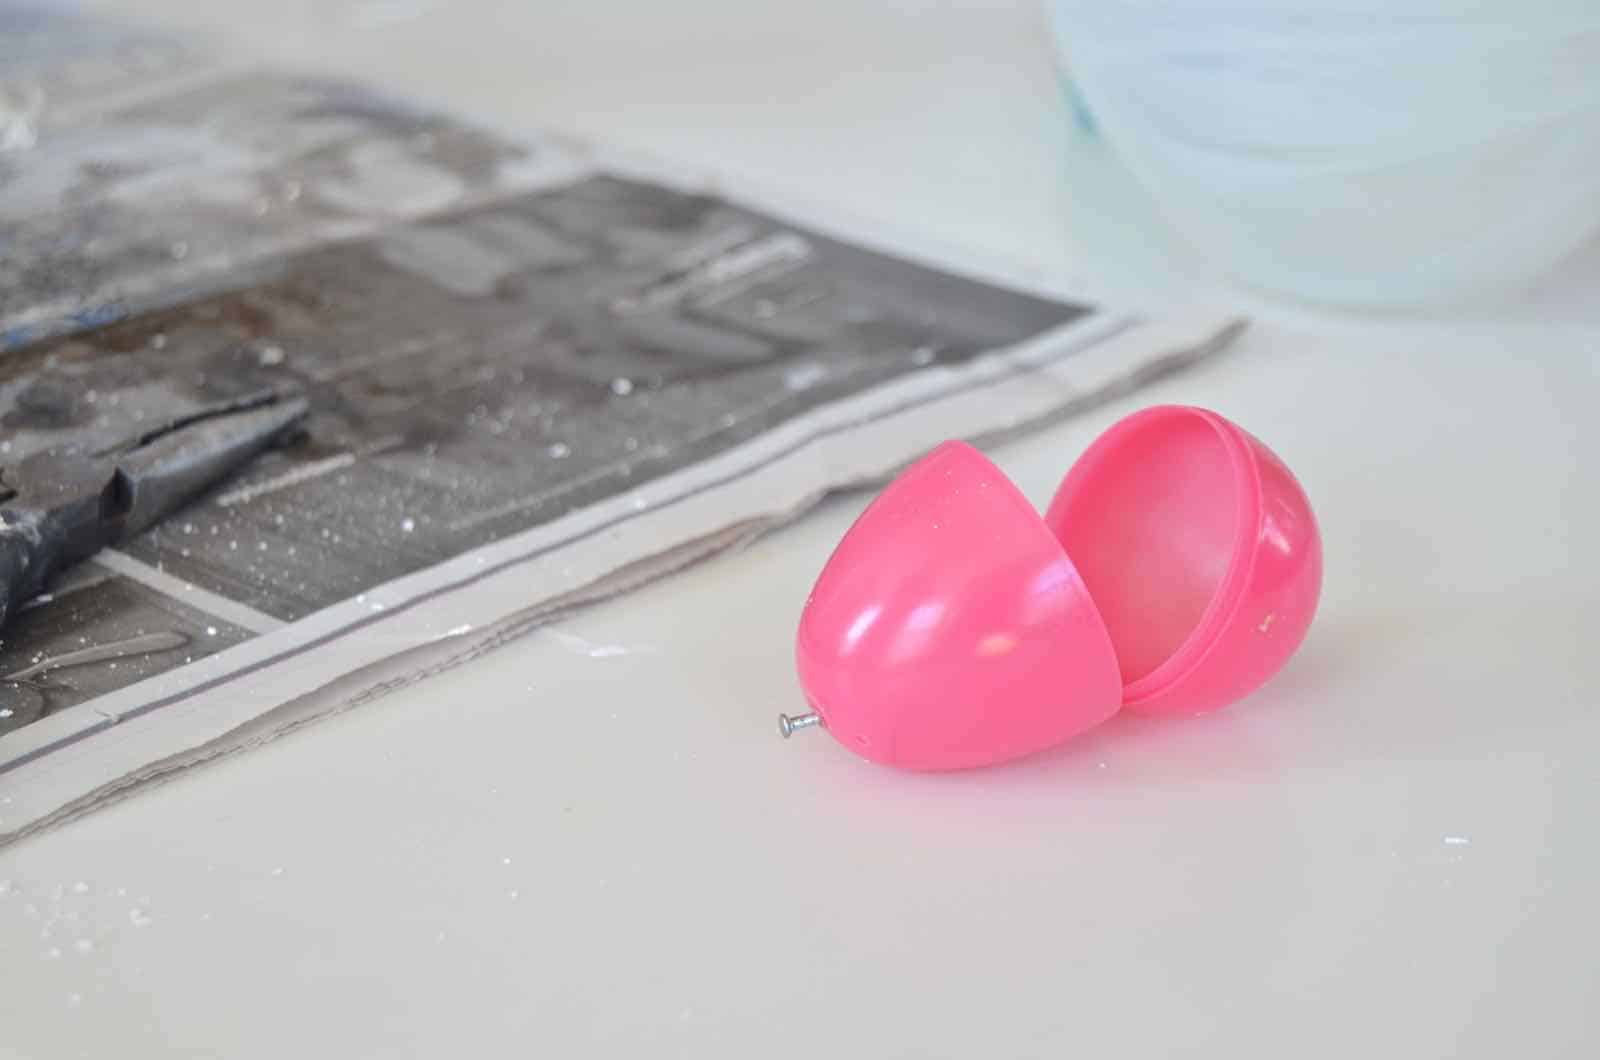
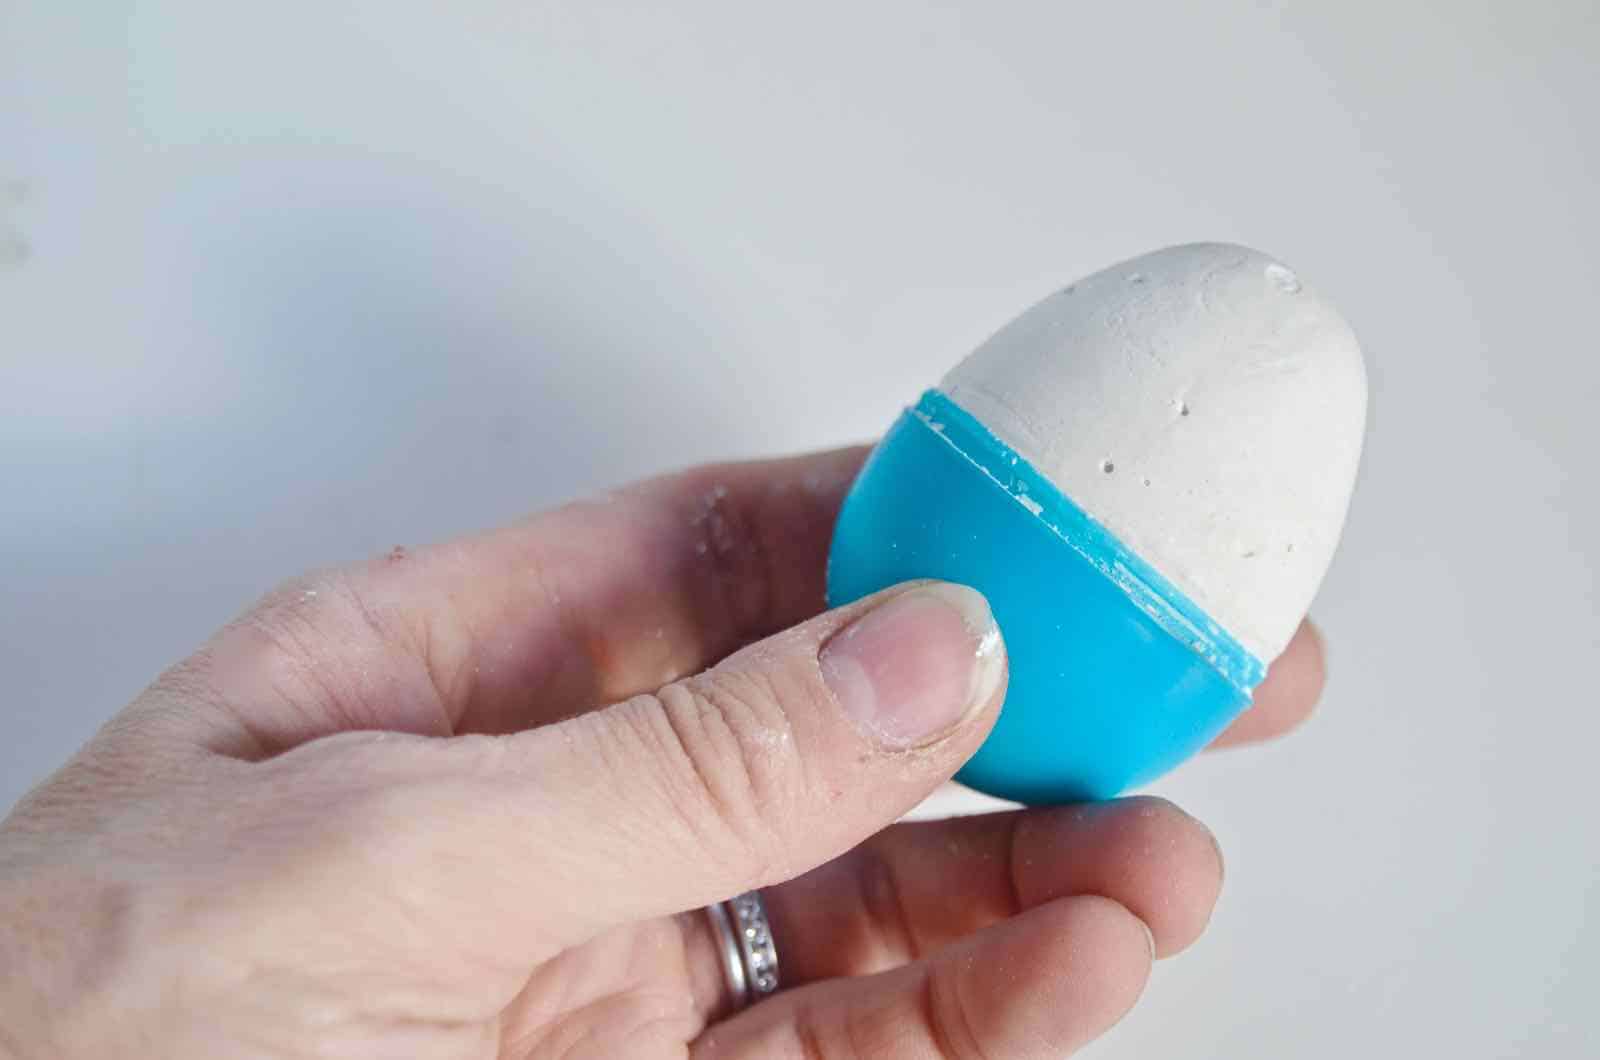
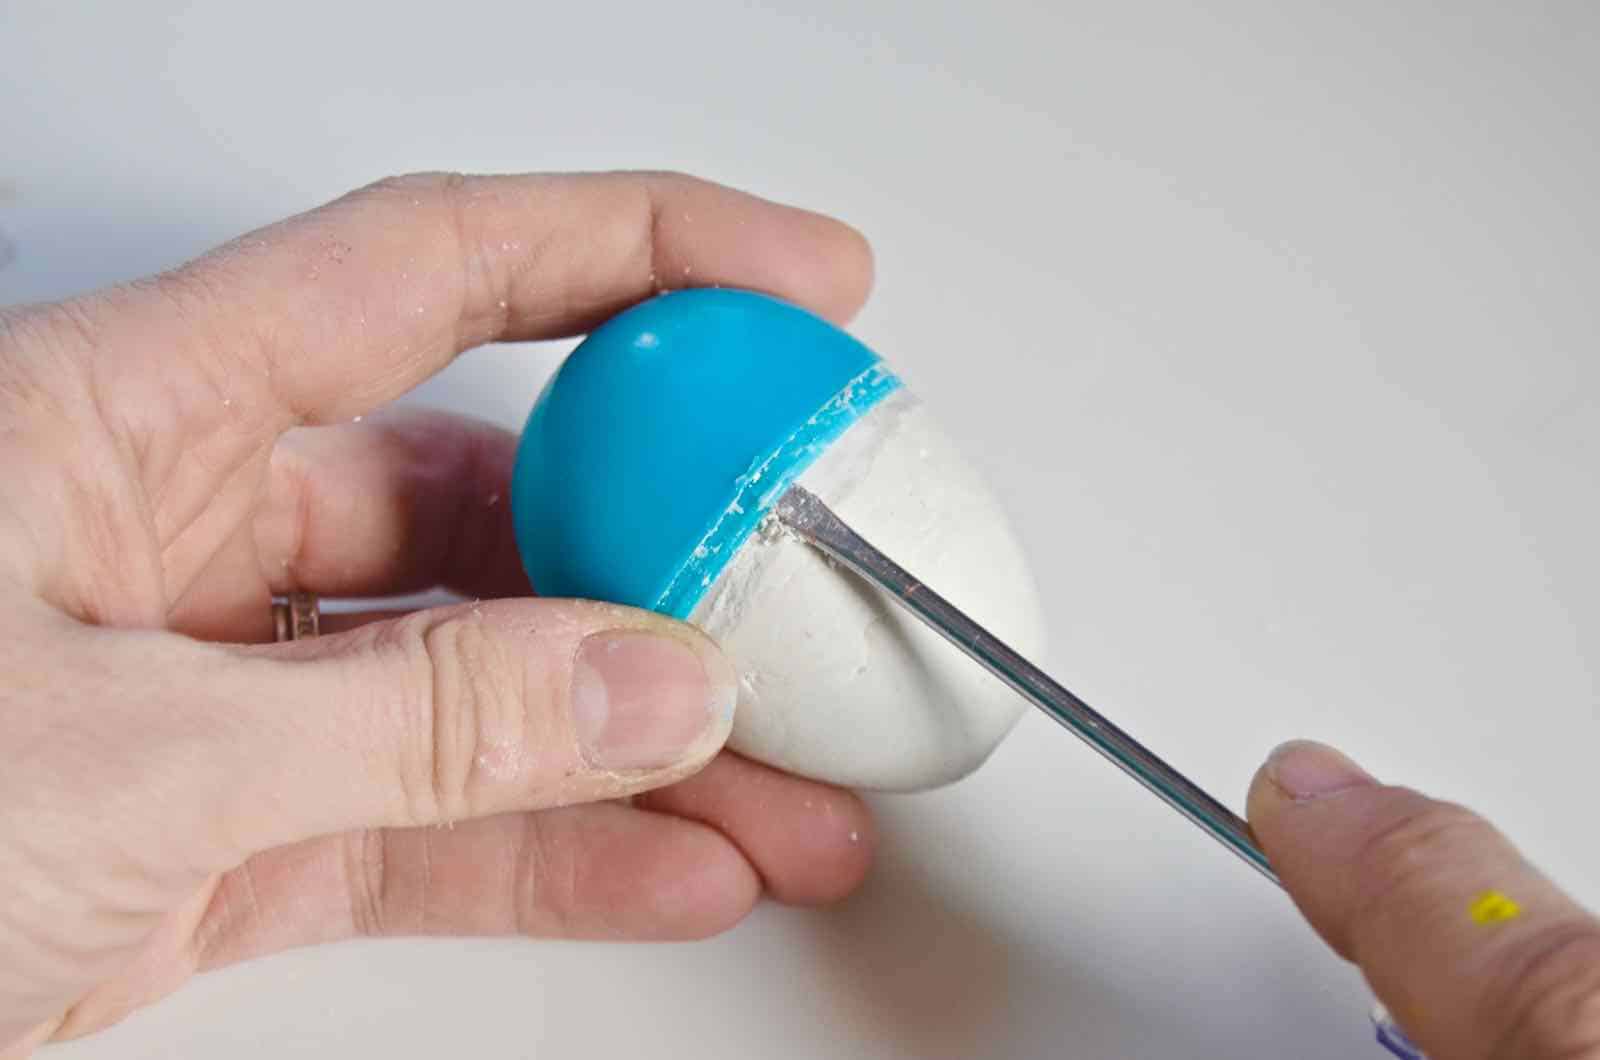
Step 3. Release Plaster from the Egg Mold
After an hour or so, remove the brad nail from the top of the egg. Using a flat head screw driver or pallet knife, run the edge between the plaster and the egg mold and work your way around slowly until the top of the egg releases from the plaster. Repeat with the bottom half of the egg.
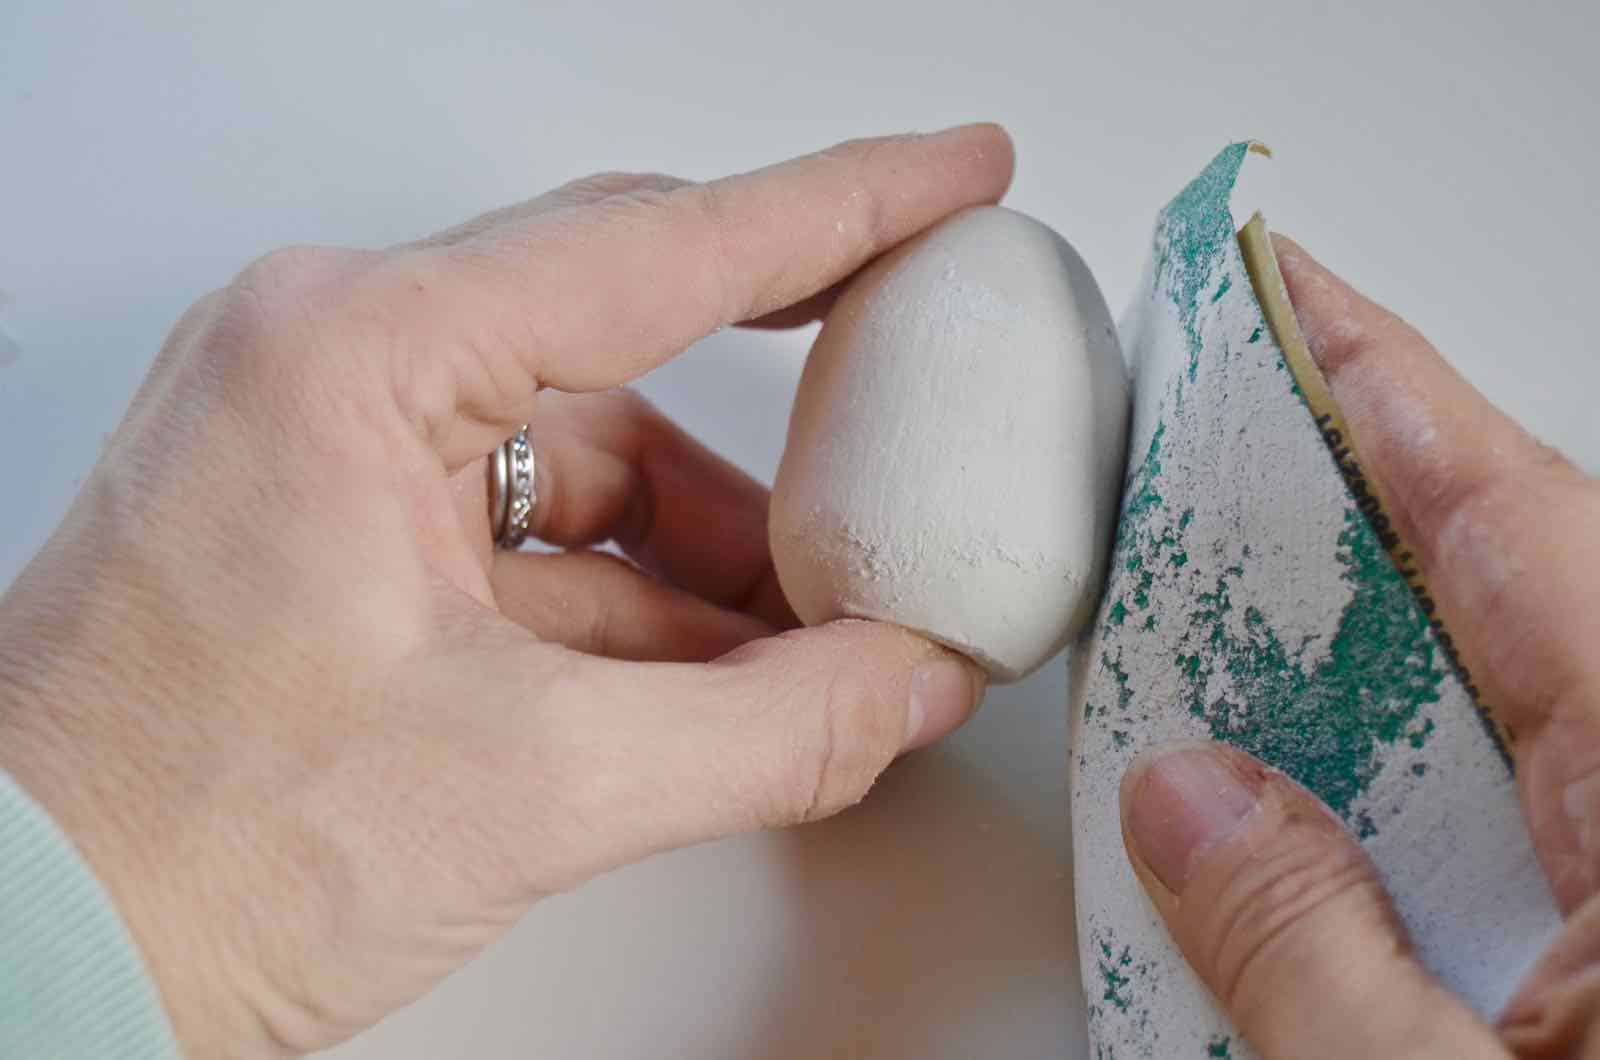
Step 4. Sand
To smooth out the sides of the egg and make the bottom flat, use a medium grit sandpaper.
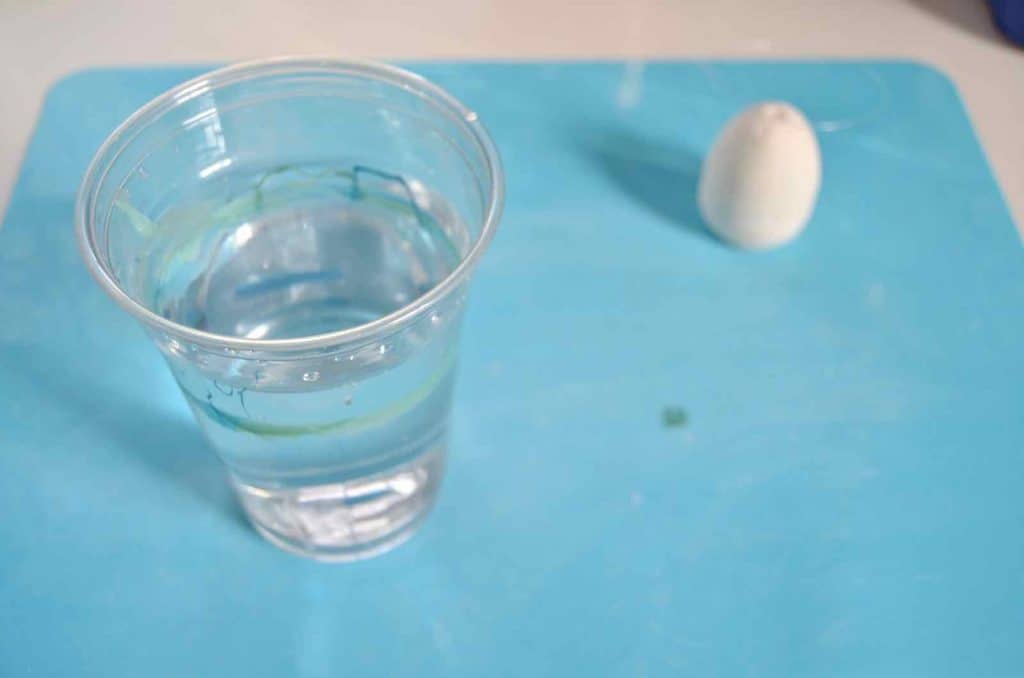
Step 5. Marbleize
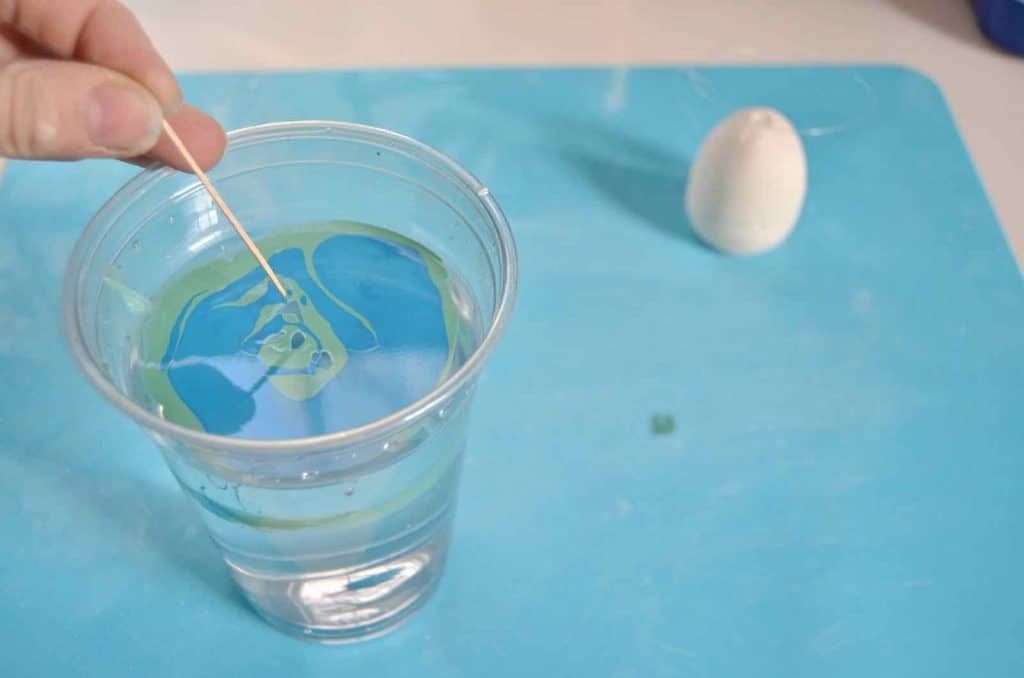
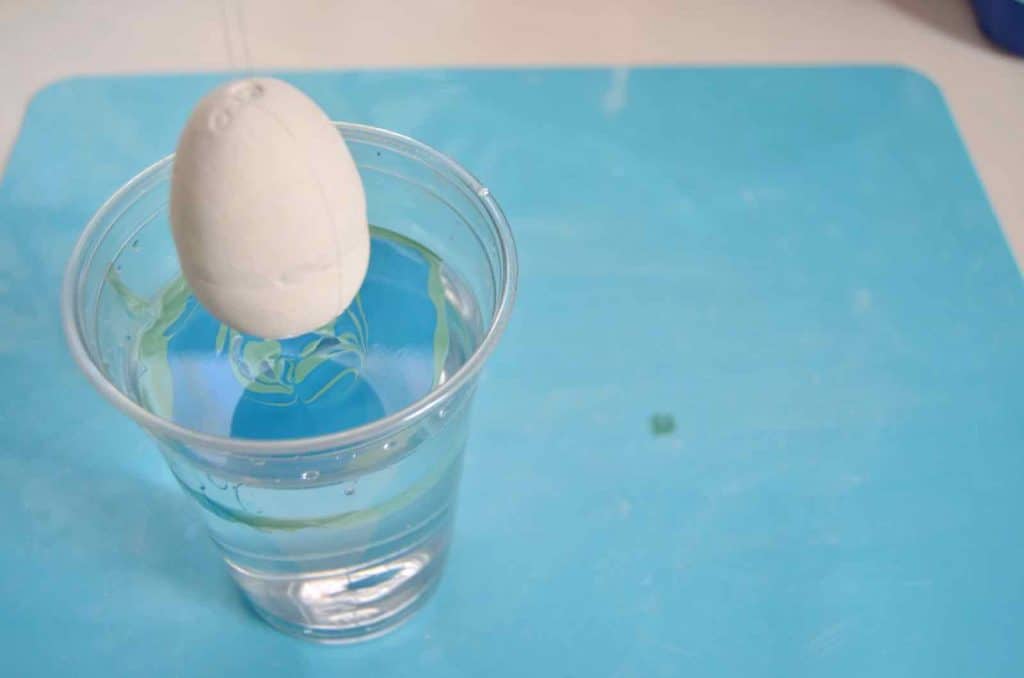
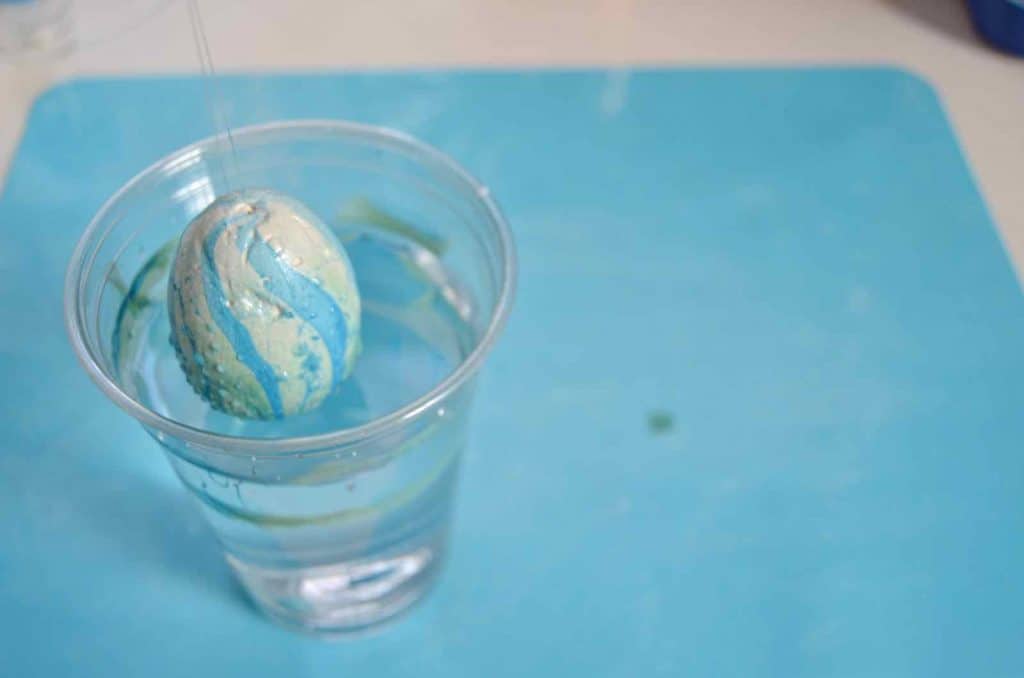
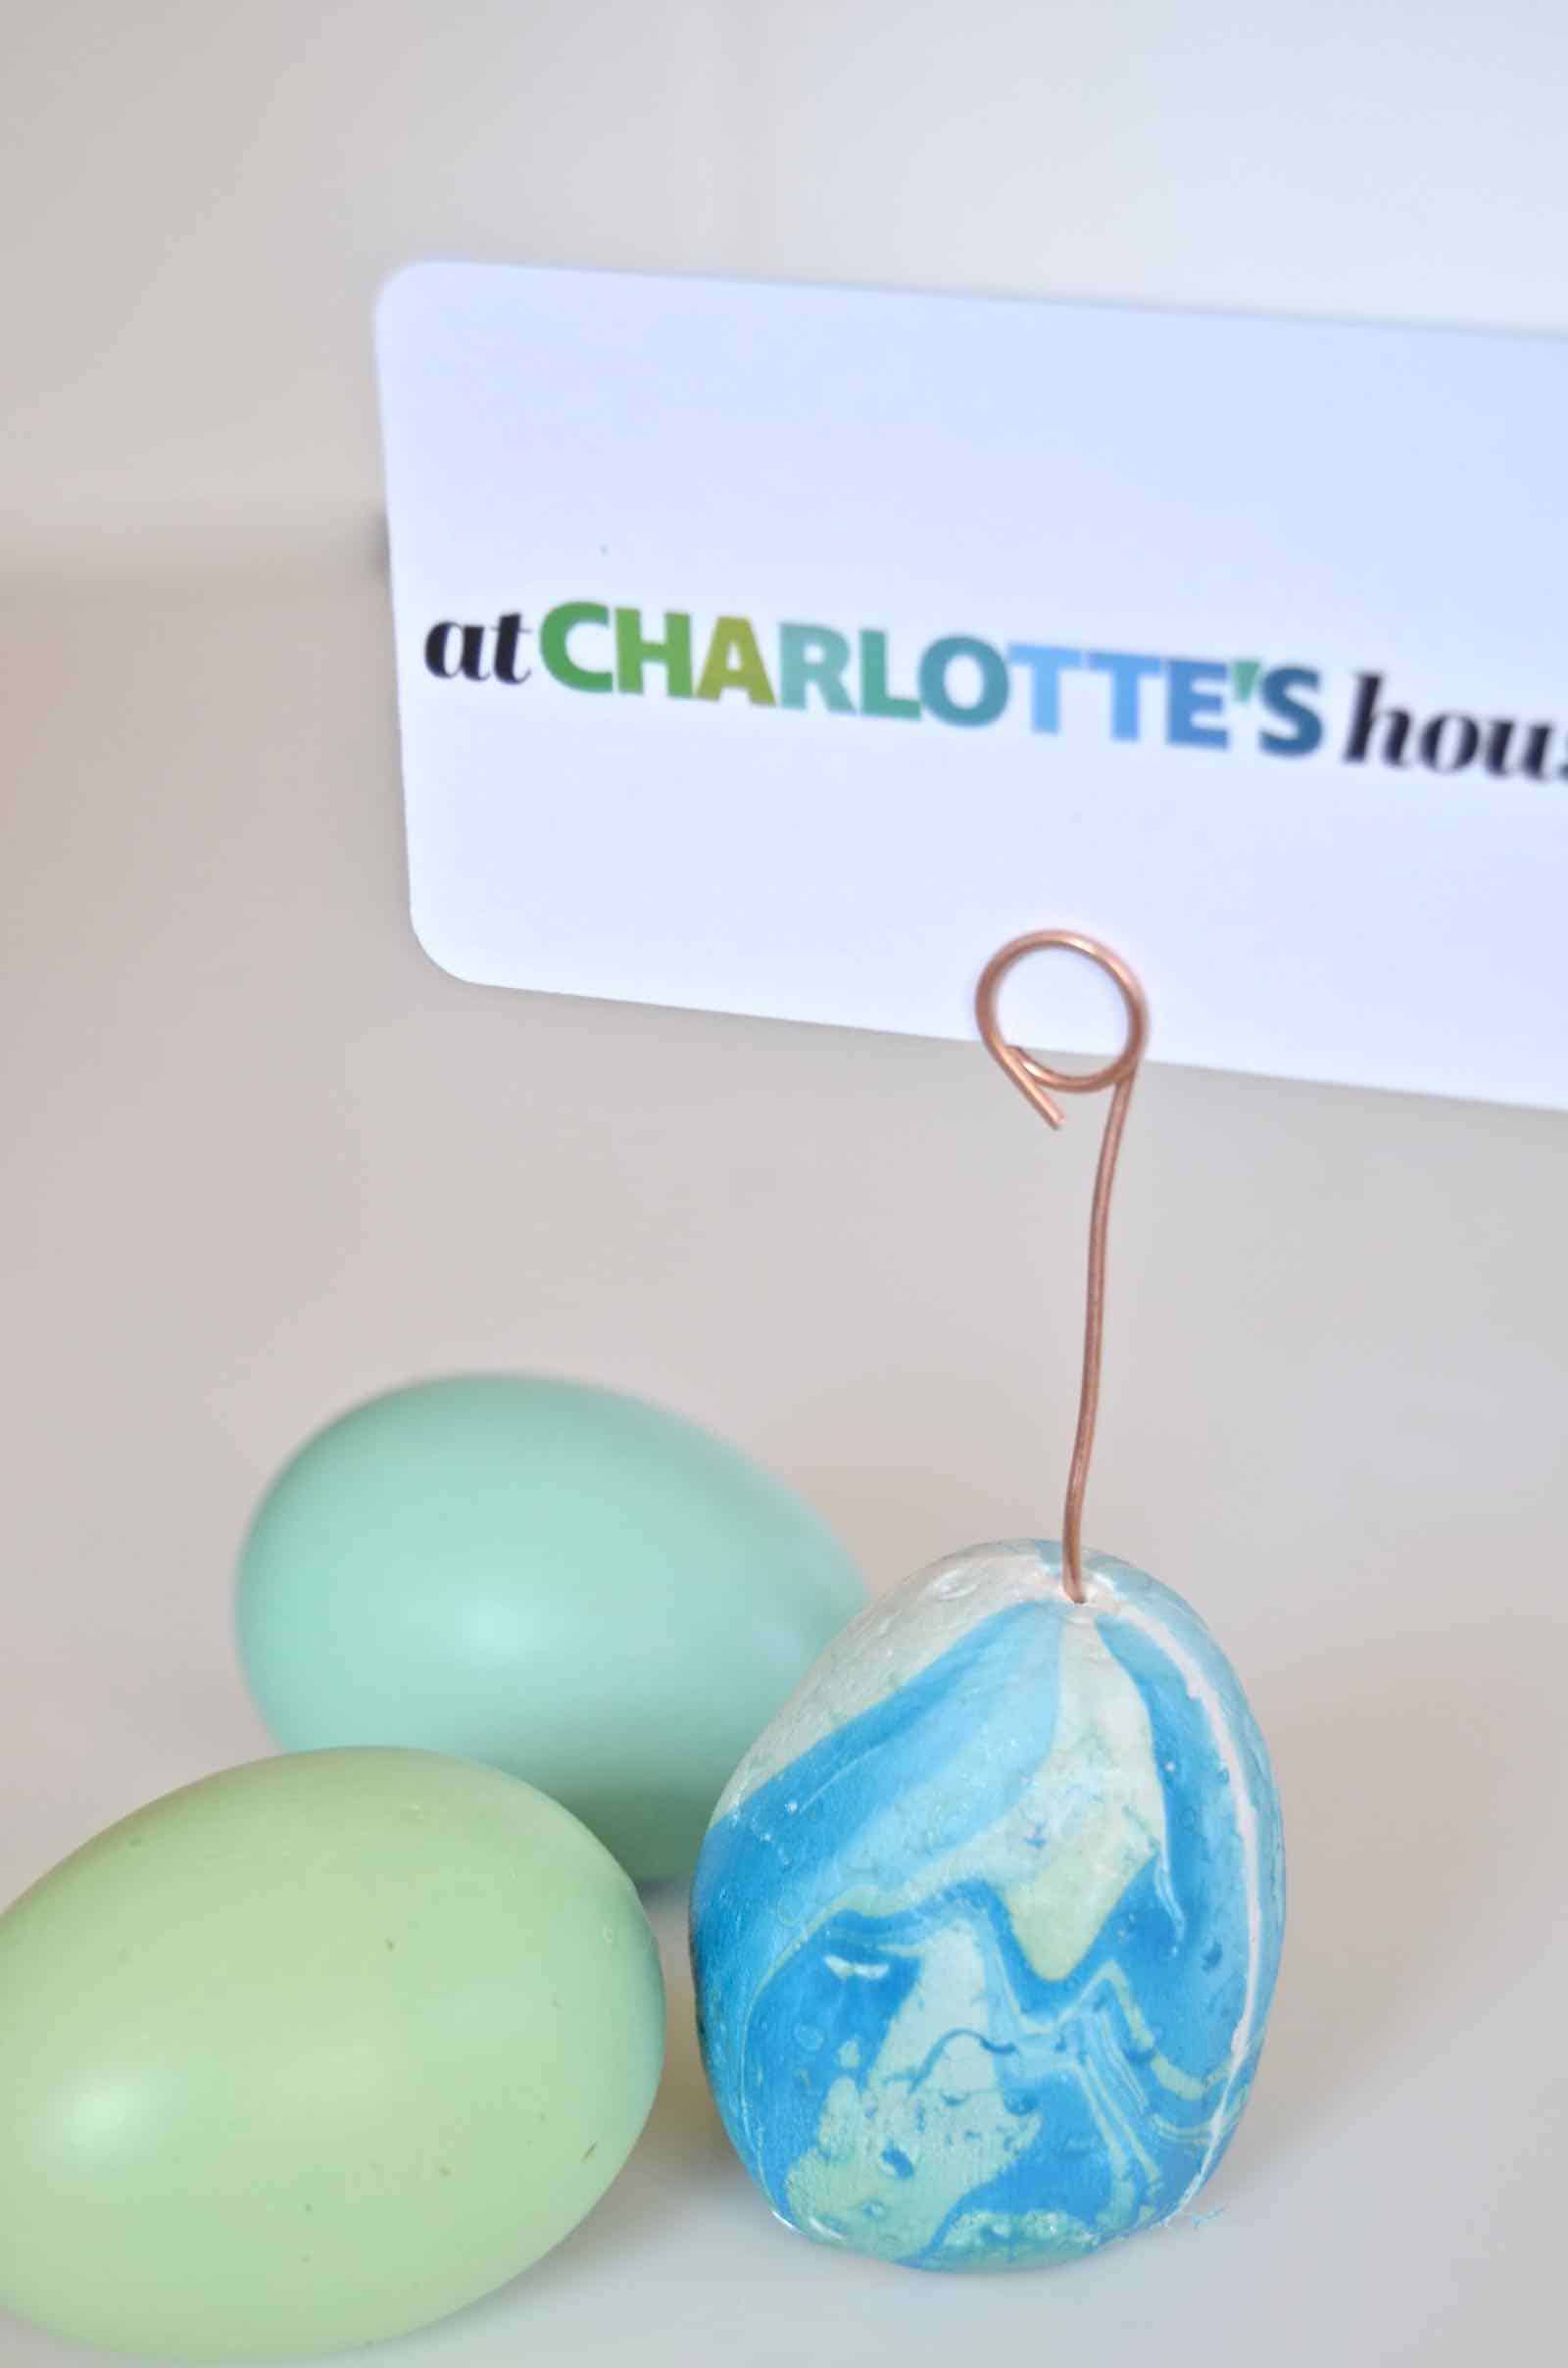
Tie a piece of string or twine around the plaster egg. Fill a plastic cup with water deep enough to cover the egg. Drizzle two or three colors of nail polish over the surface of the water. (You WILL ruin the cup so make sure it’s a disposable one!) Use a toothpick to lightly swirl the nail polish across the surface of the water. Holding the string, dip the egg down through the nail polish and slowly pull it back out. You should be left with a beautiful marbled pattern! Hang your egg to dry.
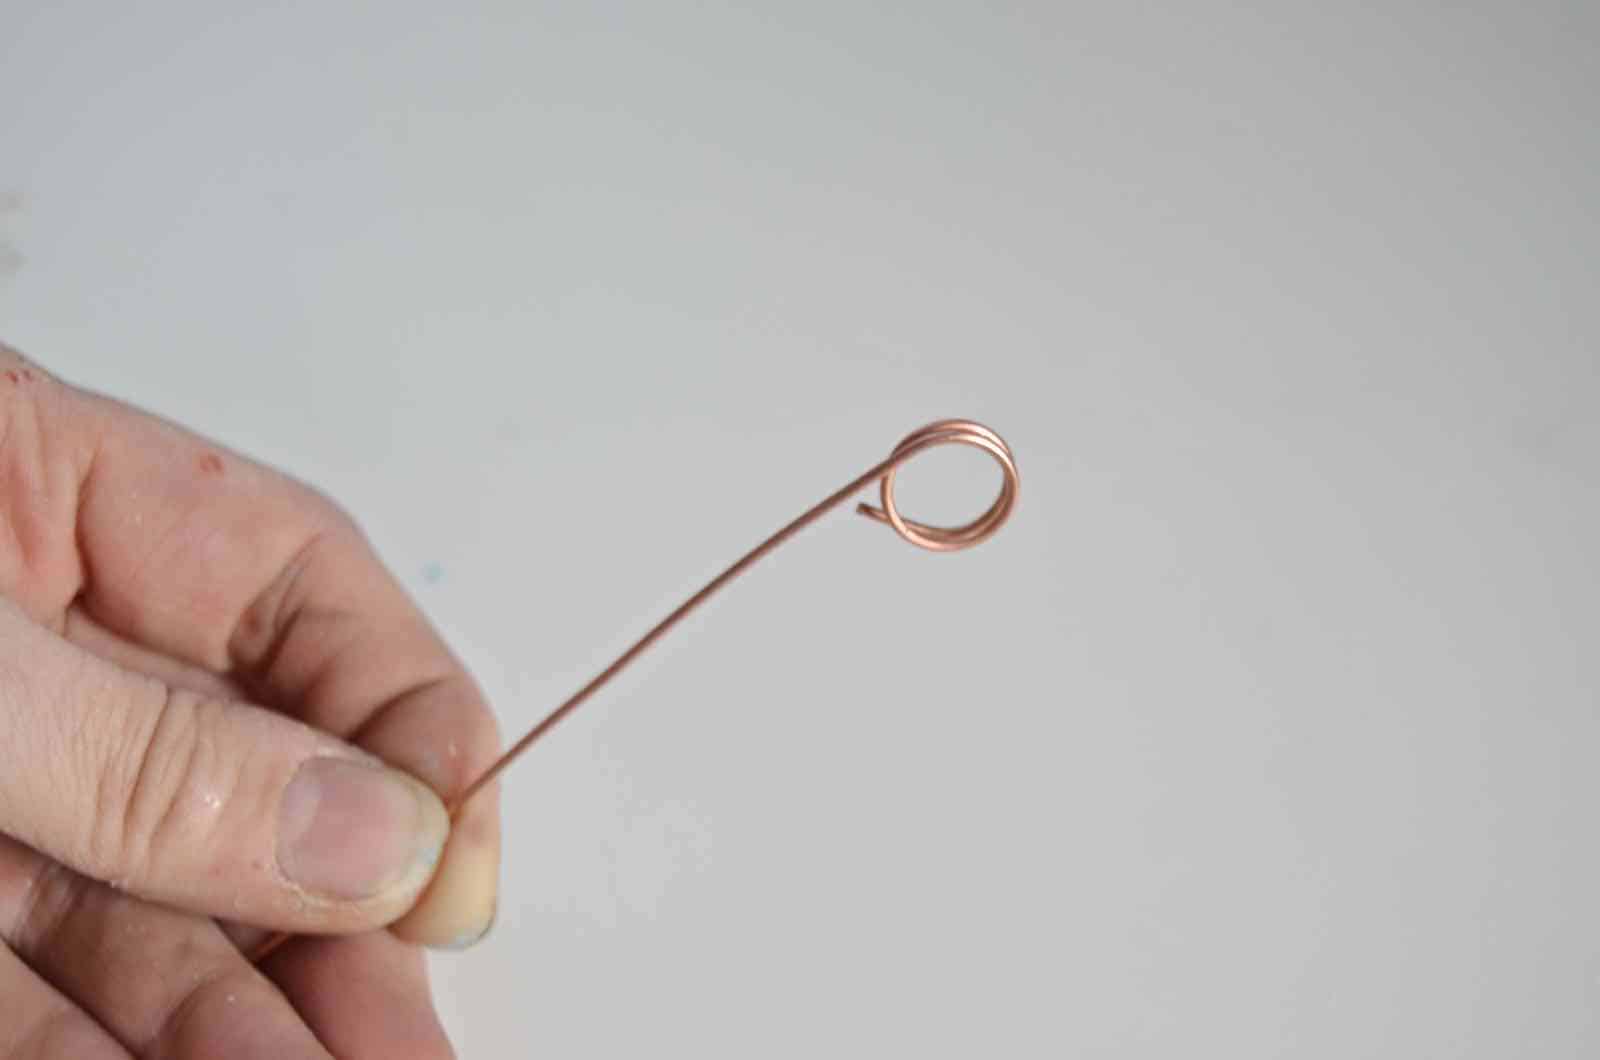
Step 6. Make Wire Place Card Holder
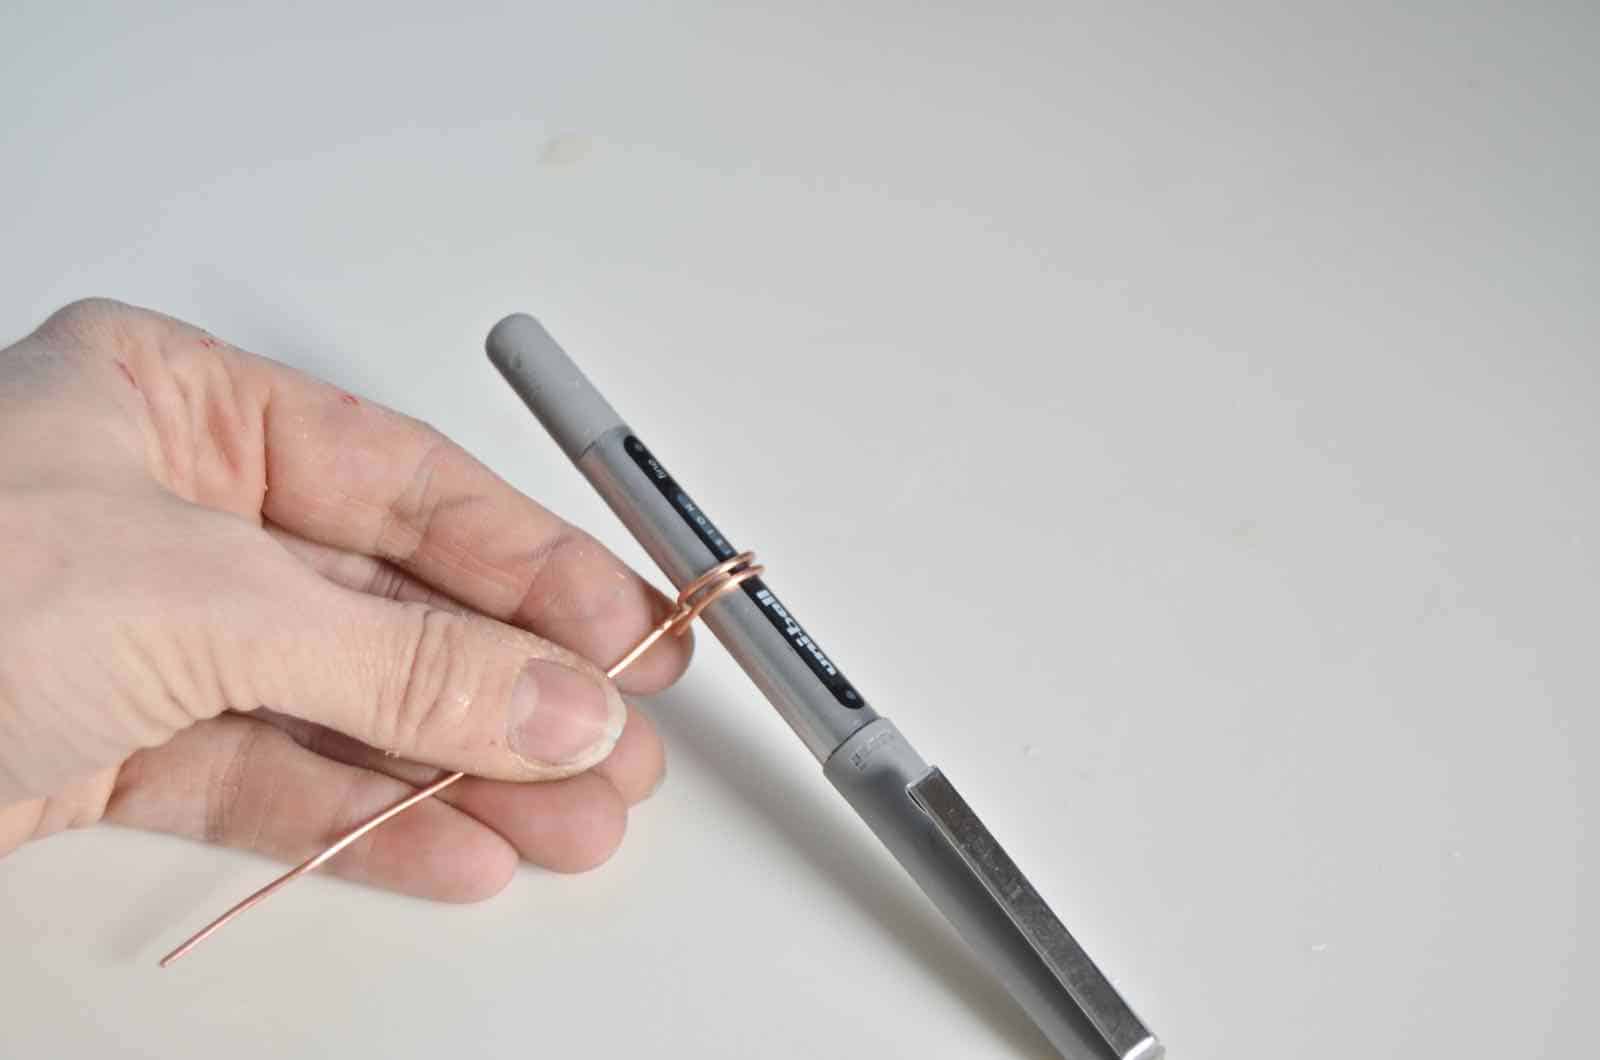
When the egg has dried, cut 6-inches of wire and wrap one end around a pen or pencil two times. Stick the other end into the top of the egg and you’re ready to set the table!
Materials for Easter Egg Place Card Holders
- (Affiliate links included for your convenience)
- Plaster of Paris
- Cooking Spray
- Plastic Easter Eggs
- Brad Nails
- Copper Wire
- Nail Polish
- String/ Twine
- Flat Head Screw Driver
Tune in next week to see the full table scape! I’ll also be sharing my plans for our new master bathroom so check back in later in the week for that too!


Don’t Miss Out
Become An Insider!
Signup for exclusive tips, and tricks from Charlotte’s House!
Let’s chat!
I love comments from you, so feel free to leave your thoughts and ideas below! And don’t forget to follow me on Instagram for even more!