Outdoor Rope Bench- 2×4 and More with Remodelaholic
Psssst… this post *might* contain affiliate links: see my disclosure here.
A few weeks ago I shared our colorful fixed up back porch. Despite all the new furniture and new styling, I was still missing one seat. I wanted to seat 6 real-live adults out there, and perching on one of the ottomans didn’t seem like the best solution. Thank goodness for Remodelaholic and her 2×4 and More challenge… I had an excuse to BUILD SOMETHING! I figured that a bench might be the perfect solution for that space because it would allow for two people’s booties to perch but wouldn’t take up the visual space that a pair of chairs with higher backs would. With that in mind… the wheels started turning.
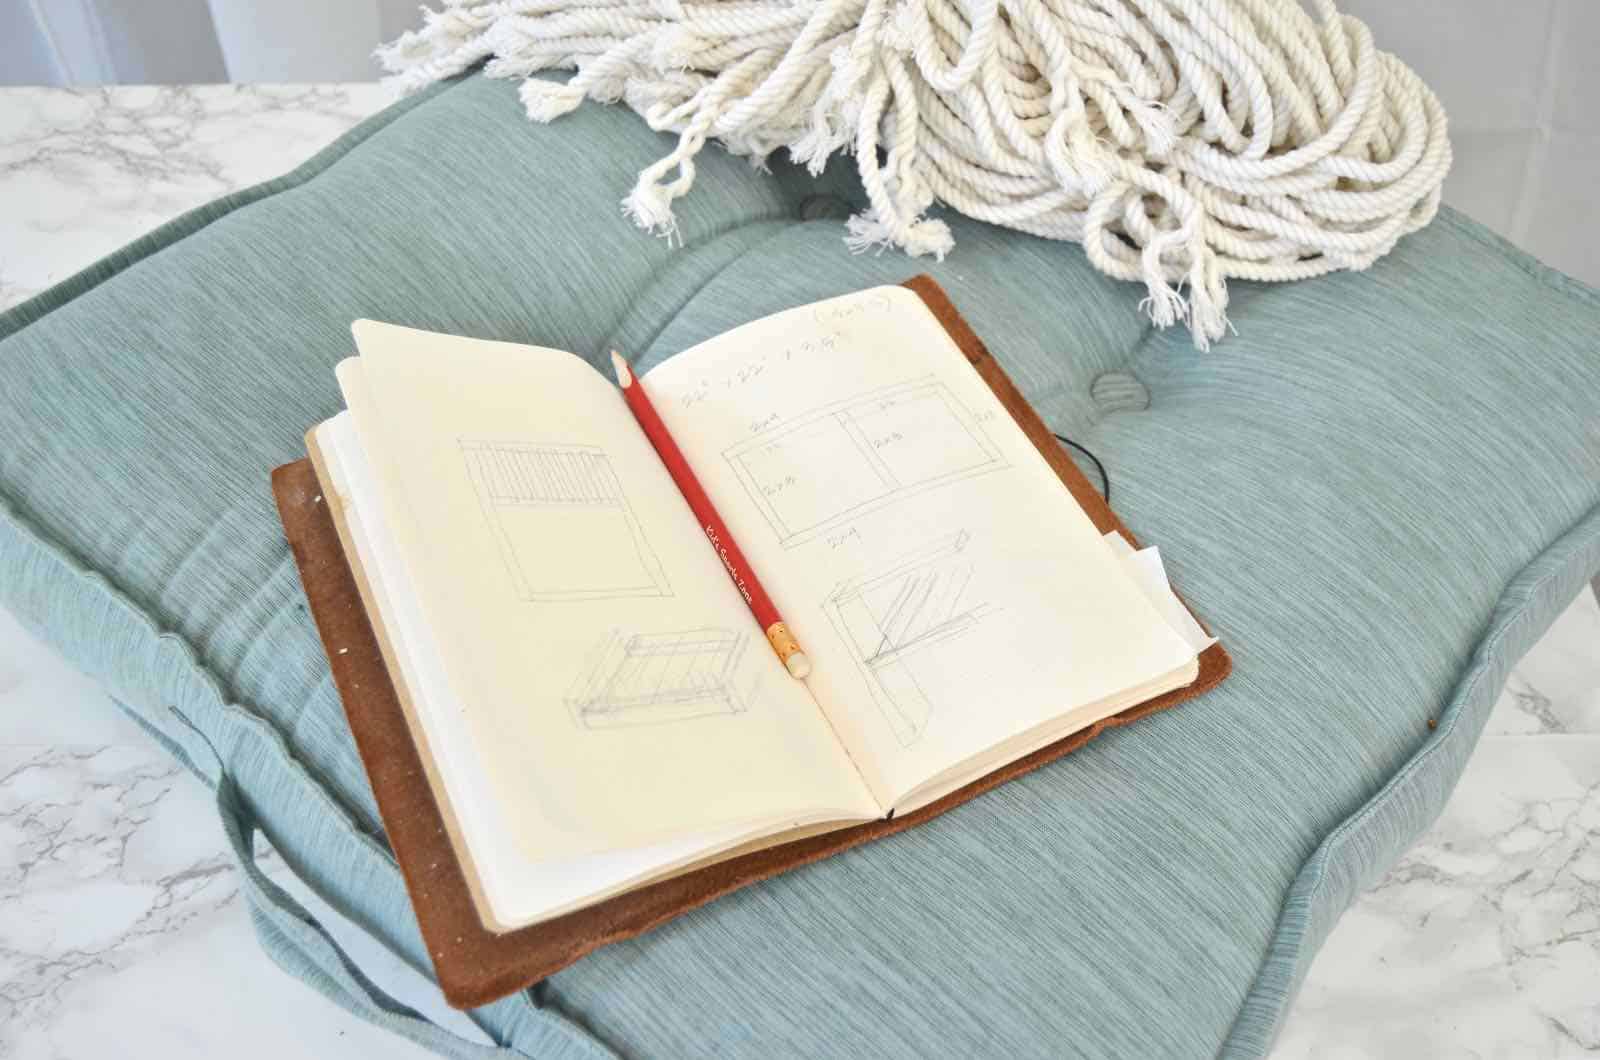
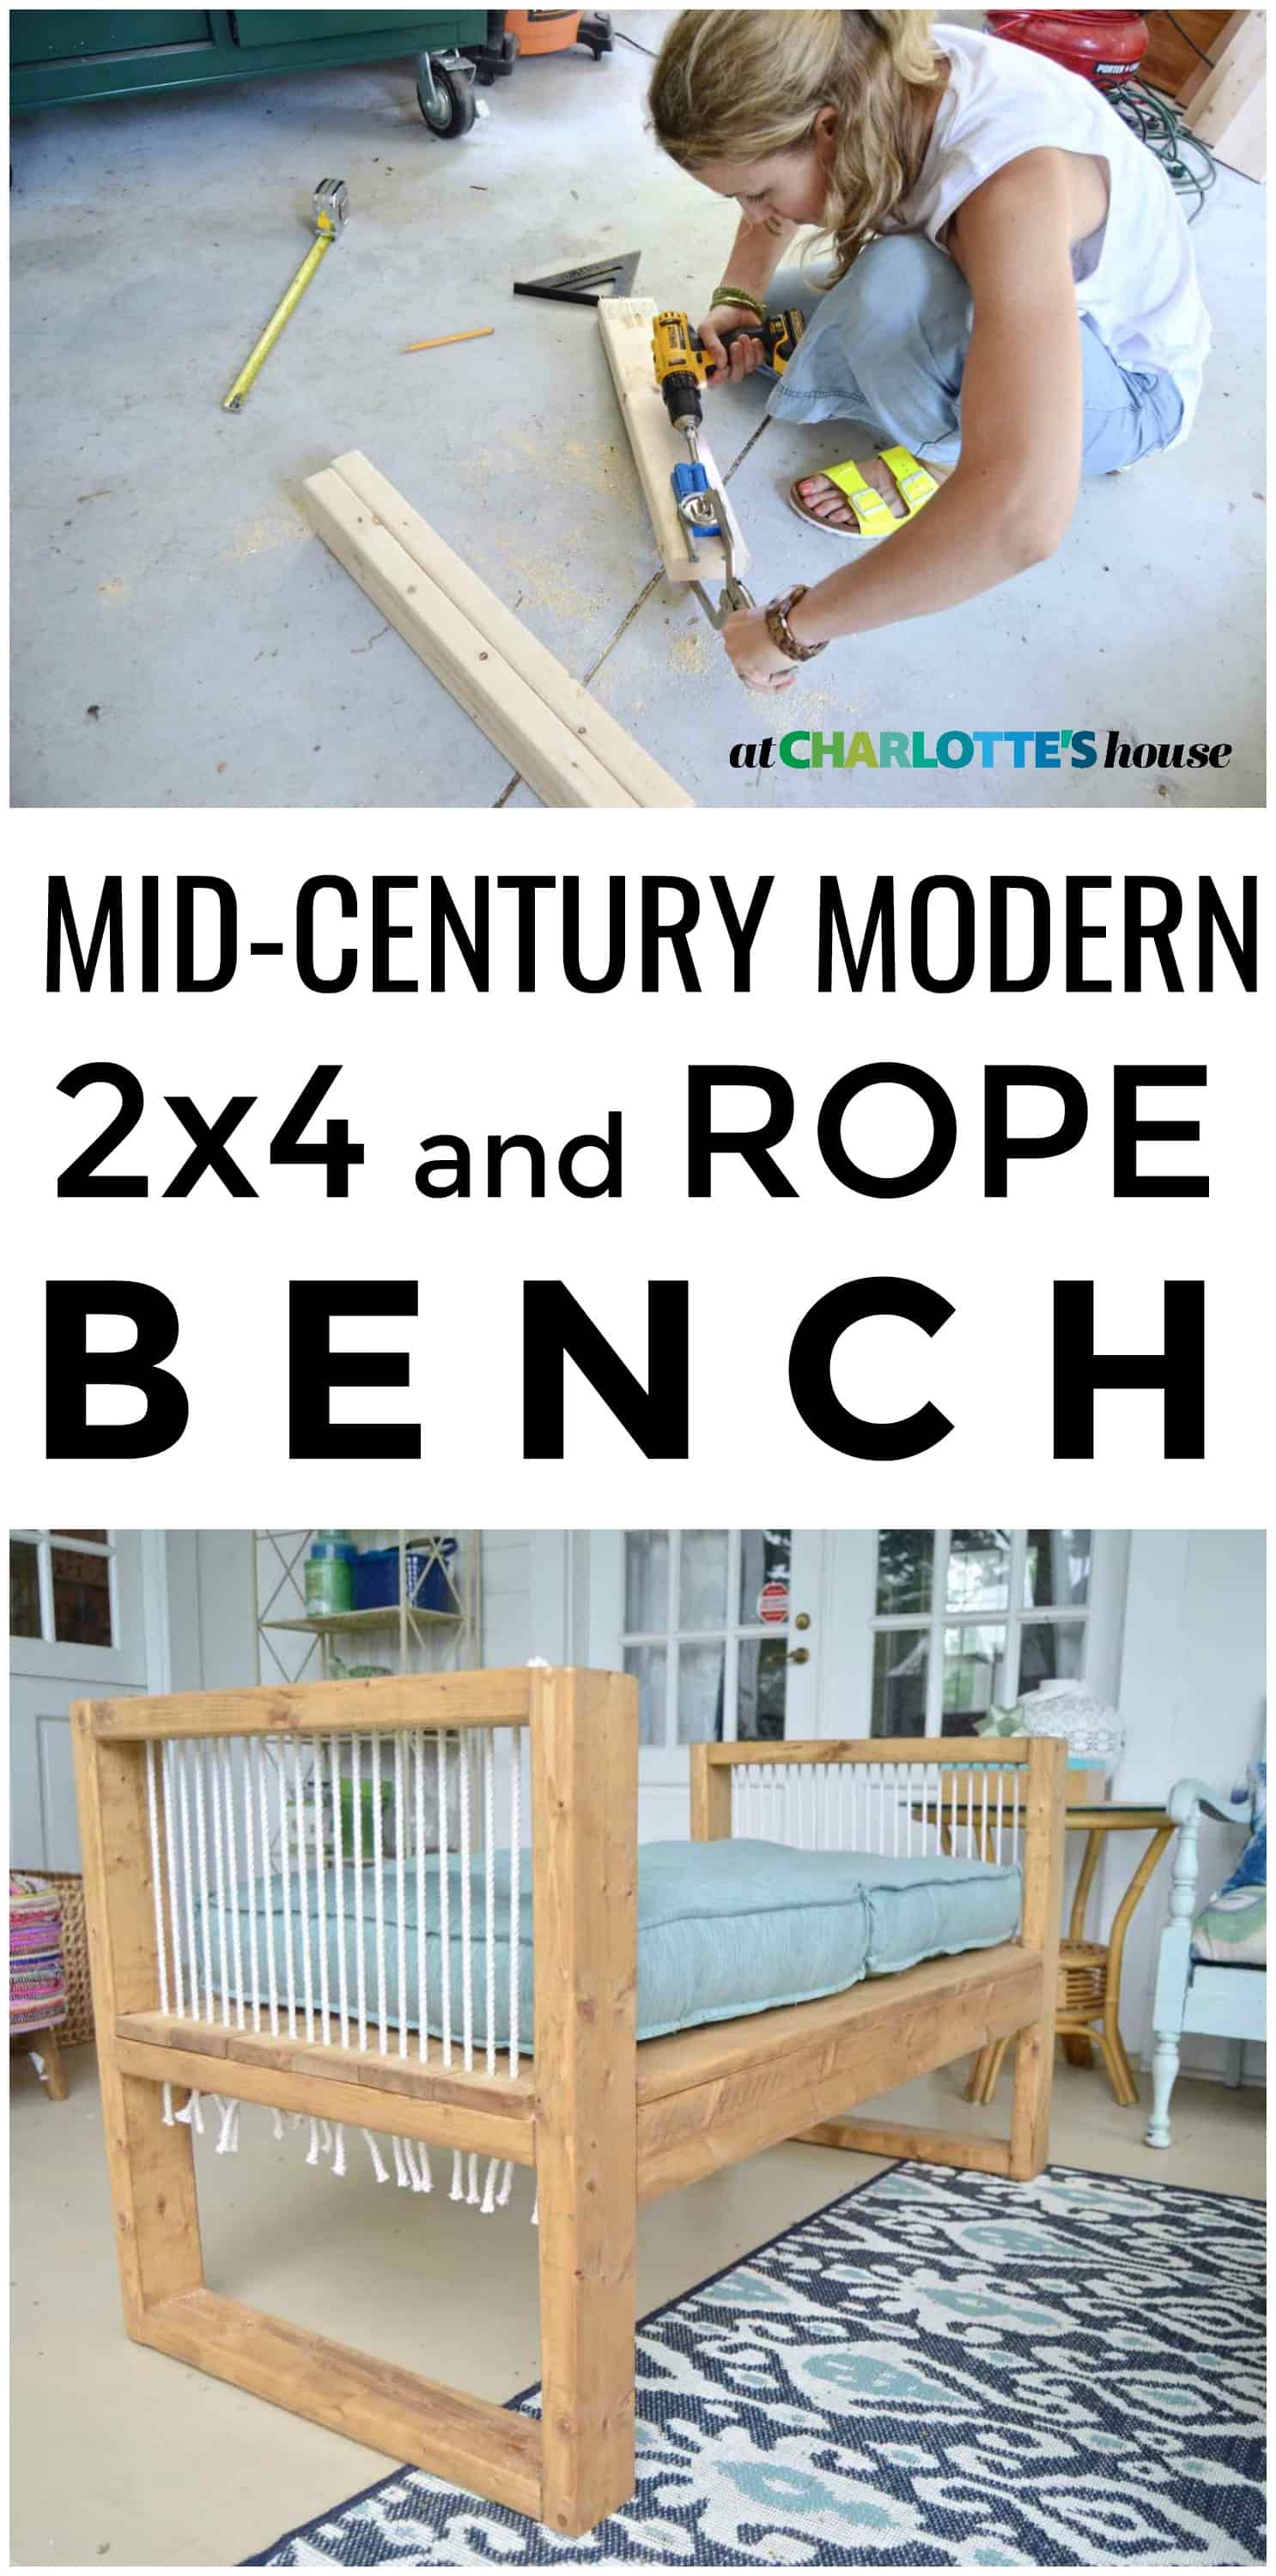
How to Build a 2×4 MCM Rope Bench
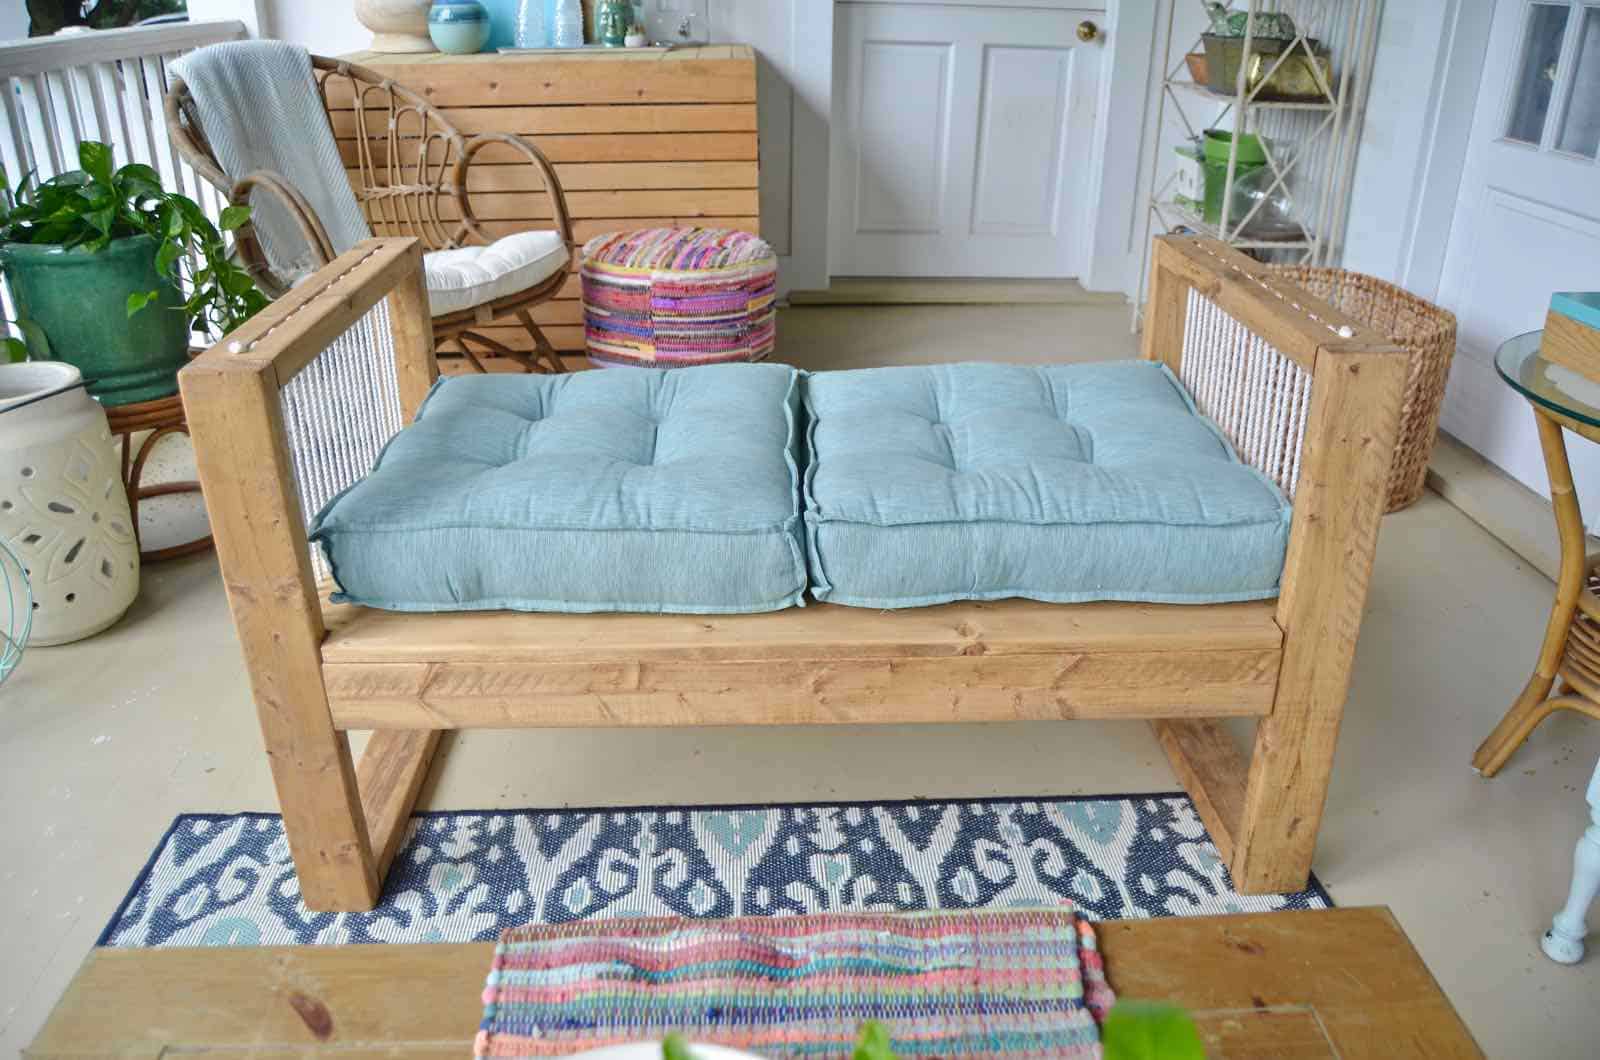
Wanna know what’s awesome about 2x4s? They’re SO. CHEAP. A full materials and cut list is at the end of the post, but the whole thing was under $50 (not including the cushions… those were extra.) Last summer, I pinned a bunch of day beds and the one thing they all had in common was the tufted vintage-feeling mattress. For the porch, I didn’t have room for a full day bed, but I found these (affiliate) amazing indoor/outdoor floor cushions at World Market and I built the bench around them.
Shop my favorites!
Step 1: Build Bench Ends
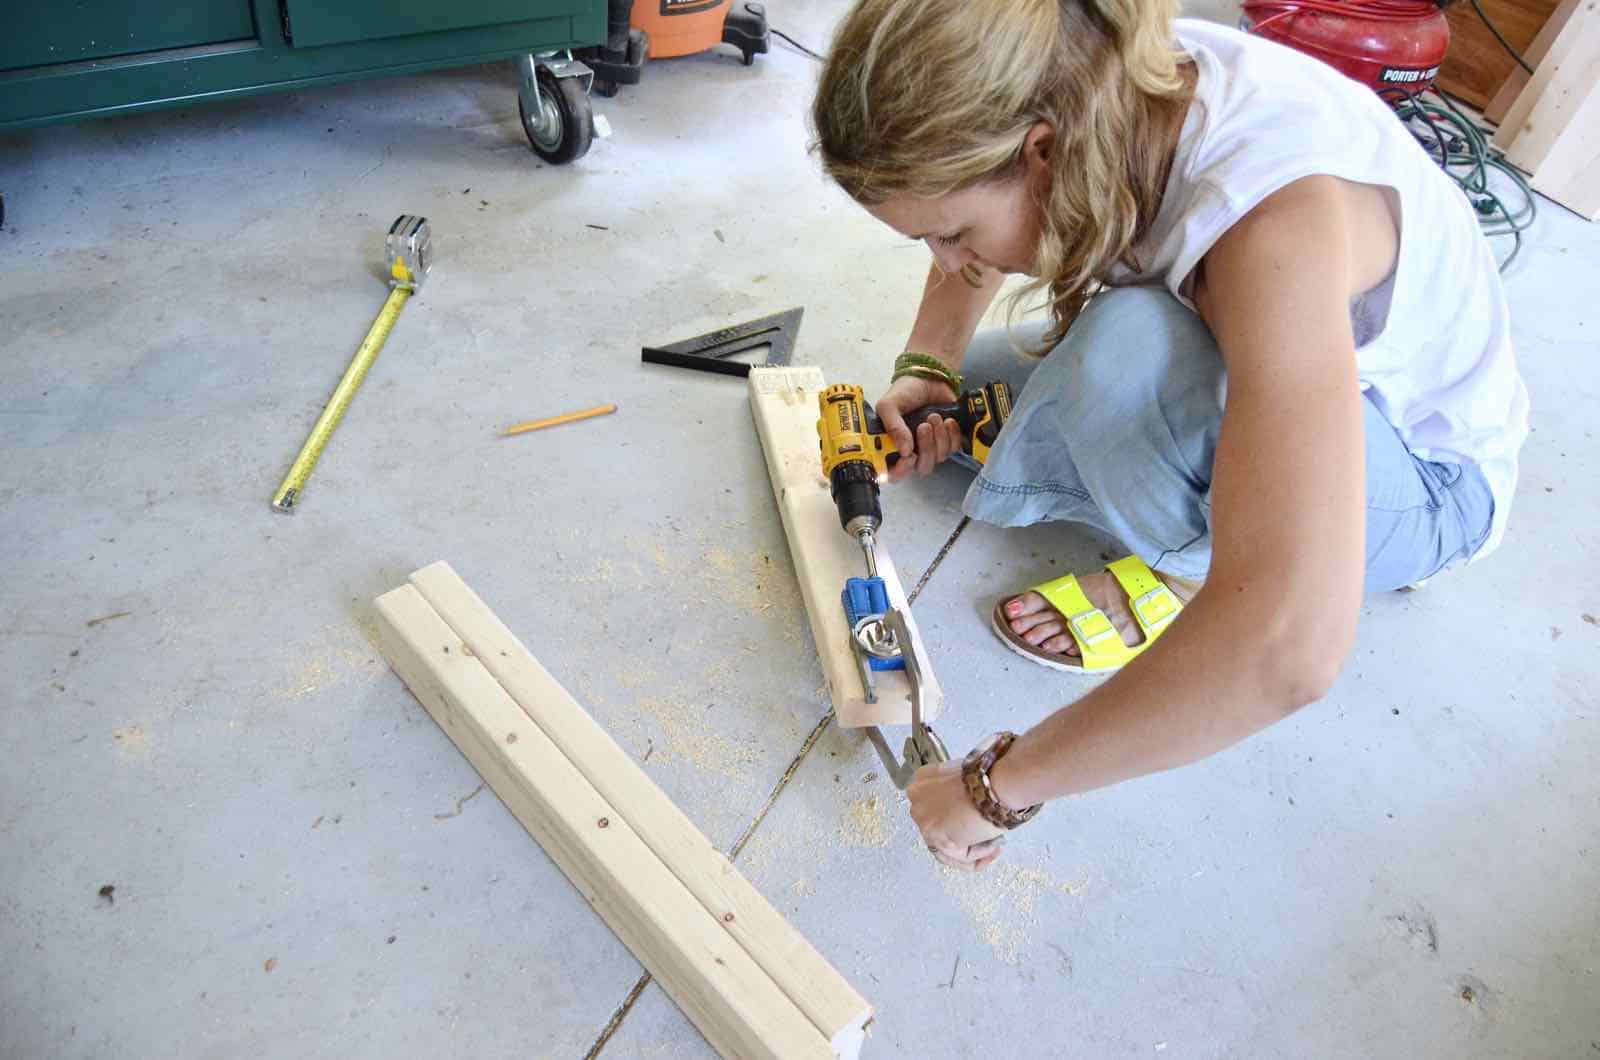
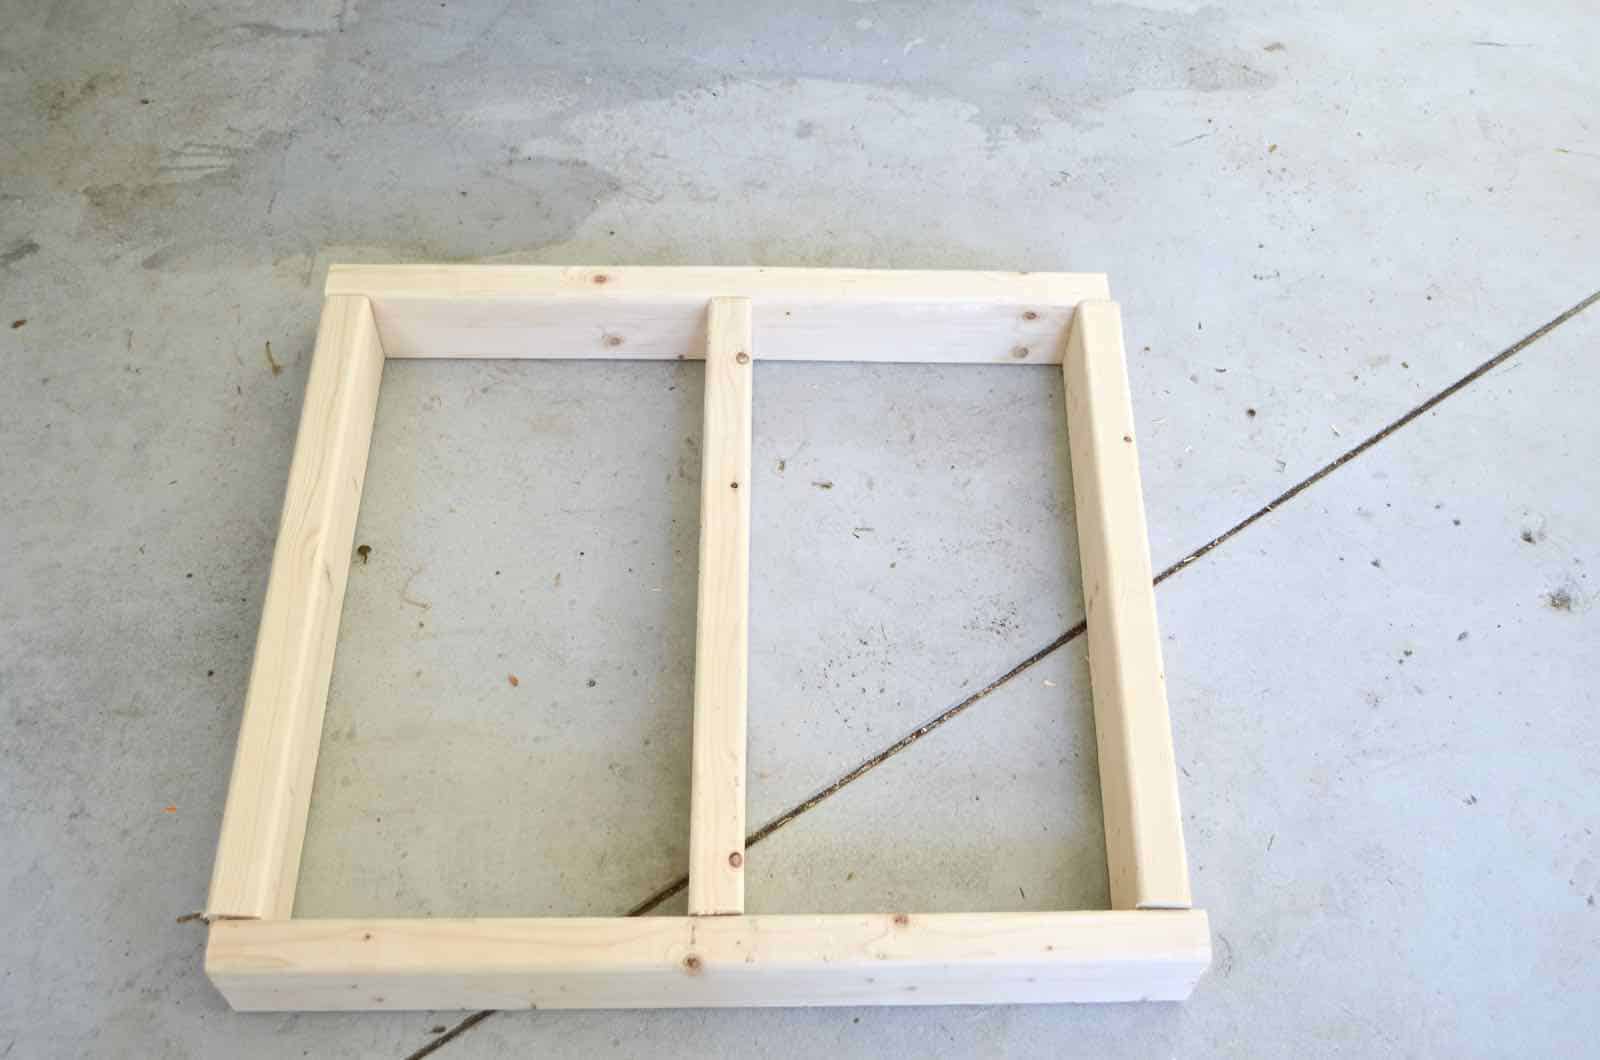
Use pocket holes to screw 2 of the 27.5-inch boards onto either end of the 22.5-inch boards. (Pocket holes should be in either end of the 22.5-inch 2x4s.) Screw the second 22.5-inch board so the lower edge is 11-inches off the ground on the 2×4. The height of this 2×4 will determine where your seat will be so adjust accordingly. Attach the last 22.5-inch board to the top of the longer boards. Be sure to use a square to make sure these boards are screwed in at 90-degree angles.
Repeat.
Step 2: Add Cross beams
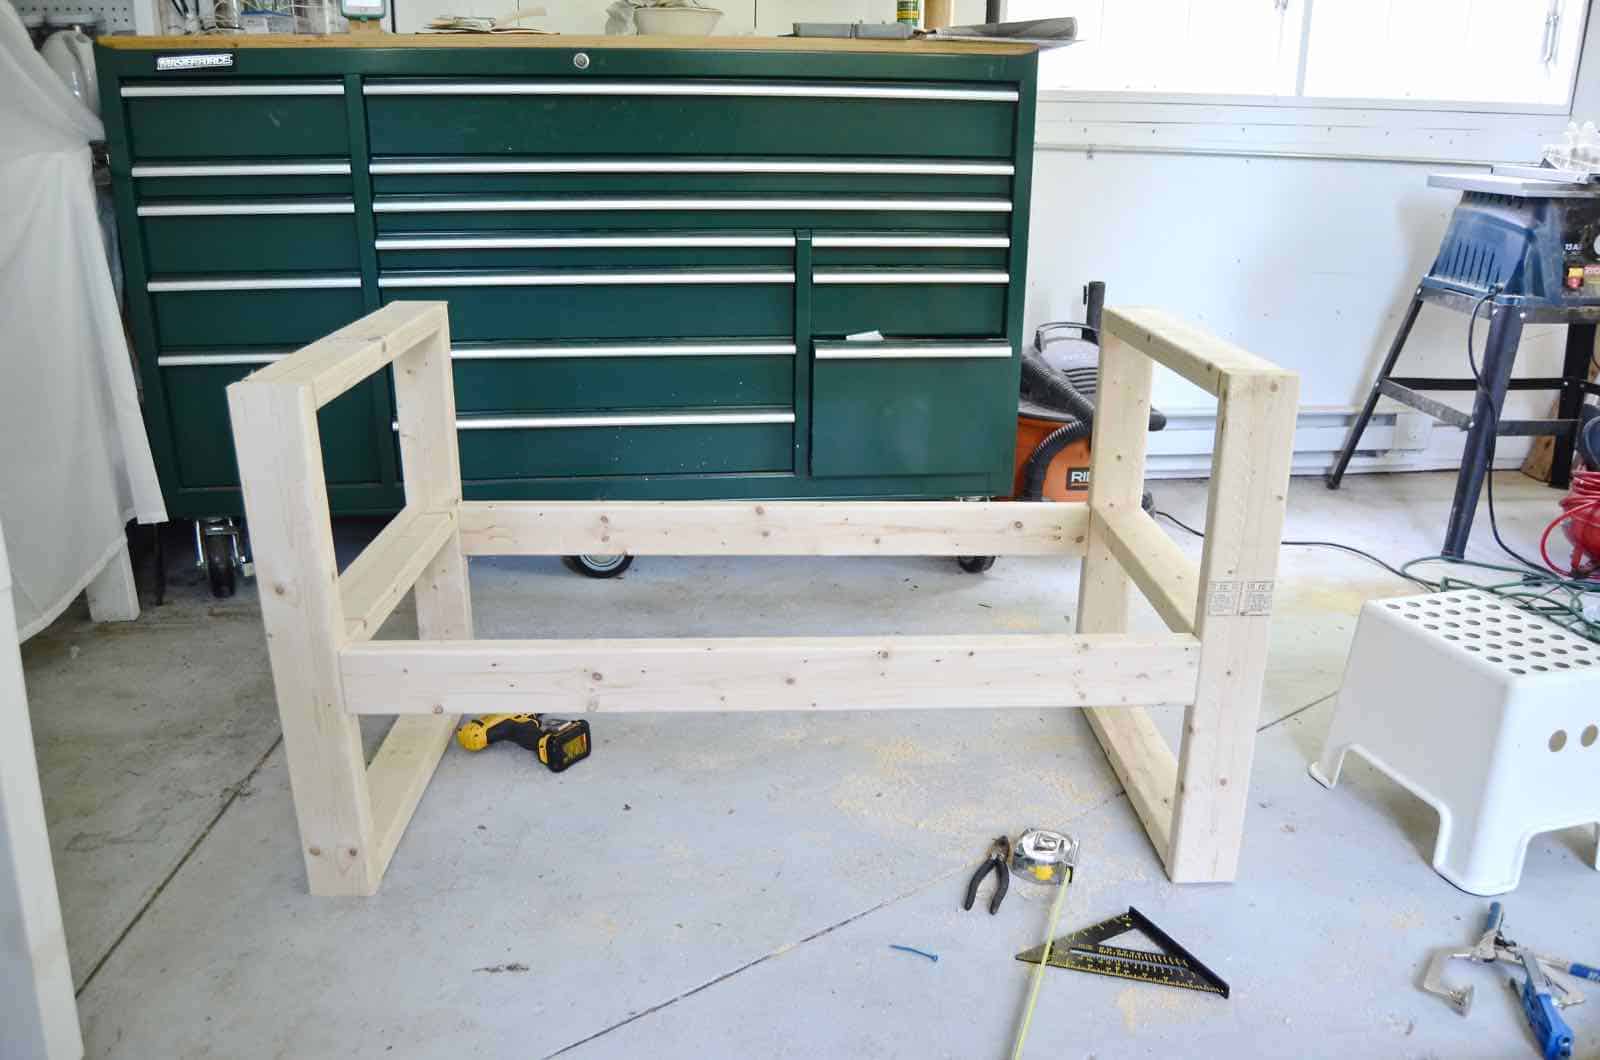
Use pocket holes to attach each 42.5-inch board to your end pieces. Align the top of the 2×4 with the top of the middle cross beams on your end pieces.
Step 3: Add Support
Use pocket holes to attach the last 22.5-inch board between the cross beams at the middle of the seat to provide a little extra support.
Step 4: Add Seat slats
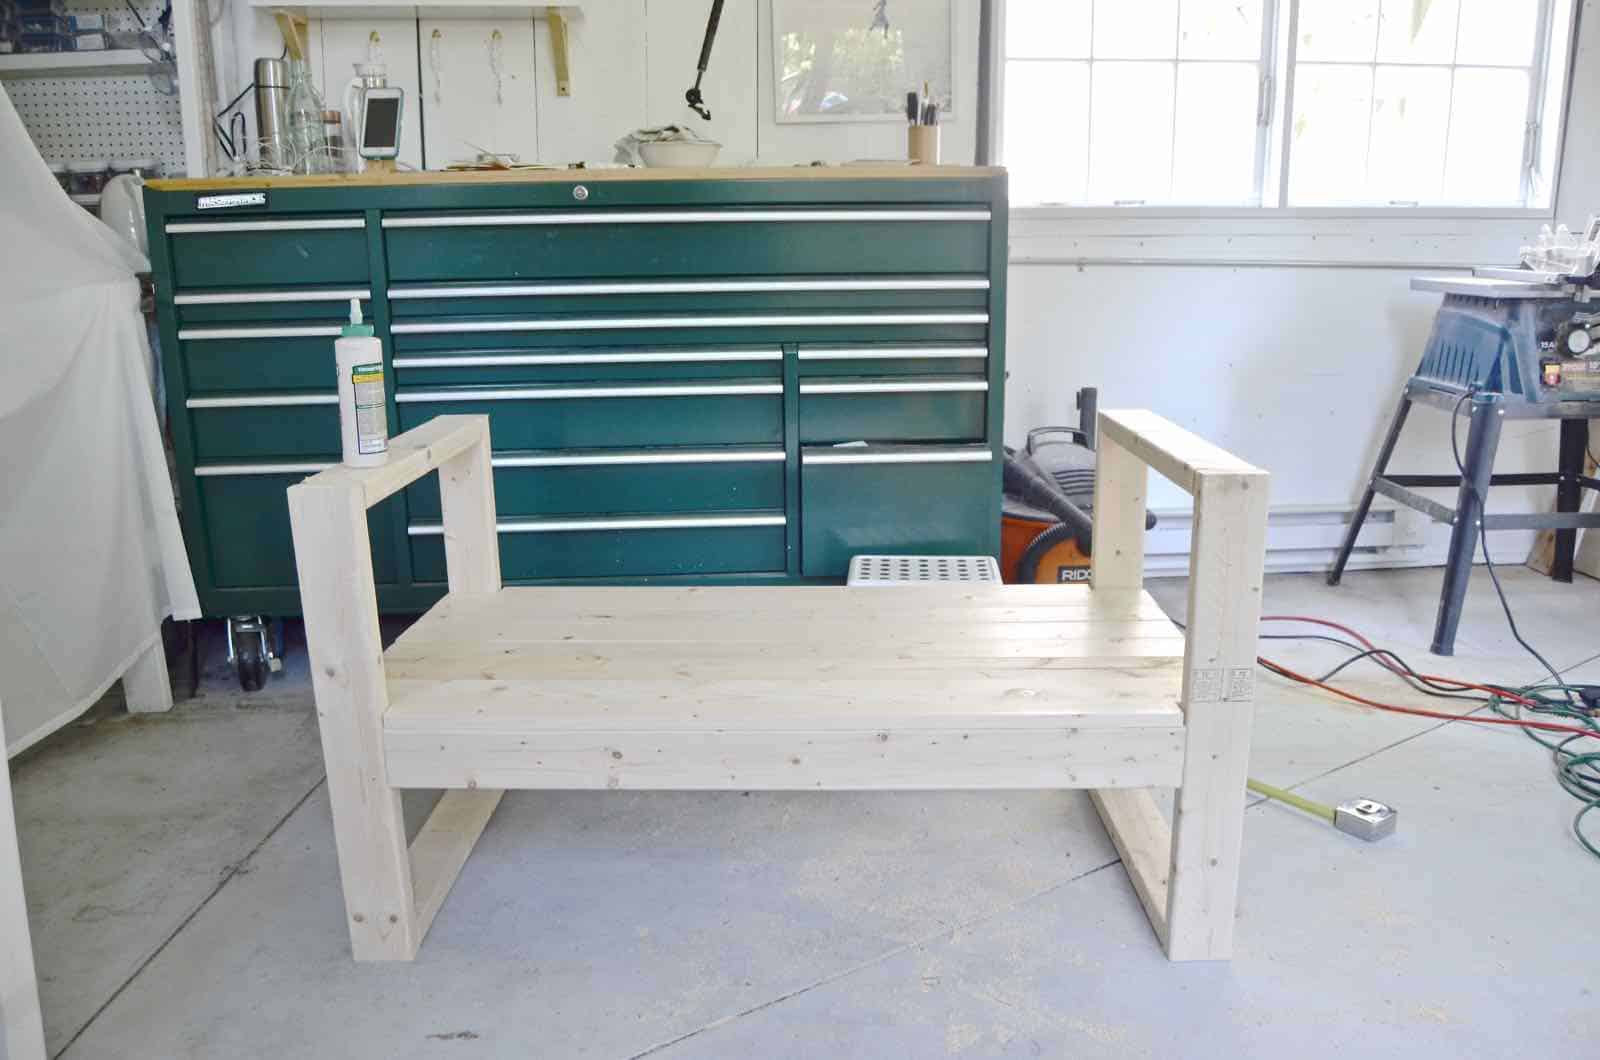
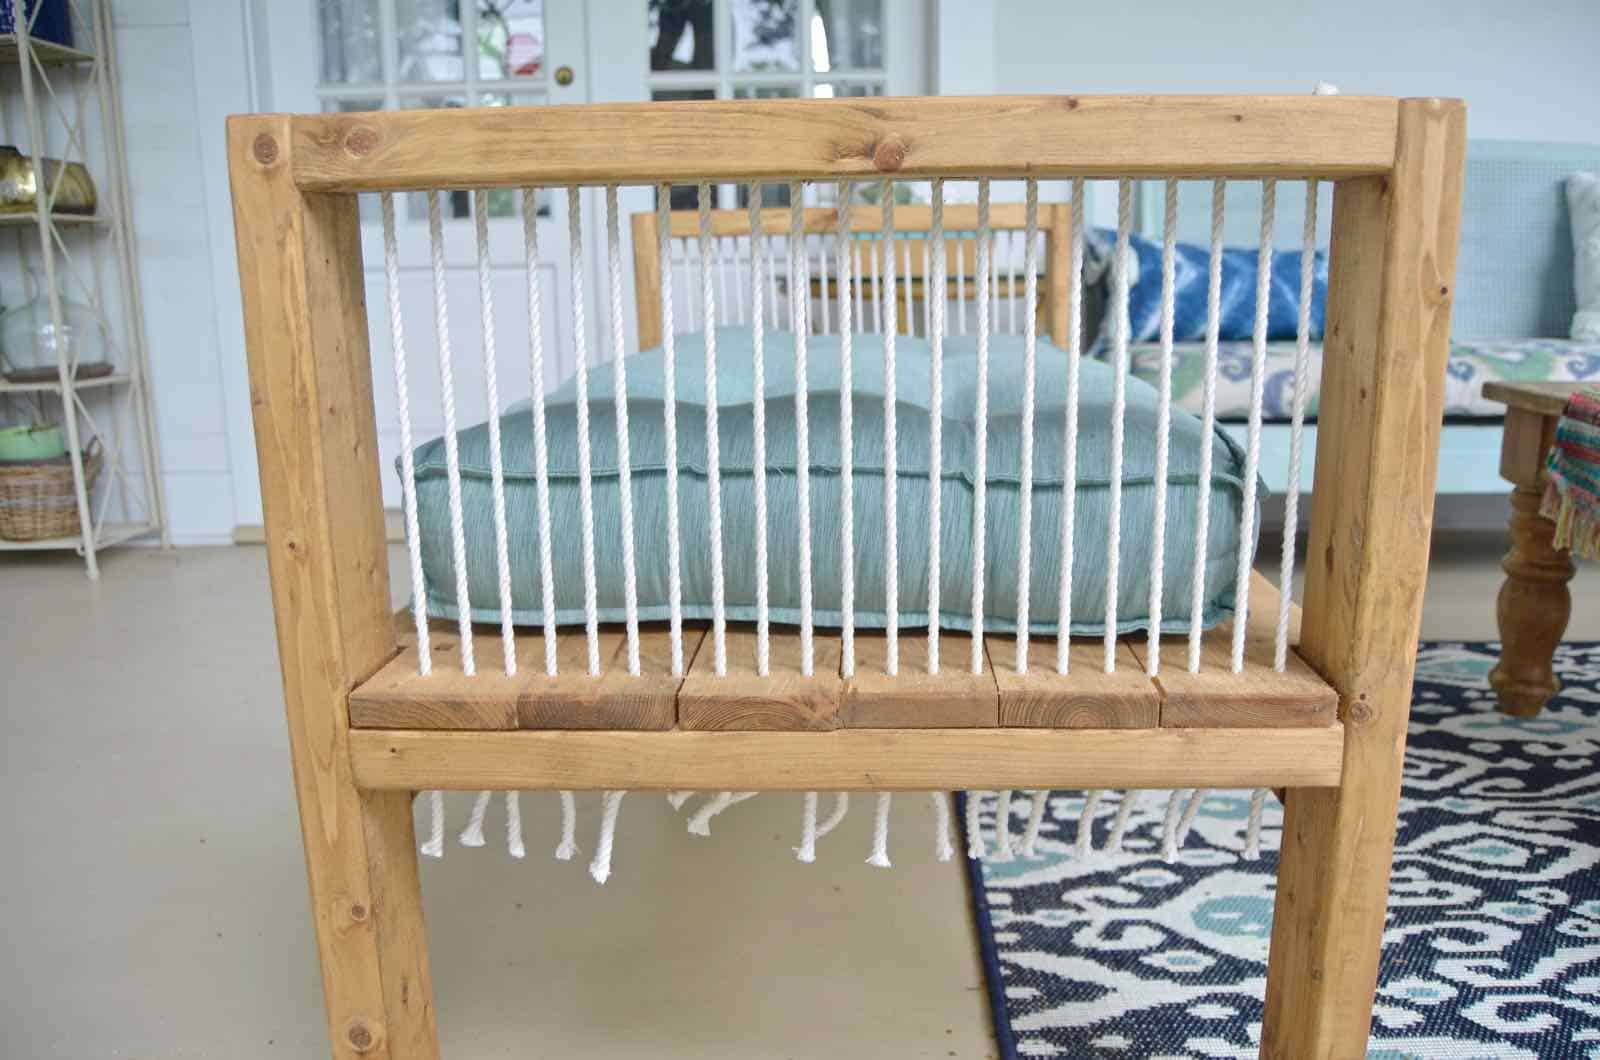
The 1x4s and 1x6s add up to the correct width so you won’t need to rip down any of these boards (yay) but… you will need to use a jig saw to cut out a slight notch in the 1x6s so they will fit around the corner 2x4s. Dry fit the seat slats with the 1x6s on either end and the 1x4s in the middle. Make sure you leave about 1/8 of an inch between each board to allow for wood swelling. Attach seat slats with wood glue and brad nails.
Step 5: Sand
Editor’s note: This may or may not be from first-hand experience. Sanding inside- even when in a she-shed, is really REALLY dusty. Be prepared with the necessary safety gear. OR, just a thought,… go ahead and sand outside. Doy.
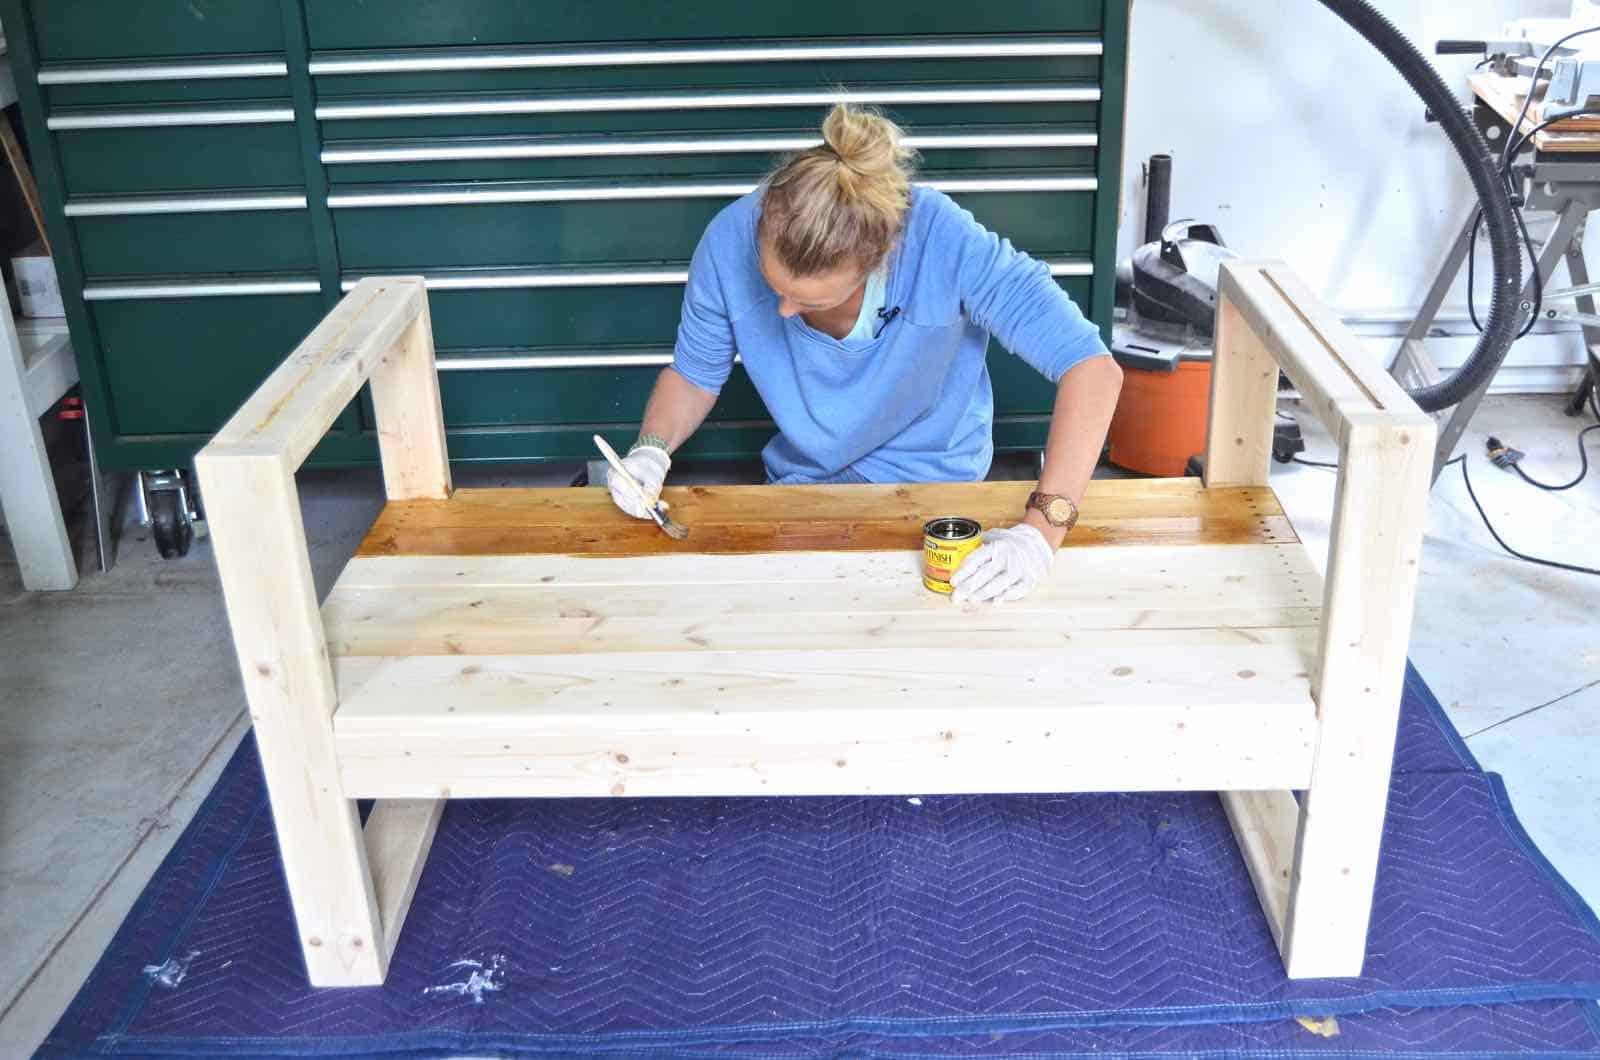
Step 6: Stain
I used Minwax’s Gold Oak since the tone matches my beloved rattan, but it’s also the same stain I used on Frank’s crate cover so… it matches! I didn’t allow my stain to sit on the wood for too long before wiping it off so the color isn’t wildly saturated.
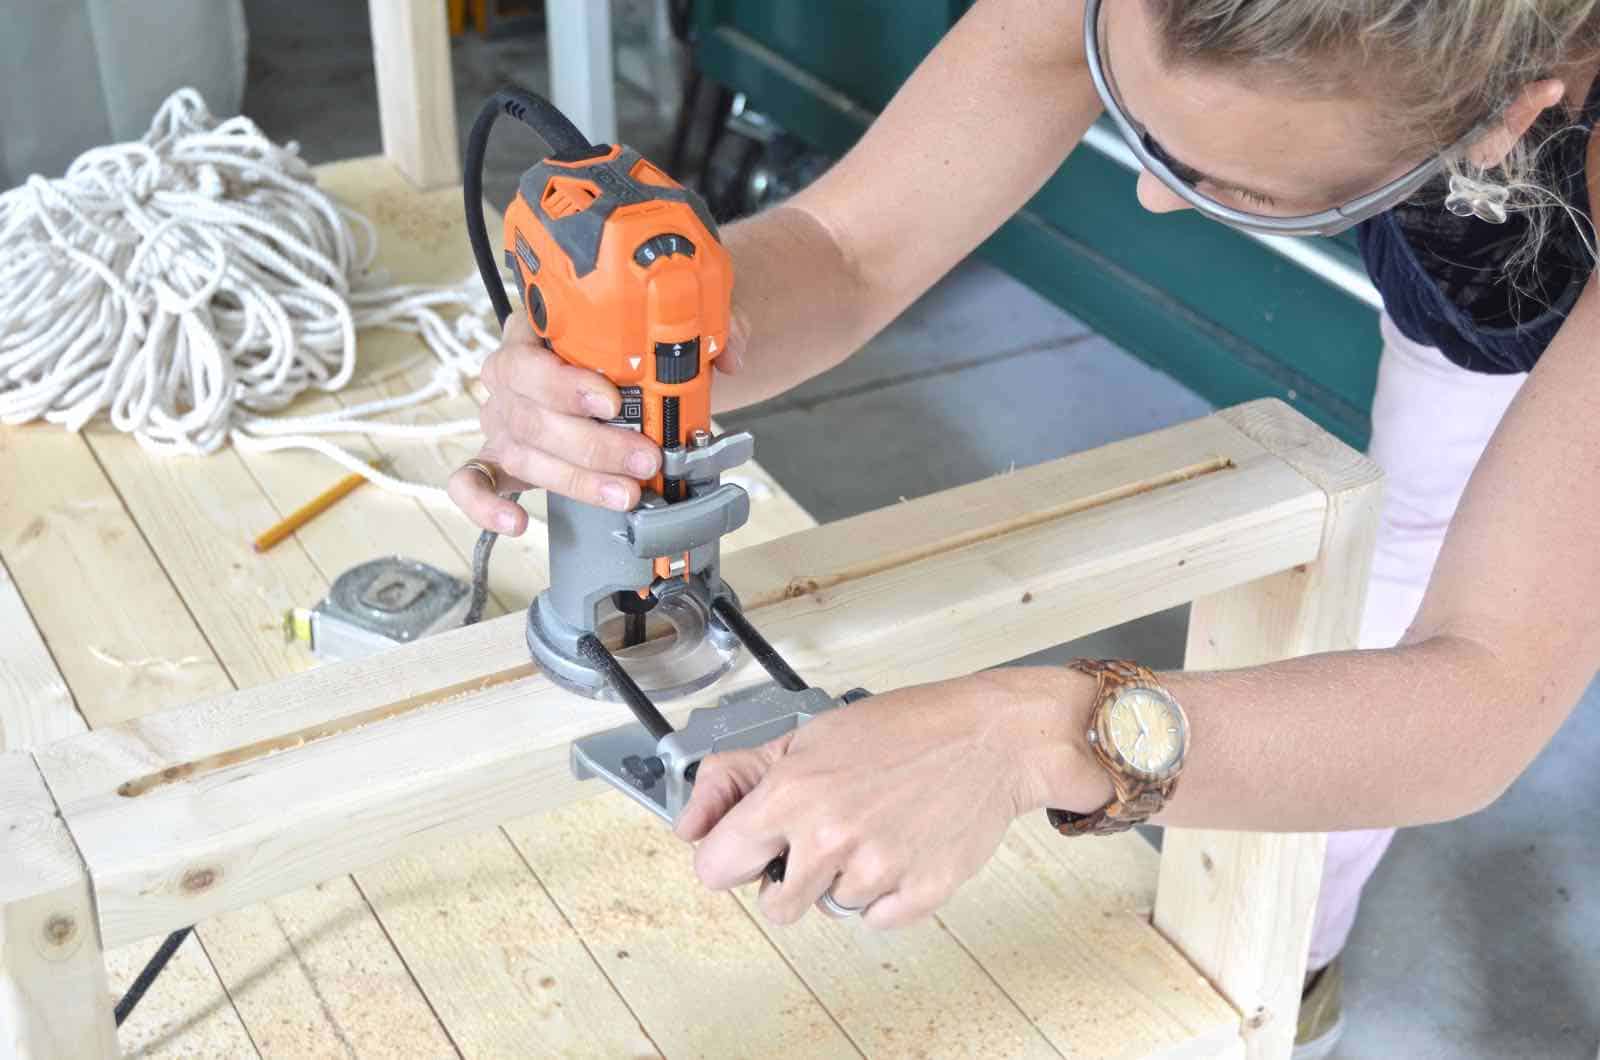
Step 7: Route two Grooves on arm rests
I had a router blade that was just a bit wider than the rope I was using- 1/4-inch. I marked half the width of the arm rest and gradually routed a groove down the middle deep enough to engulf the cotton rope. The trick to routing is to make lots of incremental cuts… if you try to route too deep in a single pass, you’ll smell burning wood, and things will get ugly.
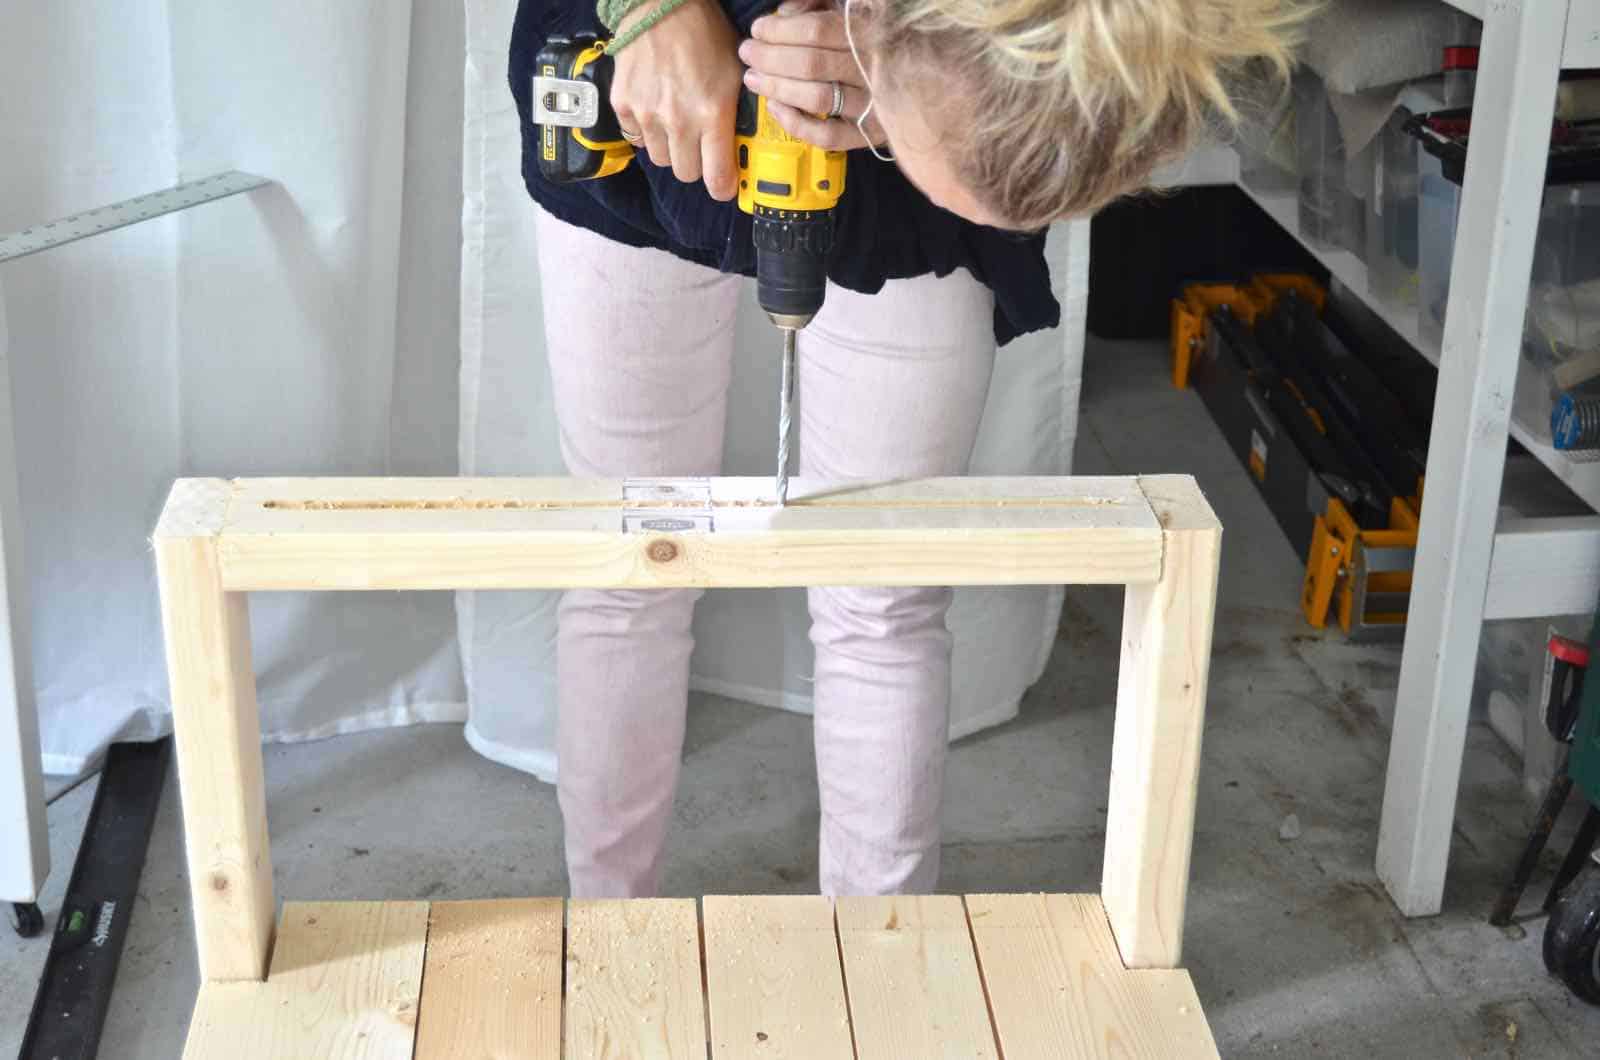
Step 8: Drill holes for rope
I started with a smaller drill bit, but ultimately landed on 3/8-inch as the right size to easily accommodate my 3/16-inch rope. I marked out one hole per inch. Pay careful attention that you are drilling as straight down through the arm rest as possible. Finally, measure carefully and drill holes down through the seat and its supporting 2×4 being careful they align with the holes in the armrest above. Again, be careful to drill straight through. (Note: I actually had to remove the 22.5-inch top piece on each bench end for this last step because my drill + drill bit were too long to fit… once I finished drilling, I just reattached that top piece.)
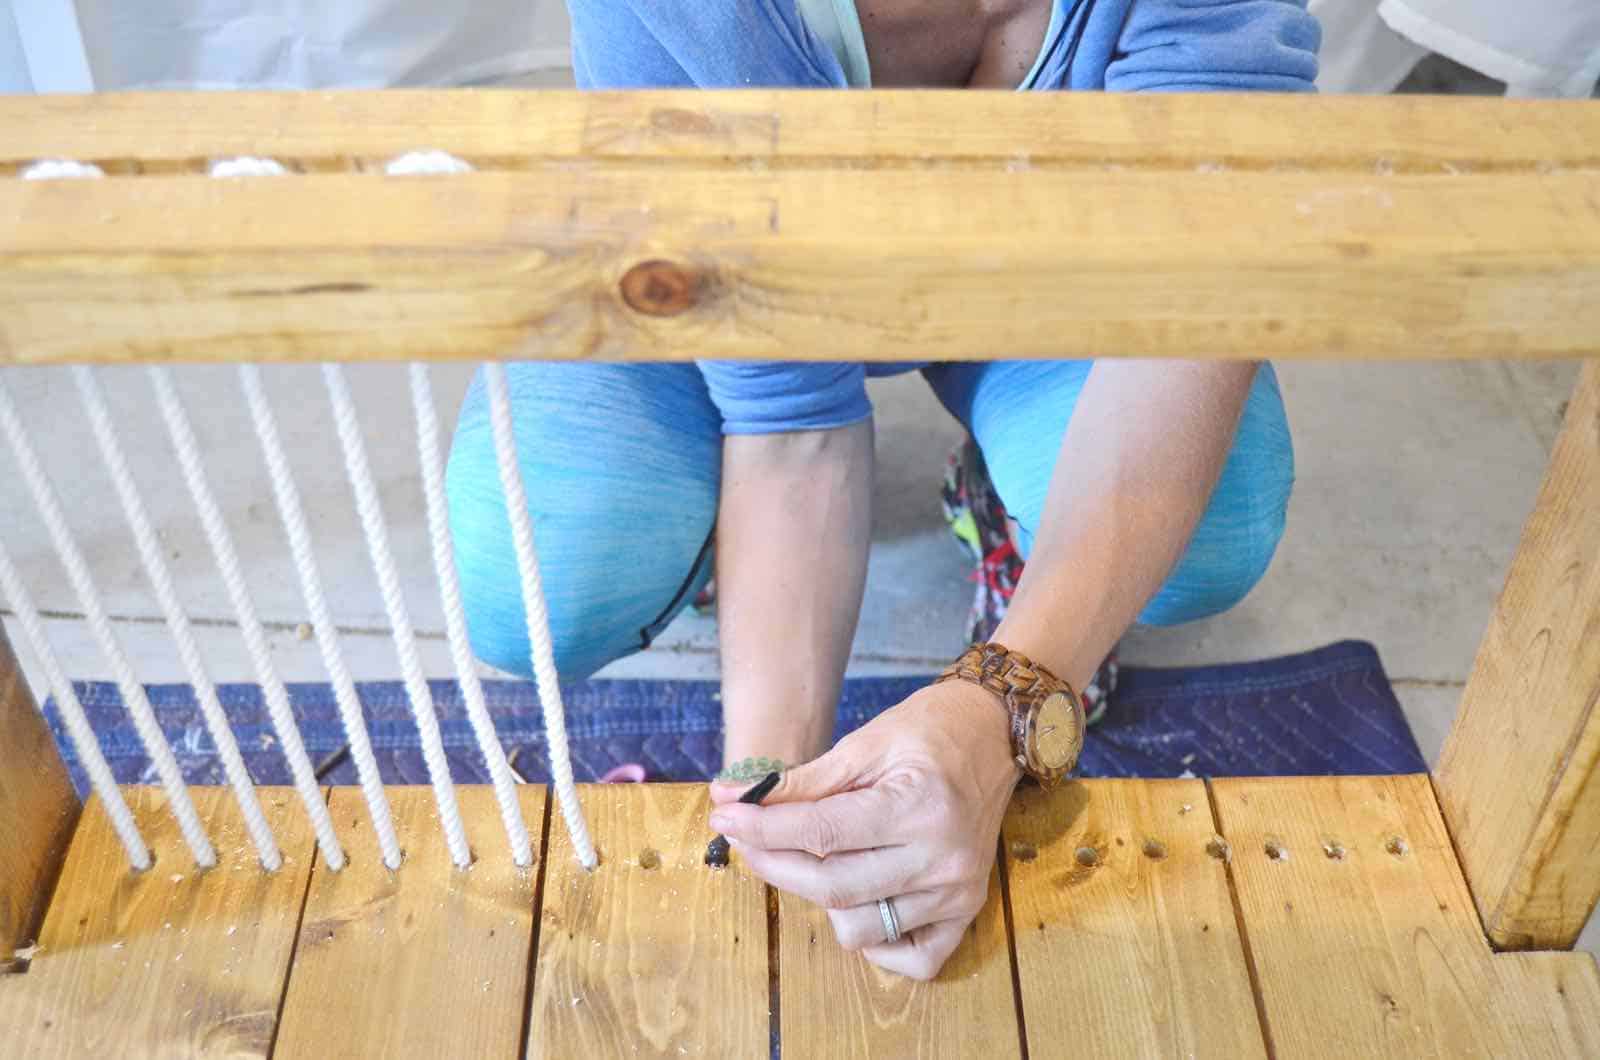
Step 9. Add rope
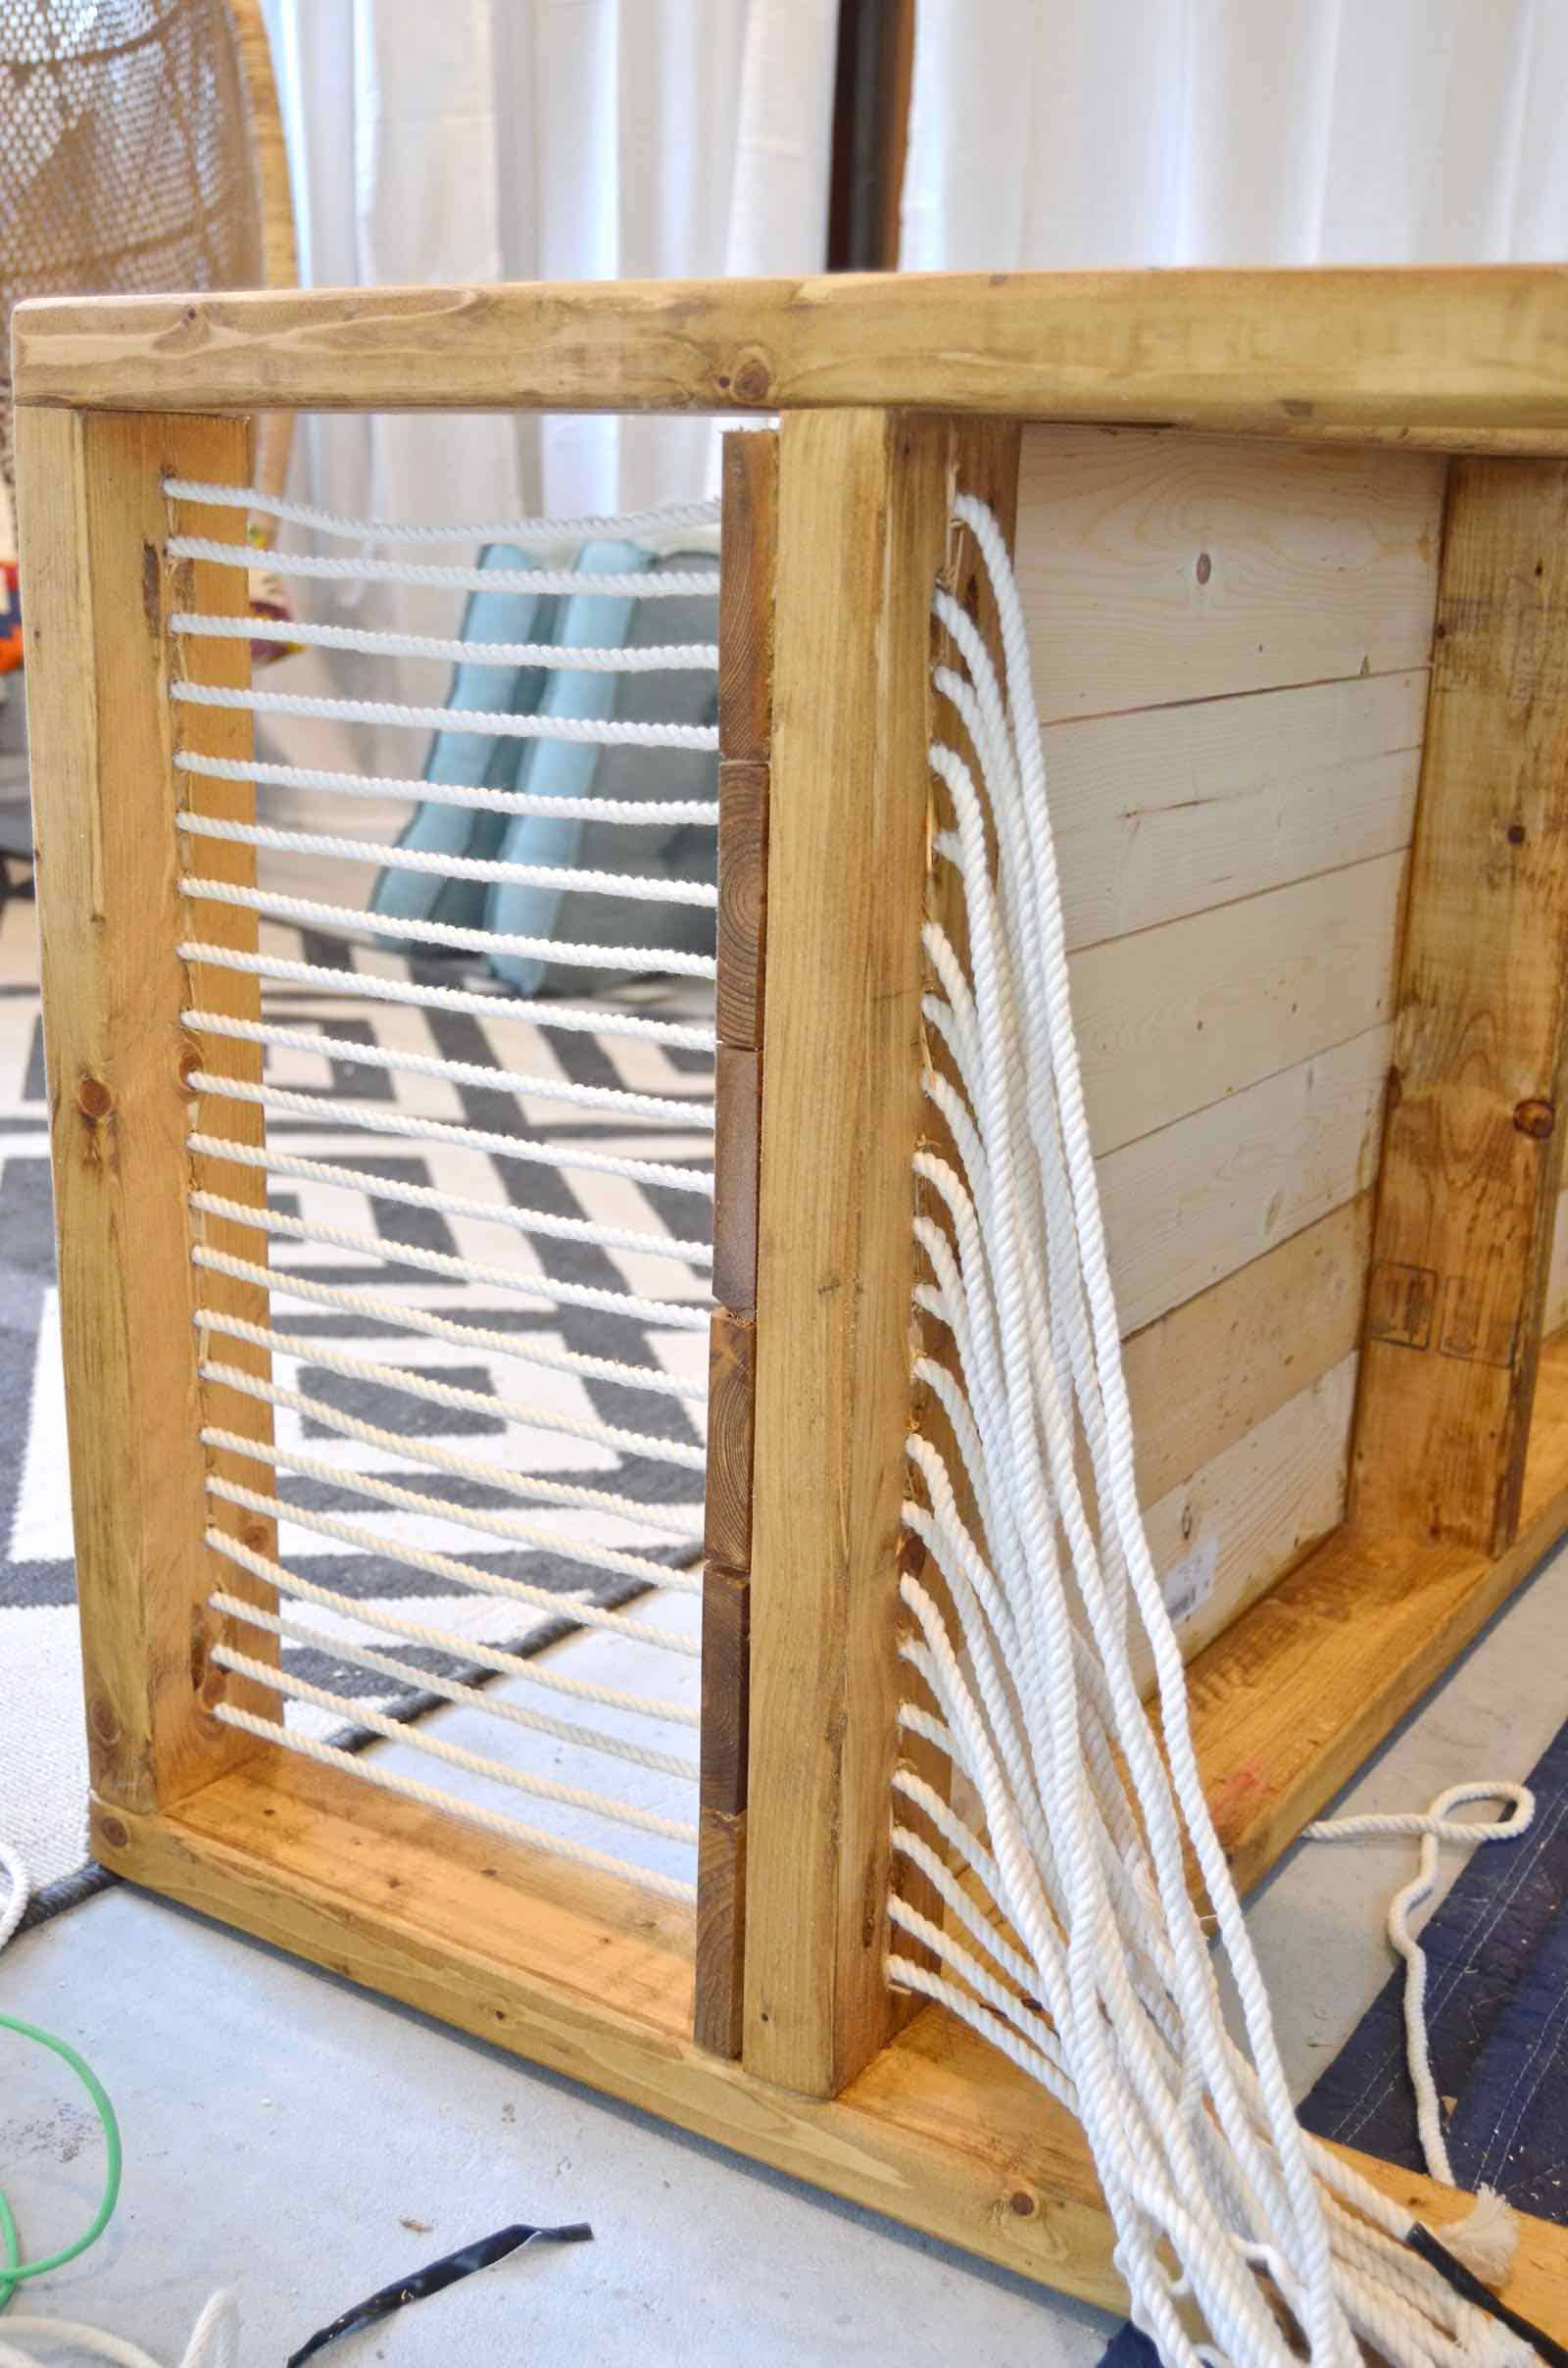
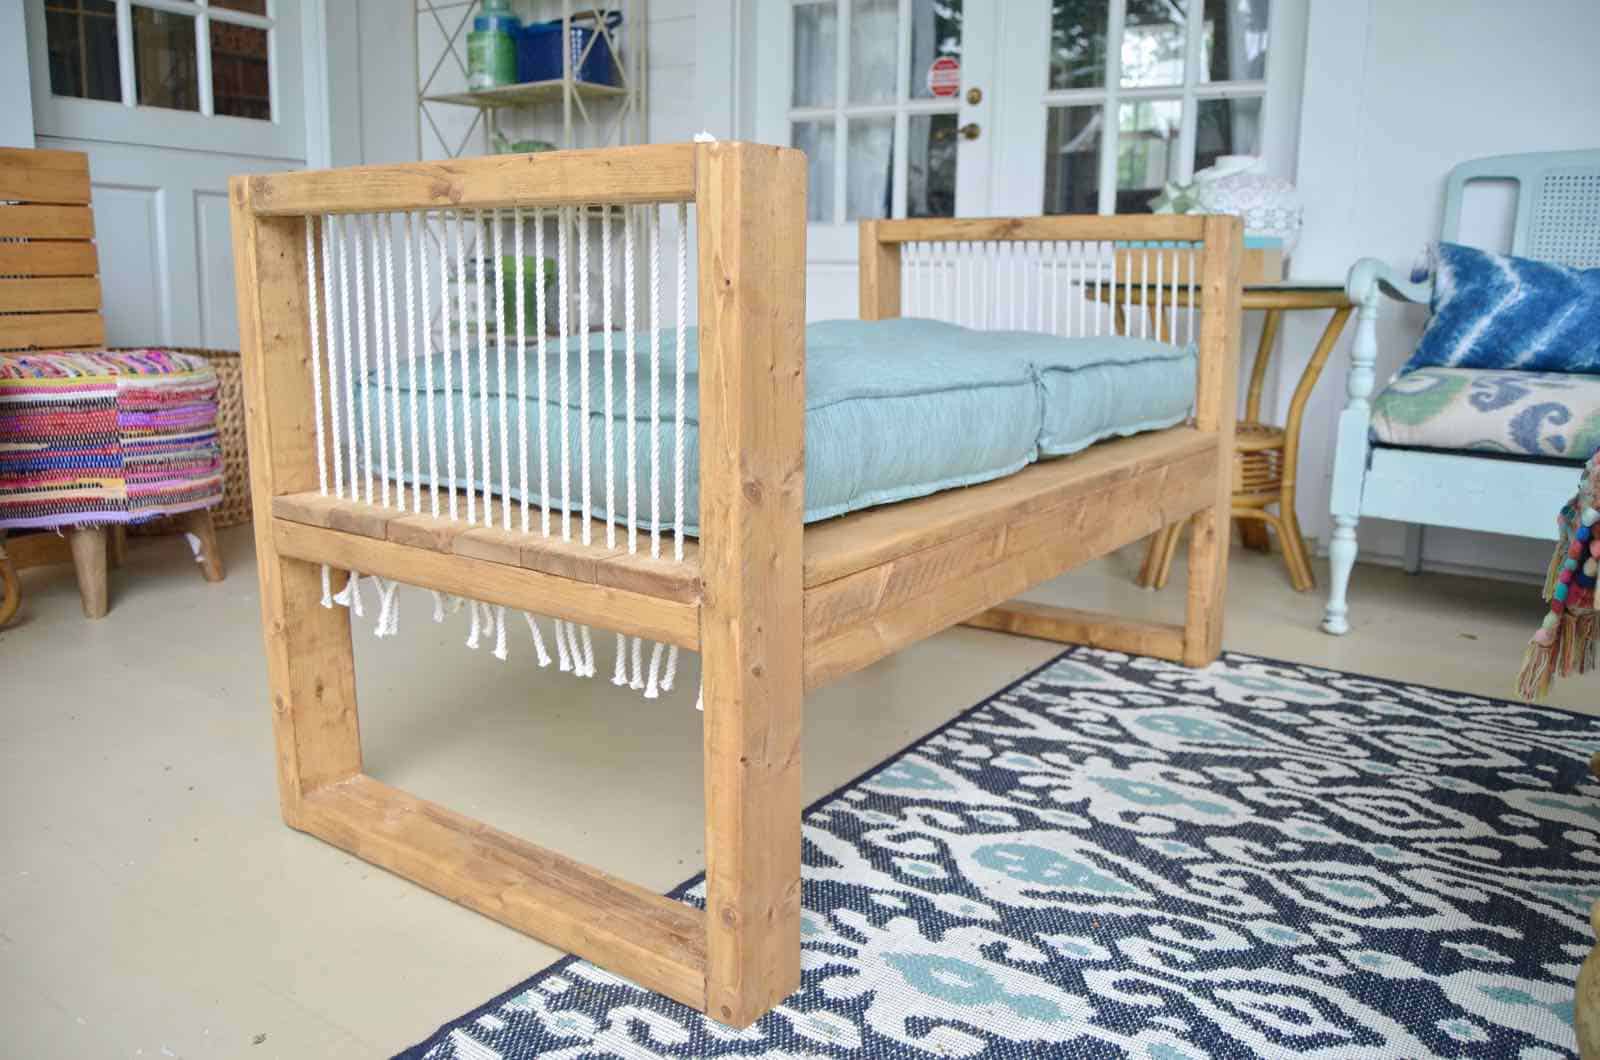
As mentioned in my video, this rope was leftover from a macrame class, and it was already precut to 36″ lengths. I wrapped a short piece of electrical tape around the end of my rope and strung it up through the bench/ armrest and then back down. Leaving a longer rope tale, I reached for a second rope and repeated the process. Work your way down the arm rest in this manner and then repeat the other side. To finish it off, tie knots as tight as you can and trim the rope ends to desired length. (Note: you can work with ANY rope for this, but I was concerned that a larger rope would require larger holes which might compromise the structural integrity of the armrest… i.e. it would break.) Aaaaannnndddd… that’s it! You’re DONE!
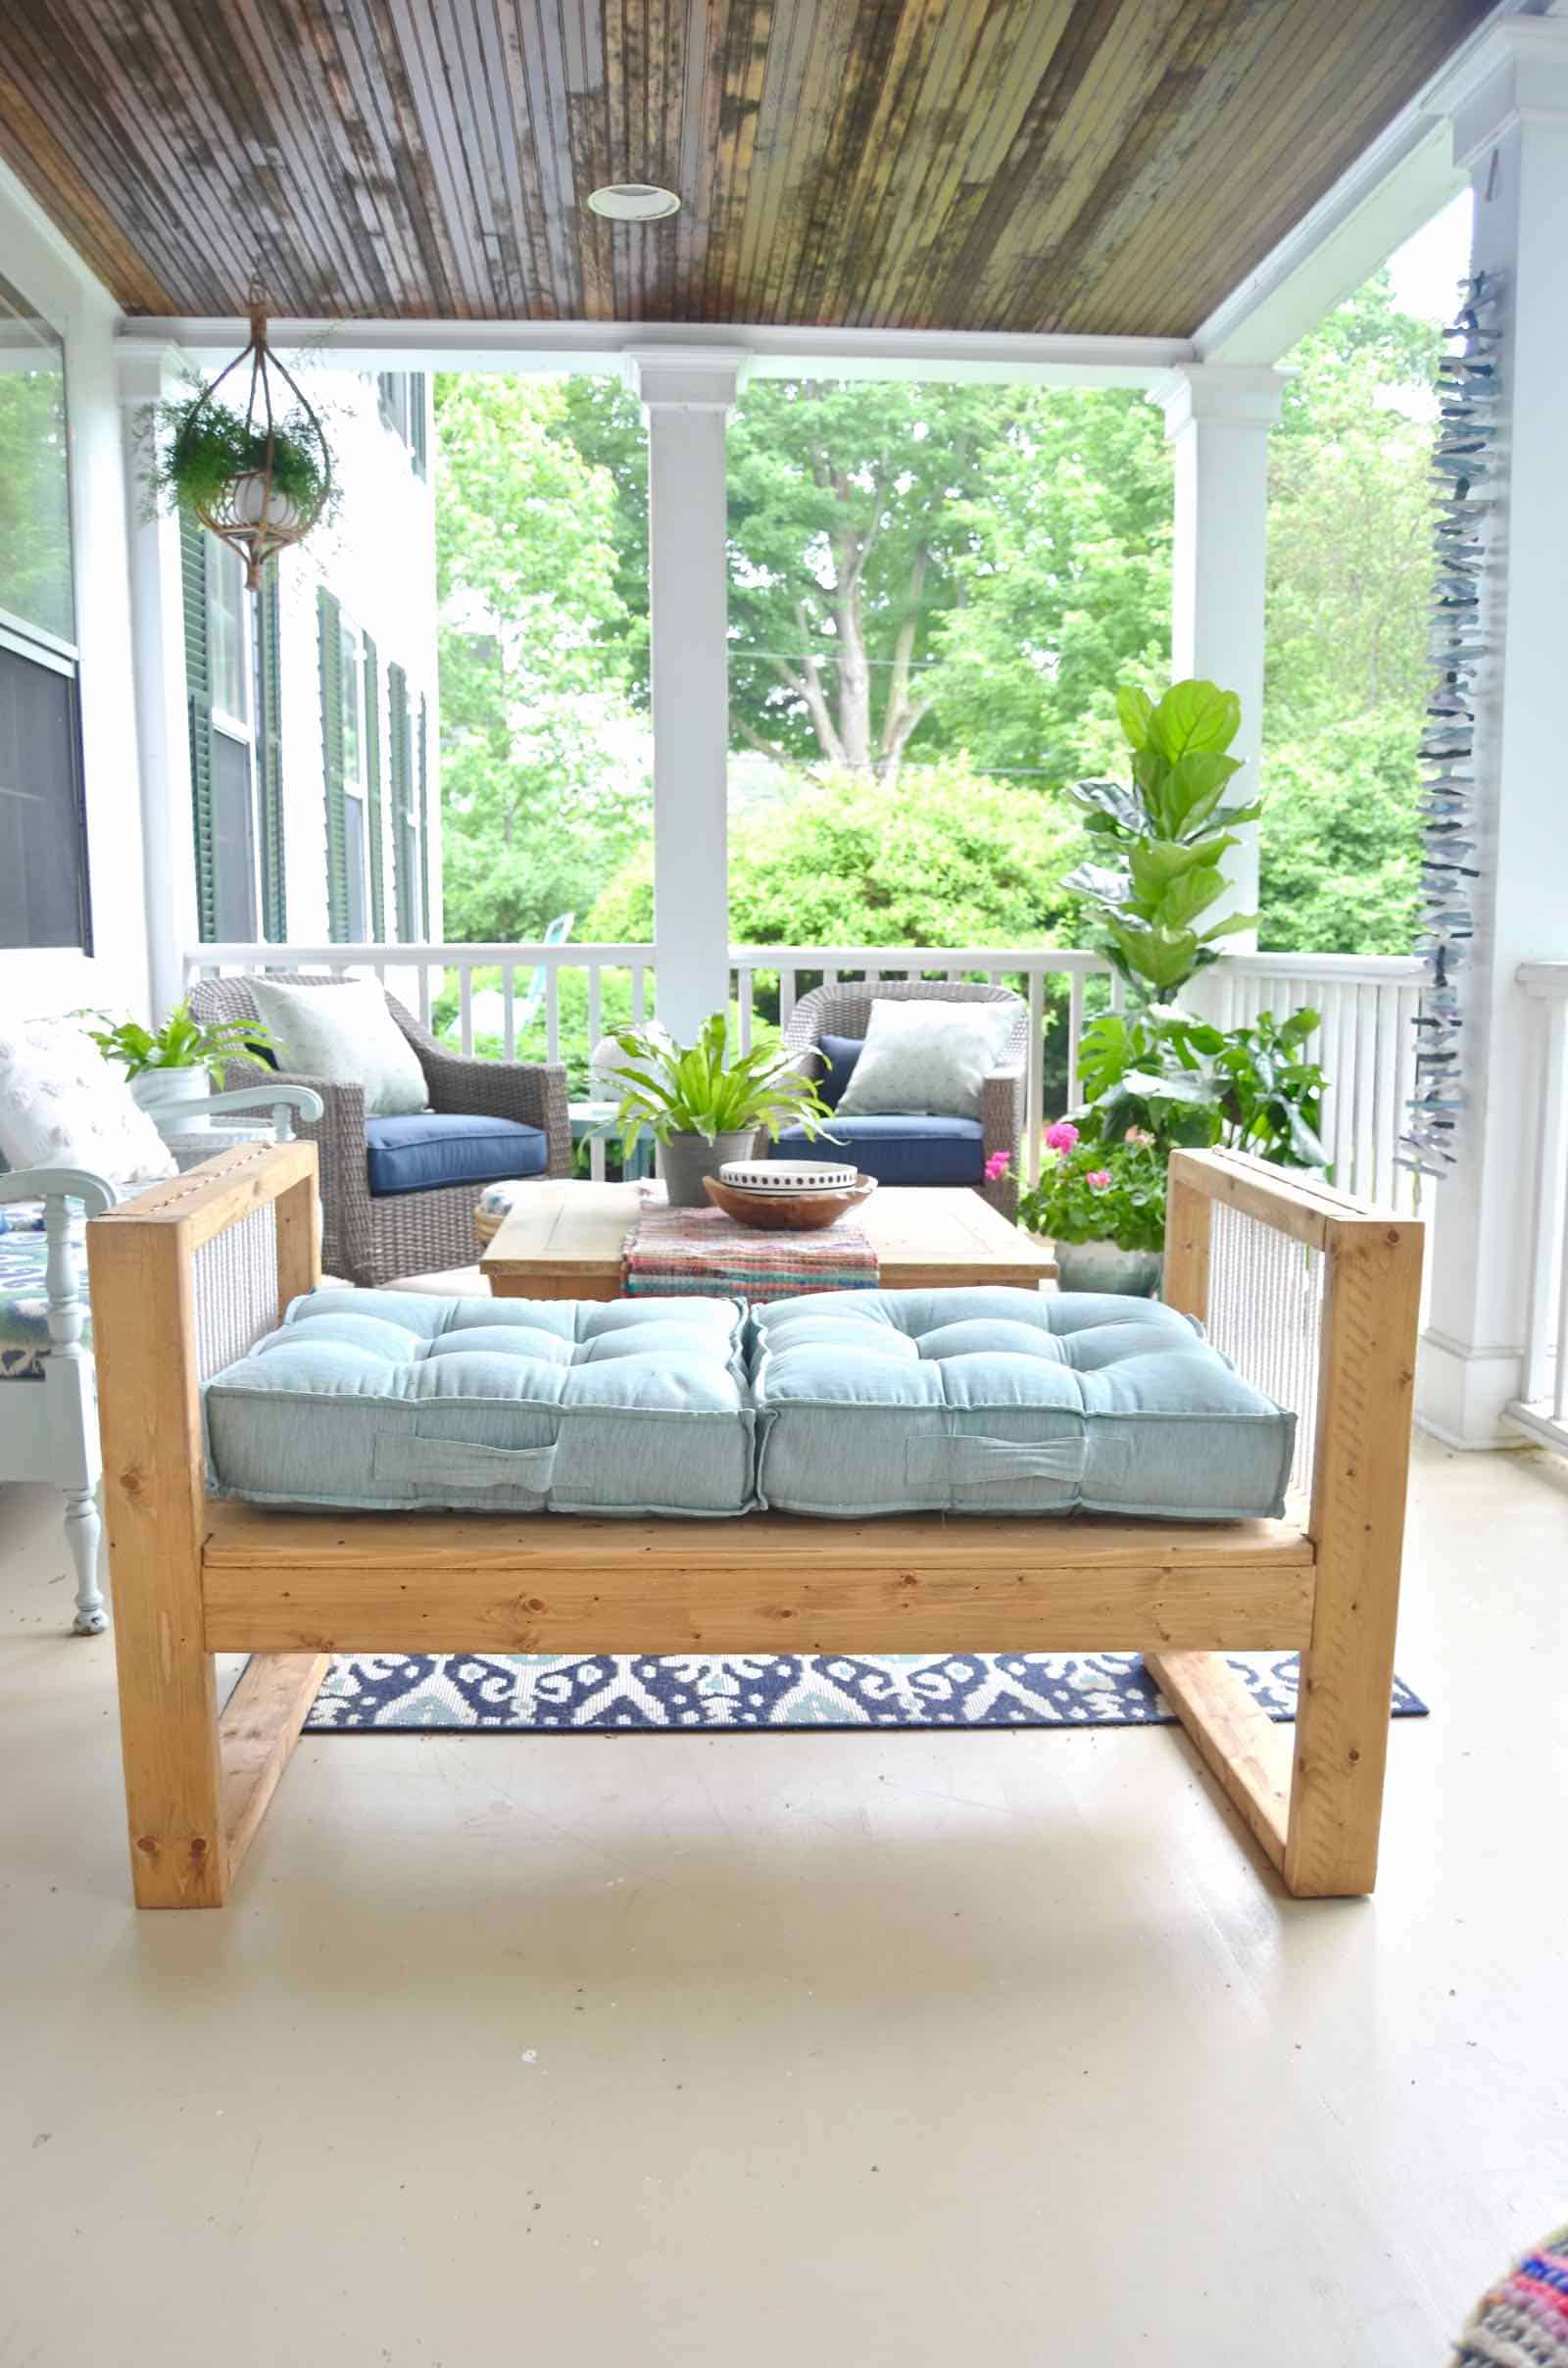
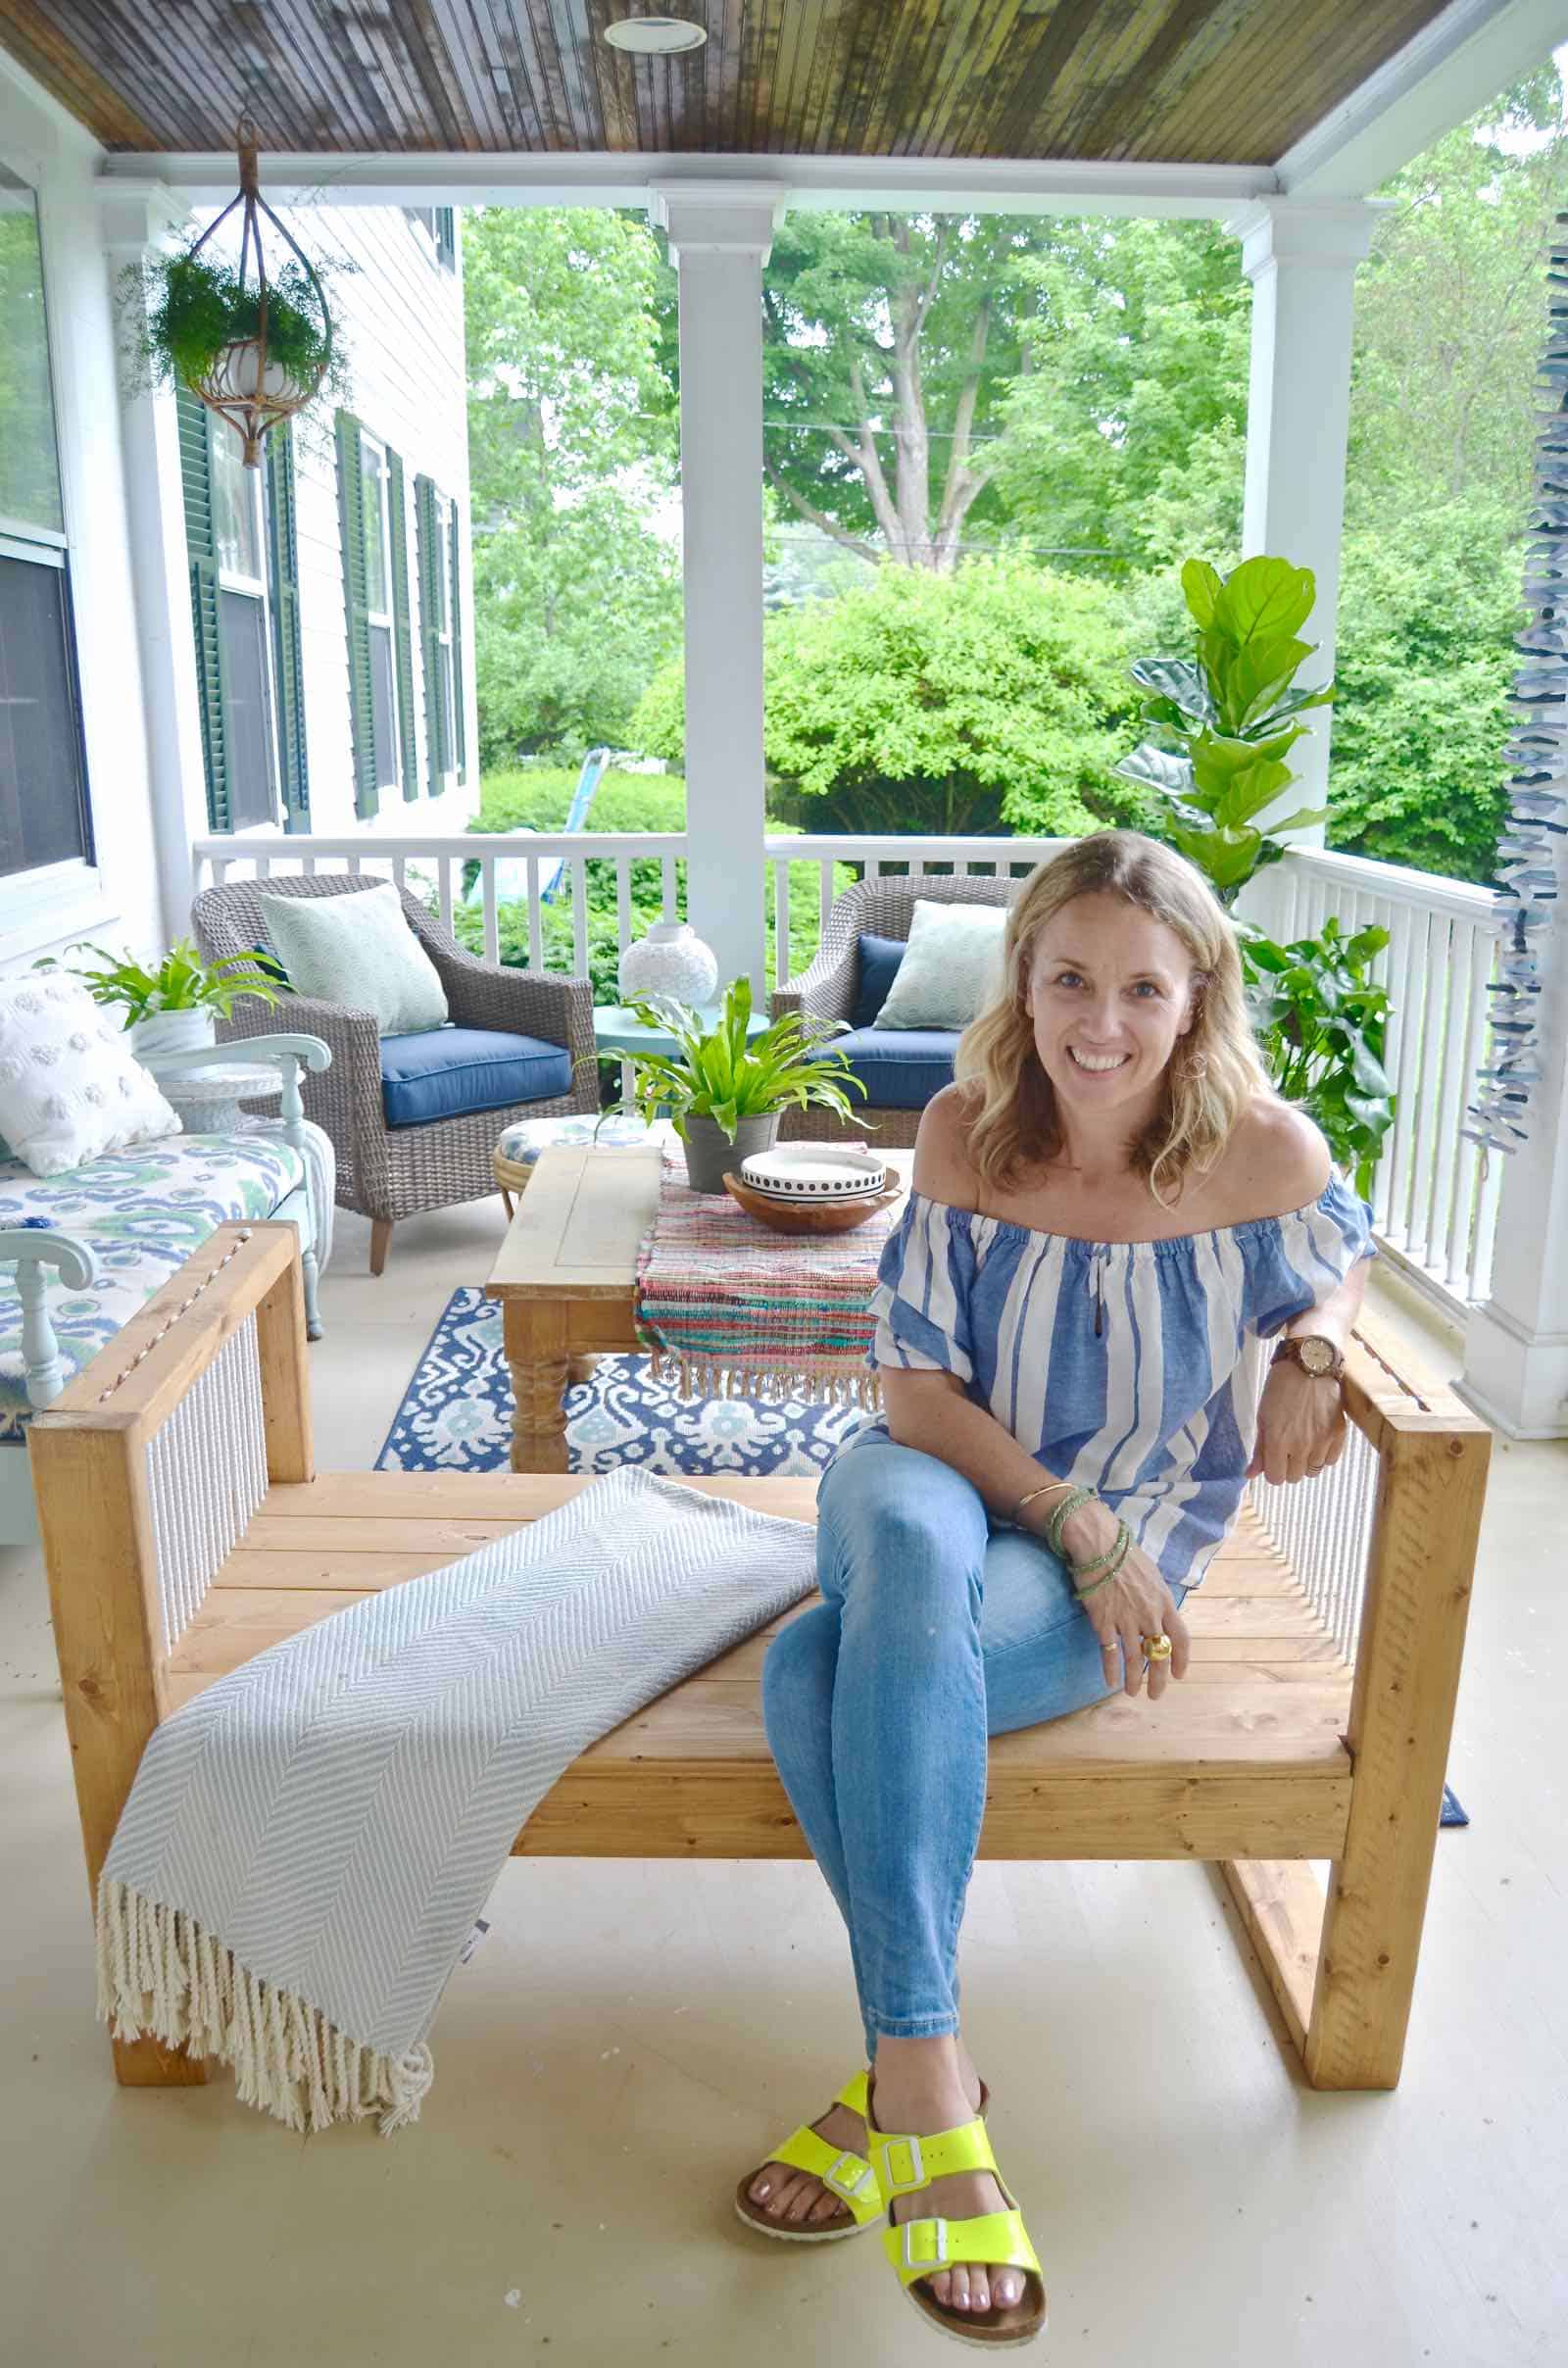
Its everything that I wanted and more. It doesn’t take up masses of visual space when you step out onto the porch from the house and yet, I have two more seats!
I have a basket off the side in which I can store the floor cushions if it’s ever damp or rainy, and the bench is just as attractive and still pretty comfortable without the cushions.
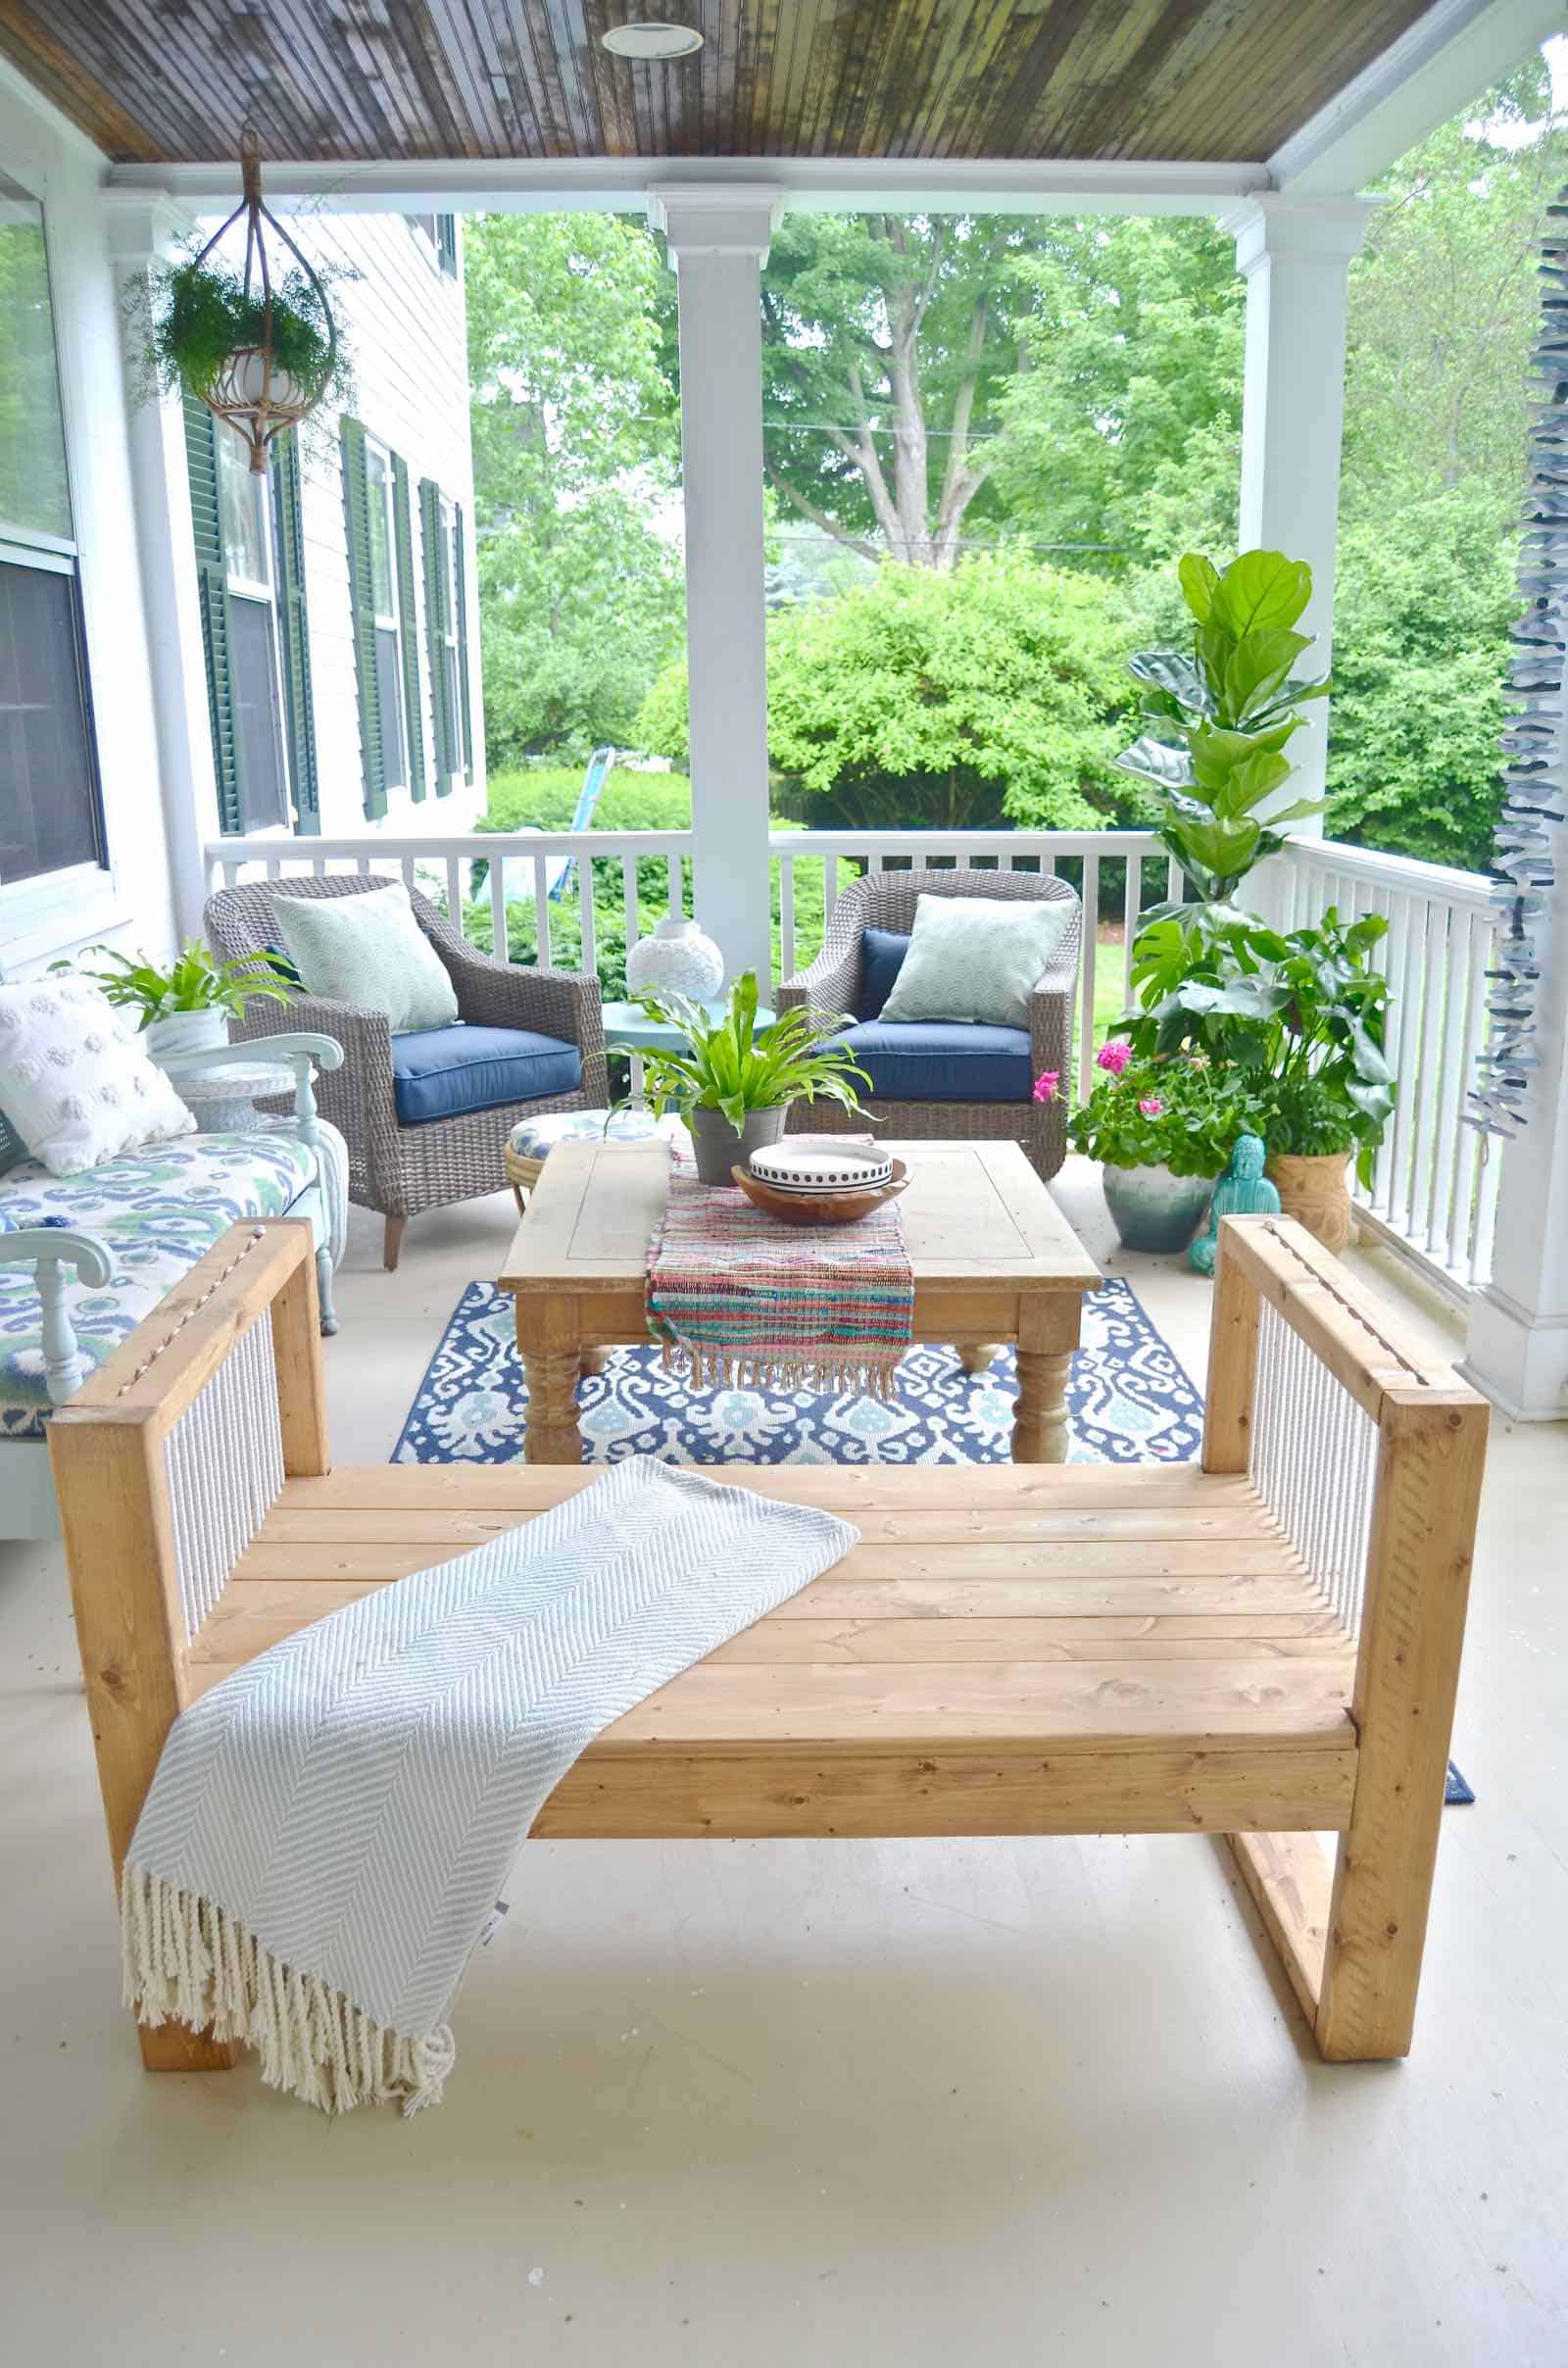
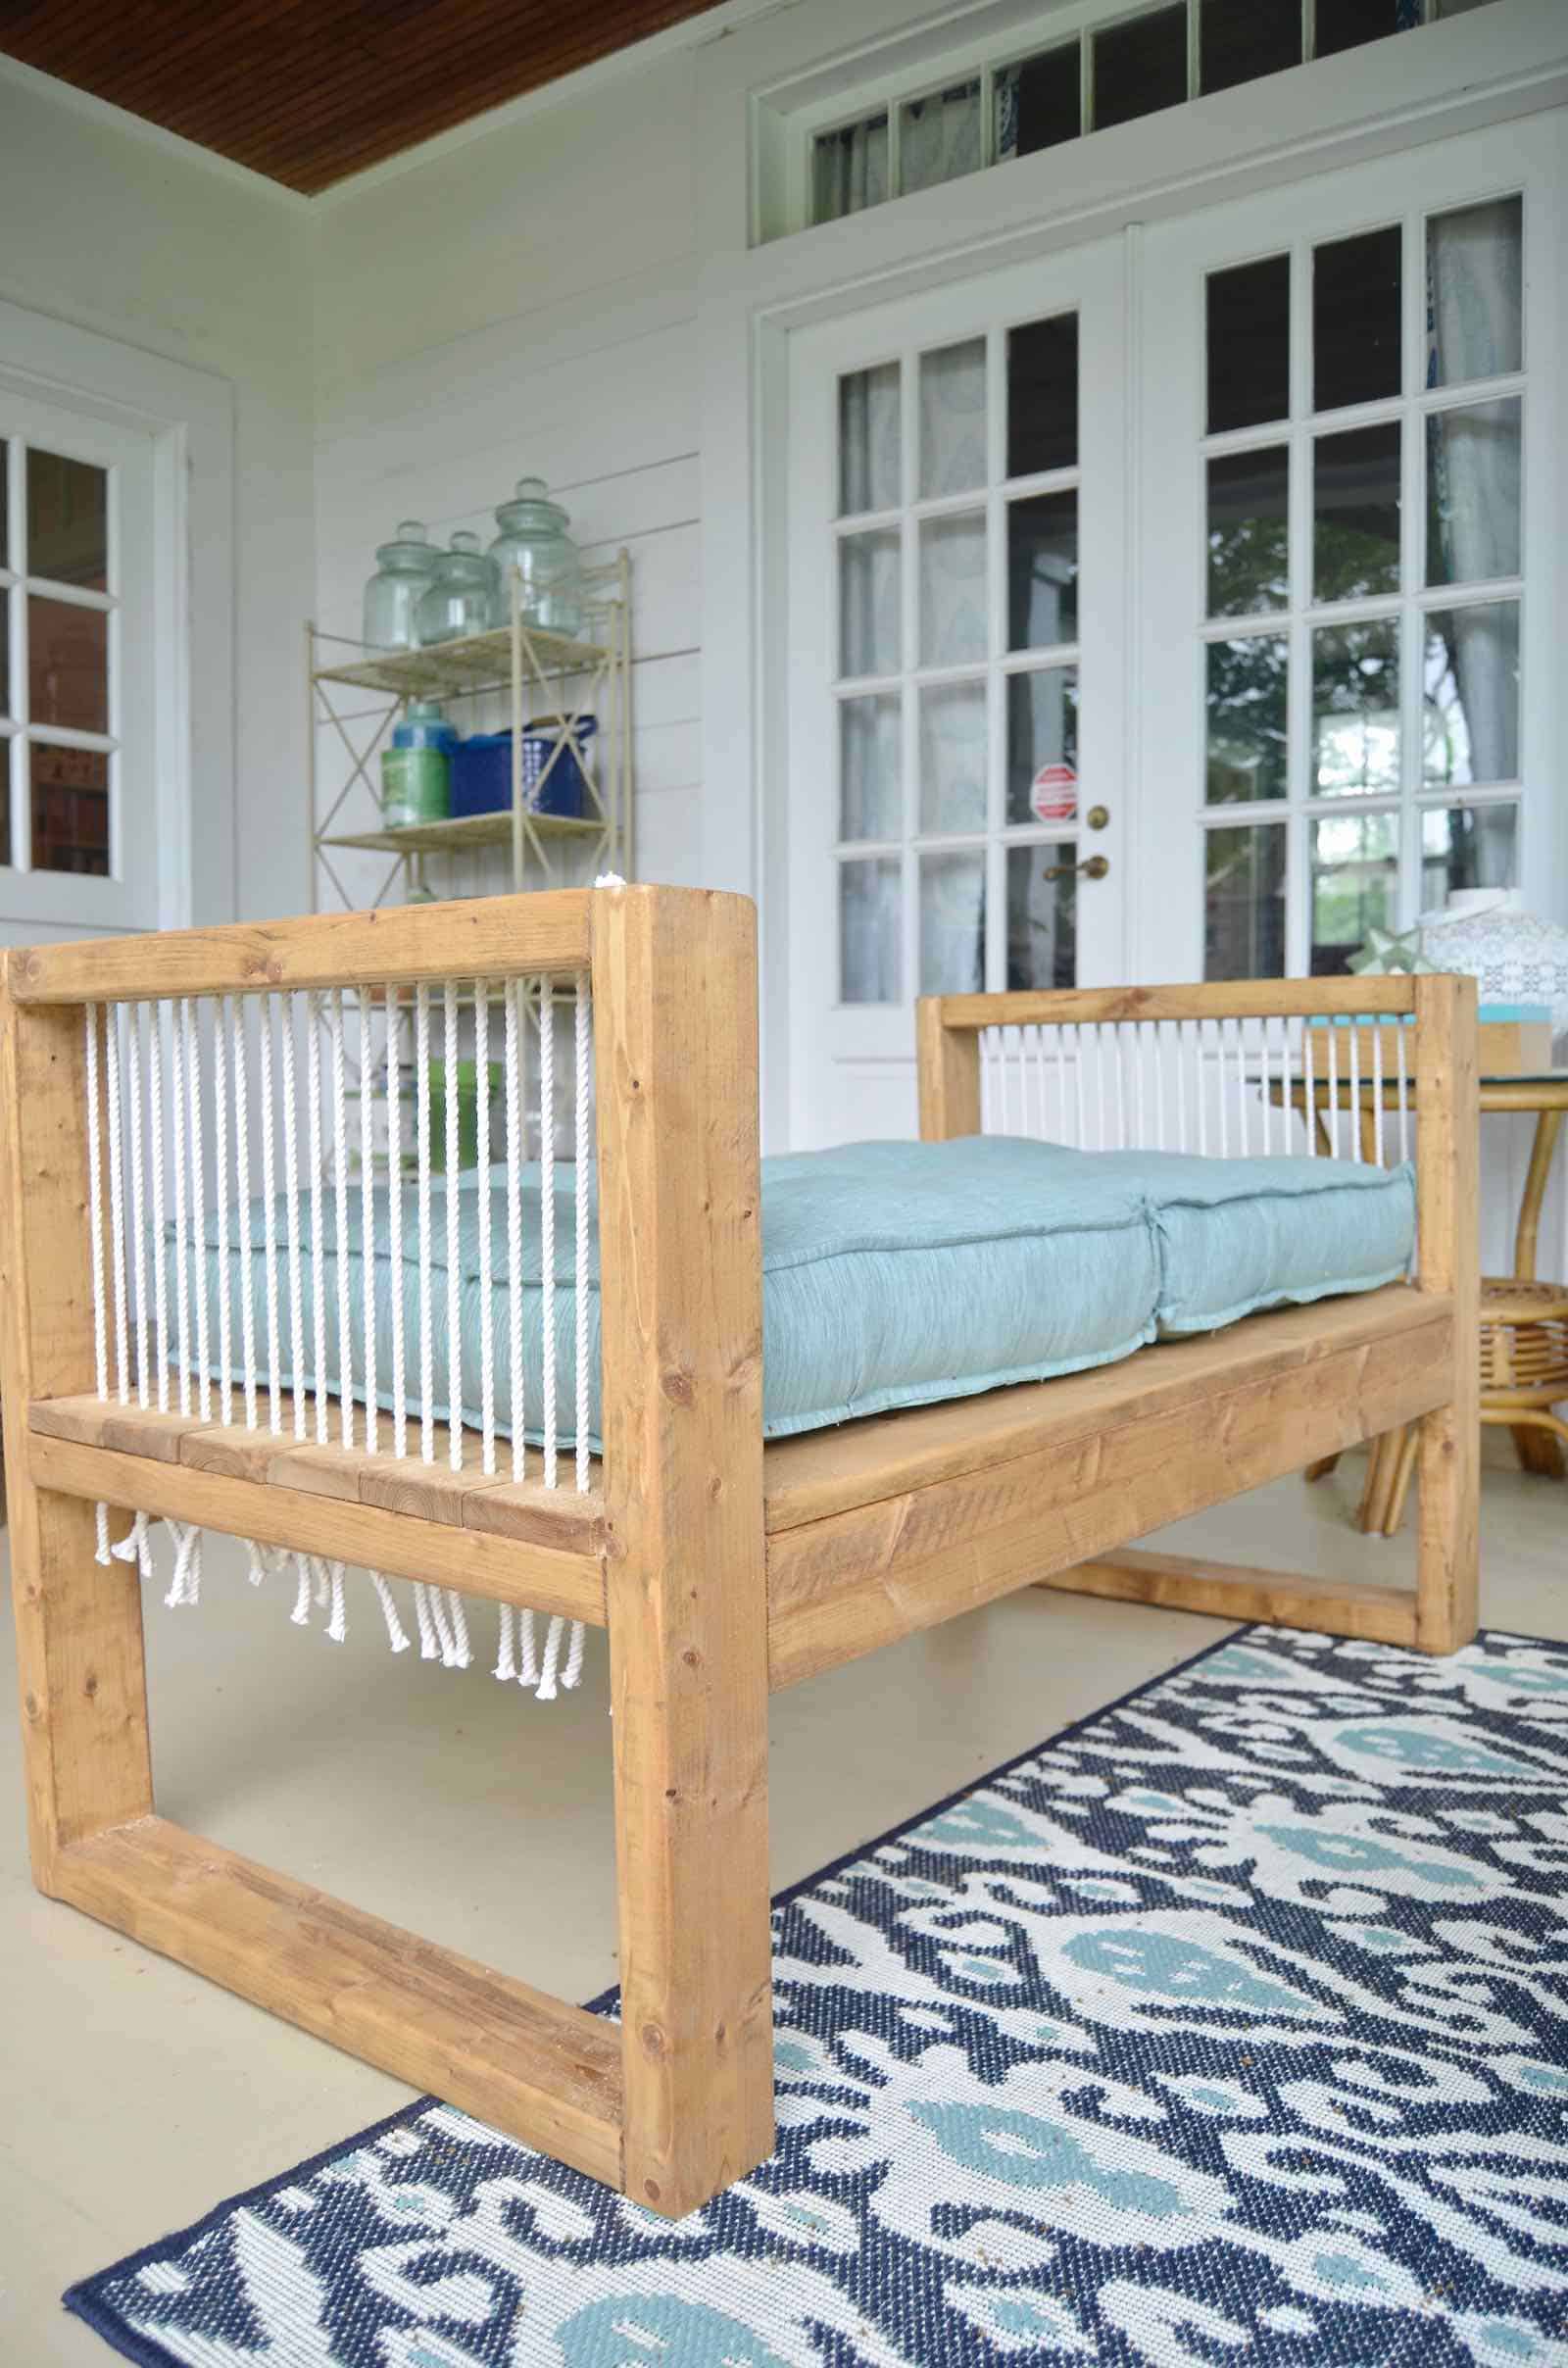
MATERIALS
(Affiliate links included for your convenience)
Lumber
2x4s:
- 7 @ 22.5 inches
- 4 @ 27.5 inches
- 2 @ 42.5 inches
1×4
- 4 @ 49.5 inches
1×6
- 2 @ 49.5 inches
Other Supplies:
- Cotton Rope (3/16-inch pictured): approximately 80 feet
- Router with 1/4 bit
- Kreg Jig
- Drill w/ 1/4 inch bit
- Jig Saw
- Sander
- Wood Stain
- Wood Glue
- Brad nailer (optional… you could easily do this with small nails and a hammer)
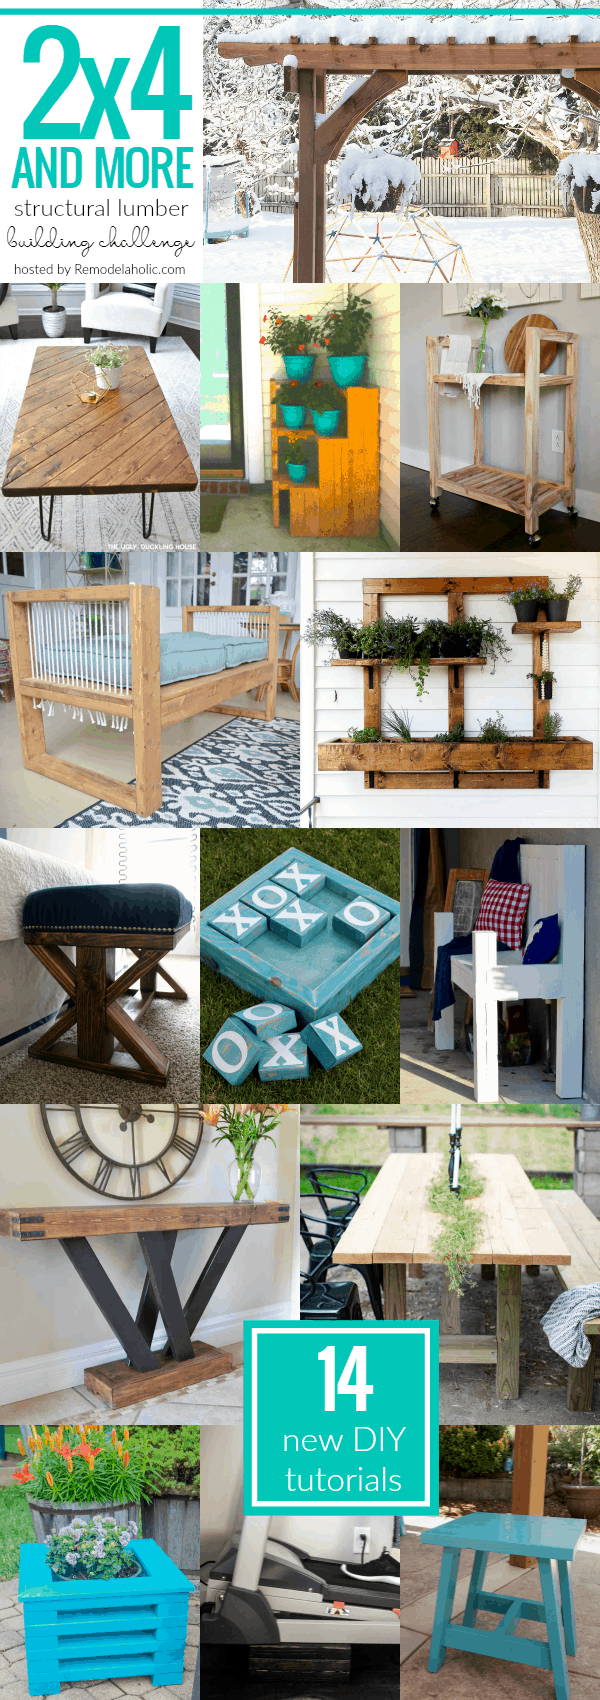
Make sure you head over to Remodelaholic to see all the other fun projects that are being linked up all week as part of her #2x4andMore structural lumber building week. (Click here if you have a project and want to link up!)
I had a BLAST making this bench and putting together a tutorial for you. To see a full playlist about the #2x4andMore projects being shared, Cassity has a playlist for you also: click here!
Thanks again to Remodelaholic for the kick in the pants I needed to finish off this porch! Make sure you check out some of the other great 2×4 Projects being shared today by some other super talented bloggers:
garden arbor | Remodelaholic
15 minute coffee table | The Ugly Duckling House
tiered corner plant stand | Charleston Crafted
single-board rolling bar cart | Woodshop Diaries
outdoor bench w/rope detail | At Charlotte’s House
wall planter and herb garden | Making Joy and Pretty Things
upholstered x-base bench | Frazzled Joy
jumbo tic tac toe | Ginger Snap Crafts
porch bench | Everyday Party Magazine
console table | Hertoolbelt
farmhouse patio table | North Country Nest
easy flower planters | Our House Now a Home
treadmill incline | Practical and Pretty
patio side table | Small Home Soul



OH my gosh I have so many comments. First of all this is gorgeous. That honey stain is really pretty. I always avoid it for fear it won’t make that much of a difference but it has such a pretty finish. Second, WOW this is such a cool design! I am totally digging mid century right now so this is so perfect for my back patio. I LOVE this string detail. I feel like it would be a super simple way to upgrade a boring IKEA chair or something! Last, I’m so sad I don’t have a world market near me because those cushions are AMAZING!! I am having serious porch envy over here.
🙂 I agree with you about the stain… normally I would avoid it because I like the richer tones, but as soon as I saw it with my rattan, I was a fan! And thanks re. the design! I’m obsessed with rope details!
Oh my goodness! This project is amazing! Love it!
Thanks so much, Ginger!
Well, aren’t you fancy with the 2×4’s! Love it! The rope detail really makes it!
Haha! Hardly! But… miraculously this one came together! Thanks!
I am loving this bench, such a smart idea for seating with style on your porch 🙂
Thanks, Toni! We need lots of seats so it’s always a challenge not to be too matchy-matchy!
Such a simple build, and such a cute bench! the rope adds just the right detail and style. Great job! 🙂
THanks so much, Denise!!
I absolutely ADORE this bench! The rope detailing on the side just knocks it out of the park! Great job!
Thanks so much! It’s getting LOTS of use these days! 🙂