Outdoor DIY S’mores Bar
Psssst… this post *might* contain affiliate links: see my disclosure here.
Throw Your Own Colorful S’mores Party
Our new house has a stone fire pit right off the patio and we plan to spend a LOT of time out there! I added some easy DIY details to make a colorful s’mores set up for an outdoor s’mores bar!
Disclosure: This post was written in collaboration with JOANN. All the love and affection is entirely mine.
Shop my favorites!
One of my favorite summer desserts is s’mores. Which means I will set up a s’mores bar with fun outdoor decor whenever I can. I was able to bring in lots of fun accessories and containers from JOANN to make our outdoor s’mores party so fun and festive.
S’mores Bar Materials
- glass containers: black lid, tall glass lid, large Ball jars, small Ball jars
- blue cricut vinyl
- galvanized metal sign/ tray
- galvanized cake stand
- ottomans (not available online)
- decorative paper
- ribbon
- metal container for skewers
- metal lanterns
- house lantern/ bud vase
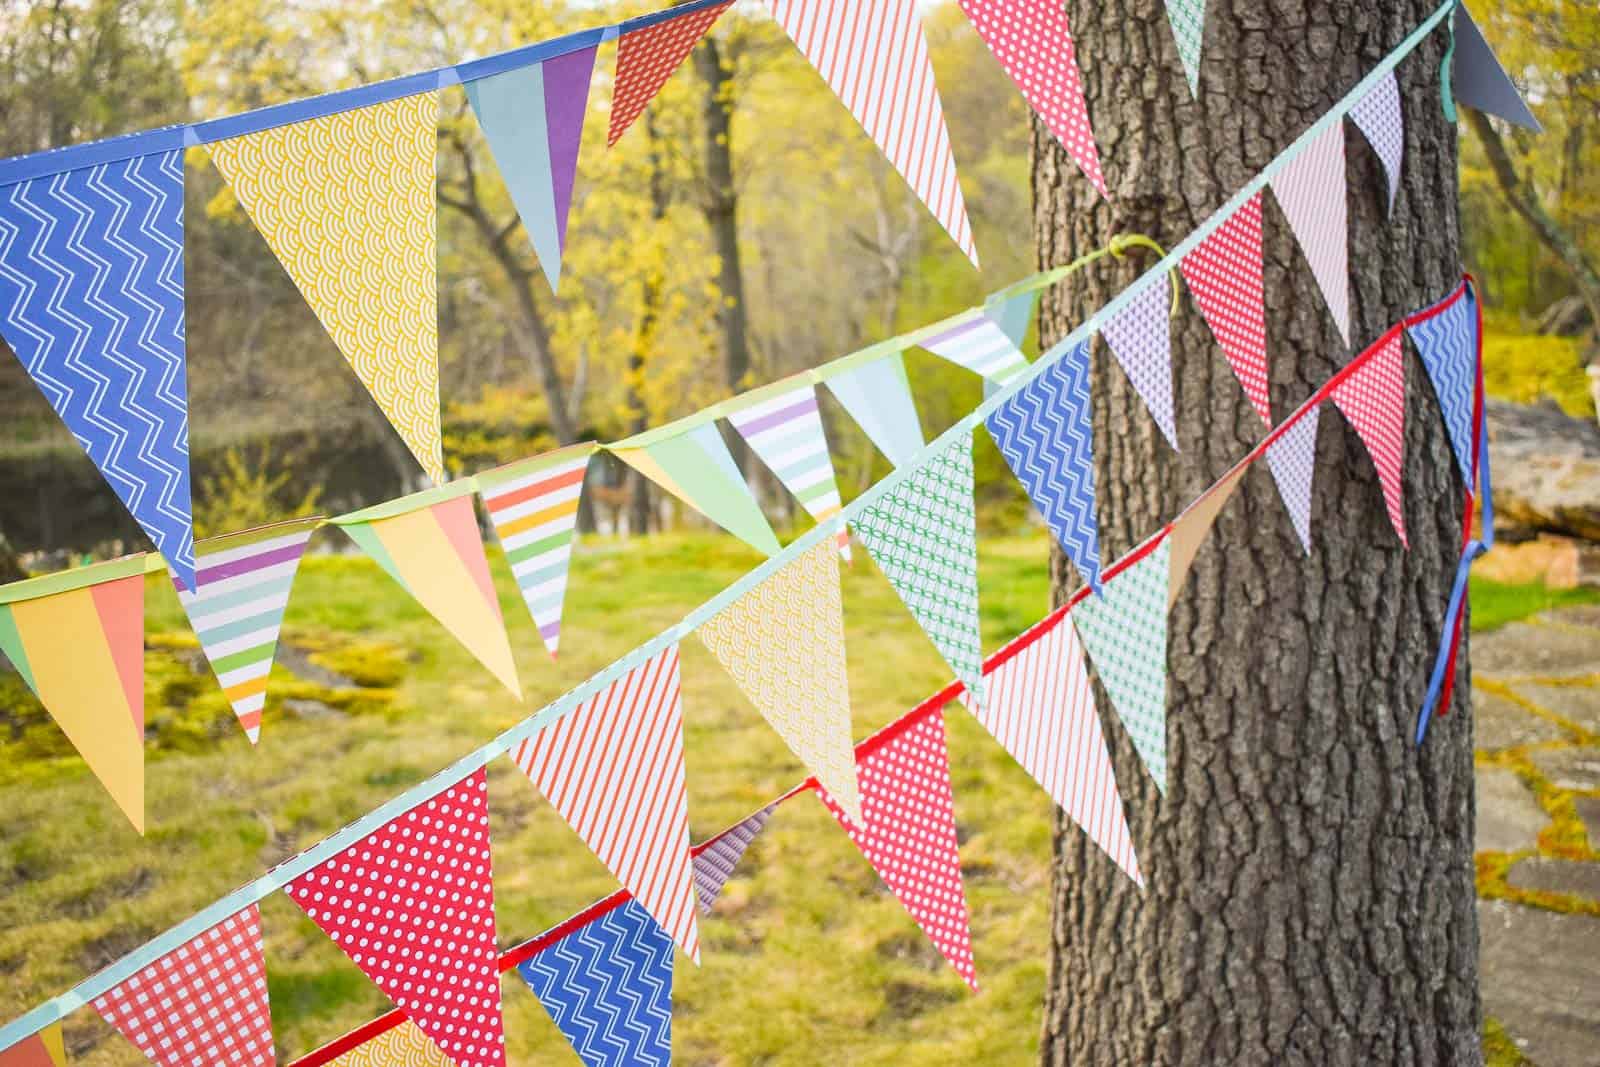
Easy to Make Paper Pennant
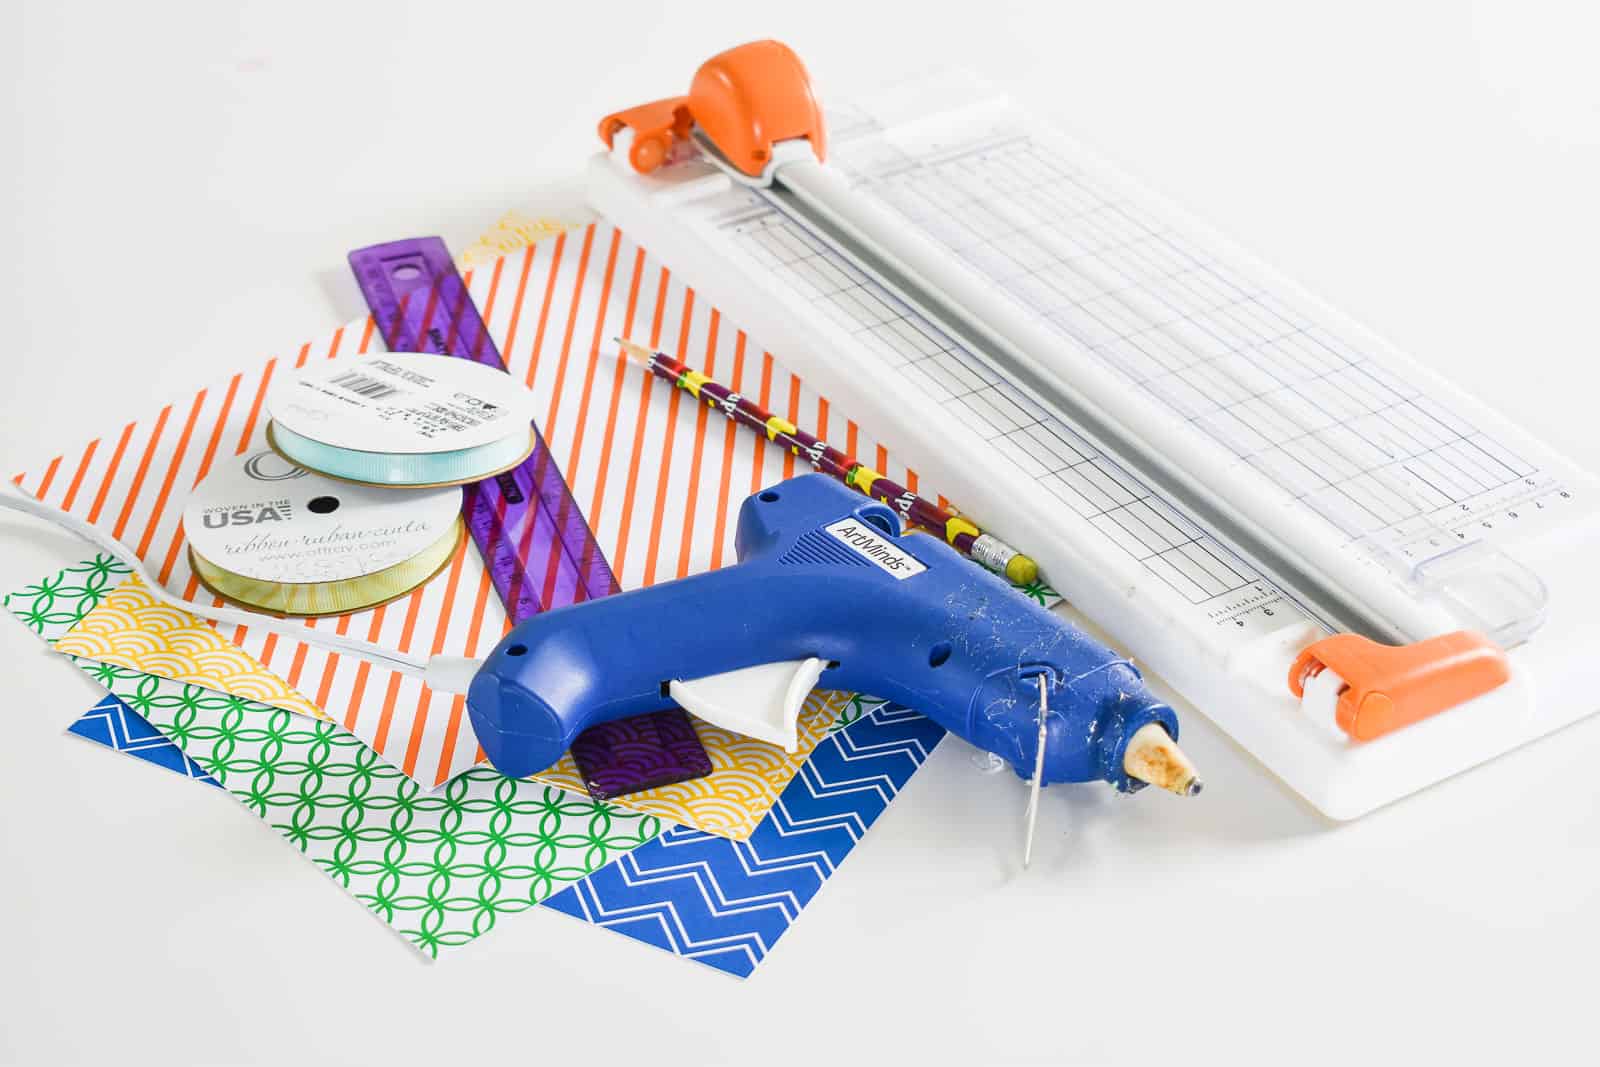
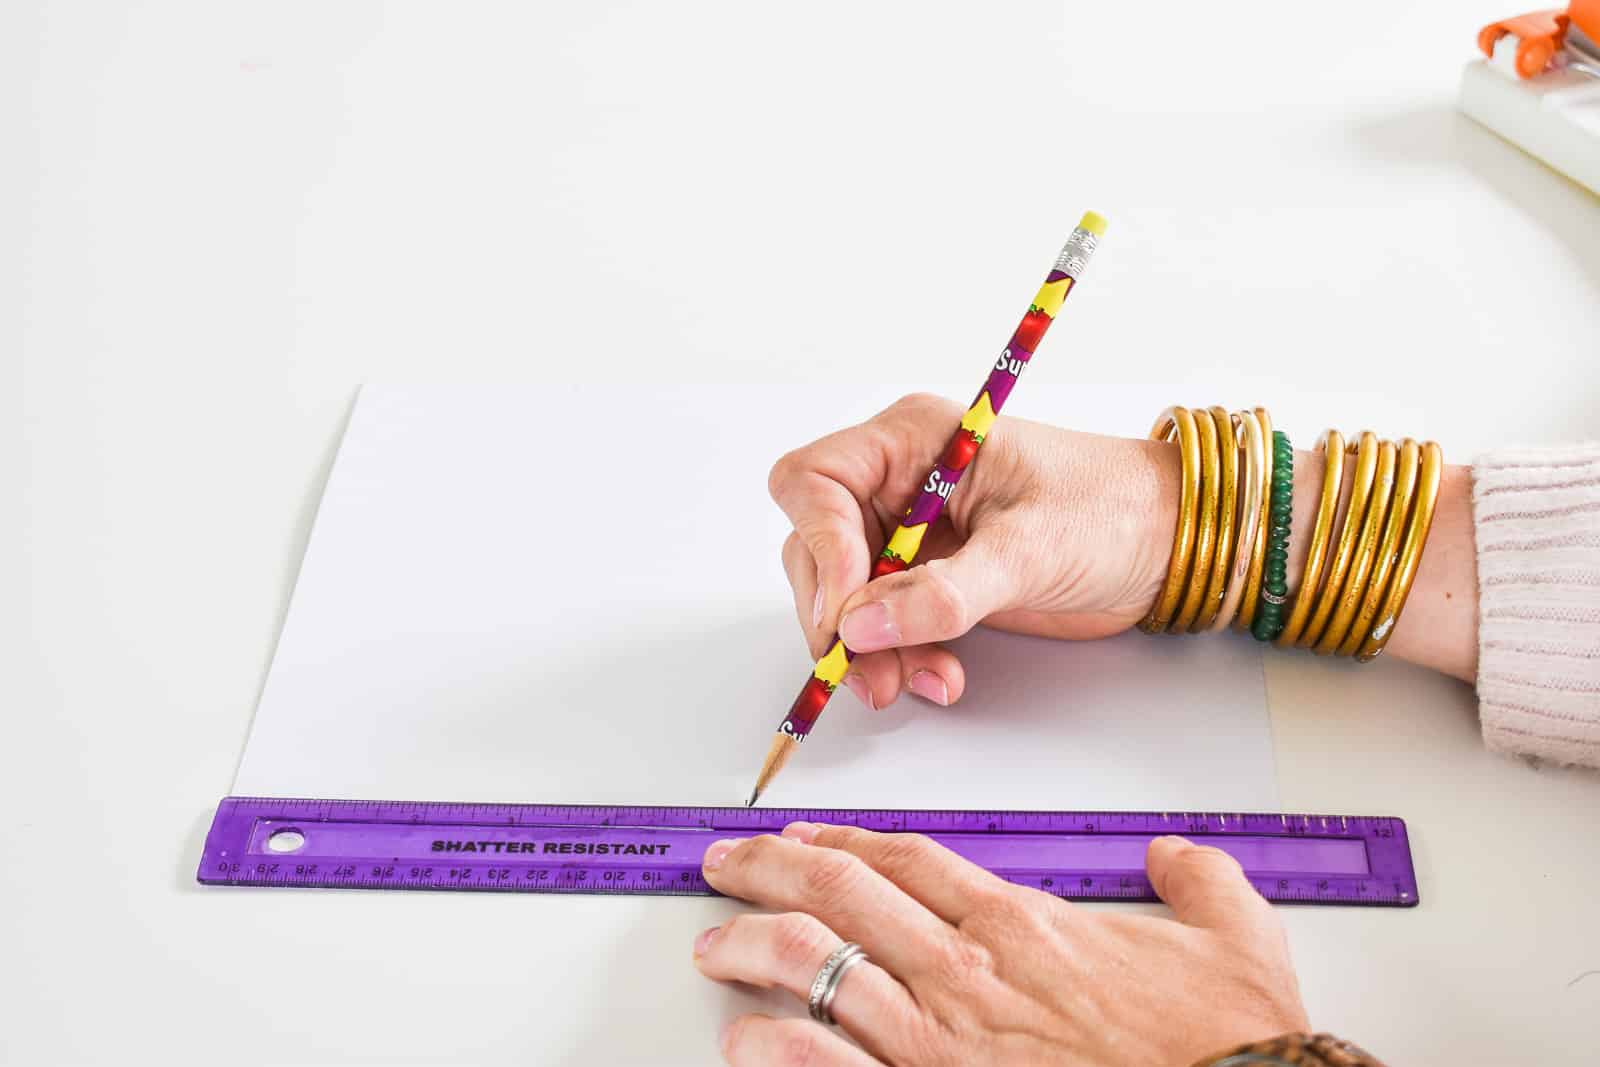
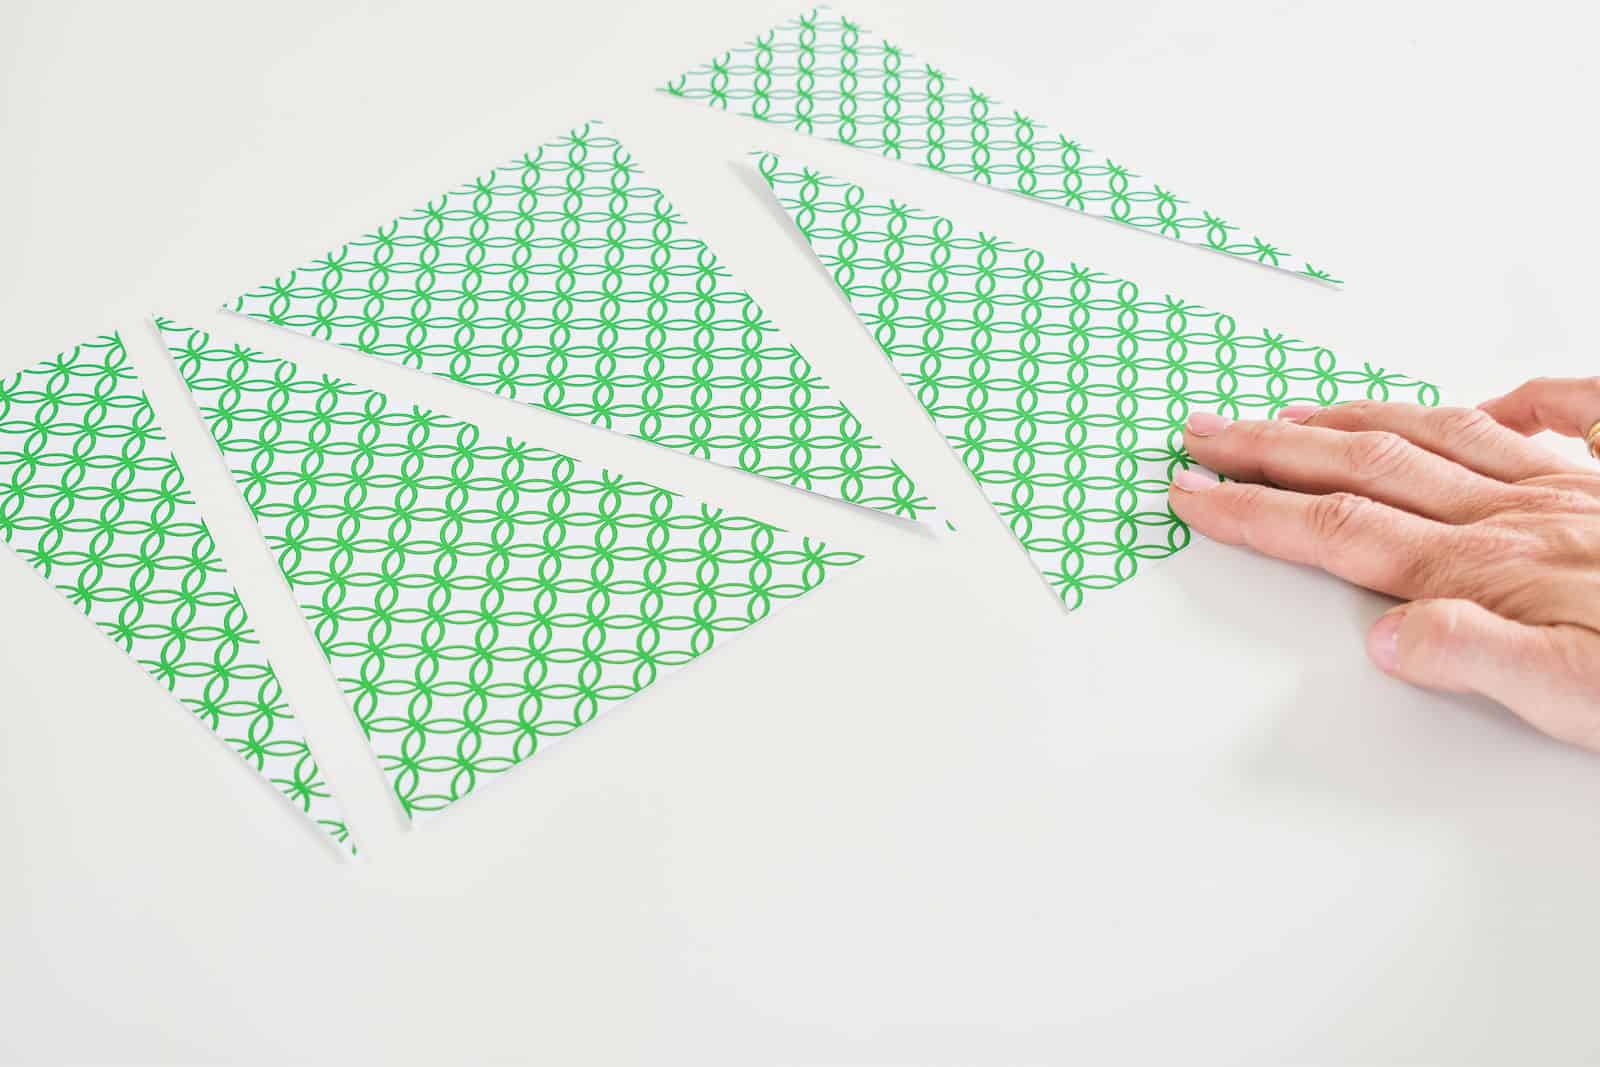
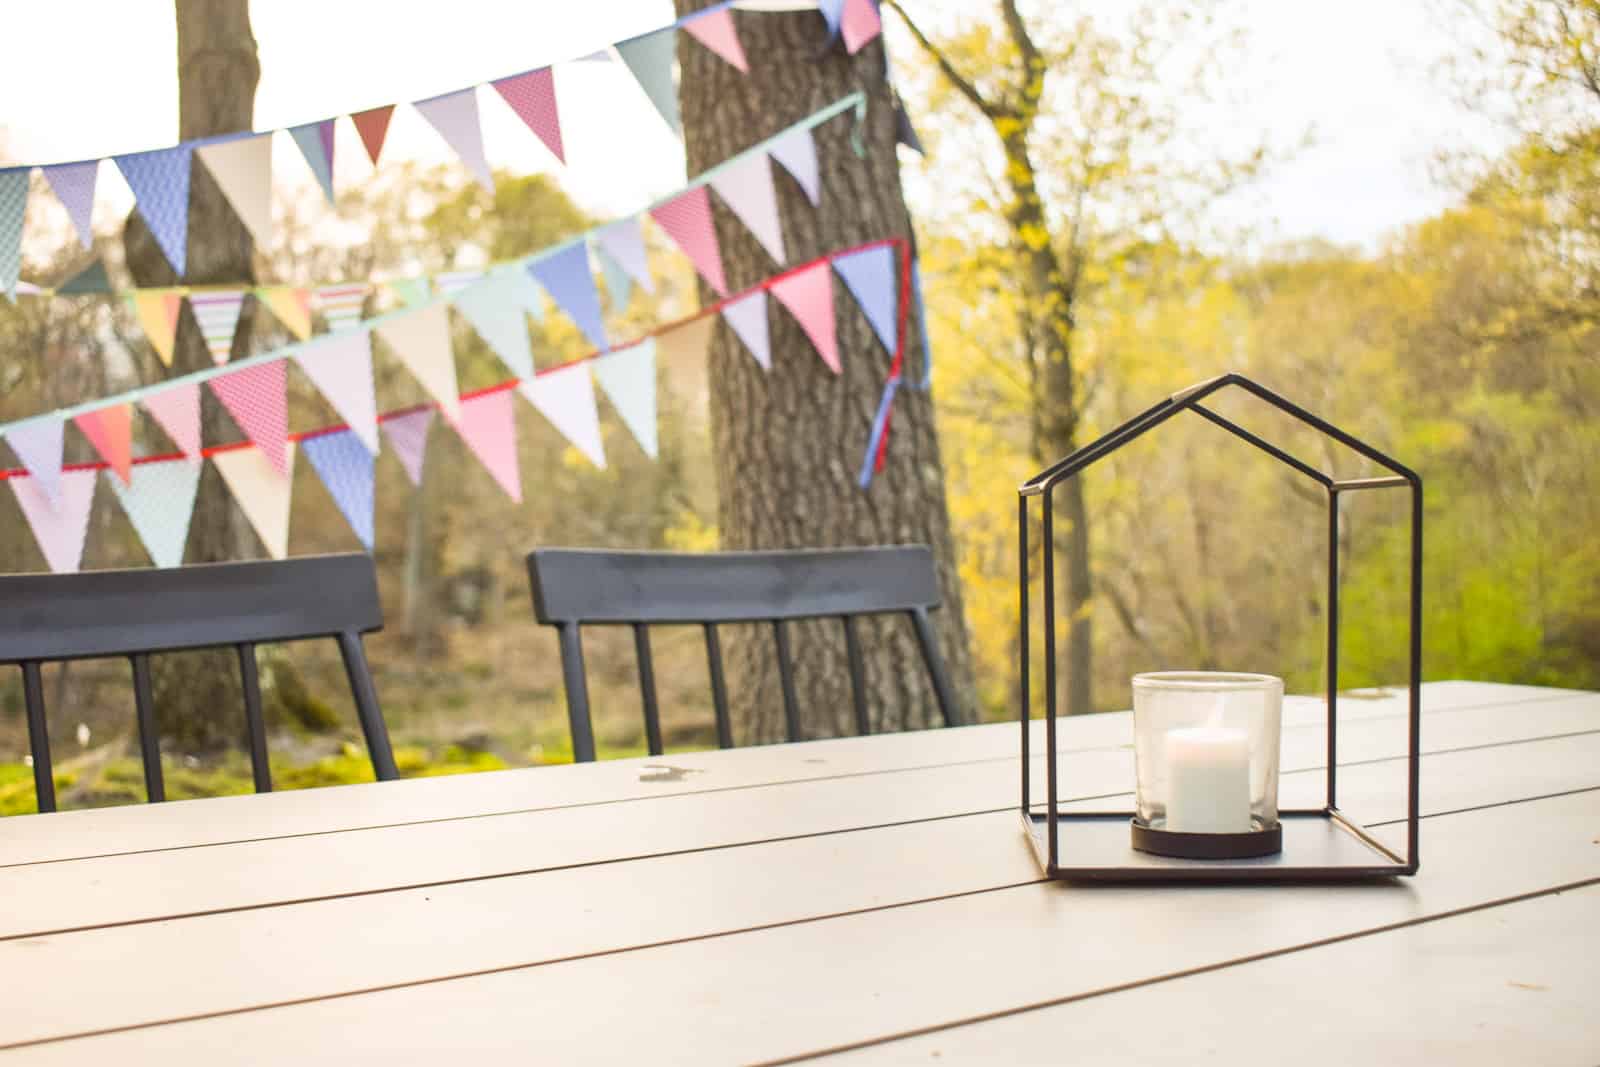
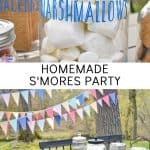
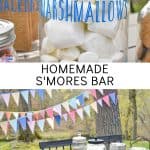
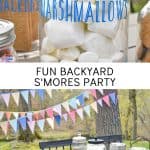
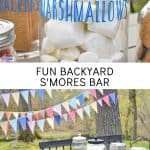
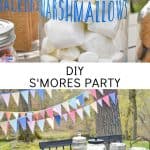
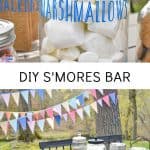
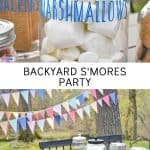
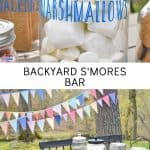
I LOVE a colorful garland and this easy to make pennant banner took an hour to make. I started with 8.5 x 11 inch paper and measured to get three triangles out of each sheet of paper. The size is totally up to you! Using a paper cutter, cut out each triangle.
I made marks on each piece of paper to use as a guide on my paper cutter. One dot in the middle on one side and two dots at 1/4 and 3/4 on the other side.
I was able to line up each dot and quickly cut out each triangle with my paper cutter.
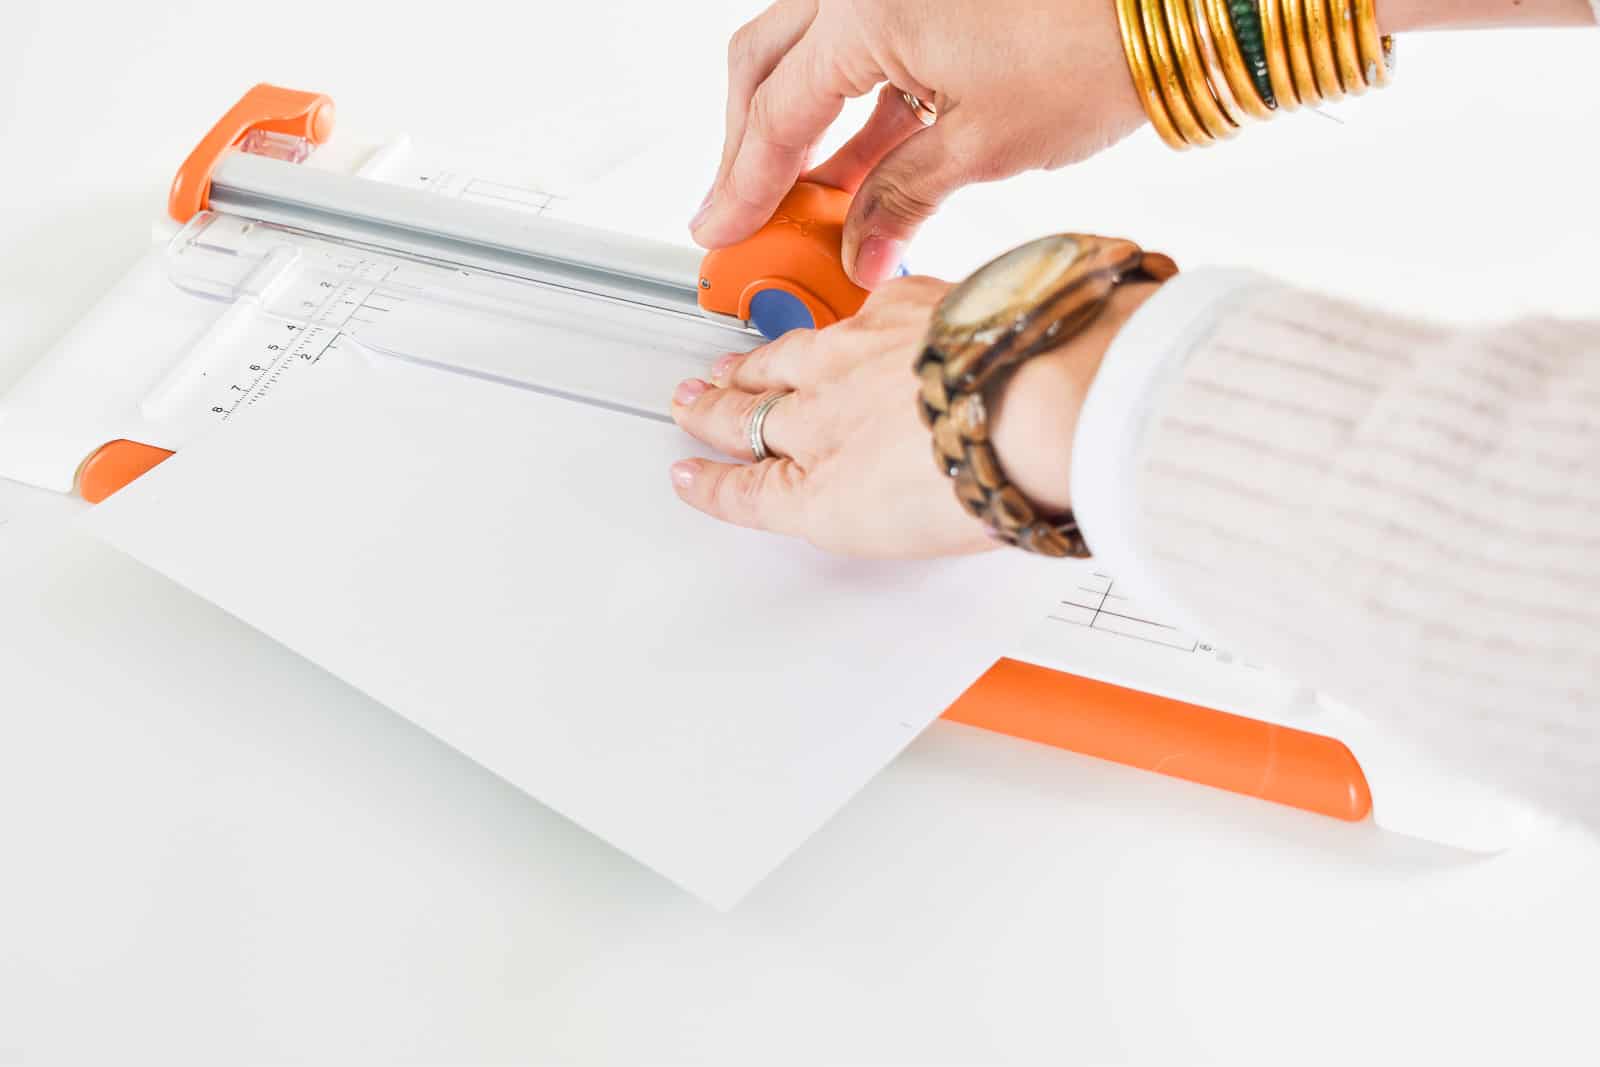
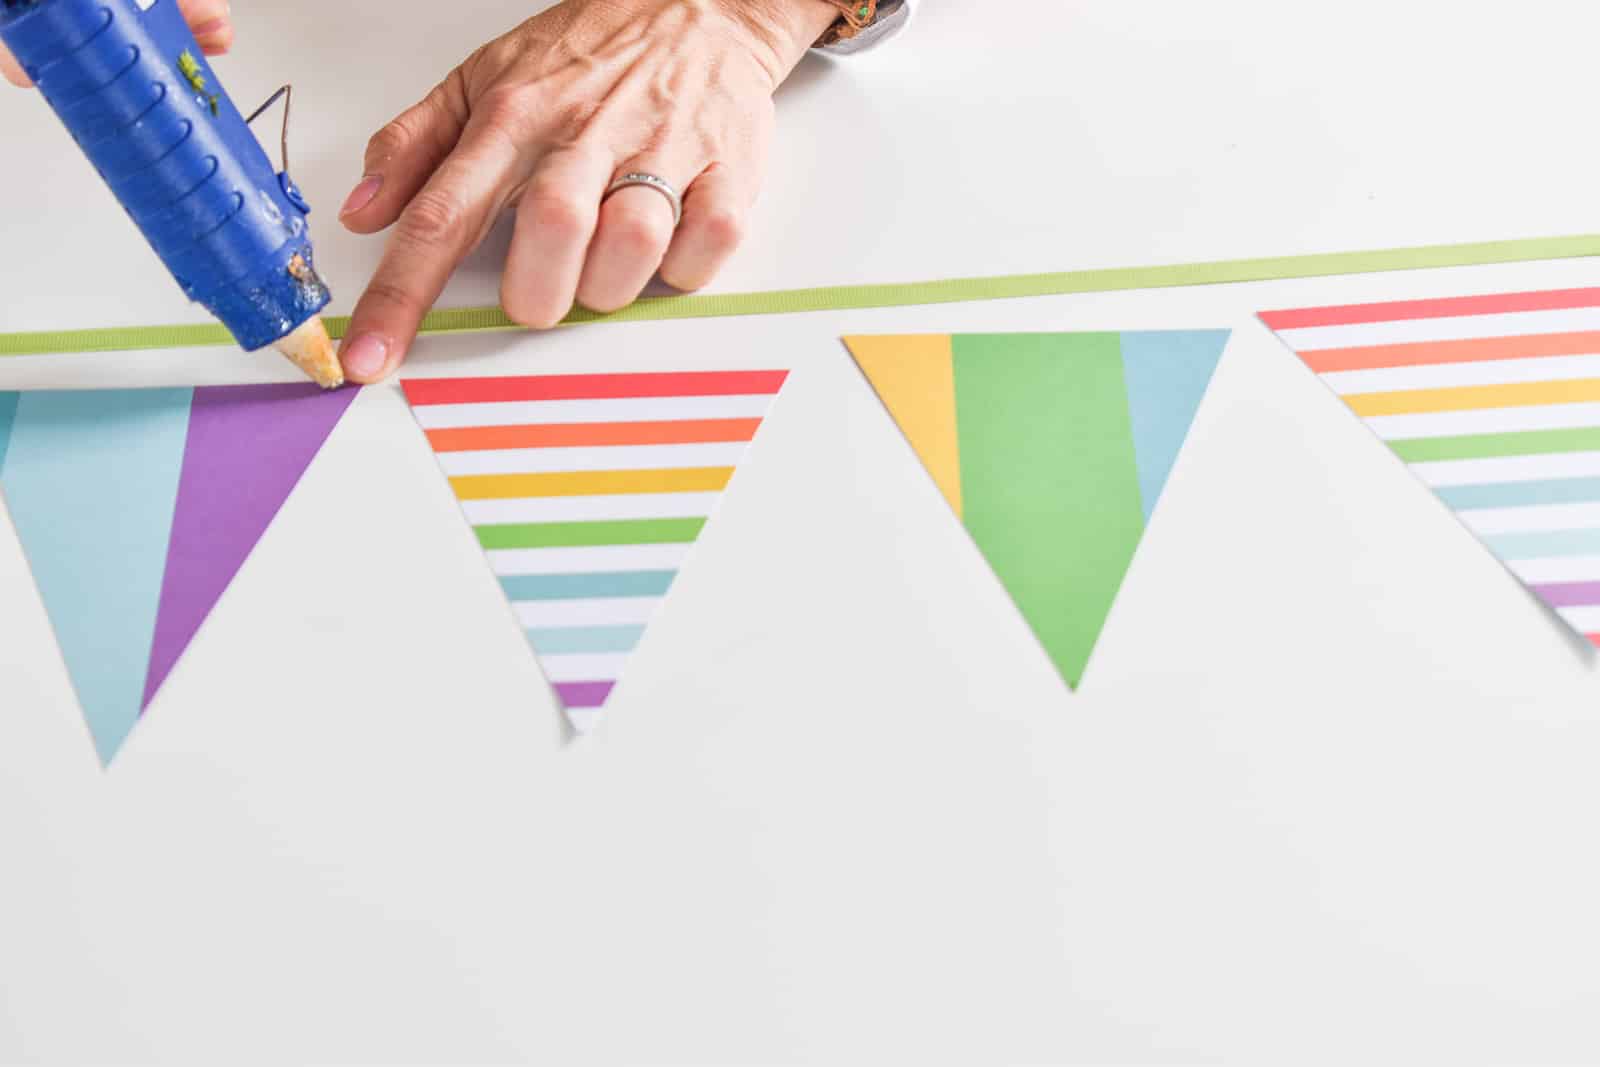
To assemble, I simple used a hot glue gun to attach the top of each triangle to a grosgrain ribbon. (I’ve also seen people literally sew these pieces of paper together into a garland, but my sewing machine’s broken so… not today.)
S’mores container labels with my Cricut
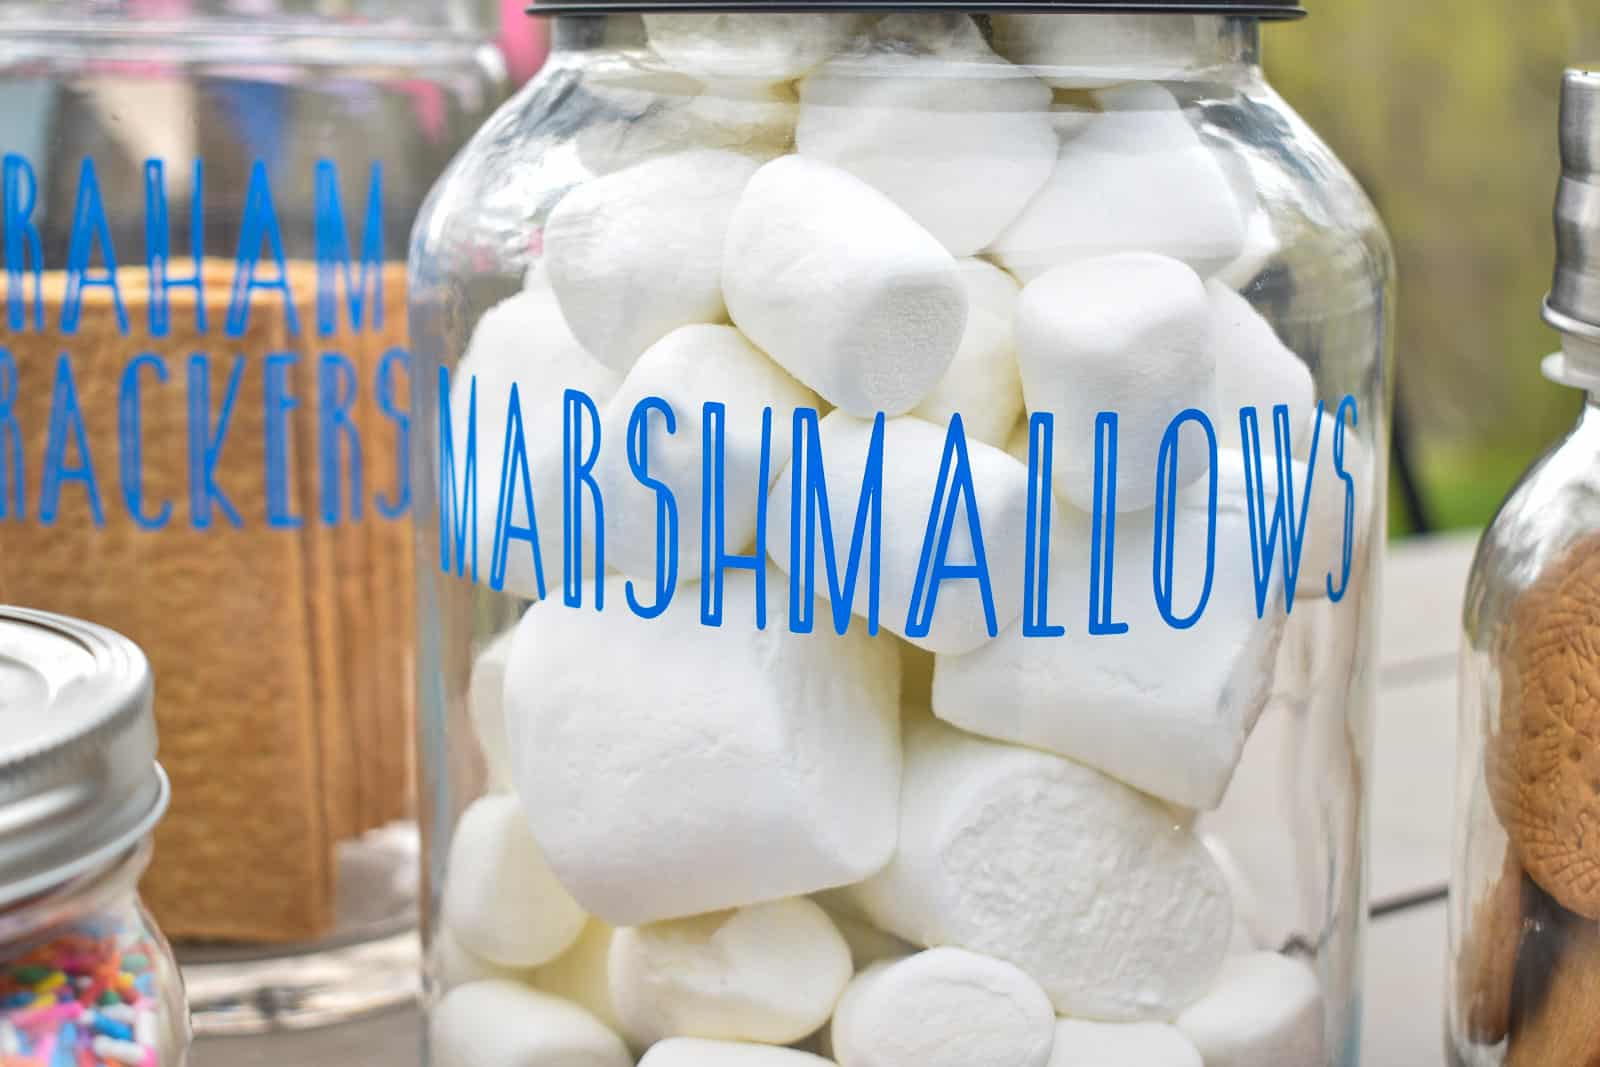
I’m slowly getting more comfortable with my Cricut. I have to admit that this is my first time making labels and after one careless error with the transfer tape, I figured it out and LOVE the results!
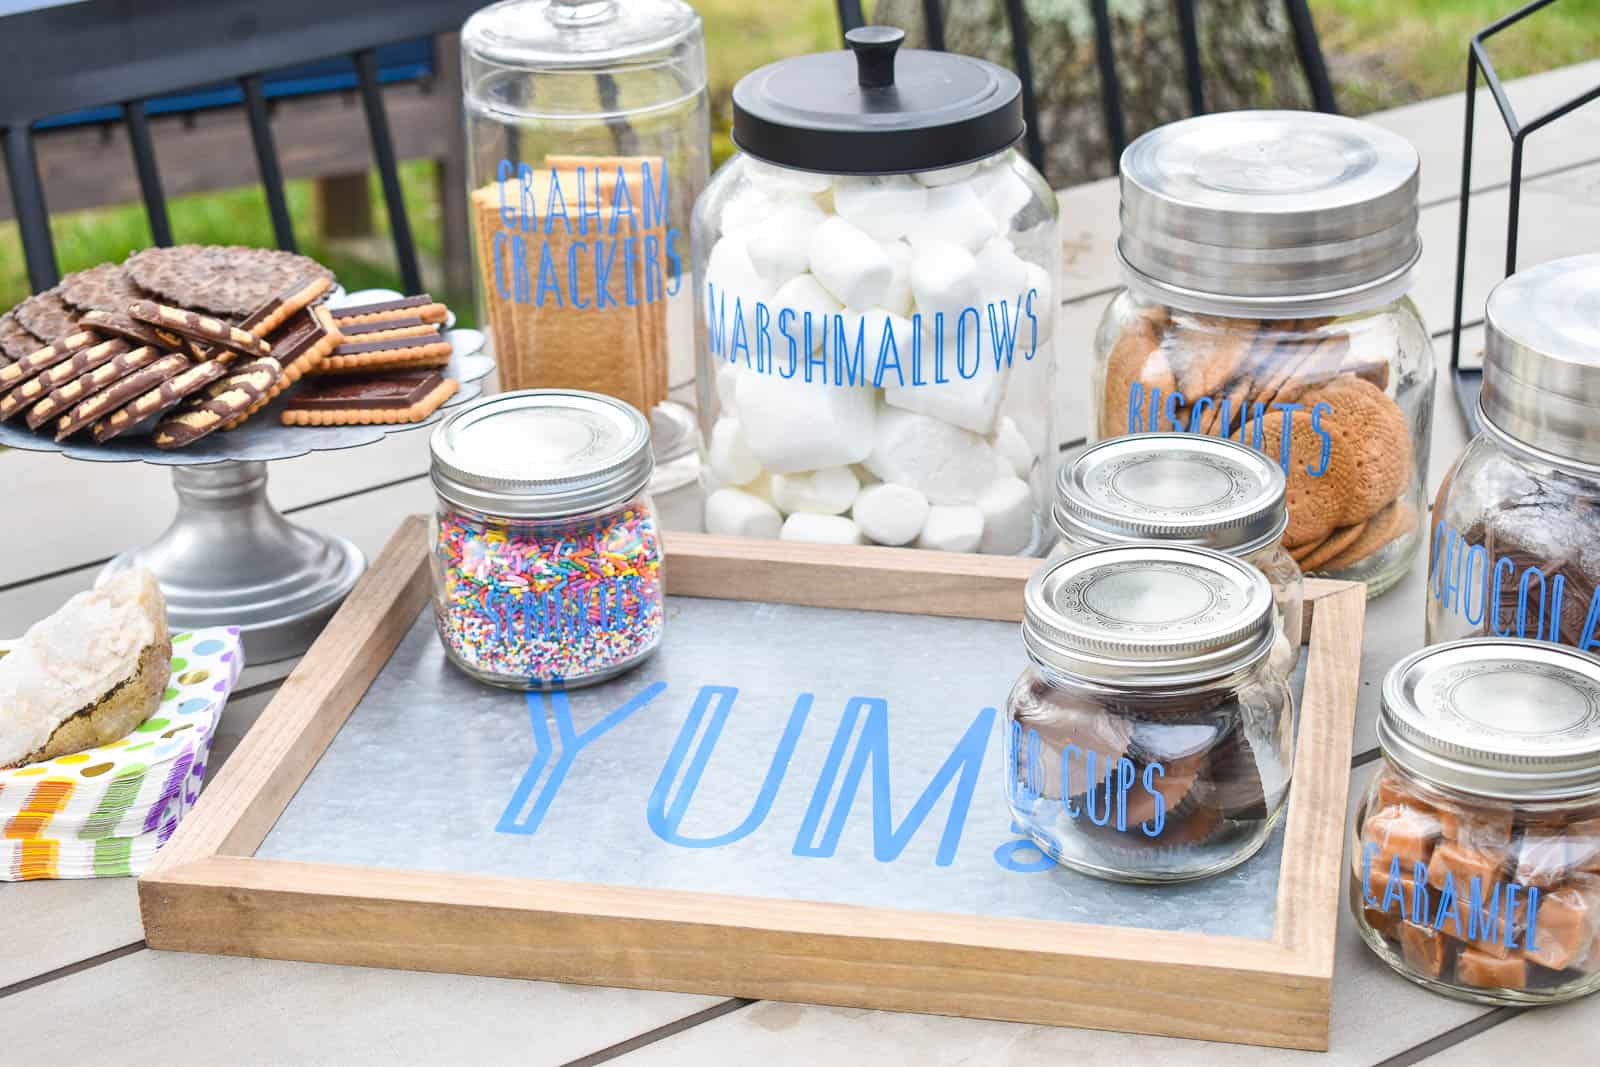
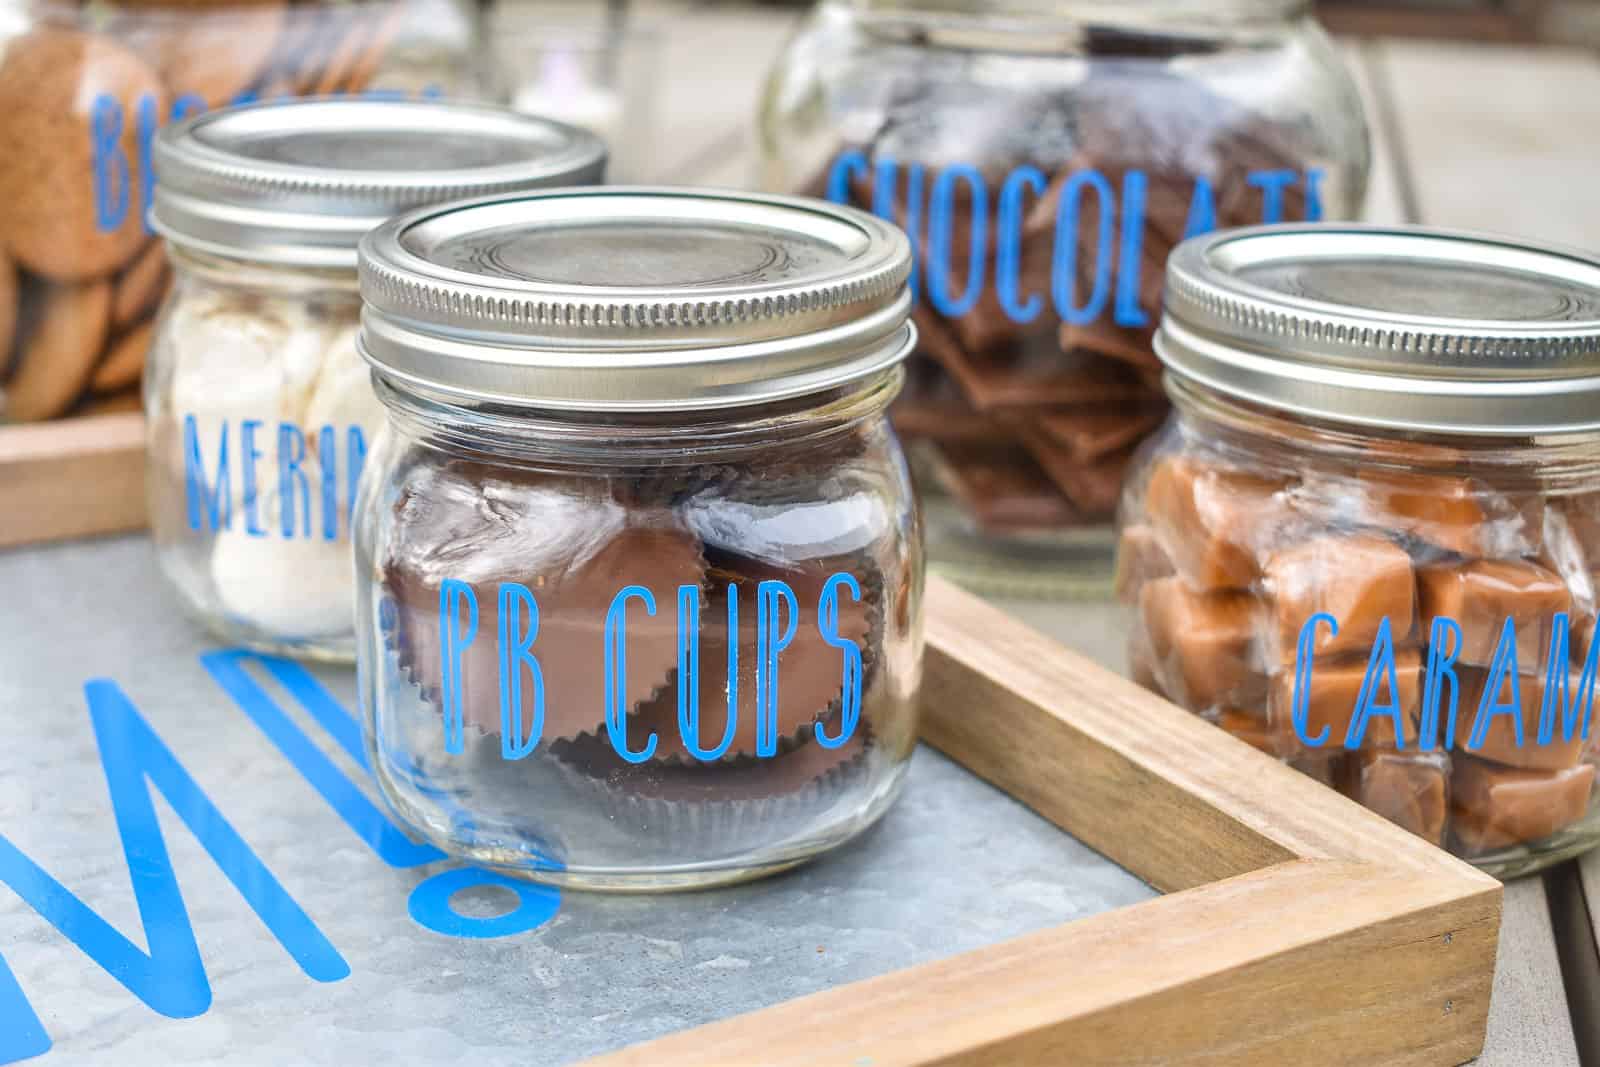
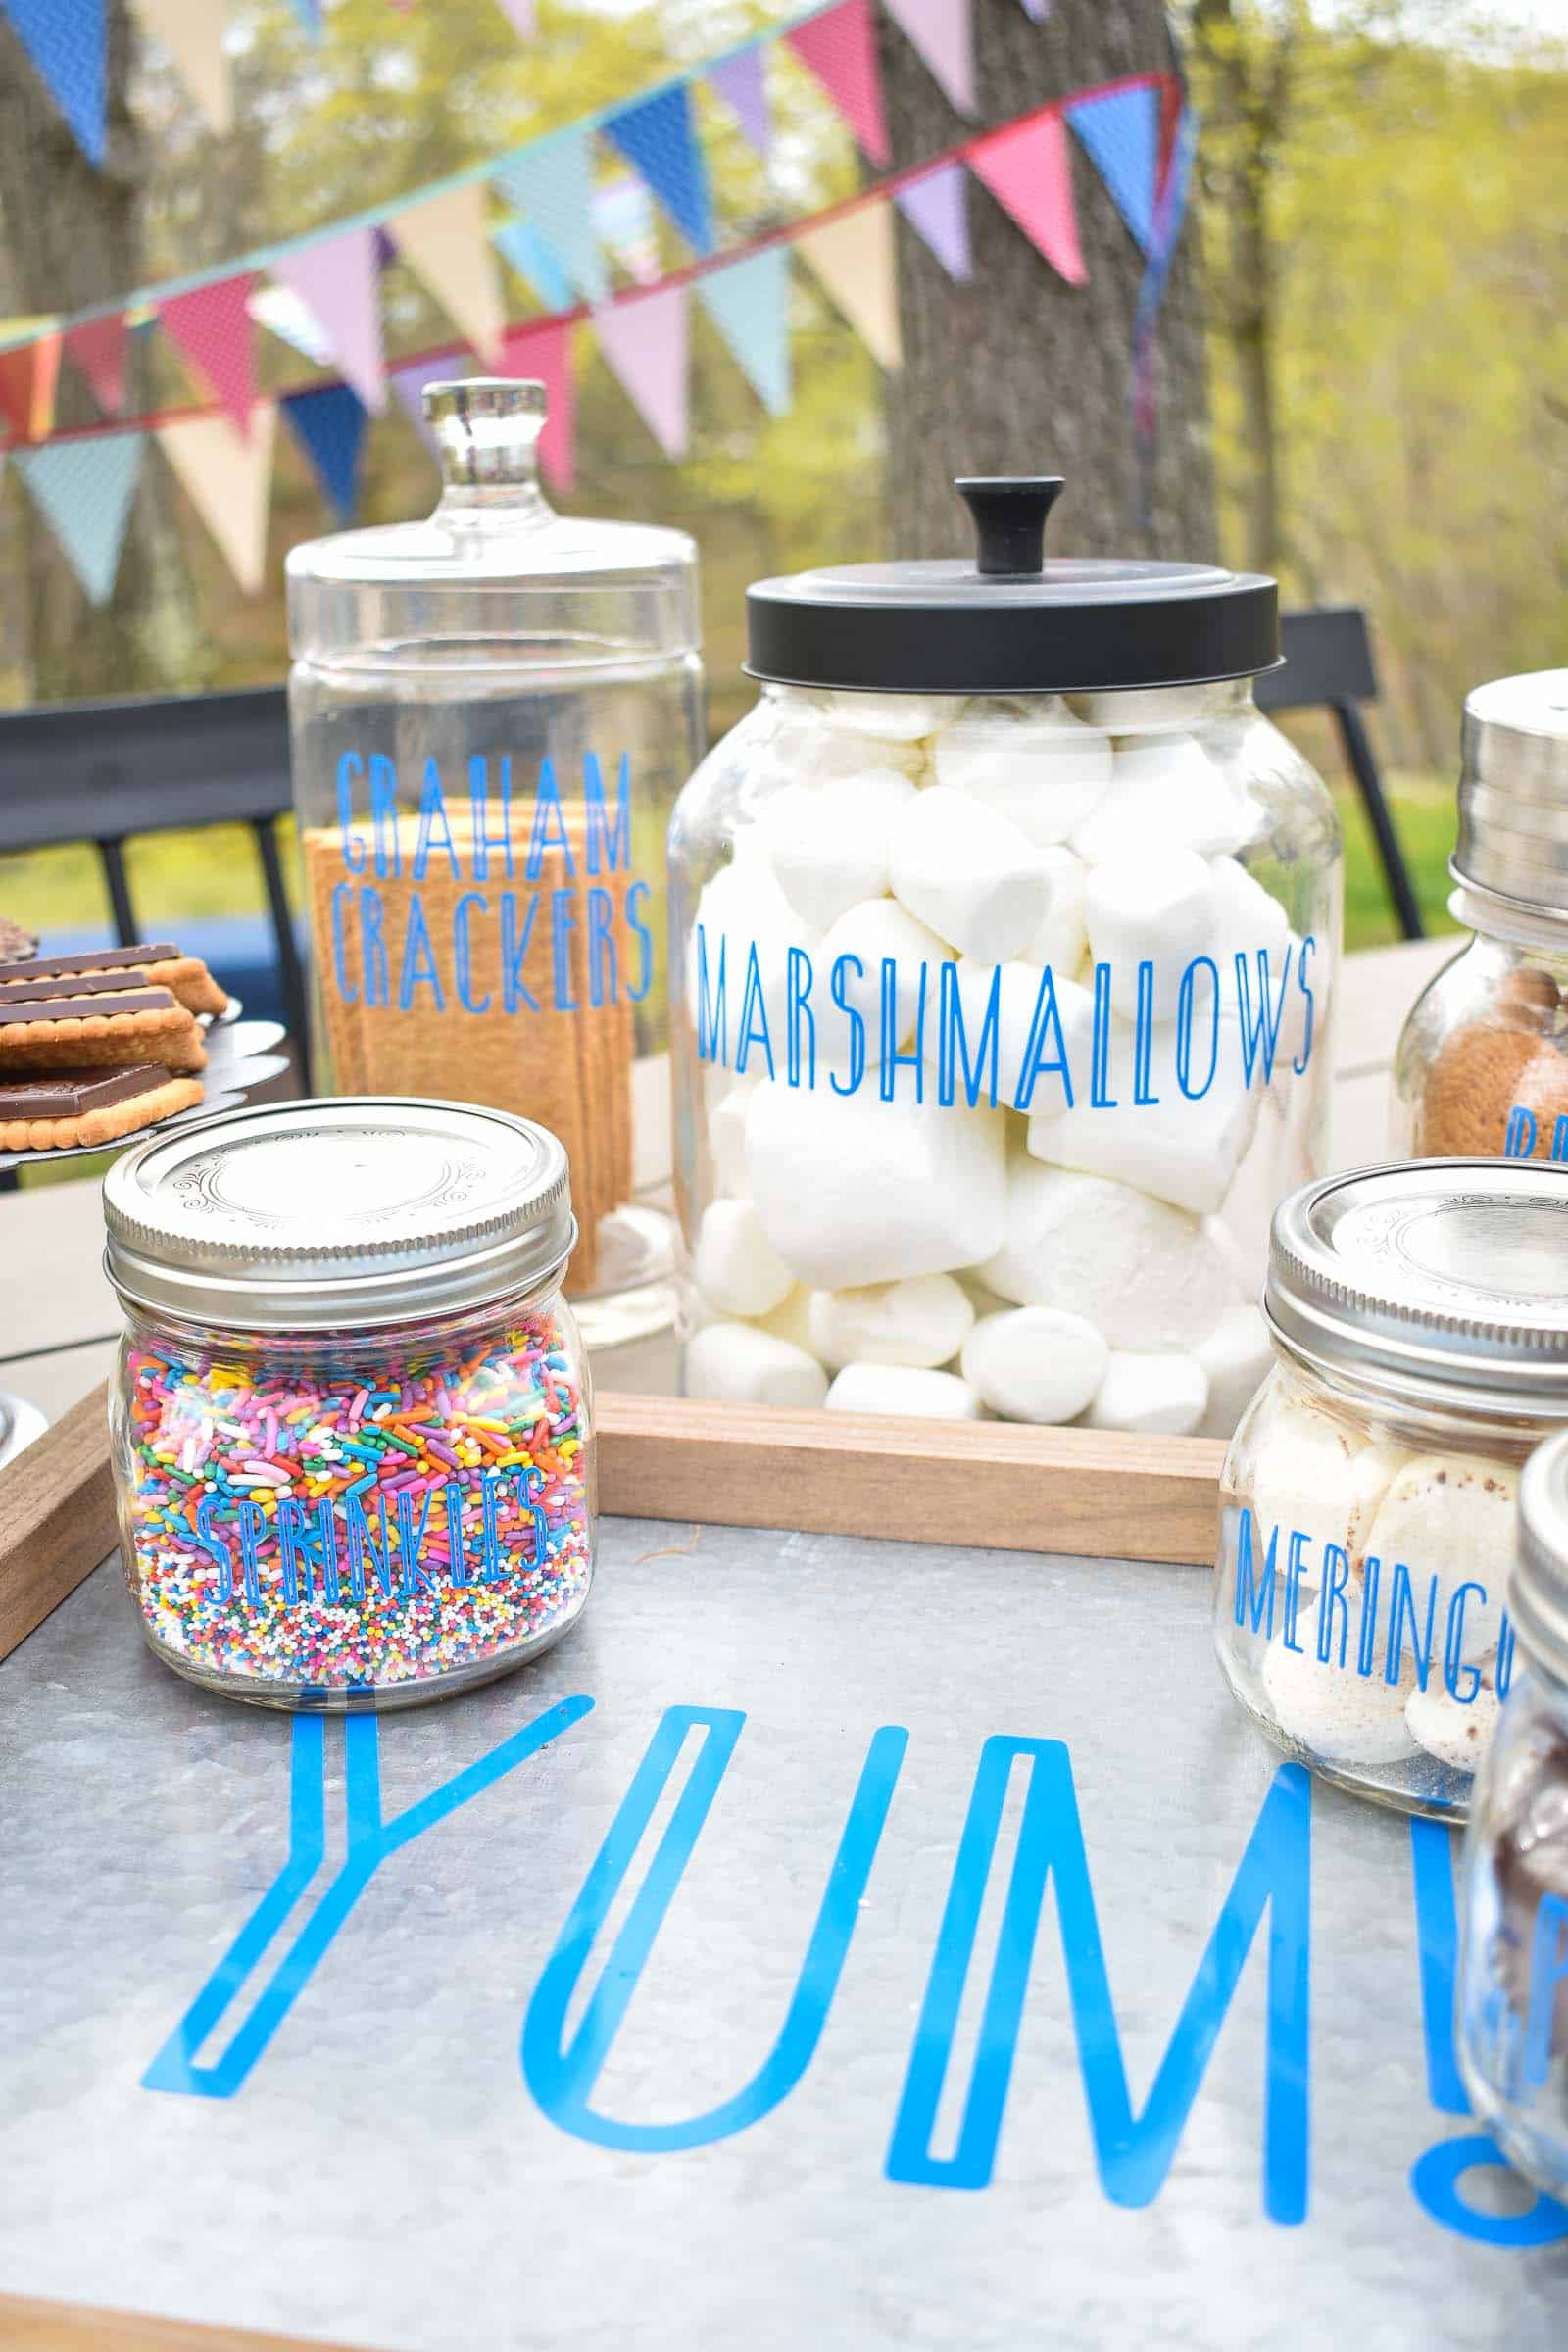
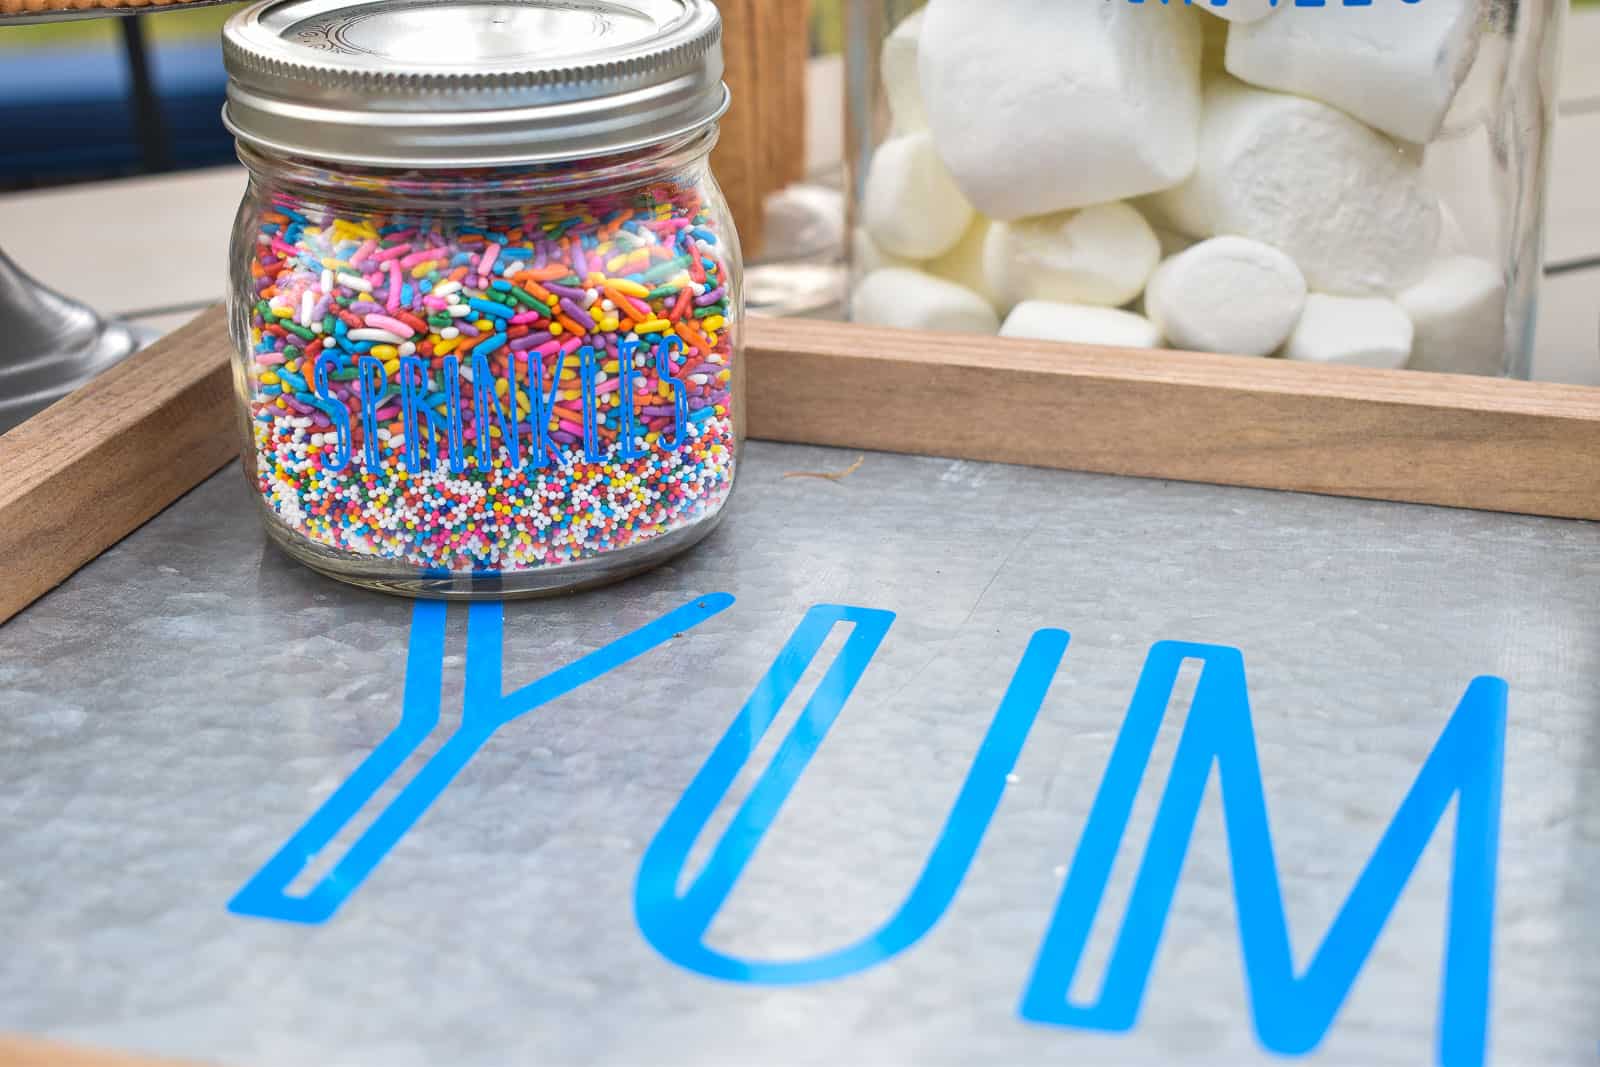
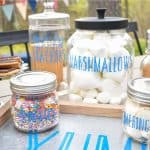
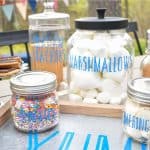
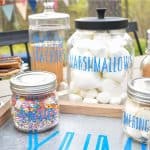
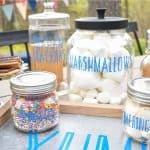
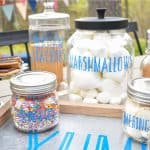
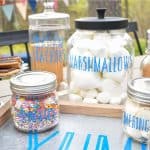
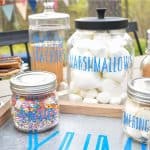
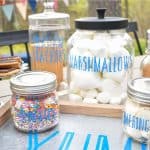
I used Market Street Fonts Early Bird to make these labels. I made sure to go shopping first so I had a sense of what goodies I needed to put in each container. I’m using four larger containers and four smaller containers and I think that’s about right. I have a few items displayed on that cute tin cake stand, so one or two more larger ones could have worked too!
Setting It Up
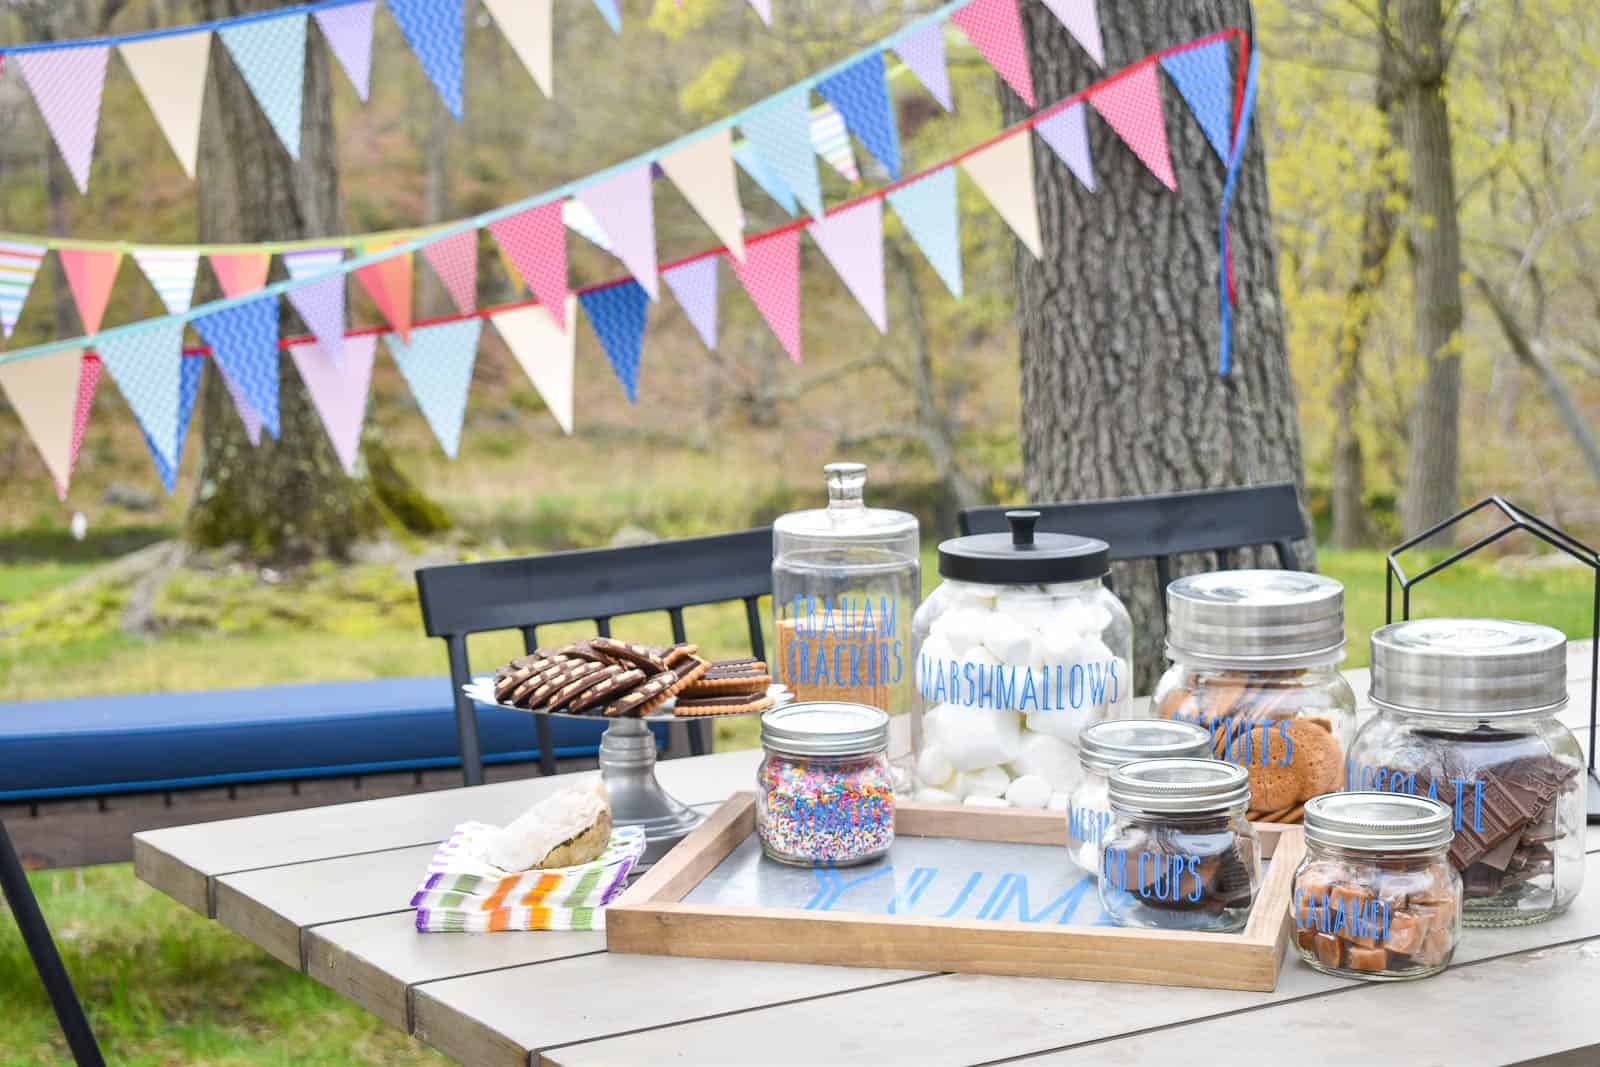
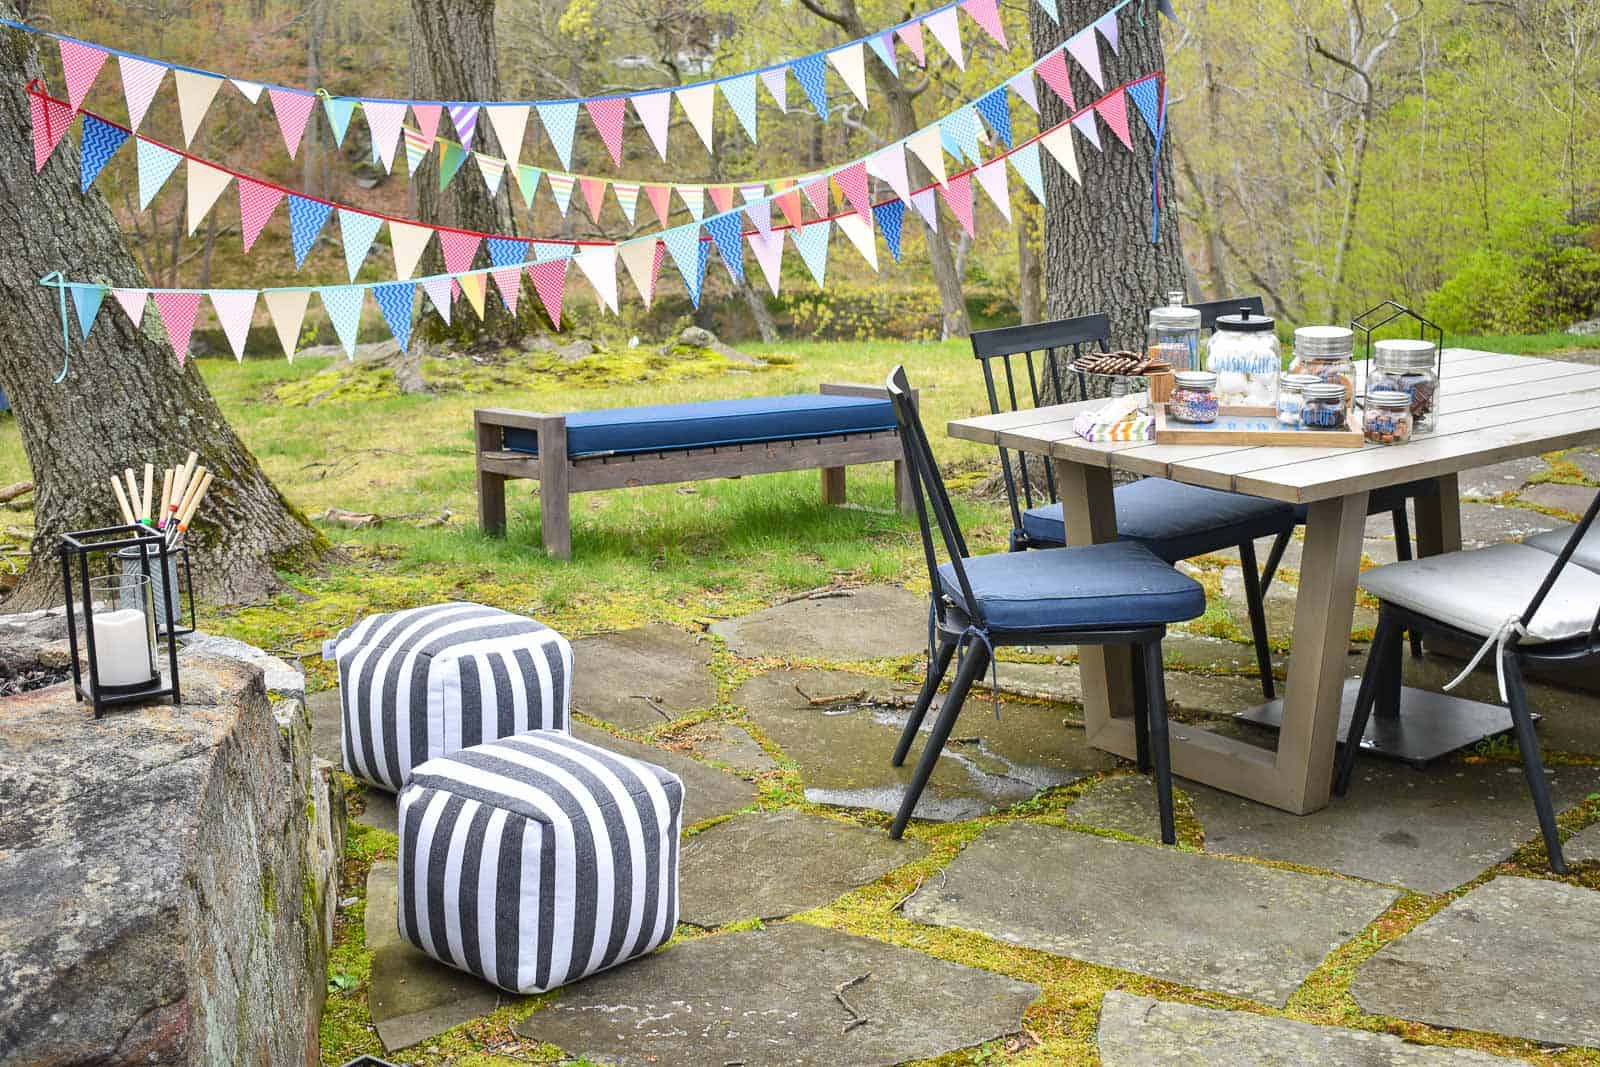
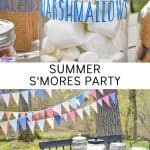
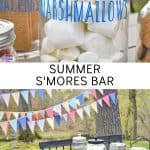
I hung the garland between those two trees using a staple gun.
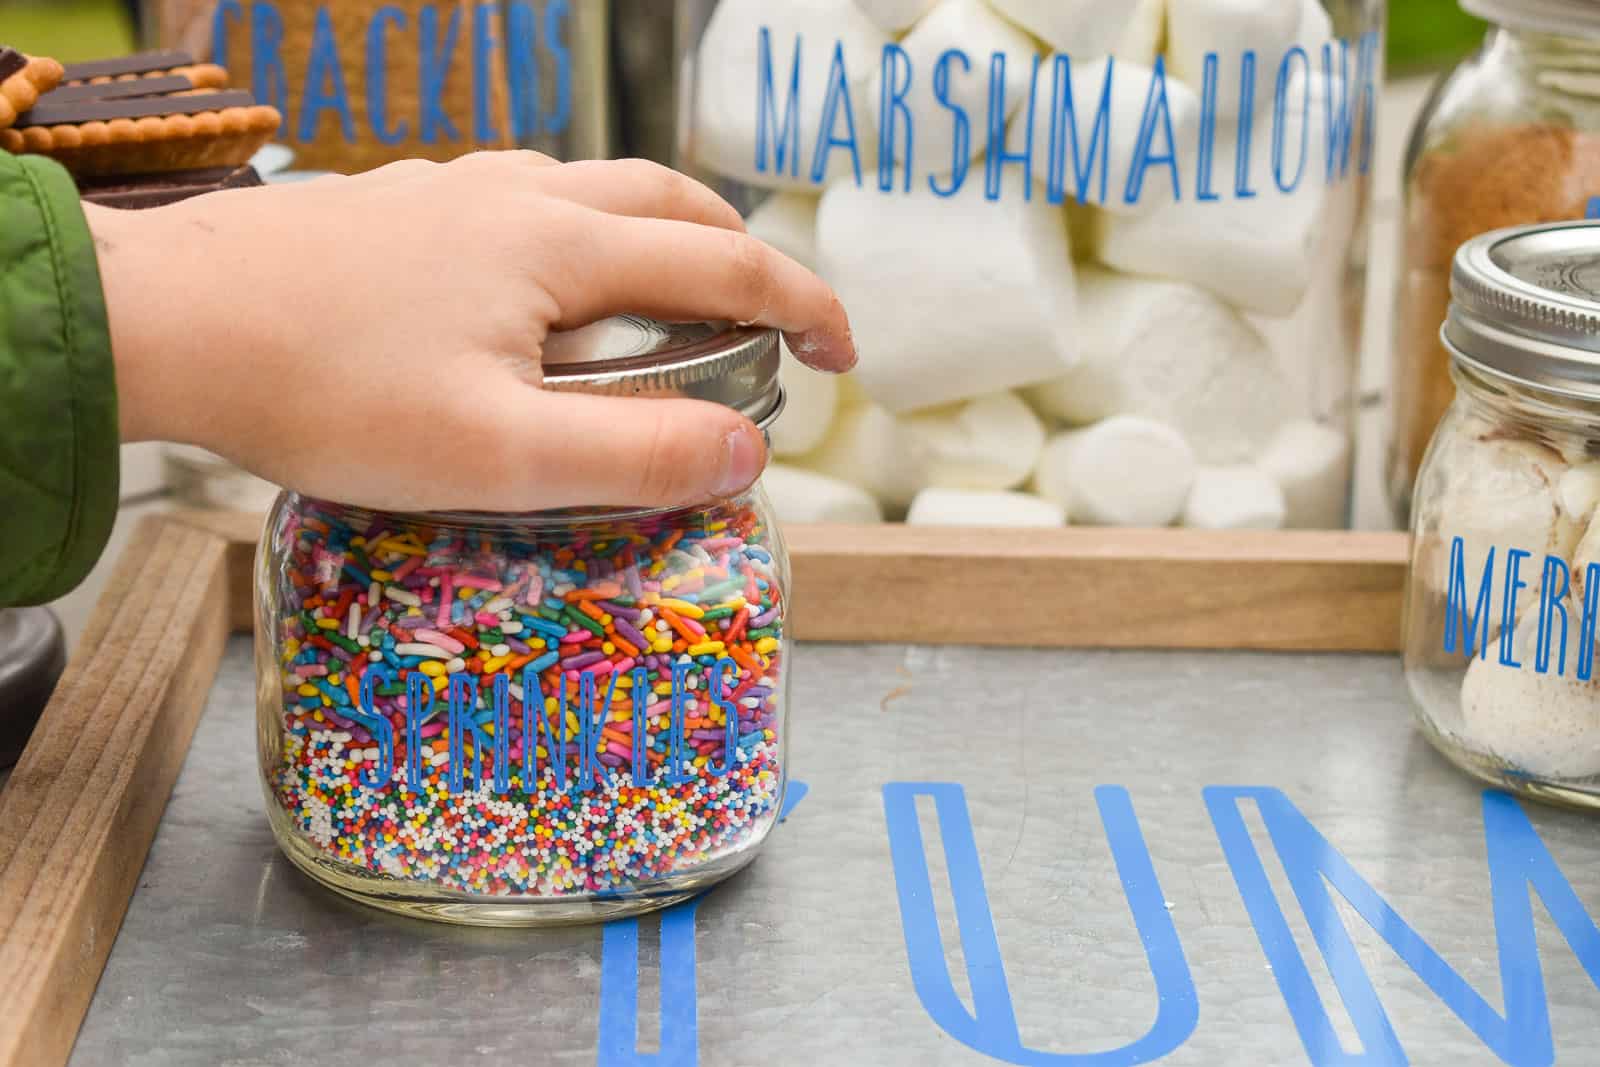
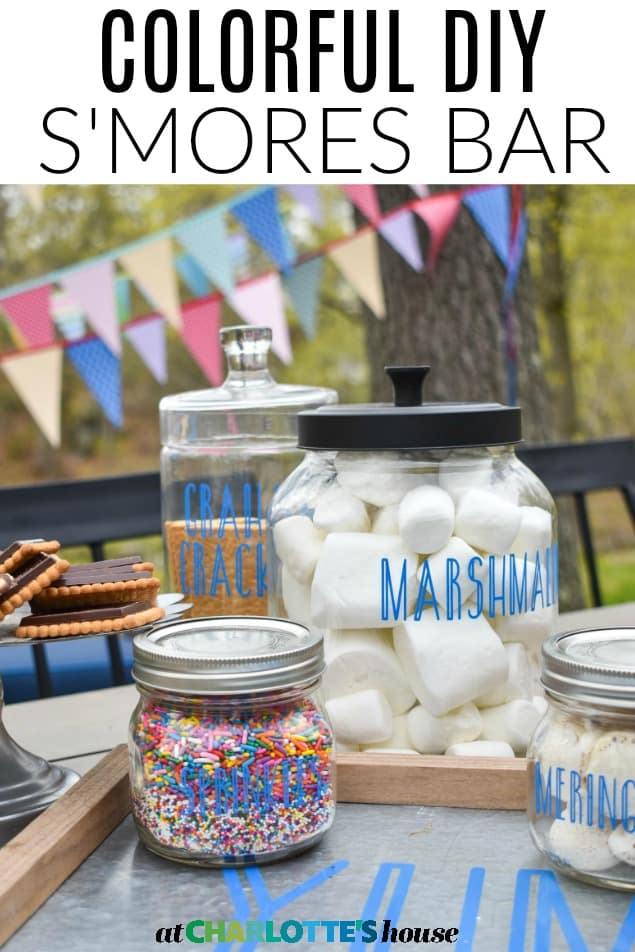
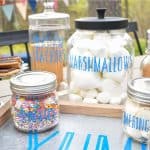
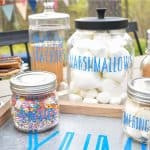
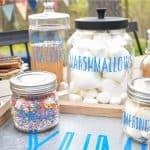
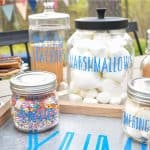
To display the labelled containers, I used that cute tin sign (complete with YUM! label). I used blue Cricut permanent vinyl and love how it looks against the gray metal.
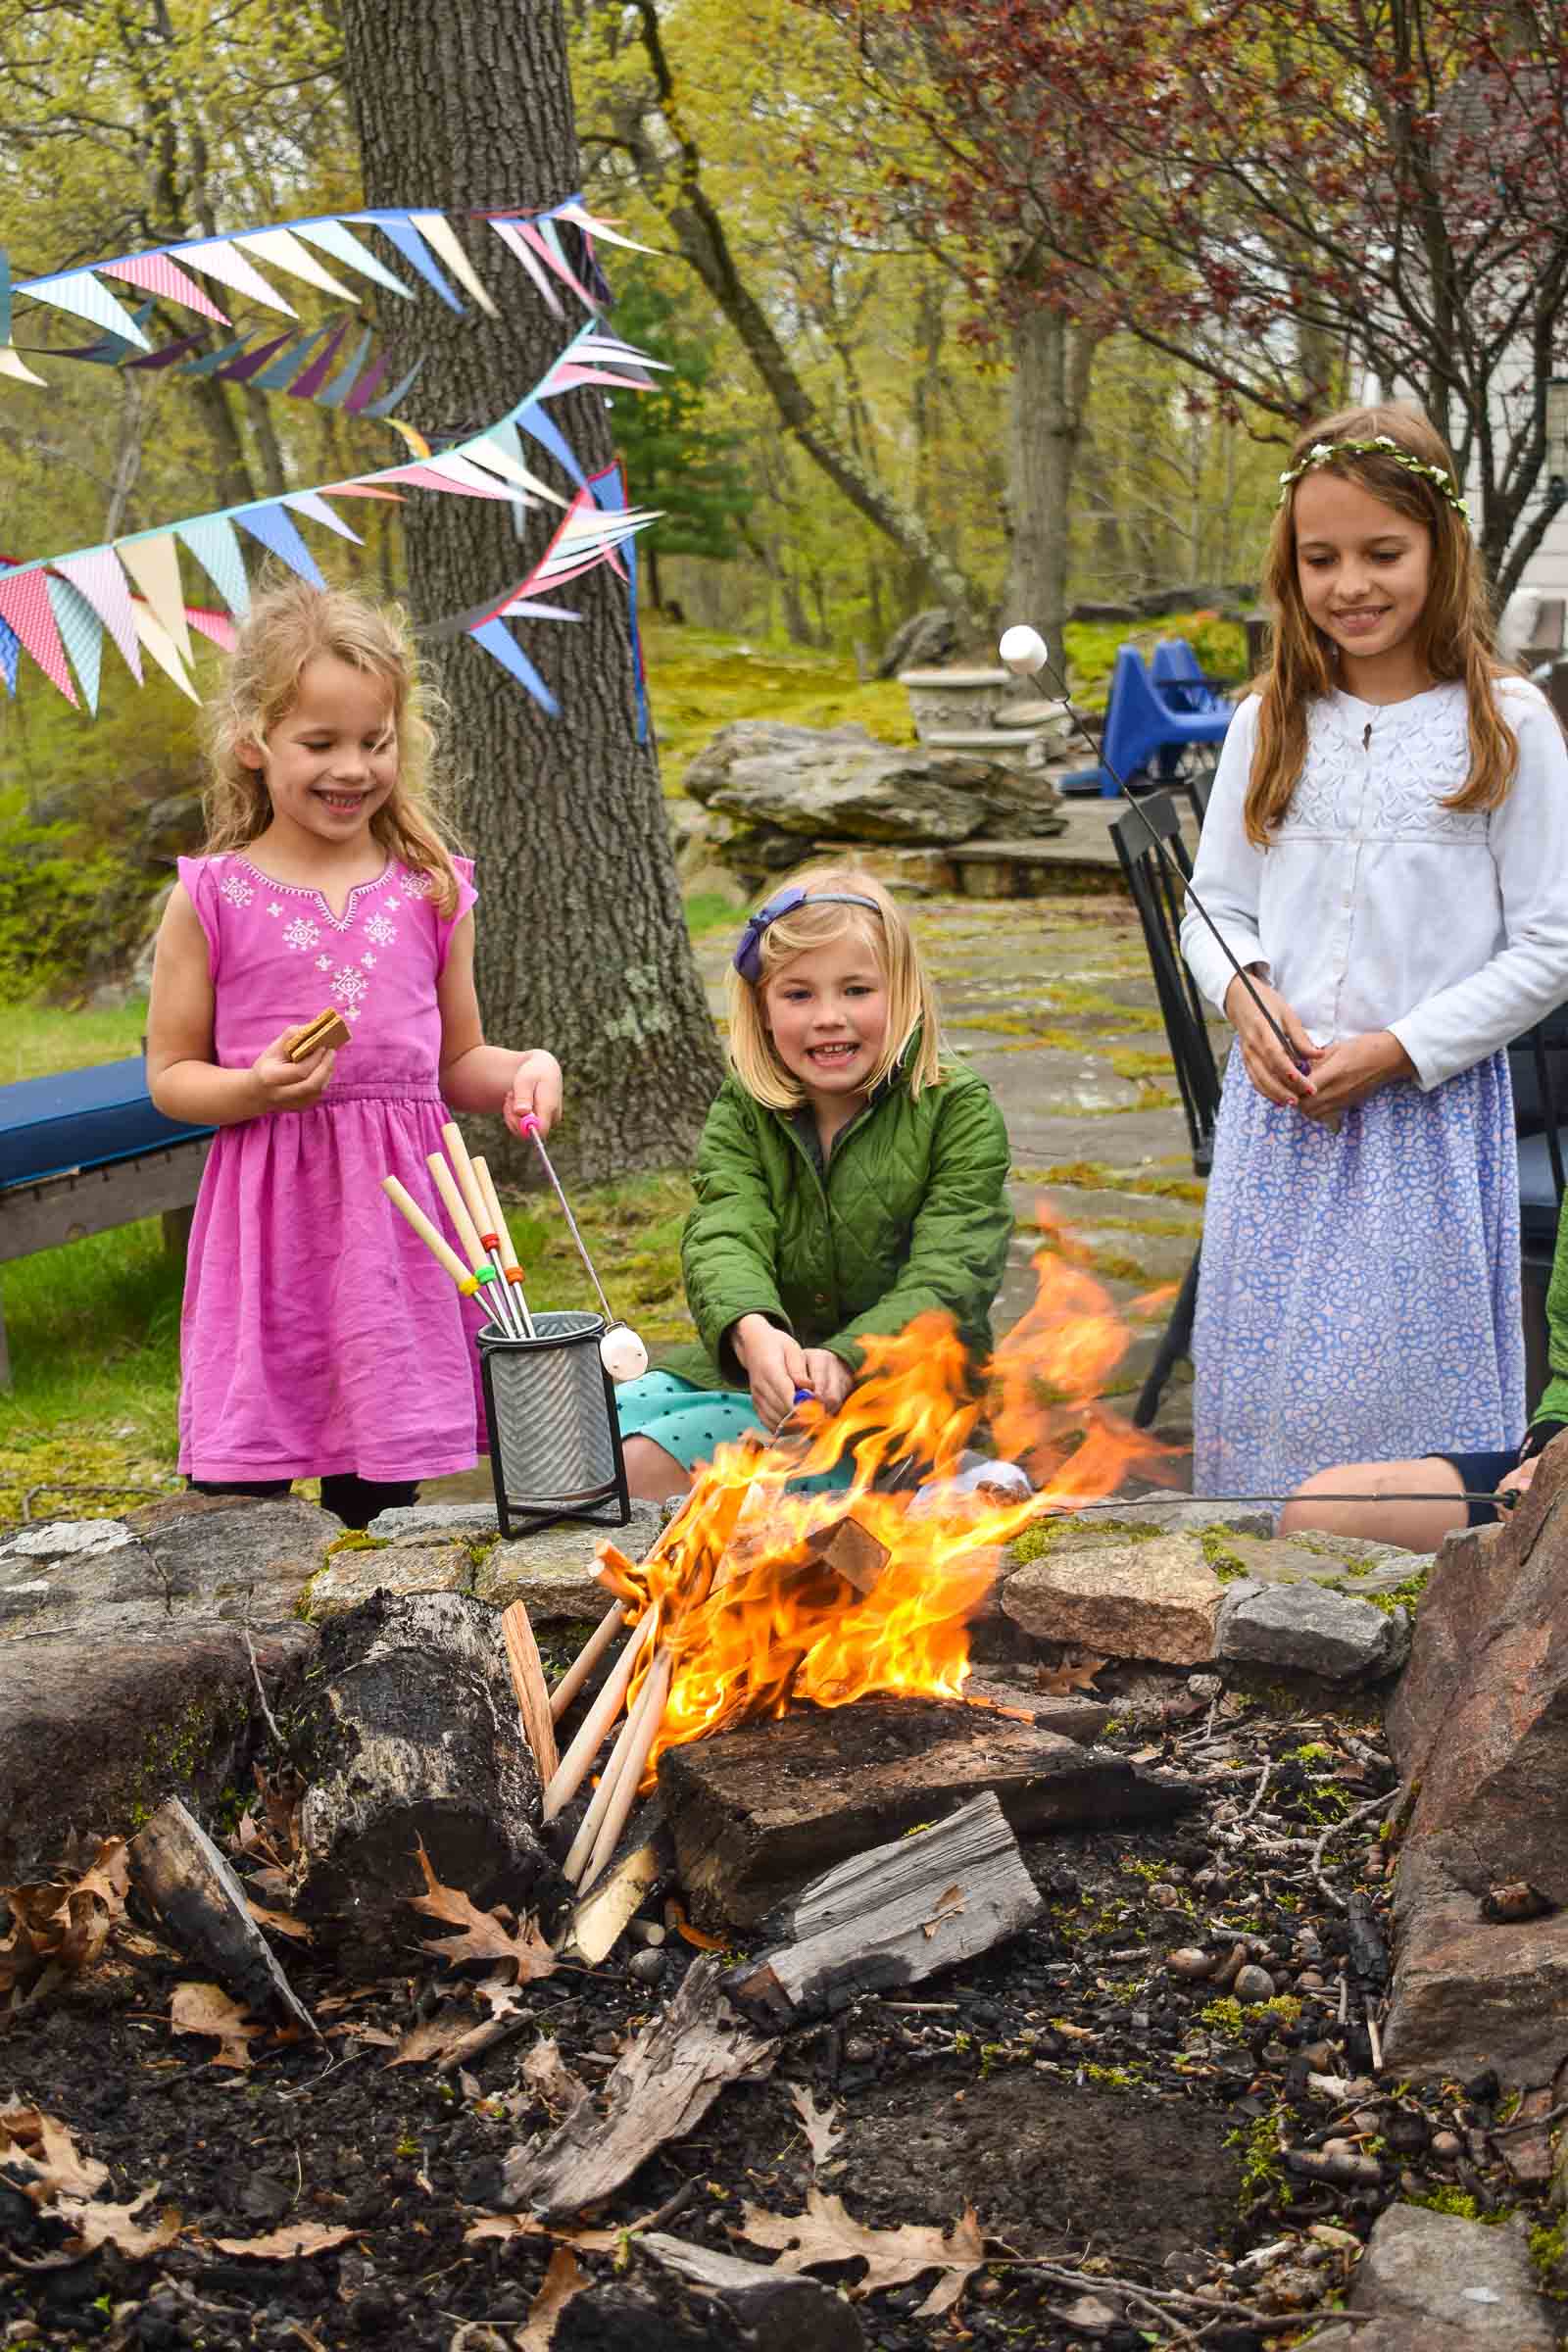
We have a set of marshmallow roasting skewers that I set out by the fire. That metal container with black legs matches the lanterns perfectly and compliments the granite stones of the patio.
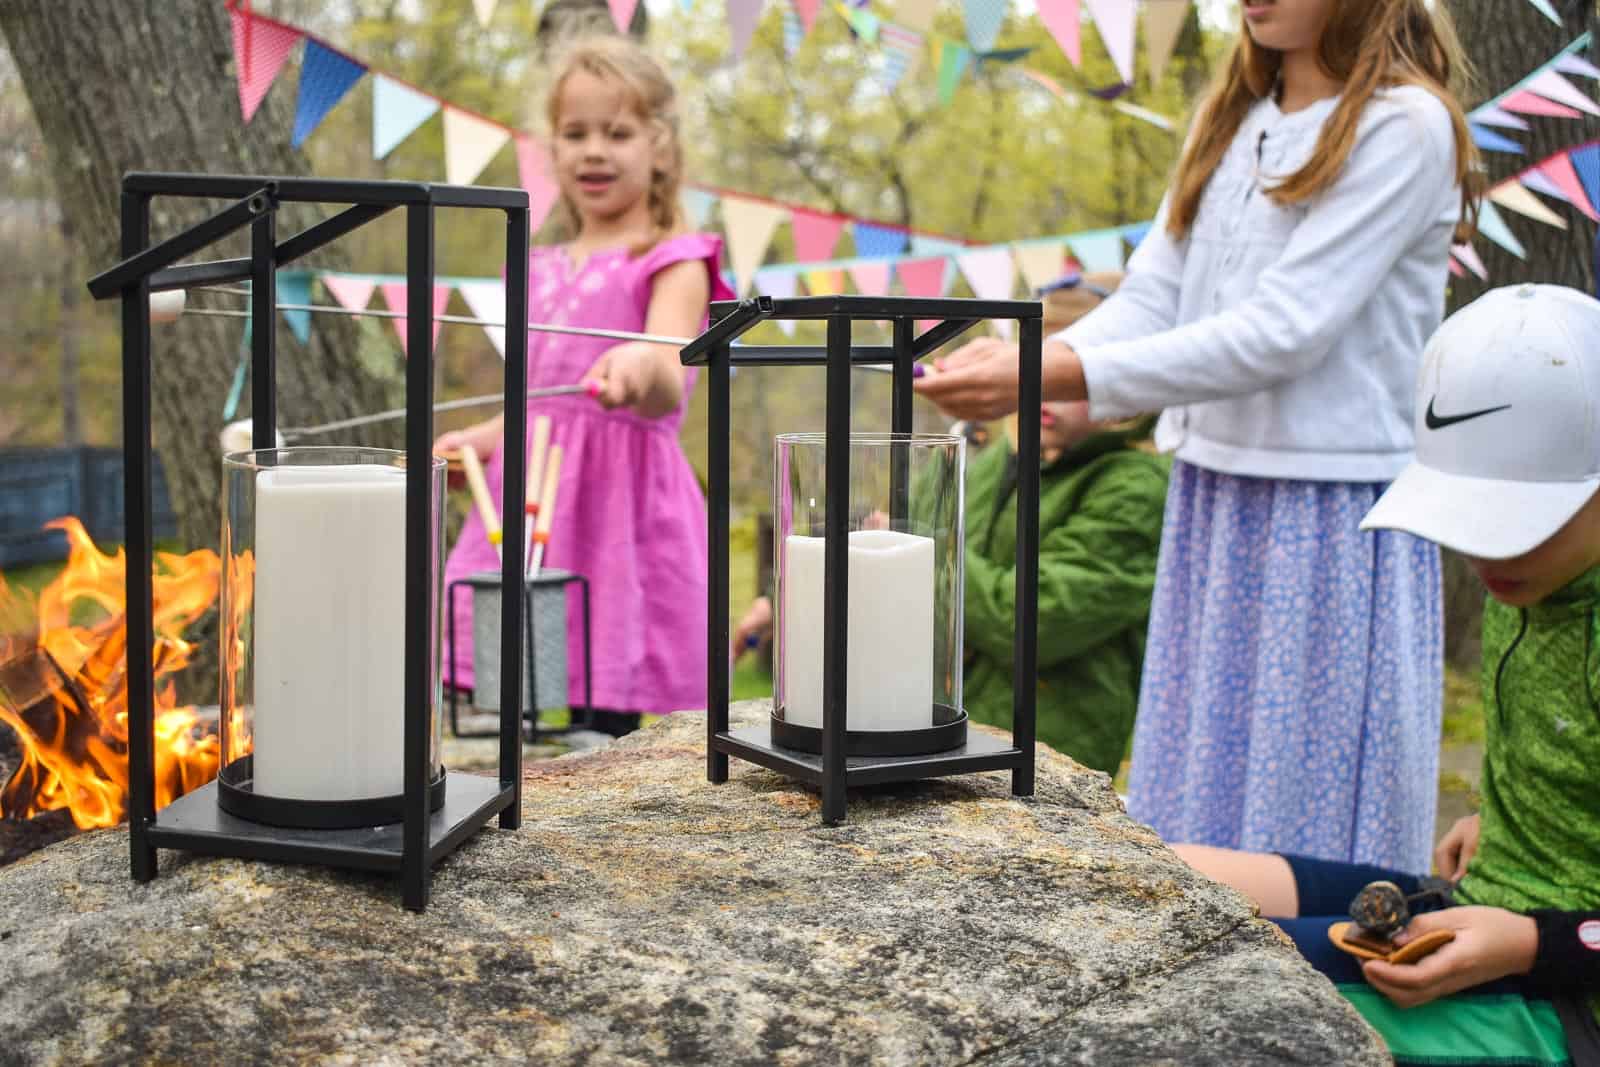
It’s hard to capture on camera, but I also picked up five of those simple metal lanterns and I’m CRAZY about how they look scattered around the fire at dusk. I love the simple look of these and how they don’t stand out to much against the lovely stone of our firepit.
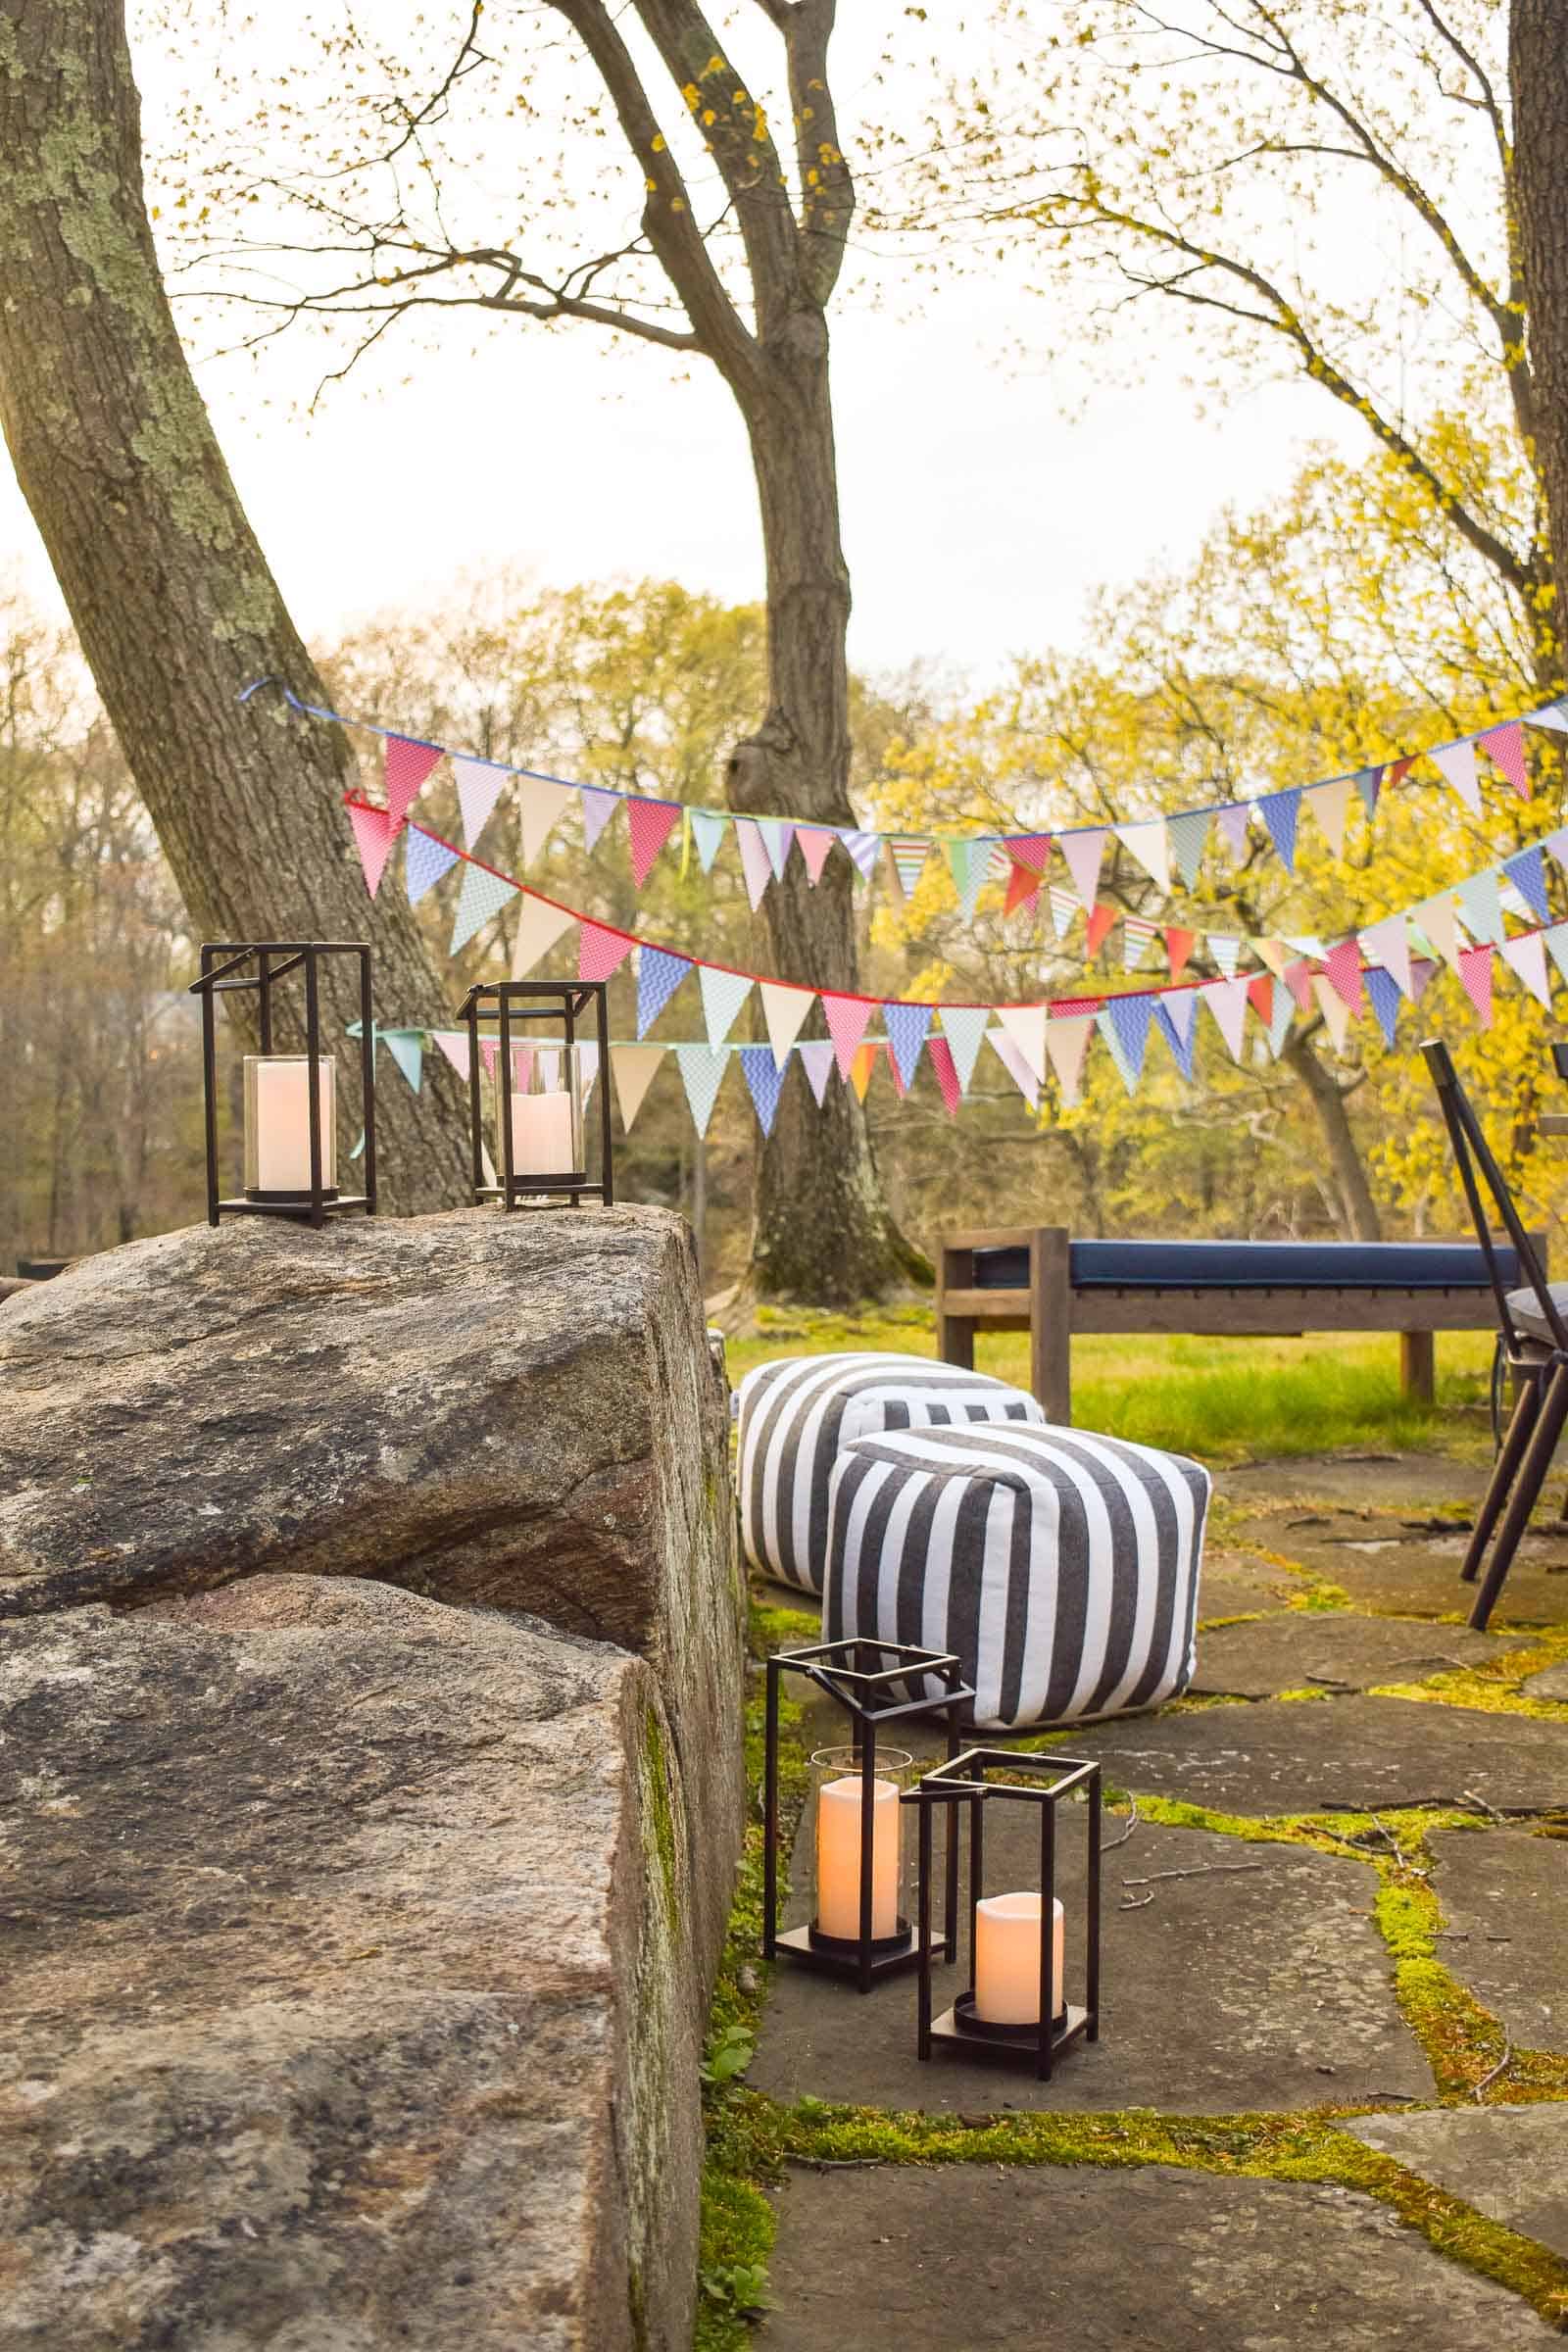
The most fun detail for the s’mores party if you ask my kids… are those two little ottomans. The black and white stripe is as classic as they come and they provide the perfect perch for marshmallow roasting. I’ll spray them with stain guard to help keep them clean.
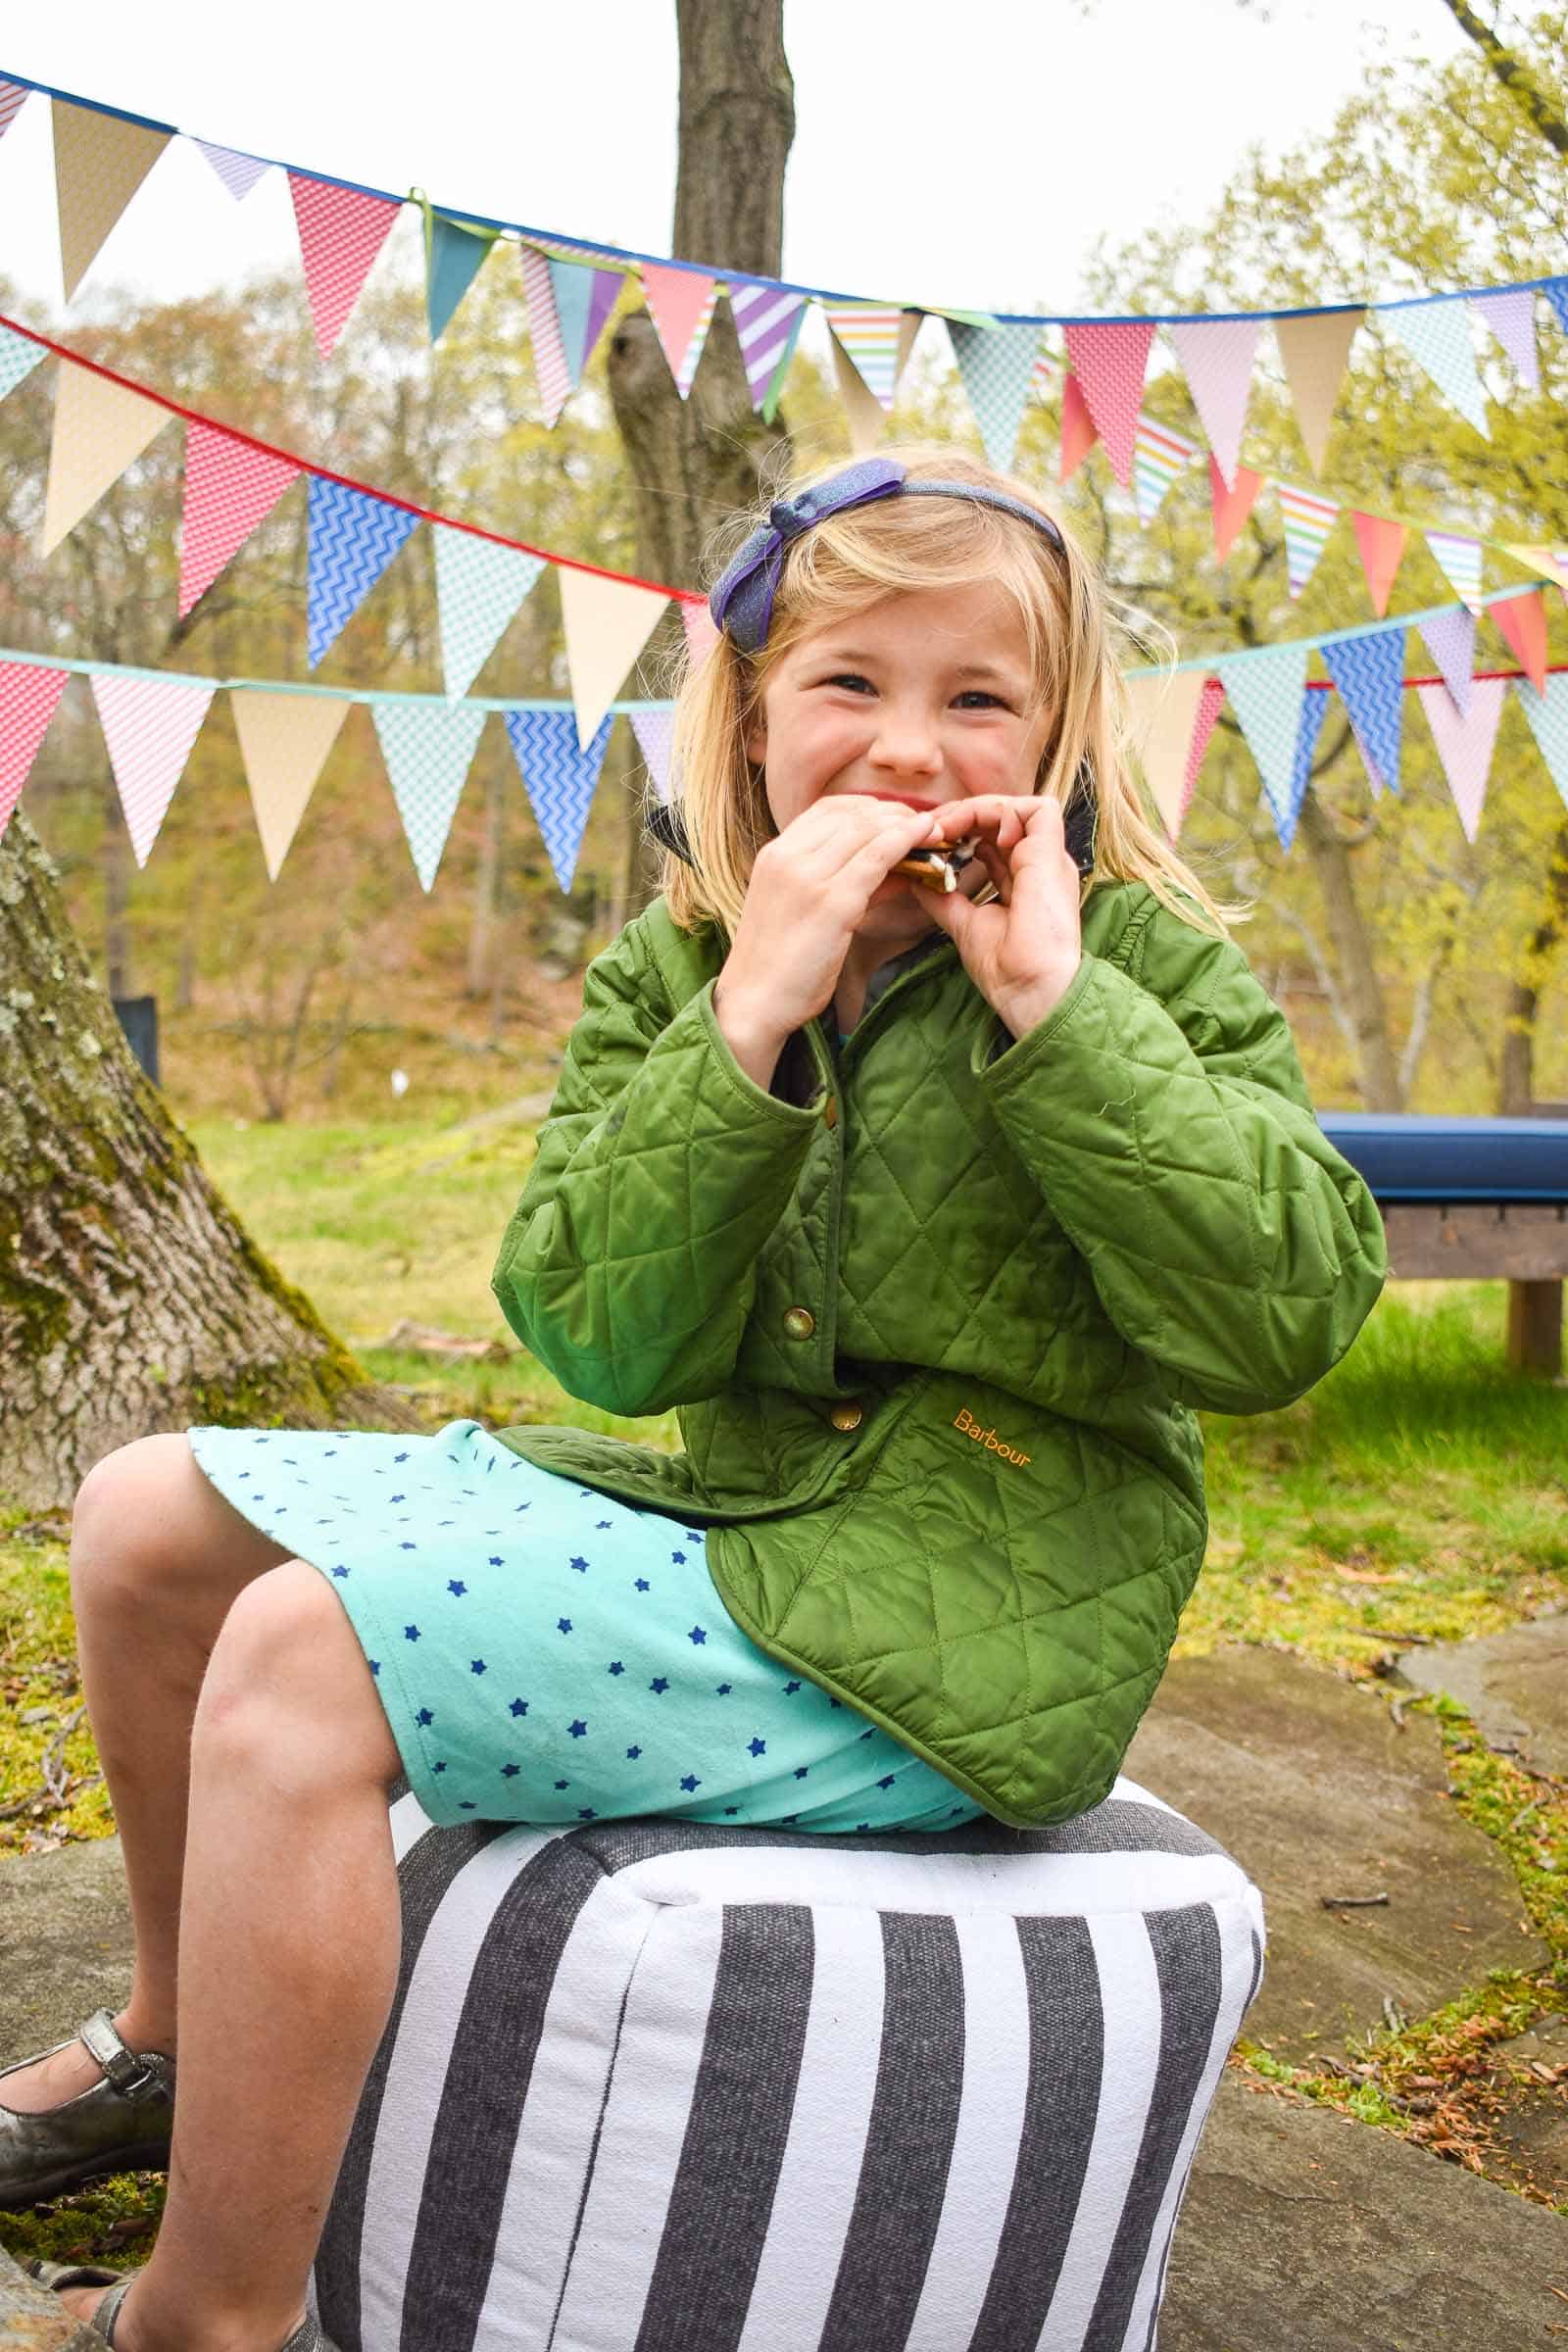
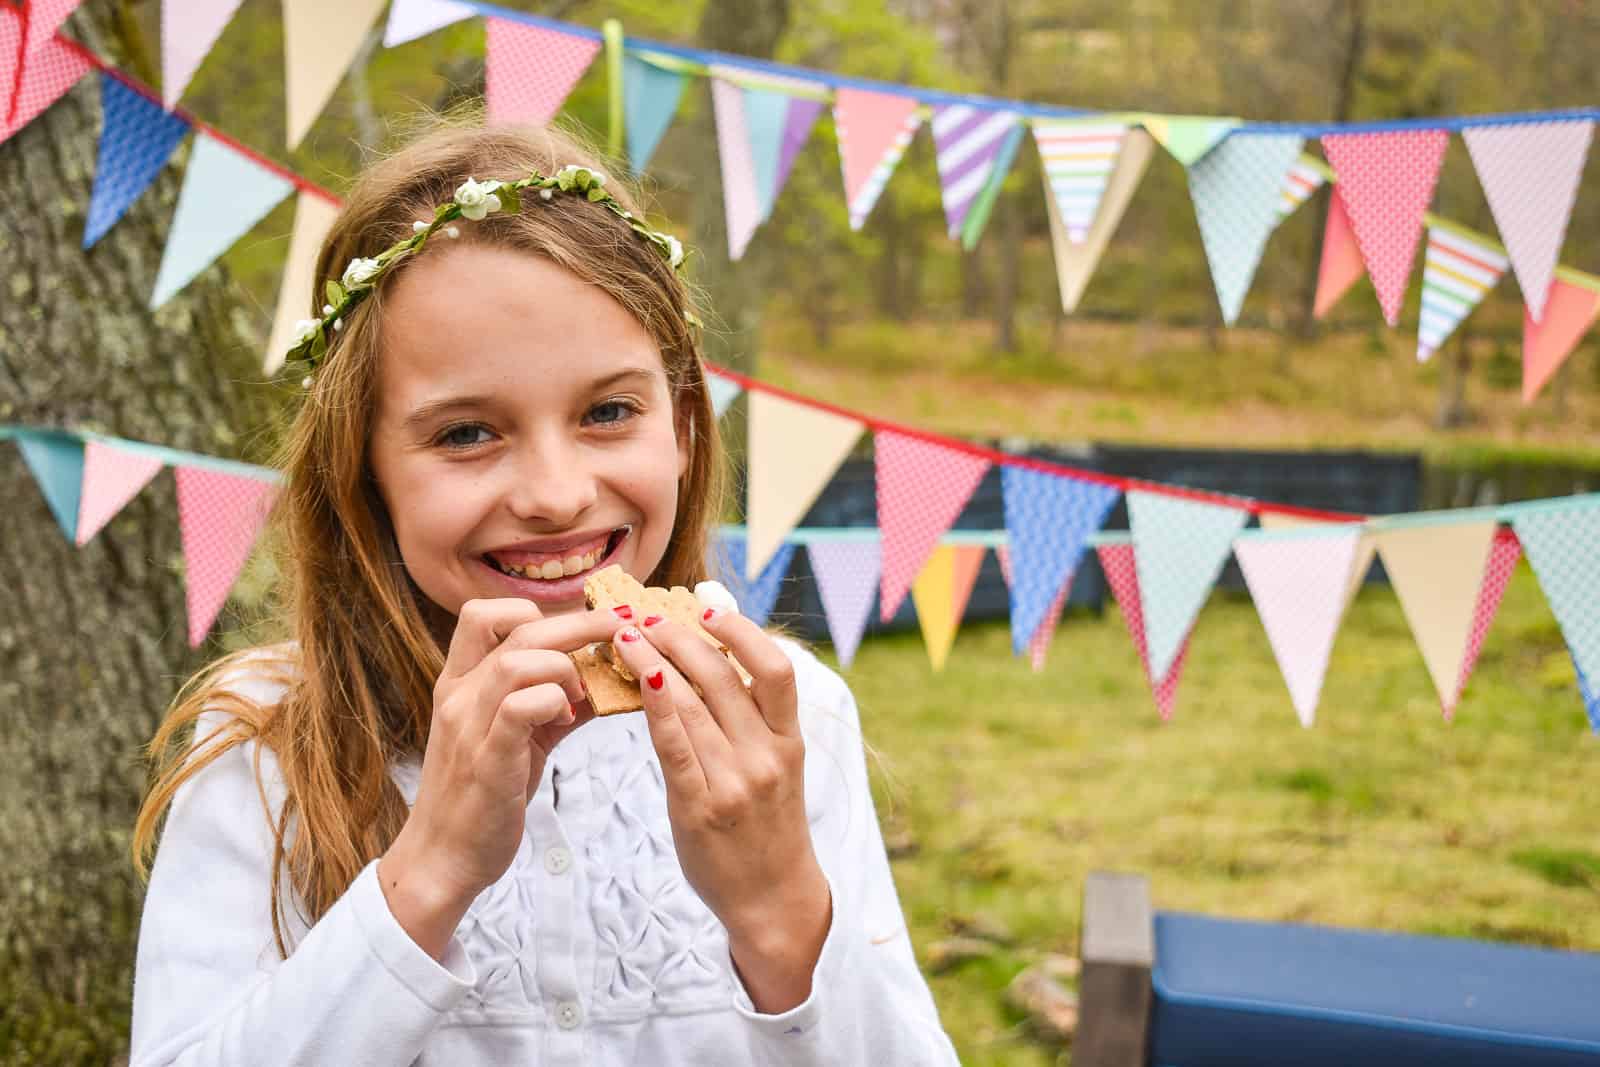
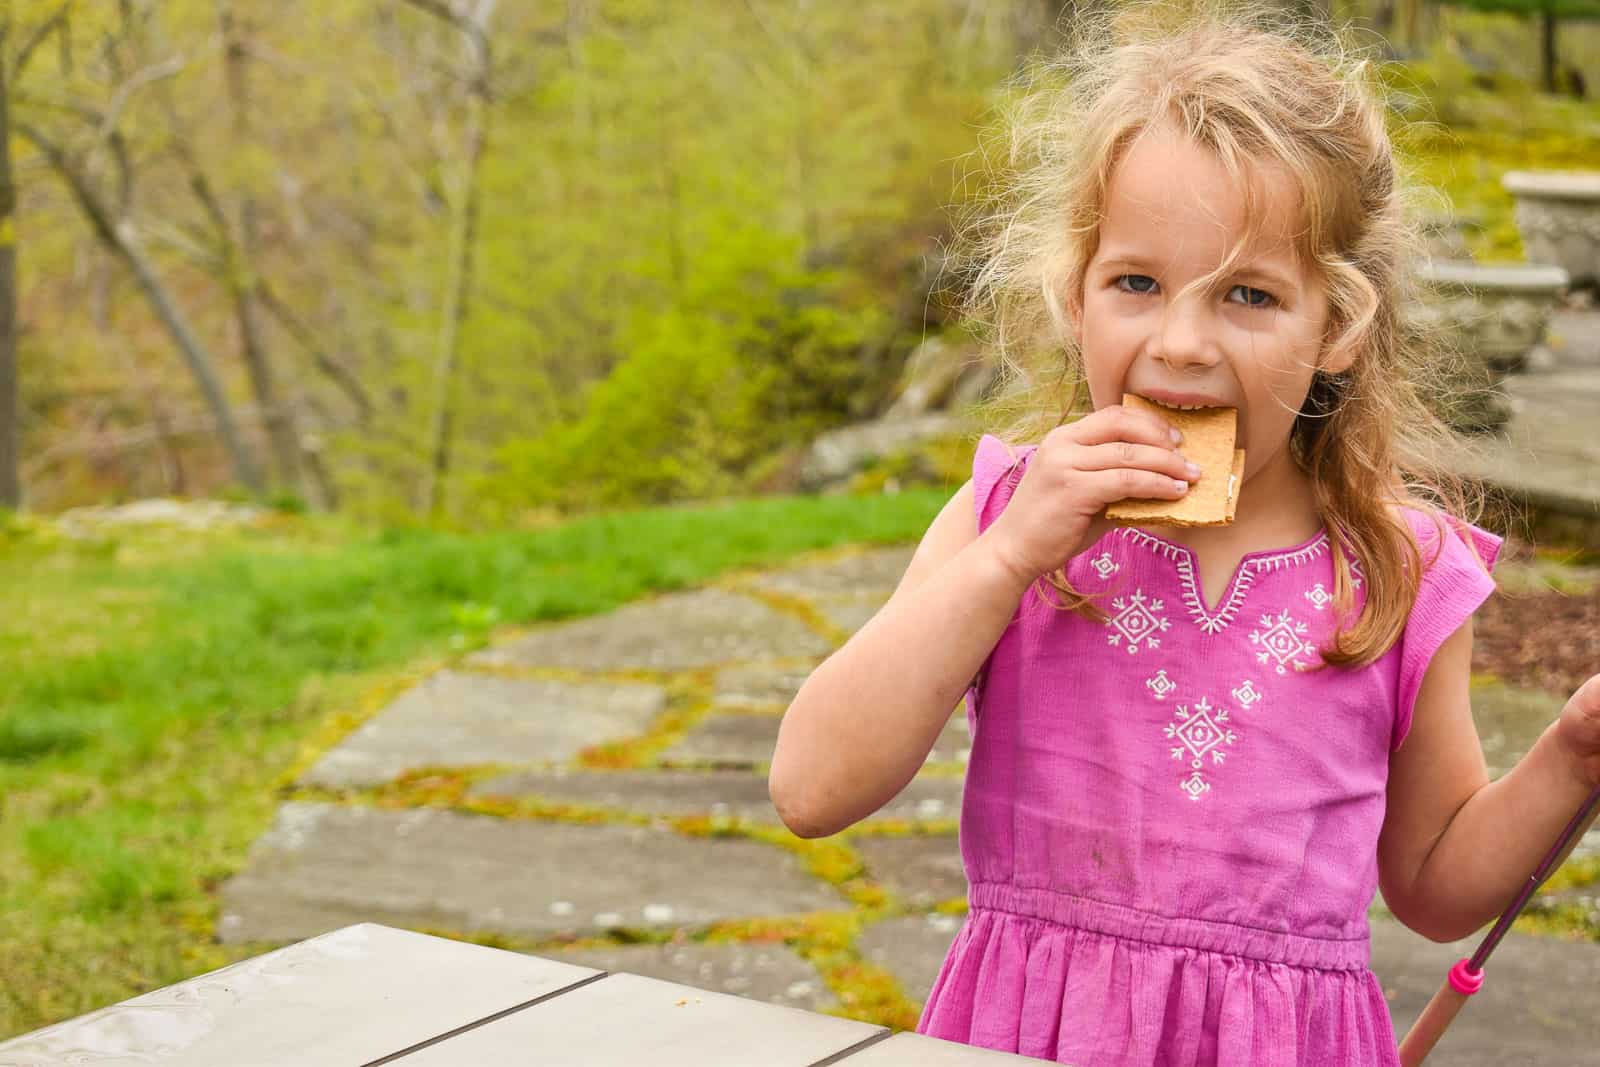
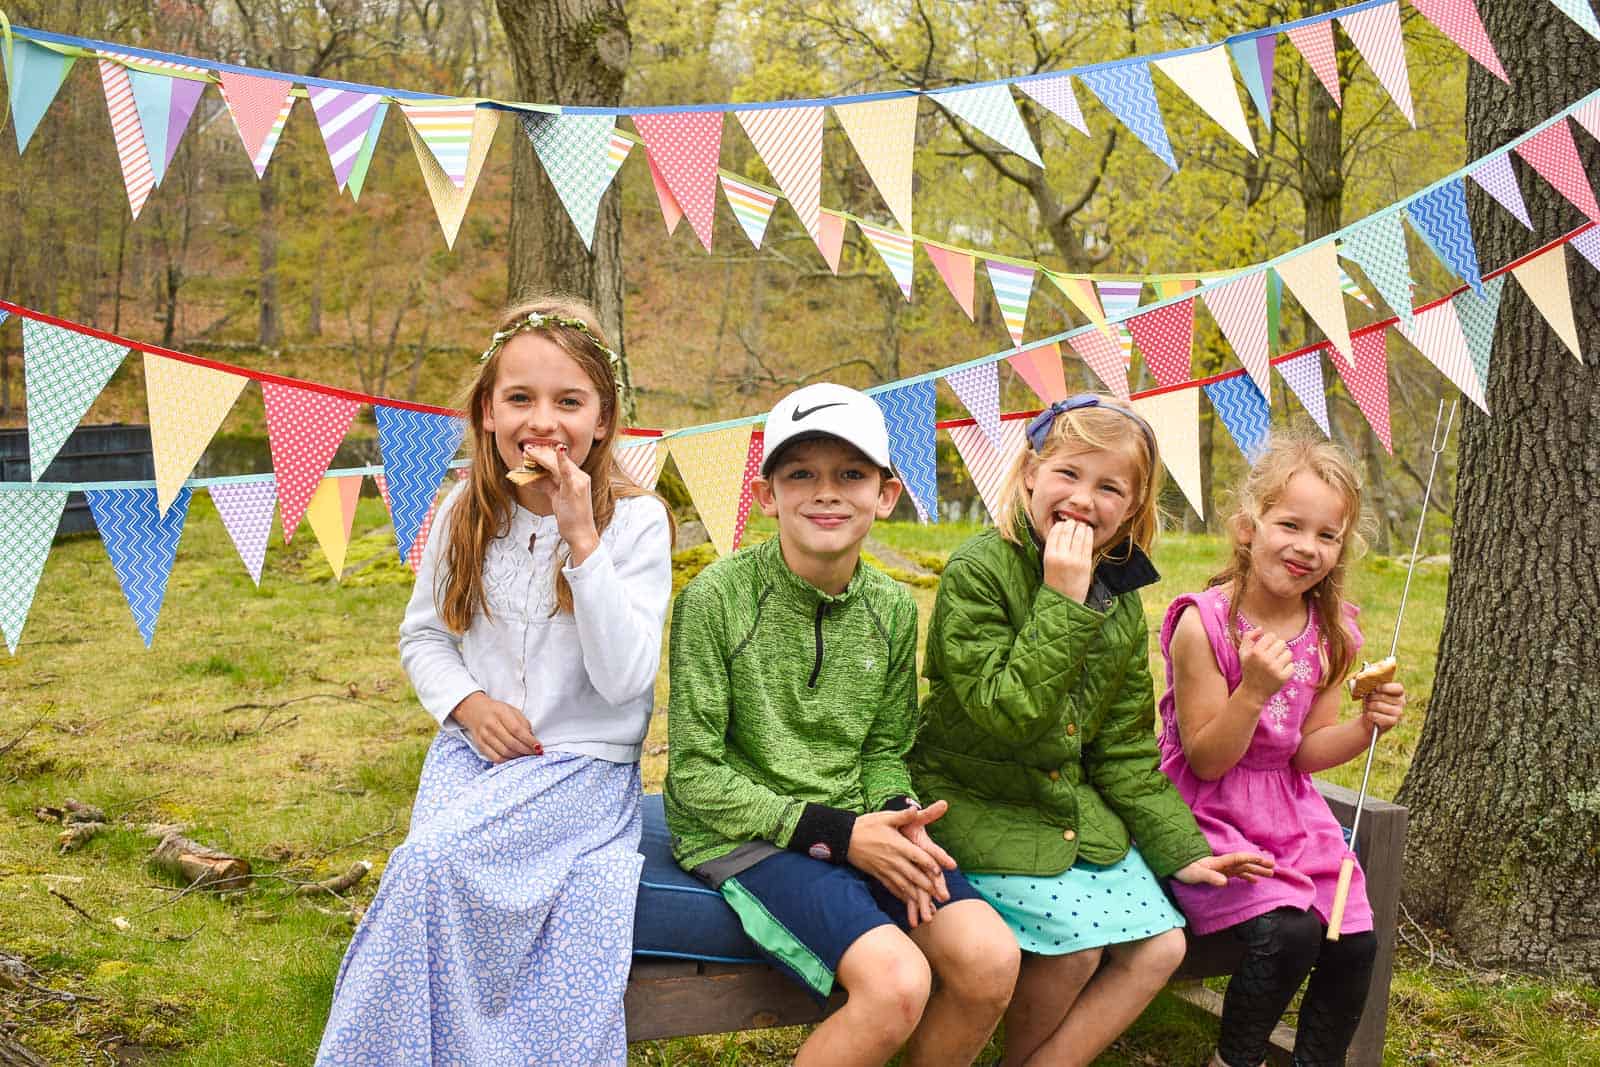
Want to know what’s challenging about a s’mores party? Photographing children as they’re not only playing with fire but also shoving marshmallows and chocolate into their mouth. I can’t wait to sit out here on summer evenings enjoying the pond down below and choosing from all our s’mores options. These containers will tuck away into a basket that we can pull out for special occasions and have colorful s’mores whenever we want!
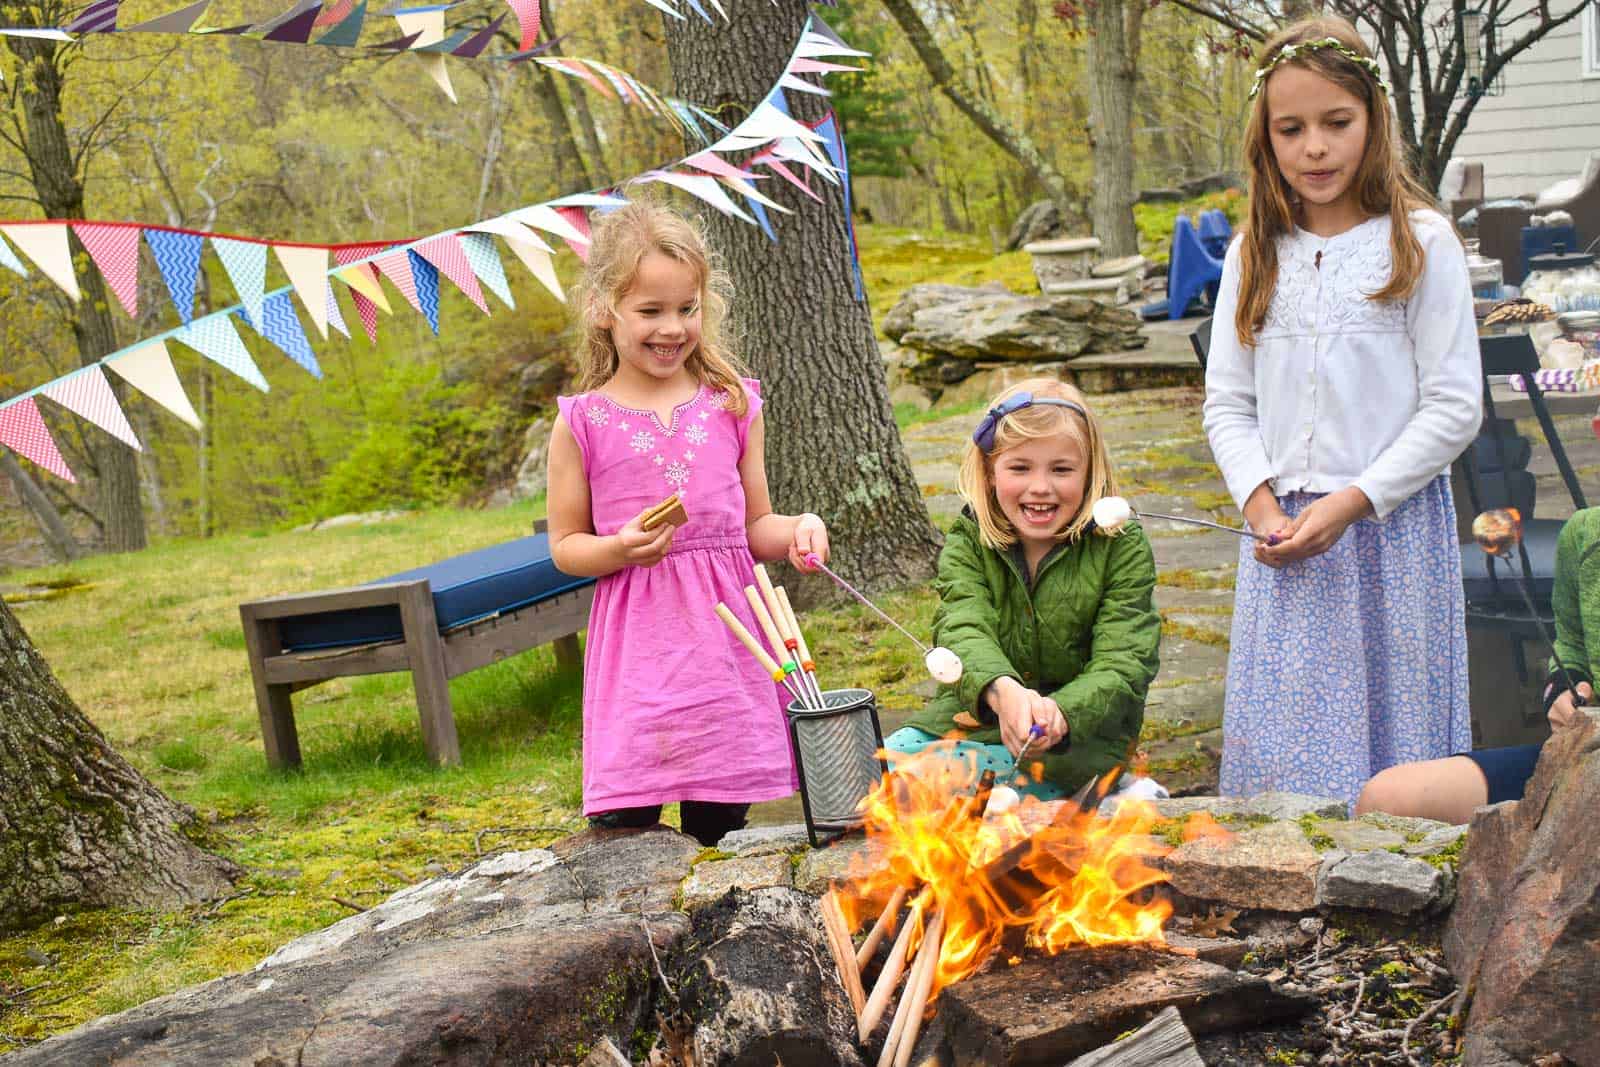
Check out our colorful s’mores from last year here.
And if you want to see the individual s’mores containers I served last summer, click here.



Don’t Miss Out
Become An Insider!
Signup for exclusive tips, and tricks from Charlotte’s House!
Let’s chat!
I love comments from you, so feel free to leave your thoughts and ideas below! And don’t forget to follow me on Instagram for even more!